 BERNINA Corporate Blog -
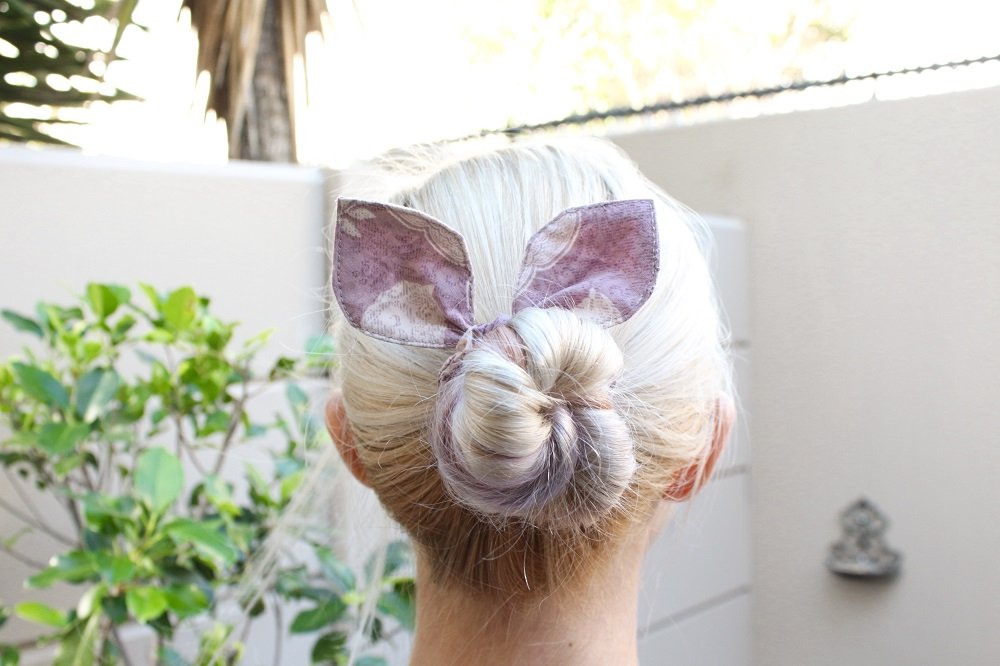
Easter is almost here! ?
Here is a fun and quick project that you can make for yourself or little ones for Easter.
Its is a great scrap buster too! You can make the Scrunchies to match garments you’ve made or play with contrasting colours and patterns.
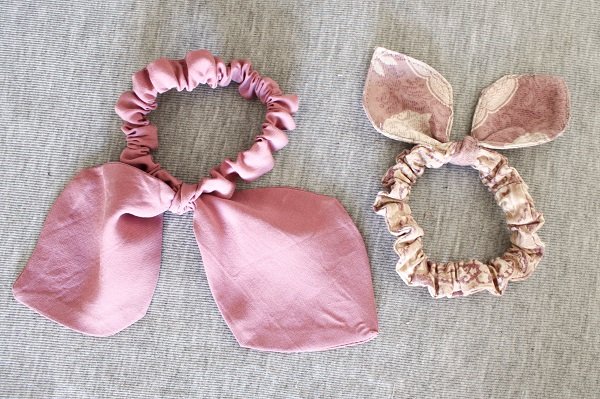
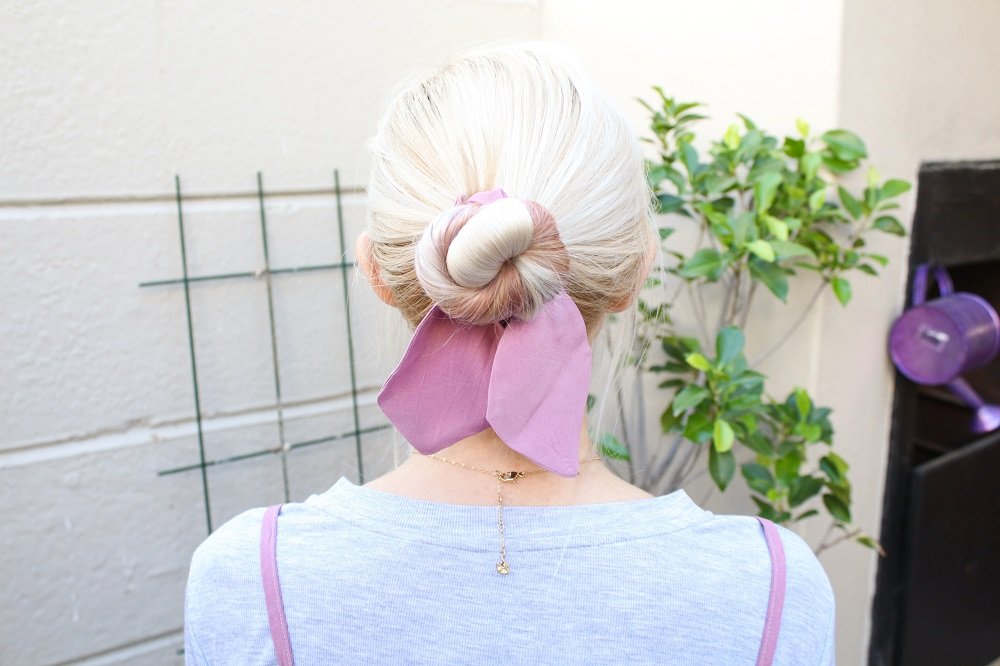
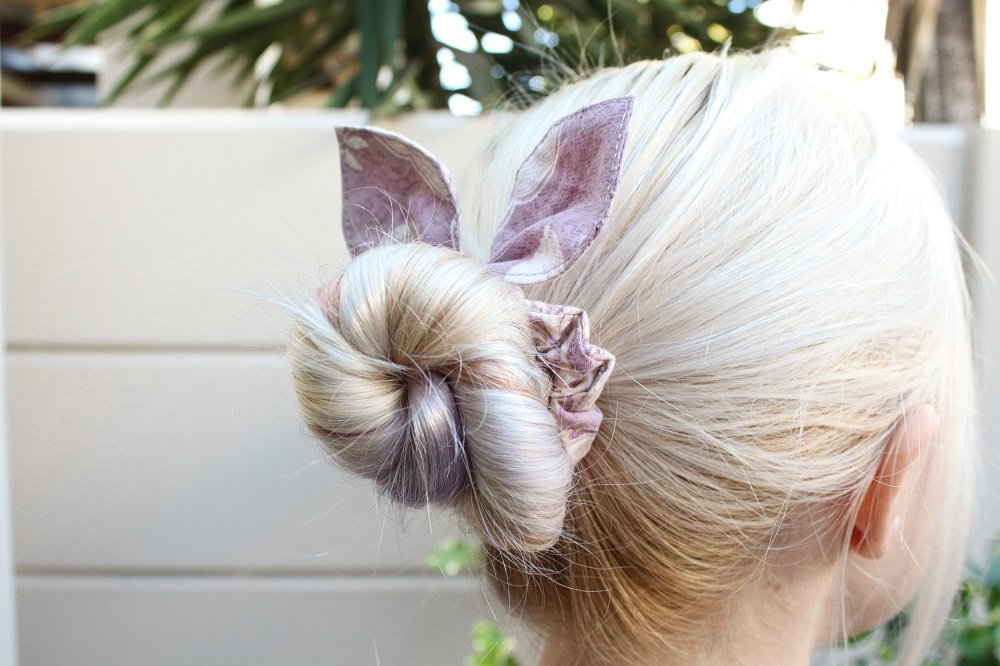
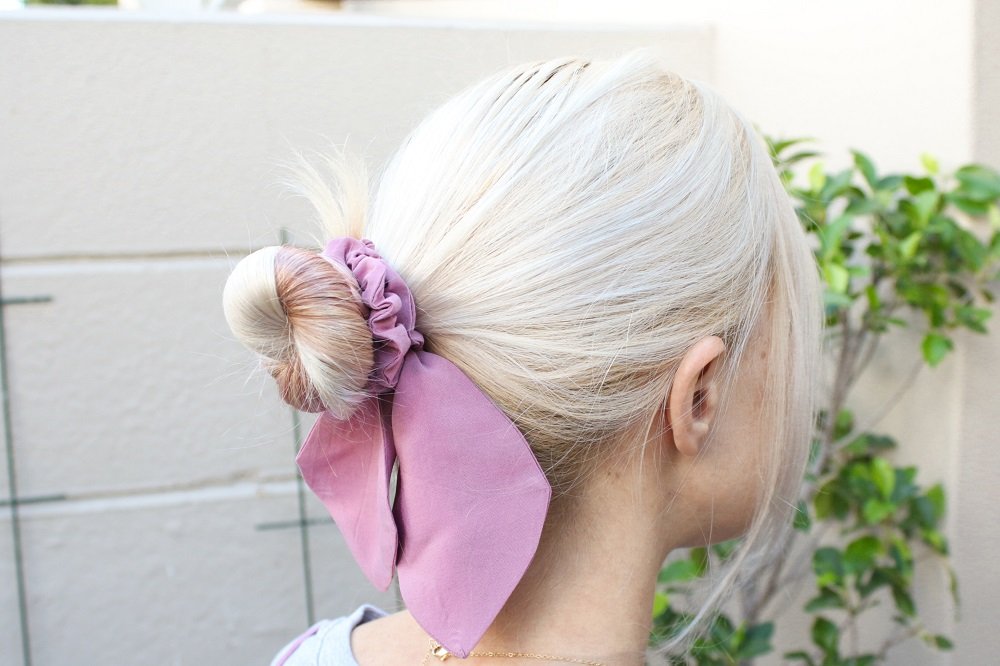
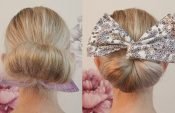
I hope this little project brings some joy to you and your little ones. I love how the Scrunchie with the Small Ties resembles bunny ears! The other design is more feminine than cute but I love it just as much!
Feel free to mix & match the different Ties with the different sized Scrunchies. Play with having the Ties on top and below the Scrunchies when you wear them.
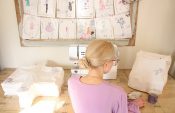
Sewing has been my escape lately. While I am very aware of the global Covid-19 situation, I can’t let it consume my every thought.
Due to the national Lockdown in South African to help “flatten the Coronavirus curve”, I can’t spend Easter with my family. Over the Easter period I usually meet up with the different parts of my family to celebrate. This year I am not even in my own home (fortunately still with loved ones).
I understand that most countries around the world have various things in place to help slow the spread of the virus. In South Africa, the law is very strict during our Lockdown.
We have to remain at home unless we need to make use of essential services such as buying groceries and medicine or to seek medical attention. There are exceptions for those with essential jobs.
What will be needed:
- Sewing machine
- Safety pin or tube turner
- Hand sewing needle
- 1 thread to match the fabric
- Fabric: refer to the Fabric section below.
- 21cm Elastic (0.6cm – 1cm wide) per Scrunchie
Refer to Tips at the bottom of the Blog. - Pattern:
Scrunchie Pattern
Large Tie Pattern
Small Tie Pattern
Fabric
Choice
I would recommend a light weight woven fabric for the Scrunchies.
 For the Small Tie Scrunchie, I would recommend a light weight Cotton.
The firmness of the fabric will help the Tie keep its shape.
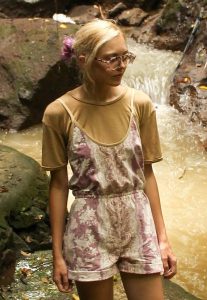
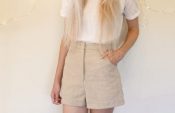
I used left over Cotton fabric from a Playsuit I made (featured in a previous Blog post.)
For the Large Tie Scrunchie. I would recommend a light weight fabric with a bit of drape, like a Rayon.
This will allow the Tie to hang effortlessly.
I used left over Rayon fabric from a dress I made. This dress is one of my favourites!
Fabric Quantity & Pattern Layout
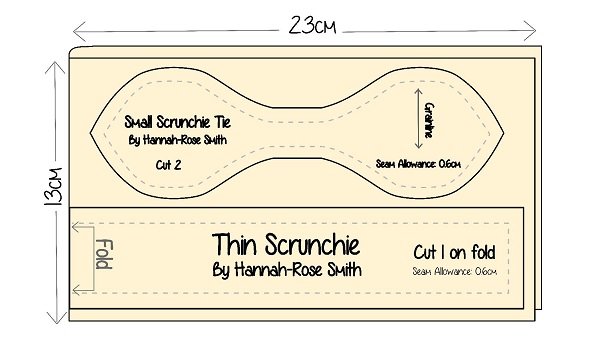 You will need a maximum of 46cm x 13cm piece of fabric to make the Thin Scrunchie with the Small Tie.
 You will need a maximum of 66cm x 20cm piece of fabric to make the Wide Scrunchie with the Large Tie.
You can of course cut out each piece individually if you only have small fabric pieces.
-8cm x 45cm for the Wide Scrunchie
-5cm x 45cm for the Thin Scrunchie
-2 x 11 cm x 65cm for the Large Tie
-2 x 7cm x 21cm for the Small Tie
Sewing
All seam allowances are 0.6cm unless otherwise specified.
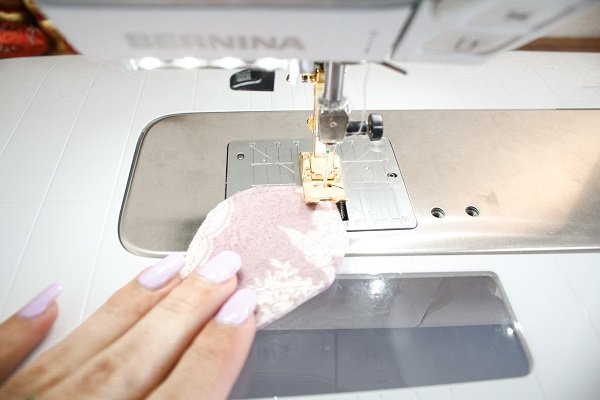
How to make a Scrunchie (Wide & Thin)
As my hair is rather fine, I am making Thin Scrunchies. This is just a personal preference.
The steps are the same for both the Wide & Thin Scrunchie.
- Fold in the edge of each opening by 0.6cm and press.
- Fold the fabric in half lengthwise with right sides together.
Sew along the long edge.
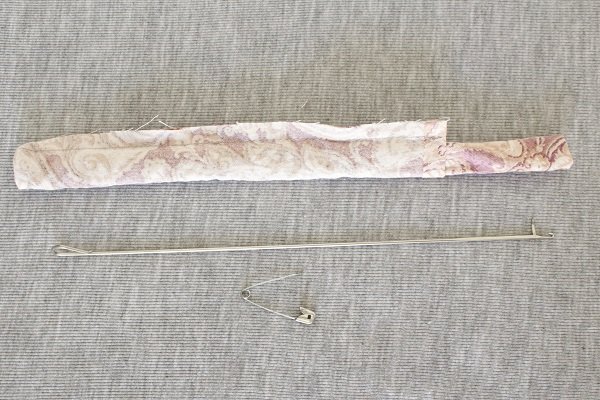
- Using the safety pin or Tube Turner, feed one end of the tube through itself.
Give the tube a press.
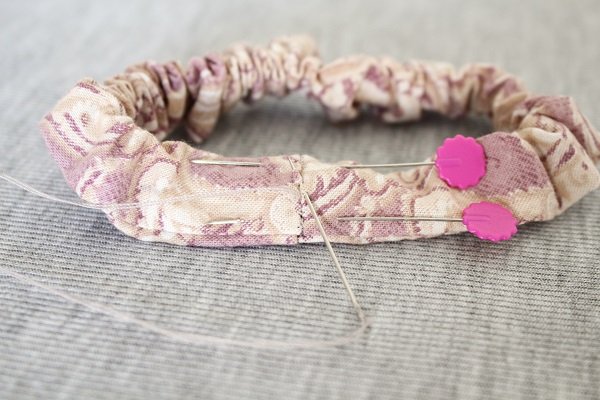
- Using the safety pin, feed the elastic through the tube.
Remember to hang on to one end of the elastic so as not to lose it.
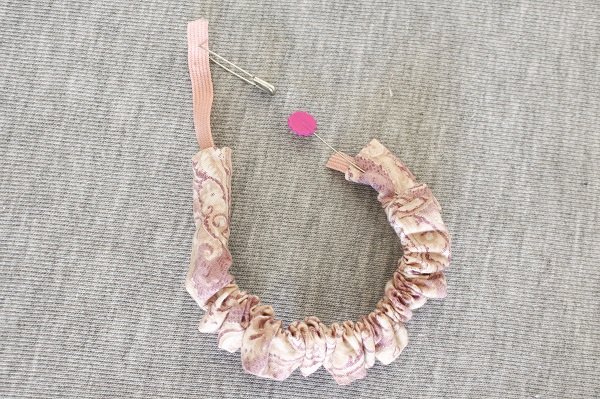
- Join the ends of the elastic together. I find it works best to overlap the ends and secure them together.
Ensure that the elastic isn’t twisted.
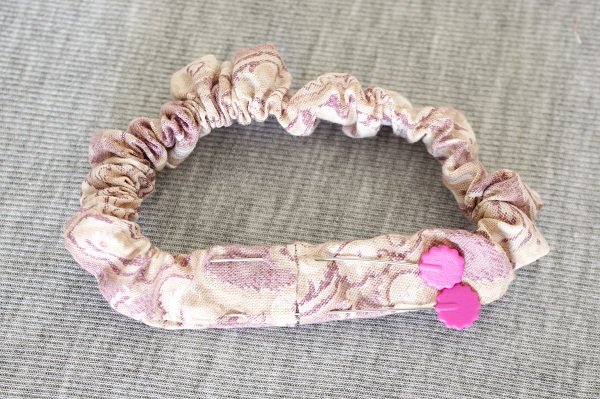
- Match the open ends together.
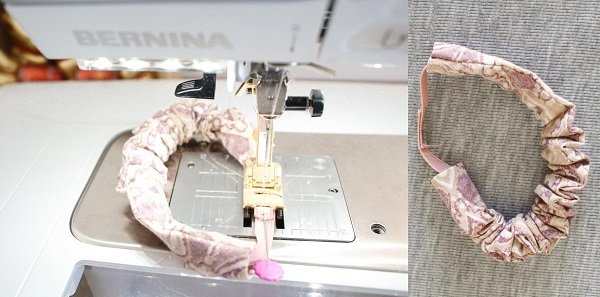
- Sew the open ends together.
Hand stitch all around join so that the elastic can still move freely.
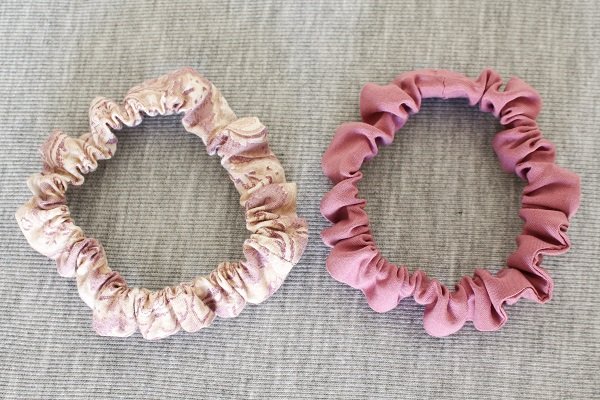
These are how my 2 thin scrunchies turned out.
How to make the Ties (Small & Large)
I made both the Small & Large Ties to go with my Thin Scrunchies.
The steps are the same for both the Small & Large Ties.
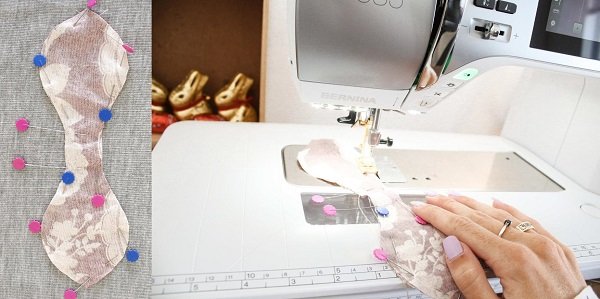
- Join the 2 pieces of fabric together.
Place the right sides together and secure around the edges.
Leave a 2cm gap somewhere in the seam.
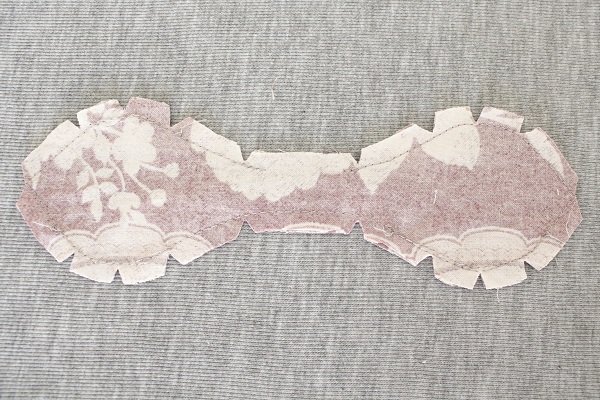
- Optional: Nip around the Tie to help reduce bulk.
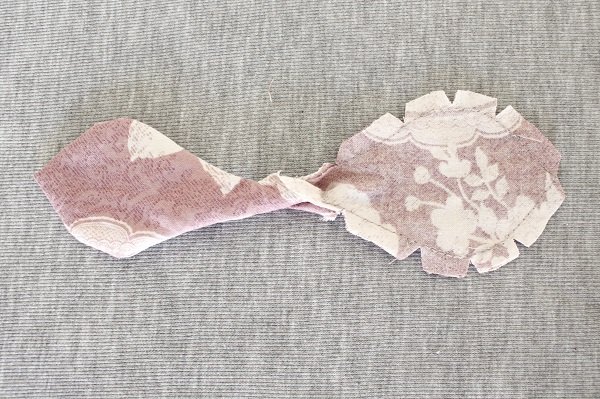
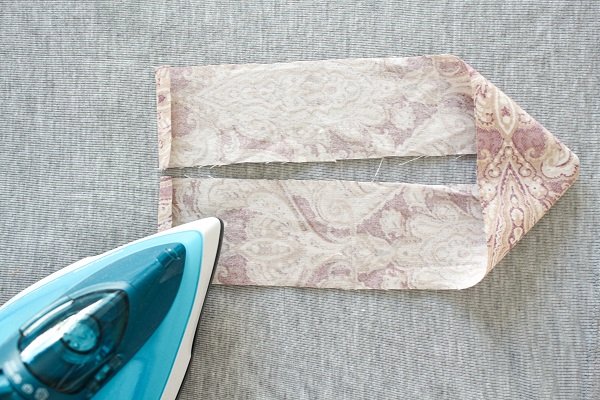
- Feed the fabric through the gap.
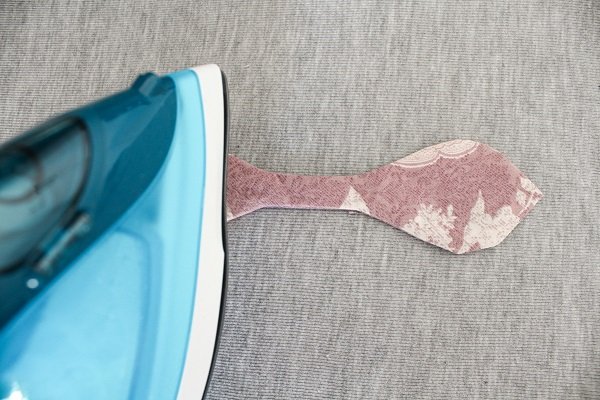
- Give the Tie a press.
- Hand sew the gap closed.
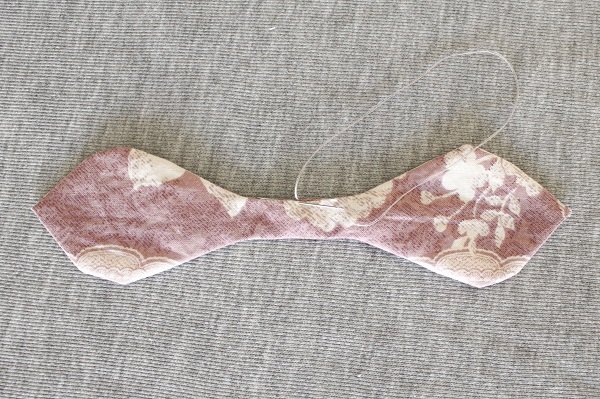
- For the Small Tie: Topstitch around the edges to provide more stability.
If you do this, you don’t have to do step 12.
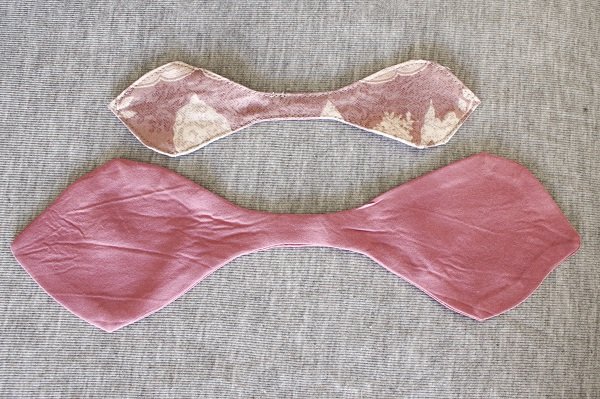
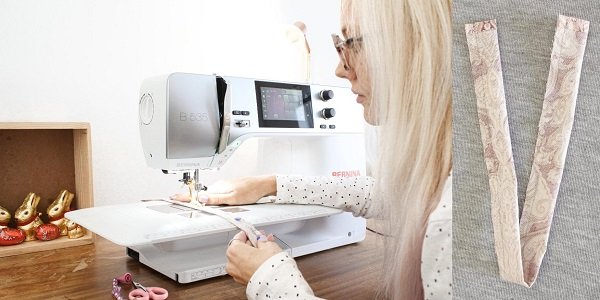
This is what the Large and Small Ties look like compared to each other.
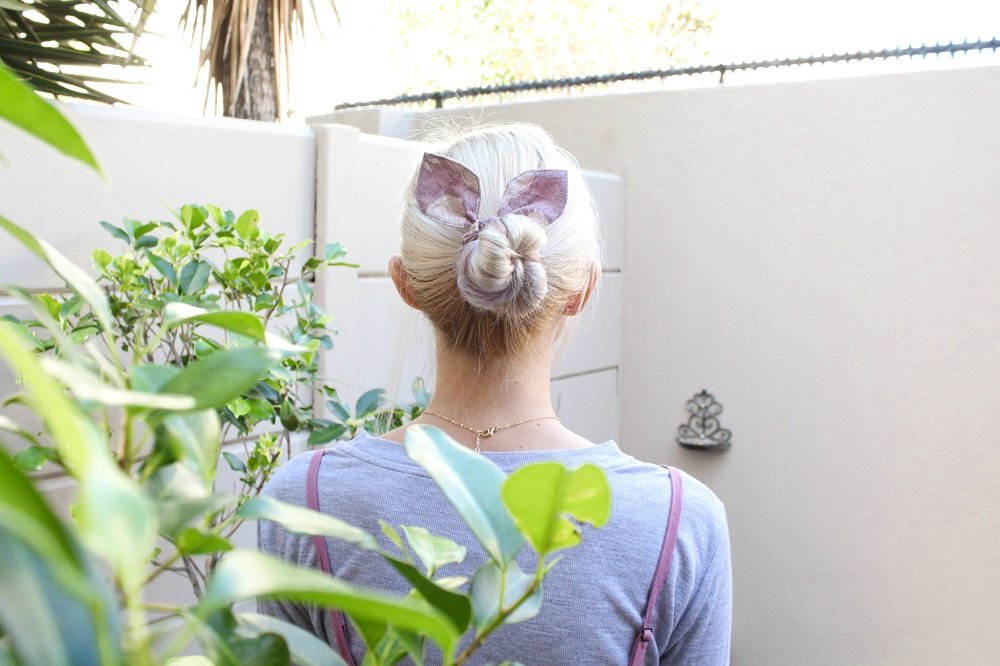
To Finish
- Tie the piece around the scrunchie to cover the join.
Tips
- If your hair is thick, you may need to cut a slightly longer piece of elastic.
- If your hair is very thin, you may need to cut a slightly shorter piece of elastic.
- The scrunchie should be able to wrap around your hair at least 2 times.
- If you find that the elastic length doesn’t work for you, simply undo the hand stitching from step 7 and replace the elastic.
- You can make a scrunchie out of many different types of fabric.
However, I recommend that you stick to a thin fabric. - If you use a slippery fabric like Satin, I would recommend wearing a normal hair tie under the scrunchie.
I would love to see the scrunchies you make, please feel free to share with me!
Instagram
Facebook
-Hannah-Rose
PS. Please remember that everyone is of course welcome to make these projects, irrespective of whether or not they celebrate the same holidays as me 😉
All patterns designed by me are for personal use only.

Hannah,
I enjoyed your blog and ideas. Hang in there. Sewing is a therapy for me. I am sewing masks to give for family and friends from my dash of fabrics and apparel we don’t use. I will make these crunchies for my daughter. Thanks much! Sheila
Hi Sheila
Thank you so much for your sweet comment. I really made my day.
I love how you are using what materials you have available.
I hope you and your family stay safe.