 BERNINA Corporate Blog -
Most countries in the world are trying to ban and stop the coronavirus Covid-19. Many persons wish to wear a face mask. It is one of the initiatives you can take, besides the very important social distancing, coughing/sneezing hygiene and washing hands. Sew your own self-made face mask.
Read all advices here: Self sewn face mask everything you need to know’
In a local newspaper I read about a Belgian doctor who sews his own face masks. You will understand that this is not a medical certified model, but it can be used as a basic mask when you will be in a crowd. Make several of them, for using it for only a short while, helps your hygienic efforts!
This is the doctor’s story, in Dutch, but you will get what he does by watching the pictures:
Dokter haalt naaimachine boven en maakt zijn eigen mondmaskers.
If this doctor is able to sew them on his own vintage BERNINA, than we will be able as well! I use the BERNINA 710 and overlock BERNINA L460 to sew the mask.
What do you need for a face mask?
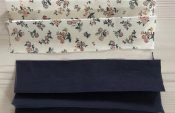
- A little leftover middleweight cotton 56 x 16 cm for each mask you make.
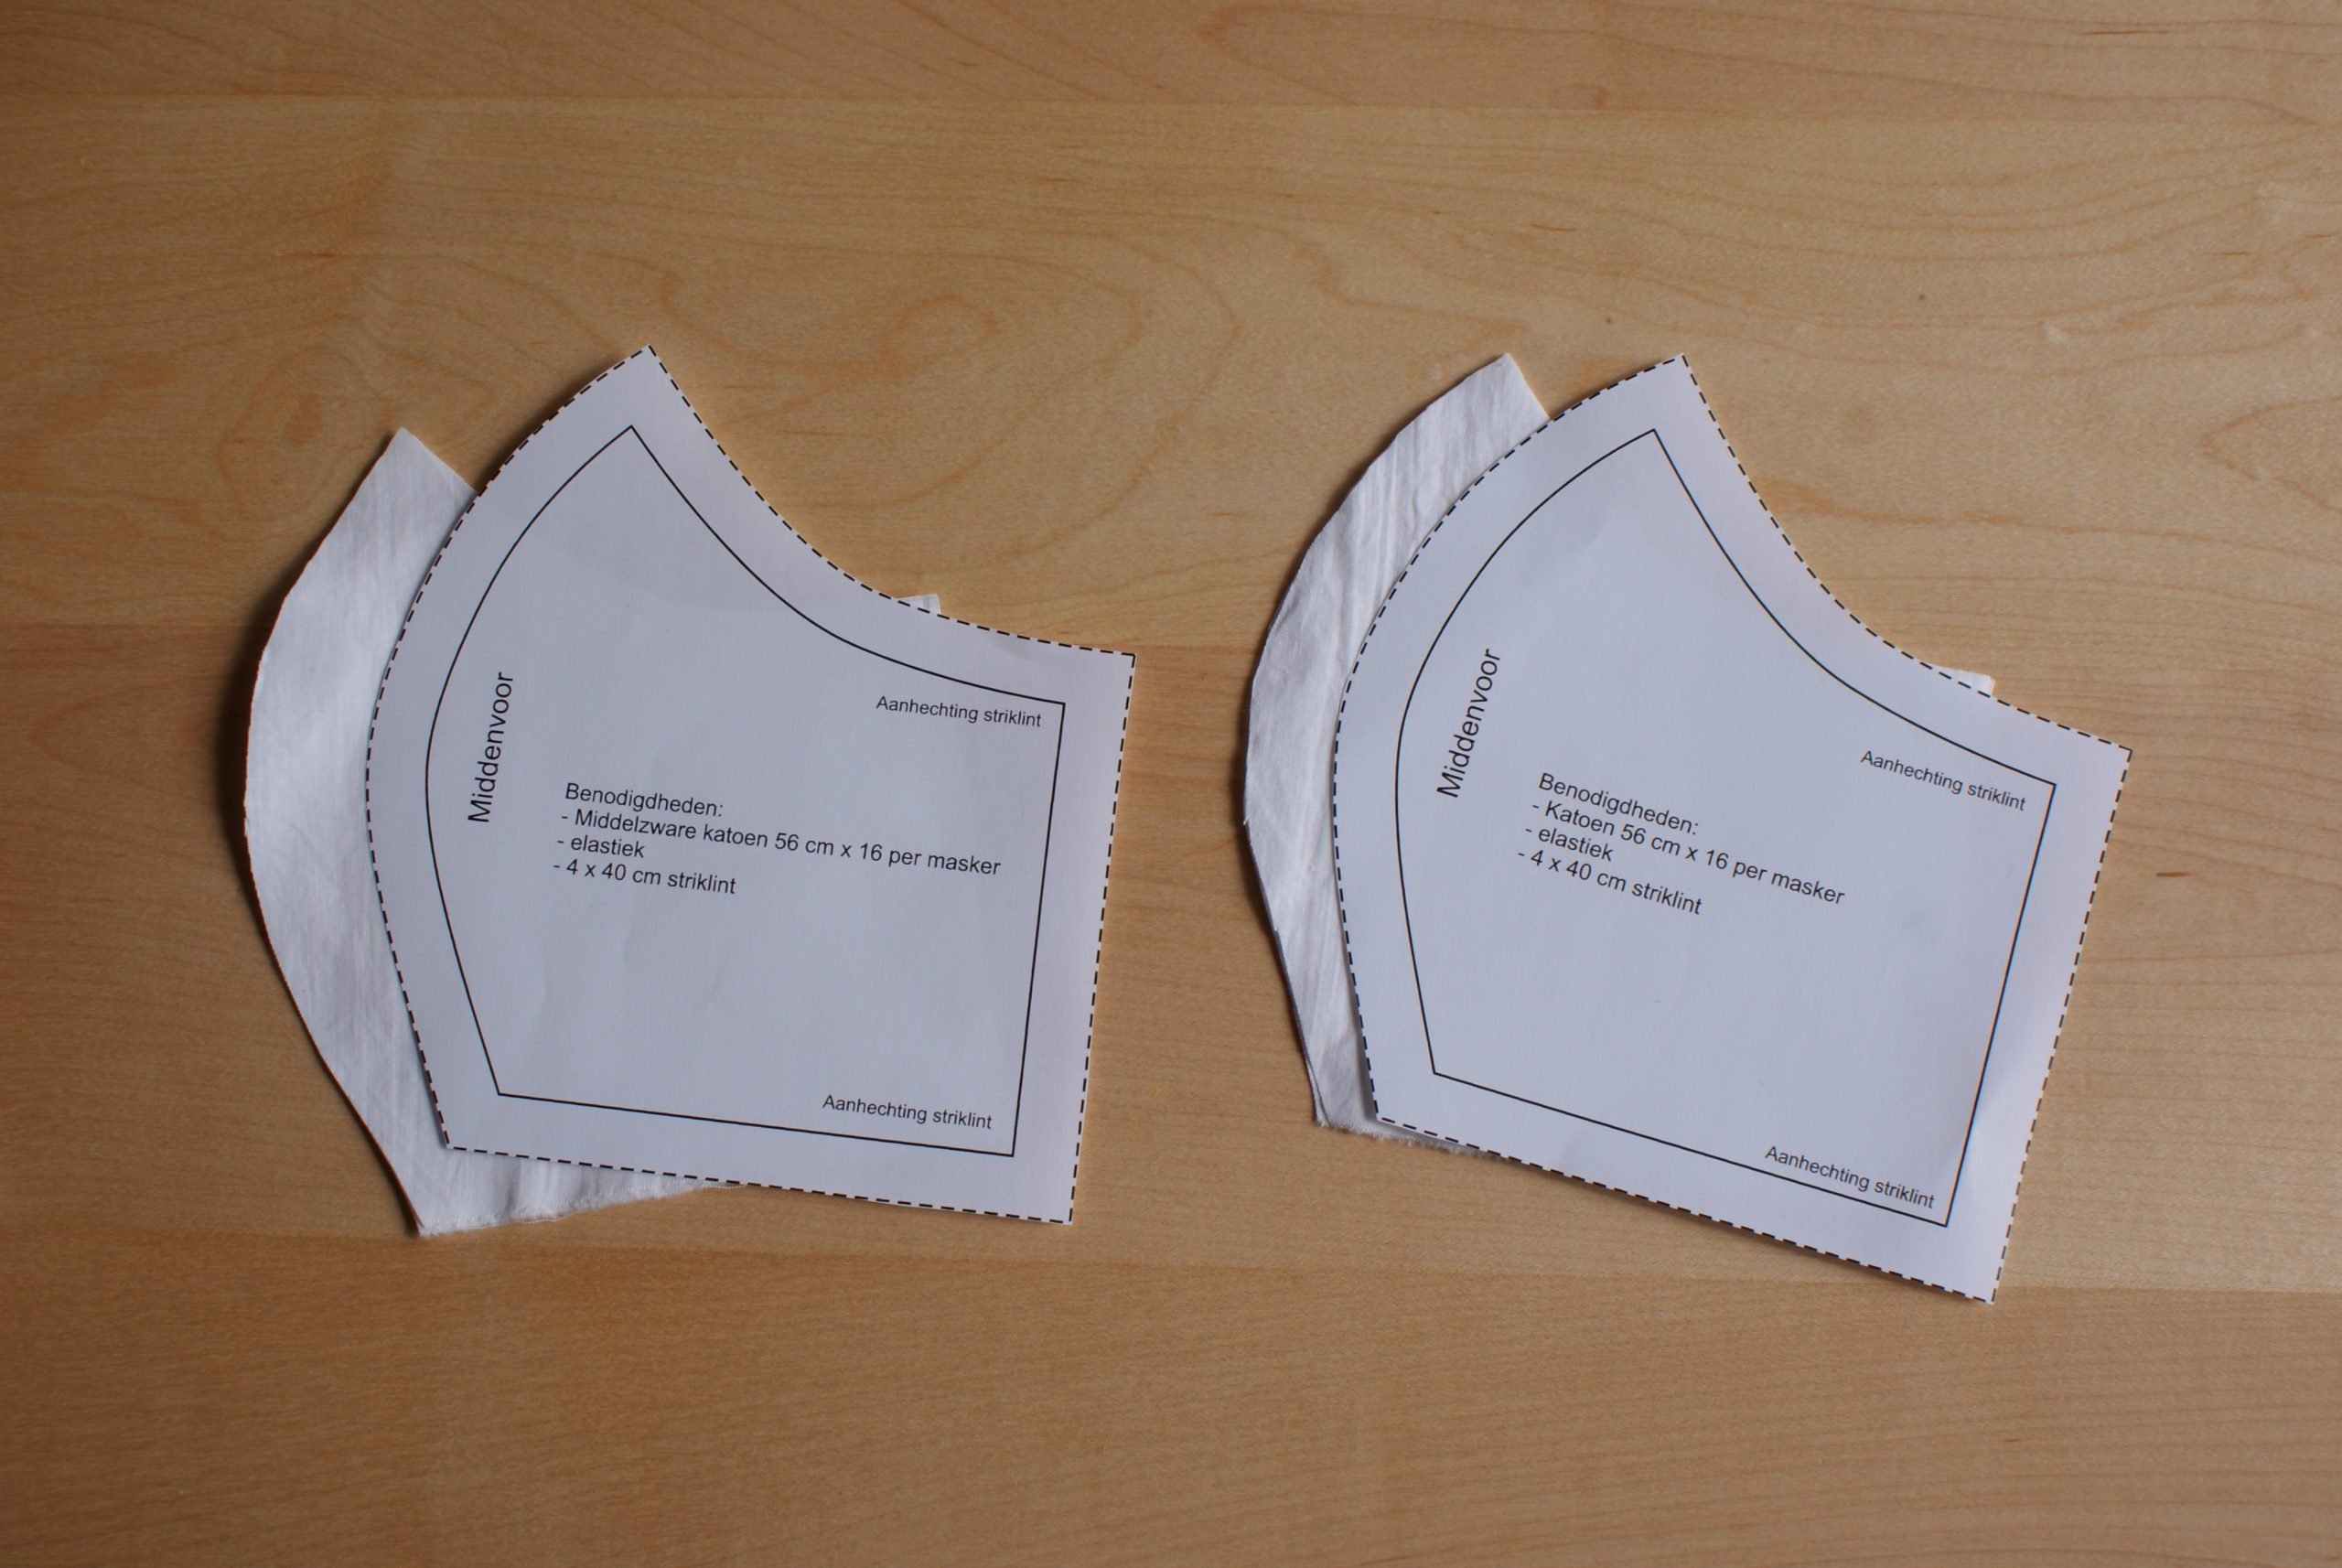
- This is the pattern: Face mask
- 68 cm standard elastic, cut it in a 38 and 30 cm size (elasticity might vary, depending on the brand, so check sizes after sewing a prototype). Prefer washing at 90°C.
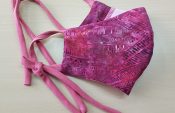
- OR if you prefer ribbon: take 4 x 40 cm
- A metal wire (about 8 to 10 cm long) could help the mask to fit your face in the nose-area. Don’t take one containing iron, it would rust after washing.
Here is the description to sew your own face mask
Print the pattern in a 100% size and check the 5 cm line (= 1,97 inch).
Fold the fabric and cut the pattern twice:
Overlock or sew the curved seams (right sides together).
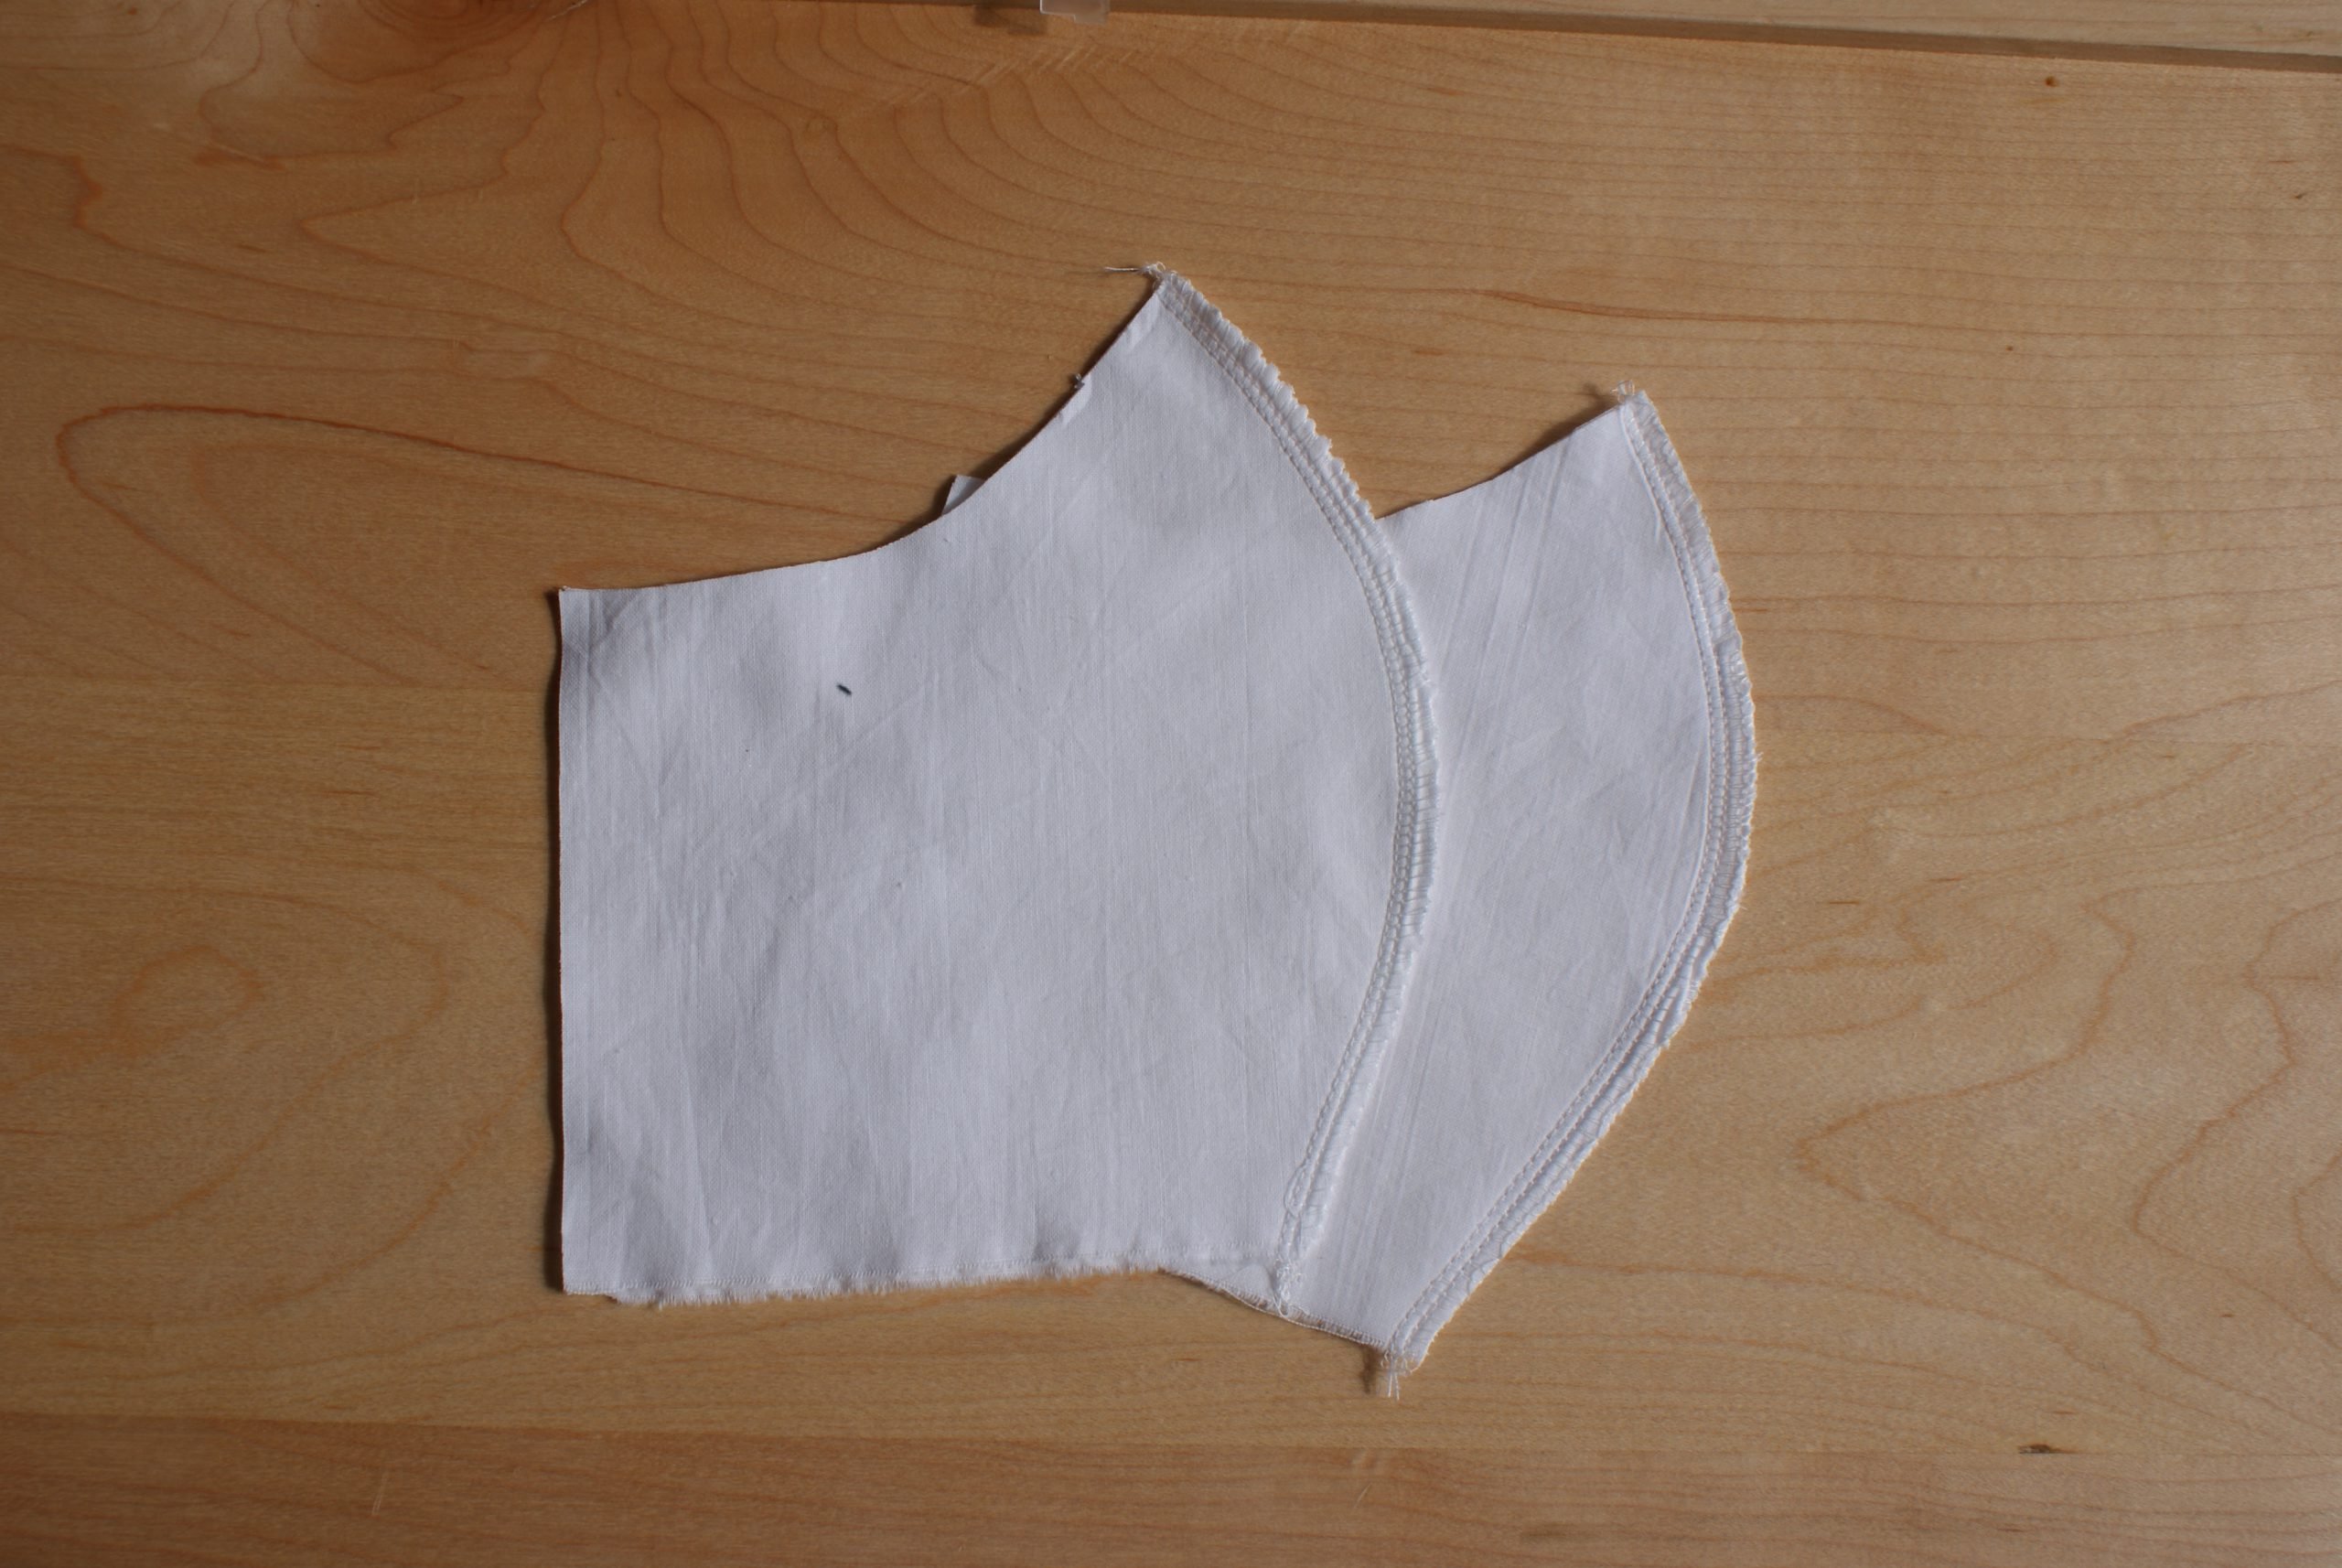
Iron the seam allowances to one side.
Pin the elastic with a 2 cm overlap on each corner. Take the longer one for the head and the shorter one for the neck.
OR pin the tape to the corners, take 1 cm overlap on each corner. Check if all tape is lying safely in the middle, before placing the other pattern part on top.

If you run out of suitable tape, you can easily make it yourself with the biastape accessory nr 87 (width 13 mm or 1/2 inch). Take a 3 cm stripe of your fabric to insert in the accessory. Guide it with your thumb to go in the accessory. I use the open embroideryfoot 20 and set needle position to -2.

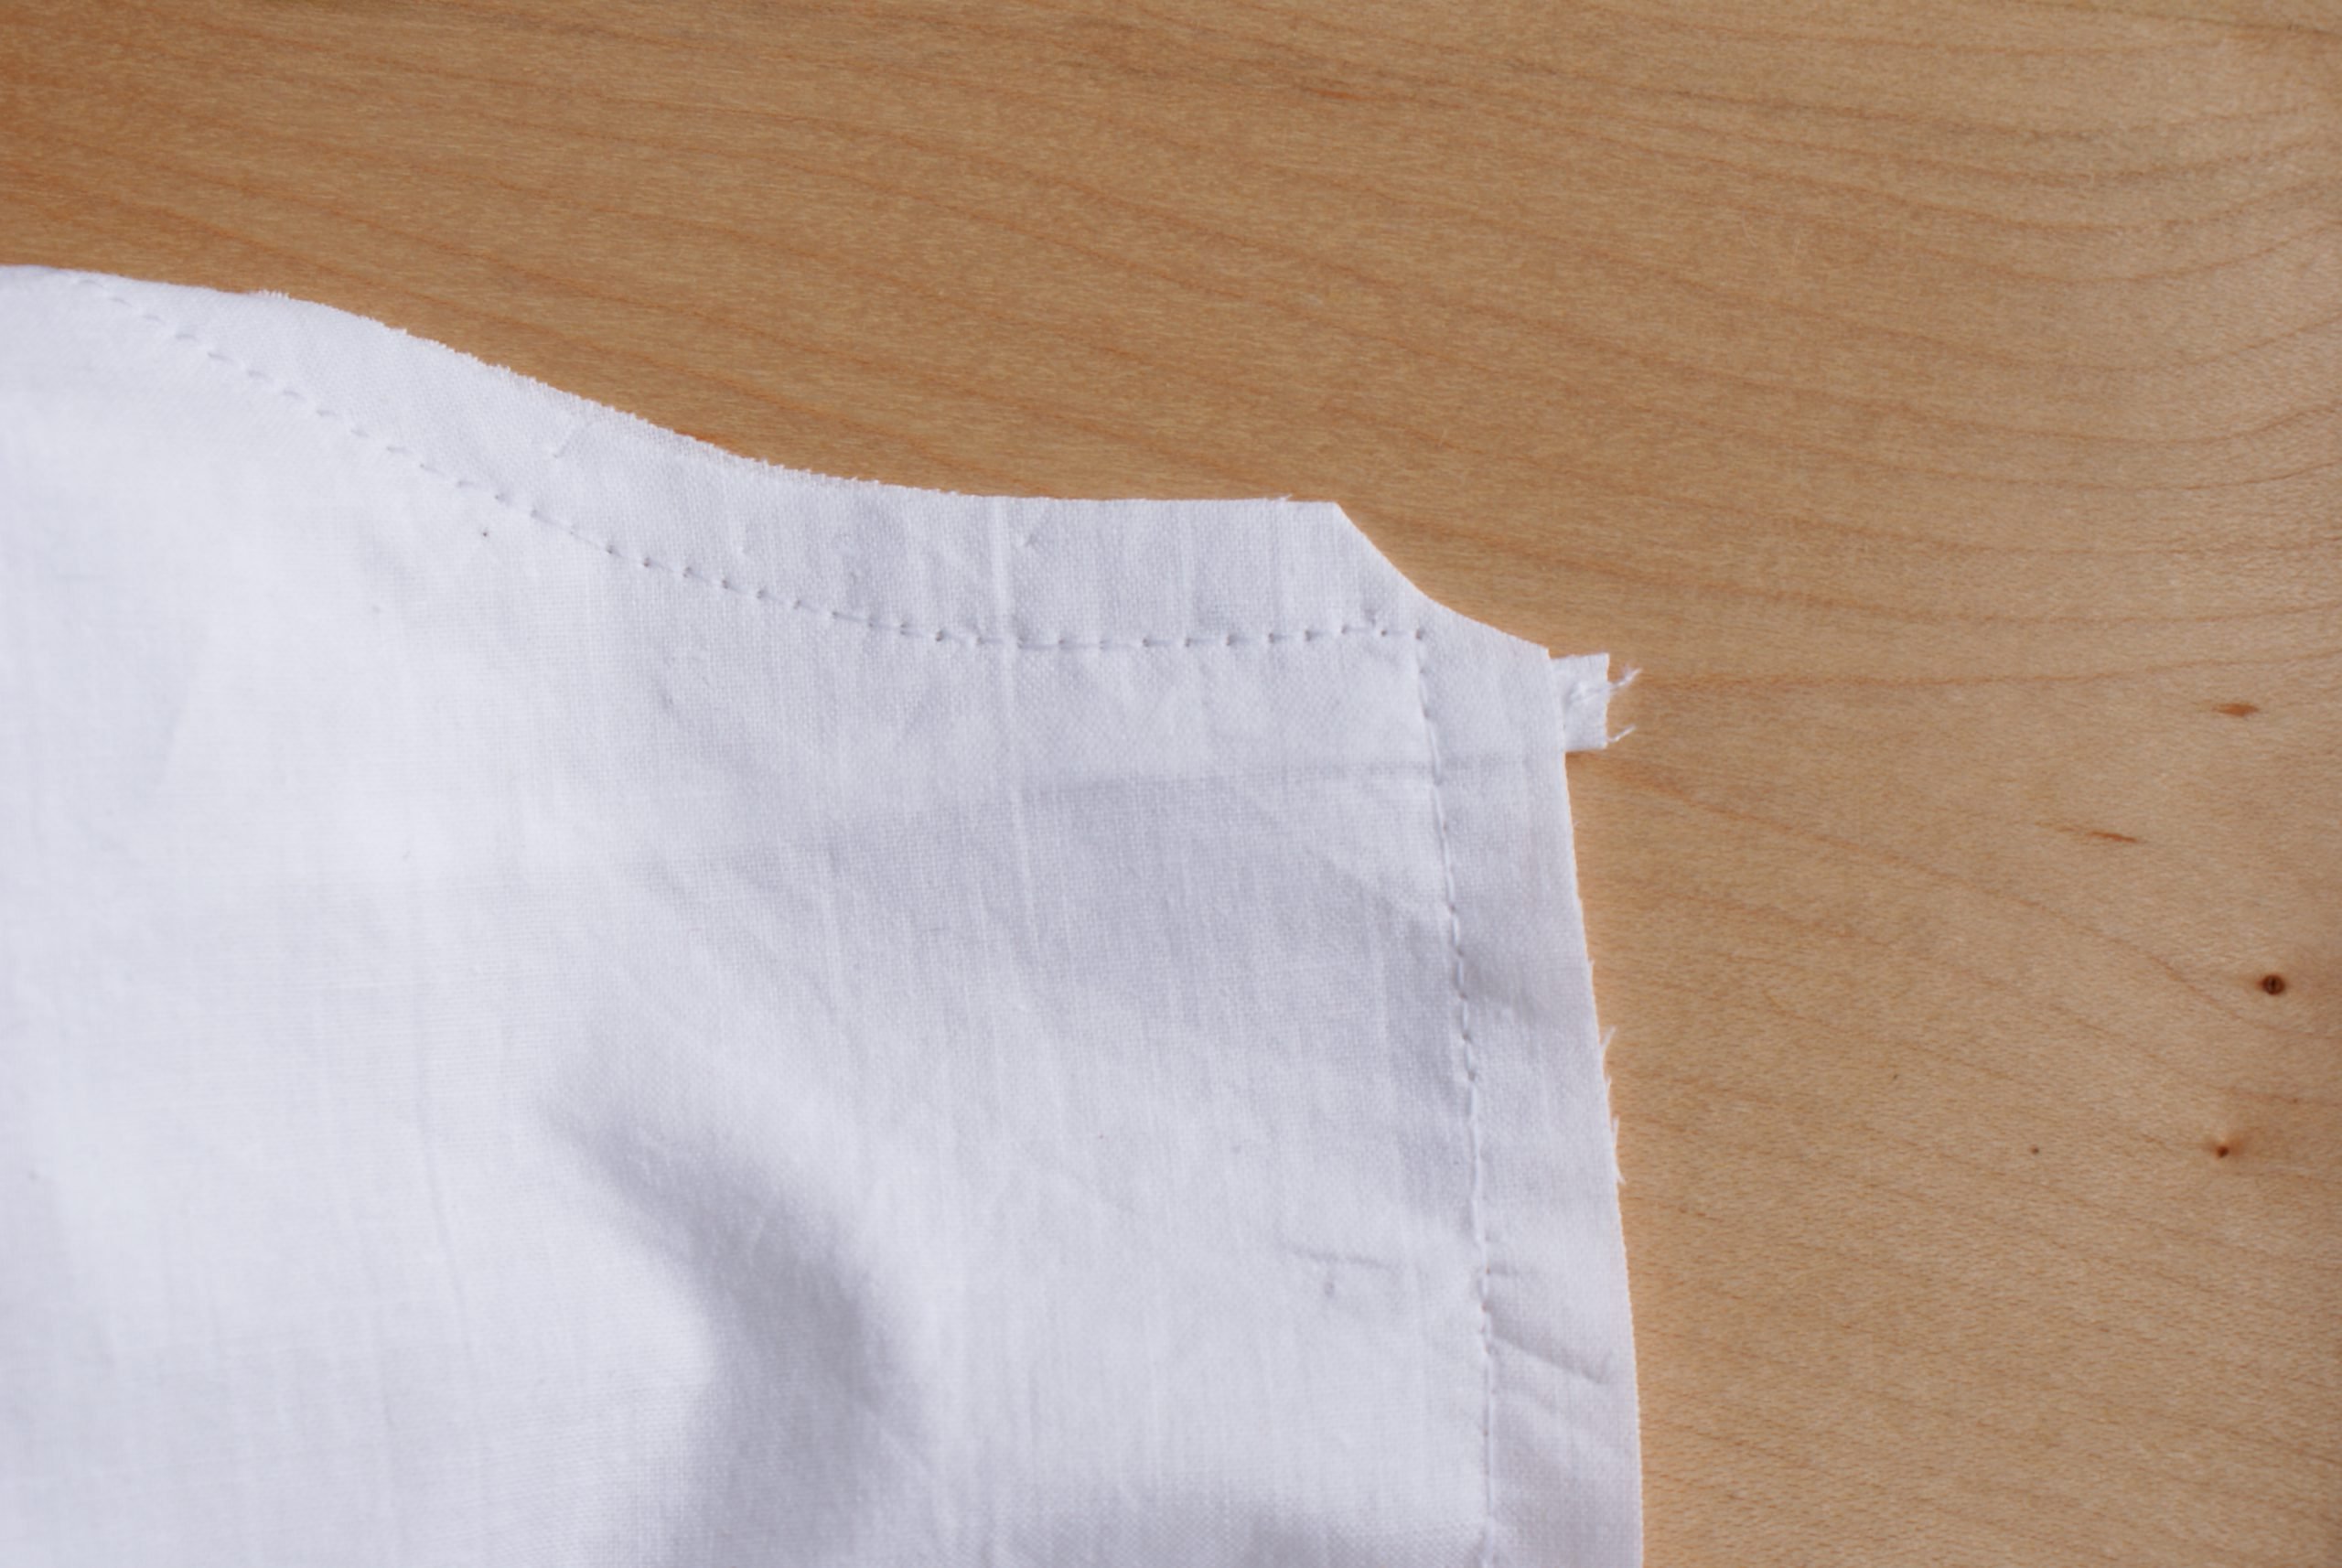
Leave an 8 cm opening to turn the project after sewing:

After sewing both sides together, you trim the corners. This will help you to turn your face mask.
Finish the face mask:
If you wish to insert a metal wire, for better fitting around the nose, you can do it now. Secure from moving by stitching around it, you could use the zipper foot nr 4.
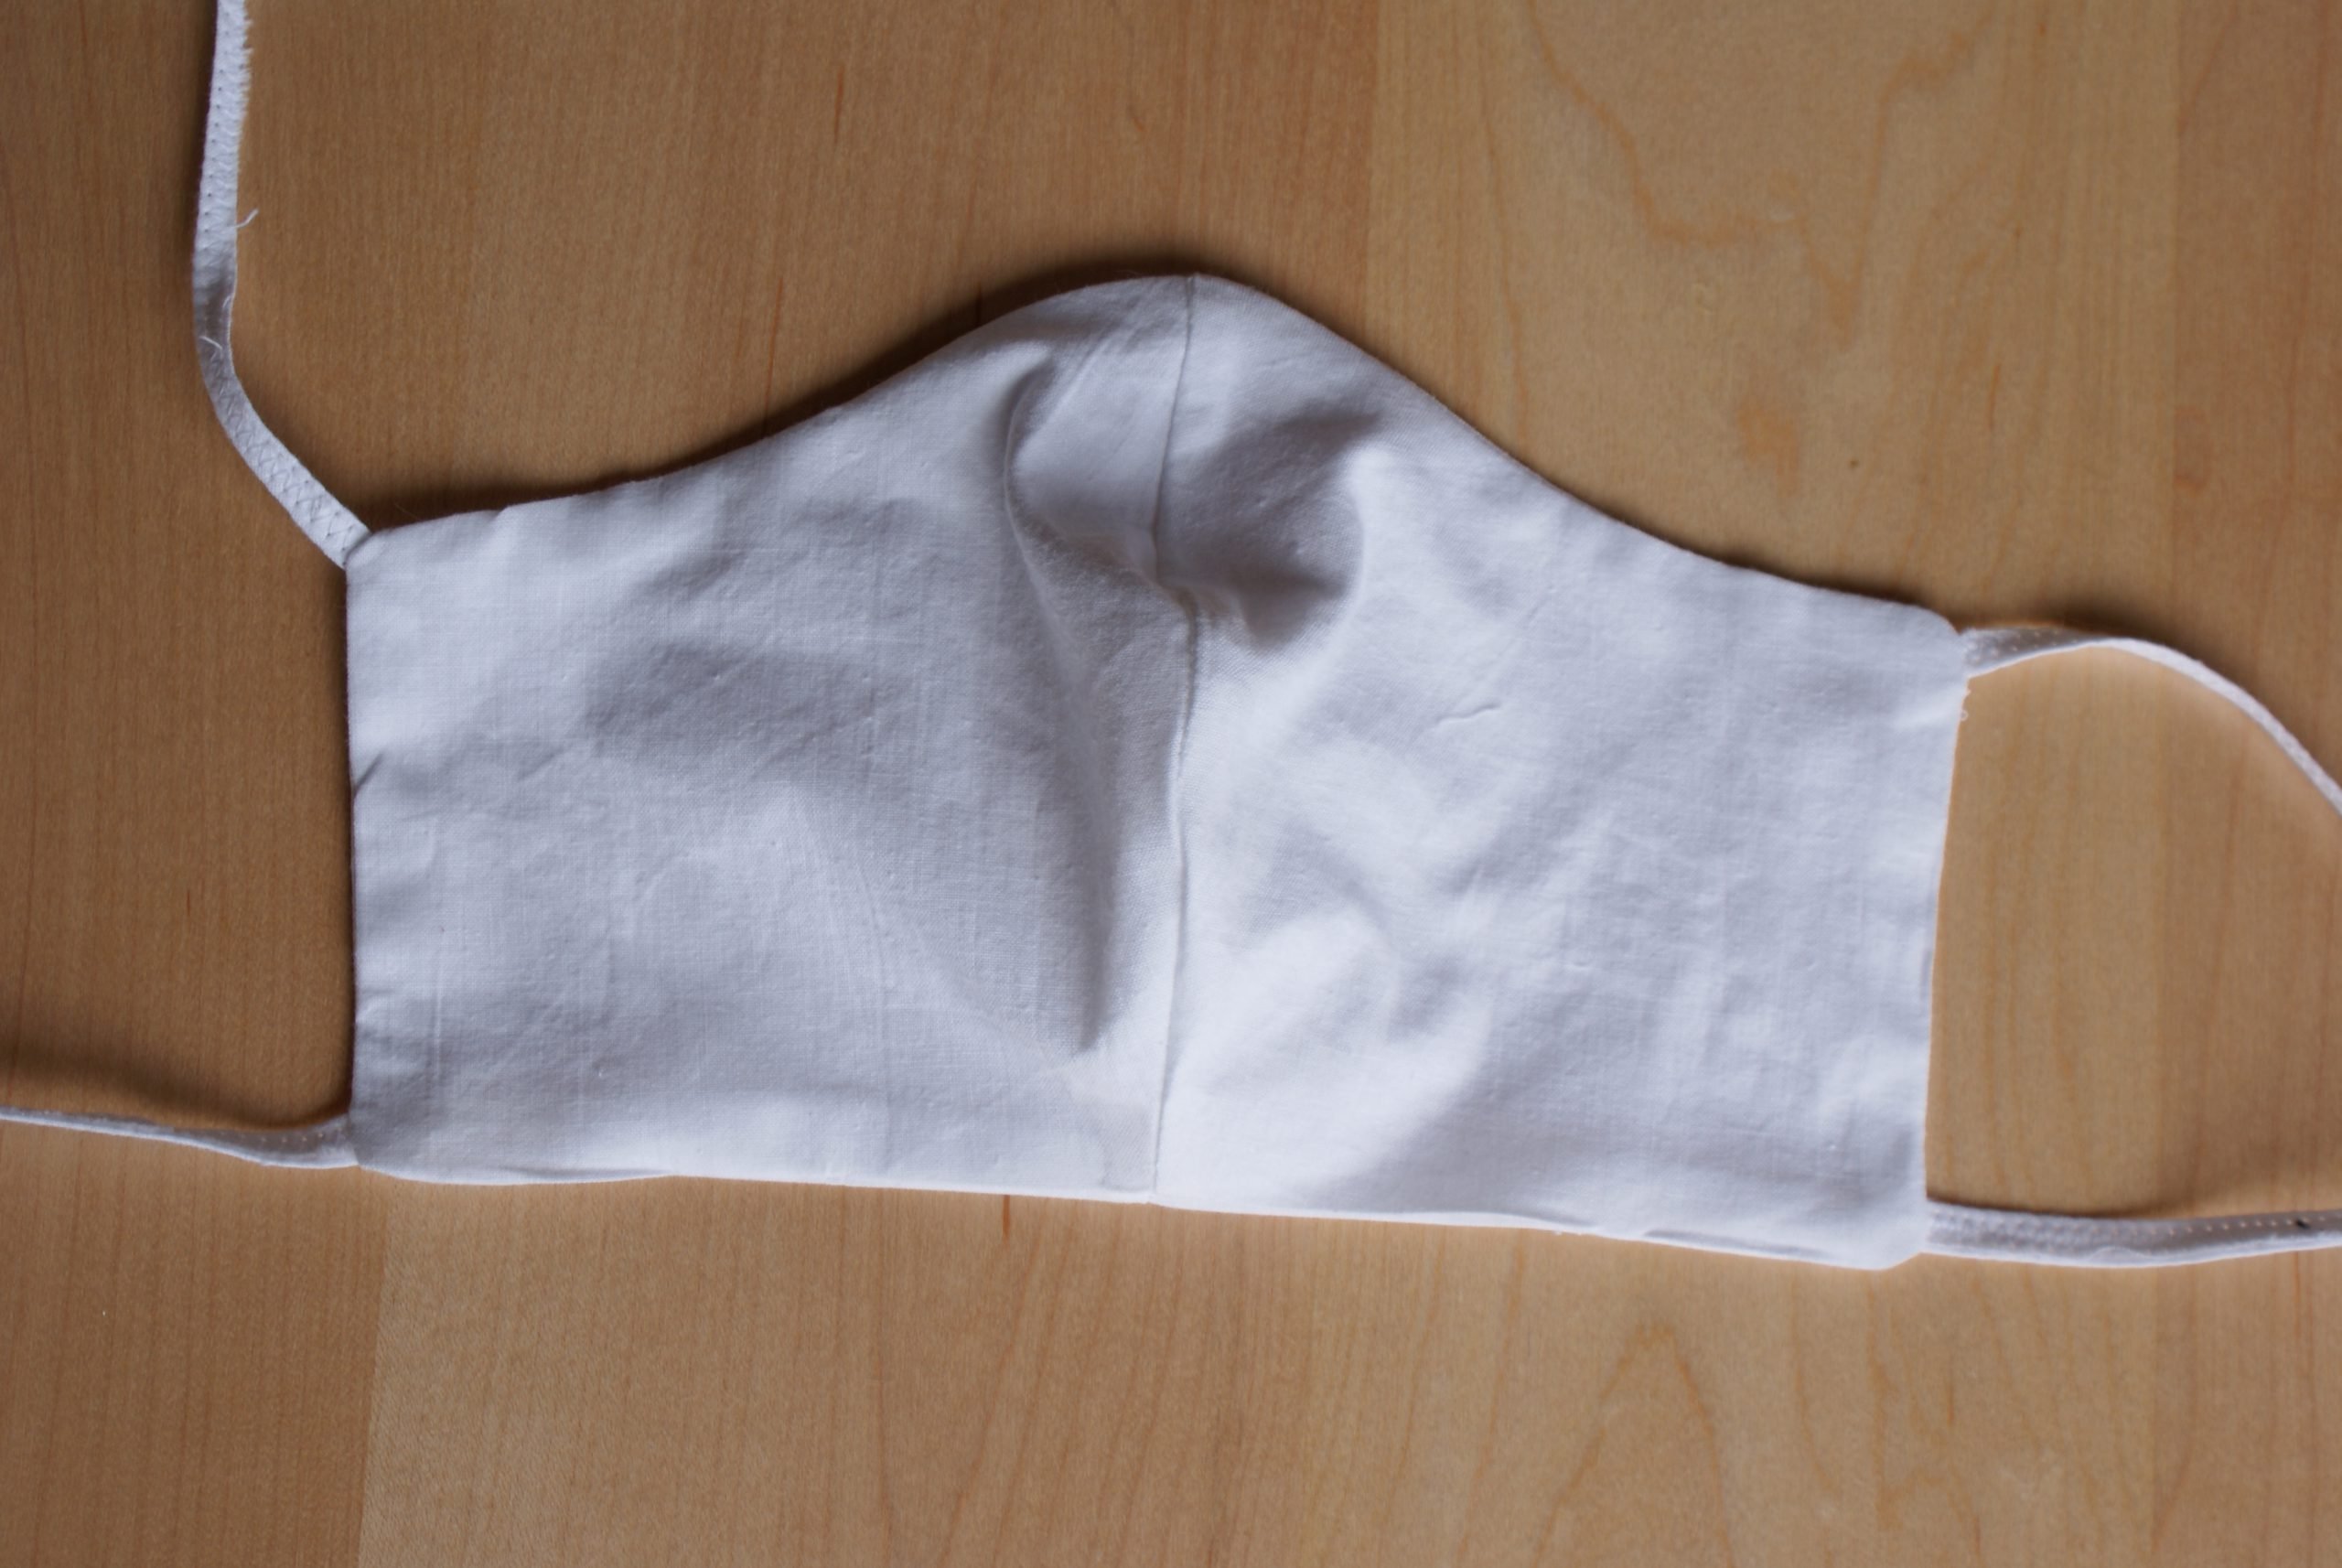
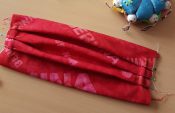
Topstitch along the sides. Start with the centre middle seam (zigzag or straight stitch), this helps the seam to fall flat aside.
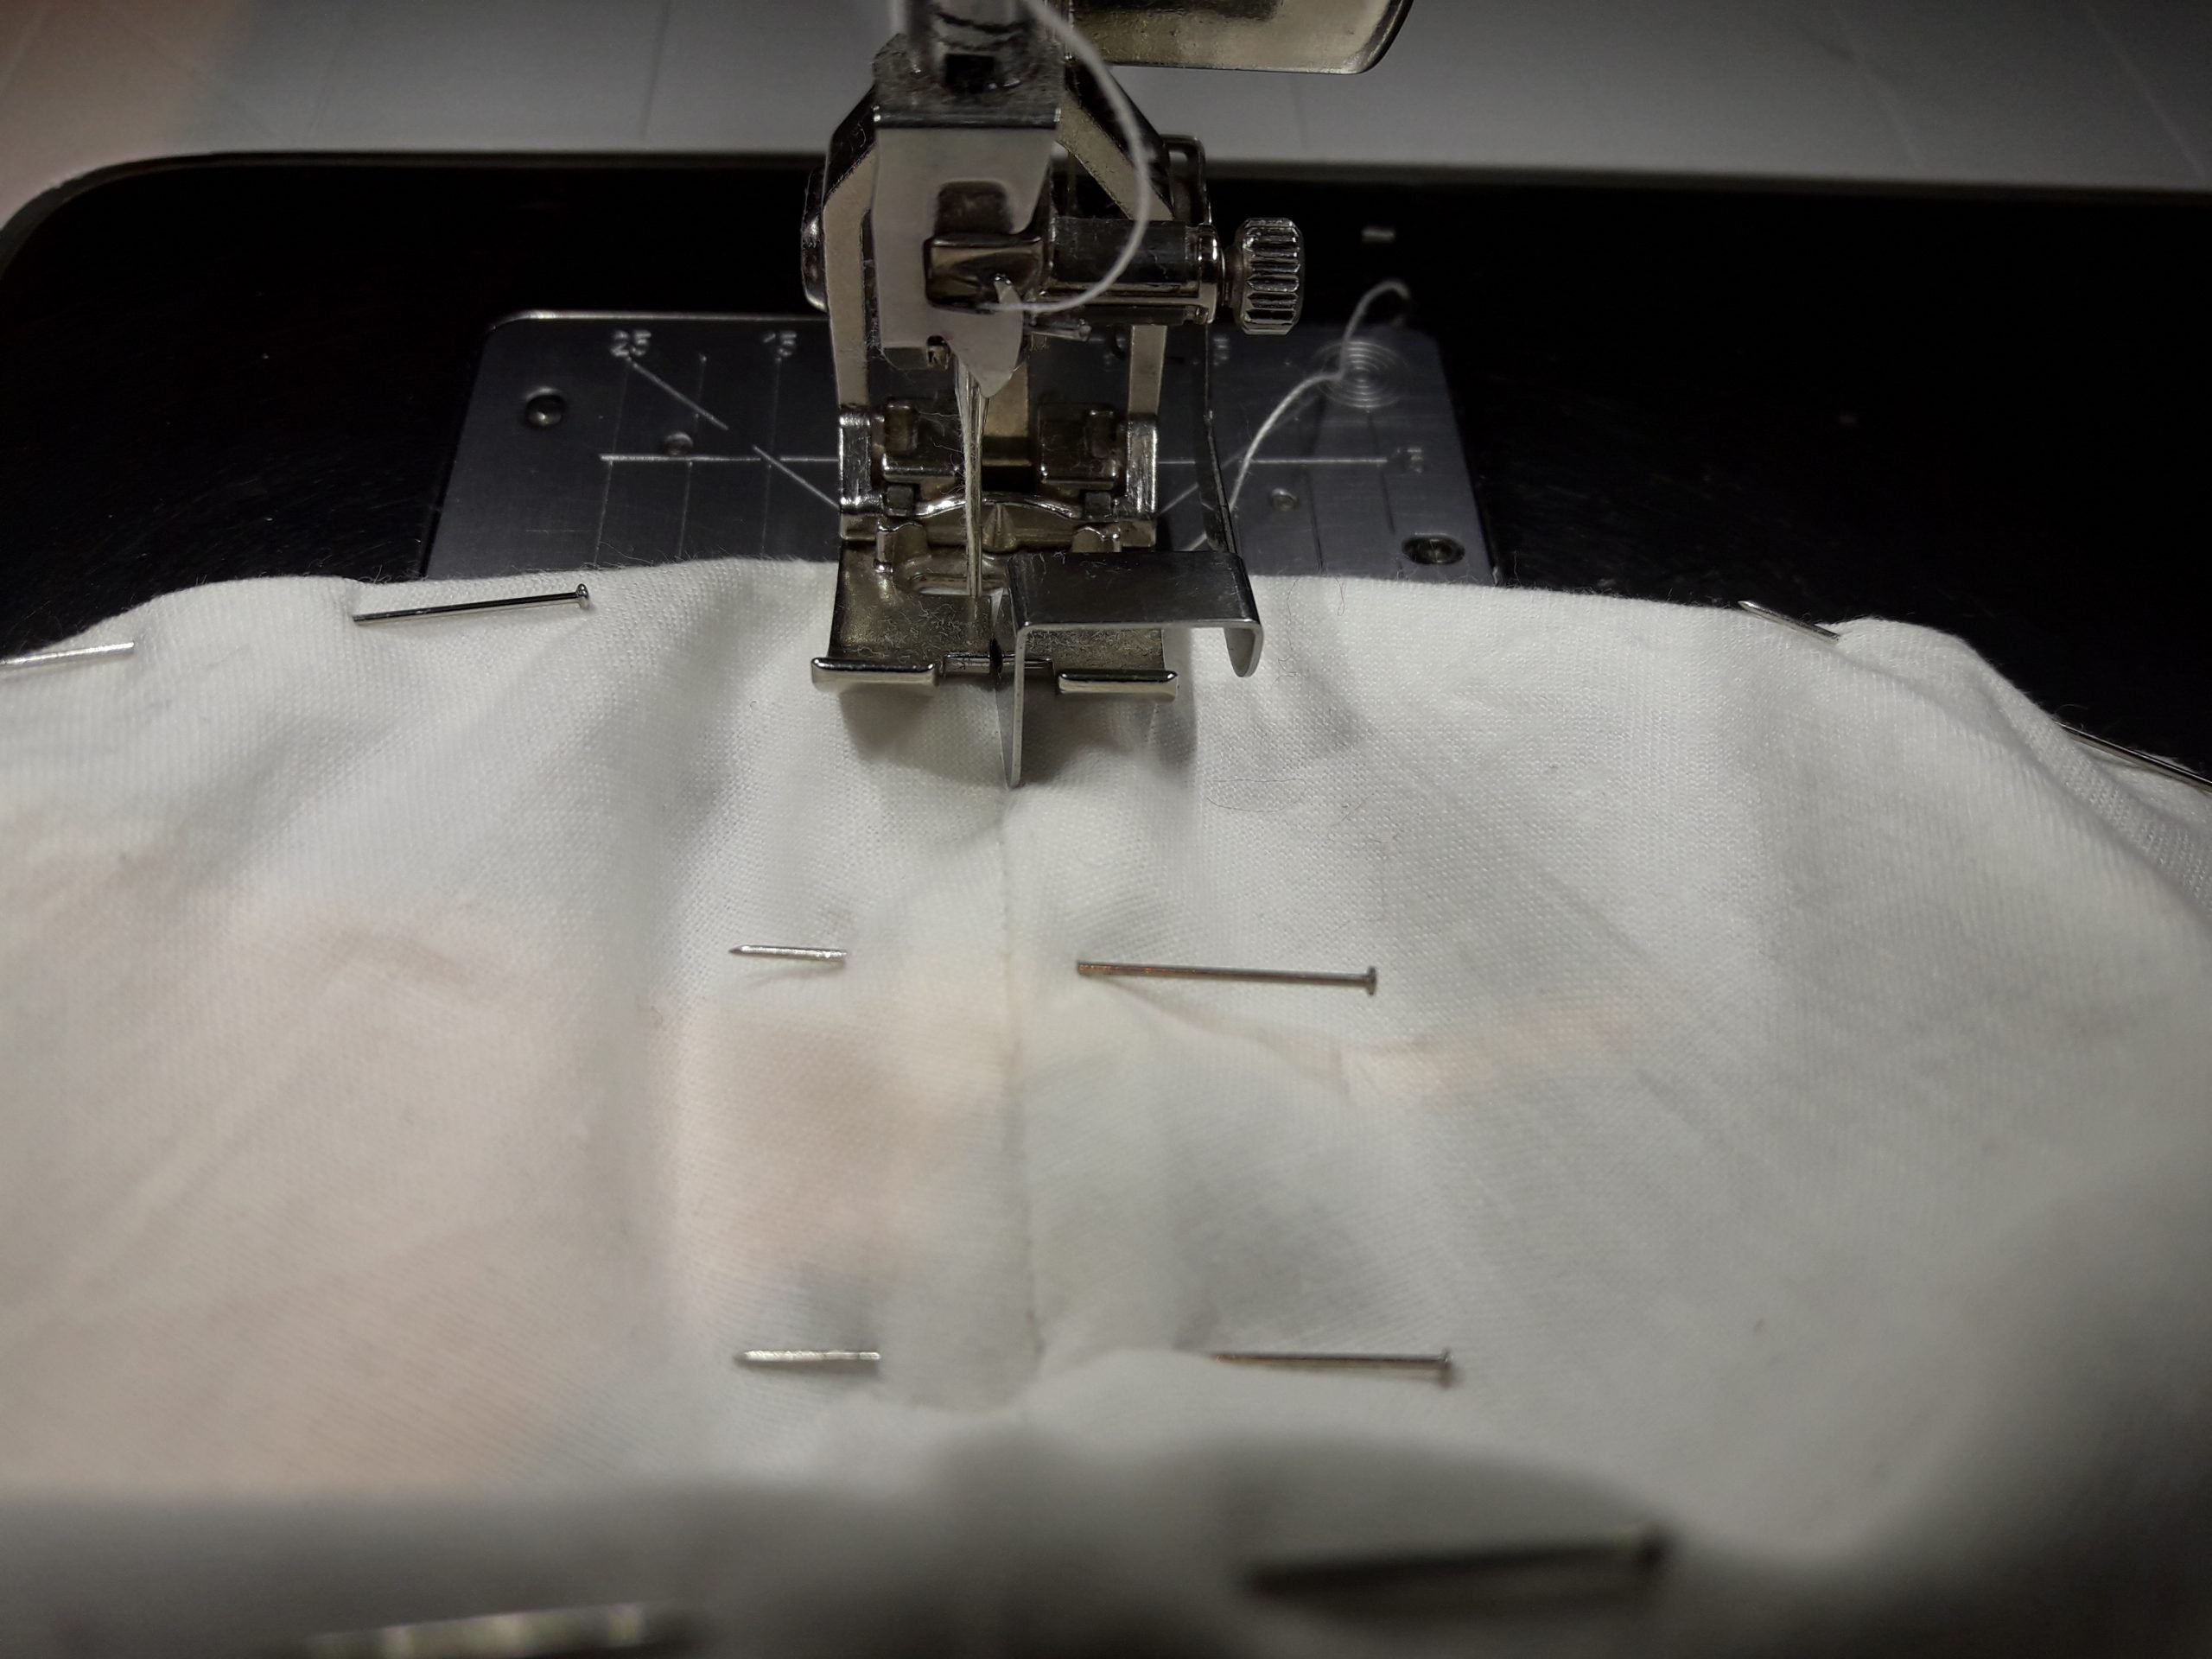
The edgestitch foot nr 10 helps me to follow the line – needle position -2:

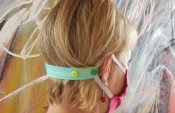
Ready to wear your face mask:

Keep safe, follow your government’s rules and advices and be kind to one another! We hope this tutorial helpst to sew your own self-made face mask.
Herewith we explicitly advise you that all masks sewn according to instructions in the BERNINA Blog are to be considered as self-sewn face masks. They are neither medical products or protective equipment.
You will find more information here: ‘Self sewn face mask everything you need to know’
When Hannah did the BERNINA Facebook demonstration she said she had downloaded the pattern. I am sorry but I can’t find how to do that. Thank you
Dear Erica,
You can download the pattern in the “What do you need for a face mask?” section.
There, click on the red words “Face mask”. This should automaticly start the download of a .zip file with the pdf.
Kind regards, Ramona from BERNINA International