Hi there wonderful quilters. How are you? What a strange time we are living in right now. It is so easy to get overwhelmed by everything we see on the news and social media. So much is happening in the world that can make us feel down.
On the other hand it is also a time where we can take a step back. We can adjust our focus to see people around us helping each other, taking care of each other. We can see the world slow down, the earth getting room to breath. By looking at the positive things around us, no matter how small, we can feel hope, love and gratitude.
Row#7 ‘Down and UP’
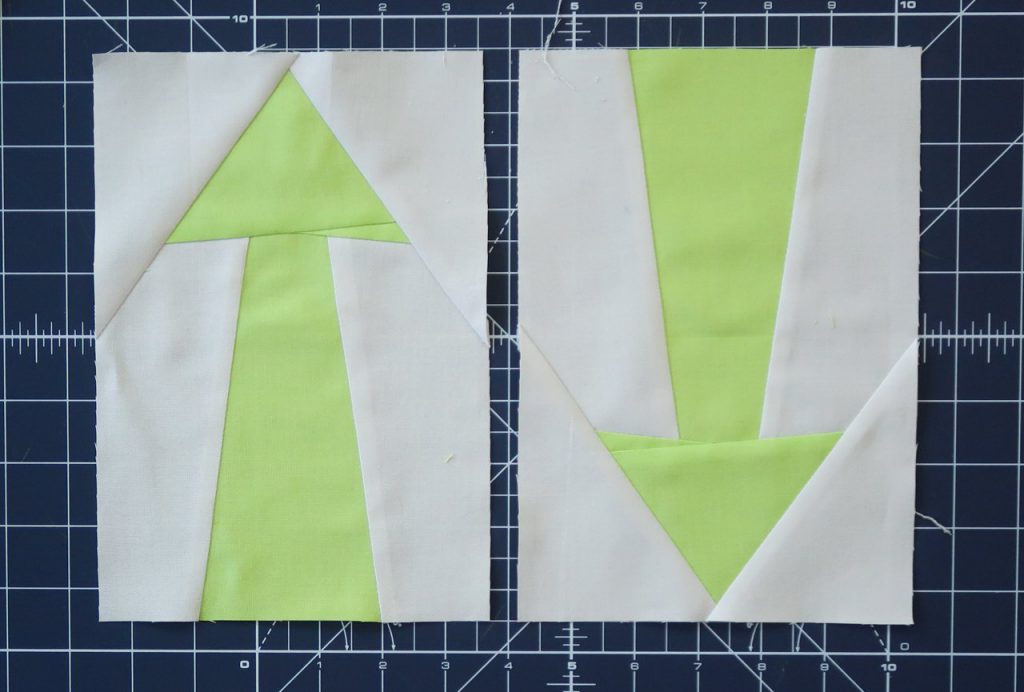
The row that we will be making today is called ‘Down and Up’ and I think it really fits with what we are going through right now. I don’t know how it is for you, but I’m feeling all the feelings. Sometimes I’m feeling very positive and strong and at peace and sometimes I’m feeling just sad and anxious and scared. I think it’s OK to feel it all, to give those feelings some room to just be.
When I’m feeling sad it helps me to search for the tiniest positive things around me. A neighbor who waves from across the street, a plant in my house that is growing new leaves, the sun that warms my skin through a window, a nice cup of tea from my favorite mug. Those small things brighten my mood and help me to go from down to up.
And maybe, while you’re feeling UP you can try to be a light for the people around you, to lift each other up. A small gesture can make such a big difference in someones day. Send a card, call someone, record a video message. We are all in this together and we will get through it together!
I hope this row will brighten up your day and maybe gives you some nice meditative piecing. We are going to make 12 arrow blocks with foundation paper piecing on freezer paper. But of course you could also make them on tea bag paper or normal printing paper if you prefer.
Check out the video below to see the making of this row! I’m going to show you step by step, so you don’t have to go back to earlier rows. We will just go over the technique again. I’m also going to show you how to make the blocks with solids and also fabrics with a print.
New here?
If you’re new here, welcome! On the 28th of November we kicked off a super fun quilting project. We started a quilt along, where thousands of quilters from all over the world are making the same quilt. Every four weeks a new part of the pattern, a new row, will be released. After 12 rows you will have a quilt of 70 x 90″.
Even though we started eight weeks ago you can still join us! You will have enough time to catch up. There are also still fabric kits available for this quilt along. You can make the quilt in rainbow colors on silver fabric, in rainbow on white fabric or with blue fabrics. Of course you can also pick your own fabrics or use what you have in your stash.
On this page your can find all the links to previous blog posts about this project. Hop over to this blog post to read all the general information about this quilt project. And also read this one to learn more about the materials we use and the fabric requirements.
Fabric + Material
For this row you will need to print a PDF pattern, you will need some freezer paper and of course you’ll also need fabric.
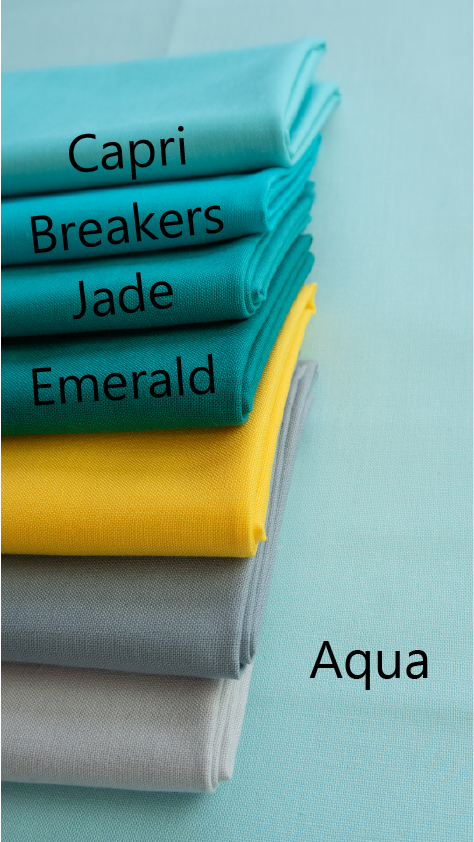
Did you order a kit for the quilt along? Than you’ll use the lightest green fabric called ‘Cactus’ for this row if you are making a rainbow quilt. Or the blue fabric called ‘Jade’ if you’re making a blue quilt. We will make one of the arrows in accent color, so also get your accent fabric out. And of course your need your background fabric.
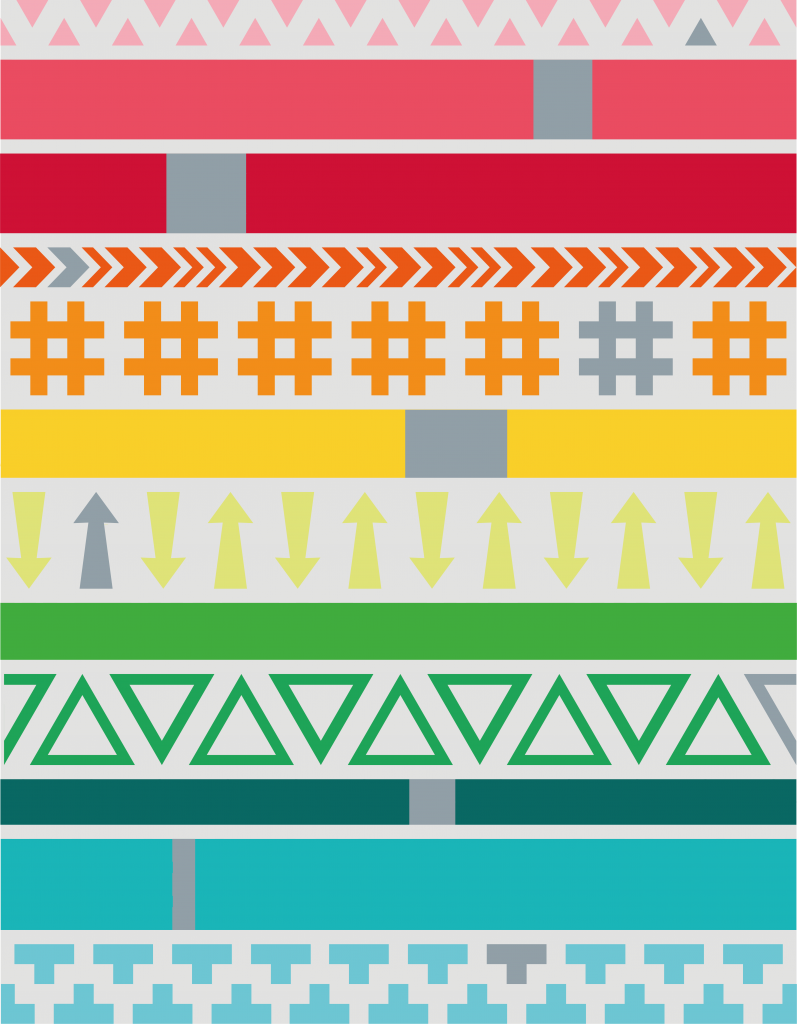
For those of you who want to play with the location of the accent color in each row, or add extra accent colors or just want to get a little more insight in the layout of the quilt. Here is a schematic of the rows and the placement of the accent colors.
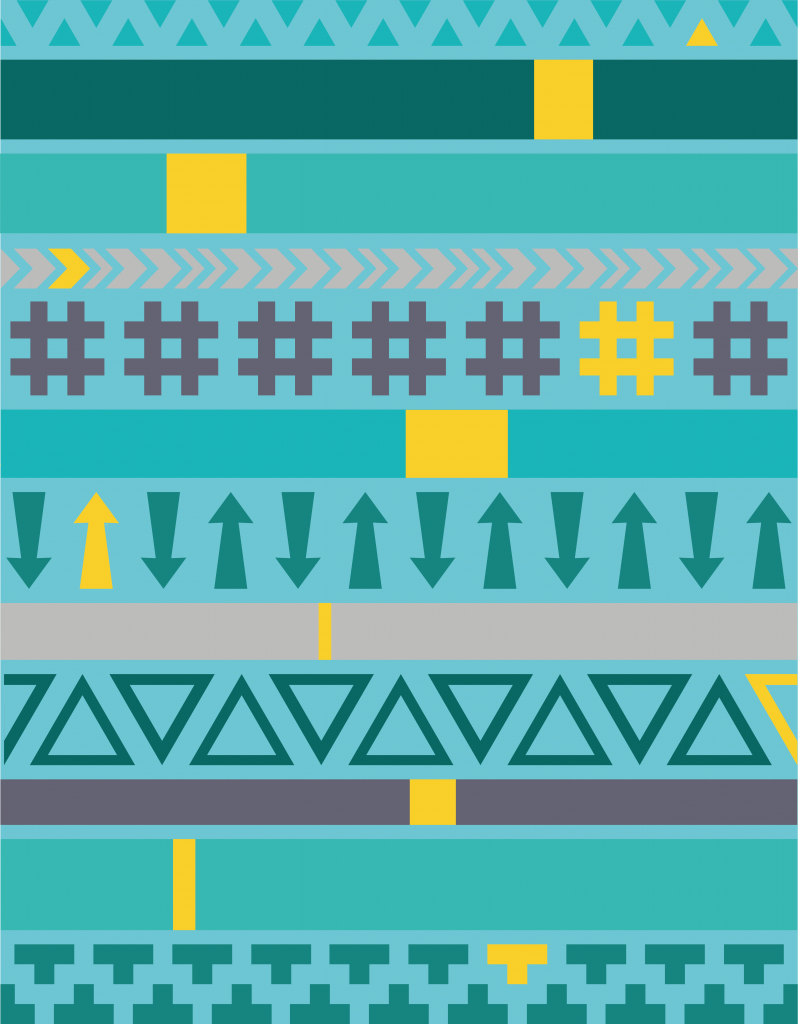
And this is what the schematic of the quilt looks like for the blue fabric kit.
You will need the following to make this row.
- Main fabric: 15 inch
- Accent fabric: fabric for one arrow
- Background fabric: 20 inch
- Freezer paper or normal printing paper
- Add-a-quarter ruler (it’s super handy to have this ruler, but if you don’t you can just use a normal inch ruler as well)
- Inch ruler (12 x 6 or 24 x 6 inch both will be fine)
- Rotary cutter
- Cutting mat
- Iron + ironing board
- Sewing machine
- Thread (I use thread in the color of my background fabric)
Pattern
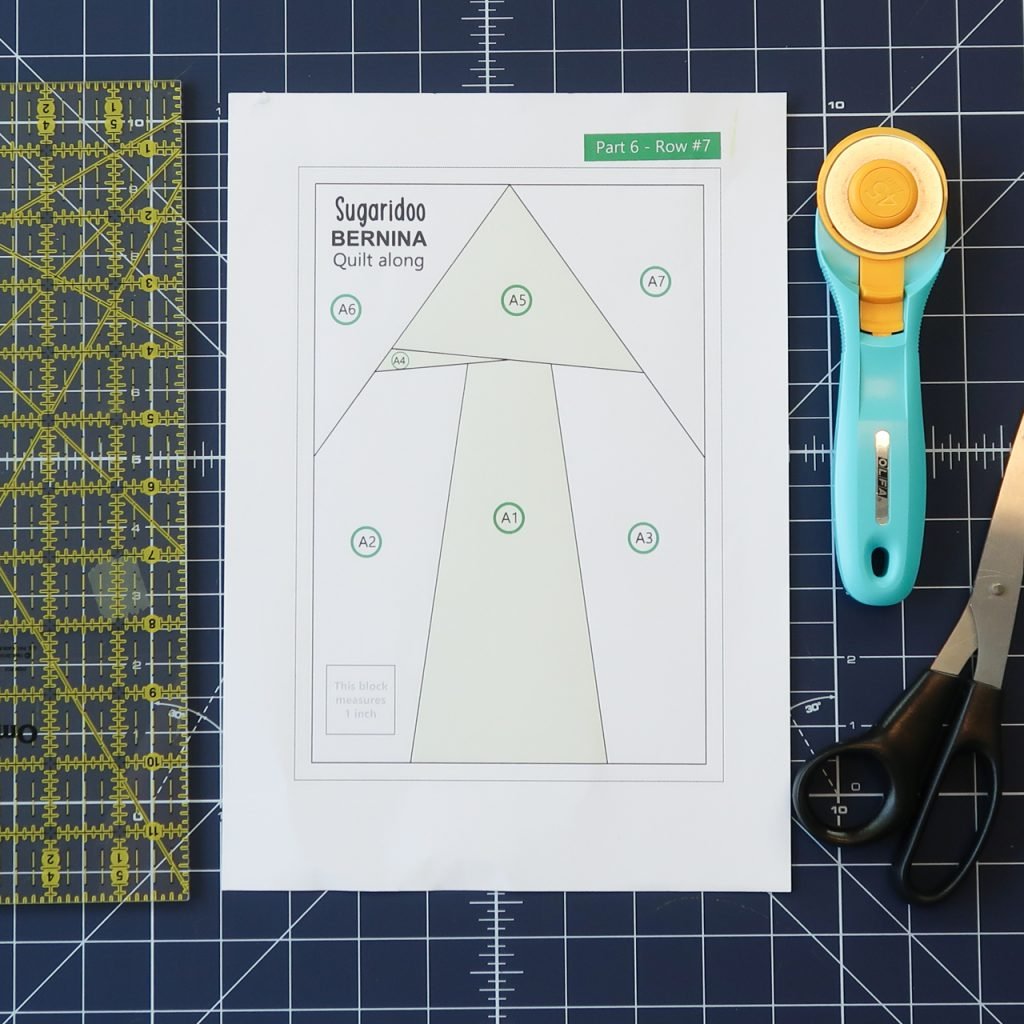
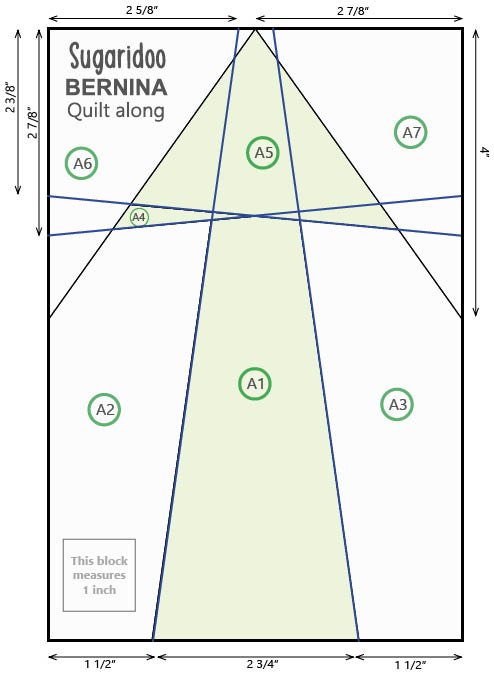
Here is the link to the PDF file for the paper piecing pattern. Make sure to print everything true to size or scale 100%. I’ve added an one inch checkbox to the pattern. You can measure that to see if your pattern is printed to the correct size. One arrow block should measure 5 3/4 x 8 1/2 inch, that is 6 1/4 x 9 inch including seam allowance.
QAL Part 6 – Row #7 ‘Down and Up’ Pattern
What if you don’t have a printer
Here is something for you in case you don’t have acces to a printer right now. In the PDF that you can download below you will find all the measurements to draw the block yourself.
Draw it yourself: ‘Down and Up’ Pattern
Transfer the pattern
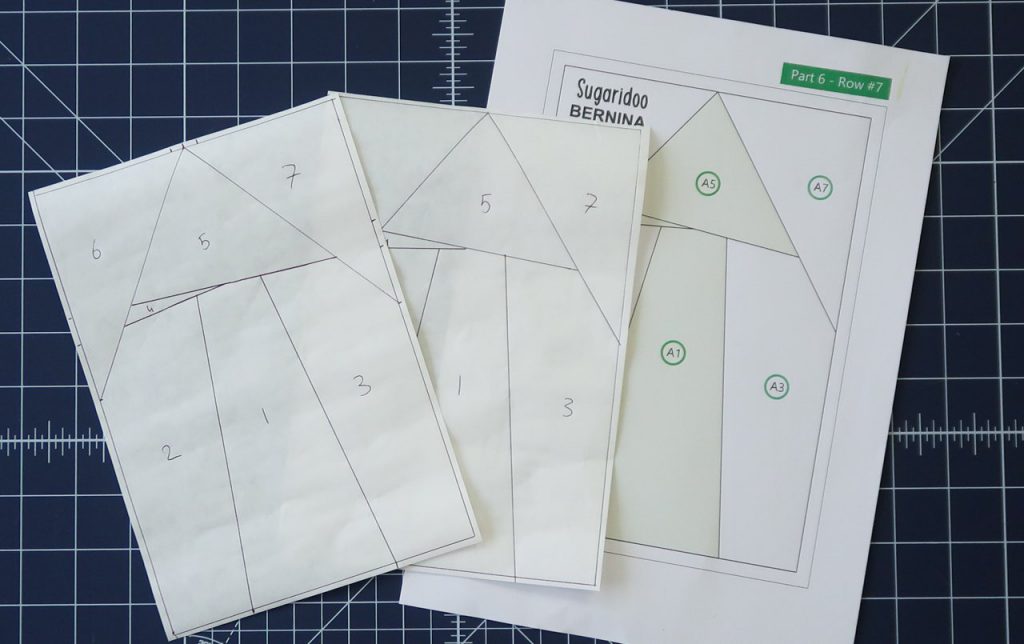
Transfer your pattern to the freezer paper or other paper that you are going to use to make your blocks. You are free to use a different method for piecing your blocks. Just go with what you like best.
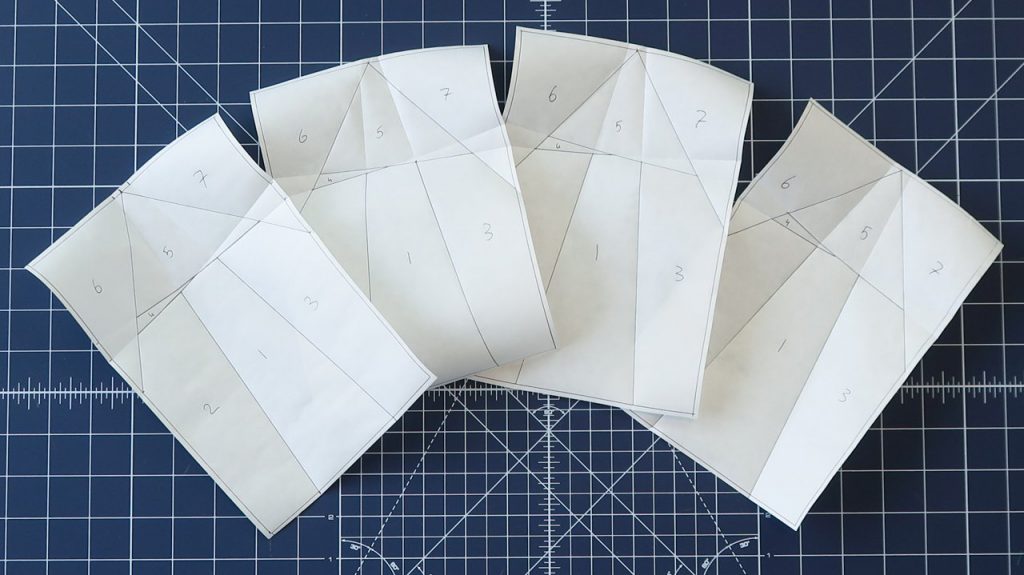
You can reuse freezer paper, which is perfect when you need to make multiple blocks like in this row. I’m going to make the pattern four times, so that I will make 3 blocks with each pattern piece. And then I can also reuse them for a second QAL quilt I’m making 🙂
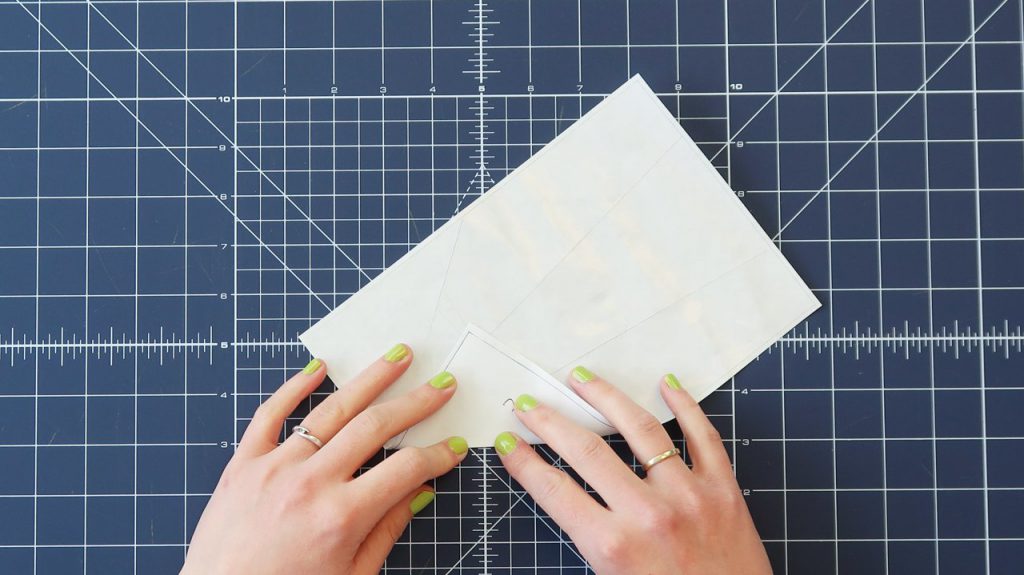
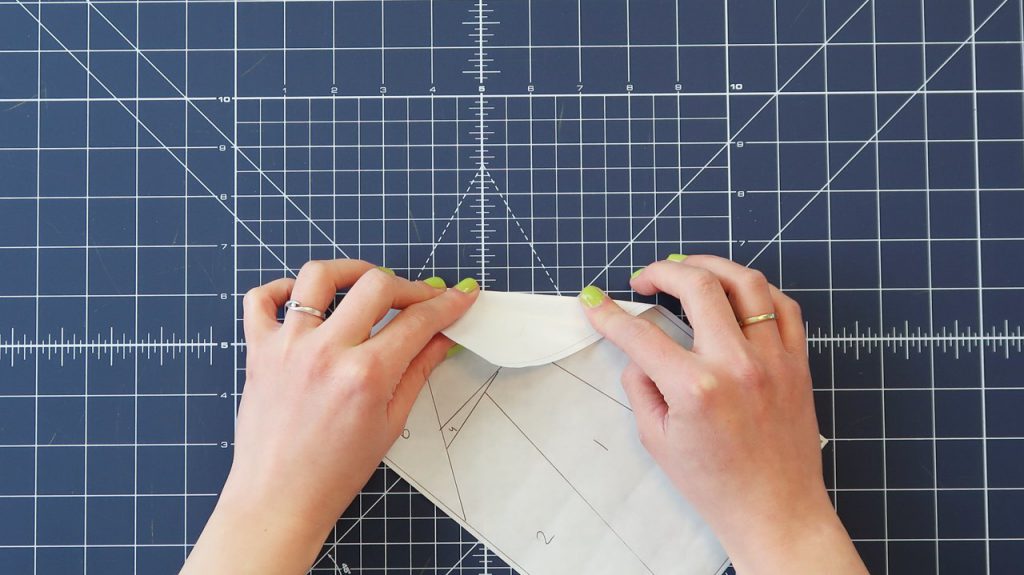
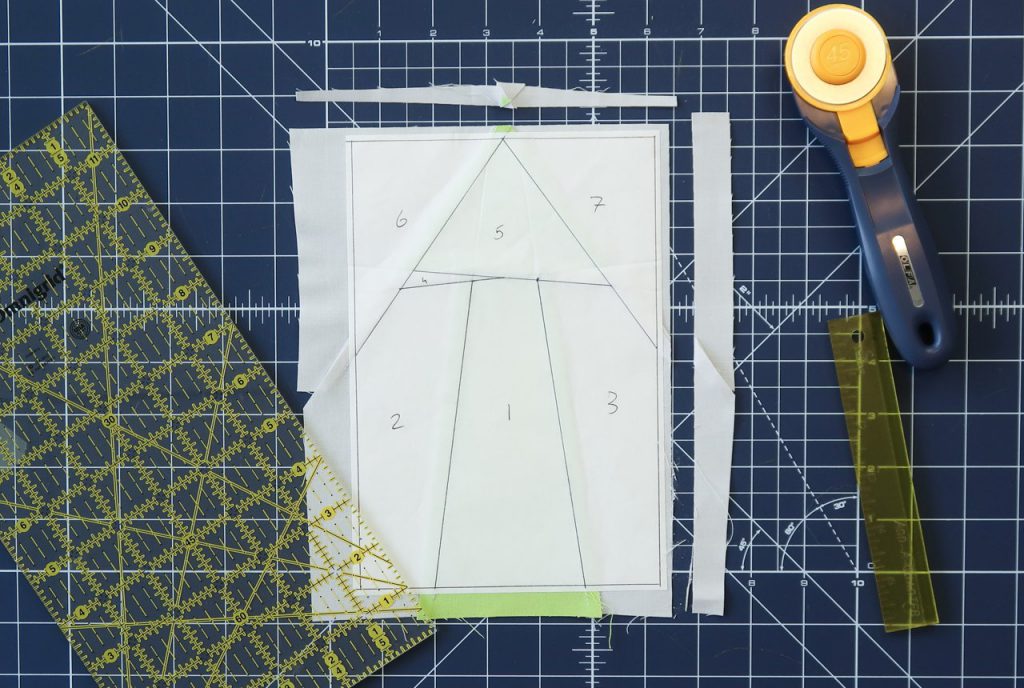
After you’ve transfered the pattern to the freezer paper you will fold the pattern over all the lines.
Templates
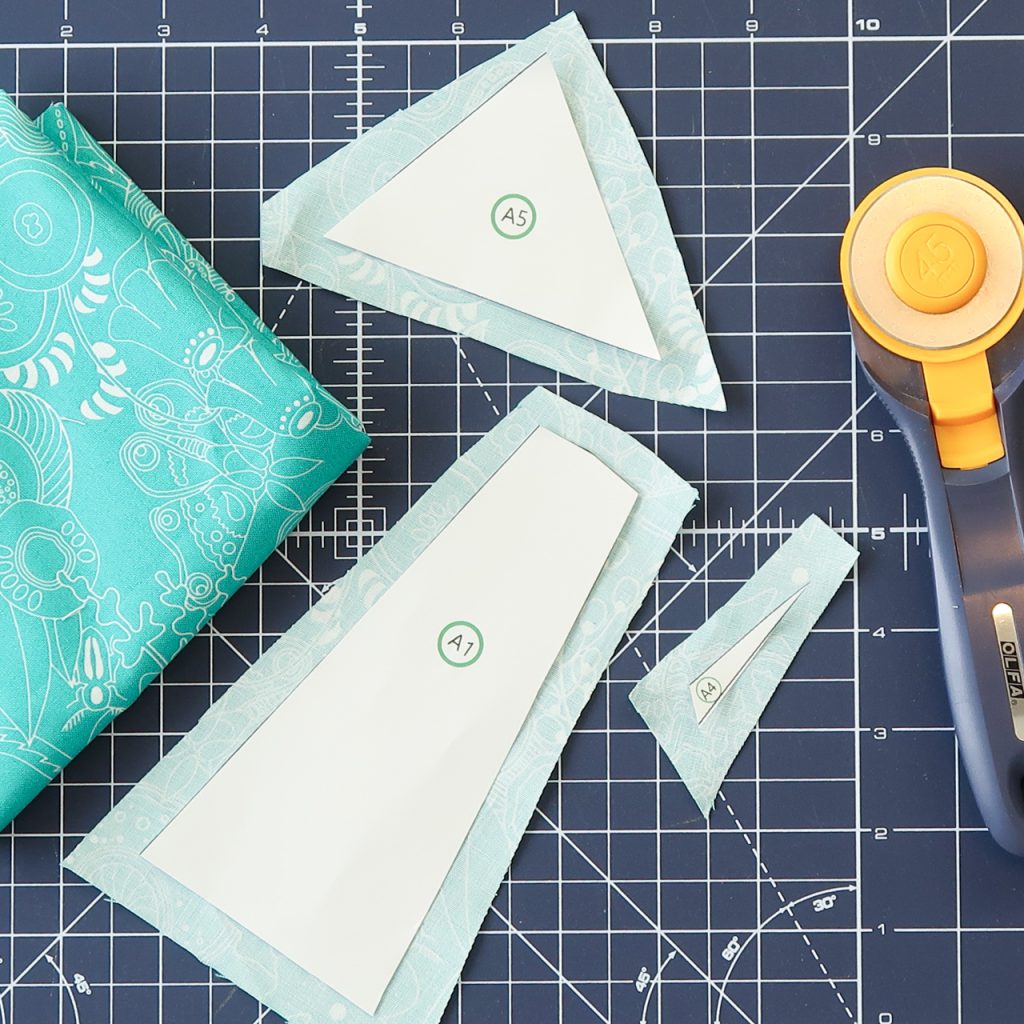
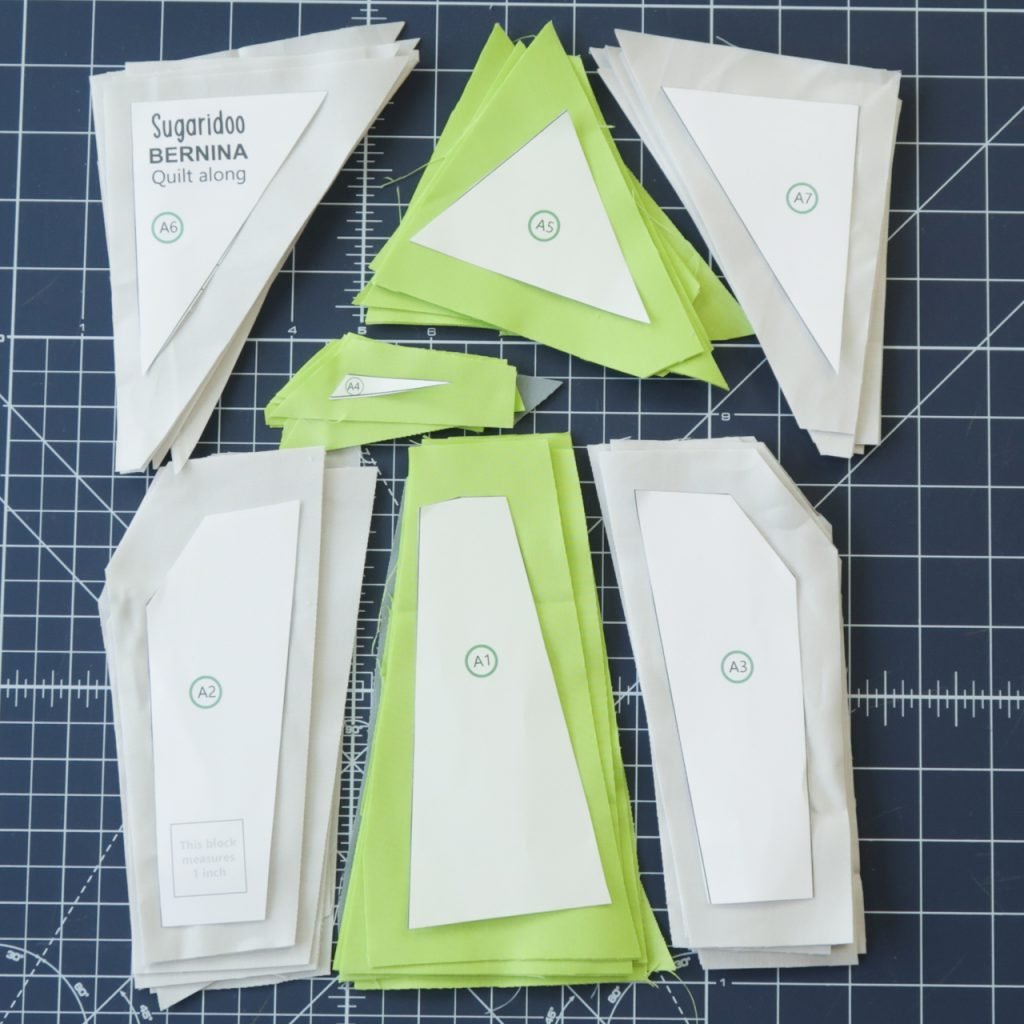
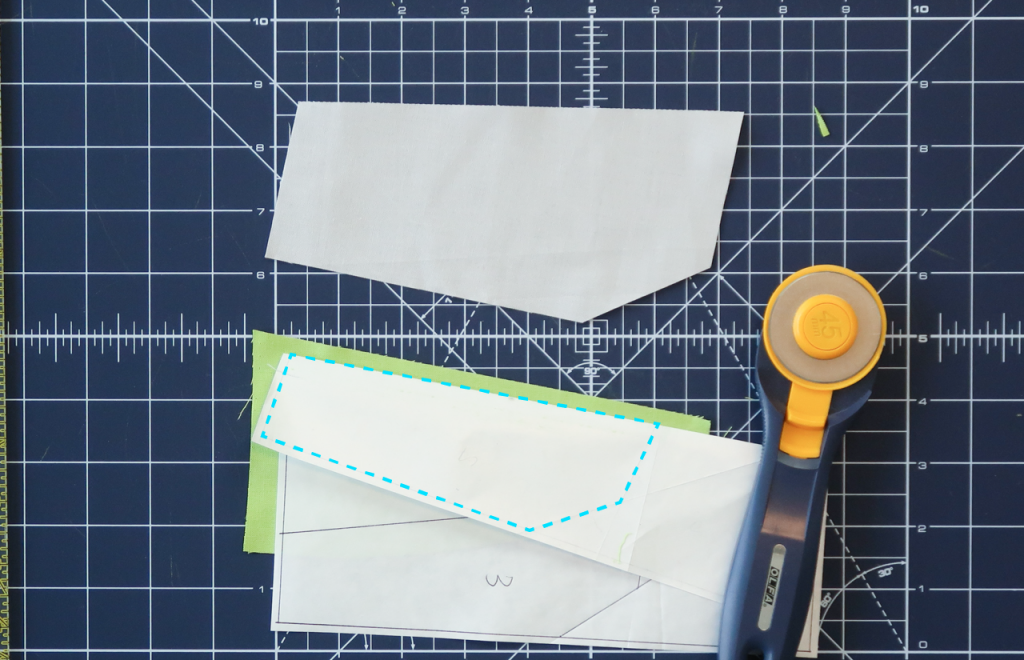
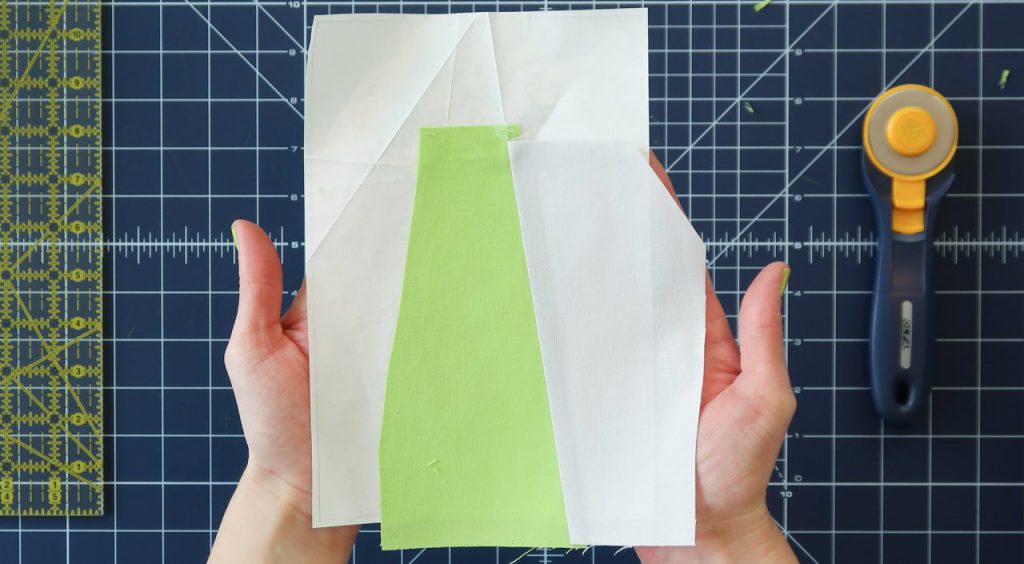
When you’re done preparing your pattern pieces you can cut your original pattern into templates. These templates are nice to use to cut your fabrics. When you cut your fabrics in roughly the same shape as the templates it will be easier to line them up behind your pattern later on.
Here is an overview of how many time each piece should be cut.
Main fabric (Cactus)
- 11 x piece A1
- 11 x piece A4
- 11 x piece A5
Background fabric (Silver)
- 12 x piece A2
- 12 x piece A3
- 12 x piece A6
- 12 x piece A7
- 2 x a strip of 3/4 x 9 inch (or a little wider if your row ended up shorter than 69 inch)
Accent fabric (Titanium)
- 1 x piece A1
- 1 x piece A4
- 1 x piece A5
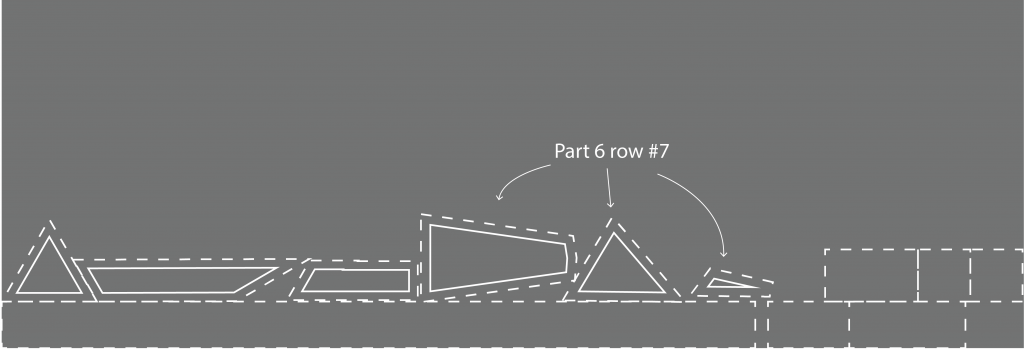
In the cutting scheme below you can find how you can fit all the pieces on your fabric. You don’t need to cut your fabric exactly as sketched out here, but it gives you an idea of how the pieces fit on the fabrics from the kit.
The dotted lines represent a seam allowance that is a little bit bigger than 1/4 inch. I always like to cut my pieces for foundation paper piecing a little bit bigger than needed.
These cutting schemes can also be downloaded as a PDF:
Cutting schemes for QAL part 6 – Row #7 [Rainbow]
Here you can download the cutting scheme for the Blue fabric kit:
Cutting Schemes for QAL part 6 – Row #7 [Blues]
Let’s start sewing!
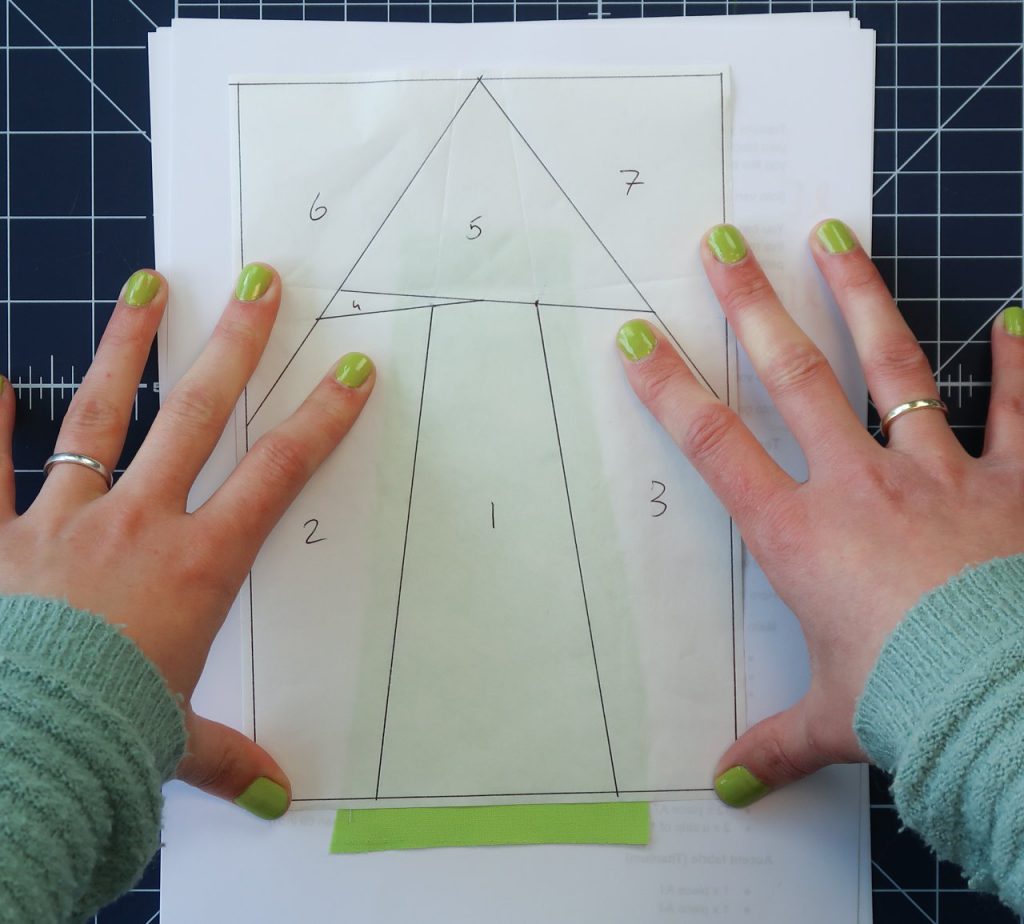
Place your first fabric piece right side down on your table. Place the pattern on top of it (pattern right side up so you can read the numbers).
Make sure your first piece is centered on the A1 part of the pattern, take it to your ironing board and press the freezer paper to your fabric piece.
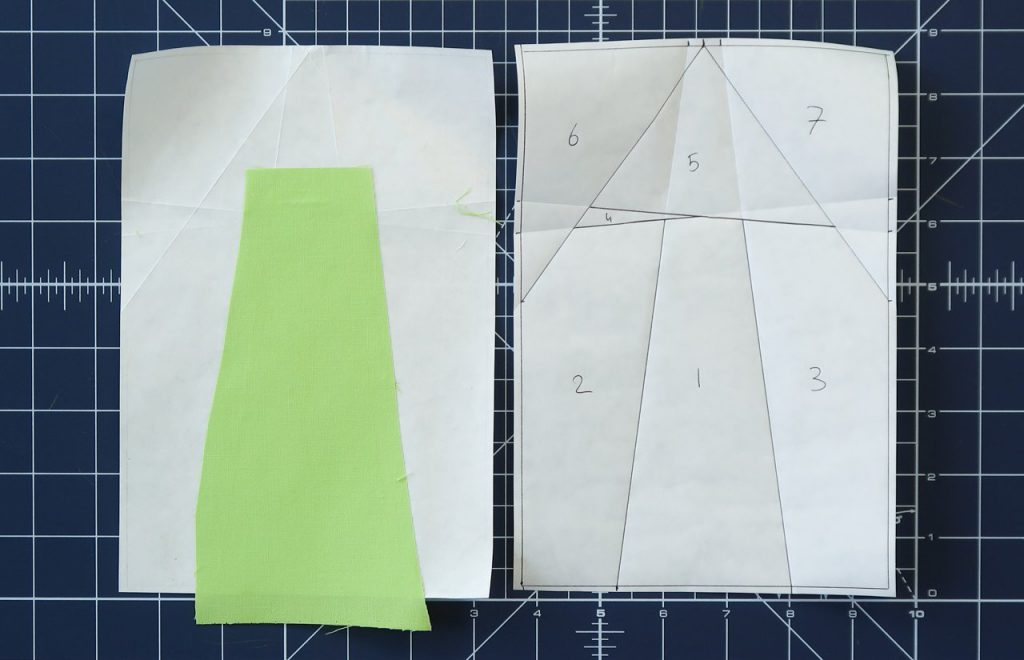
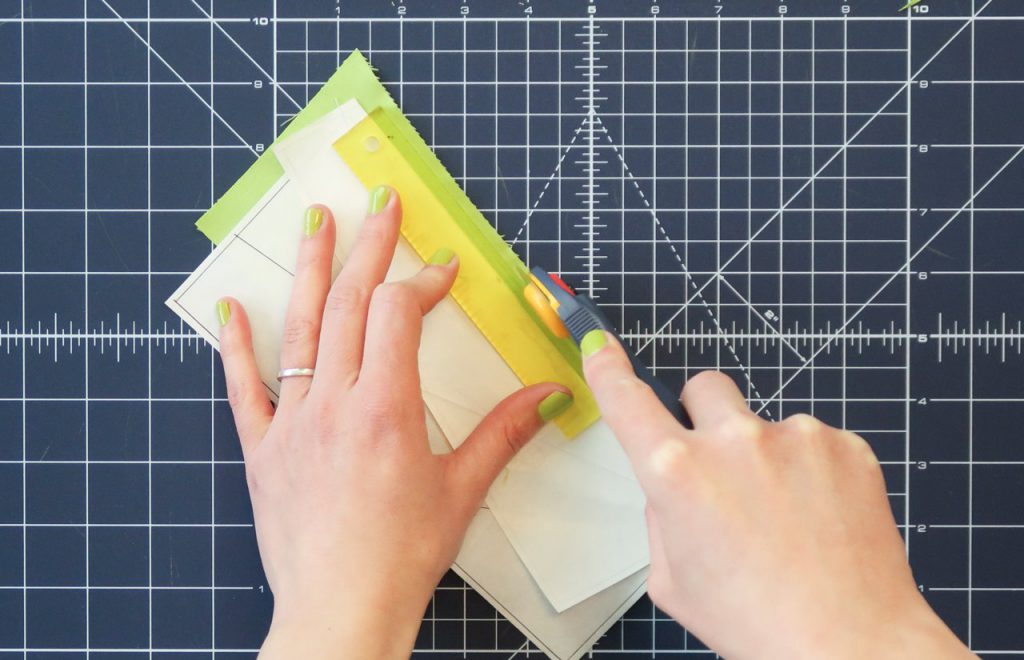
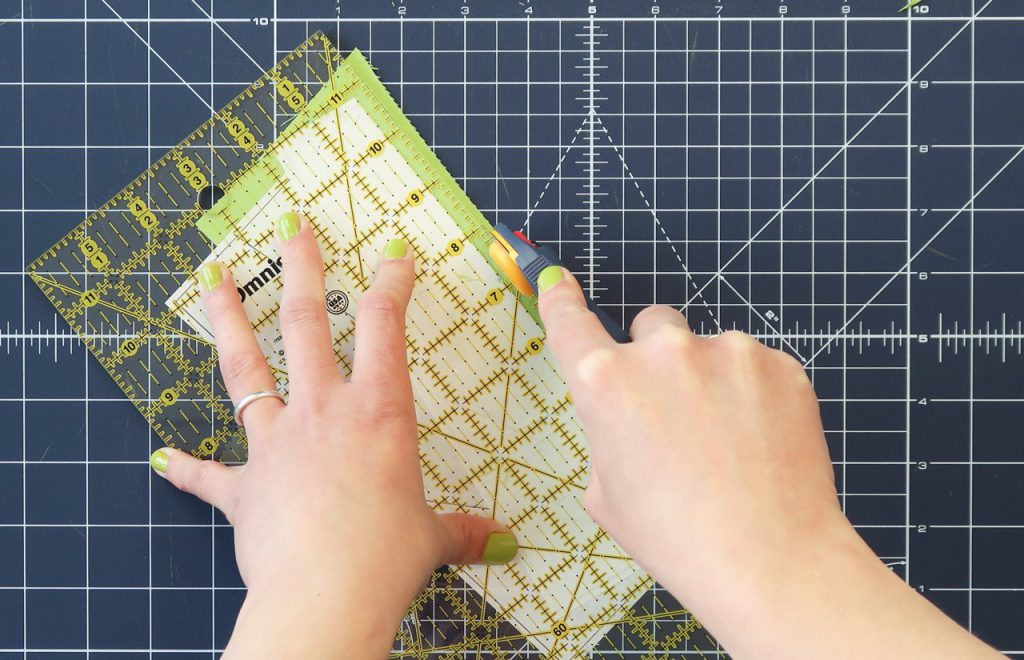
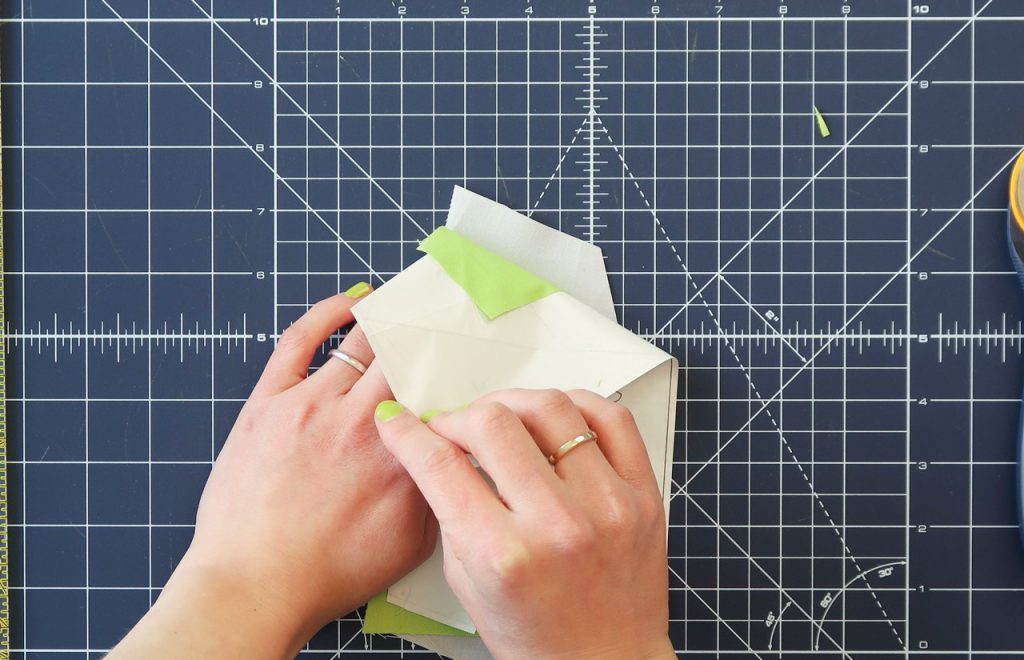
Fold the freezer paper back over the line between part A1 and A2 and use a add-a-quarter ruler, or your normal inch ruler, to trim the seam to 1/4 inch.
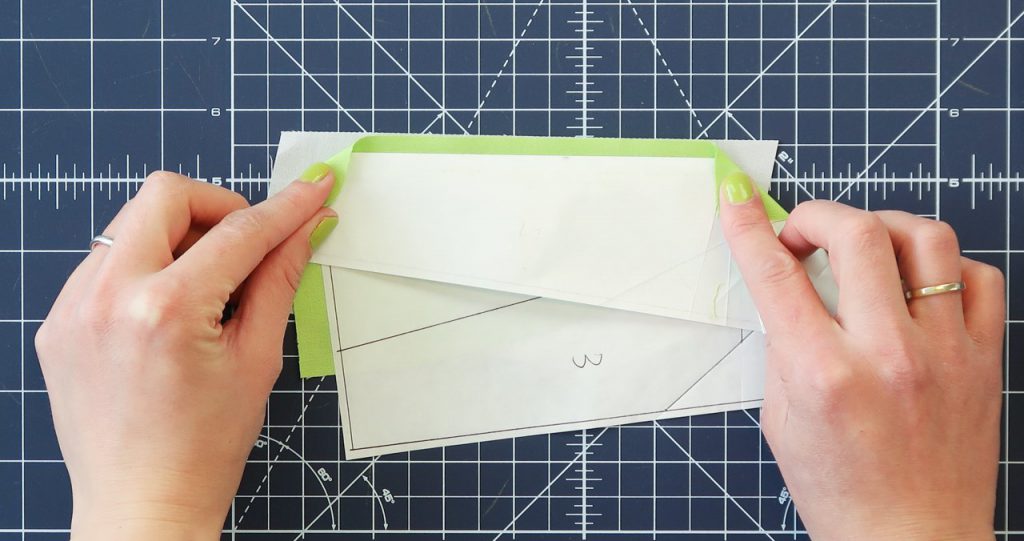
Place the second fabric piece right side up on your table. To check where you should place it, fold back the pattern over the seam between piece 1 and 2. Fabric piece 2 should fit behind the folded back piece 2 on the pattern.
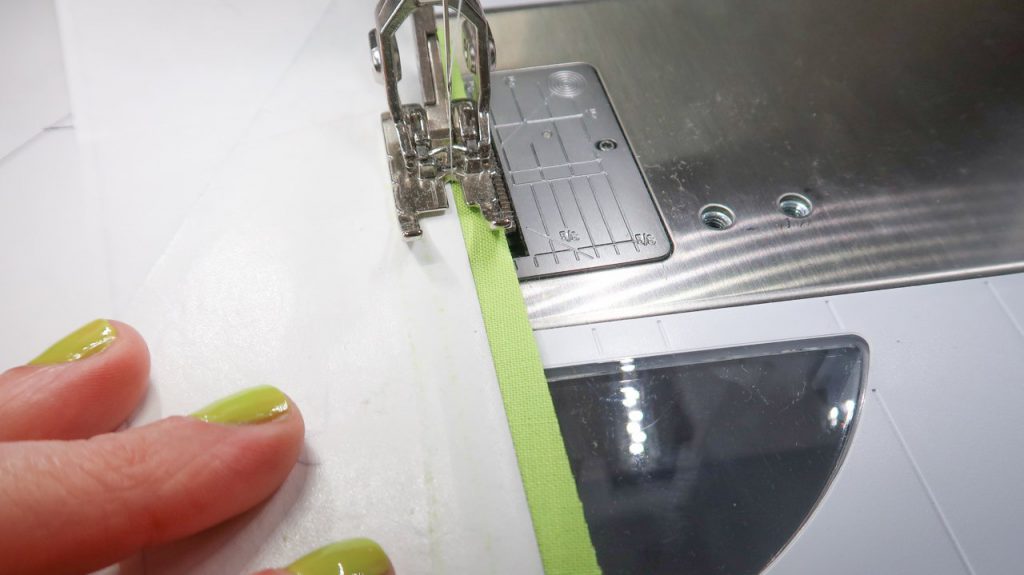
Take this to your sewing machine and sew along the fold in the paper. Try not to sew through the freezer paper 🙂
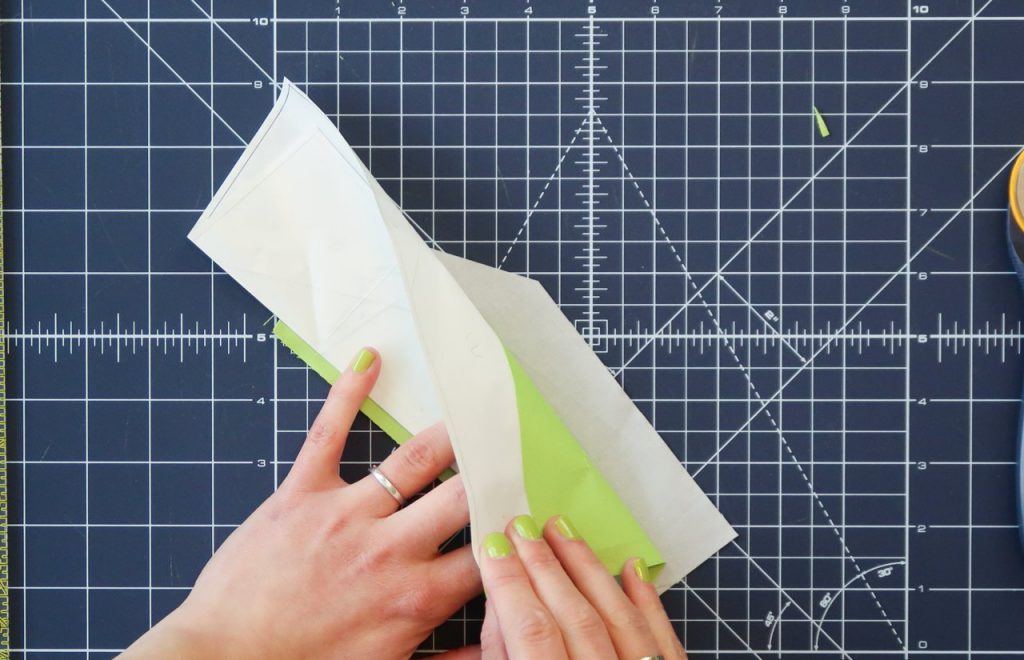
Fold the paper open.
Fold the fabric open.
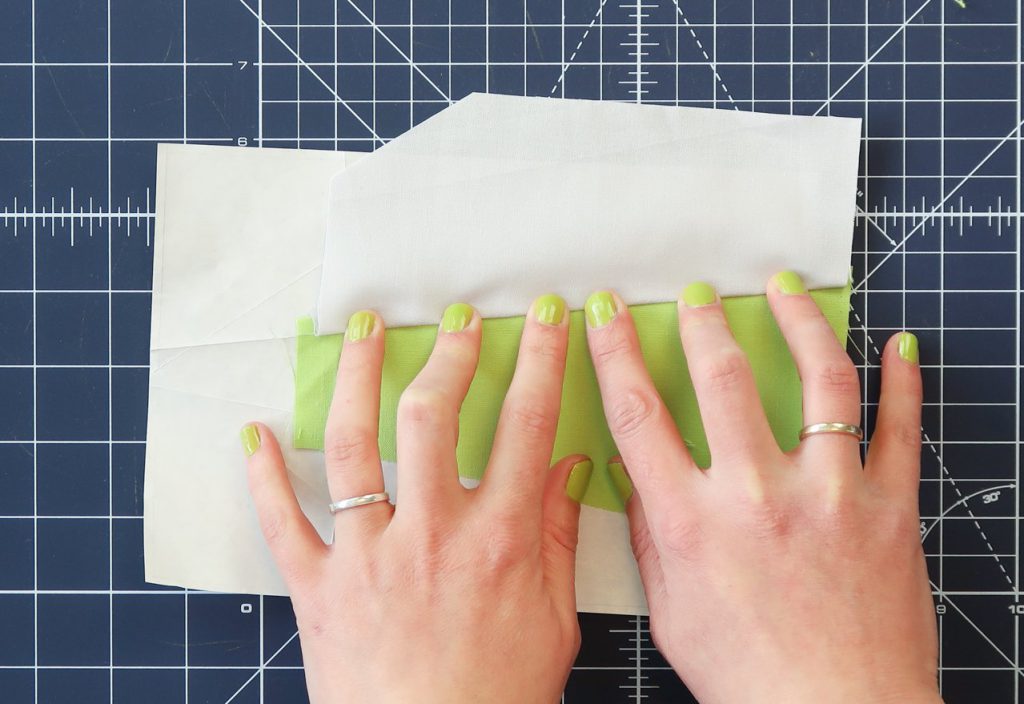 And give it a press to stick the new fabric to the pattern. (Don’t touch the glossy side of the freezer paper with your iron.)
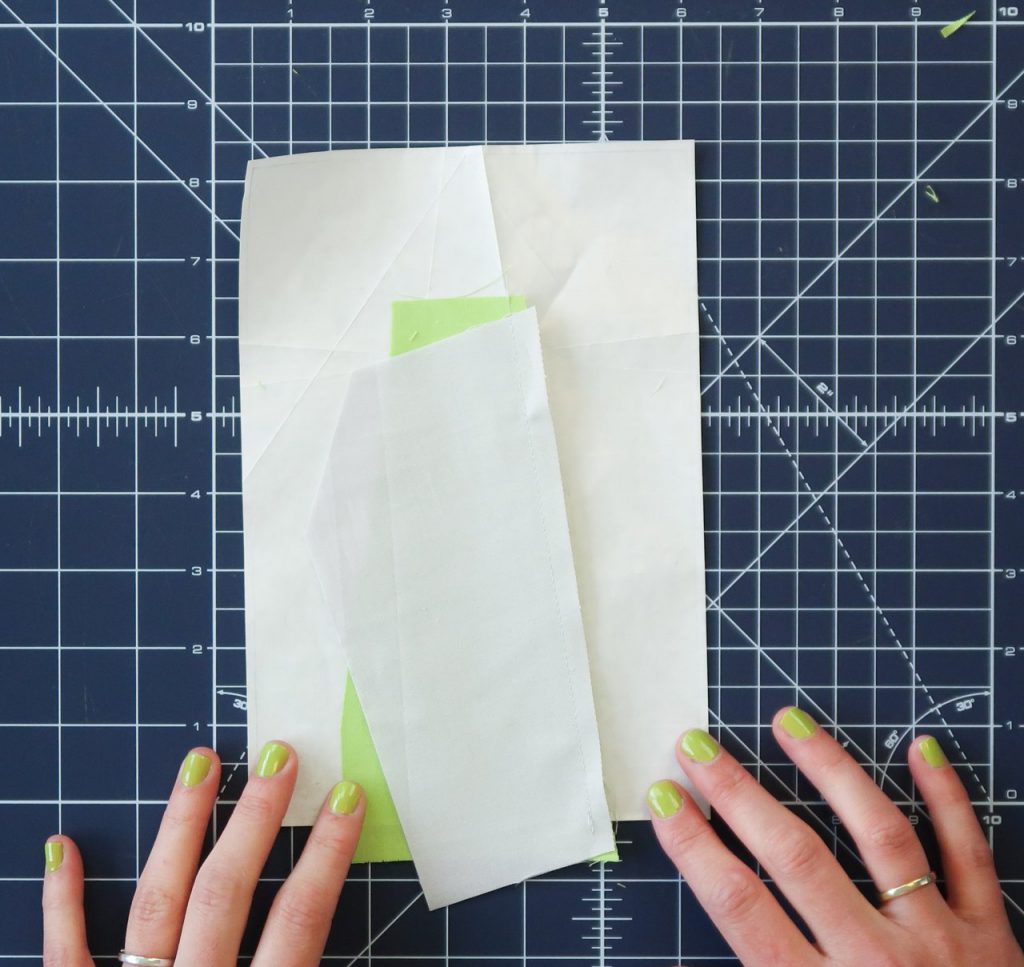
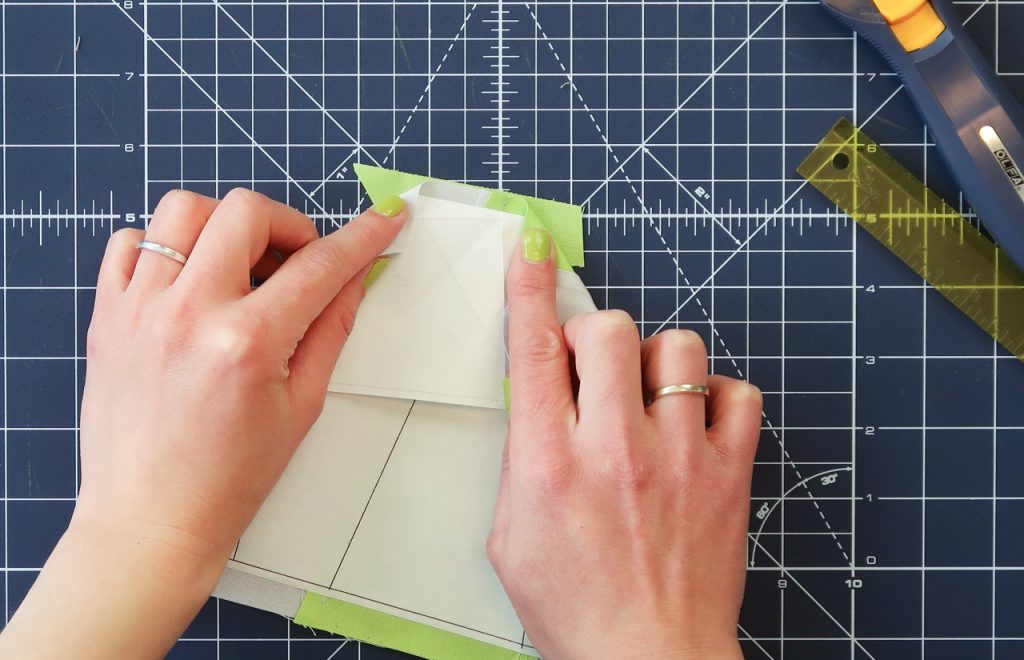
Now prepare for piece A3. Fold back the pattern over the line toward piece A3. Use your ruler to trim of the seam to a 1/4 inch.
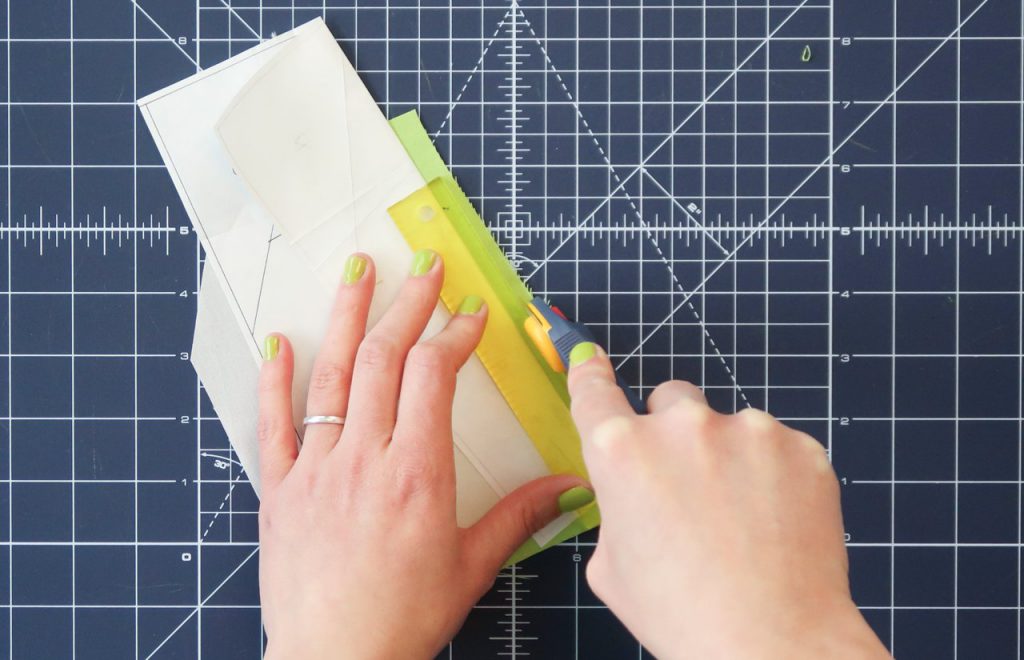 Place your fabric piece A3, sew along the fold line, open the paper and fold and press open the fabric. These are the steps you will need to repeat for each piece of fabric.
Why I use templates
When you use the templates to cut your fabric in the same shape as the pattern pieces you only need to line out the fabric with the 1/4 inch seam.
Here you see piece A4 lined out under the pattern. I only need to make sure that it’s place right side up, line it up with the 1/4″ seam and check if the fabric sticks out on the left and right side.
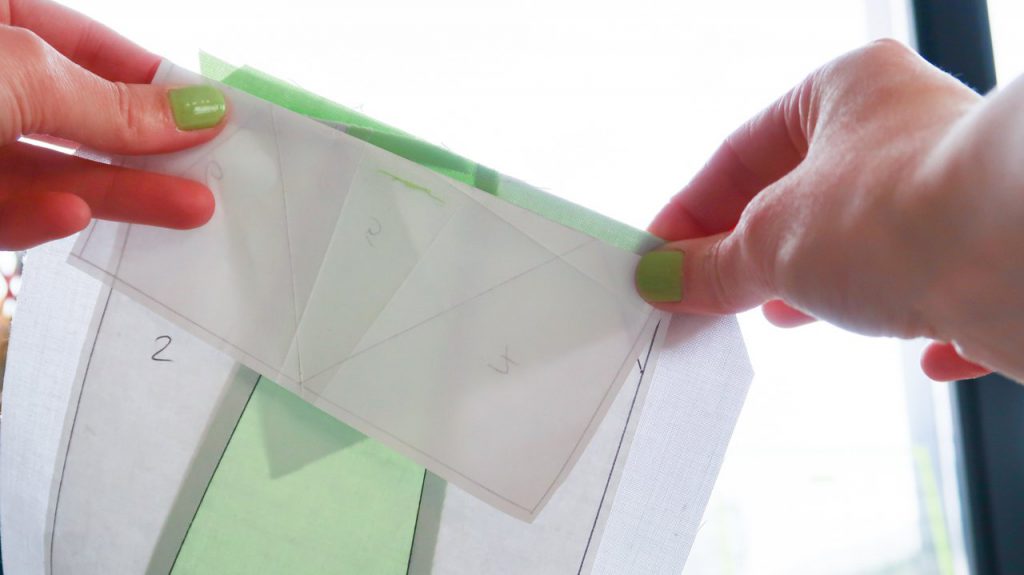
Below you see piece A5 in front of a window. Which is a great way to check if your piece is positioned correctly.
Also here I just aligned piece A5 with the 1/4″ seam. And because the shape of the fabric piece is roughly the same (but bigger of course) as the template piece, it is very easy to get it in the right spot before you sew it.
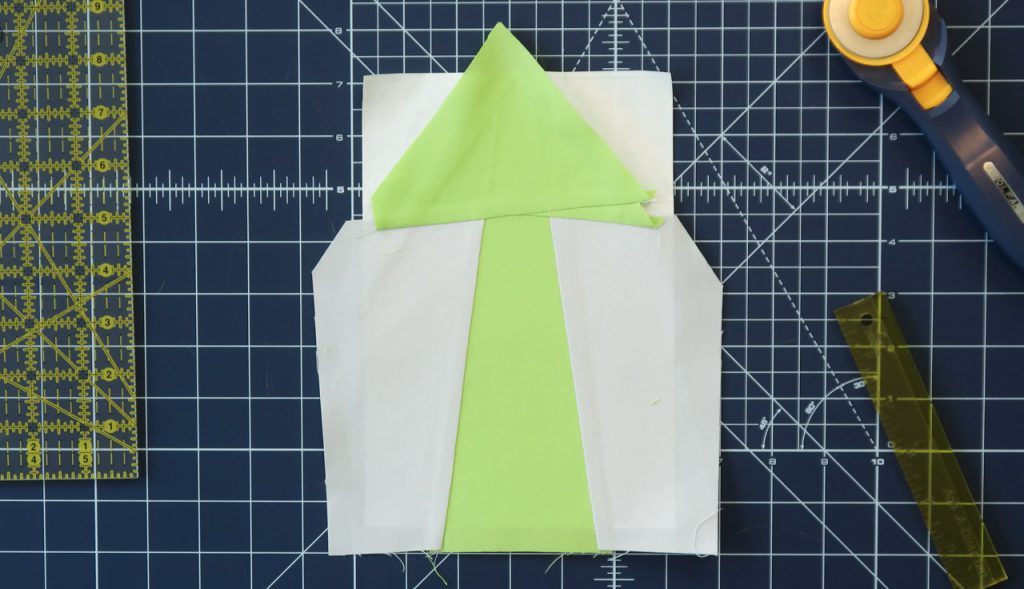
Continue adding pieces like this until all pieces of the arrow are added.
In the Youtube video you can see me work with both solid fabrics and fabric with print.
Trimming the sections
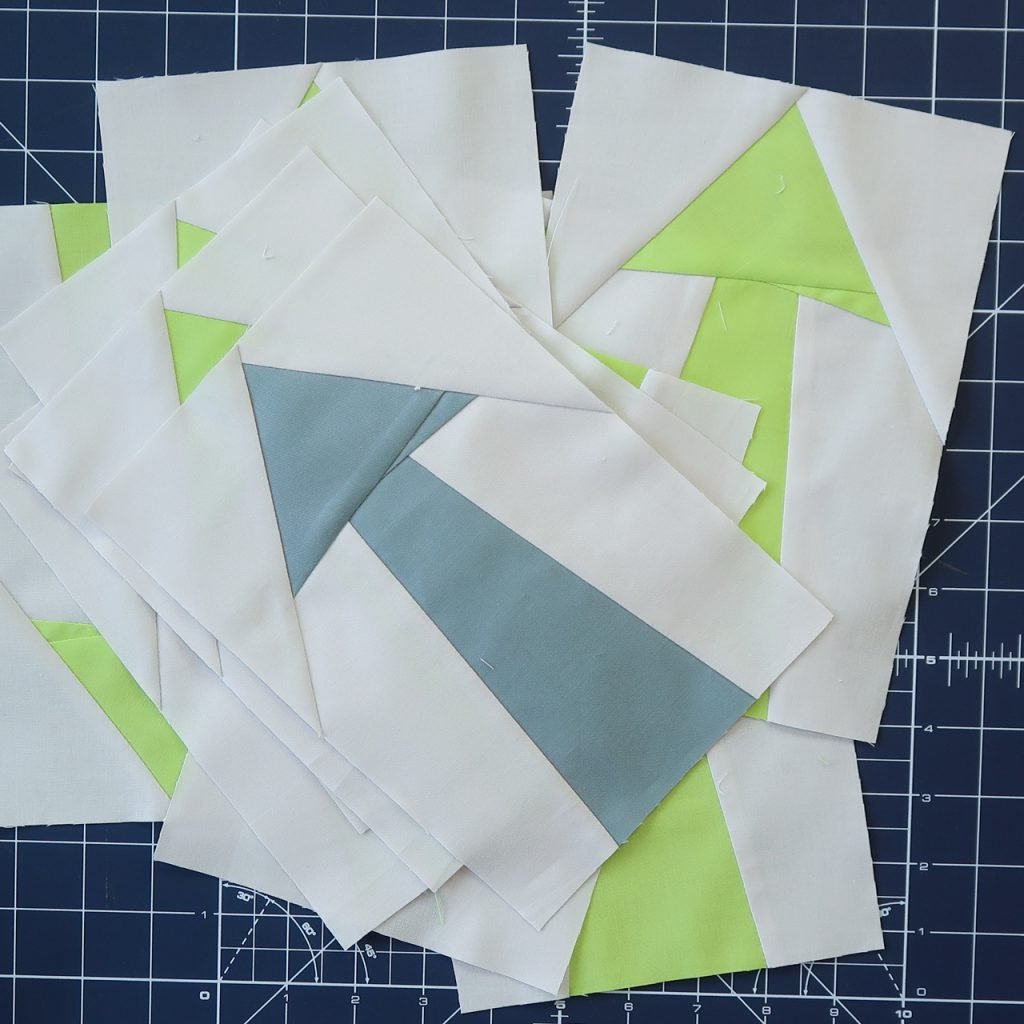
When you finish a block you can trim around it with 1/4 inch seam allowance. It should turn out 6 1/4 x 9″ including seam allowance.
I like to cut two sides on 1/4 inch from the line on the pattern. The other two sides I won’t trim using the line on the pattern. But I’ll just measure from the sides I already cut, in order to get my block the correct size.
In the video you see that the pattern that I drew was a little bit off, which would result in a row that is a bit off when you follow those lines. But that is easily checked and fixed by just measuring the block when you’re squaring it up.
Assembling the row
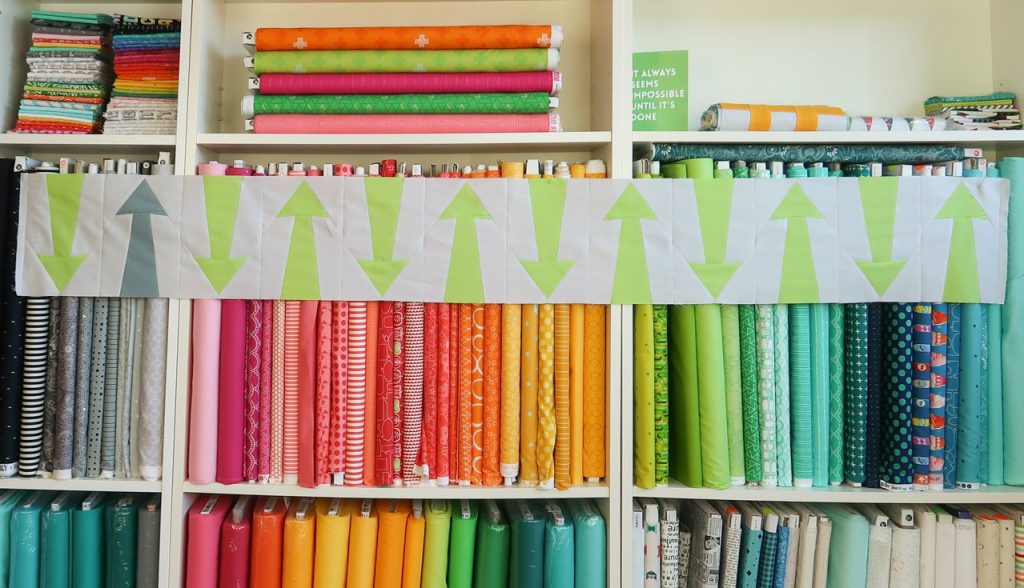
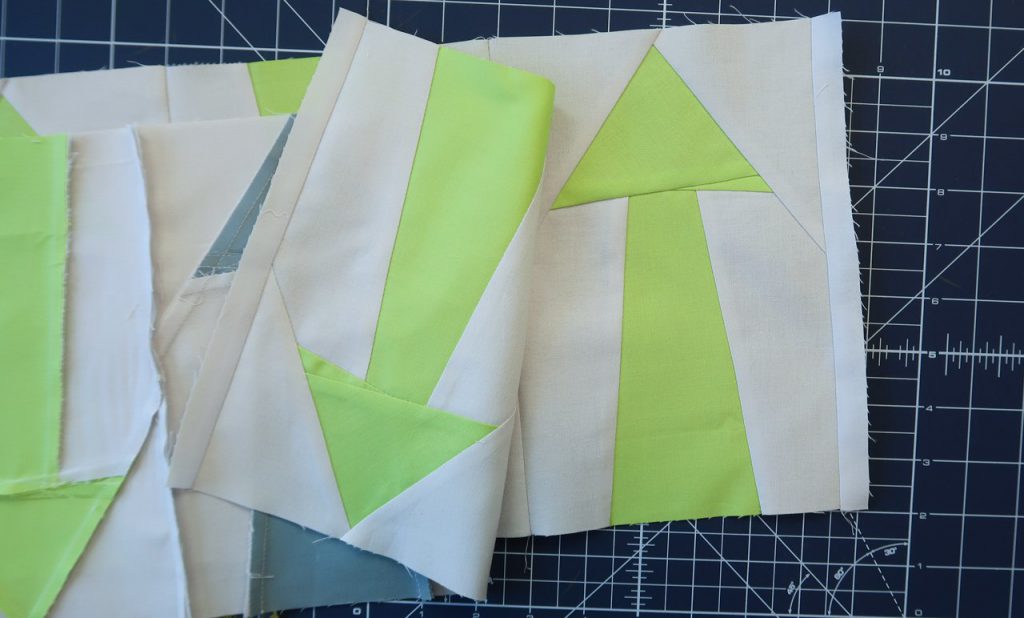
When you’ve sewn all 12 blocks you can start to assemble them. I placed the accent block as the second block from the left. Just join all the blocks with a 1/4 inch seam allowance.
When you’ve joined all blocks in to one row, it should measure 69 1/2″ including seam allowance. To make the row 70 1/2, you just sew the two strips in background fabric to both ends. When your row turned out a bit shorter, you just add wider strips.
Time for a giveaway!
Yes you did it! You’re now officially half way in the quilt along. Awesome!
Part 6 of the QAL means that it is time for a give away. I’m giving away 3 happy colored fat quarter bundles from the Sugaridoo Studio. Would you like to win one? All you need it the following:
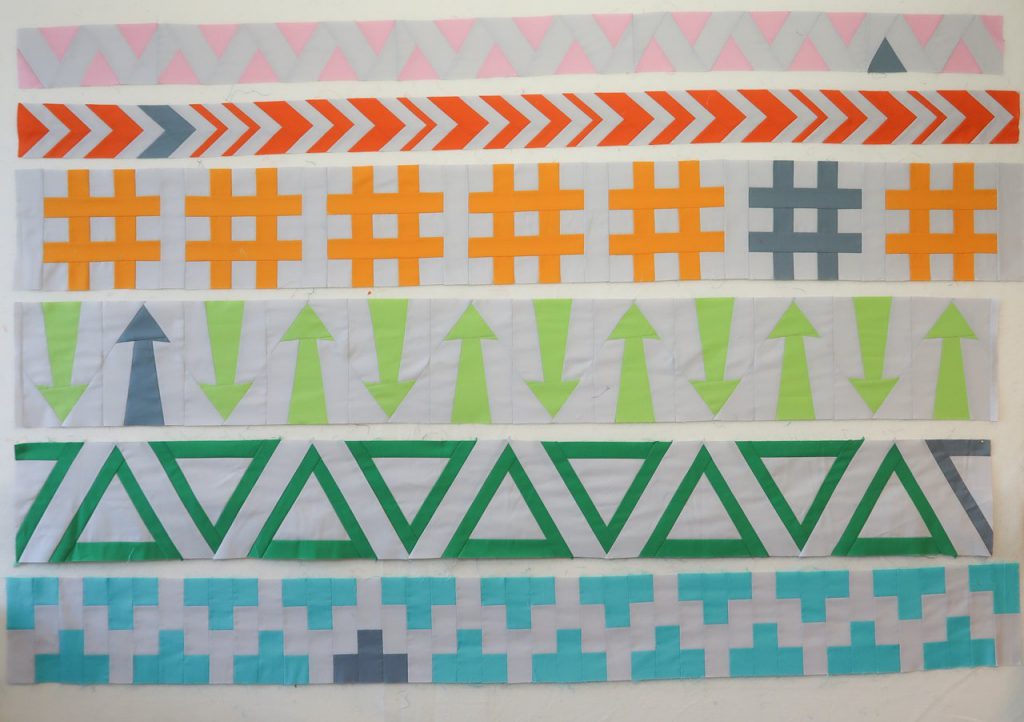
Finish the first 6 rows and post a picture of all the rows together before the 14th of May 10AM (CET), so before part 7 will be published.
There are two options to post a picture:
- Post a picture of your first 6 rows on Instagram, tag @Sugaridoo and use #SugaridooBerninaQAL on that post.
- Or upload your picture to the community section on the BERNINA blog: Sugaridoo Quilt-Along on the BERNINA Blog. When uploading to the BERNINA community section make sure to select “Sugaridoo Quilt-Along” from the dropdown list.
We will draw three random winners from the entries and publish the winners on Monday the 18th of May on the Bernina blog, Sugaridoo Instagram and in the Sugaridoo Bernina QAL Facebook group.
Good luck! Can’t wait to see all your rows together.
Big hug Irene
 BERNINA Corporate Blog -

The link to the PDF pattern seems to have disappeared!
Dear Wendy,
You can find the link to the PDF under the title “Pattern”. Click on the red words QAL Part 6!
The pattern link has disappeared.
Found it!
I did it! All six rows! And I even improvised!!!!
I love thes colours
pretty
This has been fun so far. First 6 rows are done. Can’t wait for the next 6. Thanks Bernina and Irene.
Half way completed! I have enjoyed this QAL and have learned new techniques. I look forward to each new row!
All 6Maine Coast USA.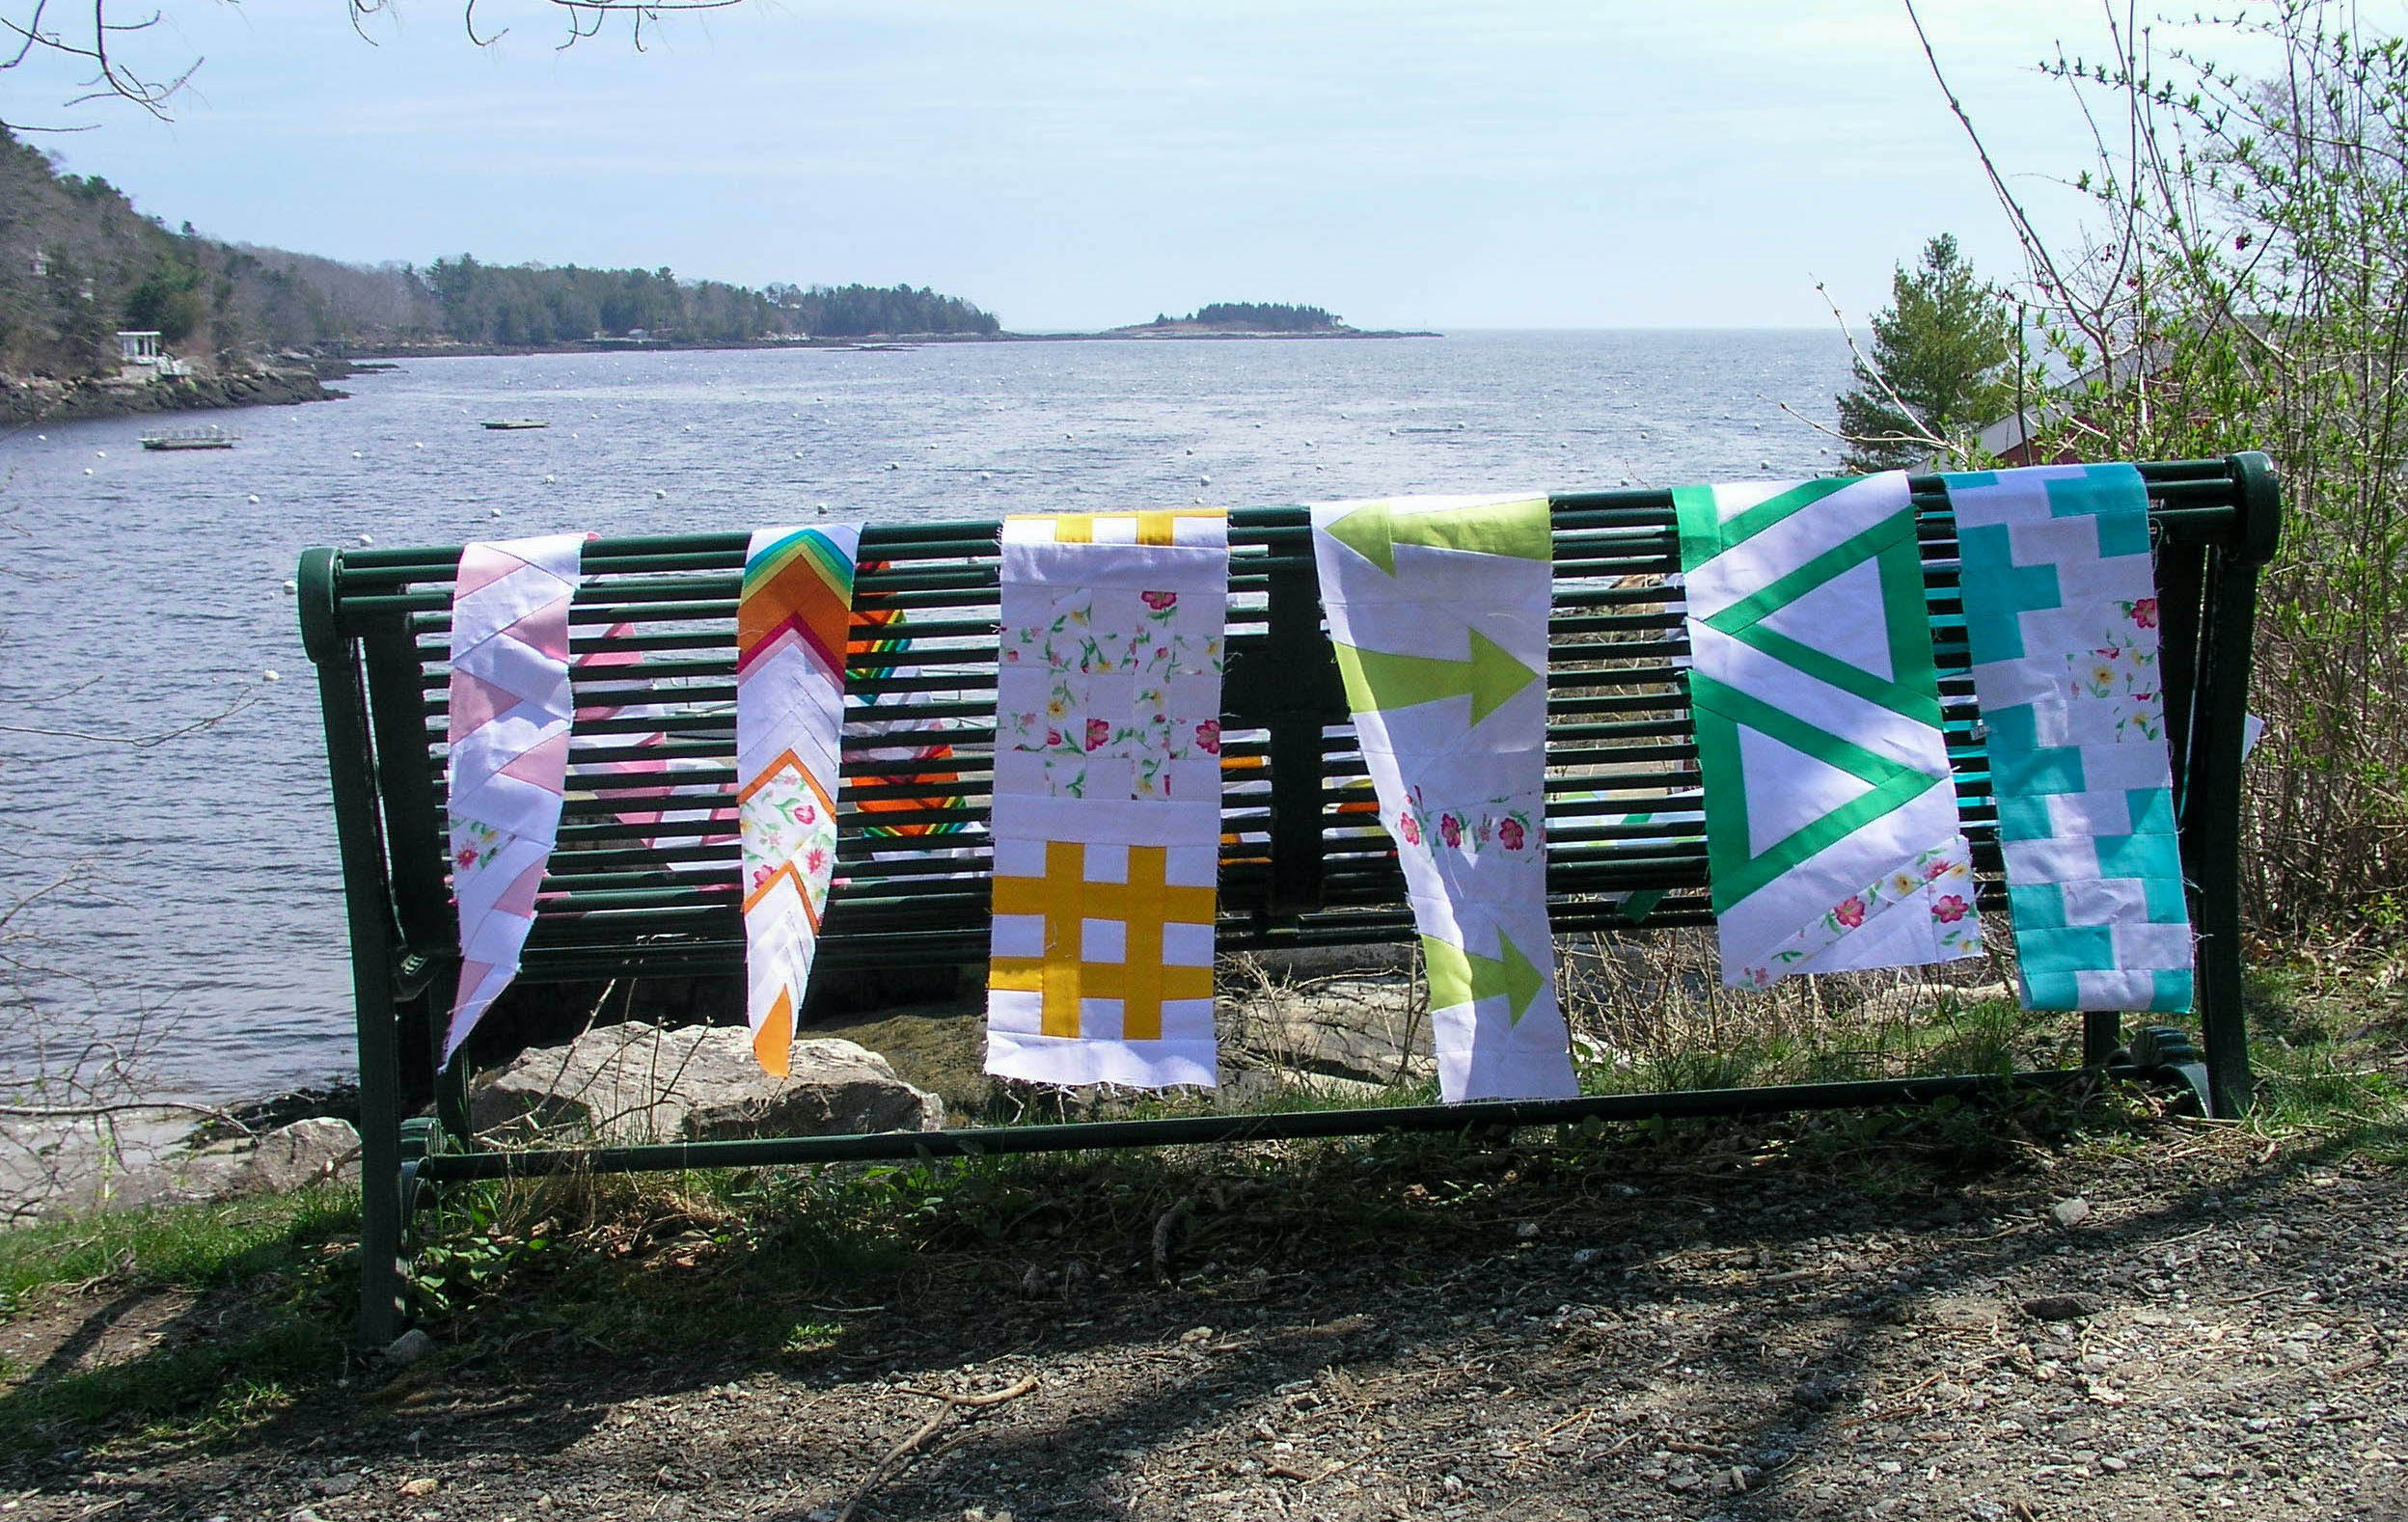 Same park, different bench (because of the windy day – and the better view!) I like seeing the accent fabric on each of the 6 six rows! It was leftover fabric from when my mom made me dresses for my pregnancy 19 years ago.
This row was a bit more challenging than the TRIANGLE paper piecing row, but good practice for newbie me.
#SugaridooBerninaQAL #Sugaridoo
I Love it!!!
Thank You Irene & Bernina. I am having a Blast.
I love all these rows!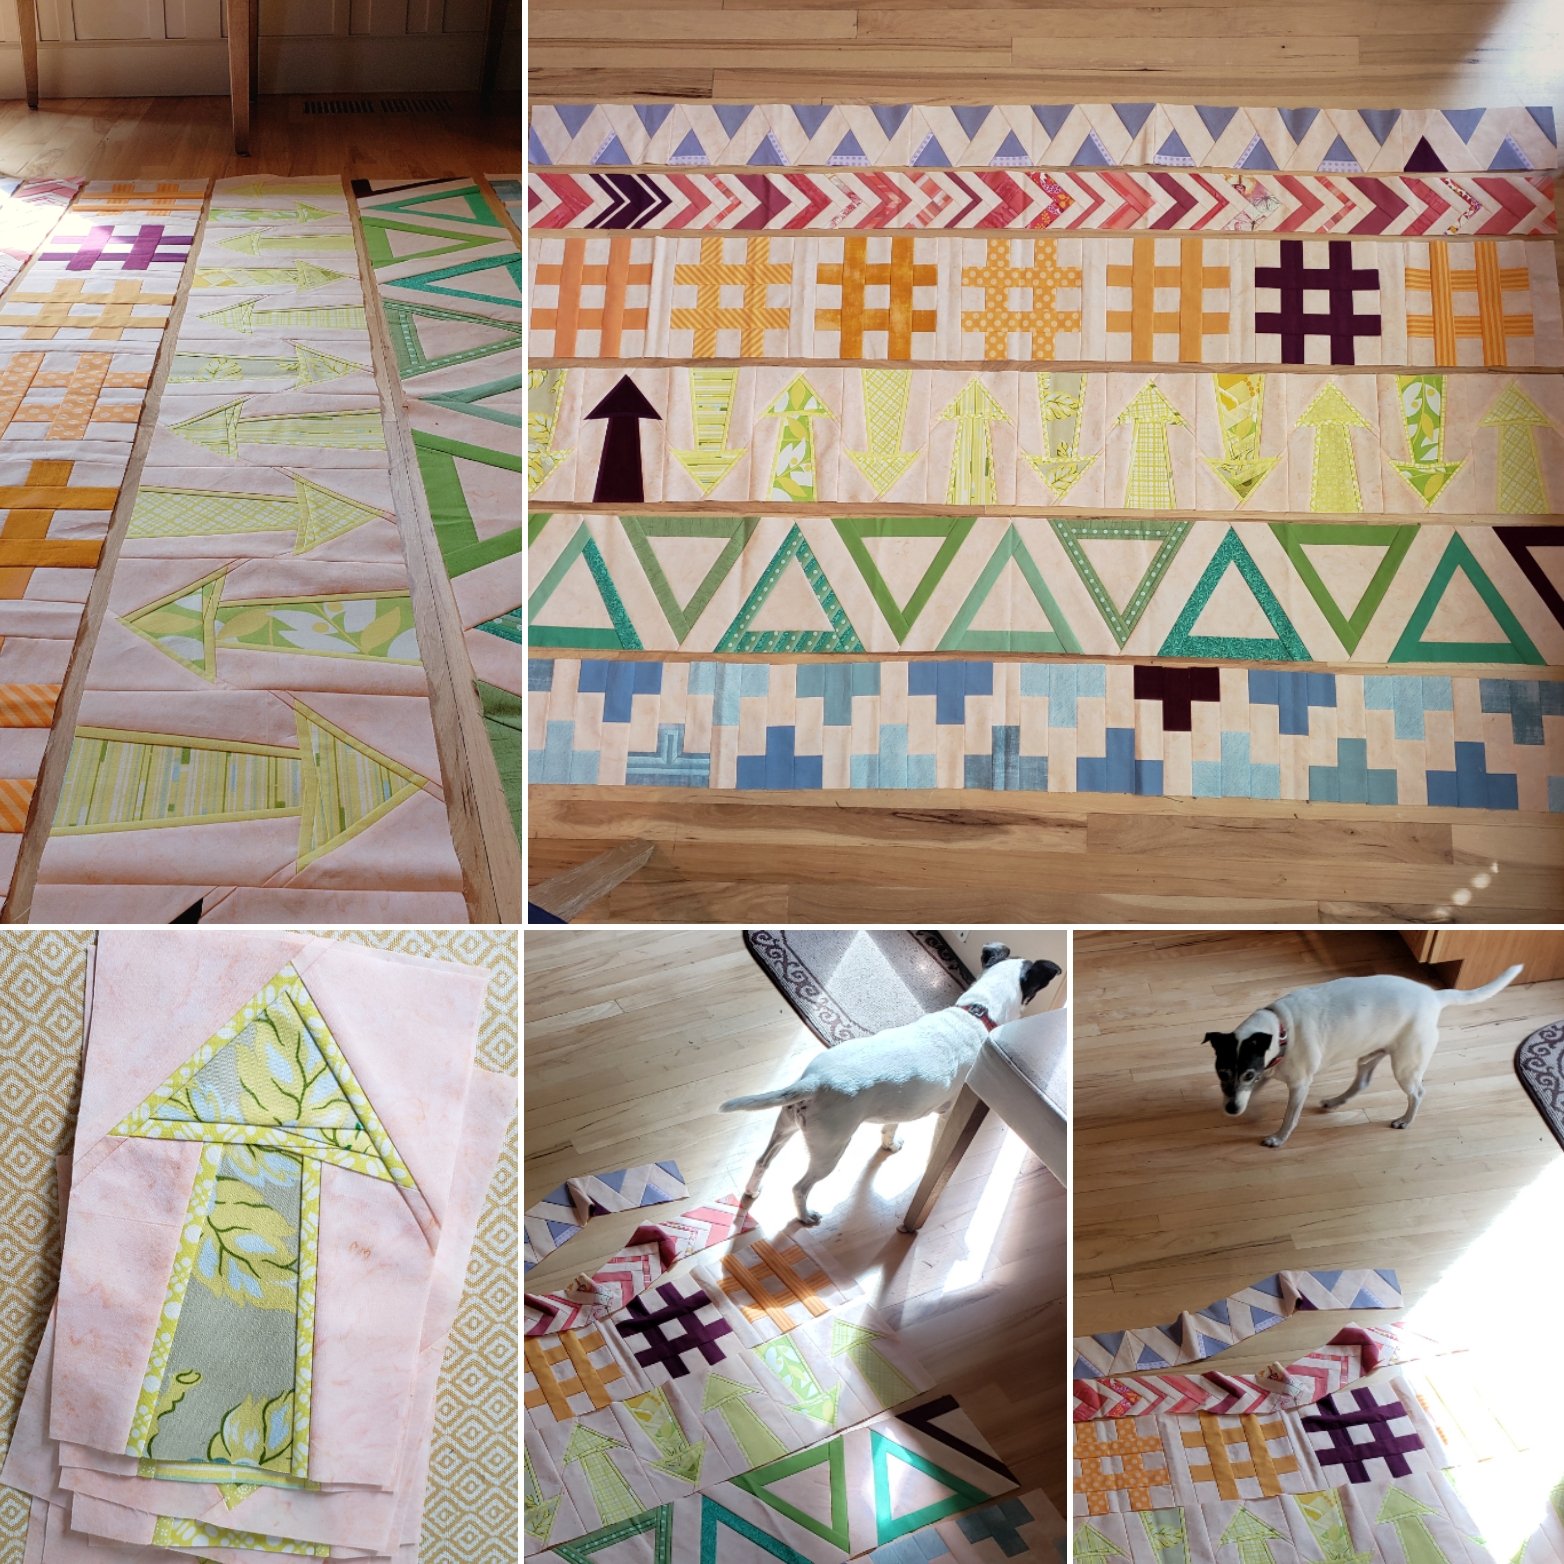
wow how did you come up with the arrow border!!!??? difficult enough for me lol
Not sure if I should also post a photo off all 6 rows here too as I have already posted the row 6 here! [To view all photos I have uploaded, would I just go to each row and search]
It did state – When uploading to the BERNINA community section make sure to select “Sugaridoo Quilt-Along” from the dropdown list – so finally sussed it out and uploaded there.
Was unsure what I had to put with ‘tag’ So had to add a full stop to move on.
Really enjoying this QAL and Irene does explain everything very well ?. Looking forward to the next 6.
This is first time I have written to this blog. Each month I look forward to the new Sugaridoo/Bernina quilt along row. Please see my rows so far. I hope this is the place where I should sign in.
Does this quilt have a name? I keep calling it my Sugaridoo Bernina quilt but it needs a name rather than a description.
I hope I’ve got this in the right place for the half-way posting? ???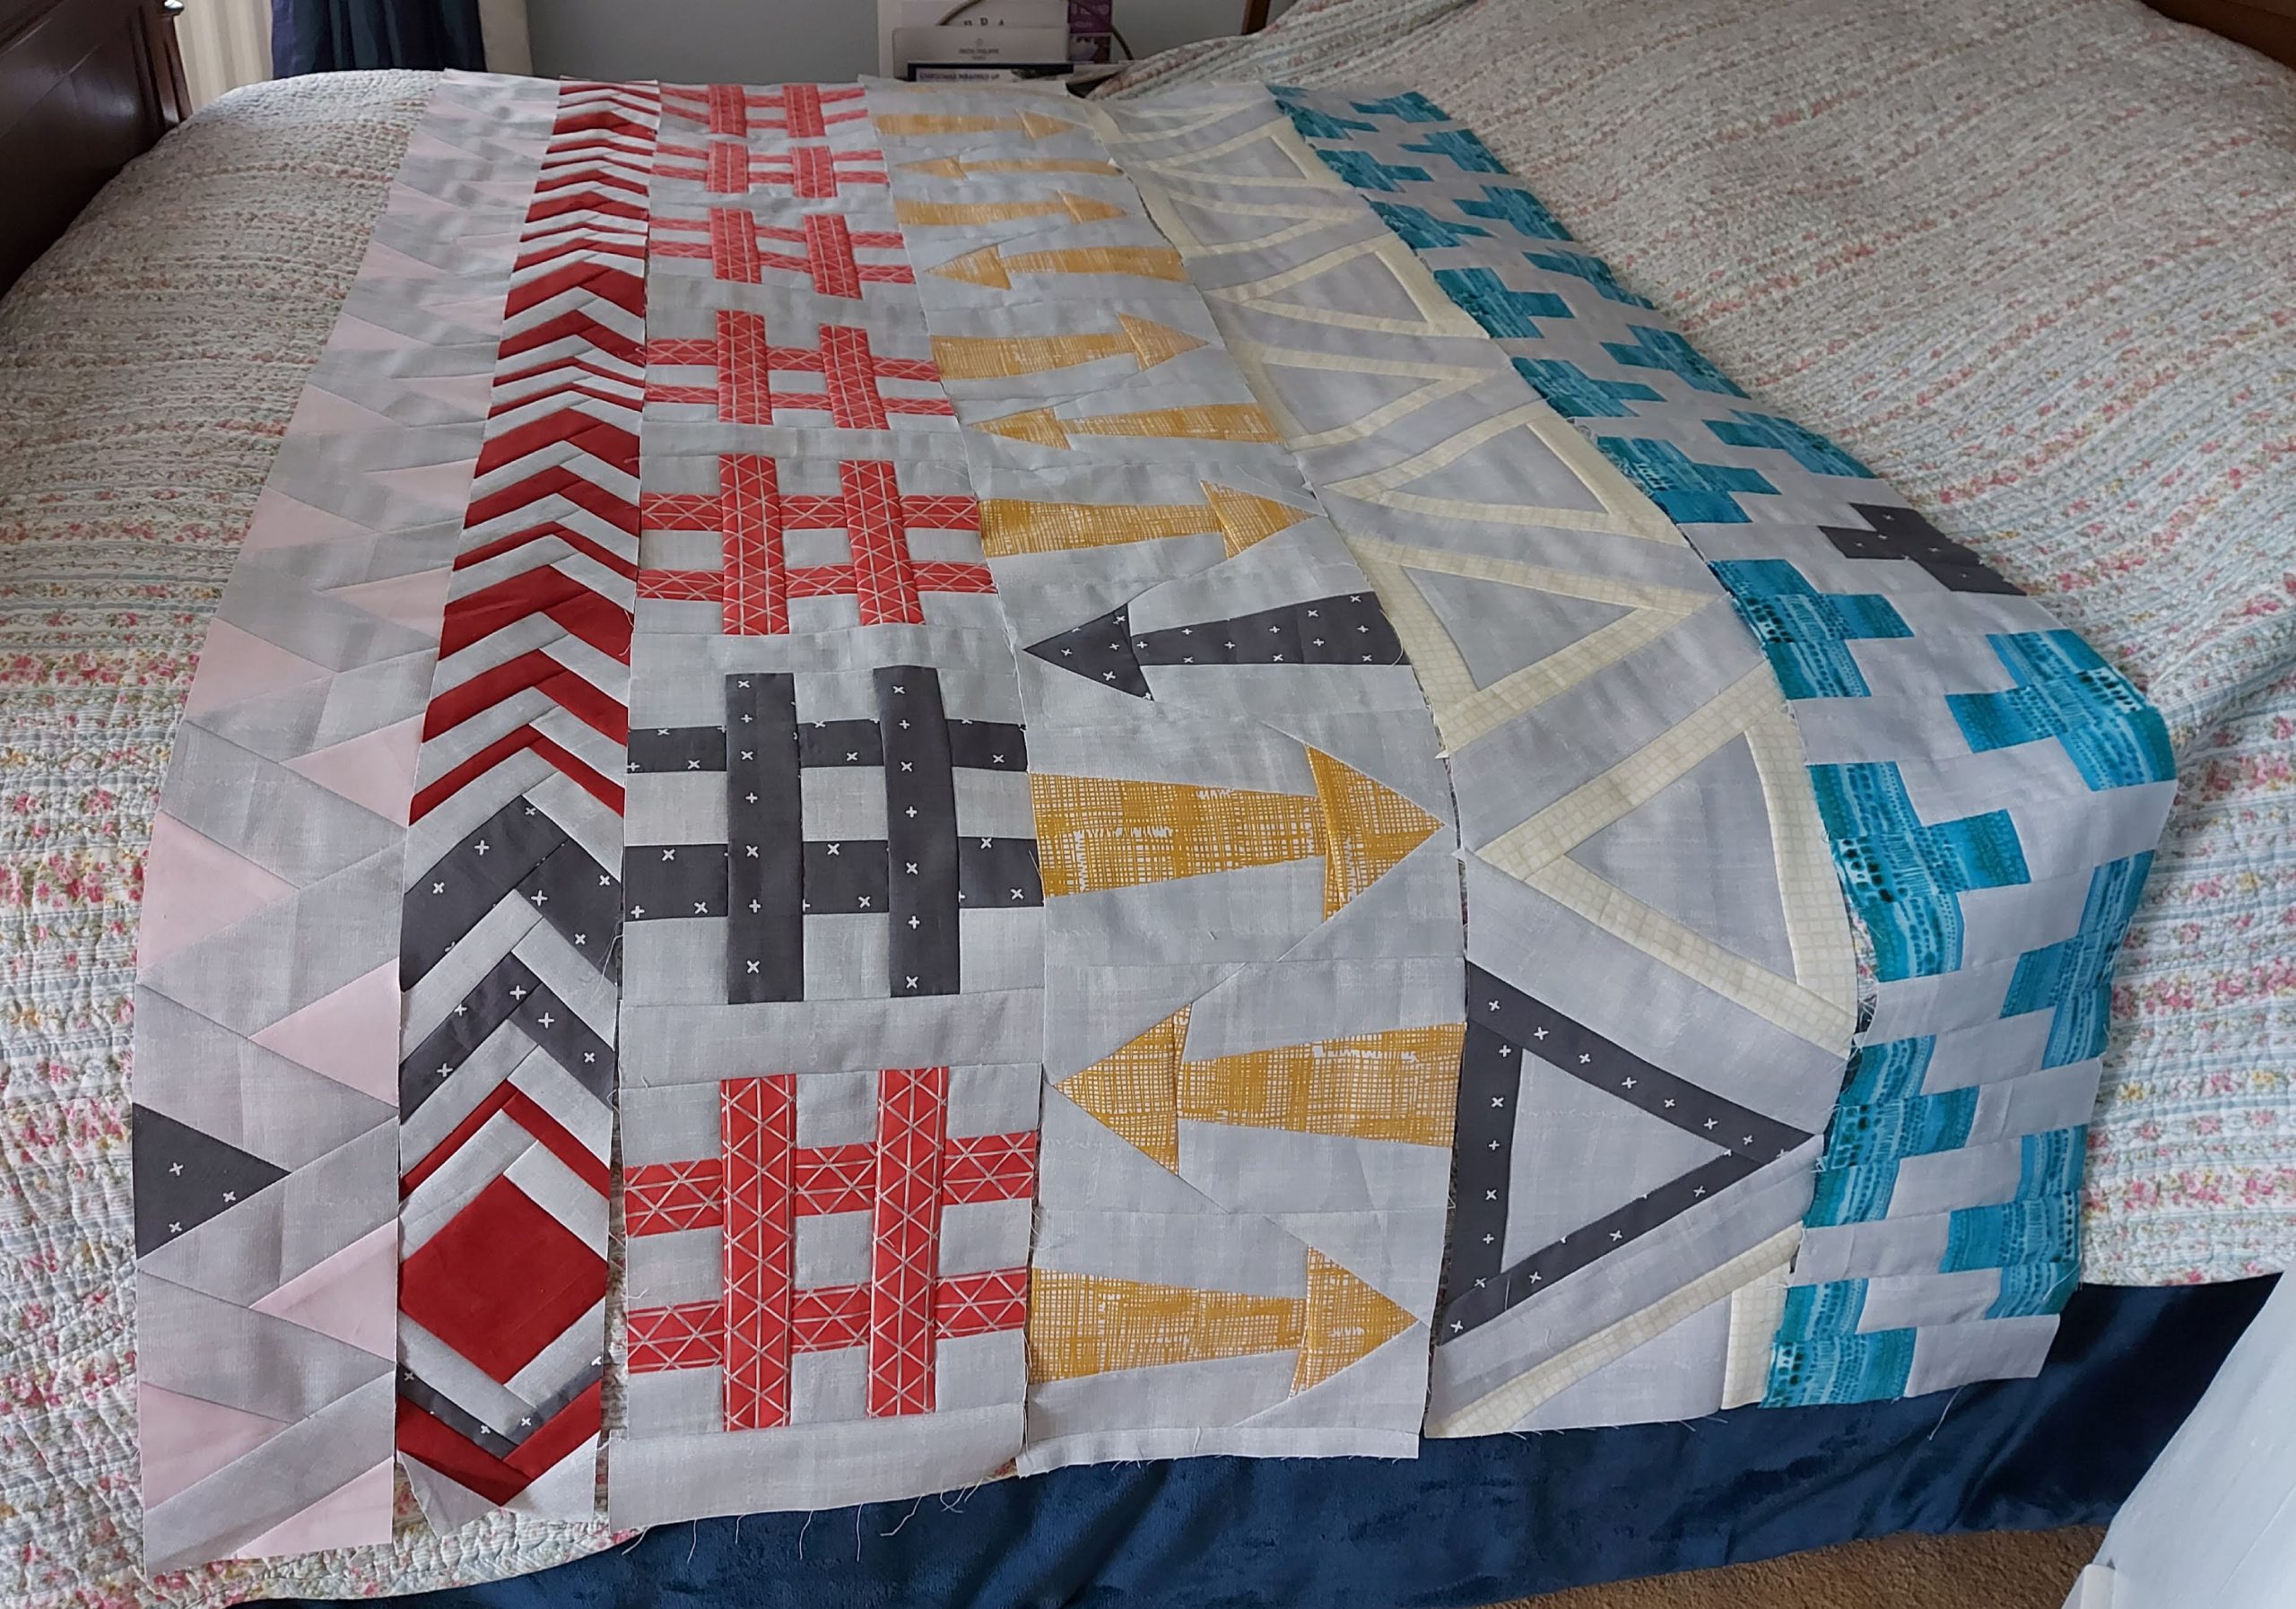
Completed Row 6. Annoyed that I’d run out of the main material I’m using for the QAL as the shop is now closed due to the coronavirus, but, I’ve had a go using material I had. I’m so glad I’ve been introduced to the freezer paper, loving it. Now I’ll need to upload a photo of all rows.
Here they are! All together and ready for more! First dive into freezer paper piecing and I am so glad I finally tried it. Really love the technique. Thanks Irene for sharing your knowledge!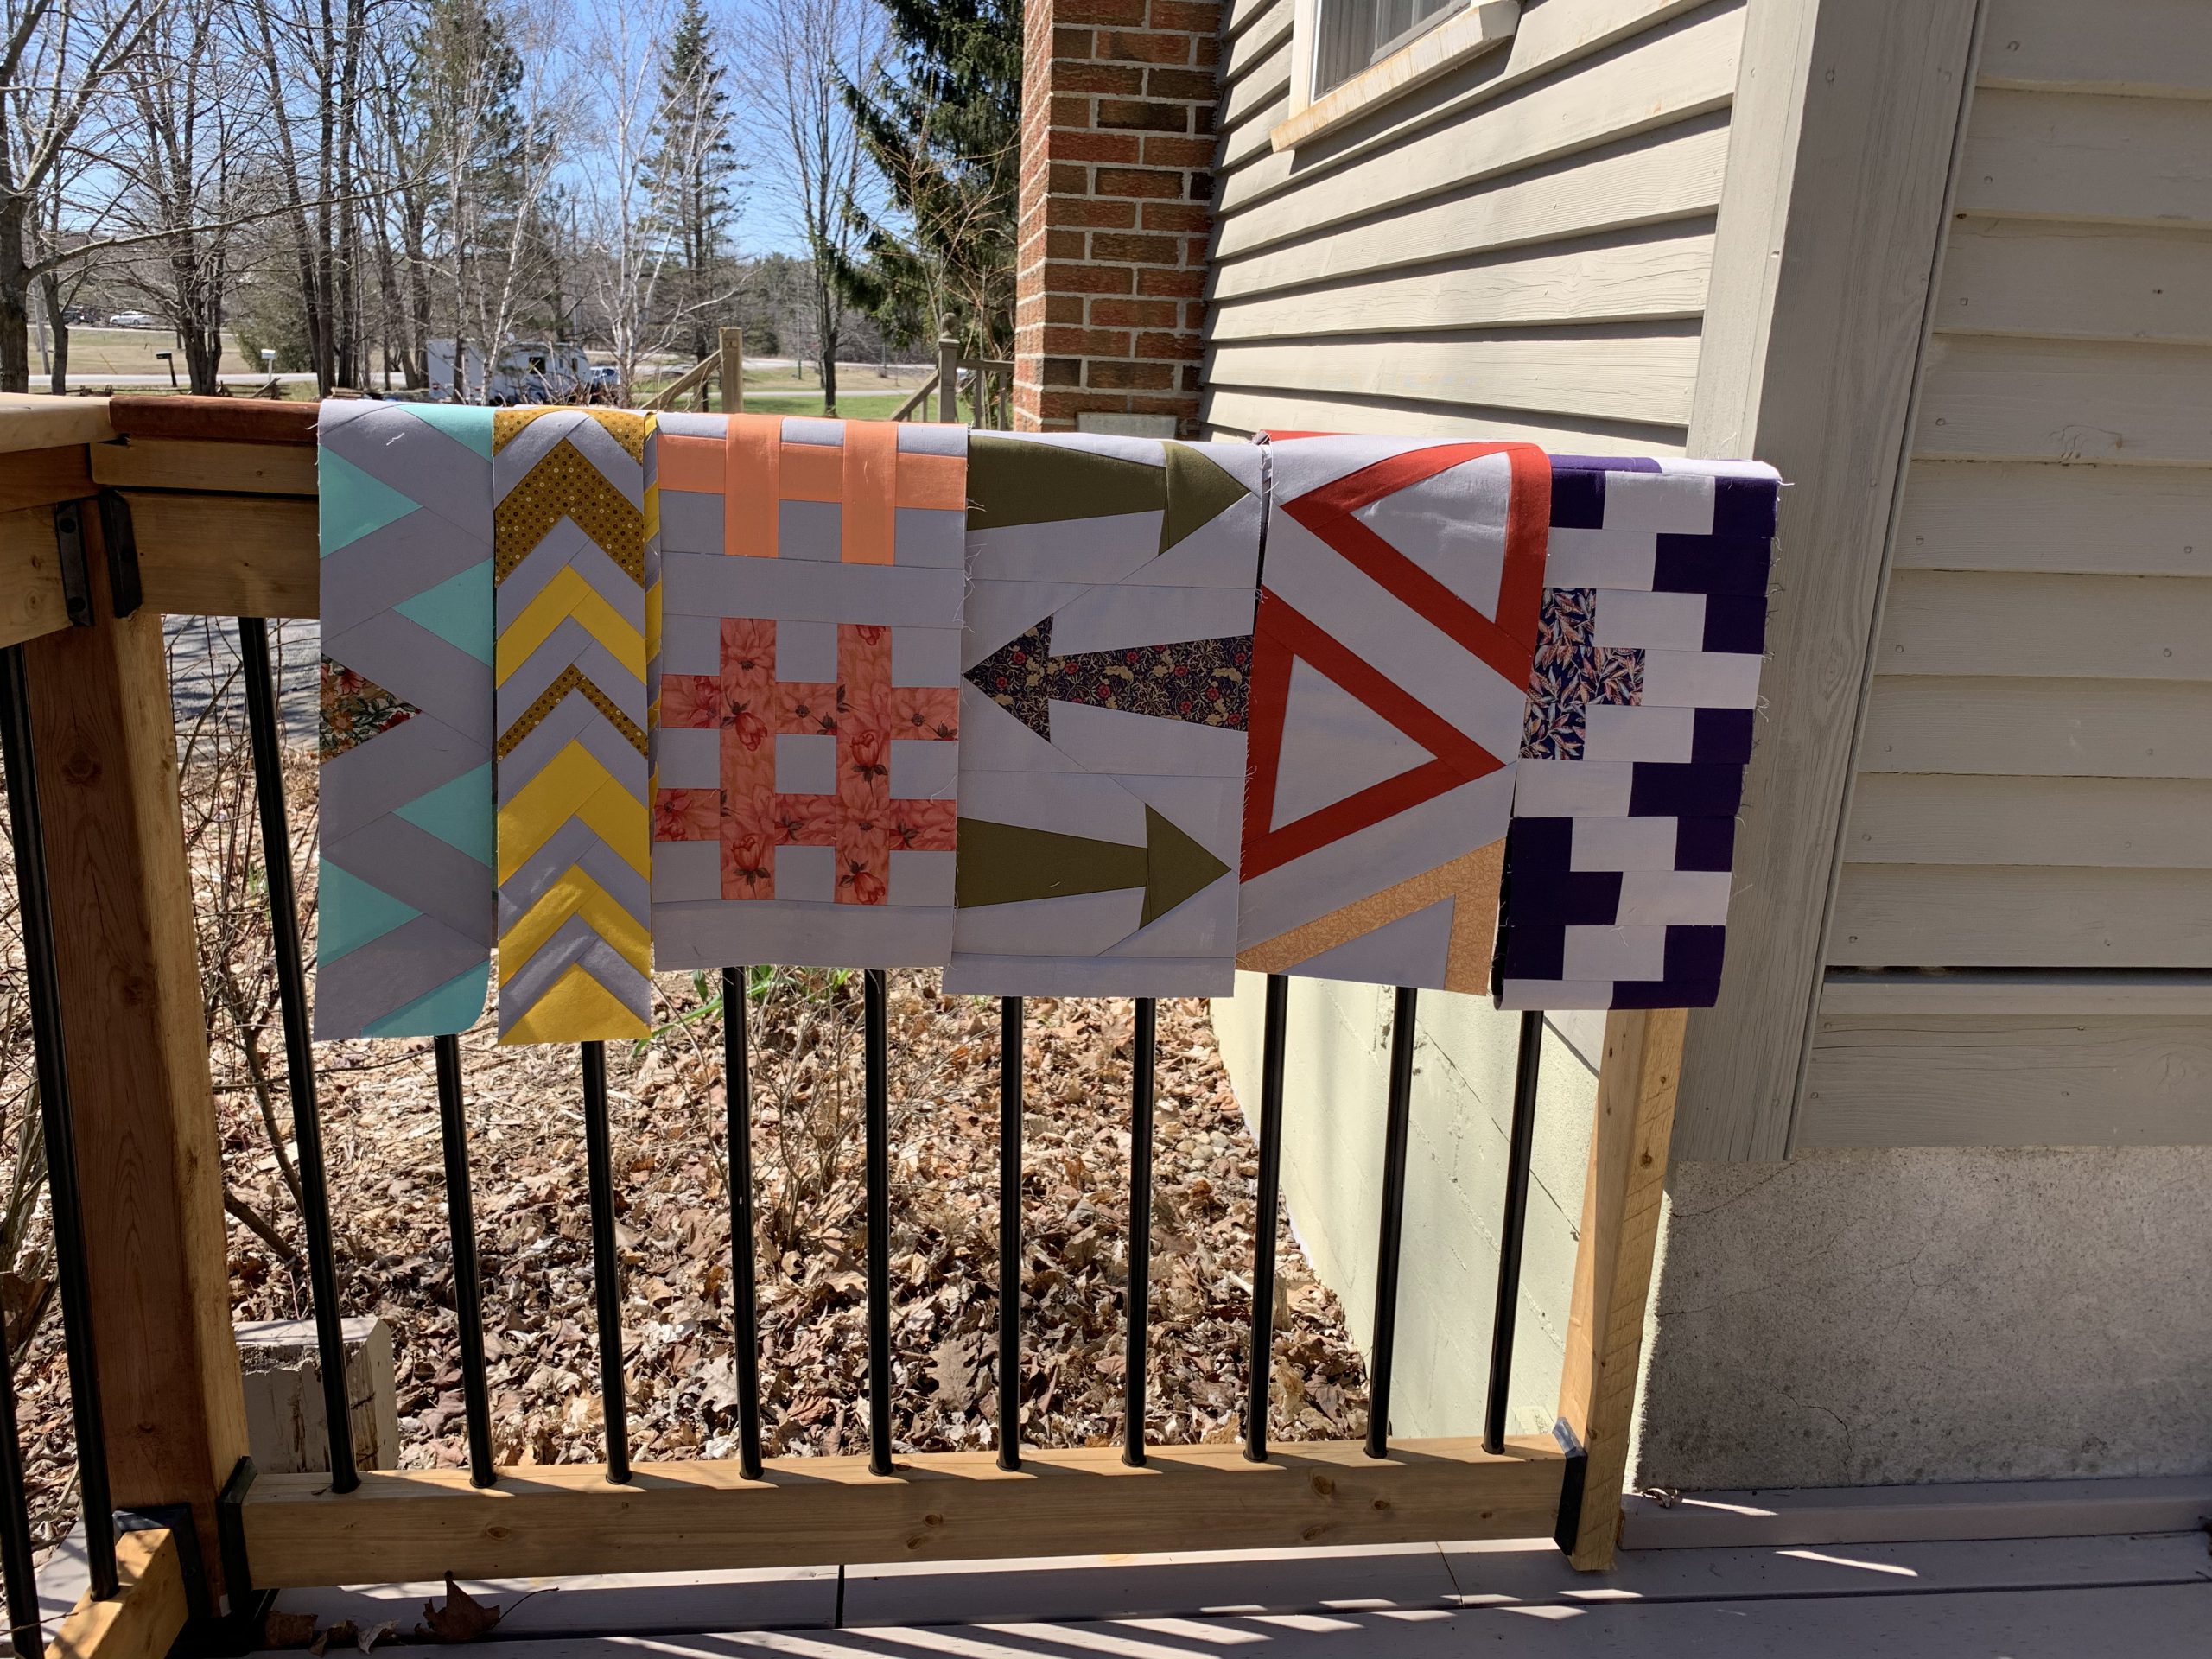
Wow! Half done already and have learned a great deal. Looking forward to the rest of the rows.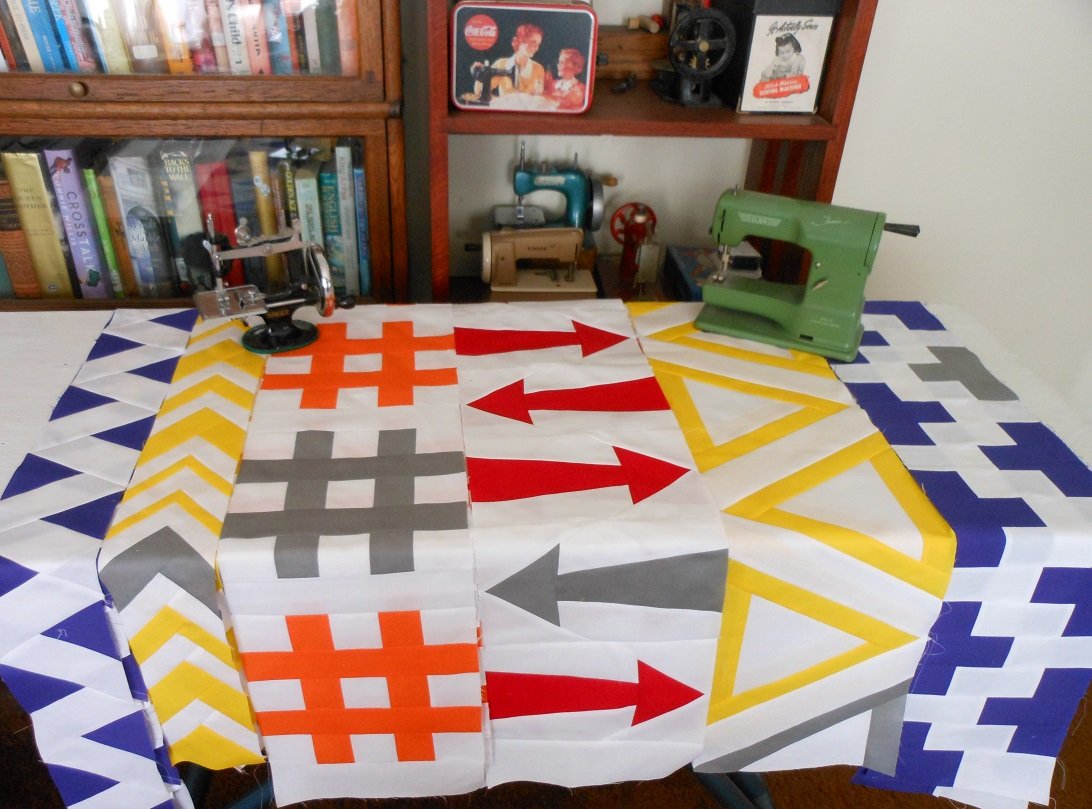
Hi! I’m really enjoying this. Was very intimidated by freezer paper piecing but I’m loving it now!! Here are my finished rows for the QAL. #sugaridooBerninaQAL Happy quilting ?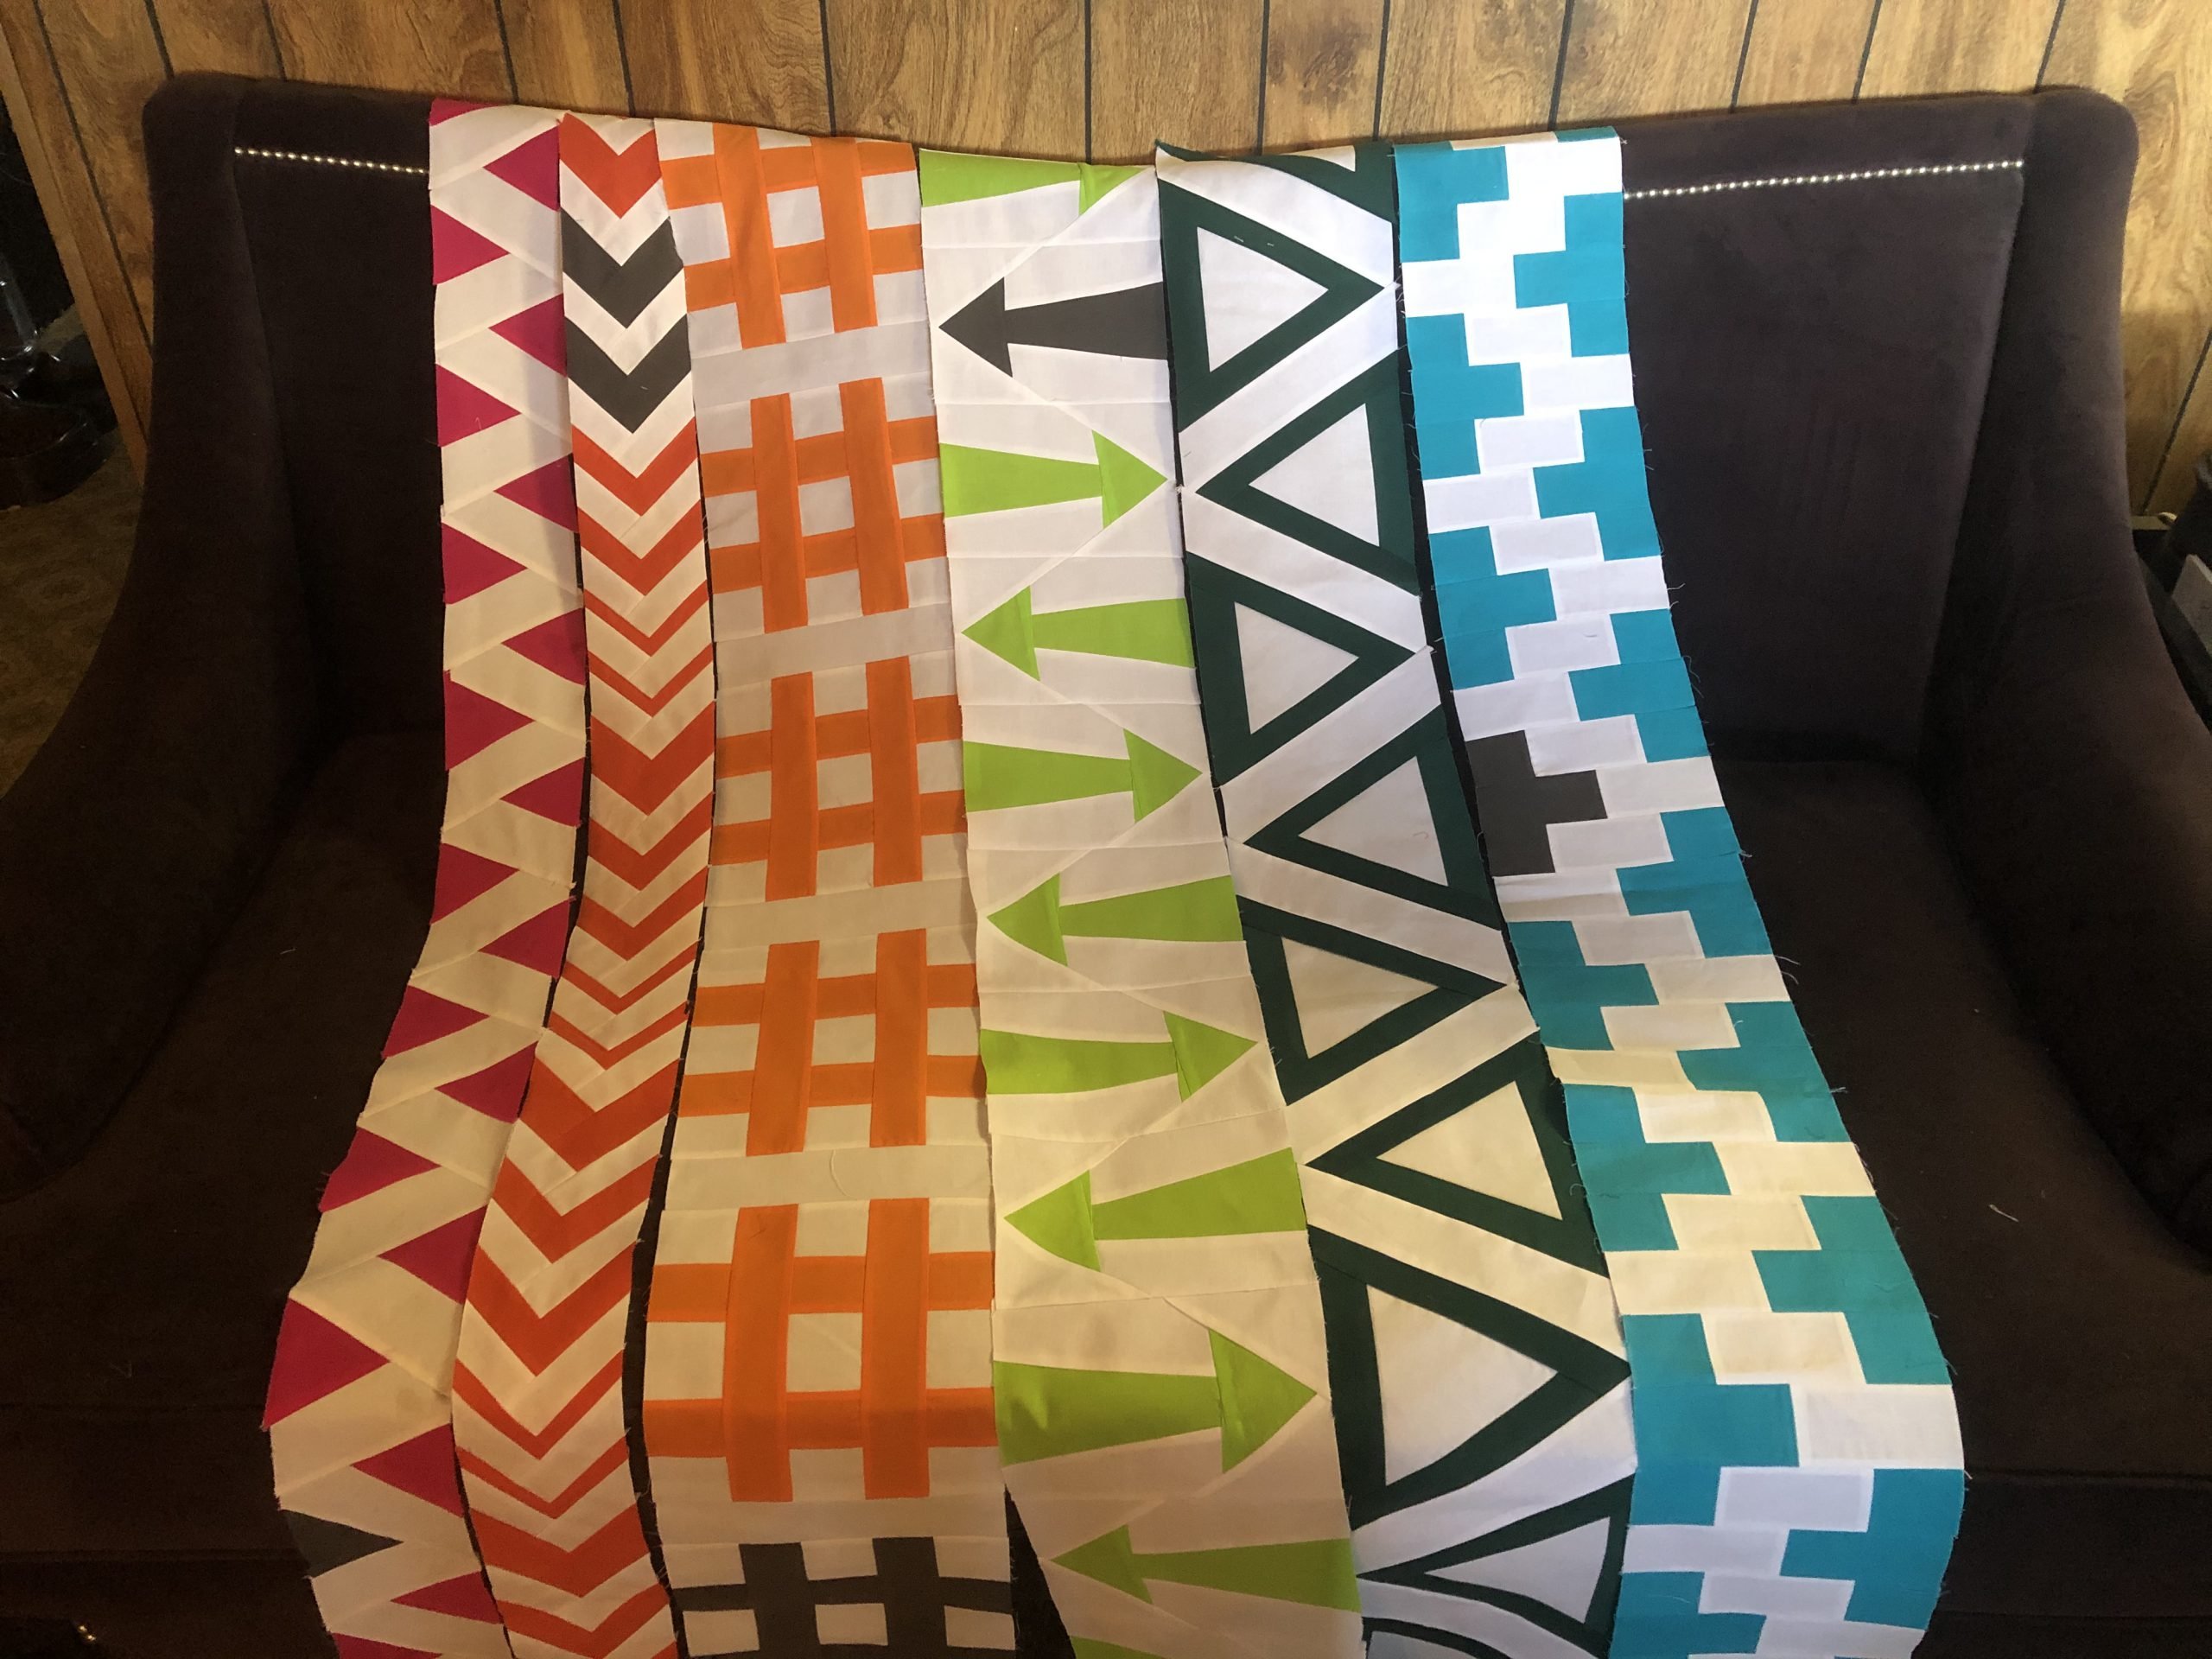
Hi! I’m really enjoying this. Was very intimidated by freezer paper piecing but I’m loving it now!! Here are my finished rows for the QAL. Happy quilting ?
How do we upload pictures of first 6 rows?
Half way there. Here are my 6 rows for the #SugaridooBerninaQAL.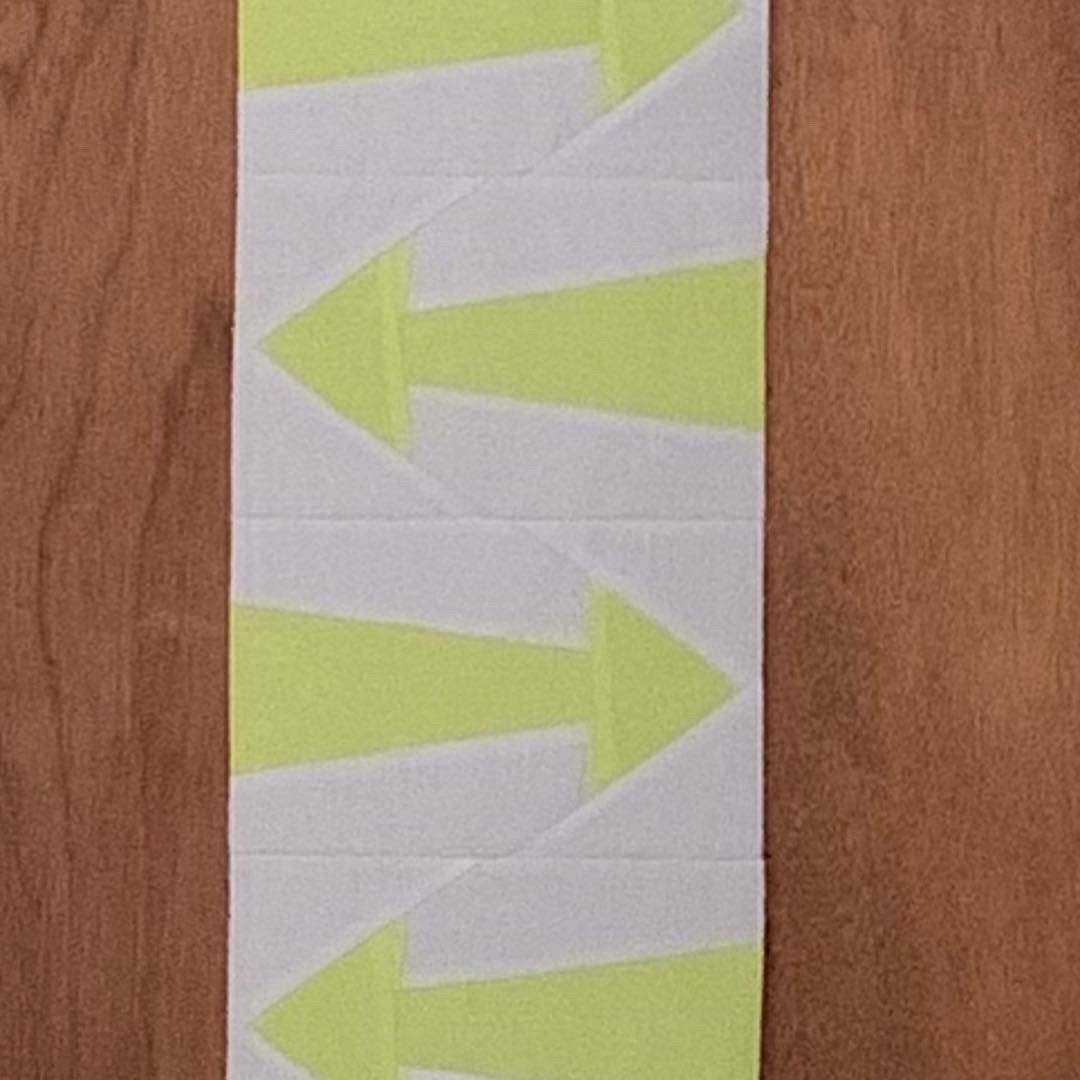
Halfway there! Yay! I am loving the freezer paper method. It keeps everything accurate. Thank you Irene for your very careful and thorough instructions. I am having so much fun and learning new techniques. Renee
Yay! Great to hear that you like this method 🙂
Whoohoo! That looks great. Love a quilt with a view 😉
Great taja13!
Posting Parts 1 thru 6….such a blast this QAL! I hope Irene is planning another – she simply brightens my day. Stay happy and healthy.
Aww thank you so much! Yes I would loove to do another one. But first we’ll finish this one 😀
I wish i could understand how to post a picture to this site. I am trying to post my sugaridoo rows, but I can’t figure it out. Can someone help?
Can u see the picture on the gray bar of the text box? The one that looks like mountain peaks? If you click that icon it will show a pop up and ask you to upload a photo – click that to capture your picture from where you saved your pic…select your pic and click ok – wait a few secs for it to upload. When it uploads make your remarks or not and go to the bottom click the two boxes regarding bernina use and terms of svc then post comment. Done! Hope this helps some!
Thank you diamonddeb932 for your comment and the great explanation on how to upload an image within the comments.
I’d like to mention another option: in our community section we created a special area for the Sugaridoo Quilt Along, https://blog.bernina.com/en/user-gallery/campaign/sugaridoo-quilt-along/.
If you want to post your pictures there, you are invited to create an account on blog.bernina.com and upload your project afterwards.
Kind Regards, Philipp from the BERNINA marketing team
Loving the accent pieces!
My completed Part 6, Row 7 Down & Up…Paper Pieced – Fun Times and we’re halfway there! Love this QAL!
Ooh such a great accent arrow!
The yellow really pops, looks great!
Loving paper piecing!! Thanks Irene!! For making this fun and easy!!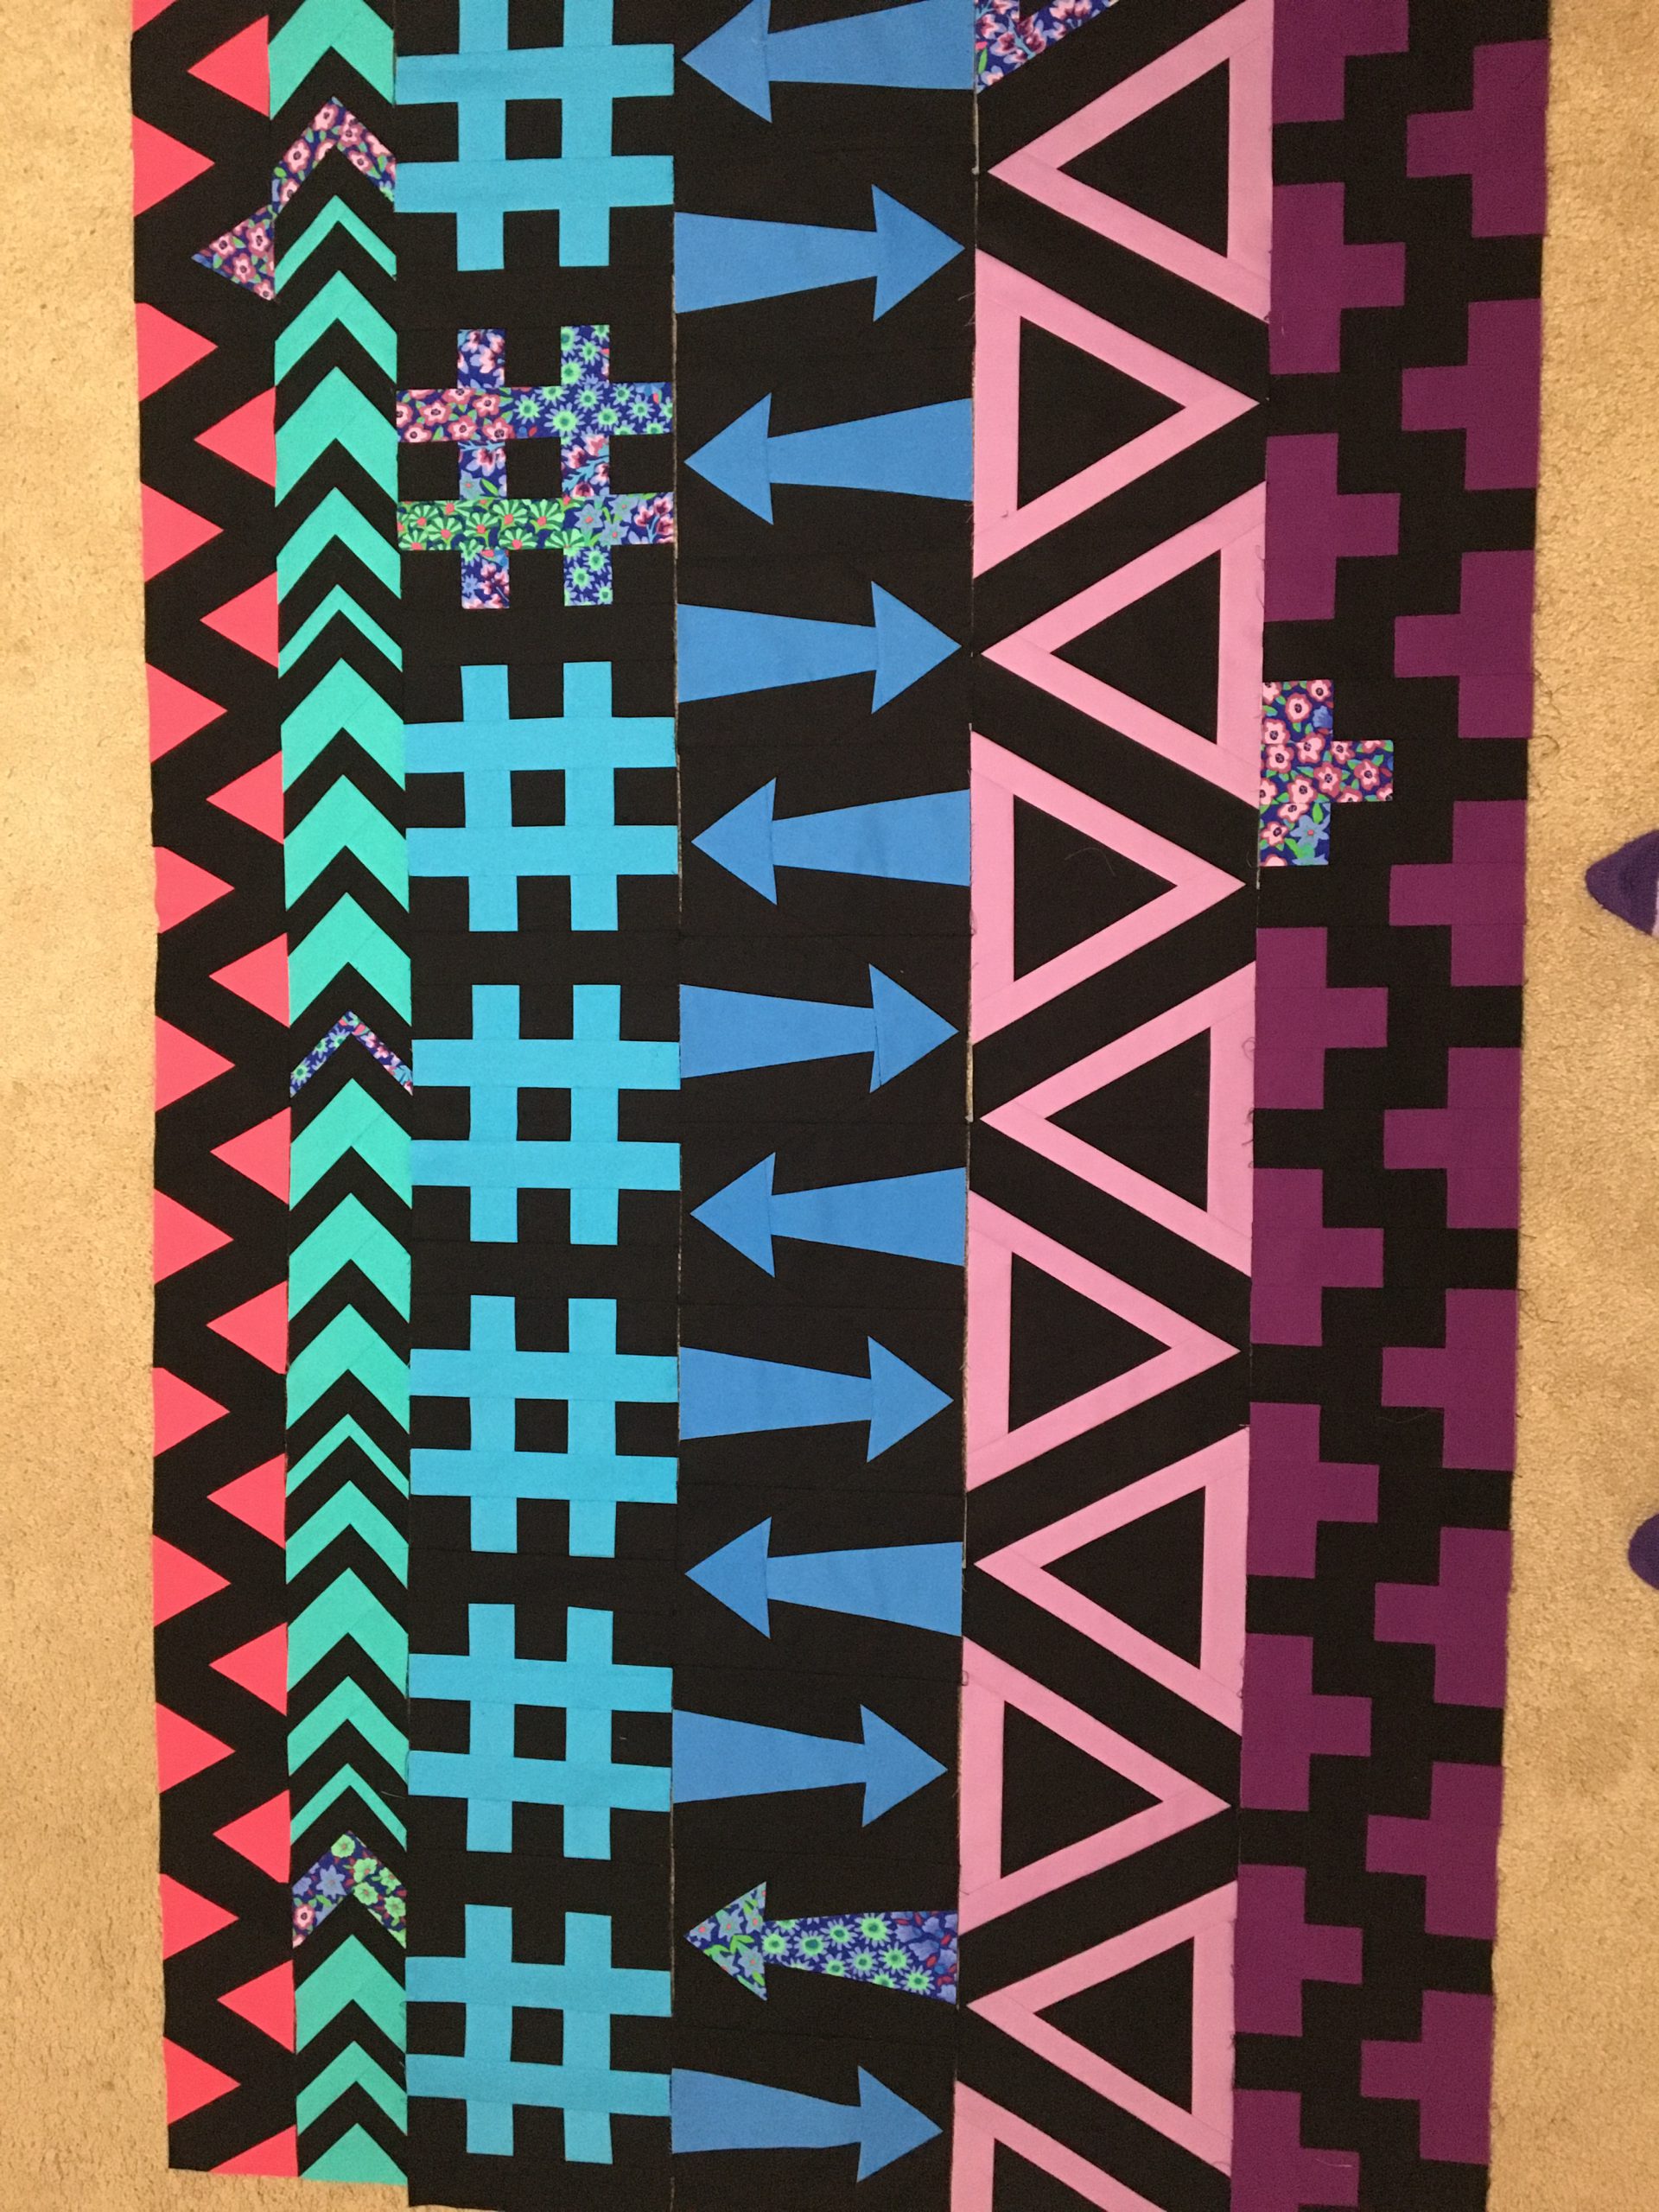
Thank you so much! 😀
wow I do love the black and bold colors!
Such a fun row! I am so glad you’ve introduced me to the freezer paper method of foundation paper piecing! Part 6 Row 7 Down and UP so perfectly captures the emotions of our world right now. Blessings to you all. Be well.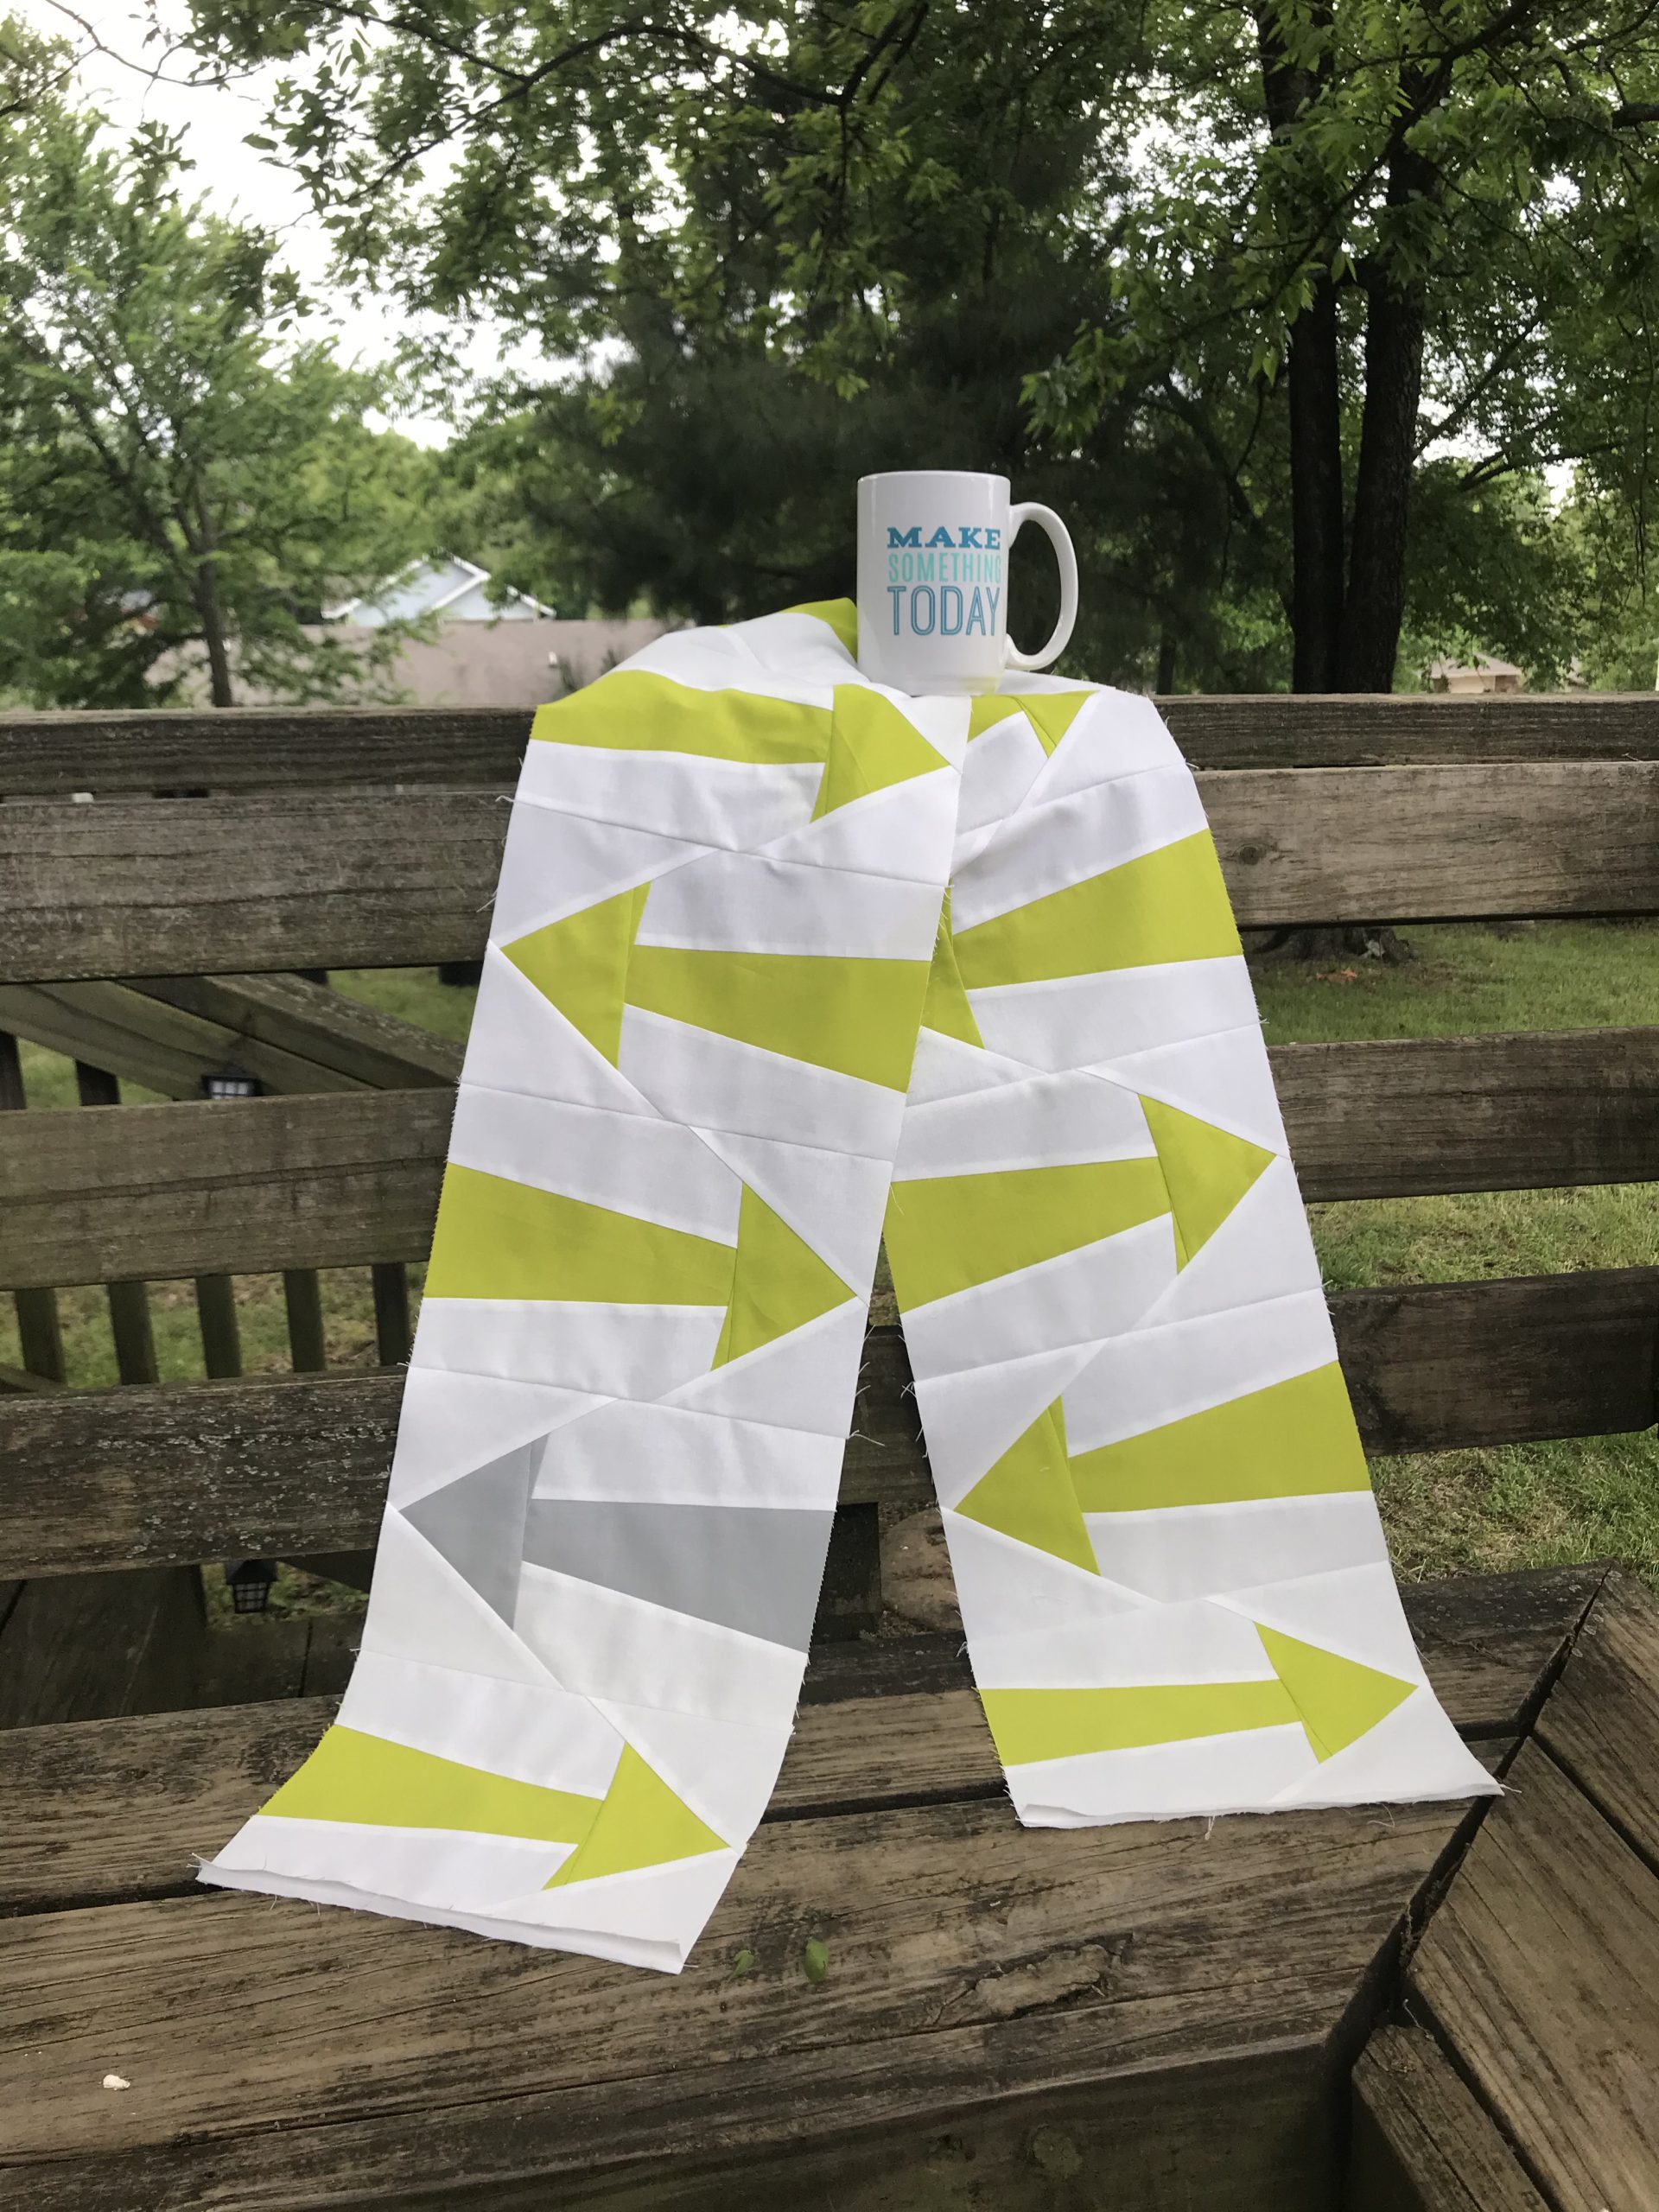
Aw thanks so much. Yes down and up it keeps going. And I think it will stay that way for a while. Let’s focus on the ups and allow ourselves as much time as we need to get through the downs. Stay safe
Starting to really look like a quilt! Can’t wait to see it completed with all the other rows 🙂
color way is awesome
Here are my 6 rows. I’m really enjoying it and learning so much!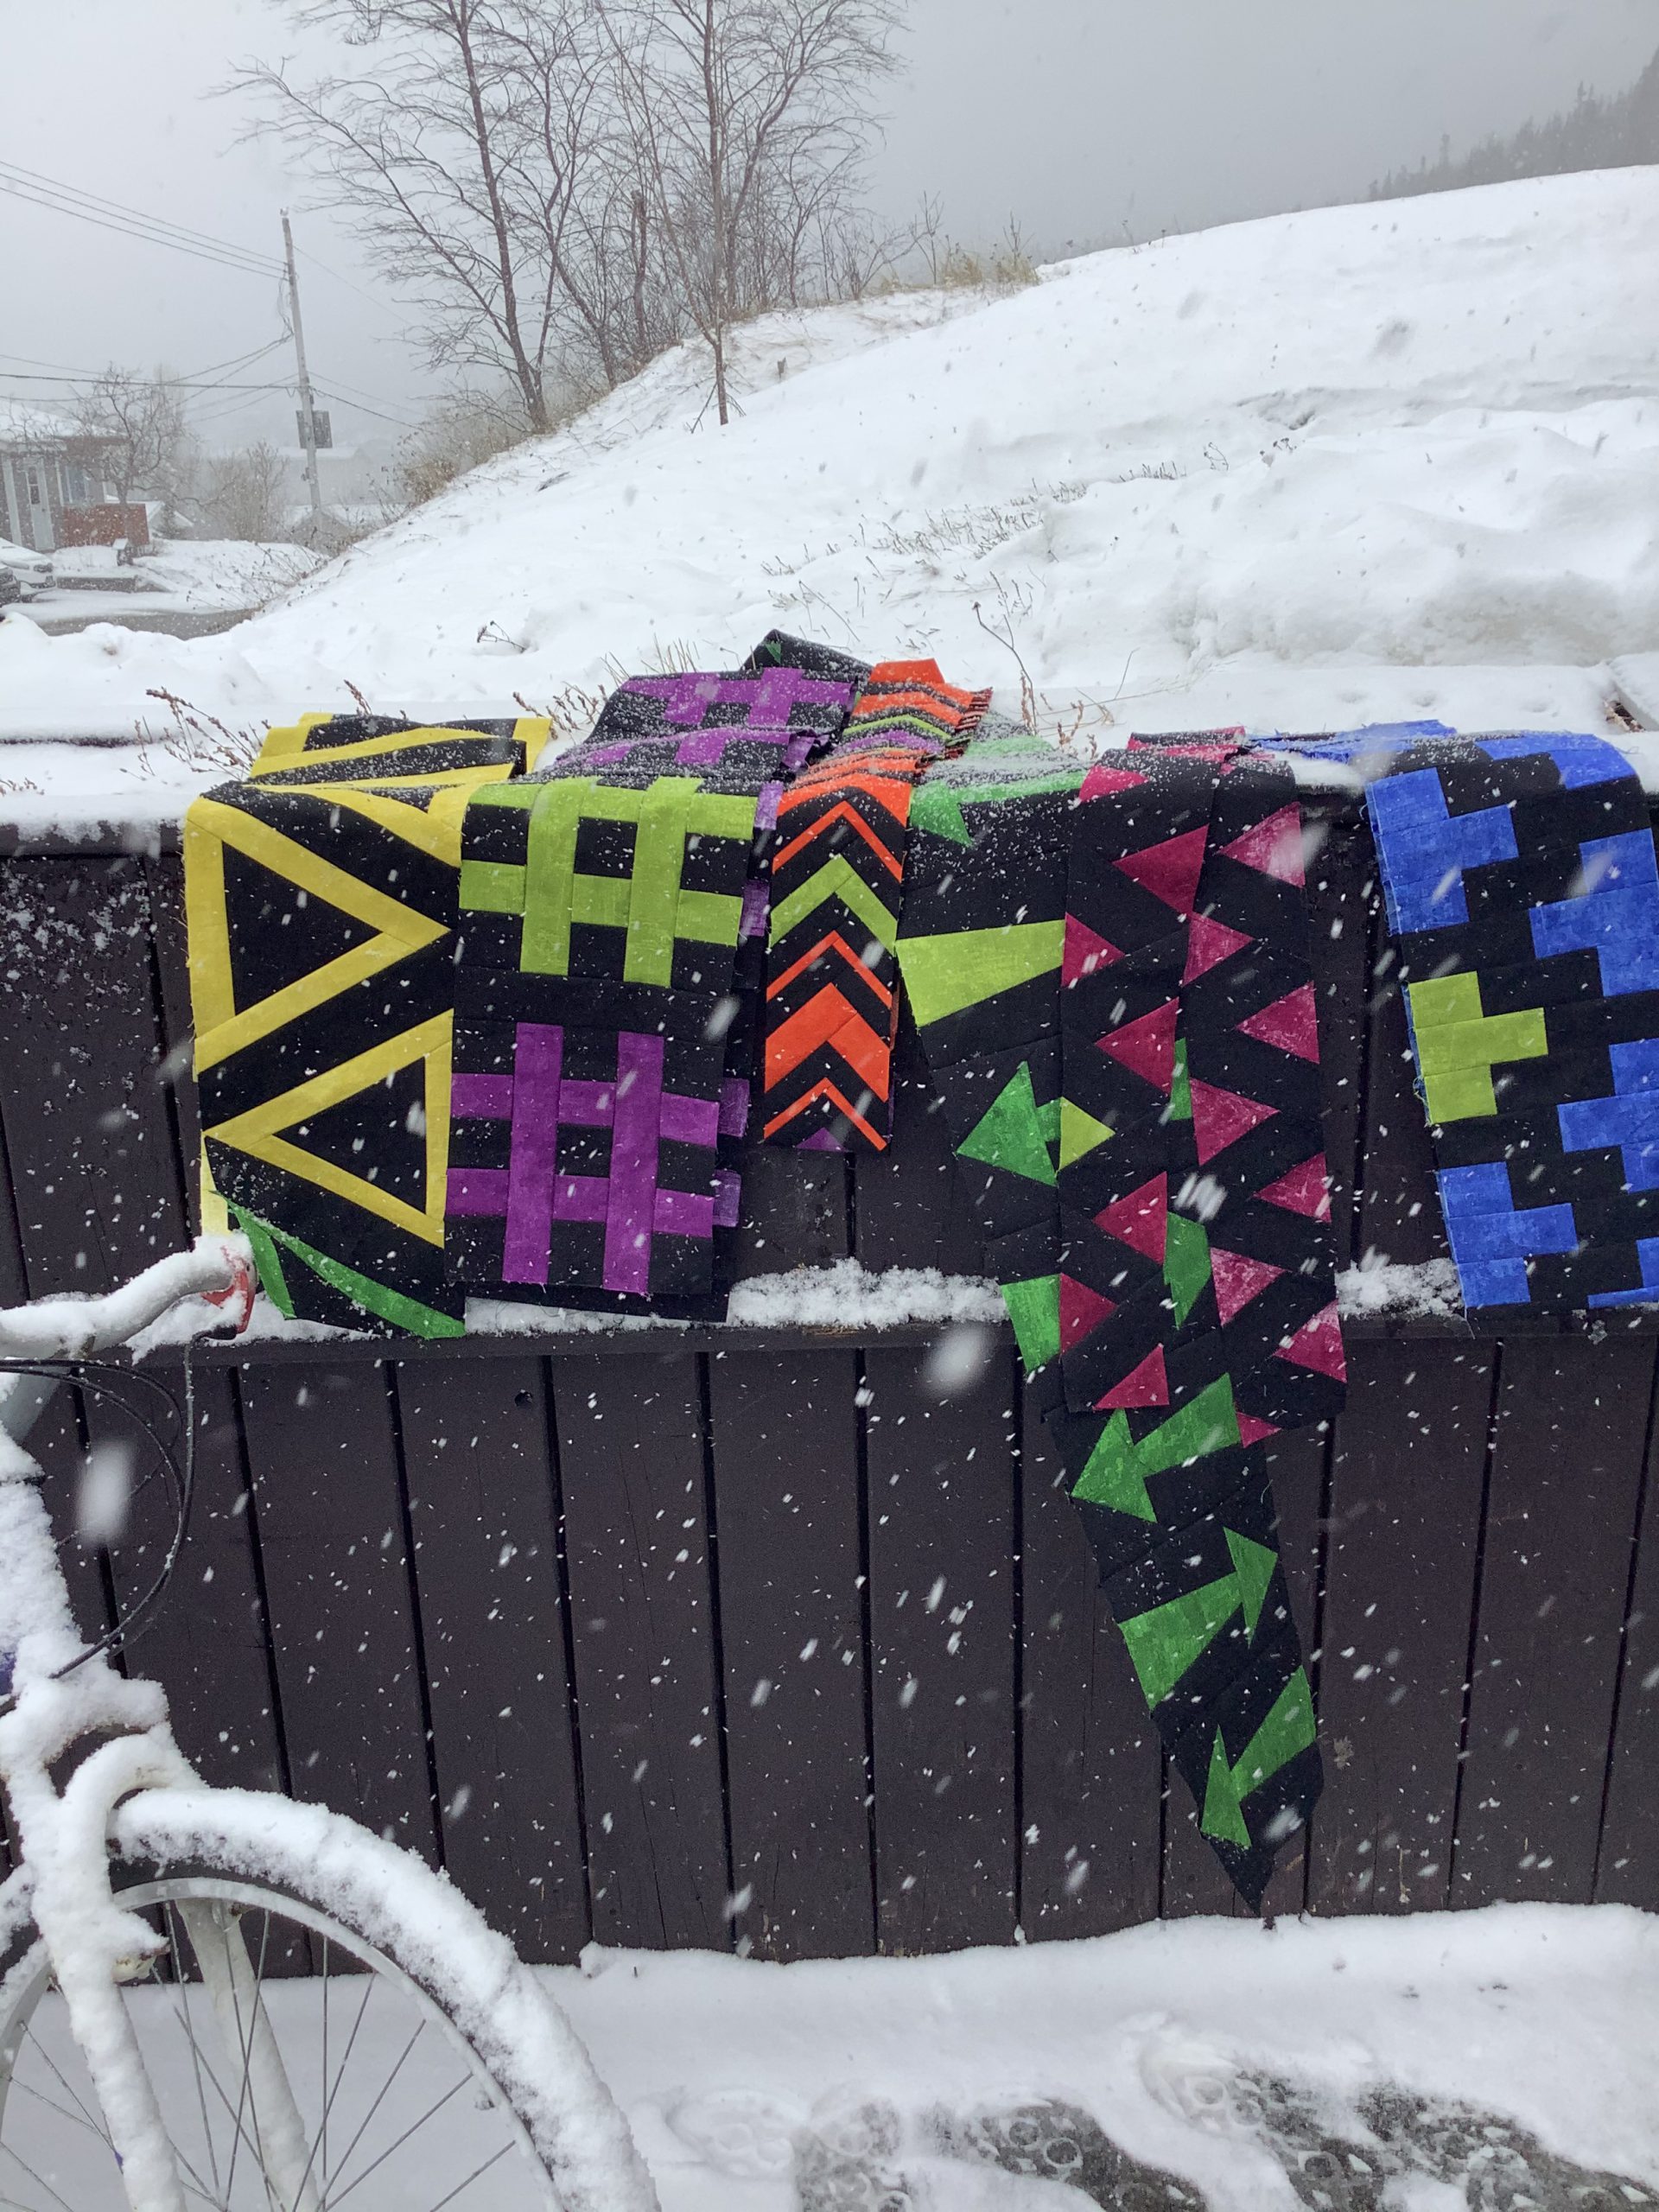
What a great picture in the snow! Love the dark background in the rows, looks awesome
Can you provide more information on how to post our 6 completed rows to the Sugaridoo Quilt-a-long blog? I see the posts, but I can’t quite figure out how to do my own. I don’t have Instagram.
Thanks, Kathy
Sorry, I figured it out. Click on “New Project”
Great you found it out!
Part 6/Row 7 completed! I was short of yellow fabric, so had to do 2 blocks in accent colour (one of which I made a mistake on, so it is a wonky arrow – my spot the difference block! And, because of that same shortage, I had to skimp a bit so had to trim all of the blocks to 8 7/8″. But, I am pleased overall with the row and enjoying foundation paper piecing more and more. Thanks Irene!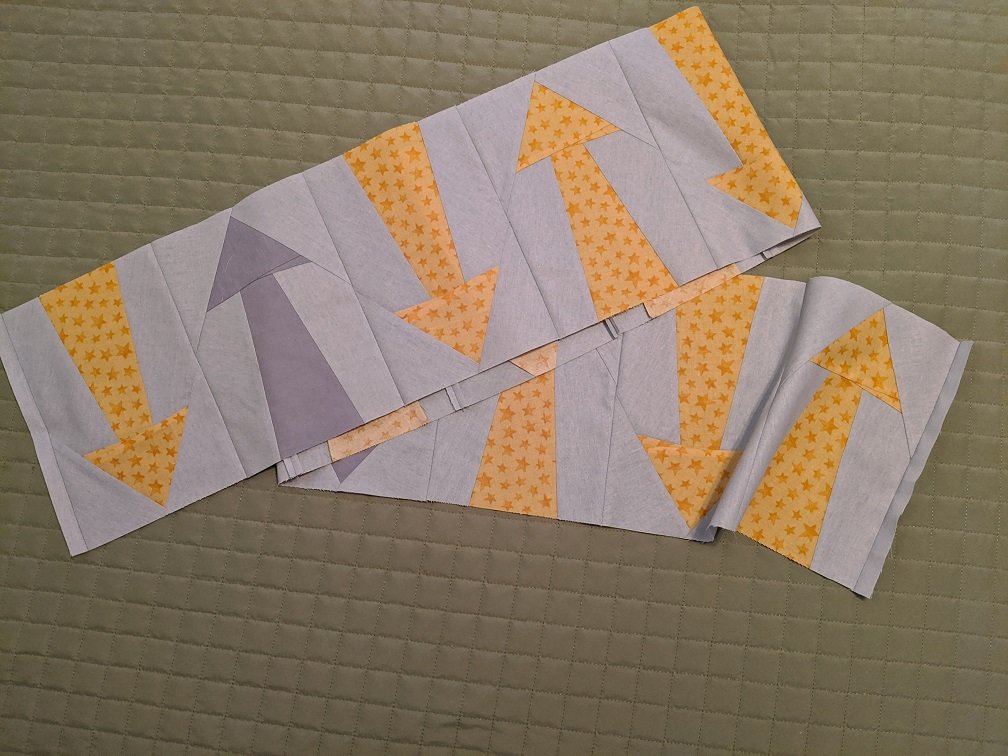
Love it! And more accent blocks will be great in the quilt 🙂
Sorry, I forgot to put the picture in my previous comment ?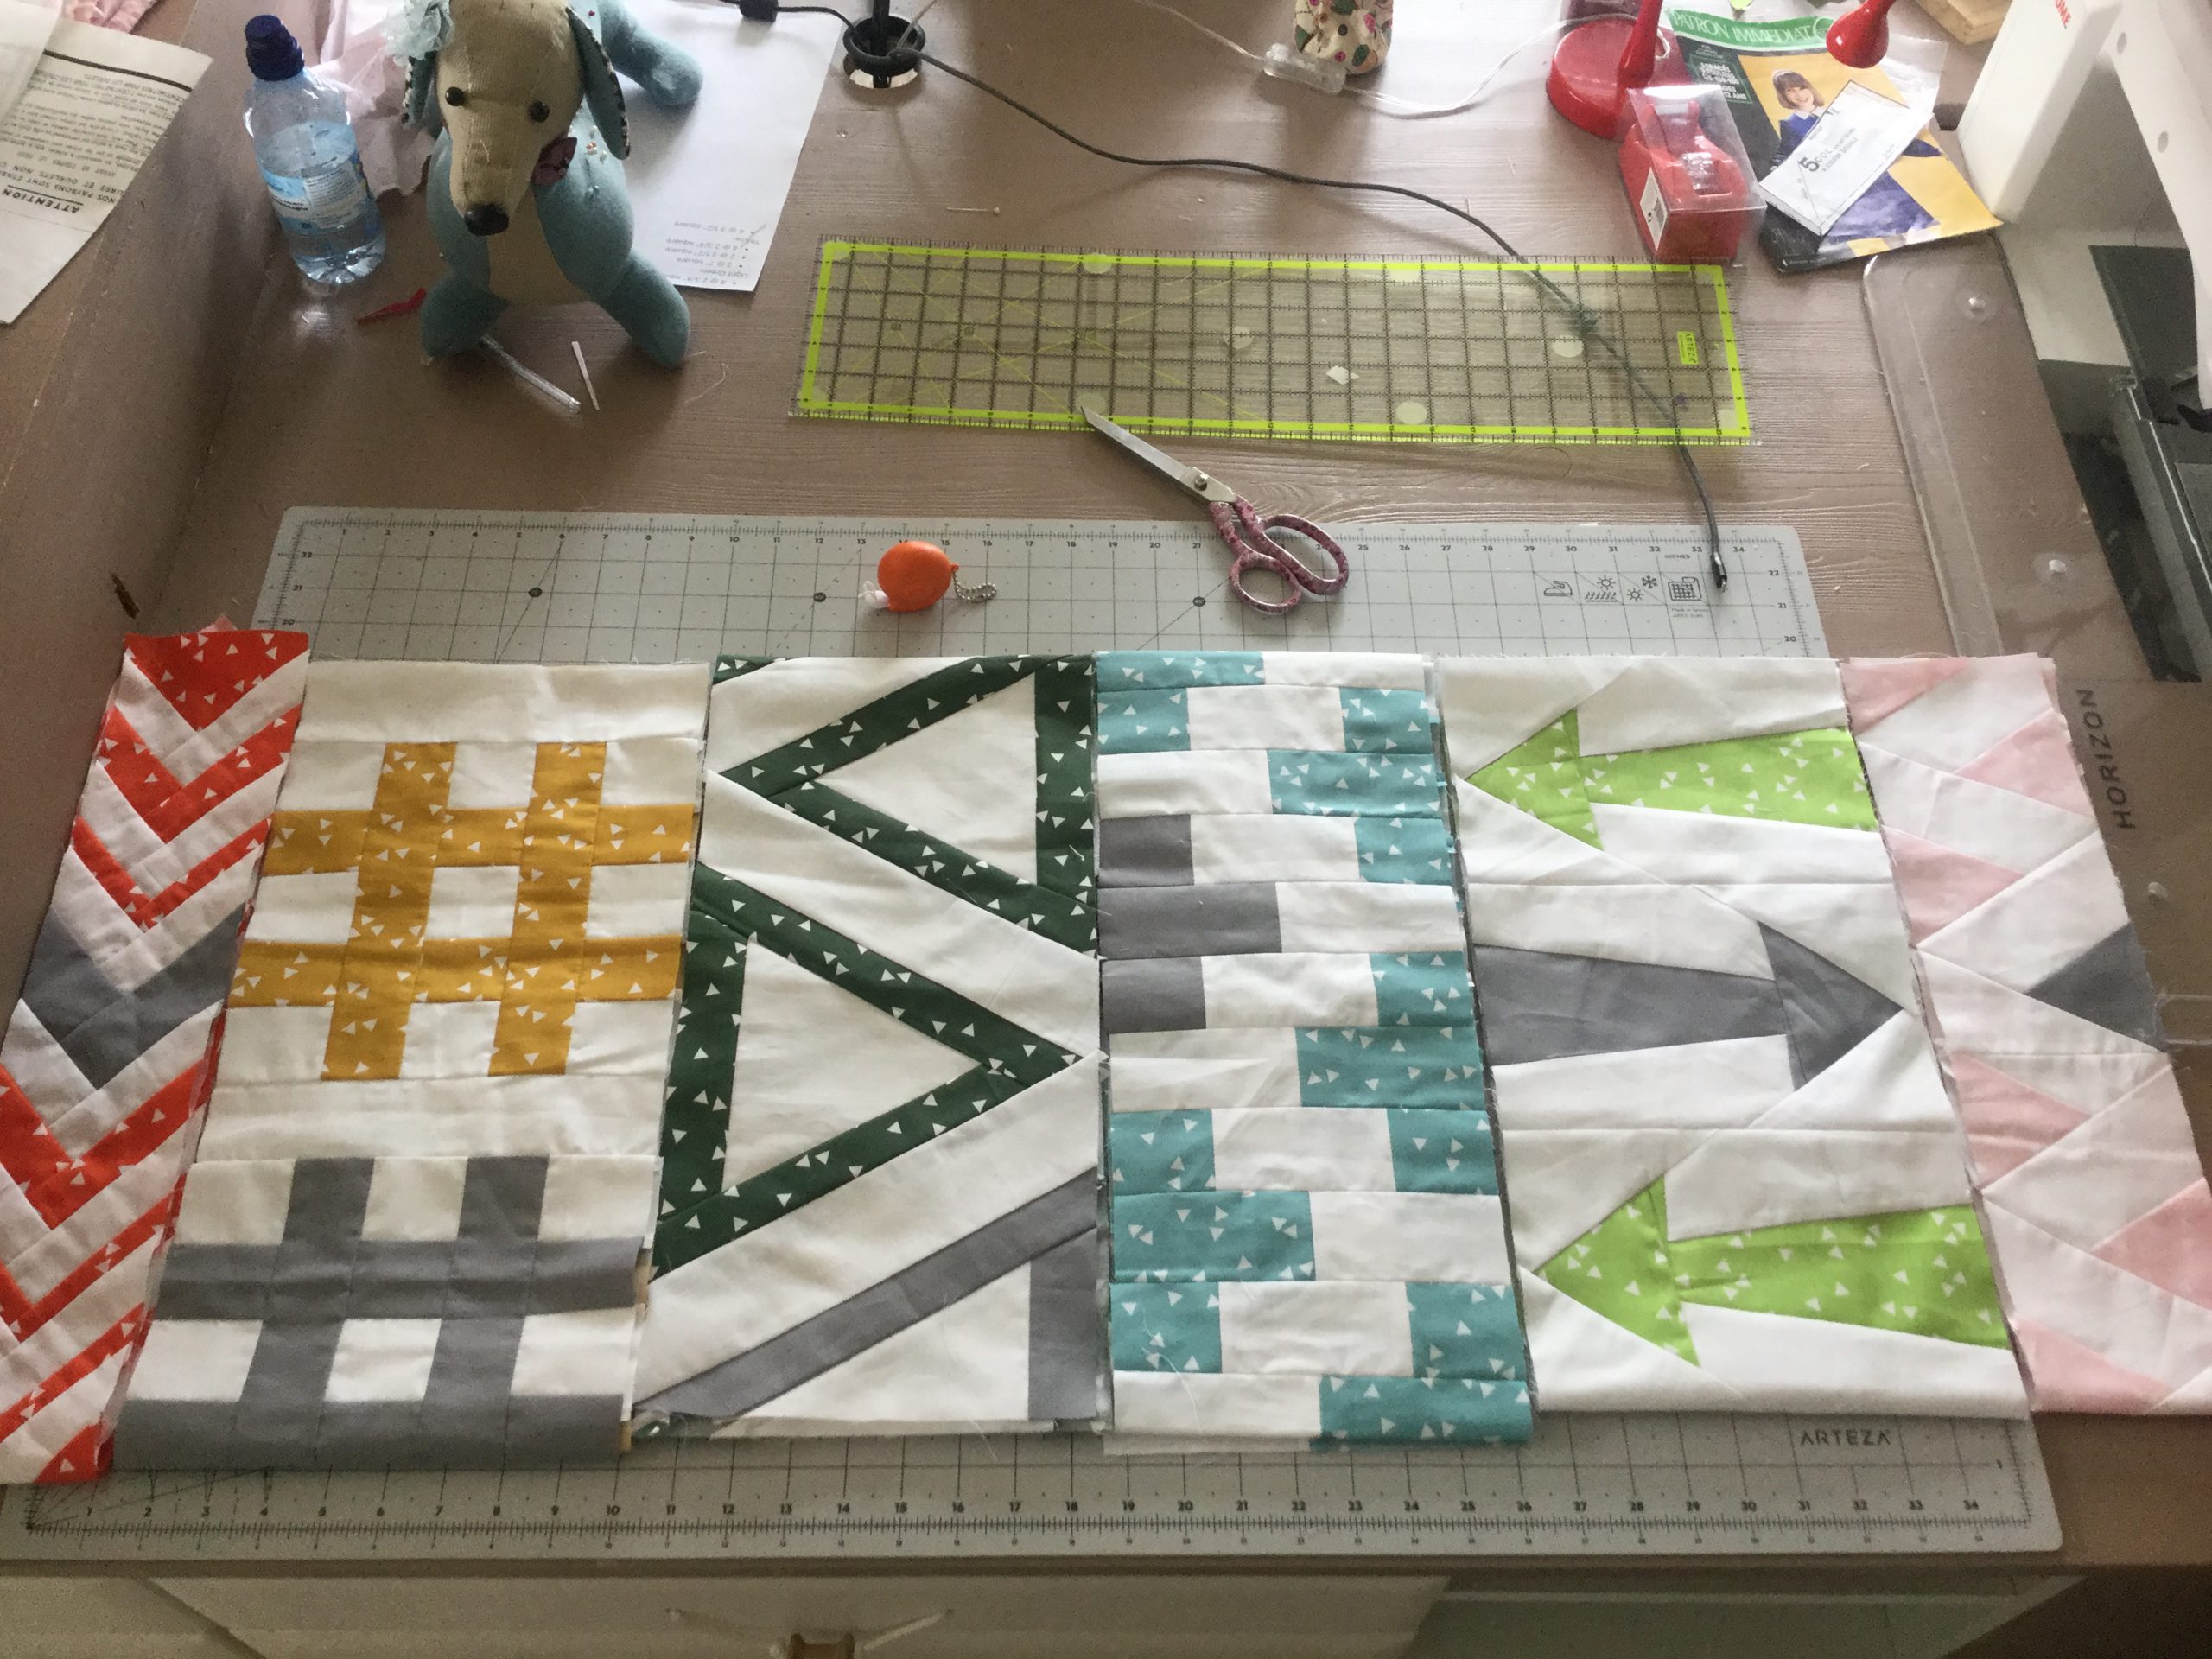
Here is my work so far, with the 6th row now finished. No mistakes this time so it’s an achievement! I just hope I have post it in the right spot as I don’t know how to post it in the main Bernina blog post about the Sugaridoo SAL.
Thank you
Hi Valerie, thanks for sharing! Love your fabrics 🙂 To enter the giveaway you should post your picture in the Bernina comunity: https://blog.bernina.com/en/user-gallery/campaign/sugaridoo-quilt-along/
Where is the pattern for Row 6?
i can’t find it. Ive looked a few days ago. Got frustrated. Came back today. Looked again. Still can’t find the PDF pattern to print out. Now I’m more frustrated. Please just say where it is hiding. Thank you
Under paragraph ‘Pattern’ you will find the link to the pattern.
This is such a fun quilt. On this 6th row I was able to cut freezer paper to the paper size of my printer so I did not have to trace the paper piecing patterns. That saved some time for sure. I also found that cutting out the pattern pieces with a ruler leaving a 1/2 inch all around was easier than just cutting them freehand. Everything fit nicely. I recently acquired a really cheap light board from Amazon and that made checking my piecing incredibly quick.
Those rows look wonderful! And a light board is such a clever idea
Thank you for giving us directions so we can draw the pattern ourselves when we don’t have a printer available! So thoughtful! Be well everyone!
Thanks! Happy that it helps
Thank you so much Irene for this wonderful quilt! This is the most fun that I have ever had making a quilt, and I have been sewing for over 63 years. I’ll try to post pictures of my finished rows if my Internet Service will cooperate. Thank you for adding much joy to our lives, especially when there is so much sadness in the world. Wishing you and your family, and everyone else, good health. Be safe.
Thank you so much Marjorie, your words really warm my heart! So happy that the QAL is bringing you such joy. Sending you a big hug!
Oh! This looks like fun! Thank you! Be well everyone!
Thanks Kris! 😀
I bought fabric from my local shop, but planned to buy as I needed. I’m out of background fabric and now the shop is closed… And I need the same one… So sad!
Ah yes that is sad.. Hope that everything will go back to normal soon. Stay safe