 BERNINA Corporate Blog -
Hot Air Balloon Applique with embroidery
Click on links below to Instruction PDF and embroidery designs.
Applique with embroidery instructions PDF
embroidery files and clipart This is a zip file.
Basic Applique instructions for Bernina Embroidery Software This a the PDF of basic instructions from lesson 1
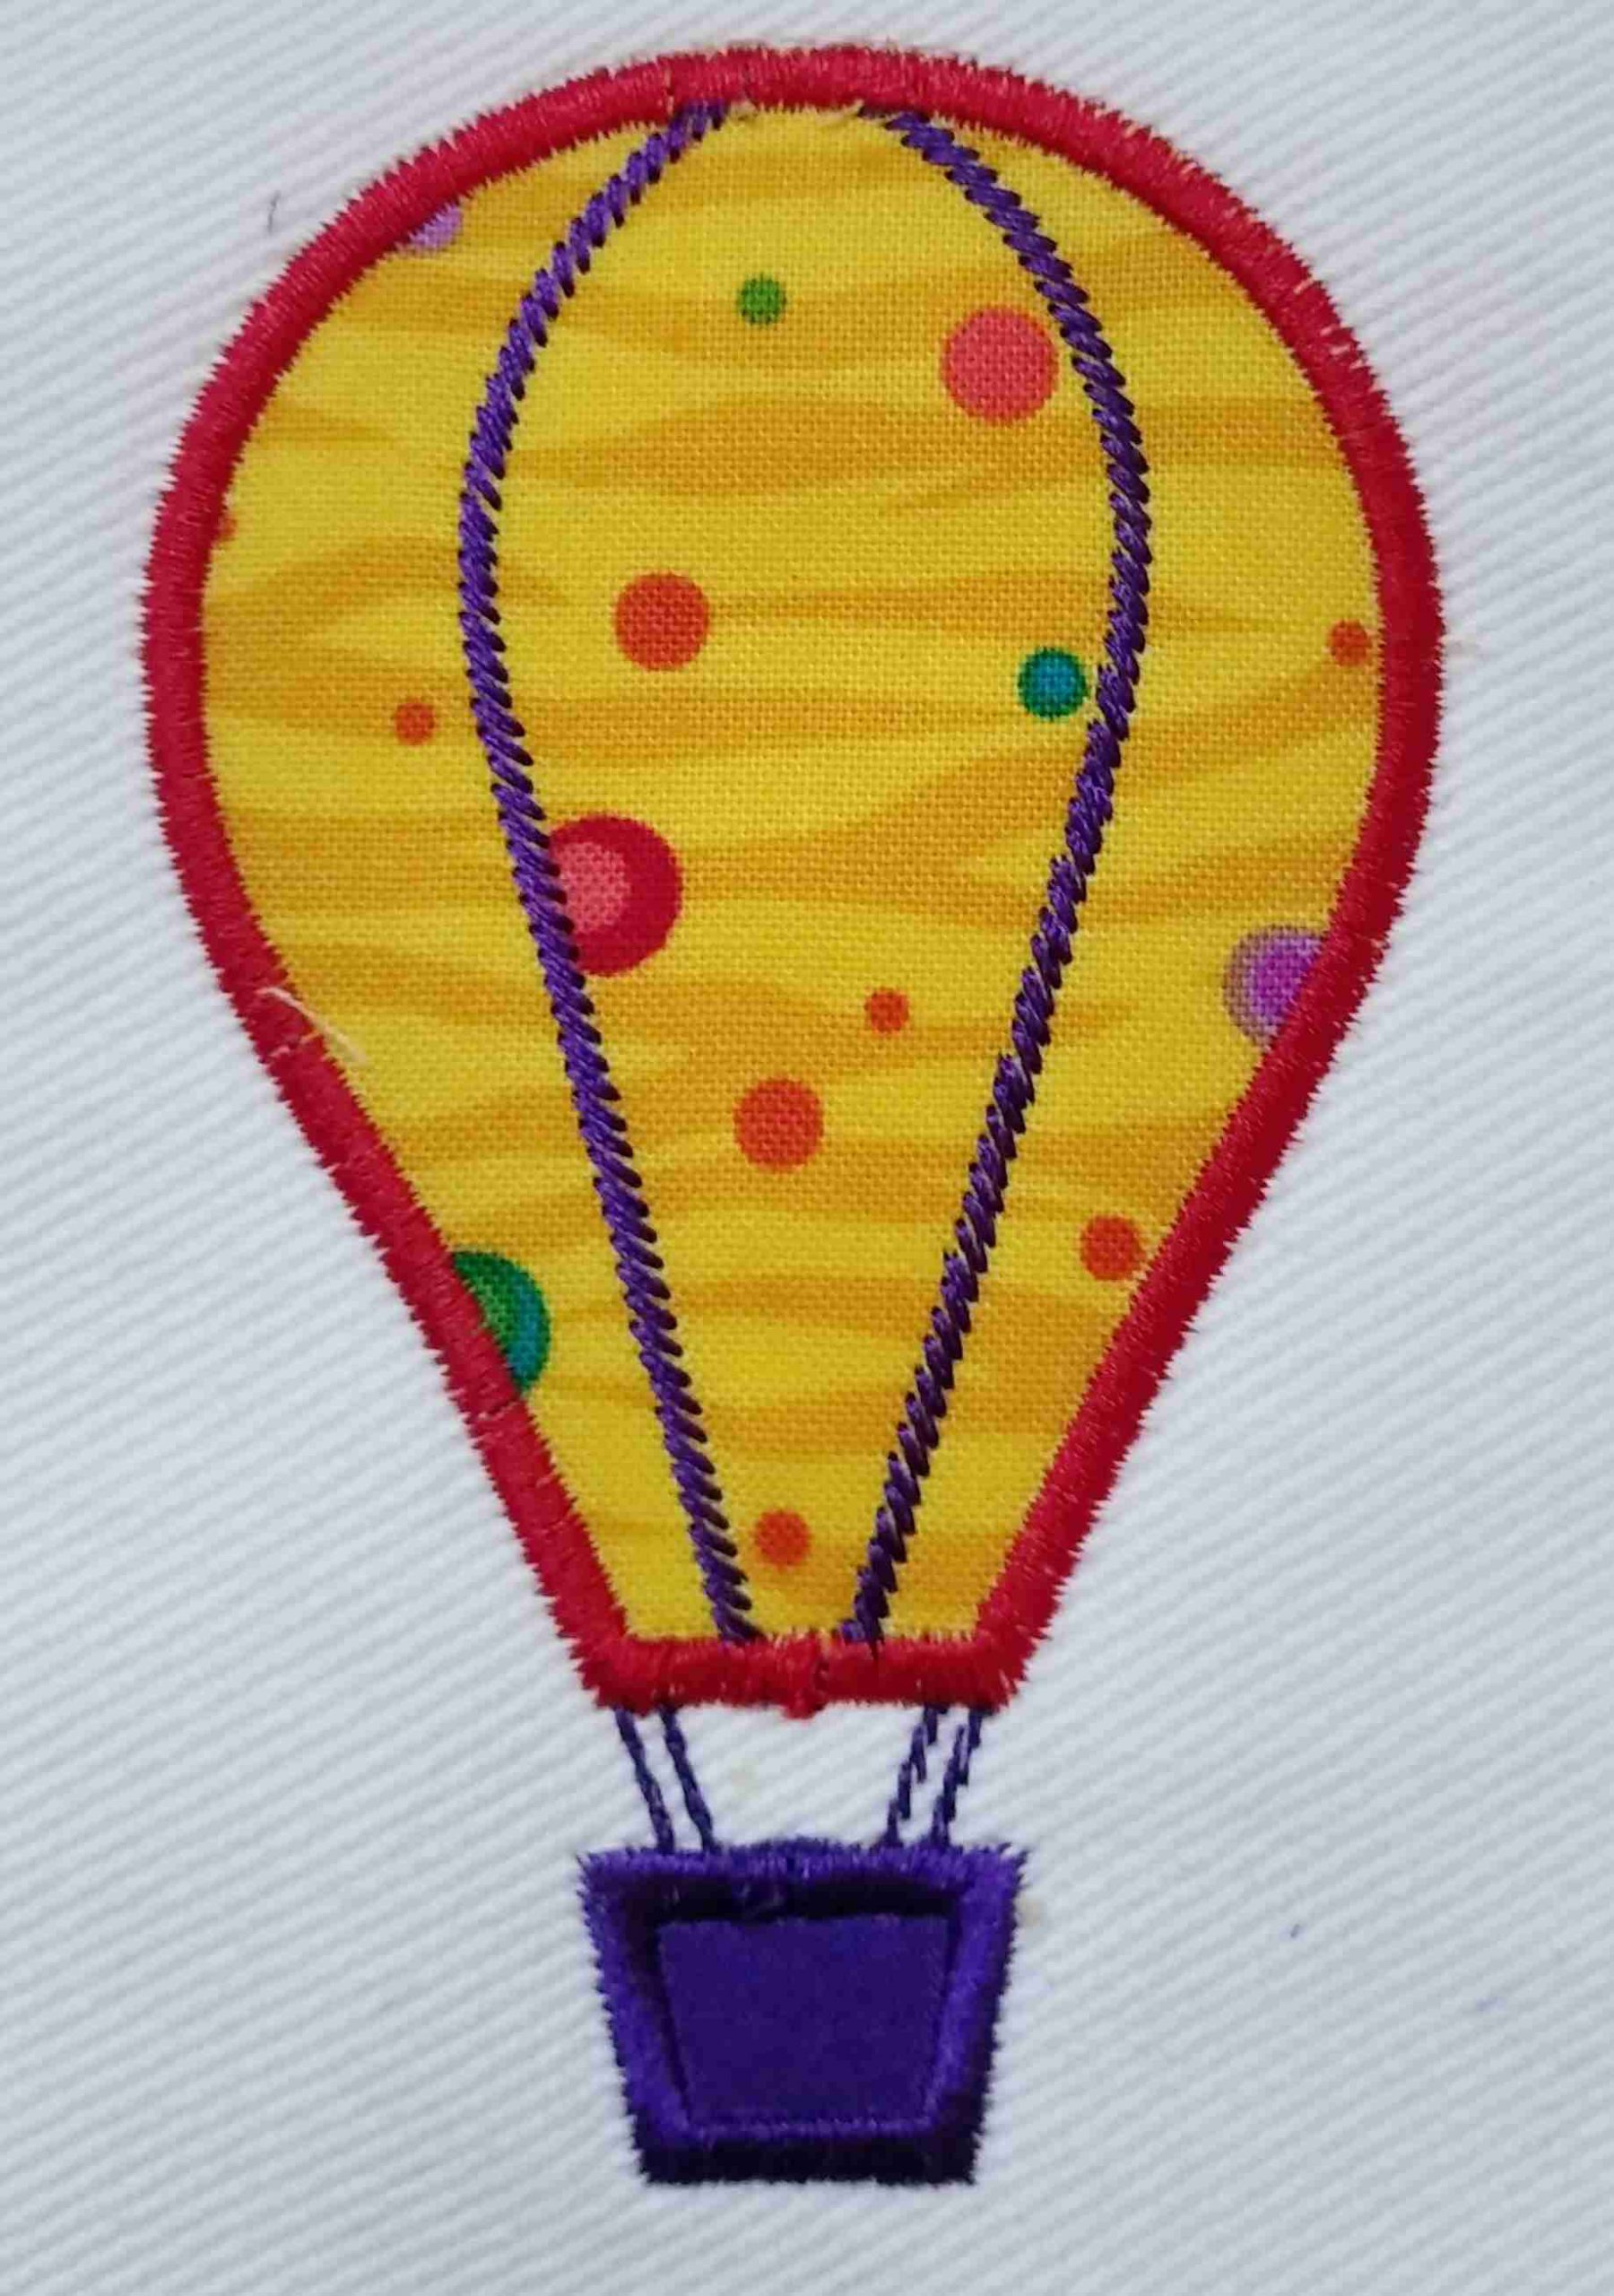
Adding embroidery to an applique is easy with Bernina embroidery software and adds another dimension to an applique, but it can change the order in which the applique is stitched. Here is a simple example of a colourful hot air balloon which combines embroidery and applique and can be personalised. From one simple design or drawing different appliques can be created. The Balloon might be just one fabric with embroidery added or could be several different fabrics. The cover stitches do not have to be all the same colours. I hope this design will help you see some of the different possibilities.
Balloon Applique 1
The first instructions are for a balloon with just one colour of fabric for the balloon to which embroidery is added and one colour of fabric for the basket.
Tip use the Help menu which is on the top toolbar (which is excellent and easy to use ) if you have not, for example, used ‘artwork canvas ‘to insert artwork, or any other technique used in these instructions.
Reminder The stages of the applique and suggested settings can all be found in lesson 1 and the attached downloadable PDF.
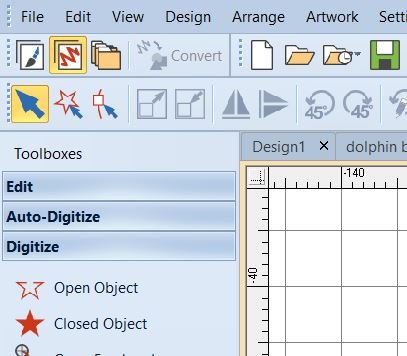
1.To insert the clip art click on the artwork canvas icon to open this canvas. This is the paintbrush icon below the File menu.
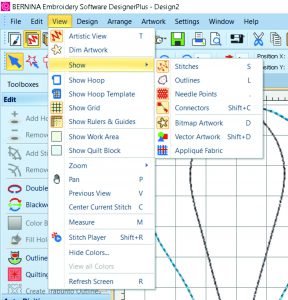
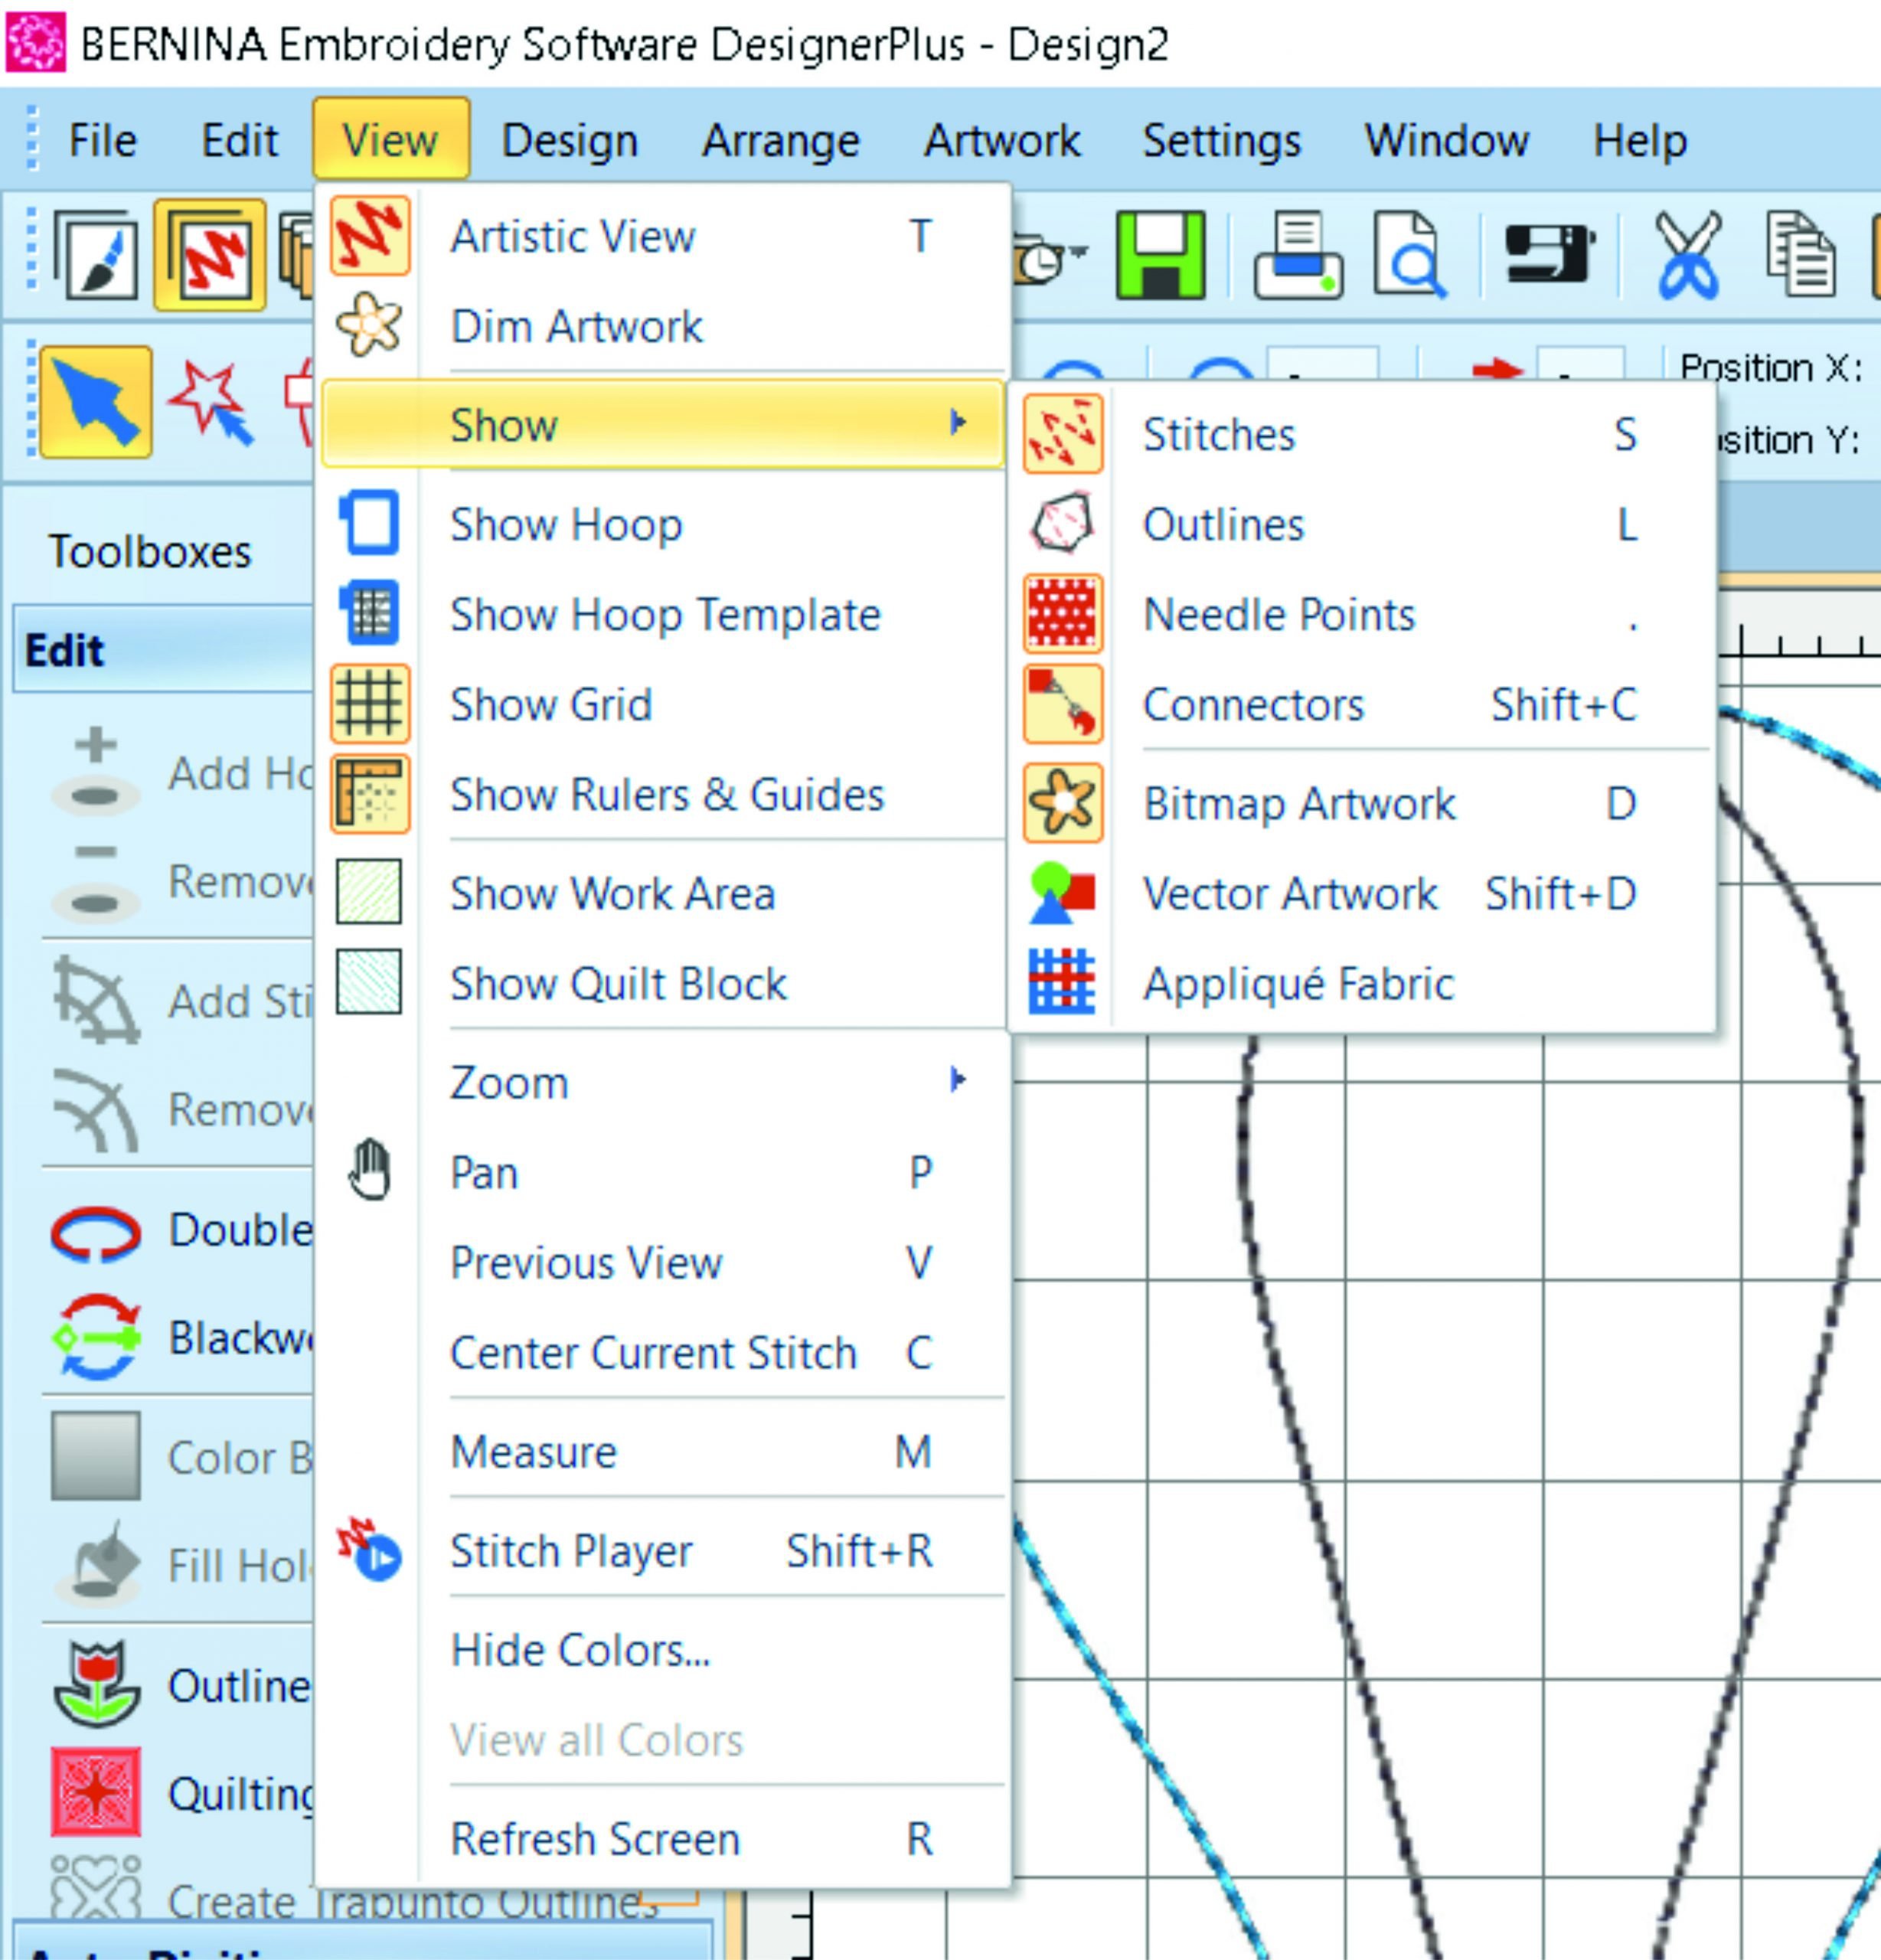
- Select the insert artwork icon, navigate to the saved clipart, and double click to insert it. Click on the embroidery canvas icon to go back to it. If you cannot see your artwork go to ‘View > Show>Bitmap Artwork’ or click on the Bitmap Icon on the ‘View Toolbar’.
- Using left clicks for straight lines and right click for curved shapes digitise the placement line for the balloon. Use the backspace key to correct any errors.
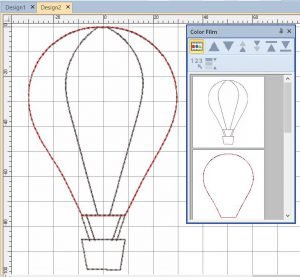
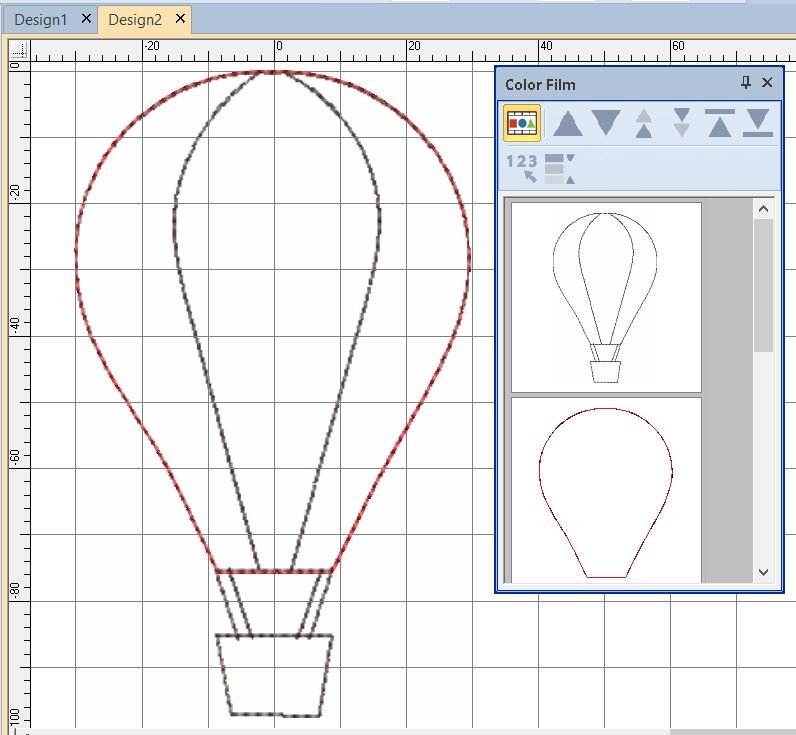
Tip I like to have the colour film open as I digitise so that I can see the different steps.
- Duplicate the placement line remembering to change colour and use ‘double run’ in the edit menu to make it stronger to create the ‘cutting line’
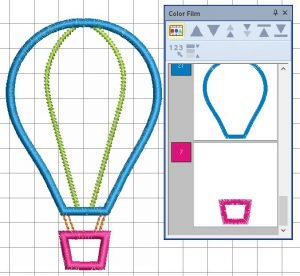
5.Duplicate one of the cutting lines, change the colour and change to a zigzag stitch to create the ‘tack down line’.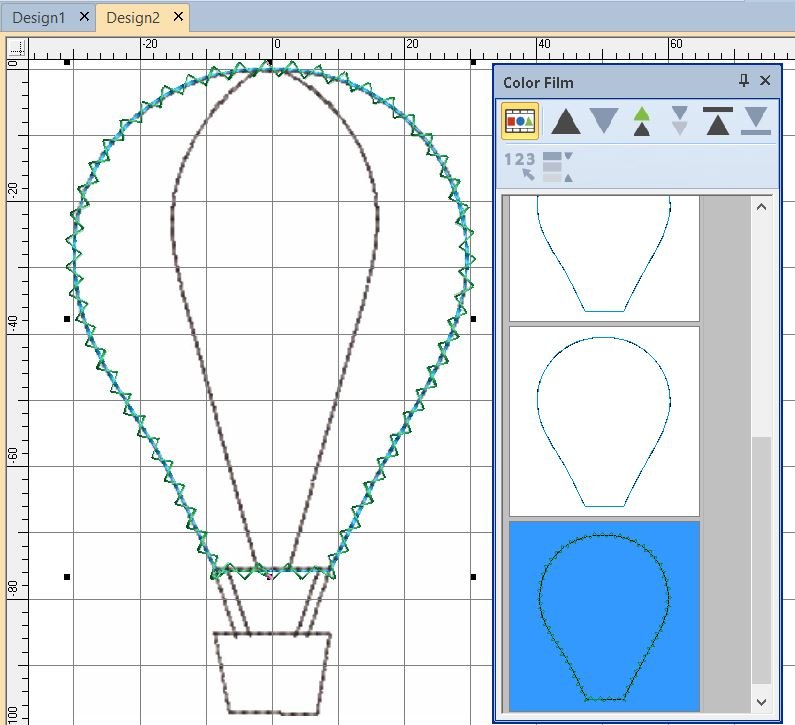
- Repeat these steps for the basket of the balloon.
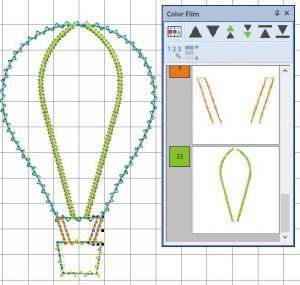
- Because I wanted the ends of the embroidered ropes linking the basket to the balloon and the embroidery on the balloon to be covered by the cover stitch it needs to be stitched before the cover stitch so I digitised it in that order.
- Digitise the lines holding the basket to the balloon, then digitise the two lines in the centre of the balloon all with an ‘open line stitch.’ I choose a stem stitch for the embroidery on the balloon and a backstitch for the lines between basket and balloon but experiment with different line stitches, the choice is yours.

- The final step is to create the cover stitch of the balloon and basket by duplicating the tack down lines and changing them to satin stitch.

Balloon with 3 colours and clouds.

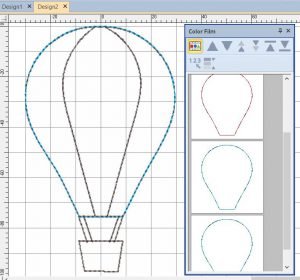
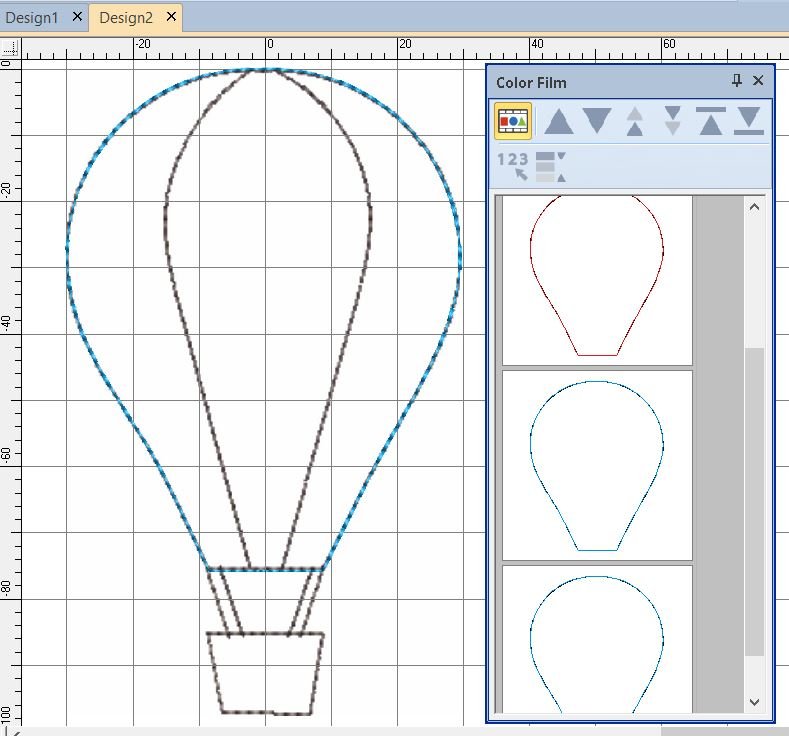
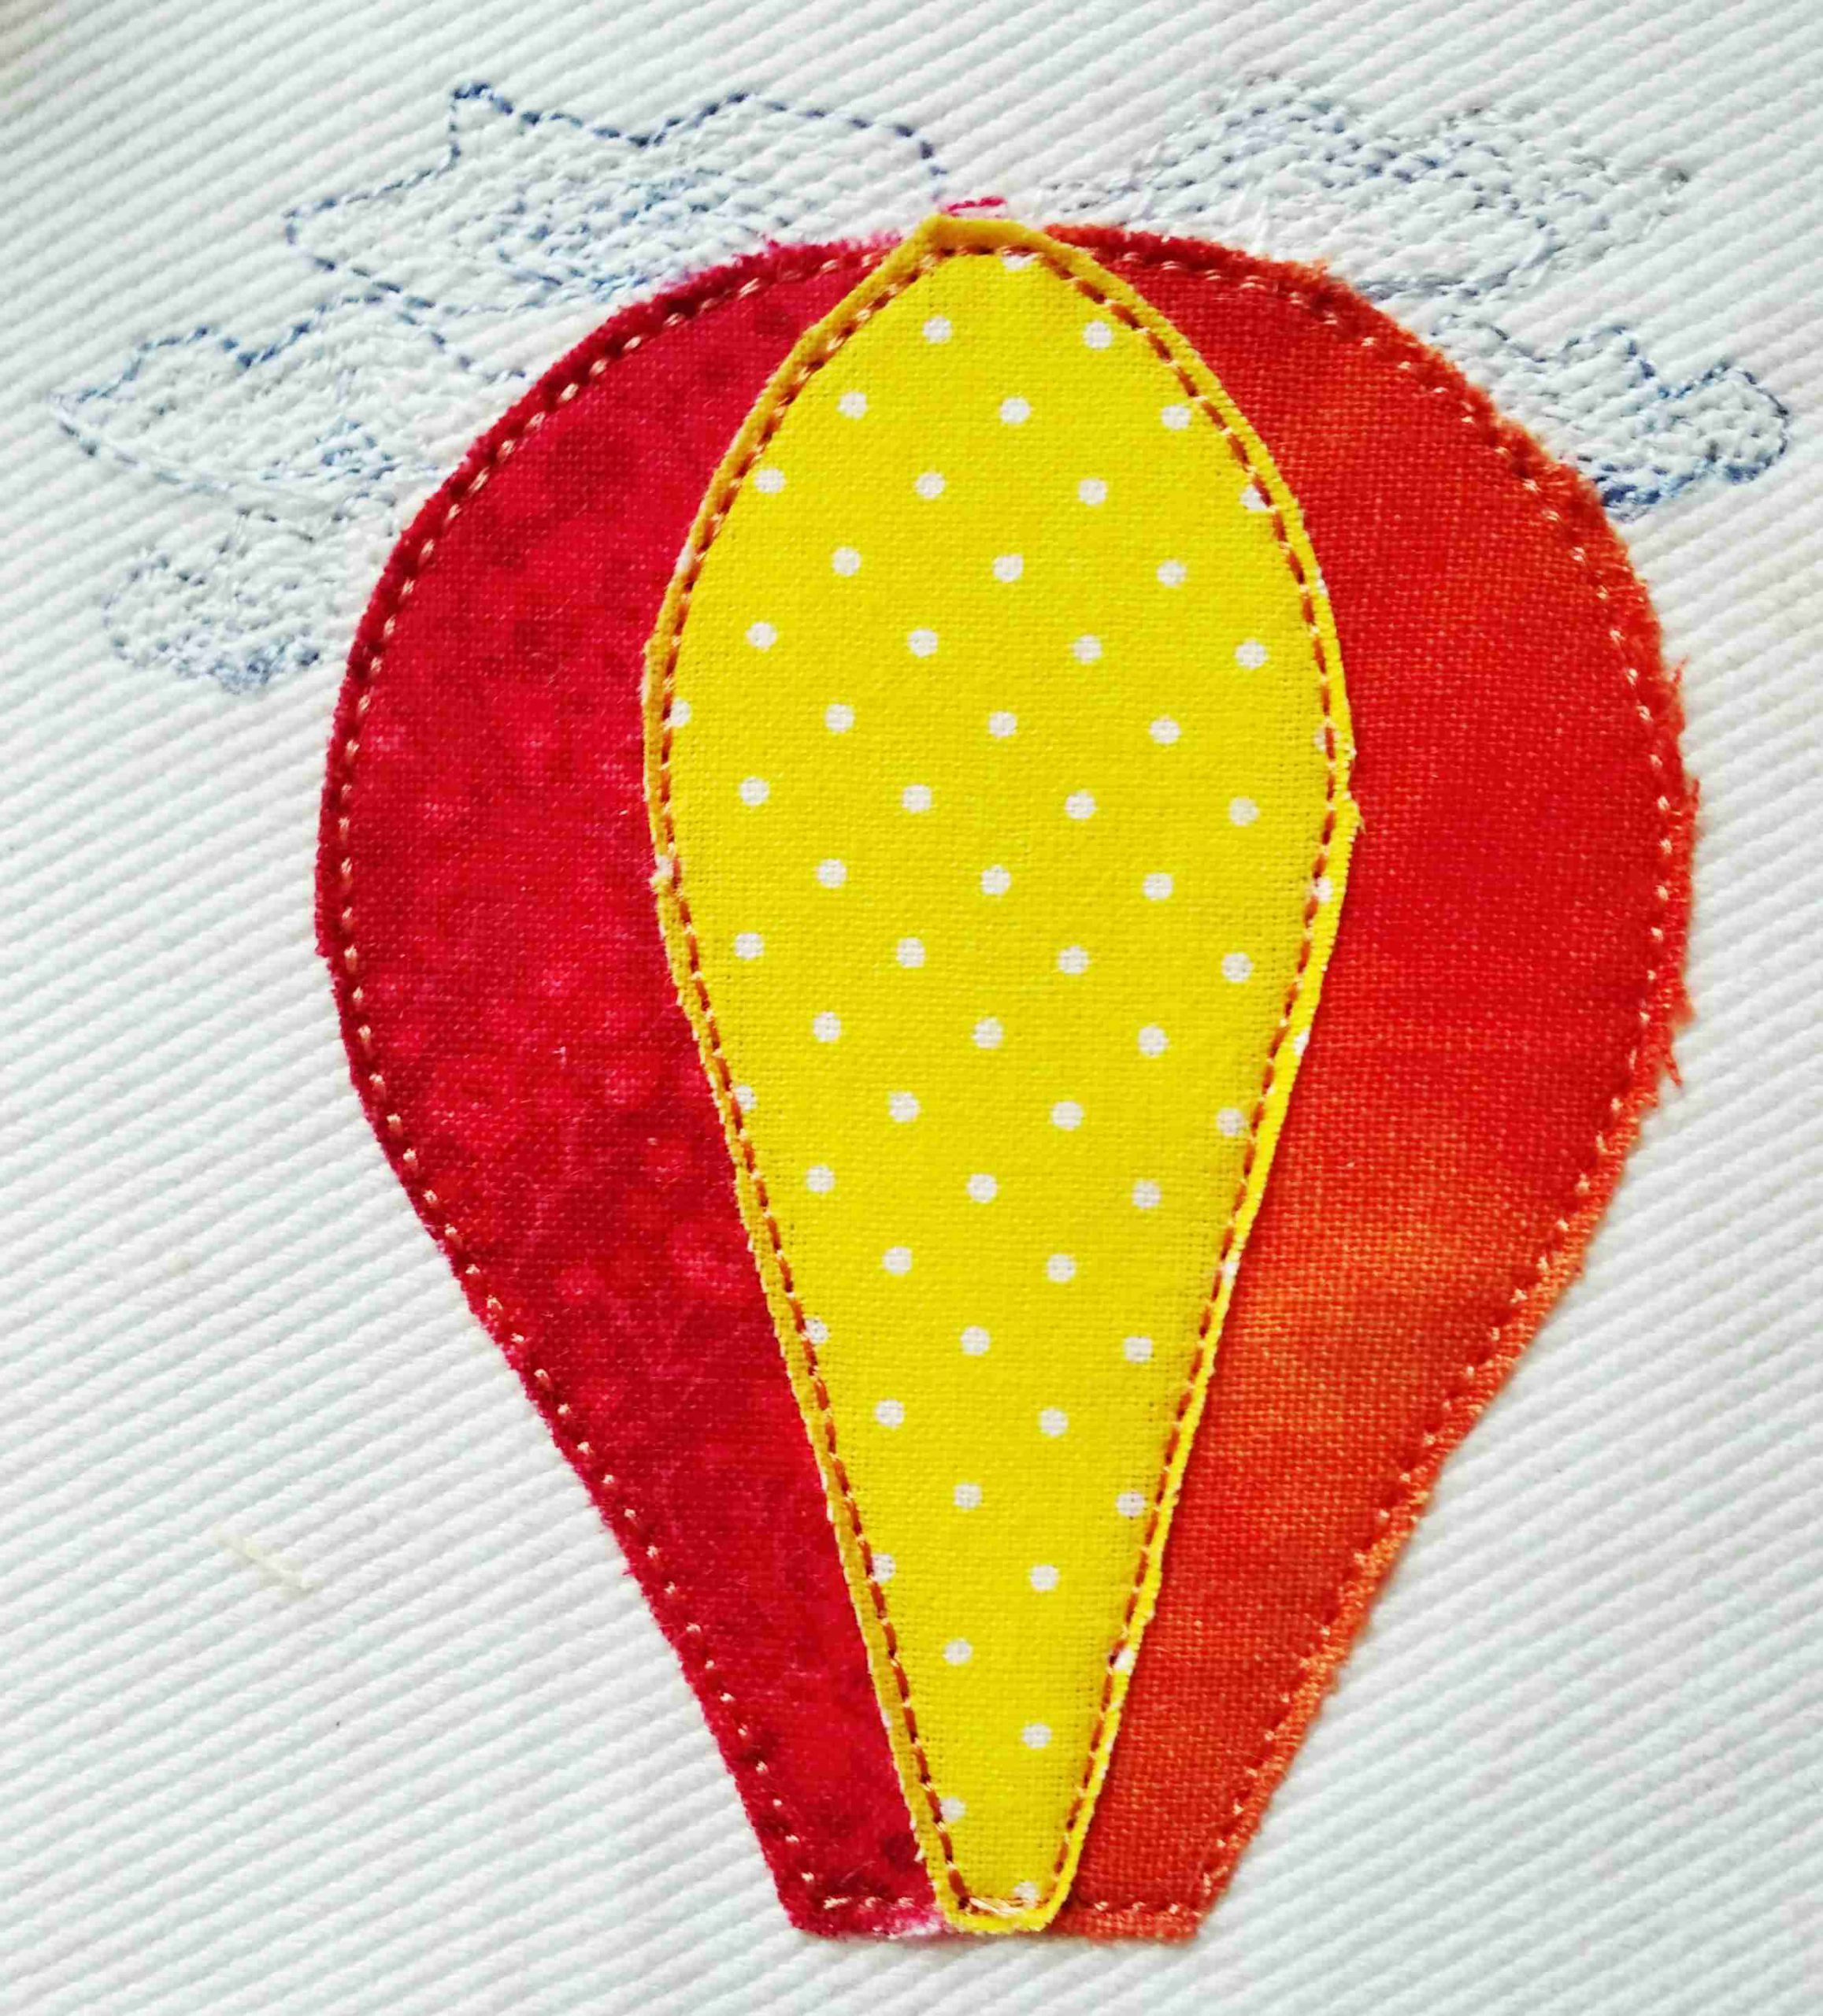
To create a balloon with 3 different applique fabrics, digitise the placement line as in the previous instructions but digitise a cutting and tack down line for each of the separate areas. I chose to applique the two outer red and orange shapes of the balloon first as this photo shows.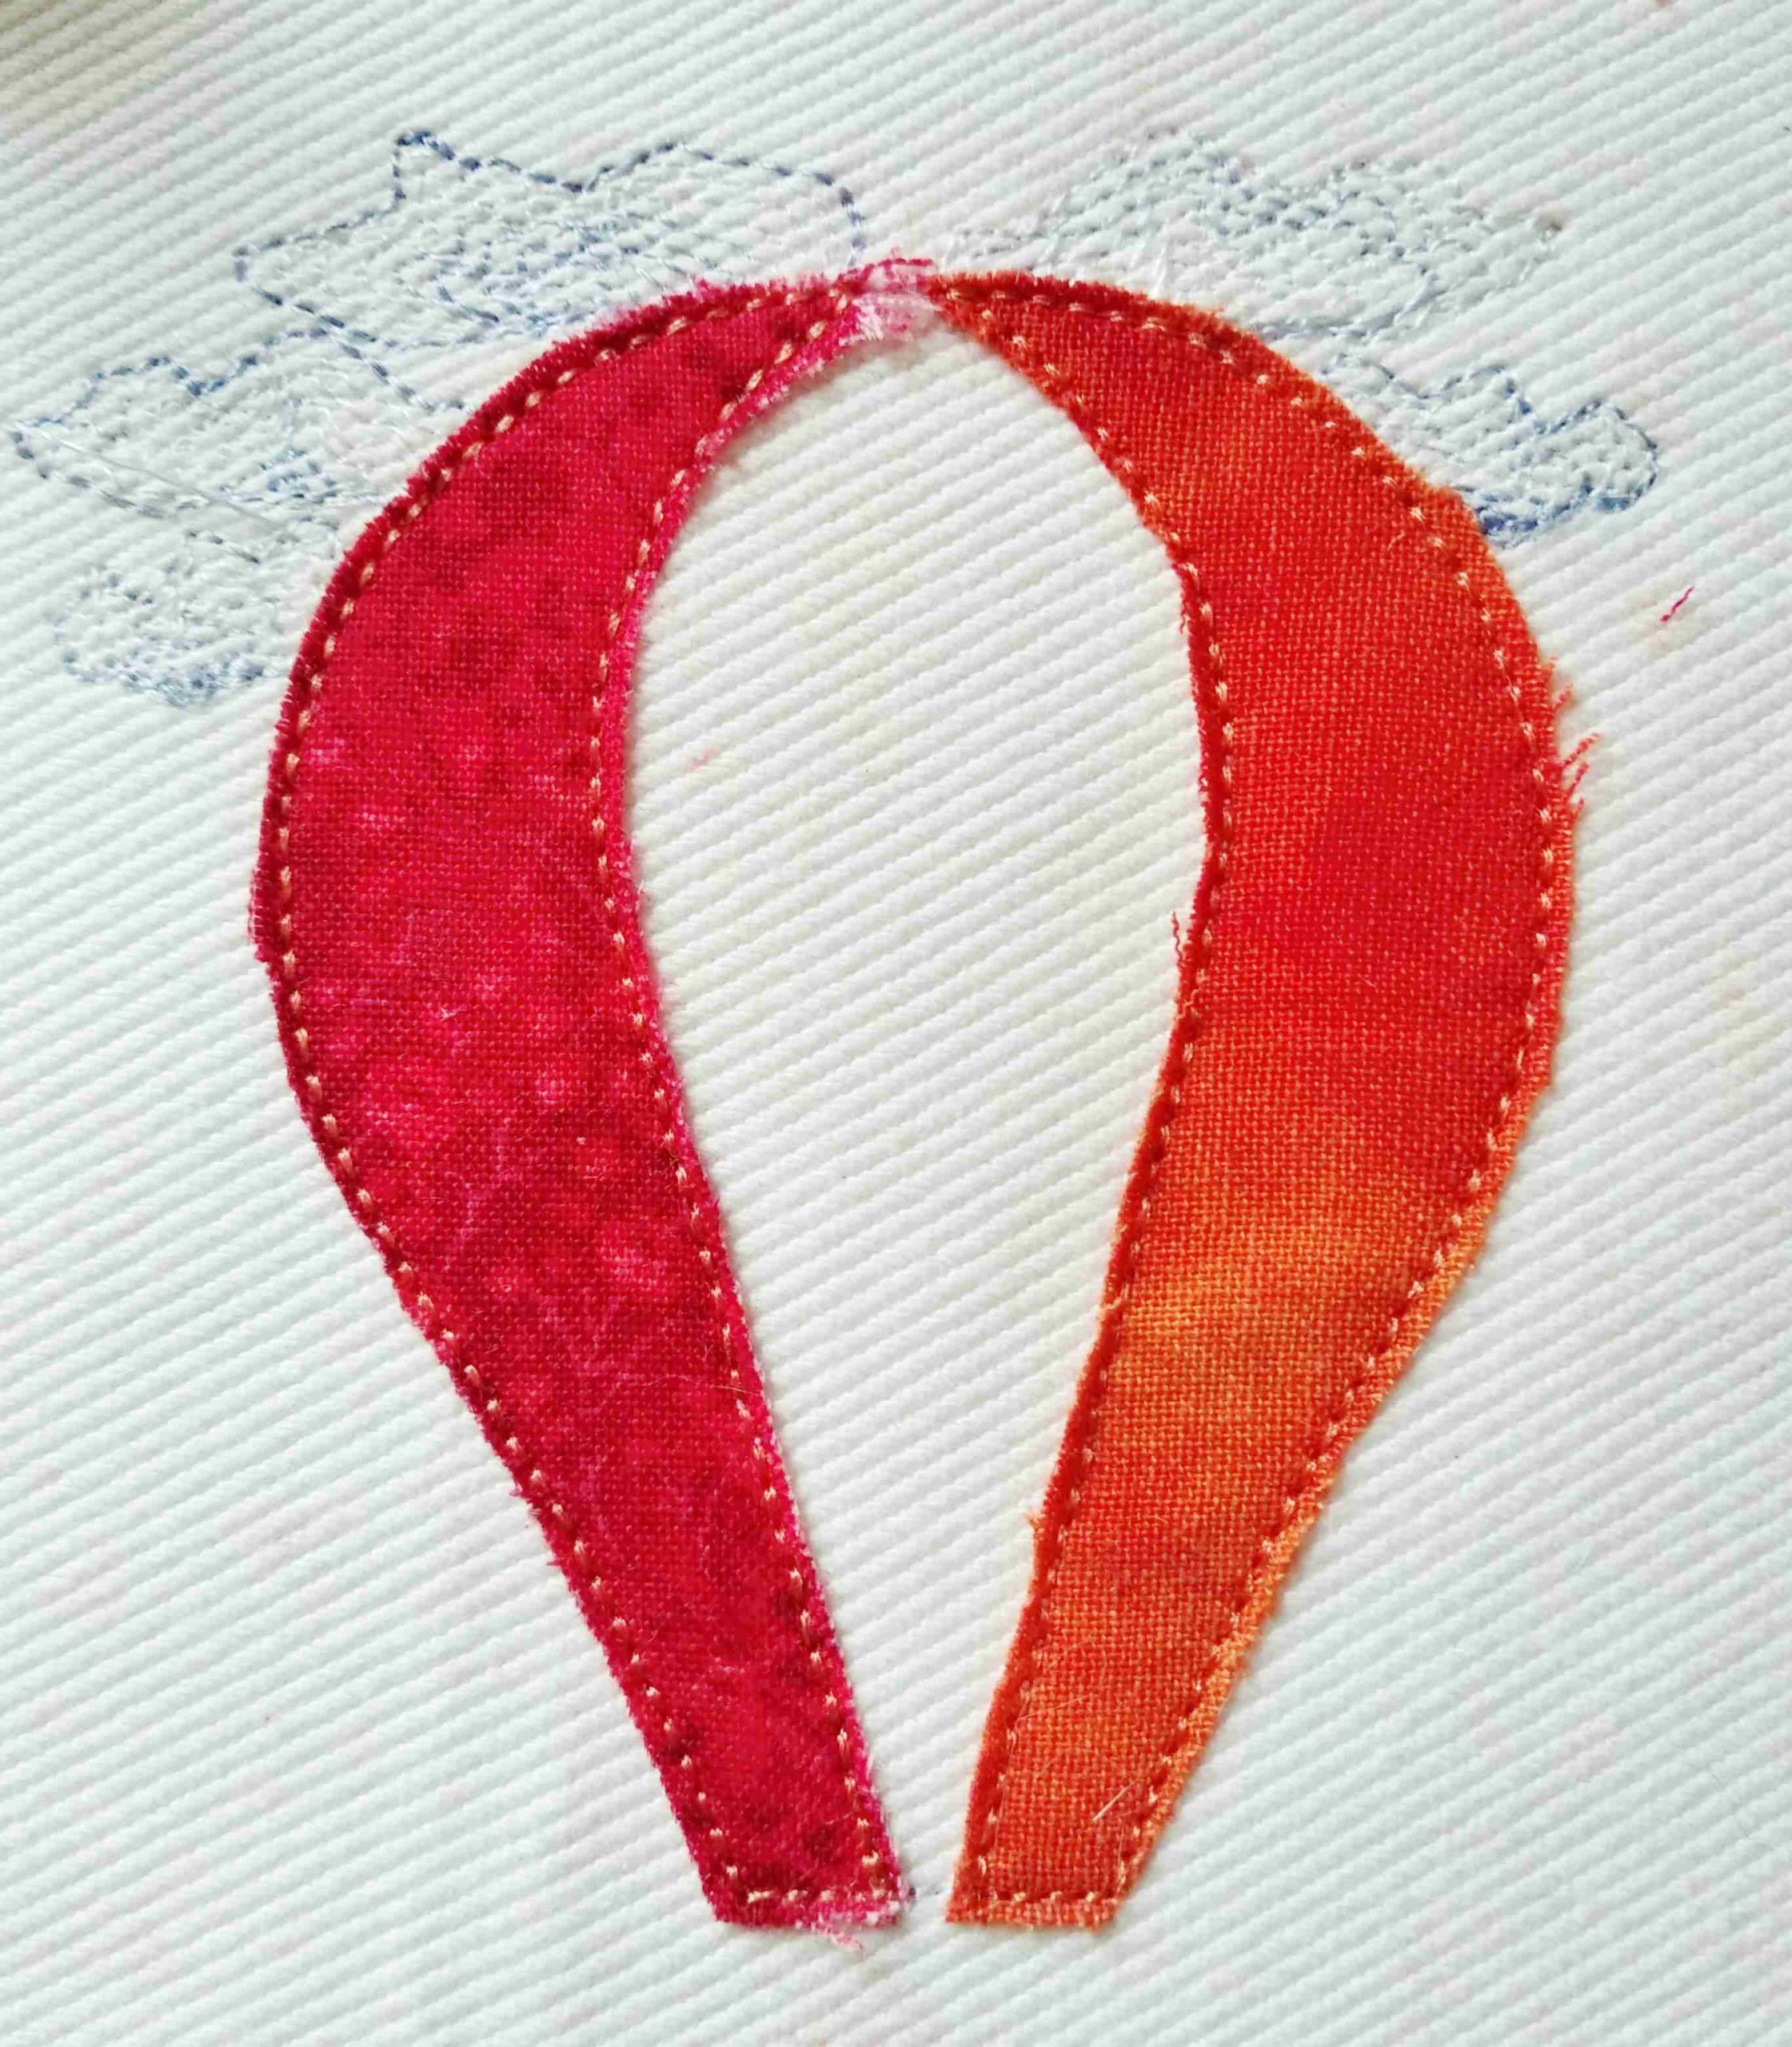
Then I added the central yellow applique. You can do this in the order that you prefer.
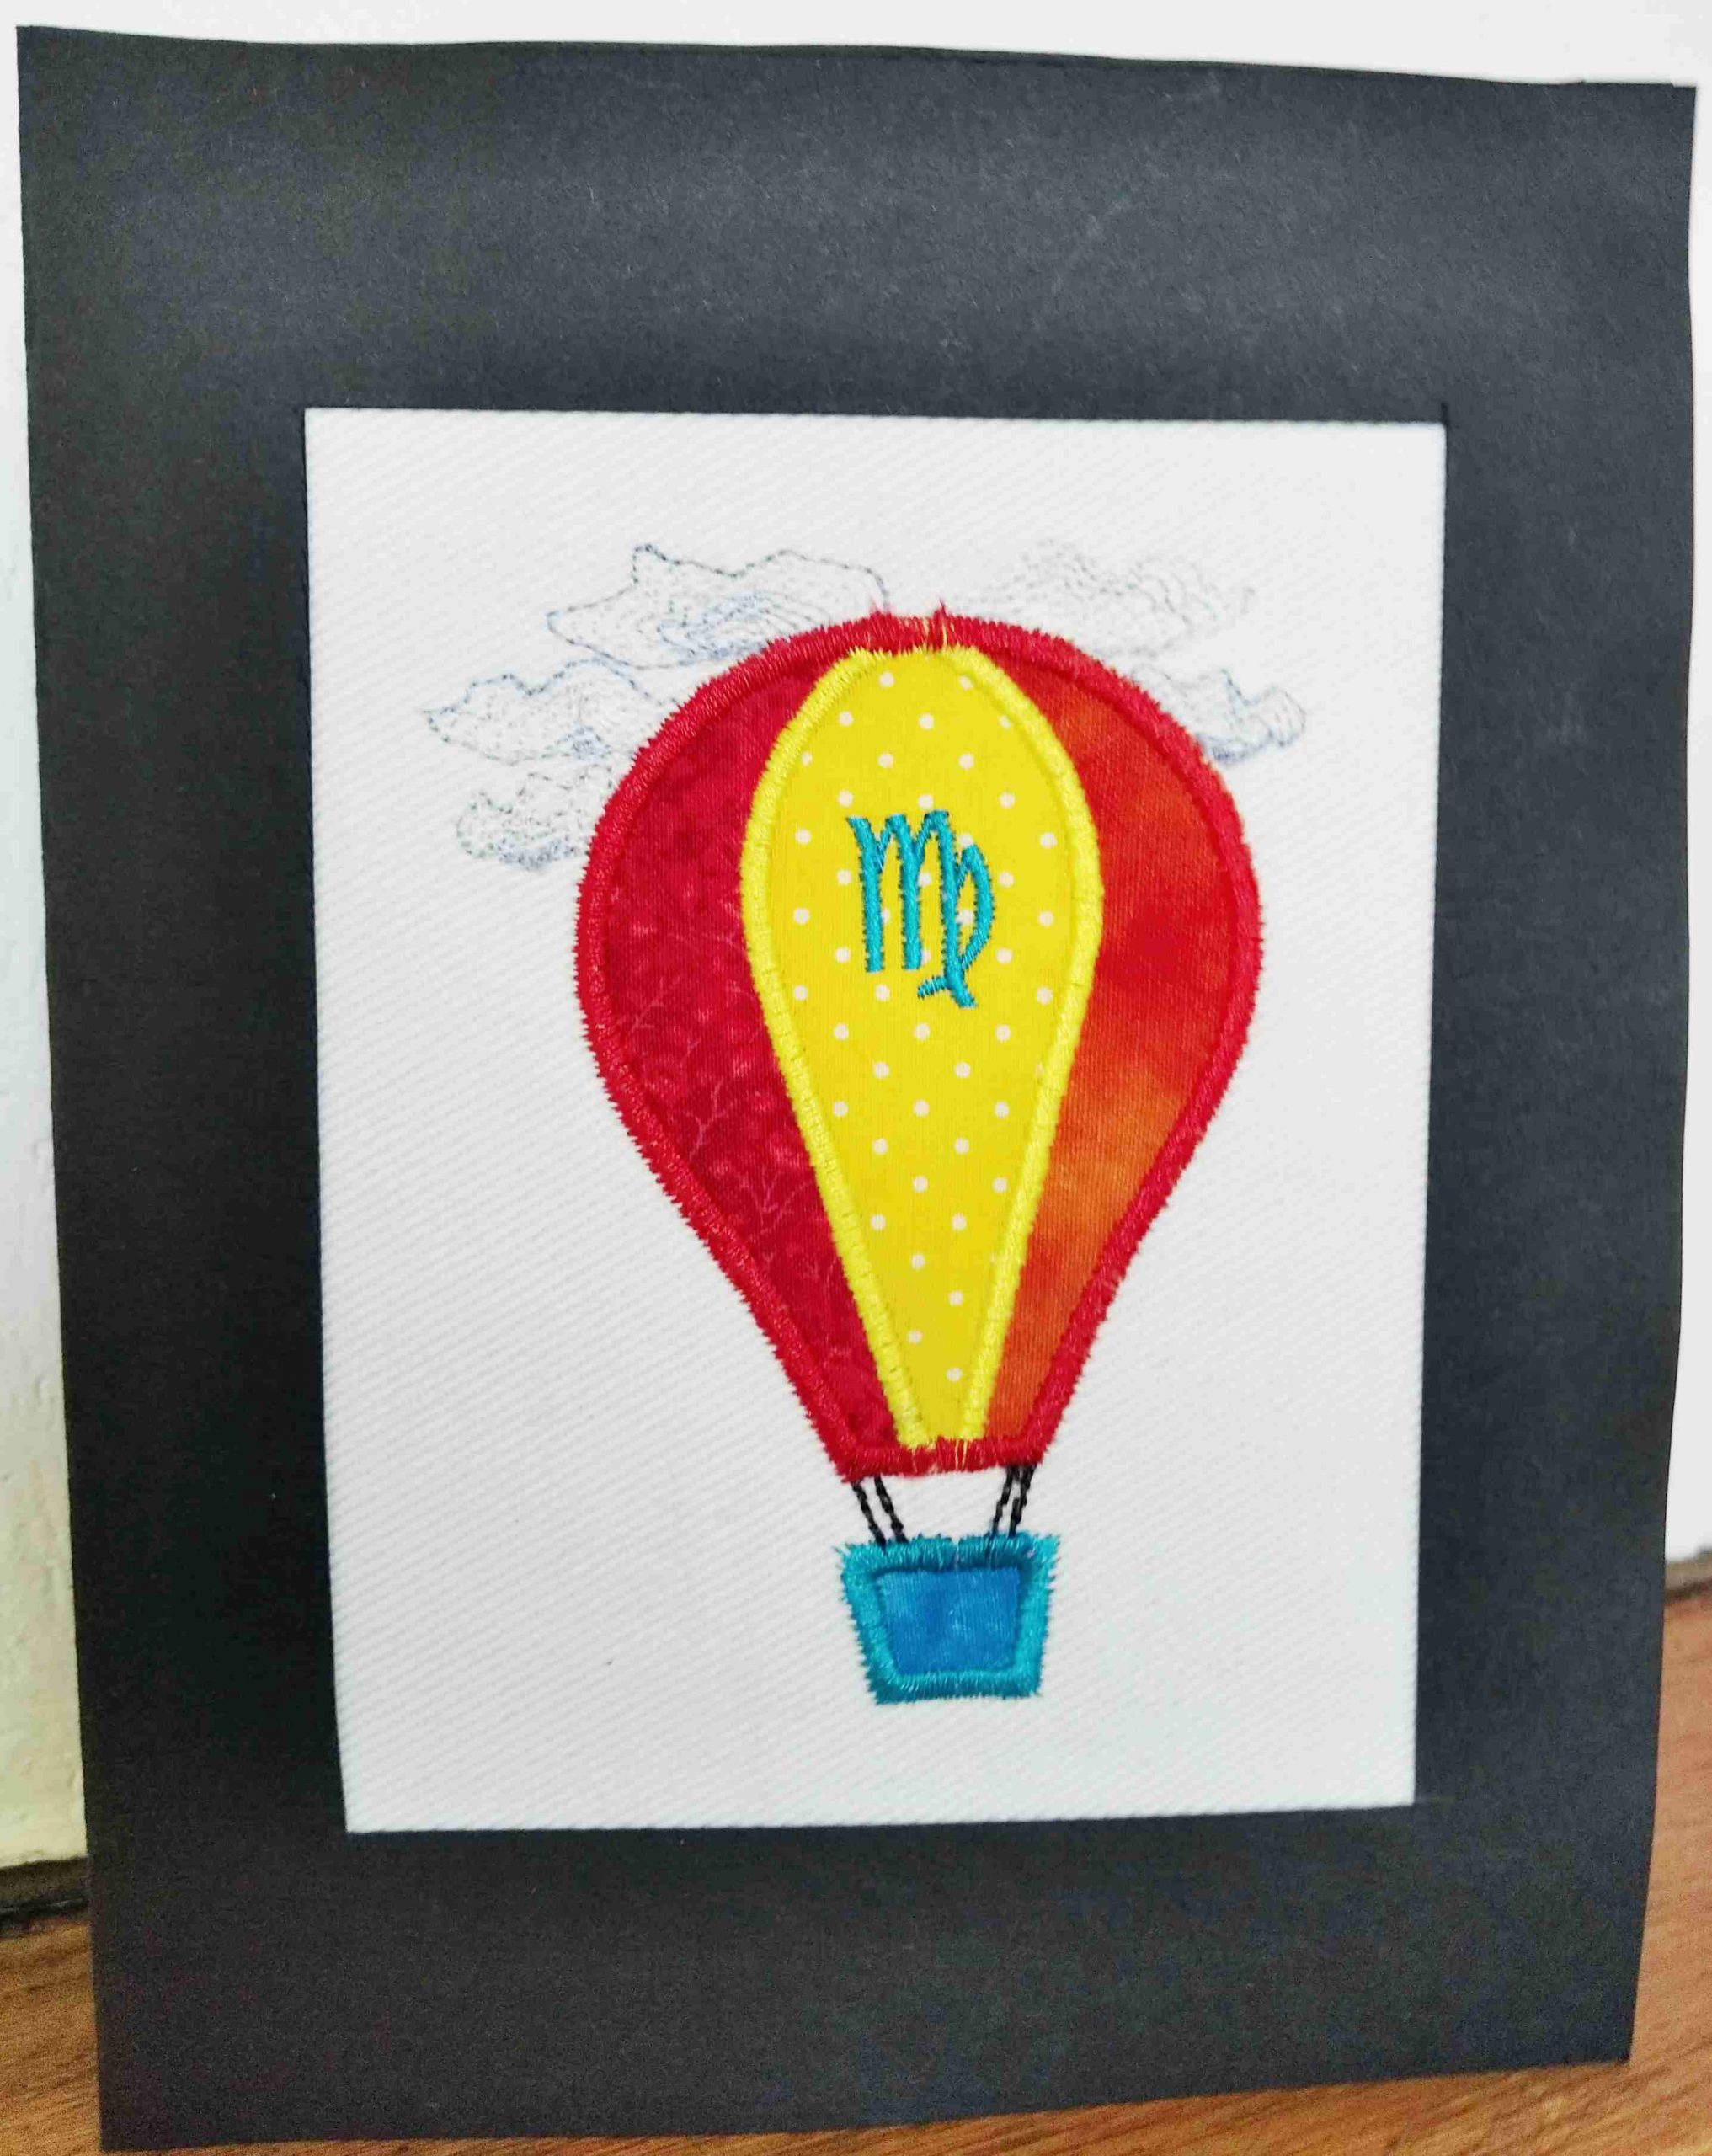
The clouds were embroidered before the initial placement line as I wanted the balloon in front of them but again that is your choice. You can omit the clouds or only do one or two.
You can also personalise the embroidery by adding initials to the balloon or lettering to the embroidery.
I then made them into cards with a piece of A4 card folded in half and into which I cut an aperture and used doubled sided sticky tape to hold the embroidery in place. To neaten the inside of the card I then attached another piece of card over the back of the embroidery.
 The next lesson will look at the automatic and advanced applique features within the software.


both this tutorial and the first one have been very helpful in learning my software. Just curious where the next Lesson is – referred to at the bottom of Lesson 2. thanks
Why not a pes file
Because the embroidery machines by BERNINA use exp files, not pes