 BERNINA Corporate Blog -
Are you ready?? Are you ready to enter the fun zone??? Say yes, because that’s where we are heading there this week. Boom!!
And I have some news at the end of this post. But don’t spoil the surprise, just wait until you get there lol.
Sewing the Main Fabric might sound like a big job, and you’re possibly a little bit nervous, but there are only 11 steps. And if you say it fast, it definitely doesn’t sound a big job at all. You’ll be following the instructions and I won’t be adding too much to them (they’re pretty good instructions), but I will be adding in tips, tricks or advice in steps that I have noticed Sewsters need a bit more guidance. If I don’t mention a step below, it’s because it’s pretty straight forward. All you need to do is follow the instructions.
One step at a time!
This is really important, this one step at a time thing. In my classes (and at all levels of experience), Sewsters will often ask how to do a particular step (let’s say that is step 7 for this eg) when they still haven’t even completed or started step 1. So, do each step, and start at the beginning of each step and just work through them in order. Even after all my years of sewing, if I am sewing a pattern I am not familiar with or it has techniques that are new to me, I work just one step at a time.
Nearly all patterns are constructed in the same way. In very basic terms, we complete the front, then the back (some designers are vice versa), once these are completed then we sew the back and front together at the shoulders. Then we do the side seams and add the sleeves. Of course, I am just surmising and covering the very basics here. But hopefully you get the picture.
Match your notches!!
This is also really important. Notches are there to match your pattern pieces together. If you can’t get your notches to match, don’t fudge it. You have more than likely not matched the right pattern pieces up or you have one pattern piece upside down, or around the wrong way. If you’re unsure – grab you actual paper pattern pieces and see how they go together and then marry that to your fabric pieces. And most designers/pattern companies will do one notch for front pieces and two notches for back pieces. So if you’re trying to match pieces, there is one notch on one piece and two on the other – this is alarm bells ringing loudly! Double check what you are doing.
Before you start sewing today, you’ll need to fuse your interfacing (if you have some) to your pattern pieces. You’ll also need to find what the seam allowance is, and for this pattern it is 1cm or 3/8”. The seam allowance is really important. The pattern pieces have been drafted with these allowances in mind and when used accurately the pattern will fit according to the measurements. Plus it ensures all the pattern pieces fit with each other correctly. And if you’re not sure what a seam allowance is, it is the distance between the edge of your fabric and your stitching line.
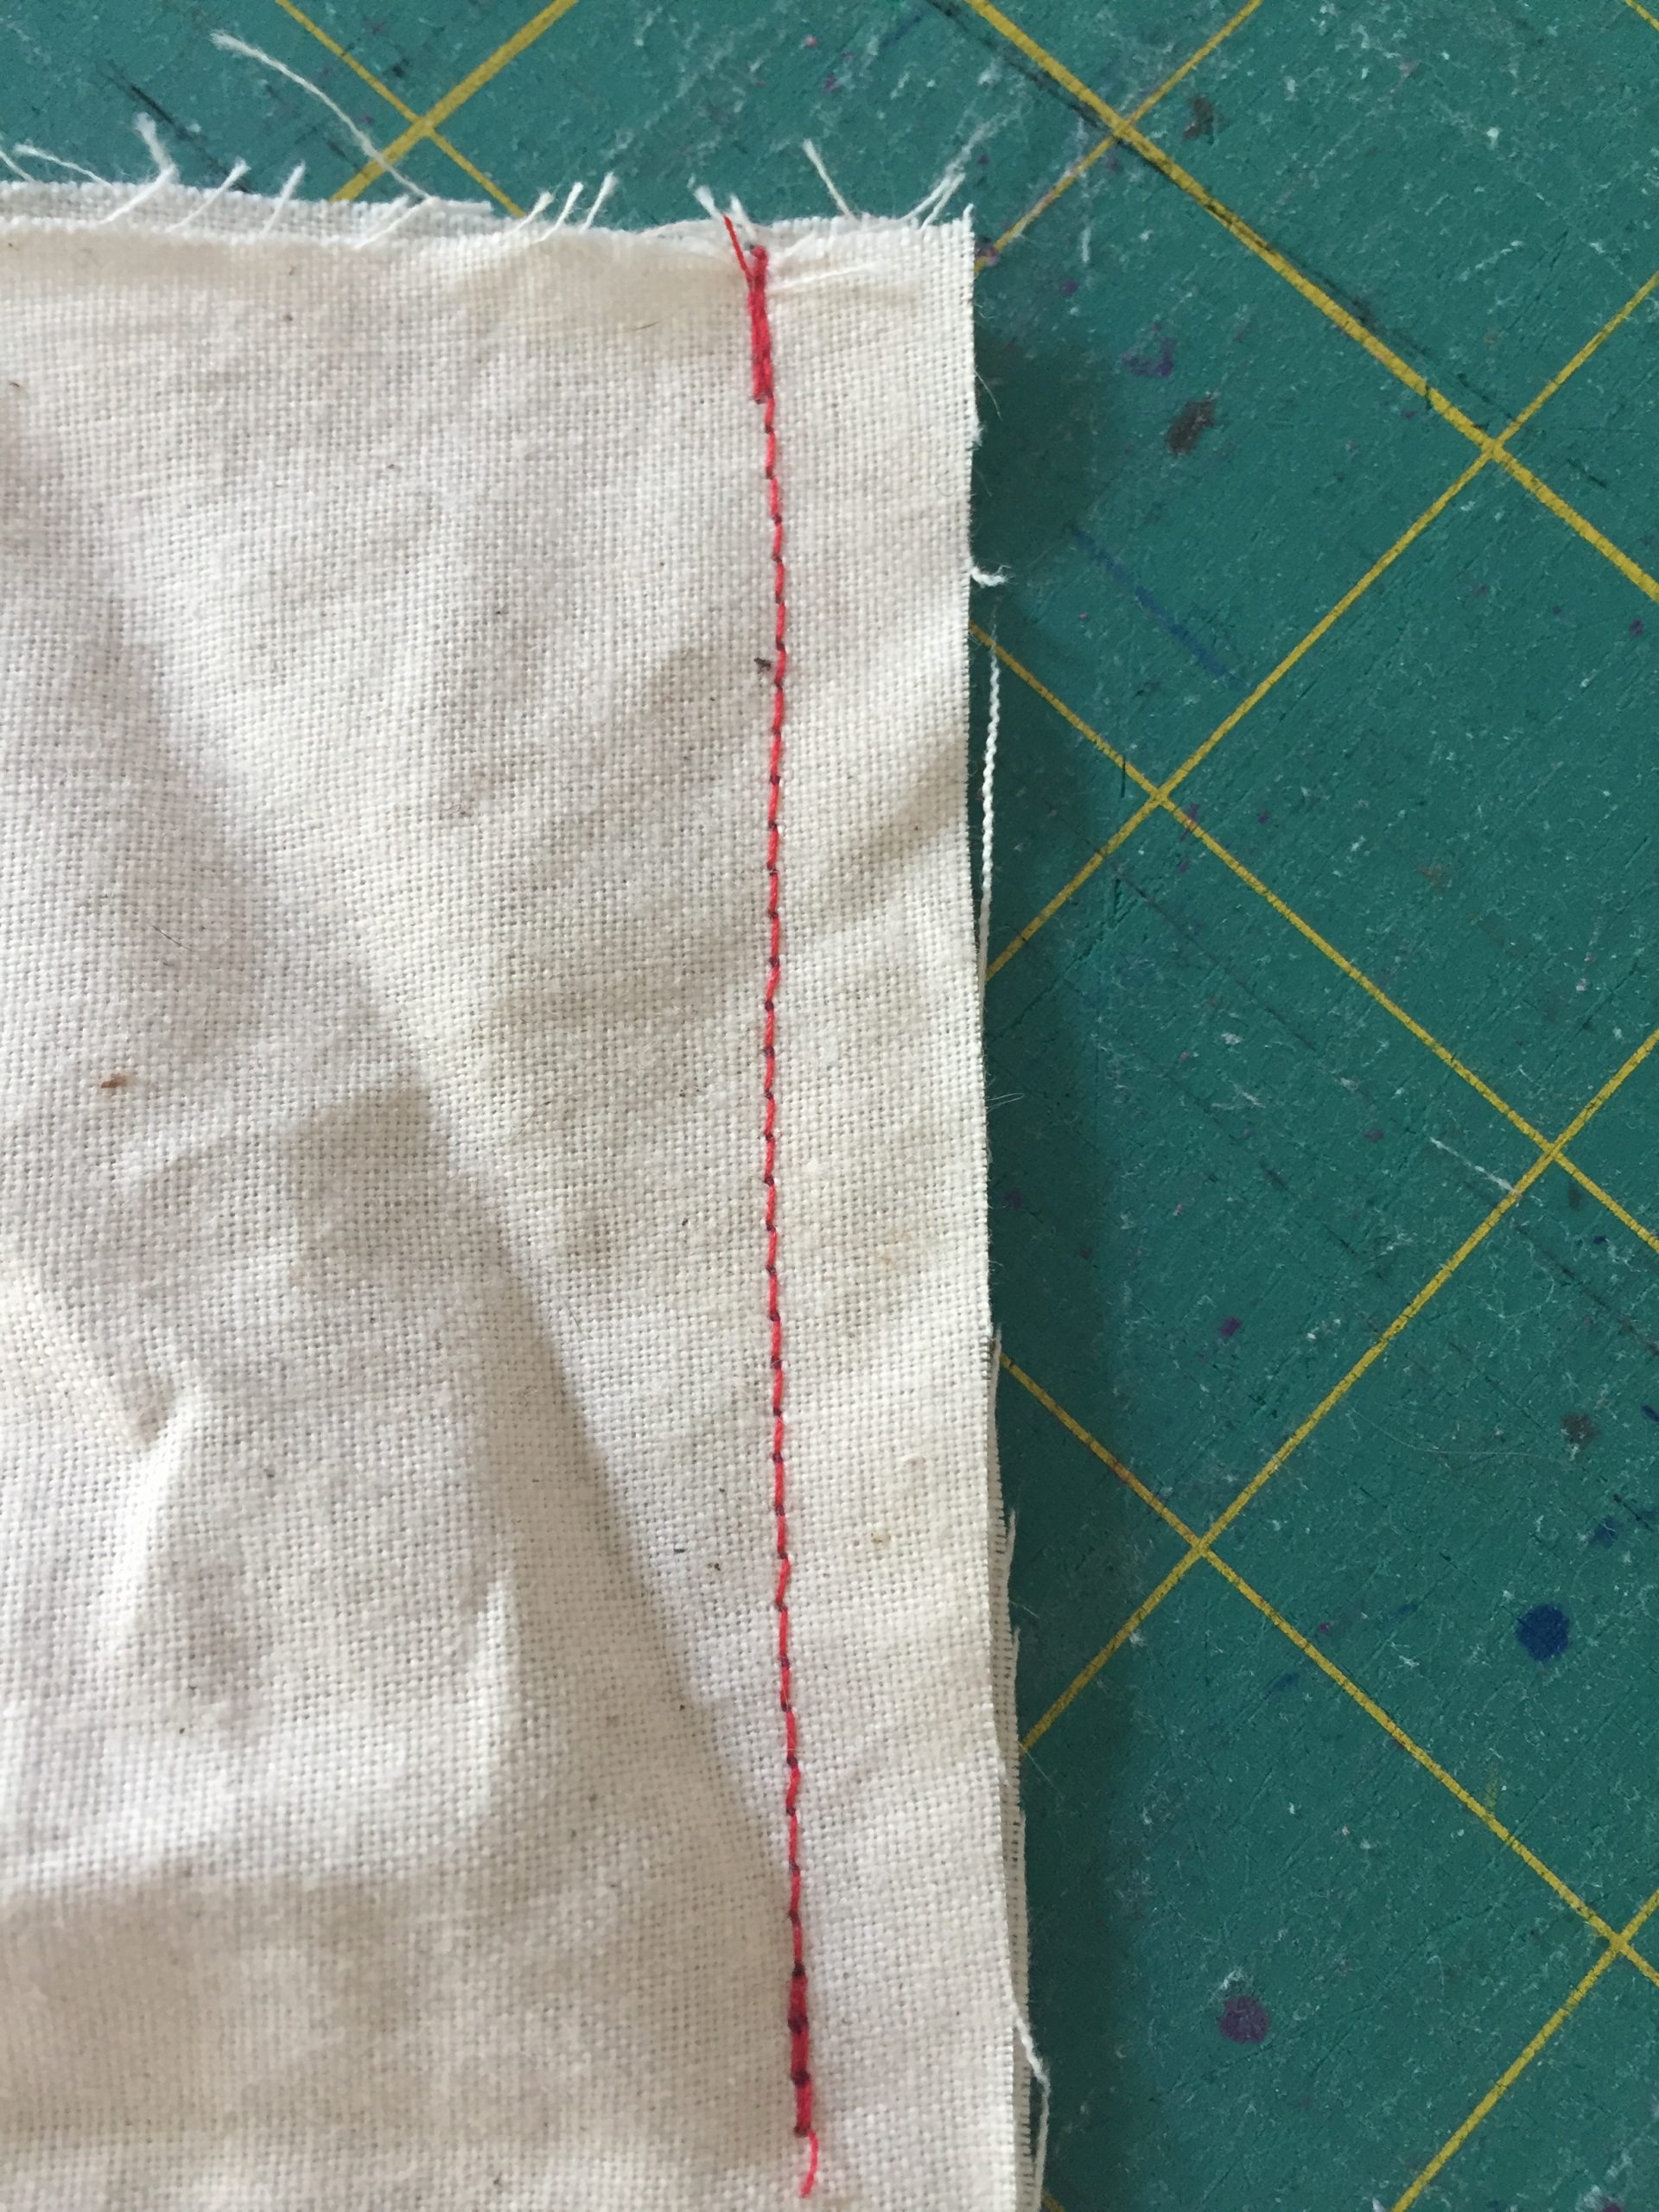
A seam allowance is the distance from the raw edge of the fabric to the stitching line – this one is 1cm or 3/8″ (and all the heart eyes for my well loved cutting board)
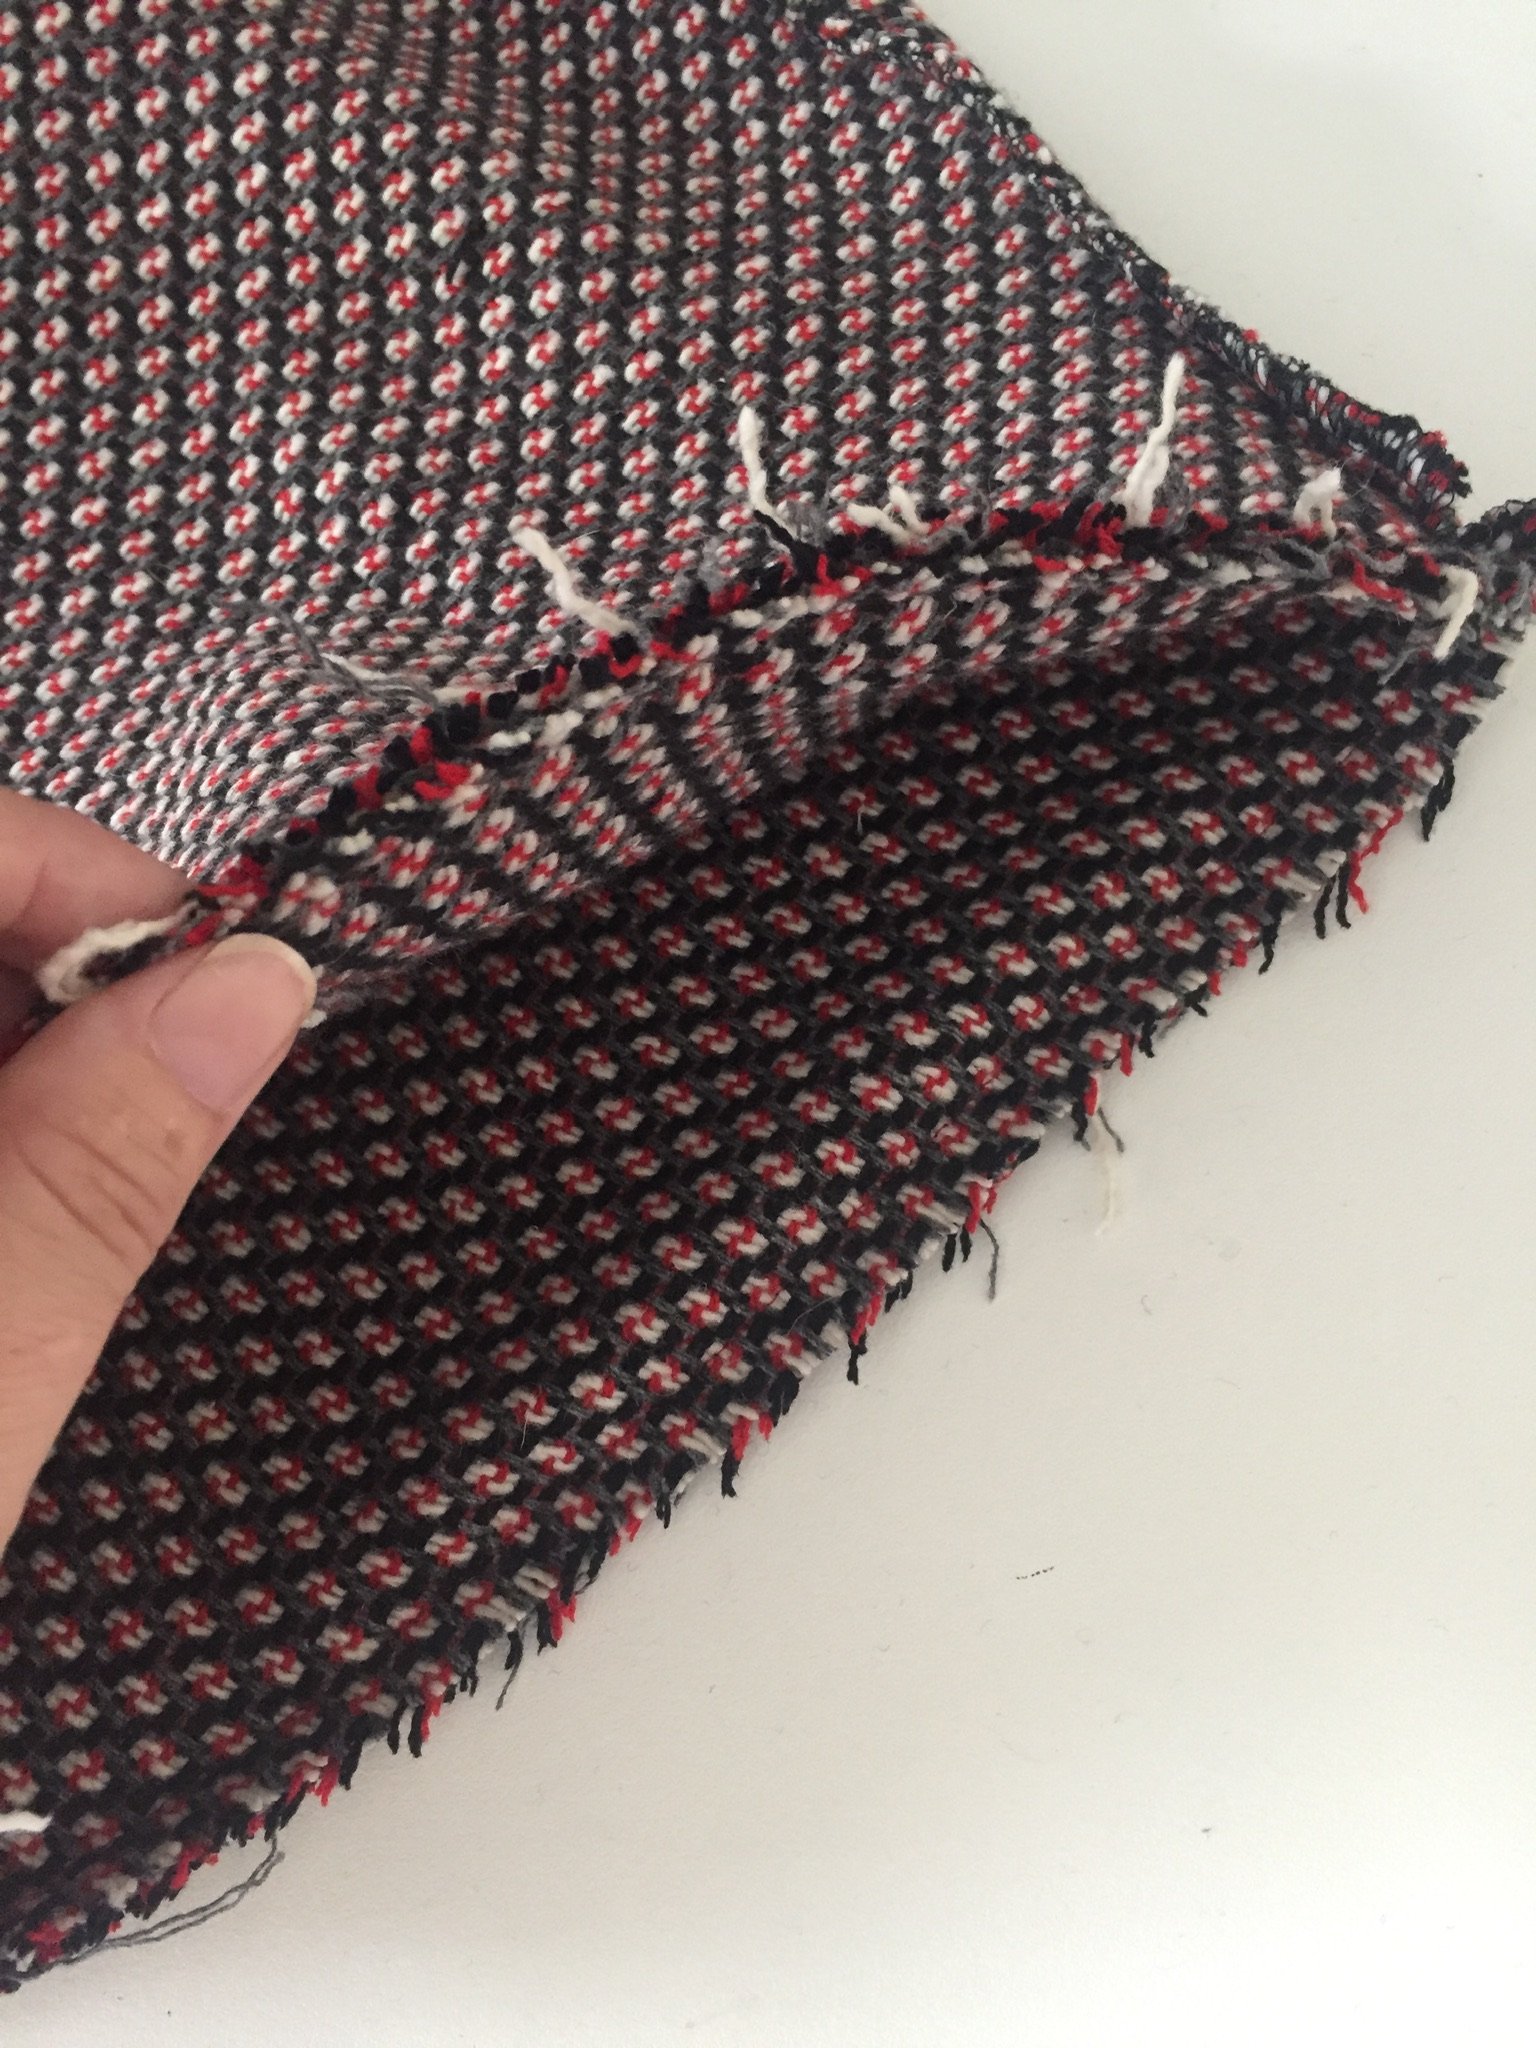
Let’s quickly talk about overlocking or zigzagging your raw edges. Because this is a lined garment, this step is not necessary. BUT!! If you have a fabric that frays badly, then you really should stabilise the raw edges (either overlocking or zigzagging) to stop the fraying from pulling your seams apart later on.
Ironing!!! Most of us hate it lol, but the difference between garments looking homemade or looking well made, is how well we press our seams. The instructions call for you to press the seams open, but if (like me) you’ve had to overlock/zigzag your raw edges you will need to press one way. I generally press seams towards the back.
Right, – let’s start sewing! At Step Number 1 (step 2 for V1) (repeat after me, one step at a time). And a little reminder, V1 is the original pattern release that has the coat length only.
Go boldly and sew. When following instructions, a top tip is to get your fabric pieces to look like they do in the illustrations, then when you go to sew the opposite side it will be clearer and easier to follow.
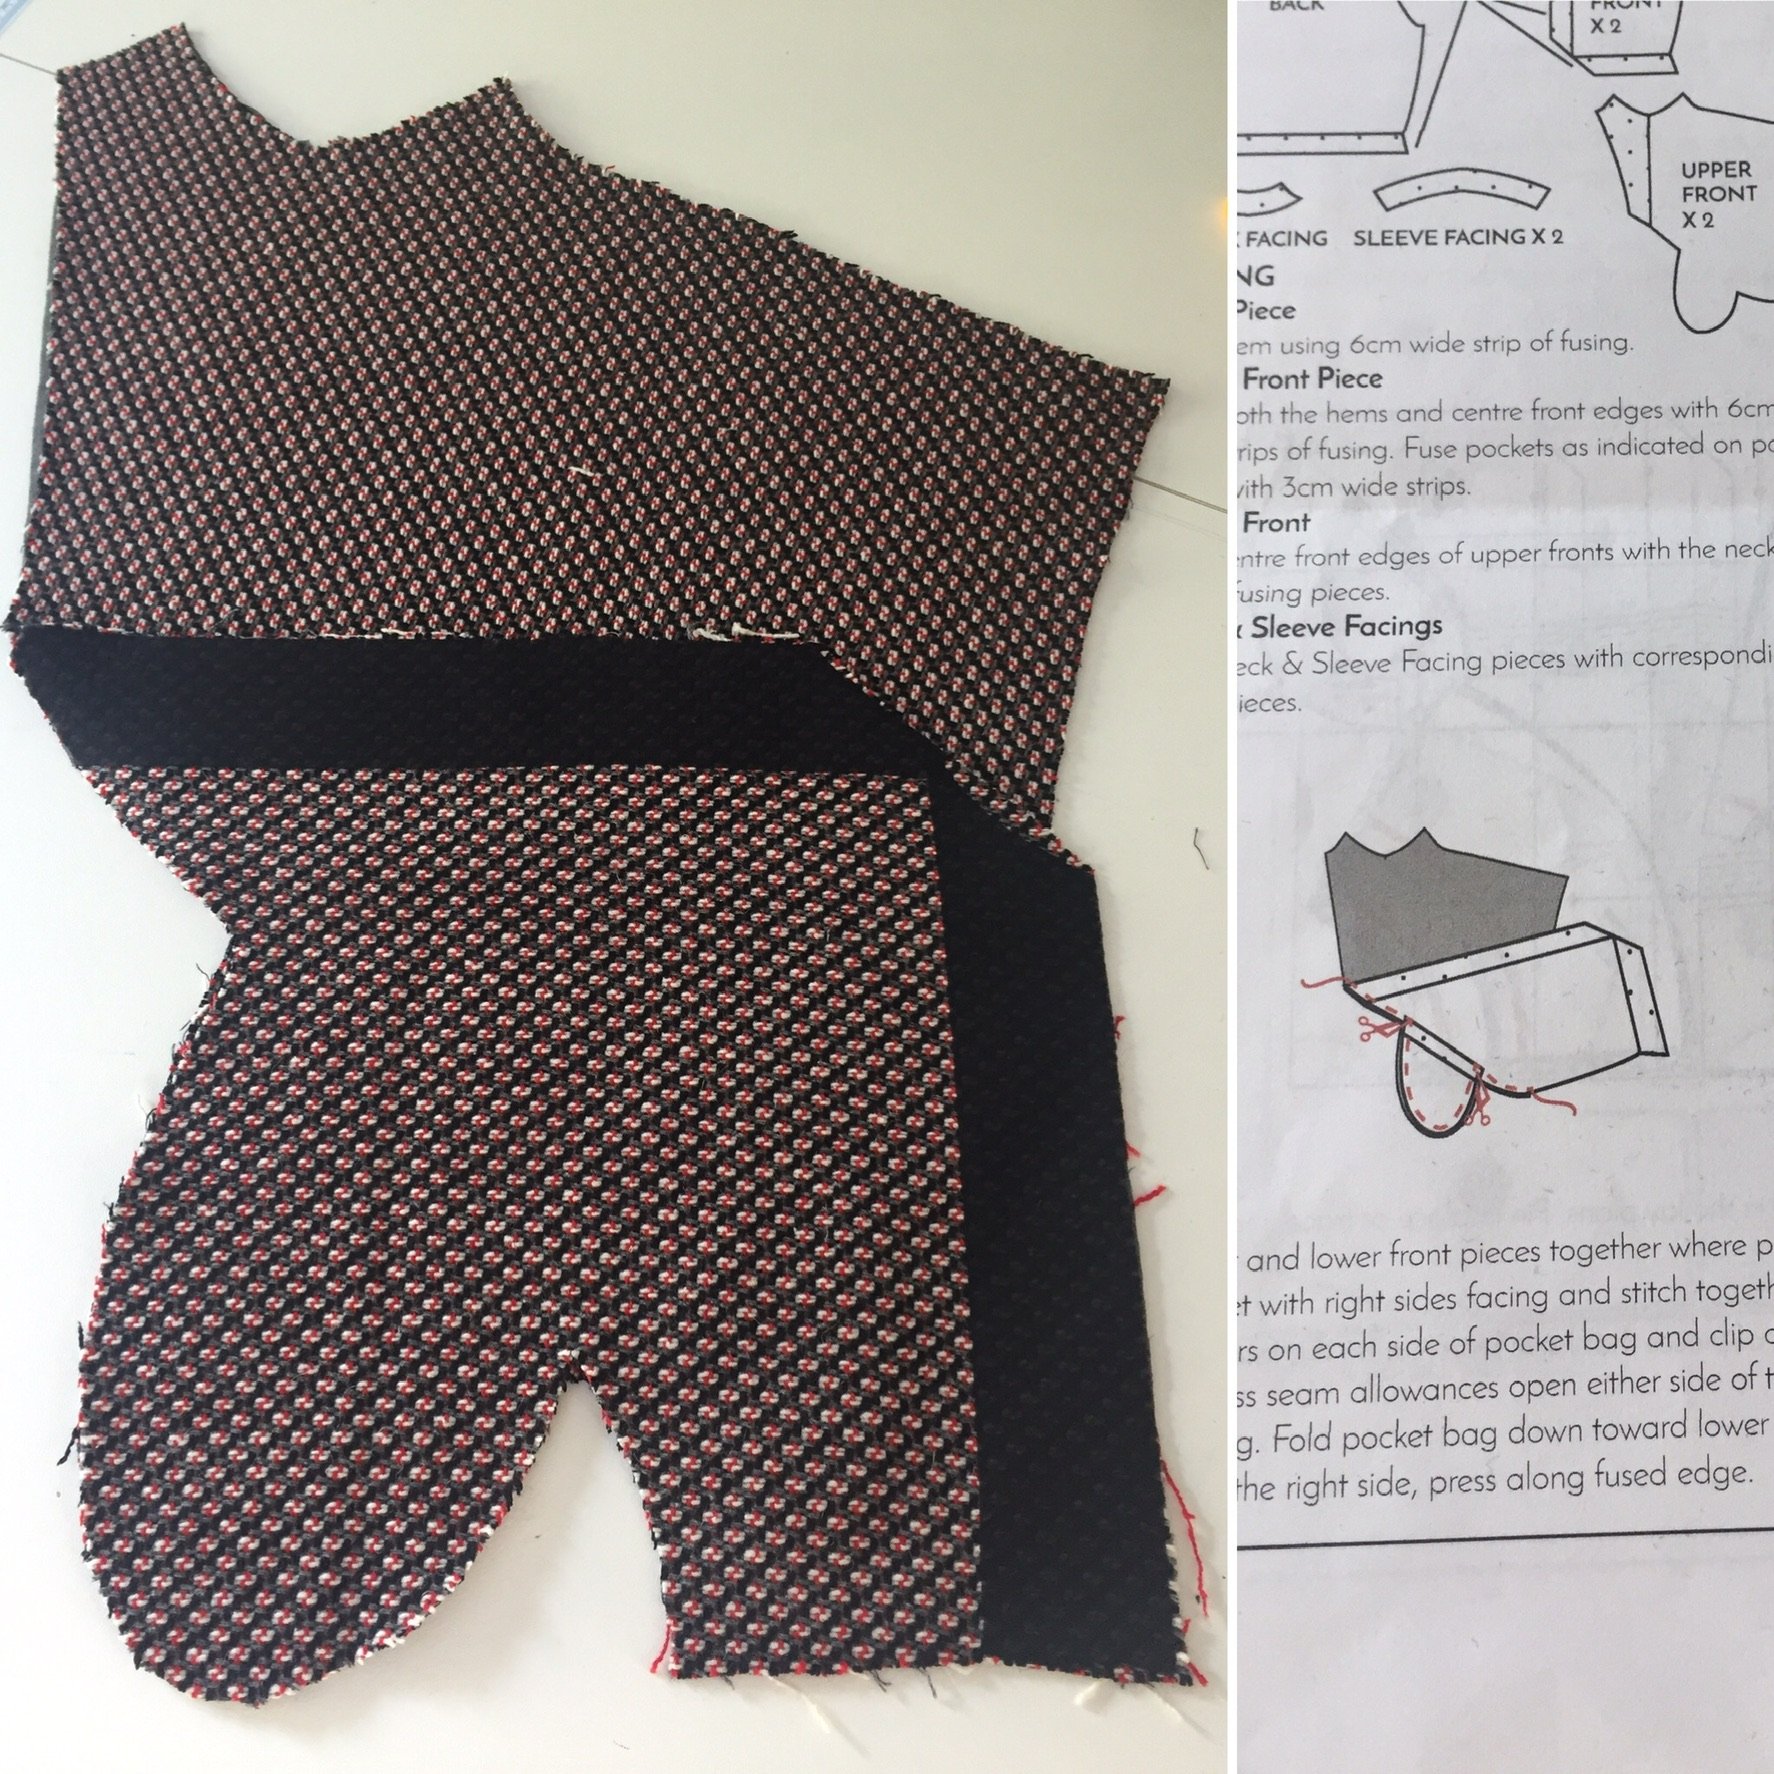
You can see I have my fabric pieces looking the same as the illustration (except I’m making the jacket length and the illustration is the coat length – but you get the idea).
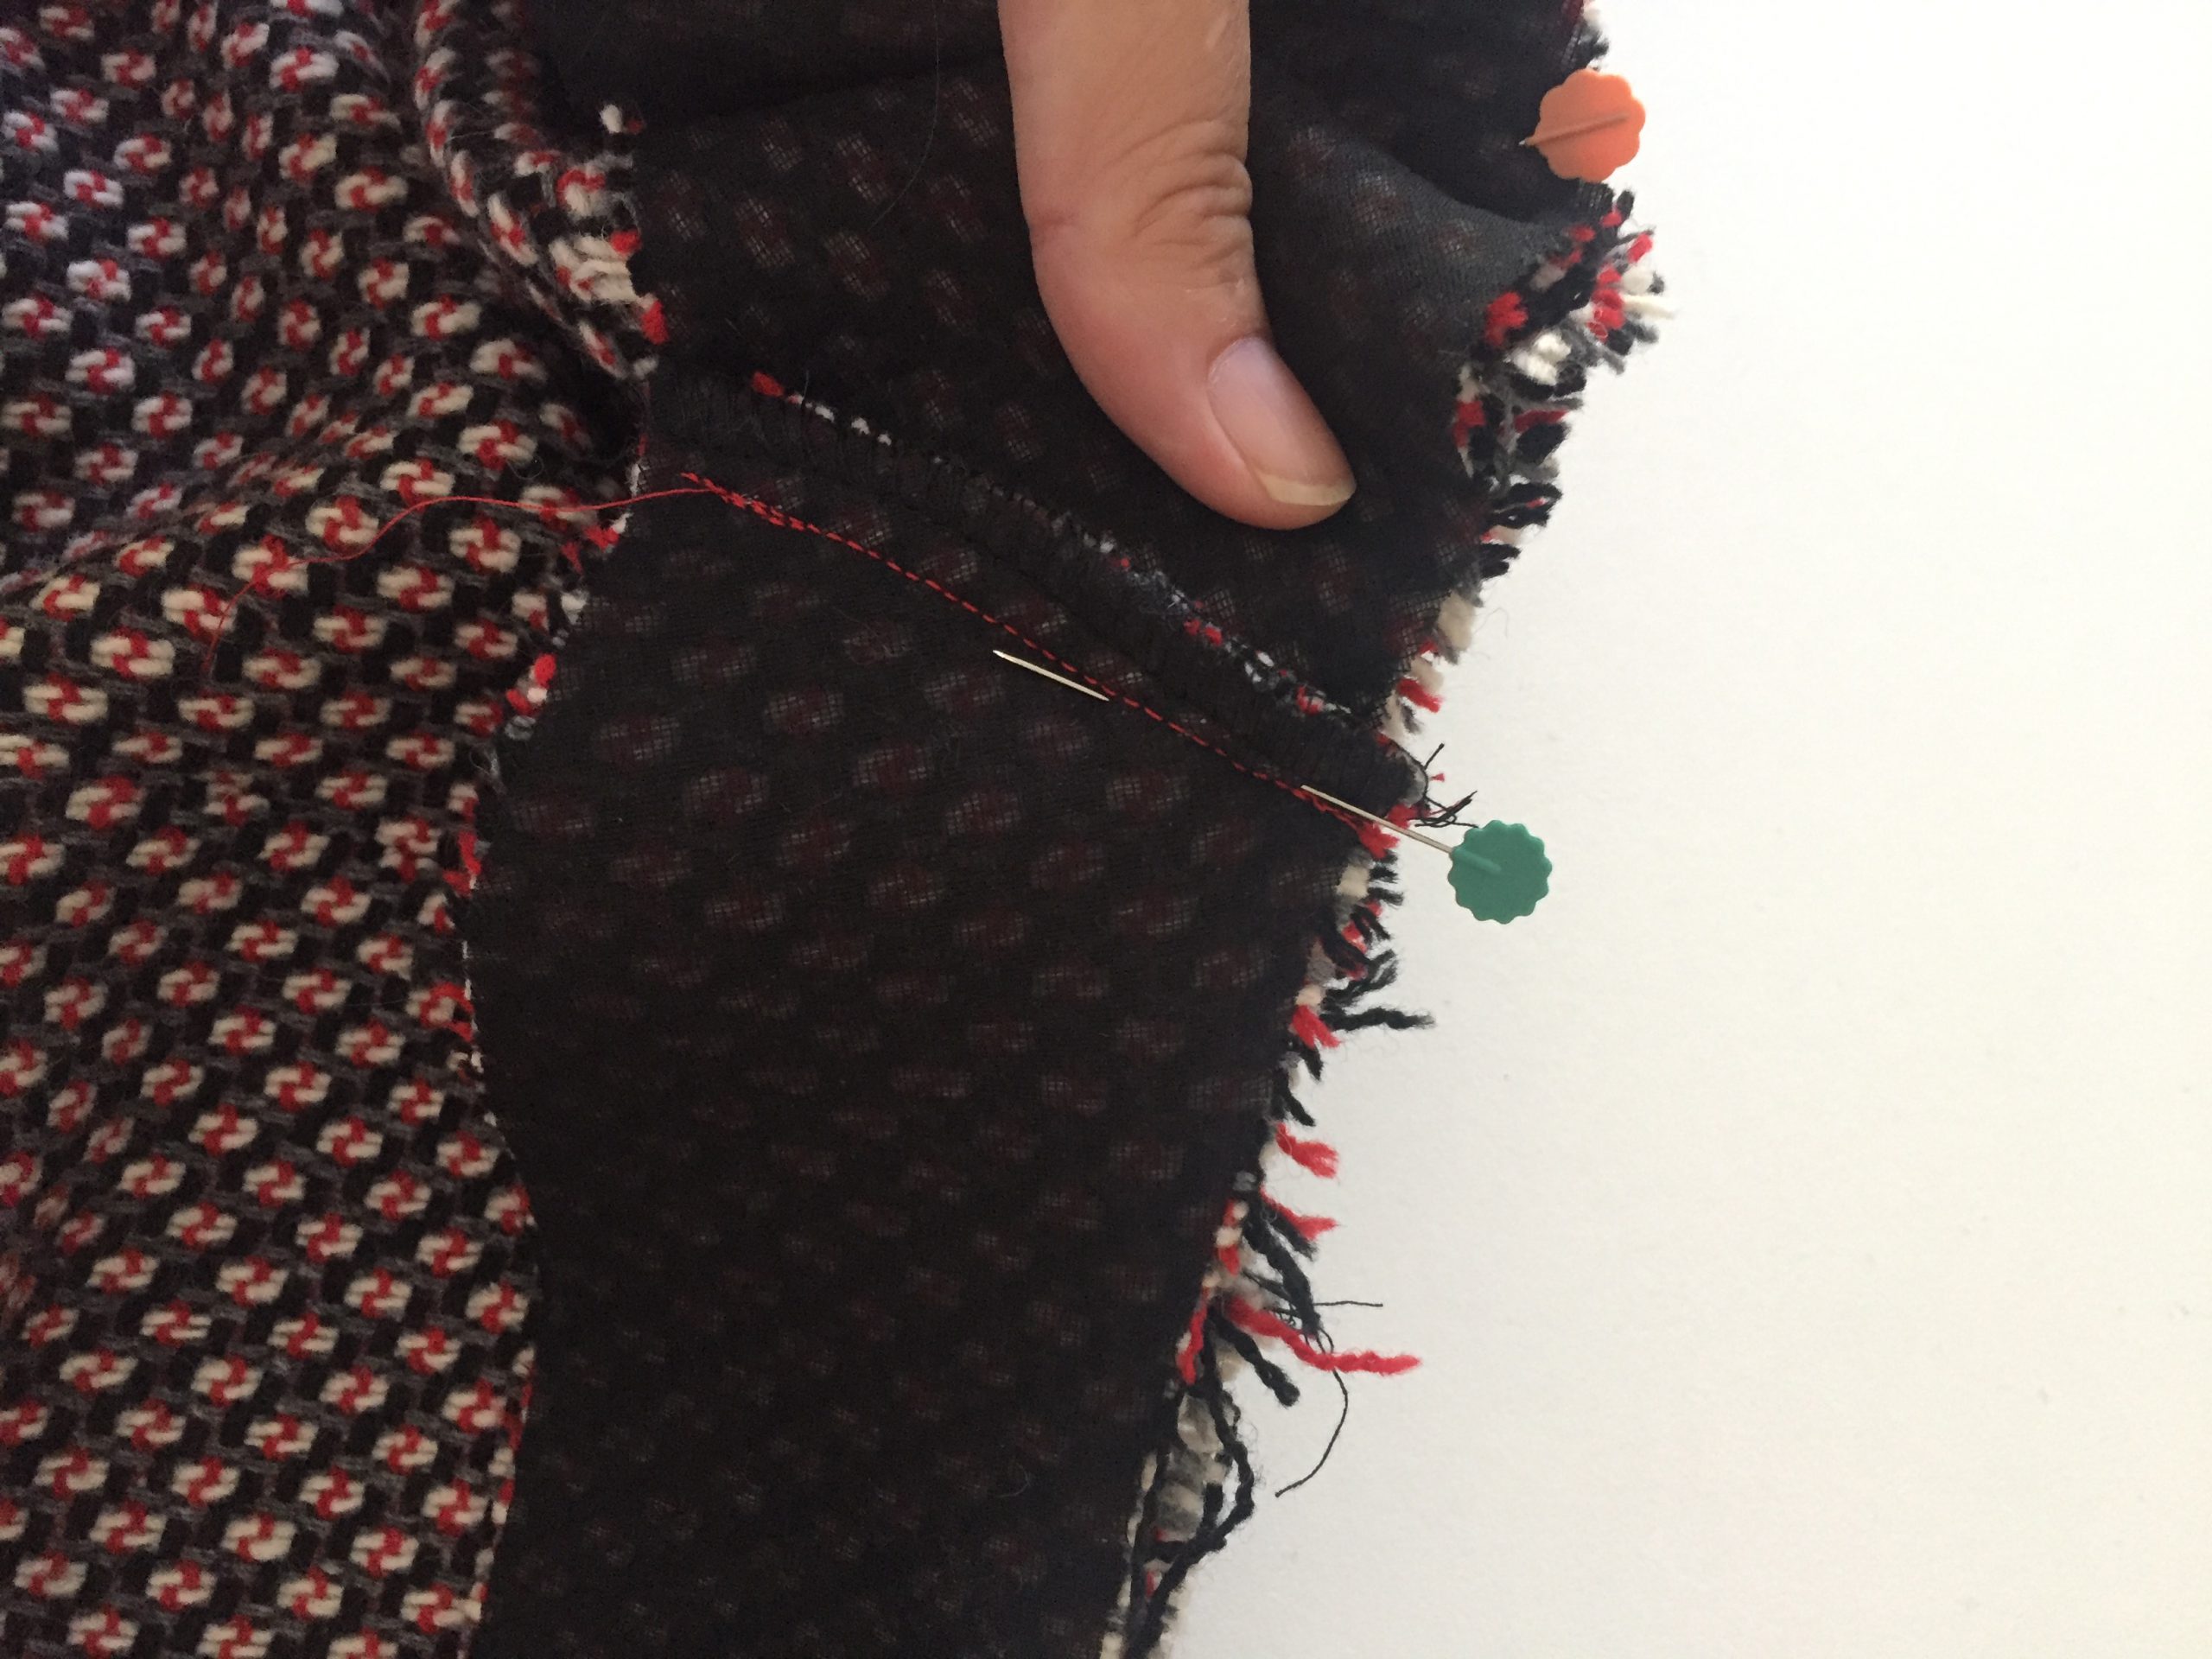
When you go to sew your upper and lower fronts together, you’re sewing pieces that are slightly curved on the side seam, this might look like they’re not going to match – but they definitely do. If you pin at the edge of the fabric, and then at the corner – they fall into place, this is what we call sewing magic.

You can see above there is a convex and a concave curve – you may think that these can’t possibly match up.
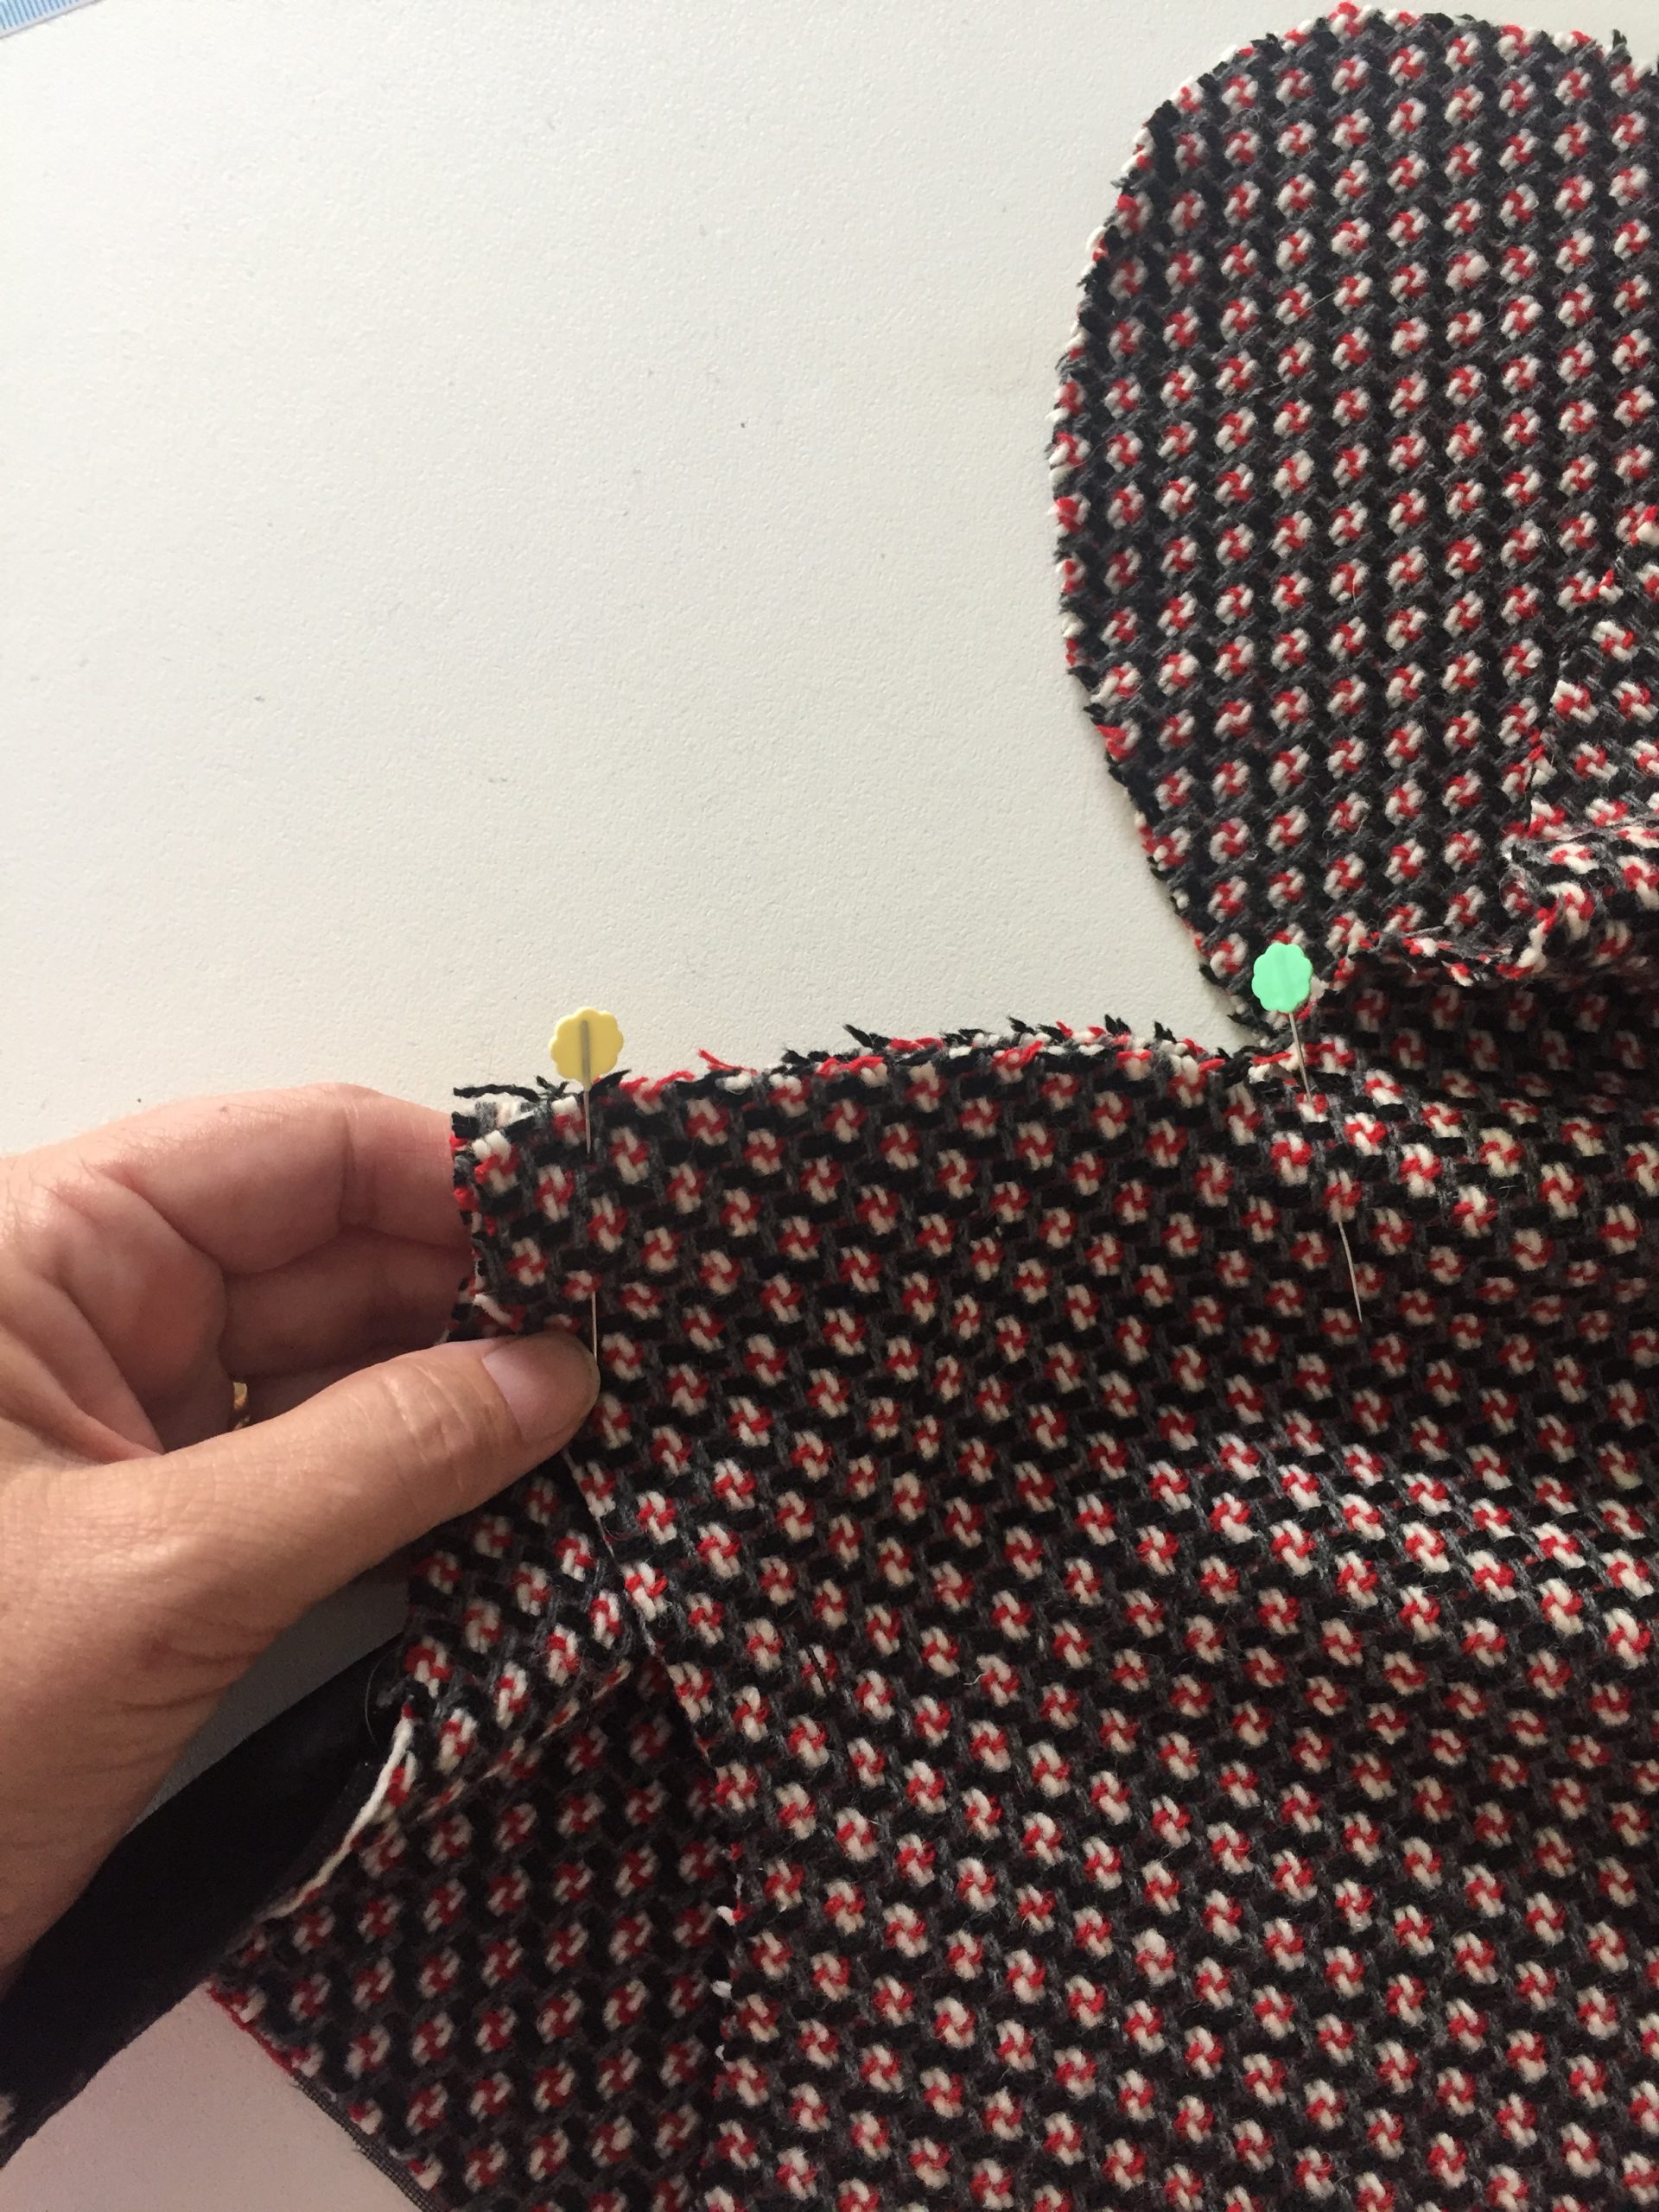
But if you just pin as shown in this photo, they will match – this is sewing magic!
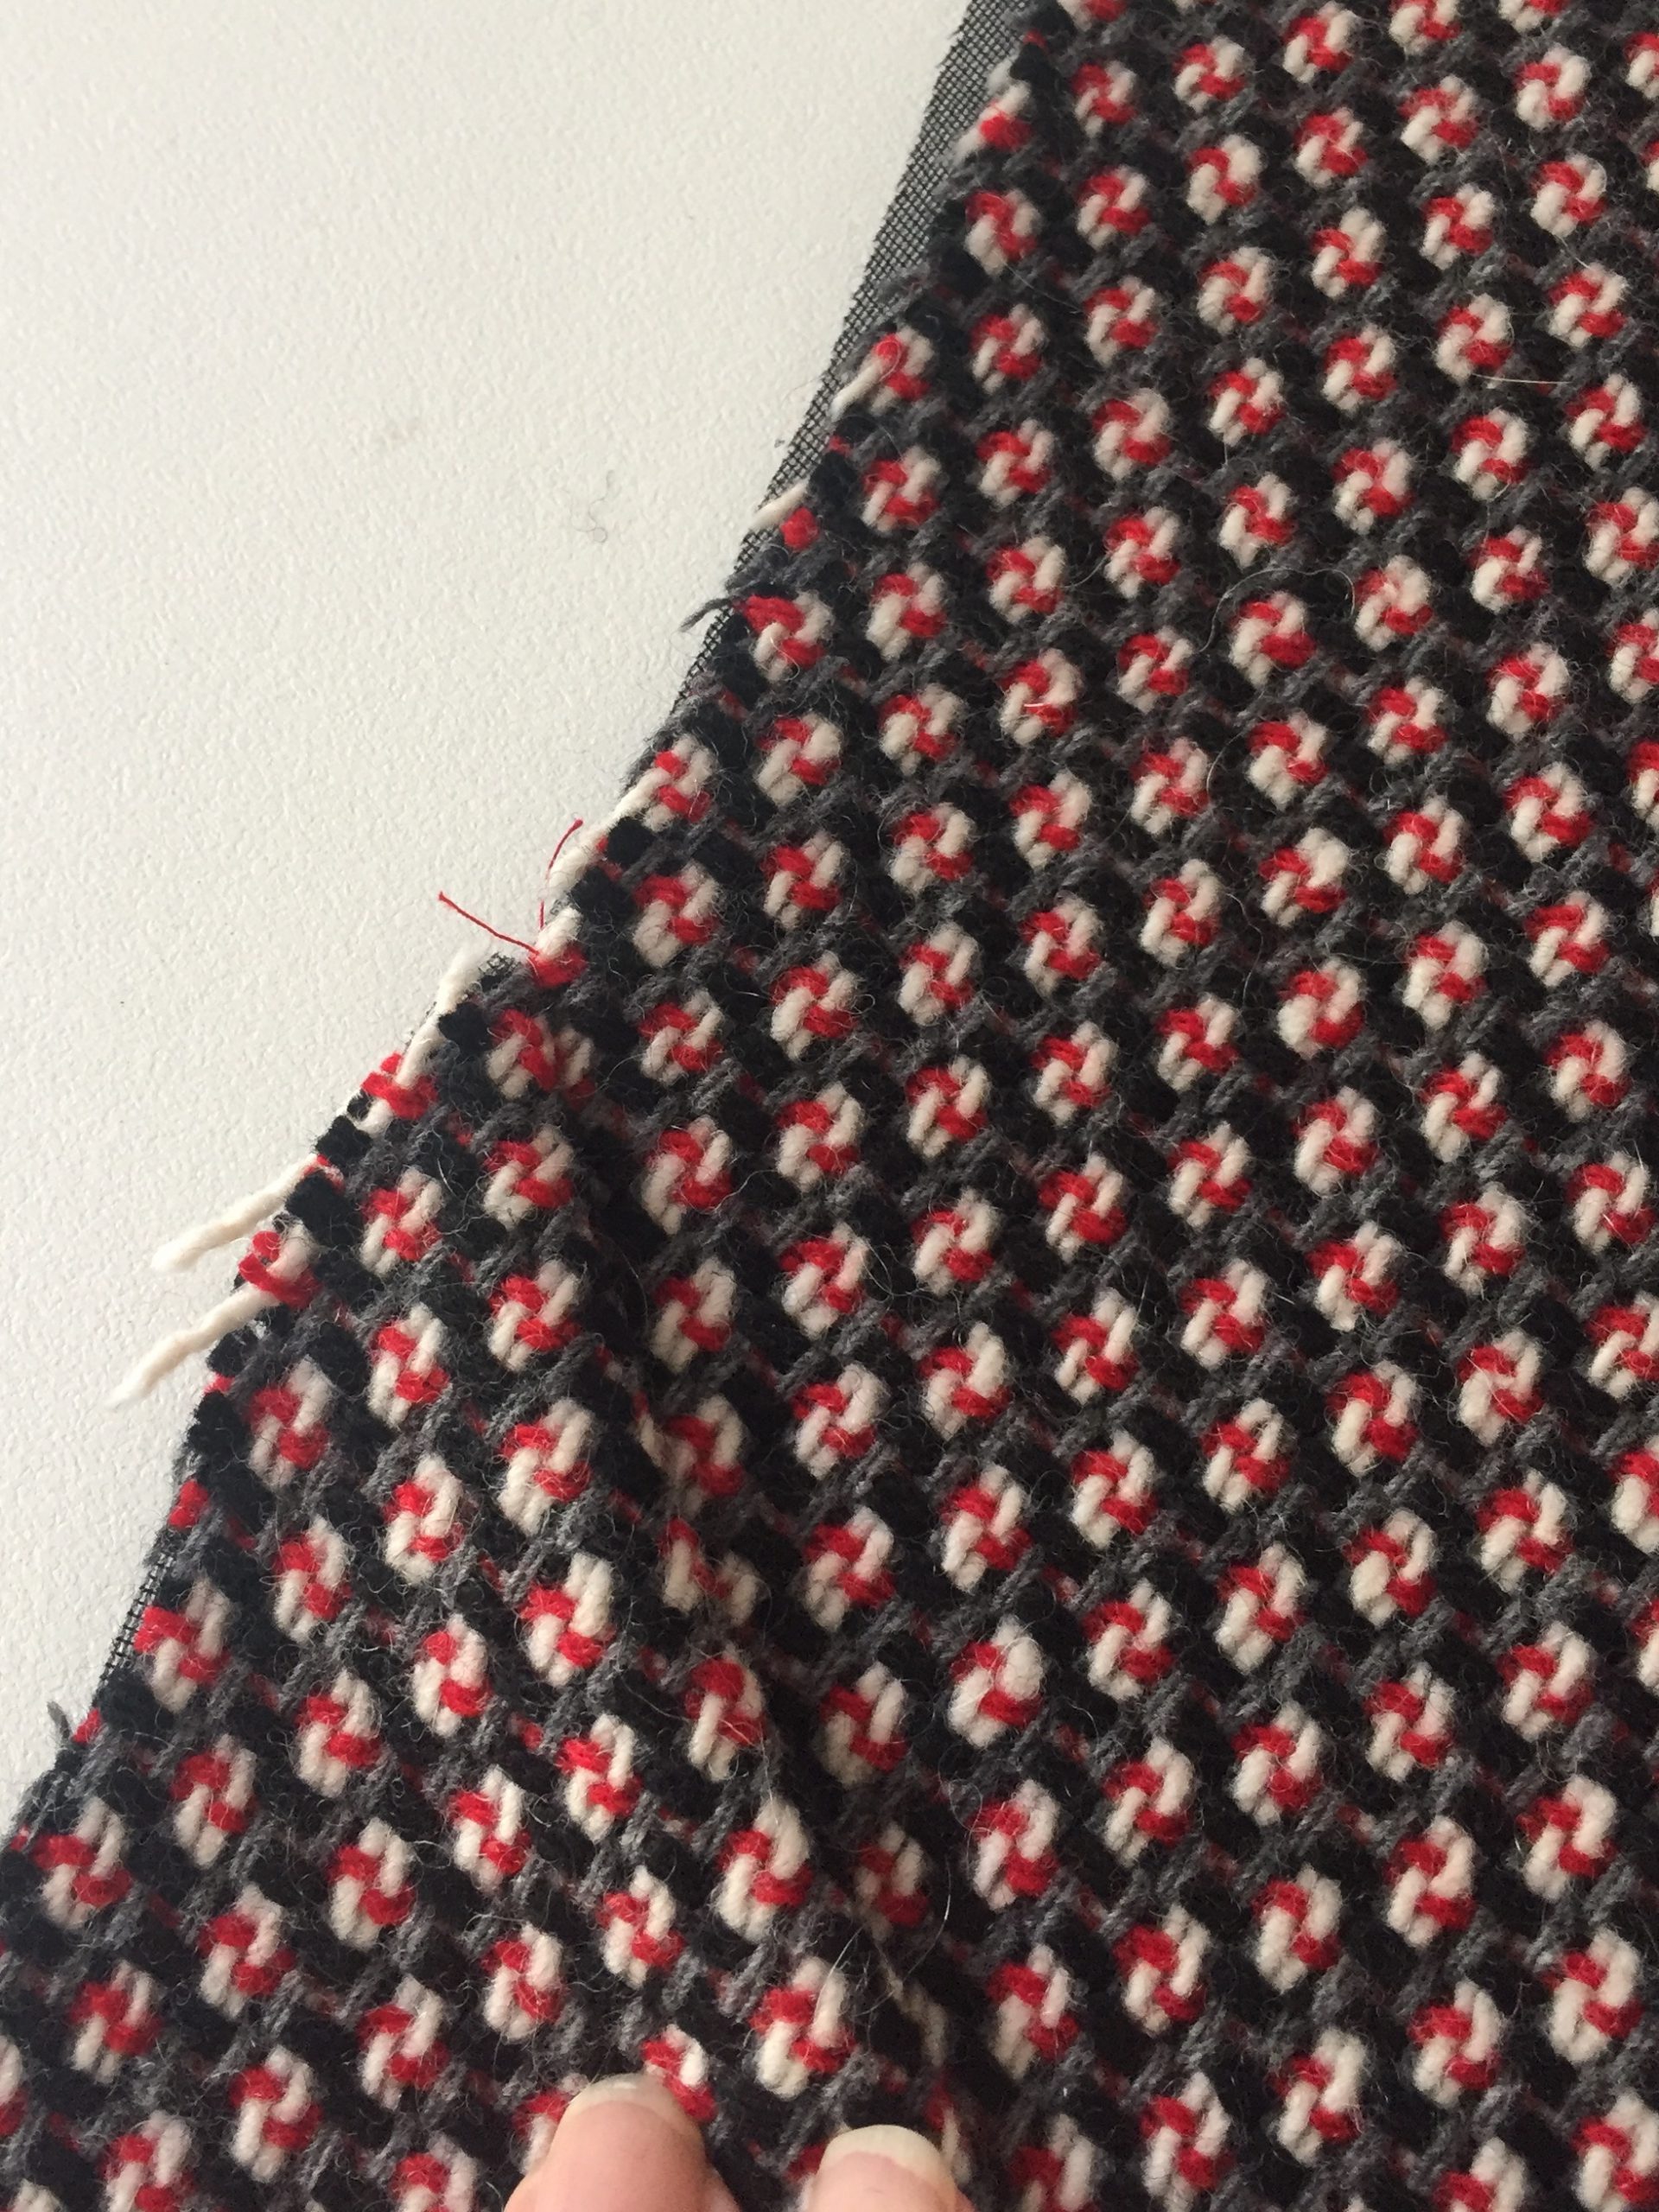
You will see that you need to do some clipping, this can seem a bit scary, but it is necessary – you do need to do this to get your fabric to sit properly, the most important thing is not to clip through your stitching (if you do accidentally clip your stitches, just head back to the sewing machine and sew that seam again, this time a smidgen past the cut, I have learnt this by experience). My fabric frayed just looking at it, so not only did I need to overlock the raw edges, I also added extra reinforcing stitches at the pivot points before clipping so they were a bit stronger – I just used my three step straight stitch.
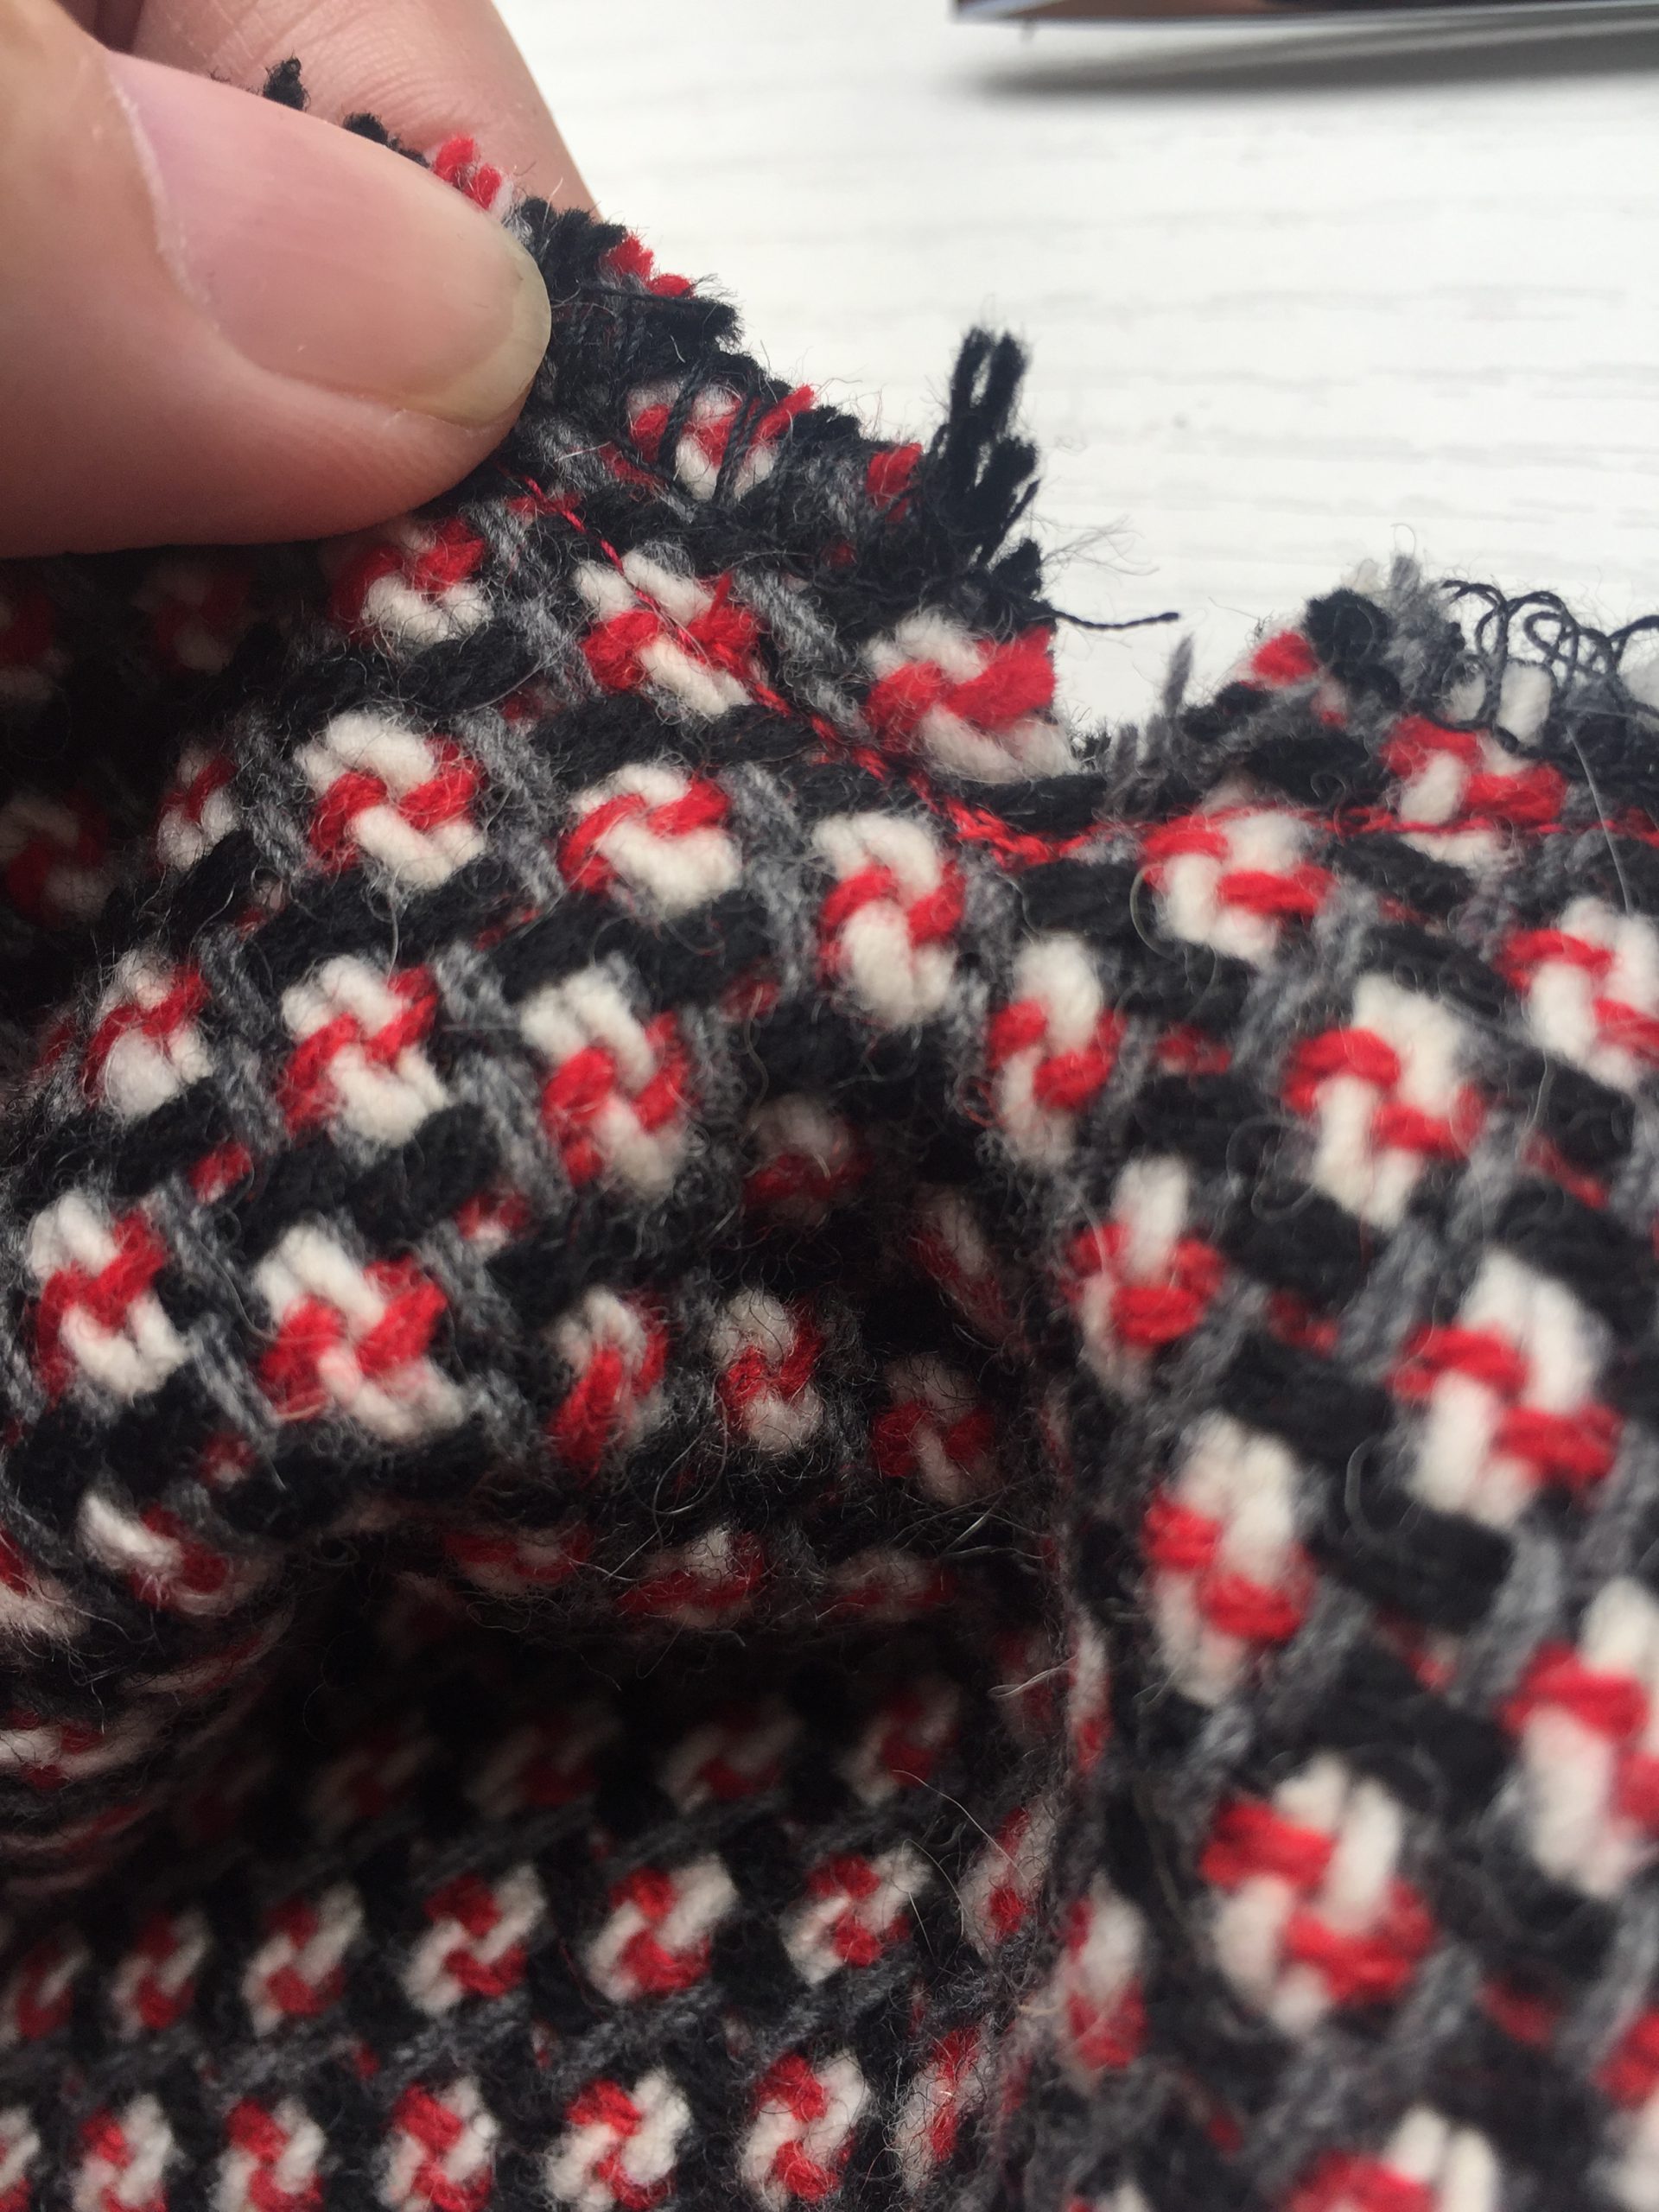
Here I am clipping (almost) to my stitching, and you can just see that I have reinforced with extra stitches because my fabric frays badly.
I’m not sure if this is a tip tip or just a great tip, but the fabric I’m using frays – badly, so I also added some bartacks near my pocket openings (on the right side) to stop them from potentially ripping. I’m not sure if this would actually happen, but I like to err on the side of caution.
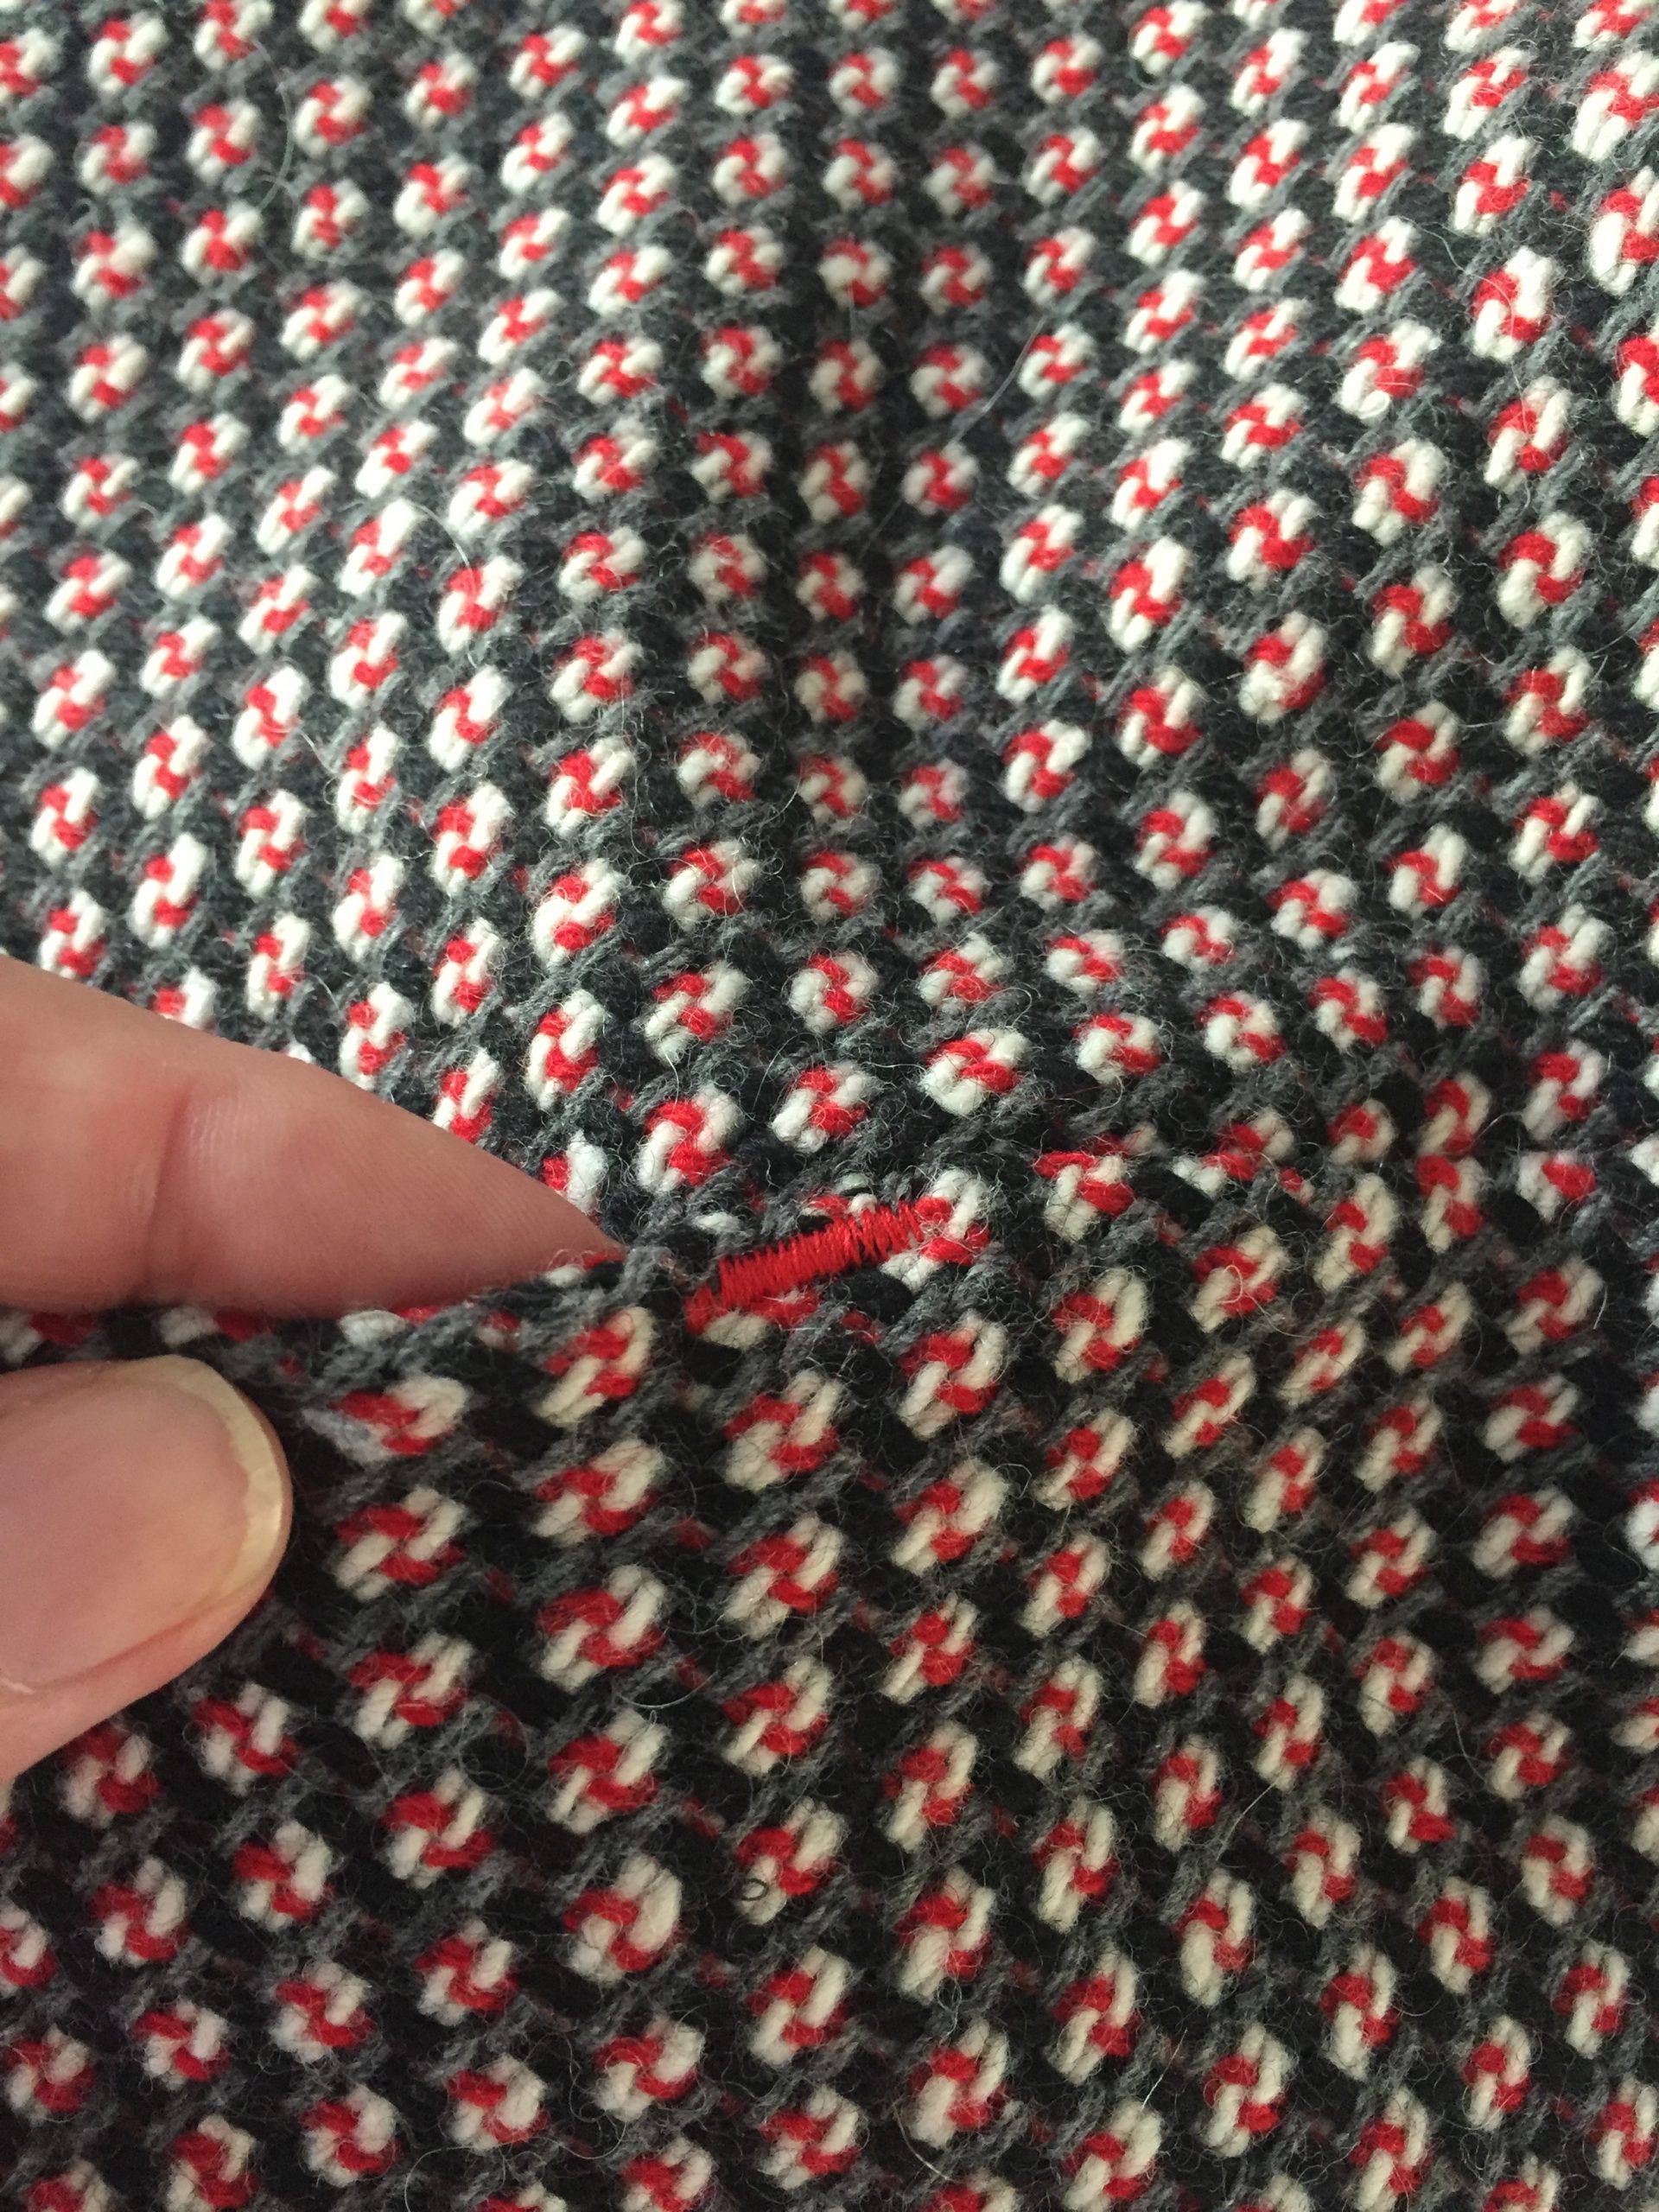
These are my bartacks – just as a precaution as my fabric frays badly
If you are using V1, you do need to make sure that when you have sewn the upper and lower front pieces together you have a smooth transition after pressing. When you are sewing seams, you need to line up your stitching lines, not your cutting lines. When you sew you should have two pieces of fabric to sew together – sometimes this looks a bit weird as you think you’ve got ‘dog ears’ but once pressed you’ll see that the seams all fall nicely and there is a smooth transition between the two pieces.
This is how the two front pieces need to line up. There is a nice, smooth transition.
When you get to step 2 (step 3 V1), make sure that you have the neck edges for the side back and the back together. A common mistake I see with this step is Sewsters not paying attention to the notches (I am actually eye rolling here) and they sew the side back upside down. This will not work, not in any universe. If this has happened, grab your trusty unpicker now and start ripping that seam out. And start again, with notches matching.
Step 3 (step 4 V1) mentions clipping the underarm curve. Again – do not cut through your stitches, but just up to them. This helps to ease open the outer curve of the fabric.
Step 3 (step 4 V1) has you sewing the shoulder seams then the side seams. Nice n easy. You do need to pay attention when sewing the side seams that your seams from the front and back match up nicely.
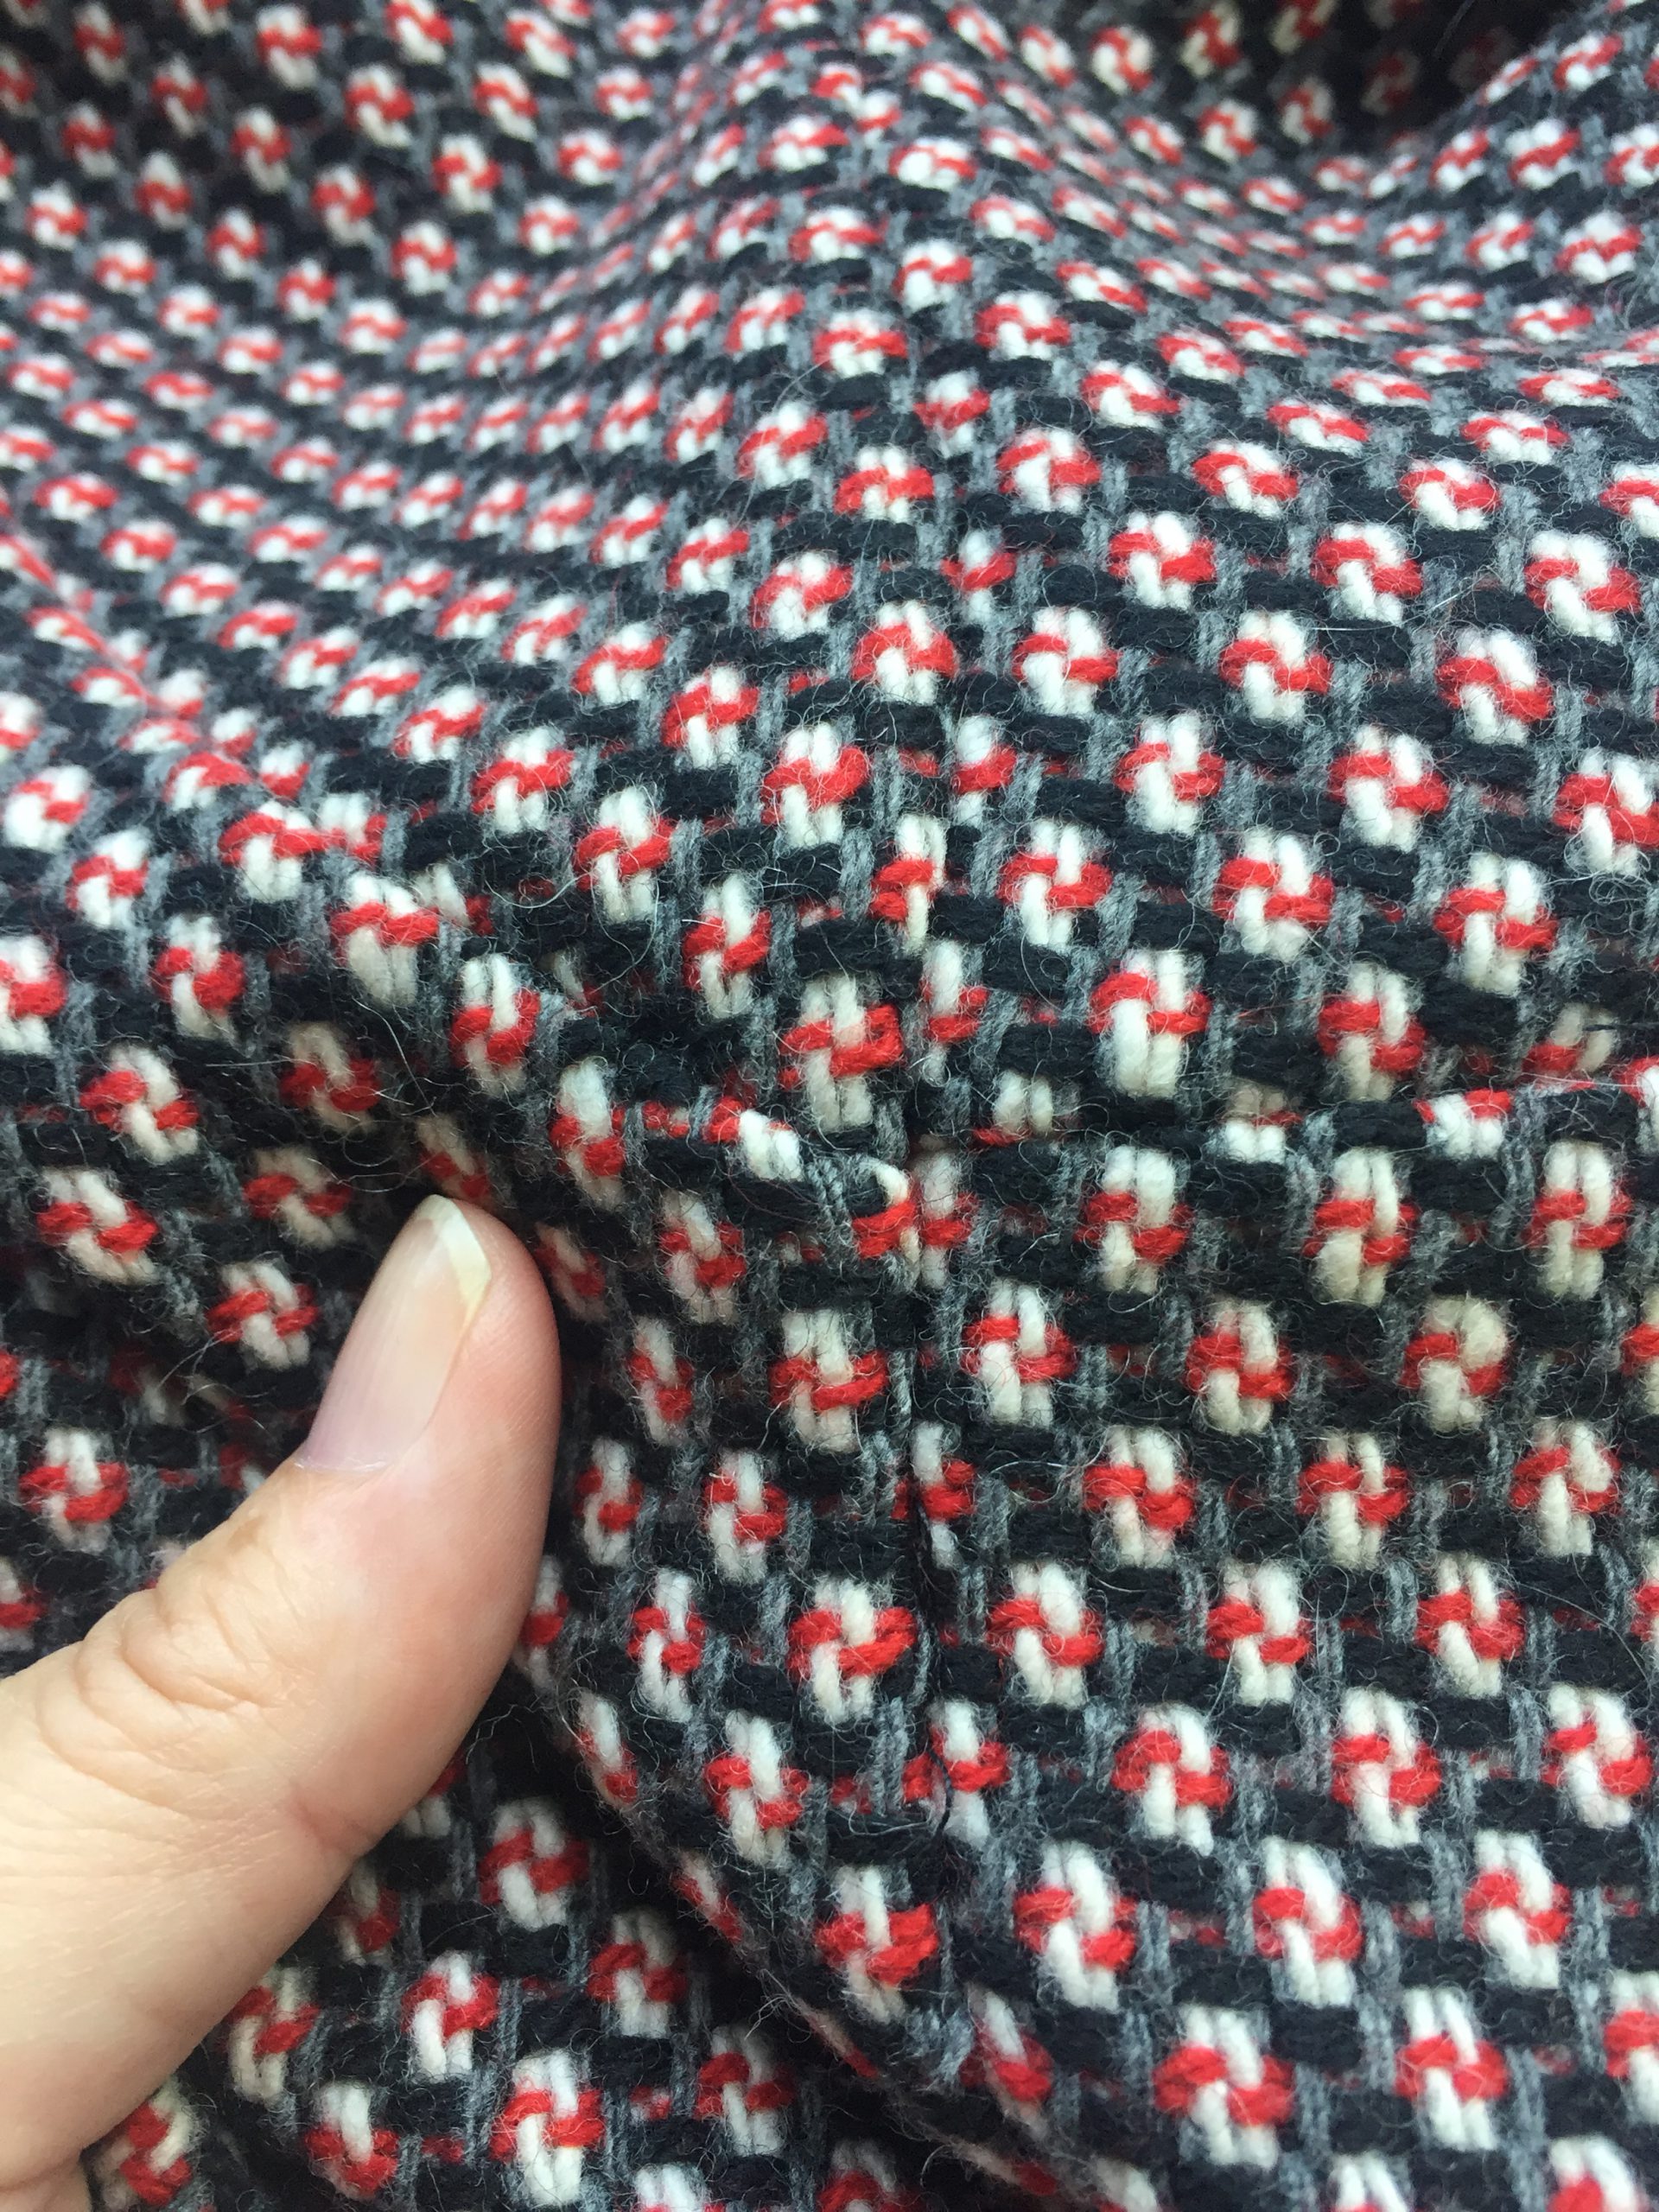
Yes I know this is a bit hard to see, but look closely and you’ll see how well the seams match up when joining the front to the back at the side seams
The next few steps are fairly straight forward. If you have never done understitching before (step 6), this helps the fabric facing “roll” towards the inside of the garment. It is like a topstitch but on the inside (hence the name understitch). You are sewing the seam allowance to the facing, so you will have three layers of fabric to stitch through. If you have an edgestitch foot or a blindhem foot – this step is made a lot easier. You can sew your understitch either from the right side, which is the way I prefer. Or you can sew from the wrong side. The result is the same, unless you have different coloured thread in your bobbin, then this will show up on the right side.
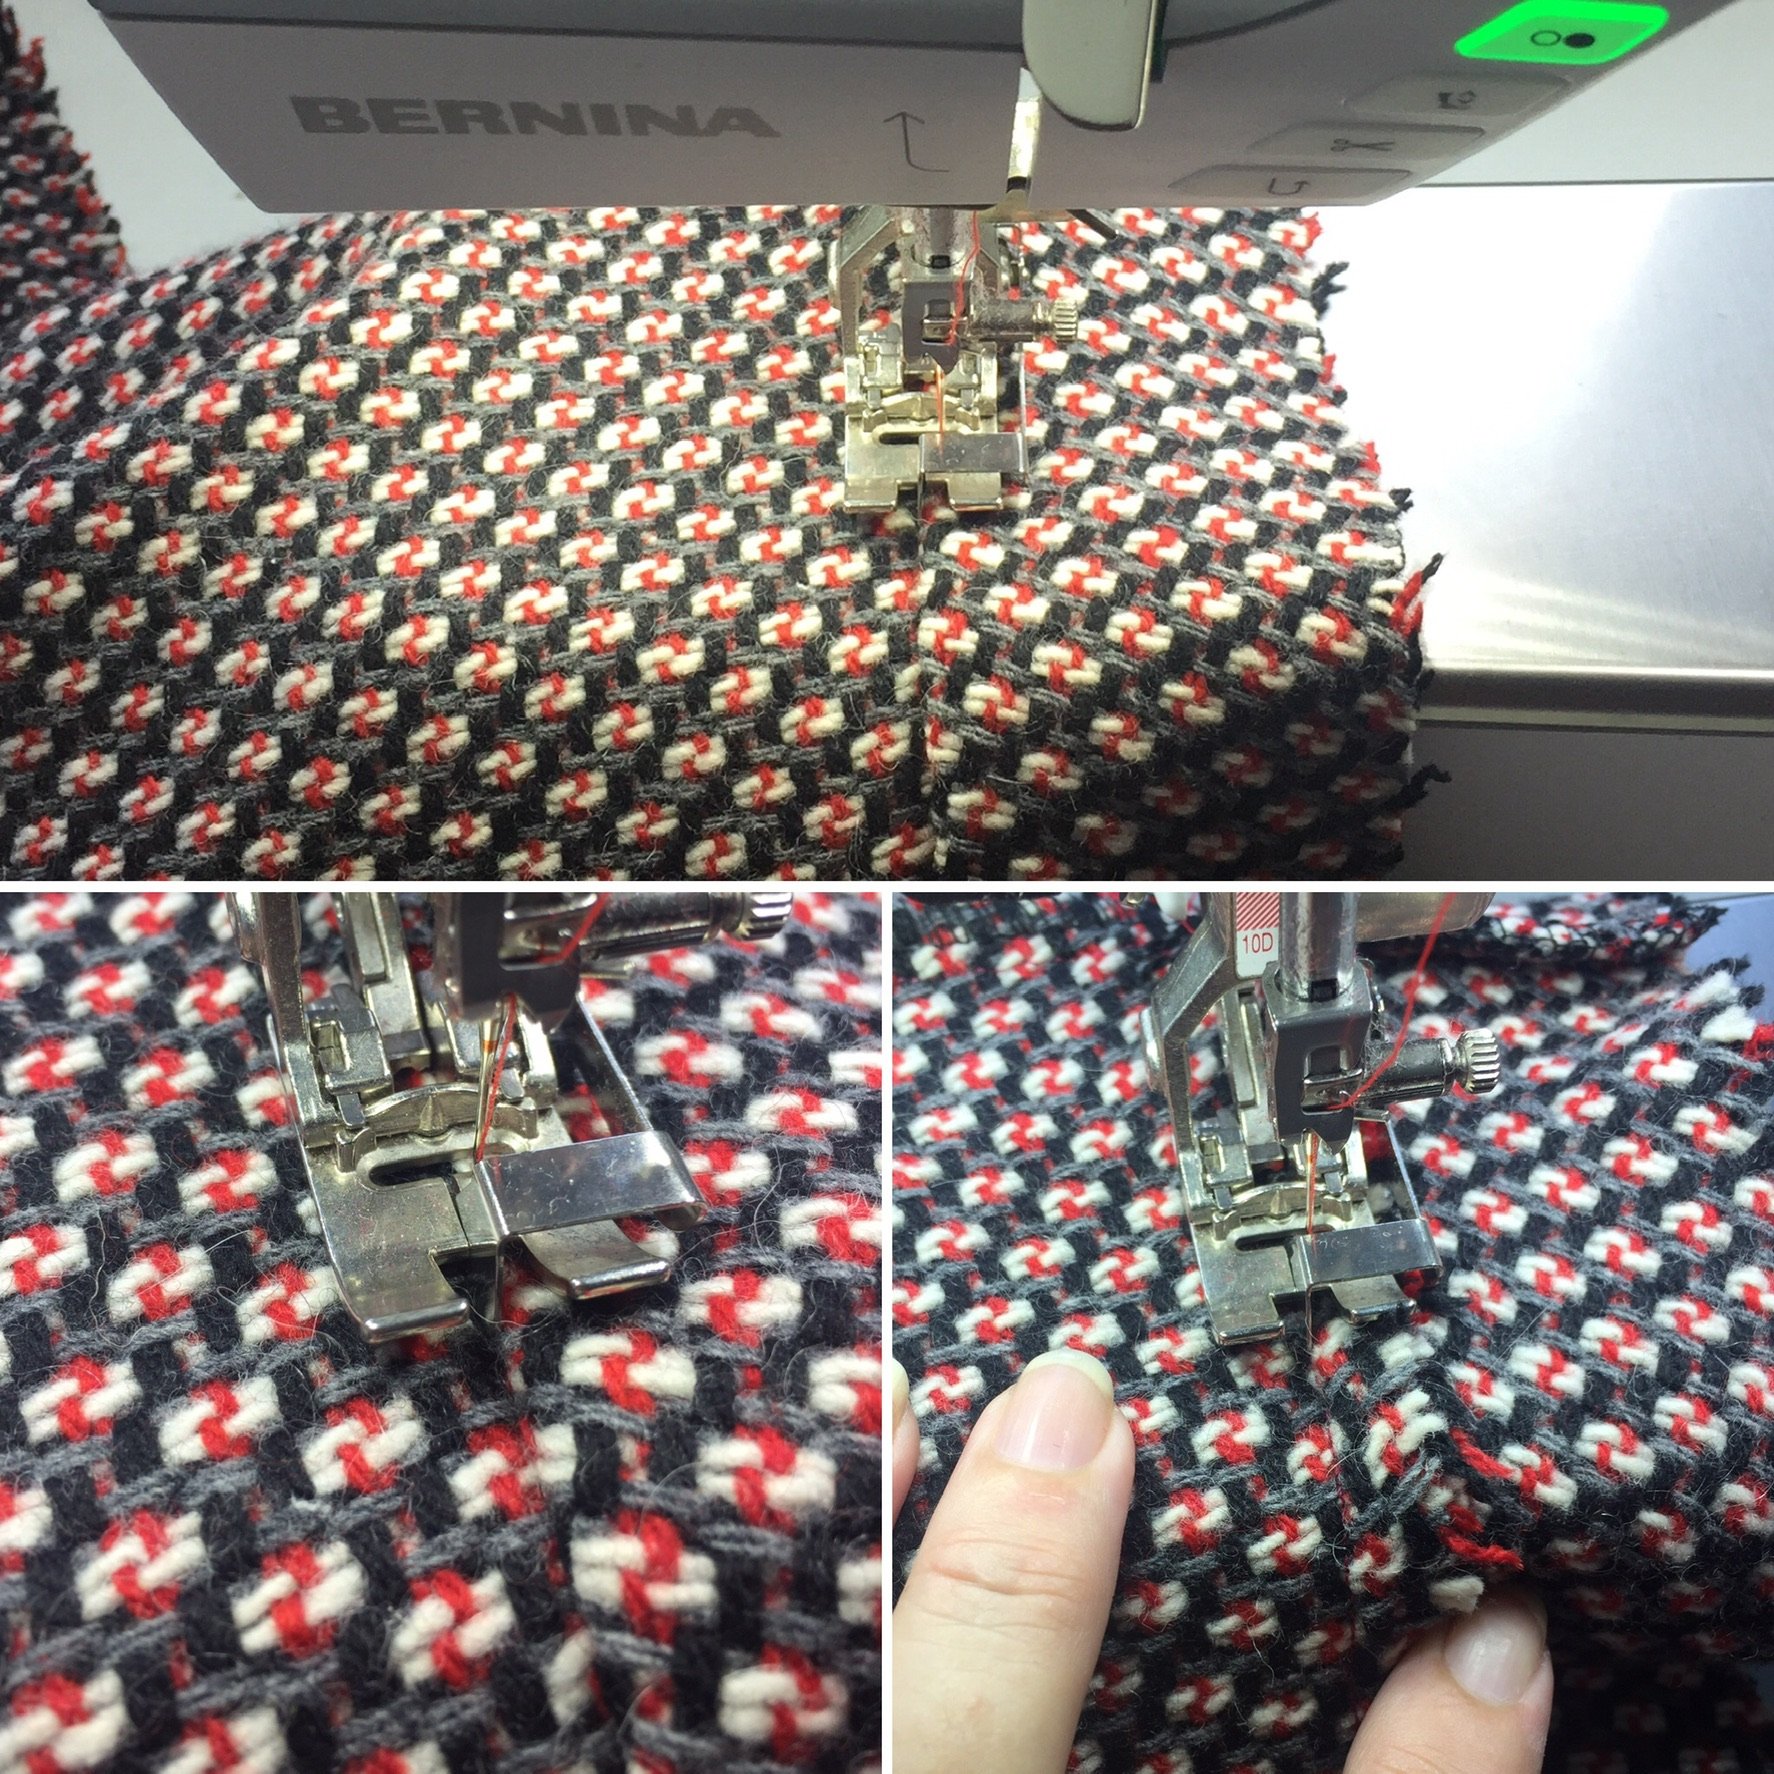
Top photo is my trusty edge stitch foot, #10D. Bottom left shows me understitching on the right side of the fabric and bottom right is understitching on the wrong side.
In Step 7, we’re attaching the sleeves to the body. The easiest way to do this is to have the body of your coat inside out, and your sleeve right side out. Then you slip the sleeve inside the coat and match the seams & notches (the illustration in the instructions shows this perfectly).
This is the body of my Sapporo with my sleeve slipped inside
Instructions like step 8 can cause a bit of confusion, but it is really quite simple. Sew one side of the neck facing to the front neck edge (exactly as the instructions say) and then sew the opposite side. Where I’ve noticed Sewsters get a bit flummoxed on this step, is they try and put both sides together to see if it works (and it will), but without the first seam being sewn it’s a bit hard to visualise. Remember – follow the instructions, one step at a time. You do need to pull the facing around to the other side, and you have a lot of fabric by now. Just man handle it and you will be fine.
Step 9
The first sentence in this step is easiest to do if, with right sides together, you match your shoulder seams first. Then everything else falls into place. You need to understitch your seam allowance towards your facing, but it is impossible to get all the way to the corners when you do this, you will probably have a gap of 1” or 2”, this is totally normal when understitching around neck edges.
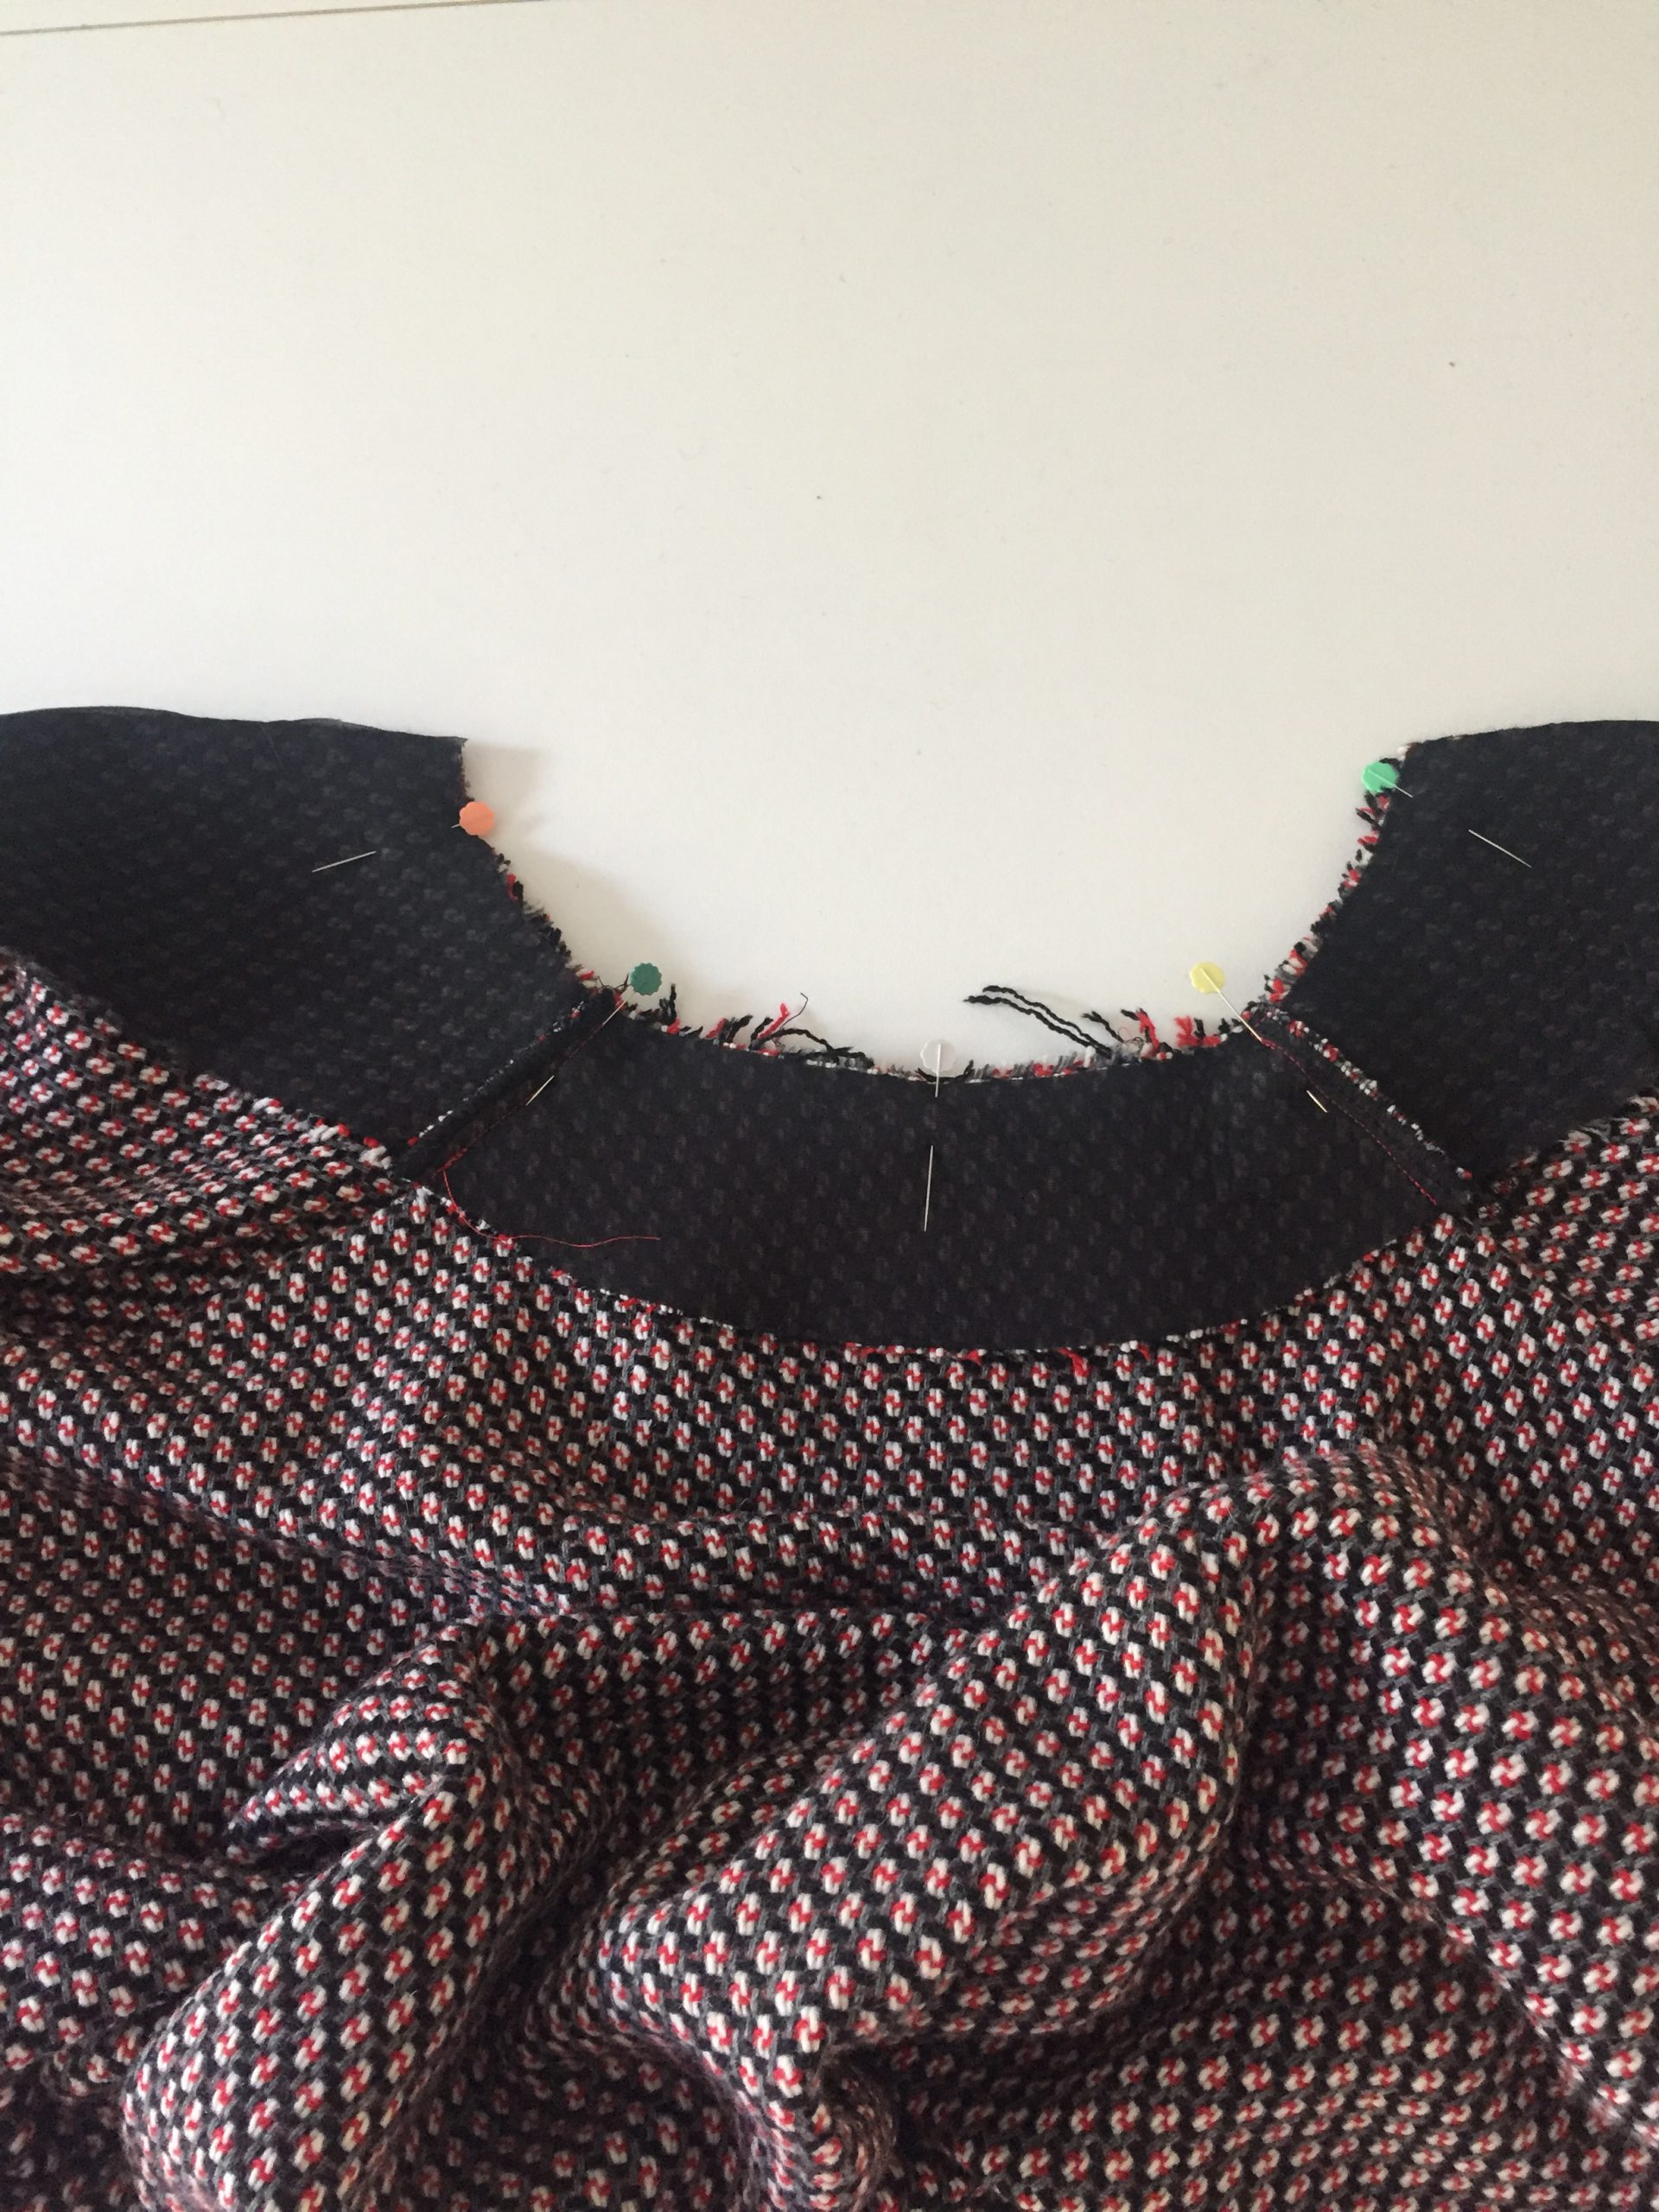
Here I have my neck facing pinned to my body, I matched the shoulder seams first
Shoulder seams matched
If you’re using V1 – your instructions stop here, so you can ignore the reference to step 10 & 11 below.
Step 10
I press my facing edges, but I don’t press my hem until I have attached my lining.
Step 11
Now, let’s deviate a wee bit for instruction 11. Like step 10 above, I find this better to do once the lining is in, so we’ll tackle this step next week.
And there you have it, your completed Main Fabric, your Shell or your Outer. Whatever you call it, you’re a legend and are so close to having a completed coat!!
If you’re on IG, let us see what you are up to by using the hashtag #BerninaSapporoSewalong
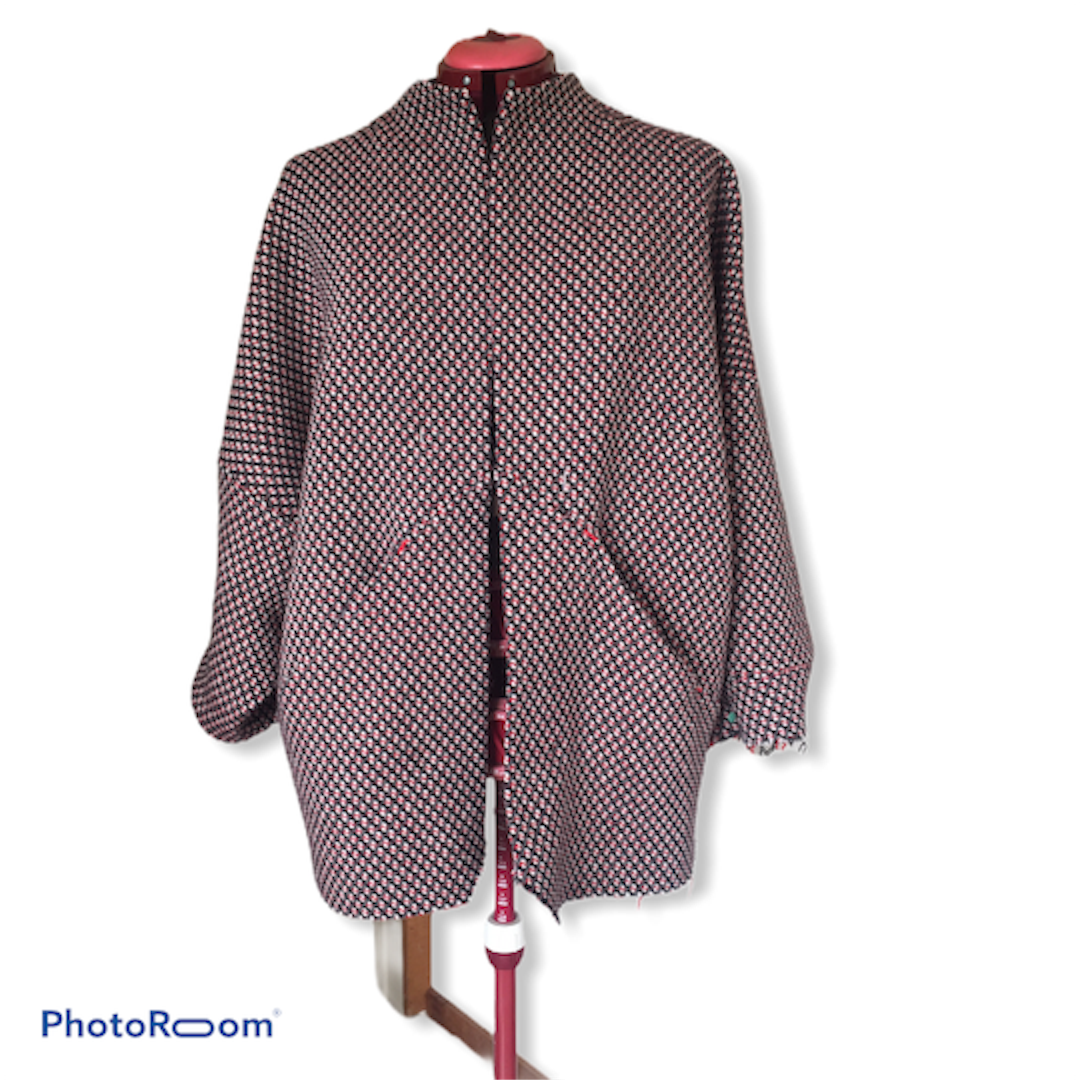
Here she is! Kate Cooper the Mannequin showing off my almost finished Sapporo.

And the back!
And the big announcement?? Next week, we are going to sew the lining and attach it to the Main Fabric. I had originally planned to break this two steps over two weeks – but, I’m super keen to get you to the end sooner rather than later. So next week will be the last blog post and you will have a completed coat!! And a girl can change her mind right!
Start practising this – Thanks I made it. It has pockets!
See you next week, mwah…

0 Responses