 BERNINA Corporate Blog -
Did you read above? FINISHING!!!! Today is the day we get to finish and start wearing our fabulous Sapporo Coats. So exciting!
Repeat after me: Thanks I made it, it has pockets.
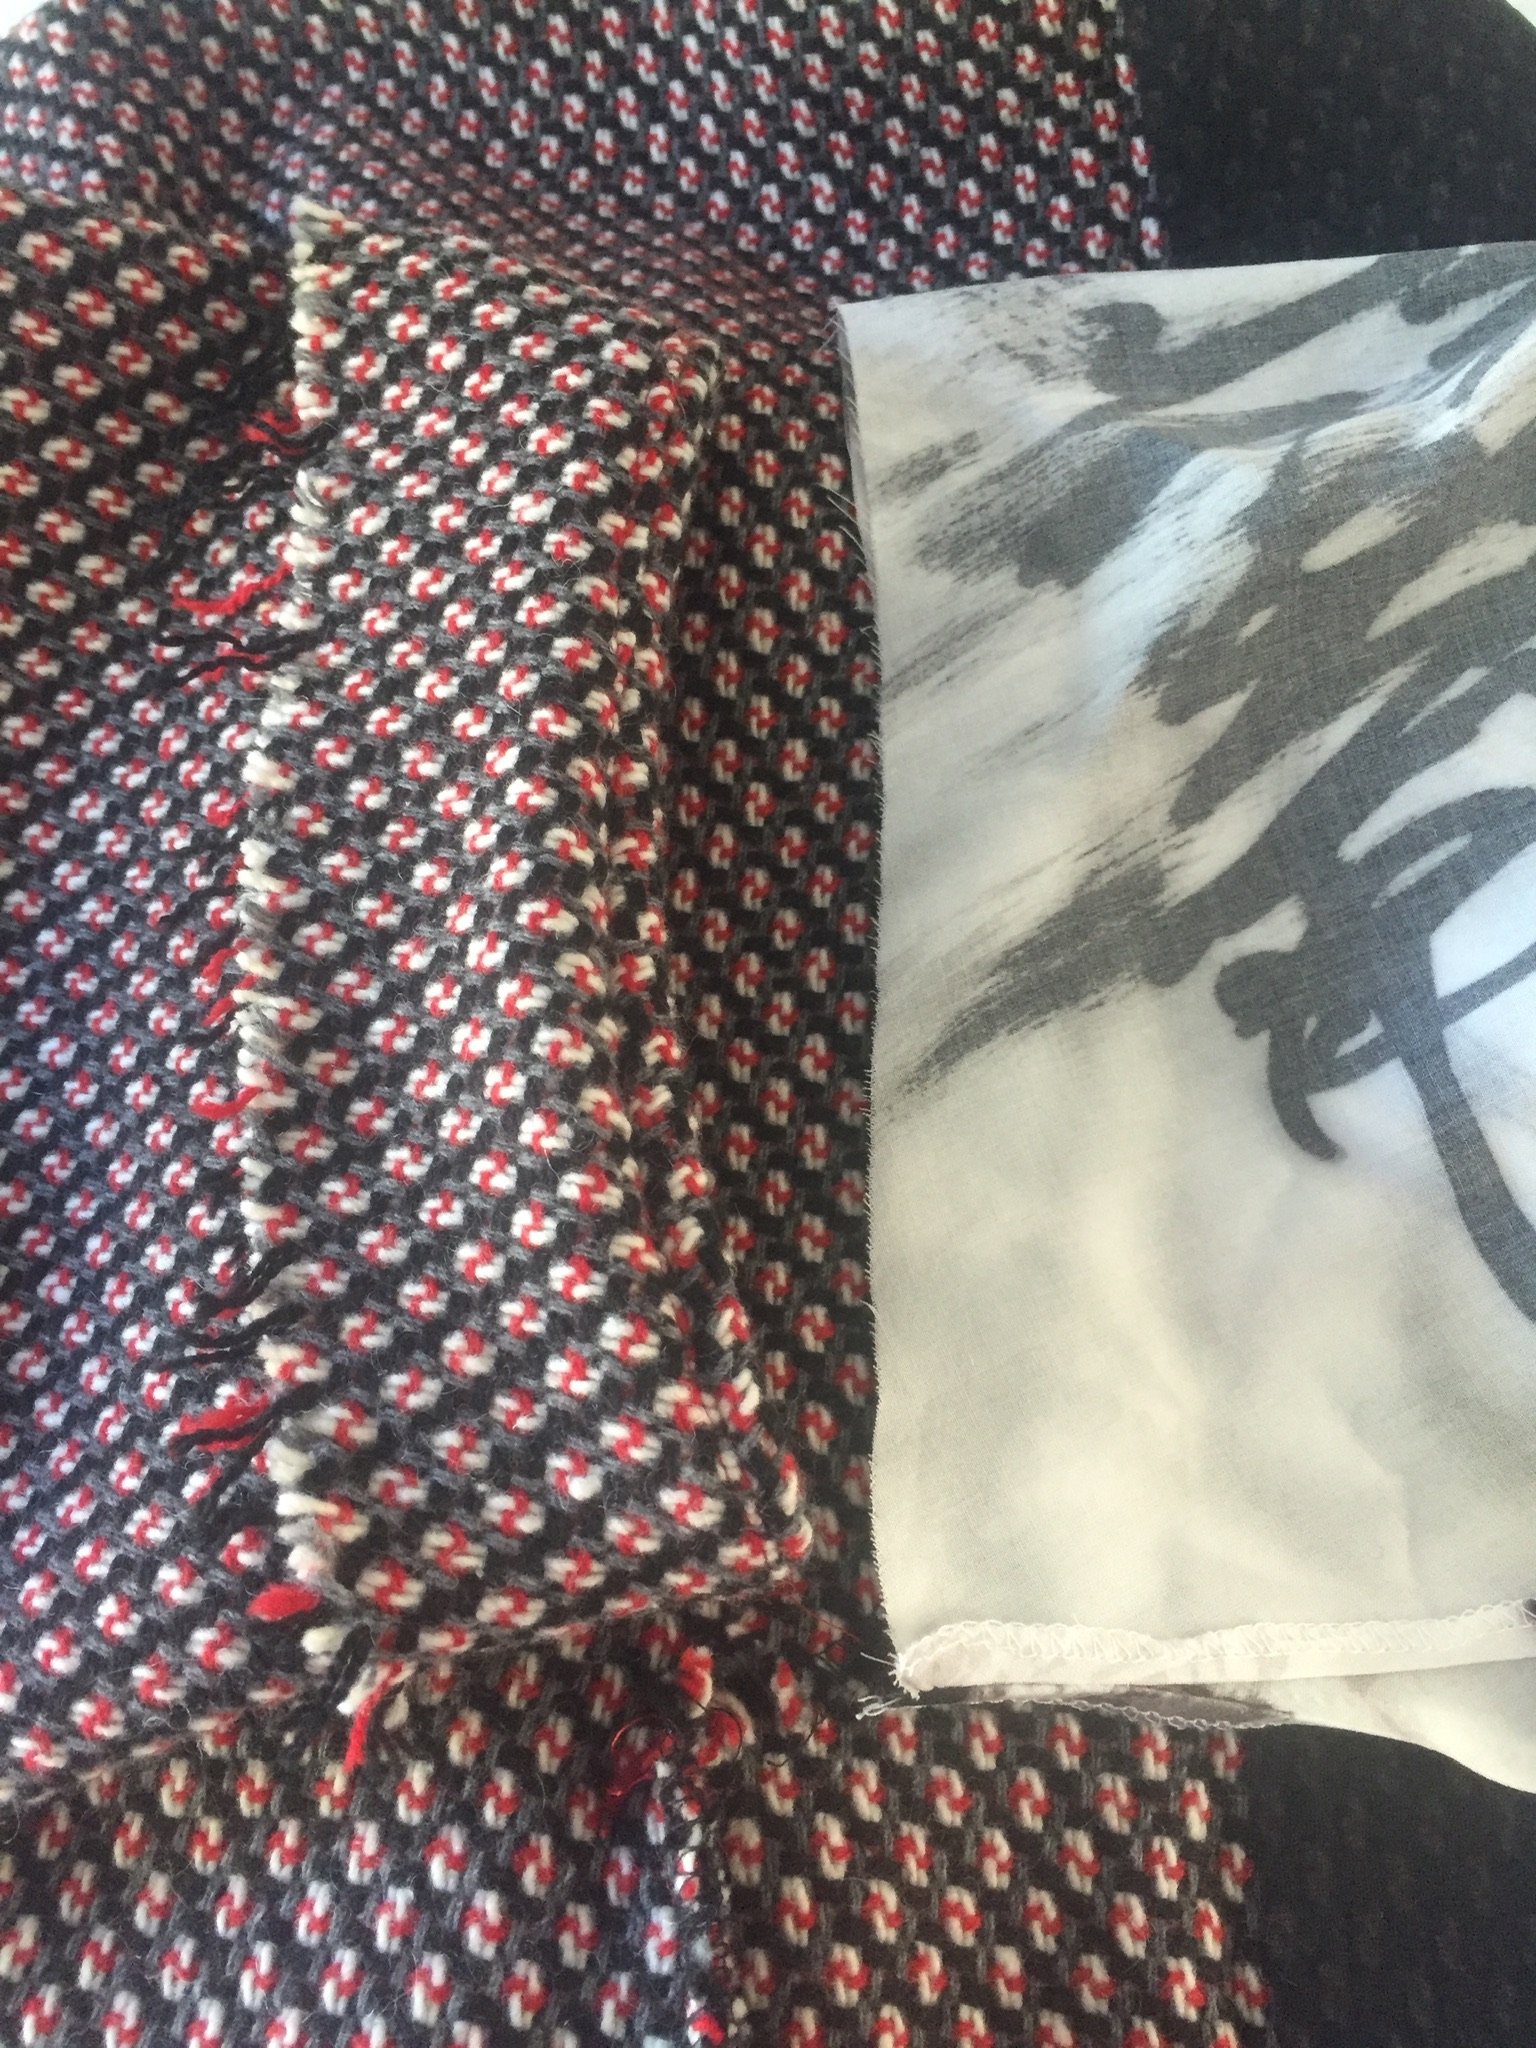
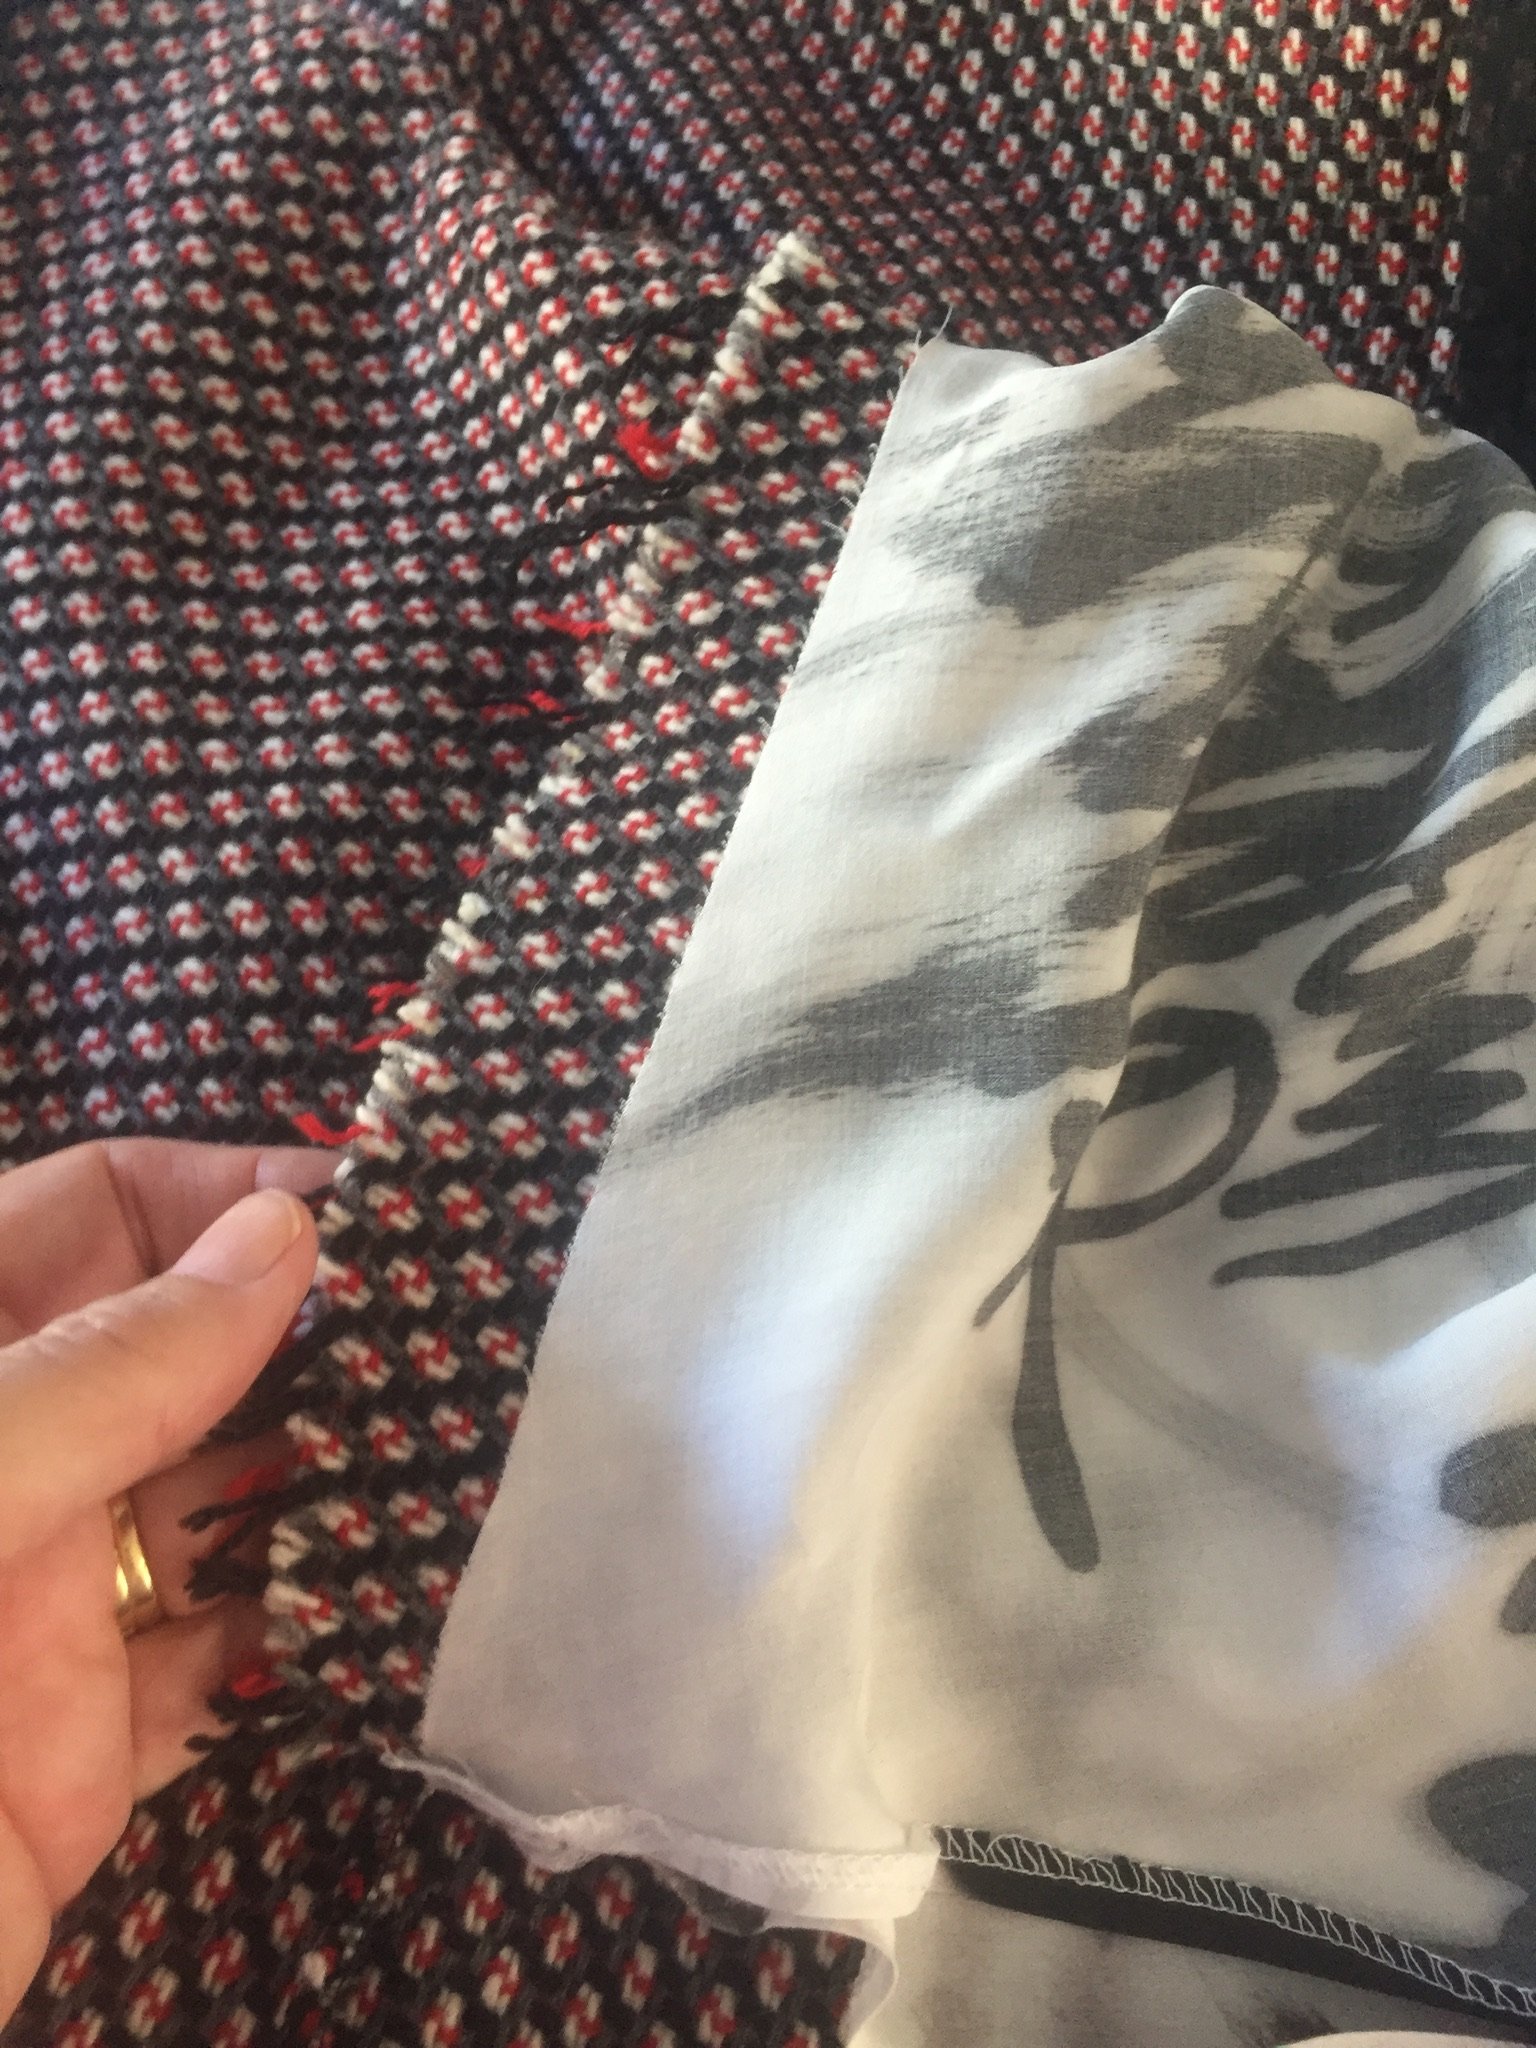
Sewing the lining is pretty straight forward. You will find it fairly easy to do, as you’ve made the outer and this is virtually the same. That’s the thing with linings, they are essentially the same as the outer.
I’m going to leave you pretty much to your own devices to sew up your lining, if you have a lining fabric that frays too much, overlock or zigzag the raw edges. But I will let you know how I do one thing a bit different to the pattern instructions. Same end result, just different execution. More on that soon.
Step 12 in v2 is adding a pleat in for the short length only. You don’t need to do this if you are making the longer length.
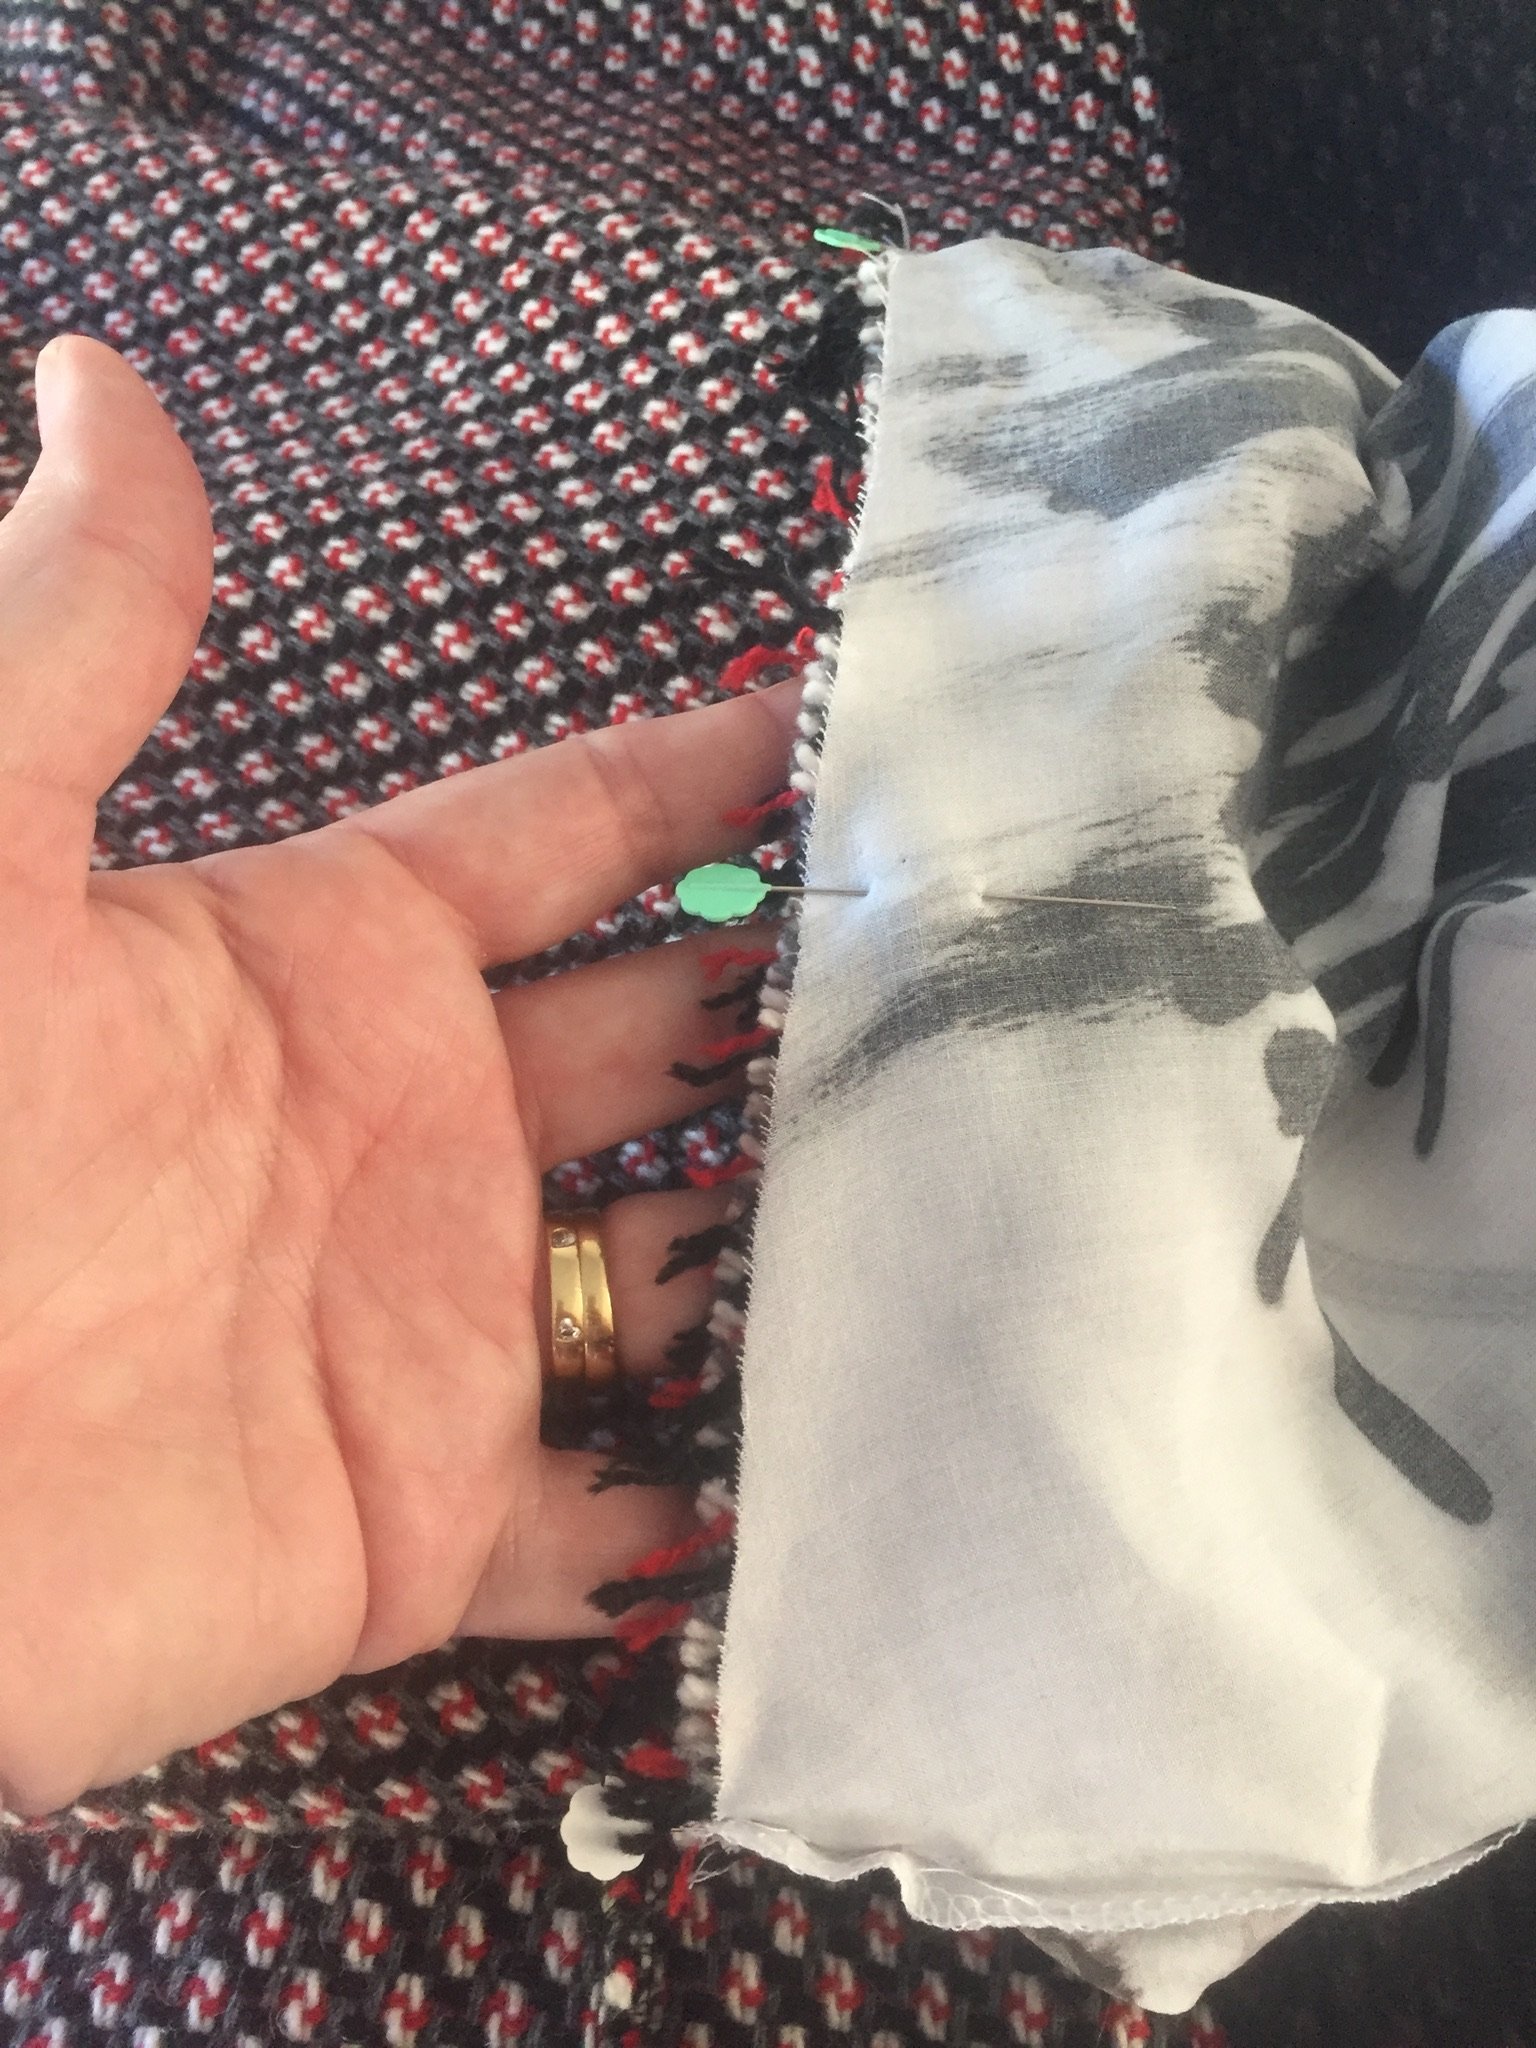
Now, you’ll see that you are instructed to leave a gap between the notches on one side of the lining in step 14 (step 11 in V1), this is so we can ‘bag out the lining’ (sometimes referred to as birthing the lining). You need to make sure this gap is sufficient to bring your garment through once the lining is attached – especially important to have a biggish gap if you are using a thicker fabric for your outer like wool for eg. So err on the side of caution and make this gap bigger.
This is what I do that is a bit different – I leave the ‘bag out gap’ in my sleeve lining seam, and not my side seam. My theory is that you do need to hand stitch this gap closed once completed, and if the seam is inside the sleeve you’ll not see the hand stitching or the seam. Or like me, you never get around to closing that gap – no one will ever notice.(what can I say, I’m a lazy sewster lol). Make sure it’s a generous gap. If you are using V1, and your sleeves are not in lining fabric, you don’t need to leave a gap in the side seam, as you will be able to bag out through the armhole.
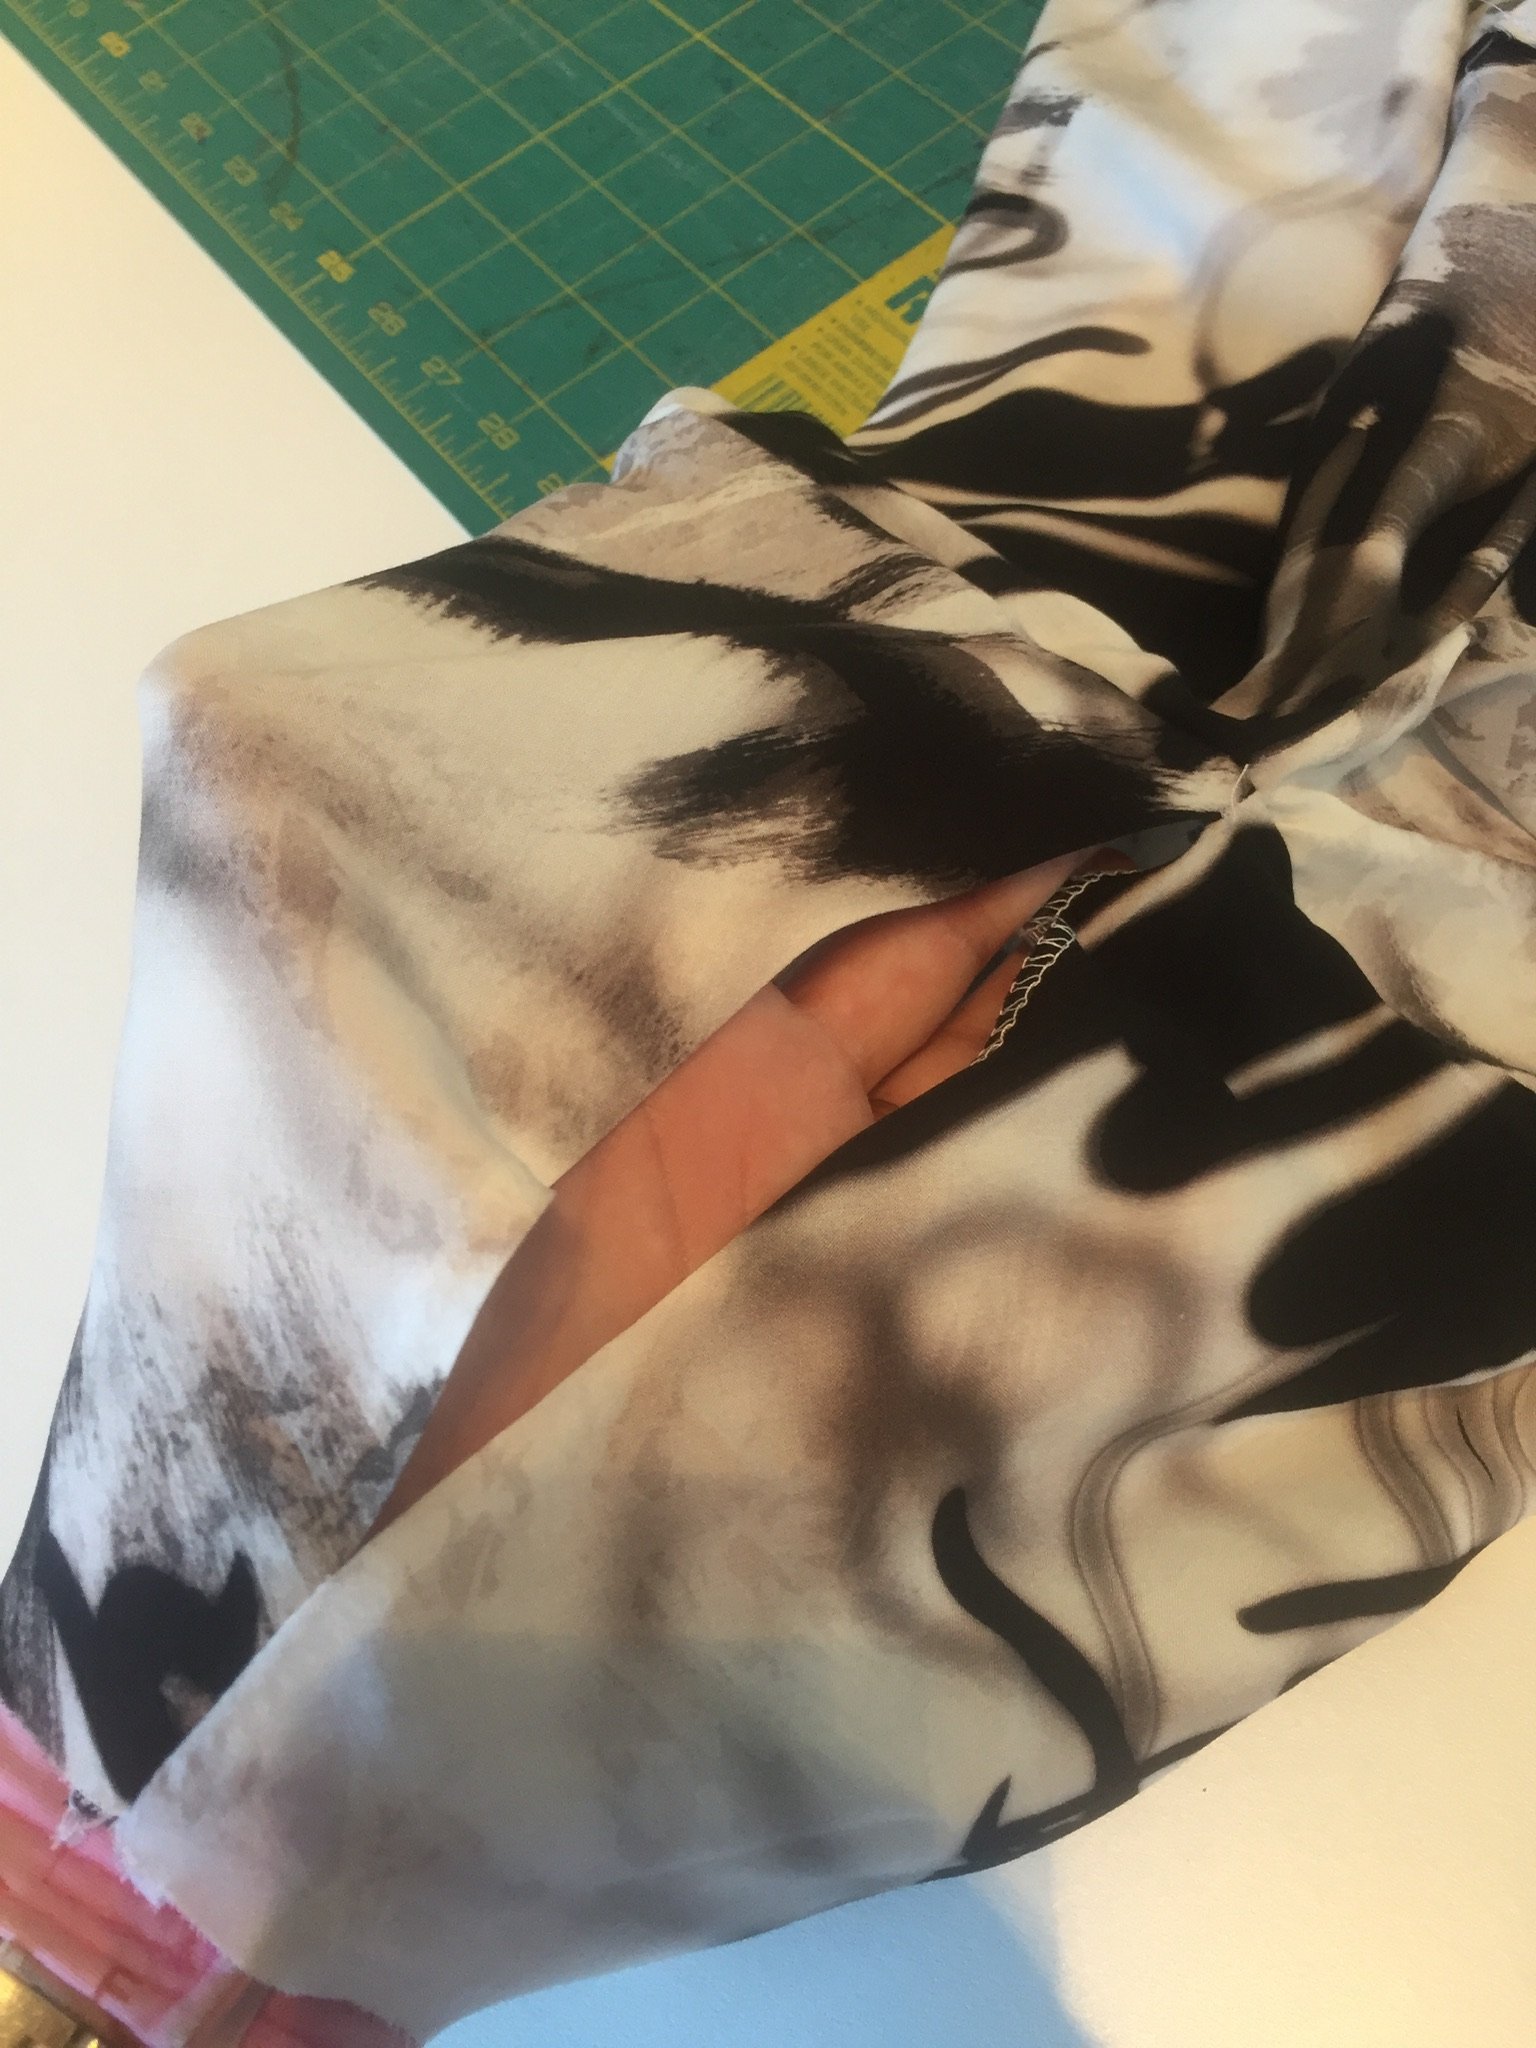
This is the gap I have in my sleeve for bagging out later
Right, now that your lining is sewn, let’s get this baby sewn to your main fabric.
WE ARE SO CLOSE TO FINISHING – I CAN TASTE IT!!!
The instructions for attaching your lining to your main fabric are excellent. But I want you to pay particular attention the steps that mention starting and stopping 1cm from the bottom edge in step 17 (step 12 in v1) and 1cm from each end in step 21 (step 13 in v1). This 1cm needs to be accurate so do take your time to measure this 1cm. Measure it on both the lining and fabric. The importance of the accuracy here is to get your mitred corners just right, and the 1cm is the seam allowance that enables this to happen.

1cm! Measured for accuracy
Step 19 (v2) can be a bit of a puzzle at first but is actually easy once you’ve got your head around it. Follow the instructions and take time to look at the diagrams. And see the photos below, this may make it a bit clearer. You need to make sure that your sleeves are not twisted, the seams should line up. Once you’ve sewn these seams on both sleeves, push your lining to the inside of your Sapporo and try it on quickly to make sure you haven’t twisted the sleeves. If you have, you do need to unpick and sew again (it happens to the best of us!).
My sleeve and lining getting ready to be overlapped
Getting closer…
And boom!! Lining overlapped and ready to be sewn.
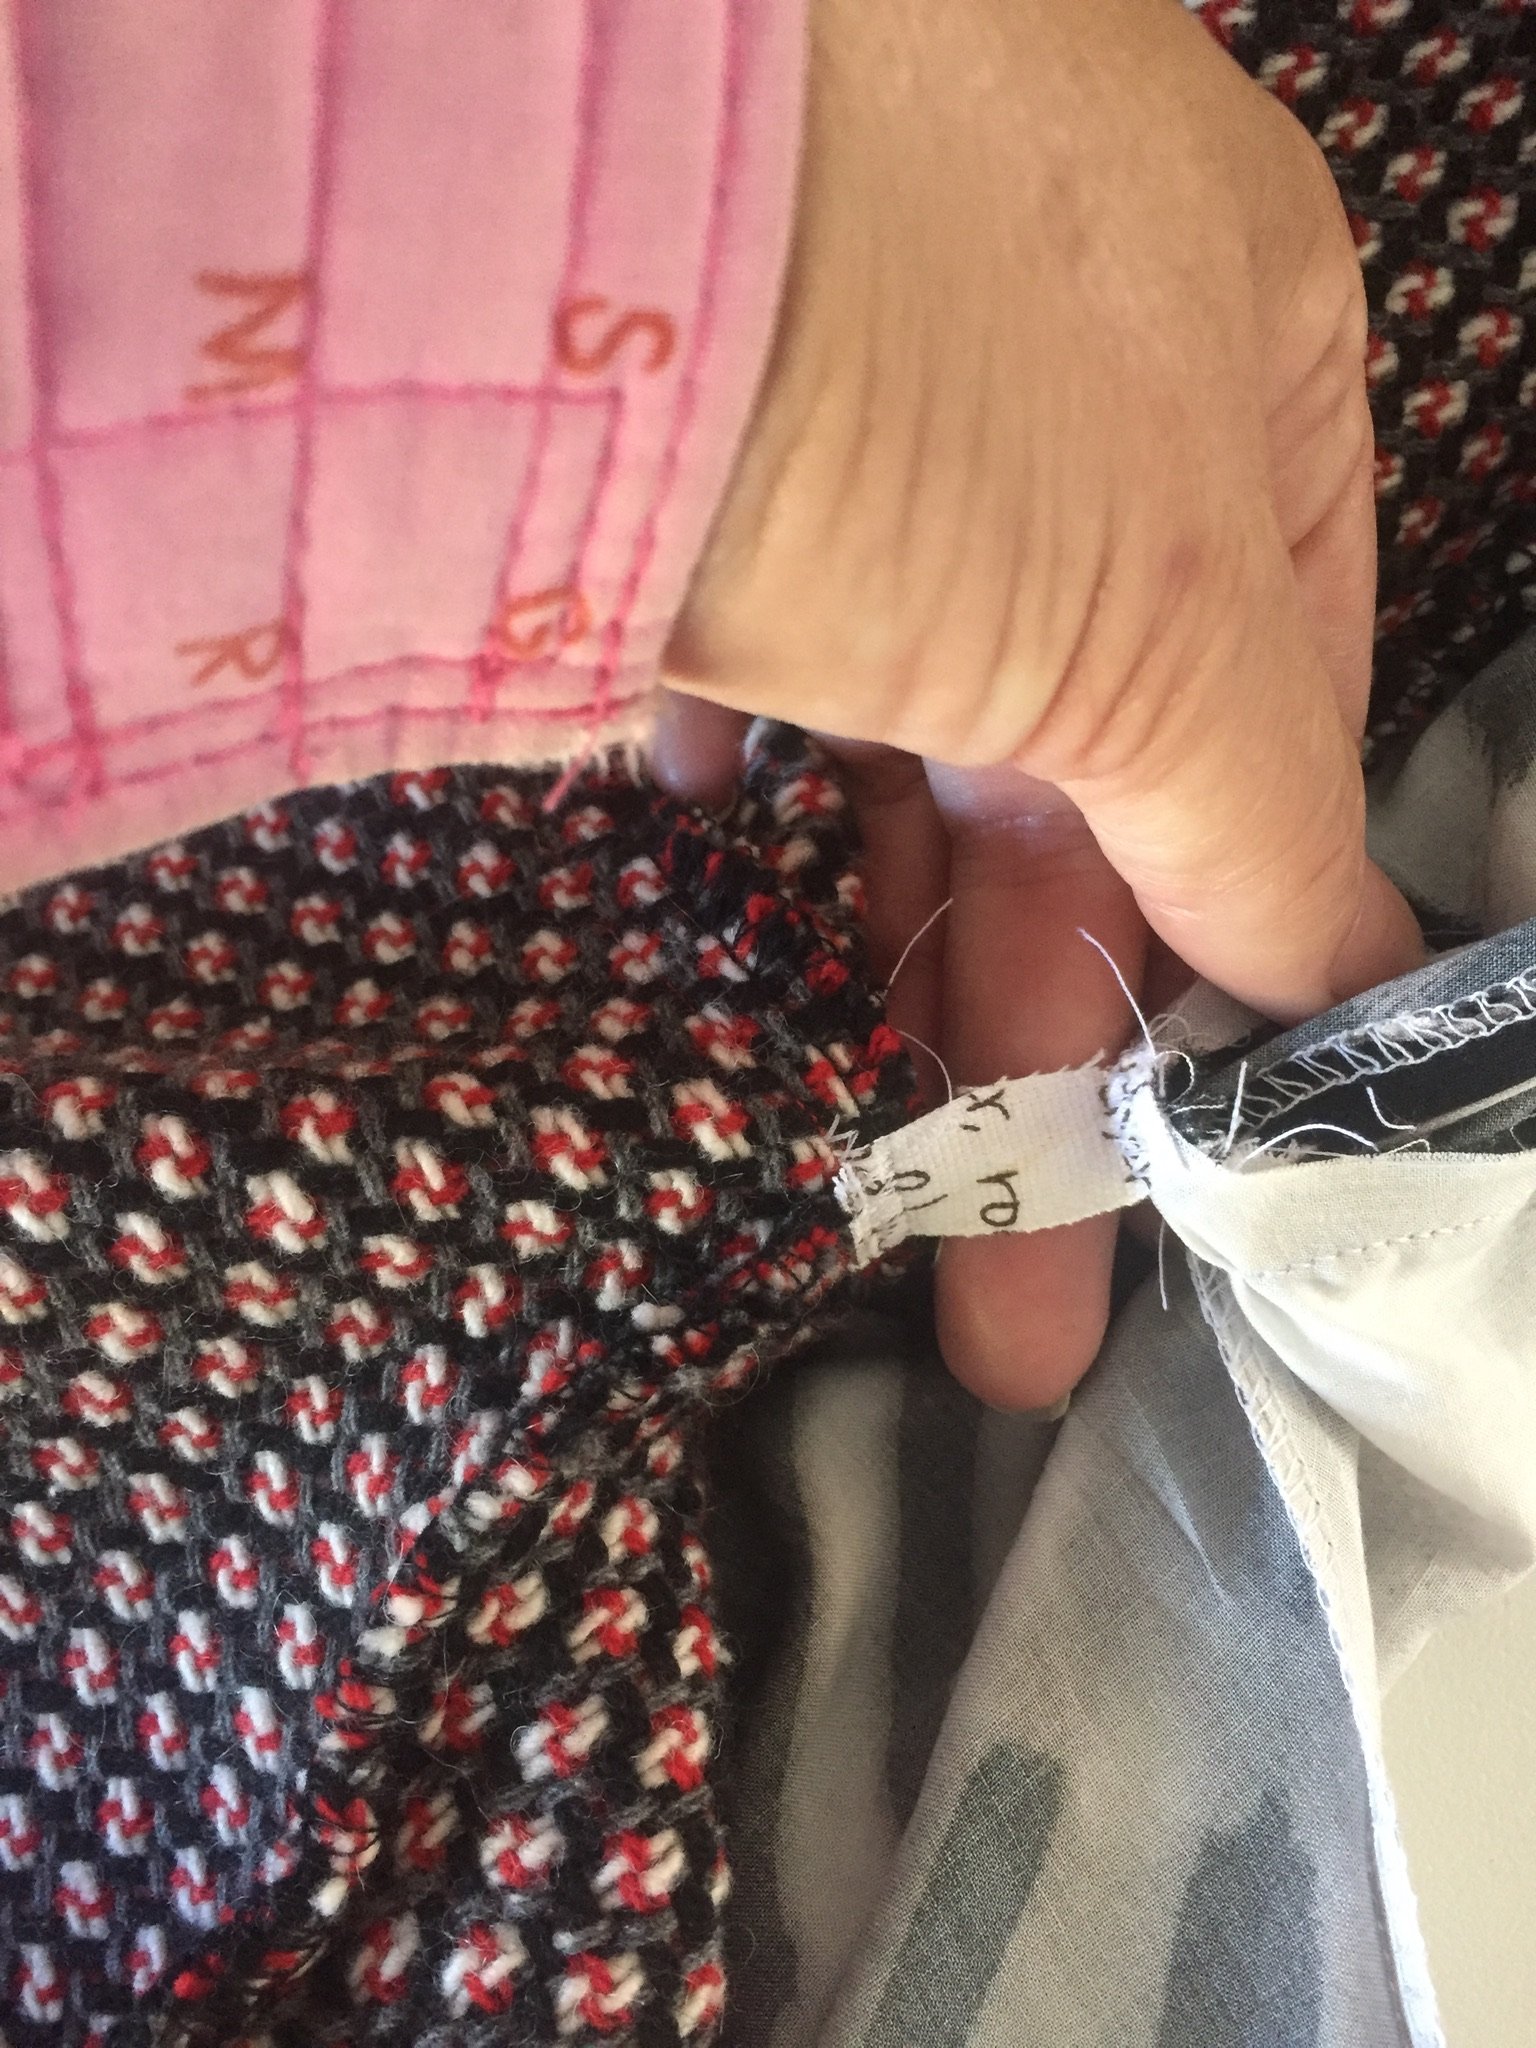
In step 20, there is an instruction to add a small strip of lining to attach the underarm seams of the main fabric and the lining, I use a selvedge edge of scrap fabric – the selvedge has a bit of heft to it and it will be a bit stronger.
My tiny strips of scrap selvedge
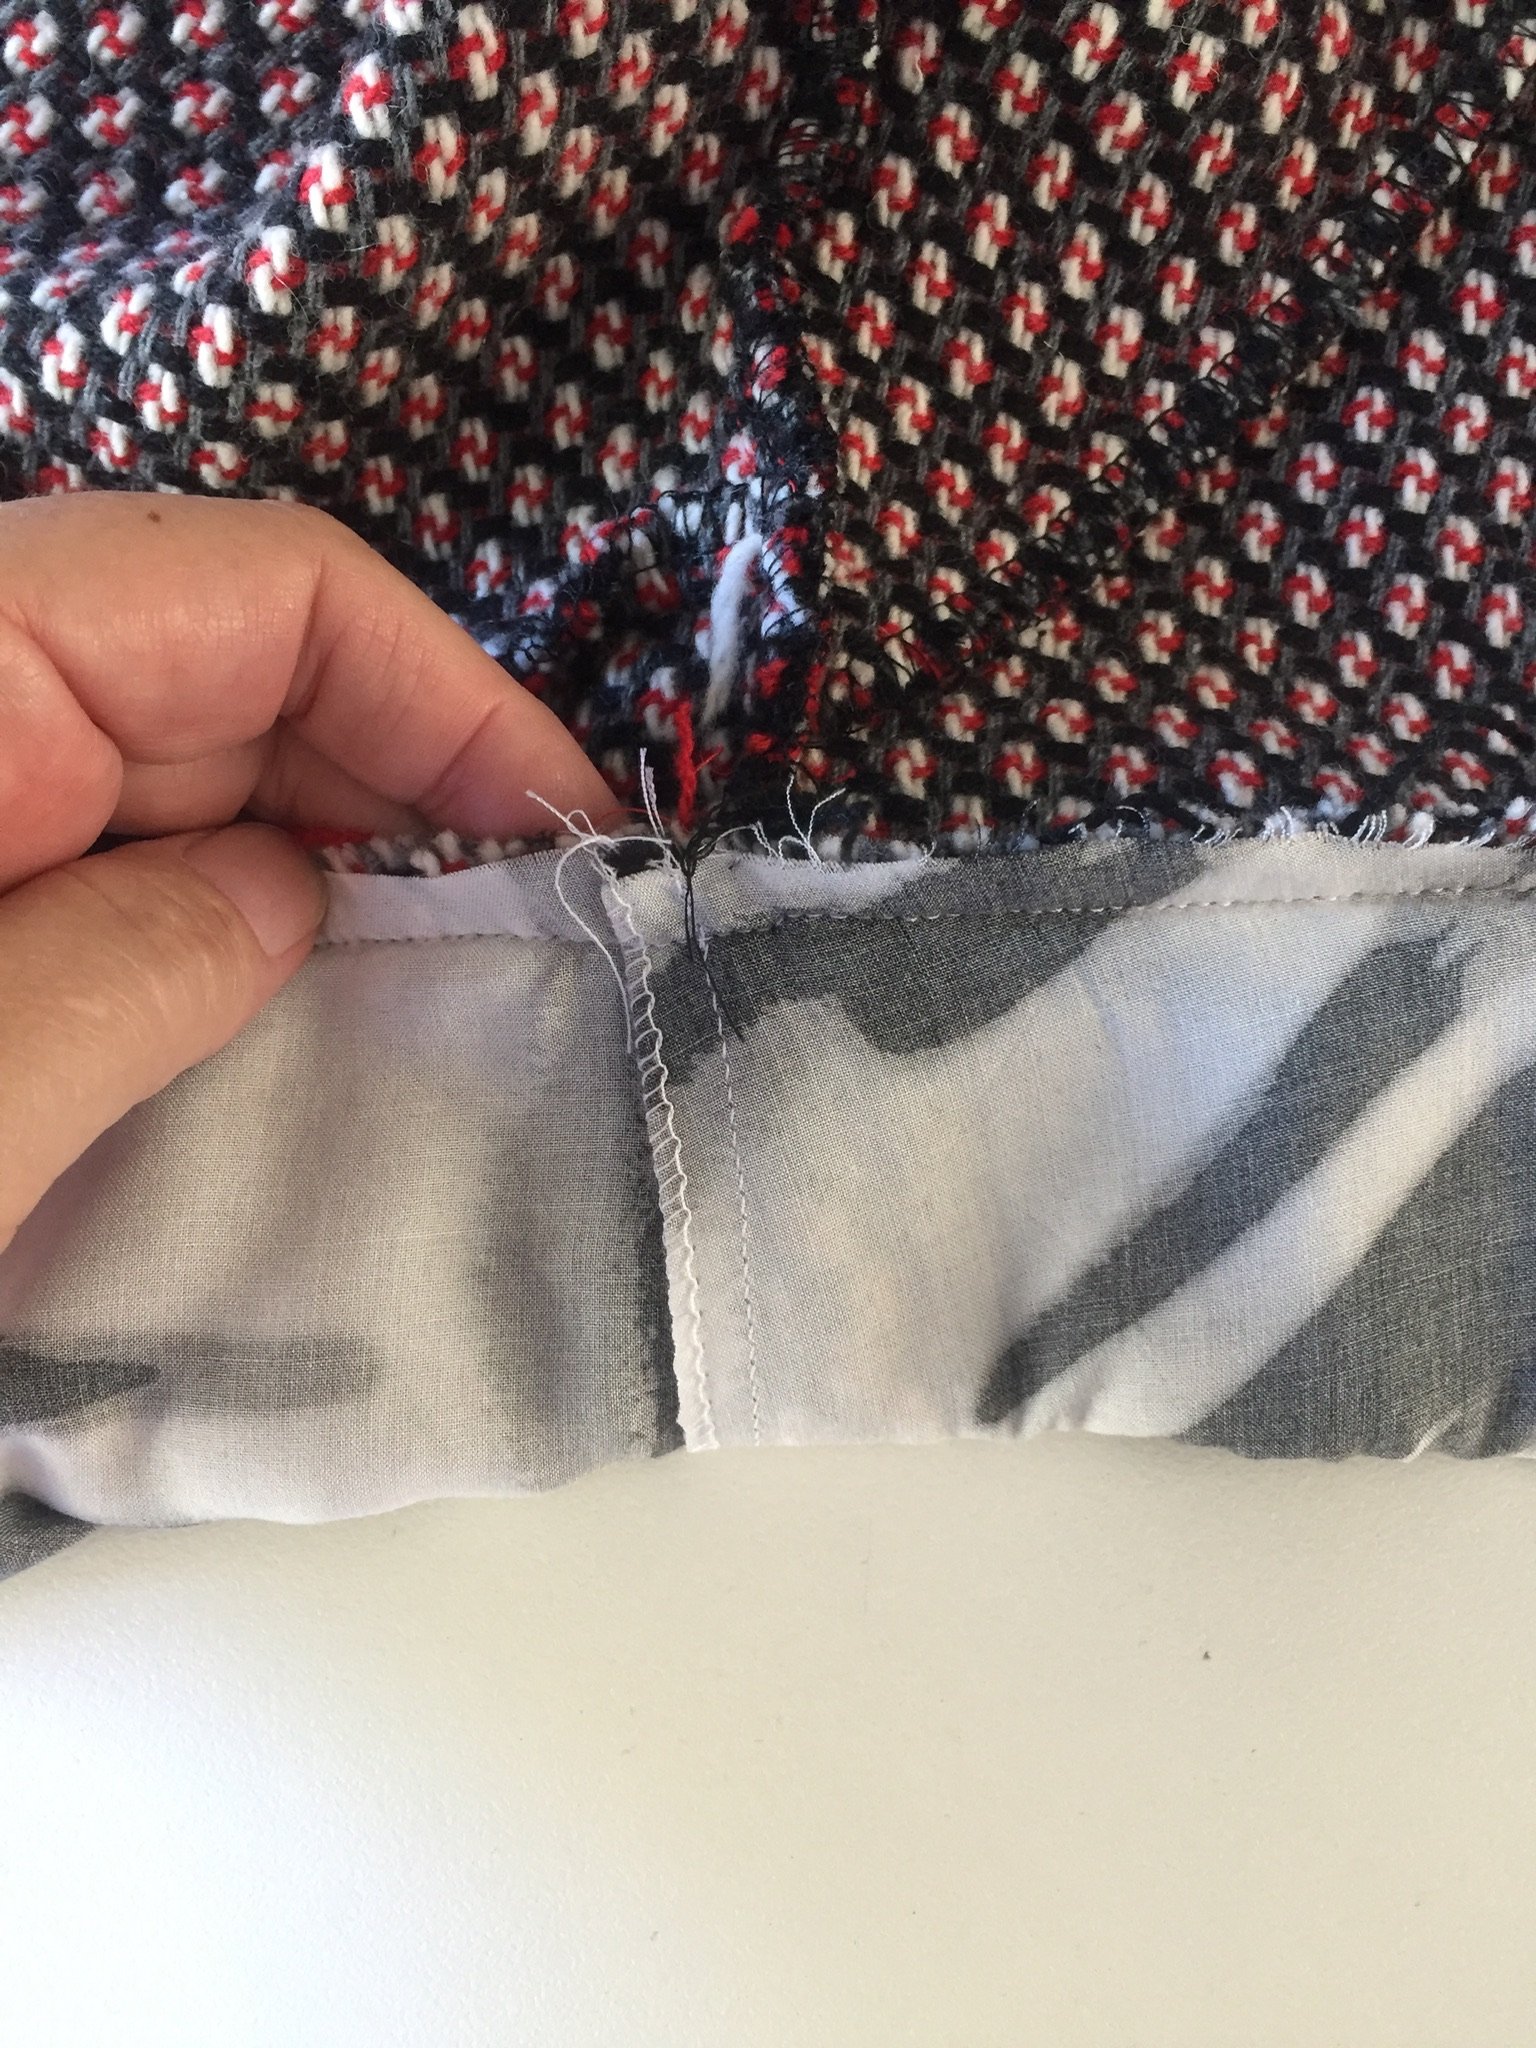
And the underarm seams attached
In step 21 (step 14 V1) you need to be really accurate with you 1cm from each end. Once you’ve sewn this, you get to do the fabulous mitre corner shown as shown in step 22. But don’t bag out just yet!!
Remember step 11 from last week? I mentioned I find it a bit easier to do this step once this lining has all been attached. Go ahead and do this step now. I found with the fabric I’m using for this sewalong it was best for me to just slipstitch the side seams together and not between the side seams. My fabric has a really loose weave and the slip stitching was pulling terribly – so just slip stitching the side seams only was all I could do. And to be honest, sometimes I don’t do this step at all – shhhhhsh. Don’t tell anyone!! Nobody has noticed so far lol.
Slip stitching my side seams together before bagging out
This is where sewing magic happens – we get to bag out (or birth) the lining. This seems impossible and it’s not till the very last tug that you start to believe it can happen. I hold my breath every time I bag out a coat or blazer – and this time was no different.
Put your hand through your lining gap until you can grab your main fabric, and start pulling the main fabric through the gap. Go slowly and just keep pulling a little bit at a time. Be patient. Then before you know it, your Sapporo is right side out – now using a point turner or something sharp, put your hand through the gap again and push your mitre corners out. Now give your Sapporo a good press, slip stich the gap closed (or if making V1 – hand stitch the lining to the armhole seam) – Sewsters, I never do either of these steps lol.

Clockwise from top left – the bagging out process
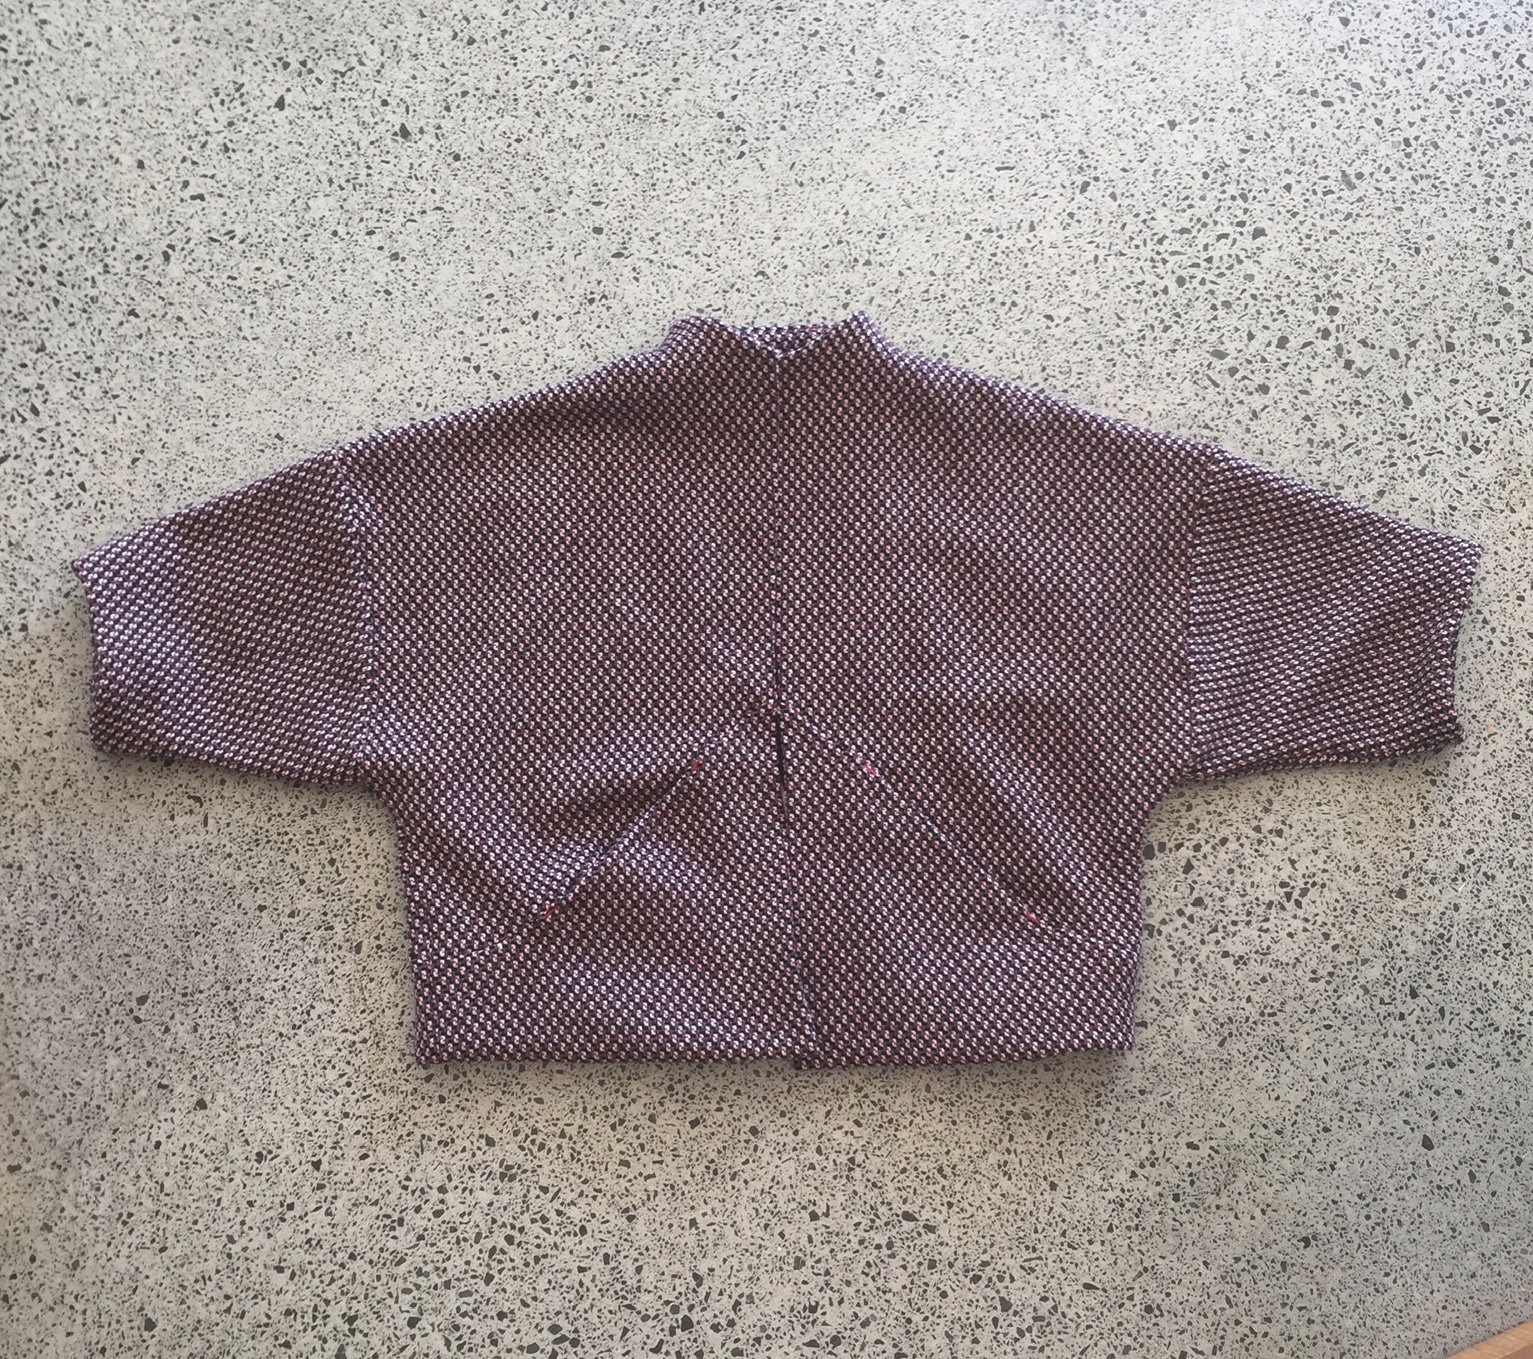
Ta – Da!!!

Mitred corner nicely turned out
Now put it on…
Repeat after me…
Thanks I made it – it has pockets!!!
Congratulations. You have made a Papercut Patterns Sapporo. I love this pattern. And I love my Bernina B740 – her name is Serena. It would be great if you are on Instagram and can share your Sapporo with us – use the hashtag #BerninaSapporoSewalong.
Mwah…

And this is me! Covid hair and all, and all the sun too – right in my eyes (not complaining, it’s a beautiful day)

All the heart eyes for my latest Sapporo


I’m beyond excited to do the last stage tomorrow. Thank you so much. I hadn’t got a clue about that little extra bit of fabric before reading your blog; so grateful. Not sure I know what I’m doing with the mitered corner but hopefully my head will work tomorrow and that bagging out thing will happen. X
Dear Caroline,
You can do it! 🙂
?
Hello! Is there a pleat in the lining at the back neck of the Sapporo? I can’t seem get my lining to fit and there are two notches at the back neck but no where in the instructions does it say to pleat it! I’m making the updated version. Thanks for your help.
Hi Shannon, no – there is no pleat in the back lining. I’m not sure what notches you are referring to at the back neck. I’ve just doubled checked my pattern pieces and there are no notches in that area.
Mwah..l
Thanks for posting this sew along – I’ve been finding it very helpful as I’ve been making my coat! Just a couple of questions:
1) You mention that in V2 the long version of the coat doesn’t need the pleats, but there are notches for it in the pattern. Is that just a change you have made or am I misunderstanding the pattern?
2) I am really struggling to understand V2 steps 10/11 and step 21 (which I know you did a little differently). I just can’t make sense of the diagrams or the tutorial on the Papercut website. Any good resources you are aware of that could help me with this?
Thank you!!!
Hi Amanda
I think there has been an updated version where the longer version/coat has pleats in the lining, if your instructions say to add pleats, then definitely do this.
Steps 10 & 11: you’re folding your hem up at the fold line, then in step 11 fold your hem back down about 2cm, and then stitch this fold to the outer layer of the garment. This anchors the hem to the garment, but still leaves enough fabric free to sew the lining to when you get to that stage. Step 21: you need to leave a 1cm gap from the corner a the beginning and end – so don’t start/stop stitching at the very end, start/stop 1cm from the end. There is a YouTube video that shows this, but I’m unsure who posted it. If you go onto YouTube and search Sapporo coat you’ll find it there.
Mwah…
kk