 BERNINA Corporate Blog -
Many BERNINA Embroidery Software V8 users have asked me to show how to design an embroidery, using a drawing.
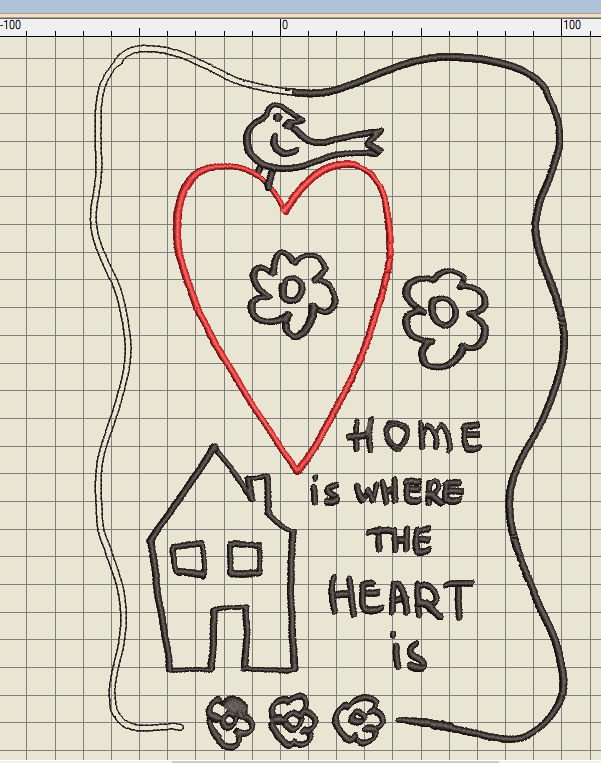
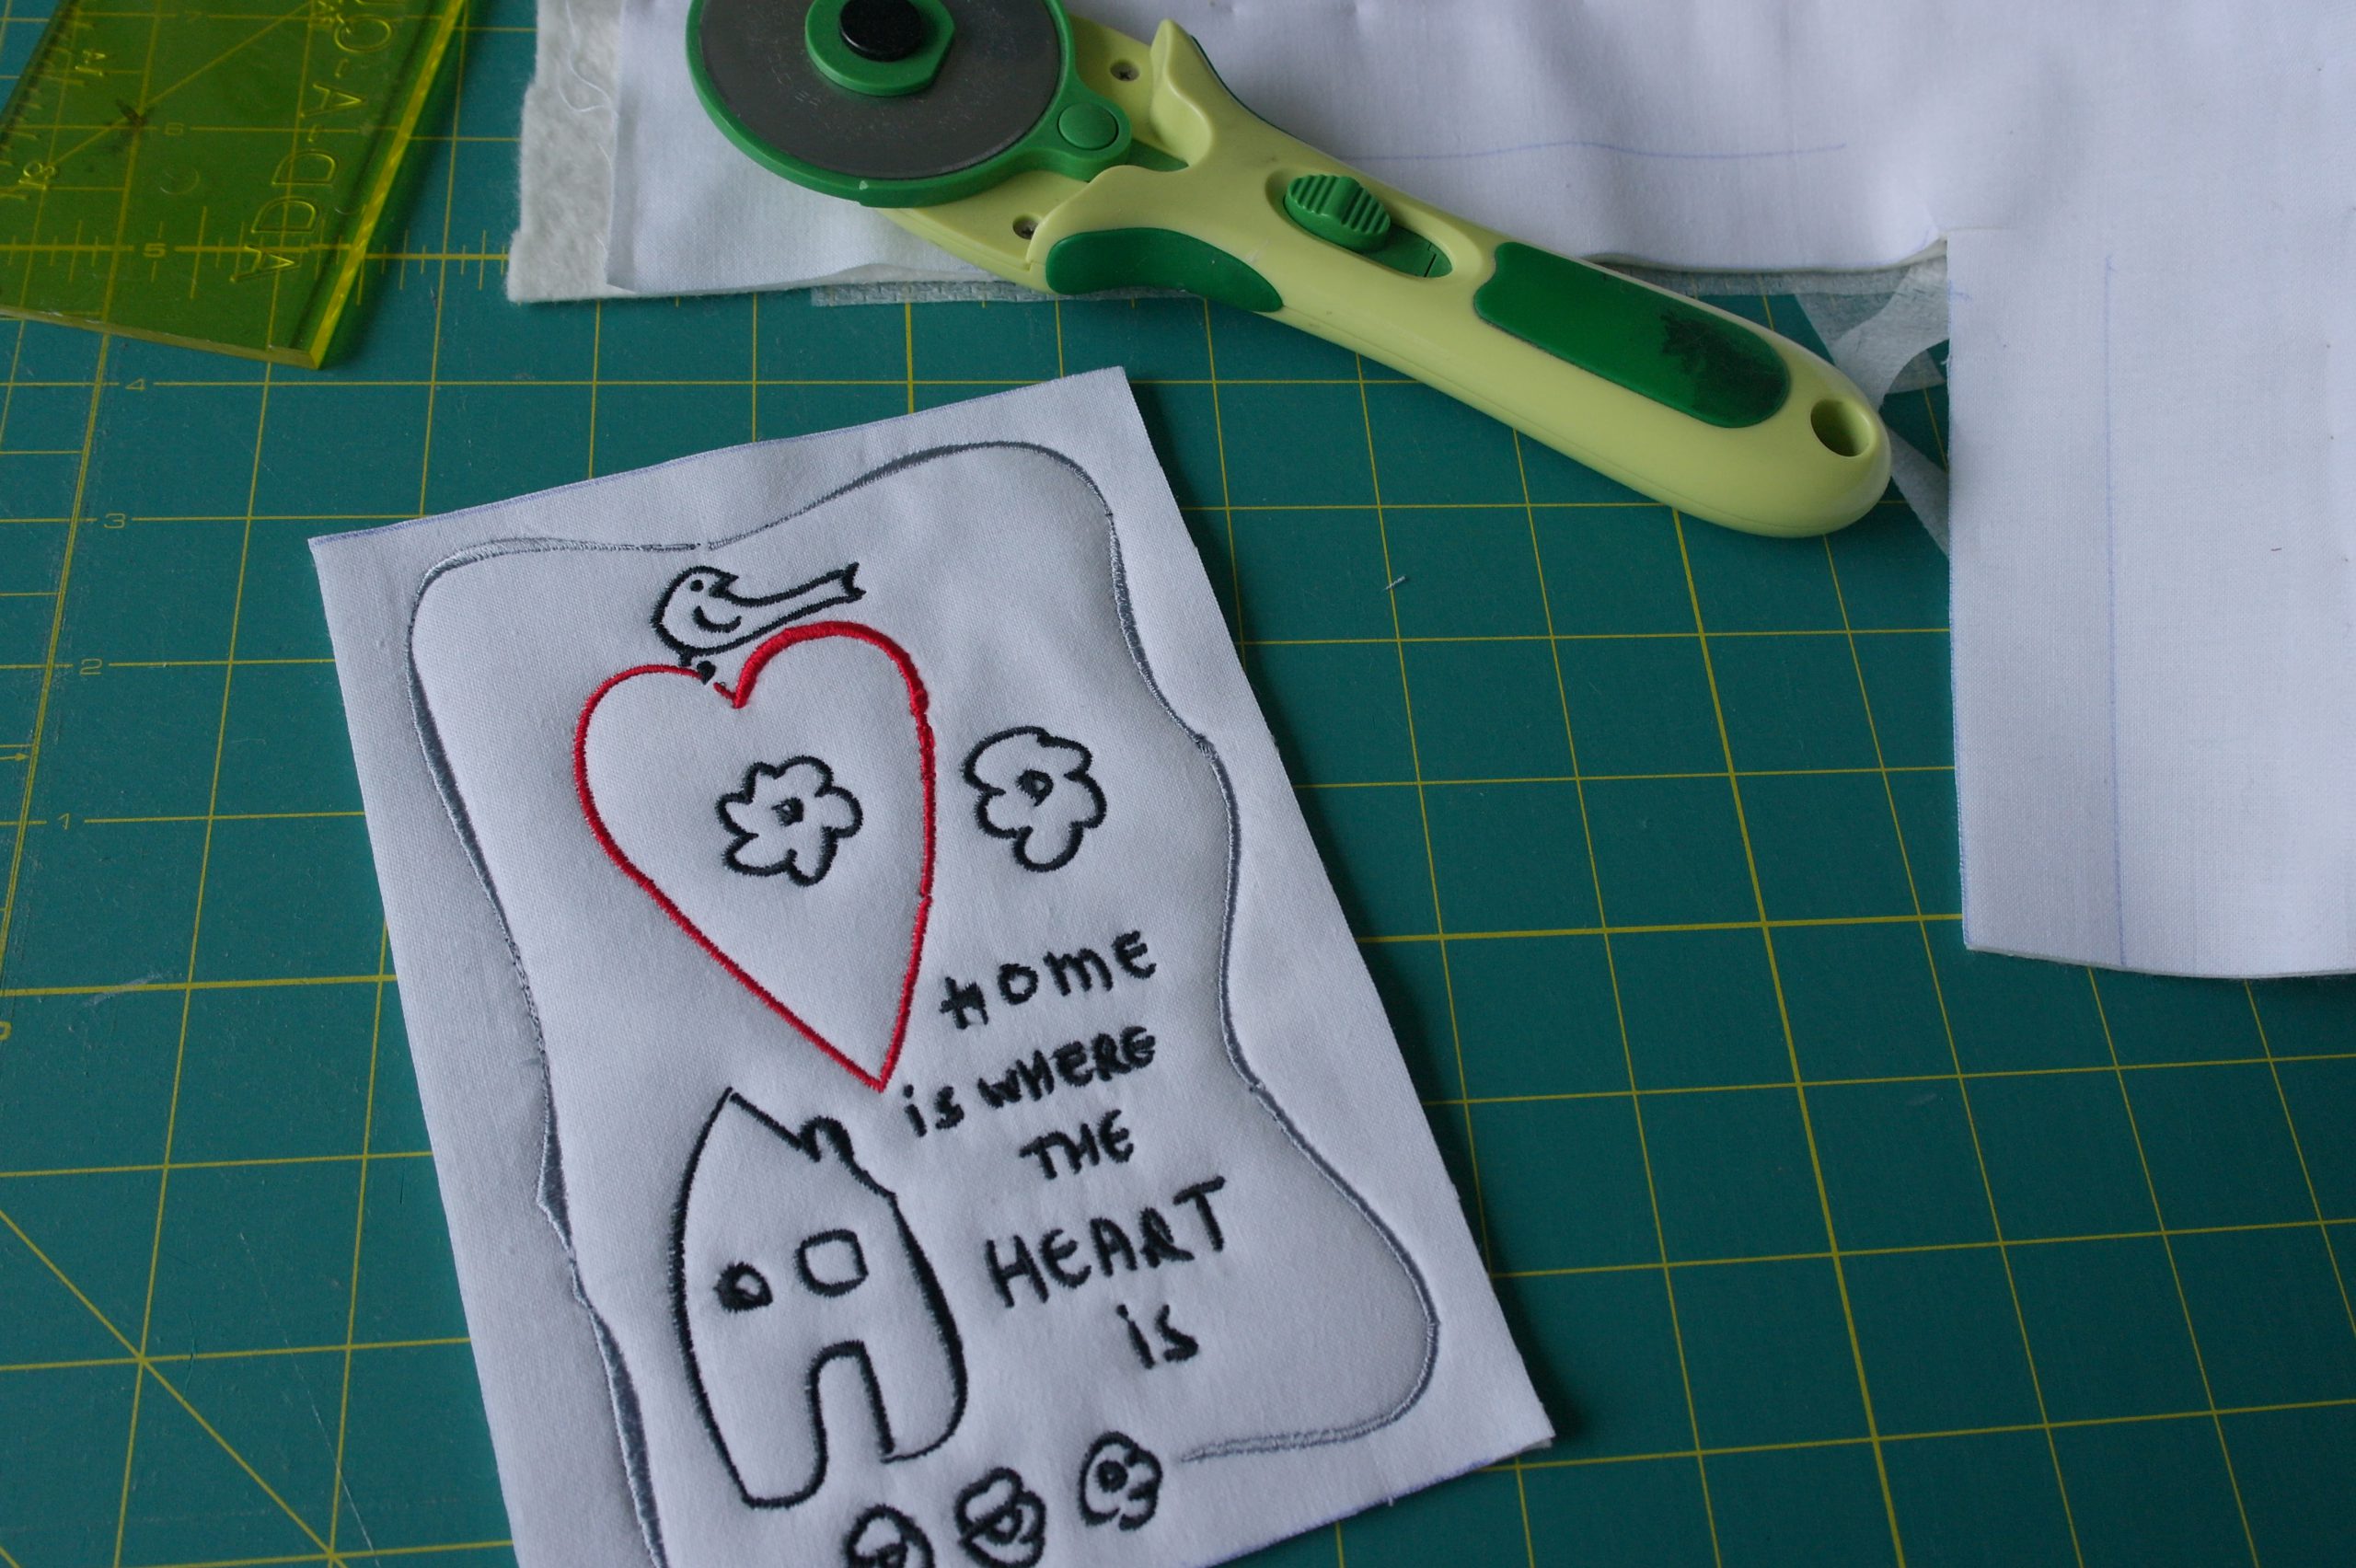
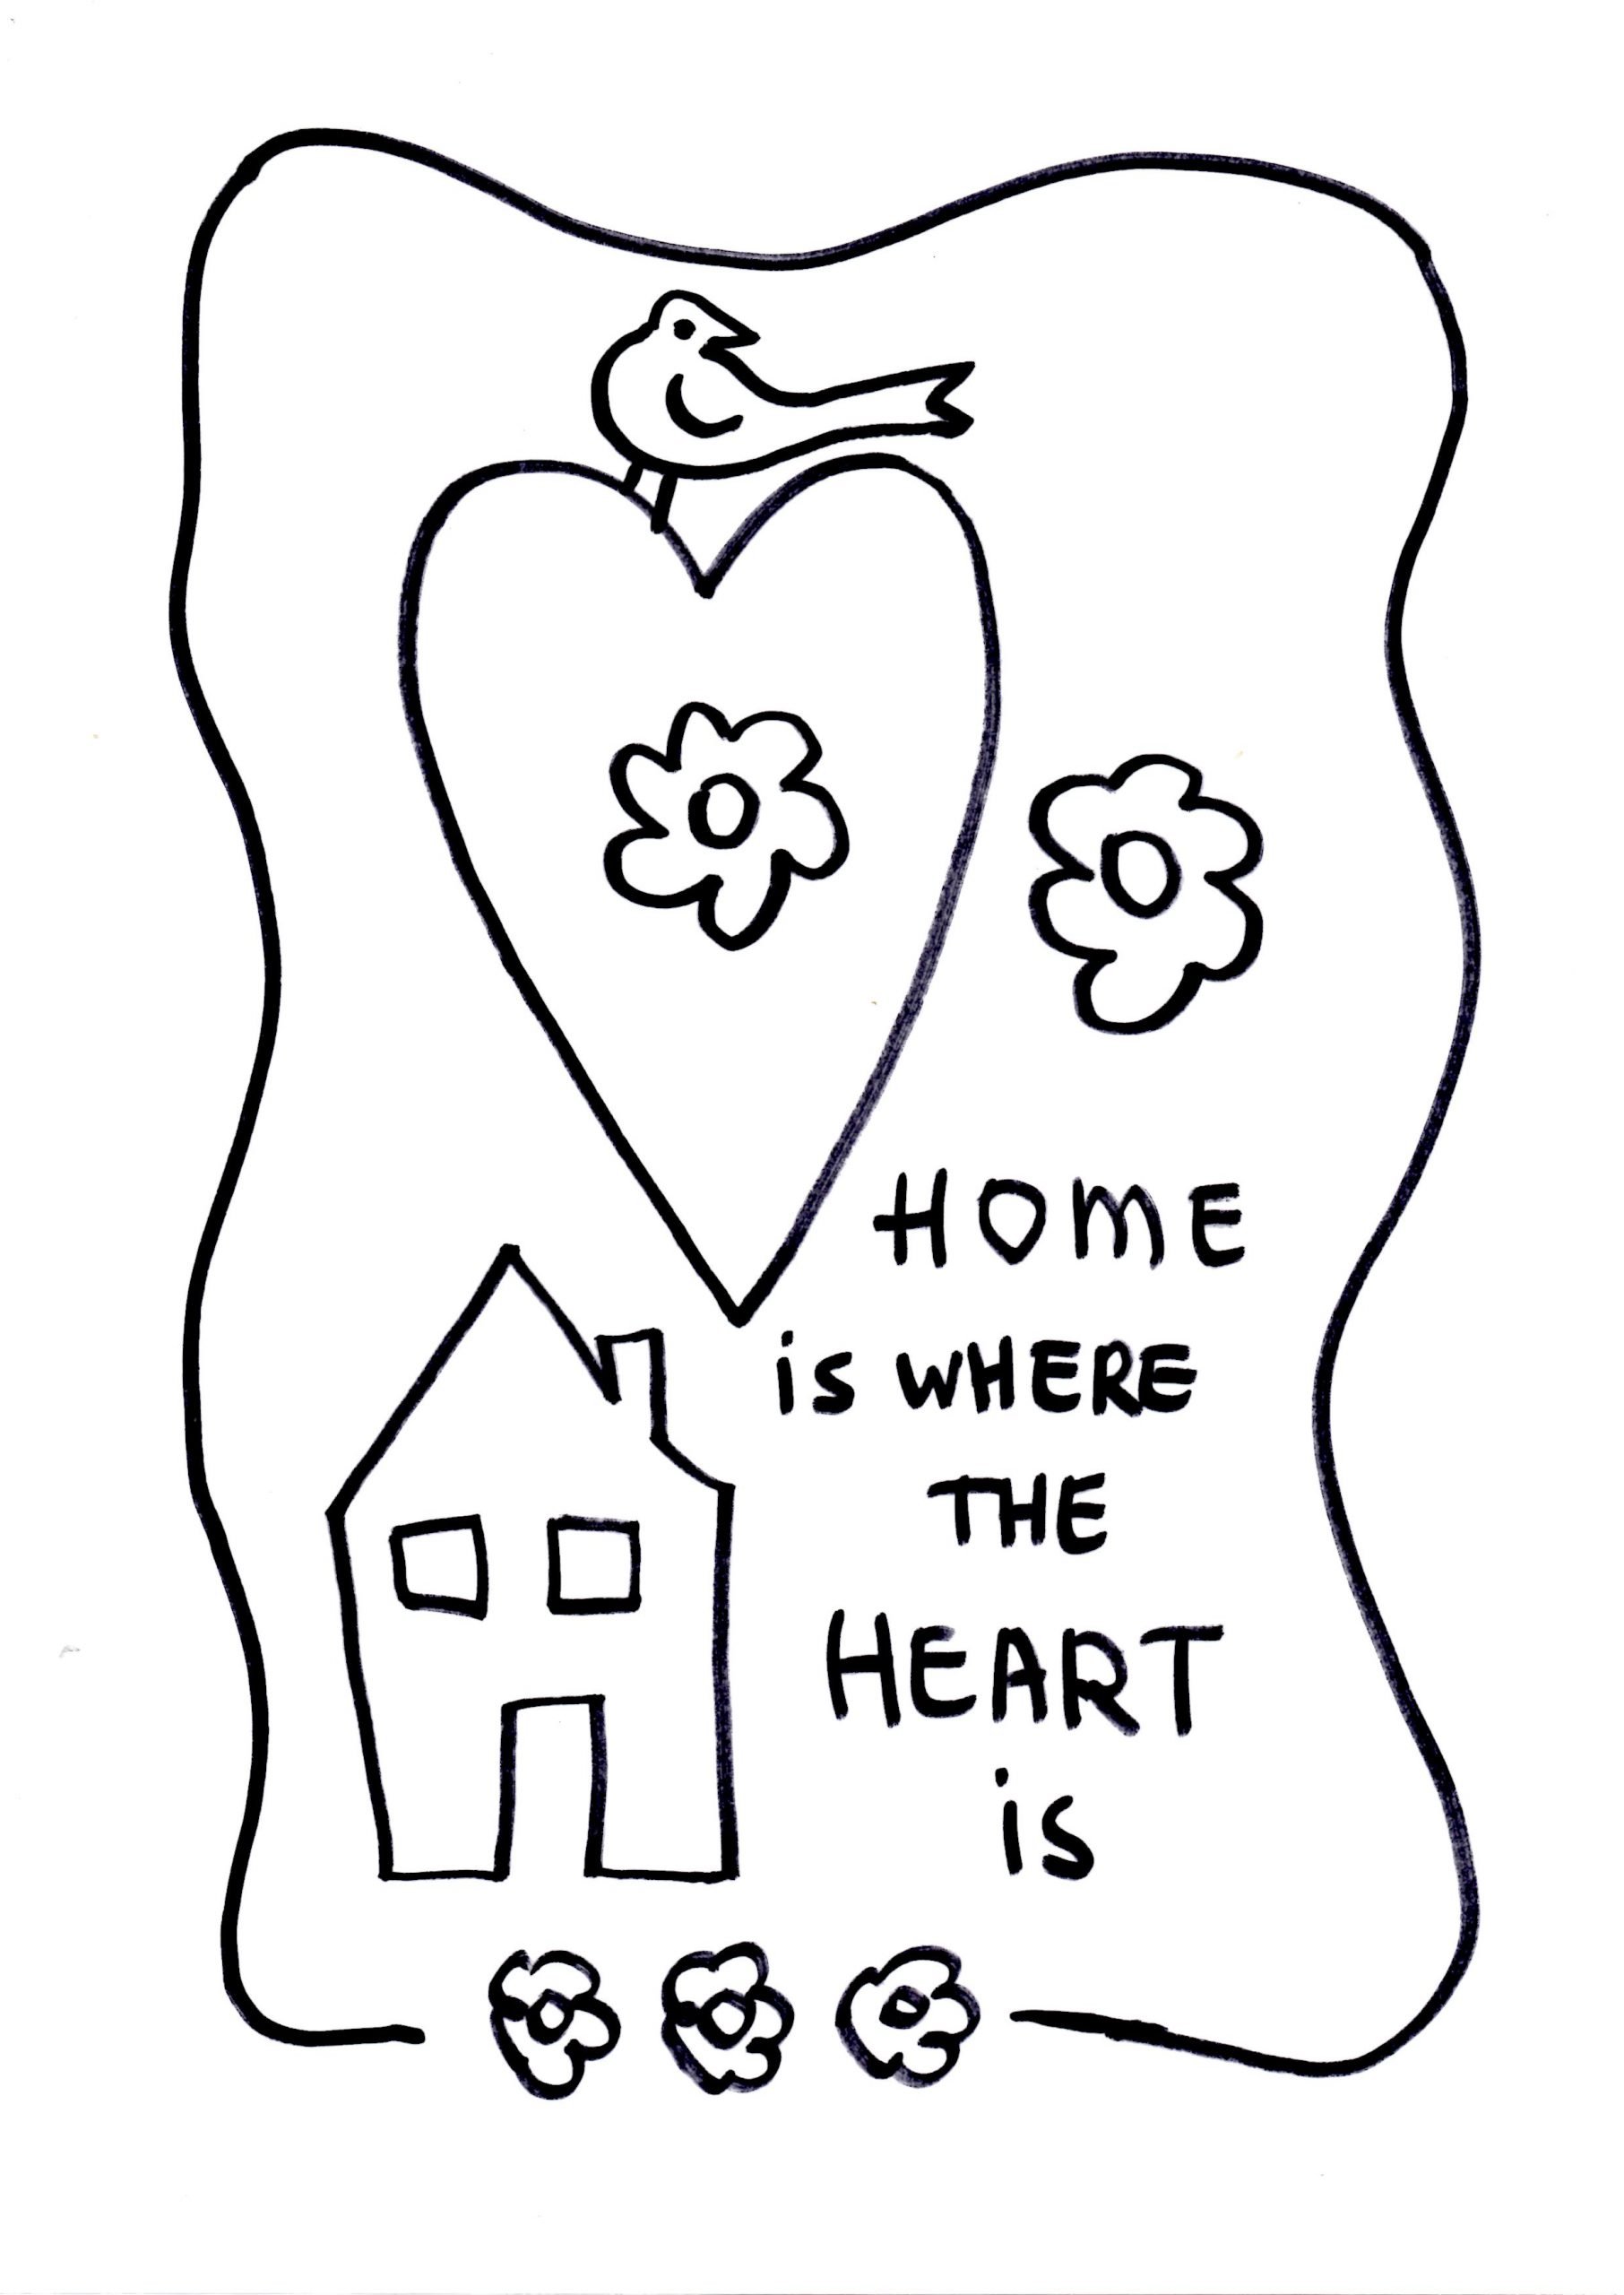 First the drawing should be clear: lines black, preferably thick, continuous lines, so V8 can ‘read’ them. I have made a drawing with a house, a heart, flowers and a bird, with the text ‘Home is where the Heart is’, surrounding it with a curved border. I’ve used a thick marker, to be sure the lines are more than visible while converting them. I have scanned it and placed it in Artwork Canvas.
For your convenience, you can download my drawing HERE. Scan it and save it as a .bmp (or .jpg)
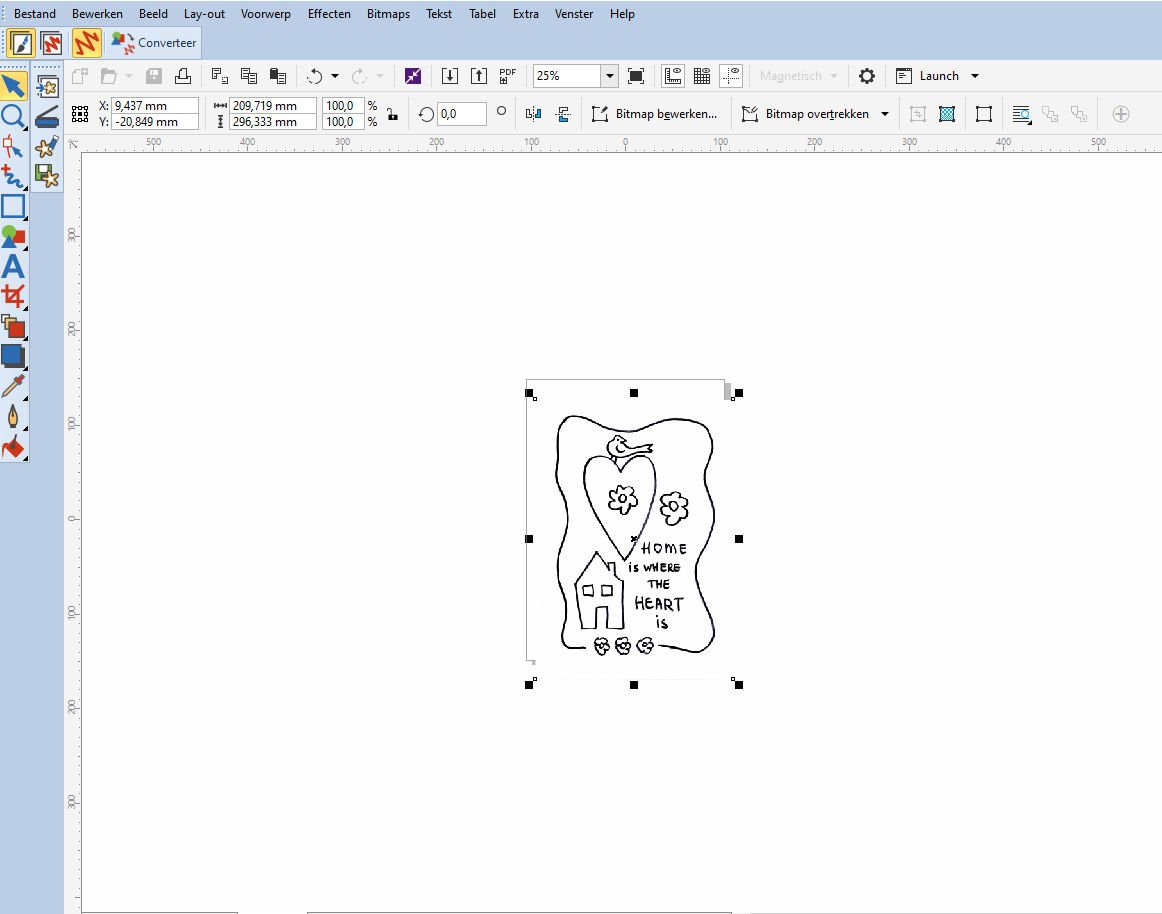
Use the icon ‘Insert Artwork’ and place the drawing on the workspace. Be sure it is selected (black square nodes),
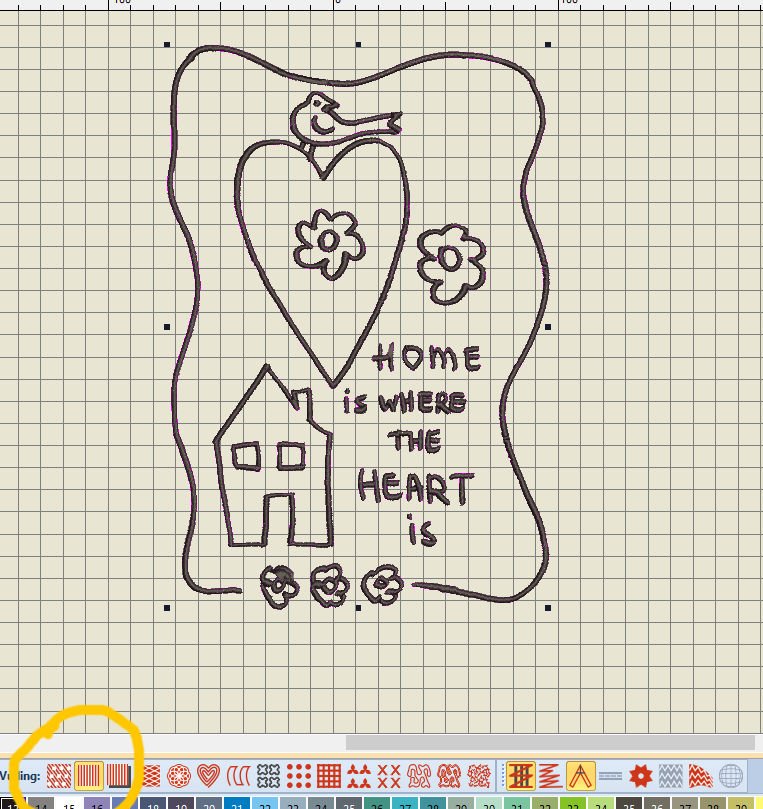
and use ‘Convert’ to place it in Embroidery Canvas. V8 will convert all shapes to a Satin Filling, because of their thickness it’s all objects, not lines. (If you want to work with Outline stitches and lines, your drawing lines should be much thinner, or use this drawing as a background and Digitize objects over it).
Save this ‘drawing’: mine is saved as’HomeHeart.ART80′.
I have used ‘Break Apart’ to be sure all lines/objects can be colored separately. They are normally grouped, but un-grouping will not work, because that was grayed-out. With ‘Break Apart’, not just all lines can be edited separately, but shapes too. The heart now consists of multiple pieces, so be aware of that if you want to edit it as one. Select all by using the Ctrl key, then edit or change color.
One piece – where the paws of the bird was connected to the heart – have to be separated: use the Knife (left toolbar, Edit).
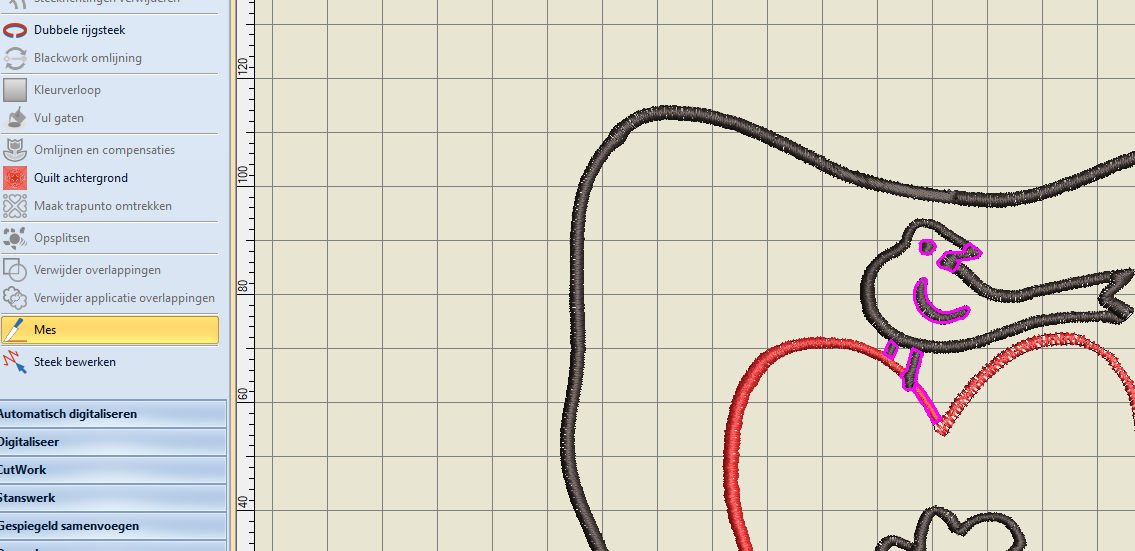
As soon as you have activated an object, and used ‘Knife’, there are pink lines surrounding the objects, and the cursor of your mouse is changed into a triangle shaped knife. Cut before and beyond the place you want to separate, use Enter to set. Now the objects are separated and you can color them as you like.
Because of the thickness of the lines, V8 cannot change them into actual lines for use of Outline stitches. You can try, but they will not look as good as you want to. I have tried to change the left line into a Single Outline stitch, but V8 changed that into a double line. This could be fun to embroider, but again – if you want to use the Outline stitches, the lines of the design should be much thinner, and digitized as Open Objects. And this was not what I wanted to do.
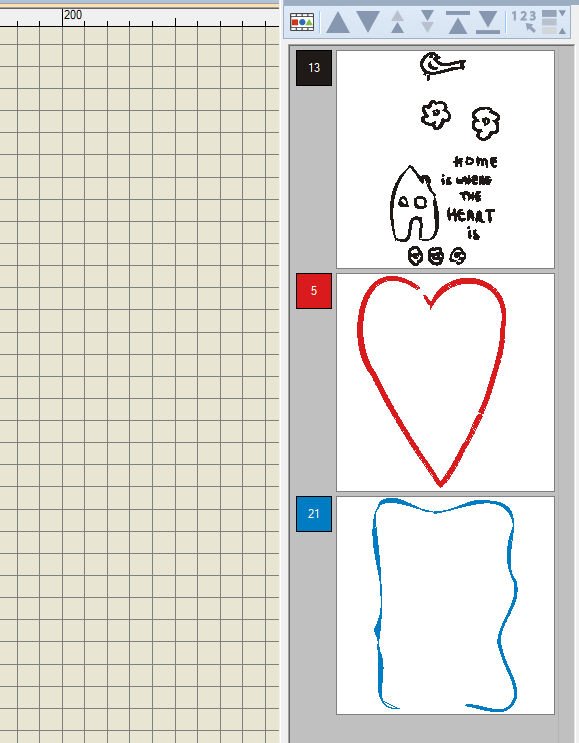
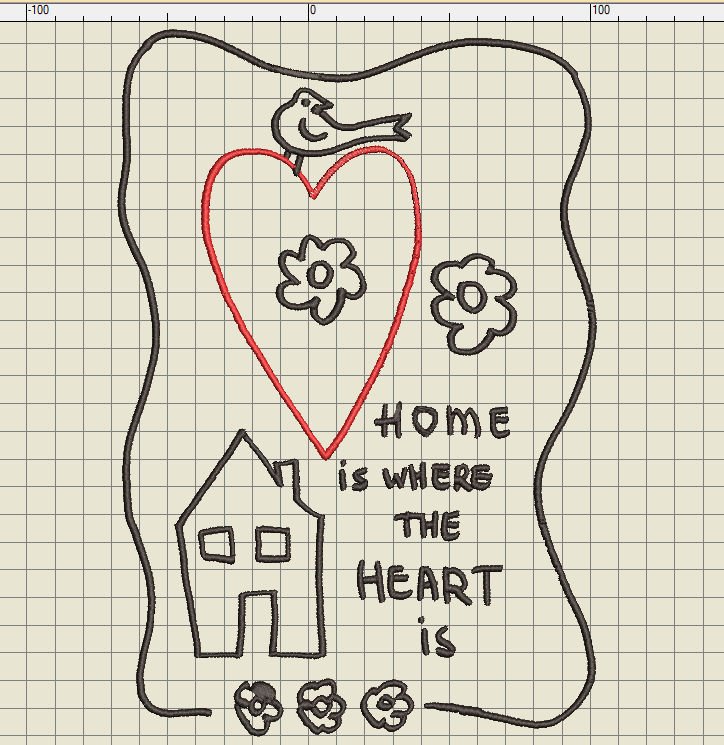
I’ve changed the color of the border, made it blue. To change all sections of the border at once, use the Ctrl key while clicking. Via ‘Color Film’ I can see three boxes, each for a color. I have eventually changed the sequence, by moving the red heart to the top, the blue border second and the black objects to be made last.
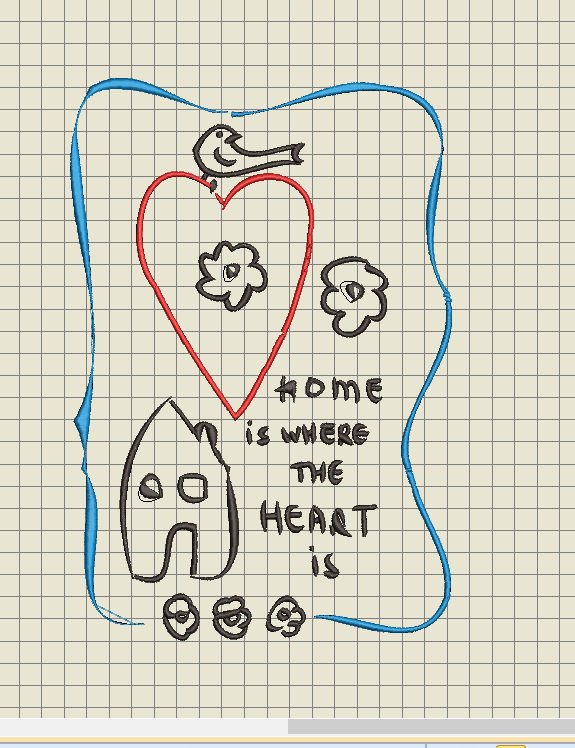
Did you see how I’ve changed the lines? I’ve selected the design, used ‘Smoot Curves’ with ‘Edit’ (Menu Bar), the lines will change completely. It looks like calligraphy now, as if I have drawn with a special pen. This is more playful, and a fast and easy way to change it all.
Just need to check the size, because I want to place the embroidery in a frame. At the moment it is 169.02mm wide and 253.61mm high. I would need a Jumbo Hoop or Maxi Hoop to embroider it like this.
After reducing measurements, setting hight to 170.00mm, simultaneously changing the width to 113.30mm, because the ‘lock’ is closed, this design will fit in the frame (13 x 18 cm). I have saved the design again.
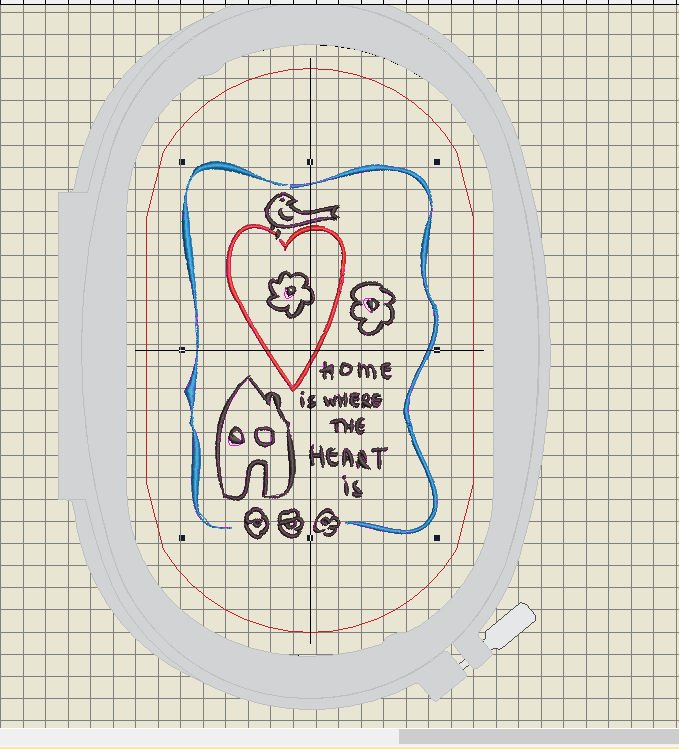
Now I can use the Large Oval Hoop, and bring the Embroidery Design to my BERNINA770QE with embroidery module.
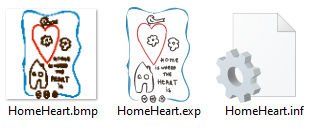 A Print Preview (100%) will give me the exact measurements and details about using the Sulky Rayon 40. The design is written to my USB stick: all three files are available.

I have placed a Mesh stabilizer in the Hoop, placed 100% bamboo batting and a white quilt fabric on top of that.
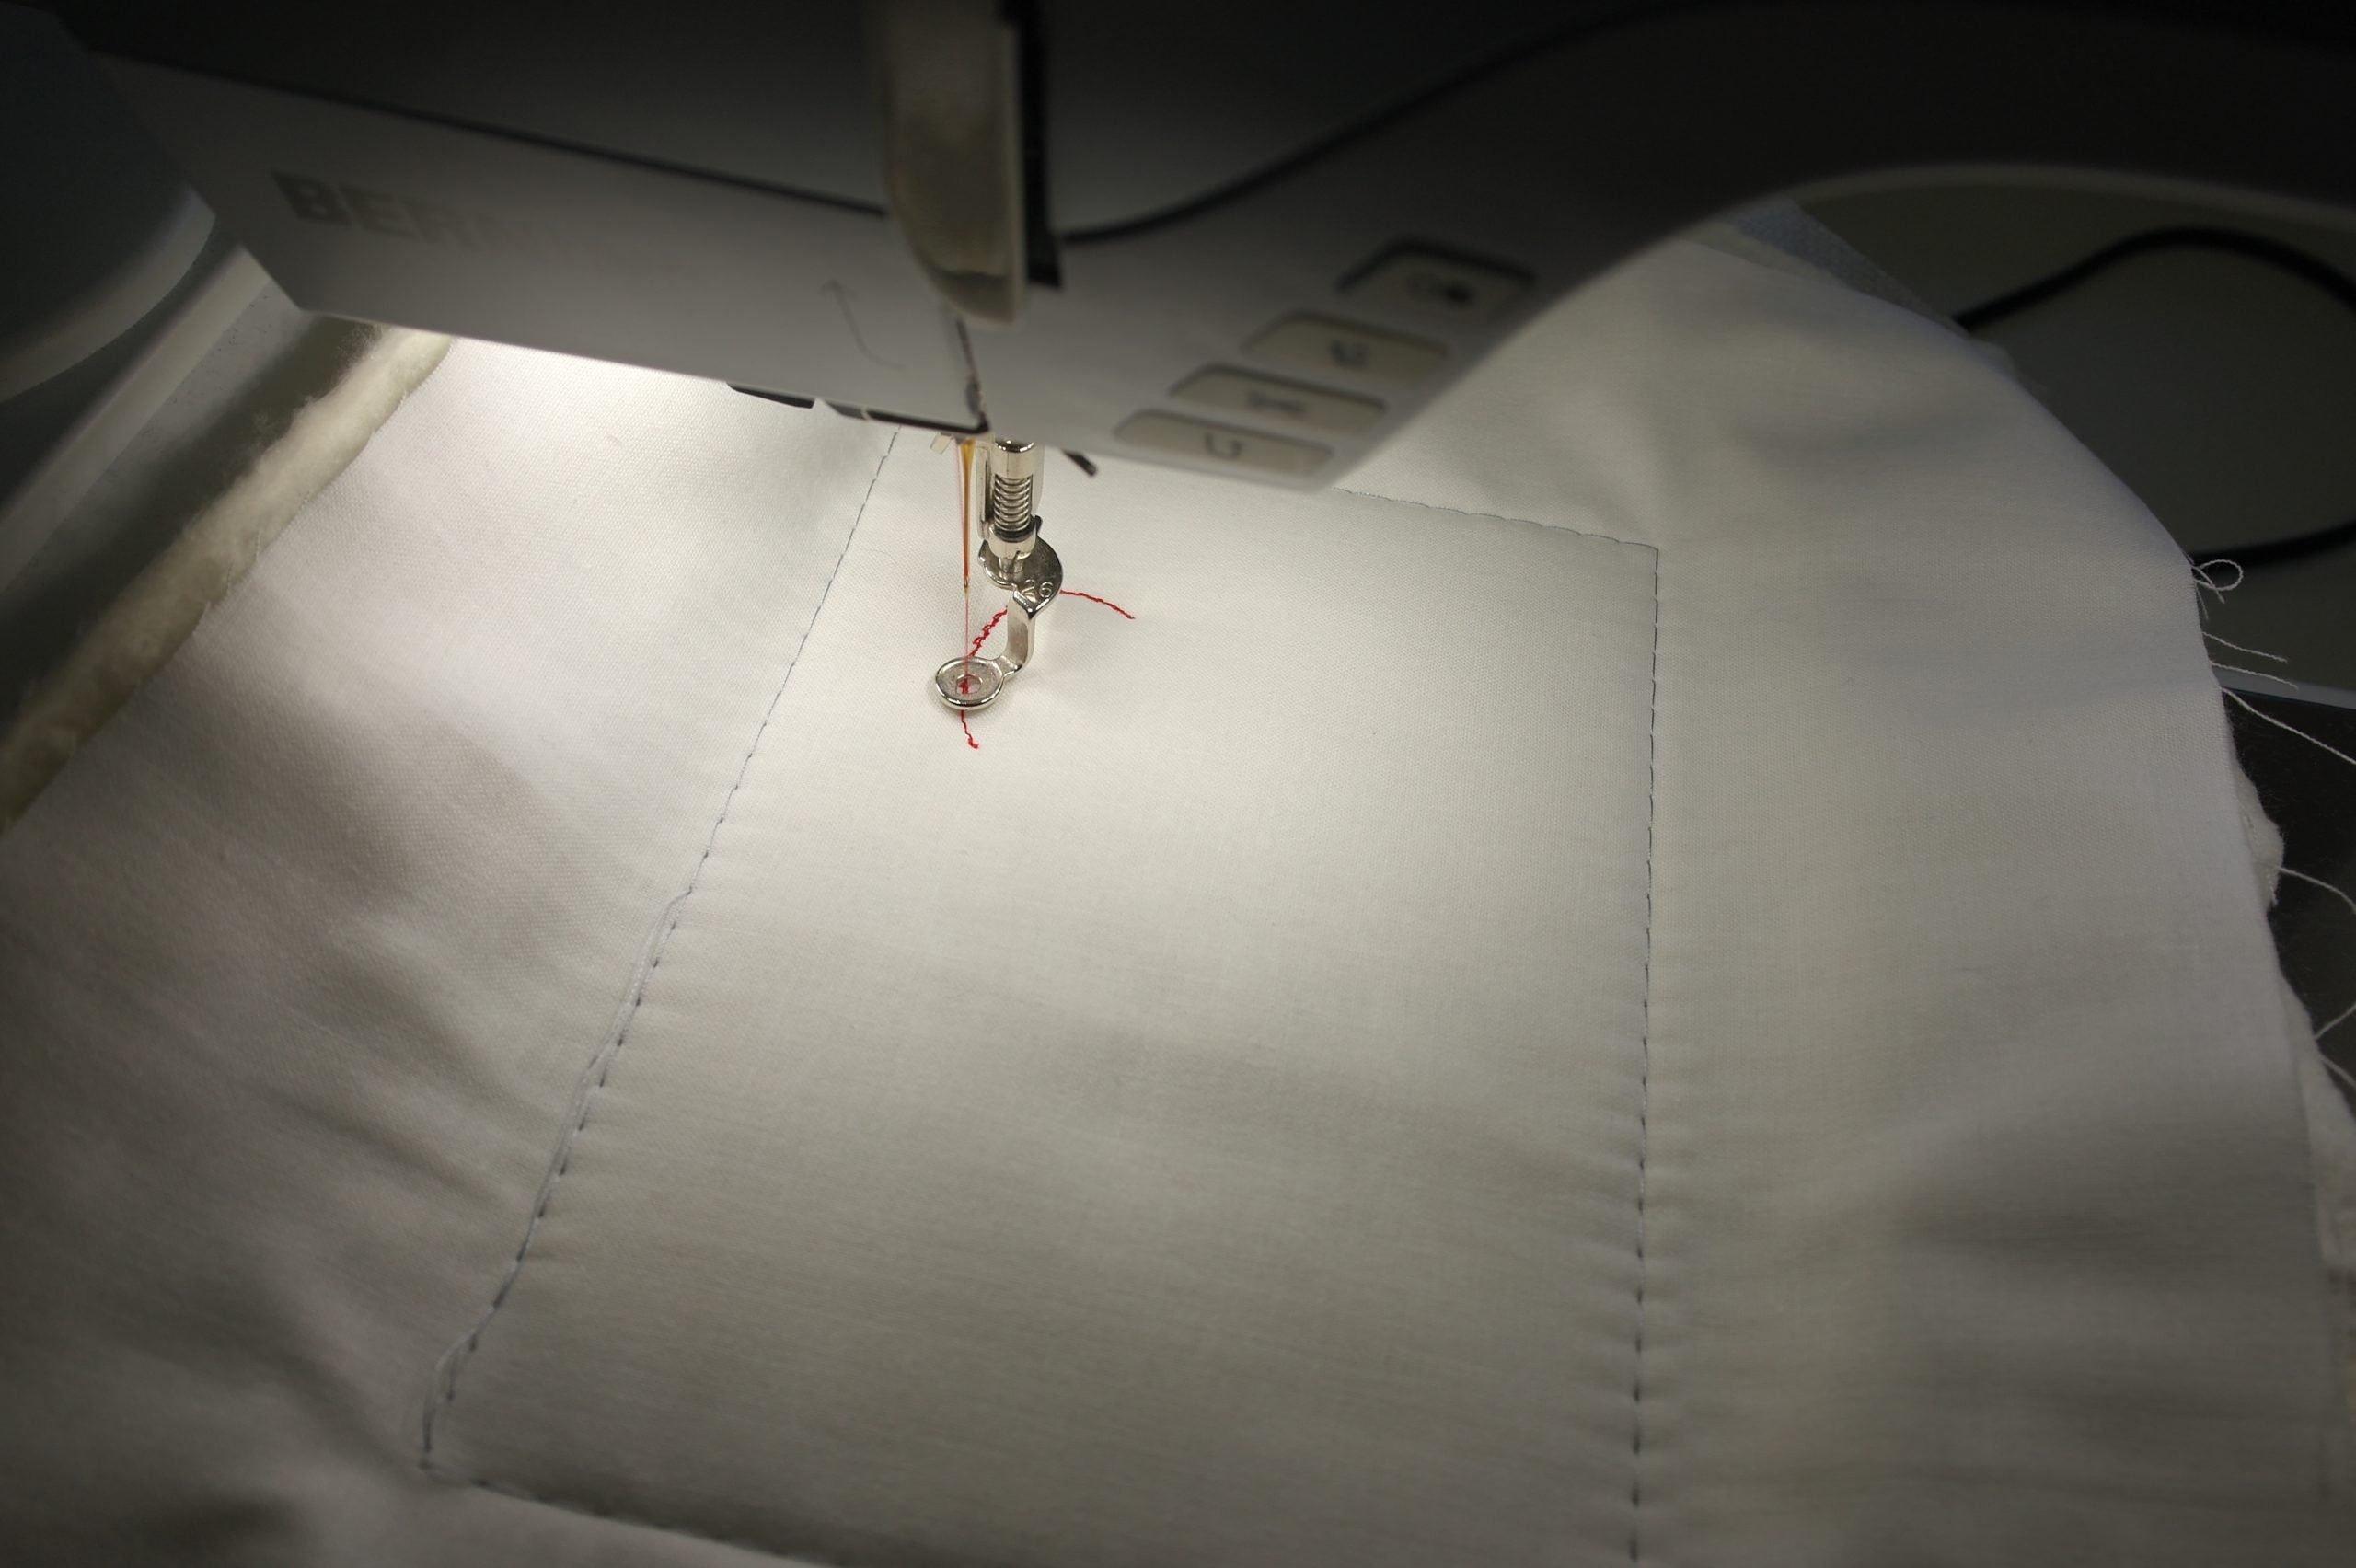
Placed it under my machine, stitched a border first to prevent the layers from shifting, and the embroidery started.
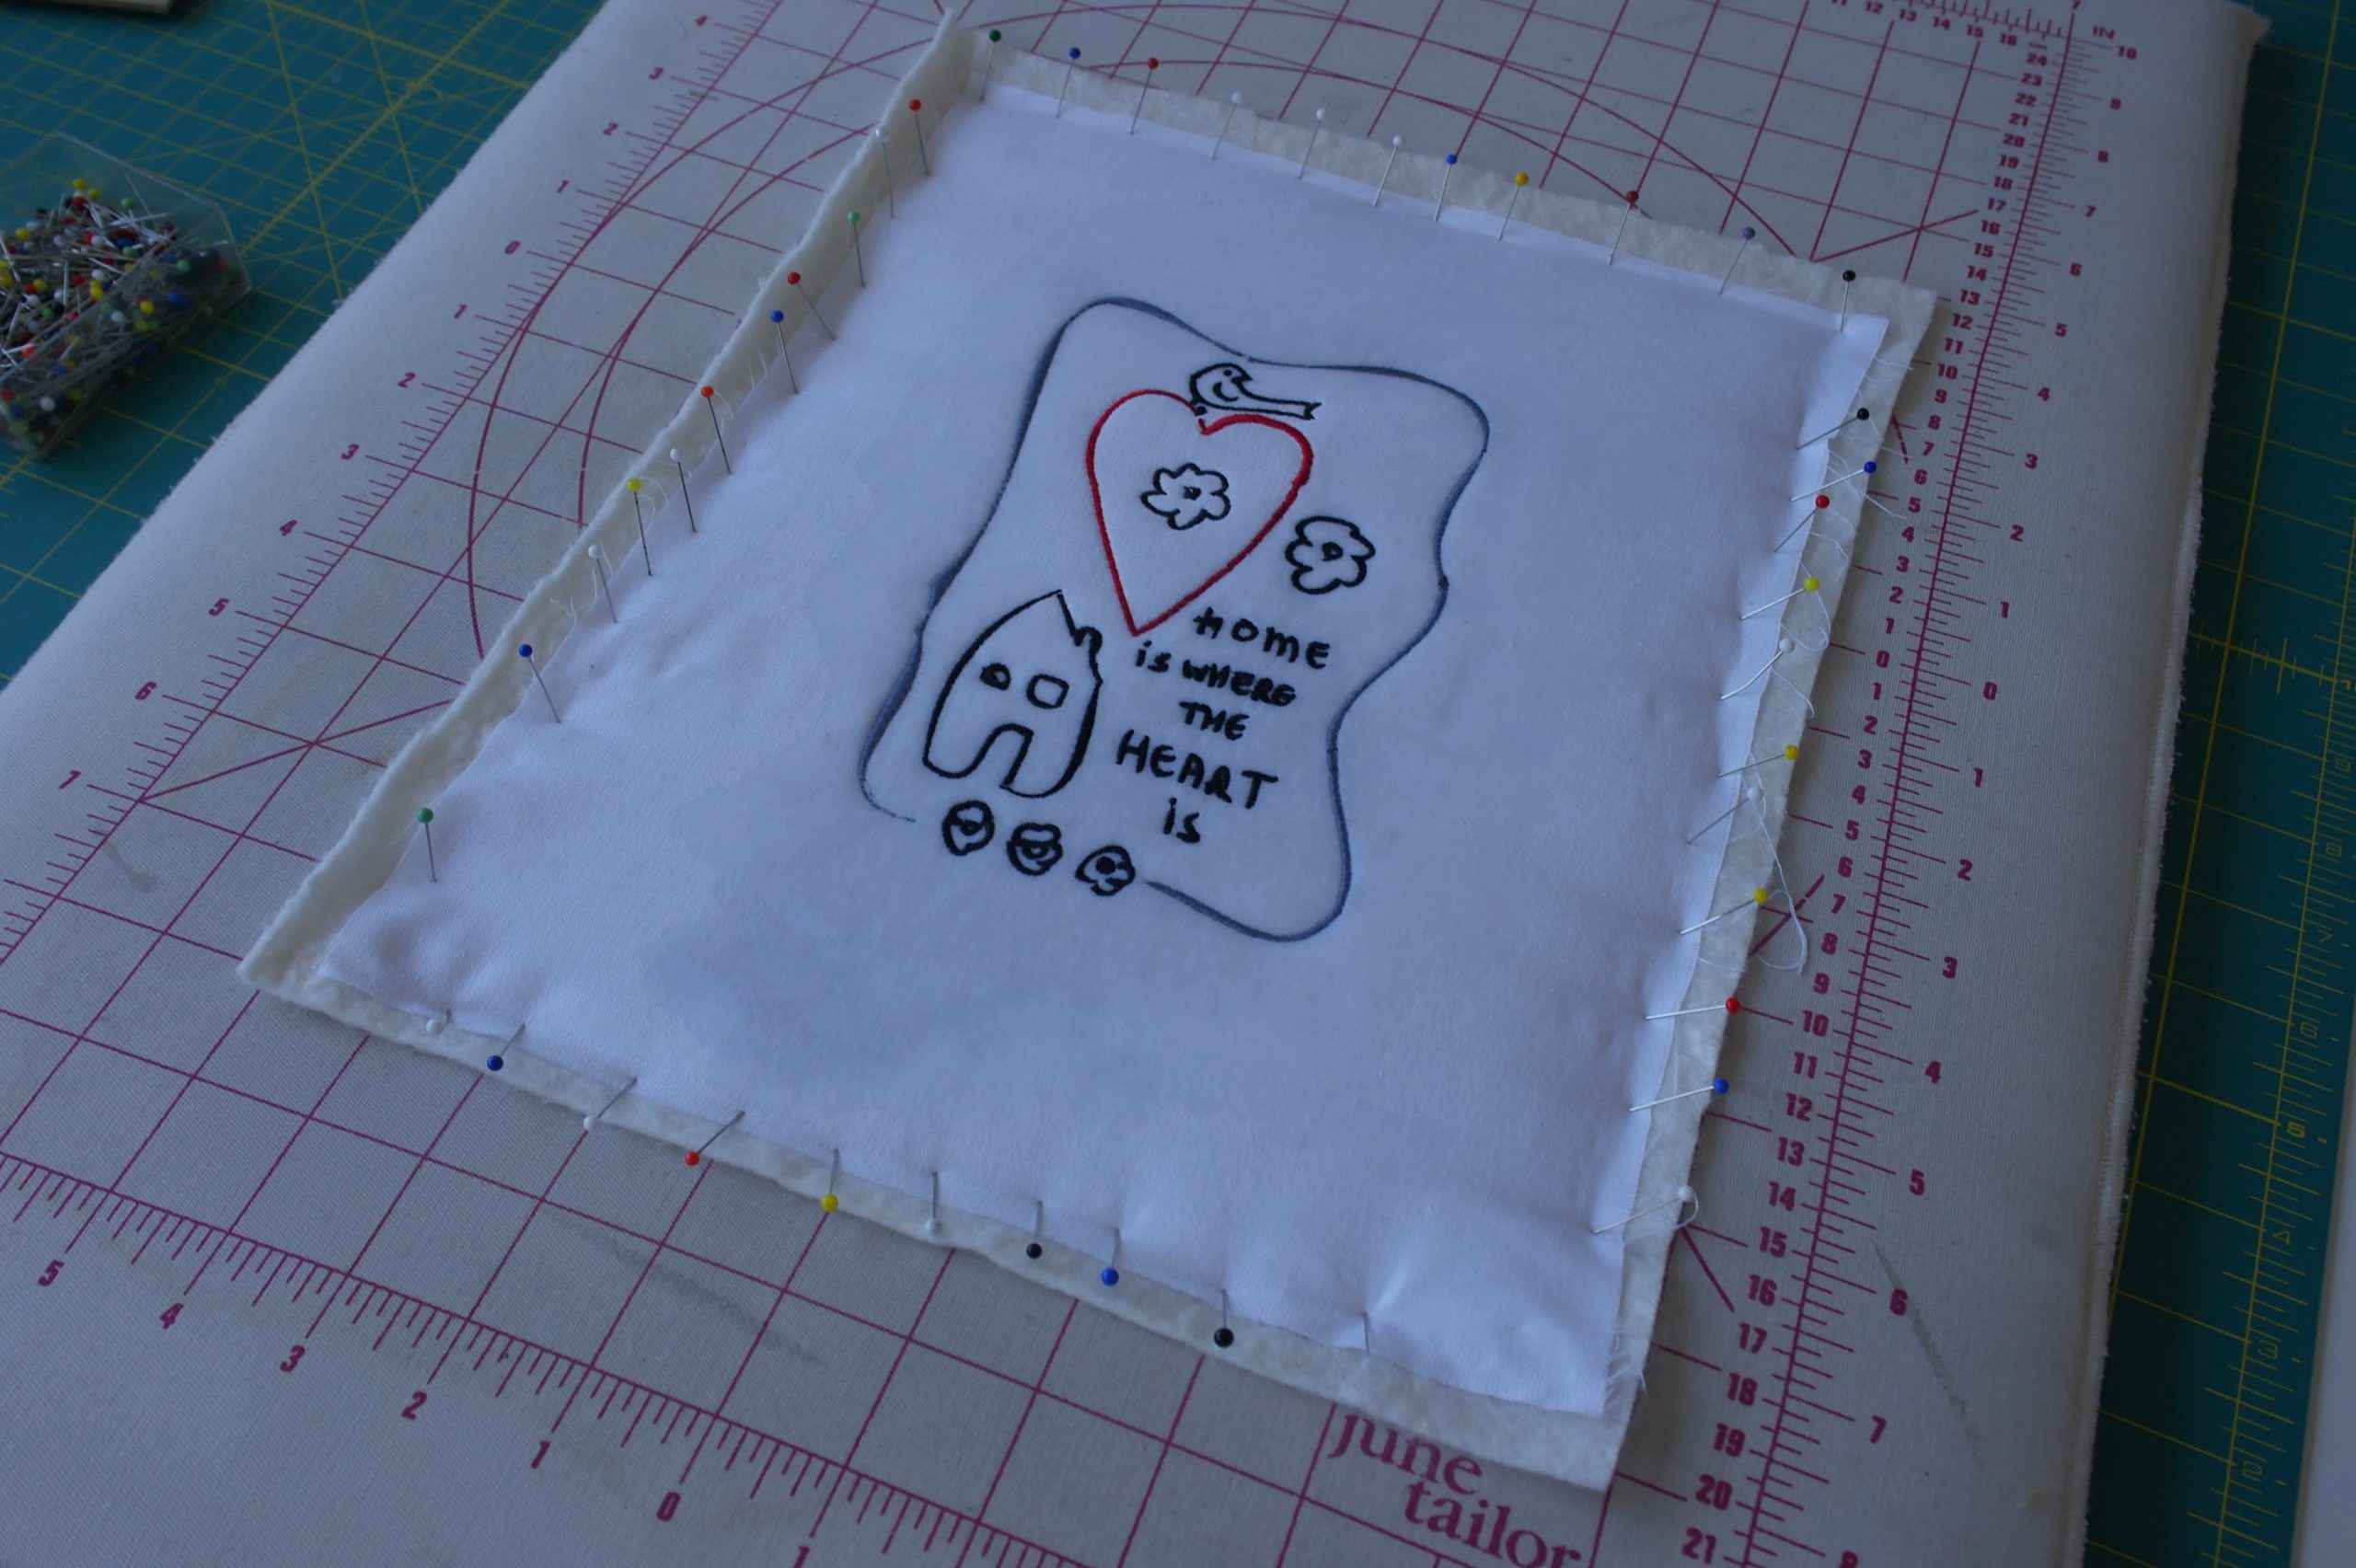
After the embroidery the thread ends are trimmed, and the materials are blocked, moistened it, leaving it overnight to straighten. A couple of wrinkles were visible between the words, which were gone after blocking.
The next morning it was completely dry. I’ve cut it, using the glass plate – which was originally inside the frame – for measurement. I’ve used it as a template, to be sure I’ve positioned the design in the center.
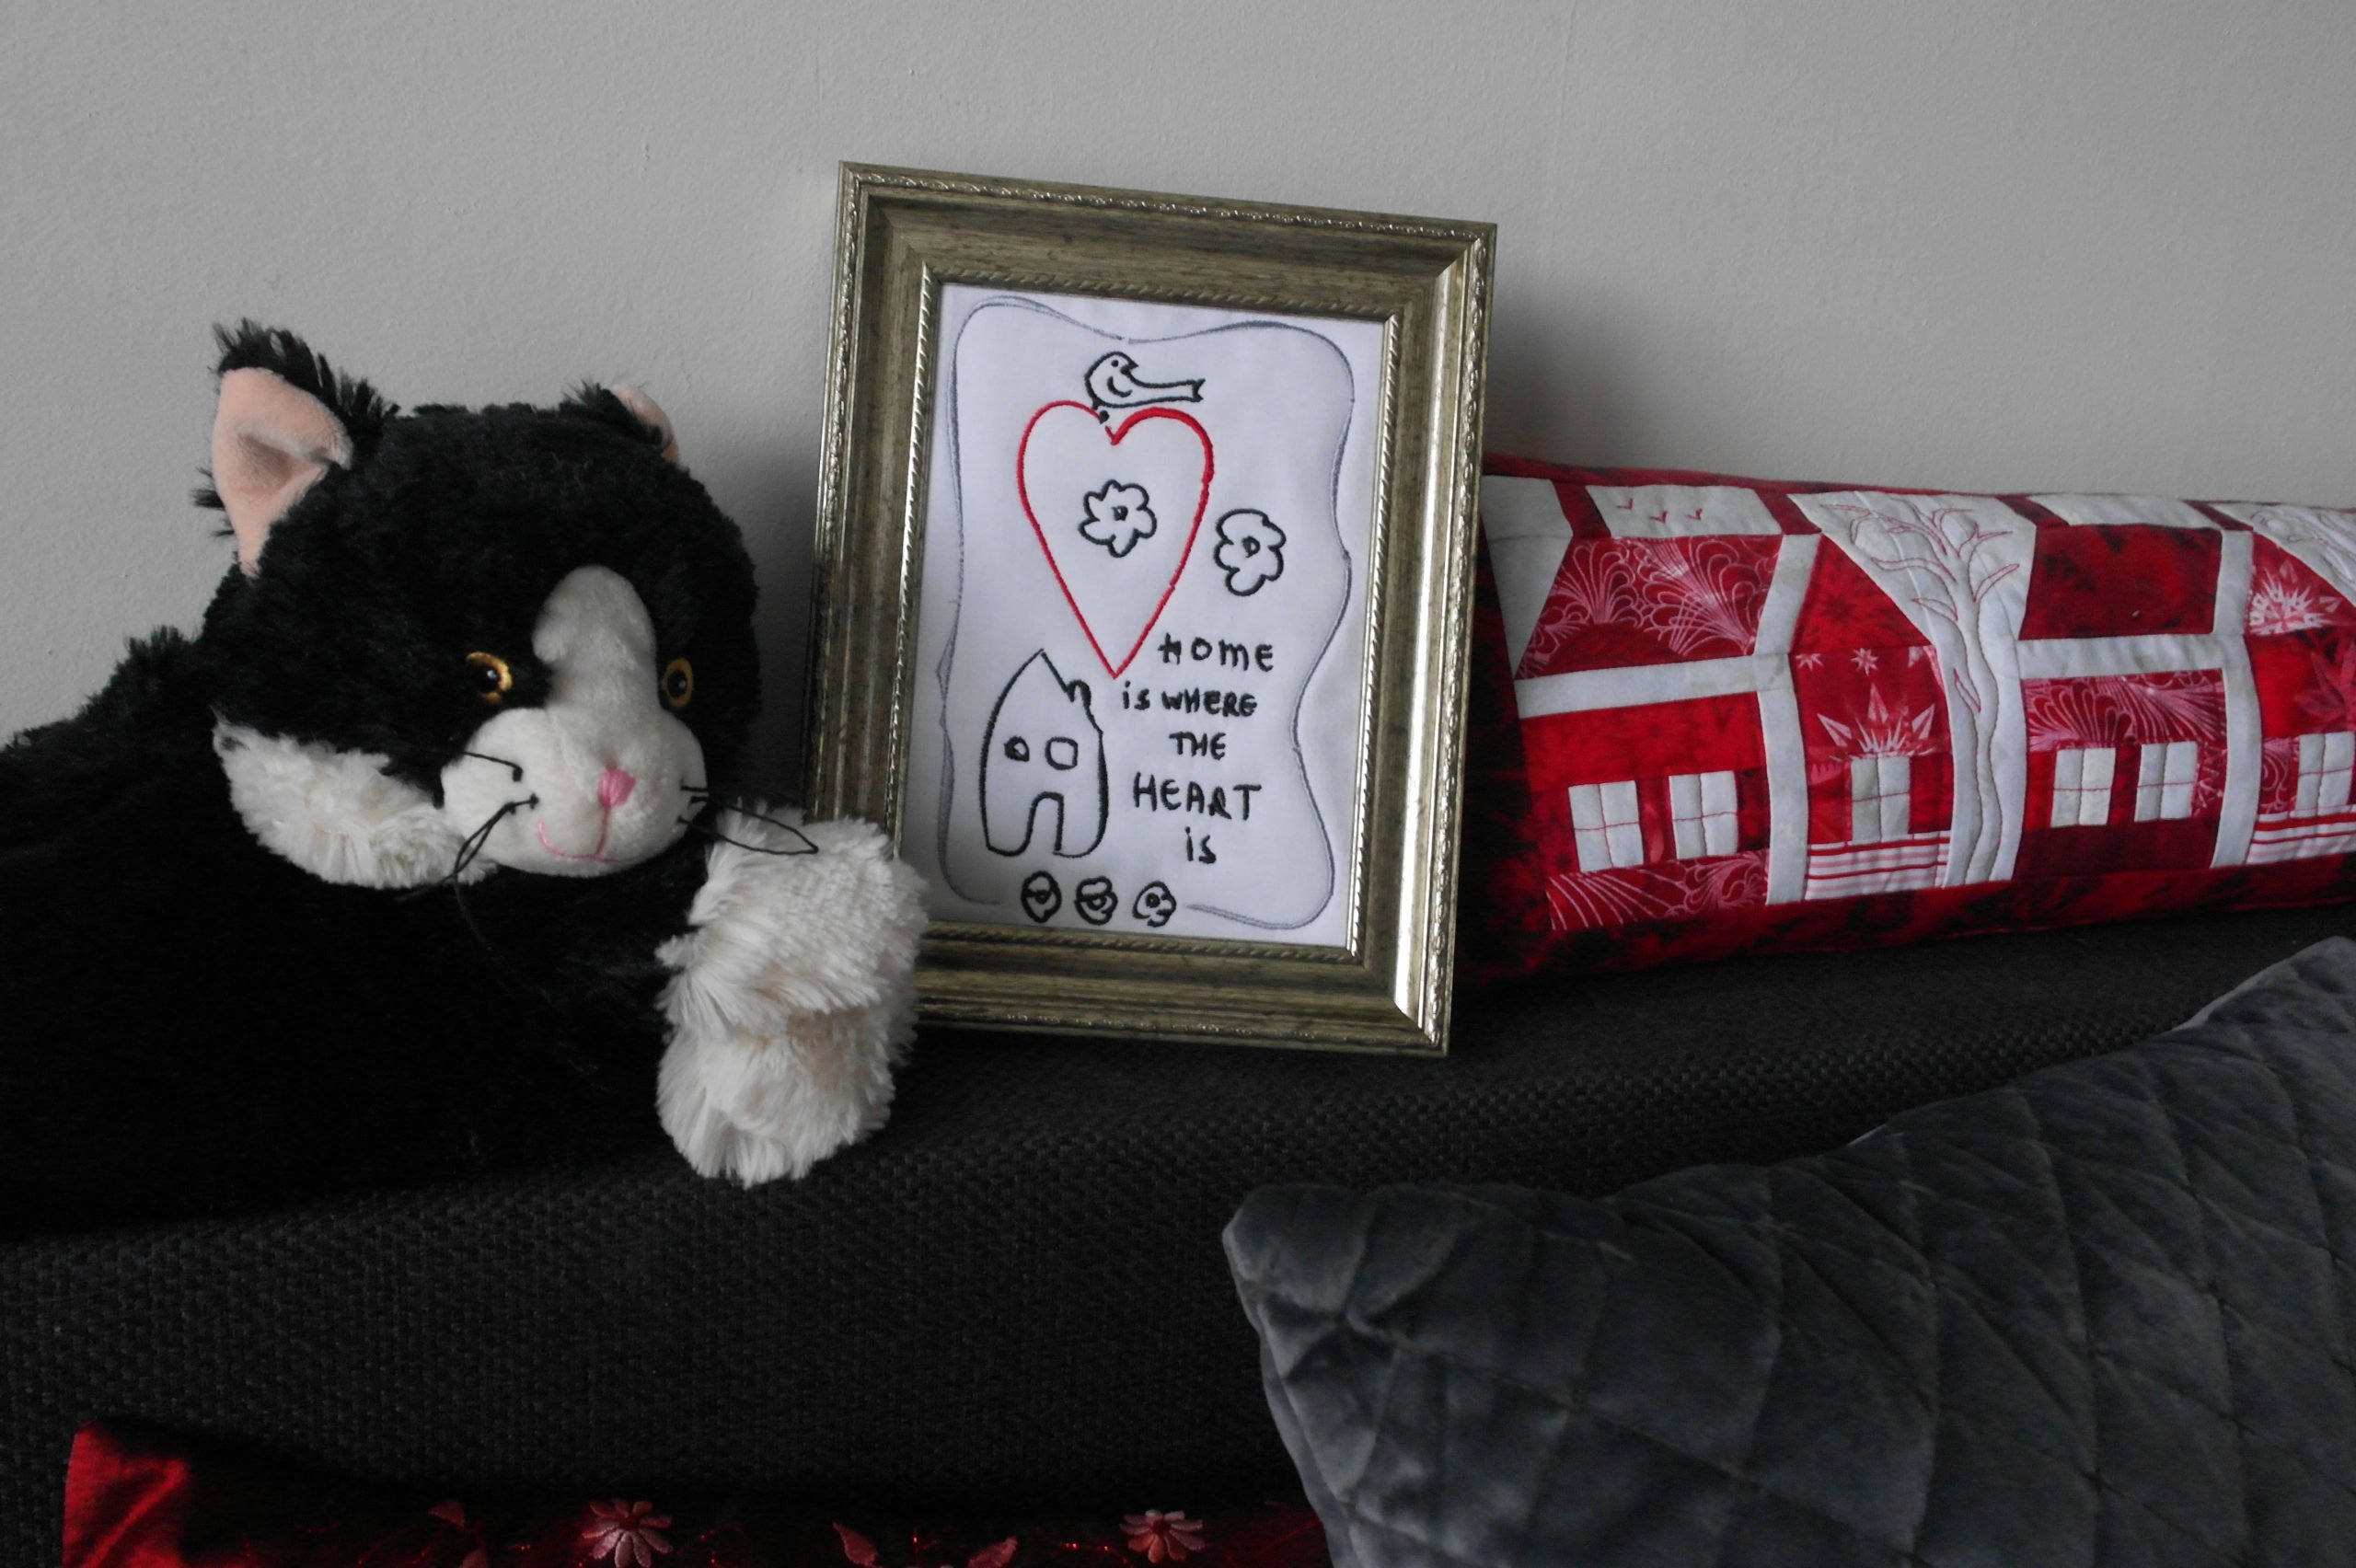
And there it is: a fun, simple drawing concerted into an embroidery design. This is wonderful gift. You can also use this design for a card, to send it to someone you want to support. I wonder what you will make of it!
Sylvia Kaptein
Sylvia’s Art Quilts Studio

This is cool. May I ask, what file type the drawing need to be able to import to artwork canvas ?
Dear Ina,
A jpg is sufficient, but it can also handle other file types like bmp or png.
thank you .. I like the design
??
Have fun with it, Ann!