 BERNINA Corporate Blog -
Dear Readers,
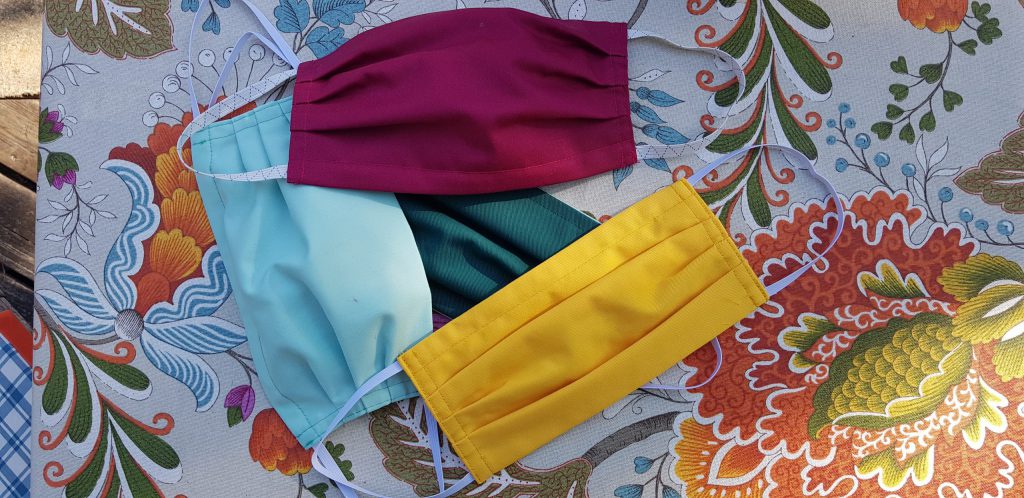
Like many of you, I have been sewing self-made face masks. Under normal circumstances, I would be overseeing the running of our Creative Center in Steckborn , but that is not possible at this time. For this reason and because of many requests from my friends, I have begun a small production of fabric face masks in my studio at home.
Even though sewing a self-made face mask is not rocket science, there are a couple of stumbling blocks. For example, I hear from sewists that have not properly cut back the allowances, which results in them having to sew over many layers of material and ultimately breaking their needle … When sewing, one thing leads to another. This is why it is important to keep in mind a few essential points when starting the project.
I have gathered a few sewing tips from the practice I’ve had in my private mask production and I hope that they will help you in sewing your own self-made face masks.
Sewing Your Own Face Mask – Select the Right Instructions
The right instructions can make or break the success of sewing your own face mask.
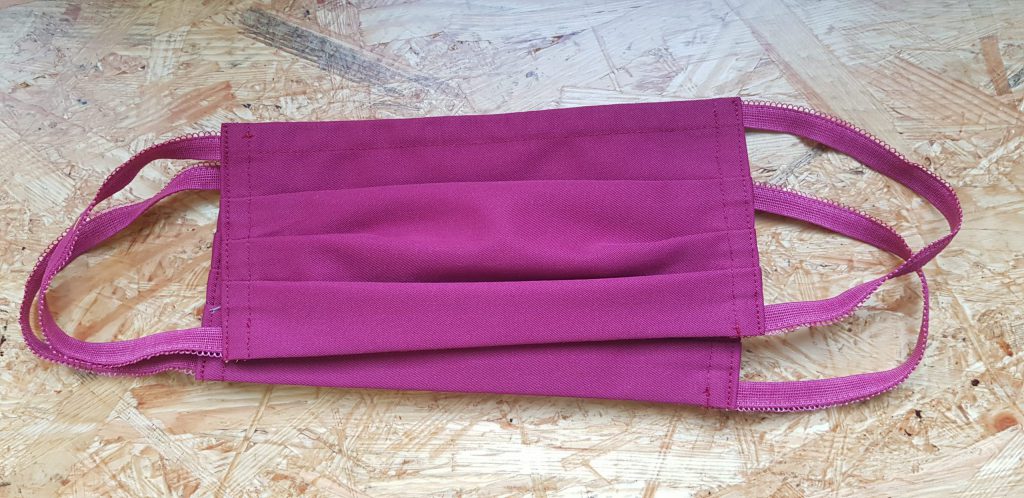
Unfortunately, there are instructions going around that are not precise enough. I have had many good experiences with sewing folded masks. For the most part, they are relatively quick to make and sit comfortably on your face – as it should be. Excellent instructions have been provided by our course instructor Gaby Seeberg. She even made an instructional video:
An overview of other detailed instructions and tips and tricks can you find here: https://blog.bernina.com/en/tag/self-made-face-mask/
I recommend that you use one of these instructions. My tips here are to be understood as being supplemental to those instructions.
Practical Tips
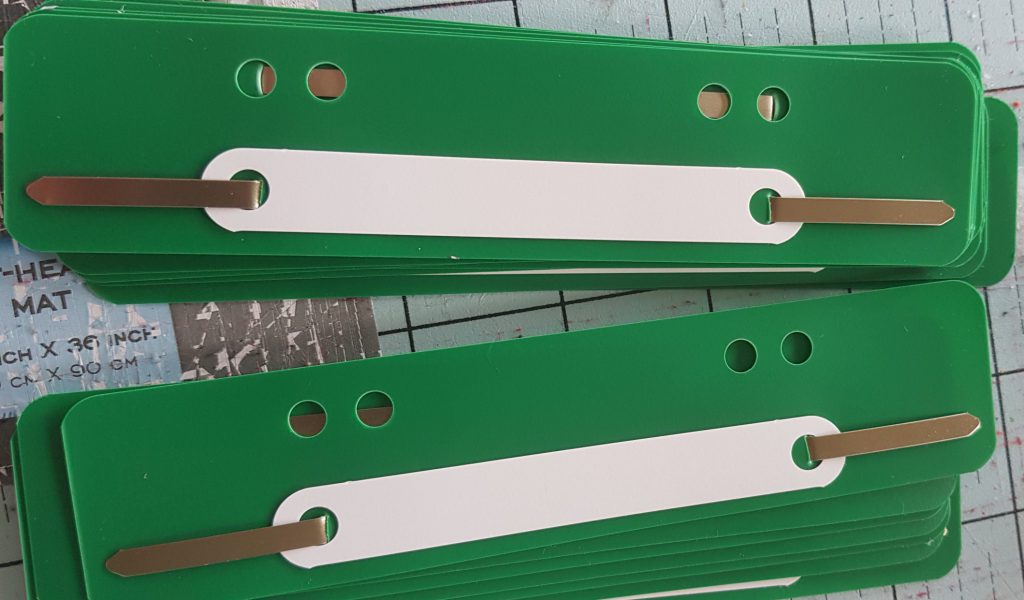
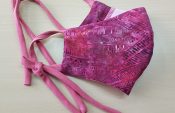
The folded masks sit fully against the nose if you insert a wire on the upper edge. The metal brackets from loose-leaf binders are ideal for this purpose. This idea came from Gaby.
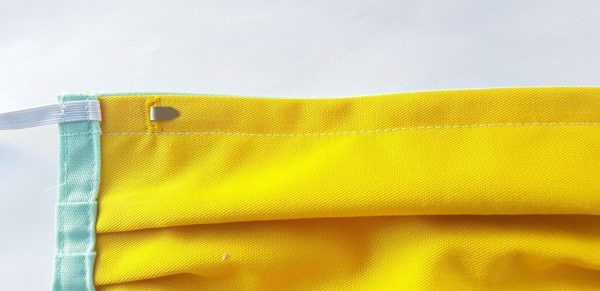
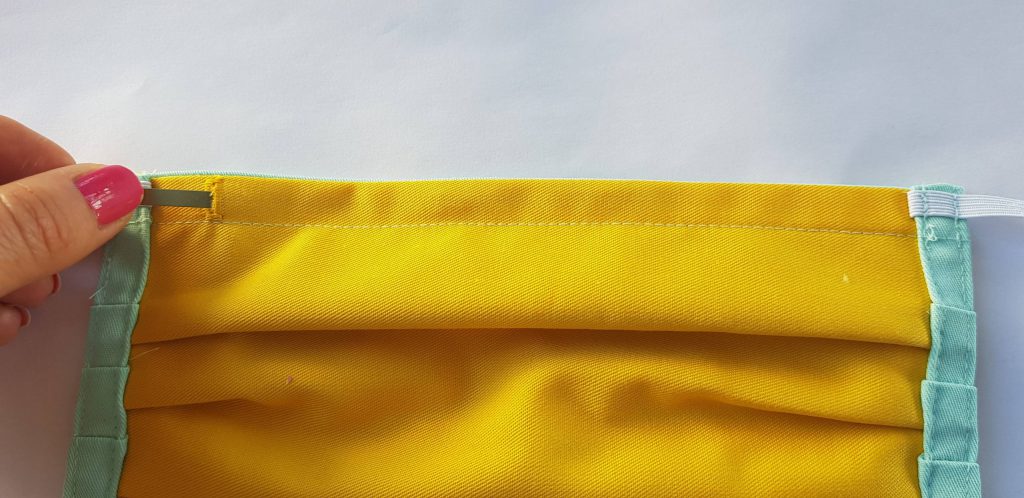
To do this, make a tunnel in the upper edge by stitching the upper edge 1 cm wide after the end. I would like to remove the wire when I wash the mask, so I sew my masks with an opening of approx. 5 cm. I sew this opening as a buttonhole:
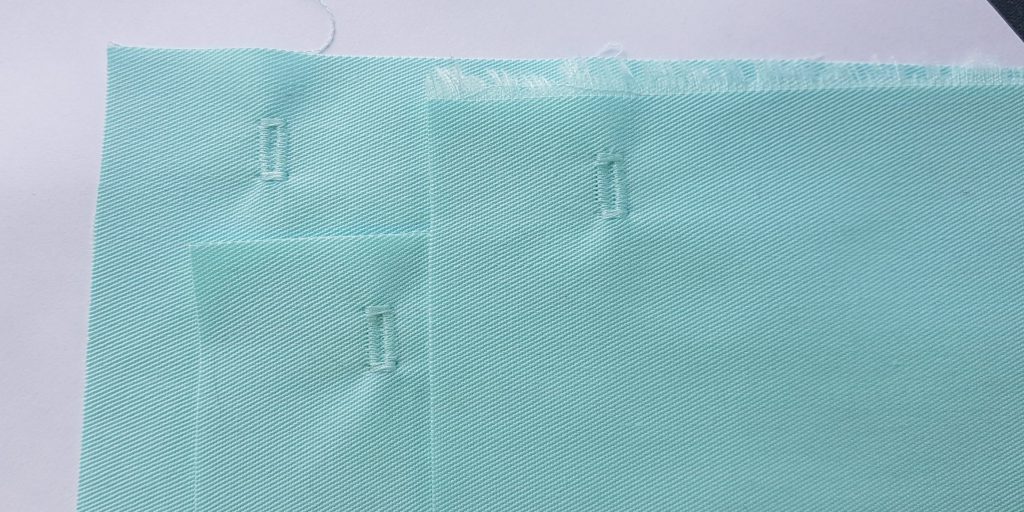
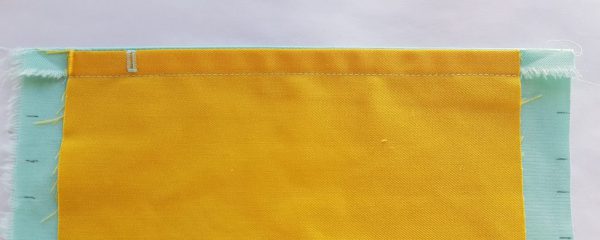
Completing the buttonholes is therefore my first sewing step. I take the back fabric and sew the buttonhole on the side of the material 1 cm from the upper edge and 7 cm from the middle:
Now, place the front and back parts in the middle, right side to right side. Stitch down the upper and lower edges right up to 1 cm from the edge.
When stitching down the upper and lower edges, I sew right up to the edge. This line helps maintain a straight line when ironing. These neatly ironed edges then make it easier for stitching the side edges right up to the closure.
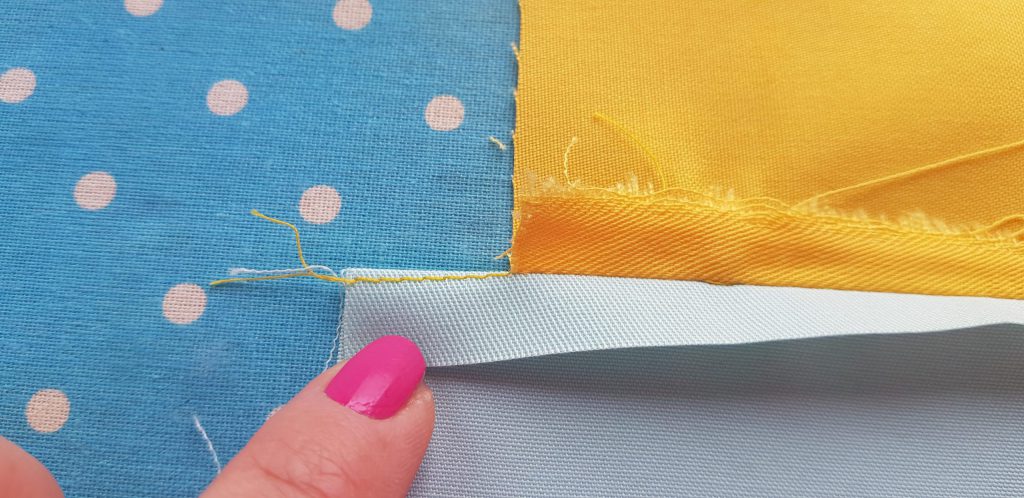
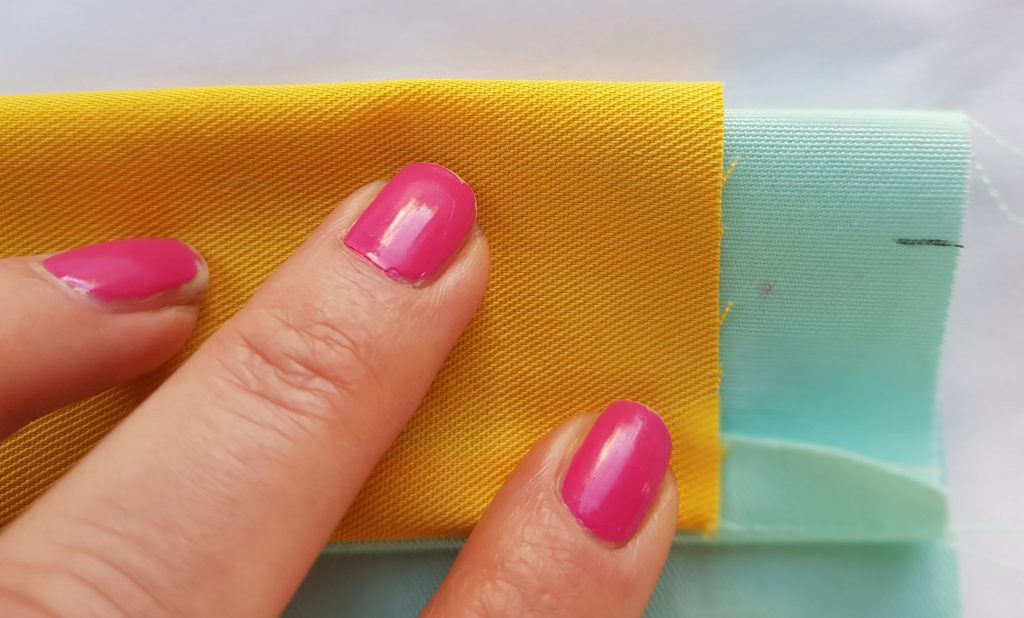
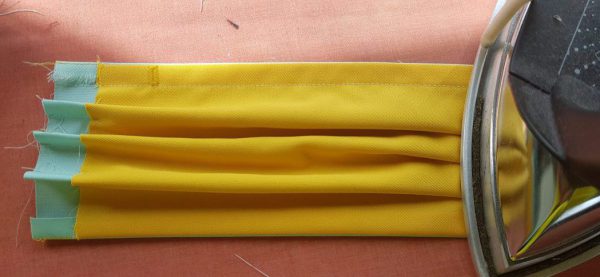
Now, iron the seam allowance on the upper and lower edge apart on the back side, turn, and then iron again on the right side of the material. So that the backing material is not visible on the front side, 1 mm of the front material should be visible when ironing. You can see this clearly in the third image. This creates a little extra width in the back material.
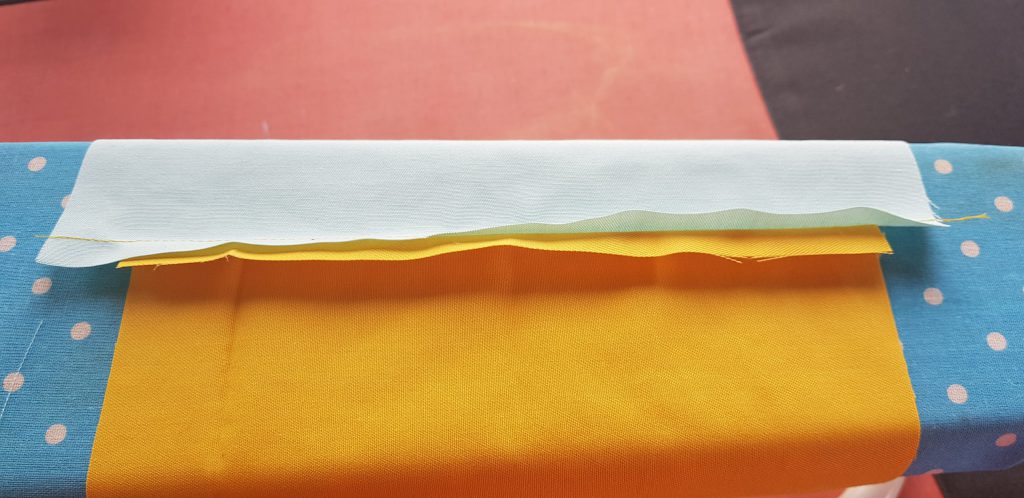
The extra width in the back material is necessary because the exterior material must cover more space when folded “outside”. If the extra width is too much, you can easily retain it when setting the folds – i.e. compensate. Later simply move the folds on the back material slightly out of the way when setting the folds.
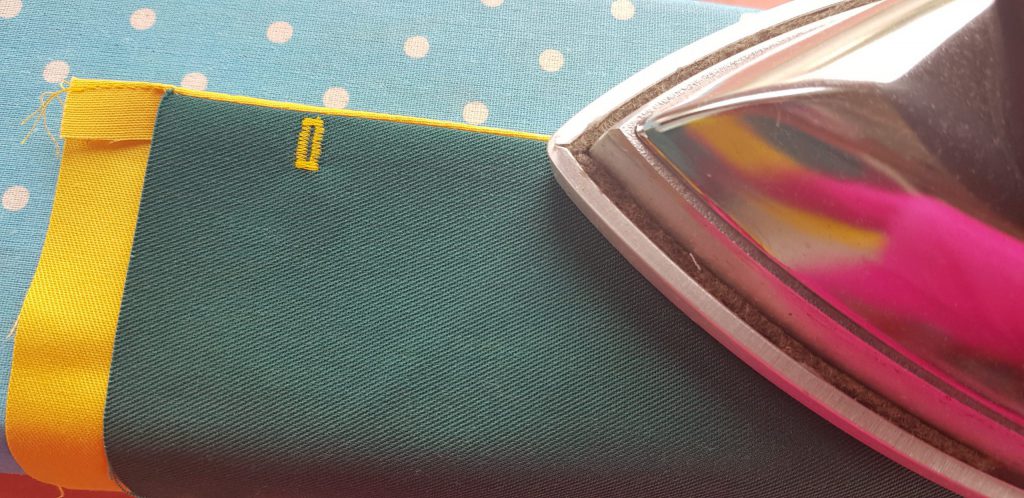
Then stitch the upper edge 1 cm across. This creates the “tunnel” through which the wire will be guided at the end:
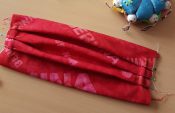
For each one, I add one more step by deeply stitching the folds first individually 2 to 2.5 cm. This extra little work pays off because it makes the rest of the steps easier.
When stitching, make sure that you are “catching” the back fabric with approx. 2 stitches. This ensures that the inner lining does not slip afterward when sewing up the side seams. As a result, precisely turning the side edges is much easier.
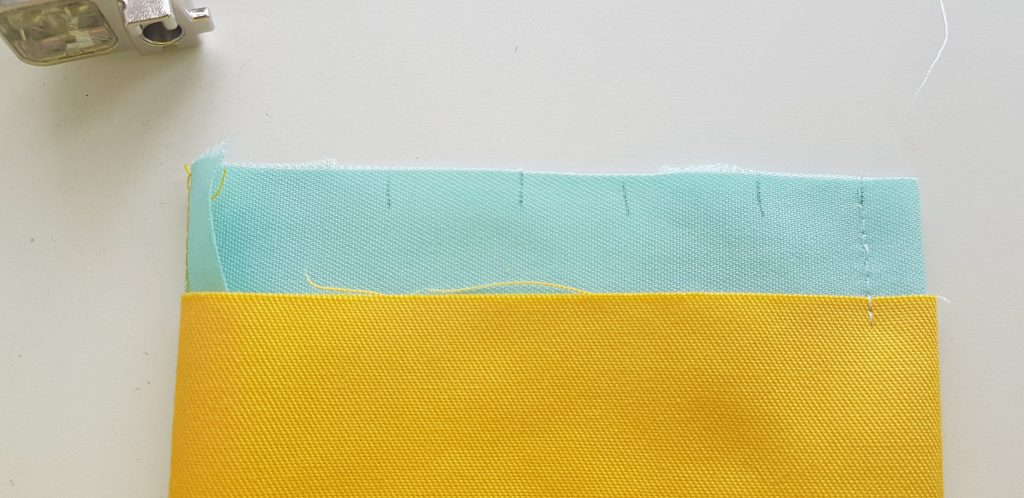
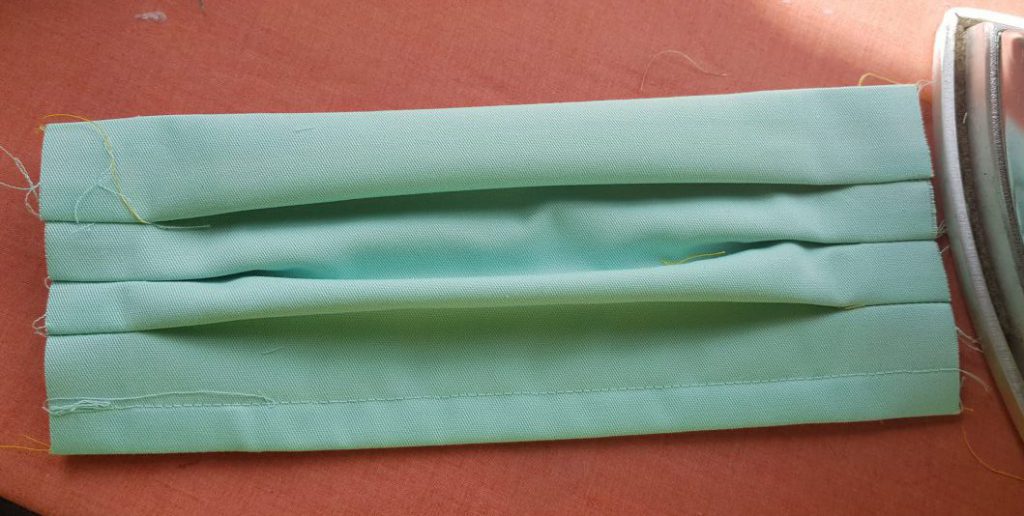
You should iron the stitched folds on the back side first and then on the front side. Attention: Lay the folds down from the top edge.
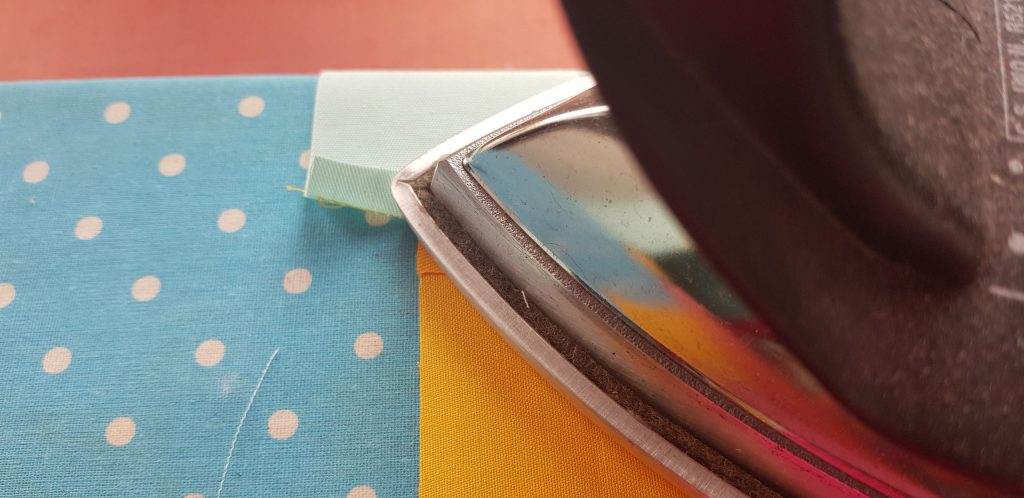
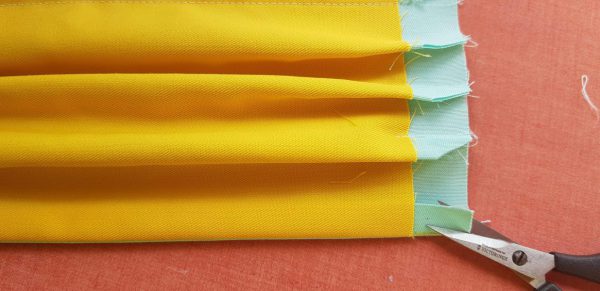
Generously cut back the side seam allowances. As a result, ironing the closure and cover is easy as pie and a few thick, unnecessary layers of material in the otherwise thick side seam are eliminated.
Iron the closure and cover on the side edges with a lot of steam. When doing so, make sure that the 1 cm wide side edges are perfectly parallel:

Now place the elastic band as follows:
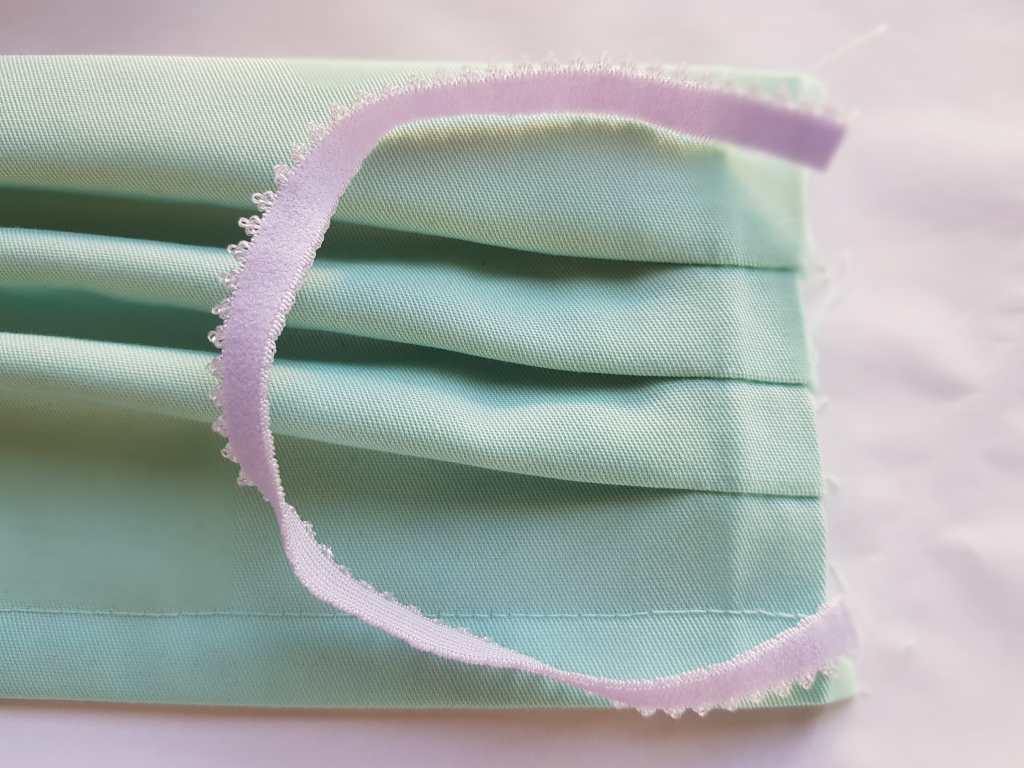
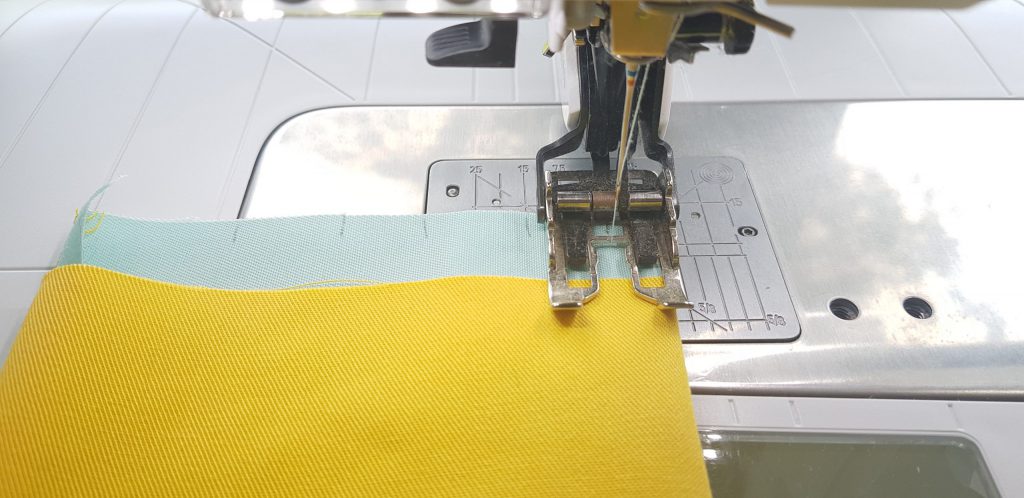
To avoid the elastic band shifting during sewing, you should always first sew on the elastic band temporarily. Briefly open up the ironed edges and stitch up the elastic band with the left side from above 5 mm from the edge on the upper and lower edges. Once again, a little extra step that really pays off!
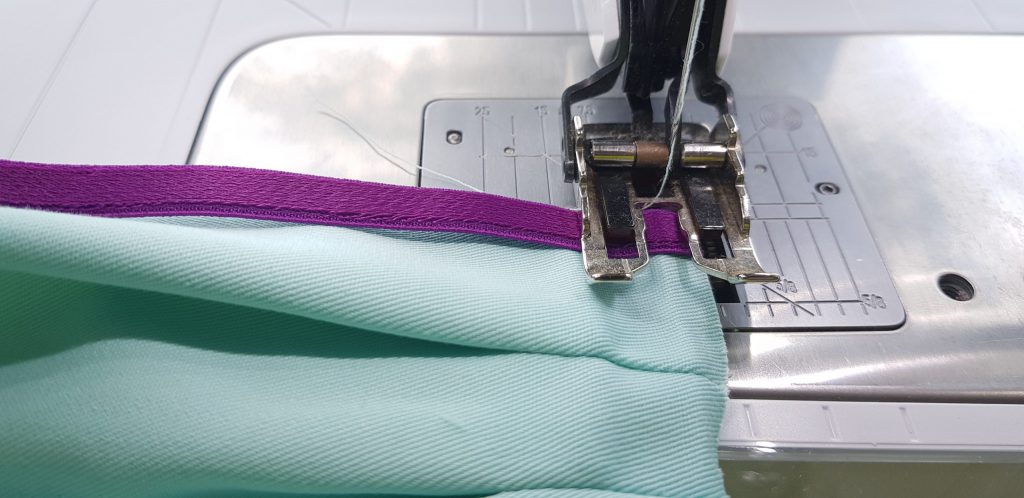
As you can see in the image above, I use the Three-Sole Walking Foot #50. This ensures a neat, straight, and even seam. I used an 80 weight jeans pro needle and had excellent experiences with it. Make sure you have the proper needle/thread/material ratio! You can find more information in Mirjam’s blog entry.
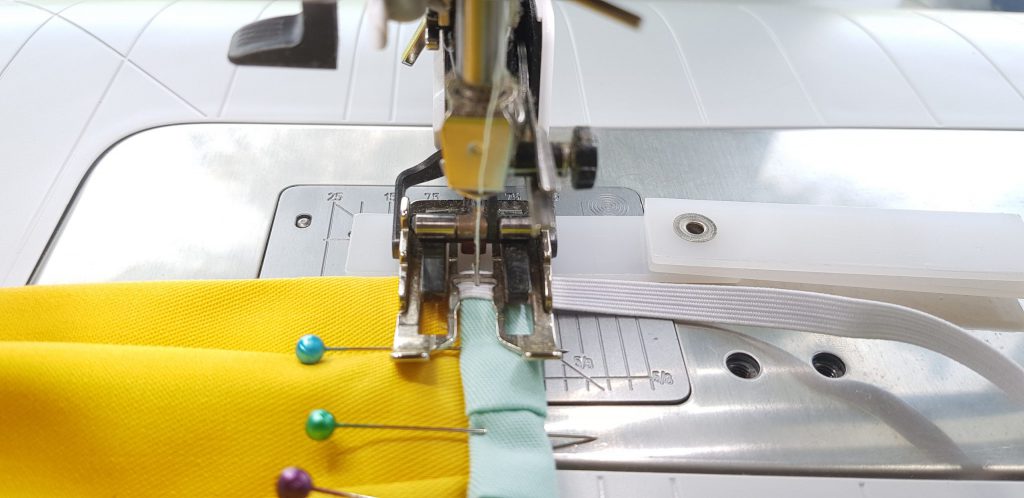
Now securely pin the folded over edges. Lay the elastic band outwards. So that the elastic band does not slip, place a pin in the middle of the elastic band first when sewing and then sew backwards on the edge and then sew up the entire edge. Close it up at the end by stitching forwards and backwards.
Tip: Place 1 or 2 small plates for height equalization at the start of the stitch. Once again you can find more information on this in Mirjam’s blog entry. Be careful – the three-sole walking foot no longer has the same stability when placing the height equalizers, so carefully guide the material when sewing.
In addition, when sewing you must always keep an eye on whether or not the foot is running properly and is never caught (on a fold). If this happens, simply lift the foot with the BERNINA knee lever to help it over the obstacle, and it will then run smoothly again.
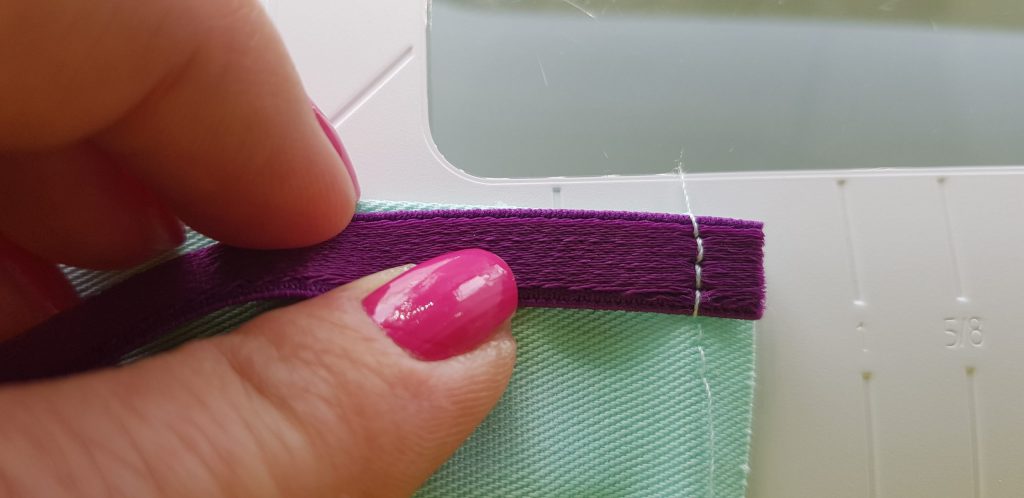
To ensure that the mask does not stick out on the side and the elastic band is firmly in place, stitch the exterior edges 2 mm wide.
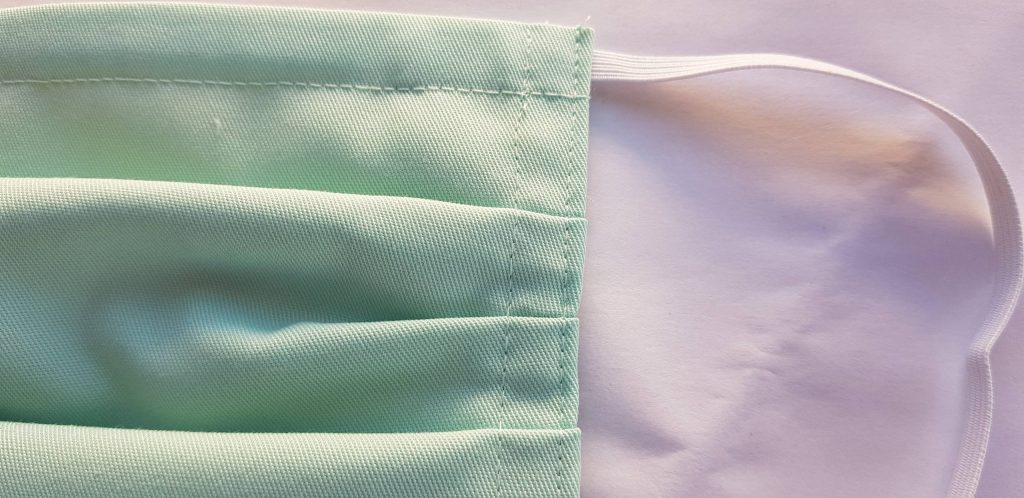
Now insert the metal bracket from the folder and bend it 1 cm at the end:

Lingerie elastic is also suitable. It is very soft and easily washable. They also look cute.
I hope that these tips help you to sew your own face masks – quickly, beautifully, and efficiently! Most of all, however, I hope that you all stay healthy and that we here at the BERNINA Creative Center in Steckborn can once again offer courses. Perhaps we will see each other then?
All the best,
Tanja
Folds up or down?
In my instructions above, the folds are positioned so that they point upwards. I have been advised that it is better if they point downwards so that nothing gets caught in them. Thank you very much for the hint! In the meantime I sew all my masks in this way, that means with folds pointing down. But from a medical point of view there seems to be no preference regarding the alignment of the folds. I have received a medical mask myself, with the folds pointing upwards. Quite common are also the variants with box pleats in the middle, where the upper pleats point upwards and the lower ones point downwards.
Herewith we explicitly advise you that all masks sewn according to instructions in the BERNINA Blog are to be considered as self-sewn face masks. They are neither medical products or protective equipment.
You will find more information here: ‘Self sewn face mask everything you need to know’
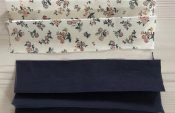
Thank you so much for these instructions, I made a his and hers version, mine was patterned, his was plain fabric, both without the wire insert though, which we did not need. Worked well, although he had to have shorter elastic, 7″ not 8 (which was fine for me) as ears set further forward on side of head, the fitting proved quite humerous, much needed at this time!