 BERNINA Corporate Blog -
Tips and tricks for sewing self-made face masks with the overlocker/serger, part 2 of 3: “the fast one”
Dear reader,
In my first article, which you can find here, I had promised you three instructions for sewing self-made masks with the overlock. It continues with overlock enthusiasm, and now, “quickly”. No frills and detours, but directly with 6 seams 4-thread overlock to the self-made face mask. But of course, you will receive tips for alternative techniques.
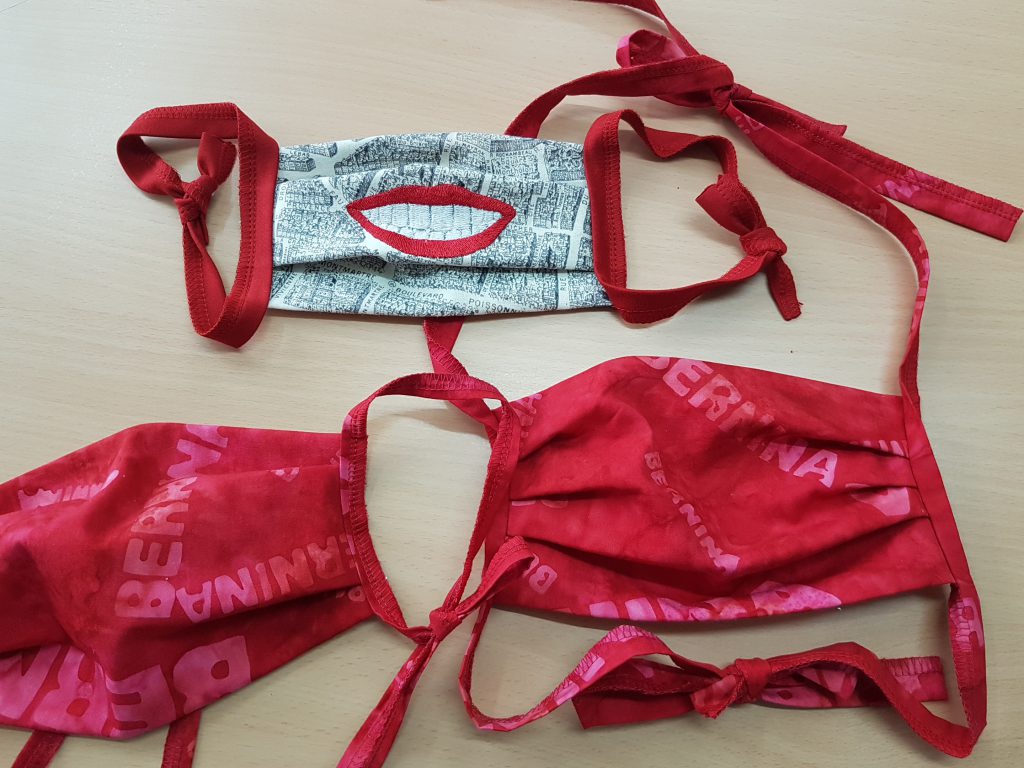
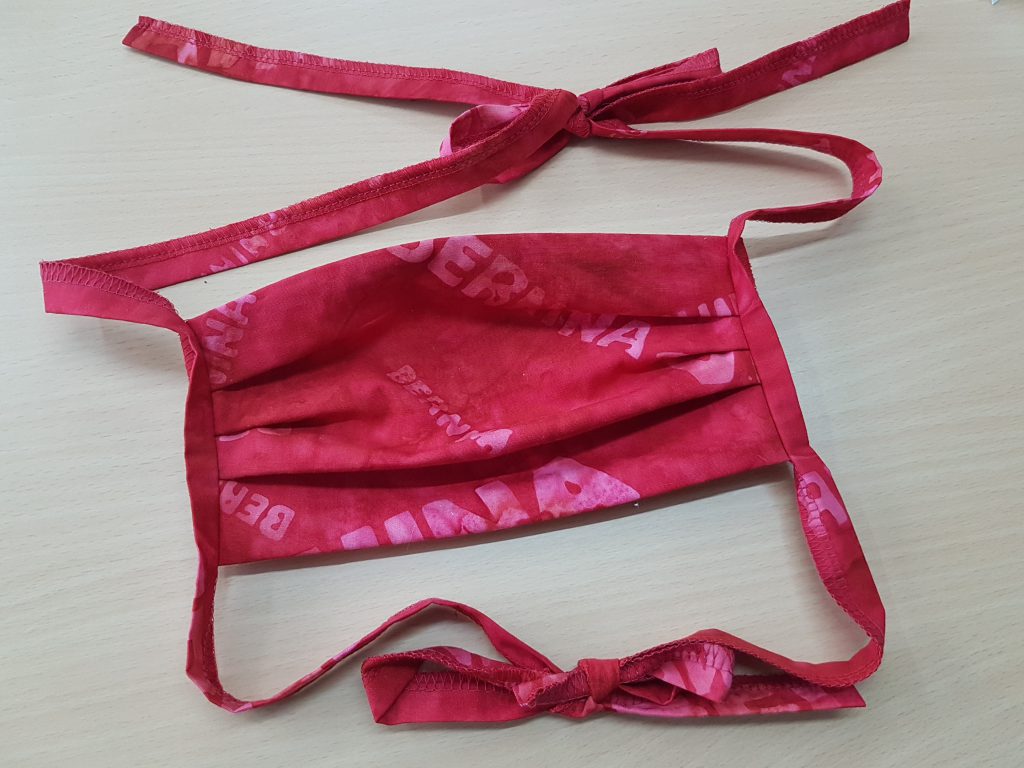
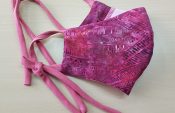
You can wear this mask with longer straps over your head or shorten the straps and tie them behind or under the ears, as you prefer.
If you decide to invest a little more time, try it on and shorten the straps to fit and fix them to a loop.
For the sake of simplicity, I used the sewing machine with a straight stitch and a short stitch length. A zigzag stitch is also suitable for this. I have the BERNINA 880, but of course any sewing machine with a straight and zigzag stitch will do that job.
For this “over-the-ear fit” variant, I took a knit that stretches very well, but also relaxes back into shape well. When overlocking, I recommend stitch length 2 so that the needle thread does not break when you stretch the fabric.
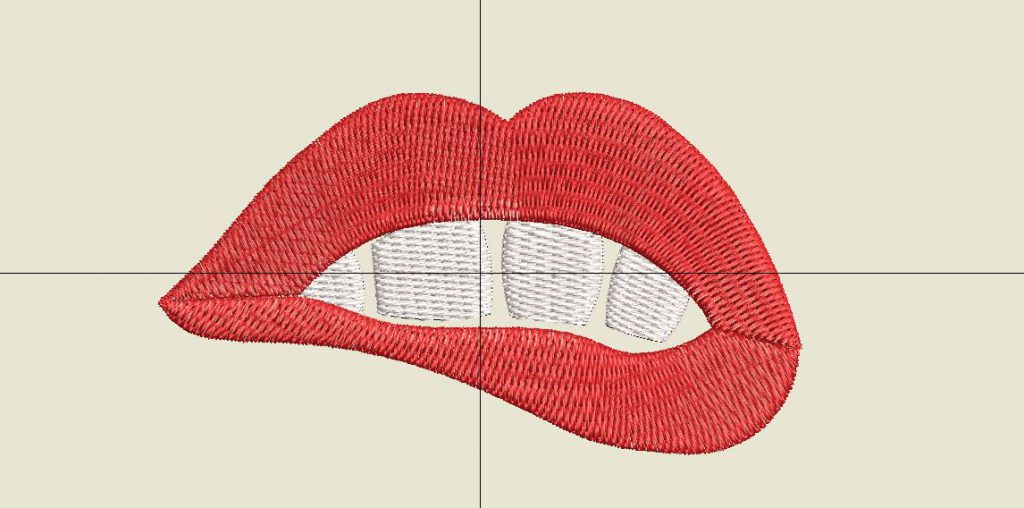
The embroidery design in above picture is offered by BERNINA as free download. You will find more info at the end of this article.
Sewing “the fast one” self-made face mask with the overlocker
I sewed it with the BERNINA L 460. But here too, you can use any overlock machine with a 4- or 3-thread overlock stitch, e.g. a b44, b48, or 1150MDA. However, I am spoiled and honestly, for me, nothing works without the L 460 knee lifter!
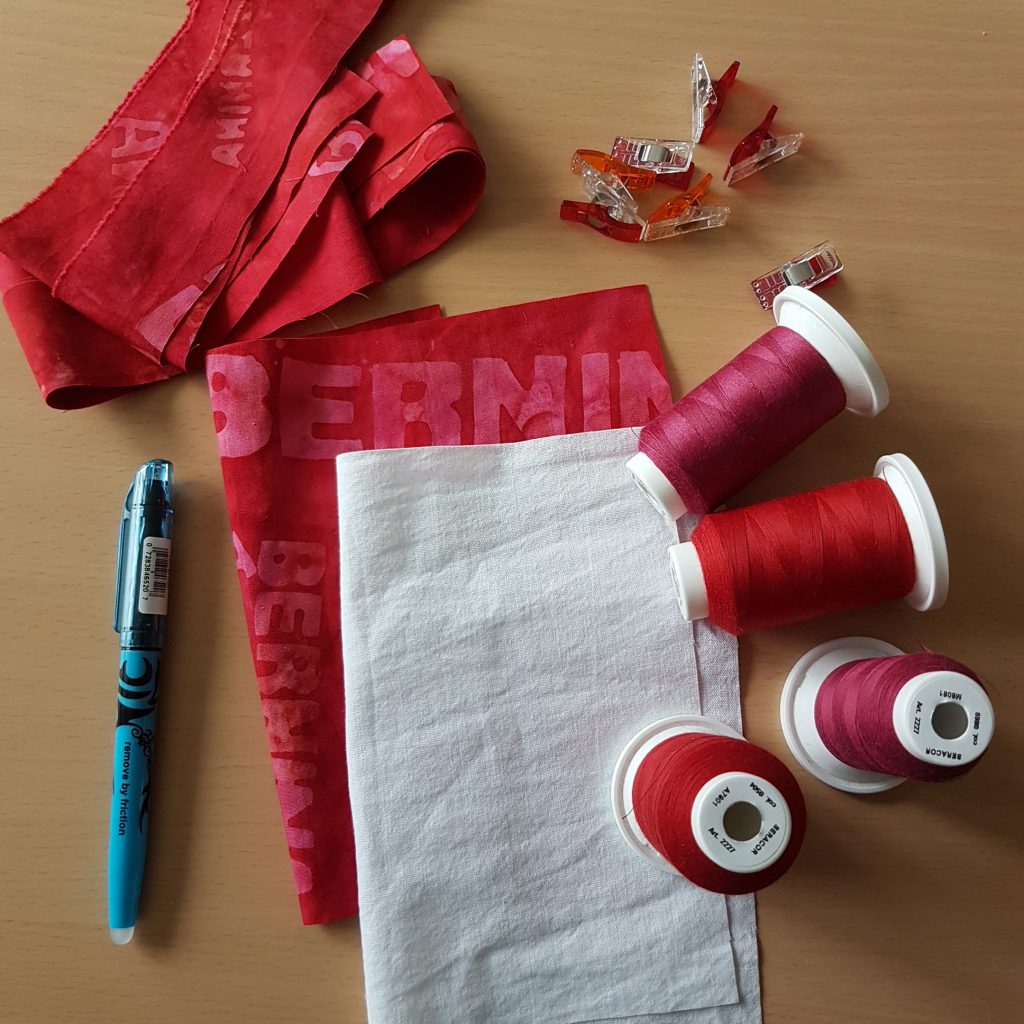
Material requirements (for one self-sewn face mask)
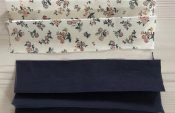
Outer fabric 19 x 23 cm
- Inner fabric 16 x 23 cm
- Straps woven: cross grain or diagonal cut 4 x 90 cm, 2 pcs.
Alternative straps that offer more comfort:
- Variant 1: knit, cross grain cut, 4 x 80 cm, 2 pcs.
- Variant 2: knit, cross grain cut, 4 x 30 cm, 2 pcs.
Sewing the mask
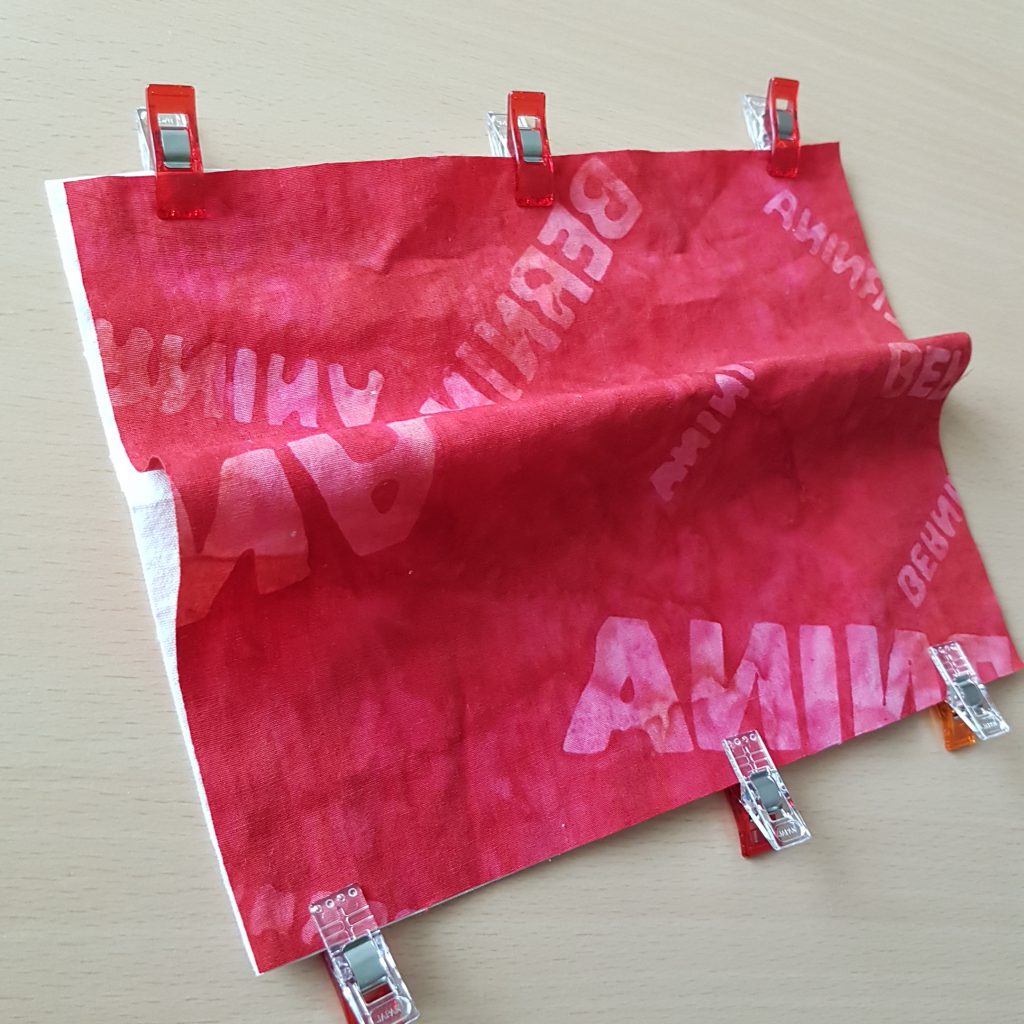
Place the outer fabric on the inner fabric right on right side. Pin the longer edges together. The outer fabric will build up, that is intentional.
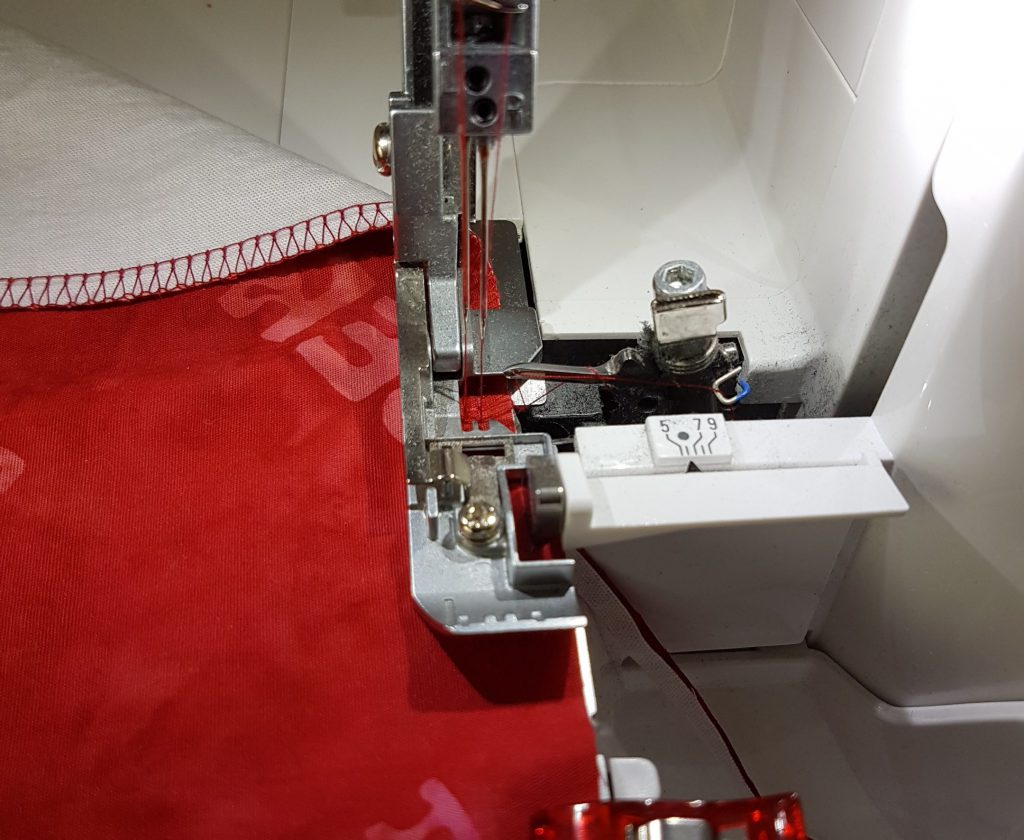
Sew the two long edges together, using 4-thread overlock. Using default settings on the L 460, with a cutting width of 6 mm, 4 mm seam allowance is cut off. You can do this easily by guiding the fabric edge along the stitch plate edge. Alternatively, the seam guide, included as standard accessory, can be used.
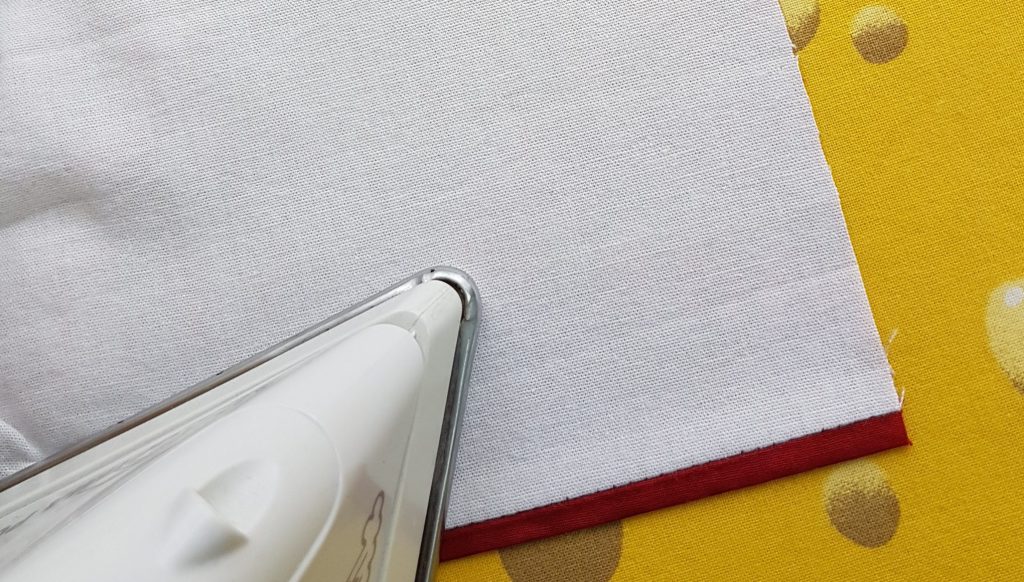
I recommend to iron the seam allowance towards the inner fabric:
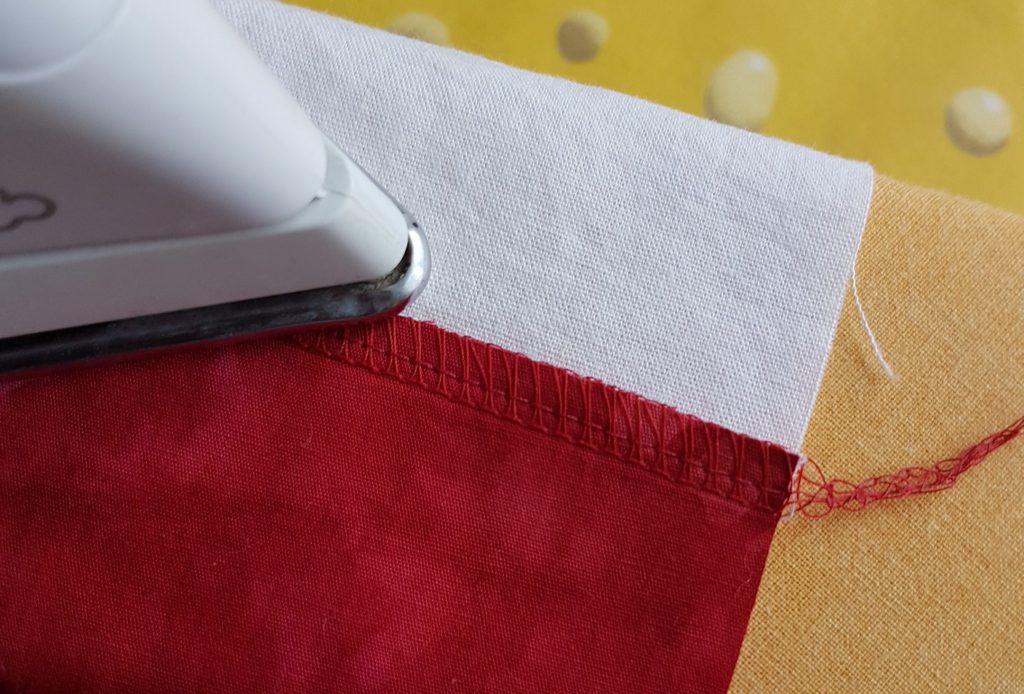
Turn the tube and iron the length seams flat. The additional width of the outer fabric assures that the inner fabric will not show unintentionally. Another advantage is, that when sewing following seams, the fabric thickness will add step by step.
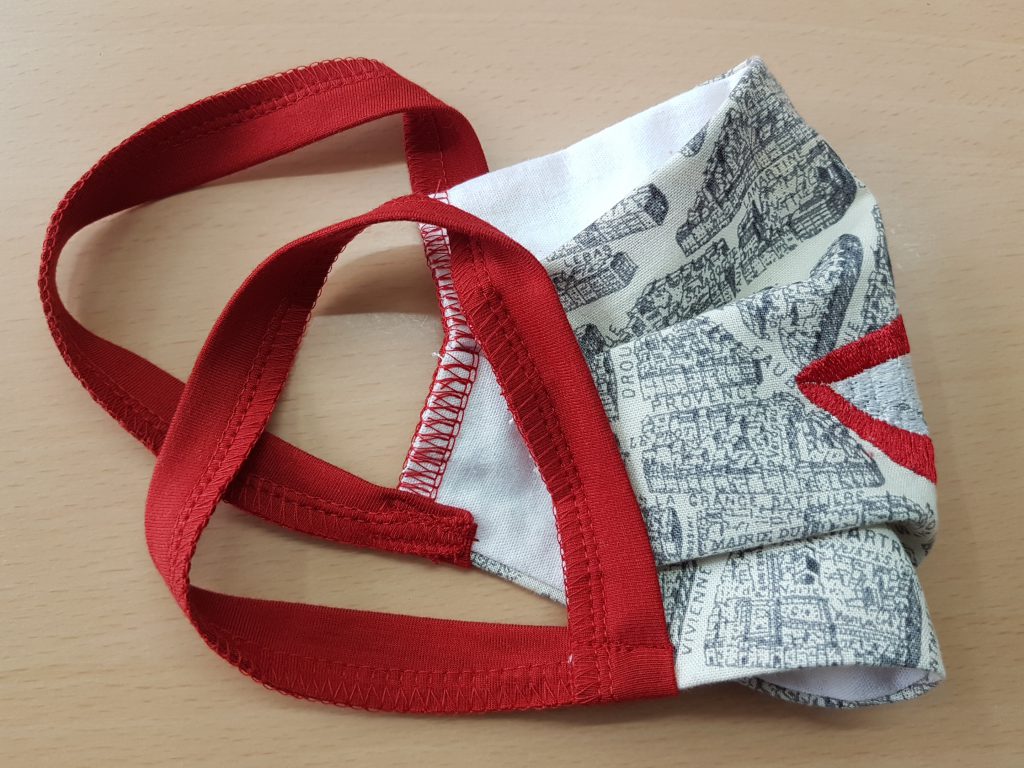
Sewing the pleats
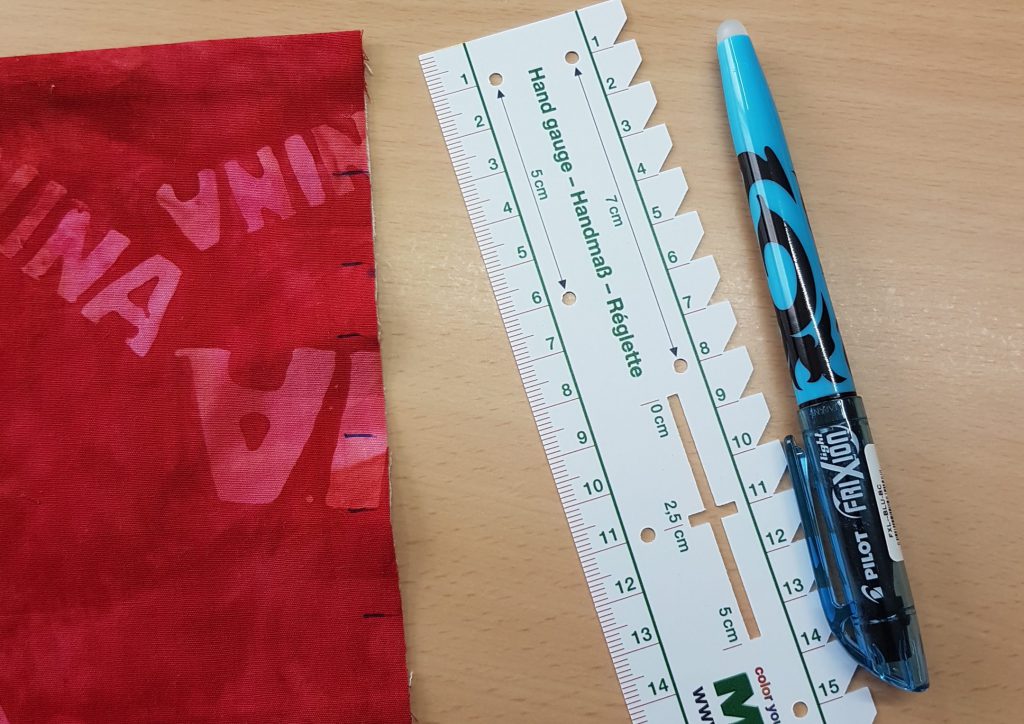
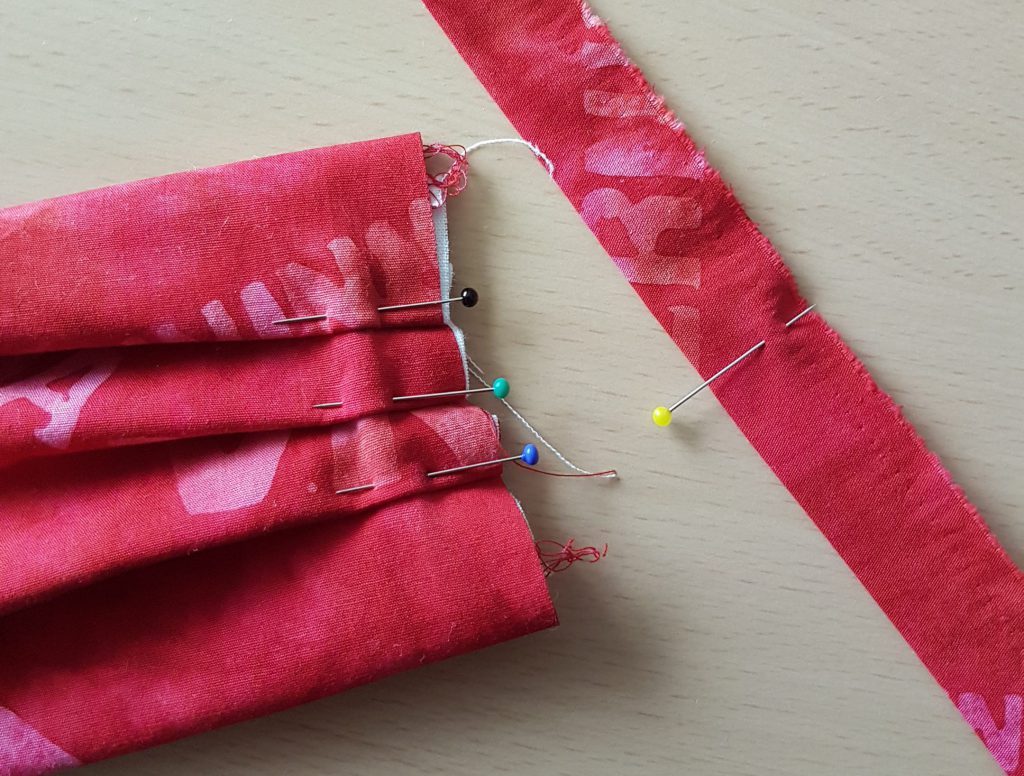
Along the open short edges, mark the pleats at 3-5, 6.5-8.5, 10-12 cm.
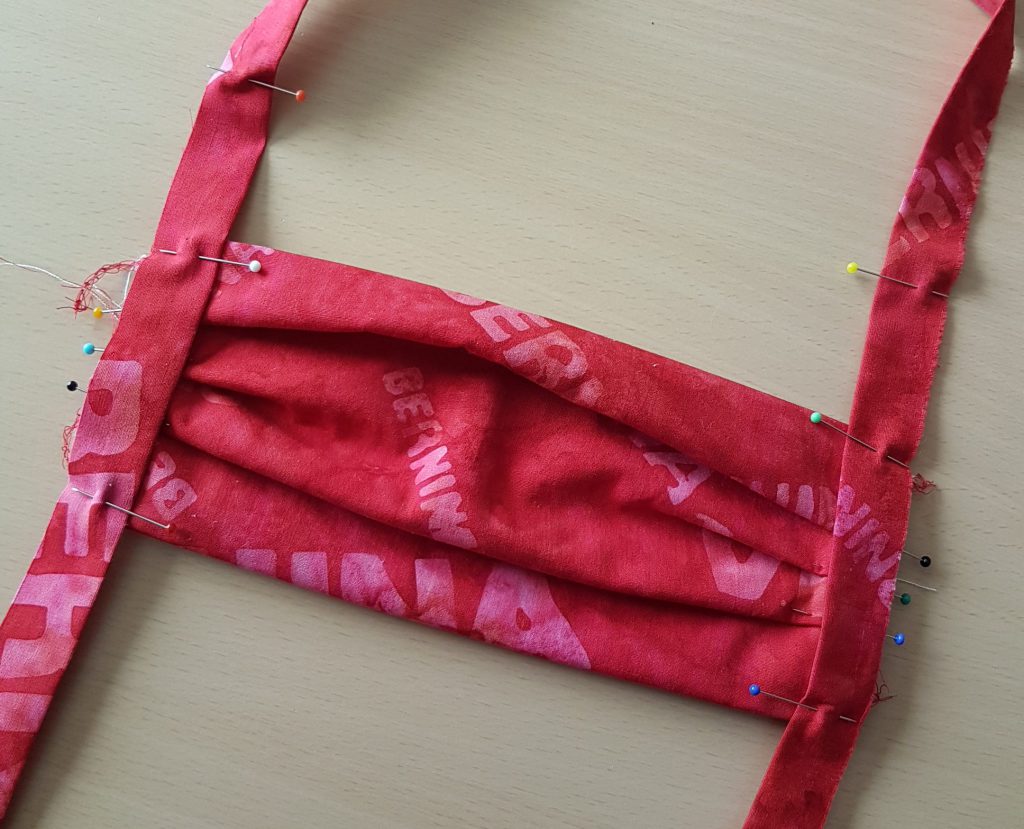
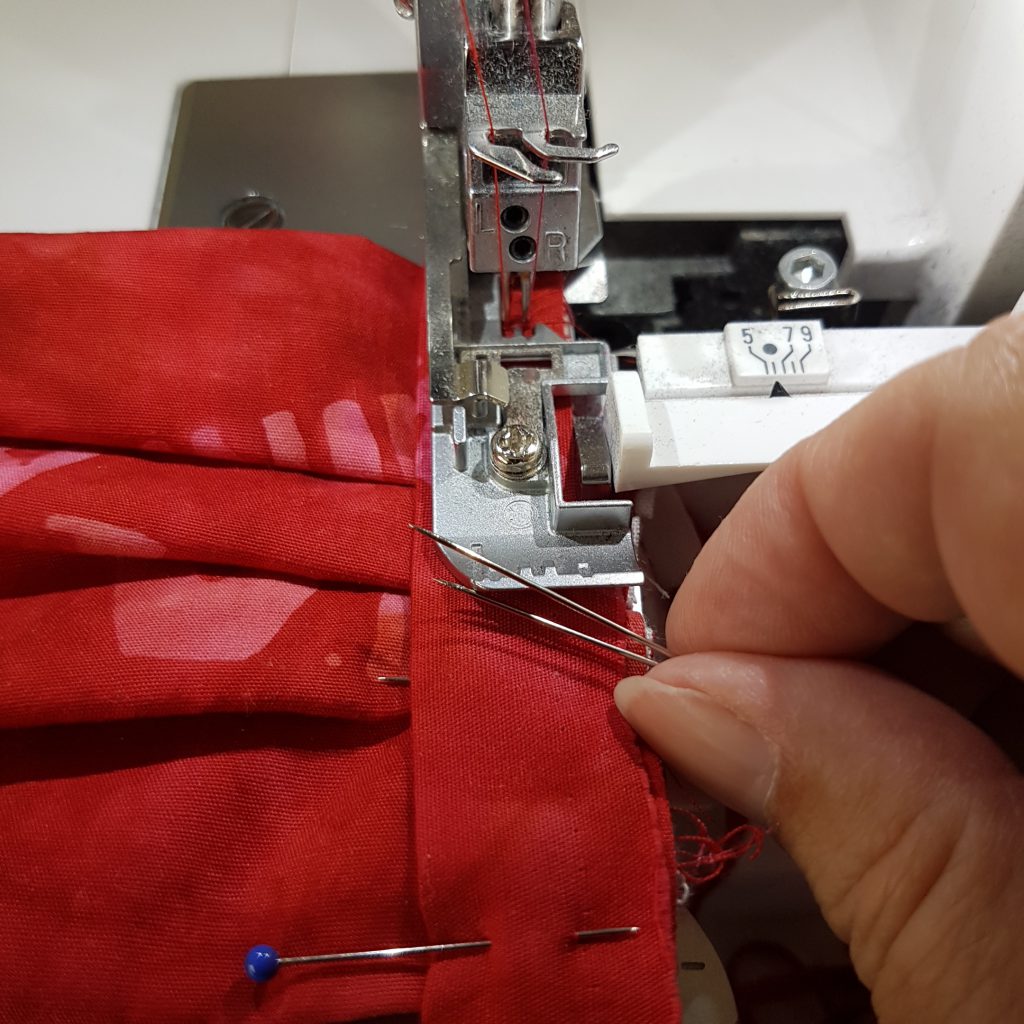
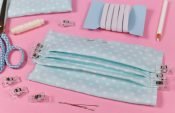
Then pin the pleats in place. I recommend pins with a clearly visible head. Using a fabric with directional print, I considered that the pleats look from top to bottom.
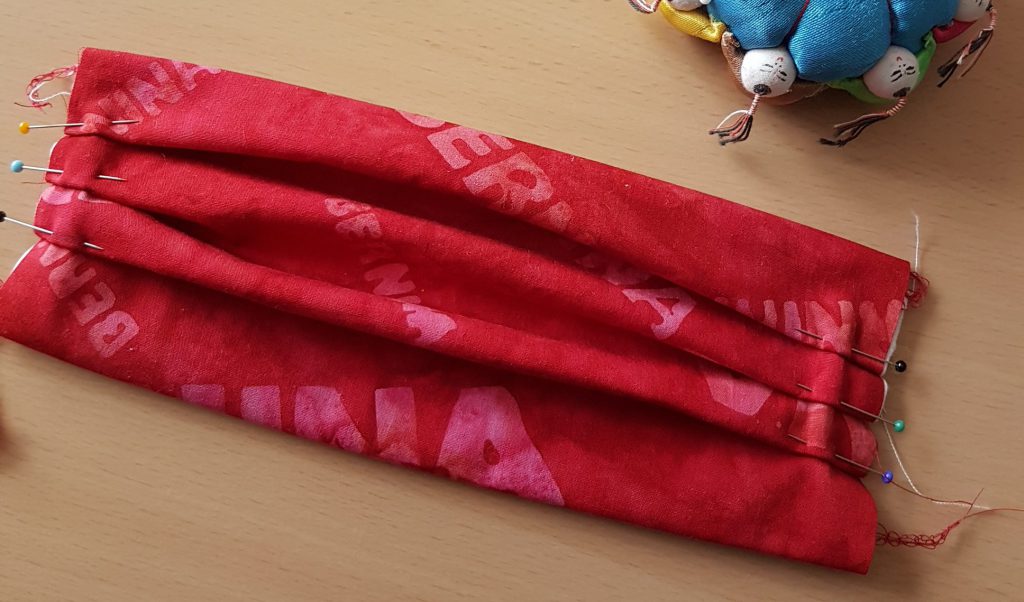
Tipp: Stitch down the pleats with 4-thread overlock. That allows you to remove the pins, before adding the straps with additional pins. Always remove the pins before the presser foot!
Sewing straps
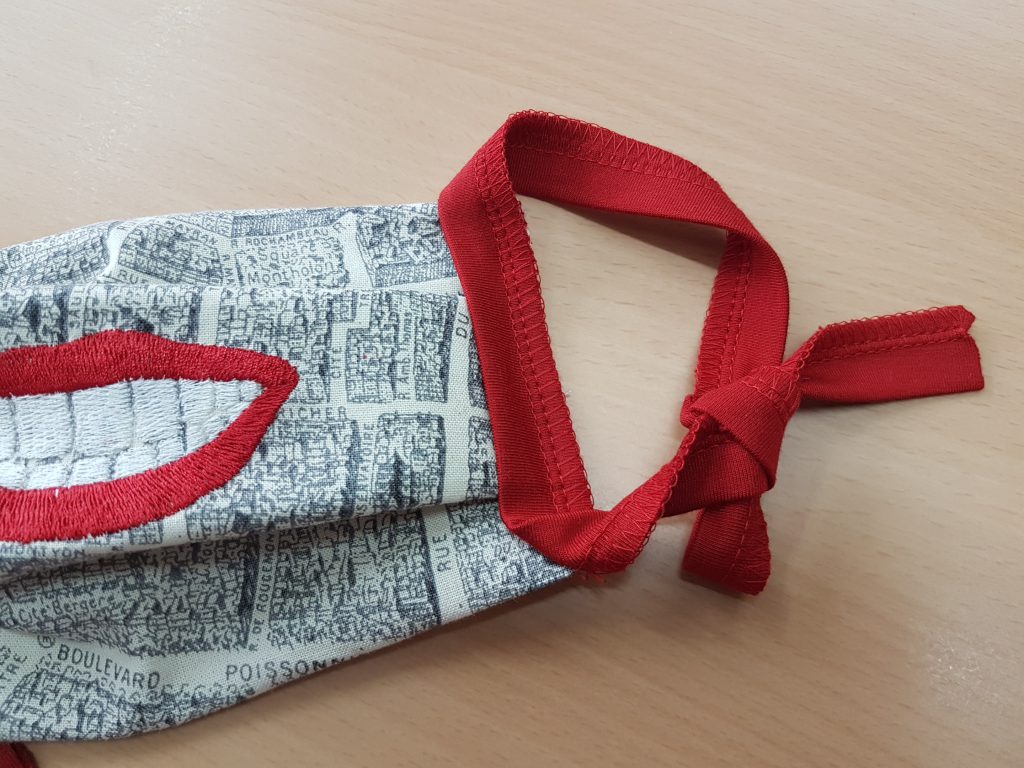
For the straps fold the fabric in half, left on left and press. The strap ends fold in 5 mm and press too.
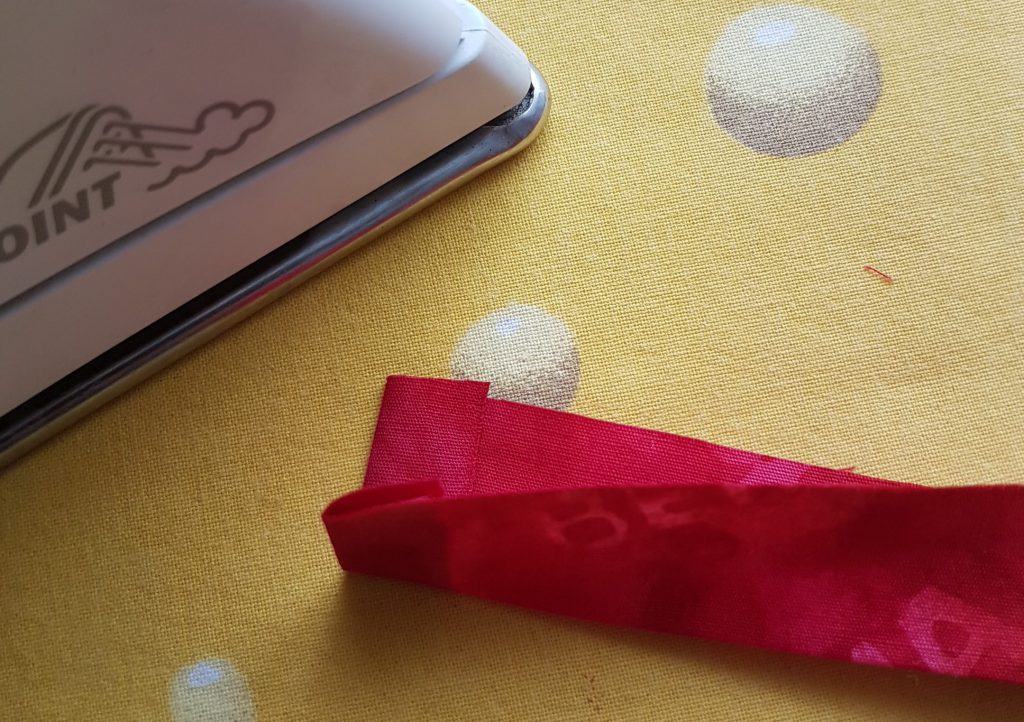
Then I have marked the center of the straps and marked another 5 cm off the center (now one end is 10 cm longer than the other, in my case 40 to 50 cm).
Based on having the pleats showing downwards, I added the straps with the longer end up. Thus that when wearing, the longer strap can be knotted over the head.
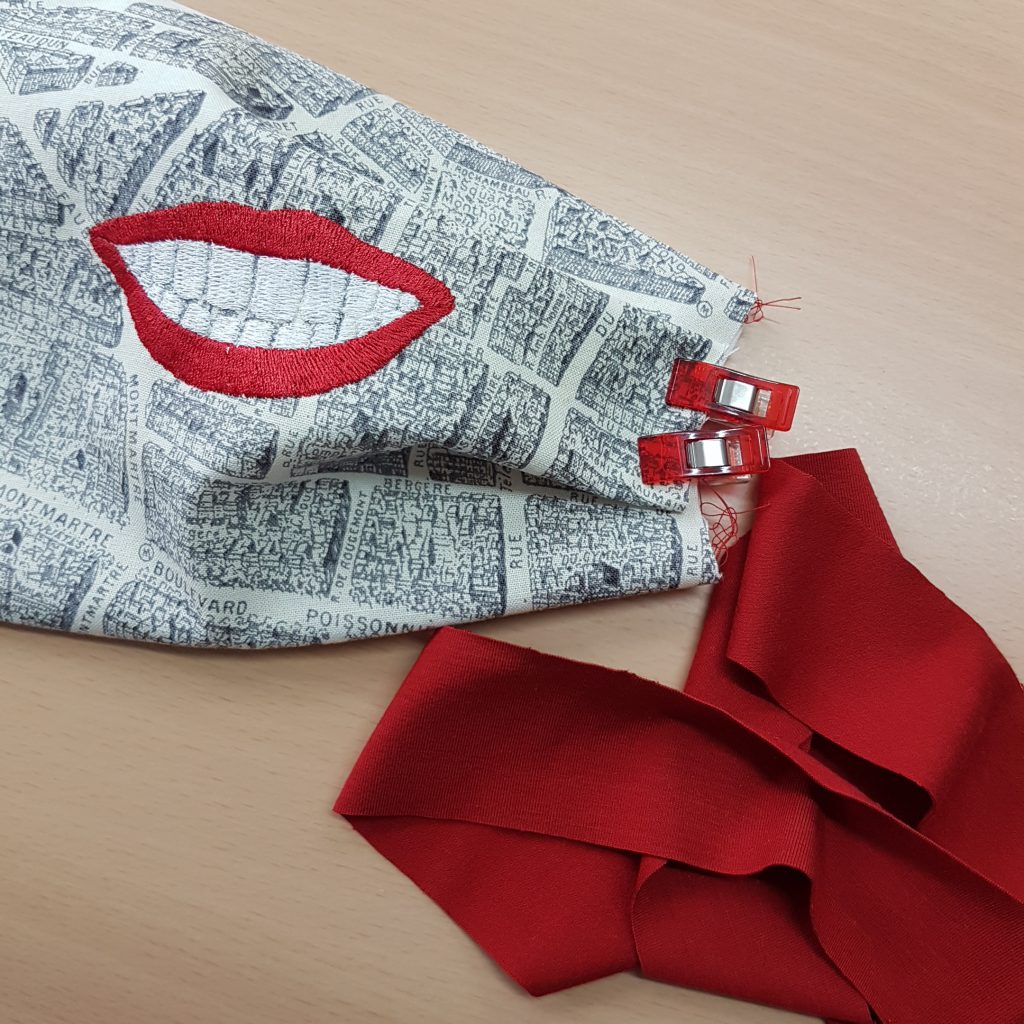
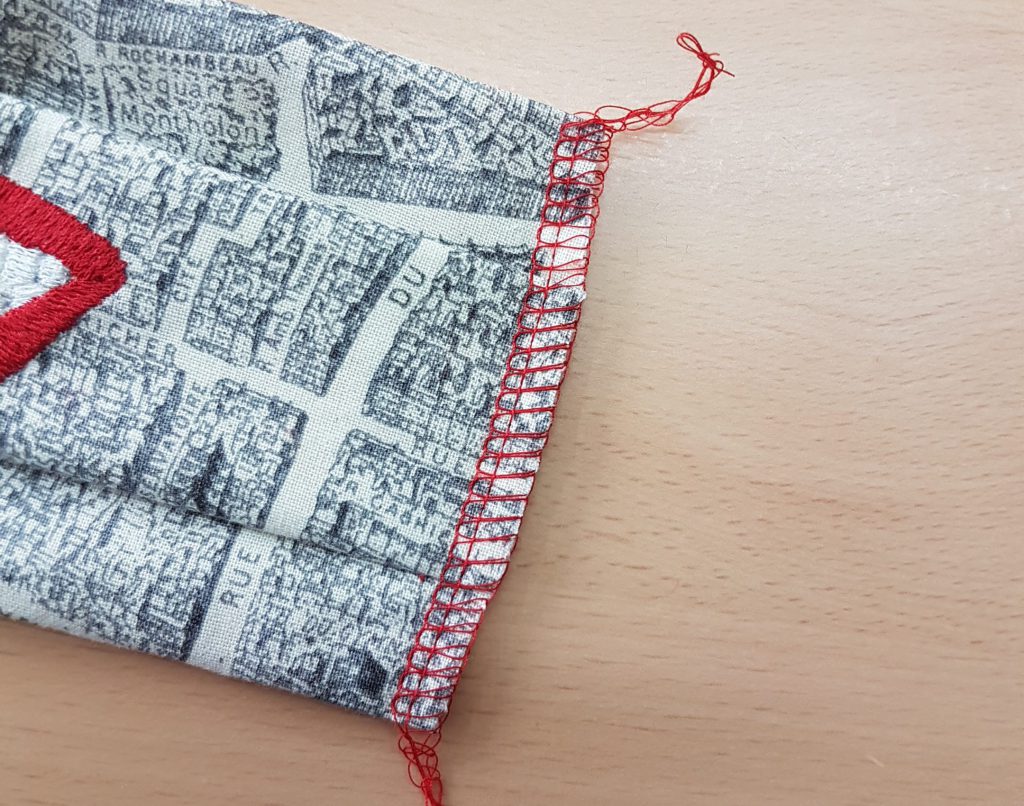
Sew the strap from the beginning, L 460, 4-thread overlock, stitch length 2.5-3…
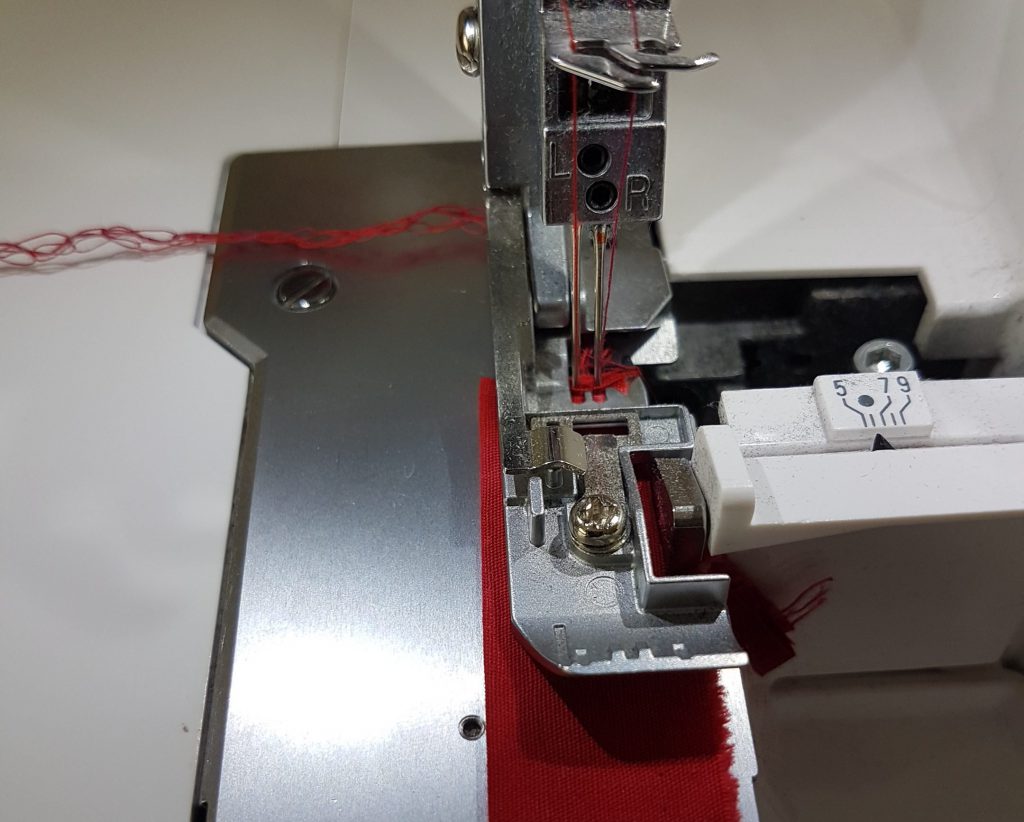
… continue into the mask fabrics, while always removing the pins in front of the presser foot. Sew until the end of the strap.
Tip, if you like the strap to be narrower, calculate at least a stitch width of 6 mm plus 2-4 mm, x 2.
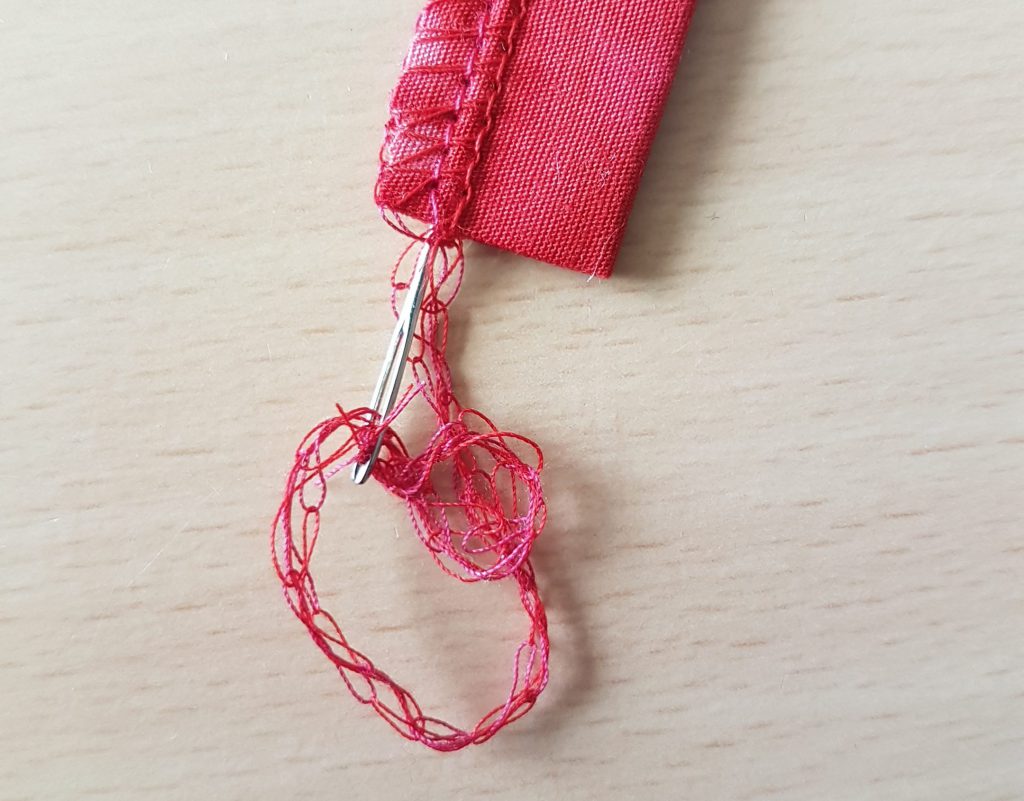
To secure the thread chain I use a tapestry needle and pull it between the fabric layers. However, there are numerous tools you can use.
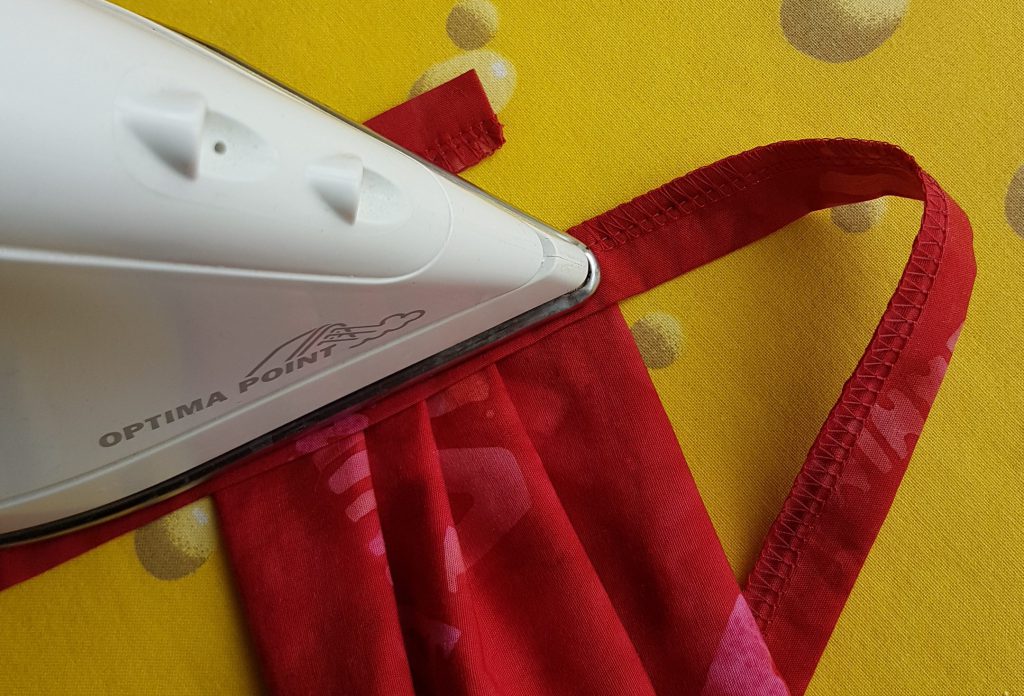
I am ironing to finalize the project.
Done, isn’t “the fast” self-made face mask even easier and faster to produce than you expected?
Download embroidery design for free
As mentioned before, the embroidery design used is designed by Franziska. It was already shown in the article from Sarah. You can download the two different designs in a free zip file:
Download embroidery design for your self-made face mask
I wish you happy overlocking while creating “the fast one”!
Regards,
Doris
Herewith we explicitly advise you that all masks sewn according to instructions in the BERNINA Blog are to be considered as self-sewn face masks. They are neither medical products or protective equipment.
You will find more information here: ‘Self sewn face mask everything you need to know’

0 Responses