 BERNINA Corporate Blog -
Continue with making blocks for my Sylvia’s Bridal Sampler quilt: this time I will change a block, to make it ‘easier’. Sometimes a lot of crossing seams are making it harder to assemble a block, so I will simplify that.

Blok C6 – Crossed Canoes is a simple block, or so it seems. Four matching squares/Units, with just two fabrics, positive and negative, in other words with contrasting colors. You will find the directions for this block on page 28, Foundation patterns on page 93. It was designed for paper piecing, so no changes there.
Adjustments.
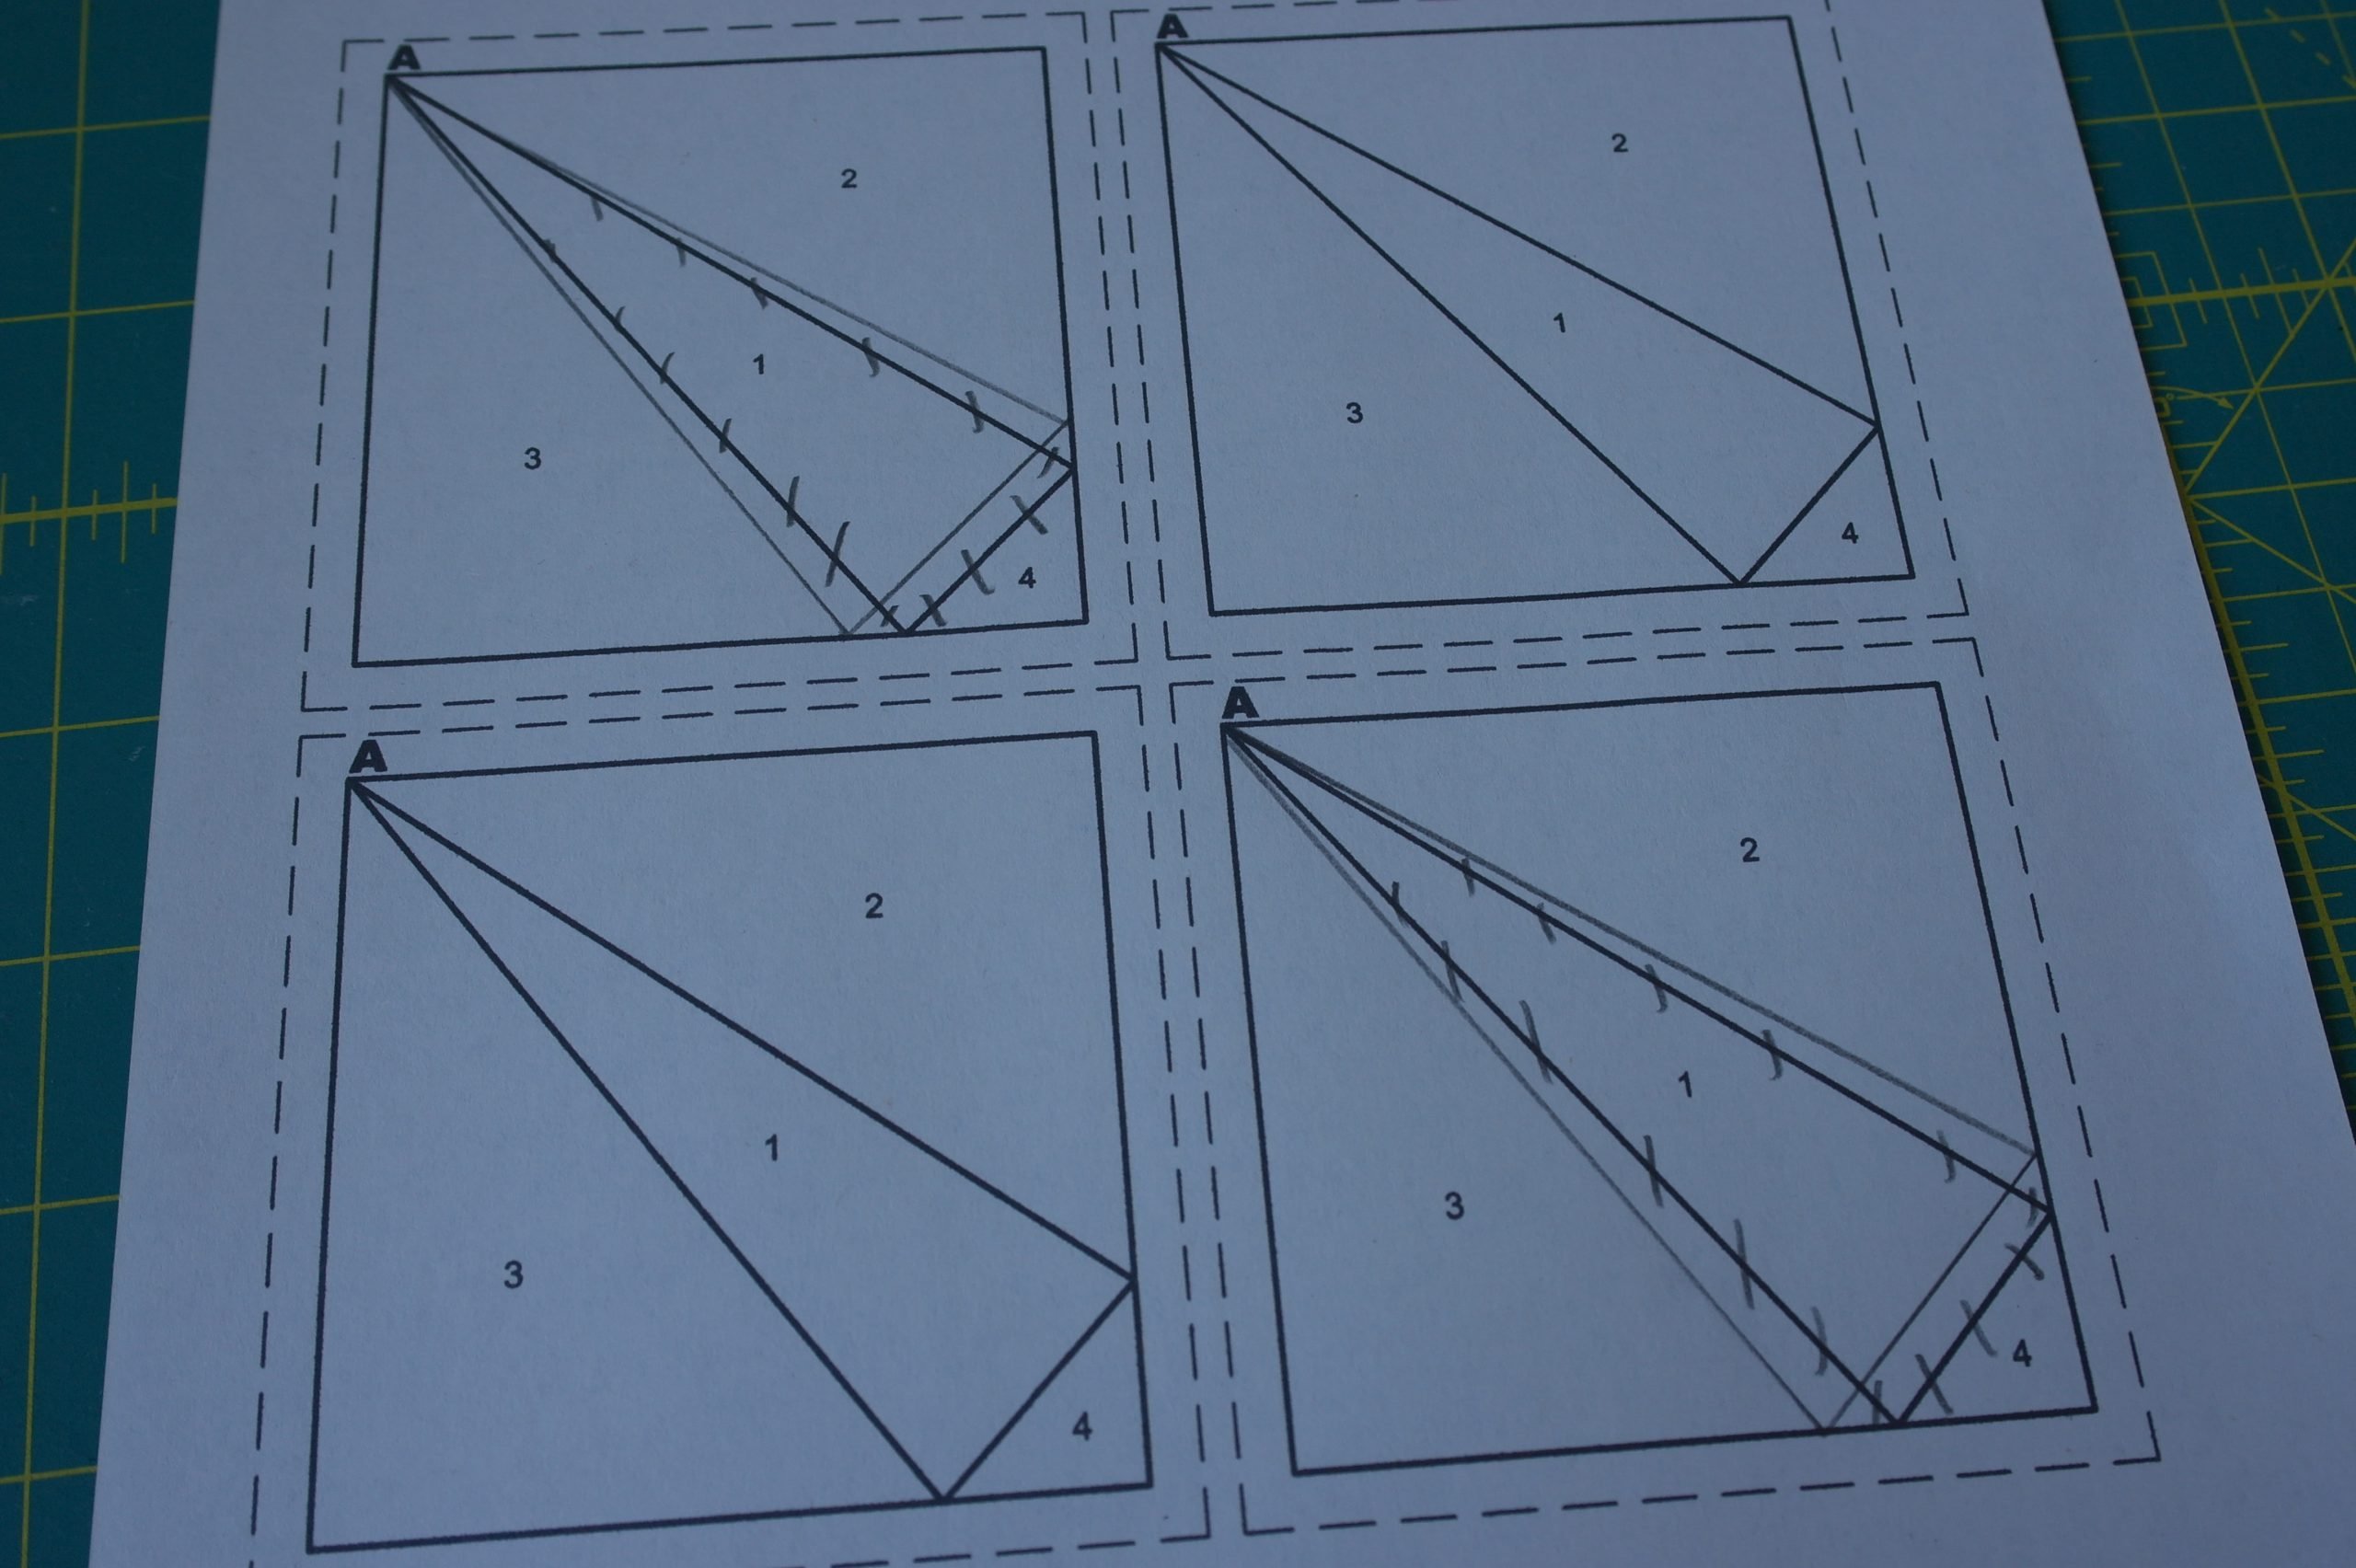
I’ve printed the 4 Units/squares on one sheet of ‘Papers for Foundation Piecing‘. The picture in the book shows a lot of seams coming together at cross points: no problem for intermediate quilters, but it is possible to change it. If you don’t want seams crossing in the center, move the sewing line there with just 2 Units/squares, as I have done. The small triangles no. 4 are larger after changing.
This center piece is much easier to sew, because there are no matching points left, they don’t touch each other anymore. That’s one option.
I’ve also shifted the sharting point of each elongated triangle (section 1): placed it 1 cm lower along the side. Now there are less seams coming together at the corners, which means less bulk.
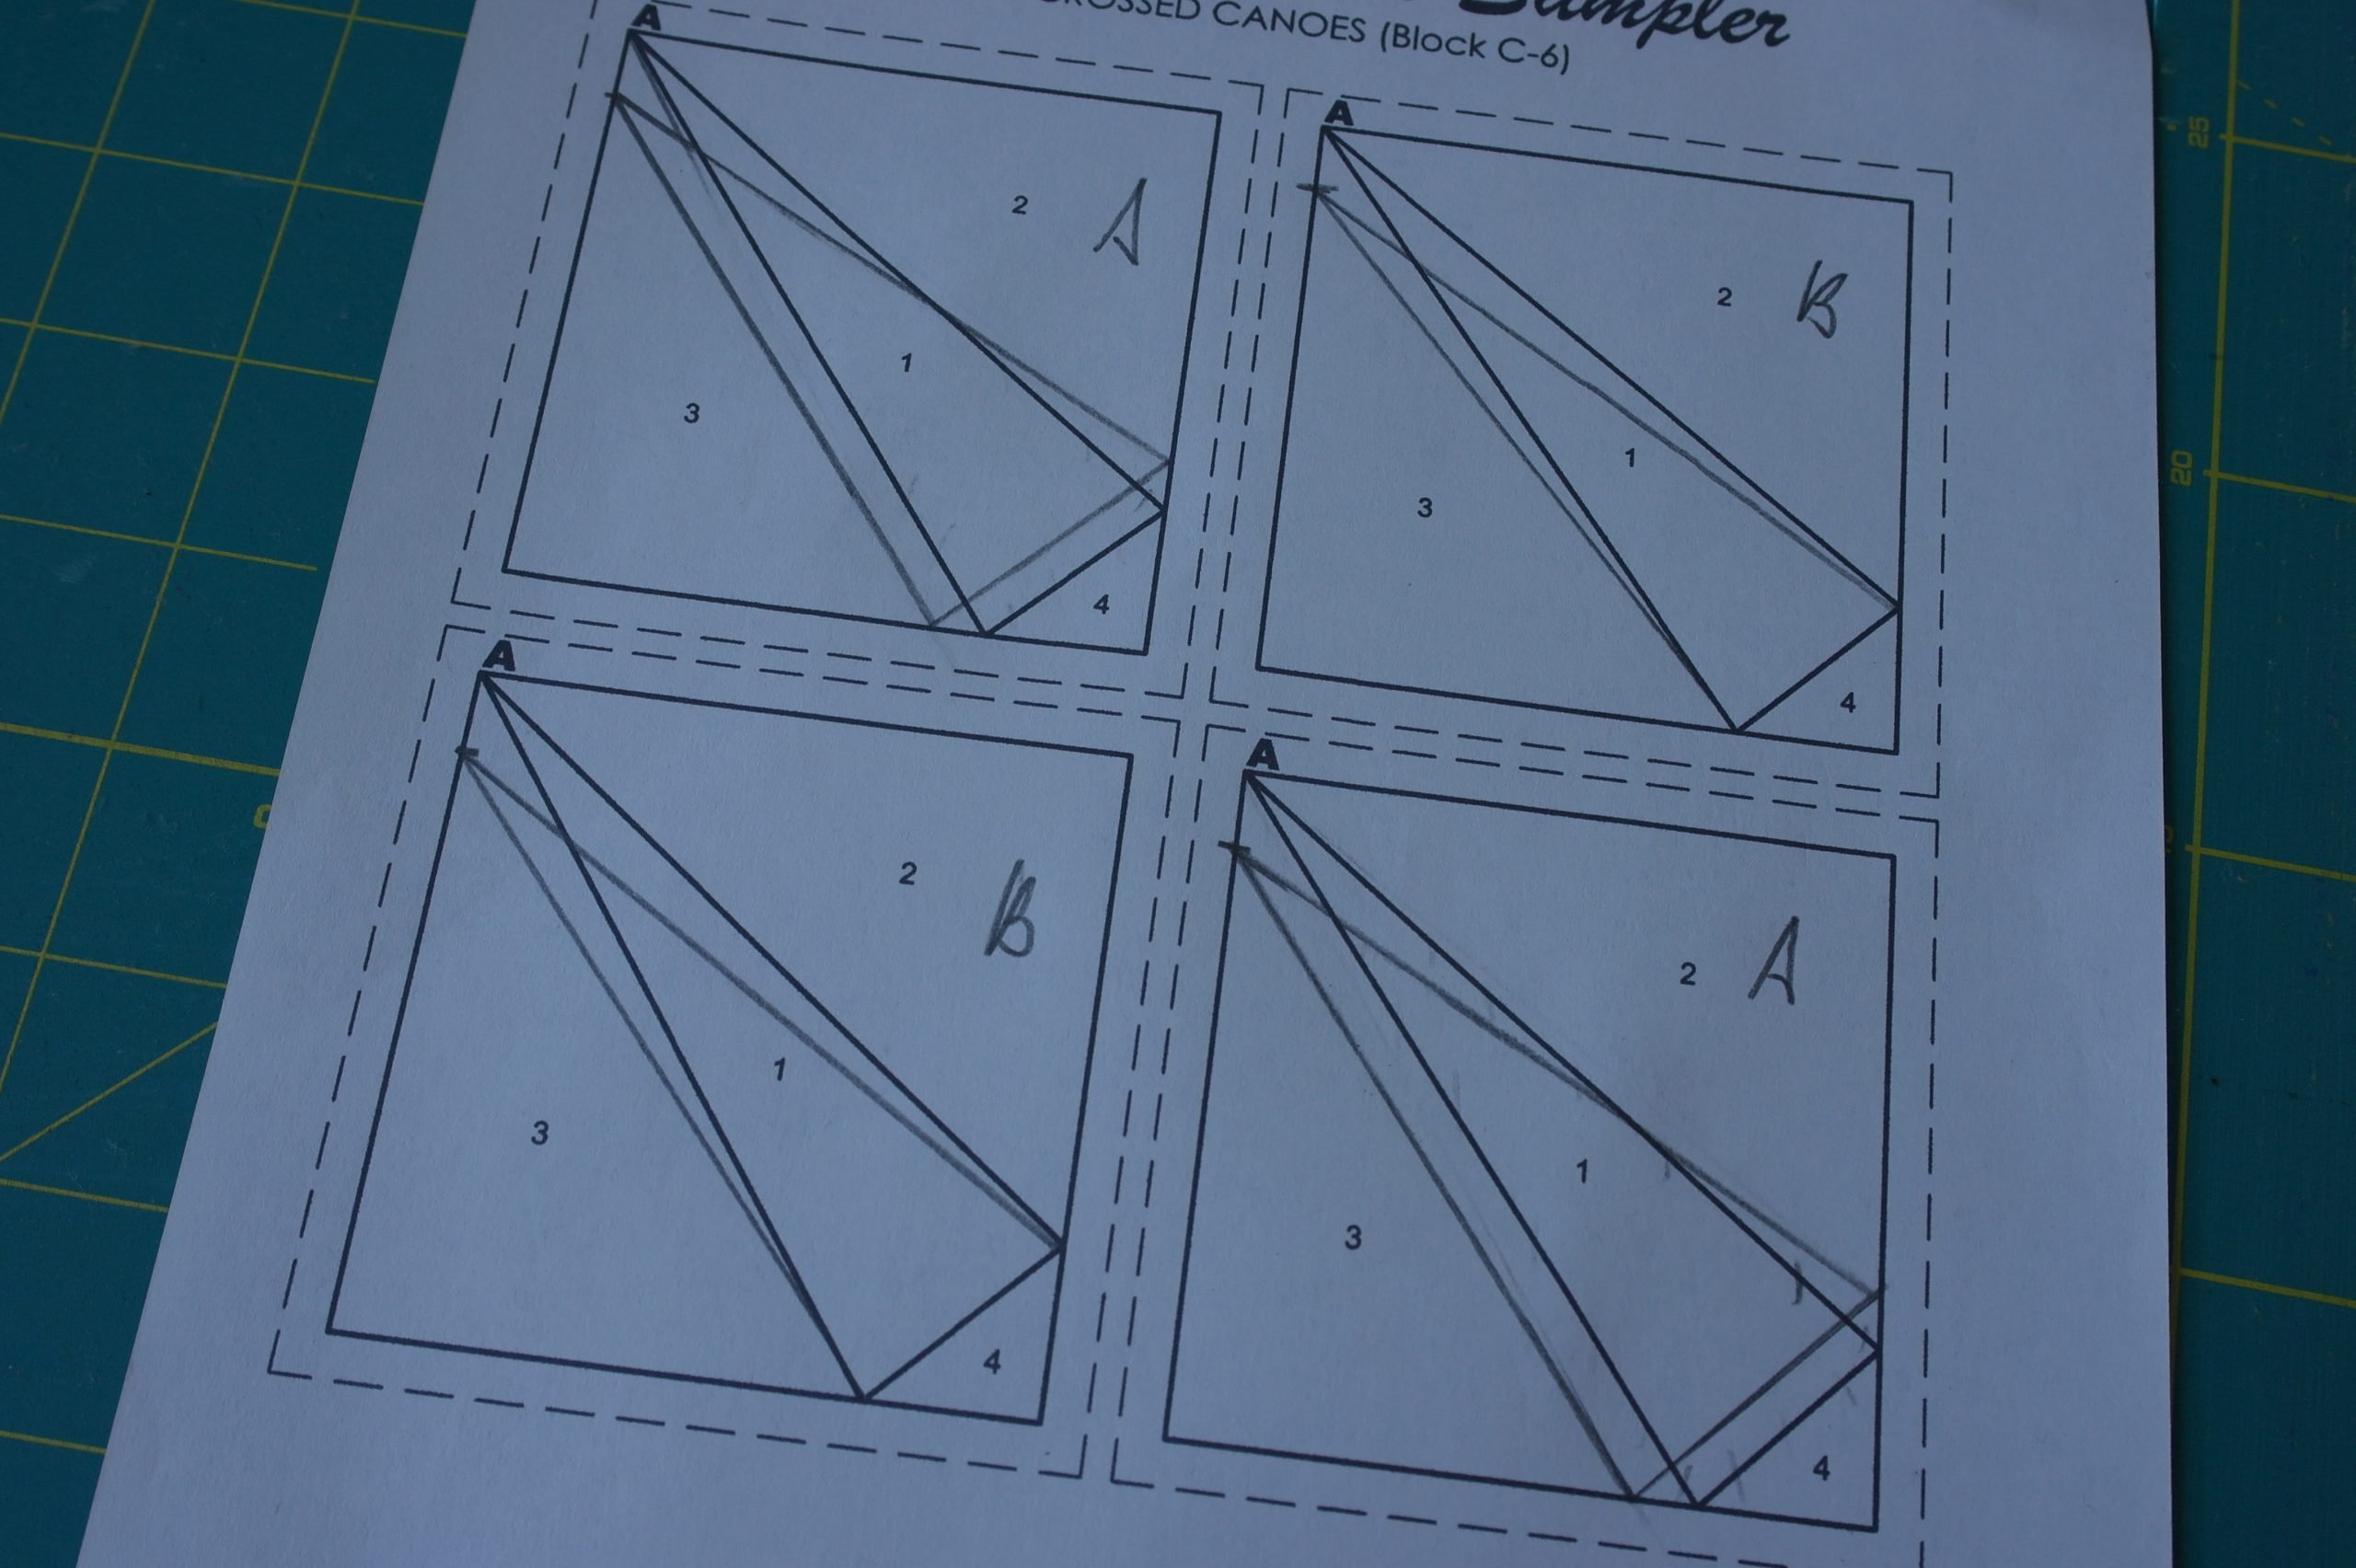
SUMMARIZED: changed the center (2 x A) of two blocks,
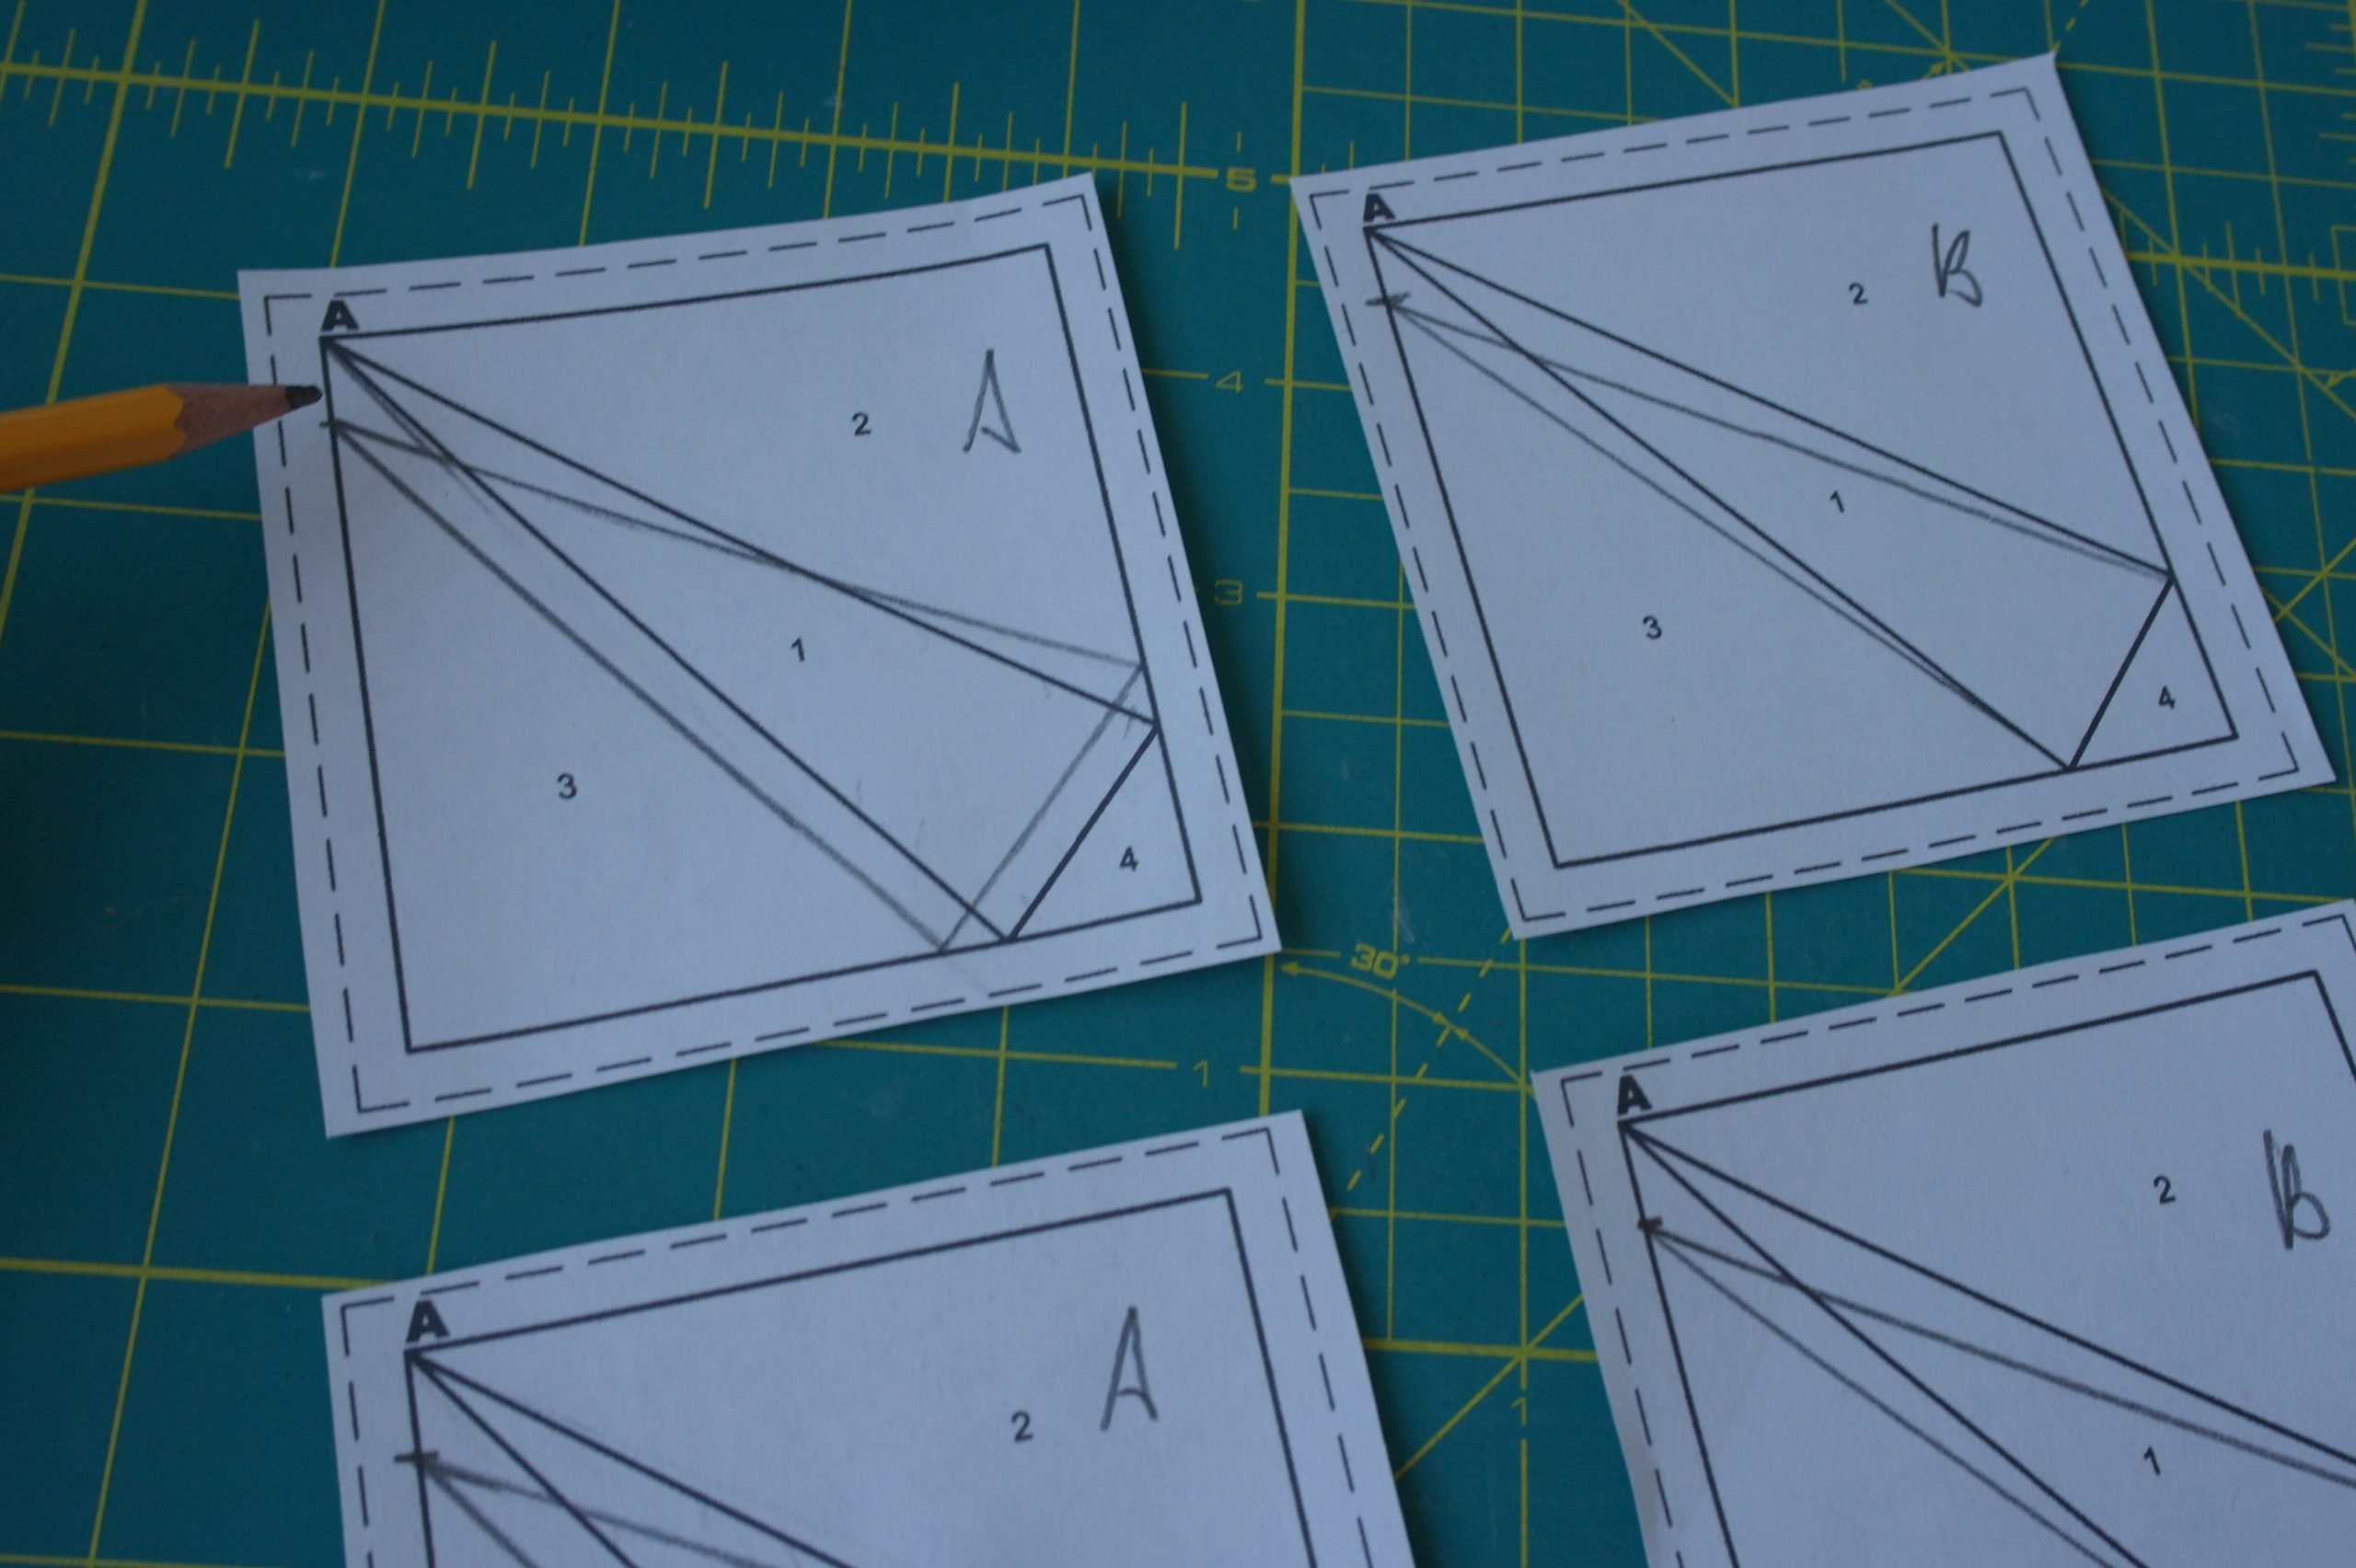
and moved the corners of all four blocks (2 x A and 2 x B). I will ignore the ‘old’ sewing lines, and will use the new, drawn with my pencil. If you want to do the same, you can draw the ‘new’ sewing lines with a red pencil to make them stand out.
The fabrics.
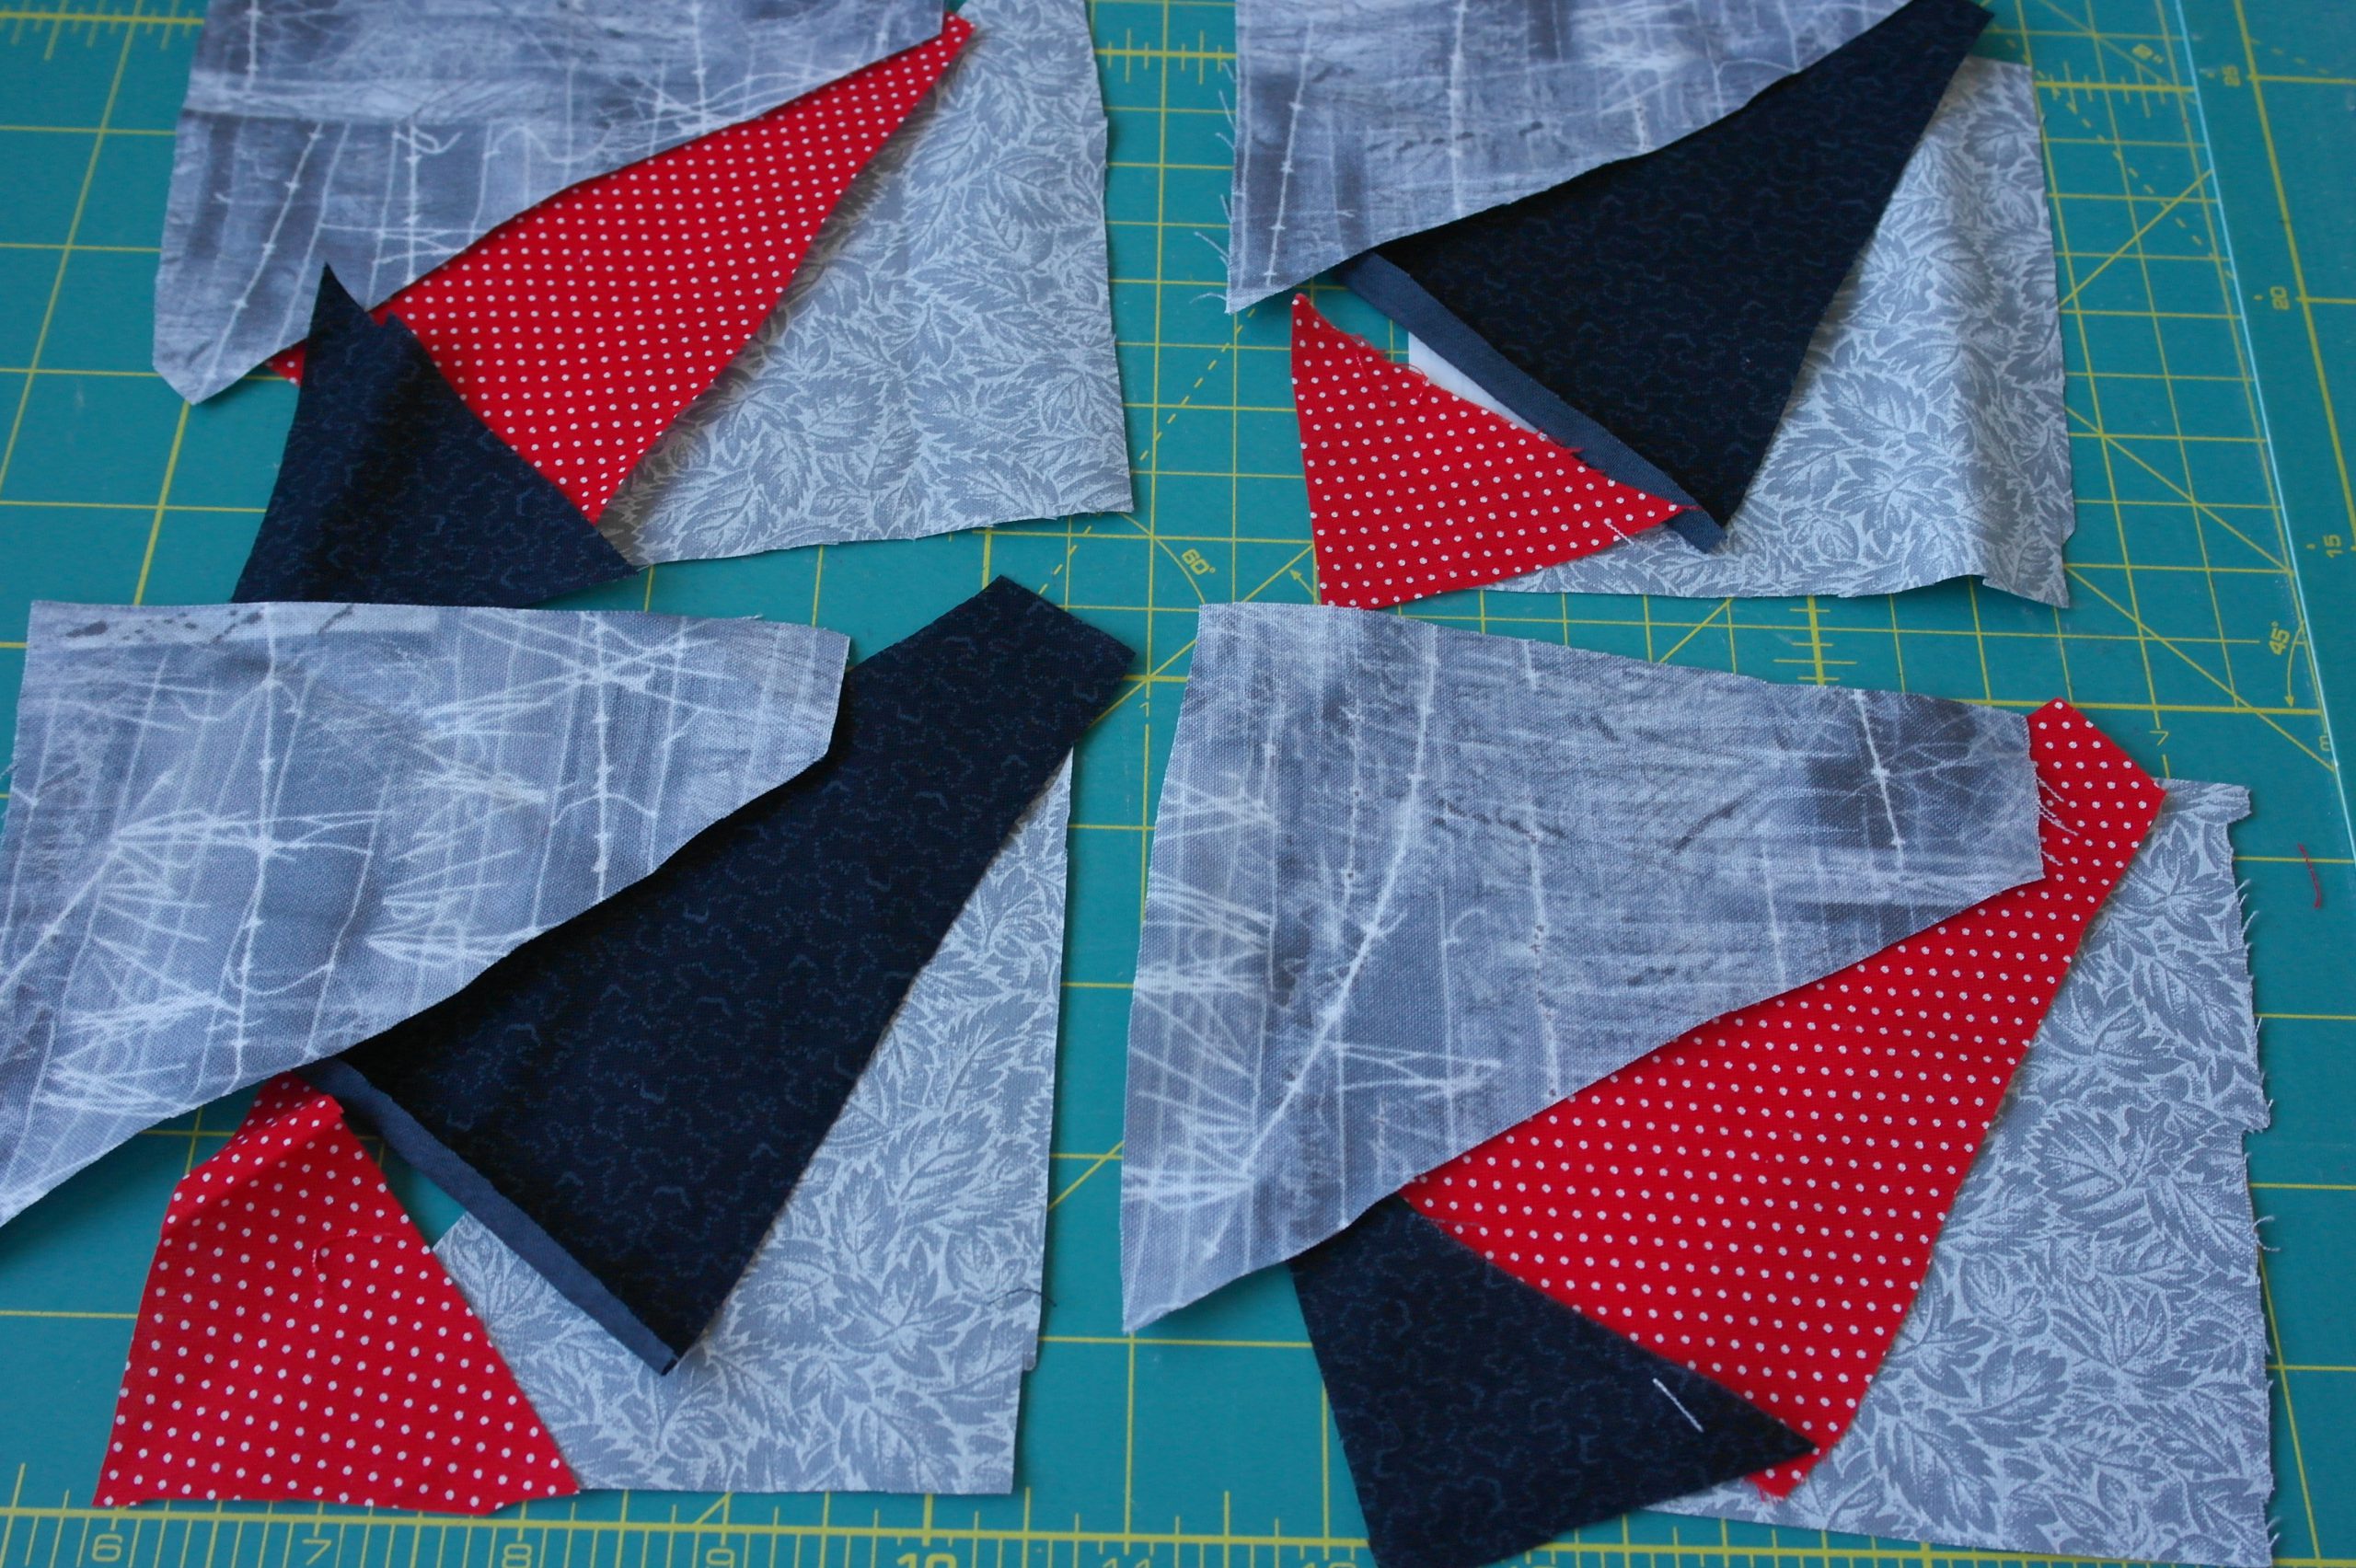
I will use four fabrics instead of two: 2 grey’s for the background, and a red and black for the triangles, alternating the latter two by two blocks.
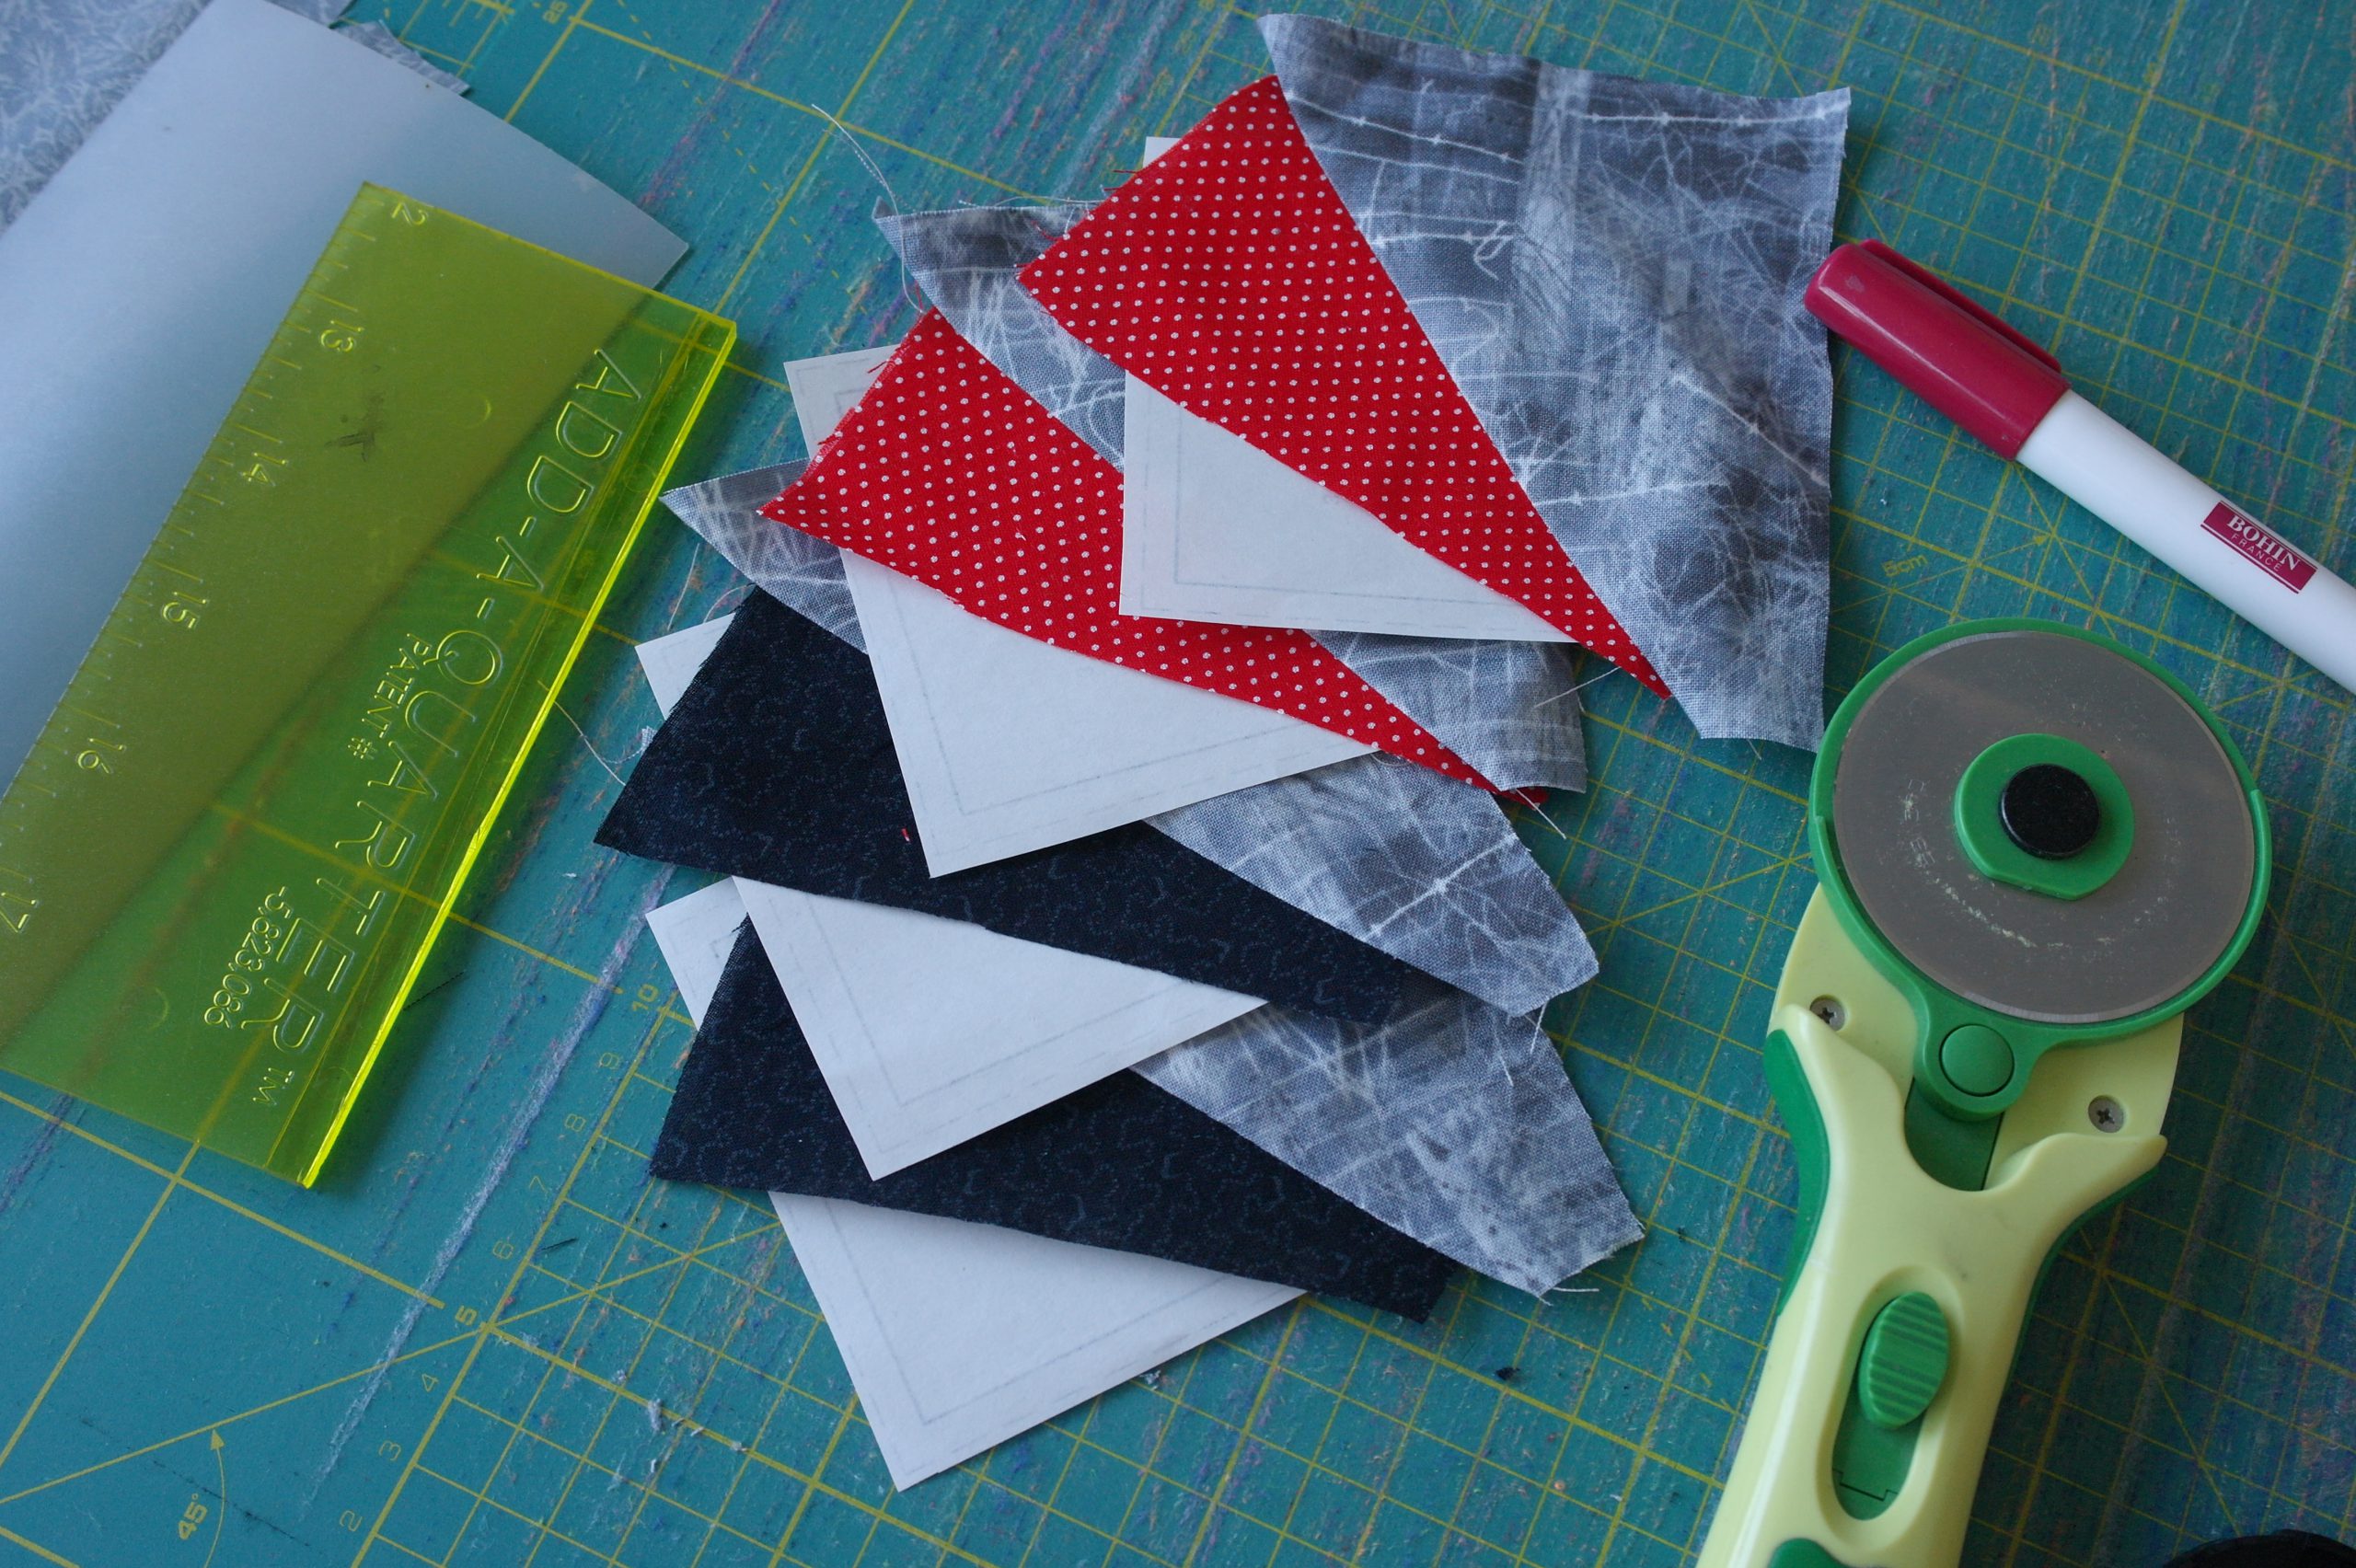
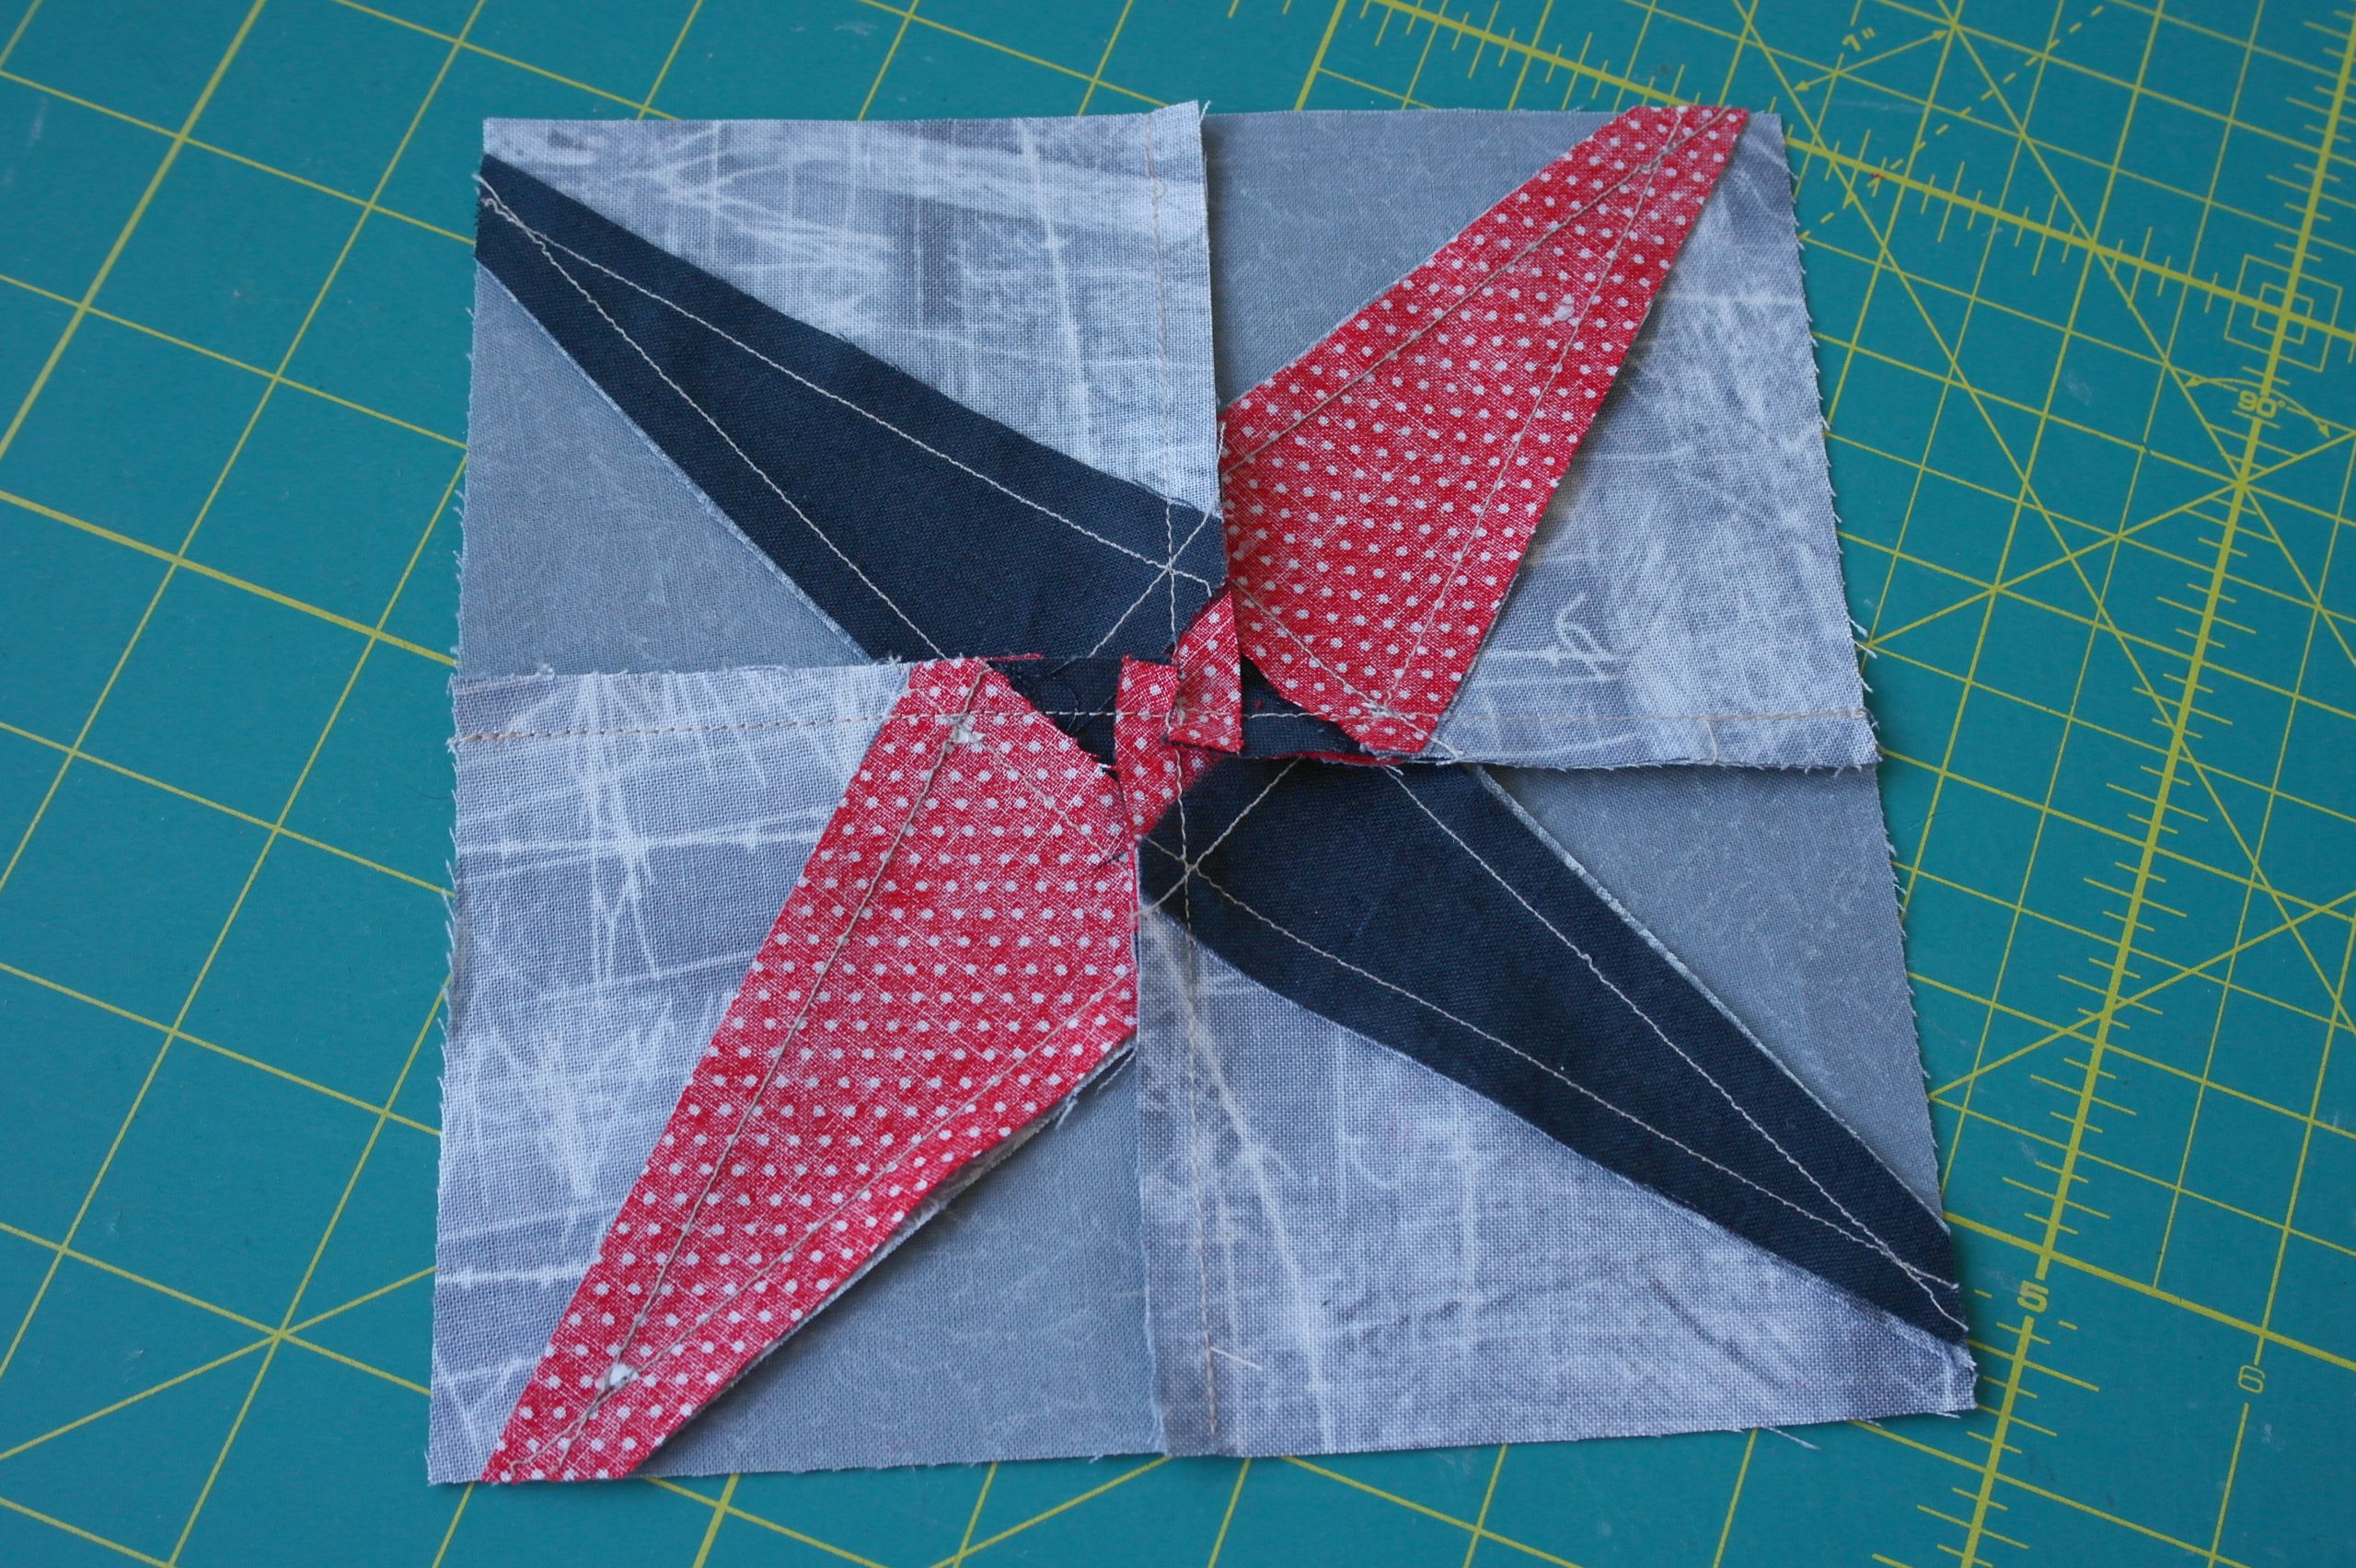
Working with two Units/squares at the same time, using my Bohin Glue pen for section 1 and each seam, trimming with my rotary cutter along the Add-a-Quarter ruler and folding template.
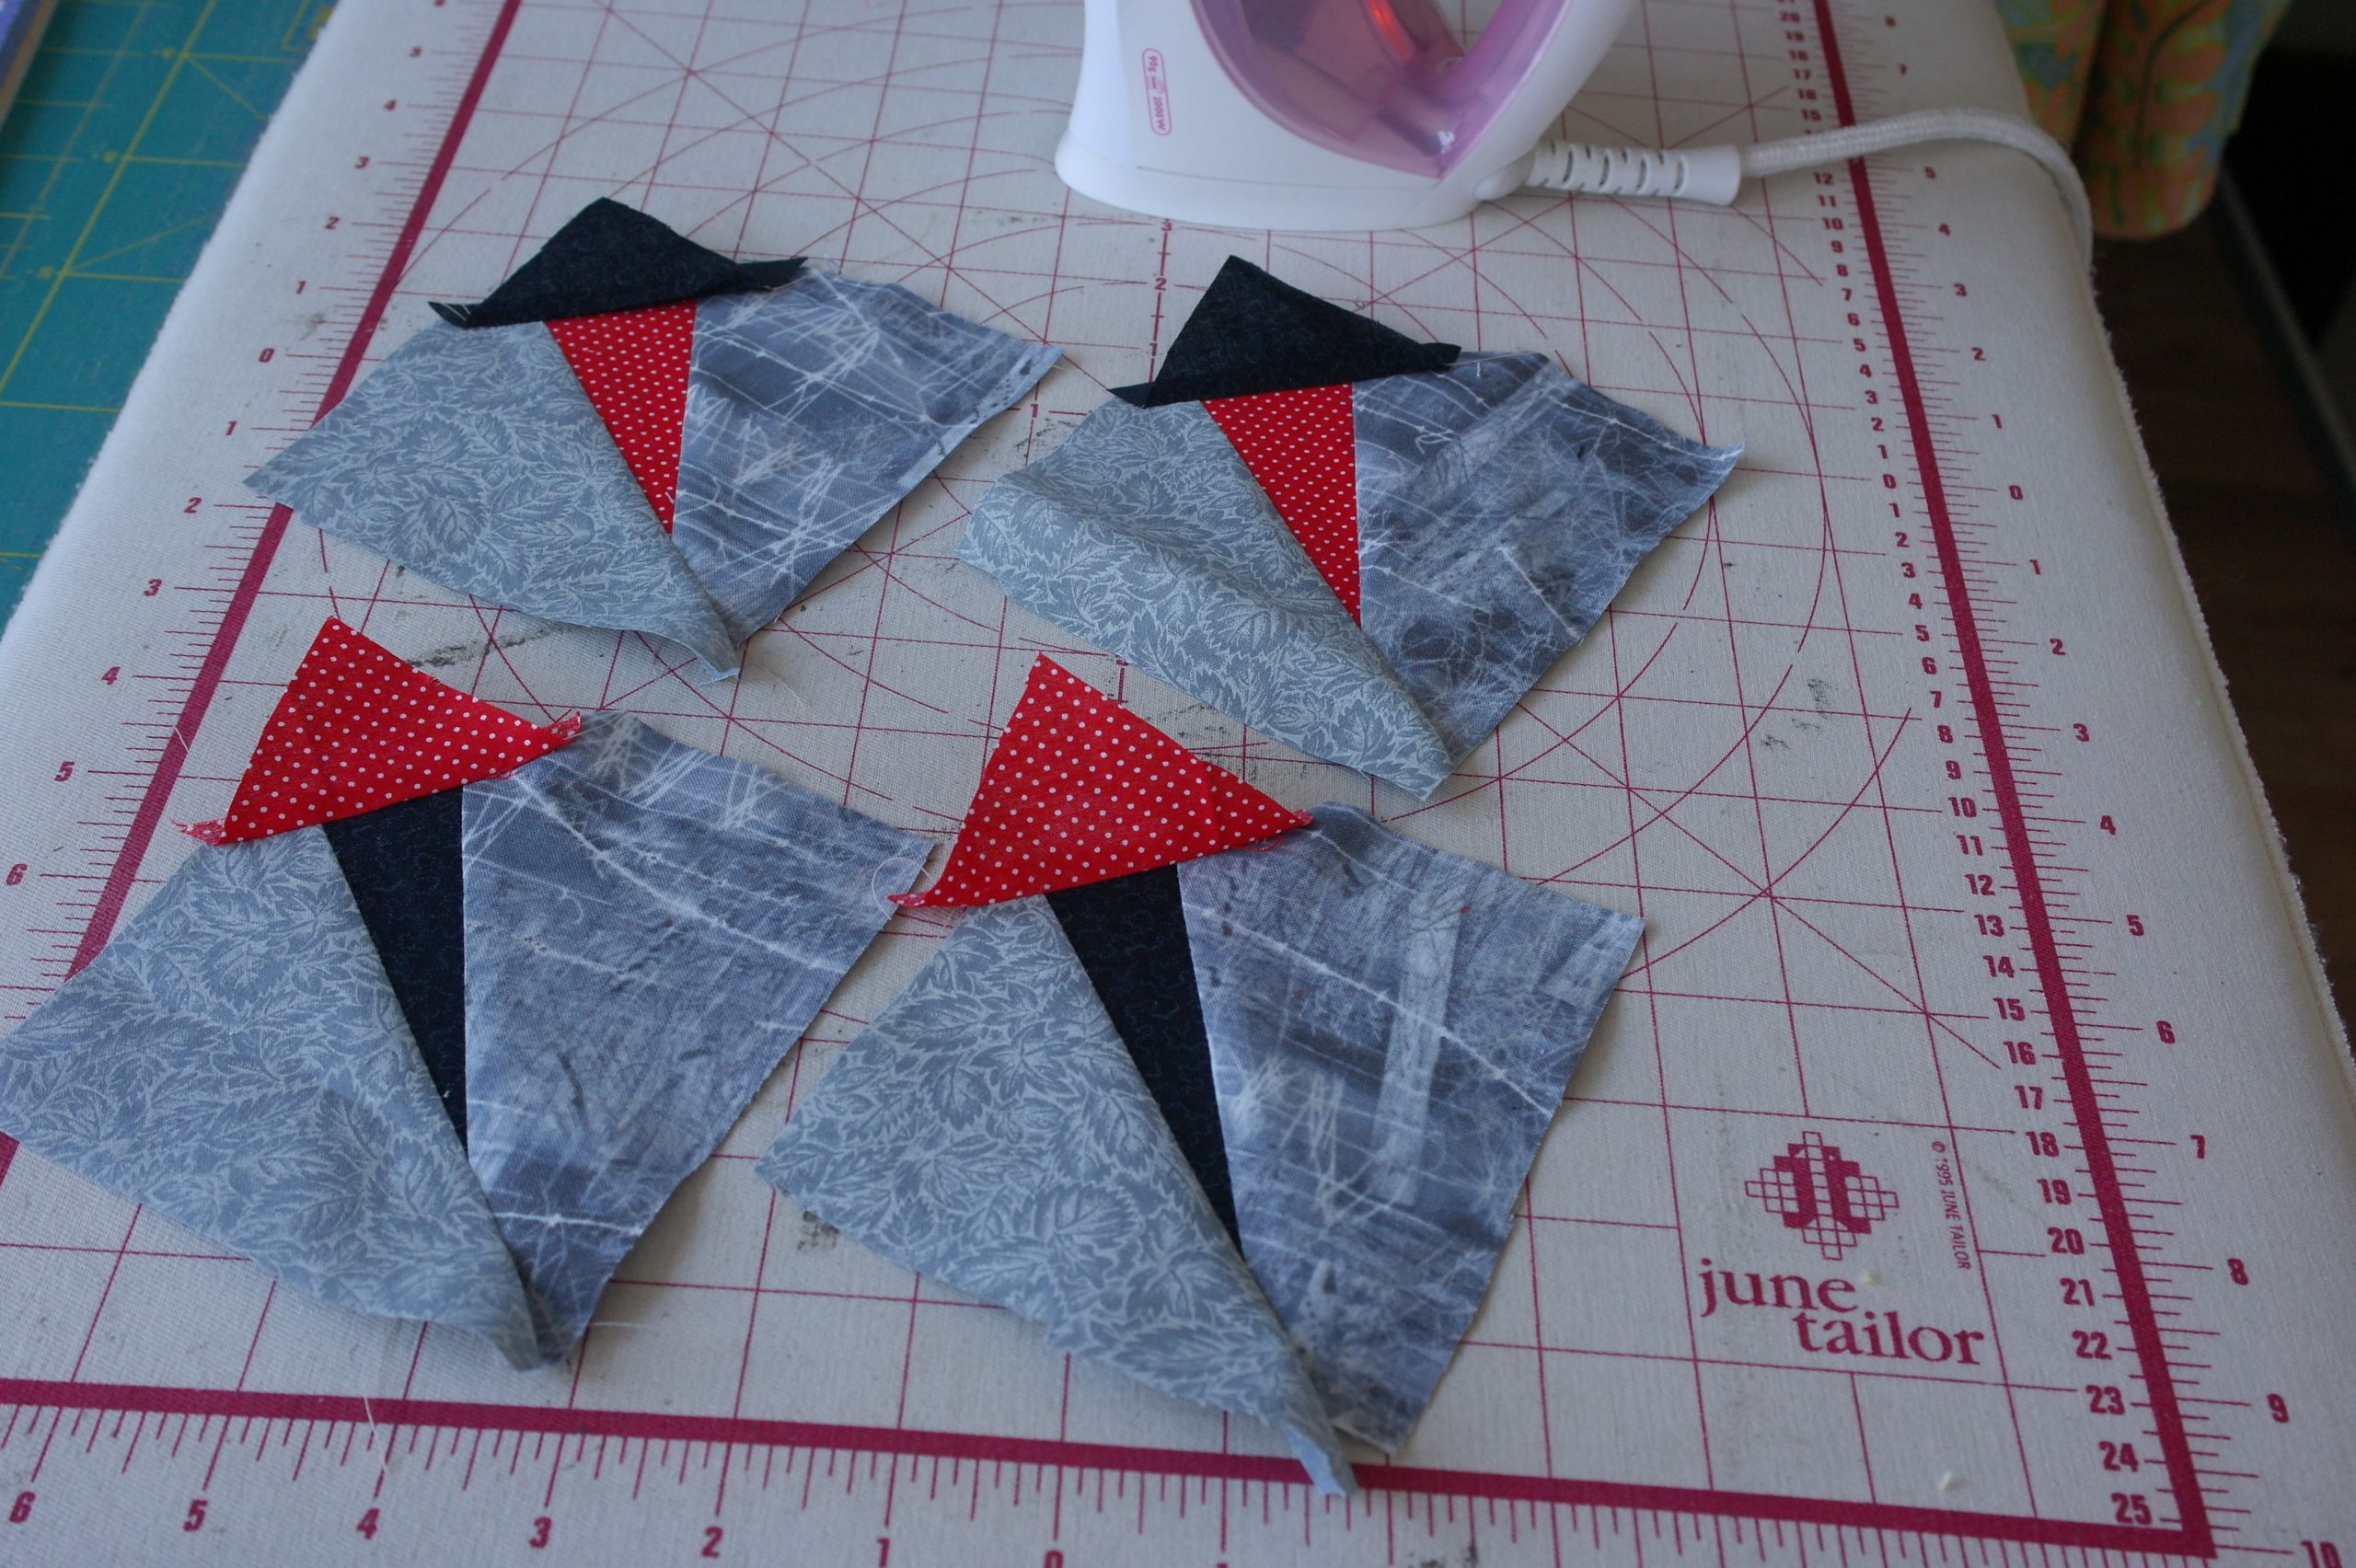
Pressing the fabrics after sewing – this is what my four Units/squares look like.
Assembly.

The Units/squares are cut back to the required size = including seam allowances. I have placed together for assembly, the same as the original block.
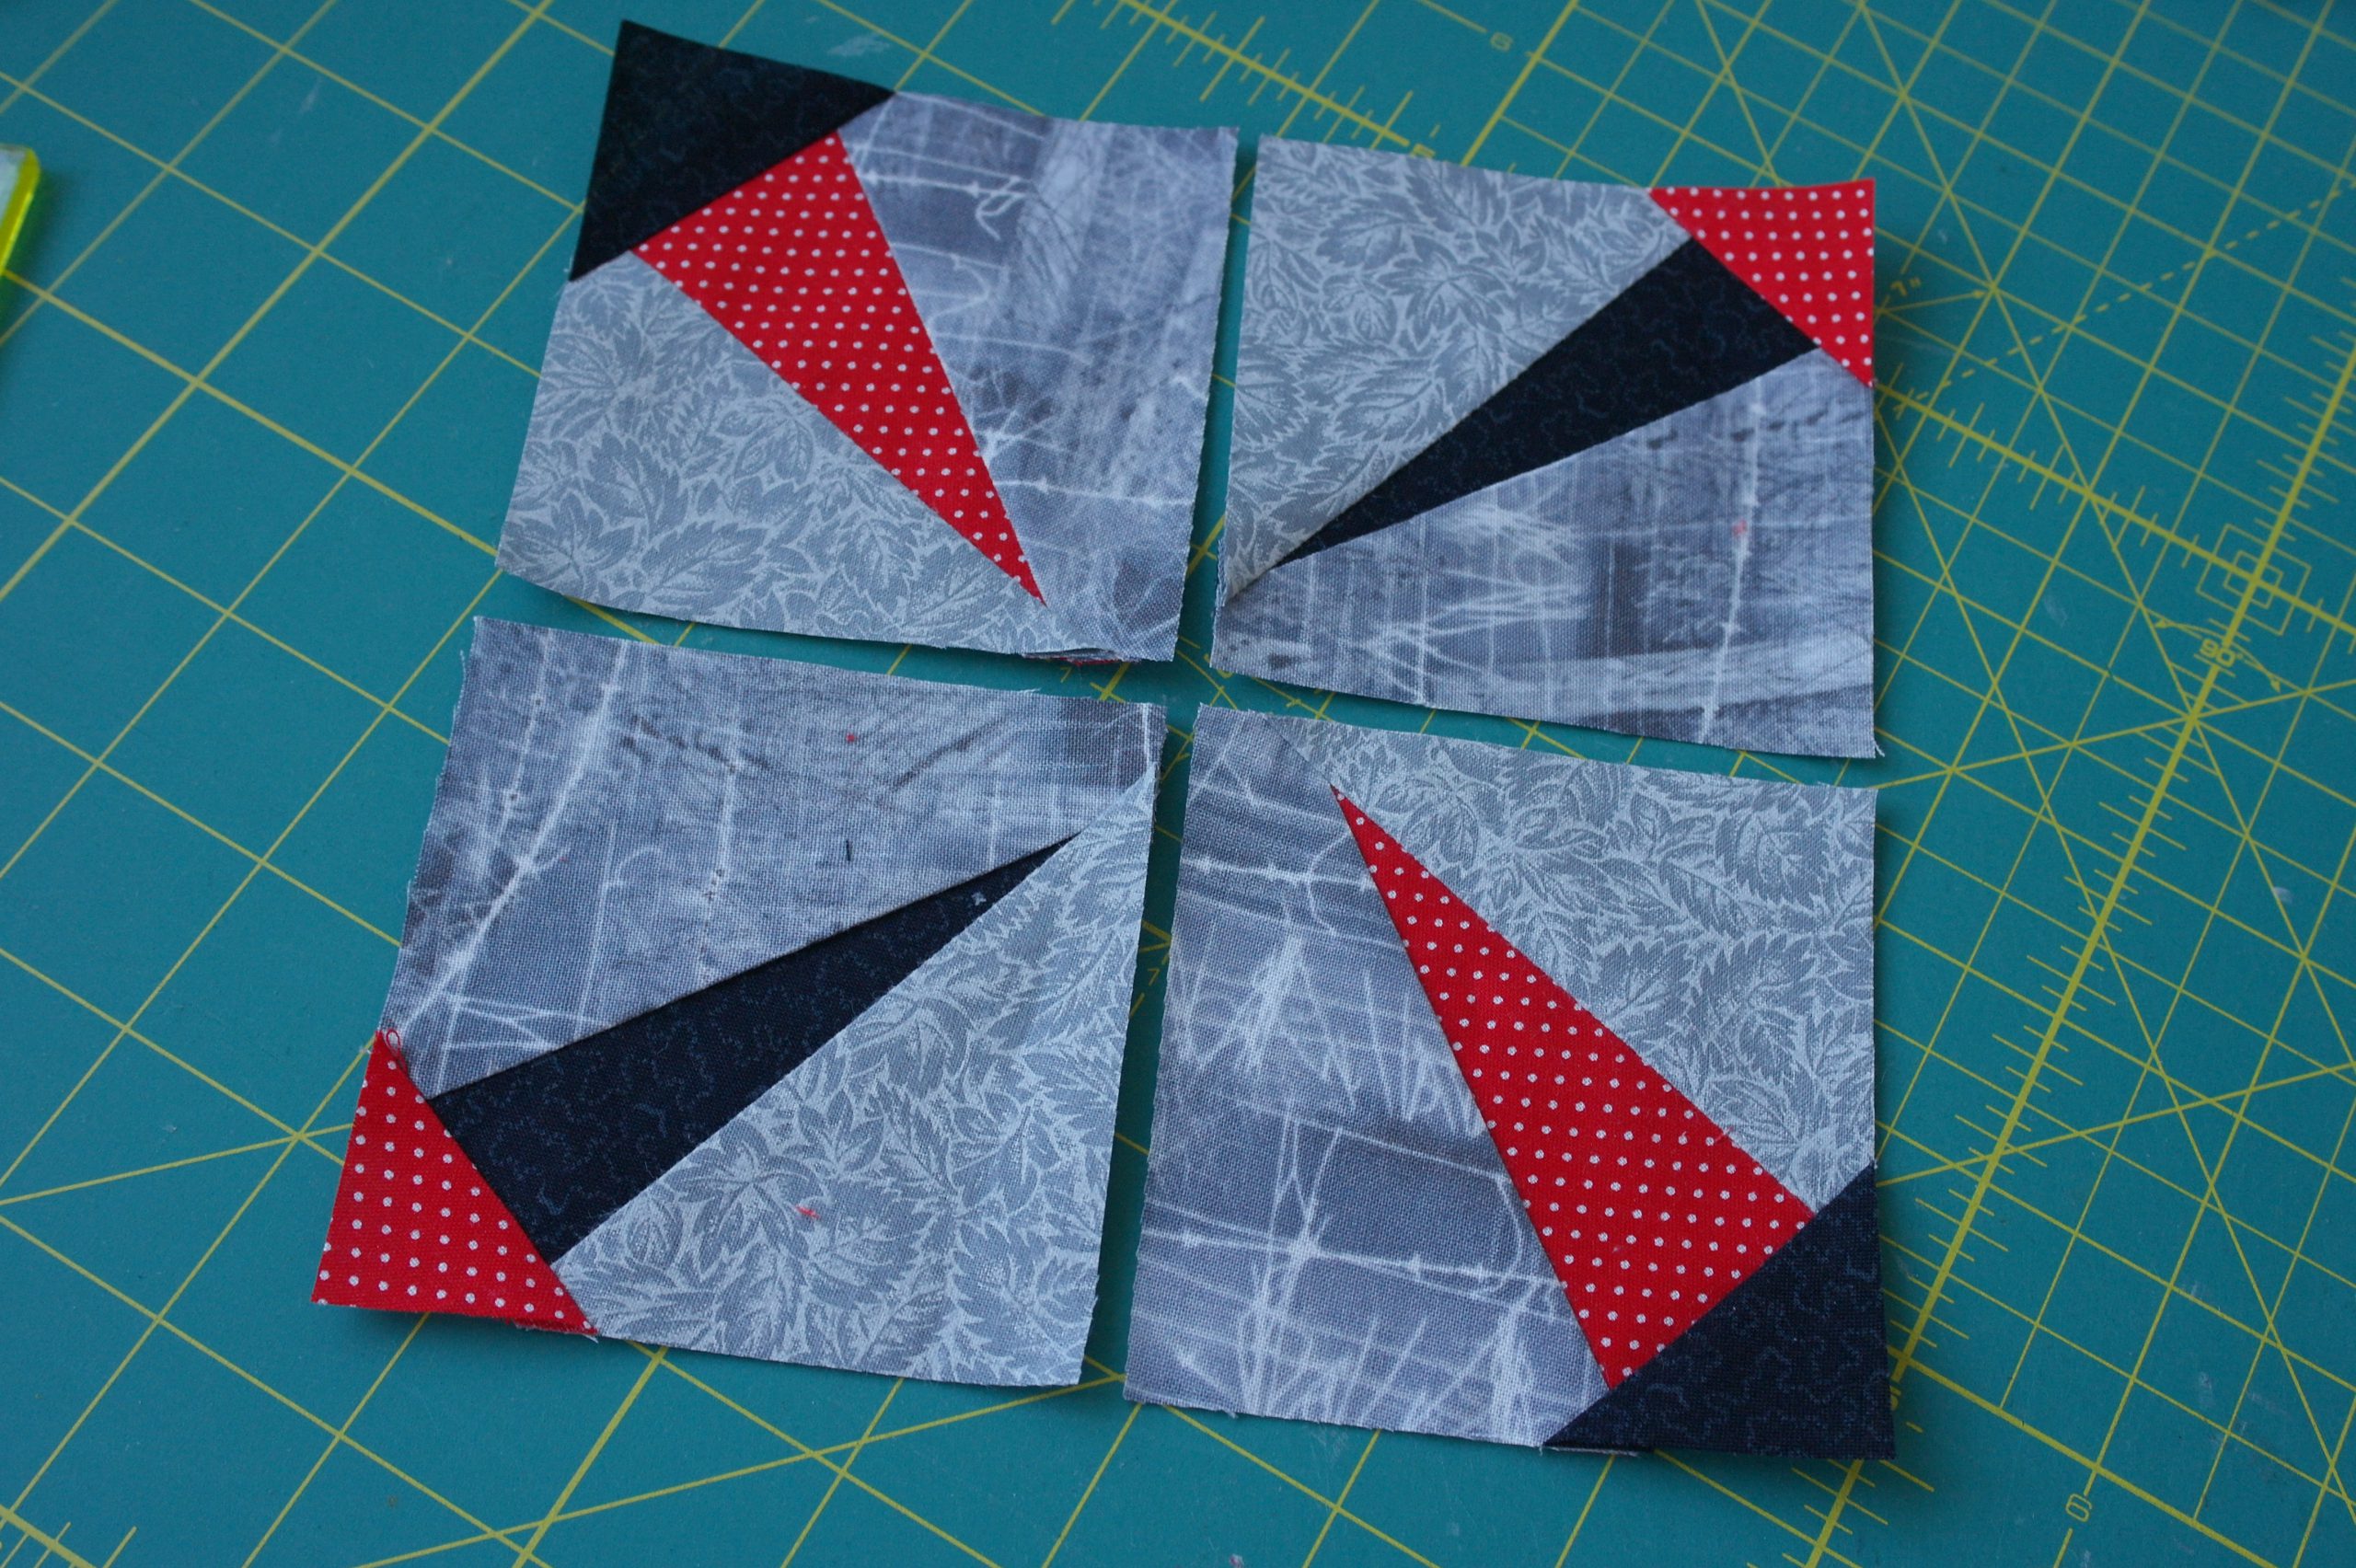
But look: I have turned the squares, sharp points facing in: that’s a funny looking block. That’s also a possibility…

Gluing and sewing two by two, as I always do,
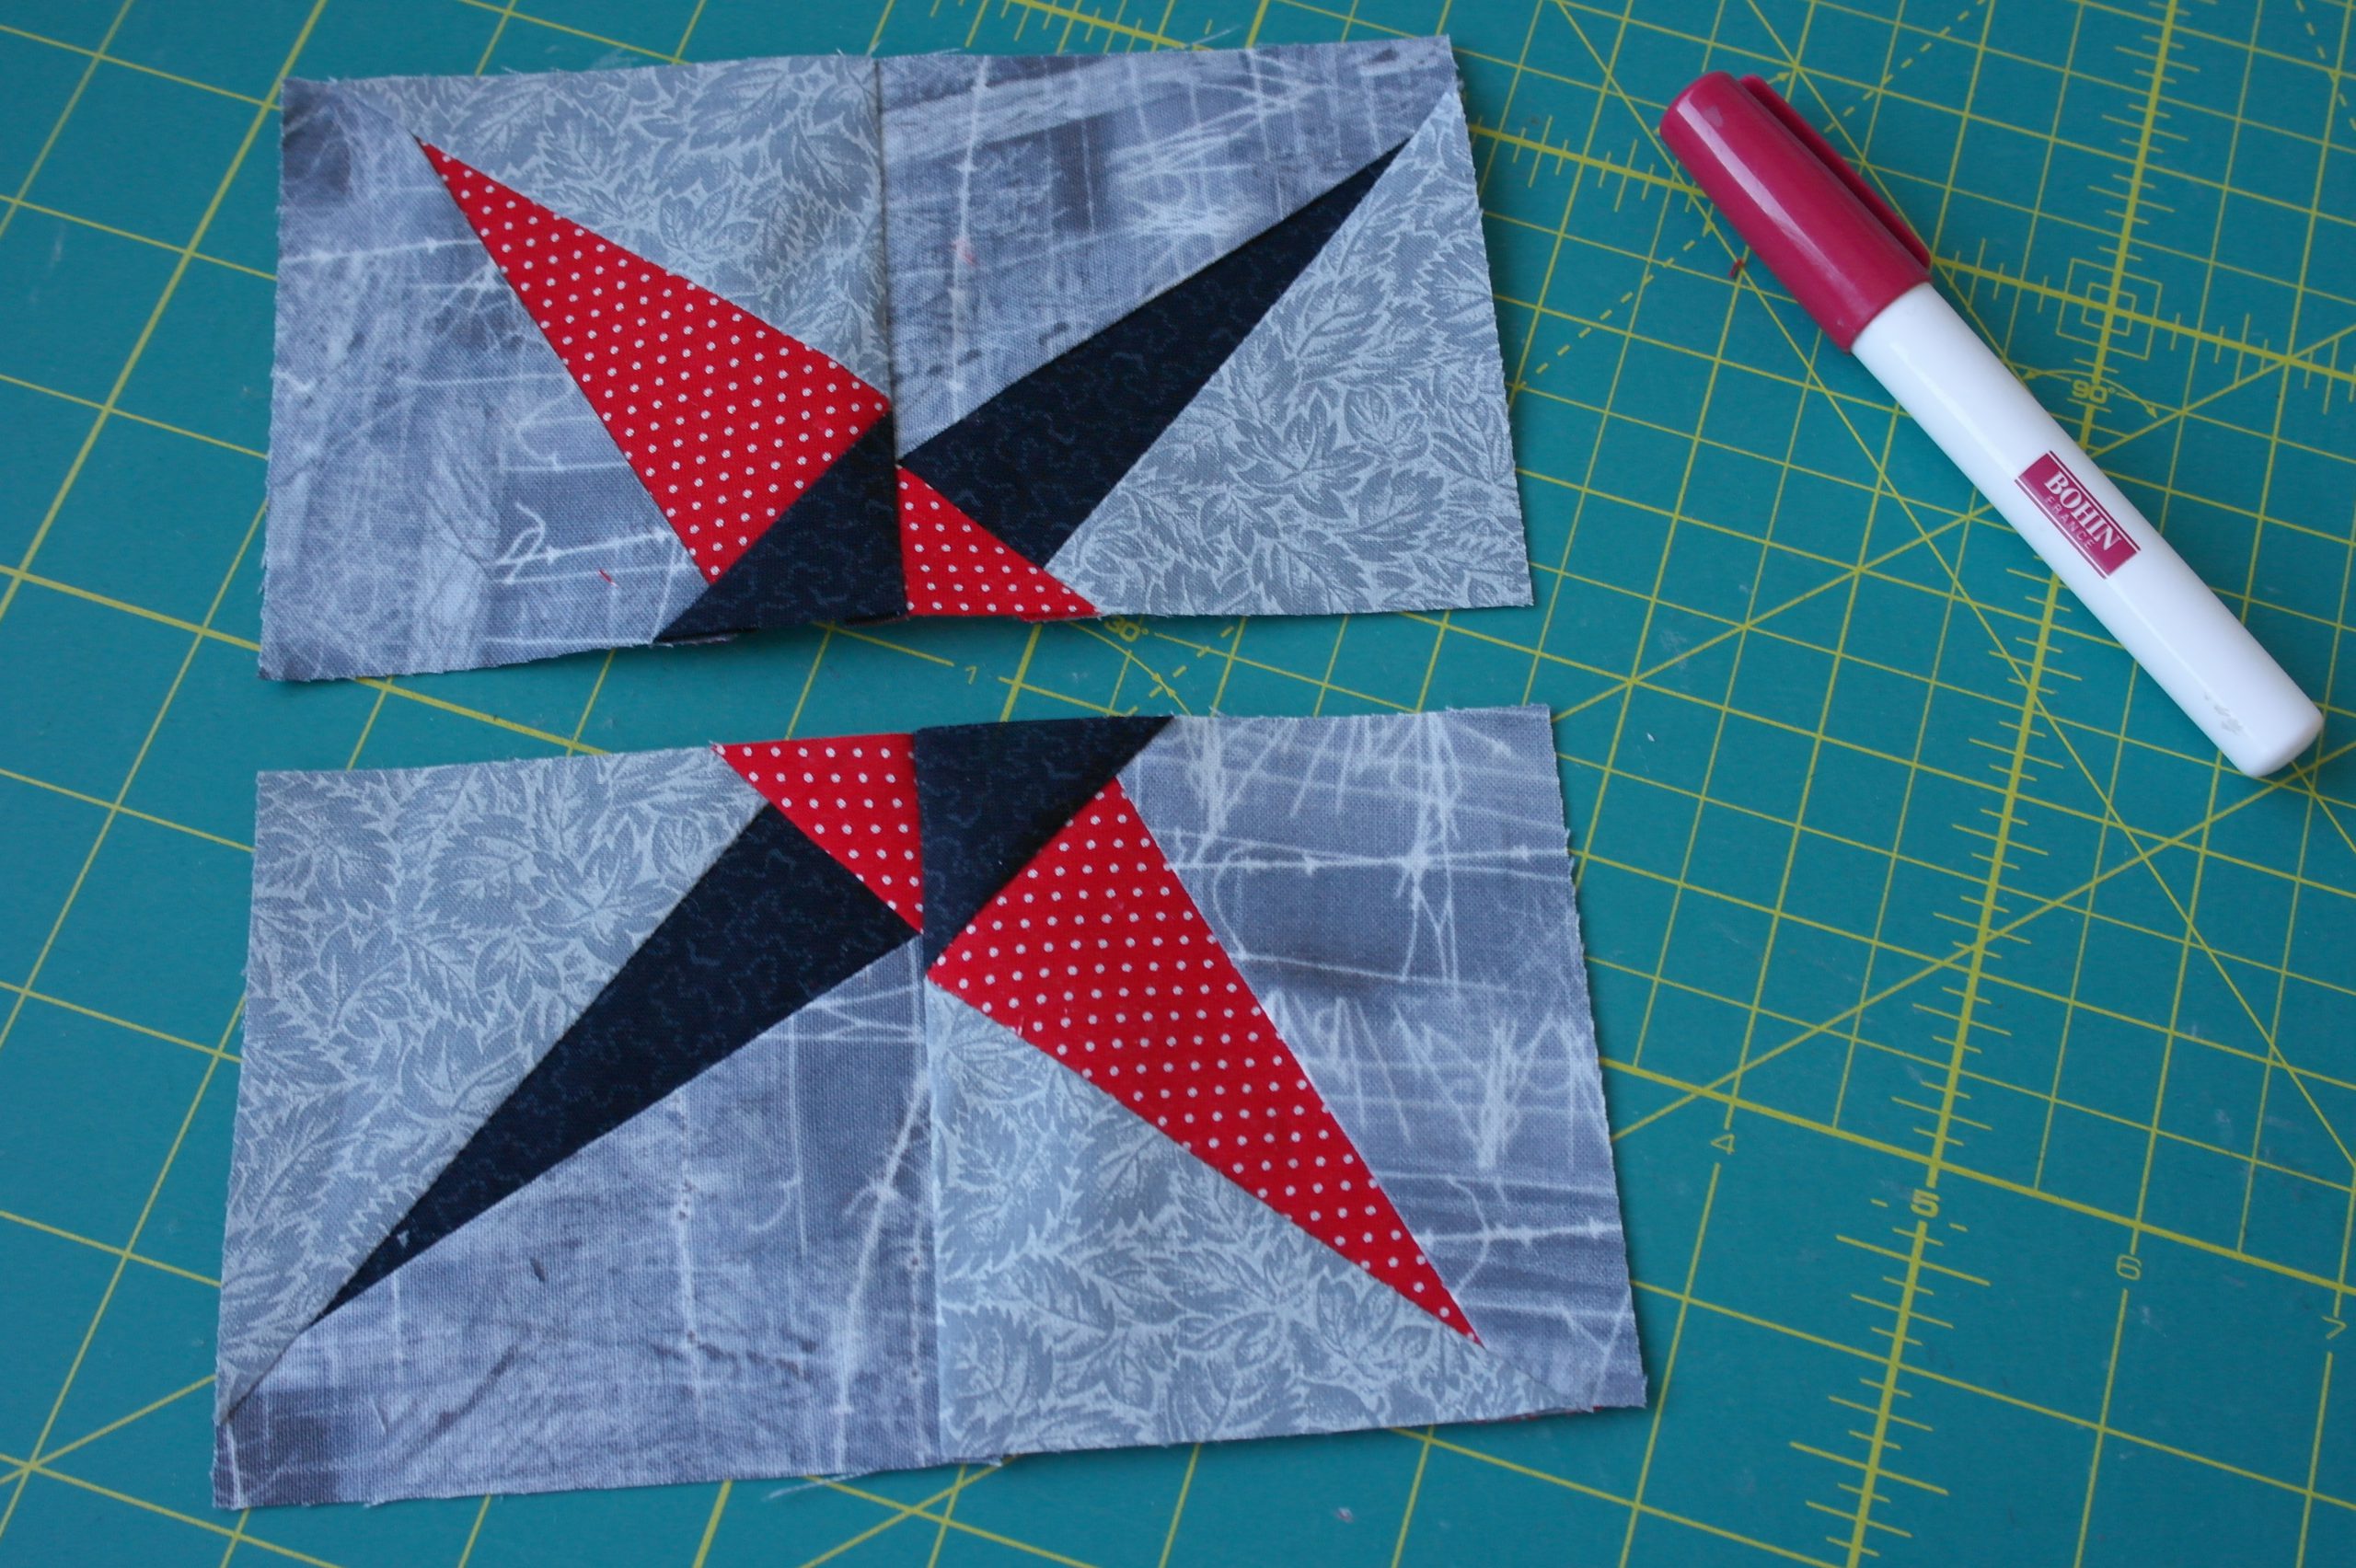
then sewing the last seam to complete the block.
The back shows how the seams are pressed: in the shape of a windmill again. They lie flat, as they should.
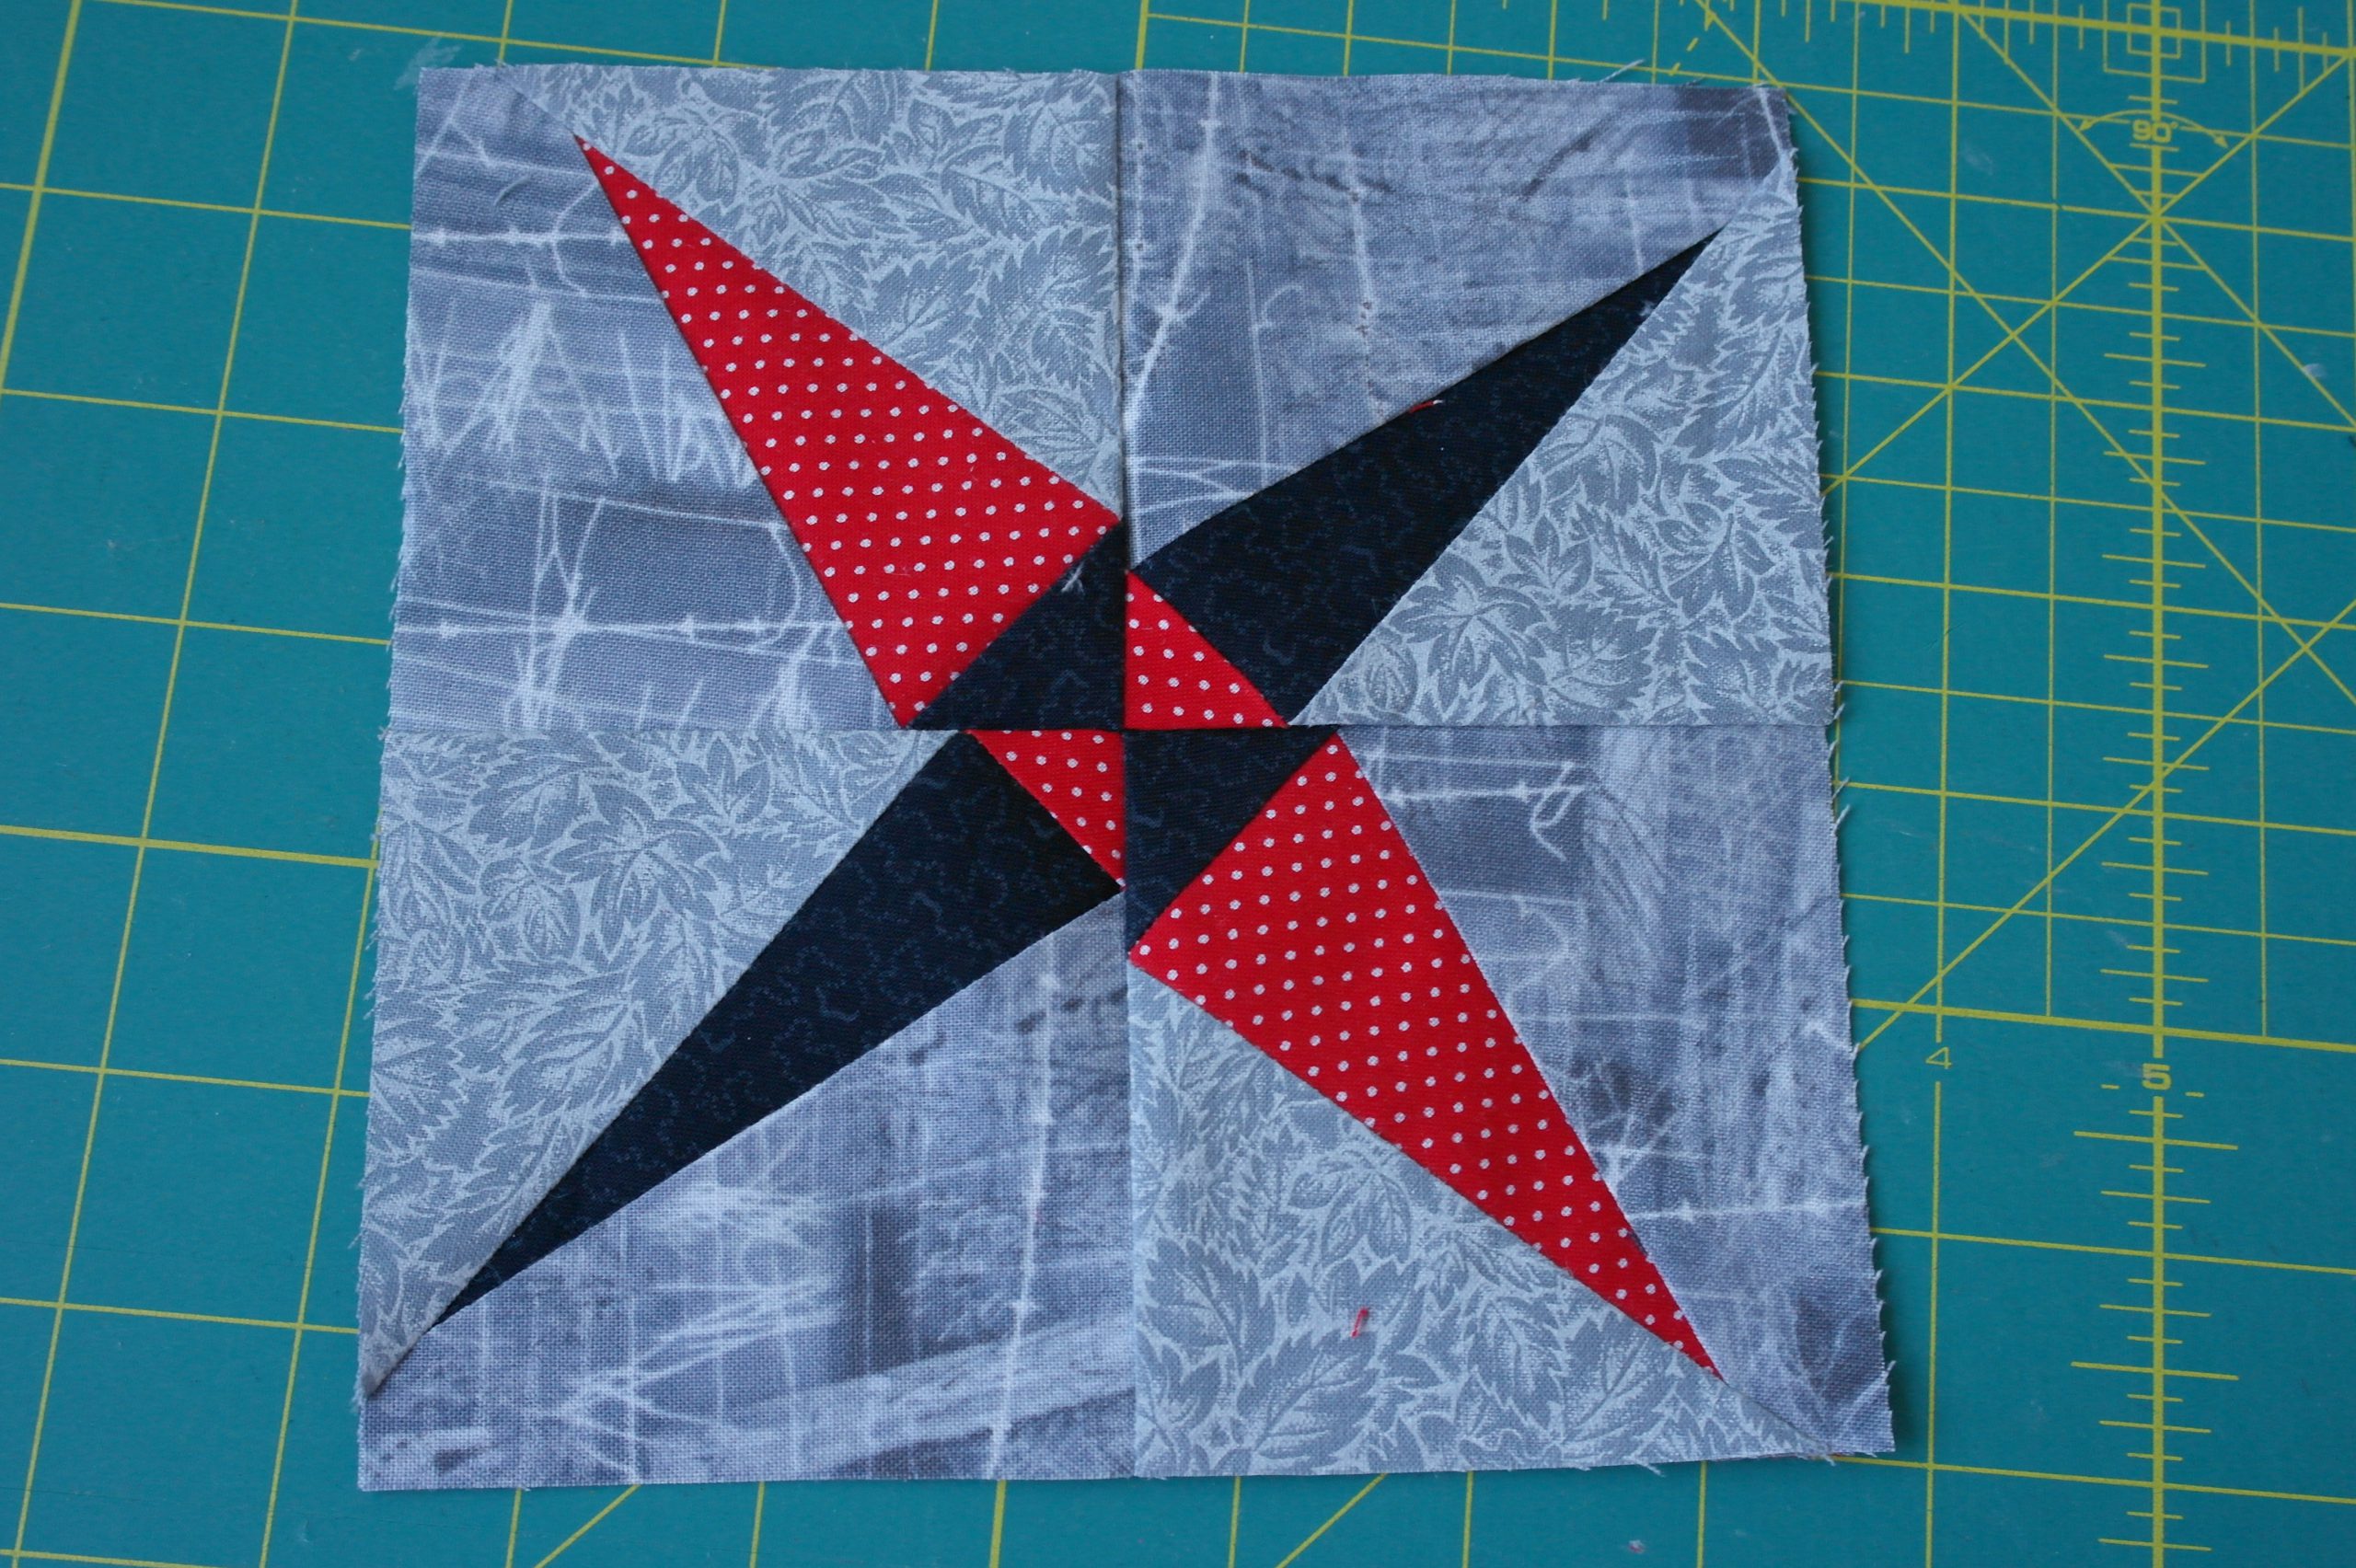
And this is the front: doesn’t my block looks funny? No matching cross points, and the sharp points are sewn away from the exact corners. Quite different, and much easier to assemble.
You can always change a block, if that works for you. I am curious to find out how you will make this block!
See you next time, stay healthy!
Sylvia Kaptein
Sylvia’s Art Quilts Studio


Komen er binnenkort meer post over Silvias Bridal Sampler?
Dear Itteke,
Sadly Sylvia is no longer writing for the BERNINA Blog, so there wont be any more posts of Sylvia’s Bridal Sampler. But if you are looking for block patterns to finish your Bridal Sampler, the Old Block Quilt Along is also a Block Sampler Quilt and still going until spring 2022. There you can find new blocks every other week and our author Andrea will take you through the process of putting all the sample quilt blocks together in the end. Hope this helps!
Ramona from BERNINA International
Hi Monika,
The fun part of working on a sampler as Sylvia’s Bridal Sampler is, is that you can use as much remnants and left-overs of fabric you have. I haven’t calculated how much I would need, since I have assembled all the reds, whites, greys and blacks I had at the time I’ve started this project. I have purchased more fabrics, every time I went to a quilt show, or online (and used my own fabrics purchased with whole-sale dealers, since I have a small carft buisiness), so adding more is always ok.
Once you have made all the blocks you want to, and turn it into a top of a quilt, you can add fabrics for the sashings: this can be a single fabric/color, or multiple, according to your own ‘taste’. So don’t worry and just start making blocks: it is really fun!
Sylvia
Hello,
I am thinking about sewing the Sylvias bridal quilt . What makes me hesitate is the huge ammount of fabric requirement. As I saw your posts on the Bernina blog , which is very inspiring ,I wonder how many meters or yards you got from the light grey or white fabric ?
I prefer a dark sashing, so that will minimize the light colours …but so difficult to decide the almost right ammount of fabric to order.
Sorry for my many mistakes, english is not my mothertounge.
Happy sewing
Monika