The Olson, named after 1930’s legendary maker nurse Lyla Mae Olson, was quickly developed by clinicians from UnityPoint Health and is being shared across the globe in the fight against COVID19. A group of clinicians teamed up in the hospital’s generate prototyping space to create a series of experimental designs rooted in material science and easy fabrication. This pattern is an adaptation of the original mask which can be found on the website of UnityPoint (link above).
Herewith we explicitly advise you that all masks sewn according to instructions in the BERNINA Blog are to be considered as self-sewn face masks. They are neither medical products or protective equipment. You will find more information here: https://blog.bernina.com/en/2020/04/sew-self-made-face-mask-everything-you-need-to-know/
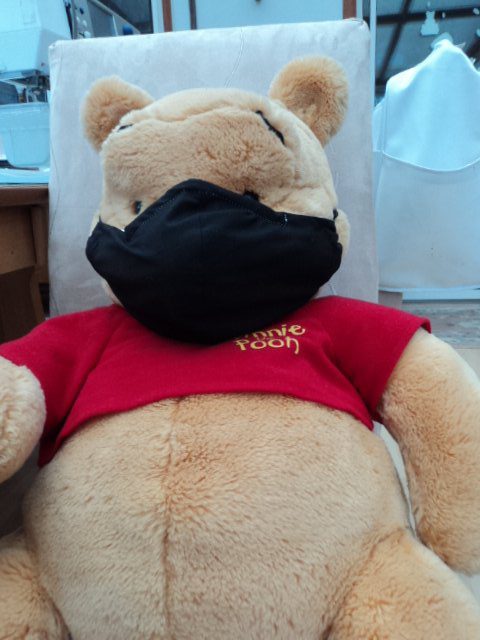
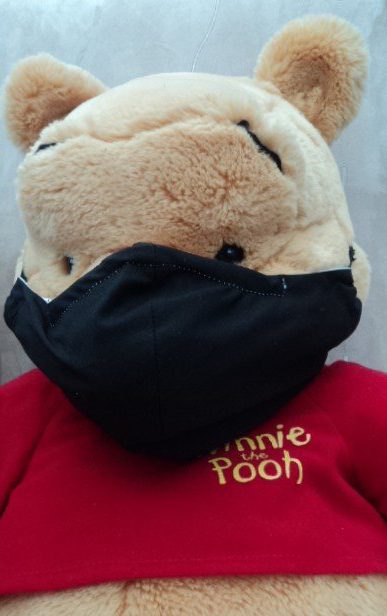
The model is wearing the Olson fitted mask to prevent spreading germs when he goes outside for his daily exercise!
Pooh Bear would like to share how he came to be wearing this mask. Look below for the instructions to help you make one (or more!)
____________________________________________________________
Fitted Olson Mask – Make one for each day of the week!
Read carefully through all these instructions before starting your project!
Materials:
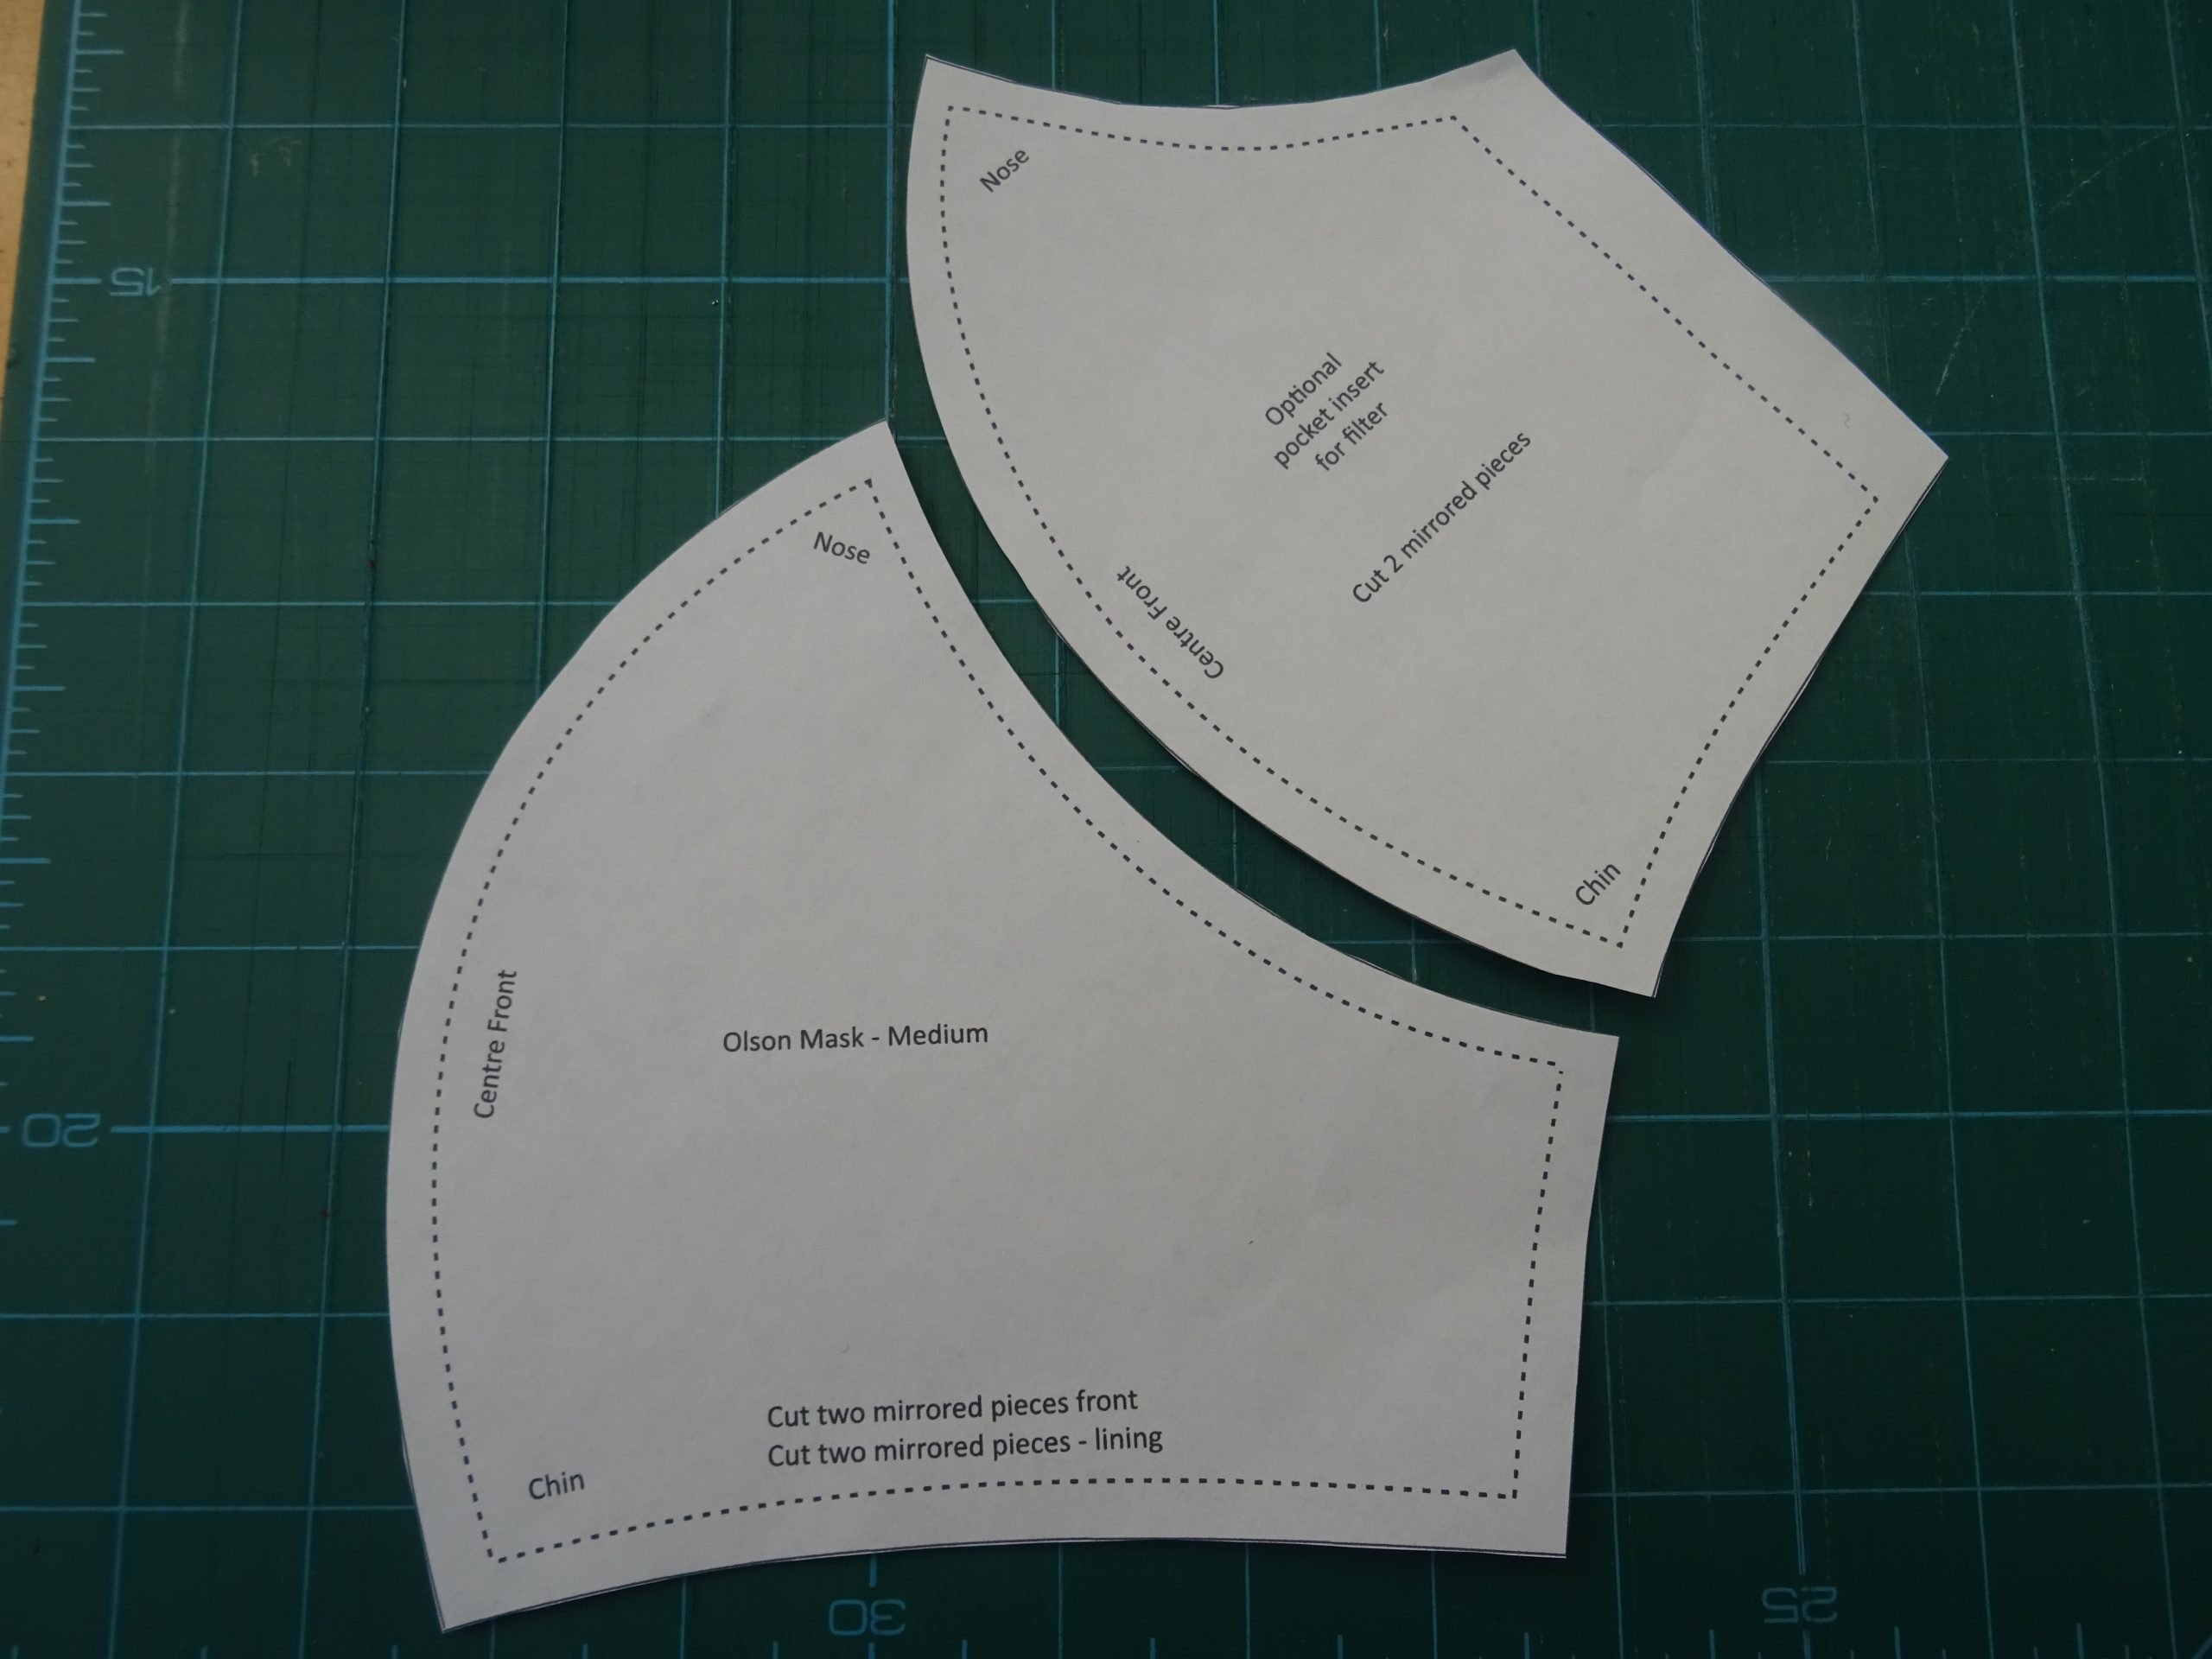
Pattern templates – print out at ‘actual’ size. Measure the printed square on the .PDF sheet to check that the dimensions are correct before cutting out the templates. Links here for the three sizes:-
Cotton tight weave fabric for outer layer about 12” x 6” (30cm x 15cm)
Very tight cotton weave for lining about 12” x 6” (30cm x 15cm)
Very tight cotton weave for filter pocket (optional) about 8” x 6” (20cm x 15cm)
Egyptian sheeting cotton is good for this part.
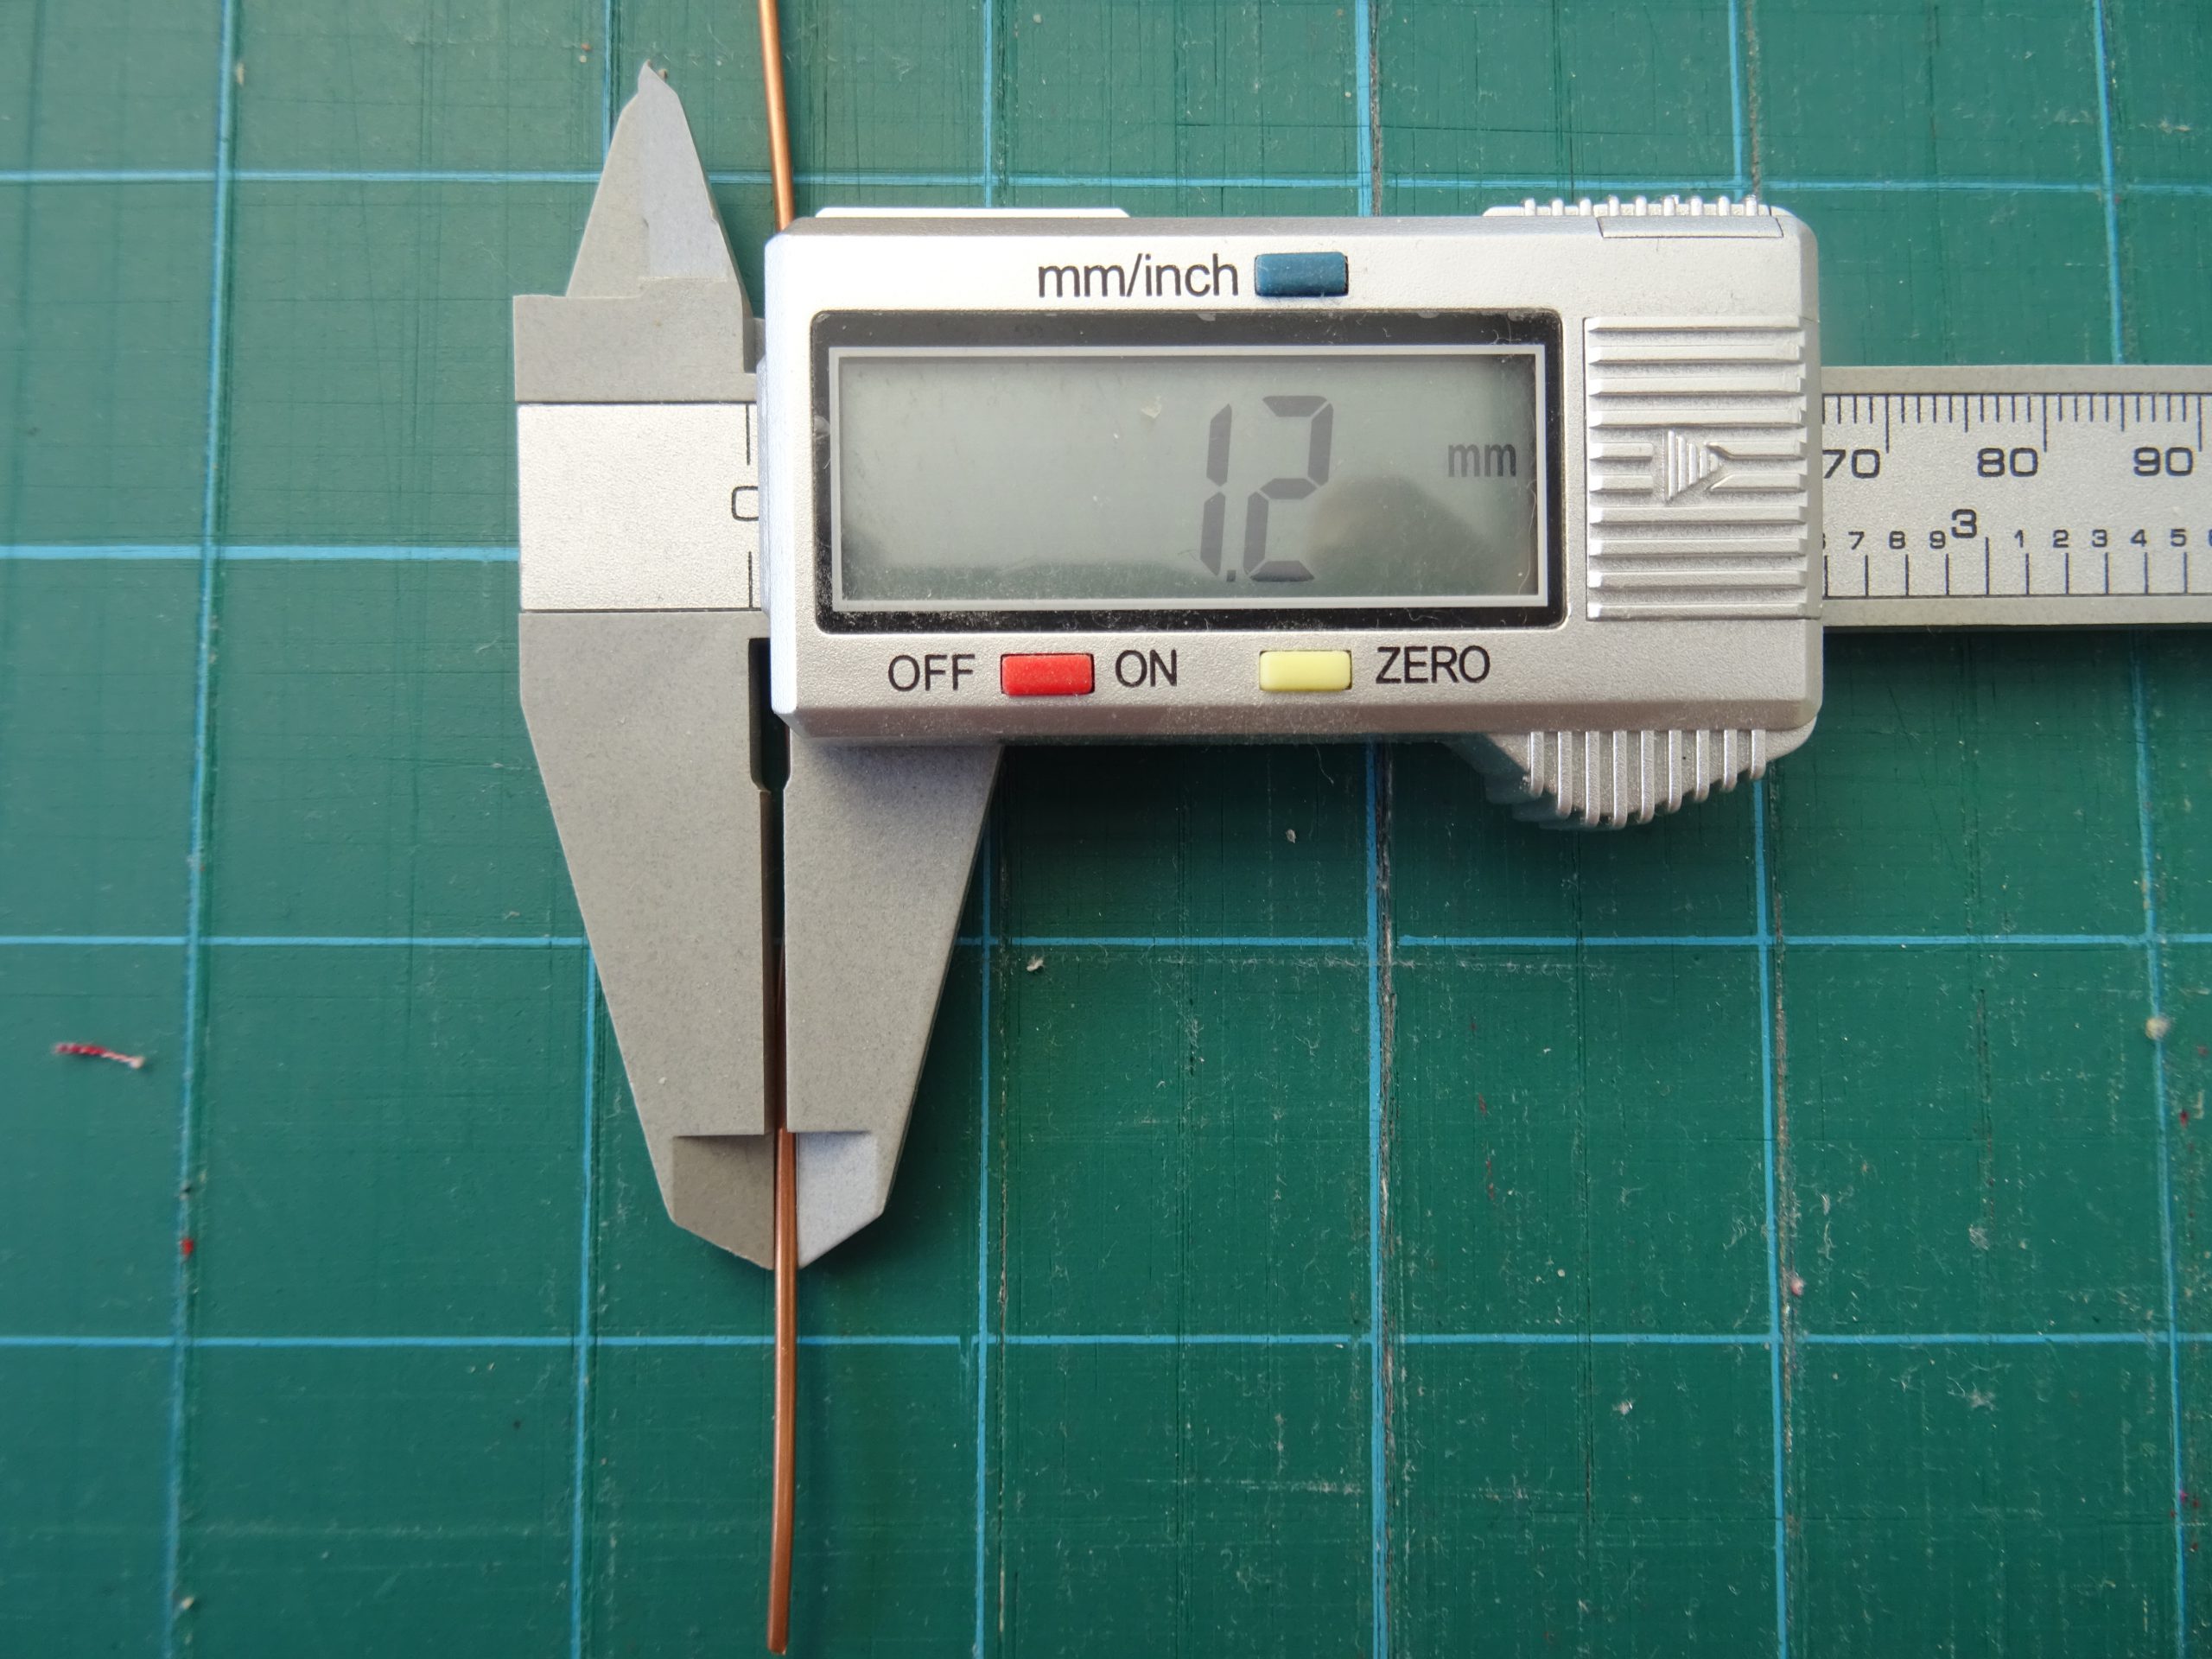
5 ½” (14cm) length of wire – 1/16” (1.2mm) in diameter. Copper or jewellery wire is best as it will not rust. You could use any wire though as long as it is strong enough to hold its shape.
2 x 12” (30 cm) of ¼” (6mm) wide elastic
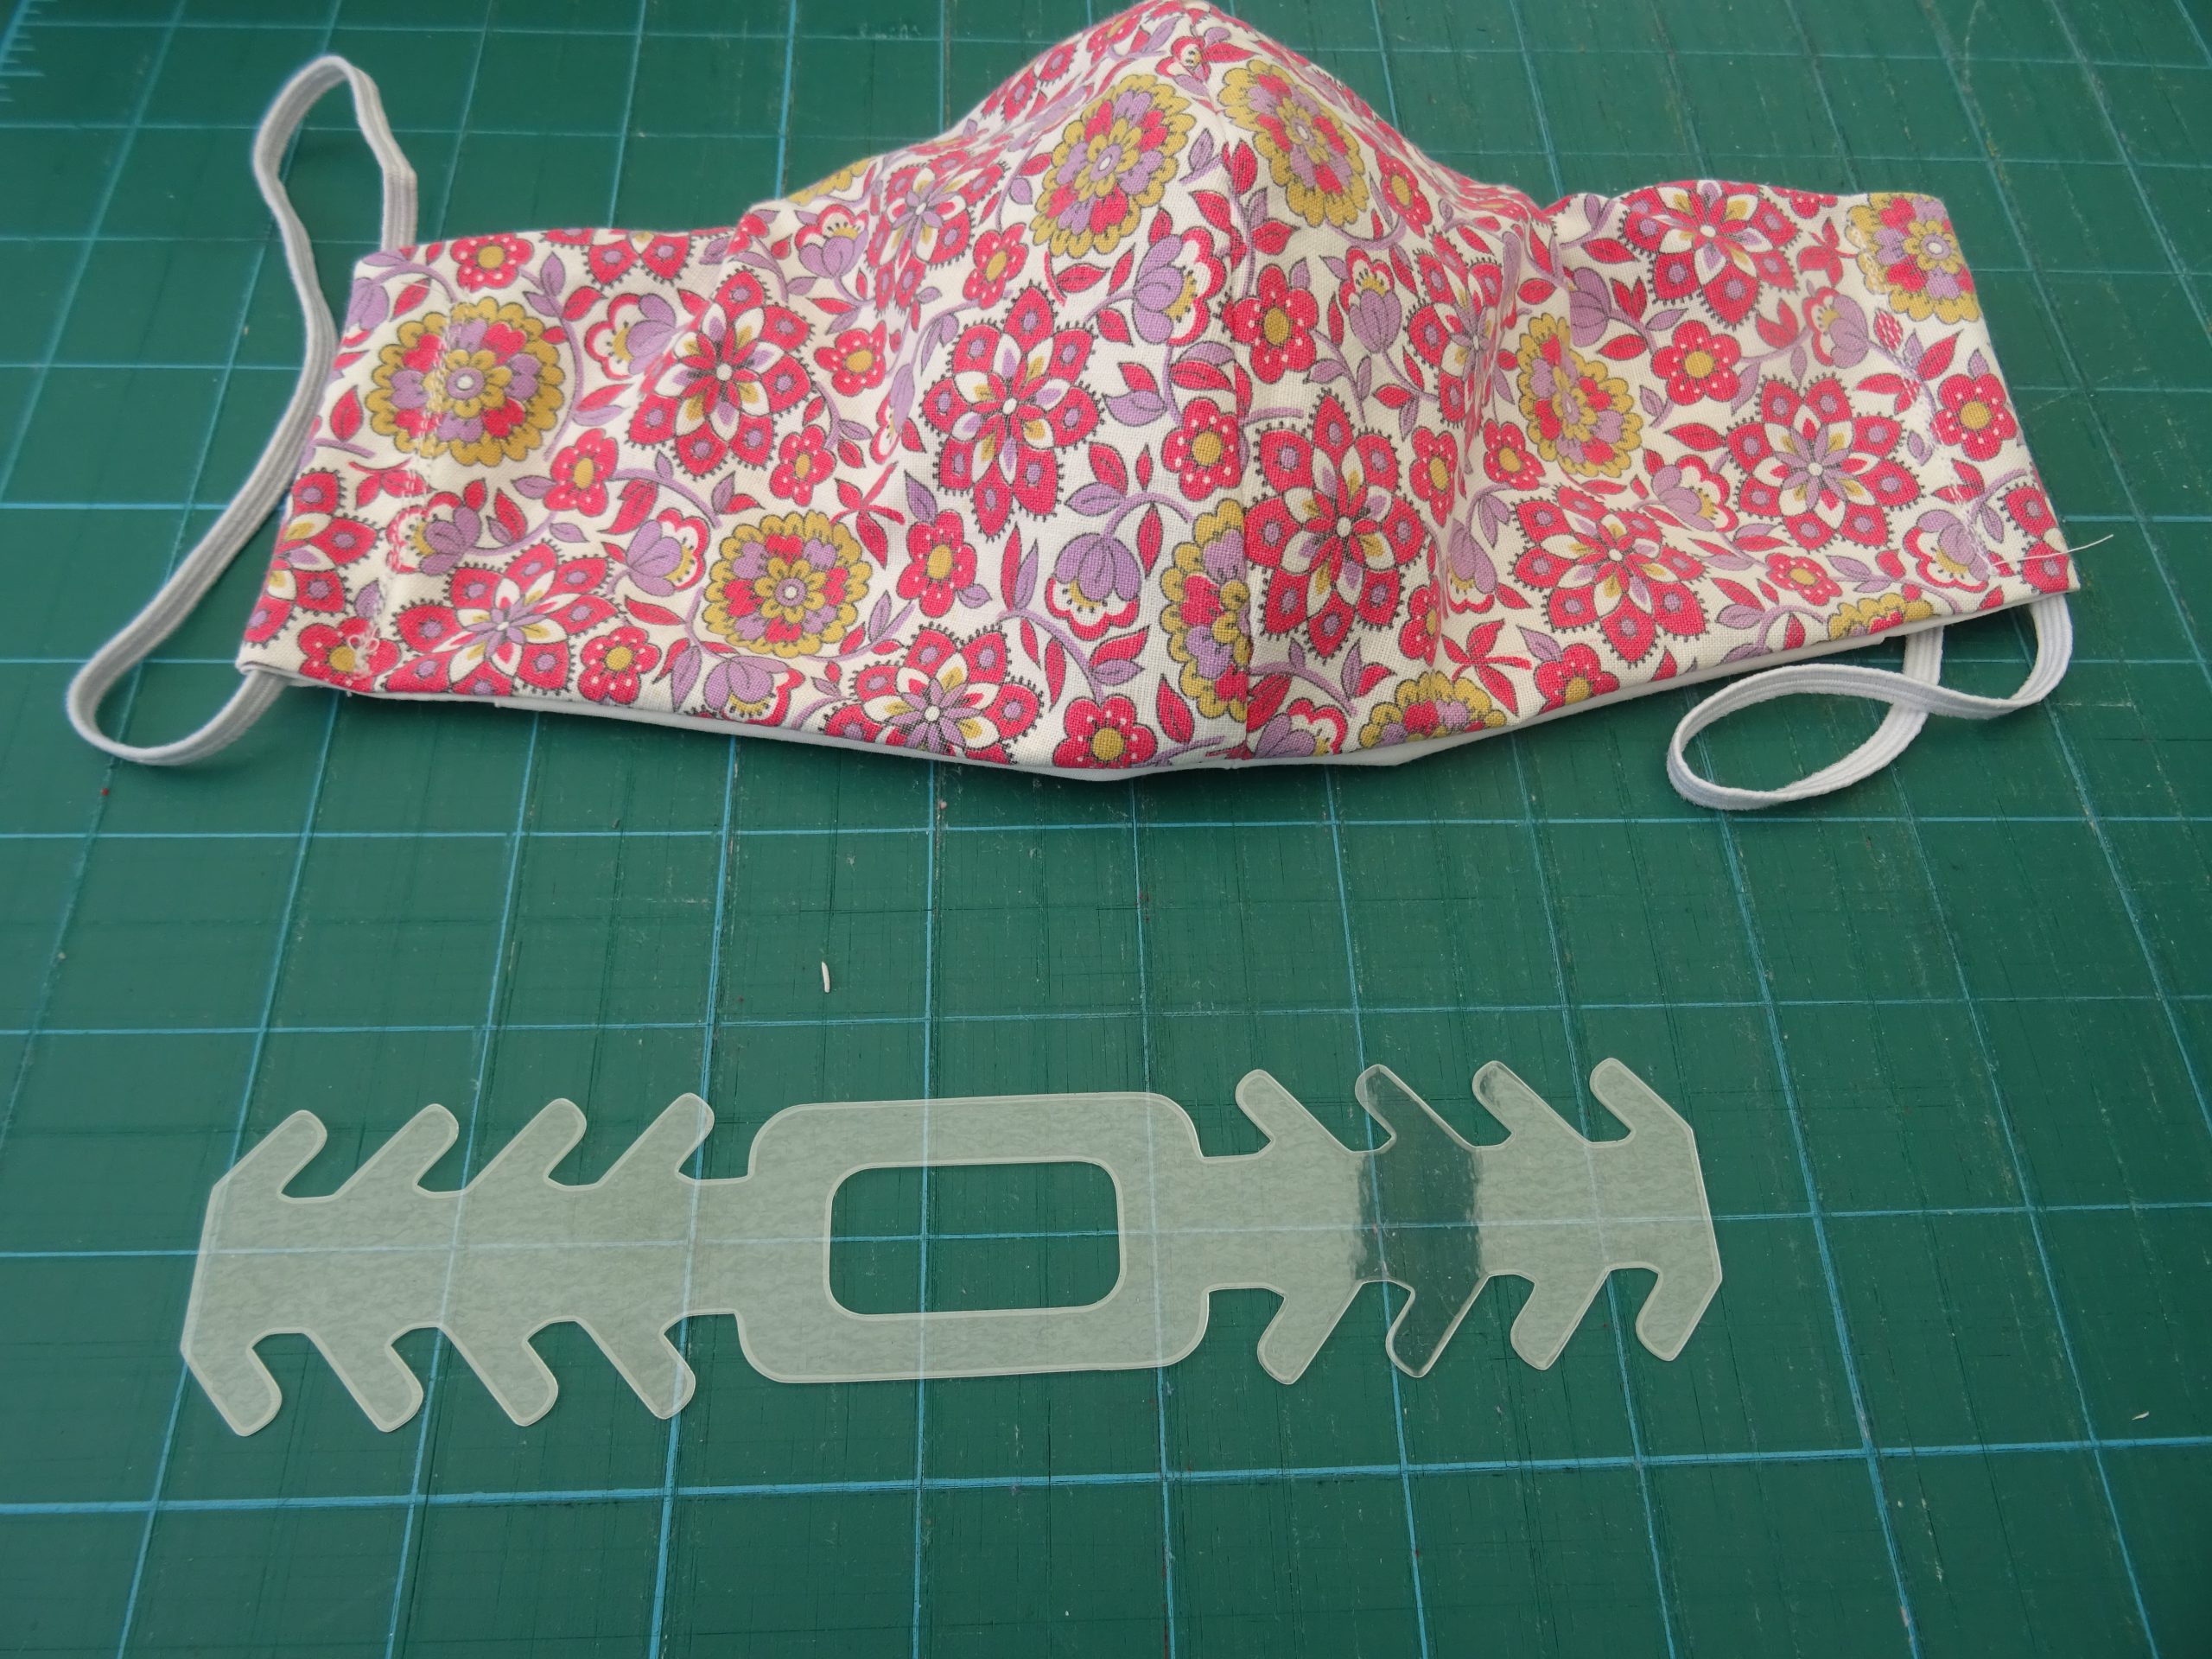
Ear saver plastic – laminating pouch is ideal. Note marked sizes as this drawing may not be to scale.
Make several to alternate them. Wash them after use.
Filter (optional)- Non-woven materials including tissues, soft toilet paper, sew-in Vlieseline (not iron on!) Tea towel or T shirt material. Pillow case fabric, Vacuum cleaner bags (check for Fibreglass, toxins or other irritants – do not use that kind). See the article on the Smartair (link in full at the end of this post) website for information on these materials).
Method:
There are three sets of templates – large medium and small. The medium one seems to fit most ladies’ heads. The large one would possibly need to be used for gentlemen and the small one for children, but do check the size of the face/head for which you intend to make it.
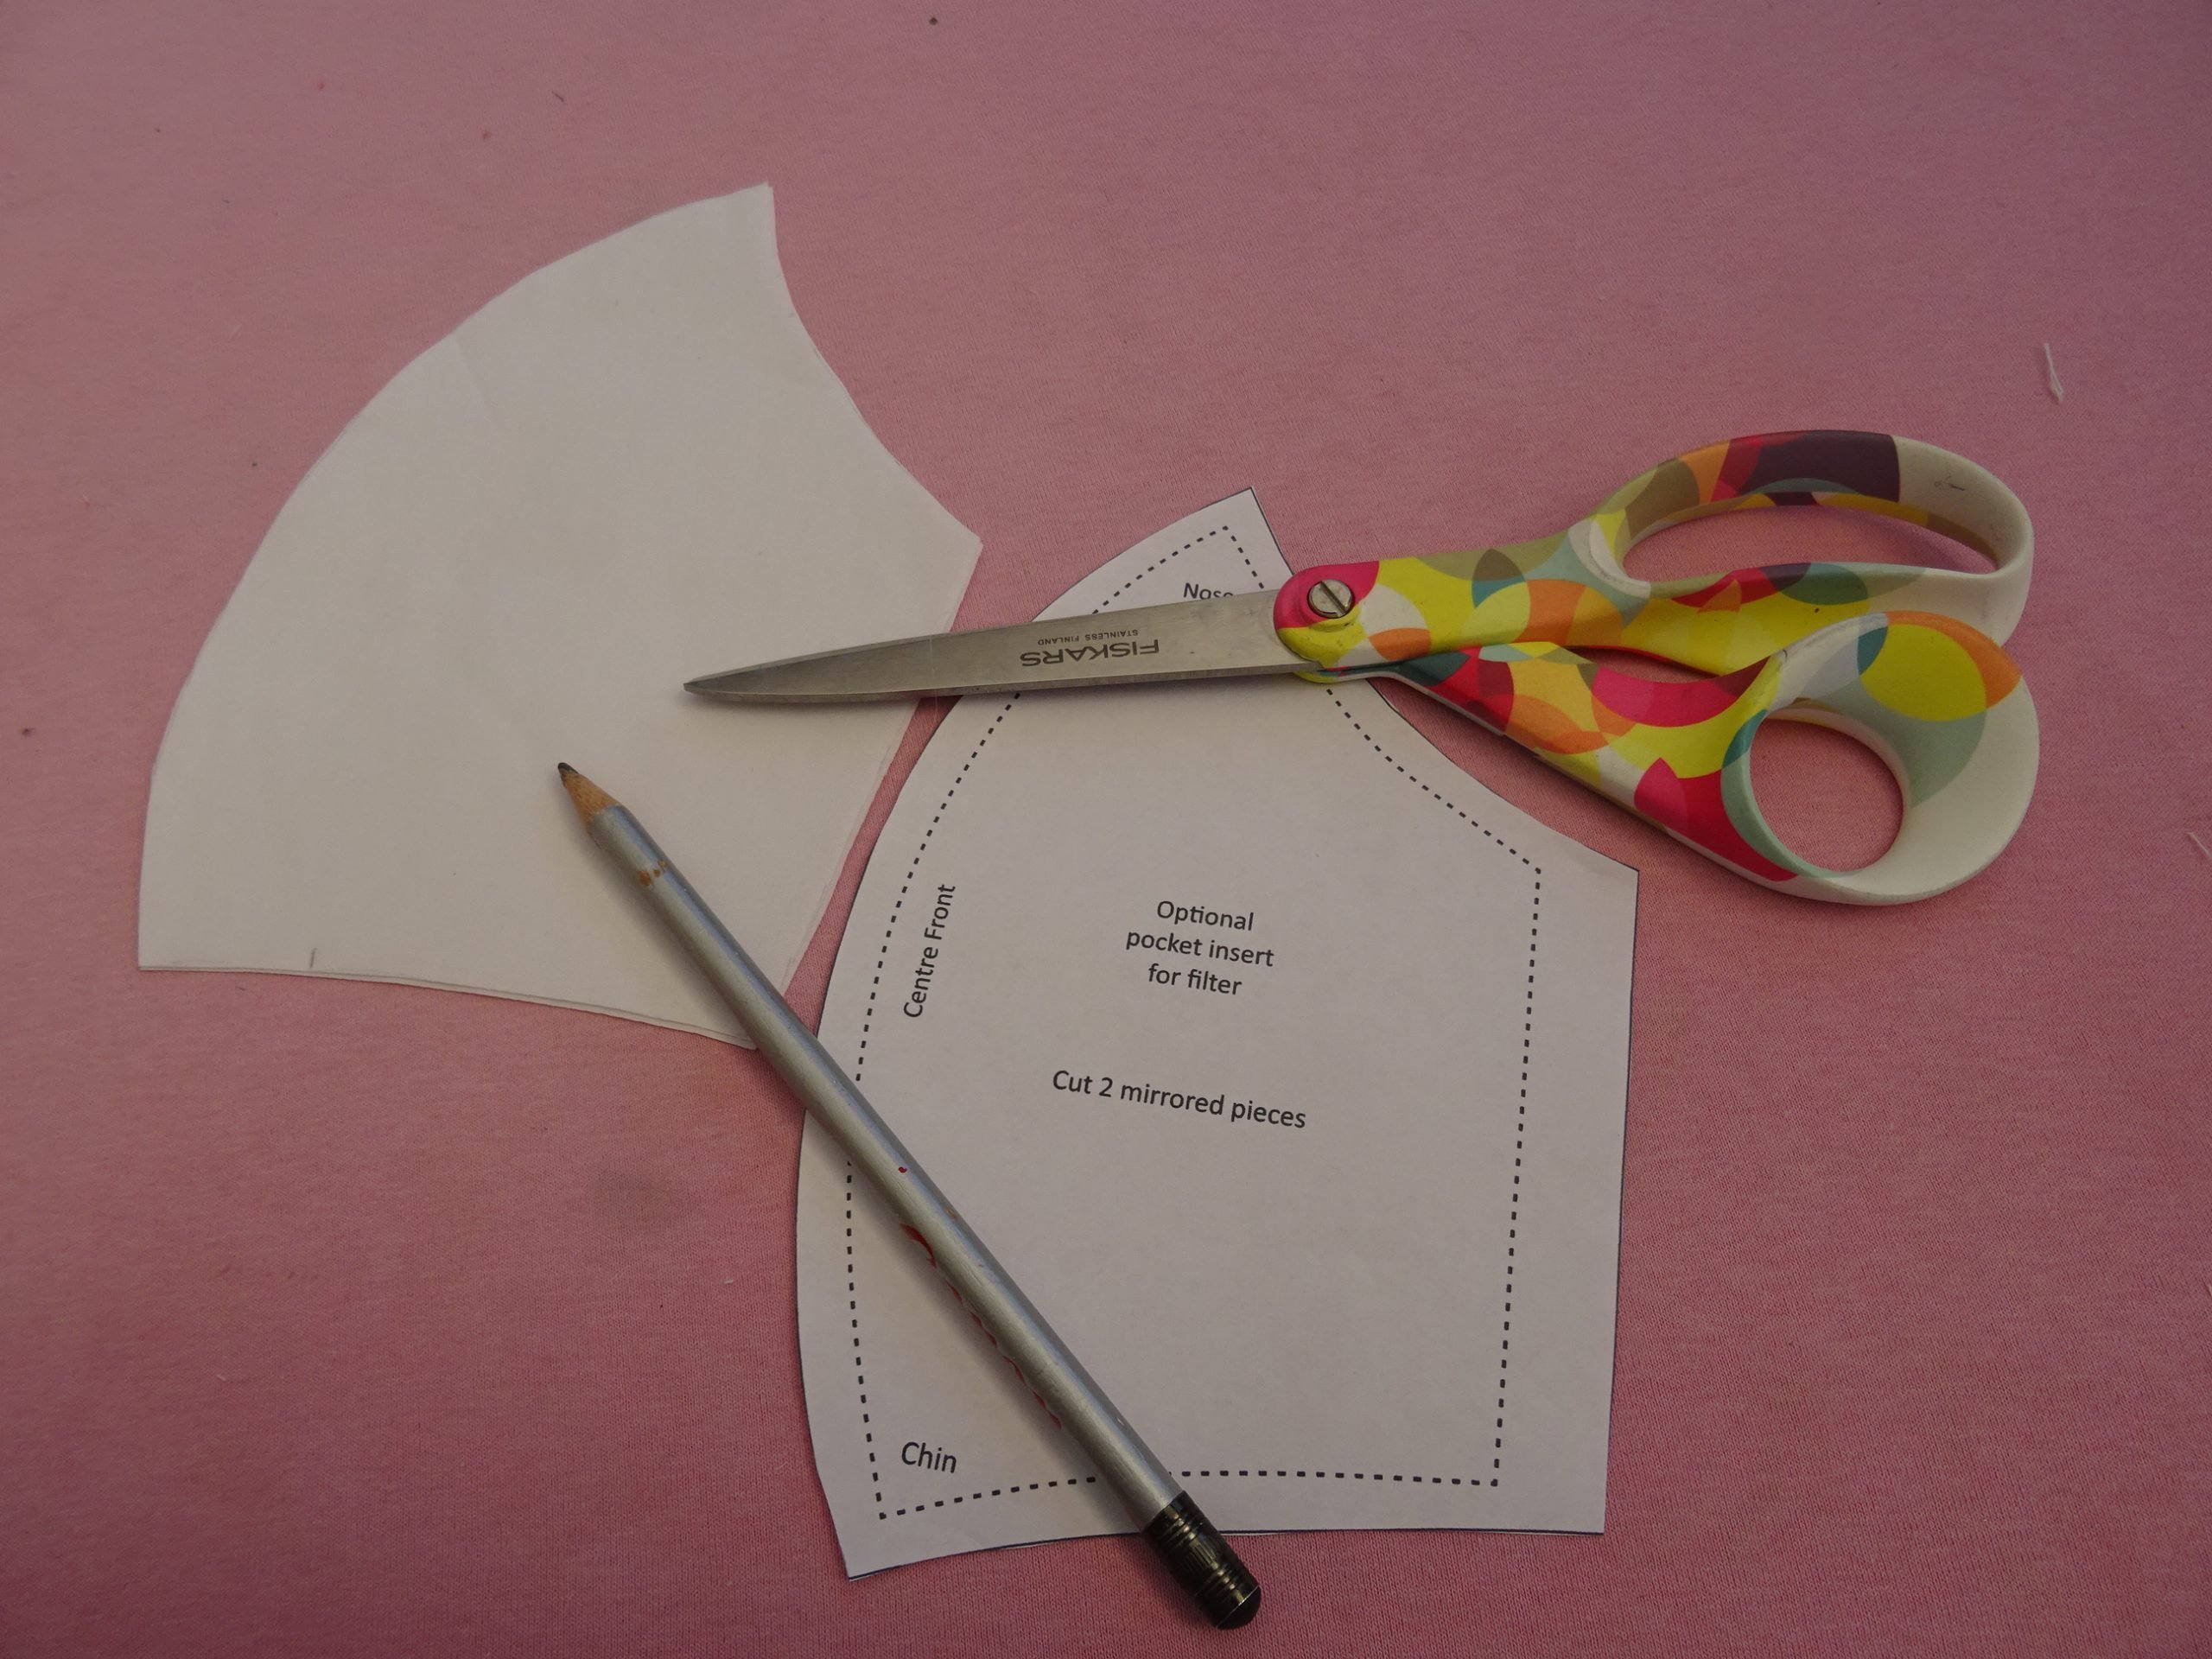
Cut out the templates. The link for the files is in the Materials section of this post.
There is a ¼” (6mm) seam allowance for all seams apart from the two elastic holding loops which are 3/4”(18mm) after folding.
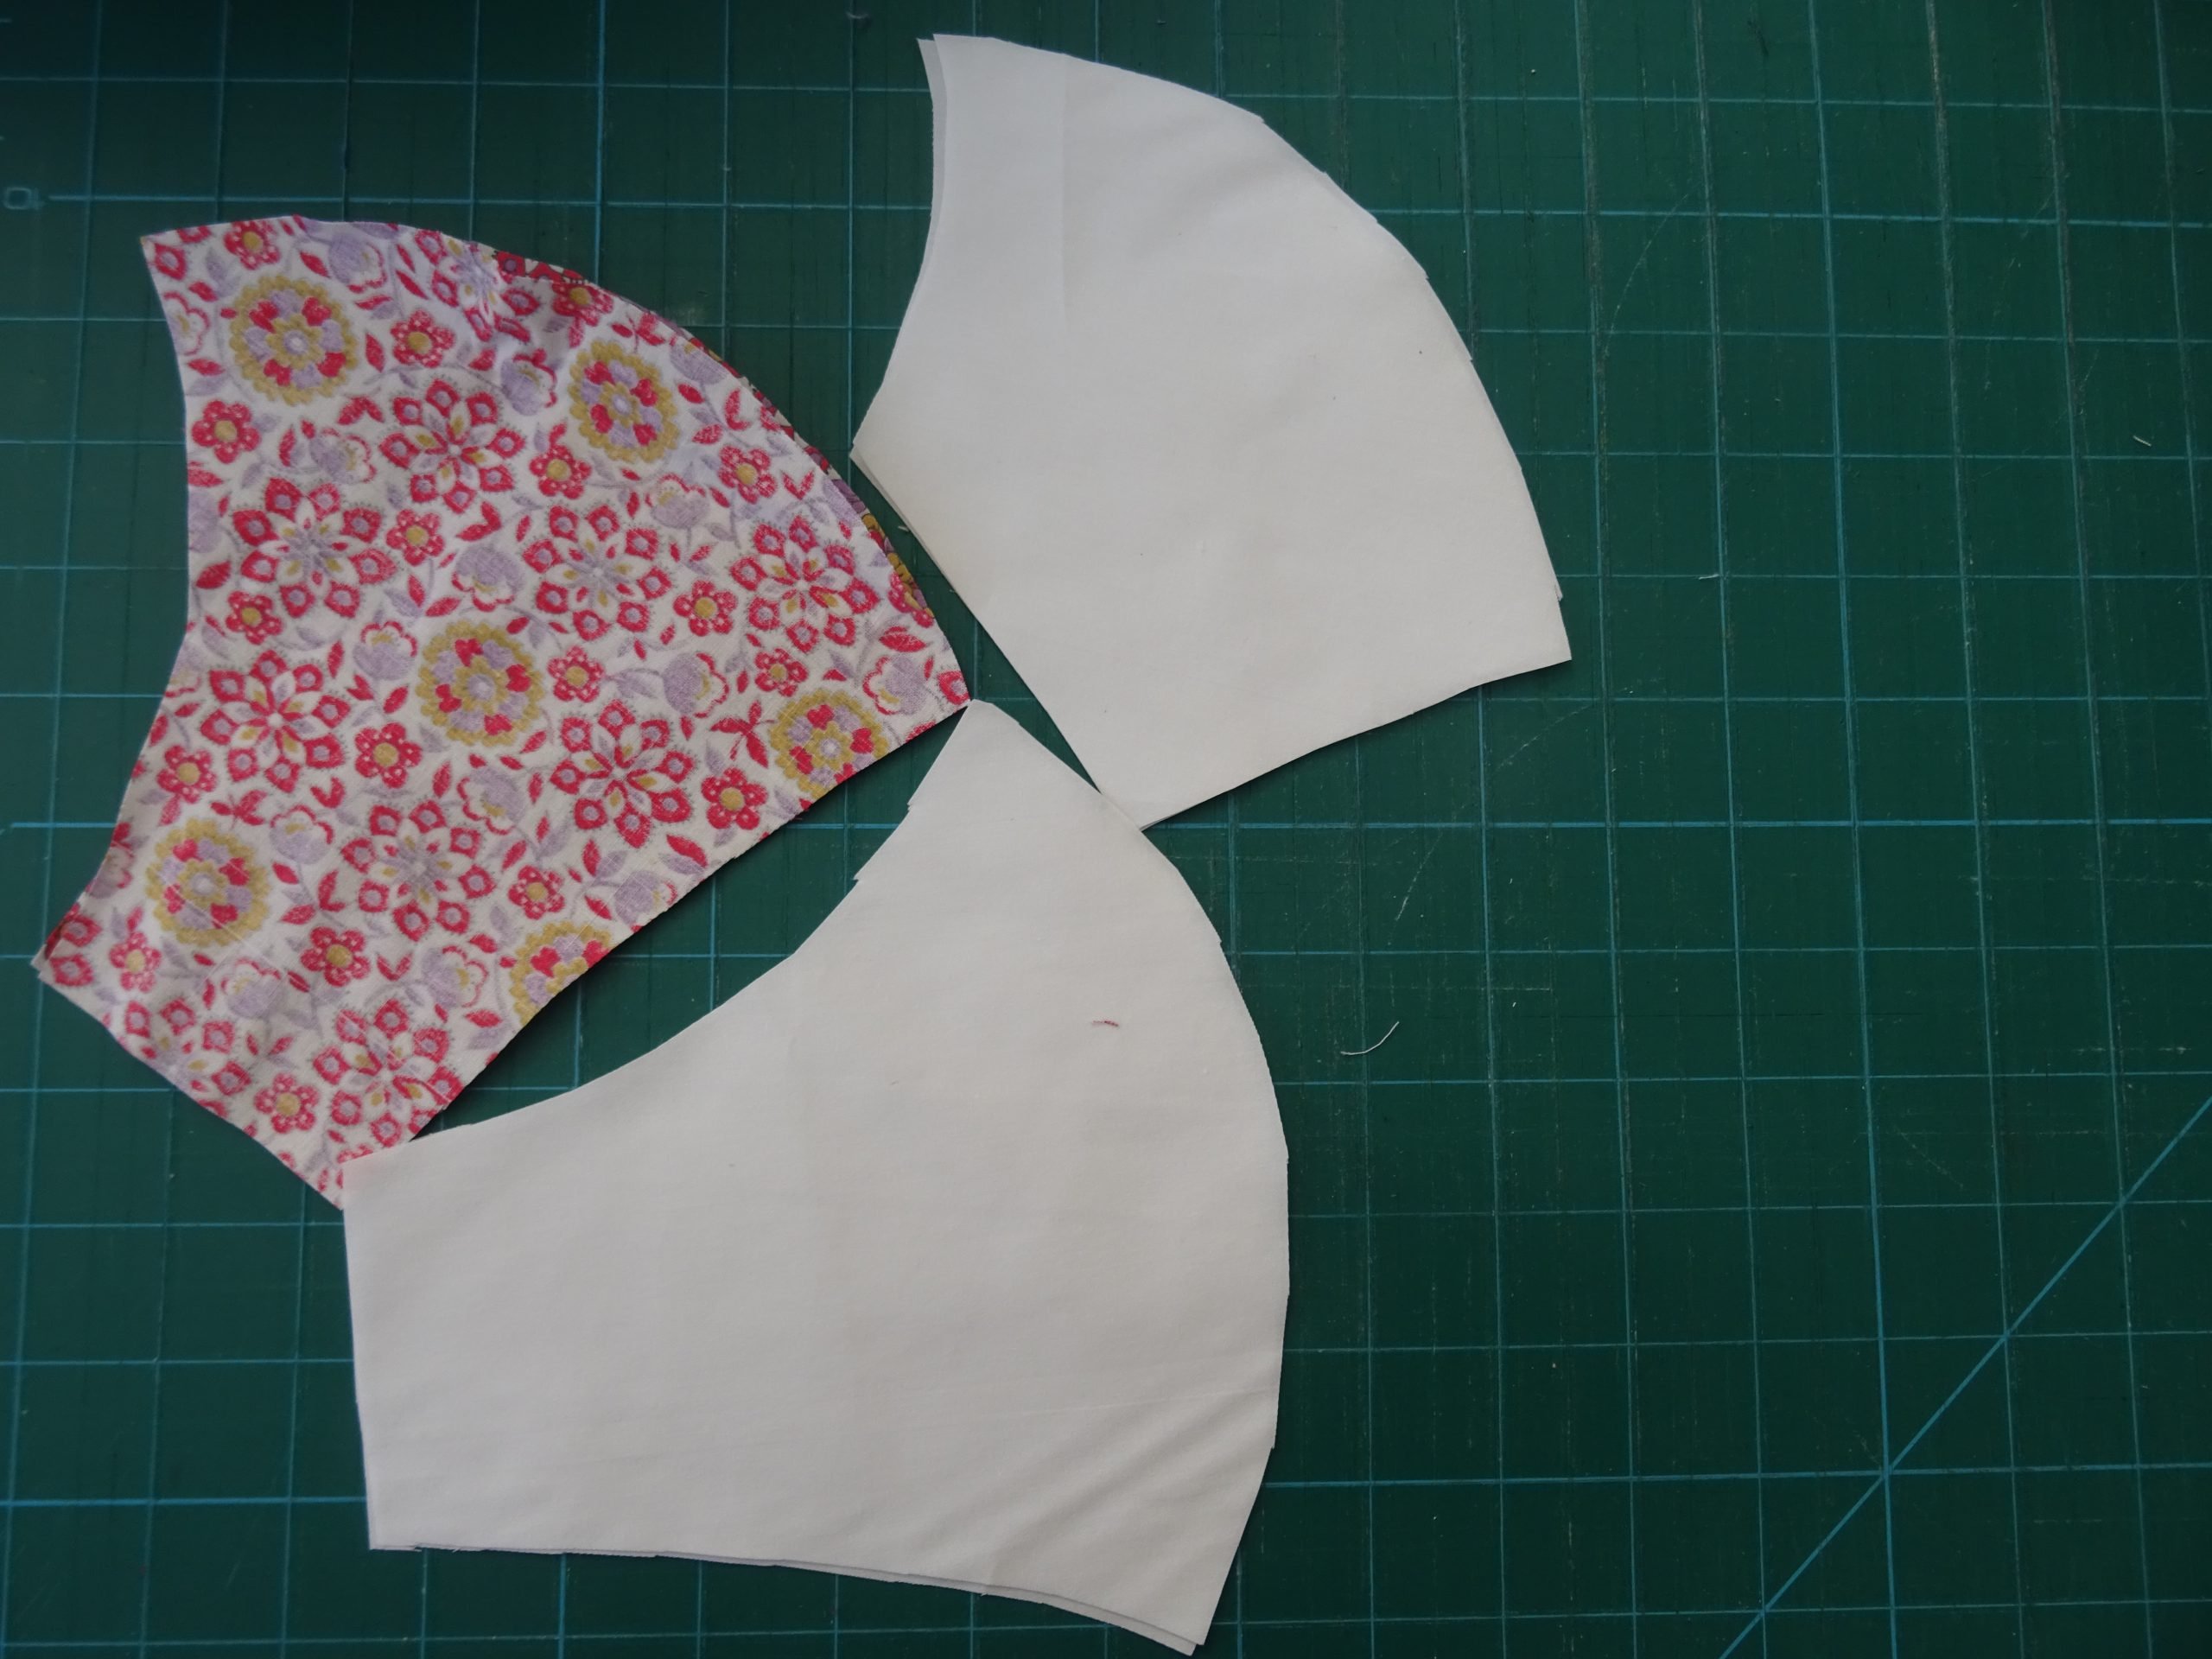
Fold fabrics in half, right sides together. Place templates on fabrics. Mark outlines. Cut out shapes. Instructions are given assuming the pocket is to be included. If you do not wish to include the pocket, then please disregard any pocket instructions.
You will have two sets of fabric for the larger template and one set of the smaller one.
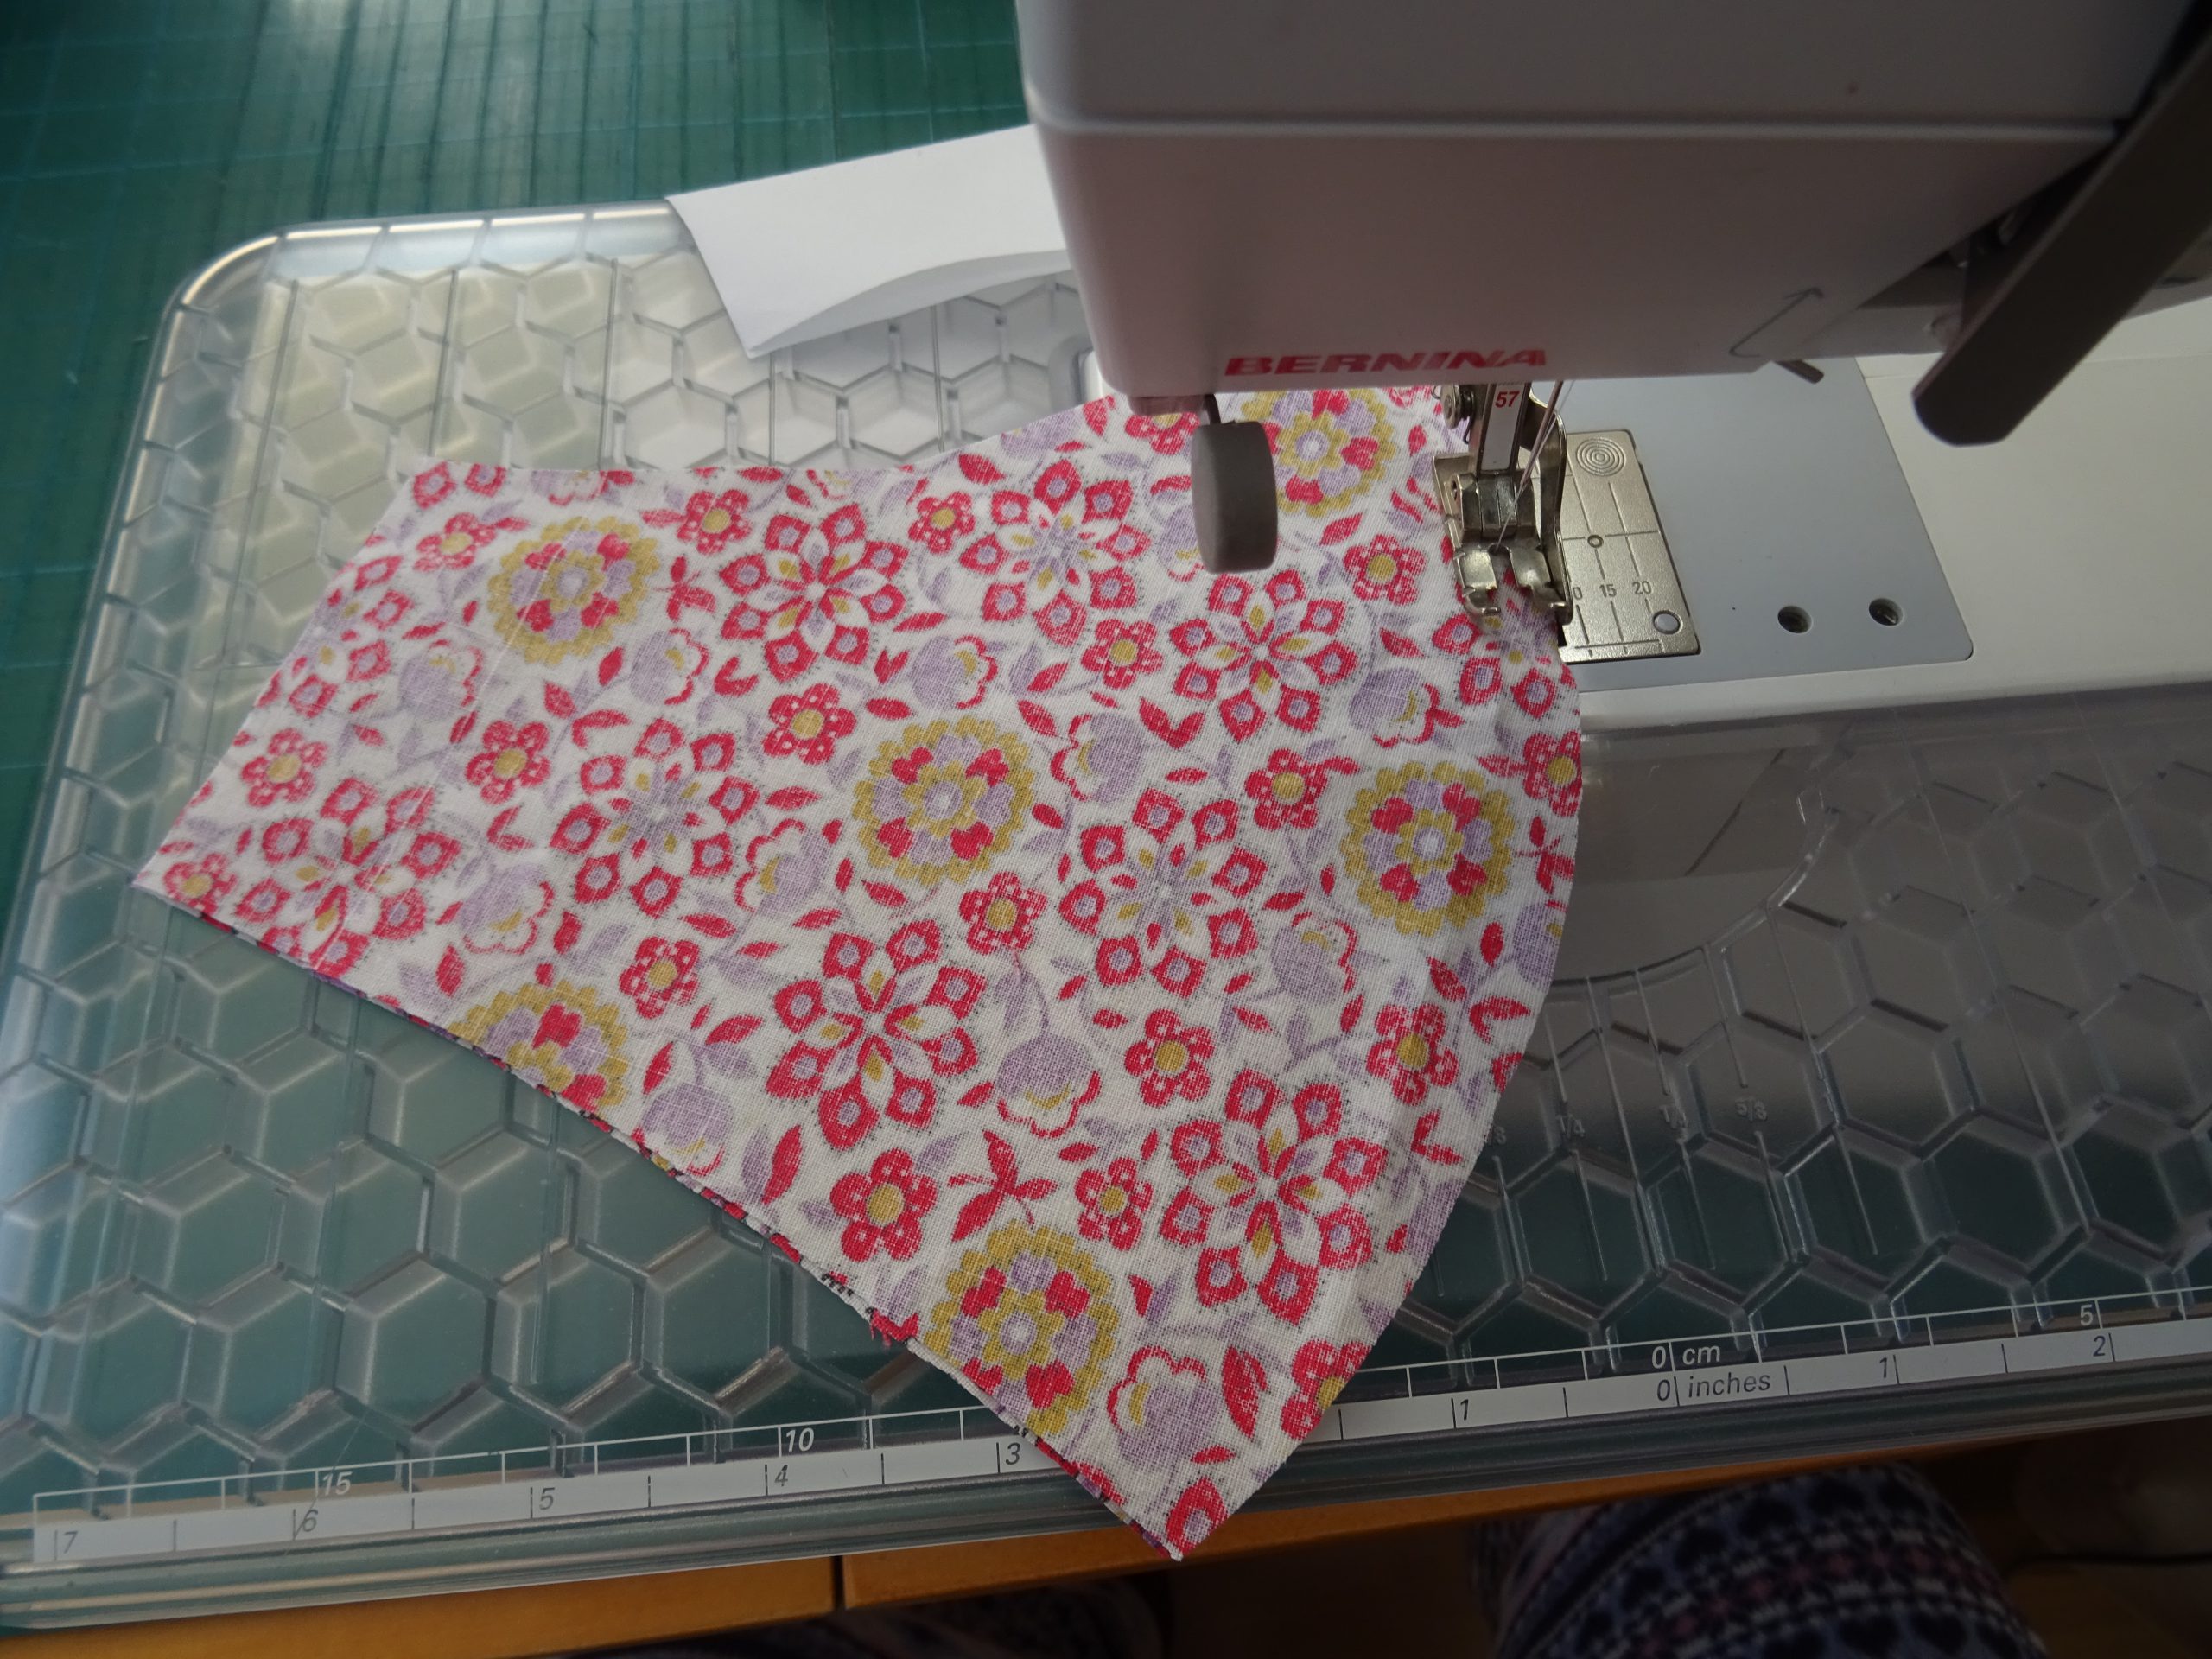
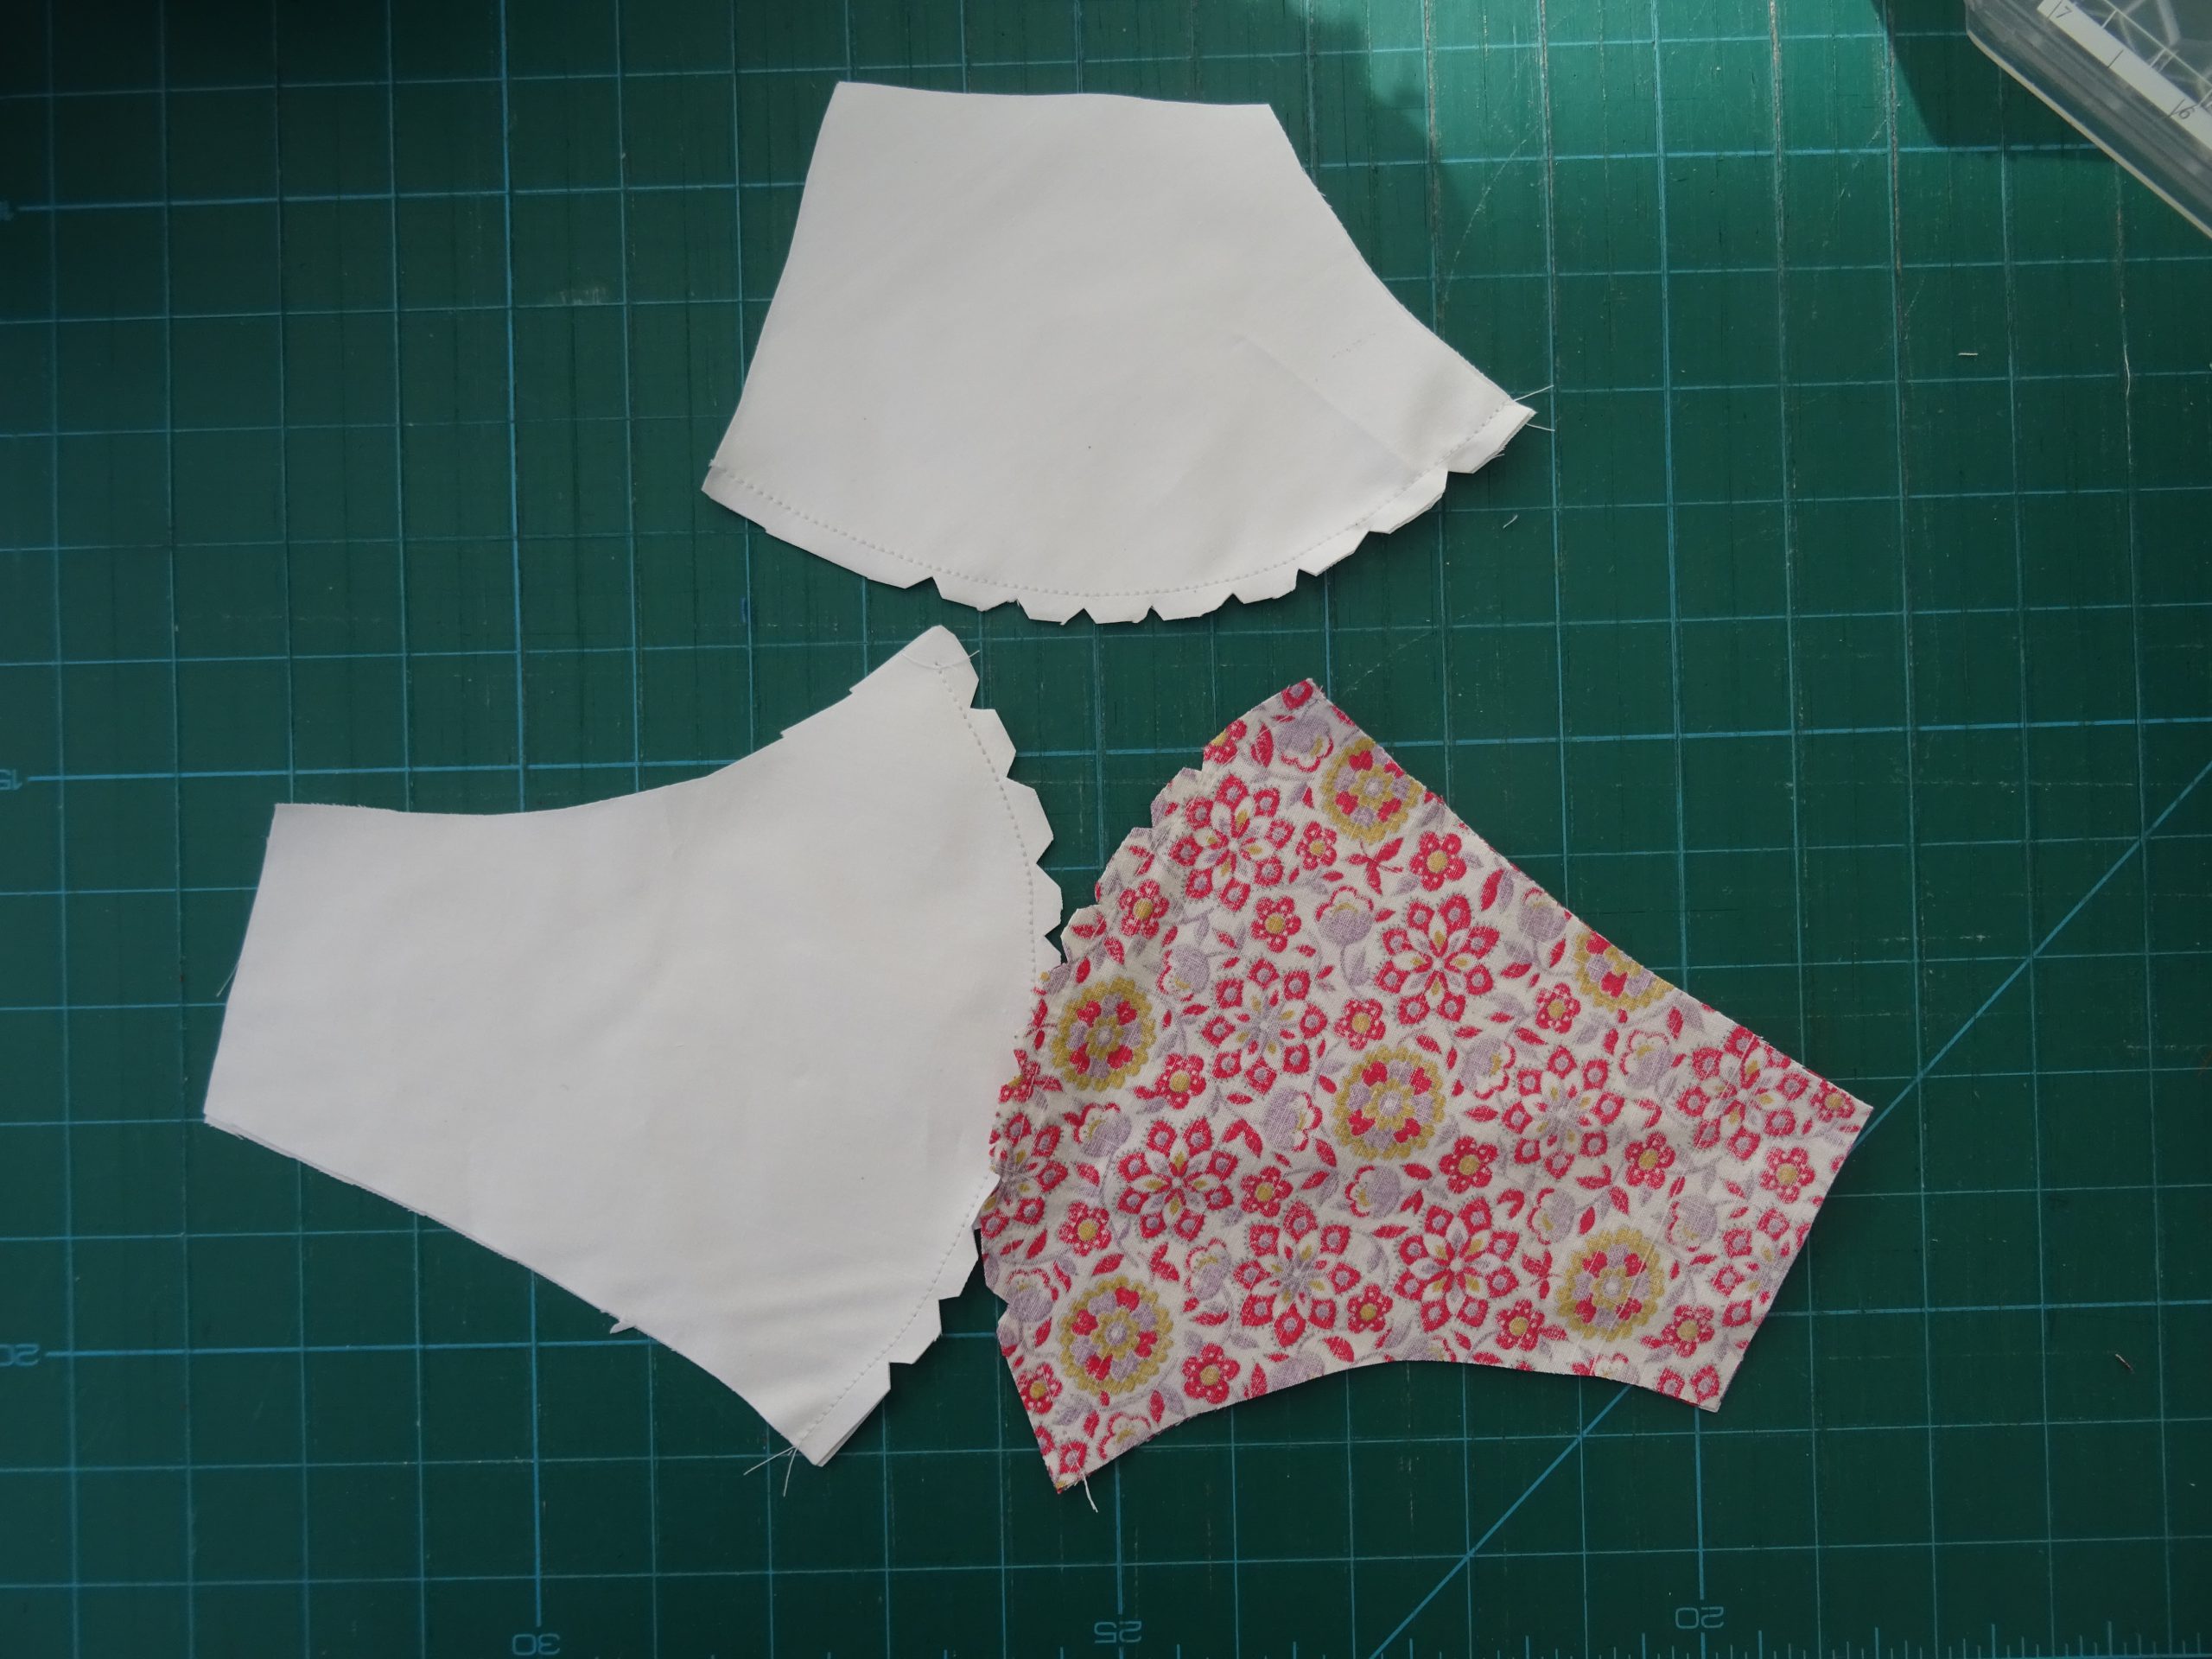
Place both patterned fabric shapes right sides together and stitch around the curved edge only. I used the No 57 1/4″ foot.
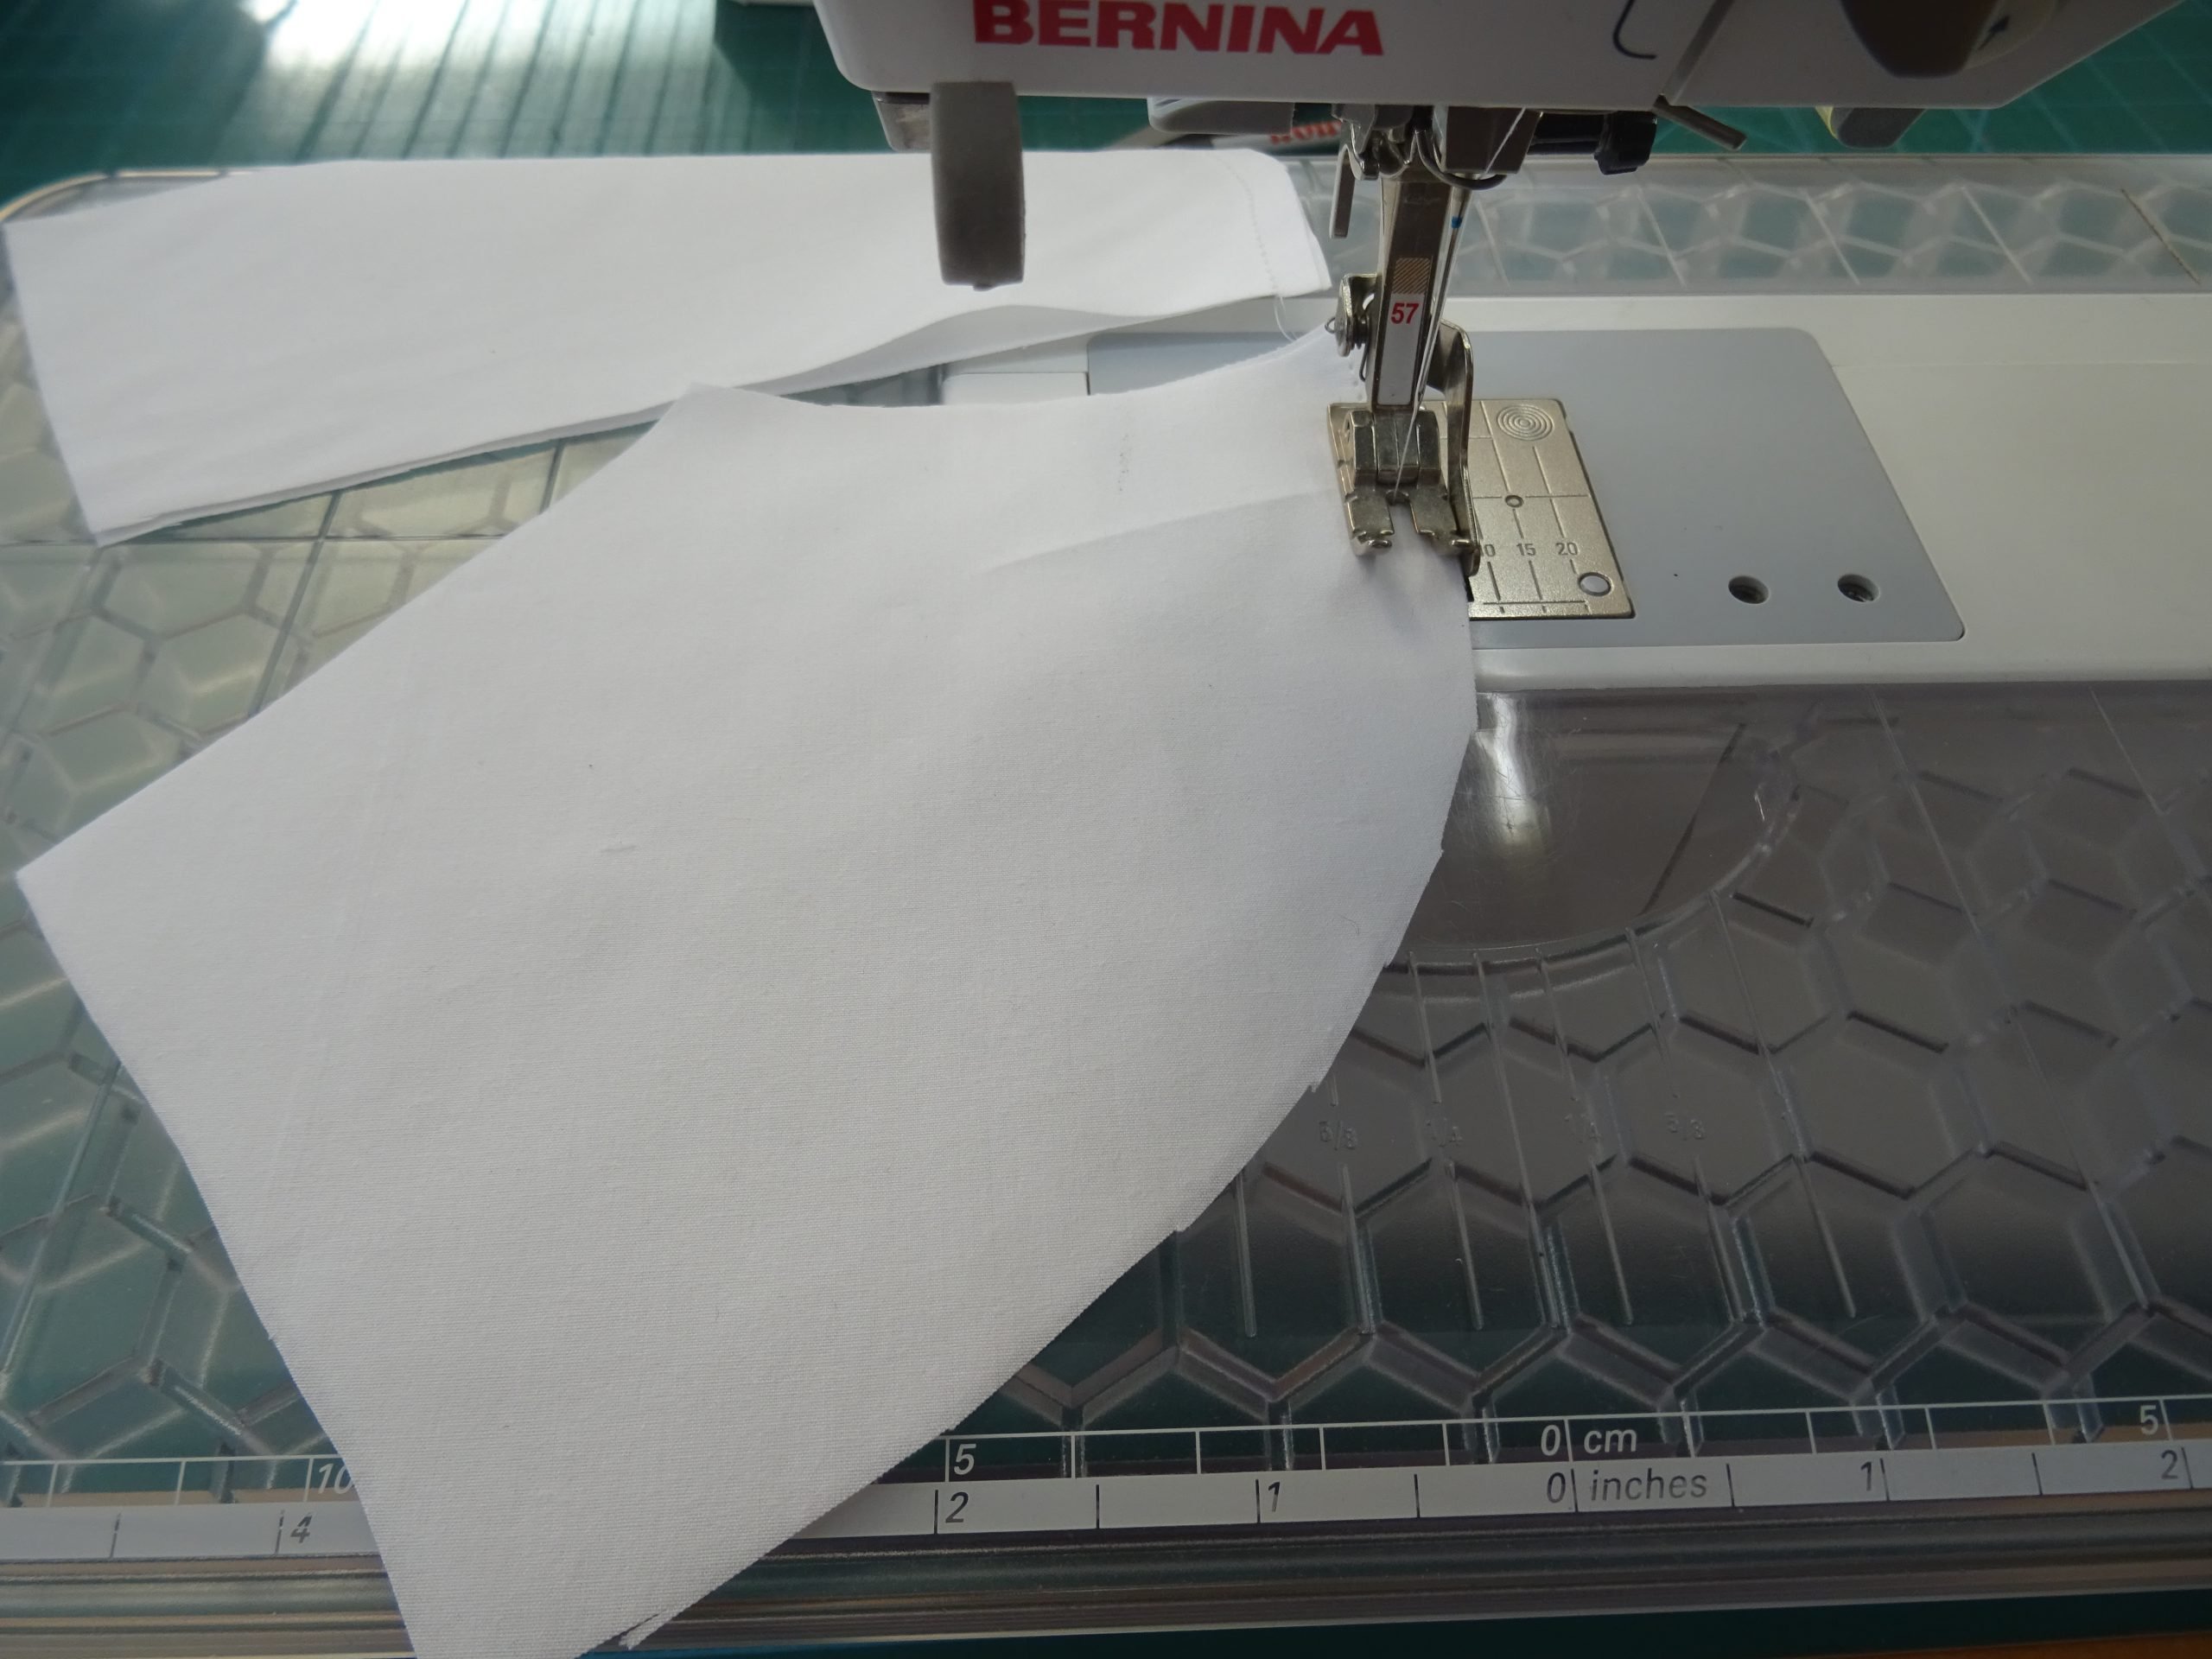
Repeat for the lining and pocket.
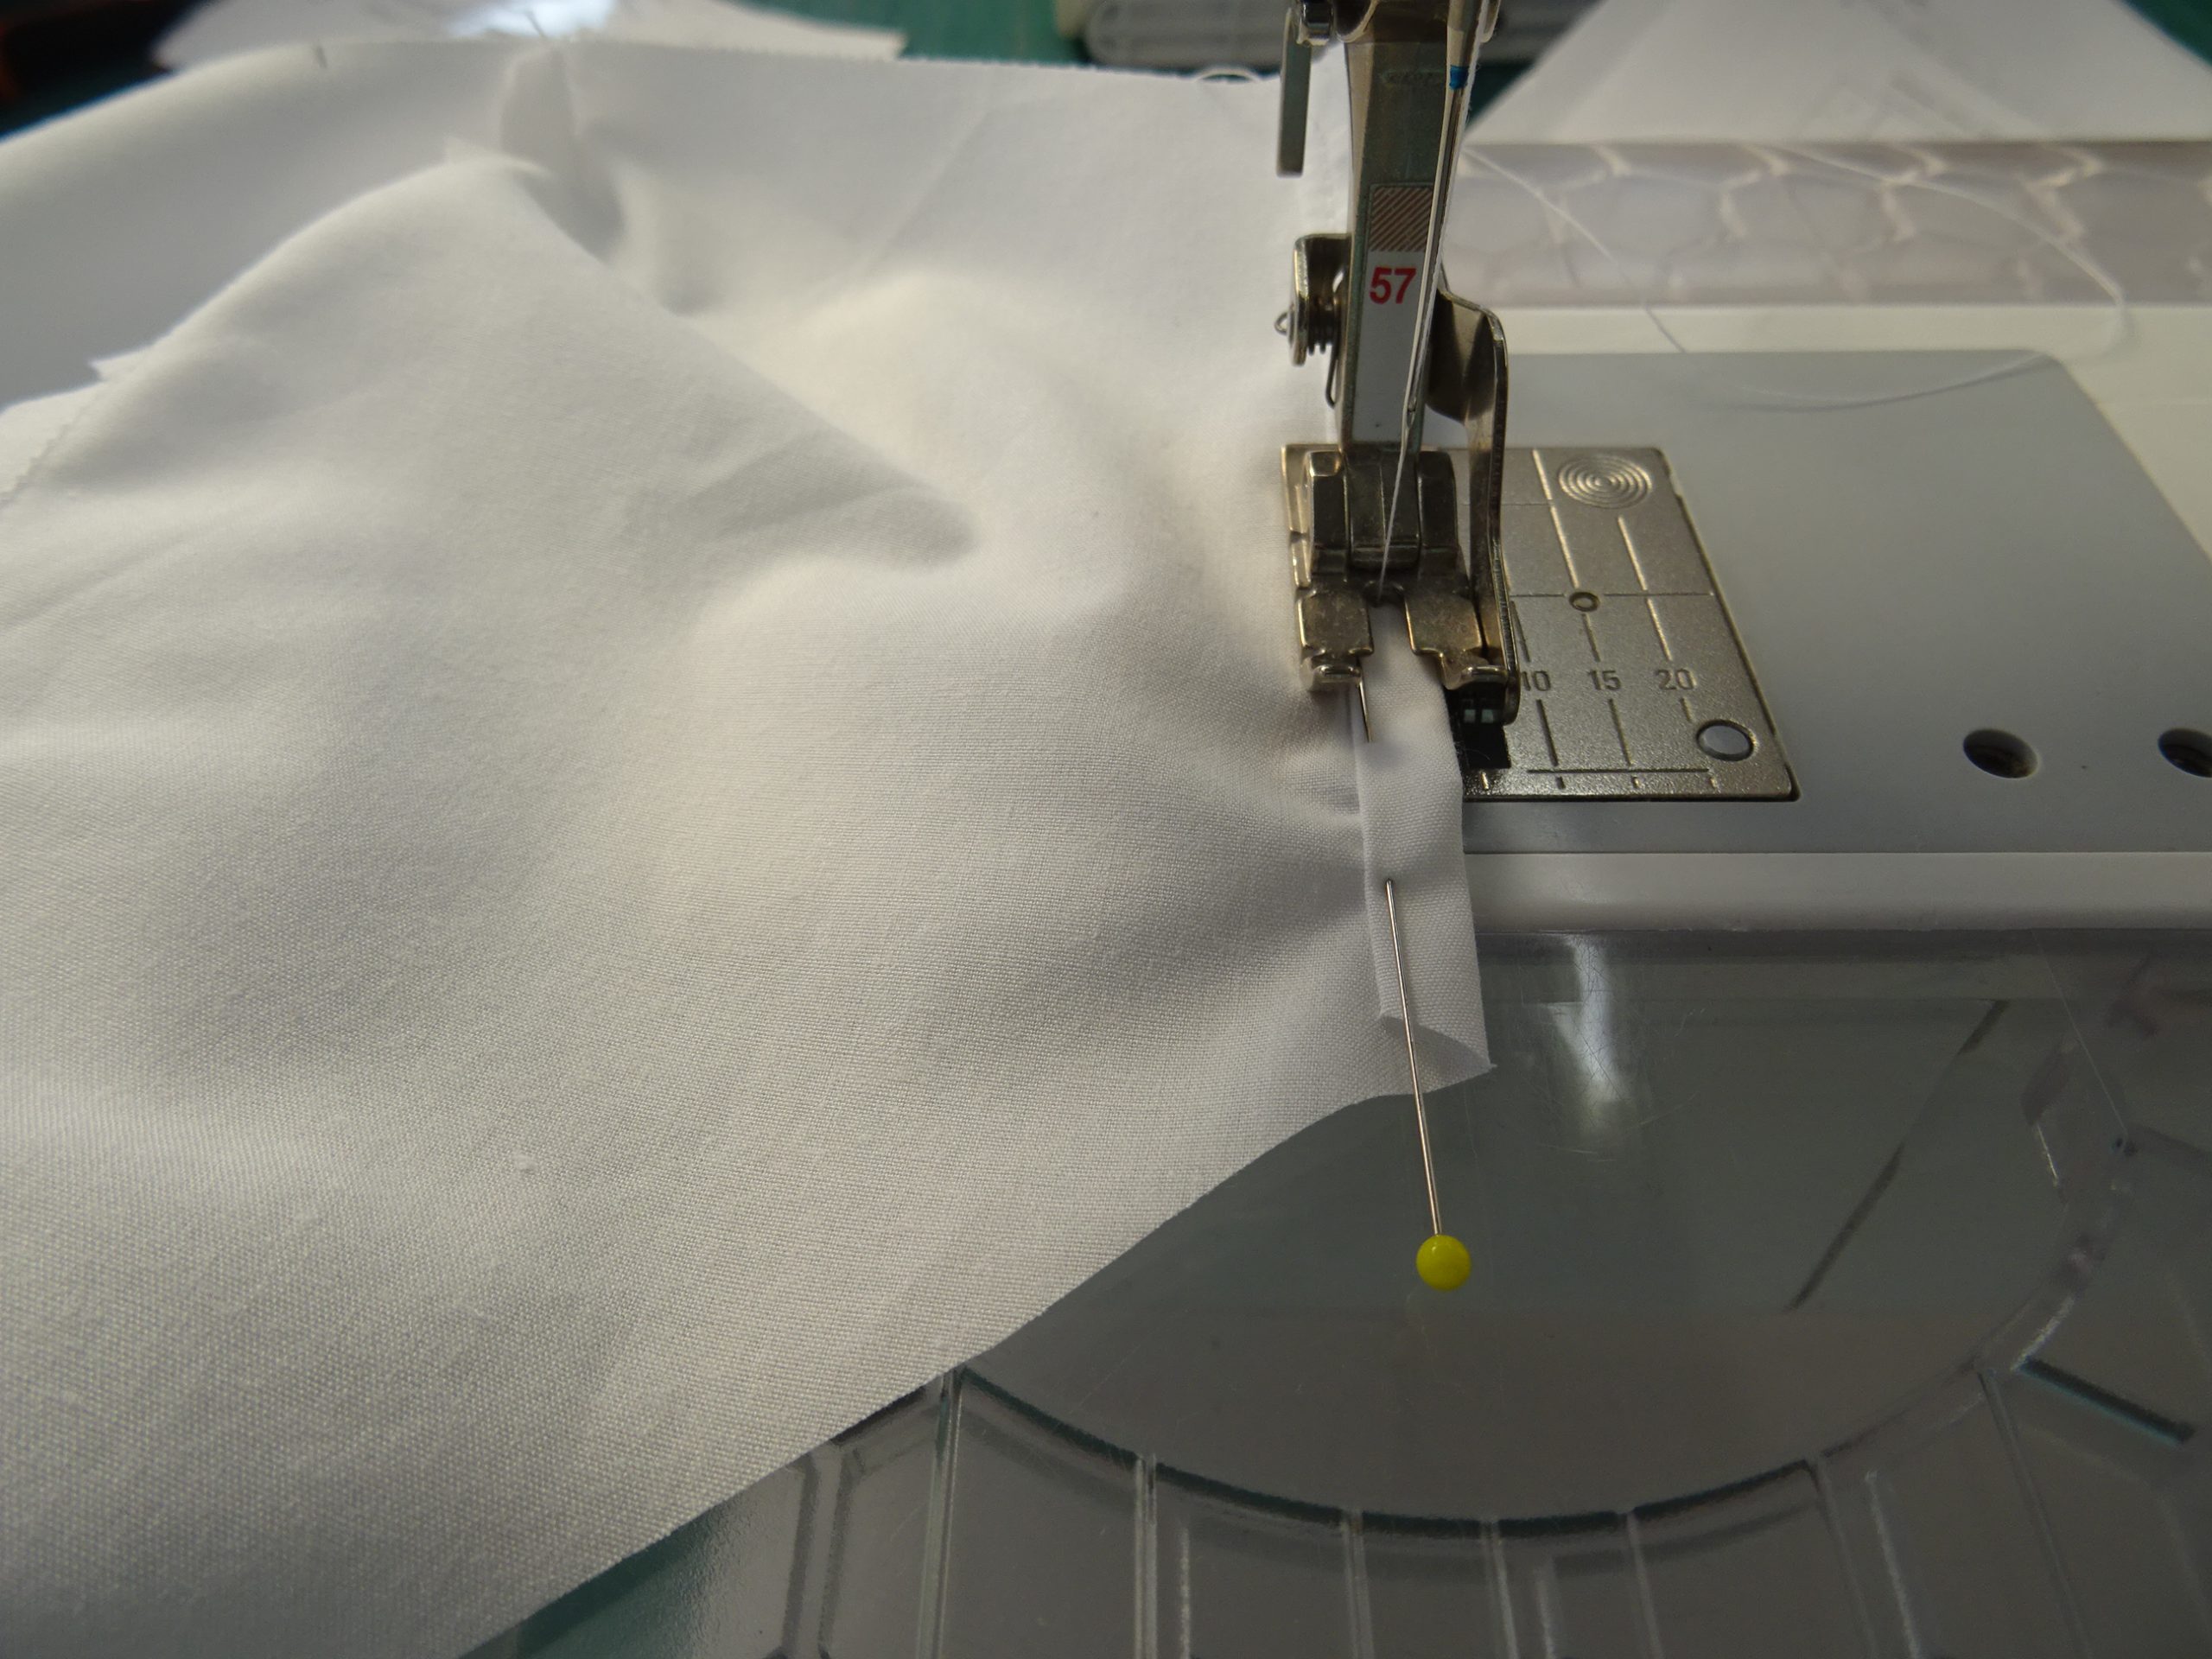
Pocket only: The extra wide seam allowance on the edge of the pocket is for a narrow double hem on each side before it is attached to the lining and outer fabrics. Turn each straight side under twice by about ¼” to form a double fold and stitch in place.
Clip notches out of the curved sides of all three pieces to stop any overlapping of the seam allowance fabrics when the mask is turned to the right side and worn.
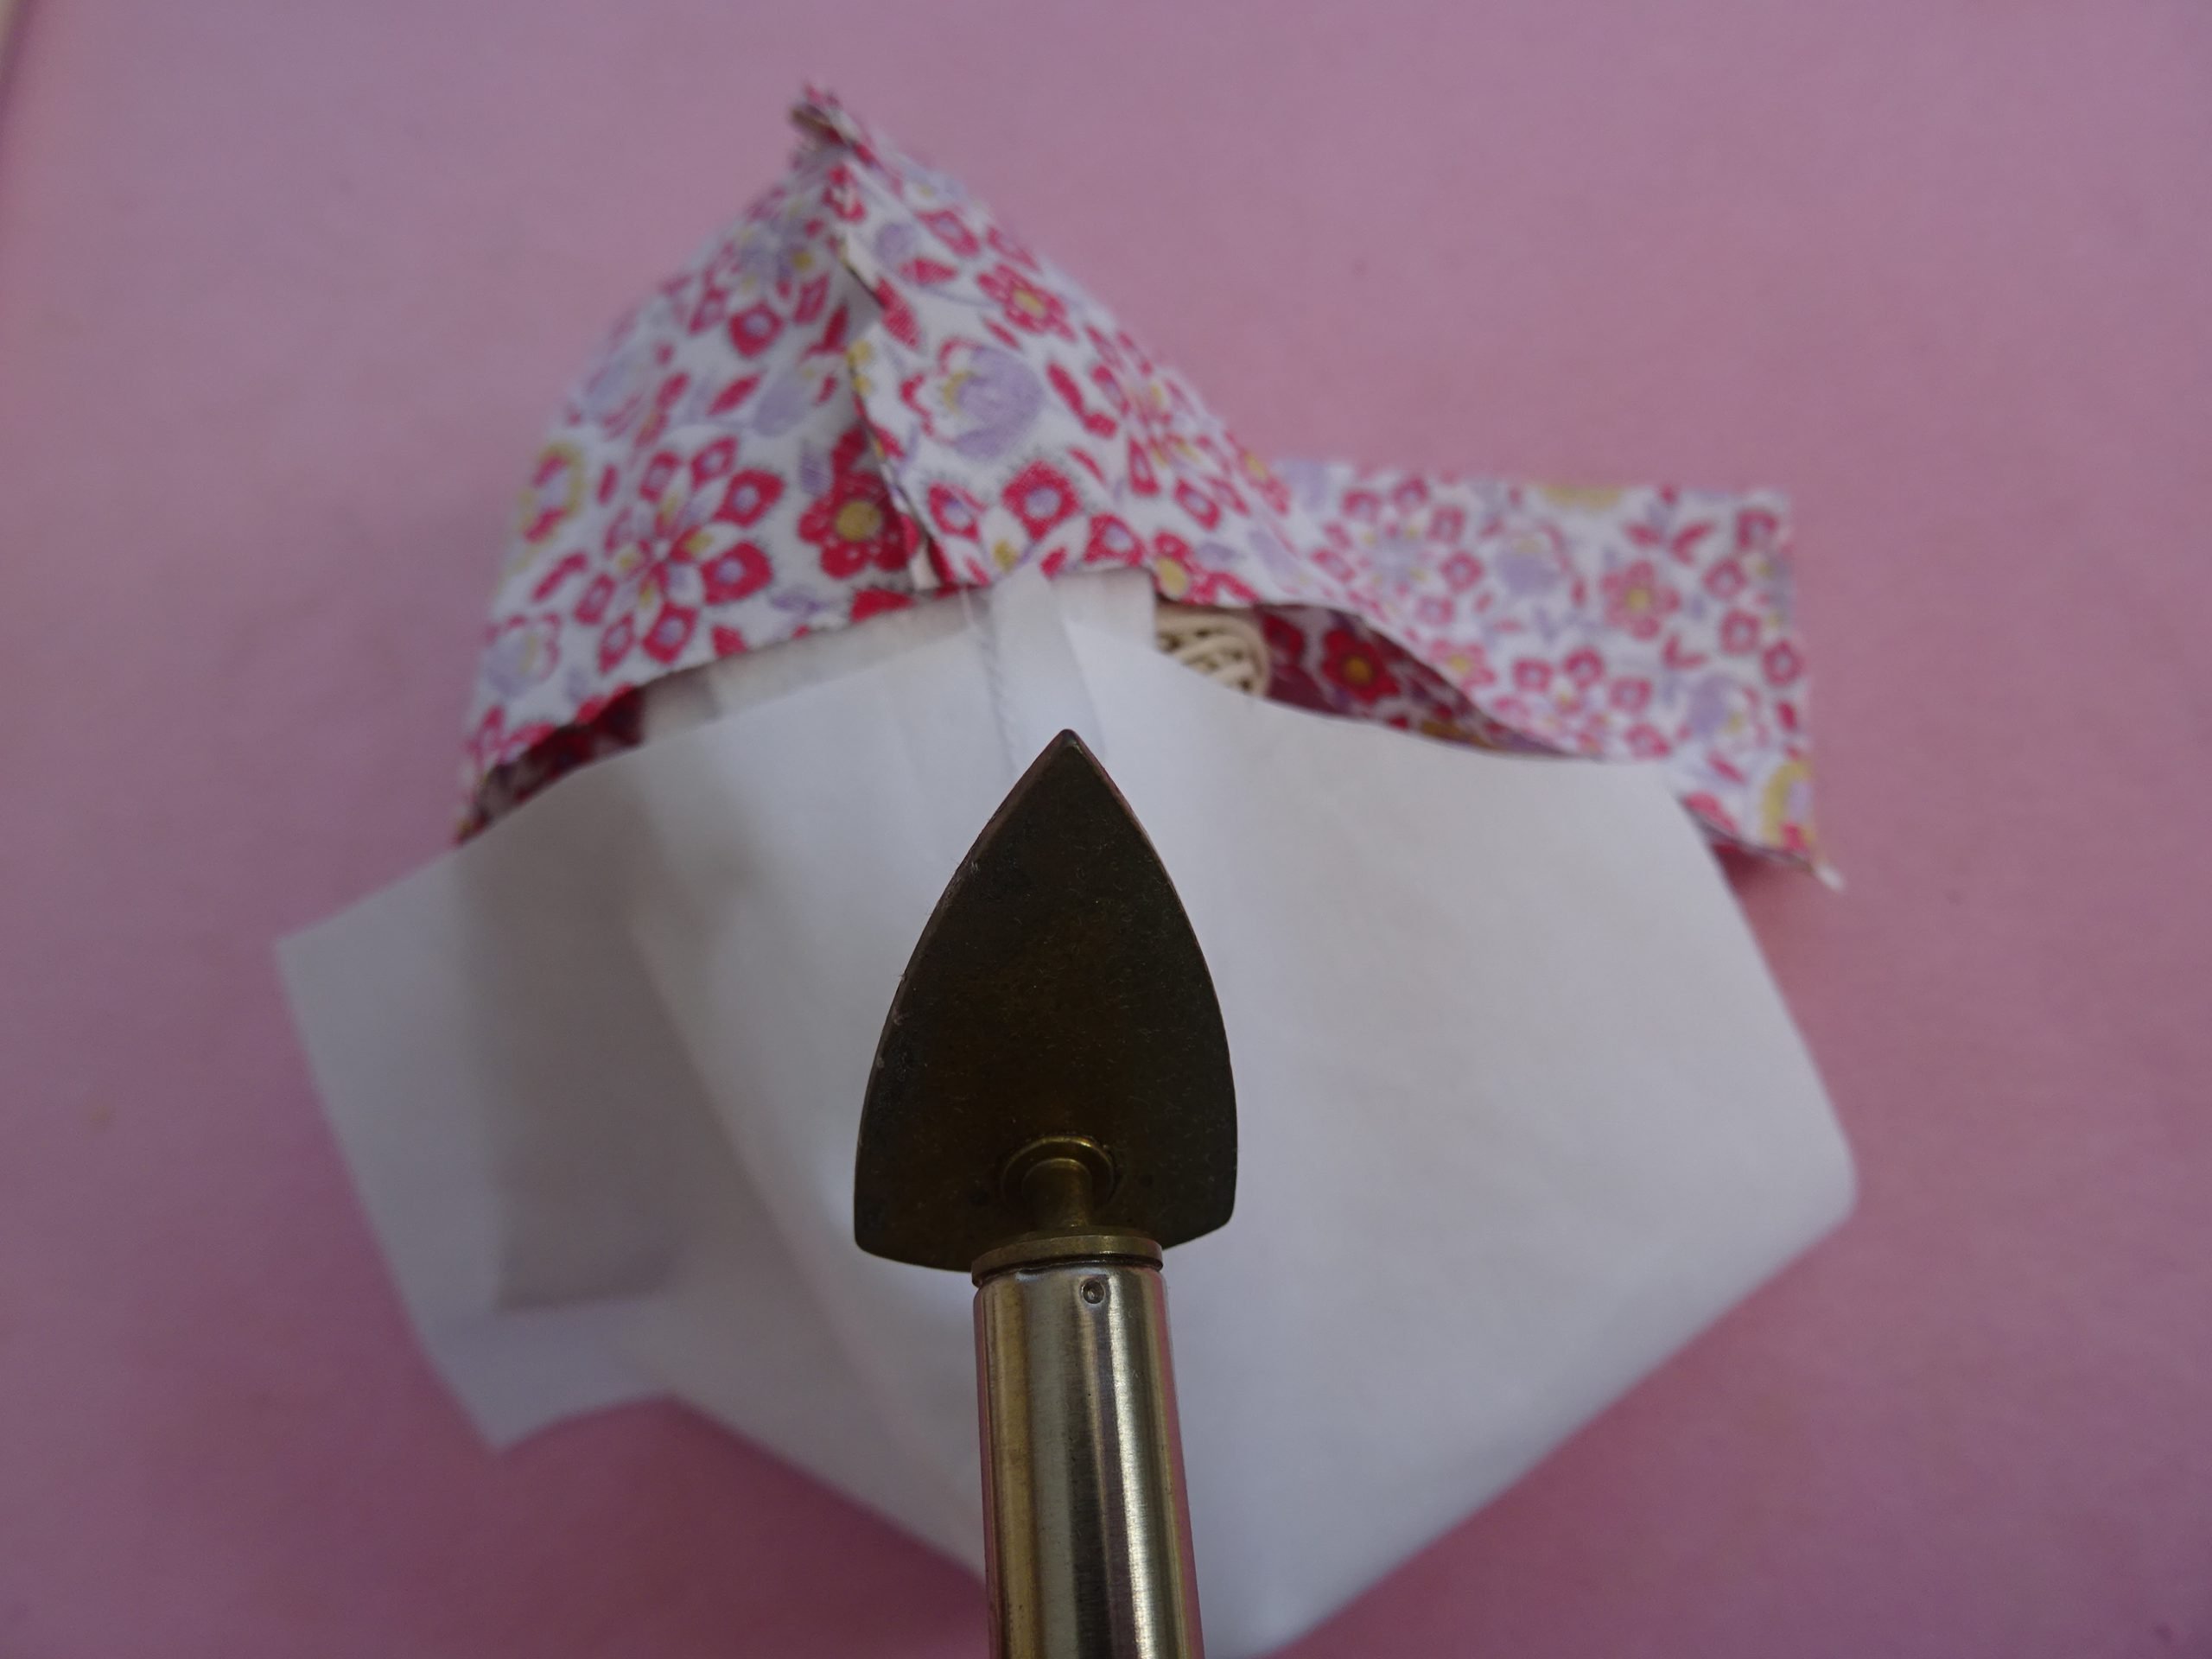
Press seams to one side. Press to the left on one section, to the right on the other and then to the left again on the third. If just using two fabrics, the press one to the left and one to the right. I used a ball of string with some wadding strips wrapped round it to fill the shape while I was pressing as I didn’t have a tailor’s ham. I found using the Clover mini iron was better than the standard one too.
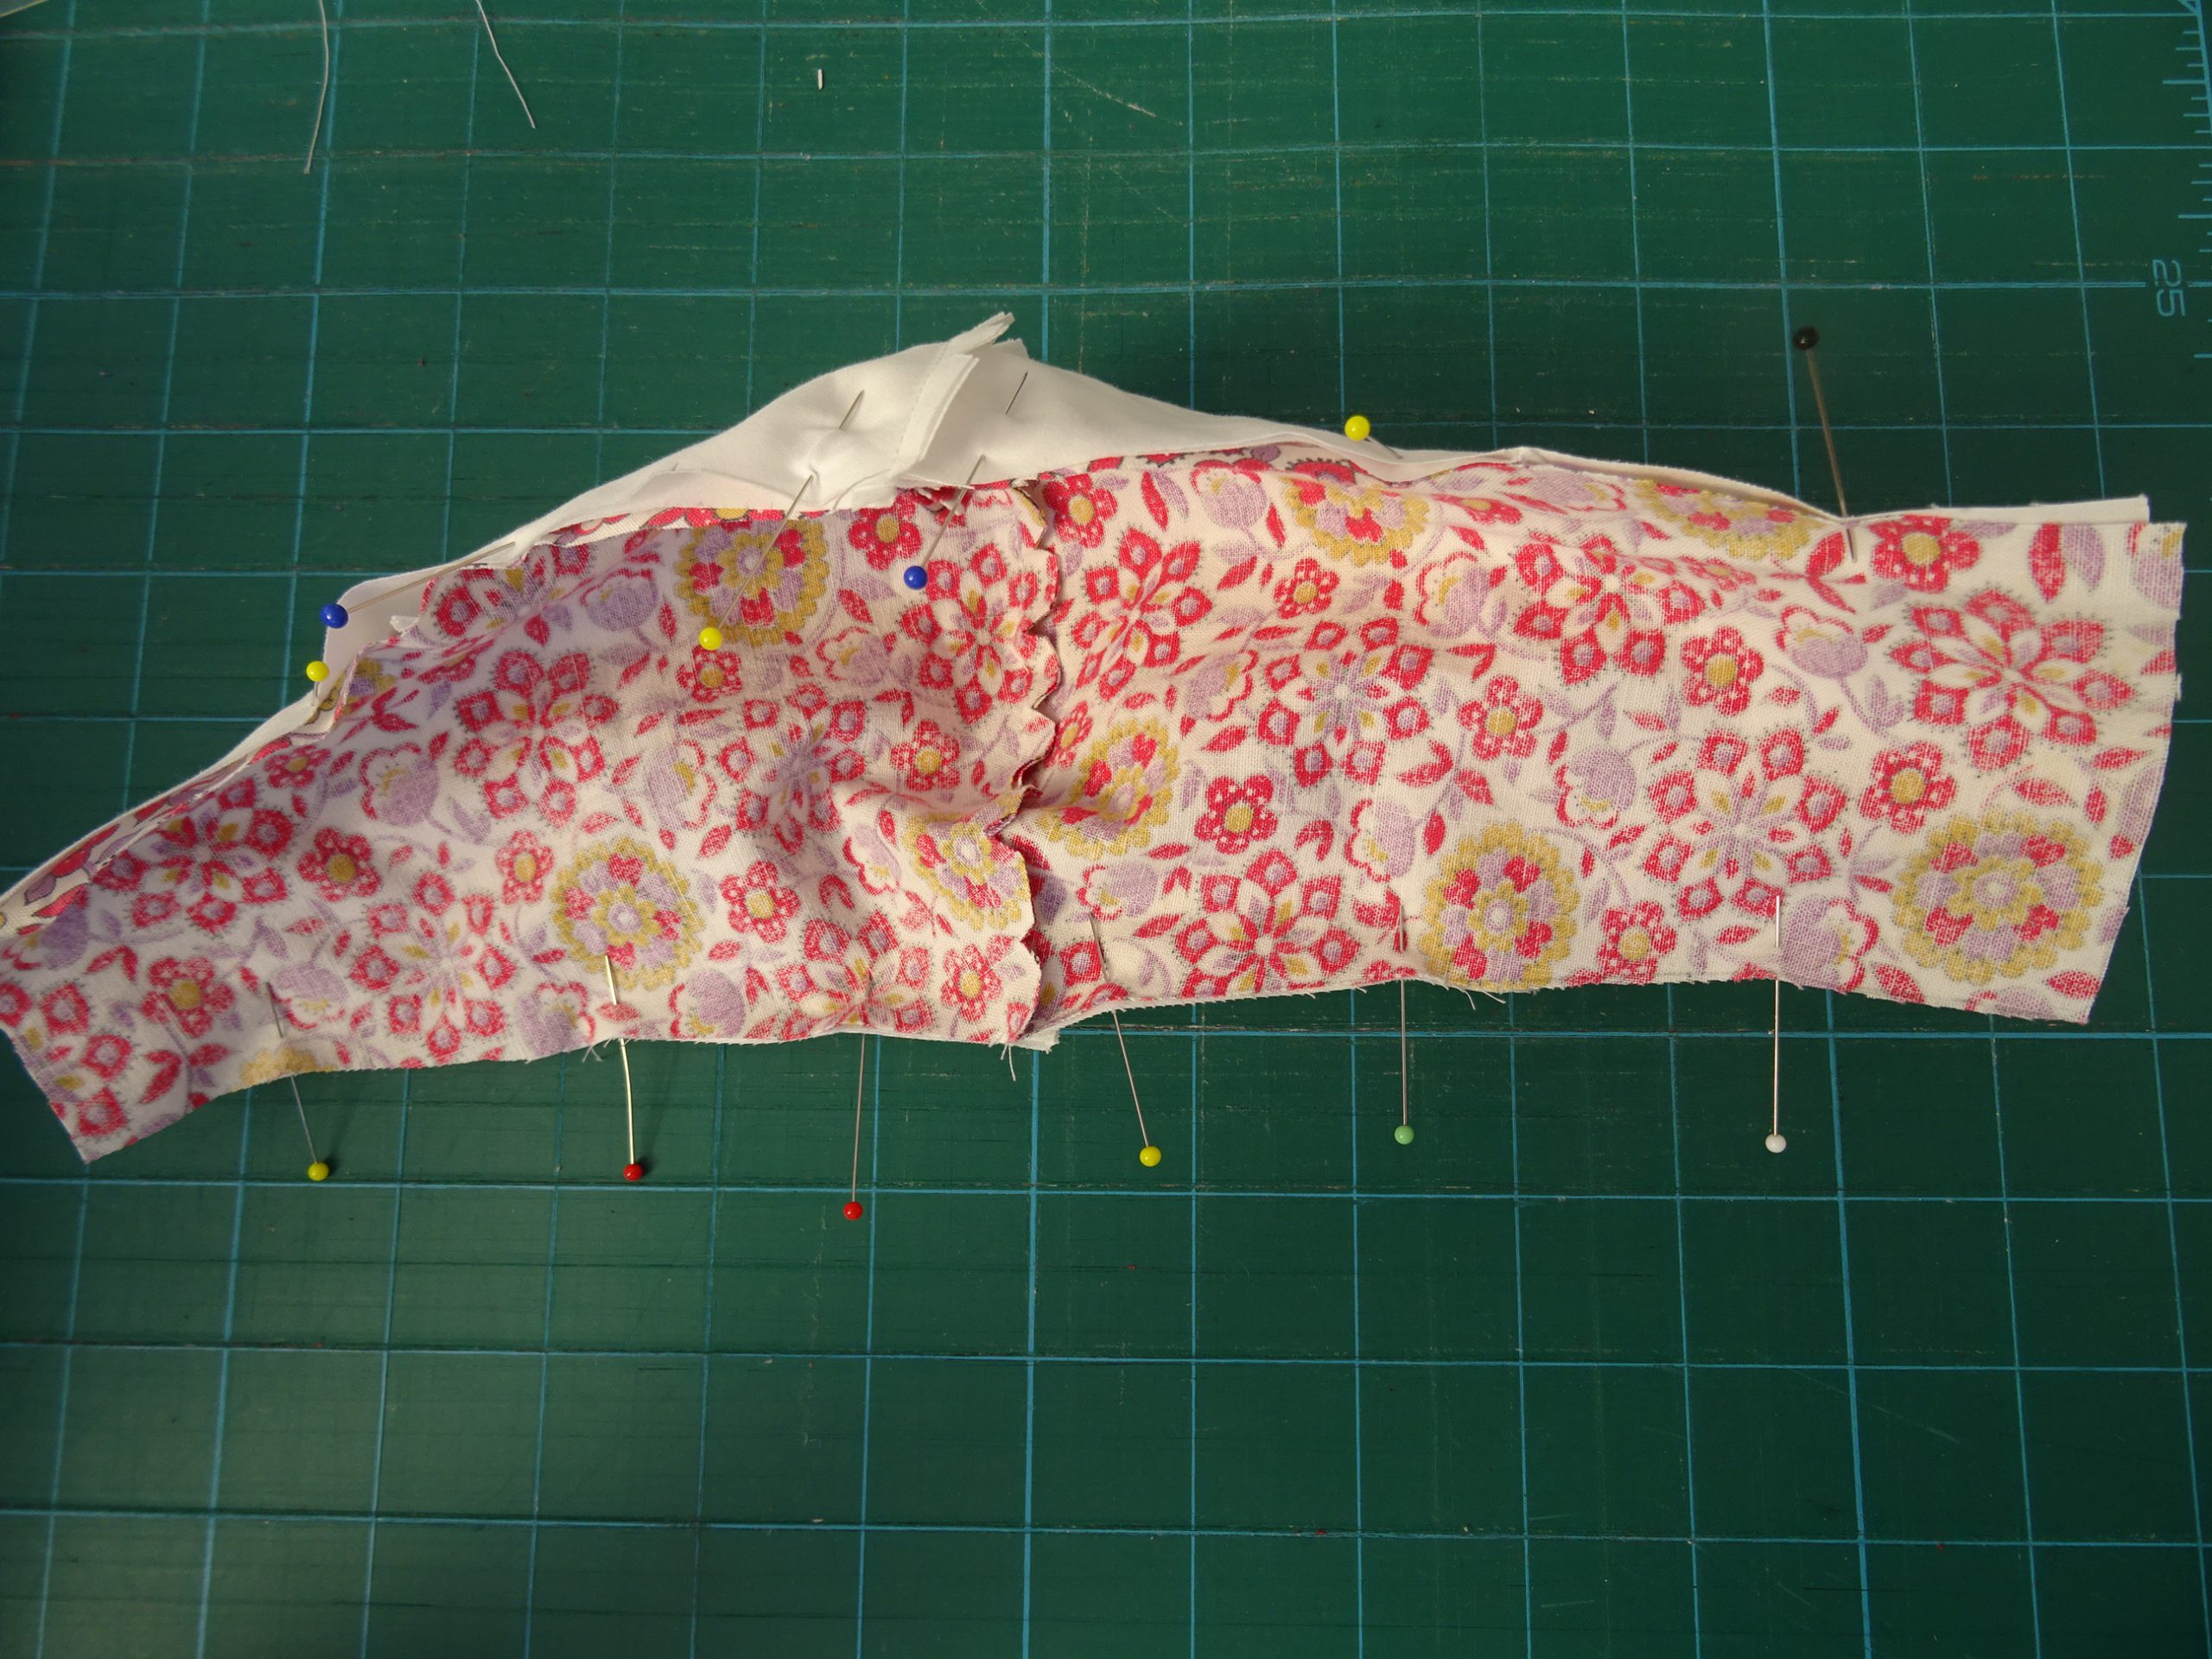
Place the pocket wrong side to the right side of the lining. Then place the patterned fabric piece right side to right side of the pocket/lining. (The pocket is sandwiched between the outer and inner fabrics).
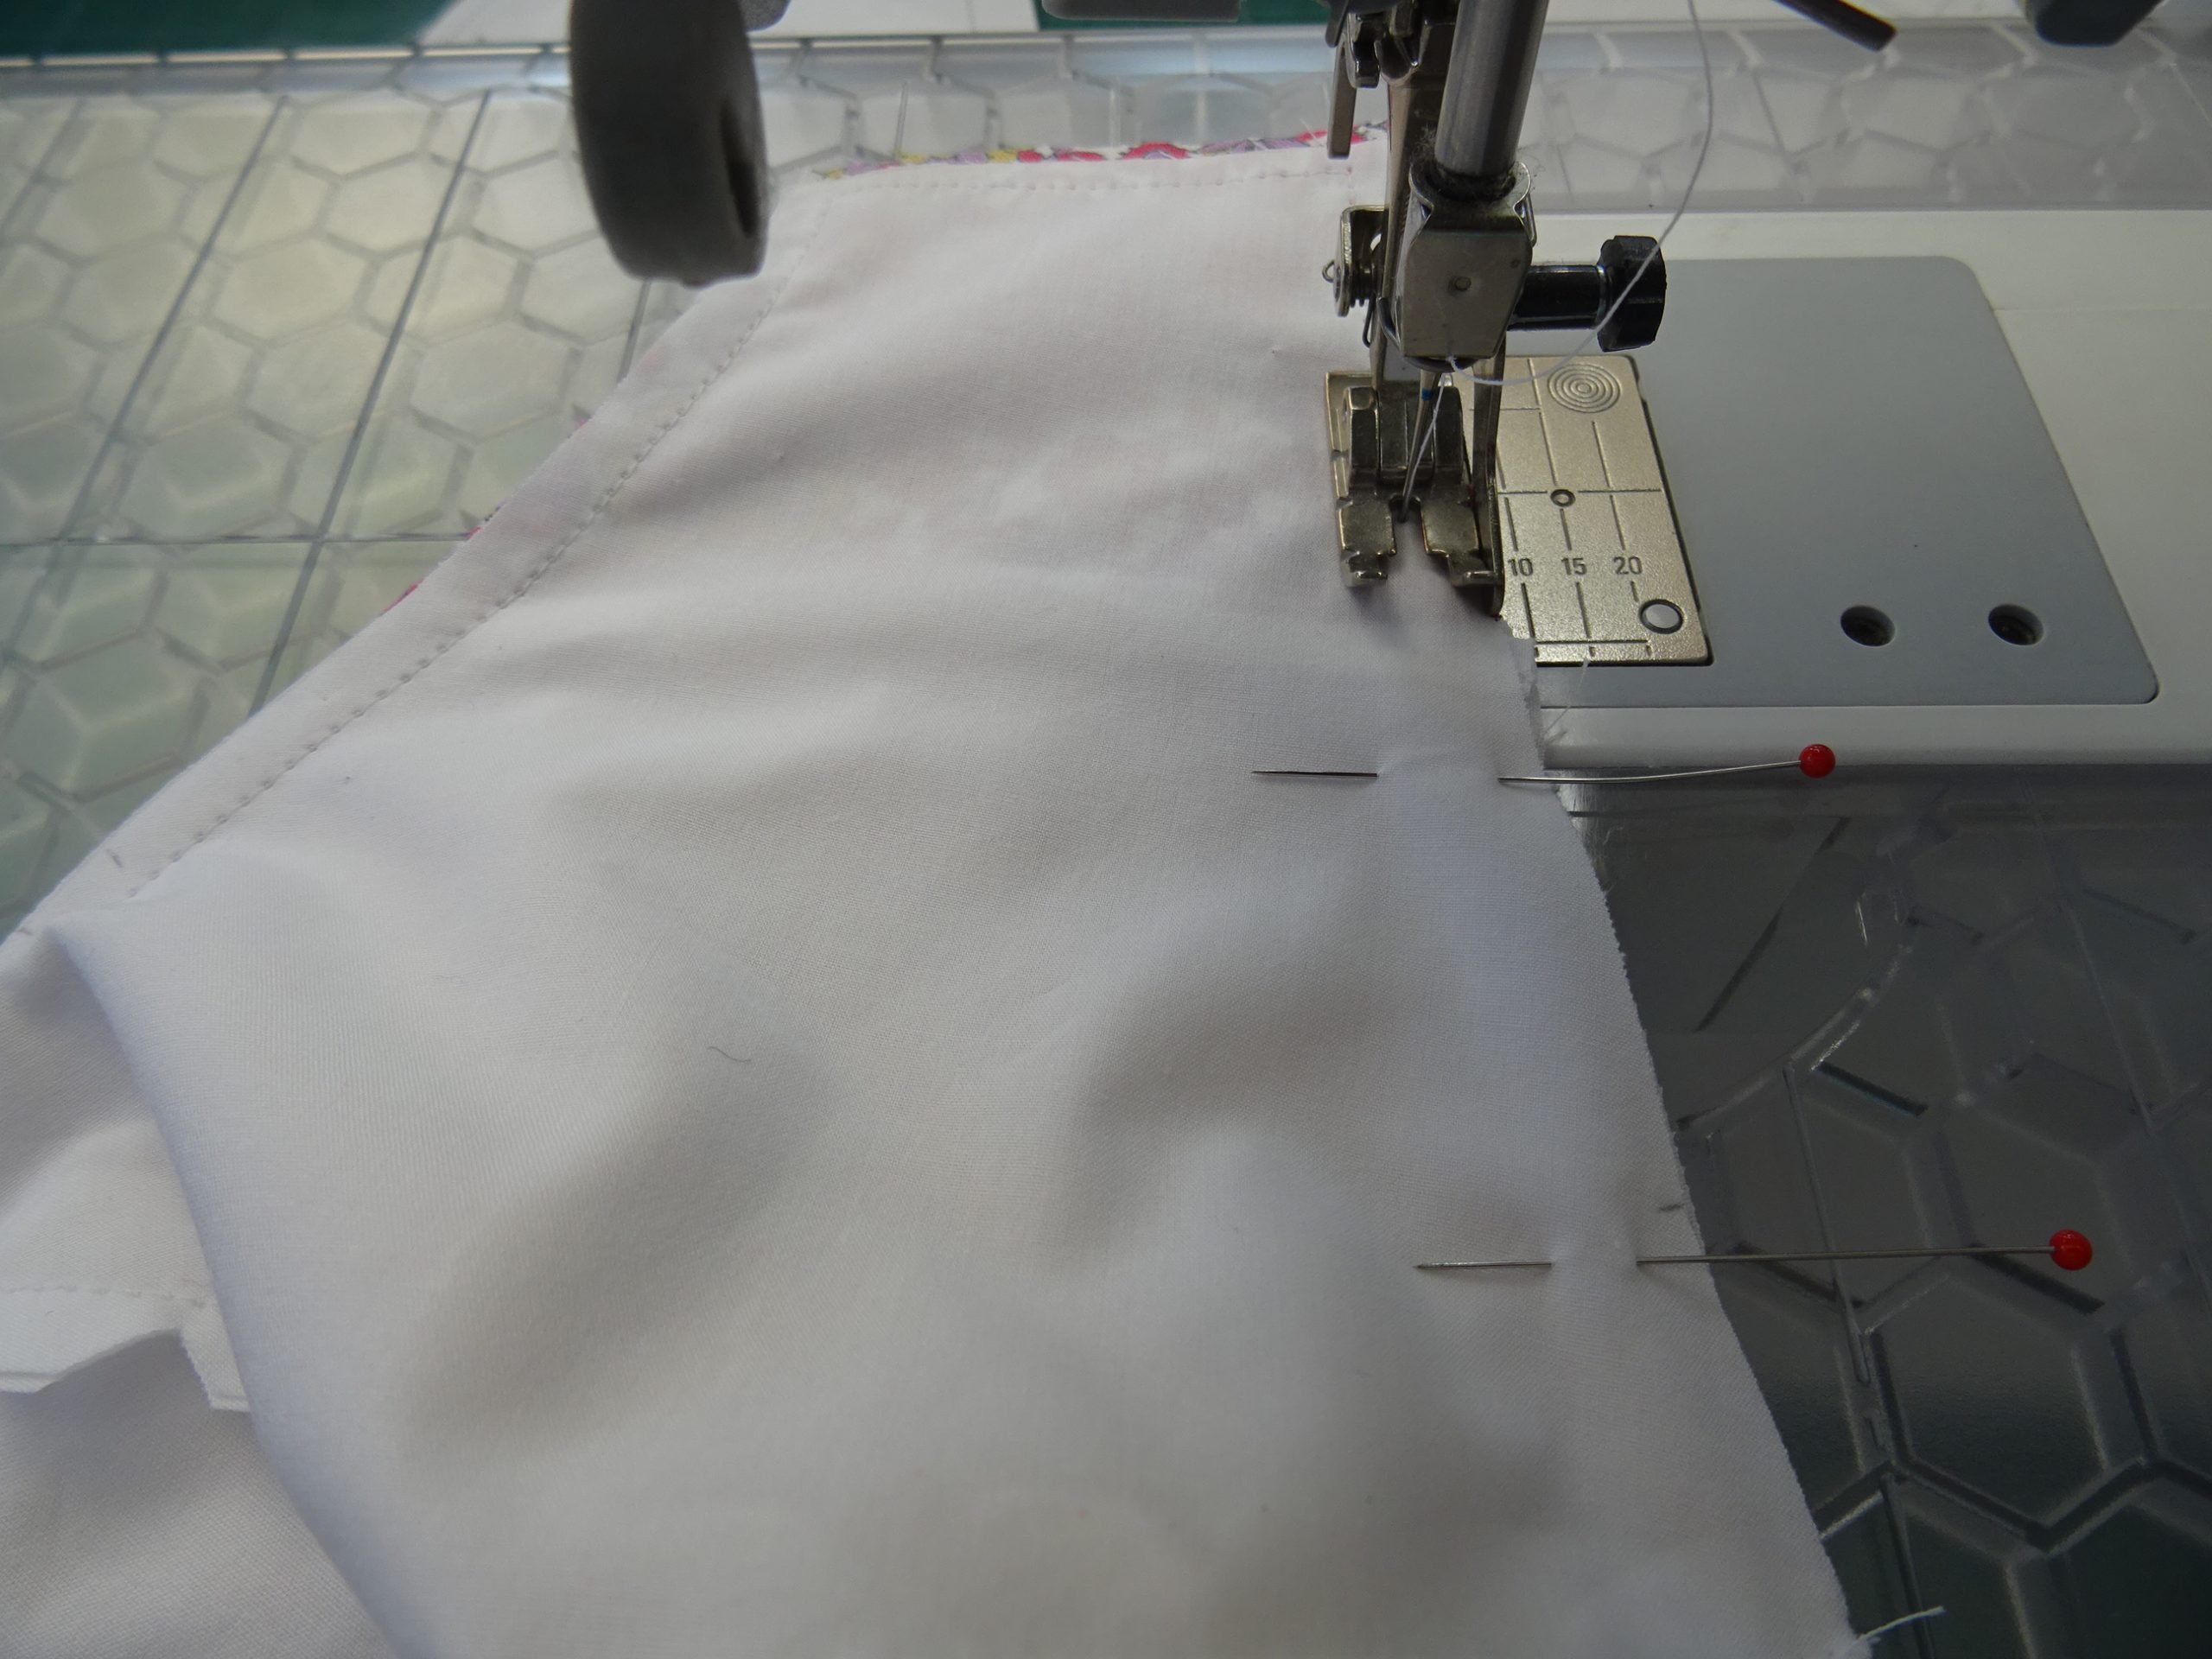
Pin the top so that middle seams of all three layers and placement notches line up in the same position. Repeat for the bottom.
Stitch round three sides, one long, one short and then one long side. Leave the fourth side open for turning.
Wire nose gripper: I used calipers to check the width of the wire I used. It was copper wire from a heavy duty electrical earthing cable which I had in the garage. I stripped off the plastic cable coating and cut off a length of the wire inside. It was just right for easily bending into the right shape, but not moving when it had been shaped.
Use a pair of round nose pliers to bend the wire to form a small loop at each end. This will stop any jagged ends tearing the fabrics.
Find the middle of the length and place centrally inside the top of the stitched mask between the outer fabric and the pocket (if used) or the lining if not. Centre the wire so that there is the same length of fabric at each end.
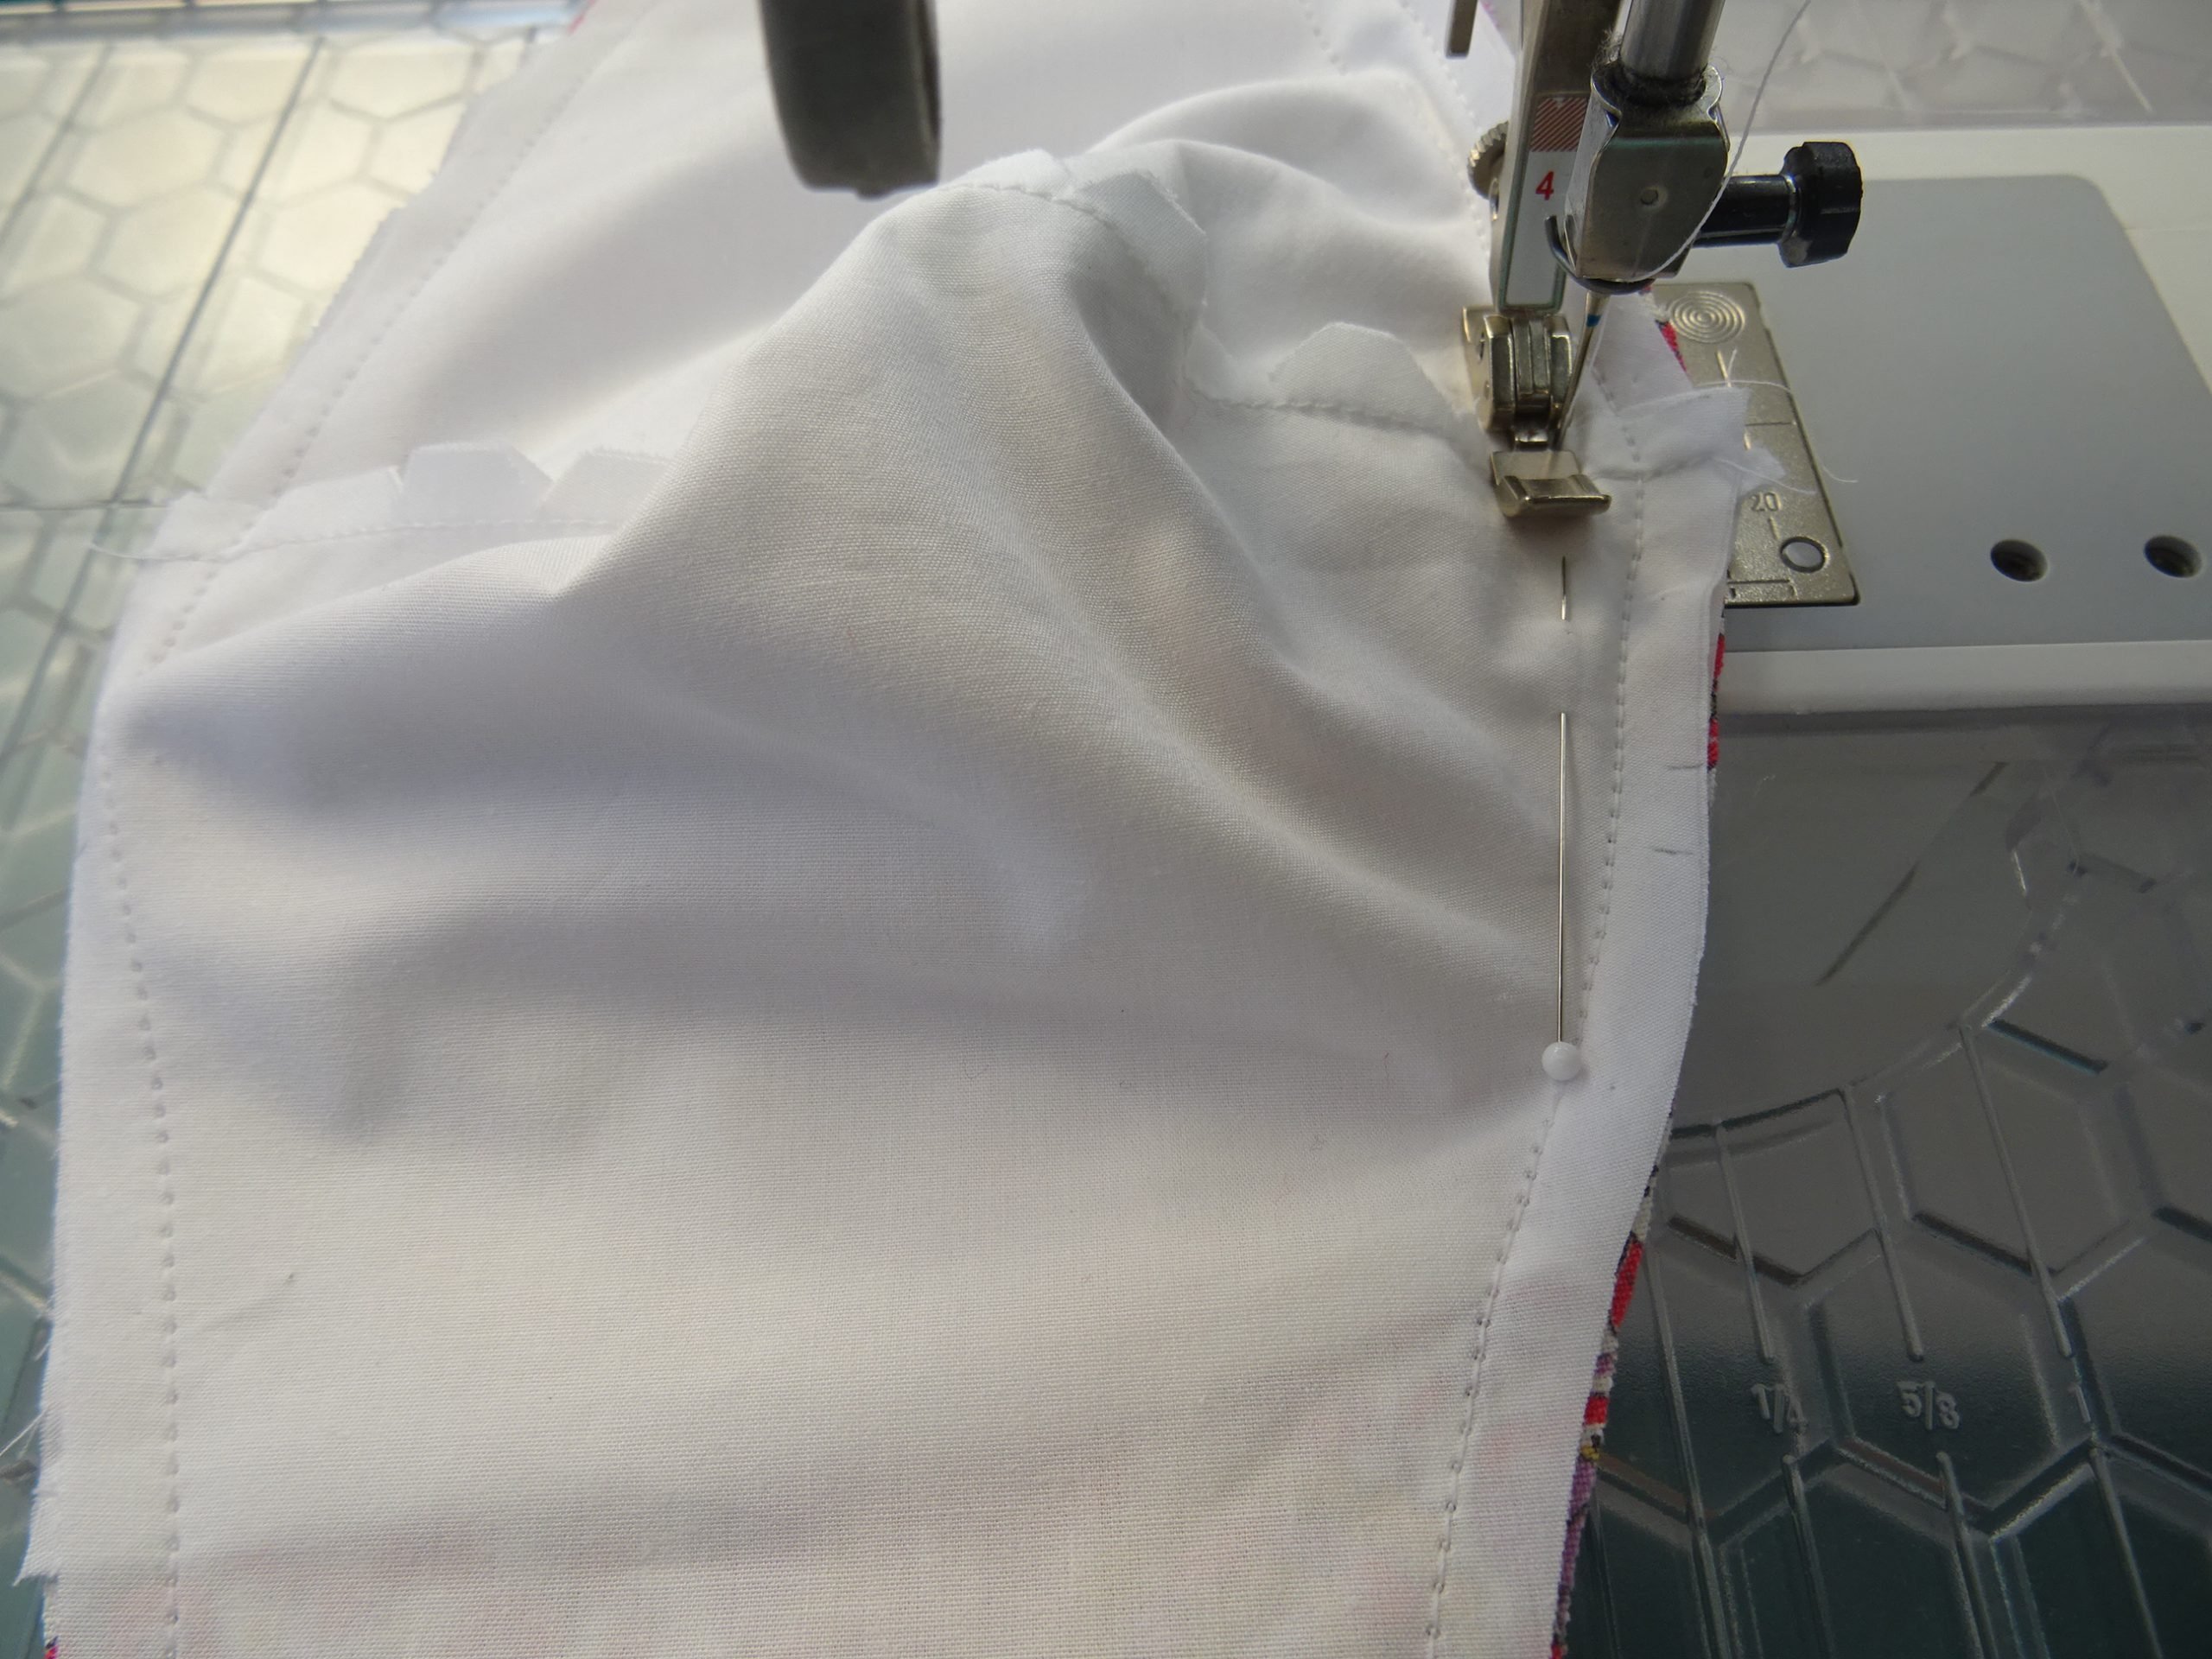
Pin in place so it sits very tight to the top seam, Bend it slightly to follow the curve of the top. Stitch all round to enclose the wire inside the mask top. I used the zipper foot No 4 here to get close to the wire.
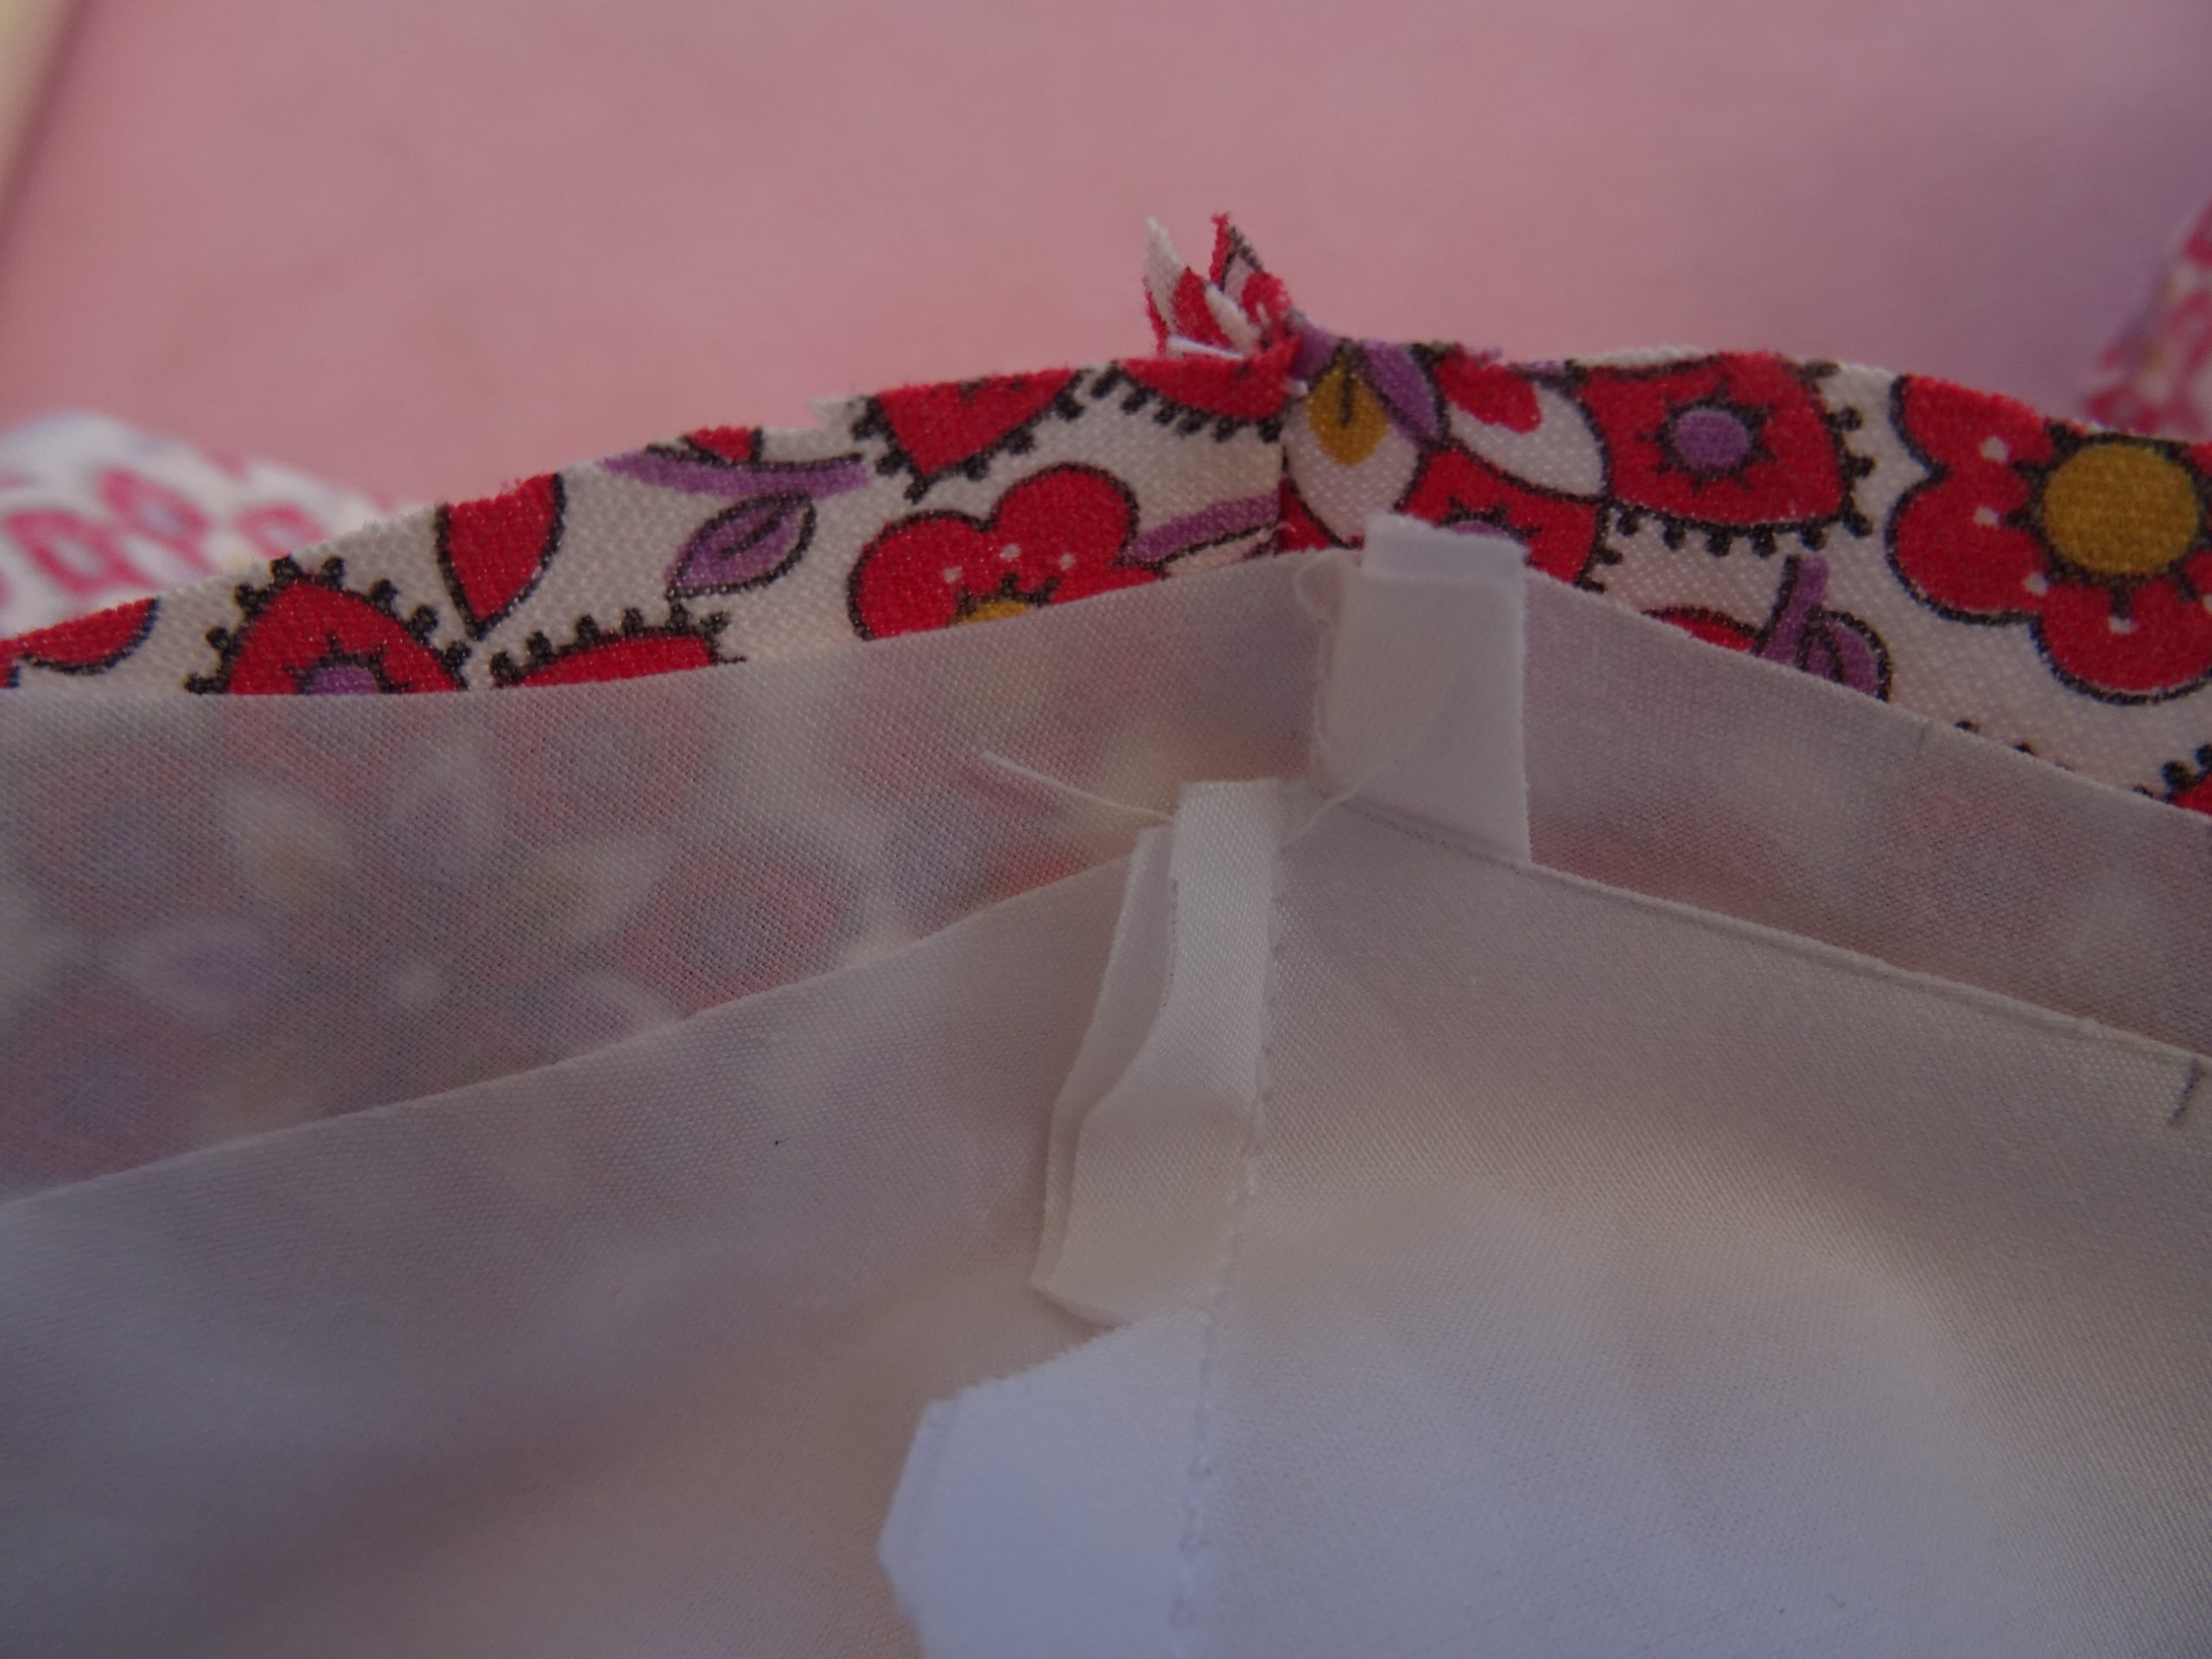
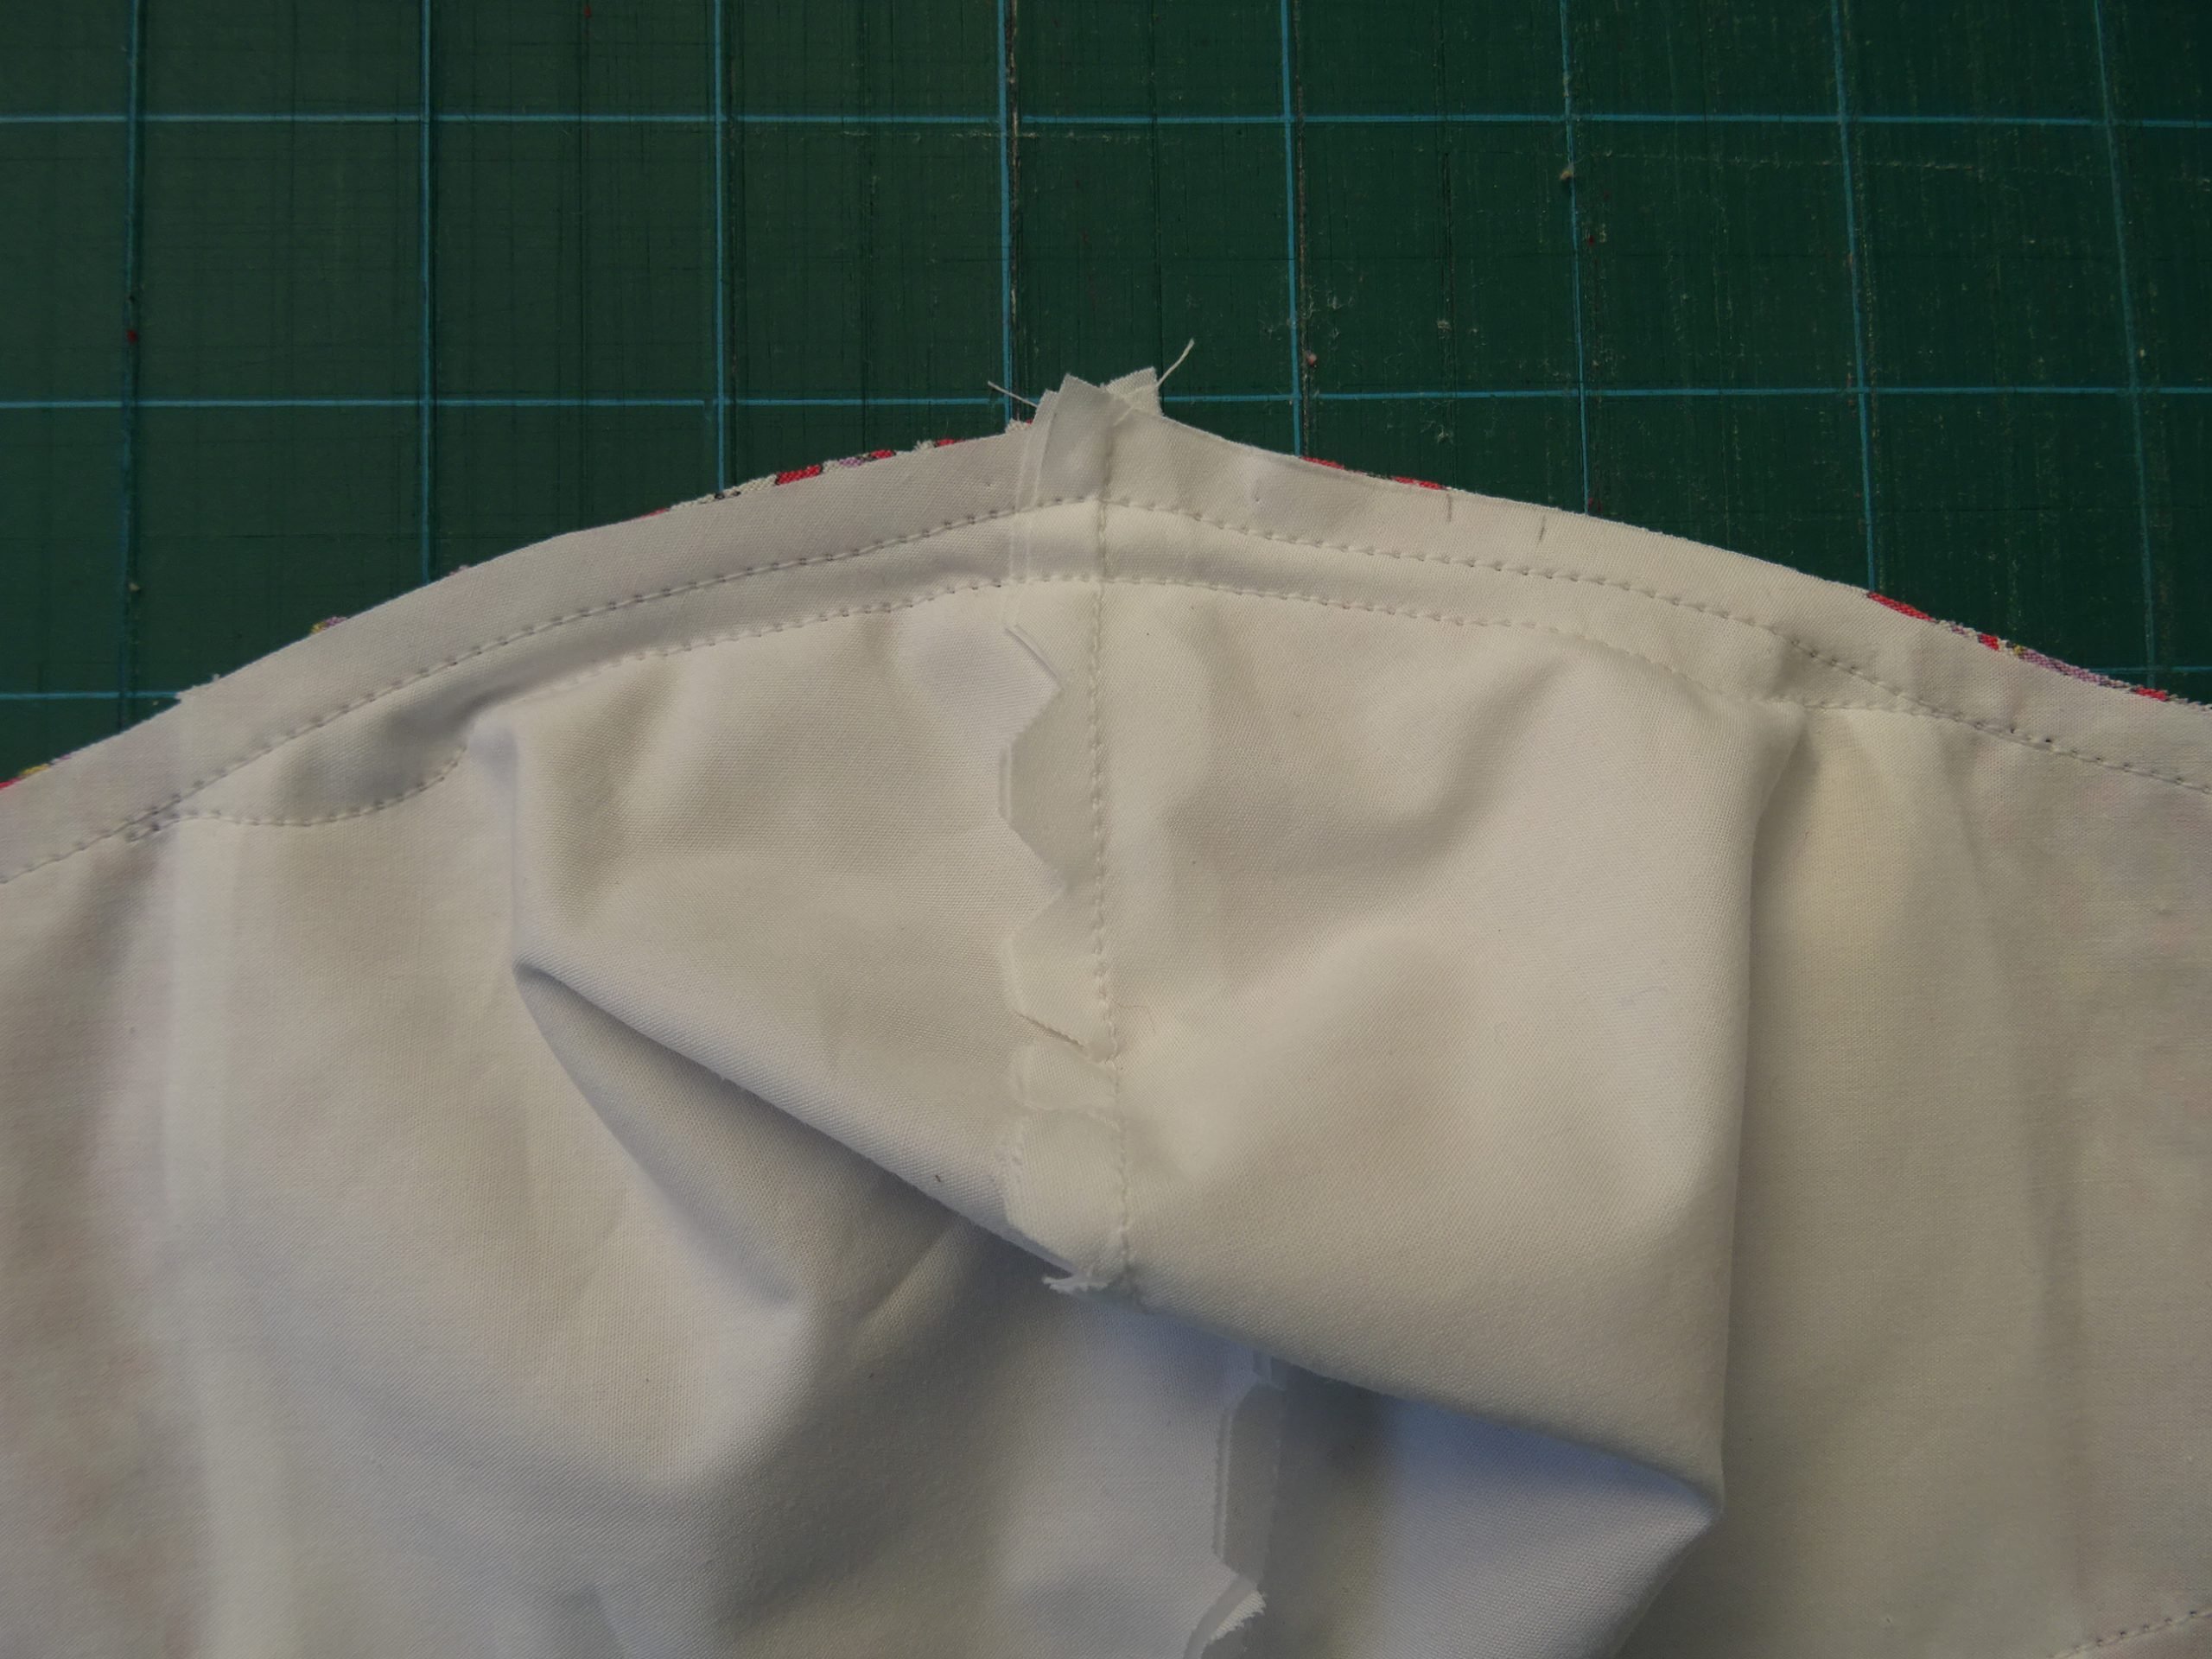
You can see here where I shaped the seam to give a smooth look when turned the right way out.
Clip a small triangle off each of the corners to reduce bulk when turning them.
Carefully turn the mask to the outside, use a blunt pointed instrument to poke out the corners (small paintbrush handle, rounded ended scissors, small piece of dowel, etc.) and press seams in place. Turn in edges of the fourth open side, press and then stitch across them to “seal” the mask.
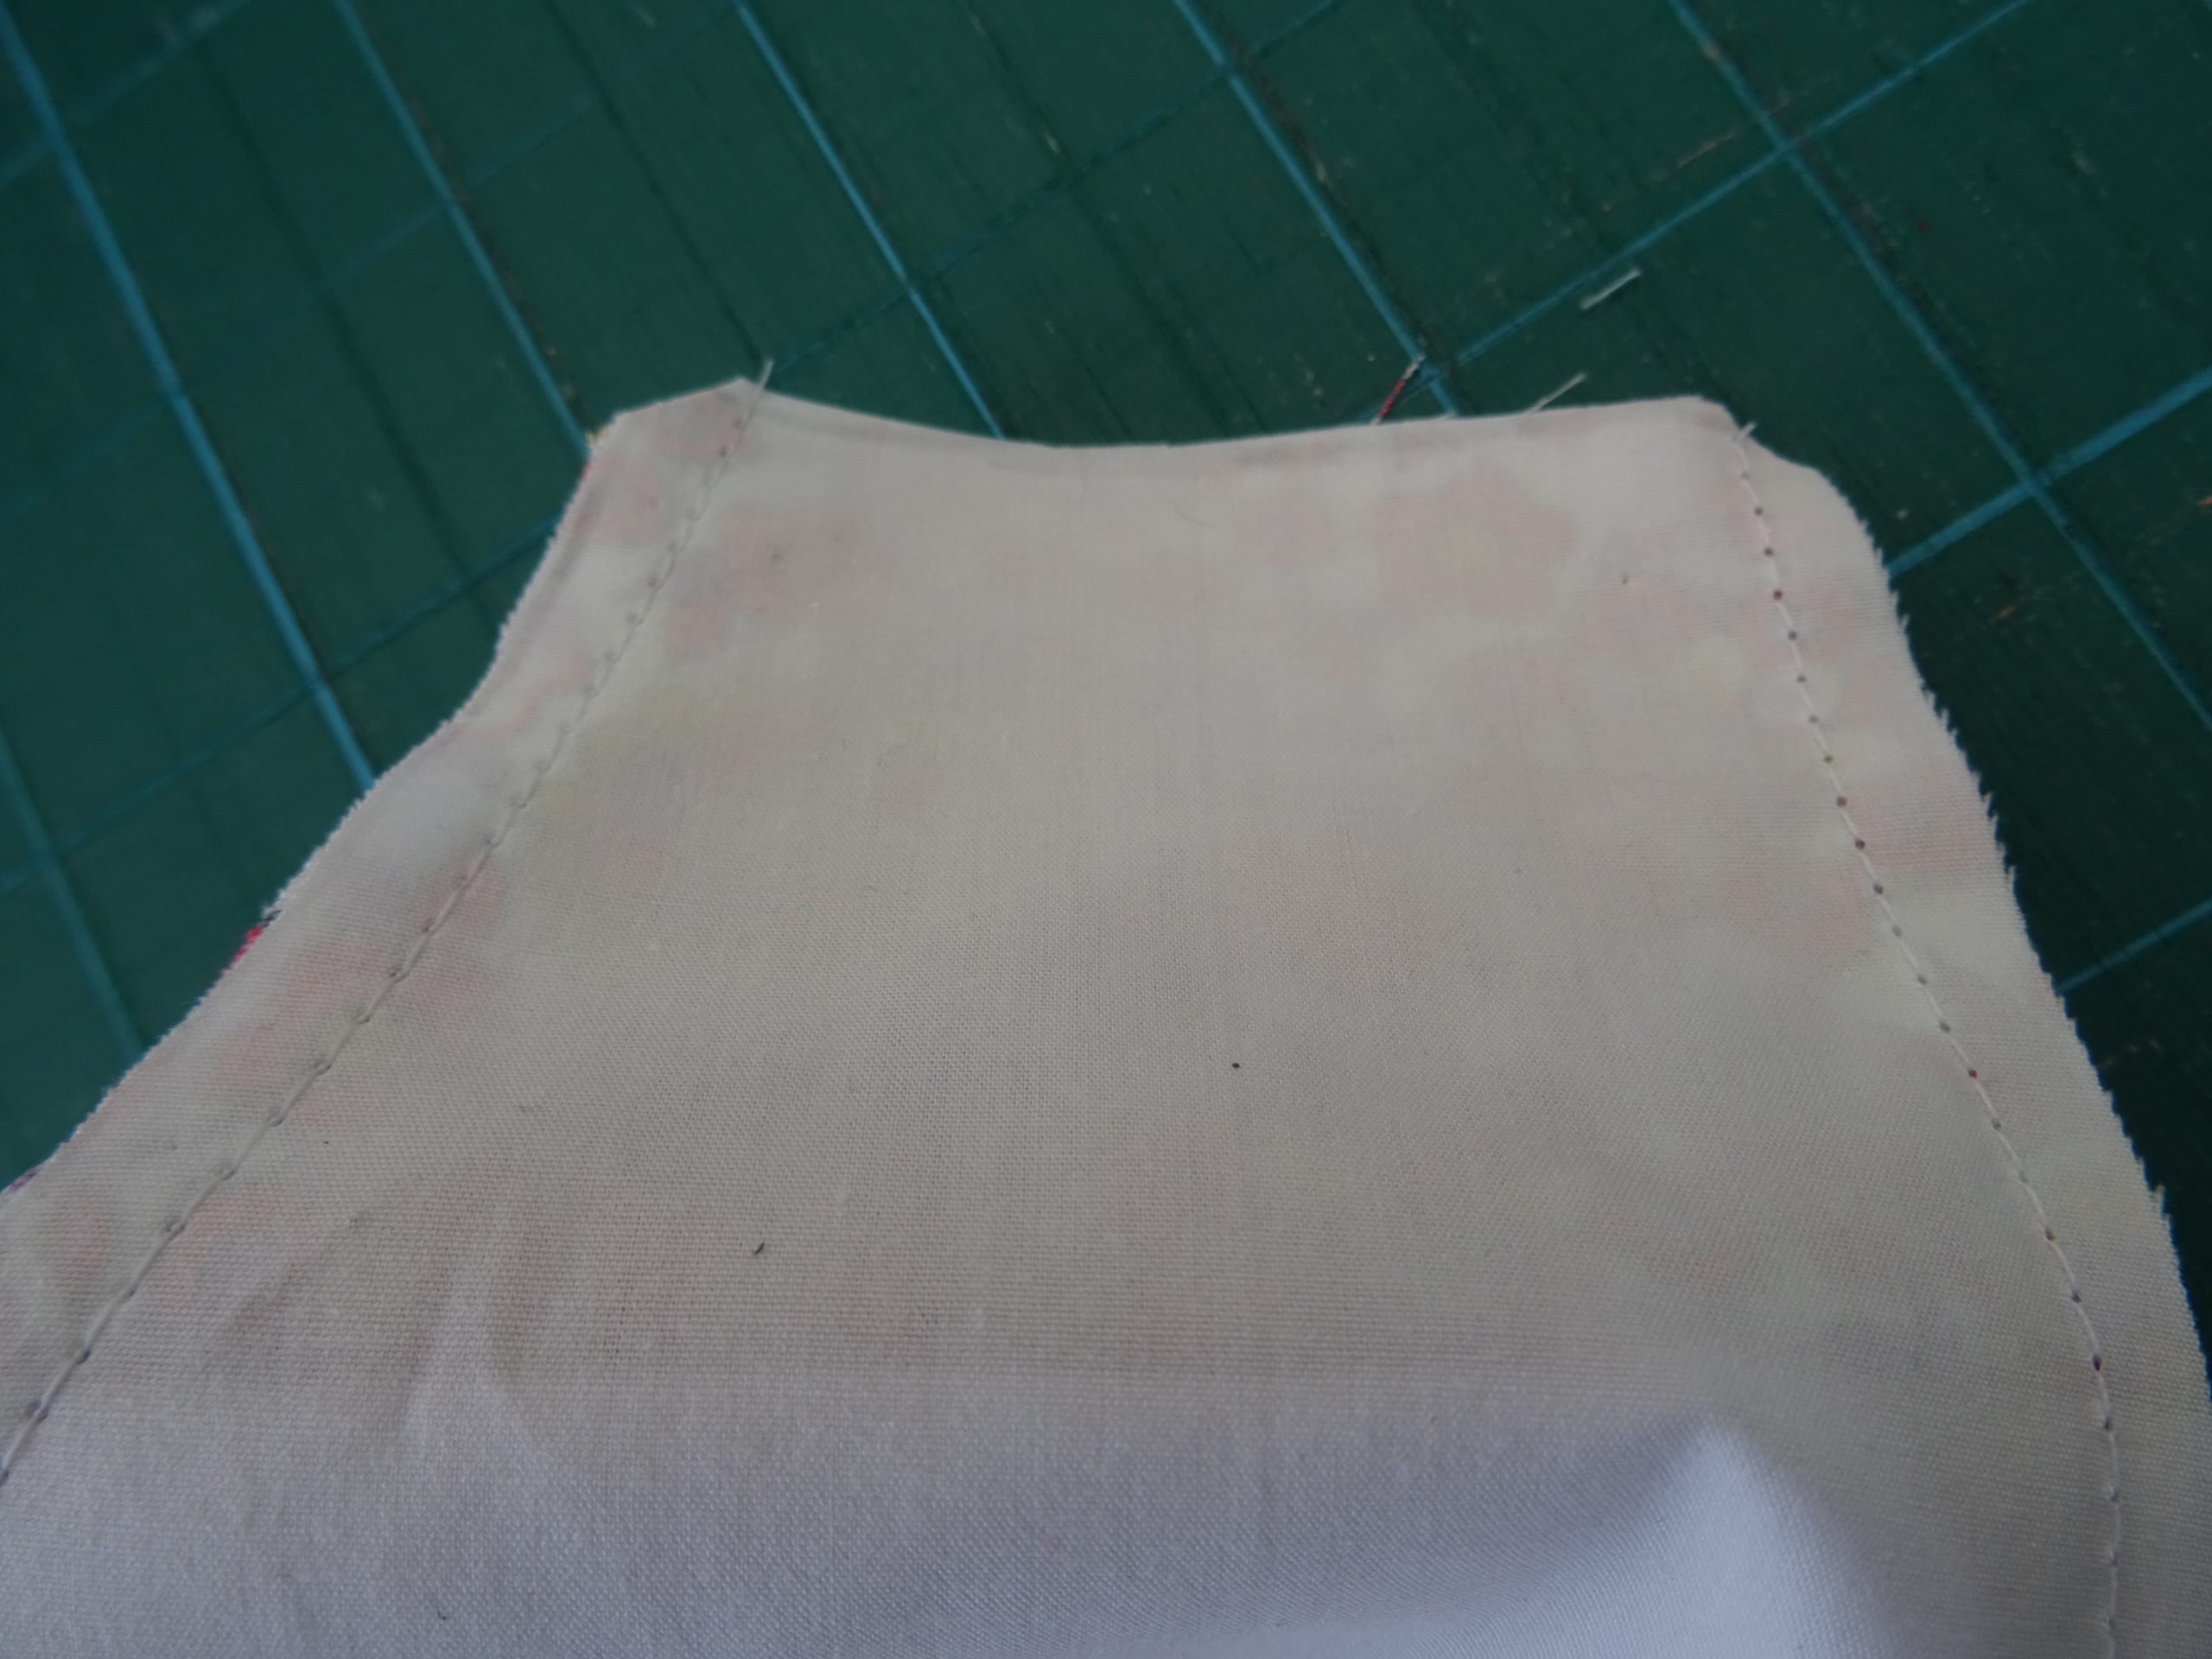
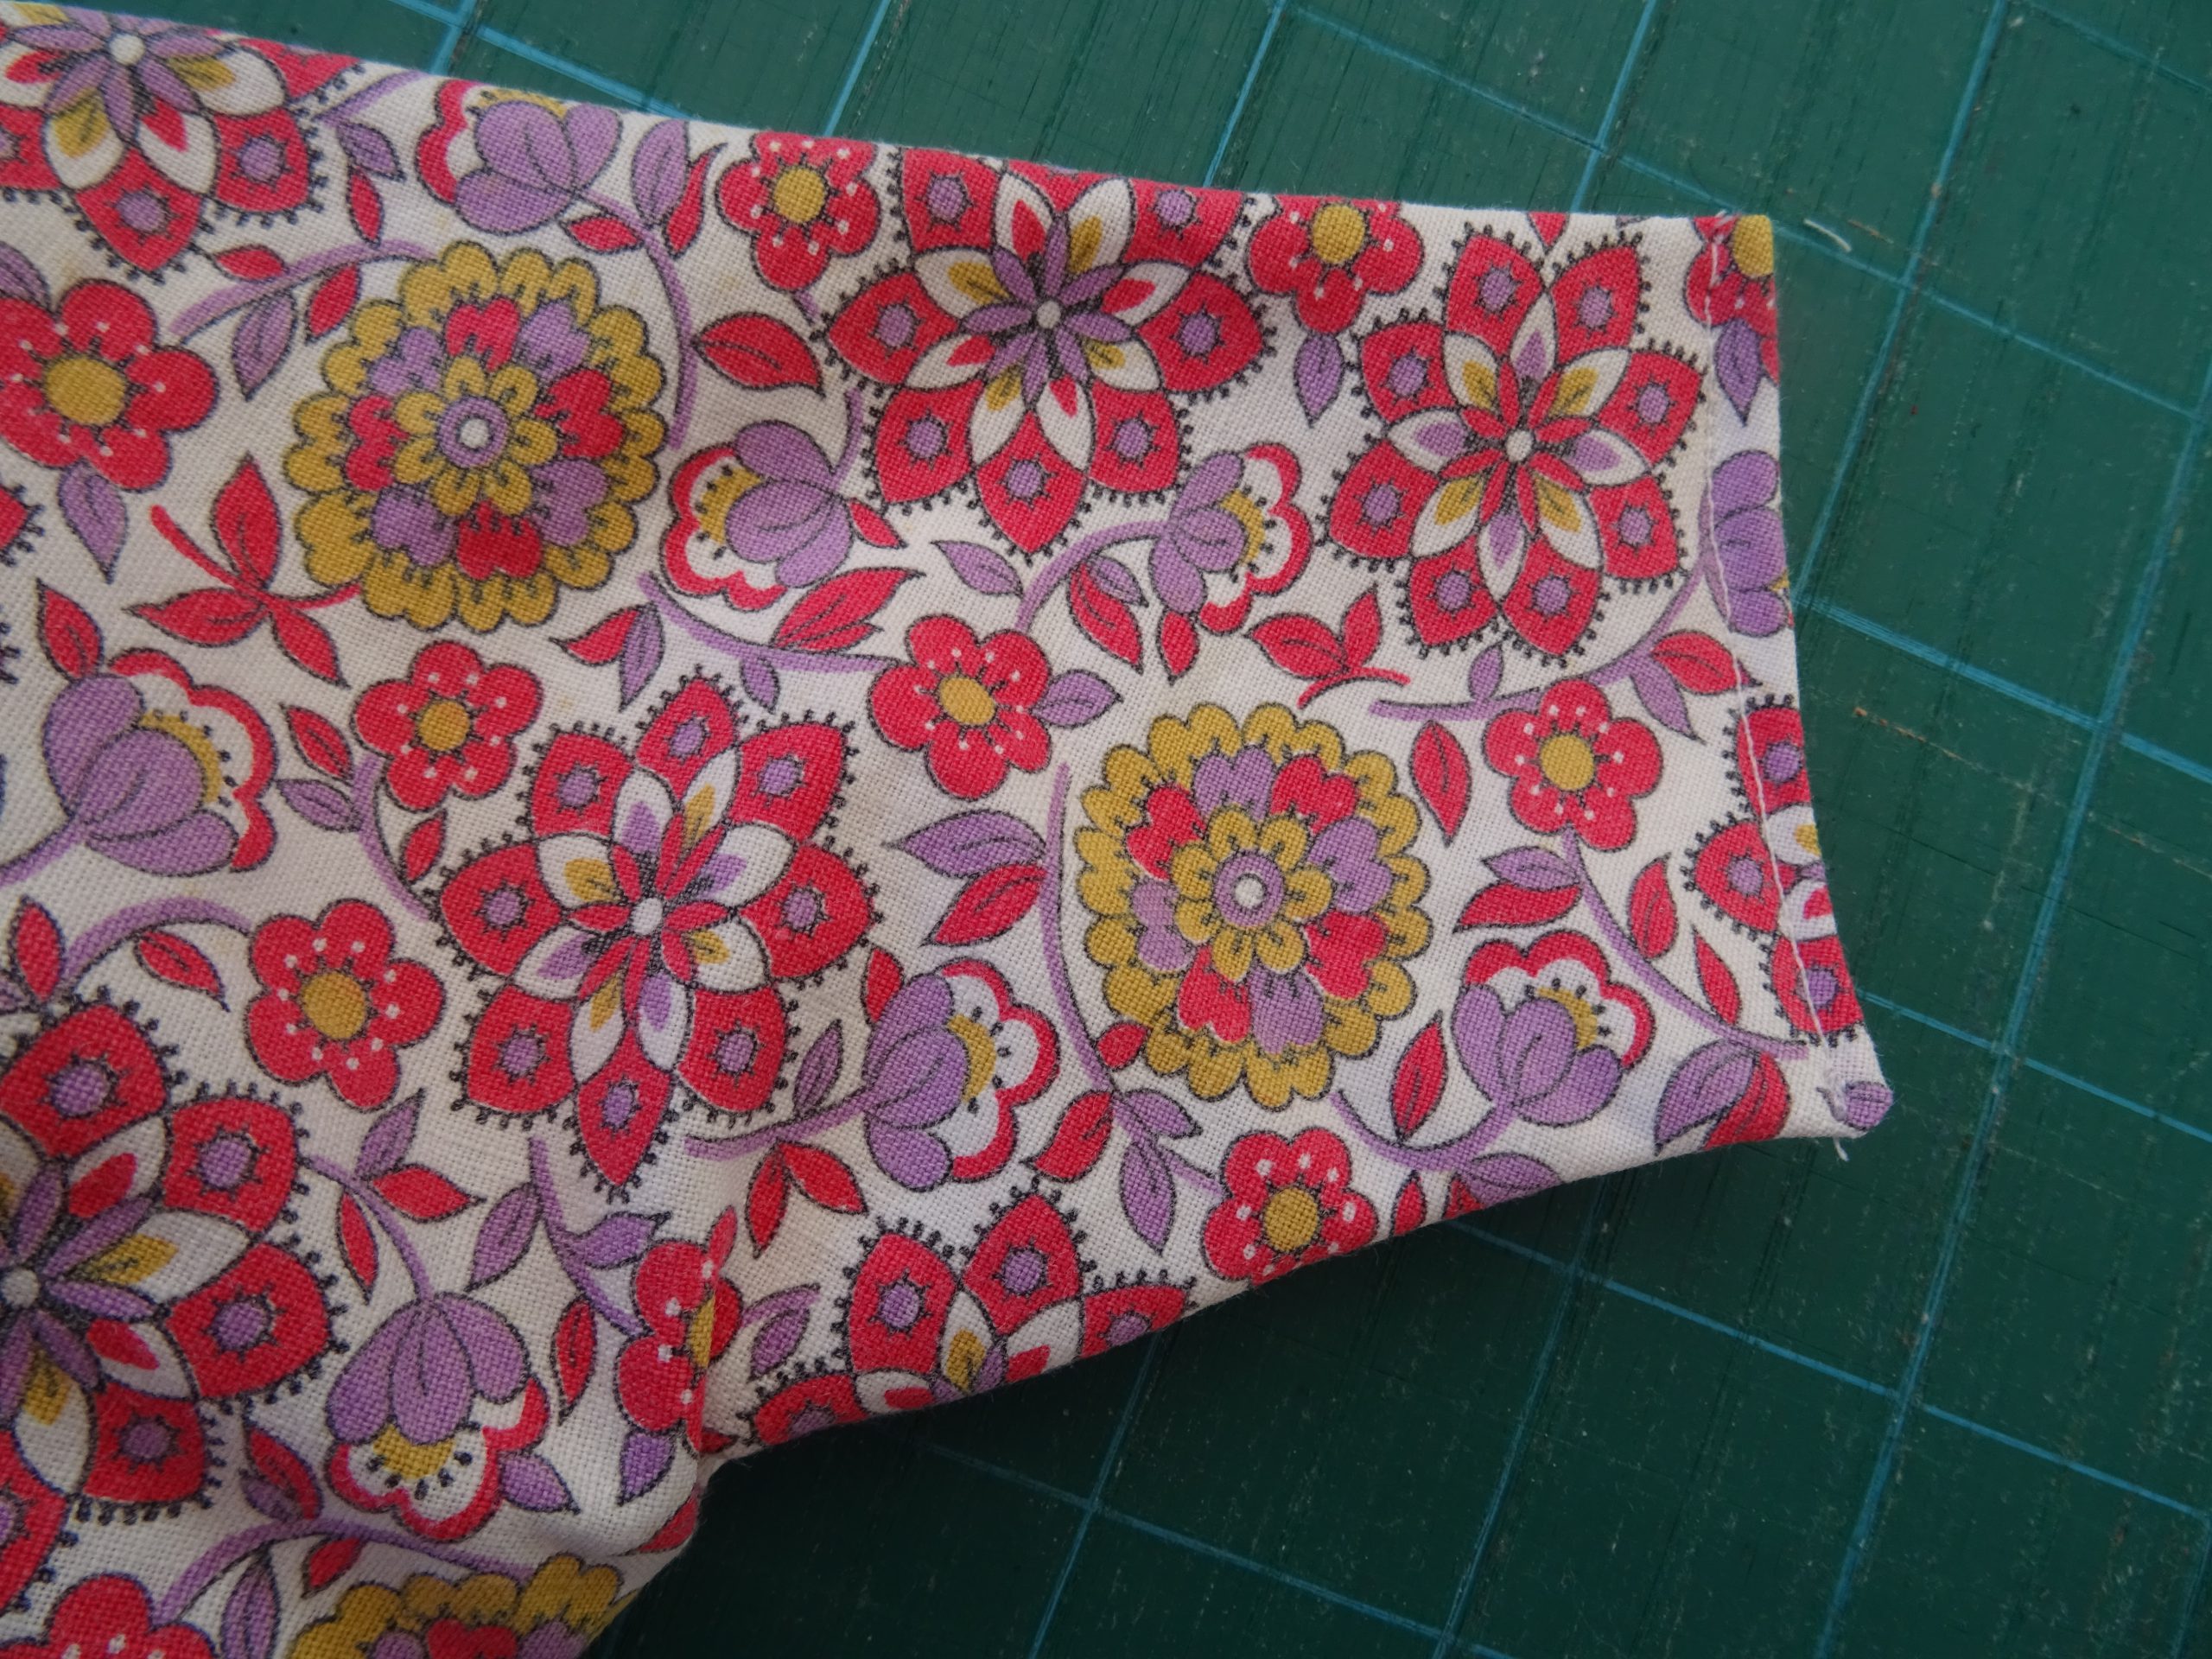
Fold in each end of the mask by about ¾” (18mm). Pin in place and stitch down the length, leaving a gap of around ½” (12mm) for the elastic to thread through. Do three seams one on top of each other to compensate for the stress the mask will be under when the elastic is attached and stretched.
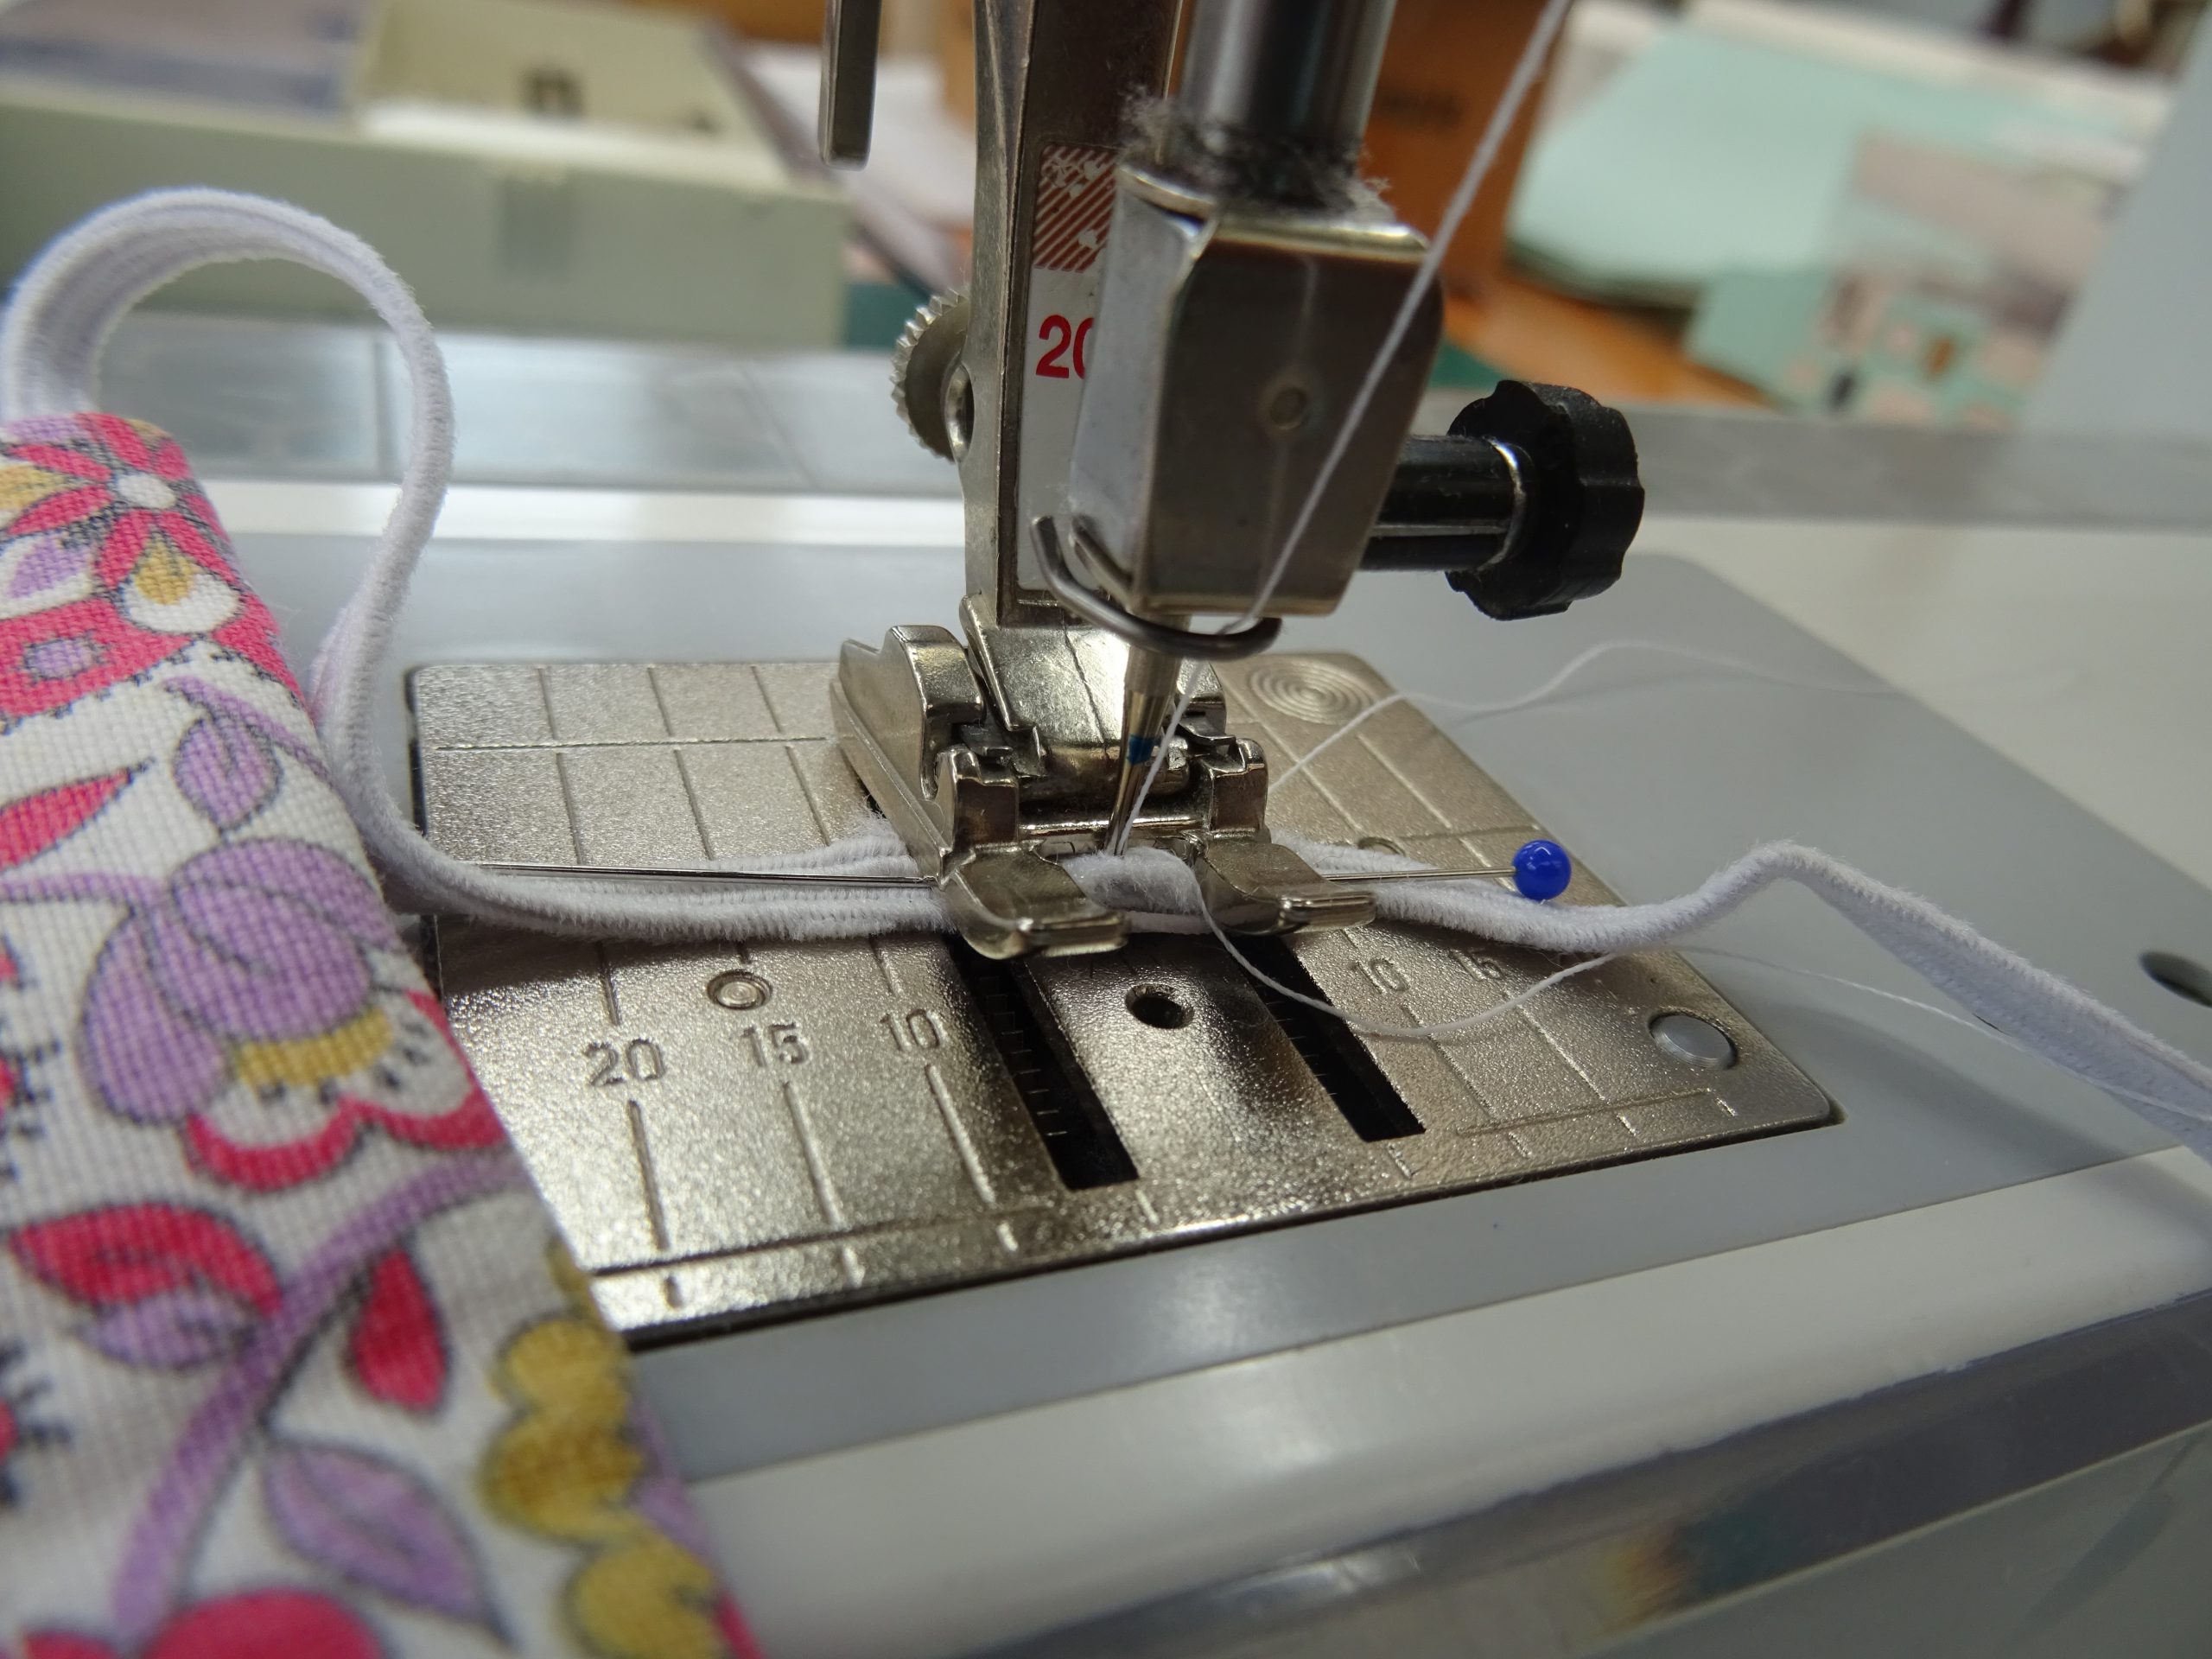
Thread the elastic through the loops on each side of the mask.
Make sure the elastic is not twisted and then pin the ends together and stitch to form loops. Hide the joins of the elastic loops inside the elastic casing of the mask.
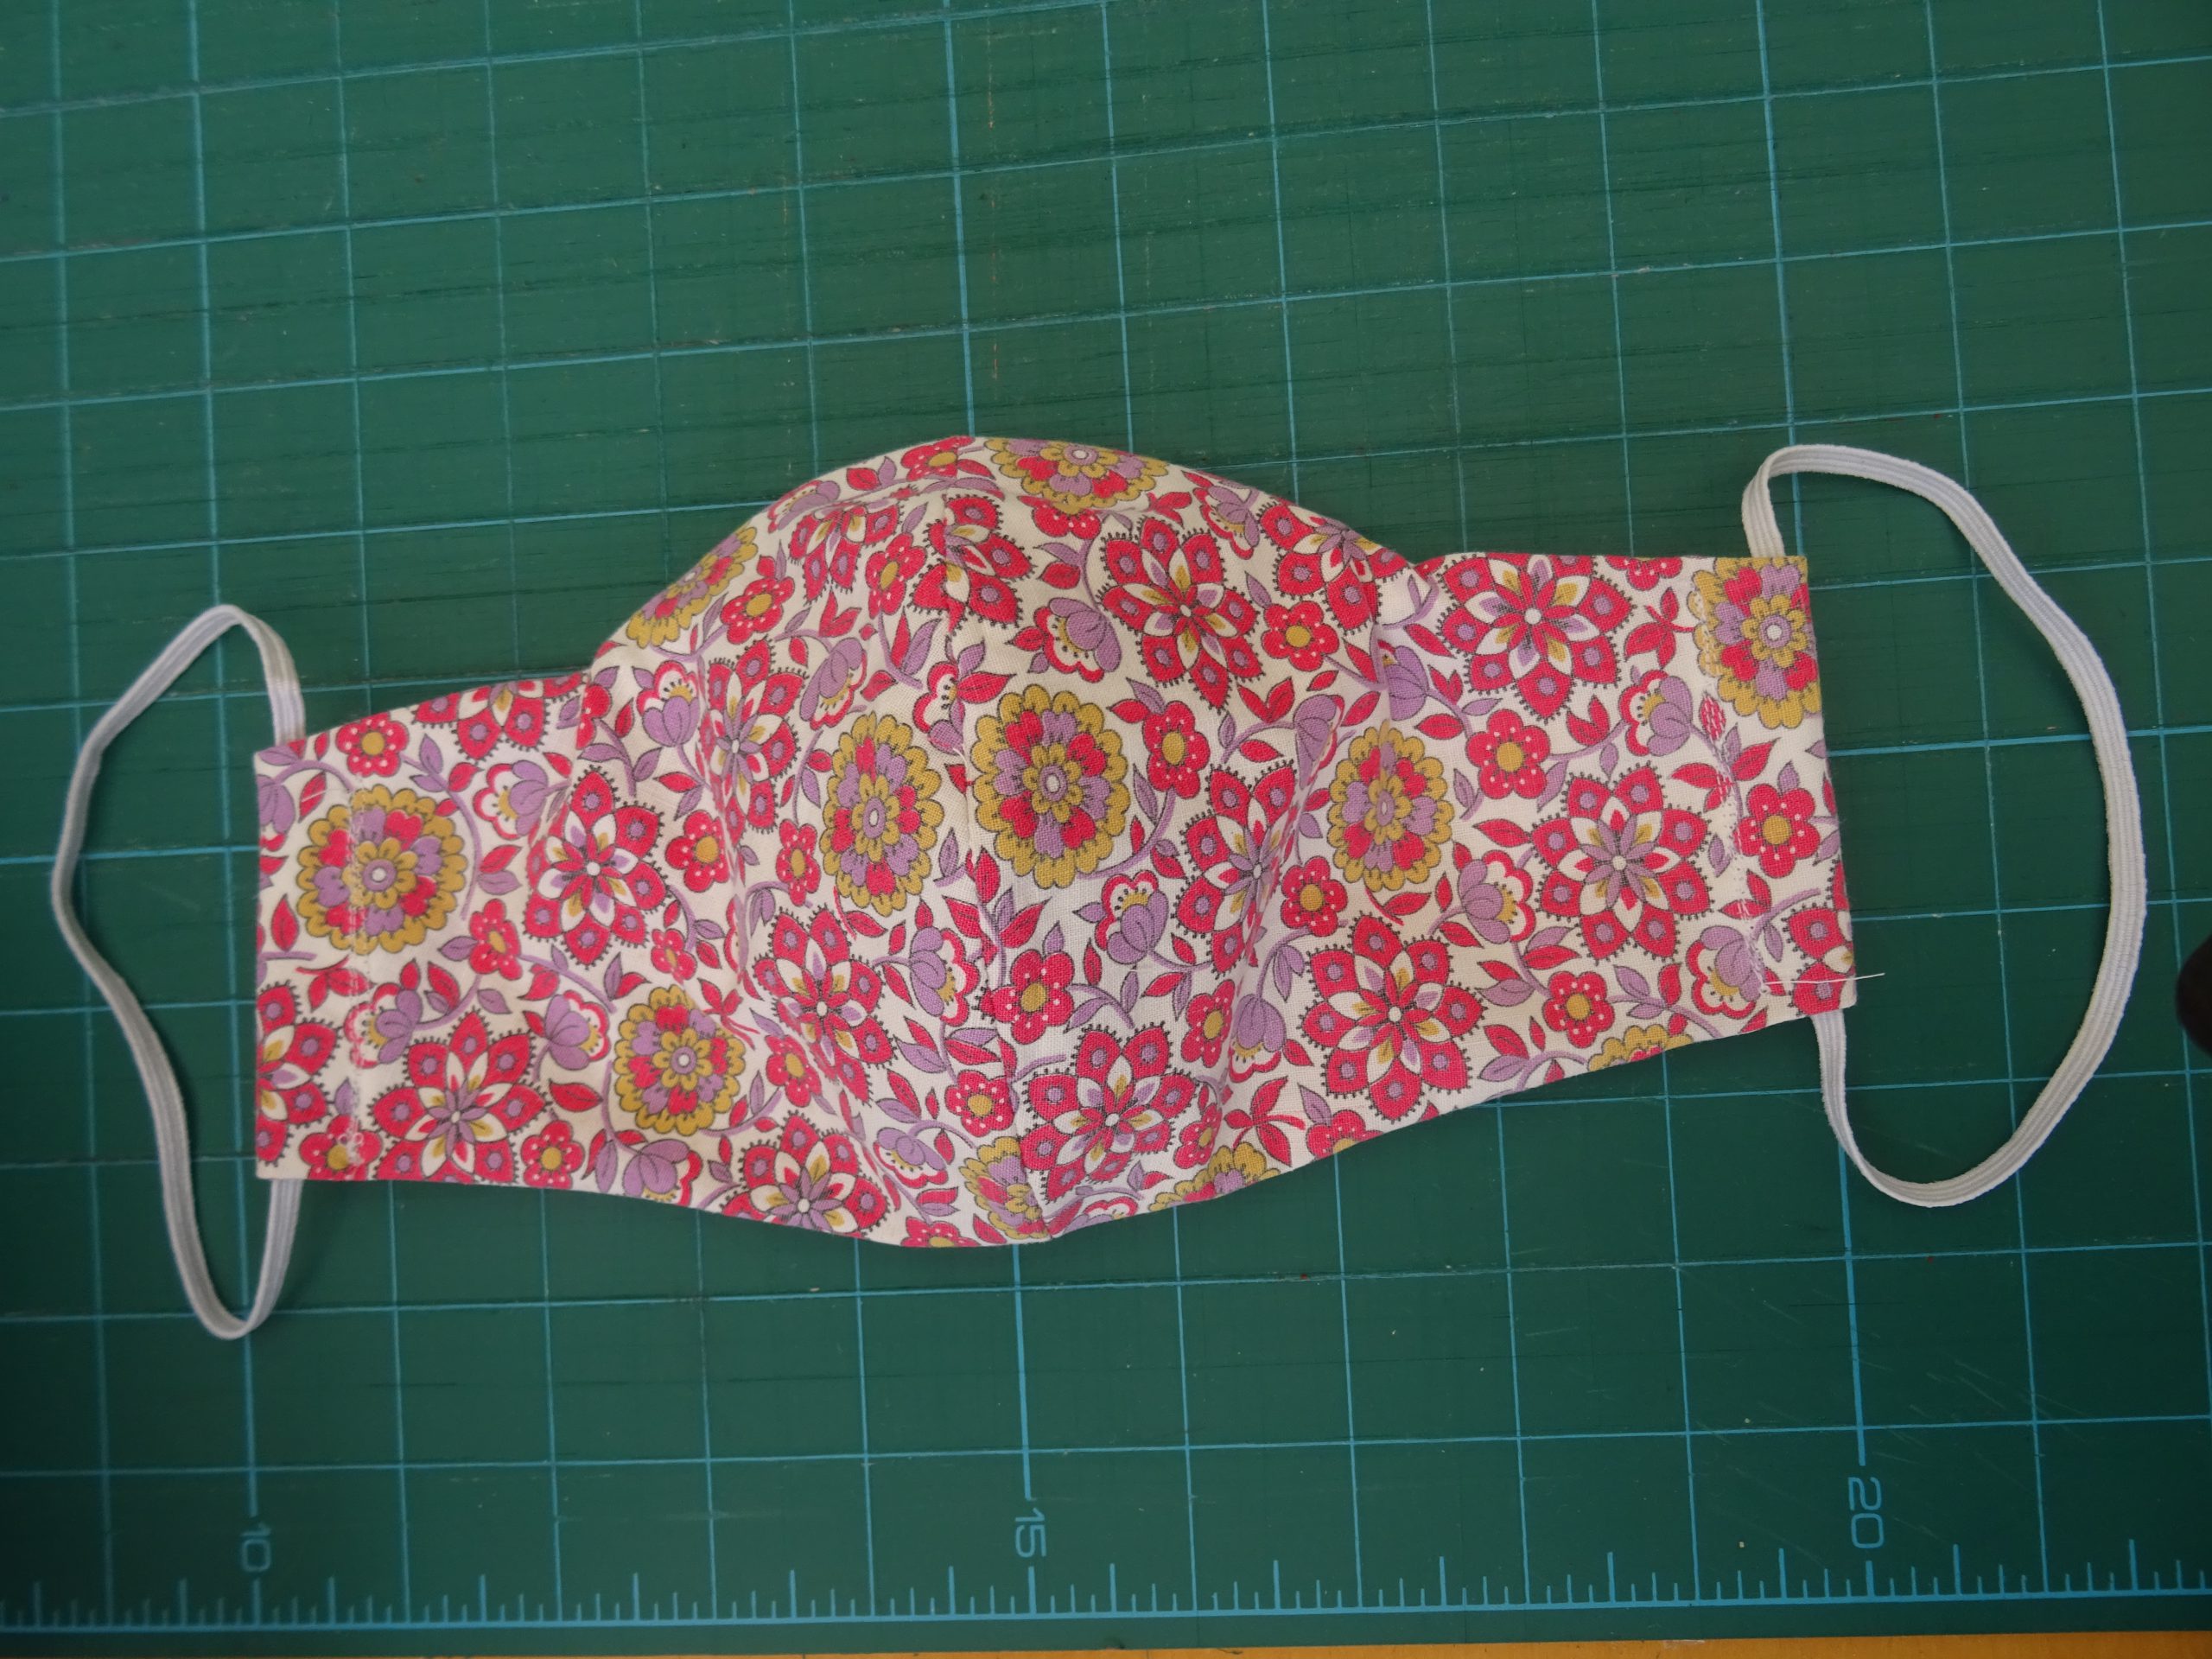
Place the mask on your face and mould the nose gripper to the shape of your nose and cheeks.
The mask is now complete but I have included a template for “ear savers”. I have a Cameo cutting machine and as I had no suitable material to make the ear saver, (link to the template at the start of this post) I took an empty laminating pouch and heated it with the laminating machine. This was then rigid enough to cut with the Cameo but you could just as easily cut the shape out with scissors!
When the mask is worn, the elastic loops hook over whichever pair of “hooks” you find the most comfortable. There are several different places to choose for different sized heads.
The model is wearing a mask I made a little earlier but the rear view shows how the elastic loops hook over the ear saver. He said it was a little tight but then he does have a very big head! 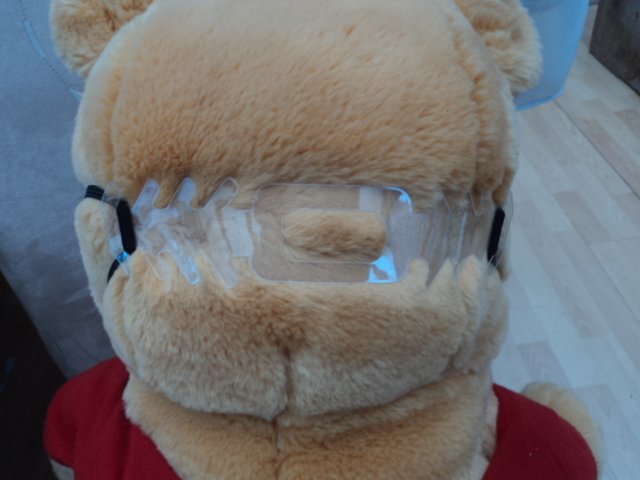
He was only too happy to help by modelling the mask I made for him!
If you choose to use a filter inside the pocket, then cut it to just a little smaller than the pocket itself. Do be very careful that your mask allows you to breathe and none of the materials you use could cause you problems like breathing in toxic substances, fibres, etc. Test it indoors before you go out with it. If you can still breathe easily after wearing it for around 15 minutes, then it is probably OK to wear it for longer.
This mask will not prevent you from catching any bugs that are going round, as it is not a medically/surgically approved one but it should help to stop you spreading anything that you have yourself.
Wearing your mask – Try not to touch the mask when you are wearing it, especially the inner lining or pocket. When placing the mask on your face and taking it off, try to only handle it by the elastic loops. Wash your hands before and after touching the mask to put it on/take it off. Have some sort of indoor “washing line” or a hook where you can peg it up/hang it after usage. Leave it there for at least 72 hours before touching it again. This will allow anything that was on it to die off.
Check the research done on materials to use and how to care for them here:-
https://smartairfilters.com/en/blog/best-materials-make-diy-face-mask-virus/
Tea Towels, pillowcases and T shirts came out as the most effective of materials used in home made masks for influenza slightly behind surgical masks and vacuum cleaner bags which gave the best (but not total) protection . Again, be careful with vacuum cleaner bags as they are not designed for humans to breathe through. One of the areas of research was laundering and the findings were that washing masks makes them less effective. Putting the mask in a hot oven (160°C or above) for around 30 minutes should be enough to kill off anything lurking on it, but do be careful not to burn the mask or if it is a man made material, melt it! It was also suggested that if a mask got wet it would not be effective.
Let’s all hope this pandemic will be over sooner rather than later and we will all be able to meet up with our friends and family. My thoughts are with those who have lost loved ones recently through being infected by this dreadful virus that has turned our planet upside down, chewed it up and spat it out!
Stay Safe
Jan Allston May 2020.
Addendum
I have converted the downloadable files to Letter Size which I believe is used in the USA. I cannot test them as I do not have this size paper – we use A4 in the UK. Can someone please let me know if these print to the correct size?
 BERNINA Corporate Blog -







Thanks for the great tutorial. I have viewed other instructions and some do not include how to add the elastic – a somewhat important part. I did find when I printed off the pattern a small portion was cut off as noted below by Ellen, but it was easy to adjust. The pattern should be printed in landscape as it comes up – otherwise more will be cut off.
Very Awesome and Help full Article. It really helps me. thanks for sharing this.
I printed from posted files this morning, changing the scaling to 100% on my printer in the Print menu. Got 2″ squares as shown on patterns. A bit of the seam or corners was cut off the medium and large pattern. I was able to draw in with ruler without difficulty. Mostly we cut off corners anyway. :>)
thank you so much. I like your pattern.
A monkey from a Barrel is a great ear saver, that doesn’t tangle in long hair!
What is that Therese? I use empty plastic thread bobbins and hook the loops round one of those at the back of my head to stop the elastic hurting my ears.
A Barrel of Monkeys is a child’s toy; it’s literally a small plastic barrel (about the size of a coffee mug) filled with flat plastic monkeys whose arms form an “S” shape so they can link together–or hook onto ear loops!
Thanks for the explanation Tiffany.
Glad you found it helpful. Good luck in your fight against coronavirus.
Hi there,
Just wondering how to know which size to use? I can’t really afford too much trial and error.
Thanks,
Maz
(PS. everyone complaining about the paper size – a4 is the standard literally everywhere EXCEPT (apparently) the US! You’ve always got to be different, don’t you? ;P )
Hi Maz, why not cut one out of kitchen roll or tissue to see if it fits before you use fabric?
Regards,
Jan
I can’t believe I didn’t think of that.
Thank you for reminding me to think outside the obvious! 🙂
No worries. Hope you get the right size with the trial ones.
Thank you for this tutorial I would offer the following modifications for consideration. Use a nonwoven fusible interfacing for both the front cover (cut 1″ shorter at each side to allow for turn on each end) and the mouth piece, not cheek pieces). The addition of two layers of interfacing (with 2 layers of fabric) create a self filtering mask. I sew a channel that is 1/4″ on the top of the mask for the nose bridge (end to end on interior mouth piece and insert a wire AFTER mask is fully constructed. The ends stay open, but the wire stays snug in channel. I also sew same channel at bottom of mask (in addition to top stitching all the way around and then folding ends over for fastener channel). The interfacing, top stitching and channels help the mask retain contours. I also created mask labels so that recipients would know that the mask was made from prewashed fabric, contained nose wire and was washable. (I note that interfacing was hard to come by and there was no elastic when I was making my prototypes of various styles. I settled on this modified Olson mask (modified for interfacing). I made fabric ties which I ran through my machine’s bias binder attachment which produced a perfect 1/4″ tucked tie which I looped bottom up left to bottom down right.
Hello! I downloaded Jan Allston’s Bernina Olson mask and made the Medium size, which turned out to be too big for me and any of my female friends. So now I will try the Small size. I have a question for Ms. Jan Allston and would appreciate a reply from her: Why is the Small a different shape than the Medium?
Hi Gale, I can’t see any appreciable differences between the medium and the small masks apart from size. Can you send me the two pictures so I can see what you are talking about? Also for everyone – here in the UK we use A4 size paper for printing and this is what the masks were uploaded on. You should be able to adjust your printers to accommodate this size. Do check the 2″ square is actually 2″ square before cutting out though.
Hi Jan,
I’m also having a huge problem with trying to print the medium or large version of the mask! Can someone please fix this problem. What’s the point of uploading a pattern if we can’t print it. Thanks, K
Hi! I recreated it so it could be printed on 8.5″ x 11″ paper. I hope I don’t get sued by Bernina or Ms. Allston!
https://drive.google.com/file/d/1_epadNWzoyTWMtBpHDFKbyh6IoPWt7ih/view?usp=sharing
Sorry, I removed it from my Google drive, after reading Bernina’s Terms and Conditions. Please reply with your email address if you would like me to send it to you.
https://www.unitypoint.org/filesimages/COVID-19/UnityPointHealth-OlsonMask-Instructions.pdf
Thanks for that Michelle. The one I did required A4 paper which is what we use mainly in the UK.
https://www.avera.org/app/files/public/76443/Olson-Mask-with-Pattern.pdf
Hi Kate,
Can you have a look at the new files at the foot of the article and let me know if they print to the right size for you. They all work fine here in the UK but I can’t test for Letter size as I don’t have it here. thanks.
Hi Jan, thanks for the Olson mask patterns. In its current form, all 3 patterns need to be printed on 8-1/2 x 14 paper (which fortunately I have a printer); however, the Medium size mask pattern Test Square does not print as a true square; it measures 2″ x 2-1/8″ no matter what I do to the printer instructions. Any chance you could fix this? Or as Gail Leitch explains patterns need to be adjusted to fit on a standard 8-1/2 x 11.
Hello Barb! As a graphic designer with 30+ years of experience and experience in Adobe products, it was easy for me to recreate the pattern to be printed out on 8.5″ x 11″ paper. I don’t know whether Bernina or Ms. Allston will be alright with this (please don’t sue me – if you don’t like what I did, I will remove it), but I have uploaded an 8.5″ x 11″ version of the Medium size pattern to my Google drive. You can download it here. It should print on any letter-sized paper. If it doesn’t, please let me know…
https://drive.google.com/file/d/1_epadNWzoyTWMtBpHDFKbyh6IoPWt7ih/view?usp=sharing
Sorry, I removed it from my Google drive, after reading Bernina’s Terms and Conditions. Please reply with your email address if you would like me to send it to you or, alternatively, I will give you my email address.
Hi! Are you on social media, Facebook or Instagram. I’d rather share my email through that. Or will you share yours here and I will contact you? I’m having trouble getting it to print right. Thank you!
Hi Gail, I’d love it if you could share the pattern on 11×8.5” paper. I’d love all sizes if possible. Thank you!
Has anyone had any luck getting it to print on an 8 1/2 x 11″ piece of paper?
Hey Barb, I tried printing it on an A4 piece of paper and had the same problem as you. Did you ever figure out how to fix it?
Please recreate the template document at 8.5″ x 11″ and rearrange the elements to fit on it so that it can be printed out on a standard letter size sheet of paper which is 8.5″ x 11″. Currently, your template document dimensions are 8.27″ x 11.69″. There is a lot of “white space” around the pattern elements. A simple rearranging of them can make them fit on an 8.5″ x 11″ sheet of paper. If you don’t understand, email me. I am graphic design professional with 30+ years of experience. Thank you.
Please make the mask available for printing…I would like to make this mask! Thank you and stay safe.
Hi Virginia, the templates are now available for you to download. Just click on the links at the top of the project.
You stay safe too.
Hi. Unfortunately the templates is NOT 8.5″ x 11″. It is larger and does not fit at 100% on the standard letter size of paper. There is lots of empty space around the graphic, so I suggest that the person who made the template rearrange its elements so that the size of the template (and its PDF) is exactly 8.5″ x 11″. As a graphic designer with 30+ years of on-the-job experience, I know this is easy to do. Please do it. Thank you!
I have found this sizing incredibly frustrating – I could only get this to print so that the square was 21/8 inches by 2 inches – I tried to change the size of the pdf to fix this as suggested by Gale Leitch and was unable to fix it. It looks like a useful pattern so would really appreciate it if the pattern was fixed so that it did print out to the right size. I did try printing to different formats as well.