 BERNINA Corporate Blog -
Sewing self-made face masks with the overlocker/serger – three variations, three instructions
Dear Reader,
At the BERNINA headquarters in Steckborn, there is a department that develops concepts and documents for product training. You have already met Sarah and Mirjam from this education team. I am responsible for the Overlock machines.
For all those who want to combine self-made face mask sewing with overlock enthusiasm, I will introduce three mask types that can be sewn with the overlocker/serger. The first sewing instruction can be found below, I will show you the other variants over the next week and combine step-by-step instructions with practical tips from the overlock home office.
Elastic sold out? No problem with the overlocker!
A question that is often heard; is there still elastic available? My question in return: How about using the overlock machine to quickly and easily create your own jersey straps that are stretchy and comfortable to wear?
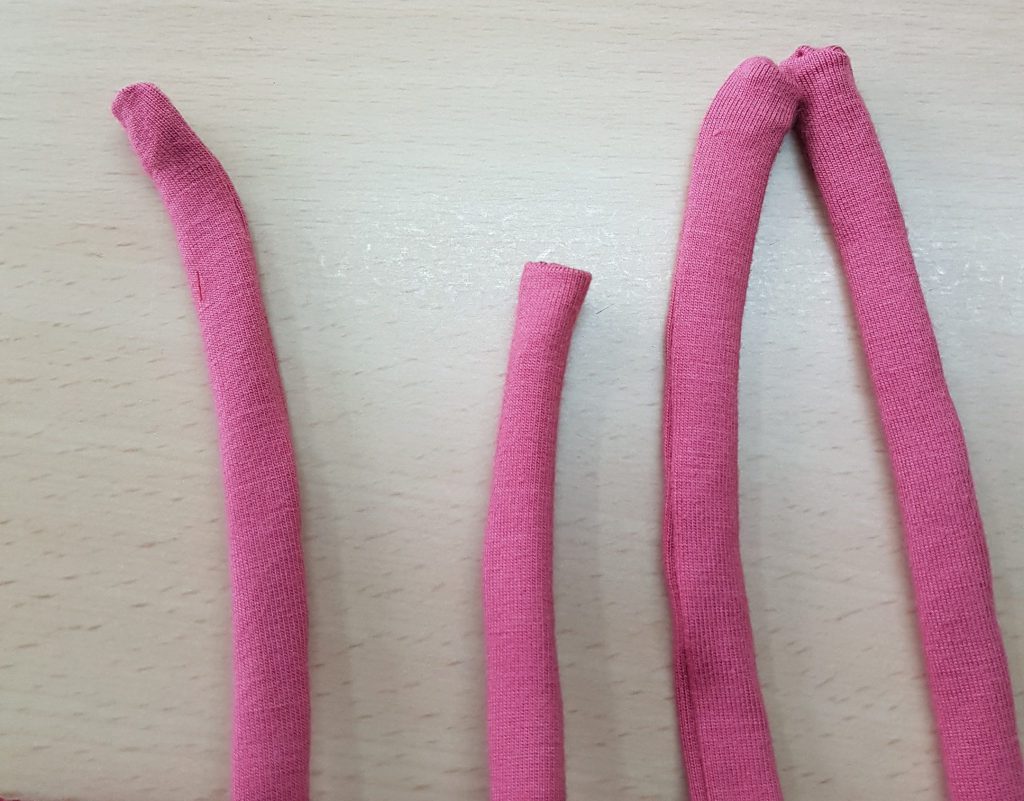
These soft straps can be tied over the head, that is why in the detailed instructions length of 45/90 cm are indicated.
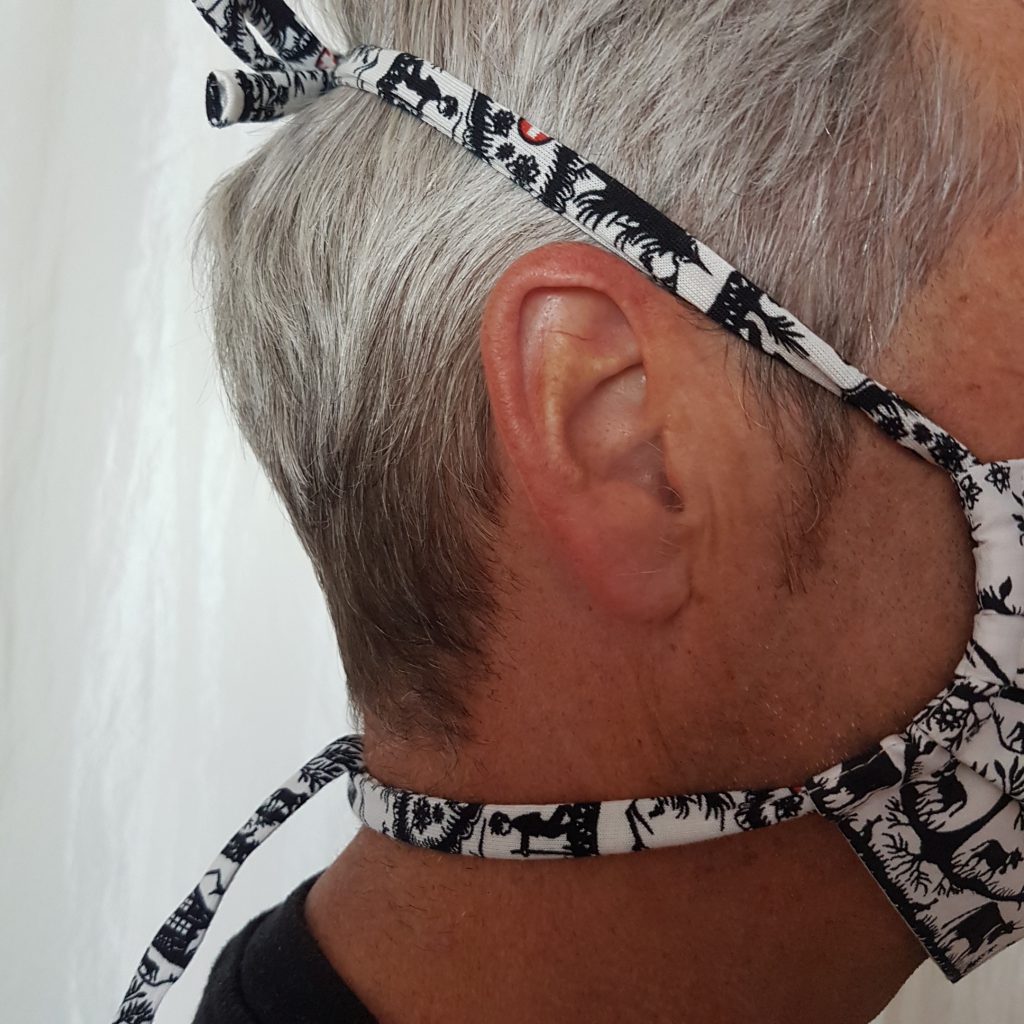
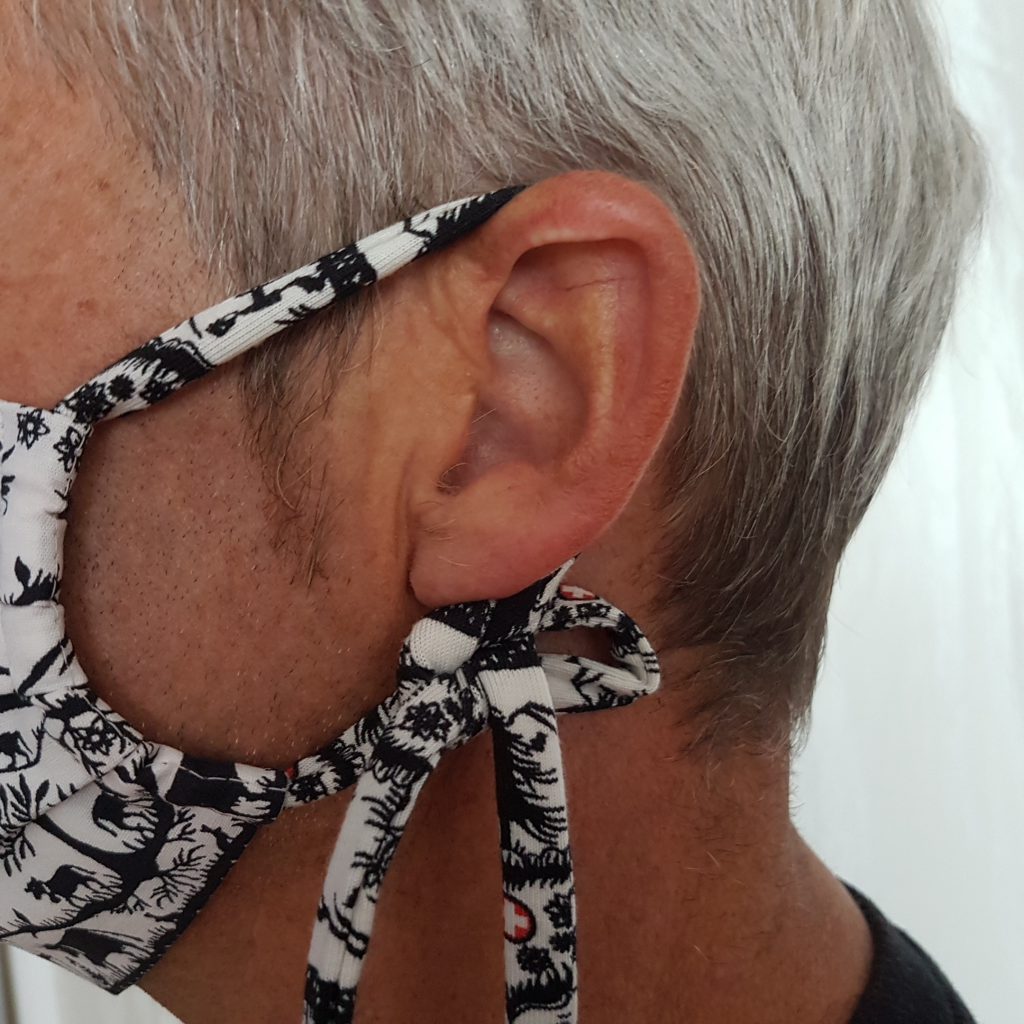
If you prefer to wear the straps behind your ear, you can also tie them there – and shorten them if necessary. Or like an elastic, sew the appropriate lengths together and pull them into the tunnel or sew them to fit.
Tip: Soft knit fabrics are ideal and easy to turn. The fabric strip should be wide enough that the tunnel is wider than the overlock stitch (4-thread overlock 6 mm wide). If you use a woven fabric, I recommend to cut it bias and use a narrow 3-thread overlock stitch (3 to 4 mm). Stiff fabrics are not suitable for this method.
I will show you an alternative method in my second article, with the sewing instructions for “the fast” self-sewn mask.
To secure the ends of the straps, you can simply push them back into the tunnel by approx. 1 cm using a tool with a rounded tip, such as a tapestry needle or alike.
You can see how such straps, so-called “spaghetti straps” are sewn in our video with tips and tricks for the BERNINA Overlocker L 450/460:
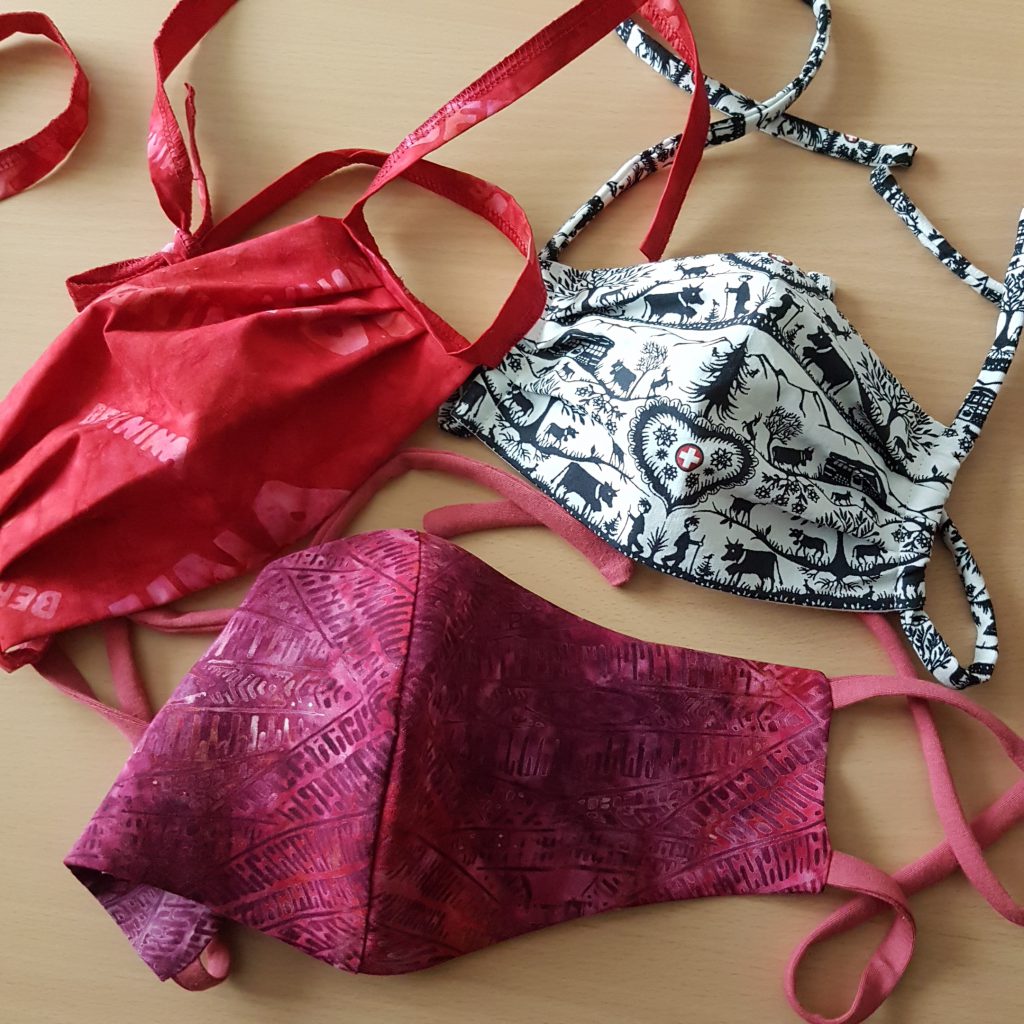
Spoiled for choice: which mask pattern should it be?
But now to the make itself, as usual I have difficulties to decide. I ask myself: Which pattern suits me in terms of comfort and is it easy to sew on the overlock machine? The result is three variants, of which I will describe the first one below.
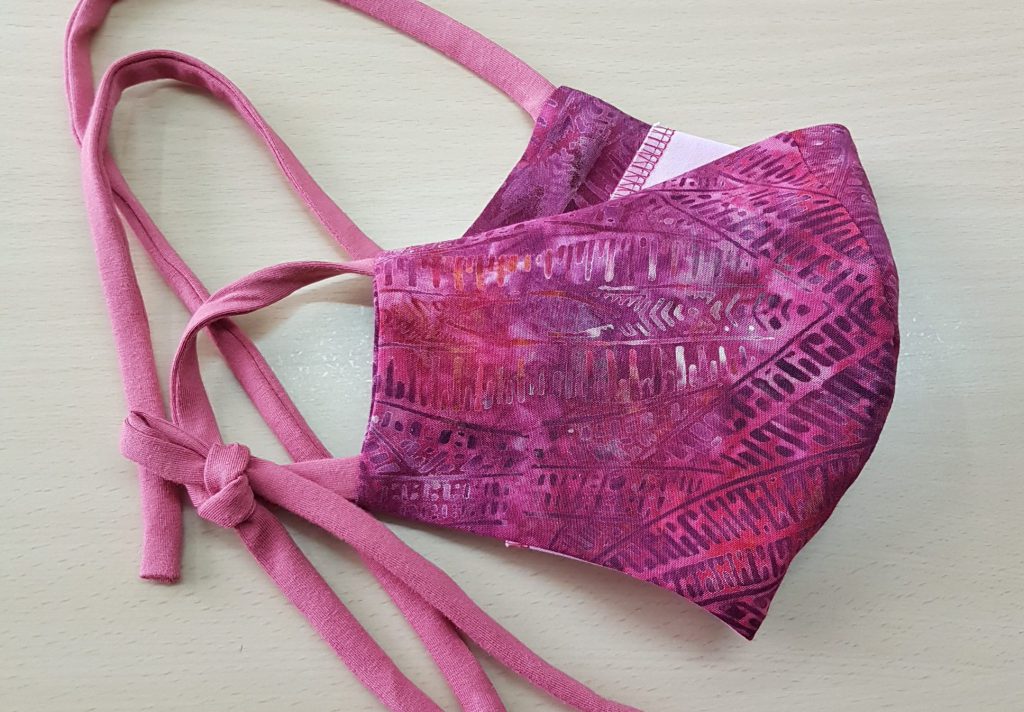
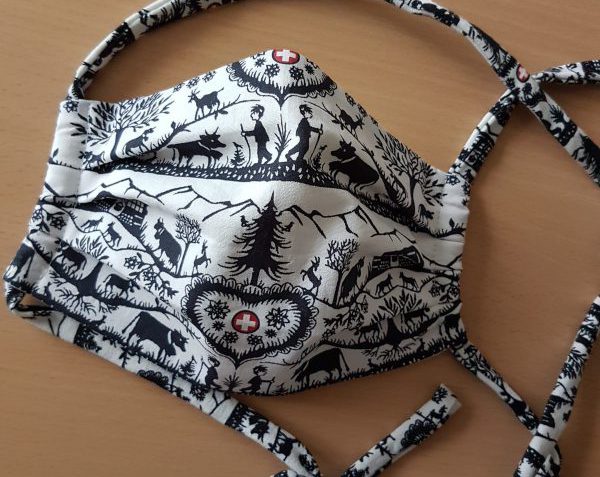
The detail lover
Sewn with BERNINA L 460, BERNINA L 220 and BERNINA 880. Of course, an L 450, a b44 or b48 or another overlock machine with a 4-thread overlock stitch can also be used for the overlock part. Instead of the B 880 you can use any sewing machine with a straight stitch. The chain stitch that I sewed with the L 220 can be replaced by a simple sewing machine straight stitch.
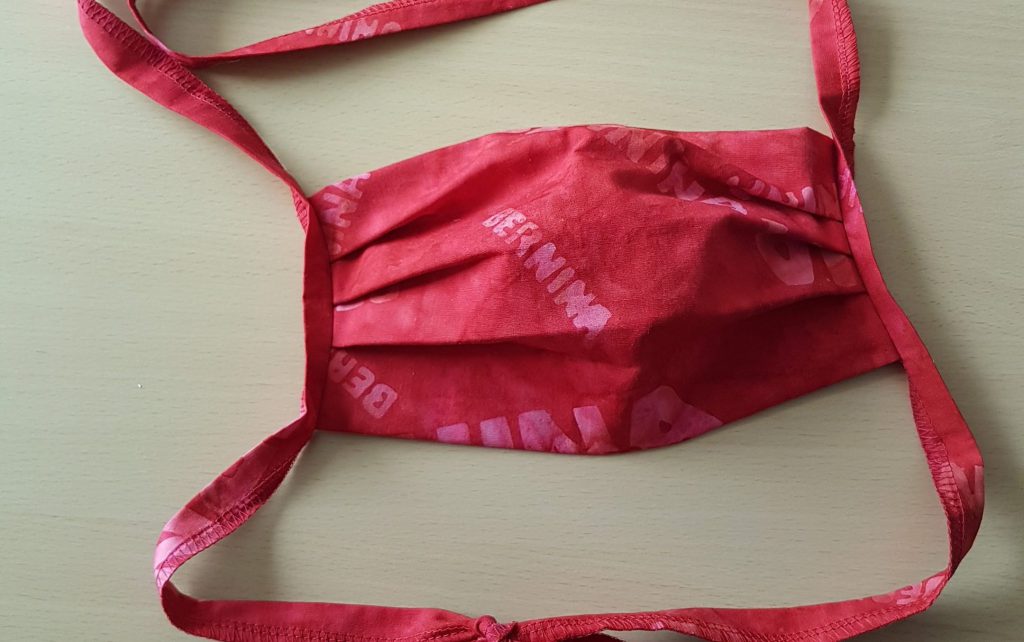
The Fast One
Sewn with L 460. But also here applies: Any overlock machine with a 4-thread overlock stitch can be used. I will publish the instructions and tips for this mask soon, probably in a couple of days. So check back regularly or subscribe to the blog newsletter – if you haven’t already.
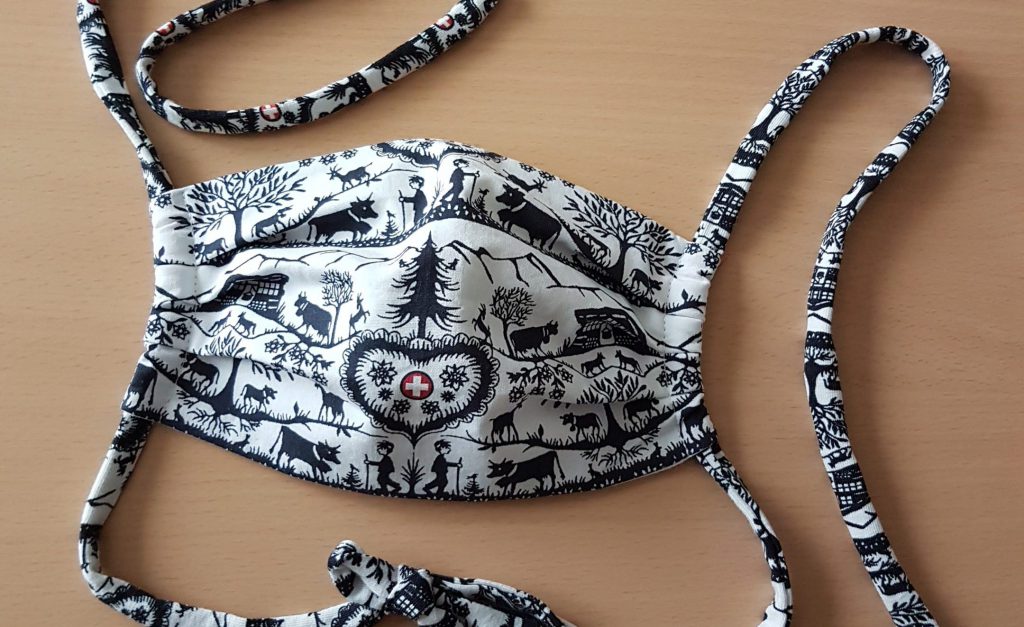
The More Elaborate
This design appears to me, because as I am wearing glasses and its shape is comfortable on my nose. And will not most of us wear sunglasses sooner or later? And I also like it, because it is ideal to custom fit it, now that masks are coming into fashion.
I also sewed this mask on the L 460. Again, you can use any other overlock machine with 4-thread overlock. The mtc micro thread control from BERNINA will provide a better sewing result. The sewing instructions and tips for this project will also become available soon after the instructions for “The Fast One”.
Self-made face mask sewing with the overlock – instructions for “the detail lover”
As for all sewing, also for overlock projects I recommend: Iron after every seam. This stabilizes the seam and simplifies further processing.
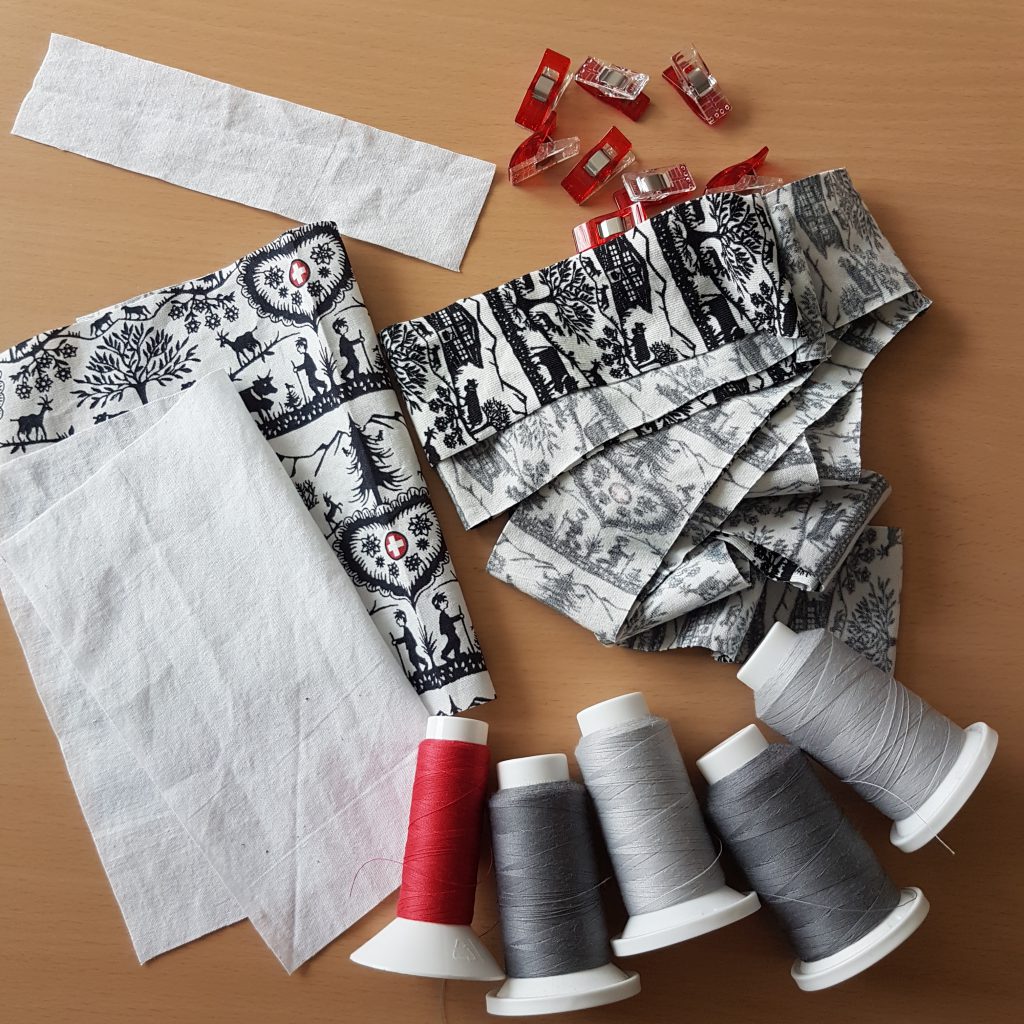
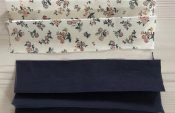
Material requirements (for one self-sewn face mask)
- Outer fabric, 17 x 24 cm
- Inner fabric, 17 x 20 cm
- Wire tunnel, 4 x 18 cm
- Straps 4 x 45 cm, knit, along (2 pcs). I cut long grain, because then it is stretchy but not too much – but I decide depending on the fabric available.
Sewing the mask
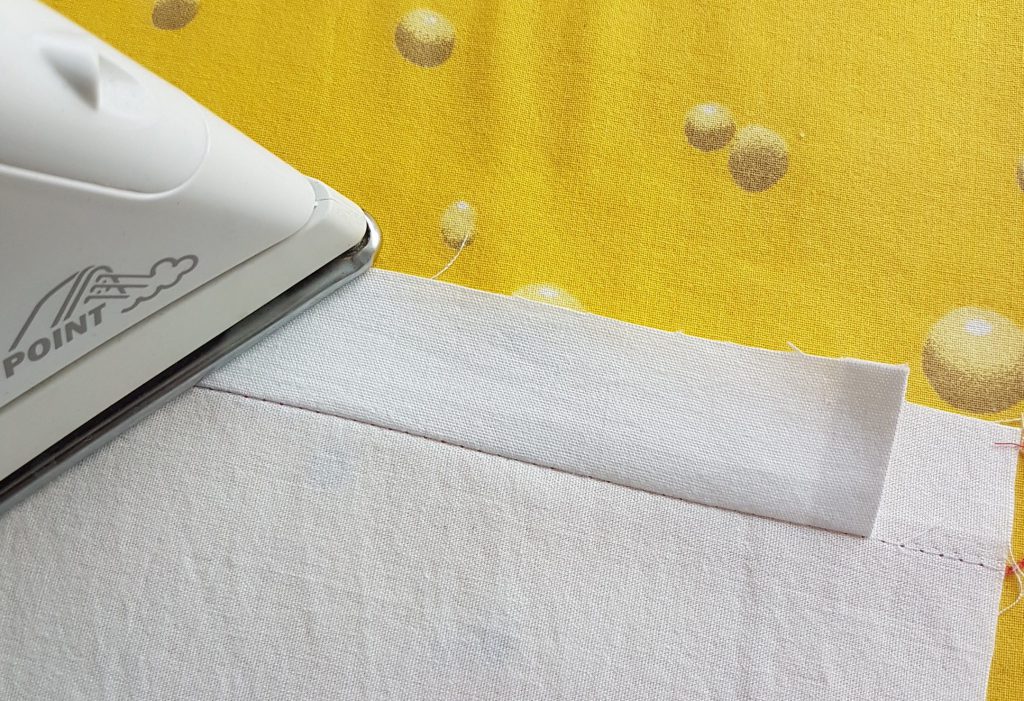
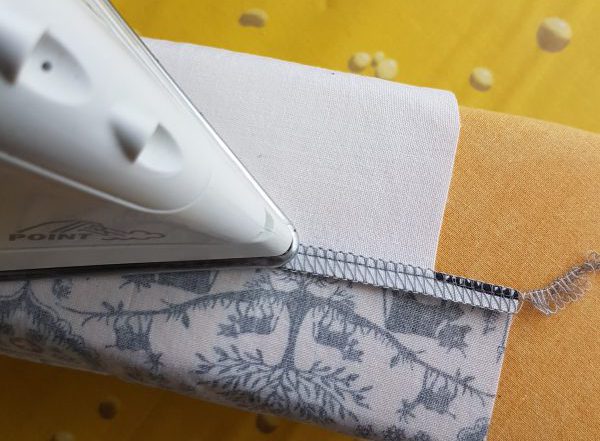
First, attach the tunnel strip for the wire to the center of one long edge on the inner fabric, 1 cm from the edge, turning in the narrow edges of the tunnel strip approx. 5 mm.
Sew on the strip with chain stitch 1.5 cm from the edge of the strip (= 2.5 cm from the edge of the fabric). I use the chain stitch because I love it when seams can easily be undone… This seam can of course also be stitched with the sewing machine, but I didn’t want to move my project already away from the main topic “Overlock”.

After sewing, iron the strip towards the edge of the fabric.
Place the inner fabric on the outer fabric right on right side (the tunnel strip is in between). If you are using a directional print design, make sure the wire tunnel is along the upper length edge.
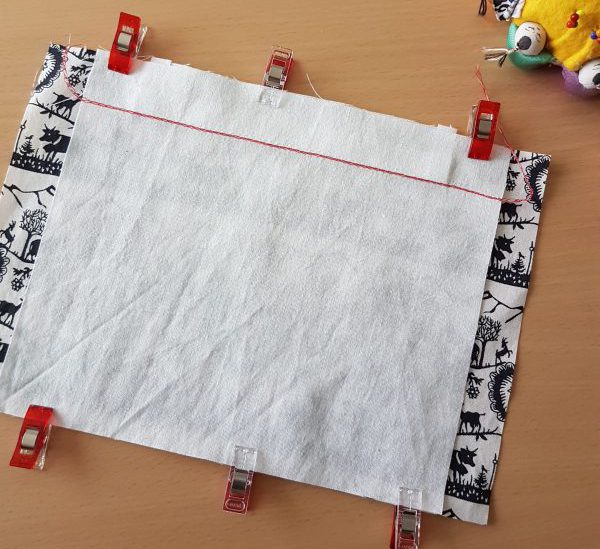
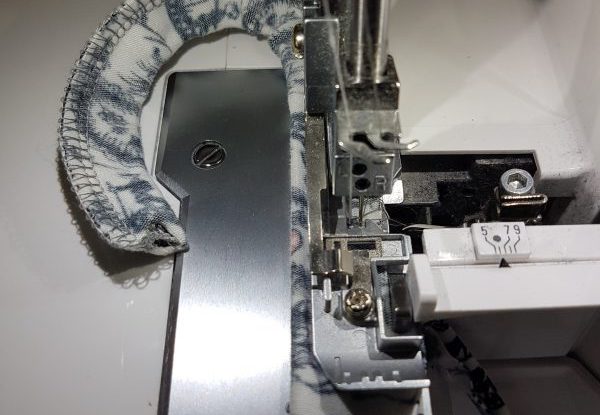
Sew the two long edges together using 4-thread overlock. Using default settings on the L 460, with a cutting width of 6 mm, 4 mm seam allowance is cut off. You can do this easily by guiding the fabric edge along the stitch plate edge. Alternatively, the seam guide, included as standard accessory, can be used.
Now iron the seam allowances towards the outer fabric:
Turn the tube and iron the seams flat:

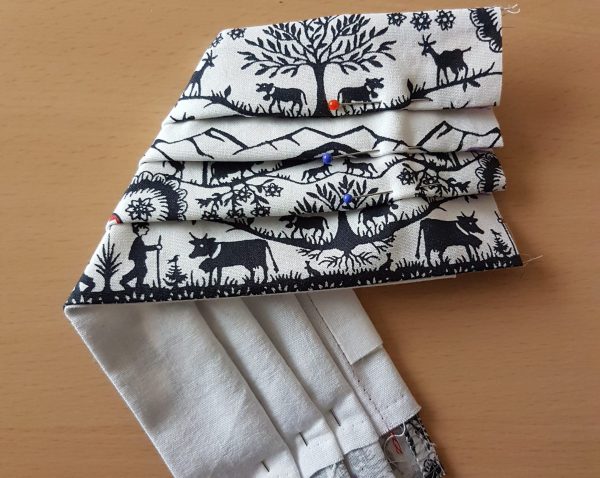
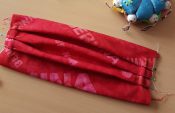
Sewing the pleats
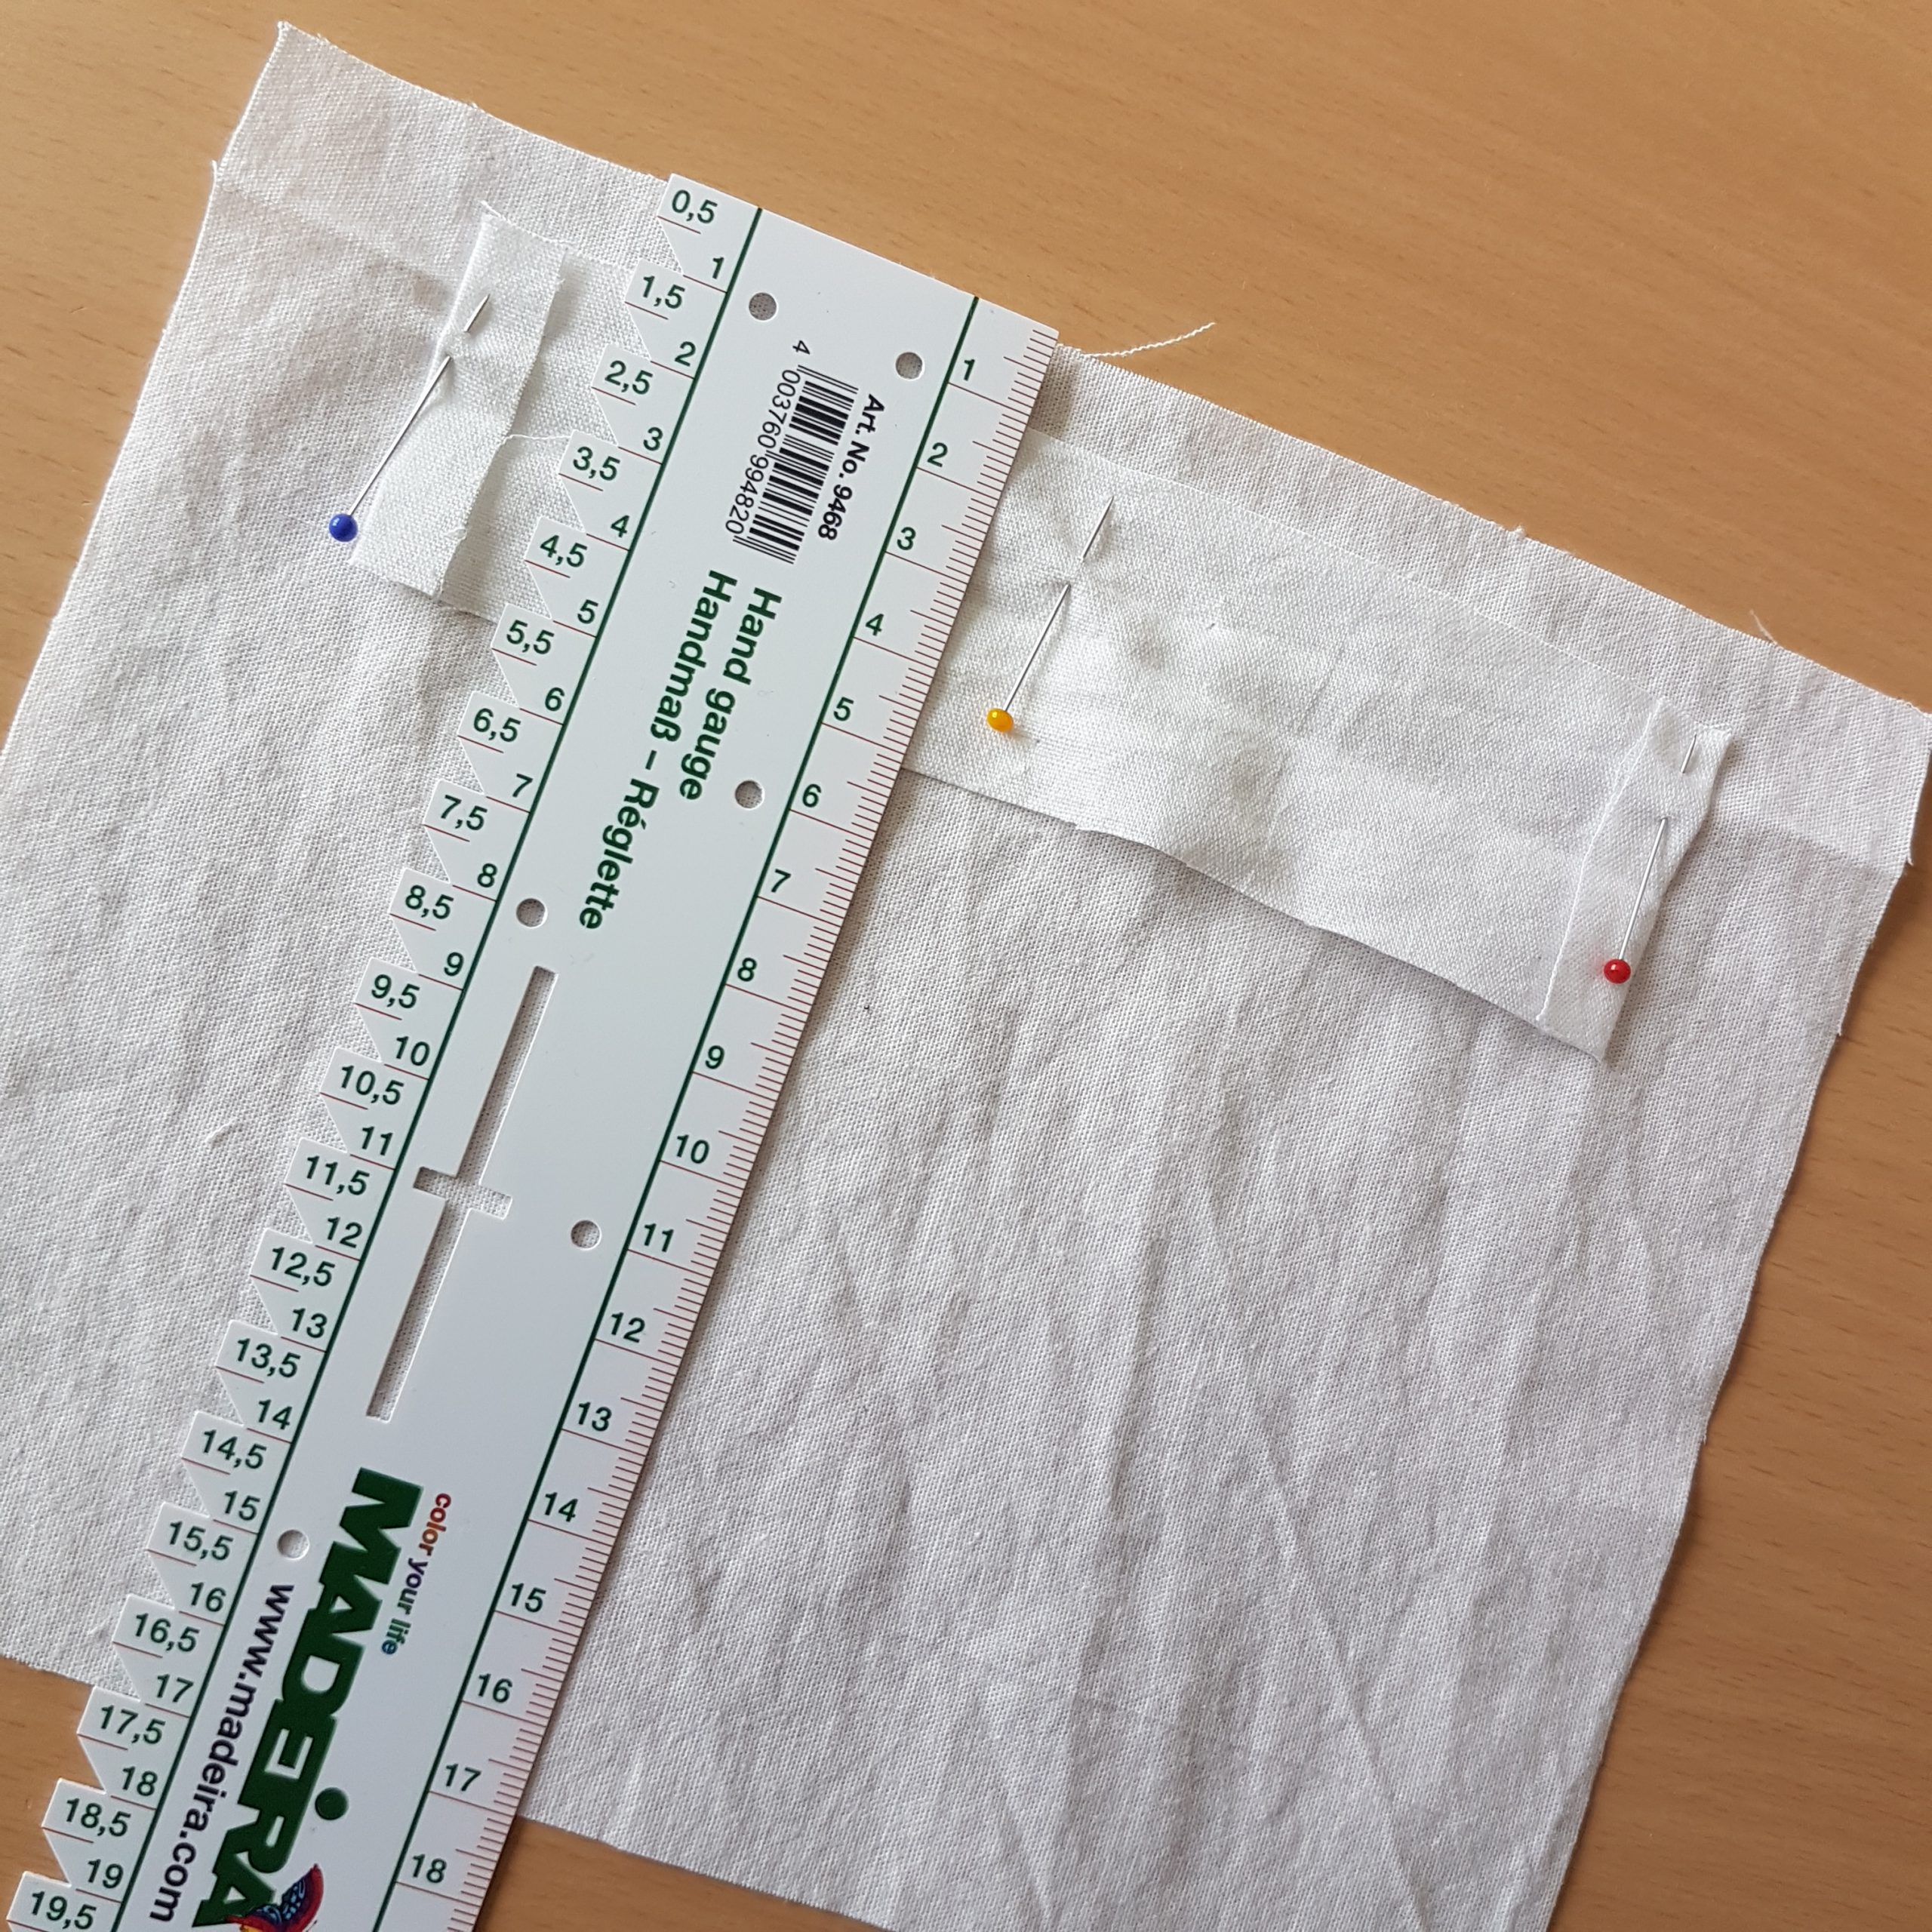
Mark the pleats at 3-5, 6.5-8.5, 10-12 cm.
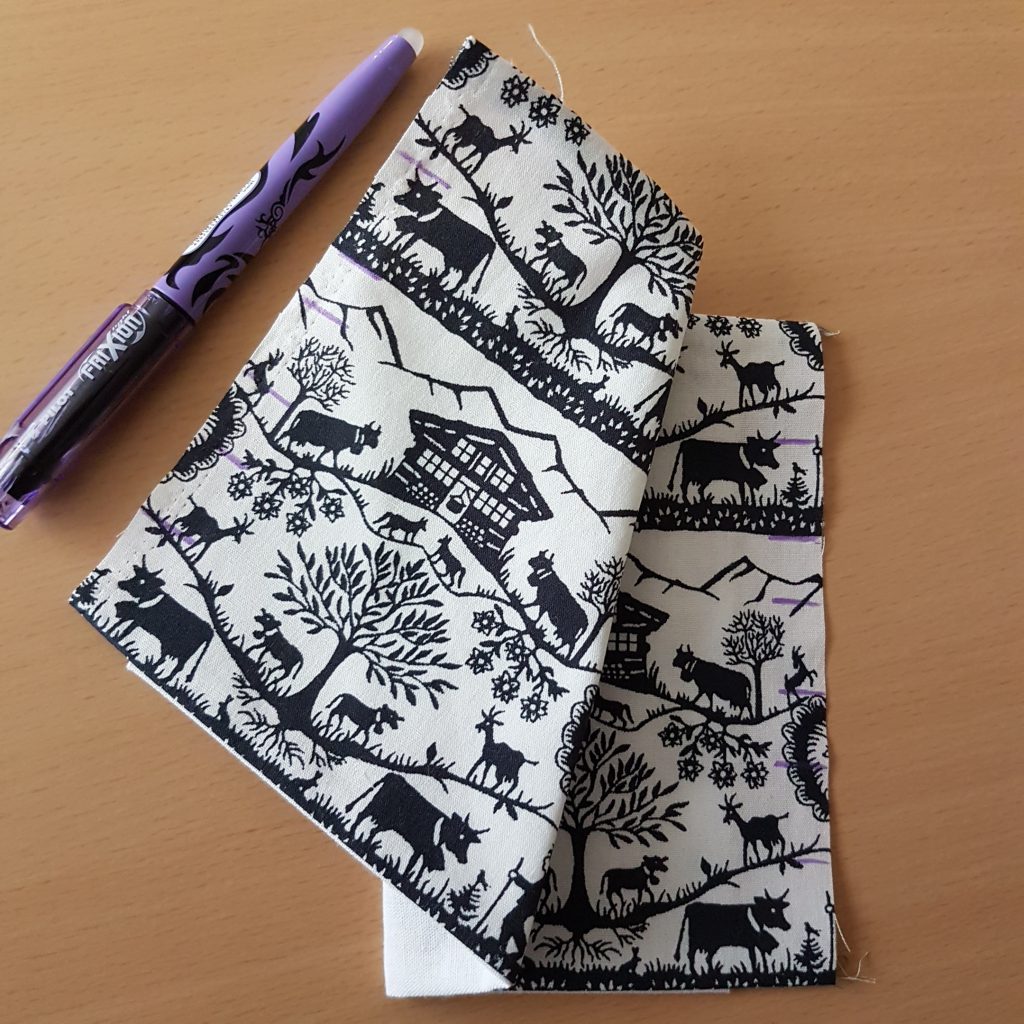
Now pin the pleats together. I recommend pins with a clearly visible head. Using a fabric with directional print, I considered that the pleats look from top to bottom.
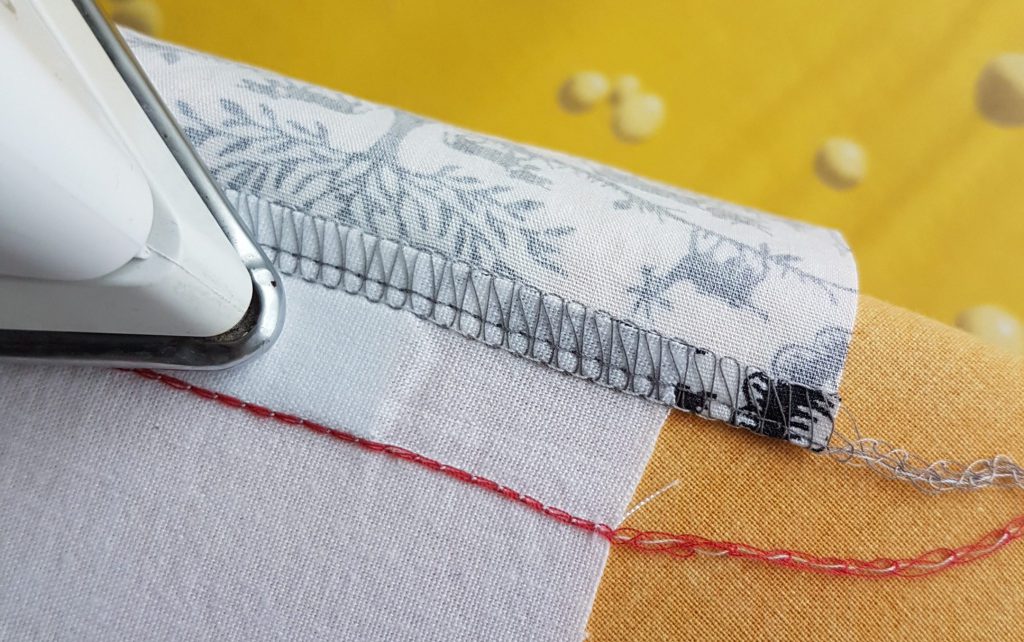
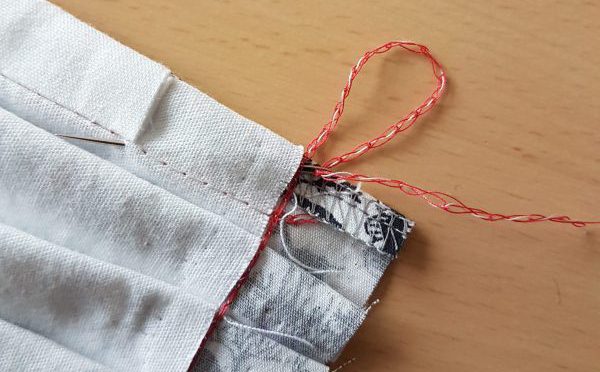
I also stitched the pleats in place with the chain stitch of the L 220 at a distance of 2 cm from the edge. Alternatively, you can simply use a sewing machine with a straight stitch and secure the stitch. Always remove the pins before the presser foot!
I secure the stitch with a pointed tapestry needle, which is not necessary when using the sewing machine.
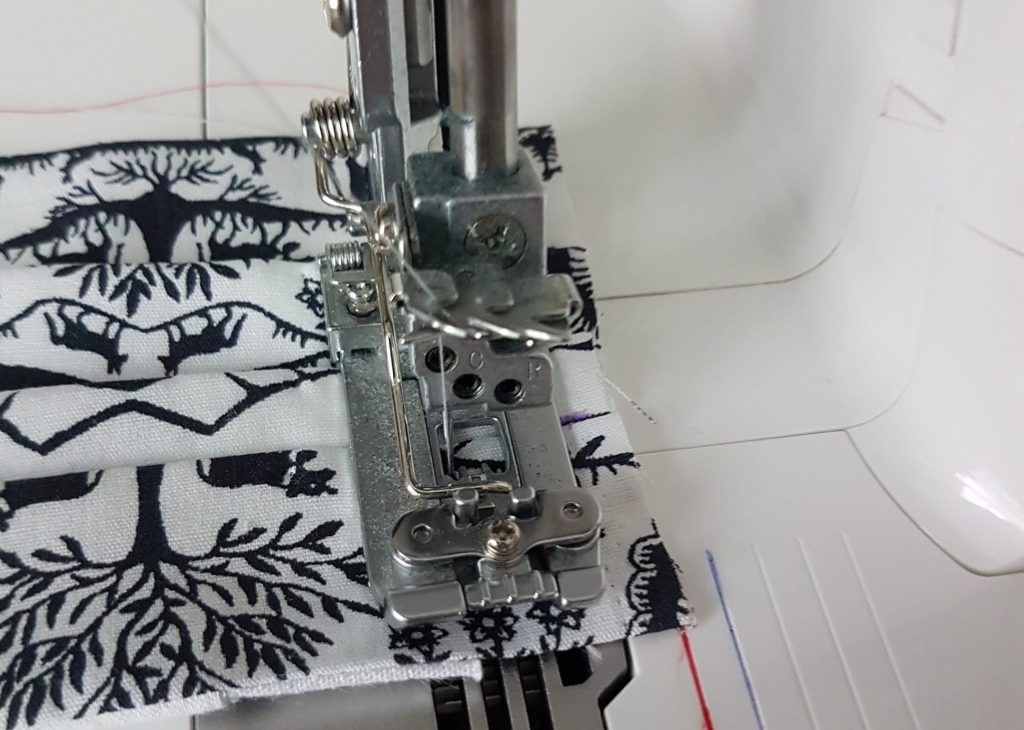
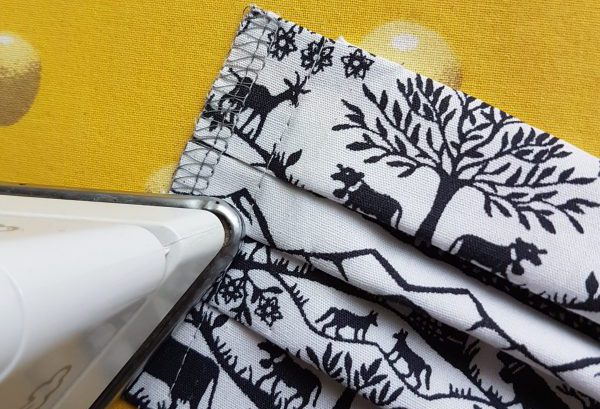
Now you can neaten the edges. I take the L 460 with 4-thread overlock (if you want to switch, you can also use 3-thread overlock) and cut 4 mm. Remaining is a 15 mm wide seam allowance.
I am ironing again. That makes the next step easier.
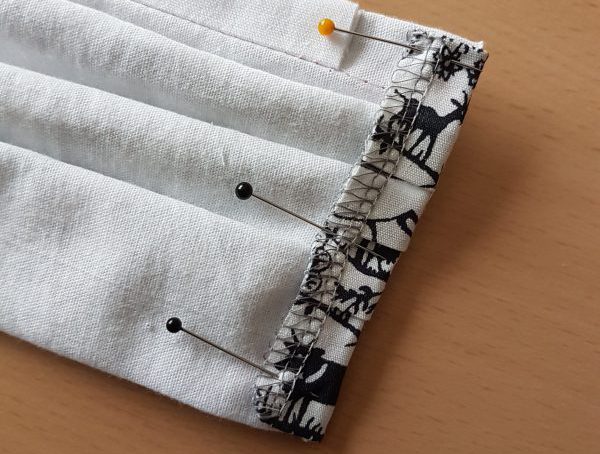
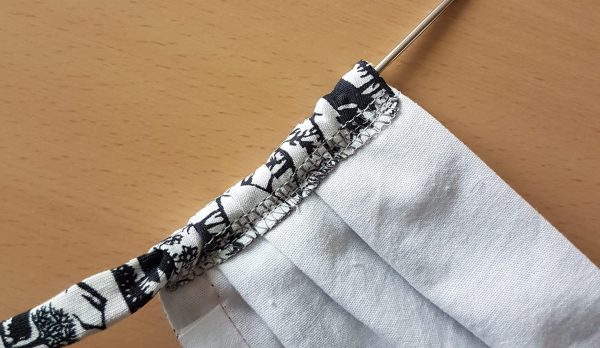
Now fold the edge over 1.5 cm and pin it:
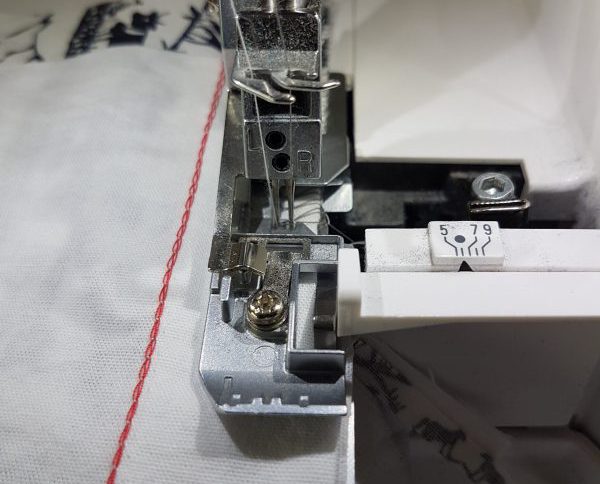
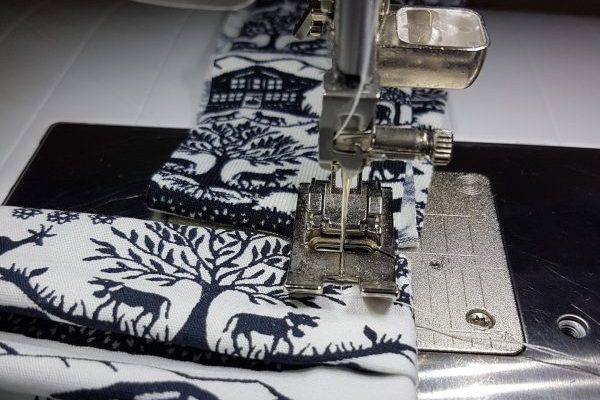
And now we are officially taking the sewing machine and the straight stitch. I sew on the right side. The stitch plate has lines for precise edge guiding. If necessary, the needle position can be adjusted to a 1.3 cm tunnel width. With this thick layer I start in the fabric and sew backwards. For forward sewing I place four layers of fabric as height compensation.
If you have the height compensation tool at hand – this is of course ideal for this. Also secure the seam end.
You can find more tips for sewing self-made face masks with the sewing machine in the article by Mirjam von Thile: How to Begin Sewing Without “Eating Up Your Materials”.
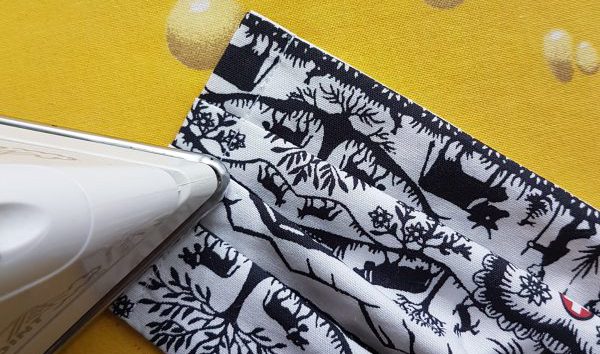
And as usual, iron for seam stability:
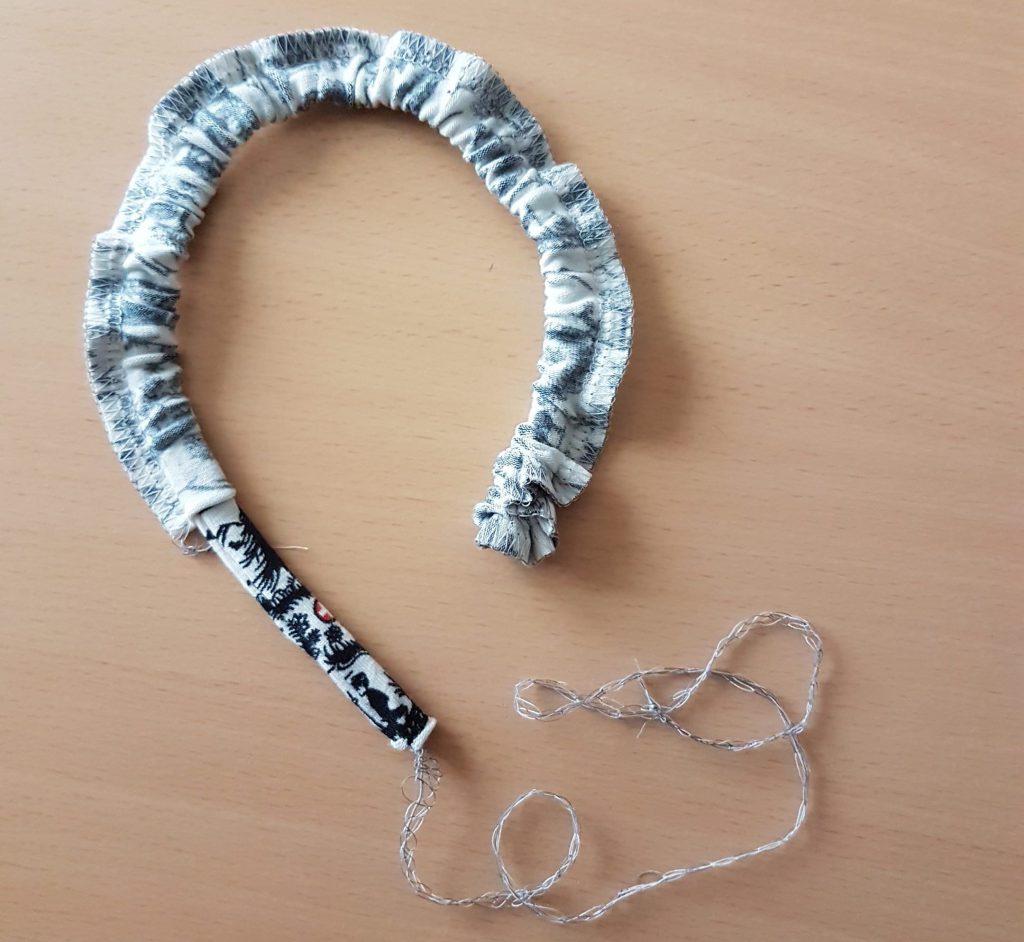
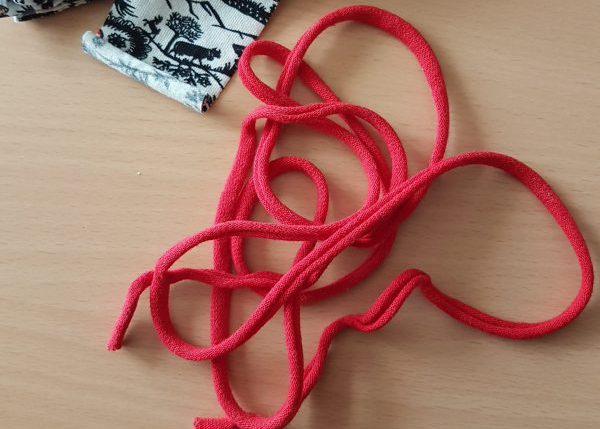
Sew easy turning tubes
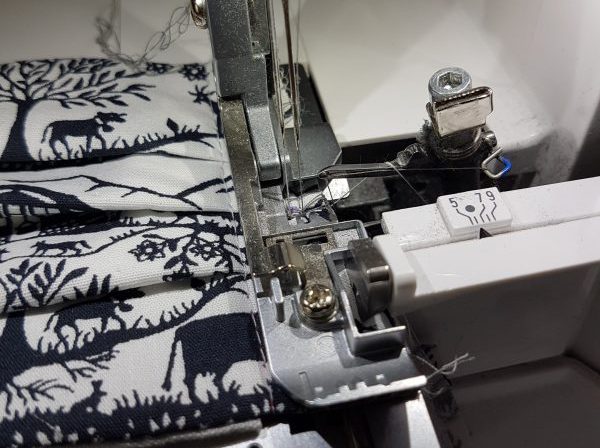
So far so good! Now it is time for the spaghetti straps. These are easily created with the L 460 with 4-thread overlock. In order to make the stitch stretchy enough according to the fabric, I recommend to reduce the stitch length to 2.
If you use a highly elastic knit or cross grain knit, you can reduce the stitch length to 1.5 – for even more elasticity.
The detailed video-tutorial to produce such easy turning tubes, filmed with L 450/460, can be found here:
The finished straps can be pulled into the tunnel with a tapestry needle or a safety pin.
Alternatively, you can also use a raw strip of knit fabric of 2.5 x 75 cm, cross cut. Stretch it fully that it rolls in. However, this does not last as long and cannot be washed as often.
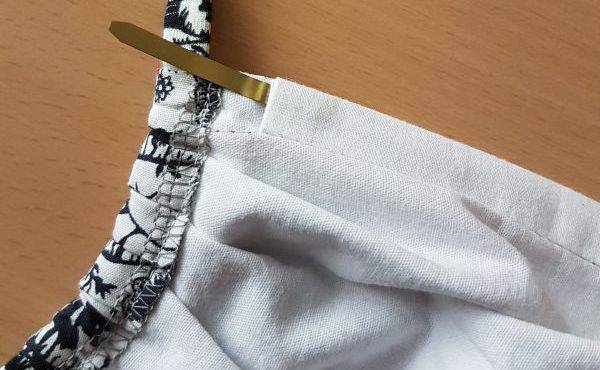
You can simply slide the wire or metal bracket into the open tunnel. Once it is bent into shape, it will hold, as long as you wear the mask. The tunnel remains open so that the metal part can be removed before washing.
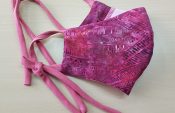
Finished! It’s so easy to sew a mask with the overlocker
The “detail lover” self-made mask is ready for use!
I wish all readers, sewers and fabric collectors happy overlocking and of course good health! Soon it will continue here with the sewing instructions for “the fast one”.
Greetings,
Doris
Herewith we explicitly advise you that all masks sewn according to instructions in the BERNINA Blog are to be considered as self-sewn face masks. They are neither medical products or protective equipment.
You will find more information here: ‘Self sewn face mask everything you need to know’

hello what size of fabric do you use for children
Hi Laurie
Thanks for your inquiry.
I have no experience with size conversions of face masks for children. It also depends on the age of the child. But with above fabric of a rectangle, I guess it is quite easy to customize. Considering that children of 3y and older already have a head measurement of approx. 50cm / 19 1/2″ I would recommend that you reduce the fabric length by 1″ or 2.5 cm and its width by 1/2″ or 1.5 cm. And then try it and reduce further if needed.
Kind regards, Doris