 BERNINA Corporate Blog -
Long time no see! As you might have guessed I have had a busy time dealing with the whole Corona situation but now I am back with renewed enthusiasm!

I have a project for you that has been a long time in the making. The cutting out of the main fabric happened almost a year ago. Then I had to prepare all the inner workings which took a bit of brain work so that I only got to it in January this year. The assembly, though, was fairly quick and quite relaxing.
Making a special blazer was one of the reasons why I got into sewing again. I am or rather was an online shopper for clothes and I scoured the internet for anything lemon printed. A few years later I am still obsessed with lemon prints (you can see an example here, when I sewed a lemon print bathing suit) and I decided to try my hand at classic tailoring. What you’ll see below is by no means expert work. It’s my first real foray into tailoring and I found it surprisingly relaxing.
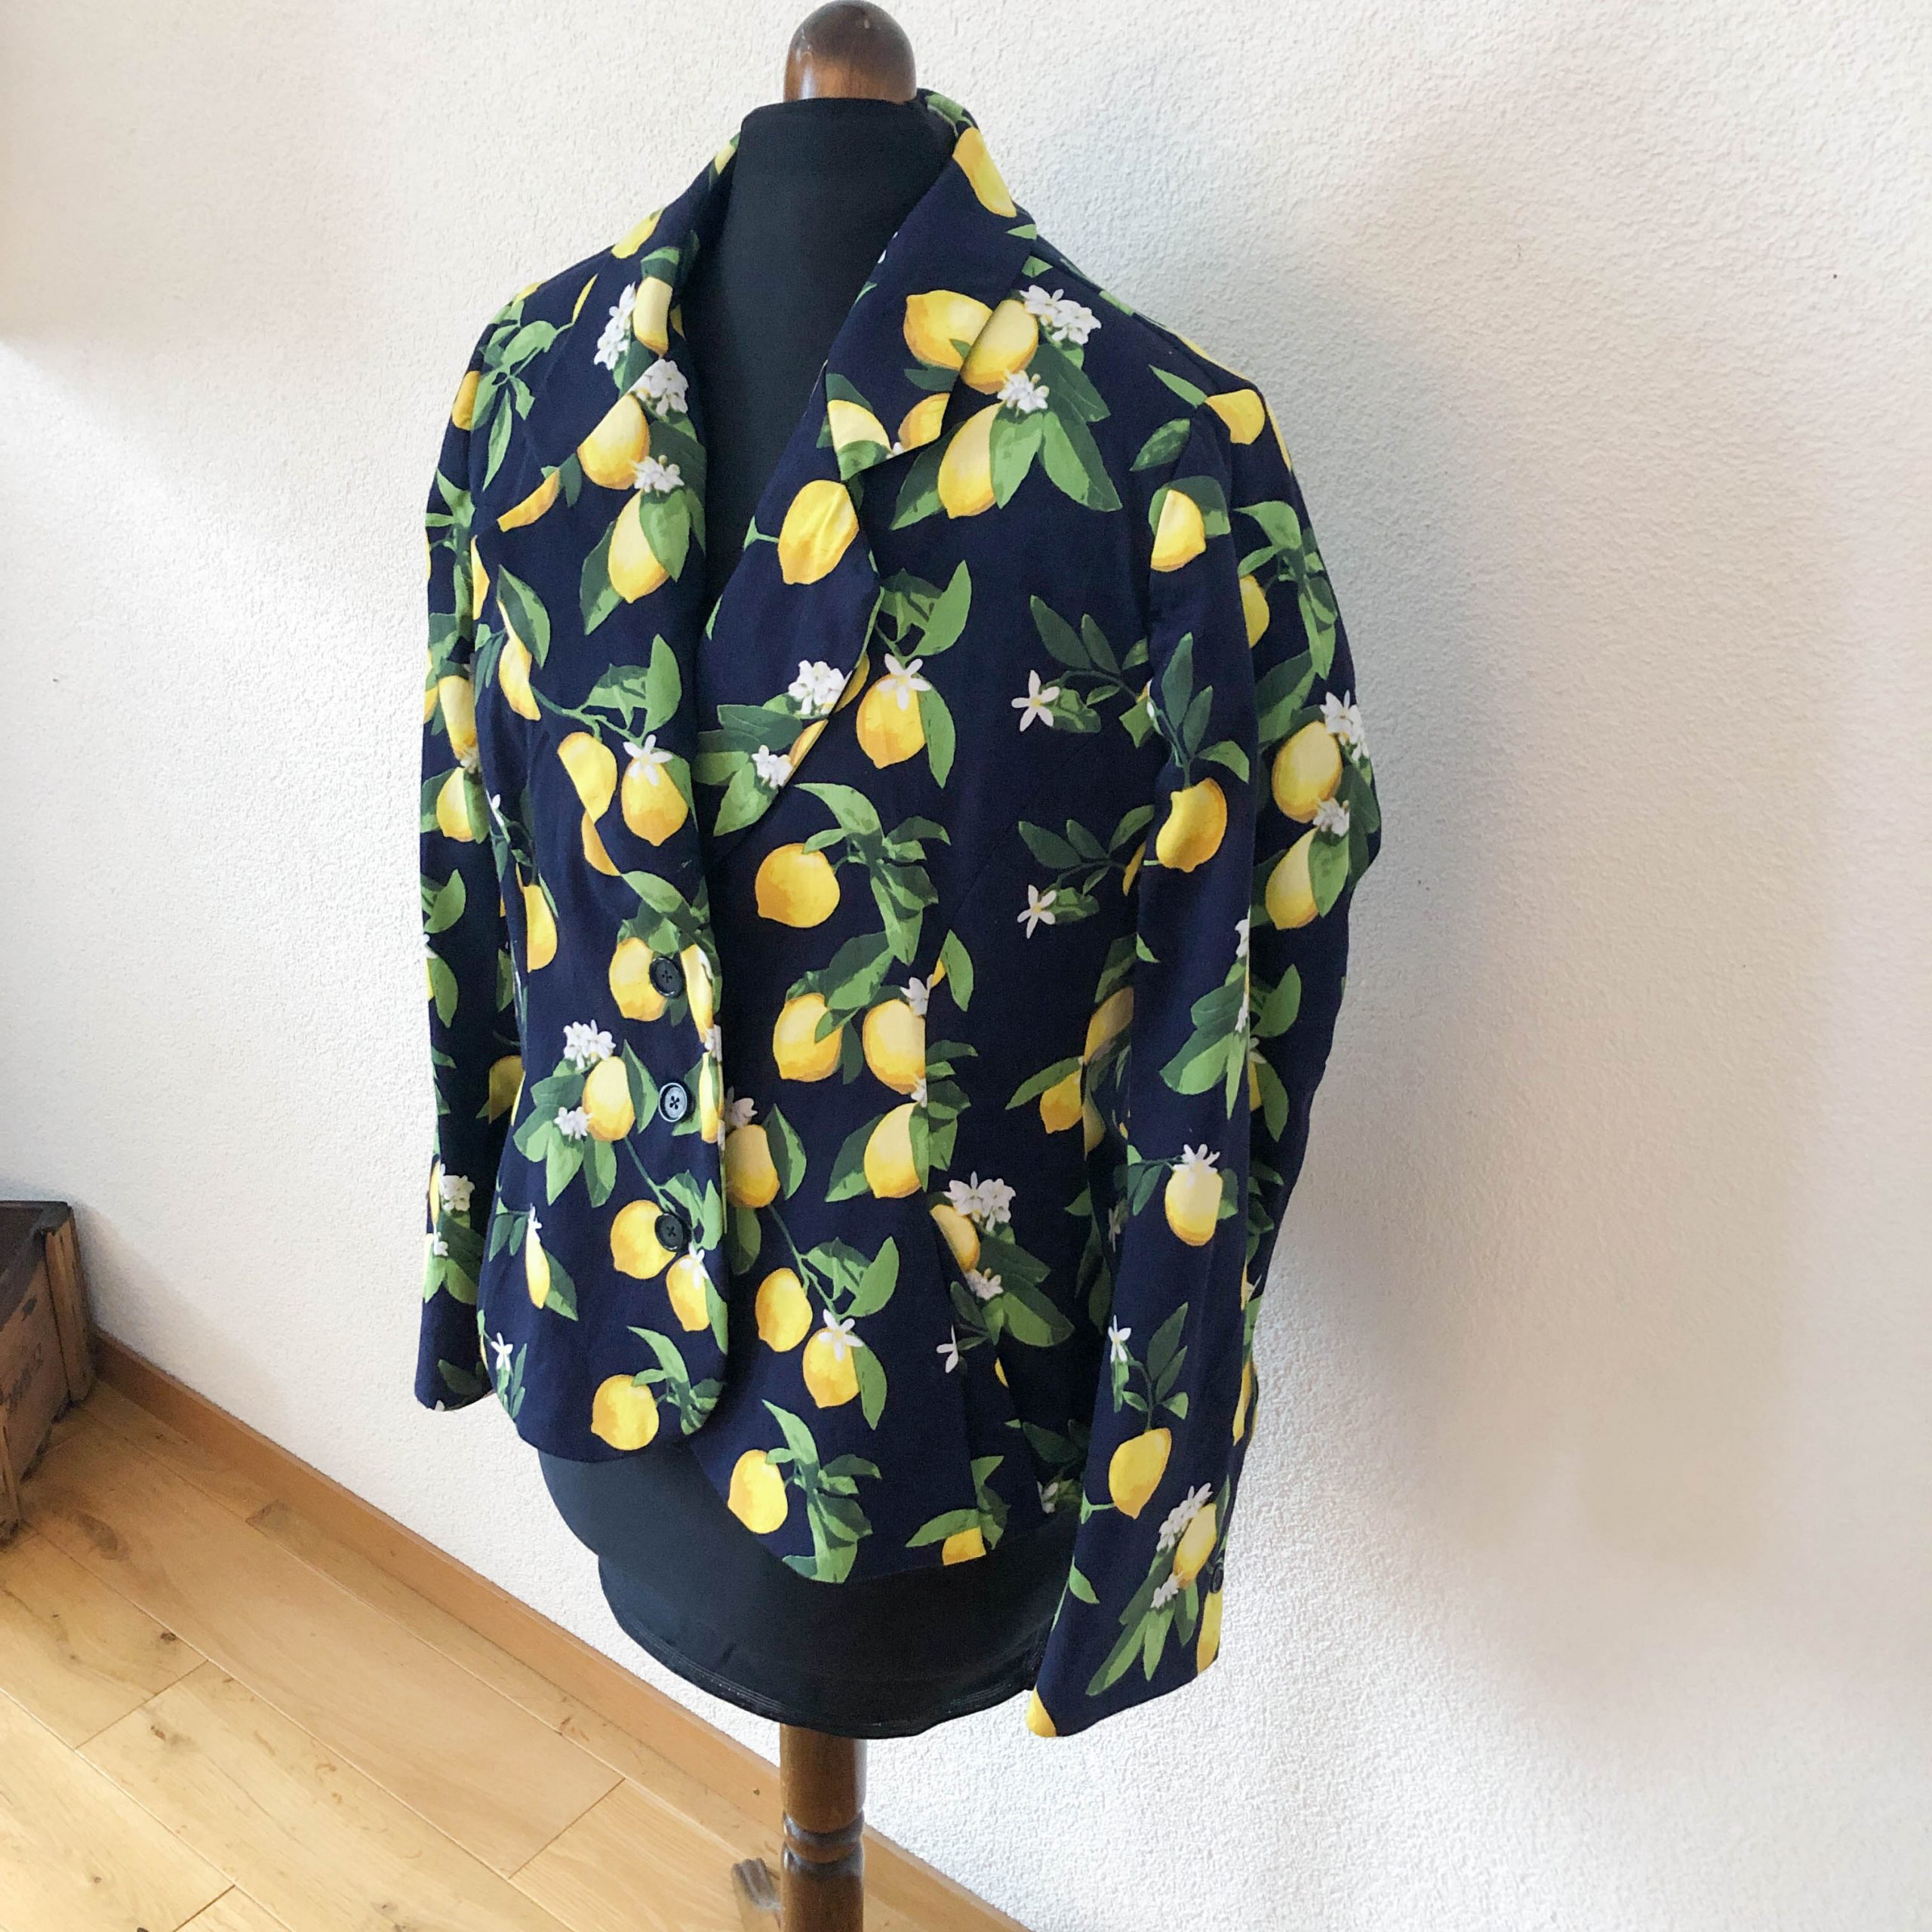
I am quite a curvy girl with narrow shoulders, big boobs, a fairly narrow midriff for my weight and a larger backside. I love the idea of those long, boxy blazers that are in fashion right now but I fear it will make me look like a walking fridge. This is why I went for a more classic design that features a fitted waist: The Vogue 8333. The fact that it closes with three buttons is just an added bonus. Anyone with a larger chest will know what I mean…
Overview of the general supplies I needed for this blazer:
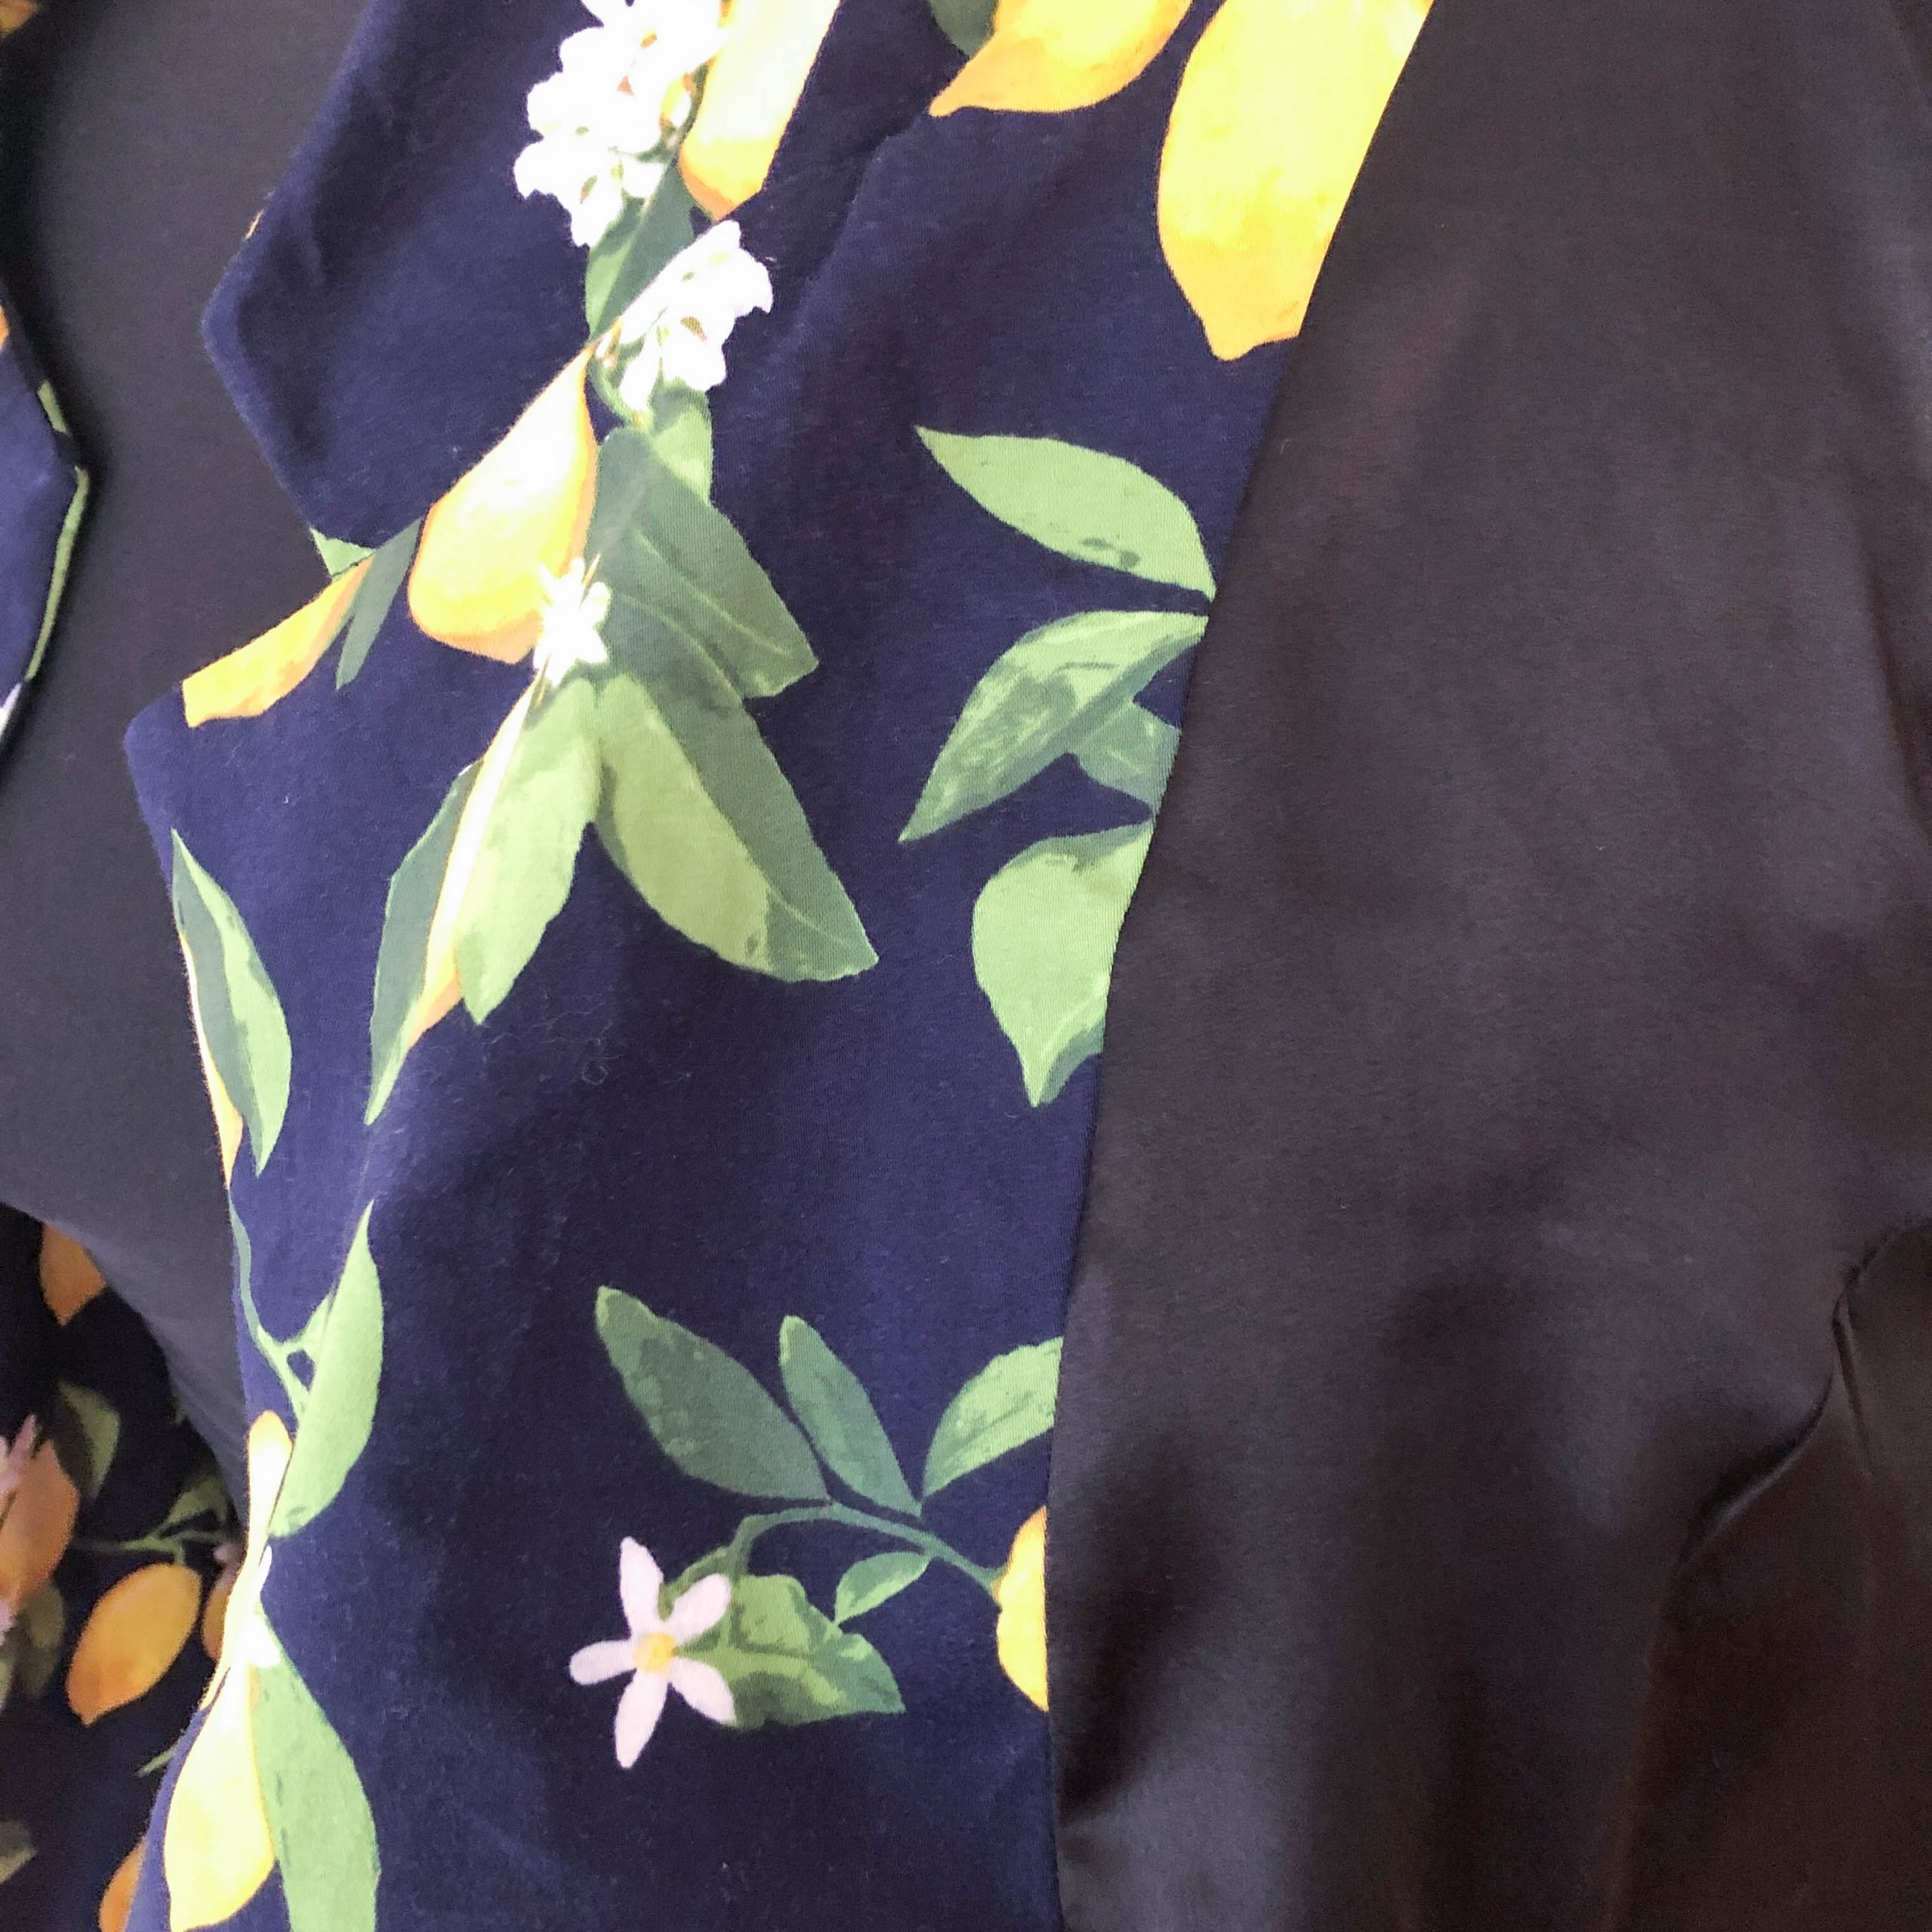
- Main fabric: From stylemaker fabrics, stretch cotton sateen
- Interlining: Ditte fabric from IKEA (yep, I’ll mostly use it for muslining fabric)
- Interfacing: Strong muslining fabric from mood fabrics, horsehair canvas from Minerva, Lambswool from Minerva
- Lining: Black silk from a local fabric store
- Sew in tape for the roll-line of the lapel
- Fusible tape for the seamlines
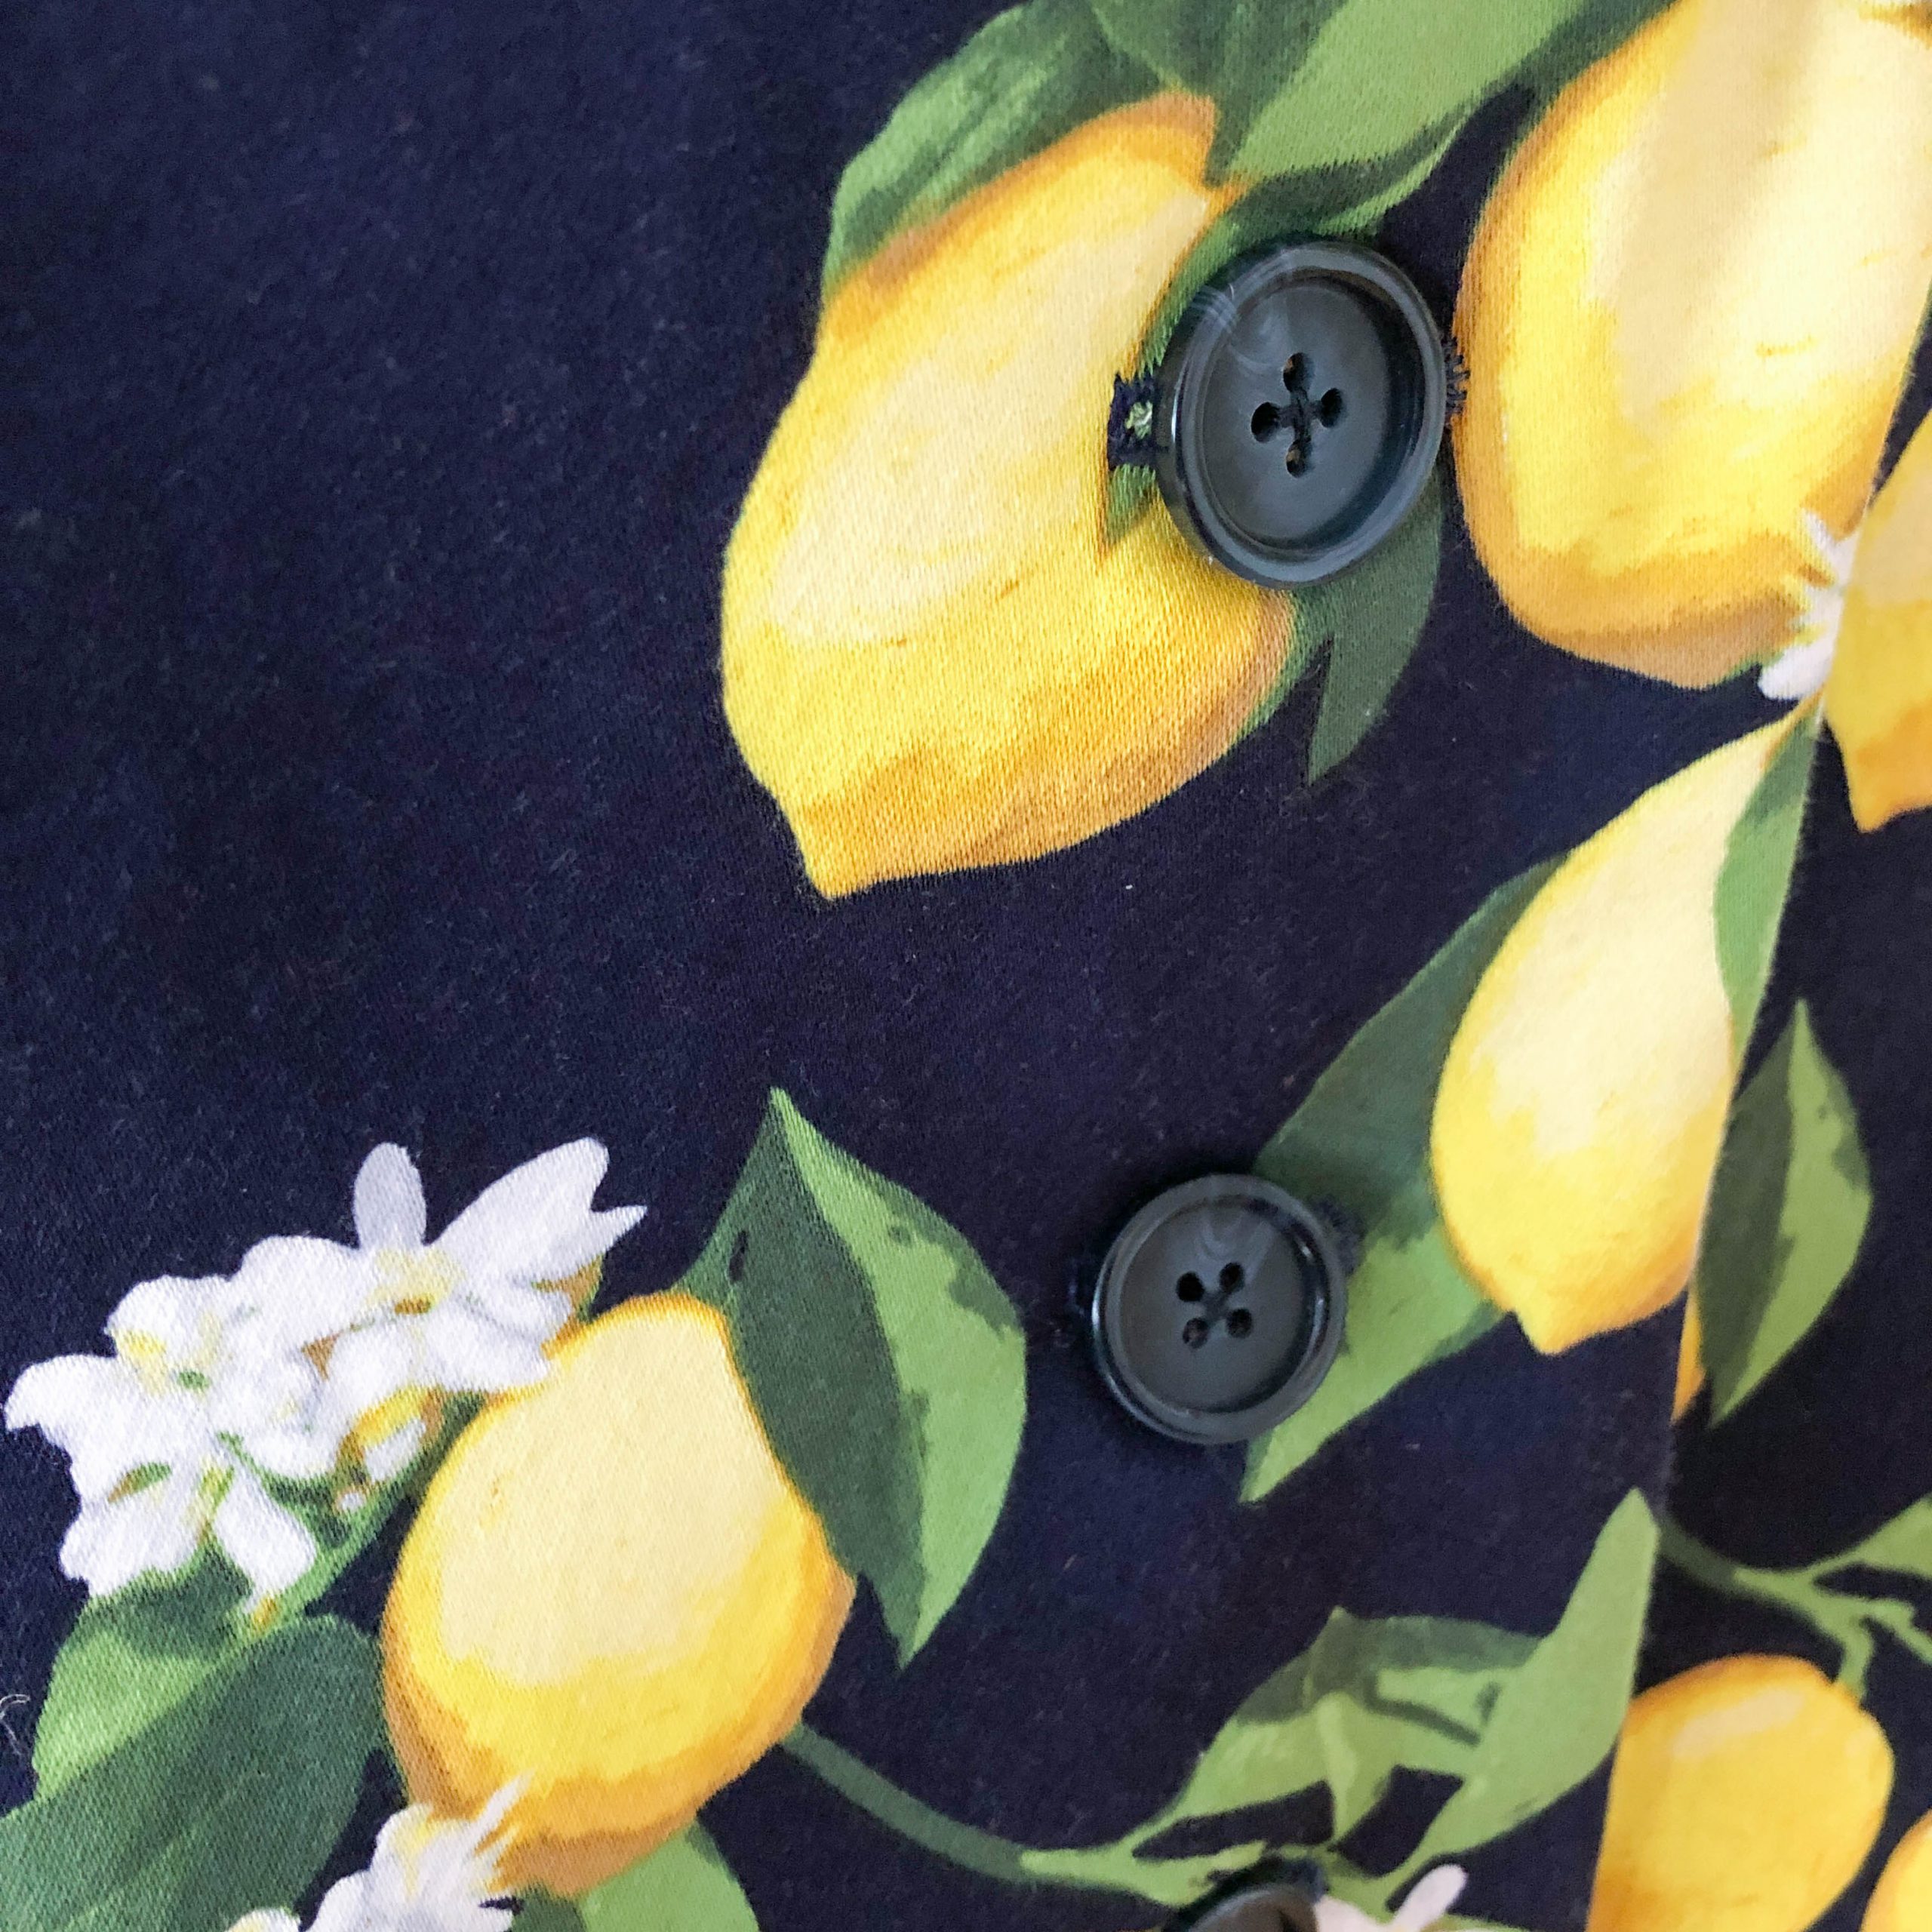
- Buttons
- Thread, Beeswax, thimble
- Patience
The pattern gives you two choices of tailoring techniques. The classic tailoring technique with horsehair canvas and sew-in interfacing and the speedtailoring technique with fusible interfacing. I went for the classic technique. Don’t worry the pattern instructions will tell you which pieces need which kind of interfacing. Also, please note that these interfacing pieces and their shape will vary from pattern to pattern.
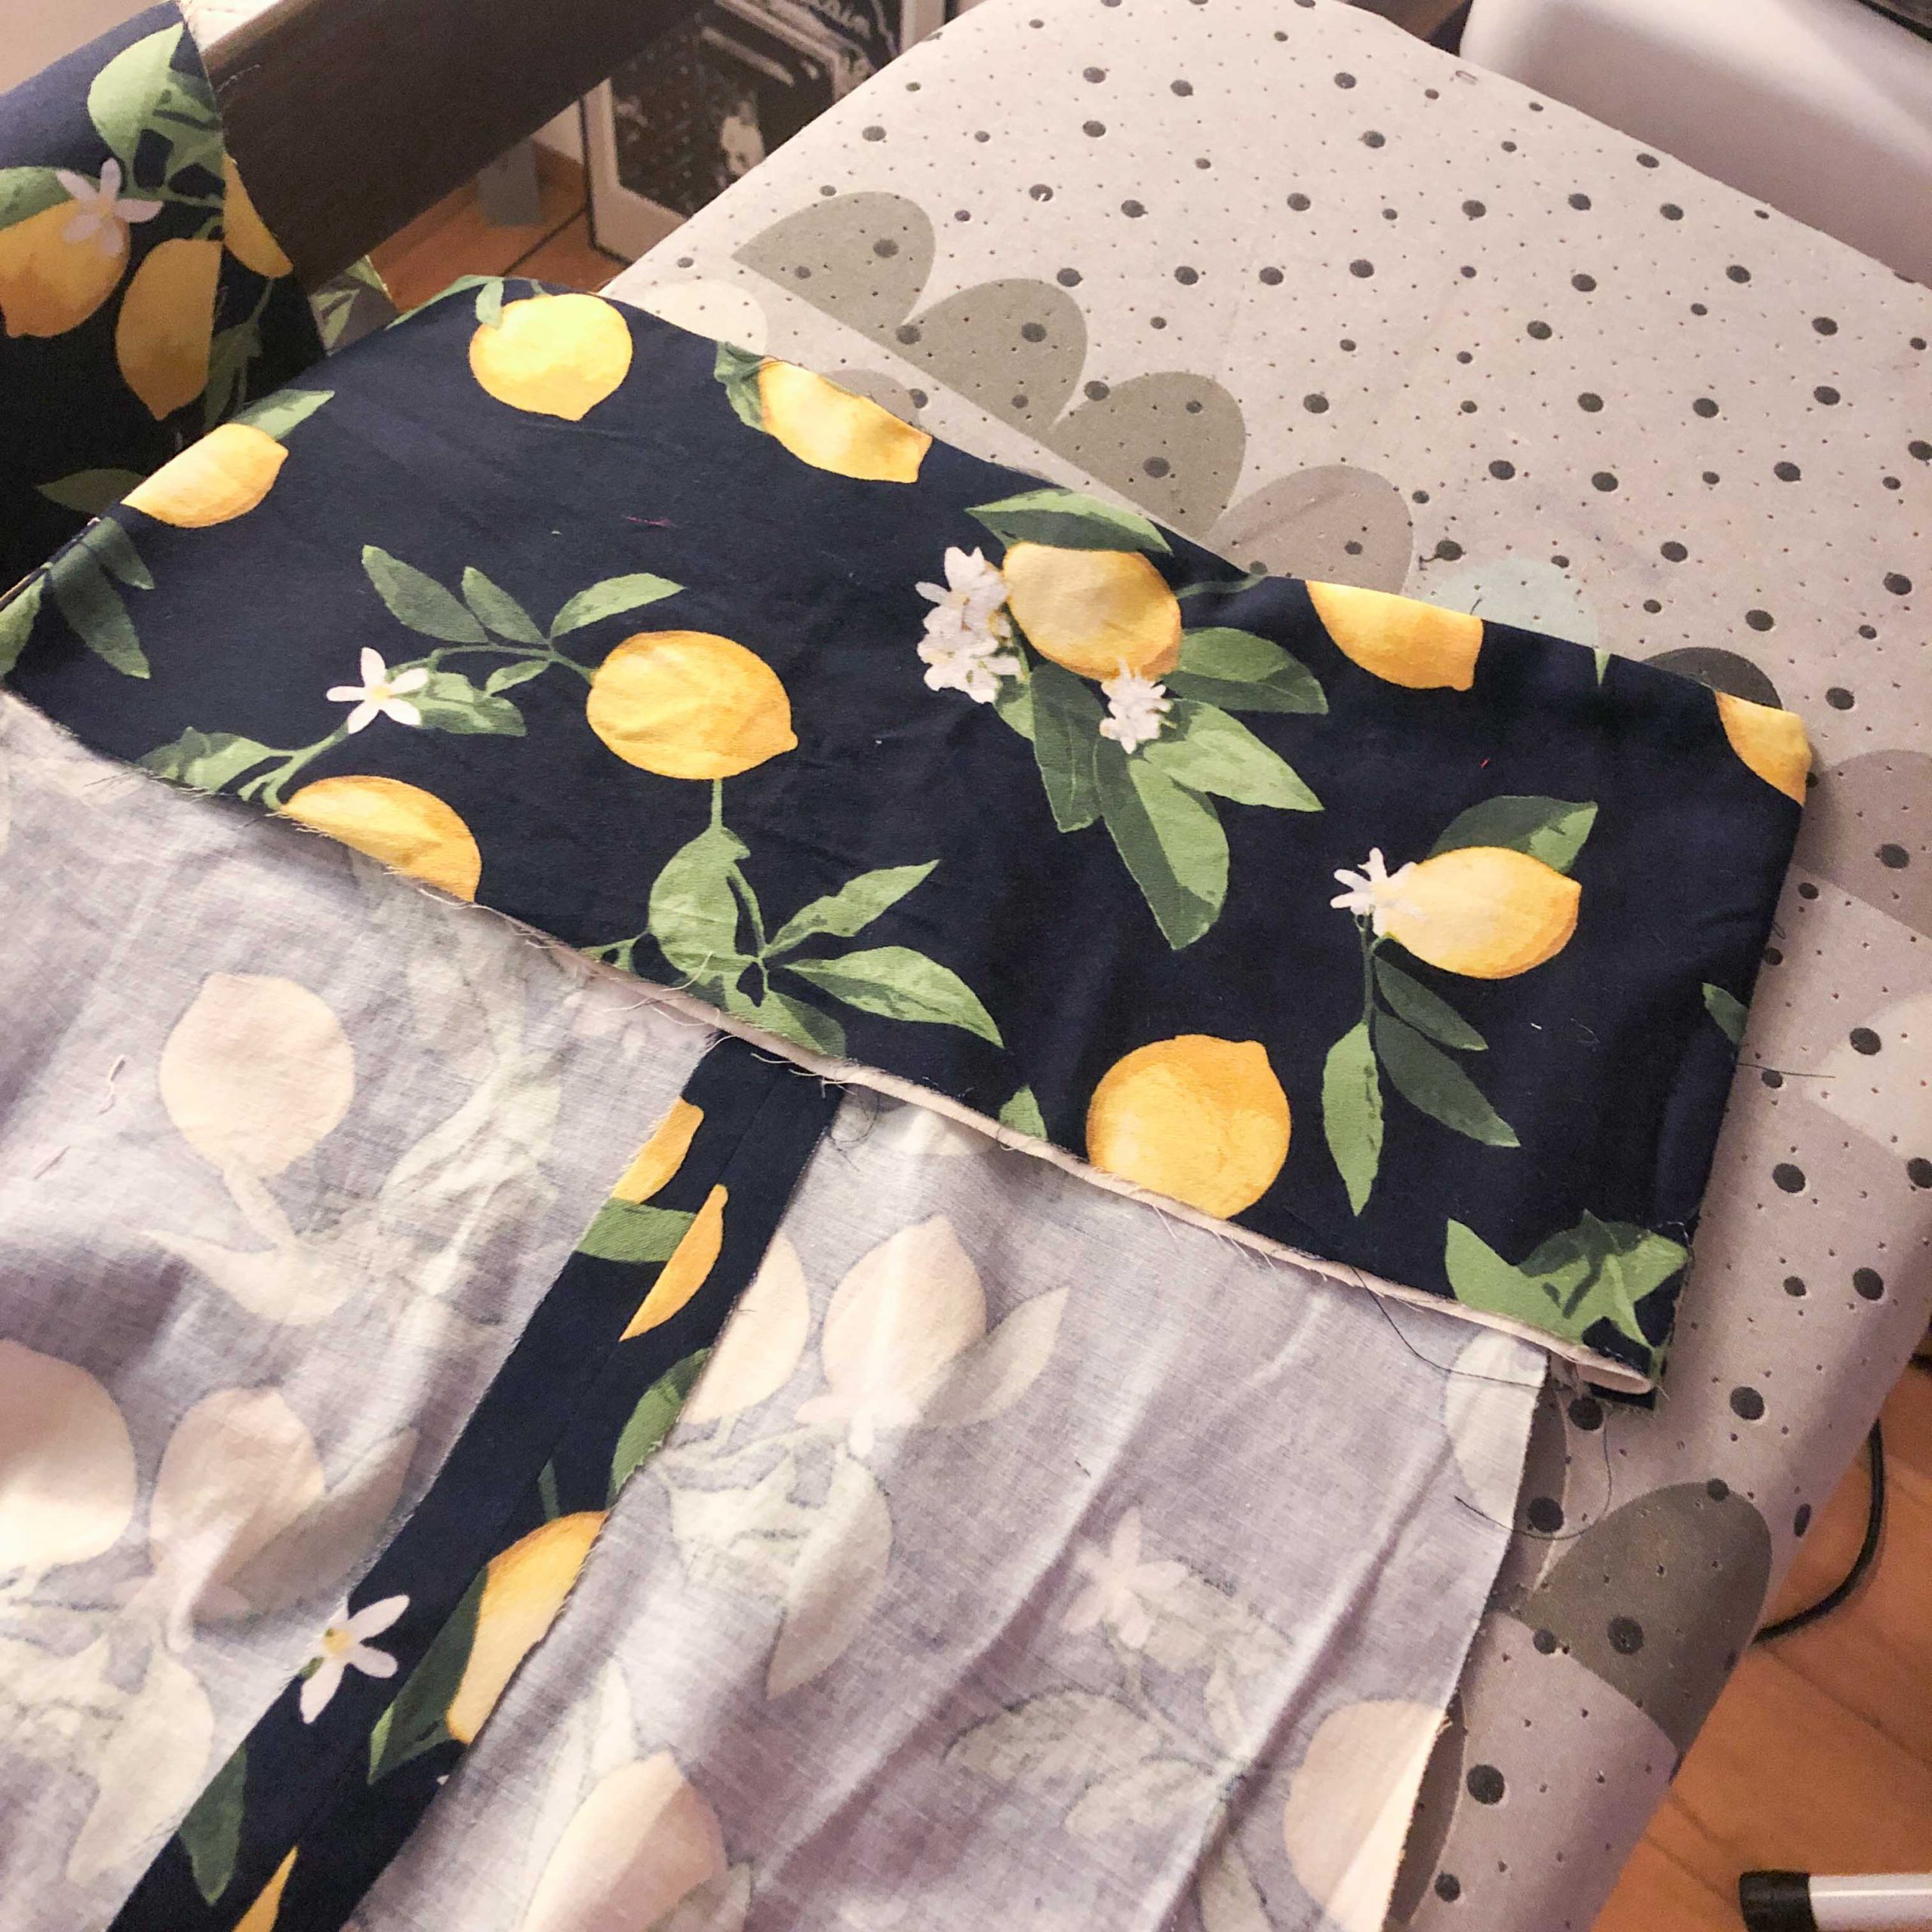
Since I used a stretch sateen (not an ideal fabric choice and I regretted it later) I had to interline all the main fabric pieces. Interlining is not the same as interfacing. With interlining you will use your main fabric and interlining as one piece.
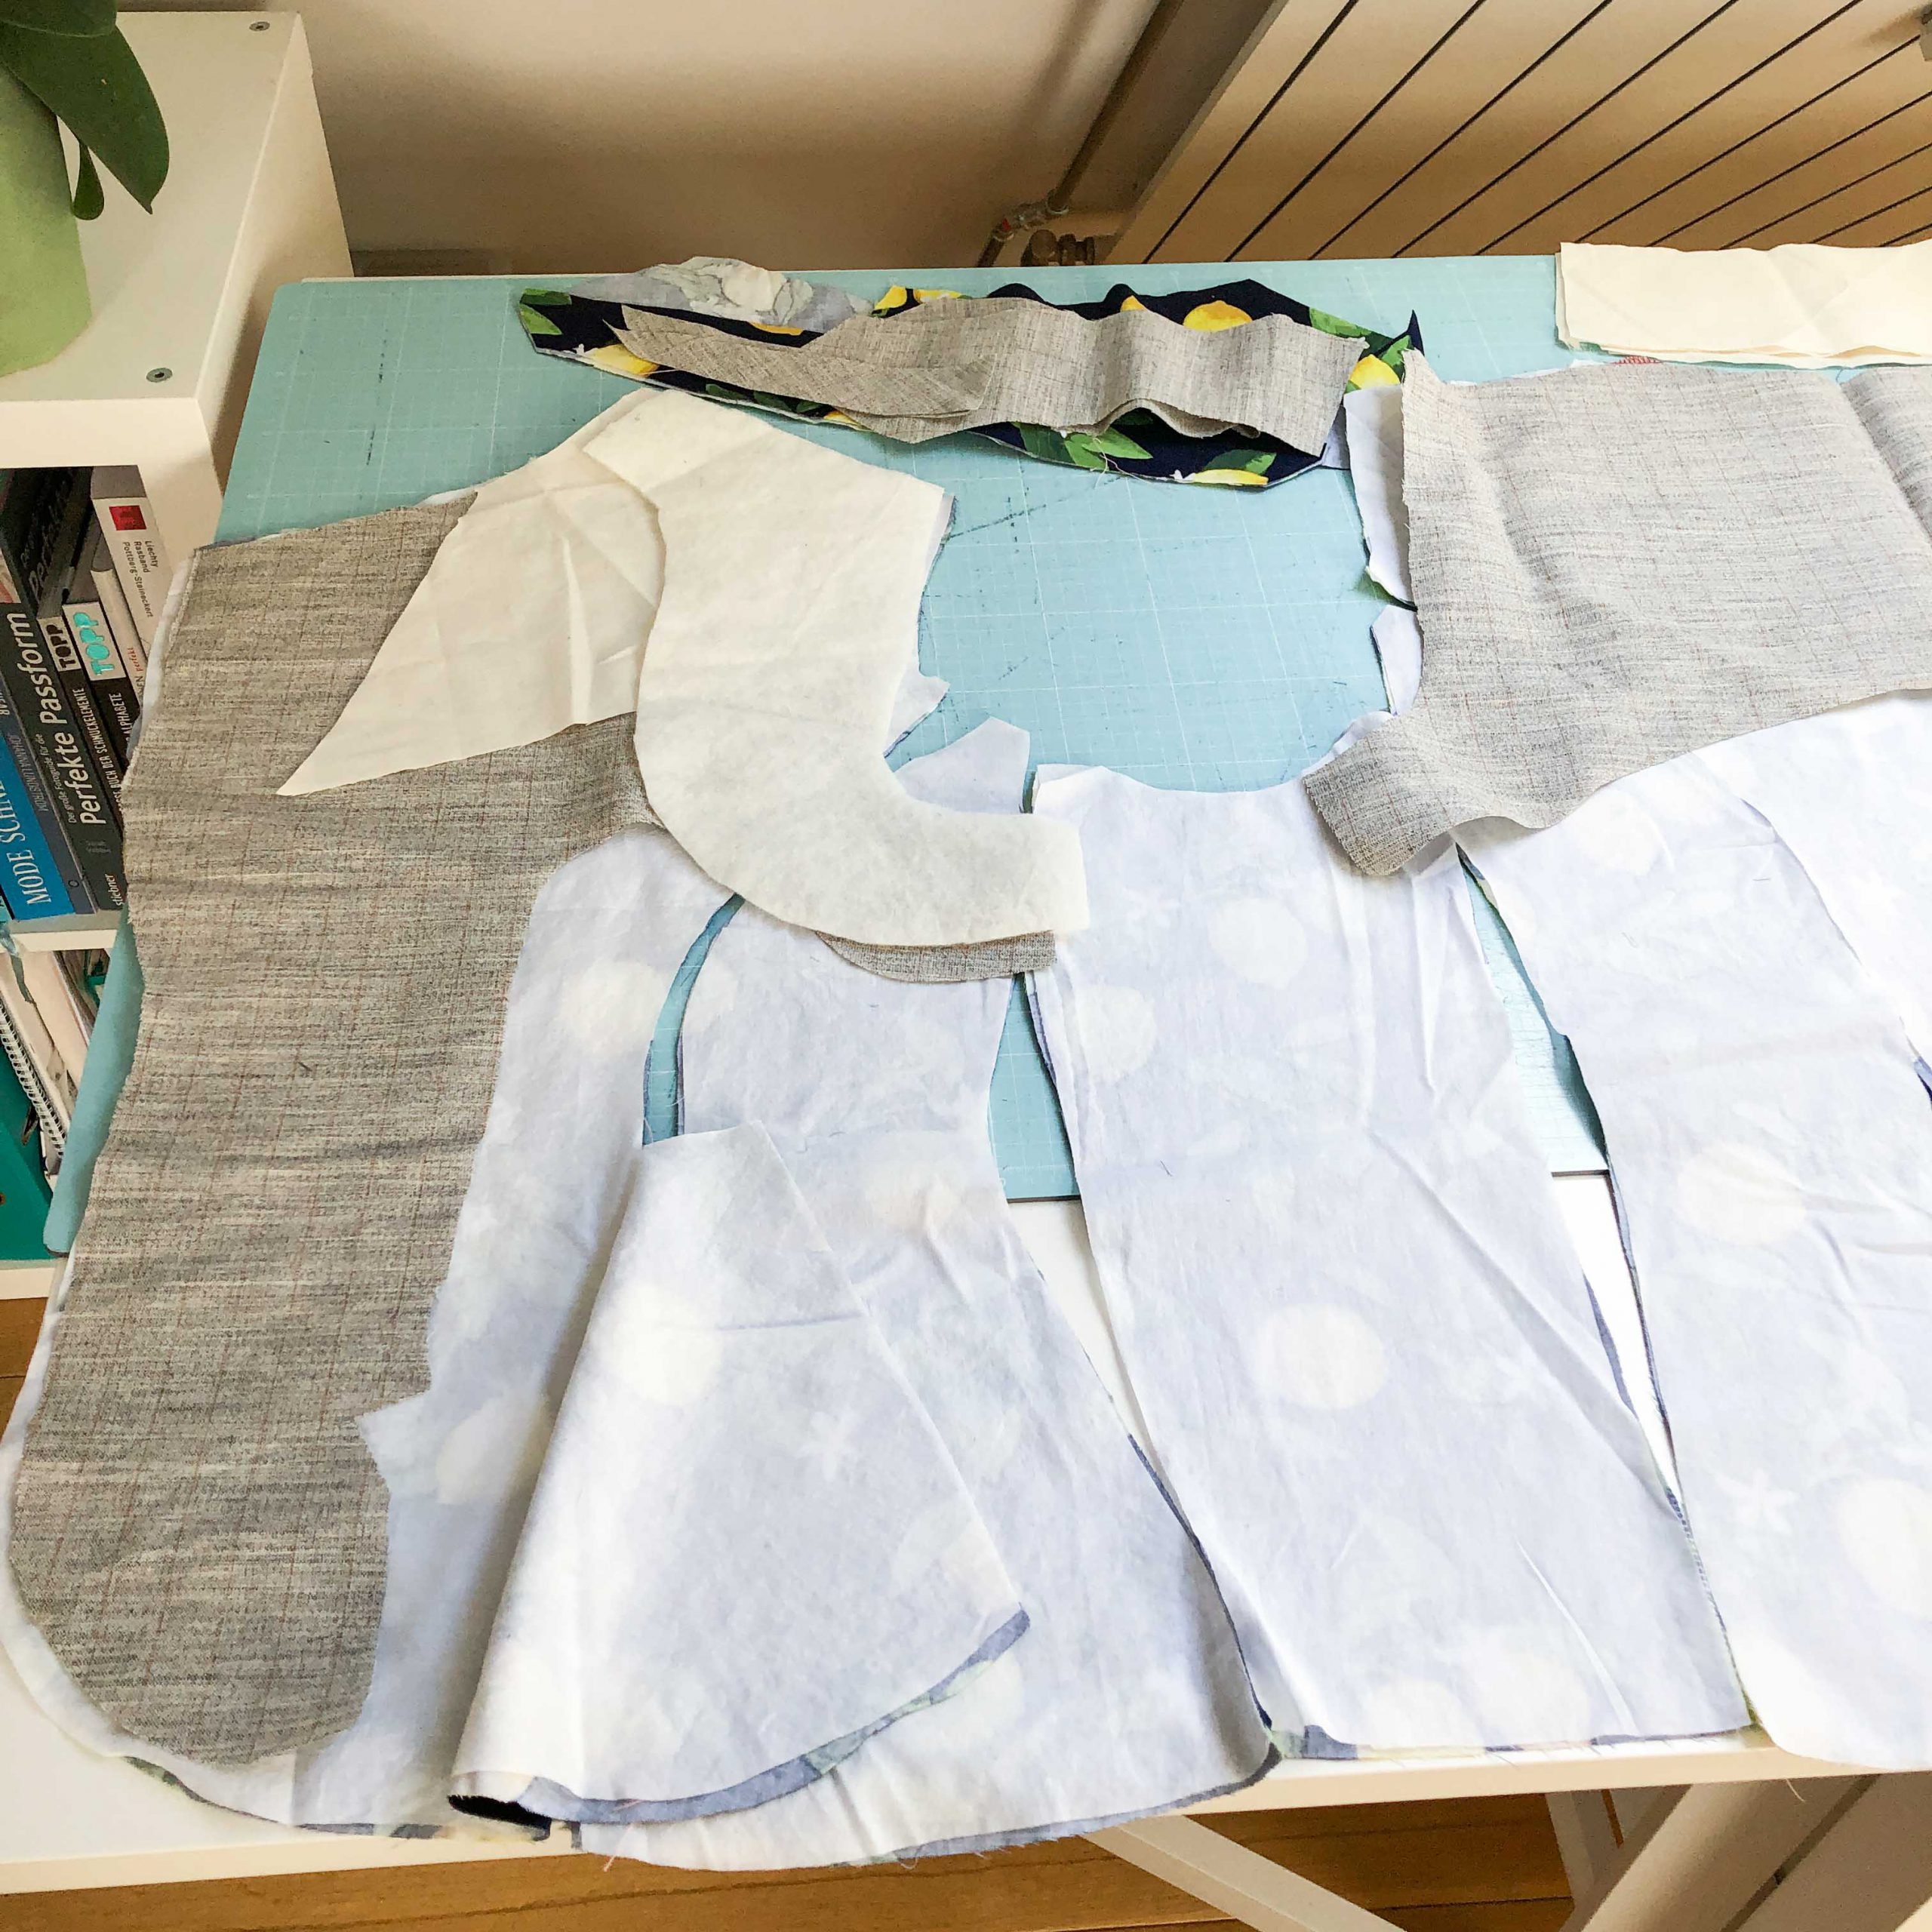
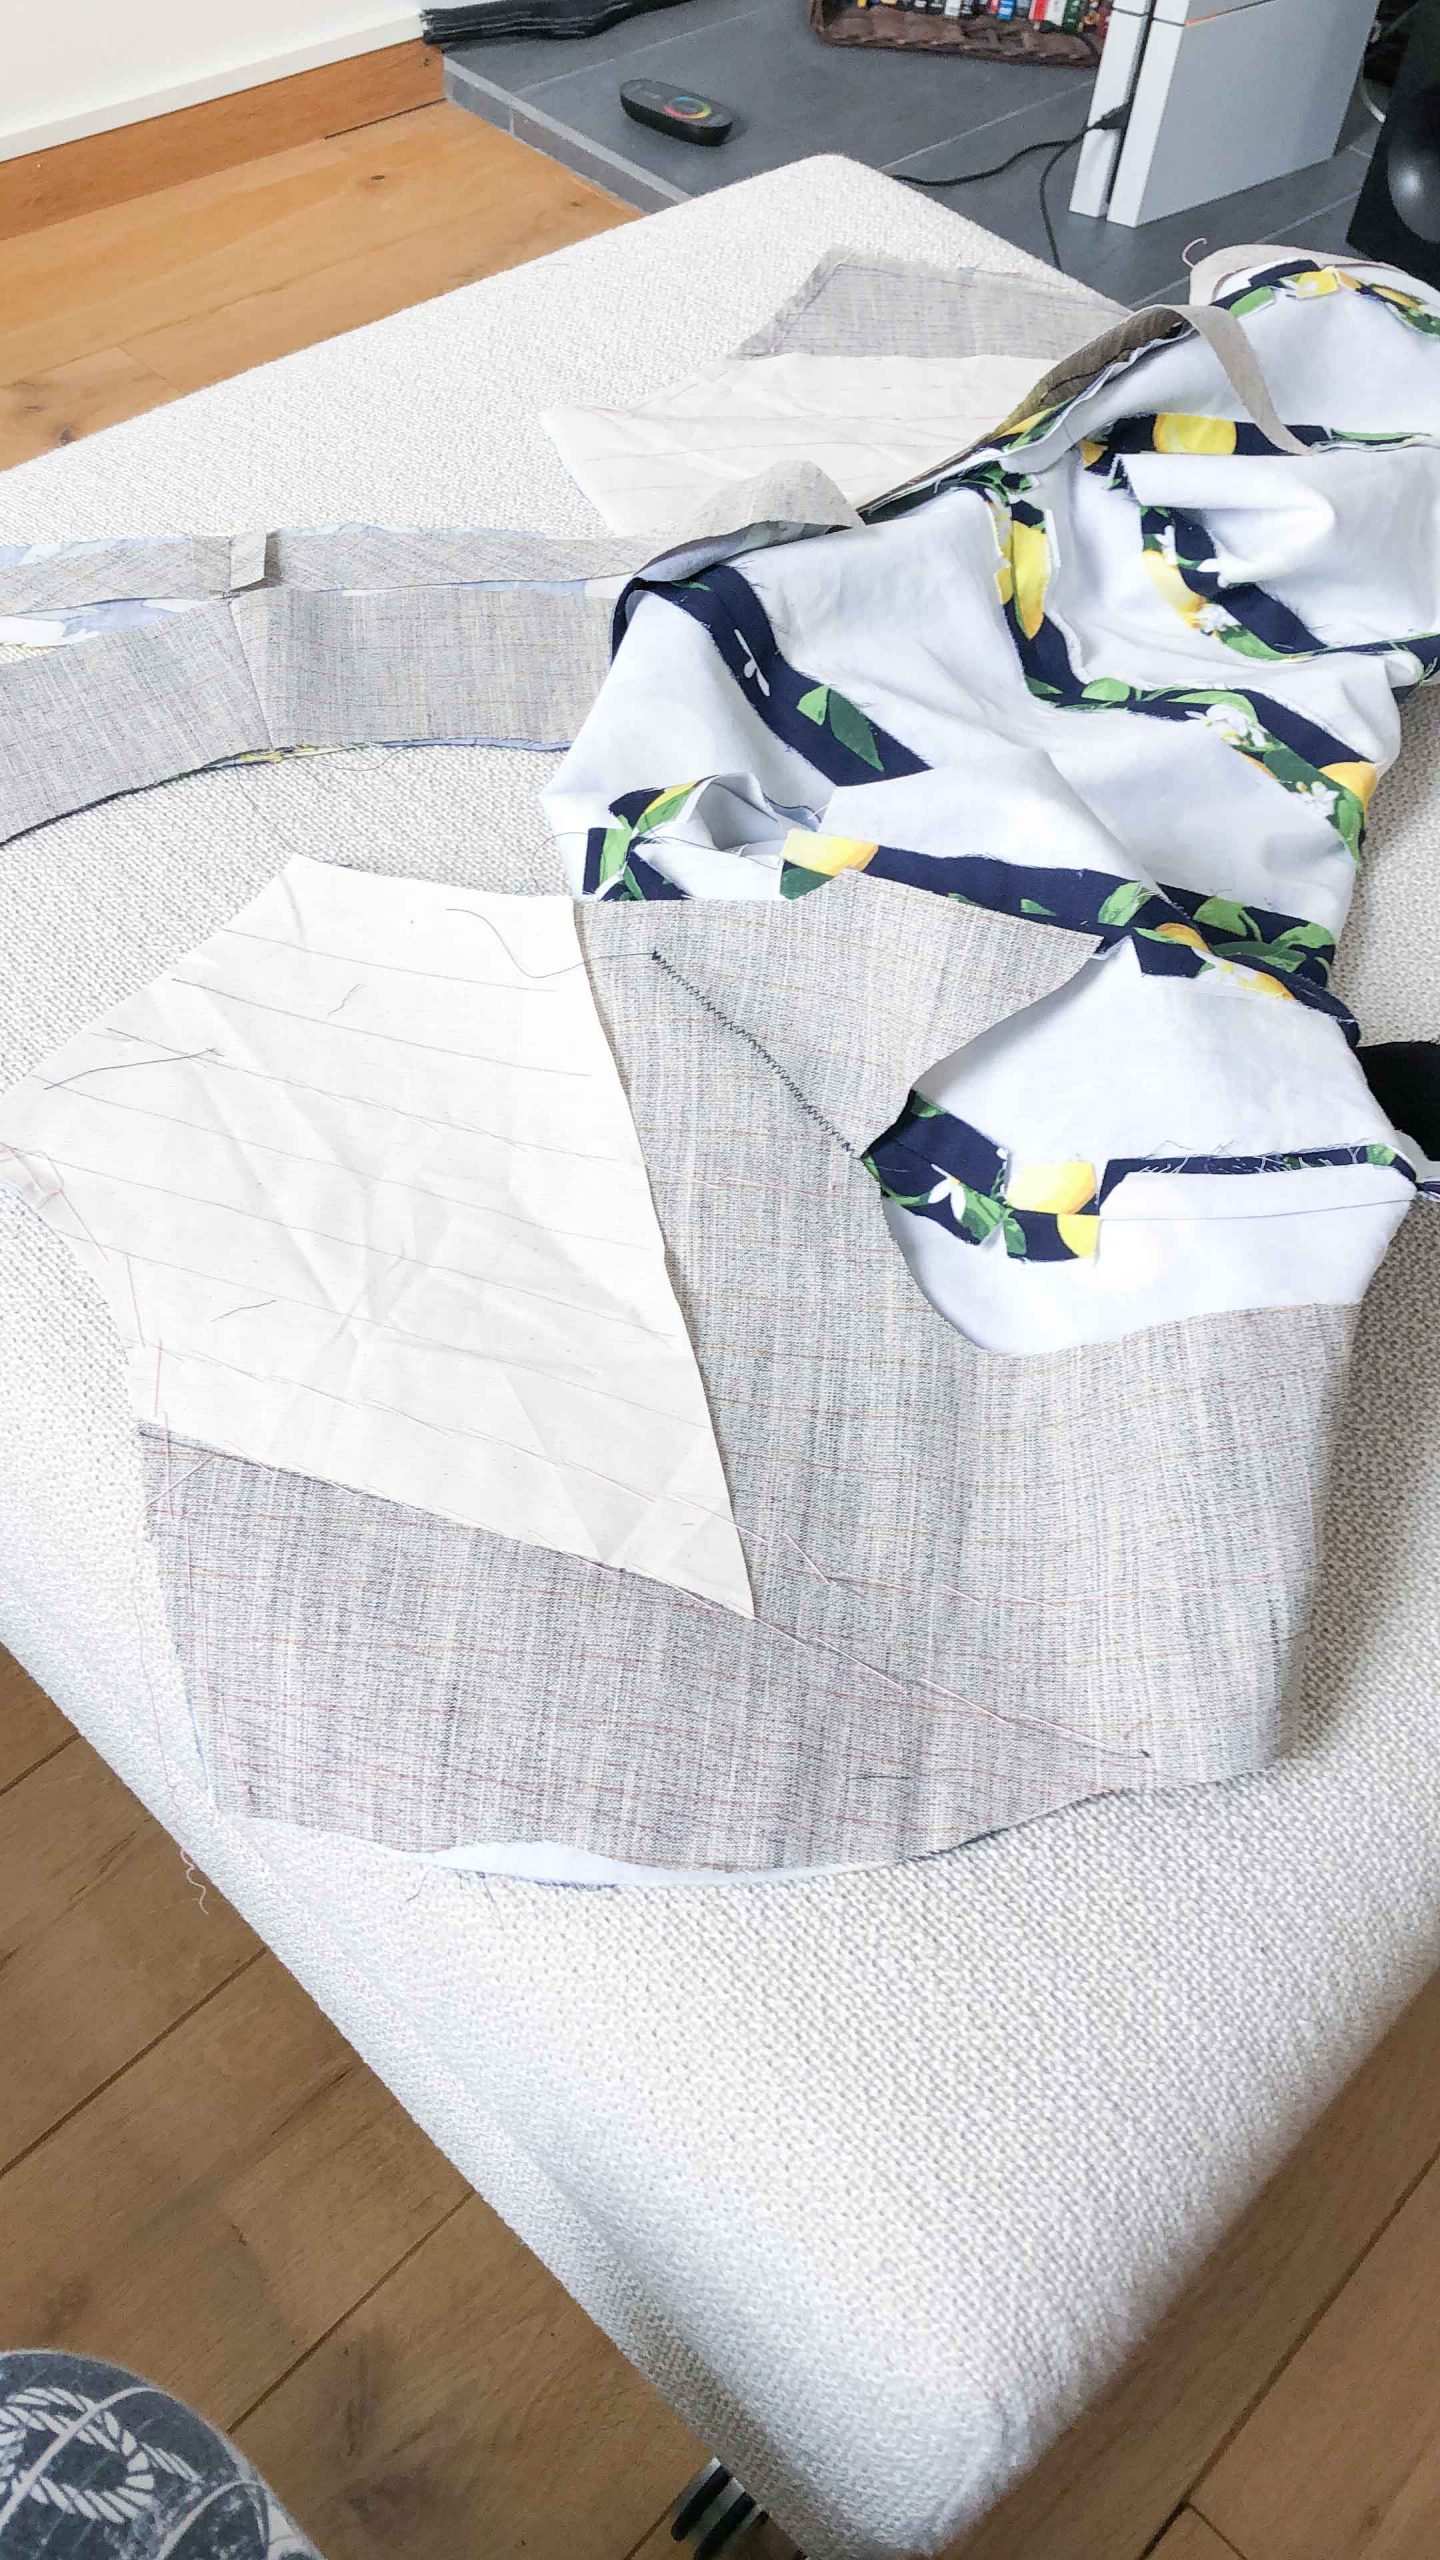
Here you can see my whole layout: main fabric, interlining on top, horsehair canvas for the front and upper back, shoulder reinforcement in muslining fabric, and shoulder reinforcement in lambswool. All this will prevent the front and shoulder area from collapsing.

I usually lay out all the pattern pieces according to how I will assemble them later on.

I started with the back. Sew all the pieces together (notice this pattern does not have a back vent) and put your interfacing on top of it
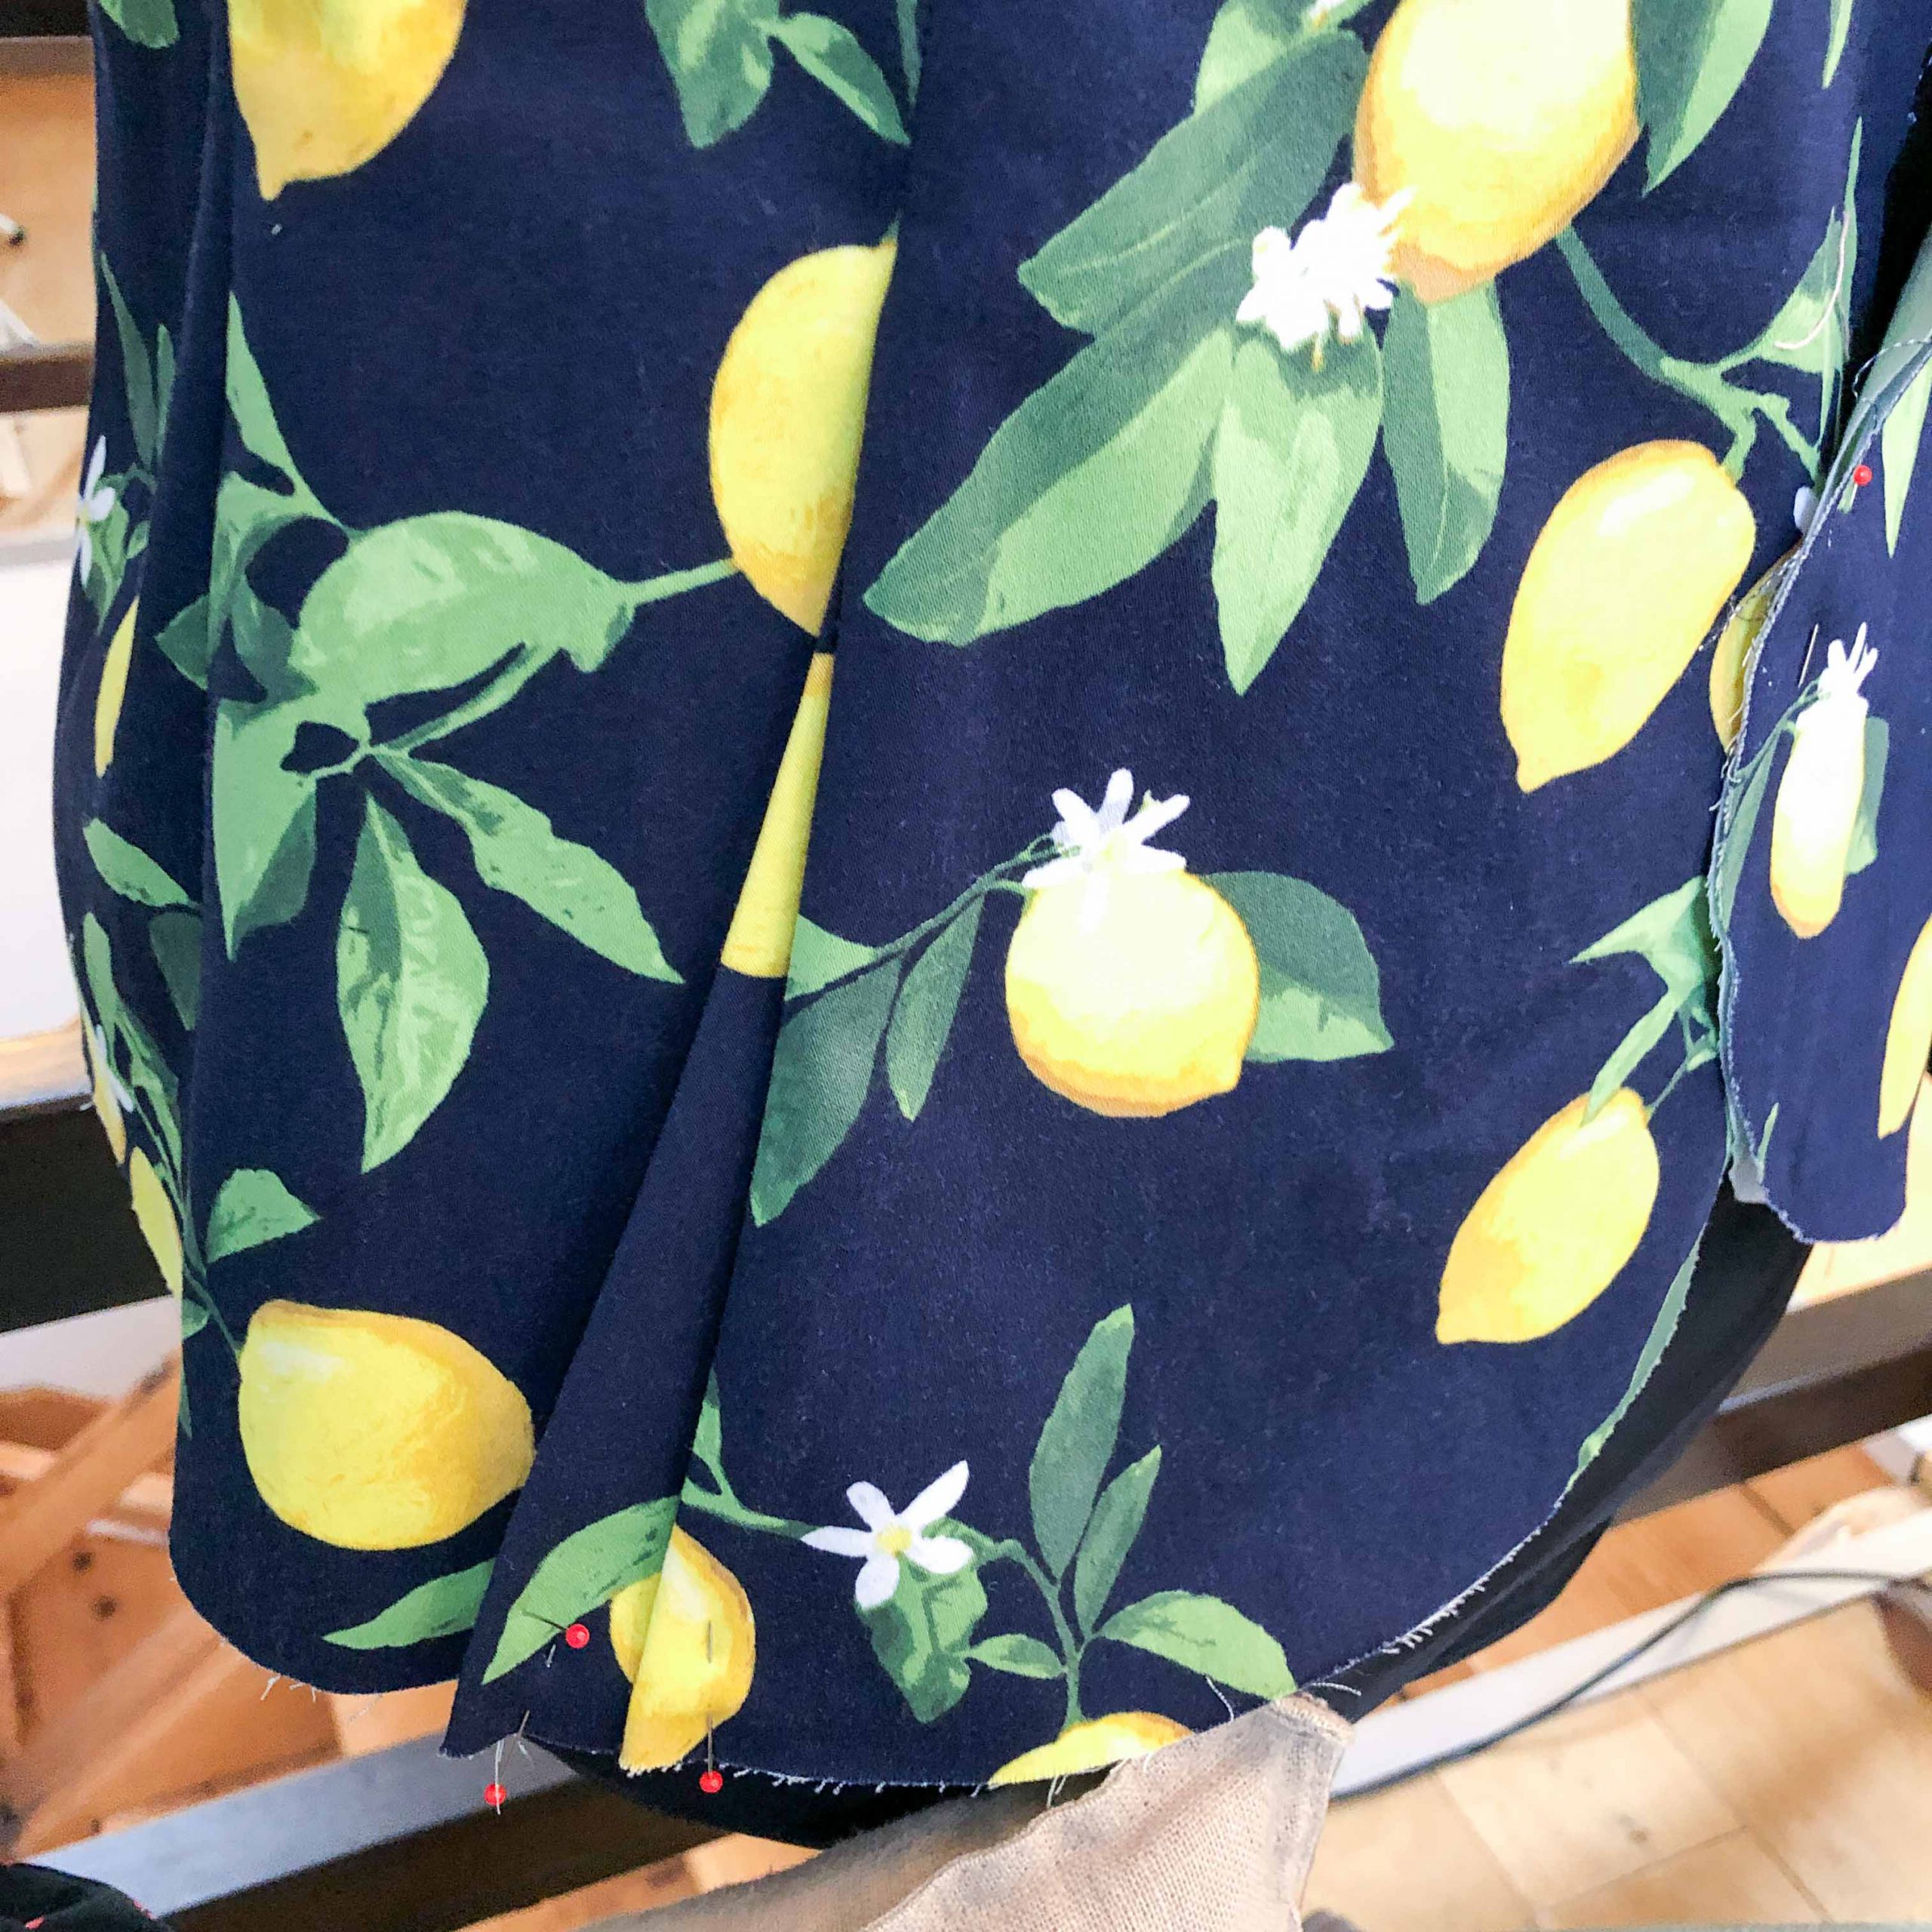
Then I moved on to the side pockets which have an additional angled pleat. It will draw the eye towards the center and accentuate the shape of the blazer.
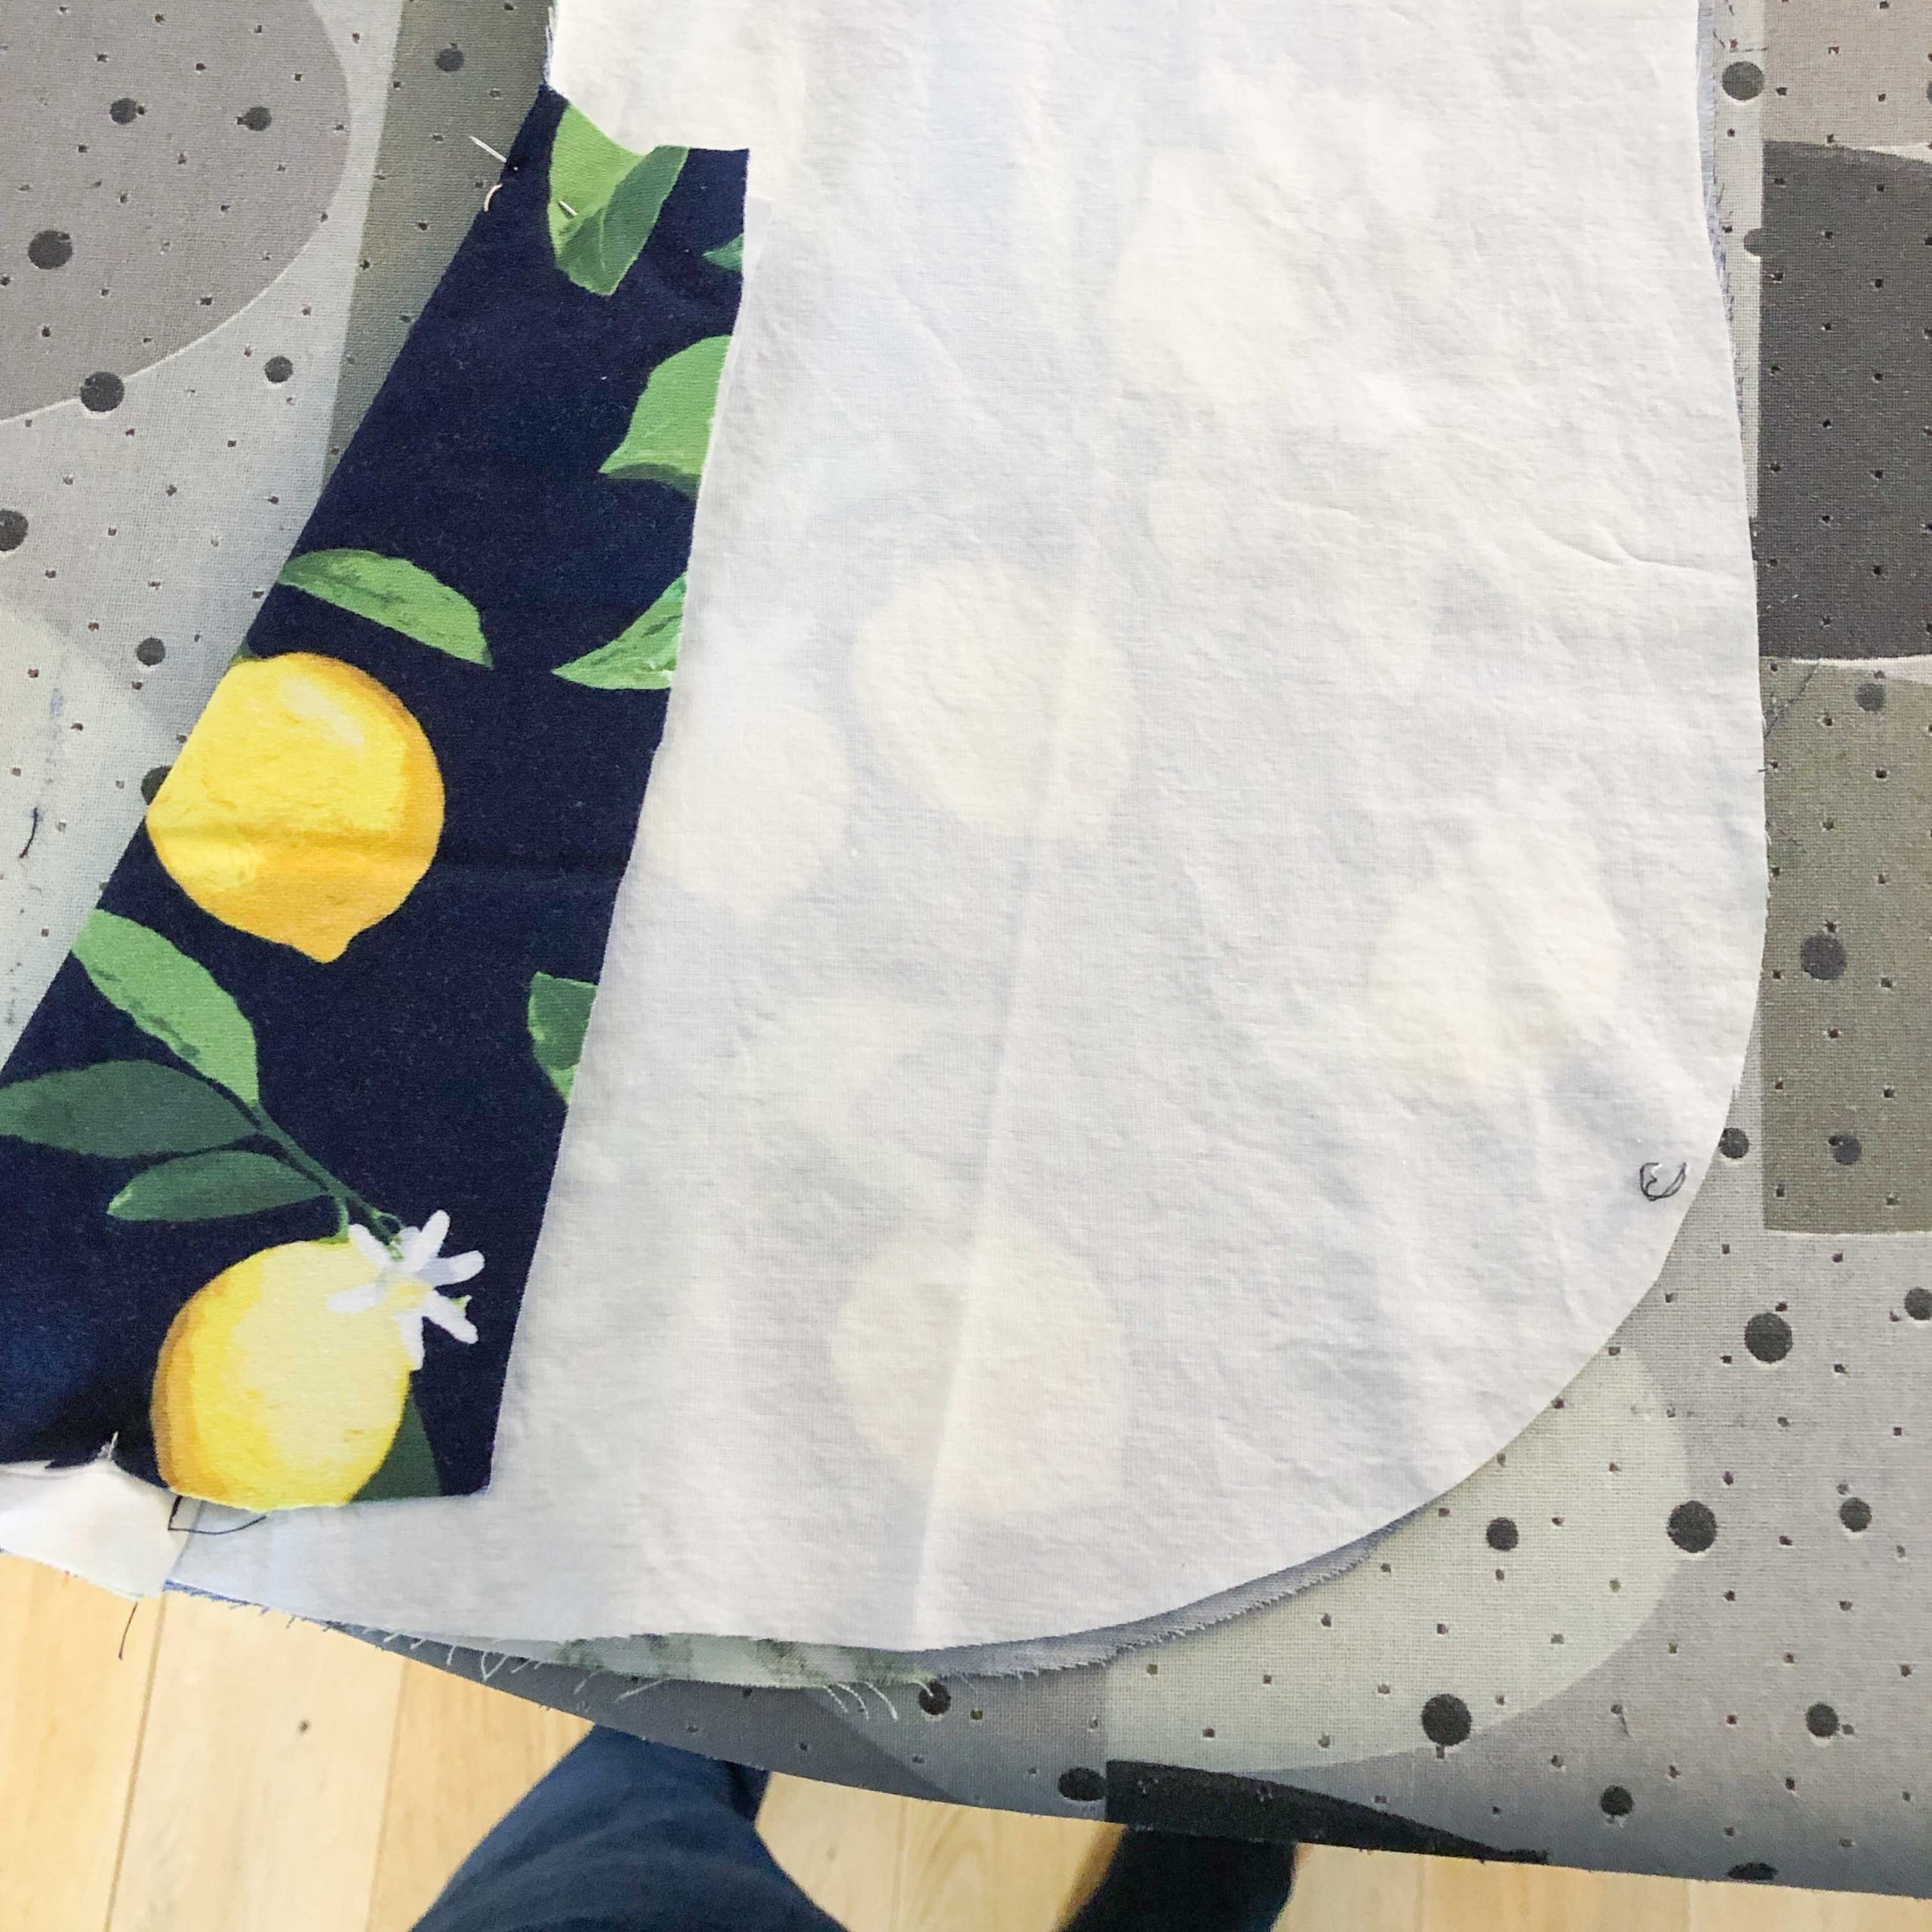
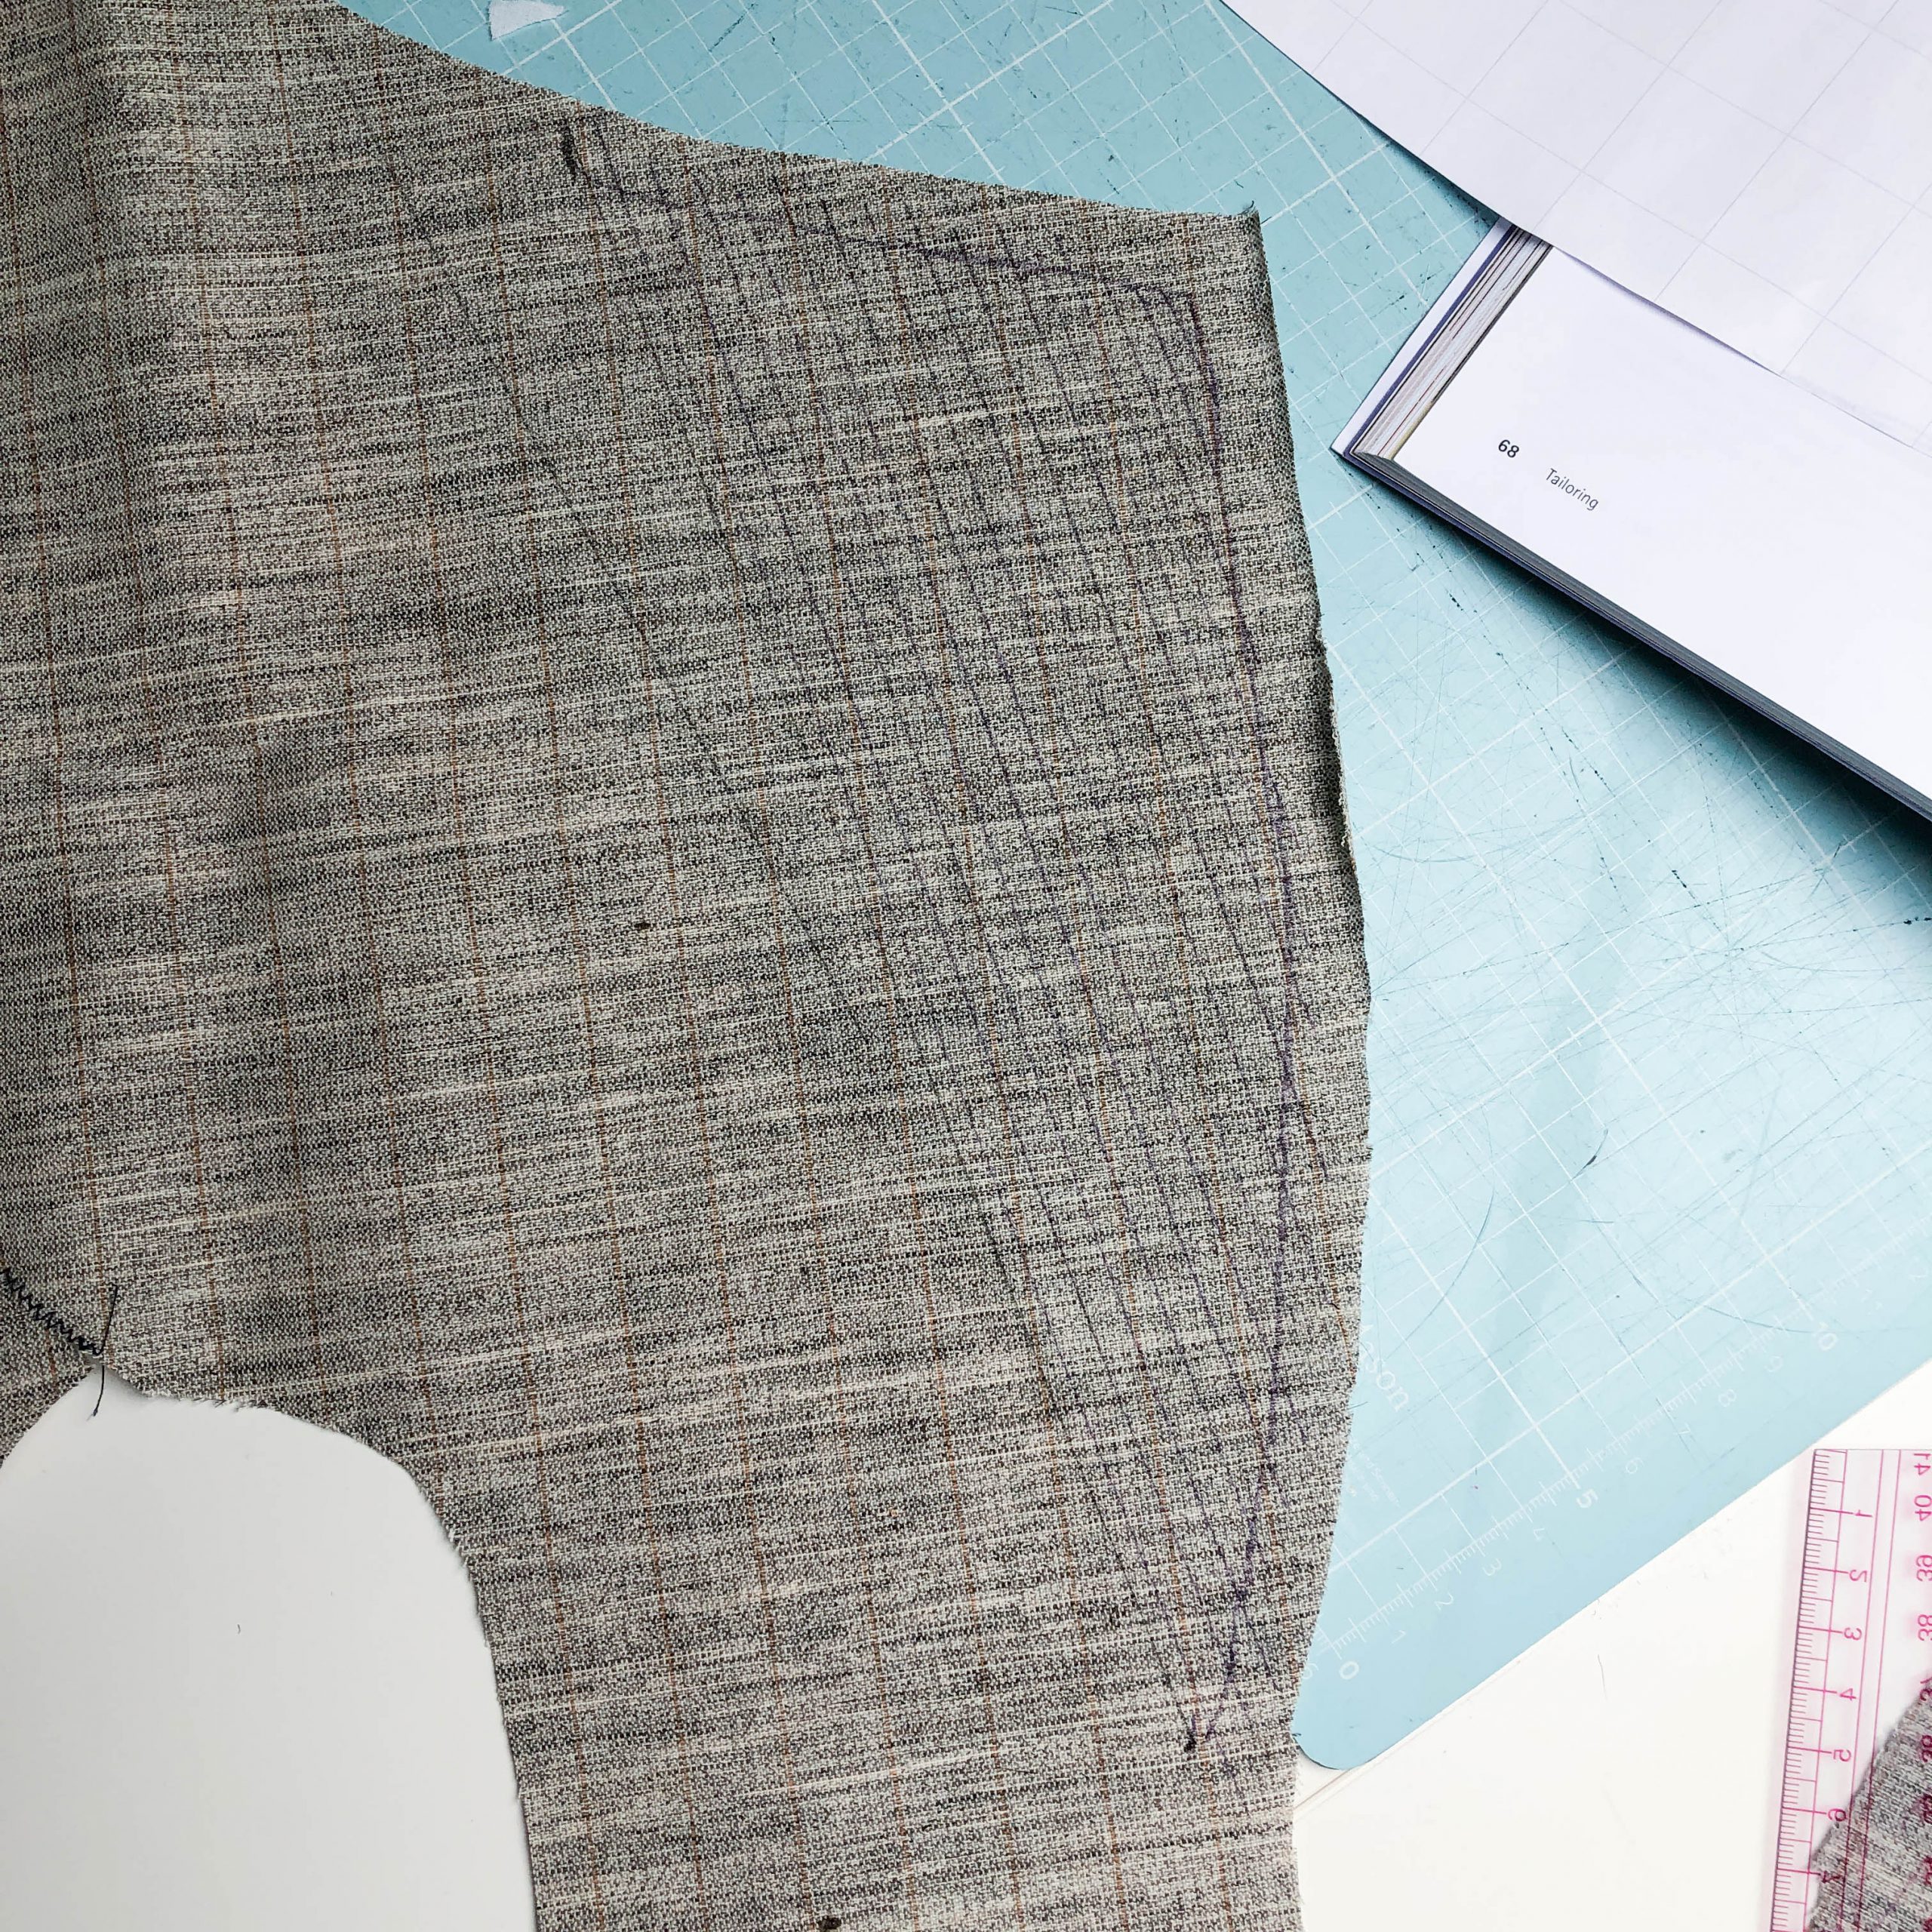
This is where the pockets will attach to.
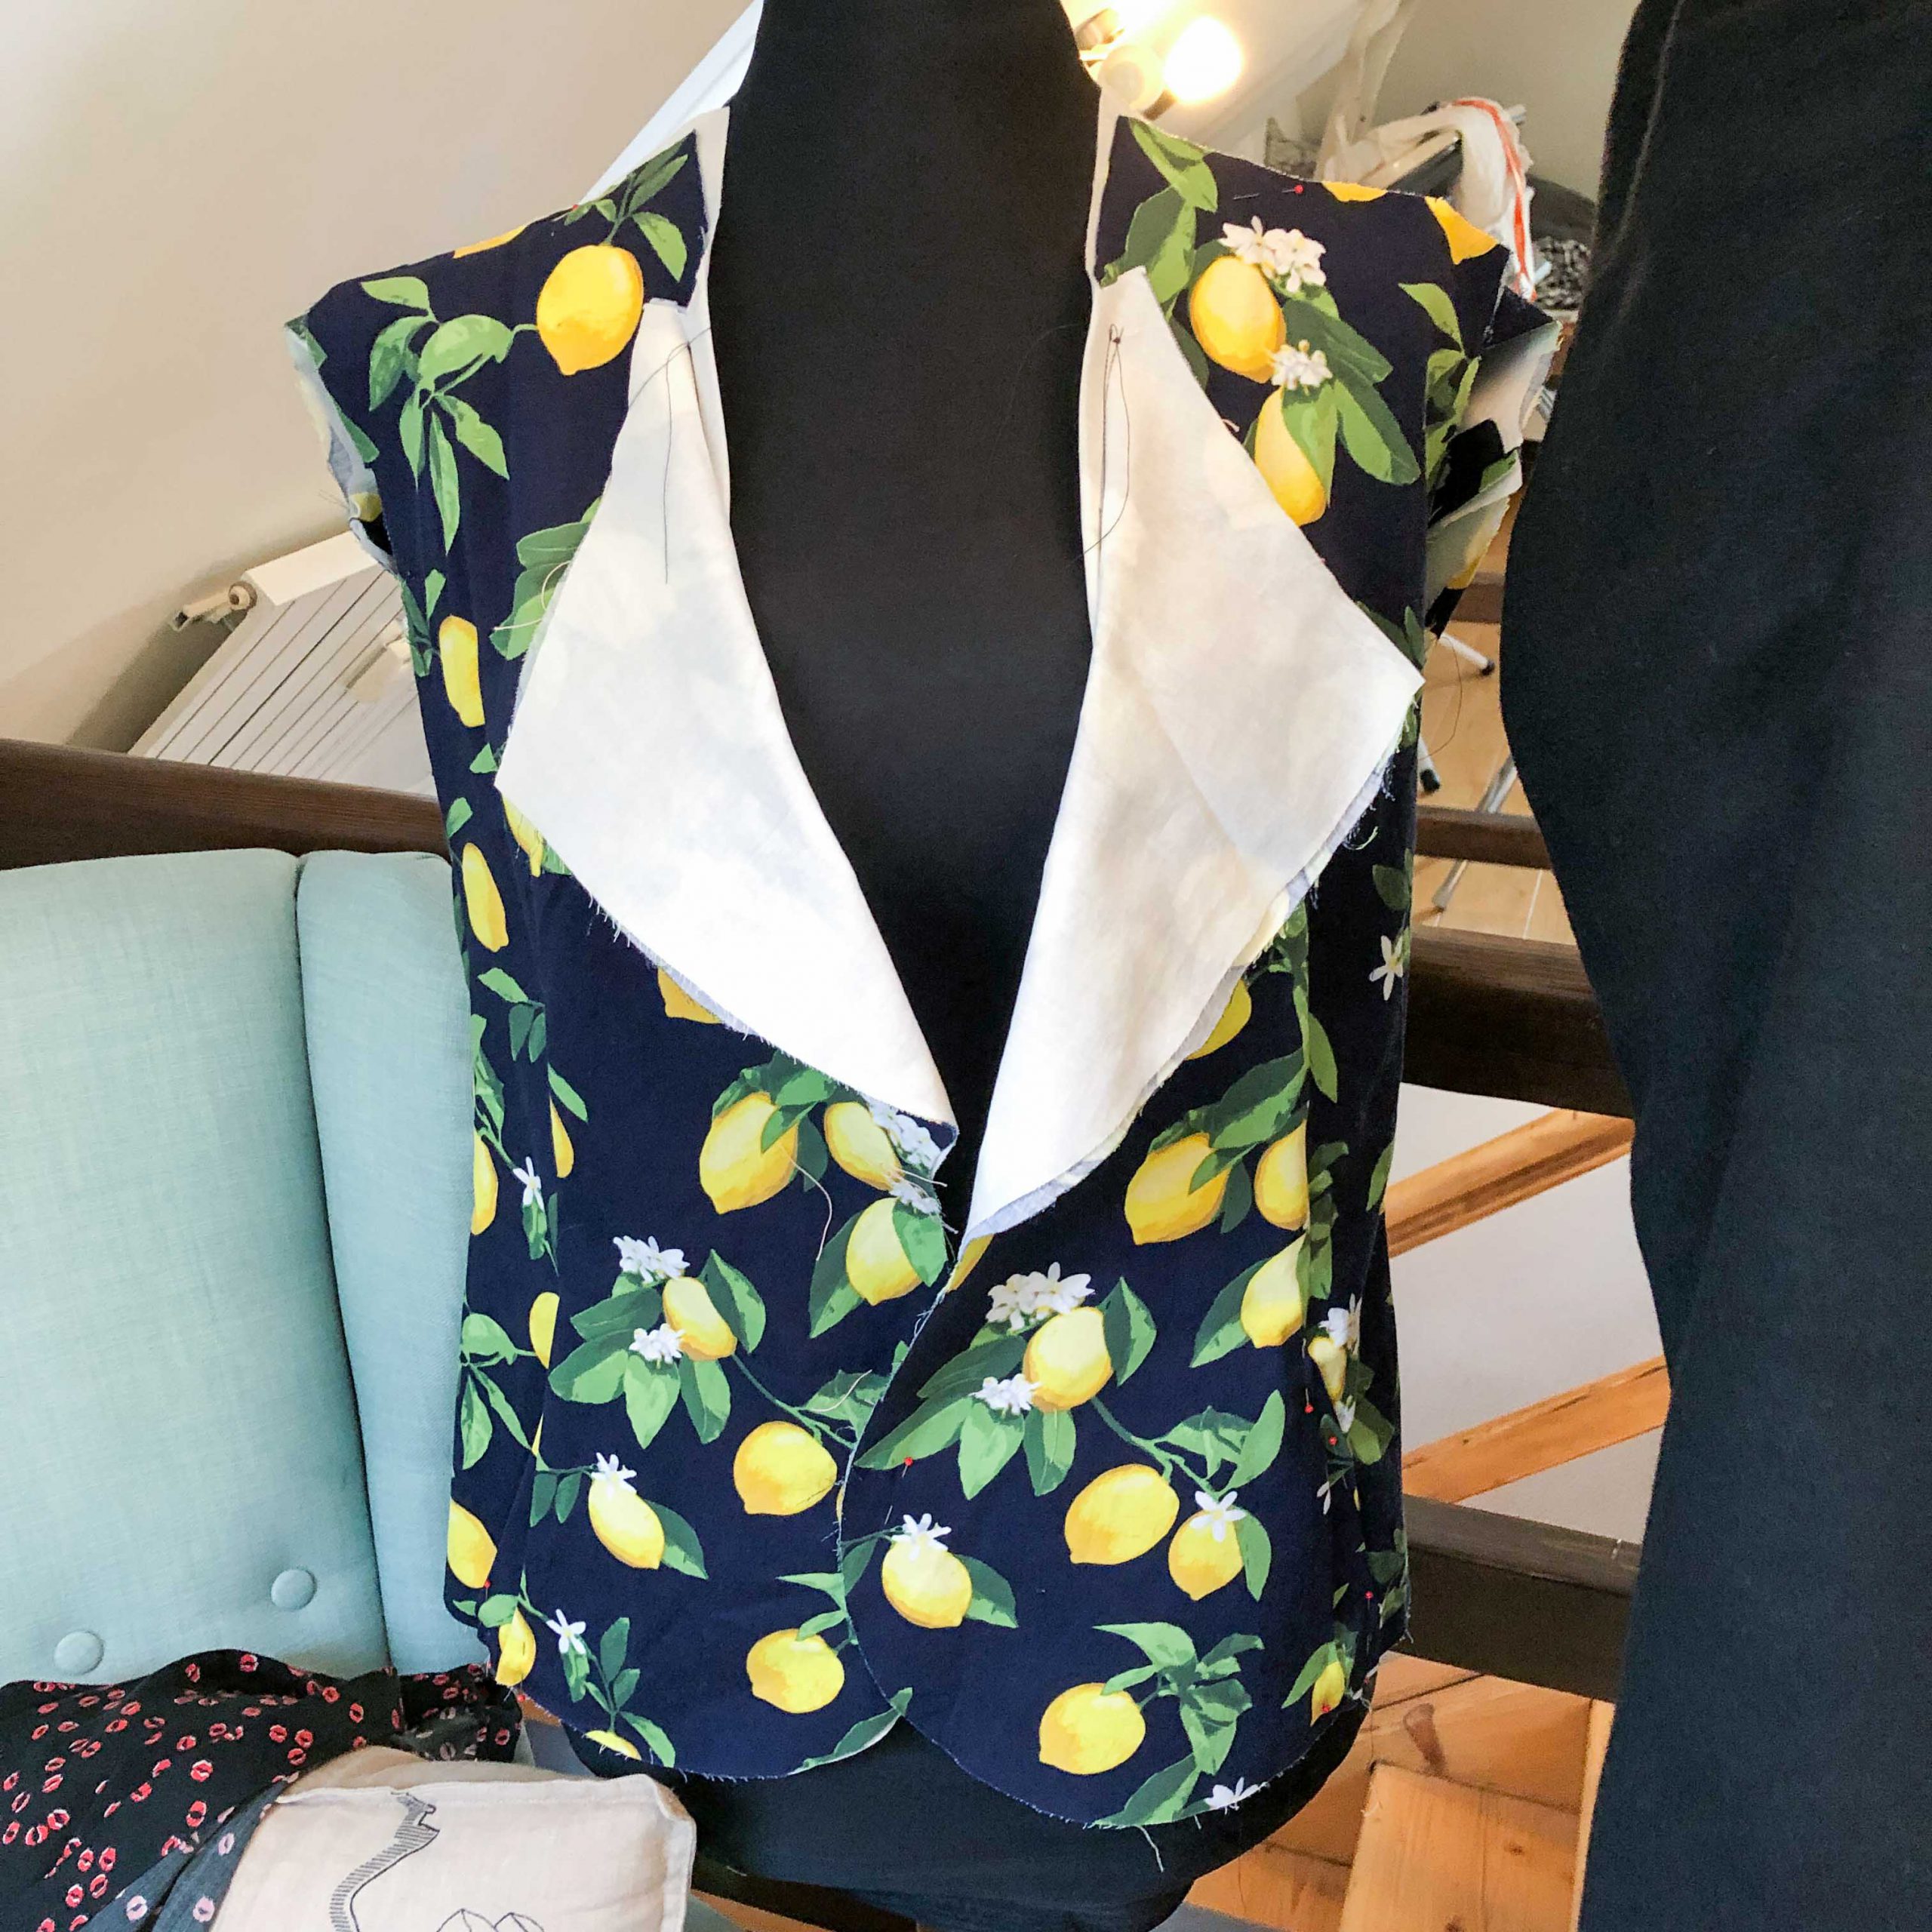
After the front is assembled you start to see the basic shape of the blazer come to life.
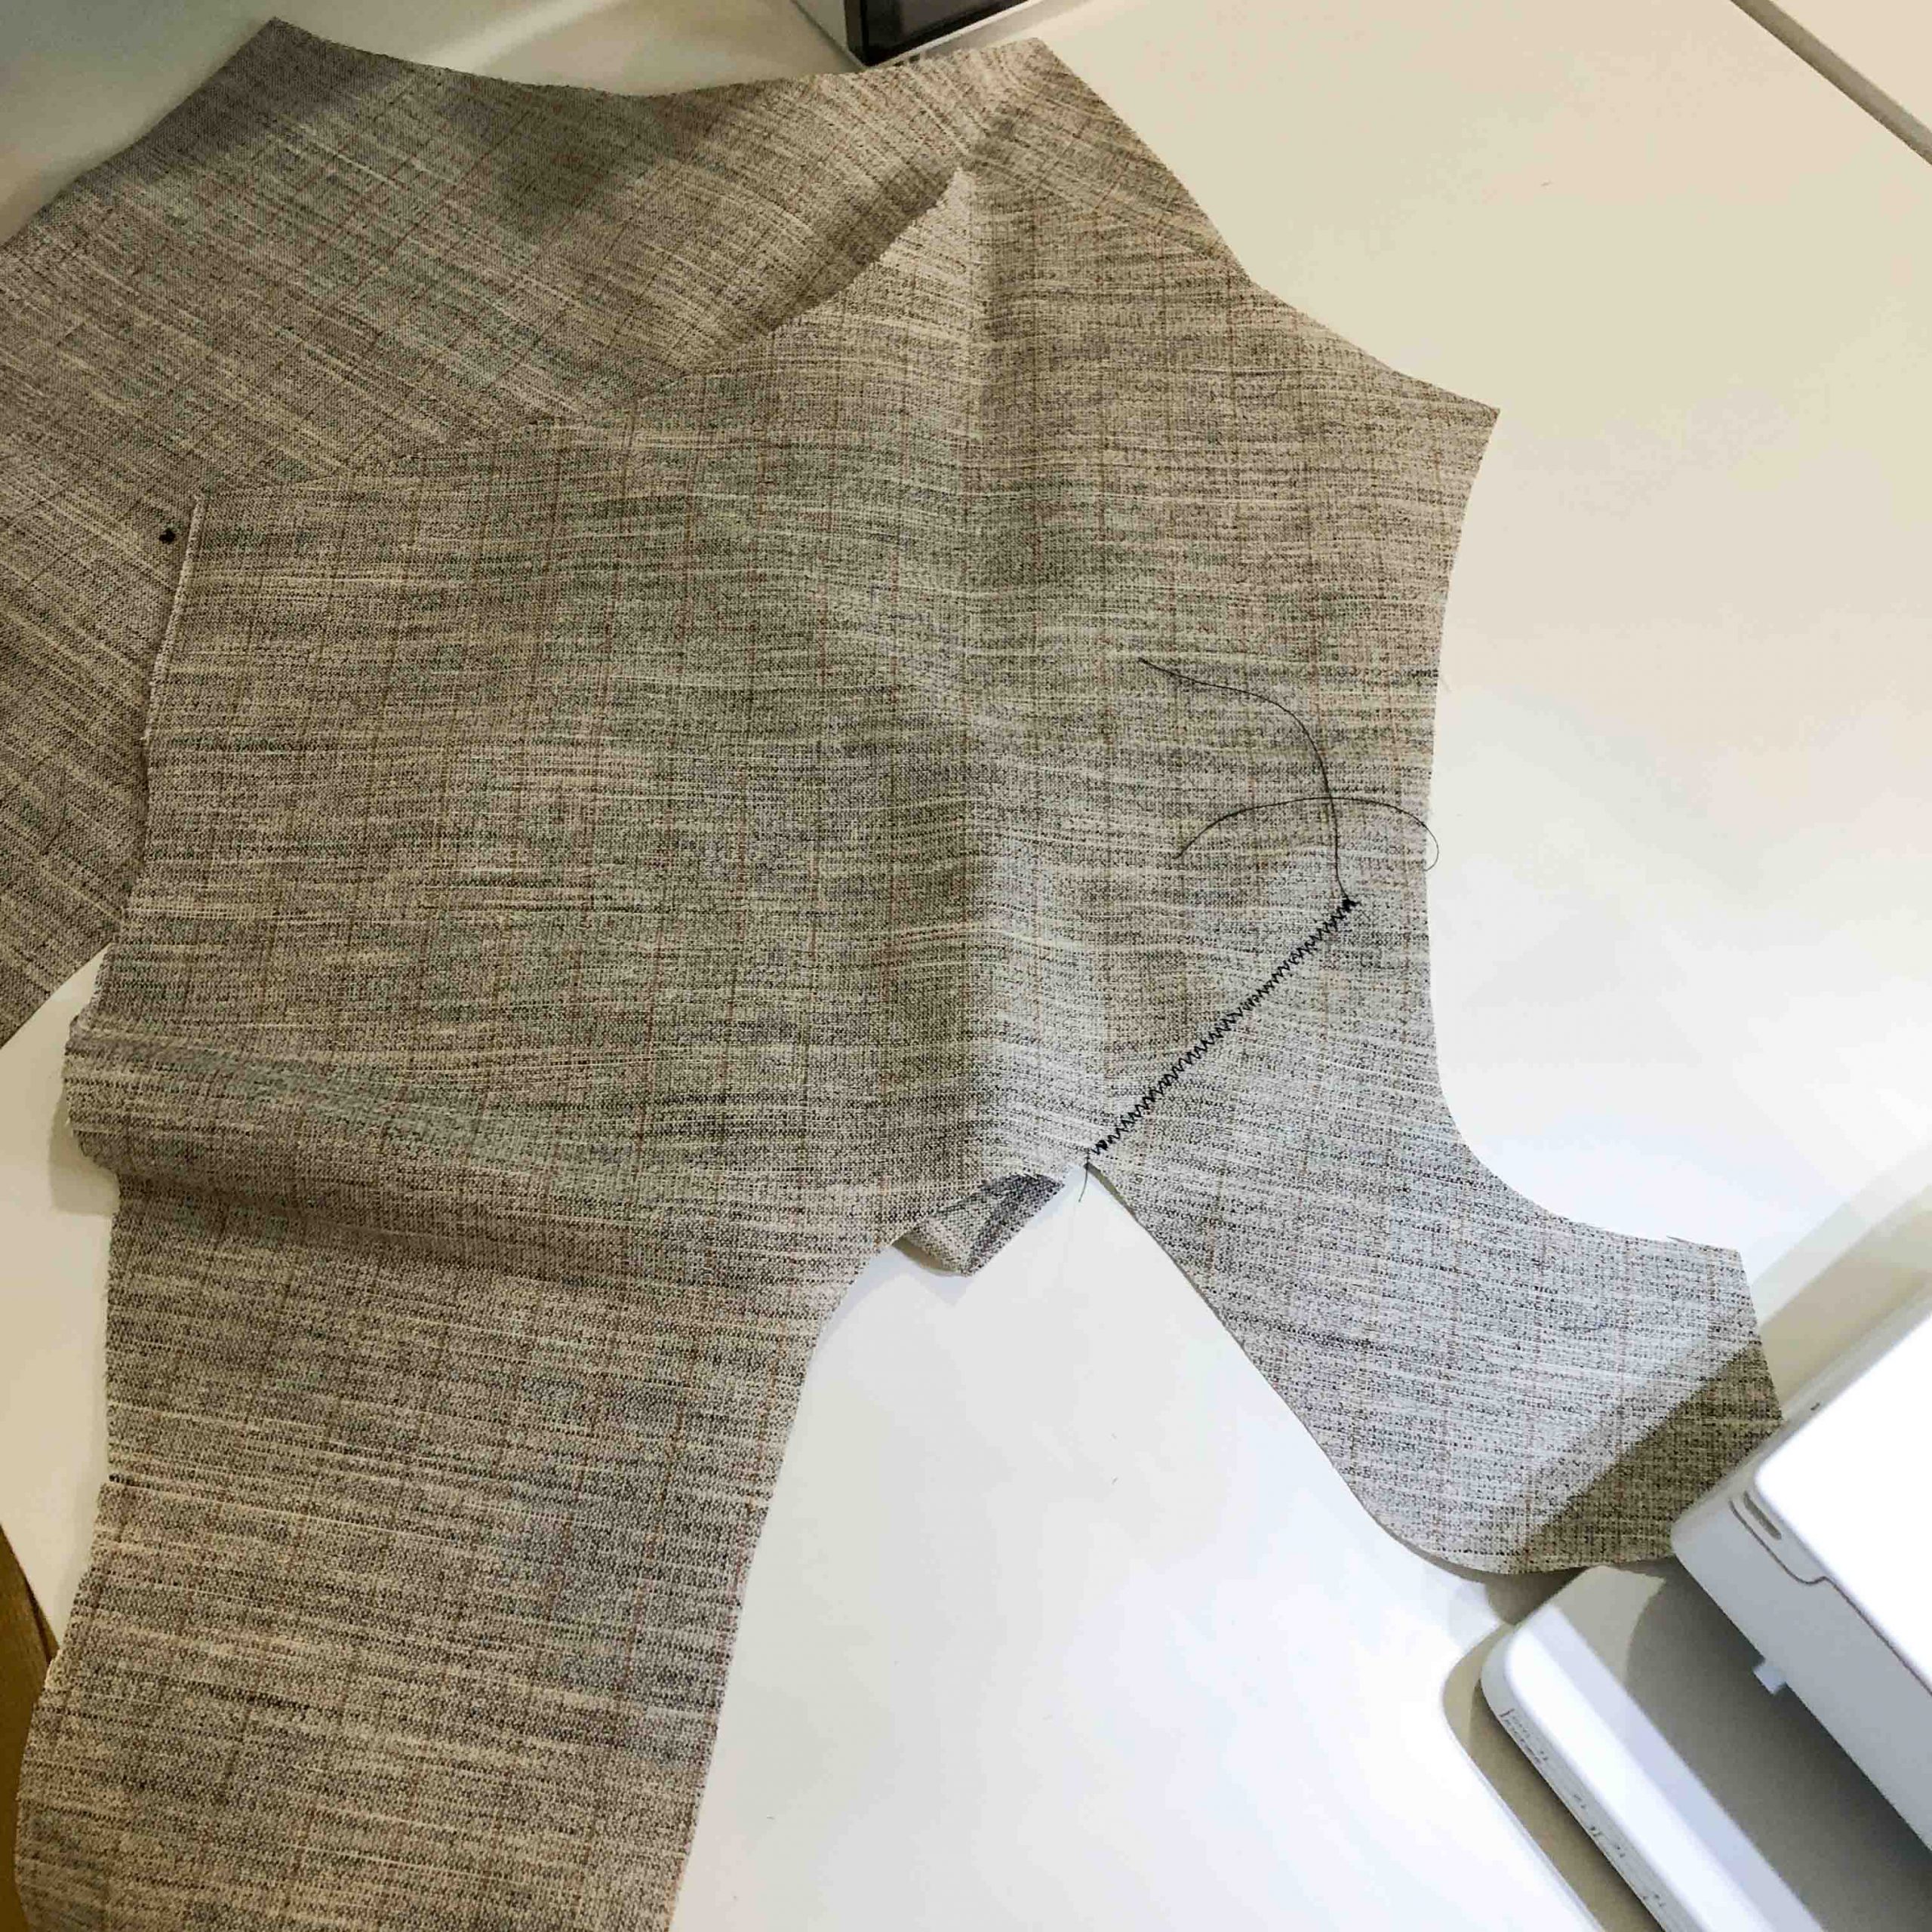
Not it’s time to attach the interfacing to the front. First you close the dart with a simple zigzac.
Draw in your padstiching lines: 6mm apart and when you get closer to the lapel 3mm apart.
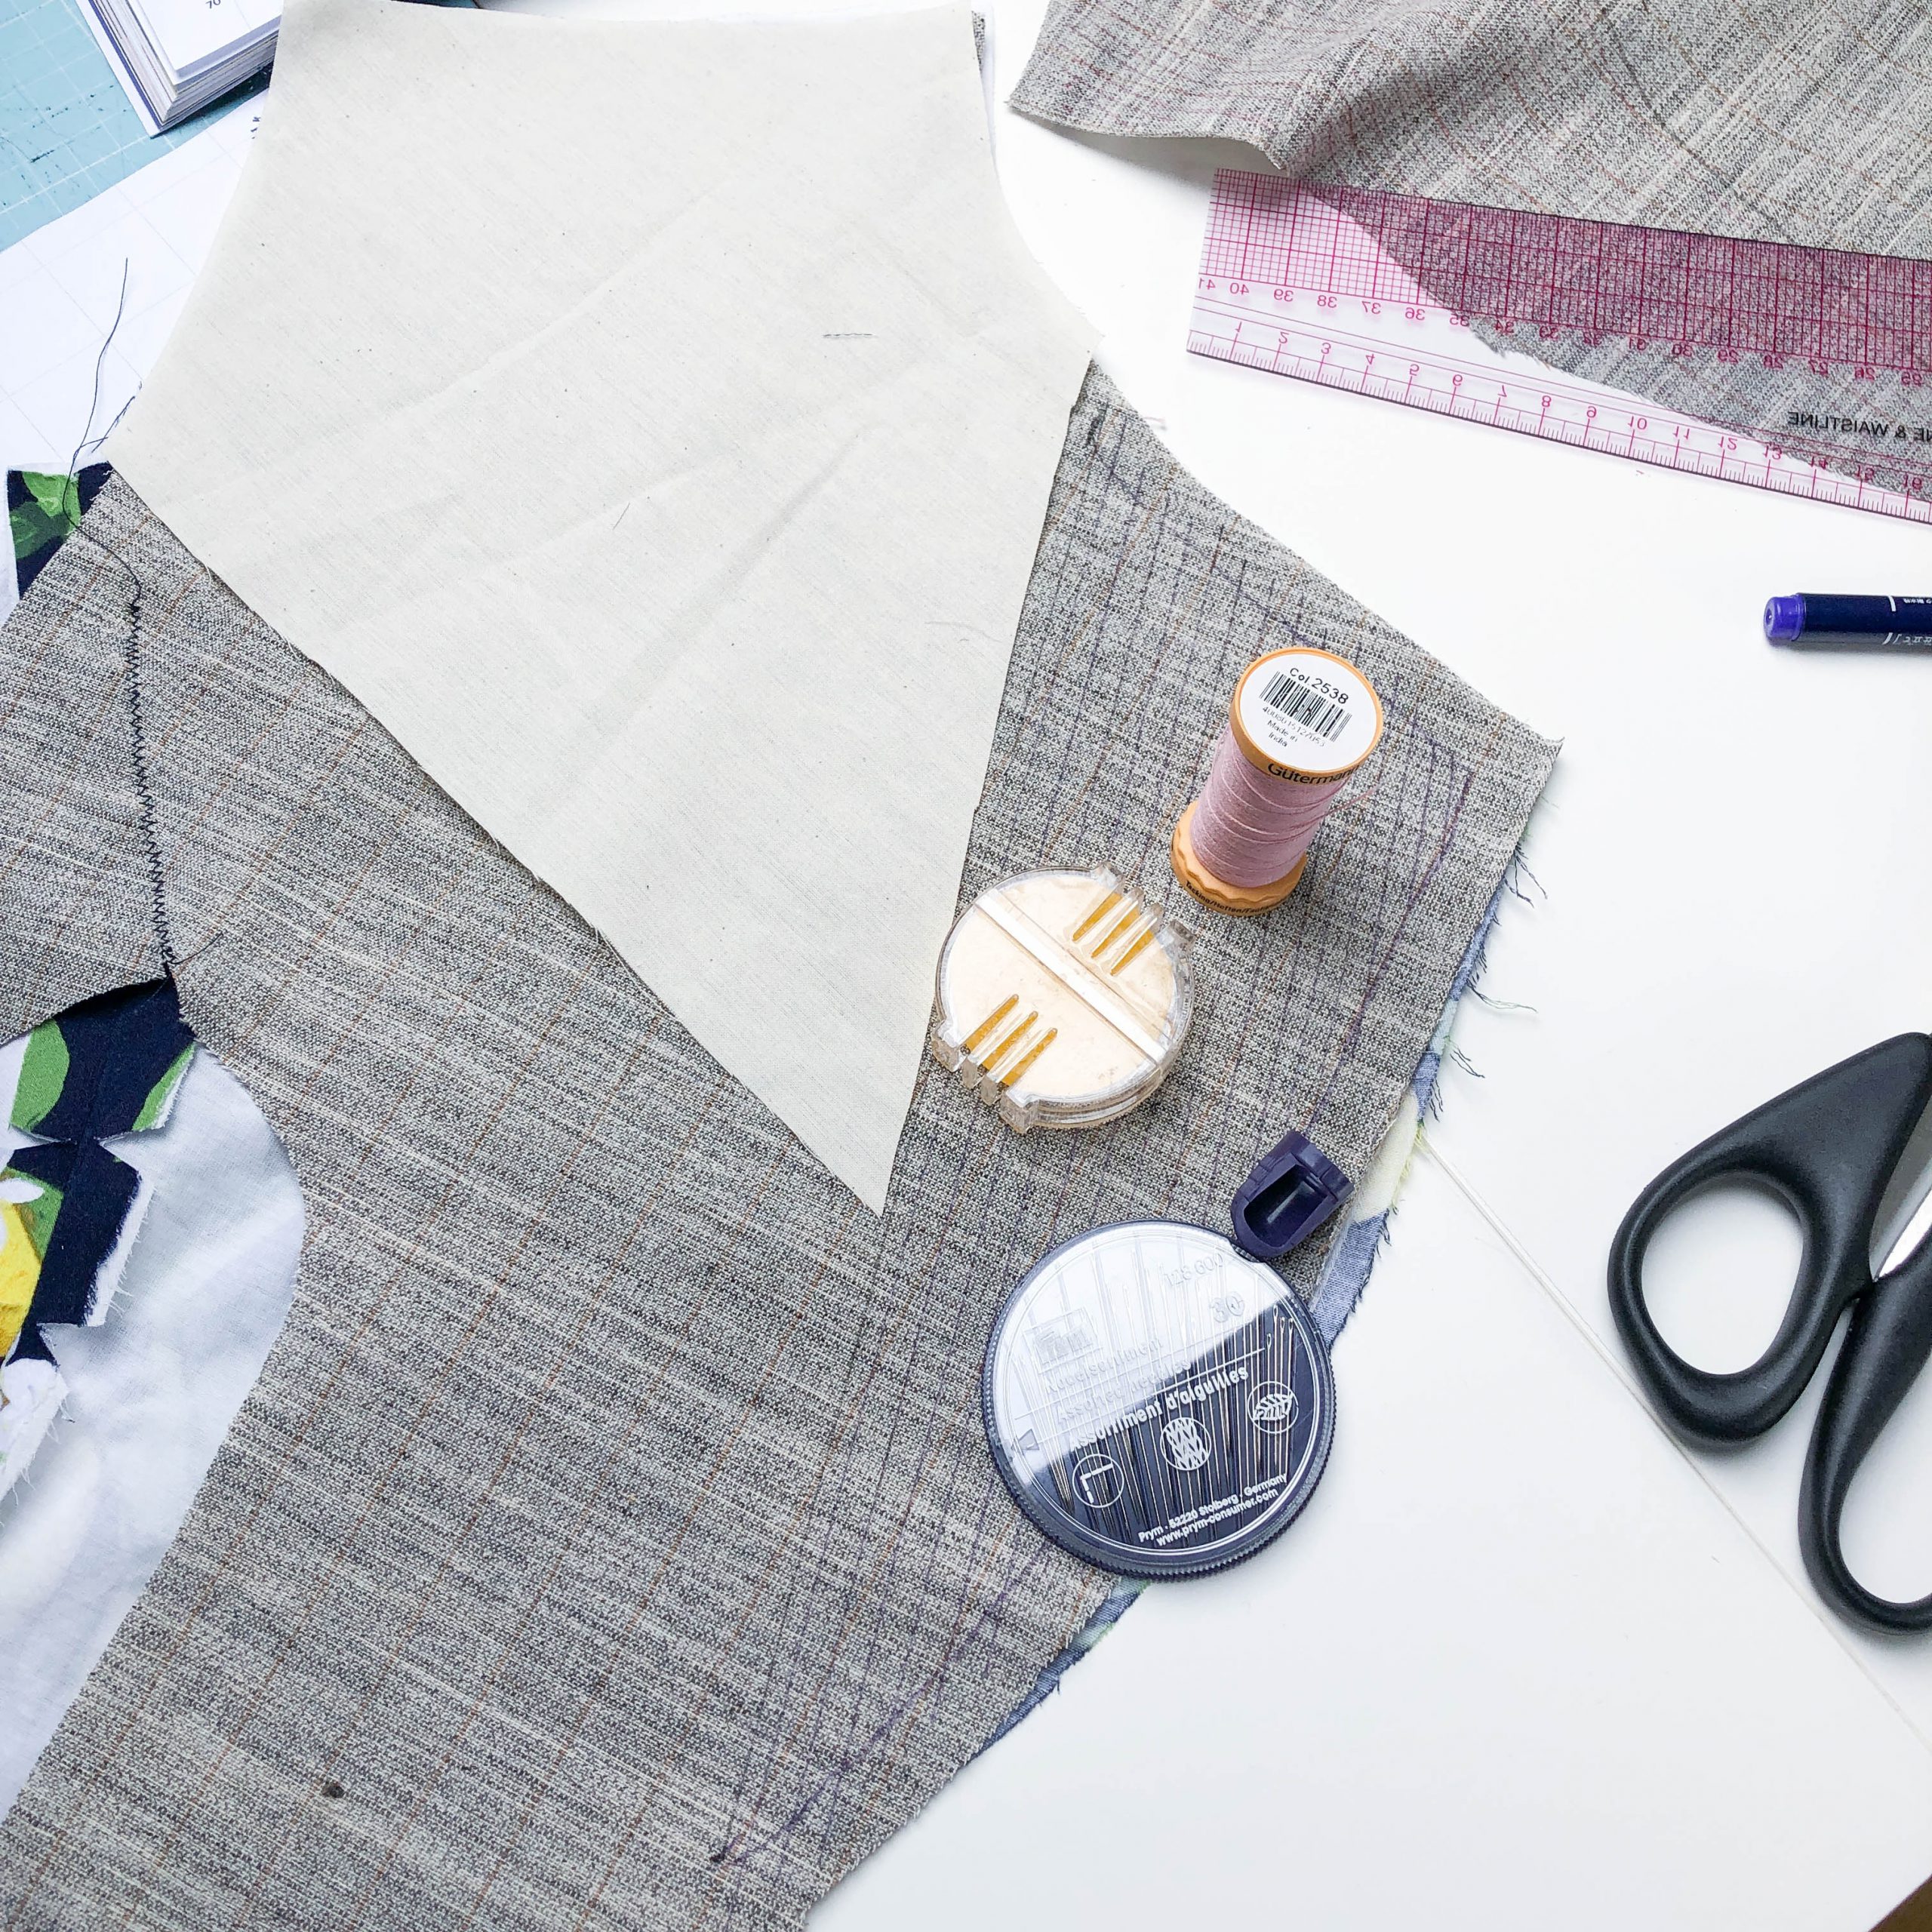
Here is what you’ll need to shape your collar and lapels: bee’s wax for your thread, hand sewing thread, needles and a thimble (believe me you’ll need this).
The canvas and shoulder reinforcement are sewn in with basting stitches.
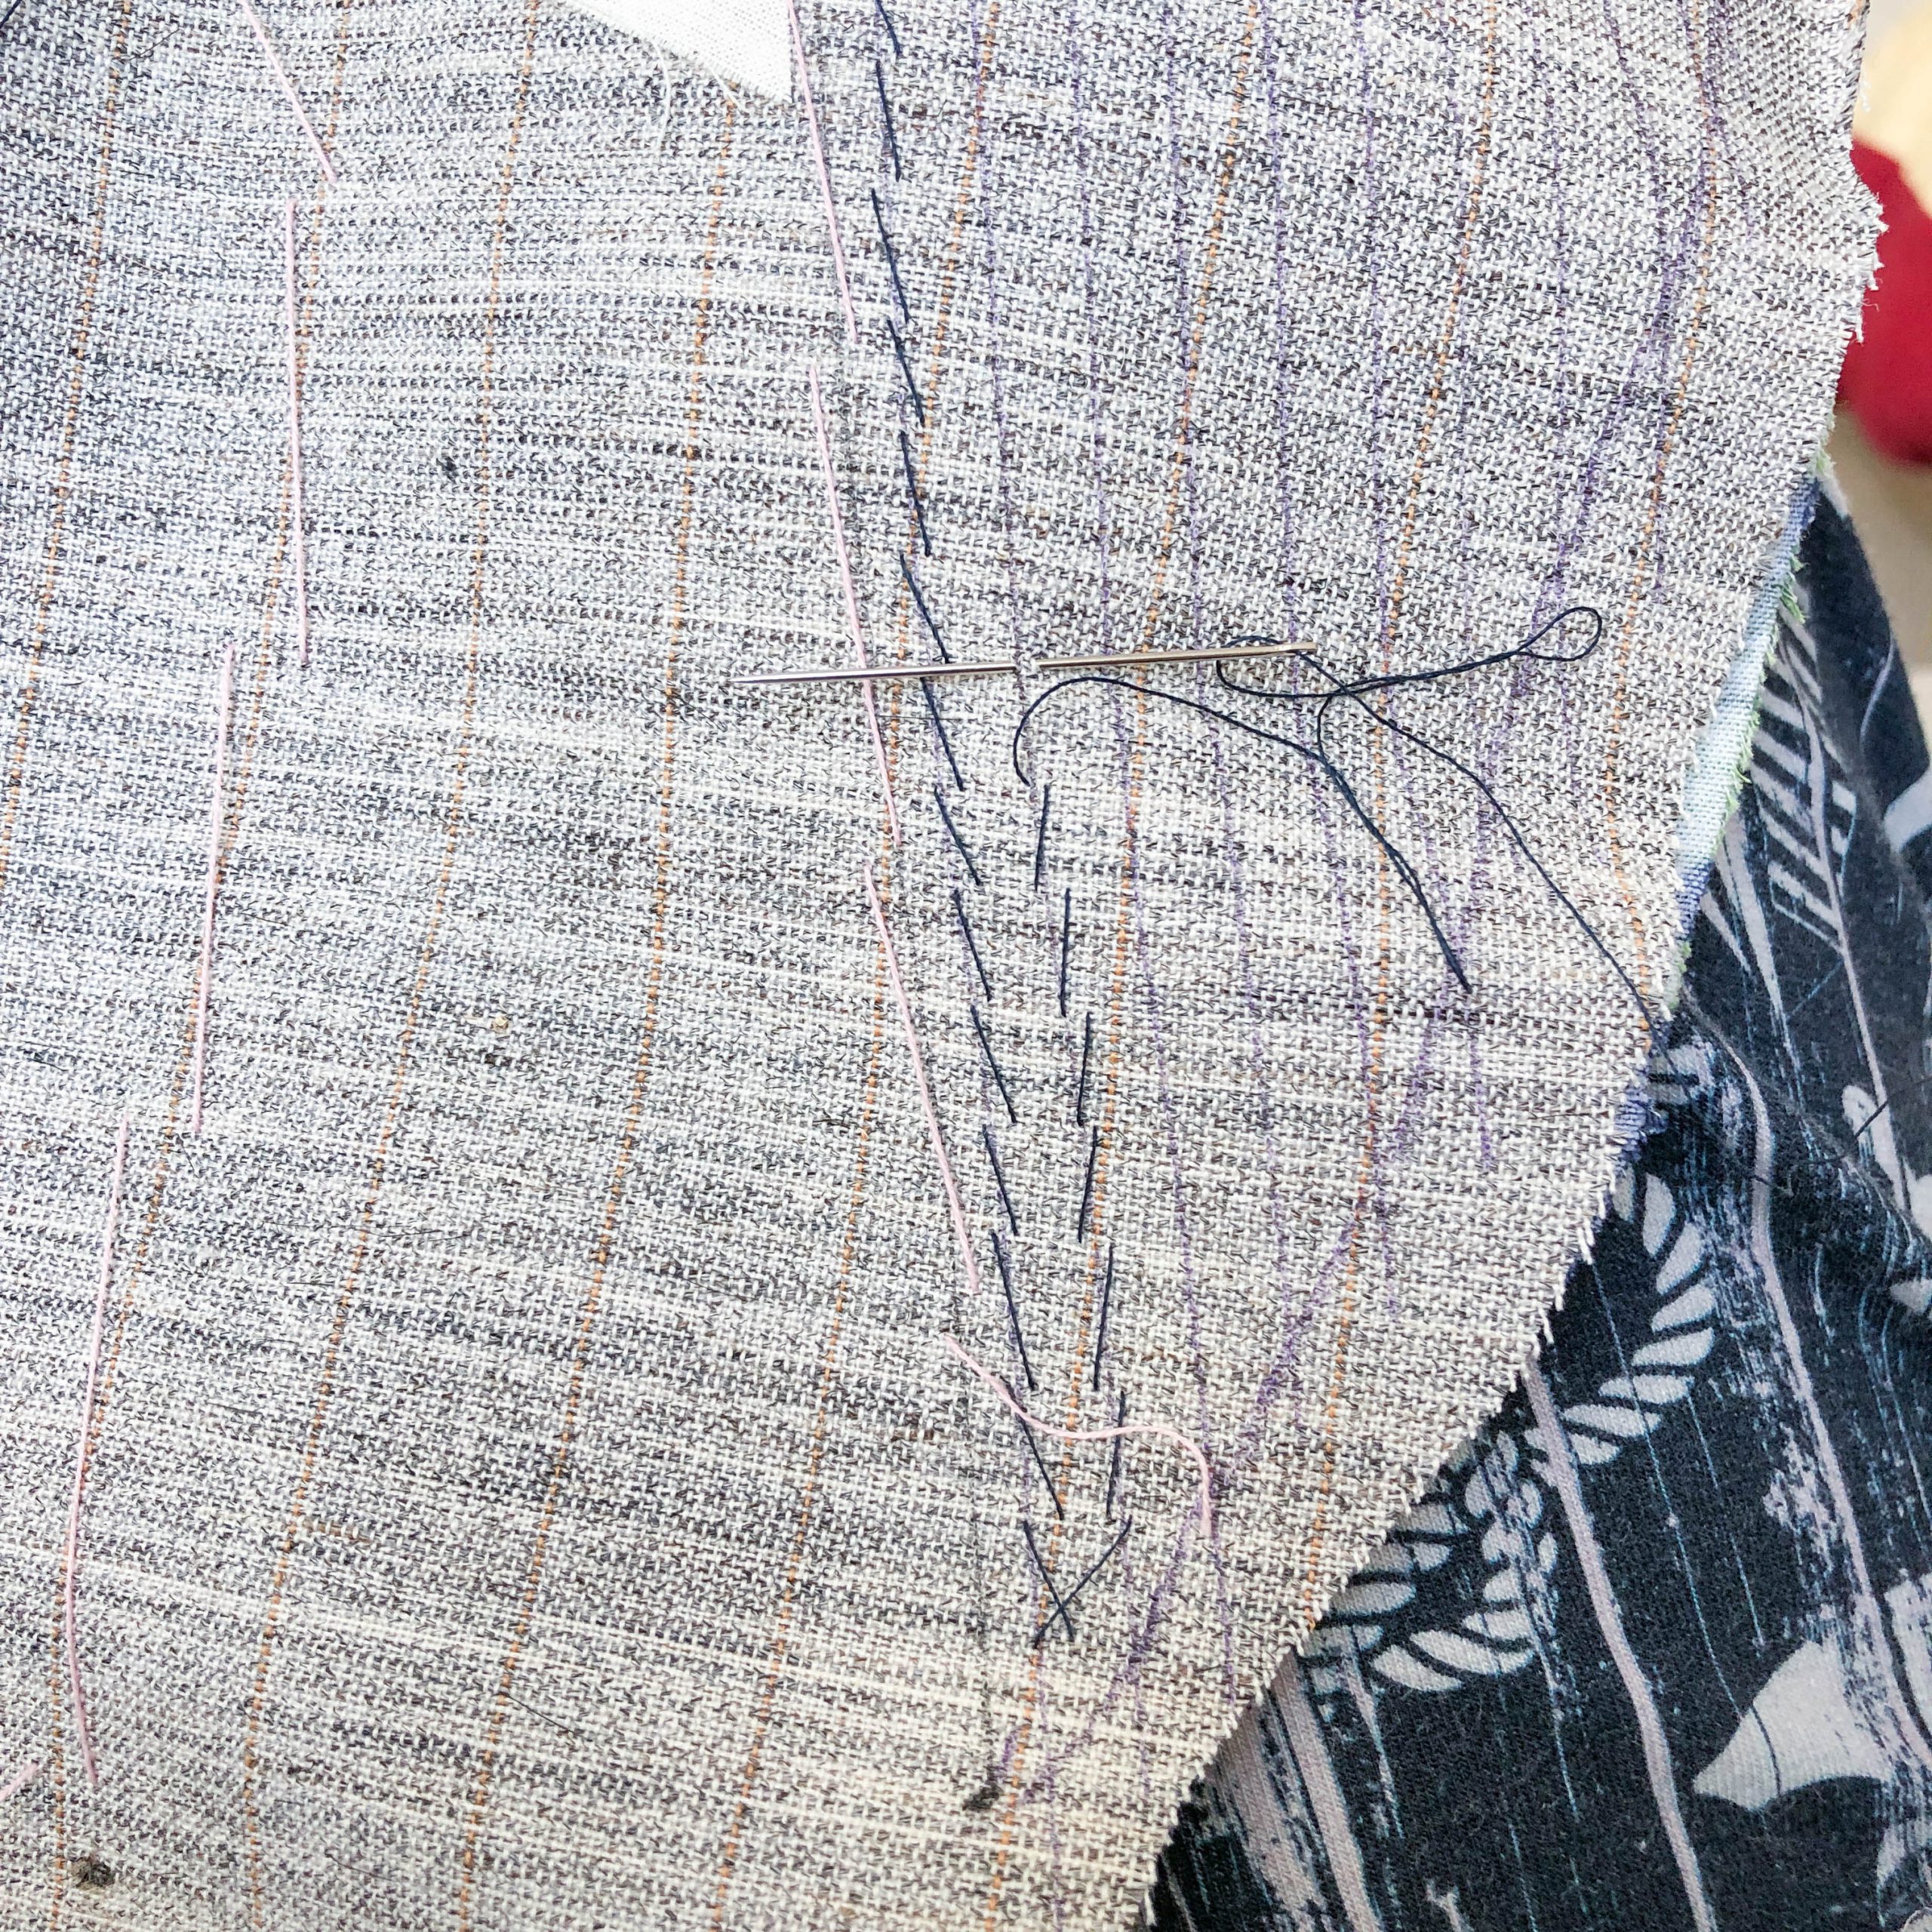
Start padstitching and be careful only to sew the interfacing to the interlining. By using these stitches the lapel will want to curl ‘outward’ and get a nice shape.

This is what it will look like. I cheated and used fusible tape to stabilize the edges.

I attached the shoulders and tried the blazer on for the first time. Immediatley I could see that I needed to take the shoulders in. I was to lazy to make a muslin or I would have caught this sooner.
After adjusting the shoulders I inserted the collar. The collar’s inside is also strengthened with some canvas and padstitching.
I sewed the two piece sleeve next. They each have a vent wich is an additional feature of this model.
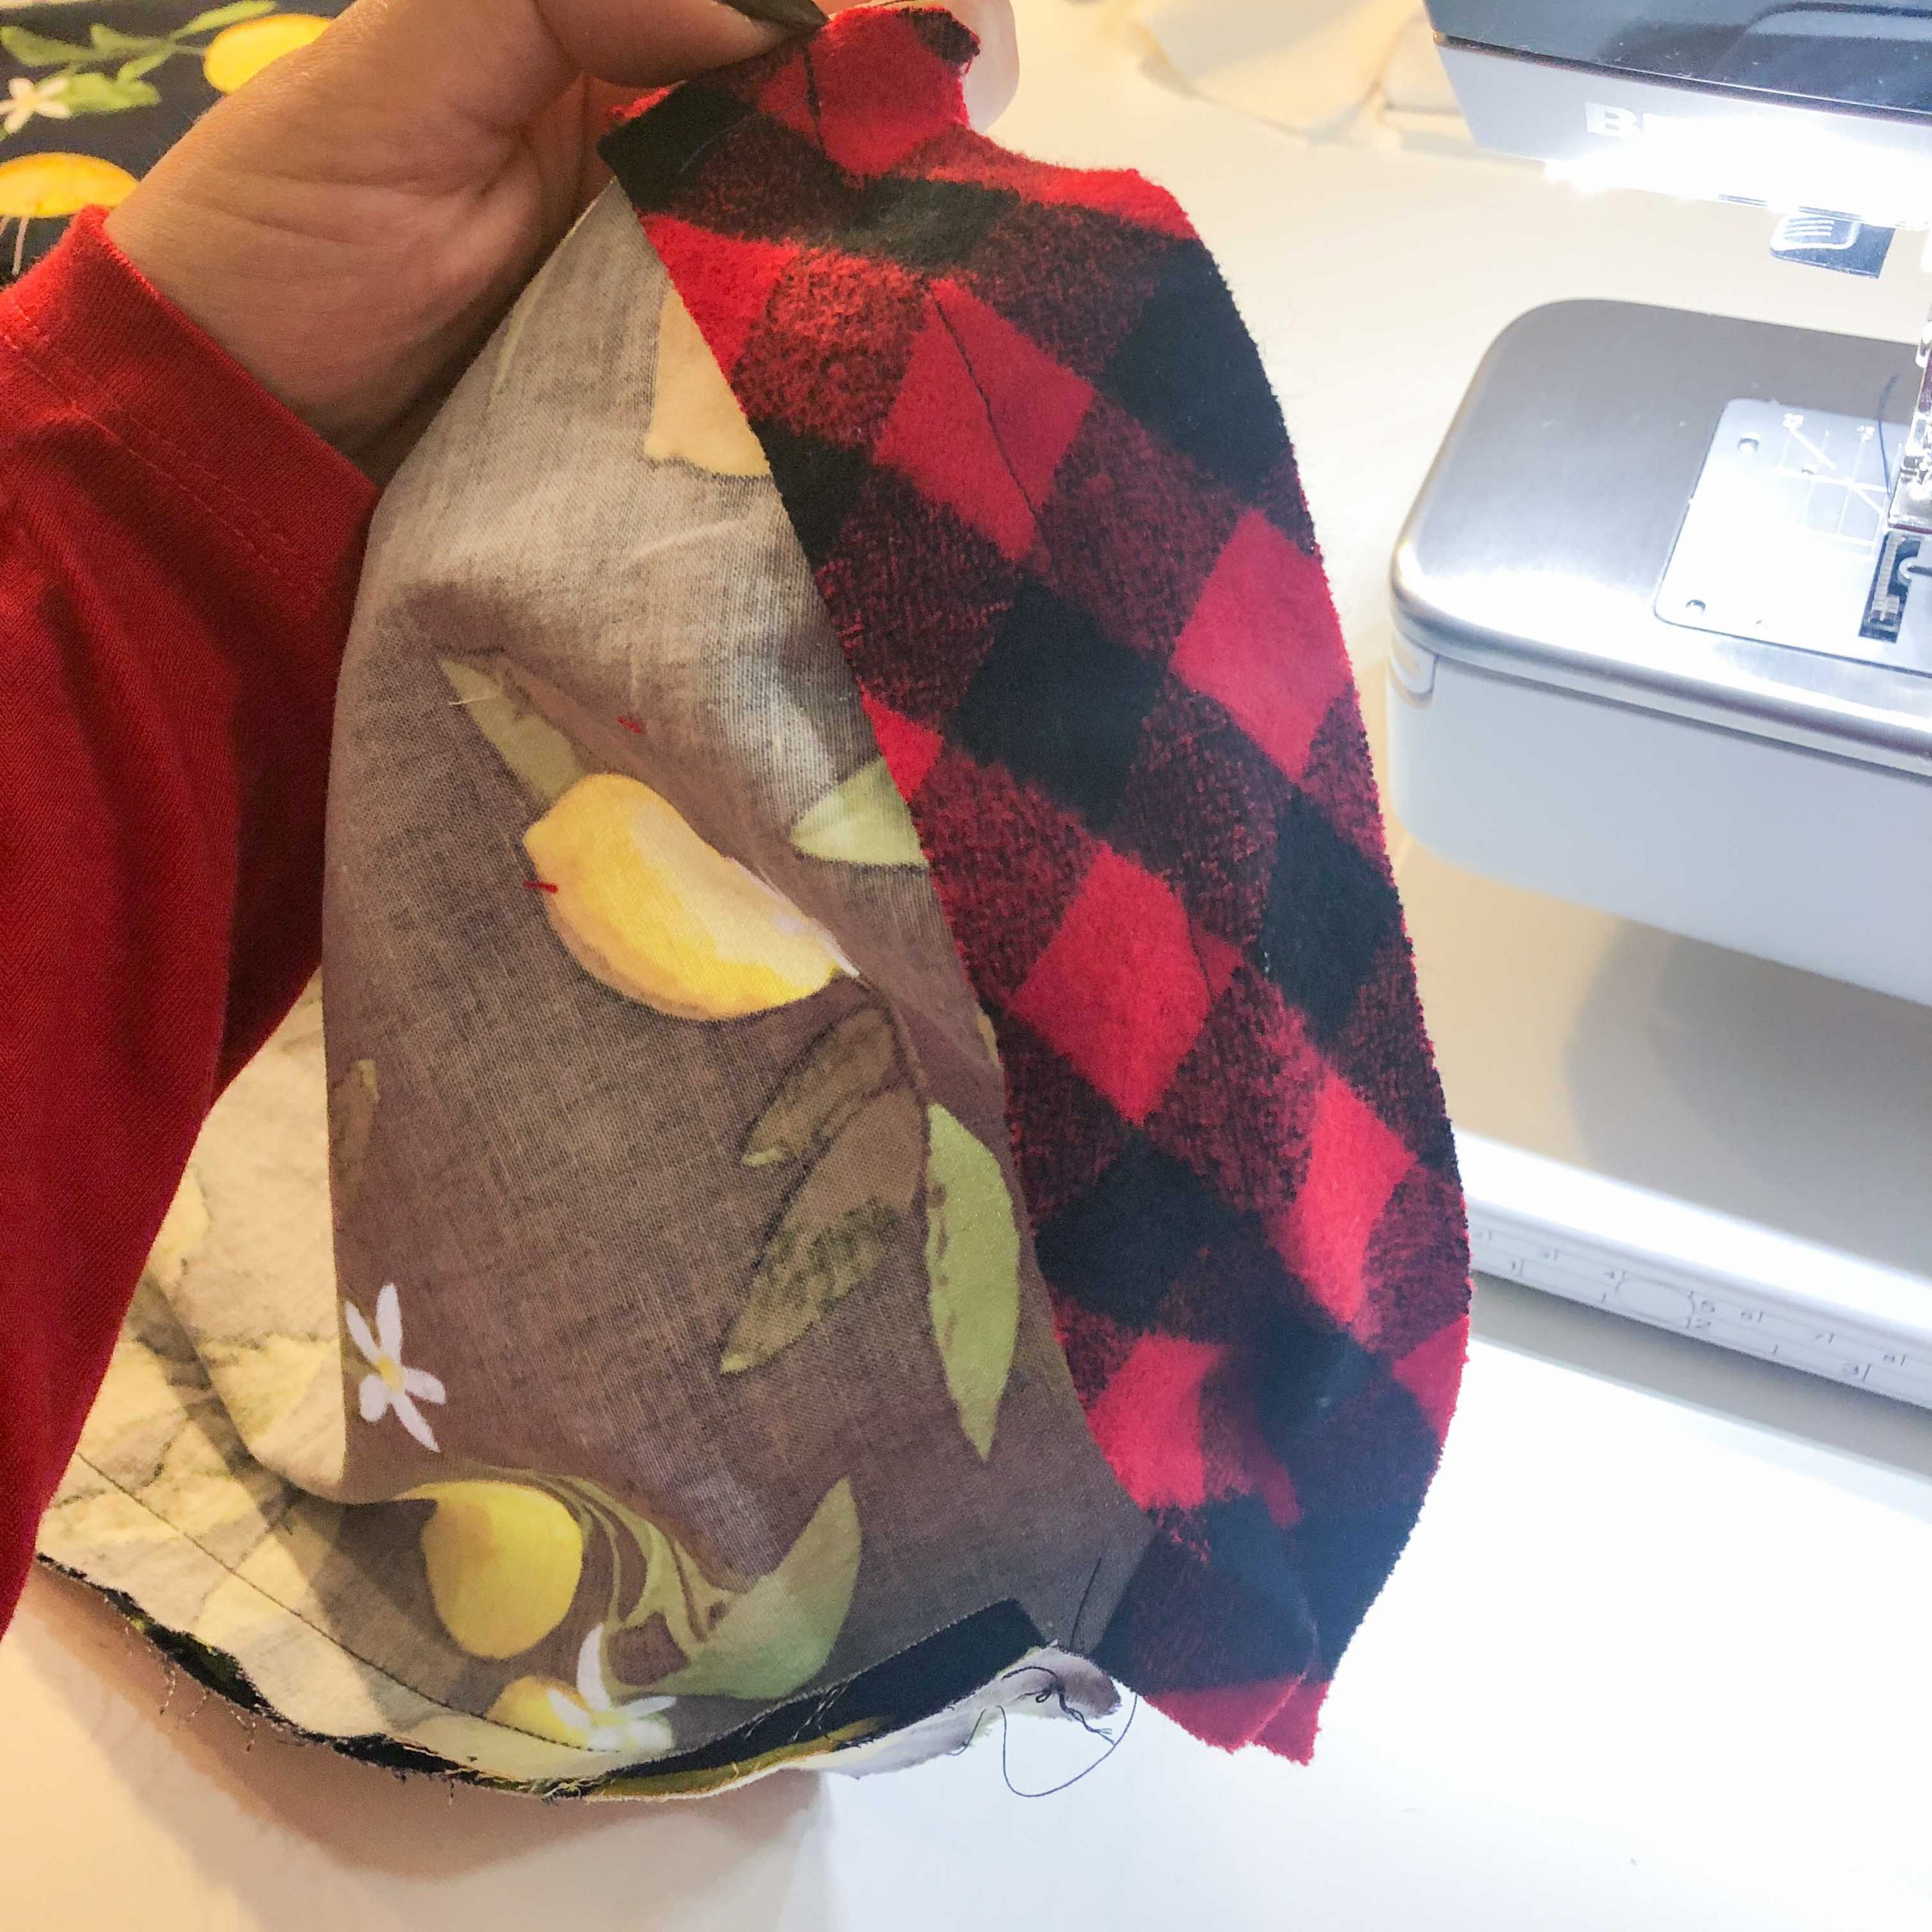
When attaching the sleeves I learned a trick from the internet (I don’t know where I saw it, though). Use a bias strip of a firm cotton fabric (I used flanell). Attach the strip to the sleevecap by pulling on the strip and thereby stretching it along the bias.
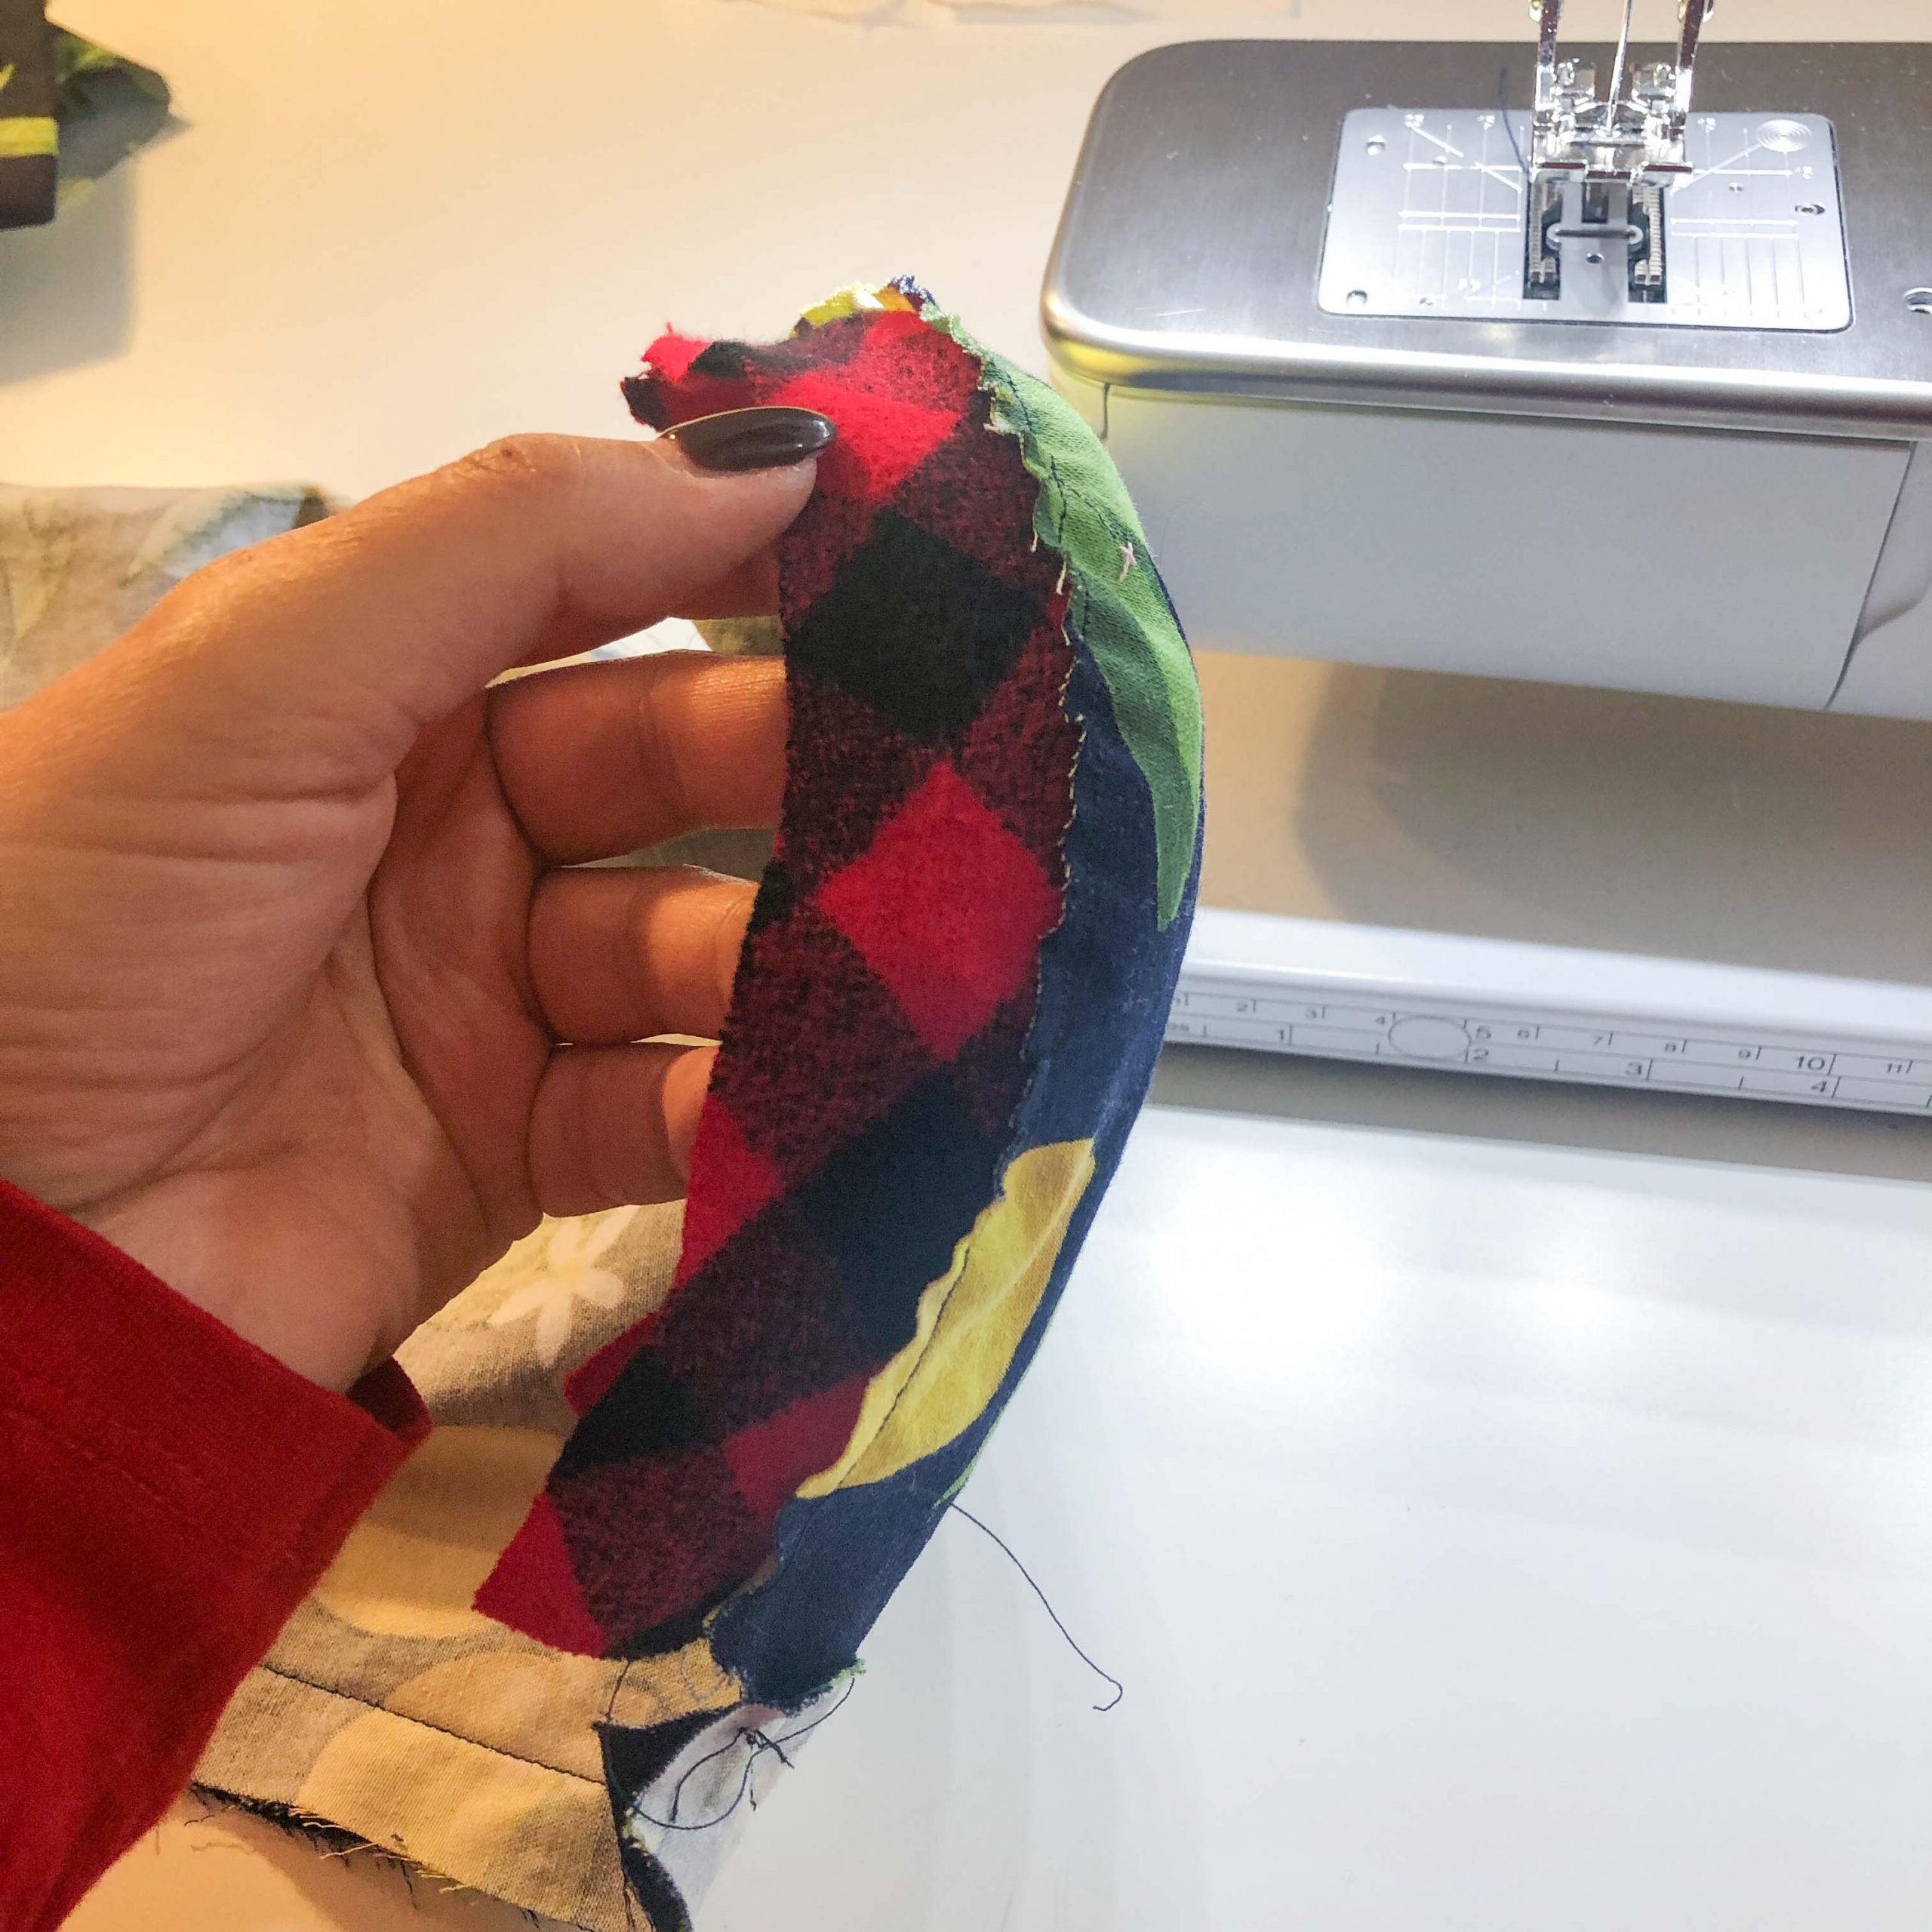
When sewn, it will automatically gather the sleeve into a curve and act as a sleevecap (protects the sleeve from collapsing at the top).

Set in the sleeves!
Sew the lining together (I did not take pictures of this). And attach it to the outer shell. I left a tiny opening at the bottom and the sleeves to turn the jacket right side out. After, I closed these openings with some handstitches.
Give it a good press, sew the buttonholes and attach the buttons. Finished!
Now, you might feel overwhelmed whith this. So my tip would be for you to start slow. Use the speedtailoring technique to start and use all your available ressources (books, internet, youtube, BERNINA Blog). Read all the instructions first and most of all, use the right fabric for the outer shell 😉
I hope to be back at the end of June with a new post (not lemons this time but an equally funny print). In the meantime you can visit me on instagram.
Happy Sewing
Nadine

Cette veste est magnifique puis je acheter le patron
Chère Anne-Marie,
Tu peux acheter le modèle dans différents magasins en ligne. Une recherche sur Google pour le modèle Vogue 8333 t’indiquera où l’acheter.
Super tutorial. I have this link to that bias trick in my favourites. https://www.youtube.com/watch?v=trGrZPgrN5M