 BERNINA Corporate Blog -
It is fun to make houses with your embroidery machine, creating them with the BERNINA Embroidery Software V8. I’ve made a lot of pictures, from houses all over the world, where I’ve ever been. And one caught my eyes: a Georgian Townhouse, with three apartments.
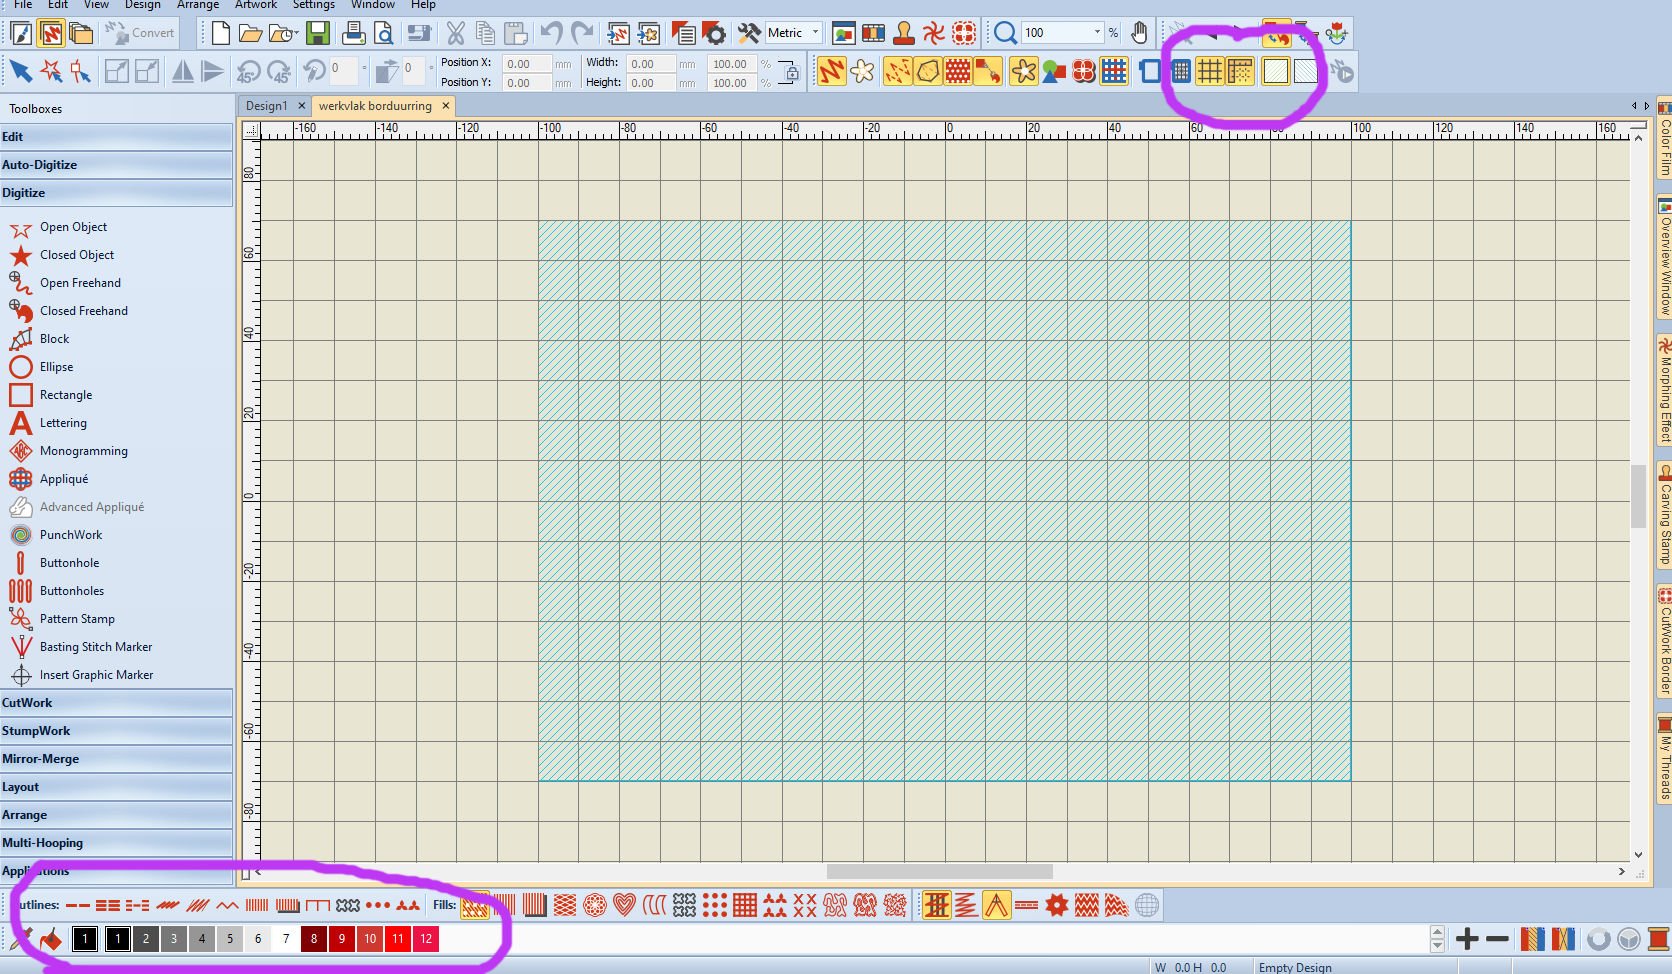
Because I am often working with reds, greys, white and black Sulky machine embroidery threads, I have made a special file, saving these threads for multiple designs: 12 in total – not all are used for this design, but they are ready for each embroidery design I want to make. Also I have set a work area, in which my house should be designed.
This measurement of work area is large enough for my house design, and it fits in the Large Oval Hoop, which I will use to embroider the design.
De base.

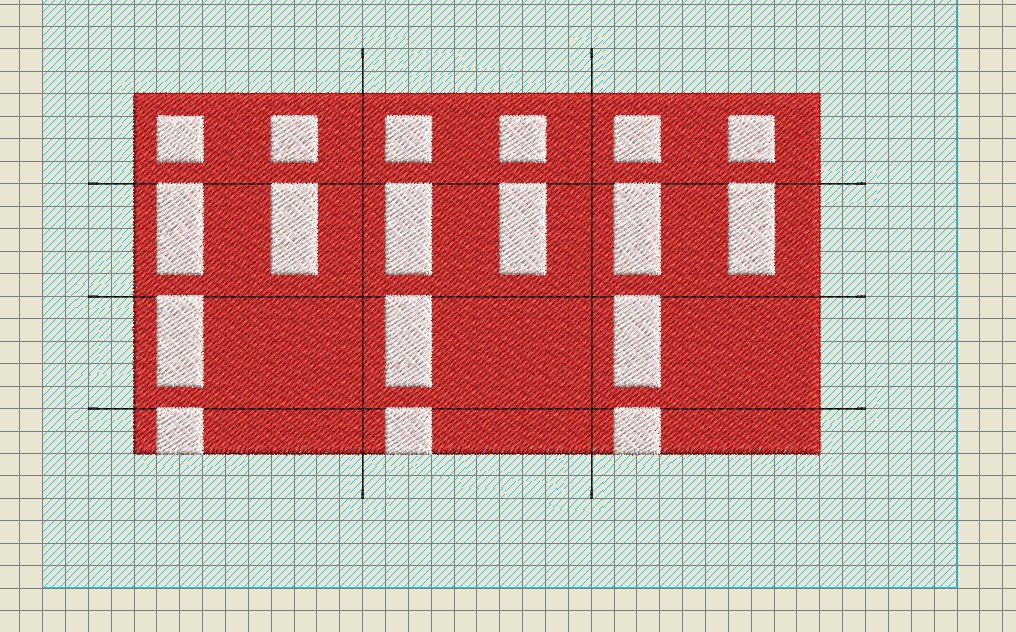
To create a base for the house, draw a rectangle via the left toolbar ‘Toolboxes’, Digitize’, ‘Rectangle’. Make sure the number of squares from the grid can be divided by 3. My rectangle is 15 squares horizontal and 8 squares vertical. I have selected a red color (Sulky 1263). Save the object as a new design, and save again after adding more objects.
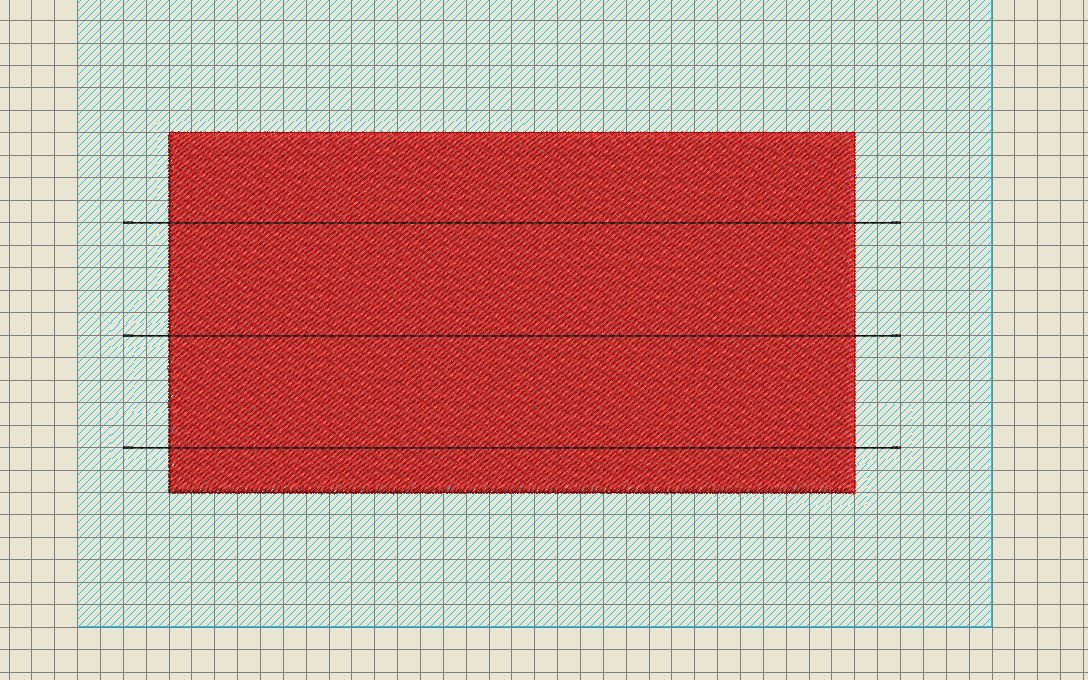
To be sure all windows of this Georgian Townhouse are aligned for each floor, I have placed horizontal lines, which are temporary, just to be sure all of my squares and rectangles for windows and doors can be placed where I want them to be. I have set the grid to 5.00mm x 5.00mm, after which there are more squares: this can help placing the temporary stich lines.
I have used a Single Outline stitch, black thread and worked via ‘Open Object’ to place three horizontal lines. I will remove these at a certain point, because I don’t want them to be embroidered.
I have also placed two vertical temporary lines, for the same purpose as the horizontal ones. This divides the rectangle in three equal parts, so now I can see where I want to create windows and doors.
TIP: The temporary lines are visible in ‘Color Film’ as a separate box. Before completing this design, the box will be removed, because I don’t want these lines to be embroidered. If you are using a different color, be sure NOT to use a color for the temporary lines and also for objects, because V8 will combine these.
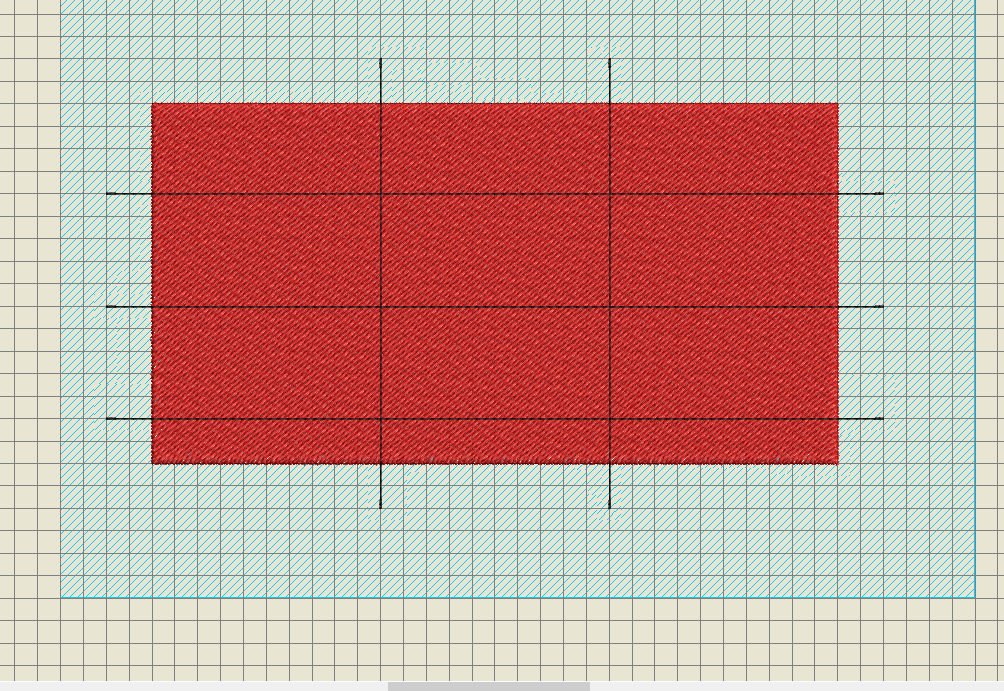
The windows.
For the windows, I have used Sulky white. When hovering over the grid – even ON the red square – white lines appear exactly where grid lines are and cross sections. Using these will garantee my placement is exact.
So this is how it looks after adding all the windows.
The doors.
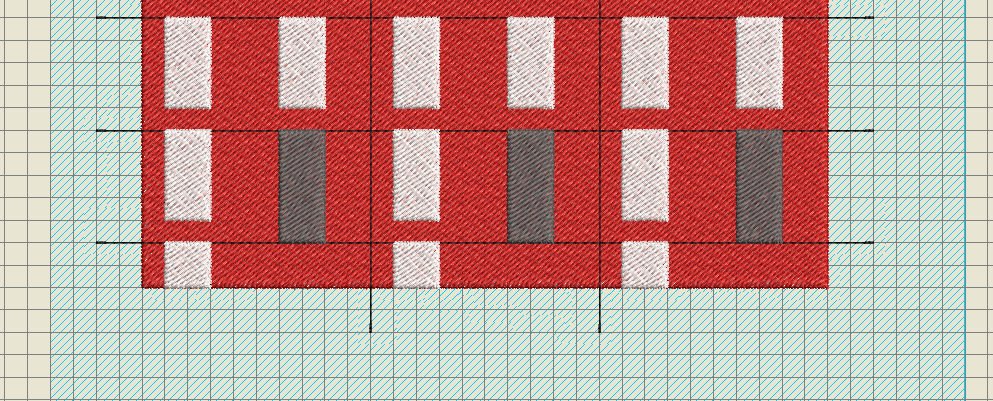
The same procedure is used for adding doors, with Sulky dark grey. The temporary lines are a great help.
The steps.
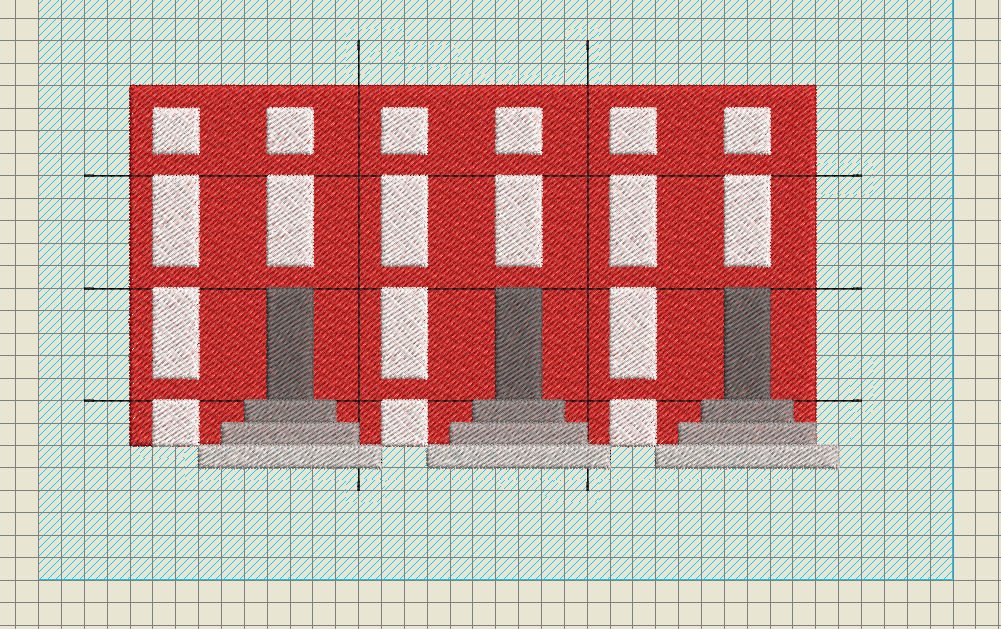
Three steps are added, each with a different hue of grey: from top to bottom: medium grey, grey and light grey Sulky thread. Again making rectangles, now horizontal, each step wider than the previous.
Eaves and chimneys.
Now the temporary black lines are removed. Simple: just click on the box with these color/lines and use ‘Delete’ to remove them.
A large rectangle, horizontal above the red rectangle, is the first part of the eaves. I’ve used the lightest grey of my Sulky threads. Above that a second part of the eaves is added, using Sulky white: the latter is slightly smaller than the first one.
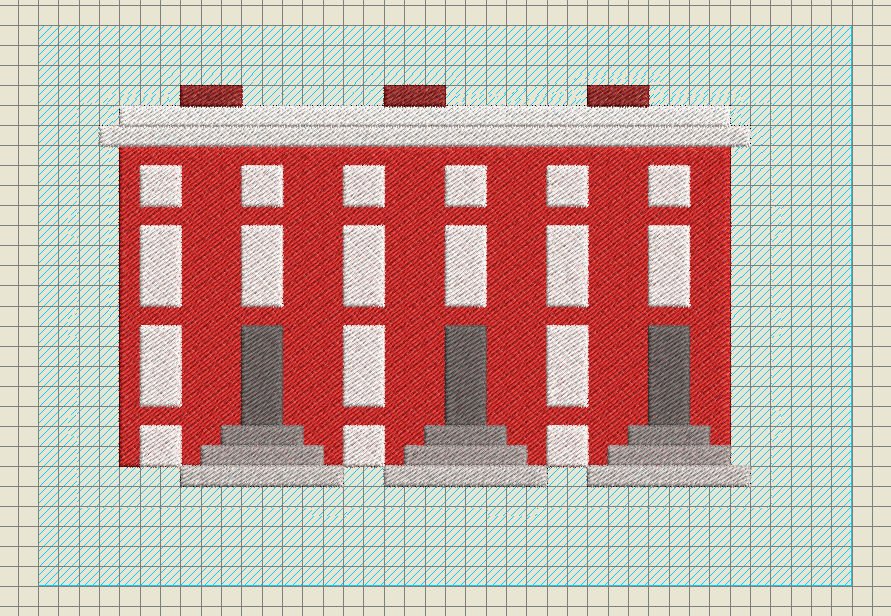
Chimneys are made with a dark red Sulky, three of them, and there is your Georgian Townhouse with 4 floors: basement, first floor, second floor and loft.
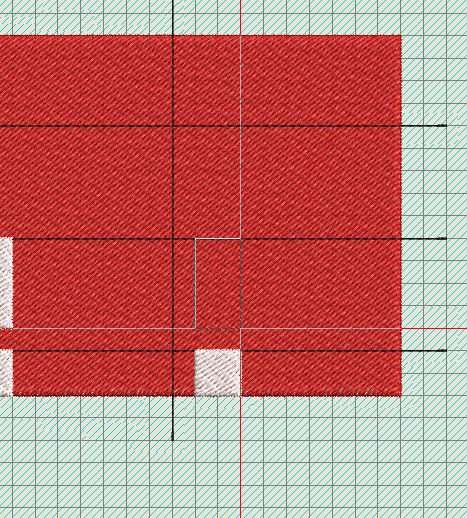
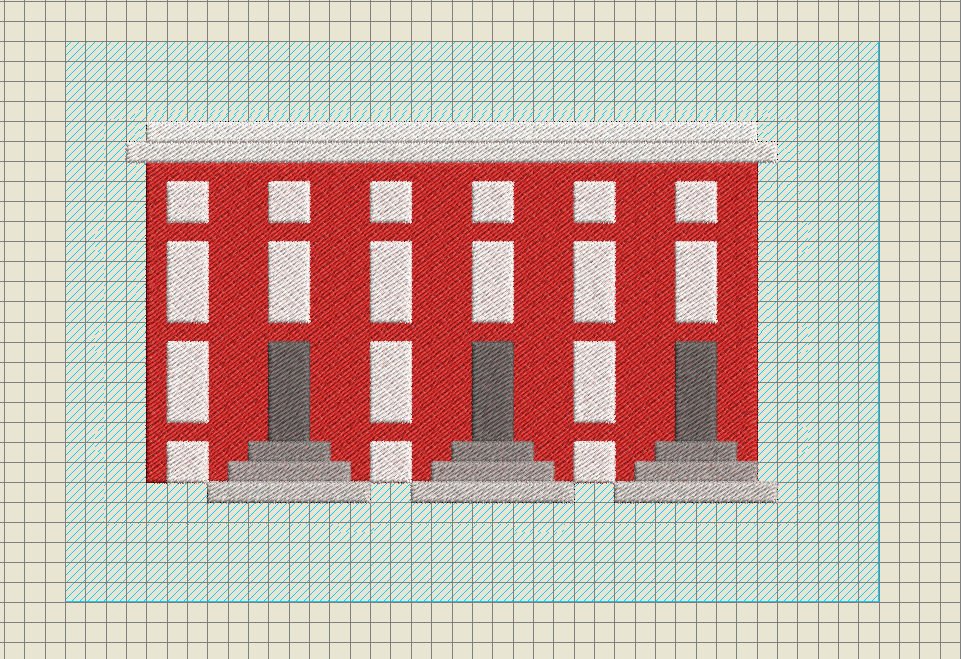
What needs to be done next, is to remove overlaps: use that option with ‘Edit’, left toolbar.
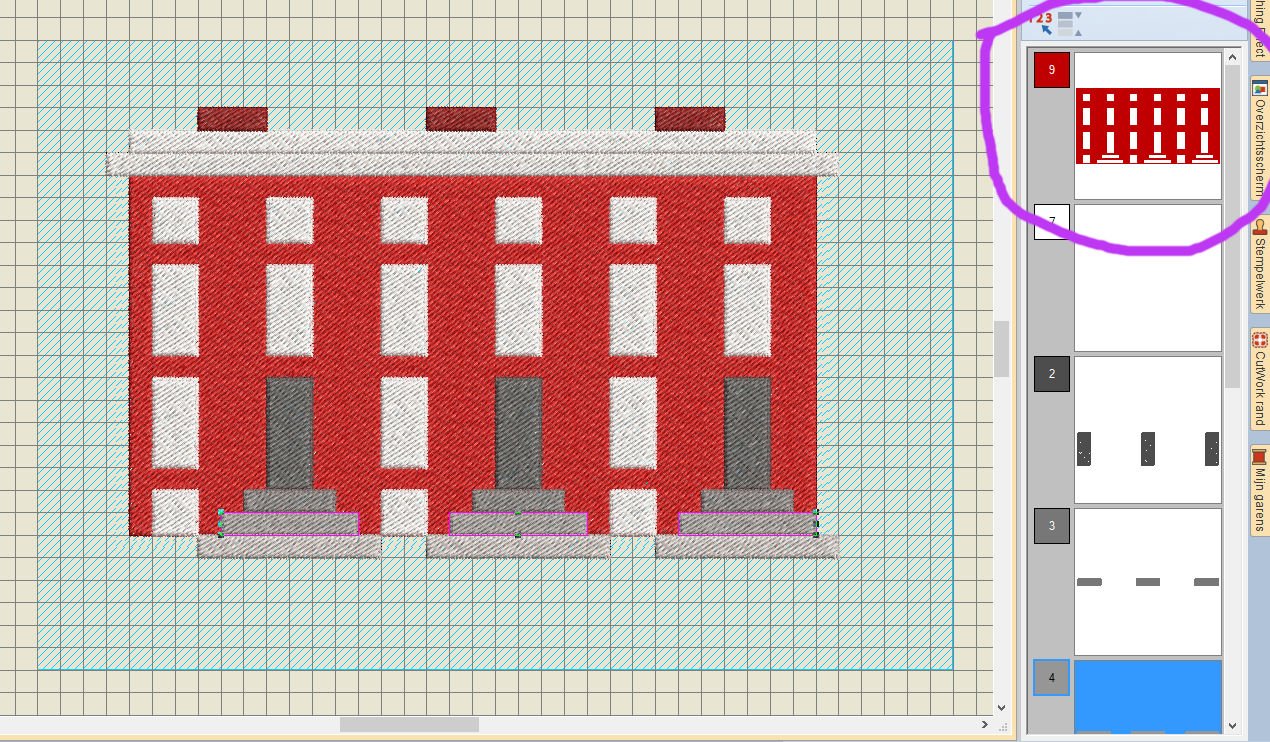
This is done with all windows, doors and steps on top of the red rectangle/house itself. Check if the box in ‘Color Film’ shows holes.
At this point, details can be added to doors and windows, but I thought it was just fine as it is now.
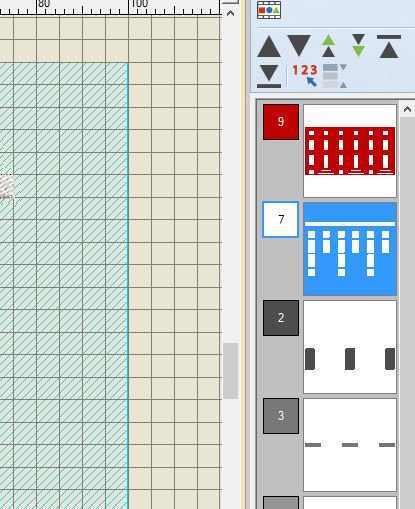
I have placed both boxes of the windows and the white eaves on top of each other, to be embroidered at the same time: that saves thread changes. Be sure the red base of the house is embroidered first.
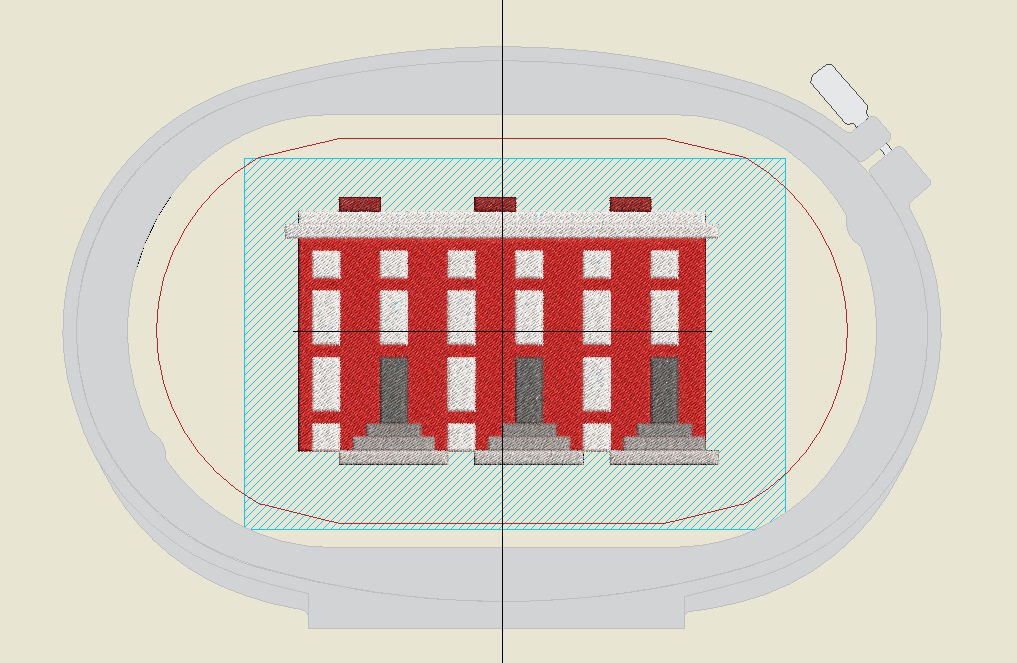
Now the design can be fitted into the Large Oval Hoop: be sure to save it again. After using ‘Print Preview’, I have written the design onto my USB stick to bring it to my B770QE with embroidery module. Another design is done: using a couple of options with V8.
I am curious what your house will look like: please show it in the Community of this Blog, for all to see.
Happy Stitching!
Sylvia Kaptein
Sylvia’s Art Quilts Studio


0 Responses