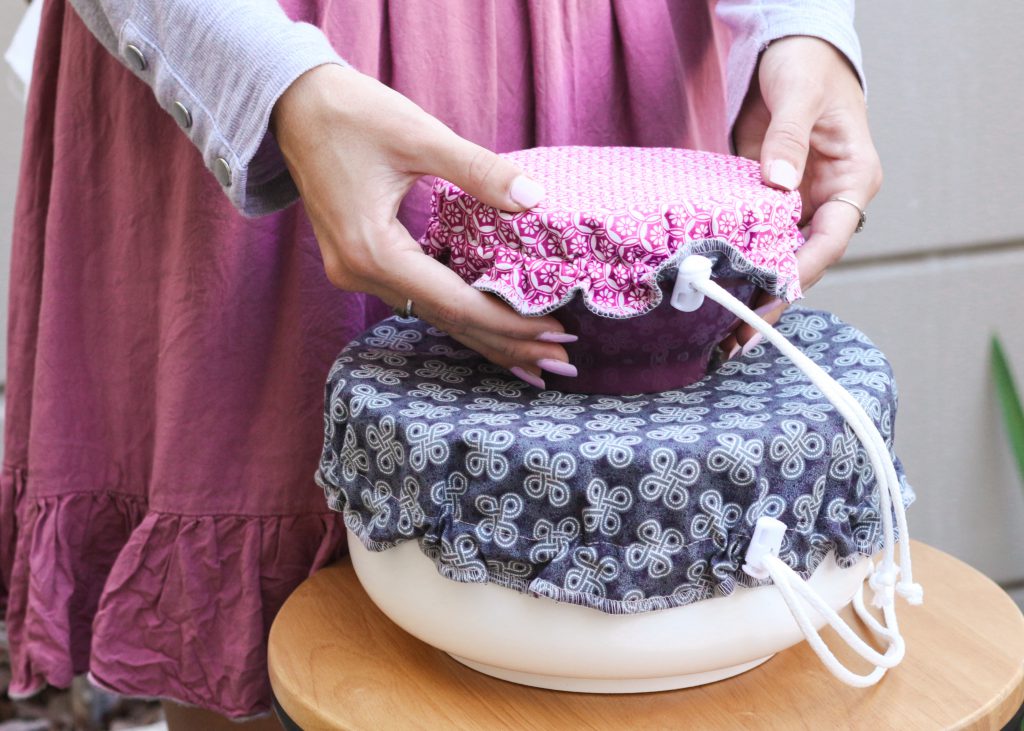
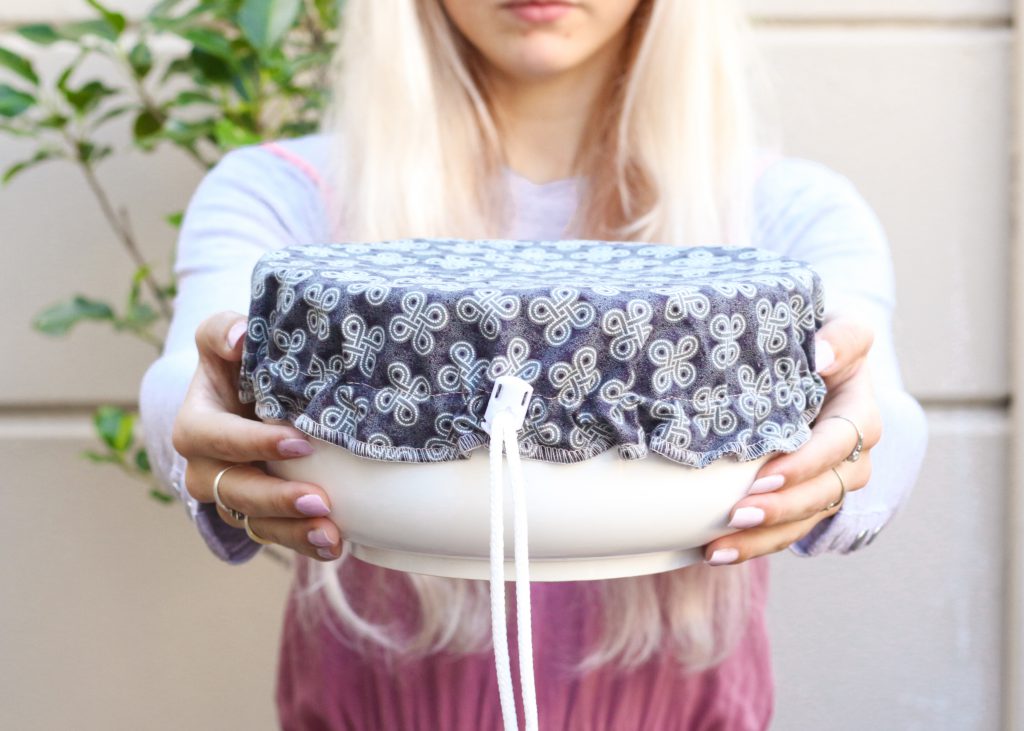
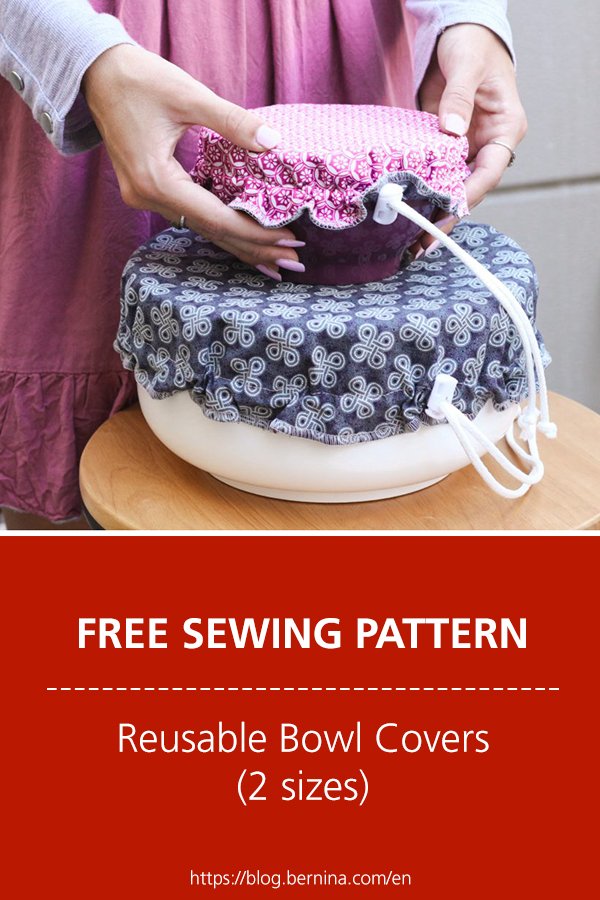
I recently made my mom some reusable bowl covers.
They are a zero-waste alternative to single use plastic wrap and definitely more attractive. The covers can be used for keeping food fresh during short term storage or to protect dishes from annoying insects at your summertime spread.
I have provided patterns in two sizes but the use of a drawstring means the covers can fit a wider variety of sizes.
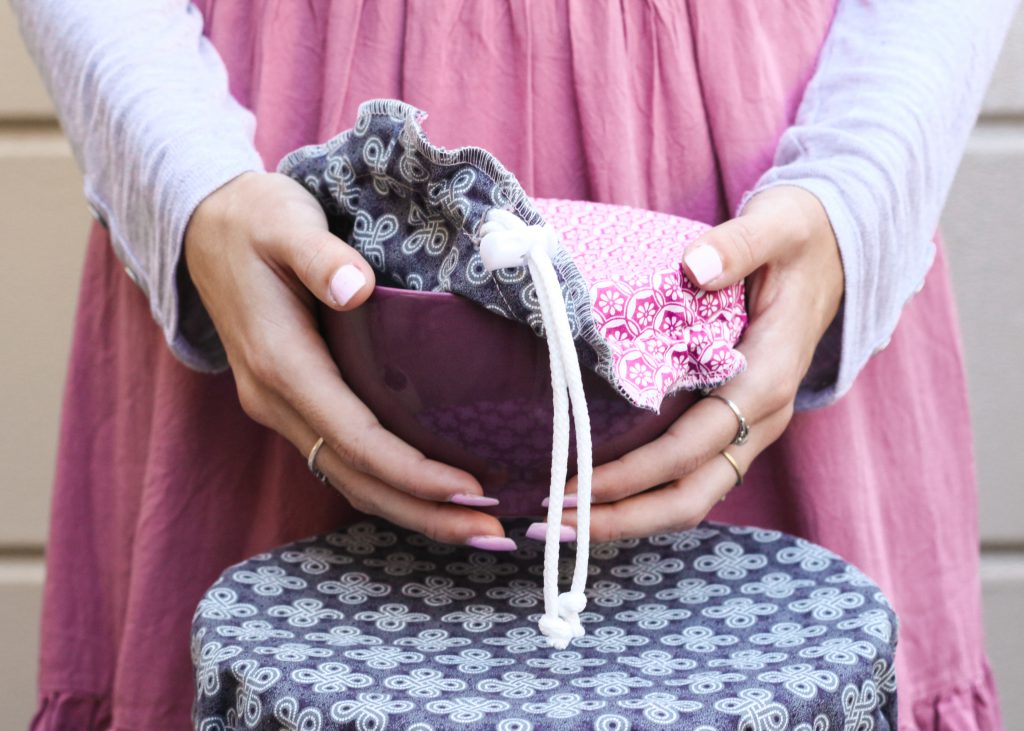
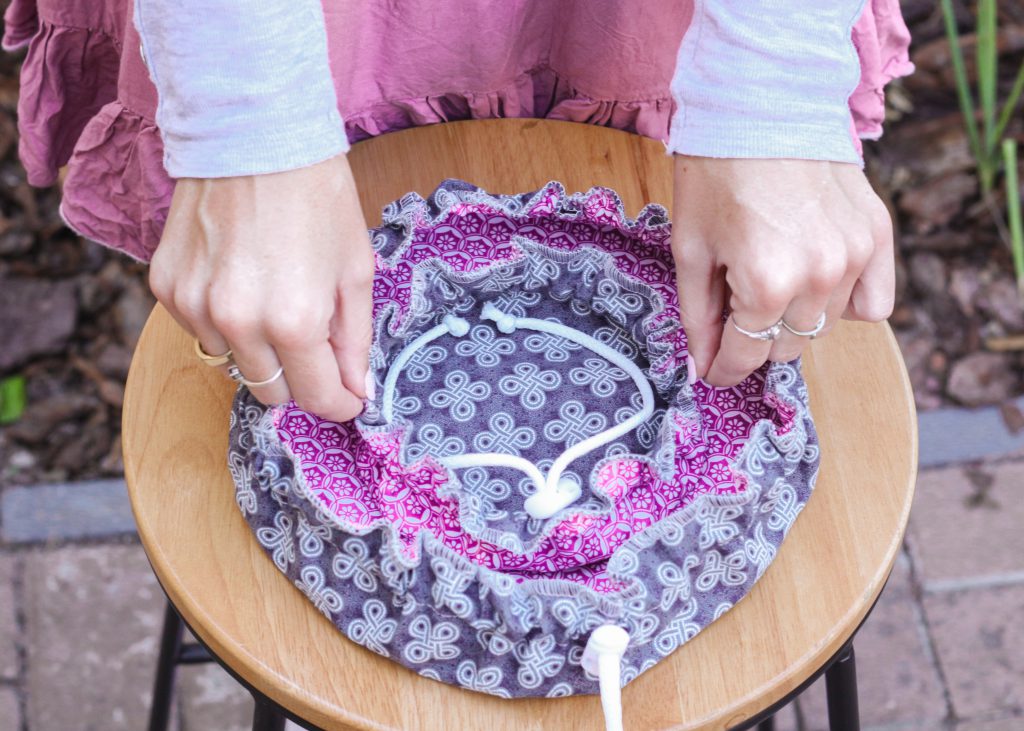
By using two contrasting coloured fabrics, your bowl covers can be reversible!
This project is great for using up leftover fabric.
What will be needed:
- Sewing machine
- Overlocker
- 3-4 threads either to match or contrast the fabric.
- Button Hole foot
- Pattern: Bowl Cover Small or Bowl Cover Medium or draft your own
- Light to Medium Weight Cotton Fabric:
Medium Size: 35cm x 35cm x 2 for Inner & Outer
Small Size: 23cm x 23cm x 2 for Inner & Outer
(or refer to the Pattern section if drafting your own pattern)
- Cord:
Medium Size: 125cm
Small Size: 80cm - Toggle/Stopper (1 per bowl cover)
- Safety pin
- Lighter/candle
Pattern
My patterns will make covers to fit standard sized bowls.
As the bowl covers have an adjustable cord, they can fit a variety of sizes.
The Medium will fit a bowl with a maximum diameter of 30cm and the Small will fit a bowl with a maximum diameter of 18cm.
Draft your own
If you would prefer to draft your own pattern, here are some directions:
Place your bowl upside down on a piece of paper and trace around it.
Add a 2.5cm seam allowance around your circle.*
To make sure you have enough cord:
Work out the Circumference (π x the new diameter*) and add about 10cm extra.
How to use provided patterns
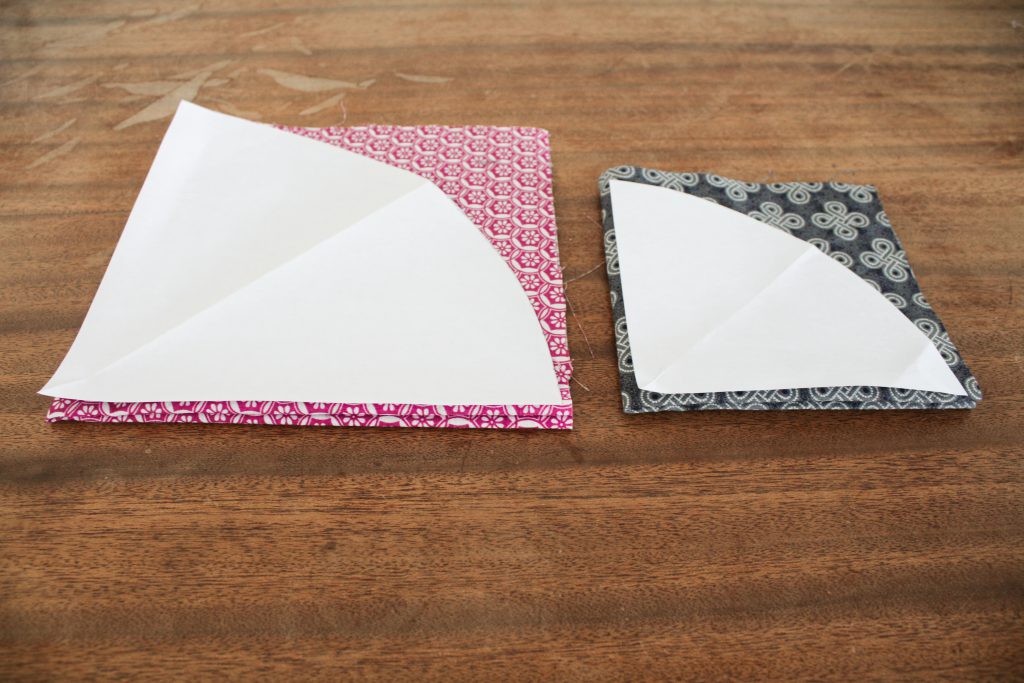
- Fold your fabric into quarters and line up the straight edges of the pattern with the folded edges of the fabric.
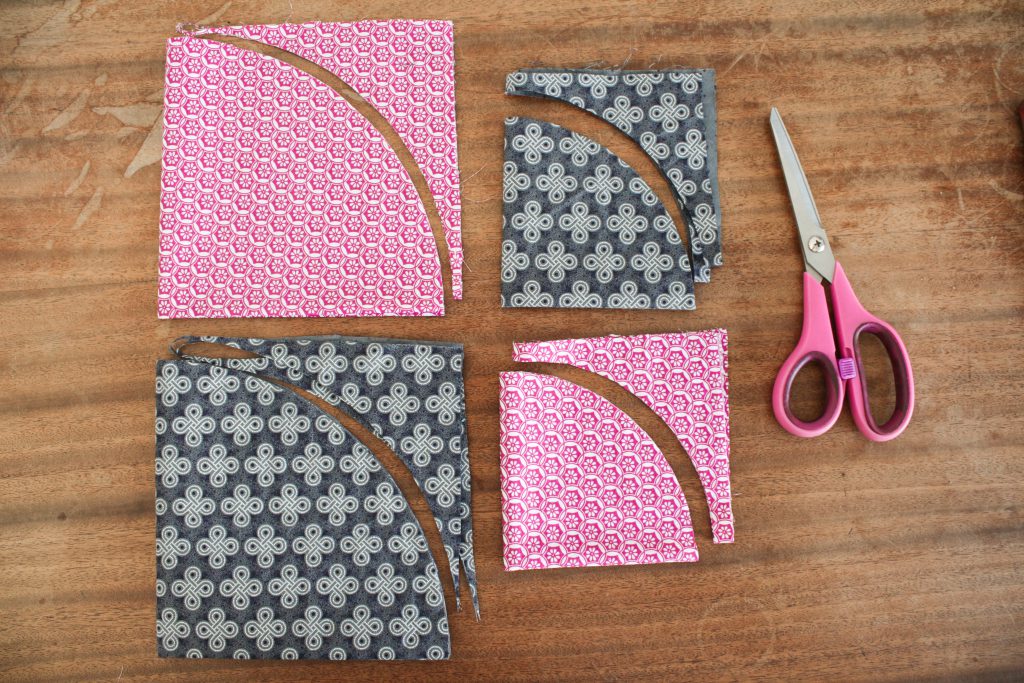
- Cut out along the curved edge.
Sewing
Buttonhole
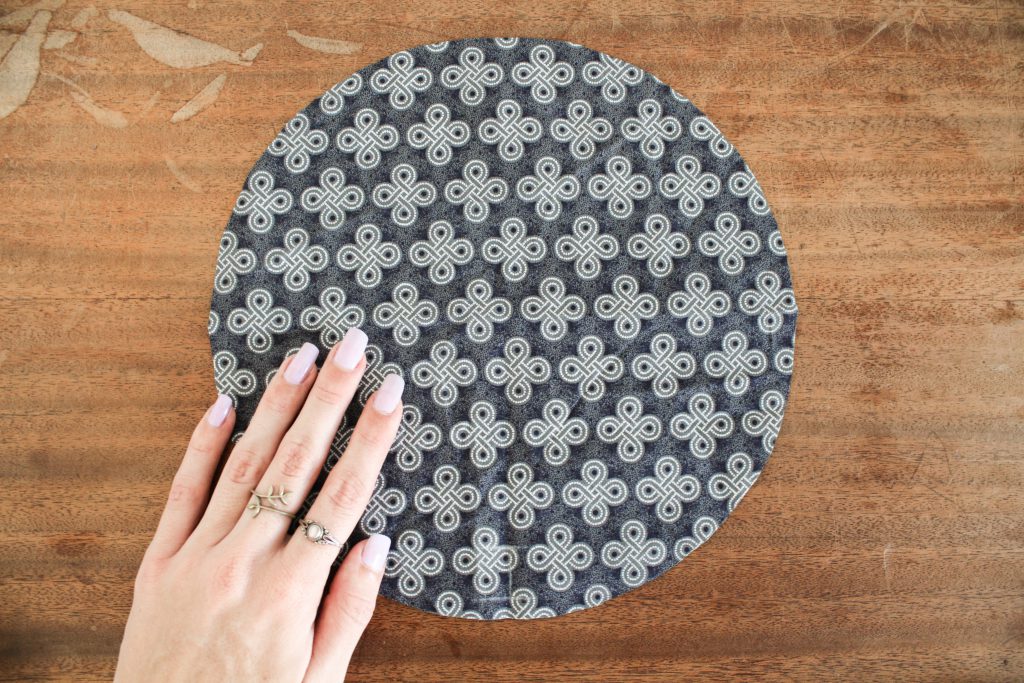
- Mark the buttonhole placement on your outer fabric.
Make a marking 1cm in from the raw edge and another 2.5cm in from the raw edge.
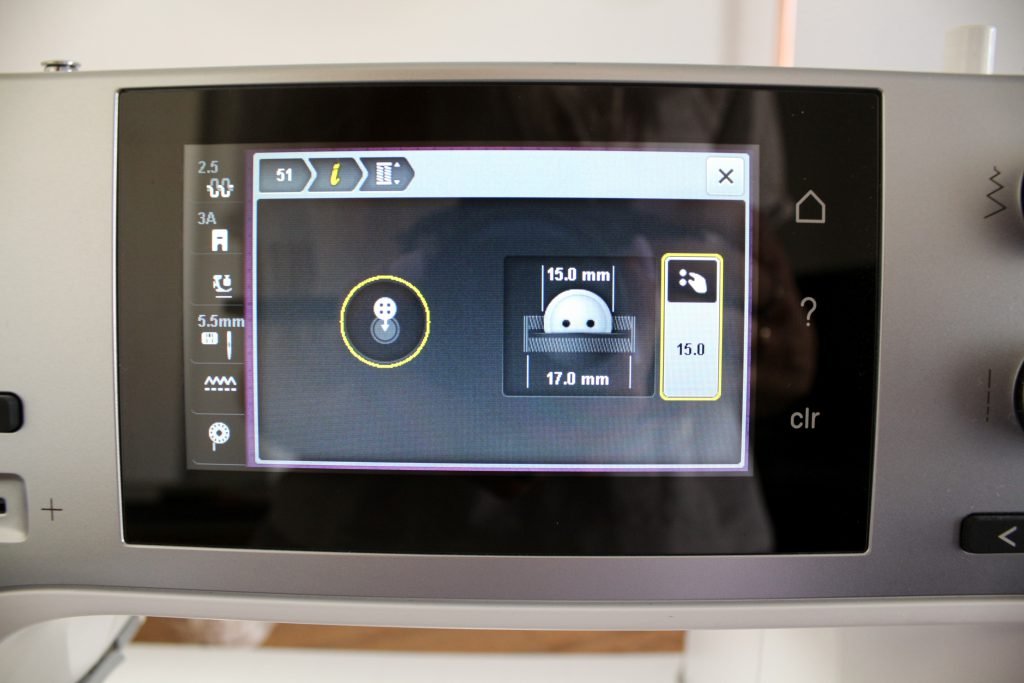
- Make your buttonhole 1.5cm long.
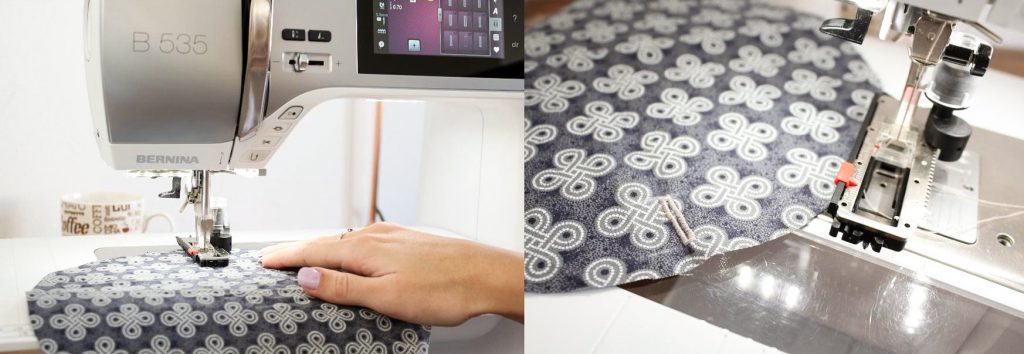
- Stitch the buttonhole between the 2 markings.
Do not open the buttonhole yet.
Overlock
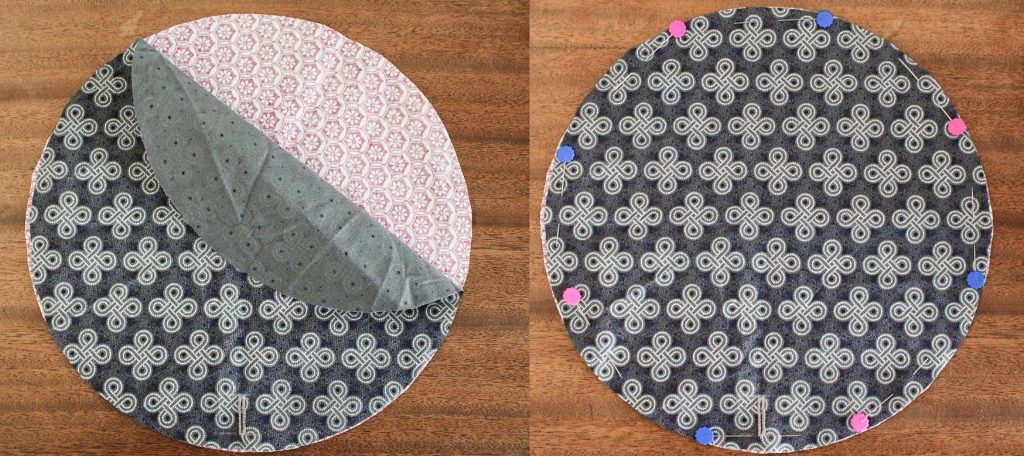
- Place the wrong sides of your fabric together and secure them with pins.
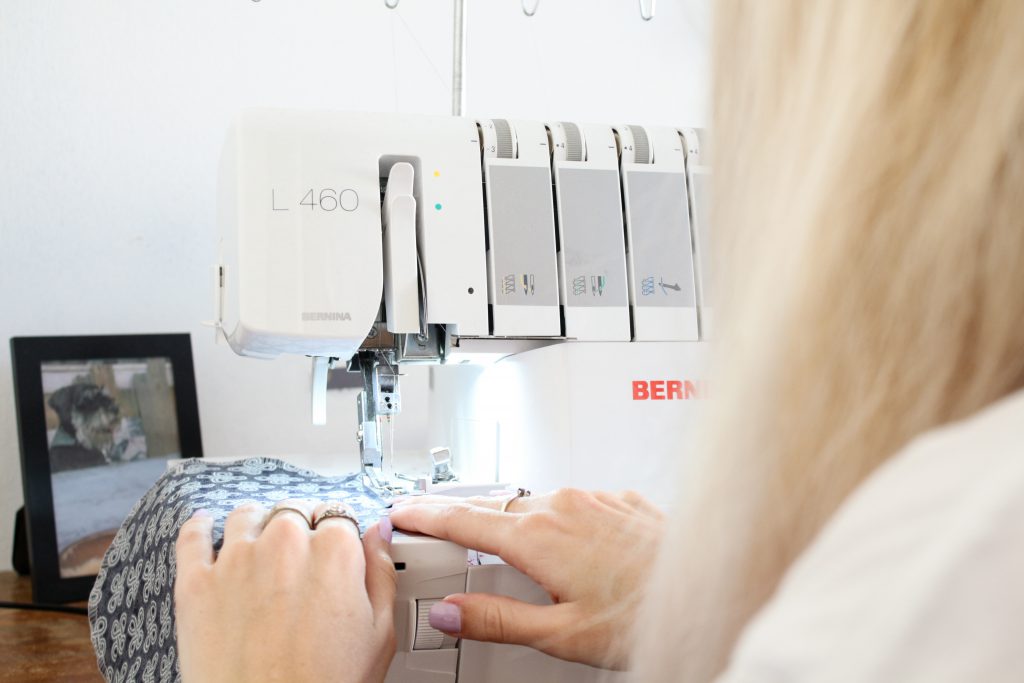
- Overlock around the whole circle, joining the 2 pieces of fabric.
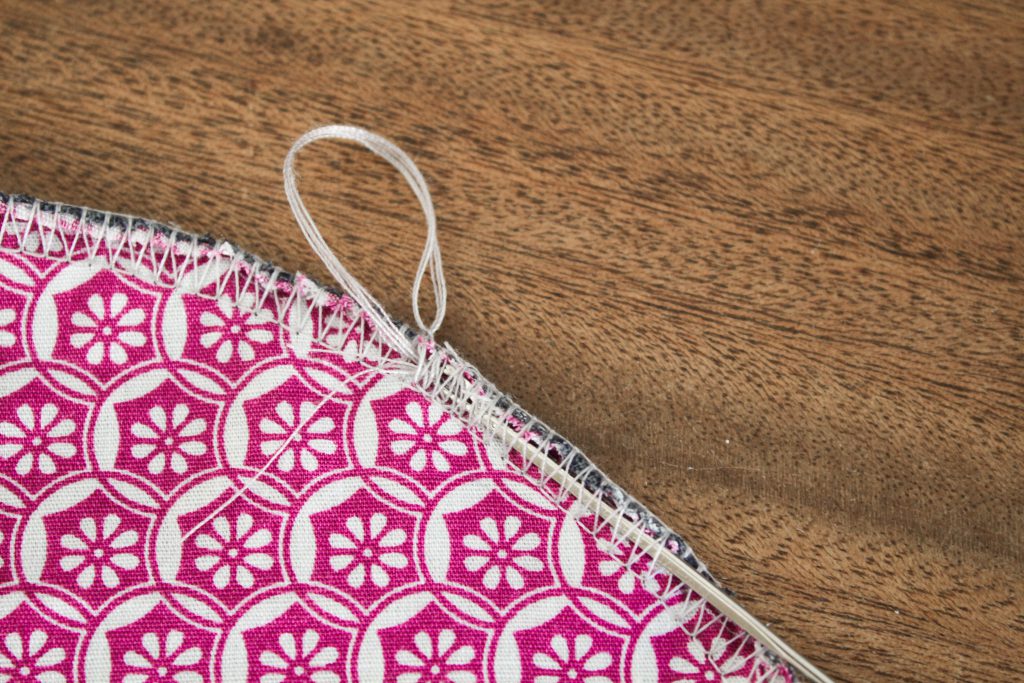
- Thread the loose thread into the overlocked stitches to prevent unravelling.
Stitch and finish
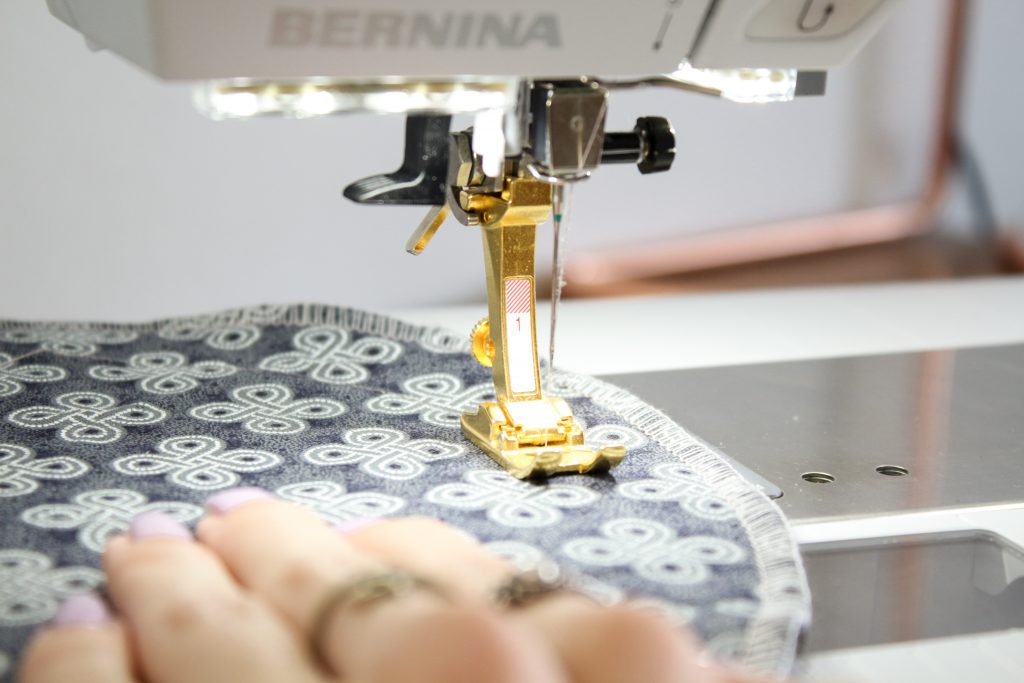
- Straight stitch 2.5cm in from the edge of the circle.
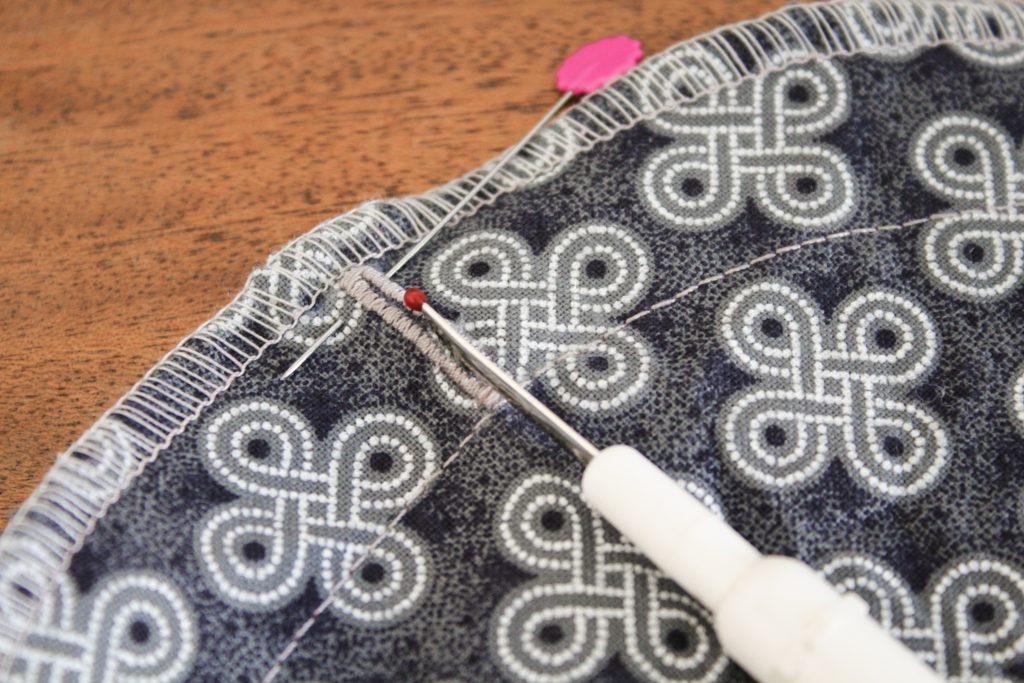
- Open the buttonhole without cutting the fabric underneath.
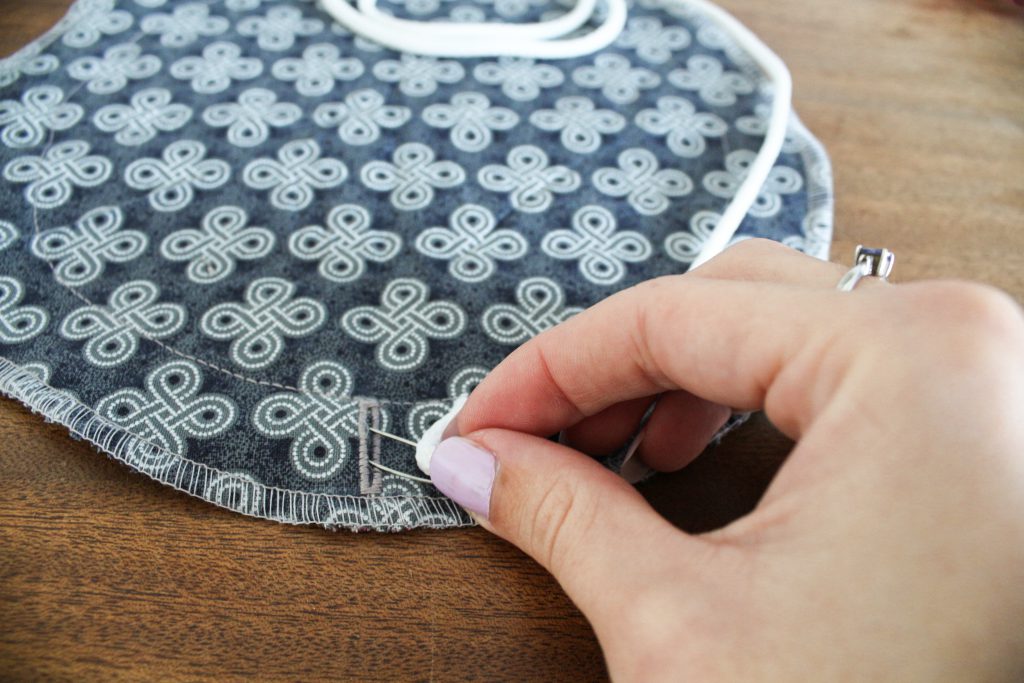
- Thread the cord through the buttonhole and all the way around the circle.
A safety pin is helpful when doing this step.
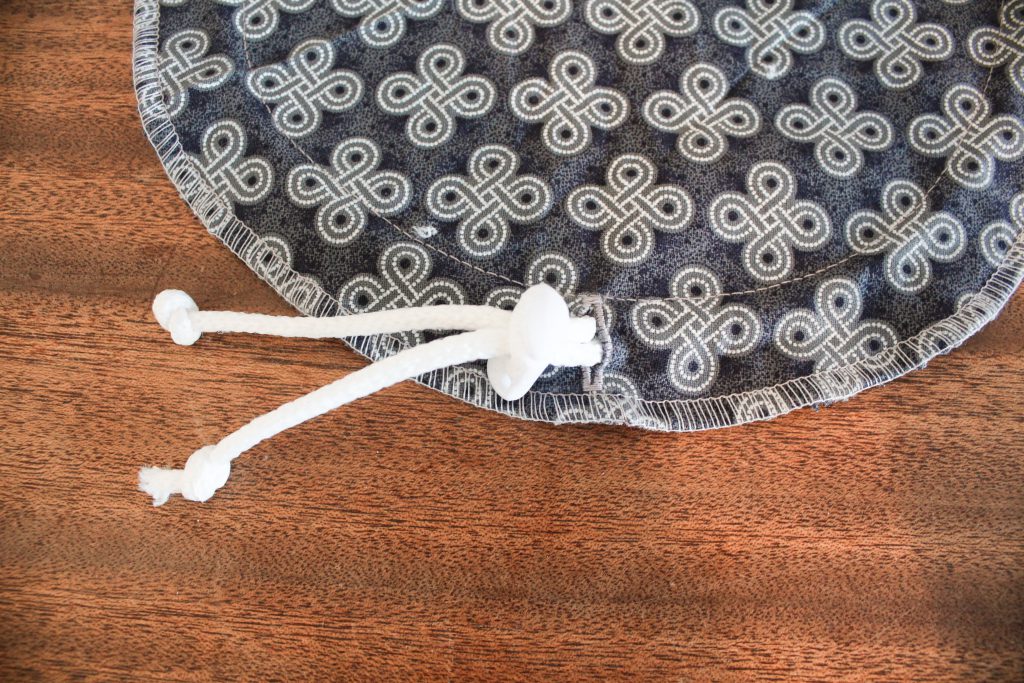
- Thread both ends of the cord through the toggle and knot the ends.
Tips
- If you want to use an inner layer of waterproof fabric, check that it is safe to use with food.
- Alternatively use a fabric that has a coating of natural wax on it like many Shwe Shwe fabrics.
- A waterproof or waxed layer fabric will help keep things like salads fresh.
- Take in to account the fabric when washing.
As these ones don’t have a any special finishes, my mom can pop them in the washing machine but certain fabrics may require hand washing.
I would love to see what you make, please feel free to share with me!
Instagram
Facebook
-Hannah-Rose
All patterns designed by me are for personal use only.
 BERNINA Corporate Blog -


thank you much easier than elastic
Yeah! Only a pleasure 😉
Cute
Thank you Donna 🙂