 BERNINA Corporate Blog -
Sewing masks – instructions for an adjustable strap
By now we are probably all well kitted out with self-made face masks and have diligently practiced putting them on and taking them off. I do not know how it was for you, but it took me a while to get used to the feeling of wearing it. Self-made face masks, which conventionally have elastic straps worn over the ears, can lead to uncomfortable pressure around my ears when I’ve worn them for a long time. So I sewed a mask strap to make them more comfortable to wear.
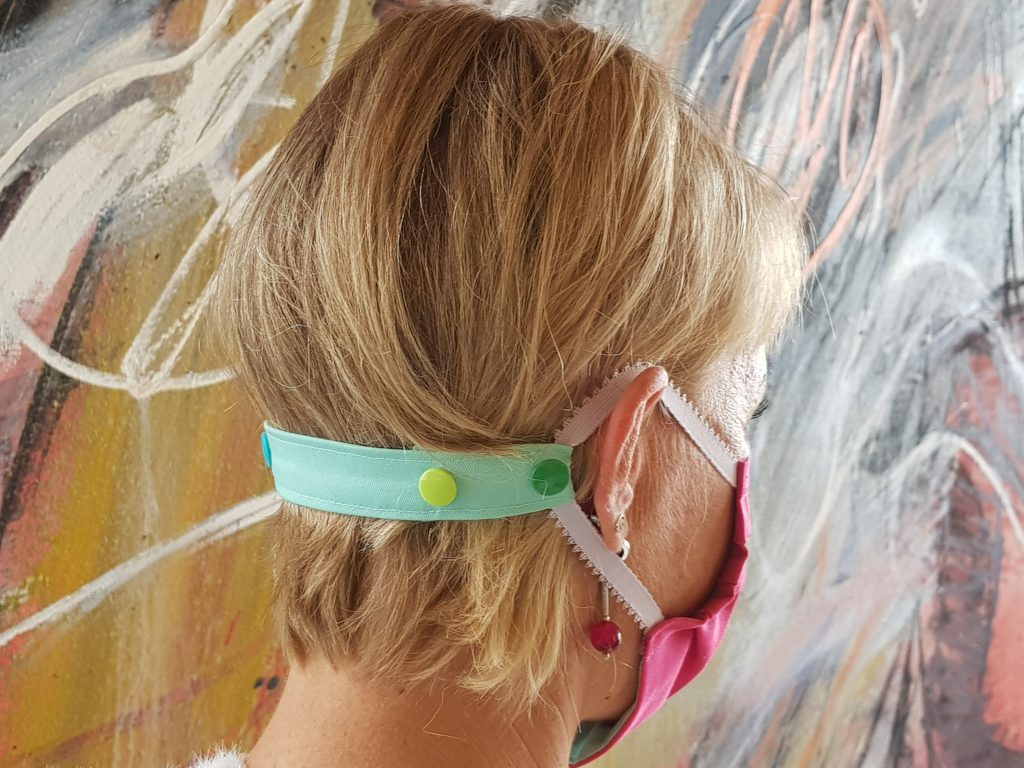
This self-made mask strap takes the pressure off the ears. There is no longer any unpleasant tension or pressure points. I also think that this band with colorful snaps looks really fun.
Sometimes the elastic straps are too long. Then the mask doesn’t stay in place. In this case, an adjustable mask strap is also the perfect solution. You can attach however many snaps you want for adjusting the width. The more, the more colorful. The more colorful the better. We are simply making a cheerful trend out of wearing masks!
Sewing a mask strap – instructions for a mask strap with snaps
Material – here’s what you need for your strap
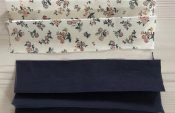
- Fabric. I used a woven fabric, but I imagine that brightly patterned jersey fabrics would also work. In this case, I would cut the strip a little shorter due to the elasticity of the fabric.
- Matching sewing thread
- Different colored snaps. I just bought the KamSnaps Starter Pack from Snaply.
Cutting out
Strips of fabric measuring 7 X 27 cm (including the seam allowances)
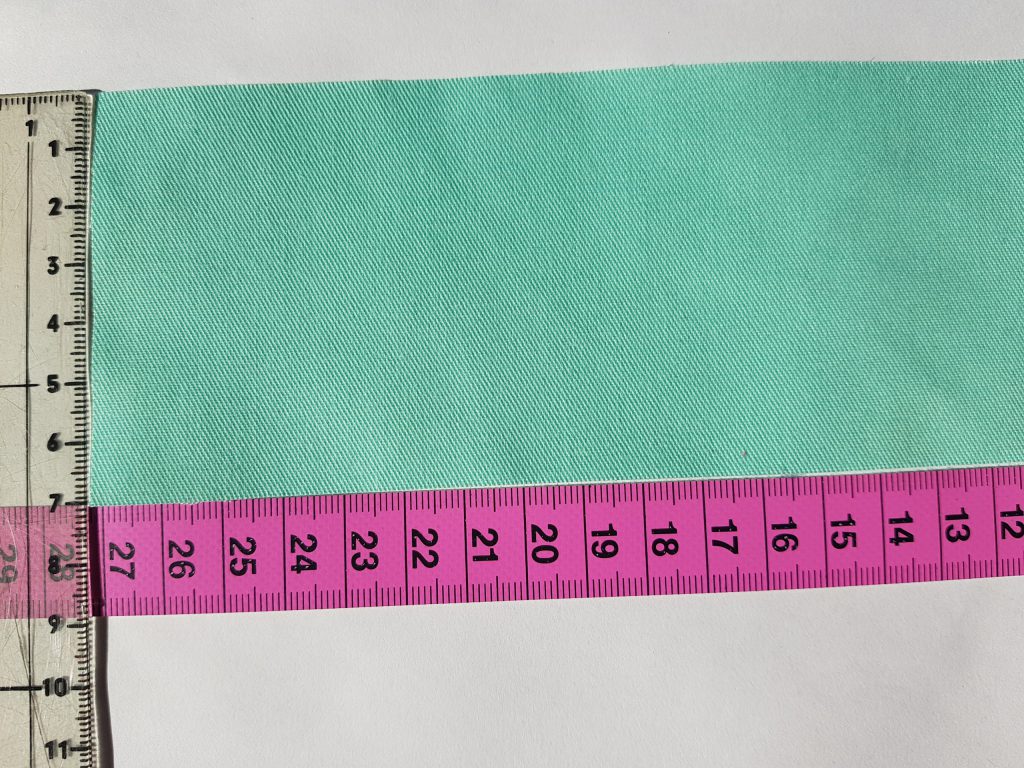
A strip of fabric of this size results in a strap that fits the normal head circumference of a woman. For a longer strap, simply measure the back of your head from ear to ear, deduct 1 cm from each side and adjust the length accordingly.
Sewing
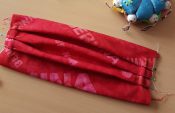
Fold the strips lengthwise, with the right sides together and sew all the edges together, except one short side (turning opening).
Trim off the corners.
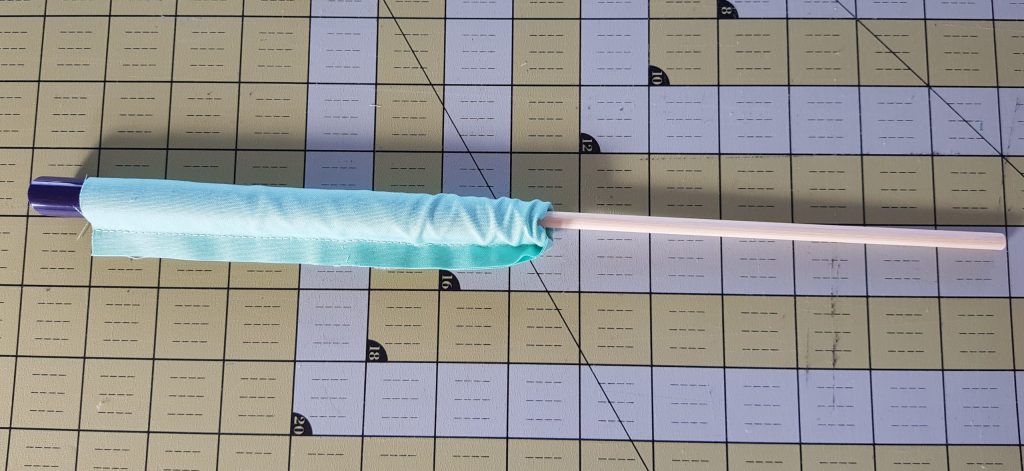
Turn via the turning opening. I used the Prym Turning Set, so it took no time at all:
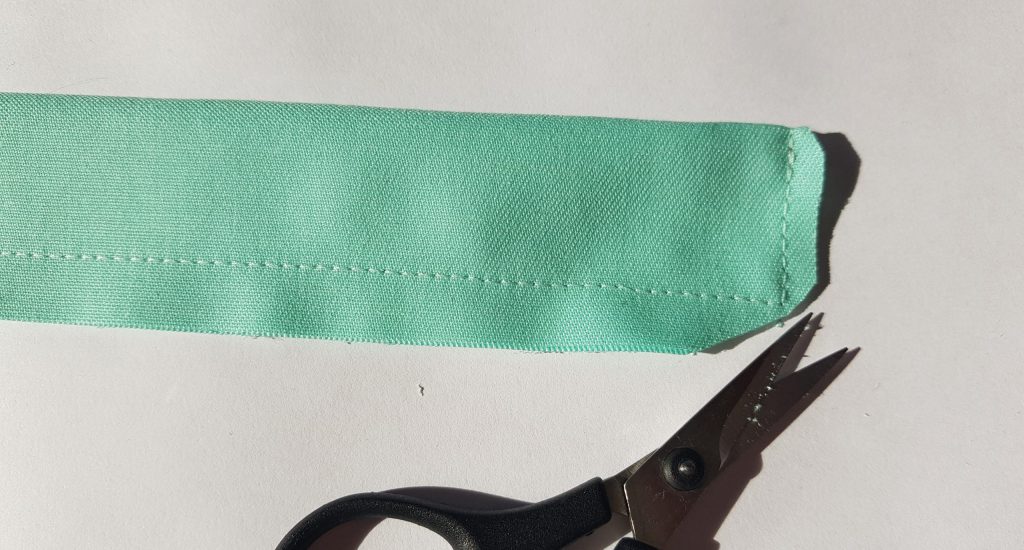
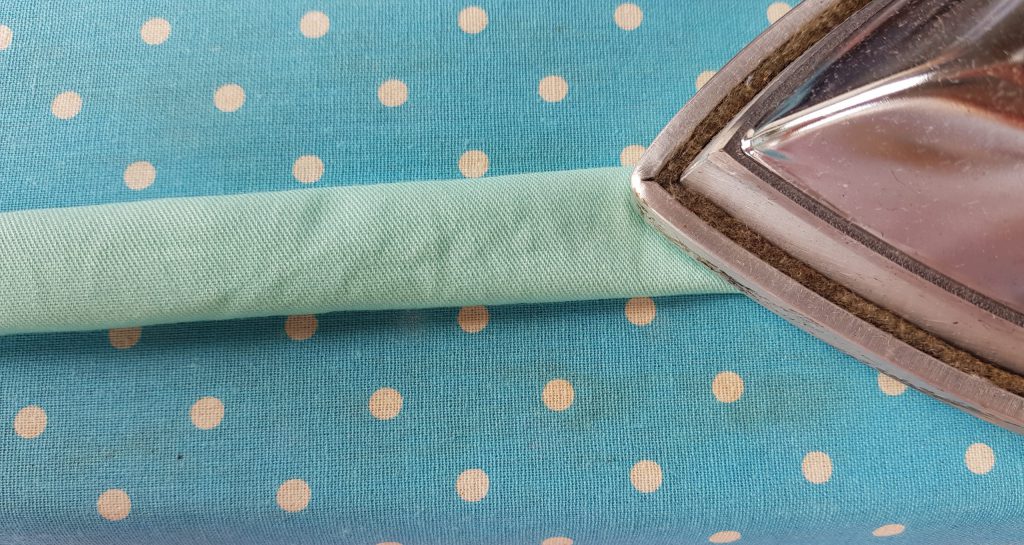
Fold the open edge 1 cm inwards.

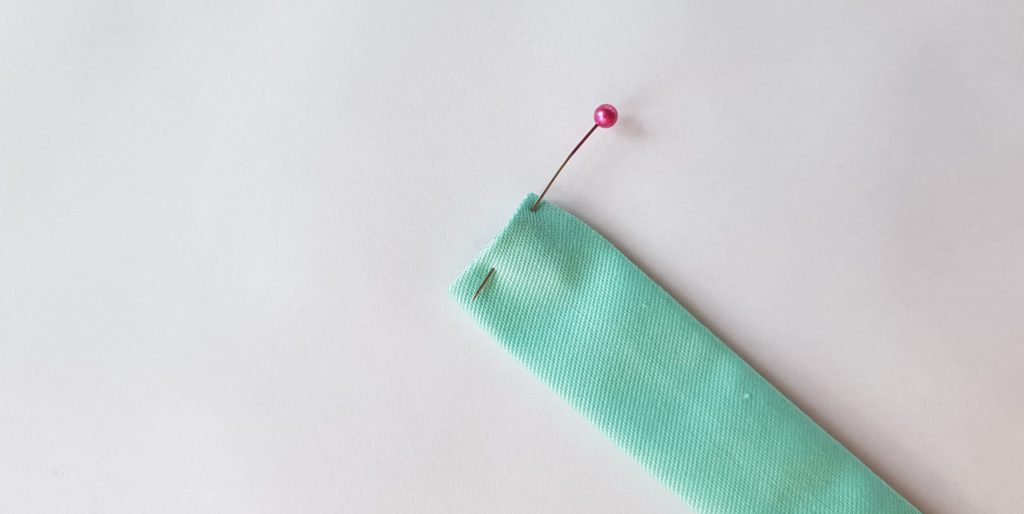
Iron and pin the open edge with a pin.
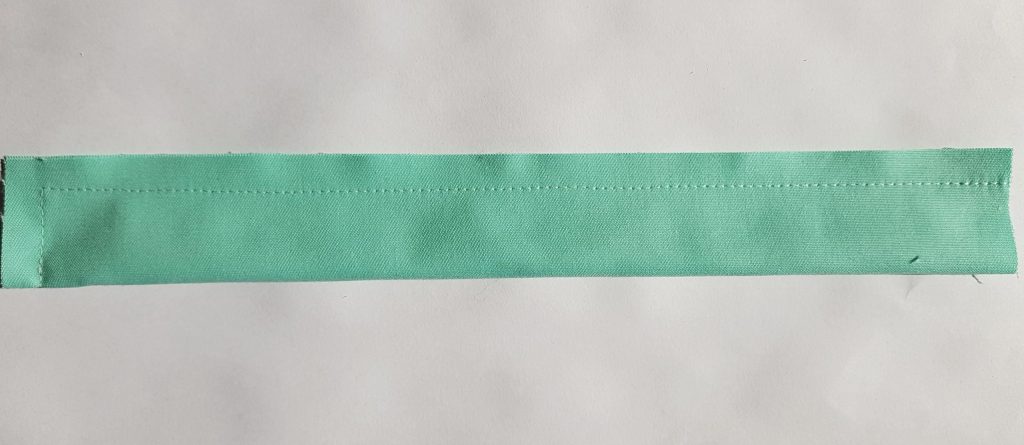
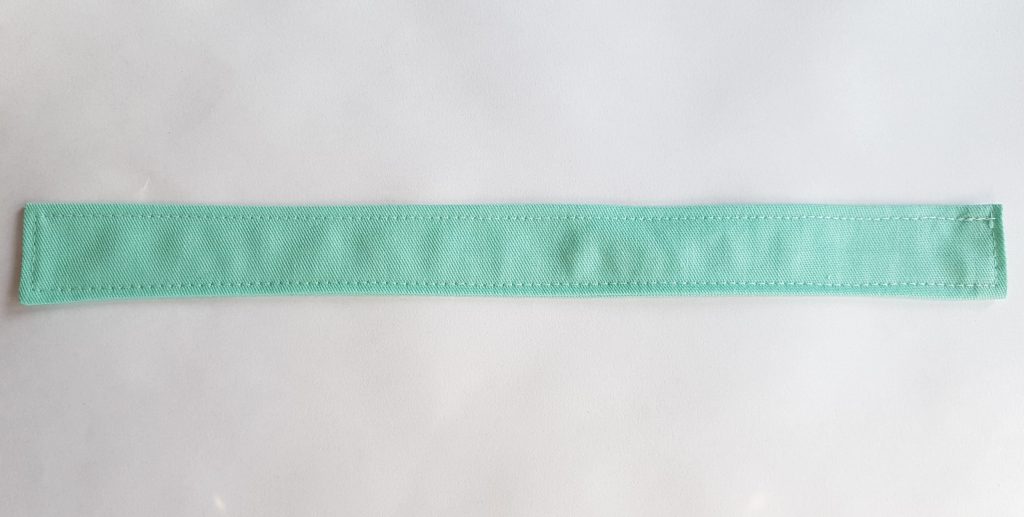
Topstitch around the entire strap approximately 2 mm from the edge and at the same time close the open turning opening.
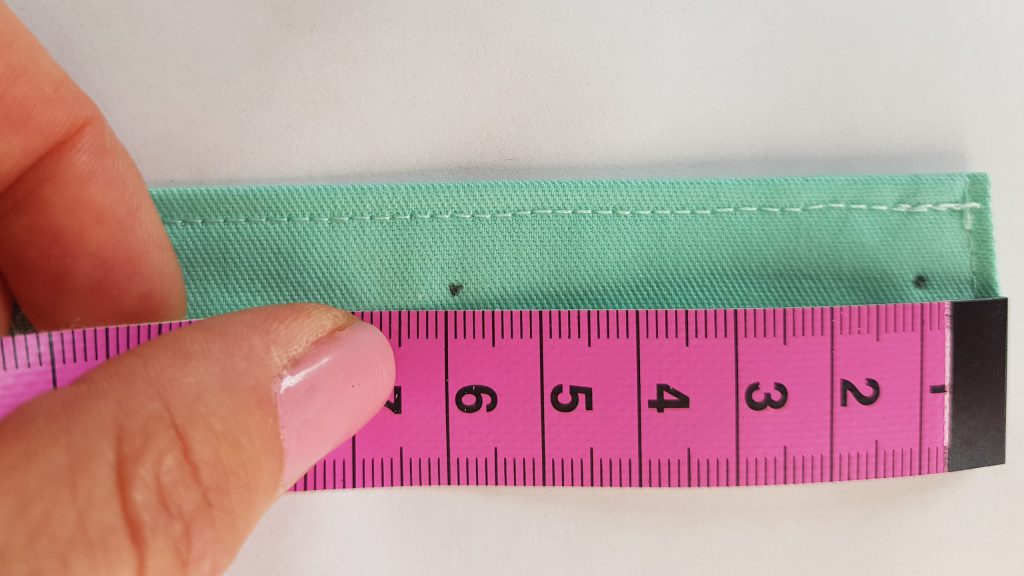
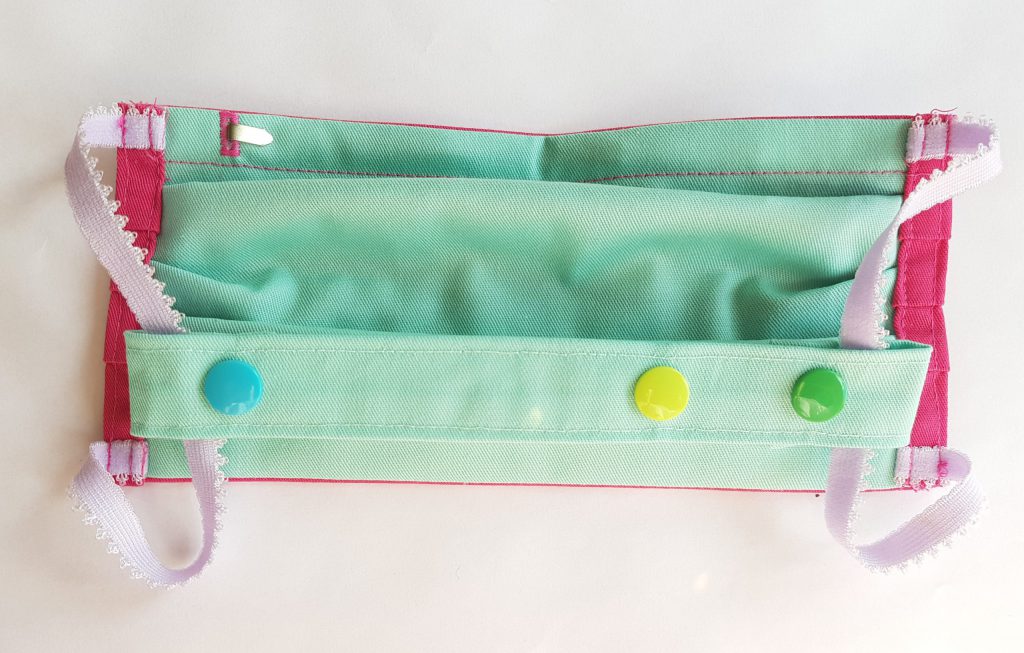
Now make the marks for the snaps.
Left side: in the middle 1, 6 and 9.5 cm from the end: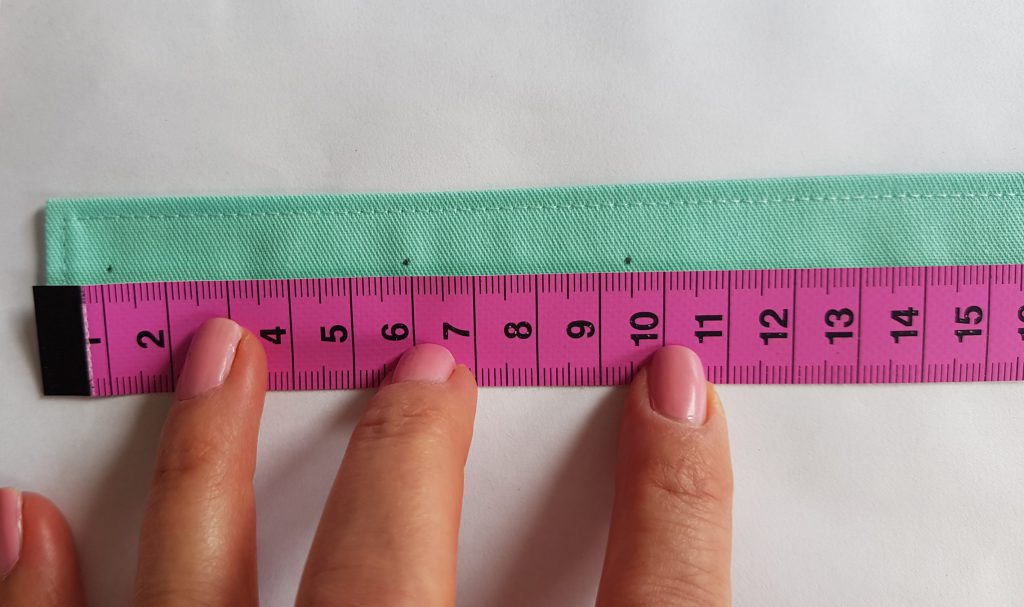 And on the other side 1 and 6 cm from the end:
Now we come to the snaps: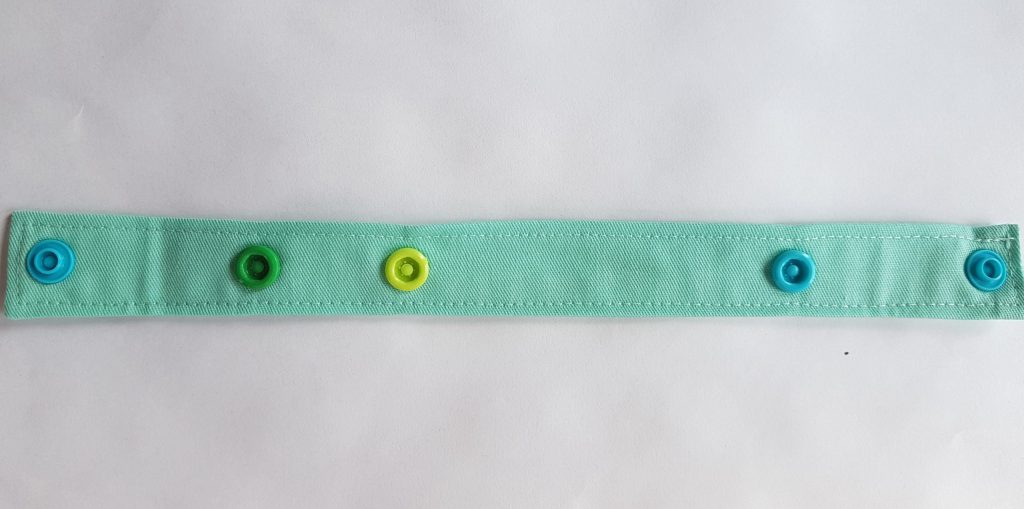
 The outside ends are placed around the elastic straps of the mask, so the two outer snaps have to be a pair.
I have attached an extra snap so that I can adjust the strap if necessary. You can see this in light green above. The light green snap must also fit together with the outermost snap.
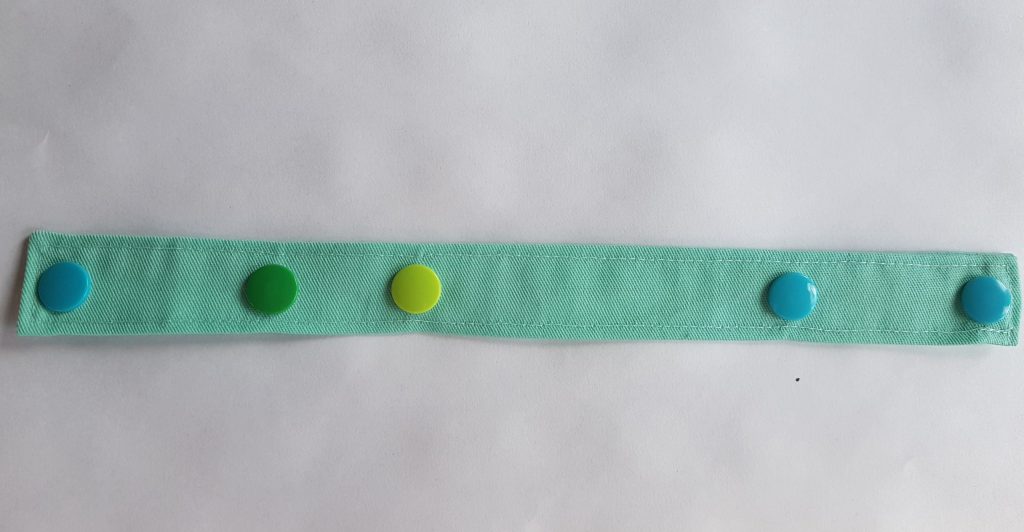
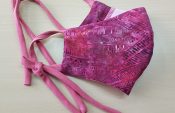
Now put the two ends of your self-sewn mask strap around the elastic straps of your mask and fasten the snaps:
 Voilà, you’re done. The strap sits well and comfortably and looks colorful and cheerful!

Good luck with the sewing project!
Best wishes,
Tanja
Herewith we explicitly advise you that all masks sewn according to instructions in the BERNINA Blog are to be considered as self-sewn face masks. They are neither medical products or protective equipment.
You will find more information here: ‘Self sewn face mask everything you need to know’
0 Responses