 BERNINA Corporate Blog -
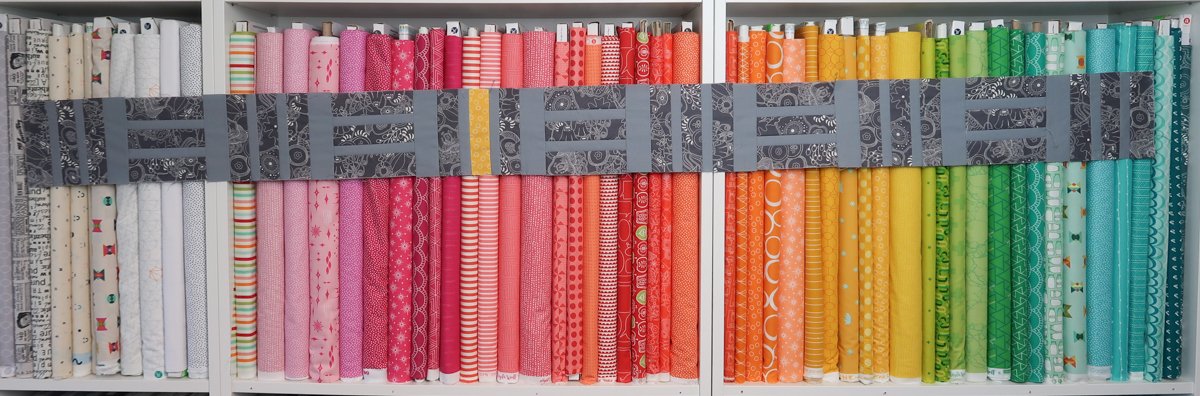
Wow we are already making part 8 of the quilt along today. How do you like all the rows together? Happy where this quilt design is going? I just can’t wait to see everyone’s quilt finished in just a few more months. But let’s first focus on sewing this row ‘Mowed Lawn’.
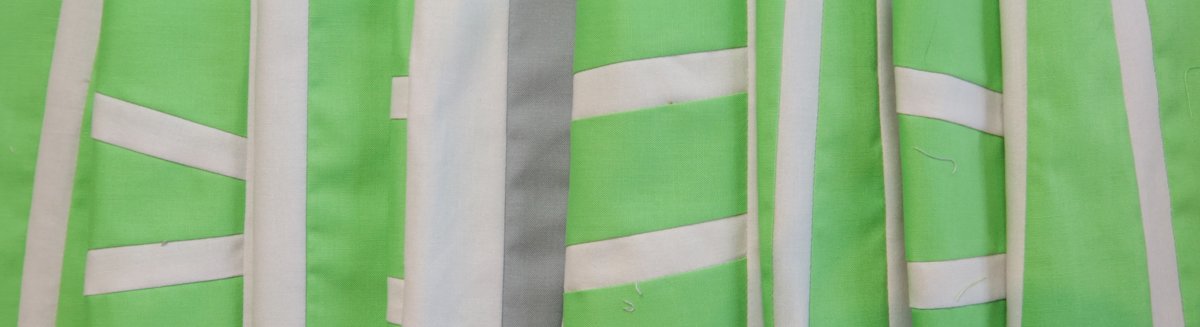
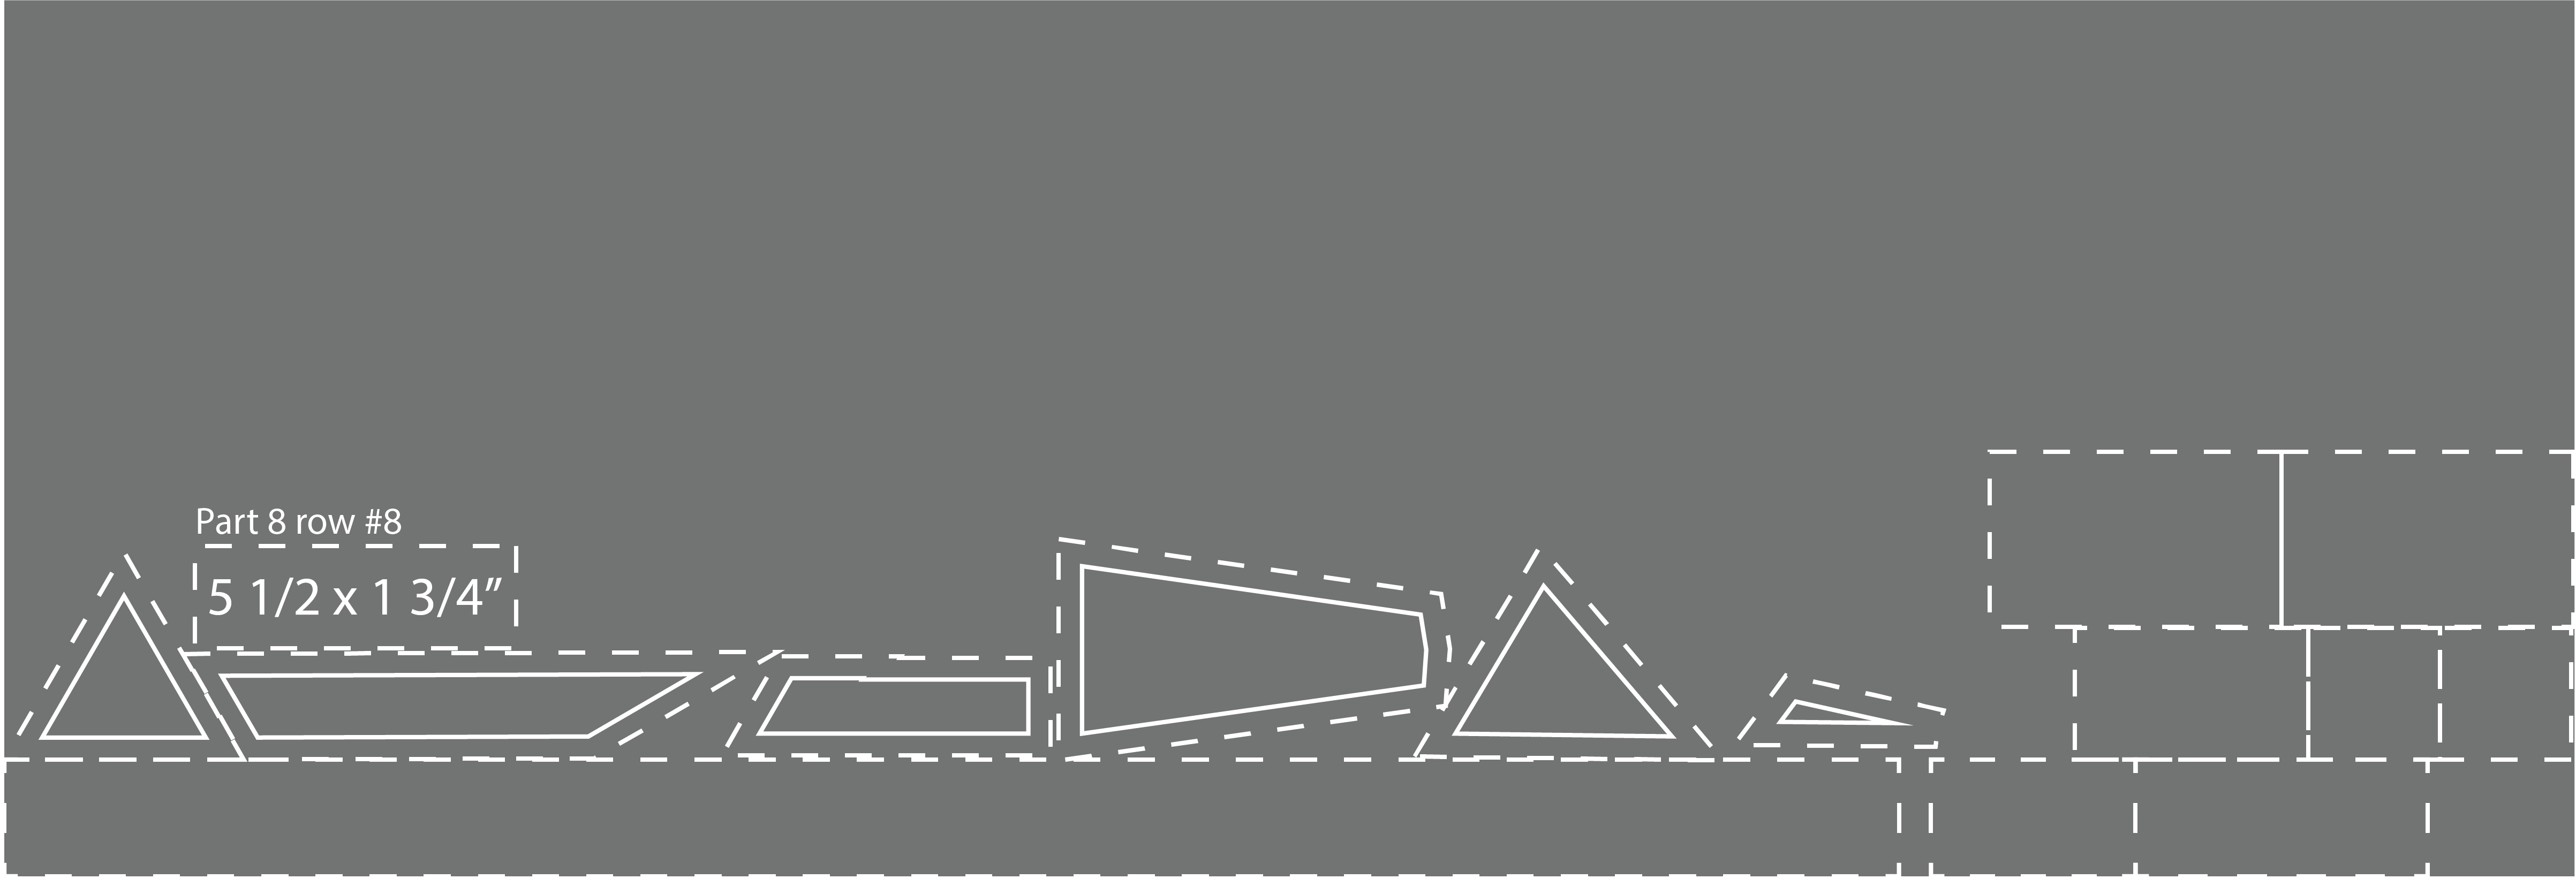
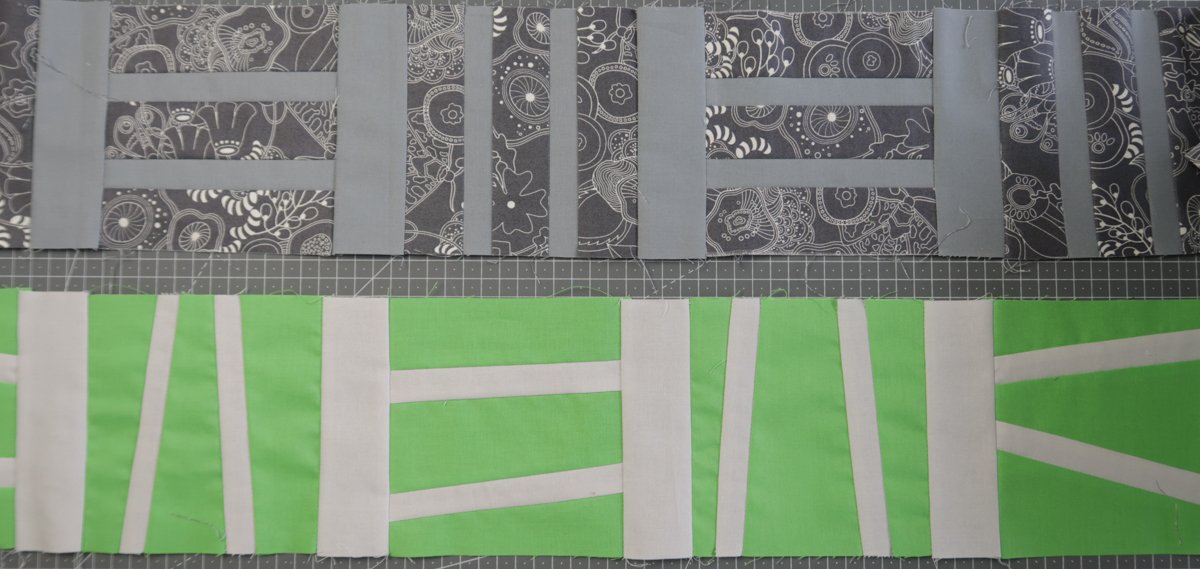
Row #8 ‘Mowed Lawn’
We are currently moving house. So also my studio is moving. Today’s video is the first one filmed from my new place. With our house, we now also have a nice garden with grass to mow. So when I was sewing this row it made me think of that perfectly mowed grass you see in magazines or on television. Google ‘mowed lawn’ and you’ll see what I mean. With the apple green color of this row’s fabric I thought it was a perfect name for our row 8.
![]()
I’m giving two options for this row. Super straight and organized, or you could make it a little bit wonky. (I think our lawn is going to look more like the wonky version of this row.)
Check out the video below to see all the steps to make this row.
New here?
If you’re new here, welcome! On the 28th of November we kicked off a super fun quilting project. We started a quilt along, where thousands of quilters from all over the world are making the same quilt. Every four weeks a new part of the pattern, a new row, will be released. After 12 rows you will have a quilt of 70 x 90″.
Even though we started eight weeks ago you can still join us! You will have enough time to catch up. There are also still fabric kits available for this quilt along. You can make the quilt in rainbow colors on silver fabric, in rainbow on white fabric or with blue fabrics. Of course you can also pick your own fabrics or use what you have in your stash.
On this page your can find all the links to previous blog posts about this project. Hop over to this blog post to read all the general information about this quilt project. And also read this one to learn more about the materials we use and the fabric requirements.
Fabric + Material
Did you order a kit for the quilt along? Than you’ll use the green fabric called ‘Sour Apple’ for this row if you are making a rainbow quilt. Or the light grey fabric called ‘Silver’ if you’re making a blue quilt. We will make a few of the strips in accent color, so also get your accent fabric out. And of course your need your background fabric.
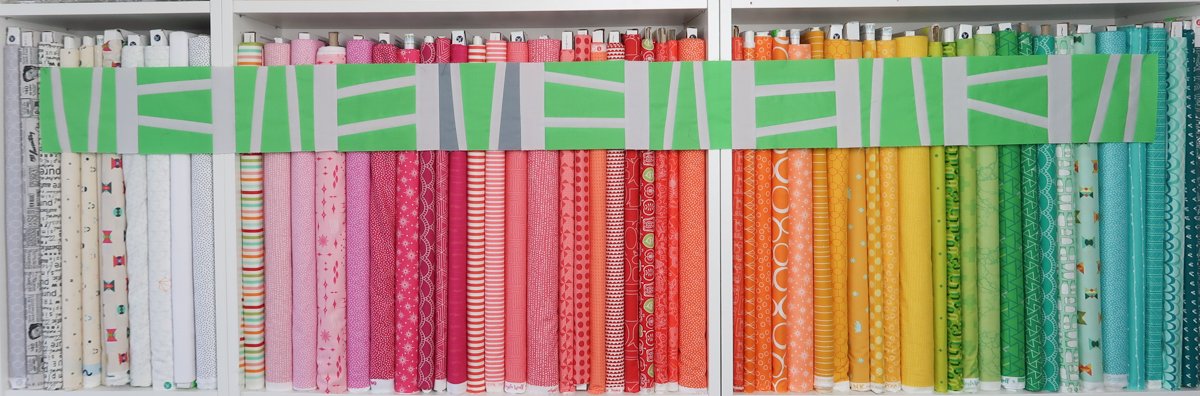
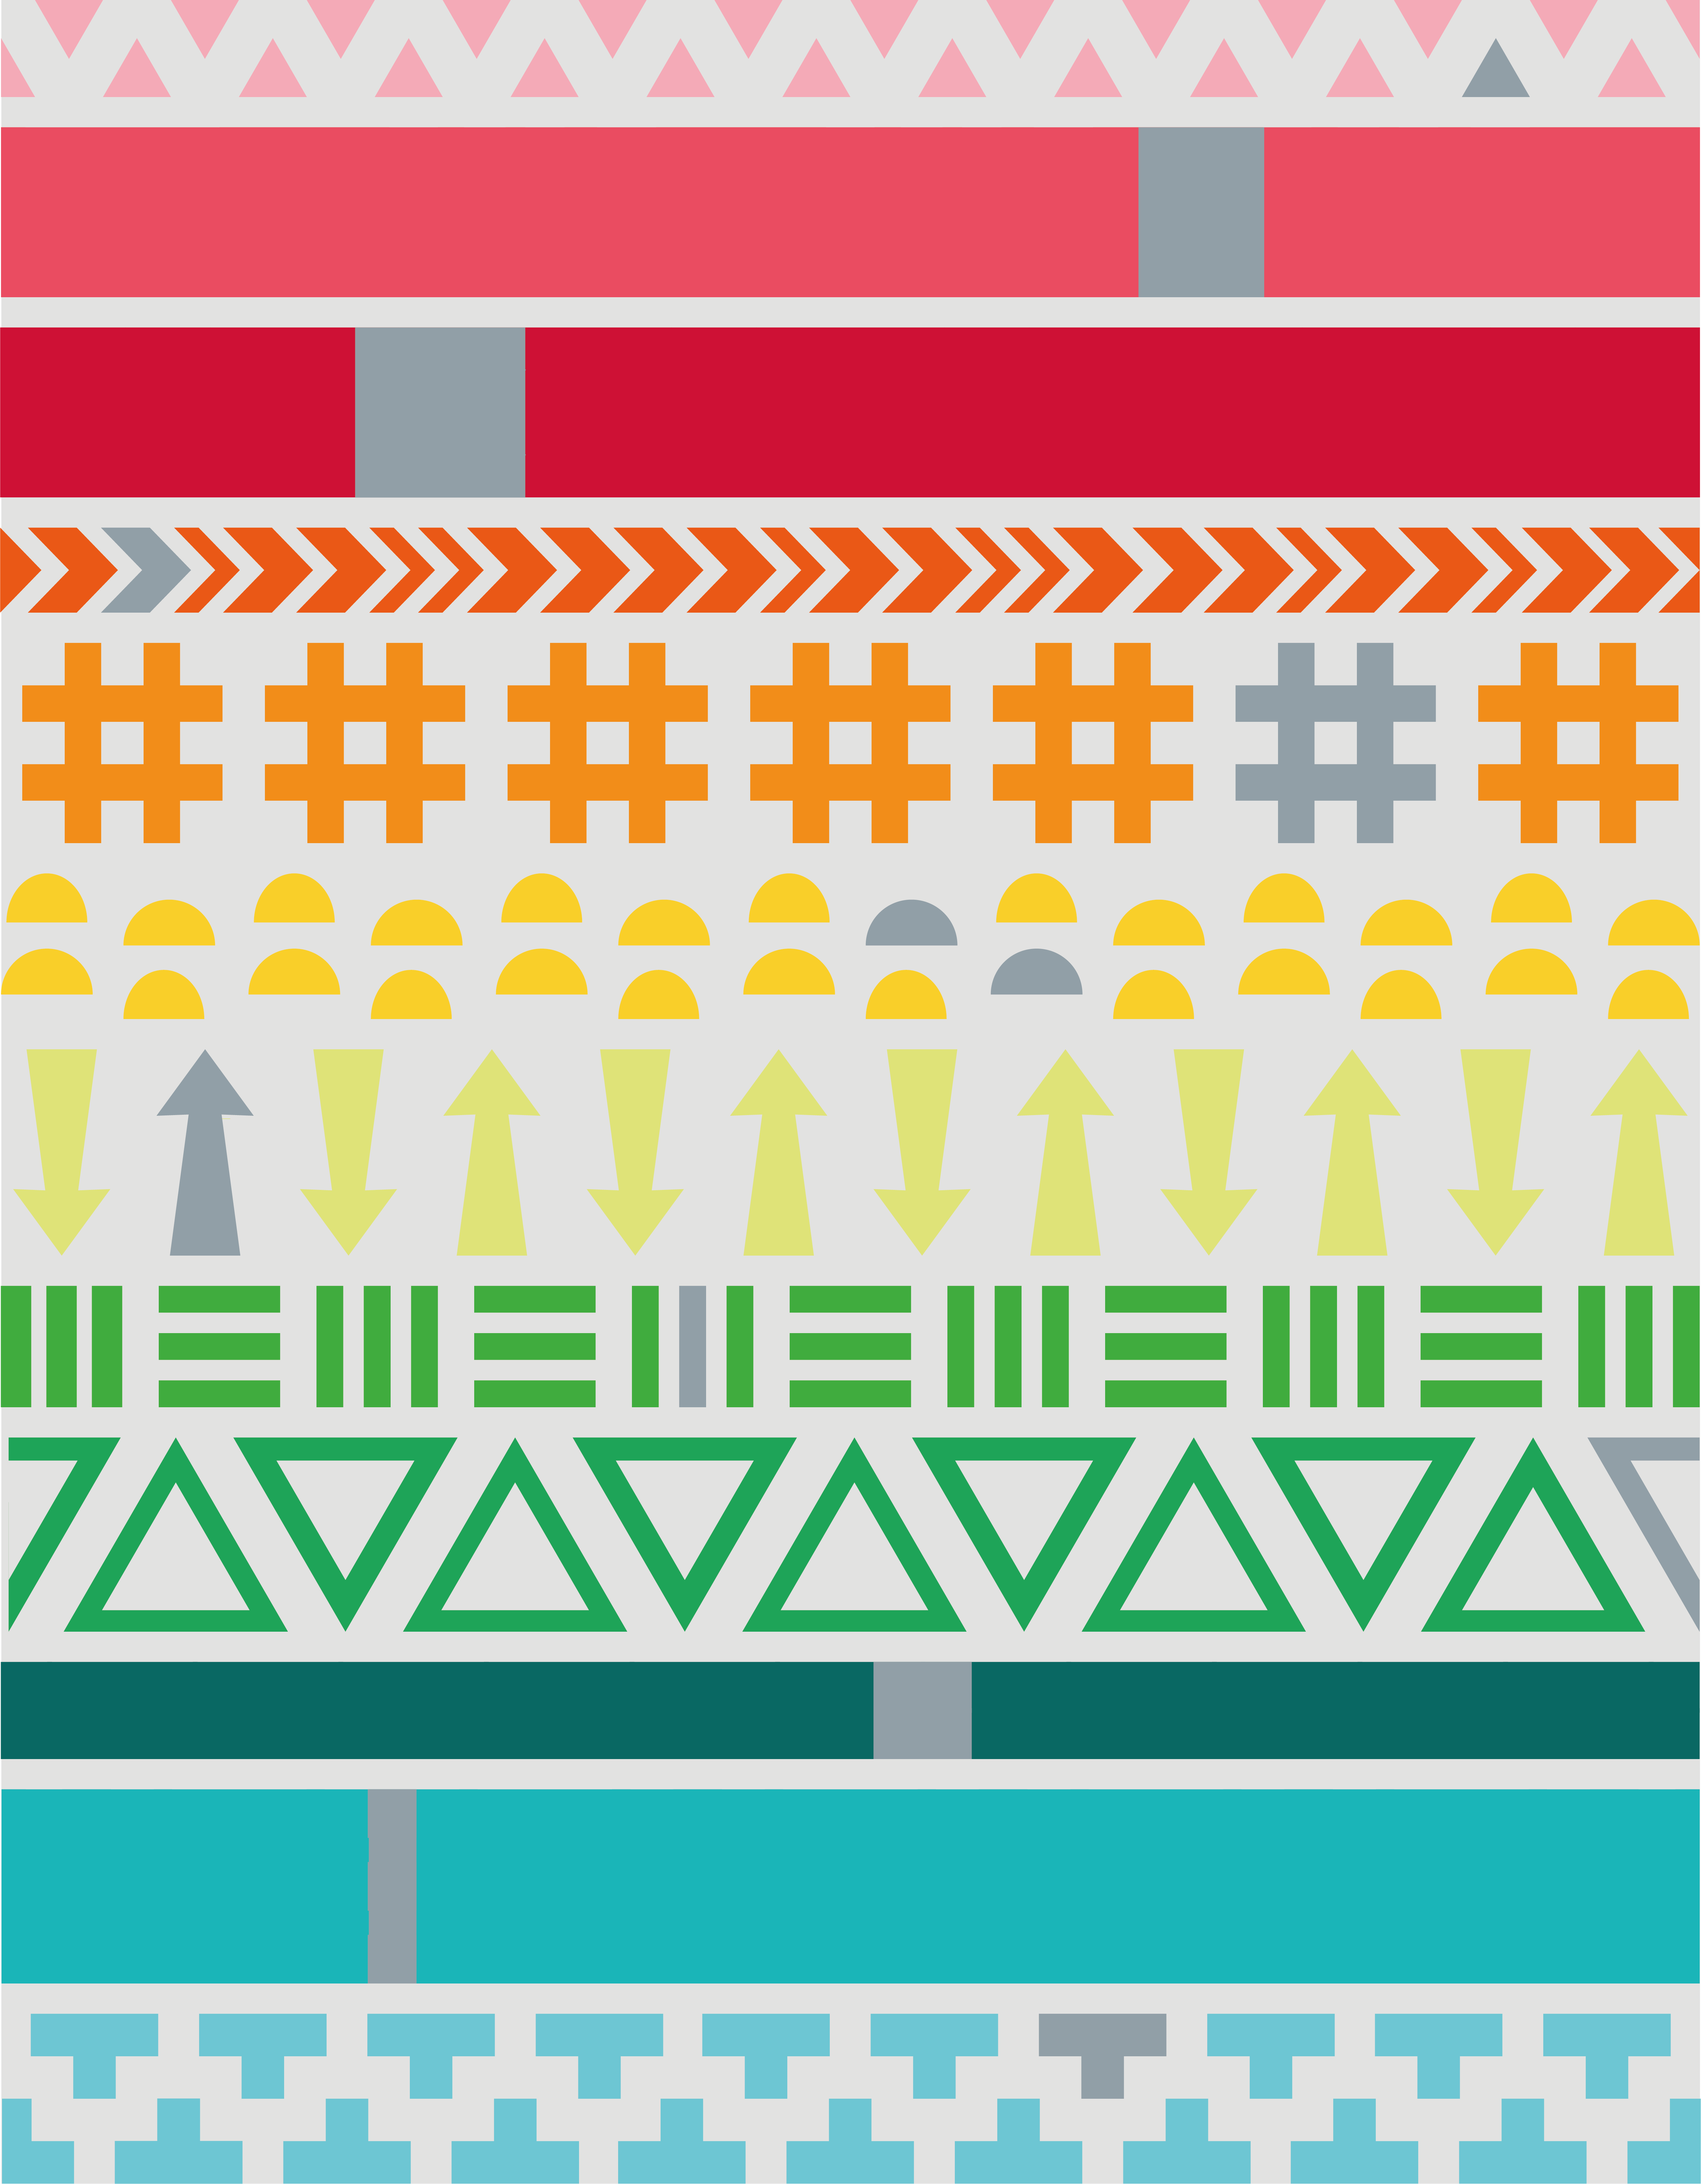
For those of you who want to play with the location of the accent color in each row, or add extra accent colors or just want to get a little more insight in the layout of the quilt. Here is a schematic of the rows and the placement of the accent colors.
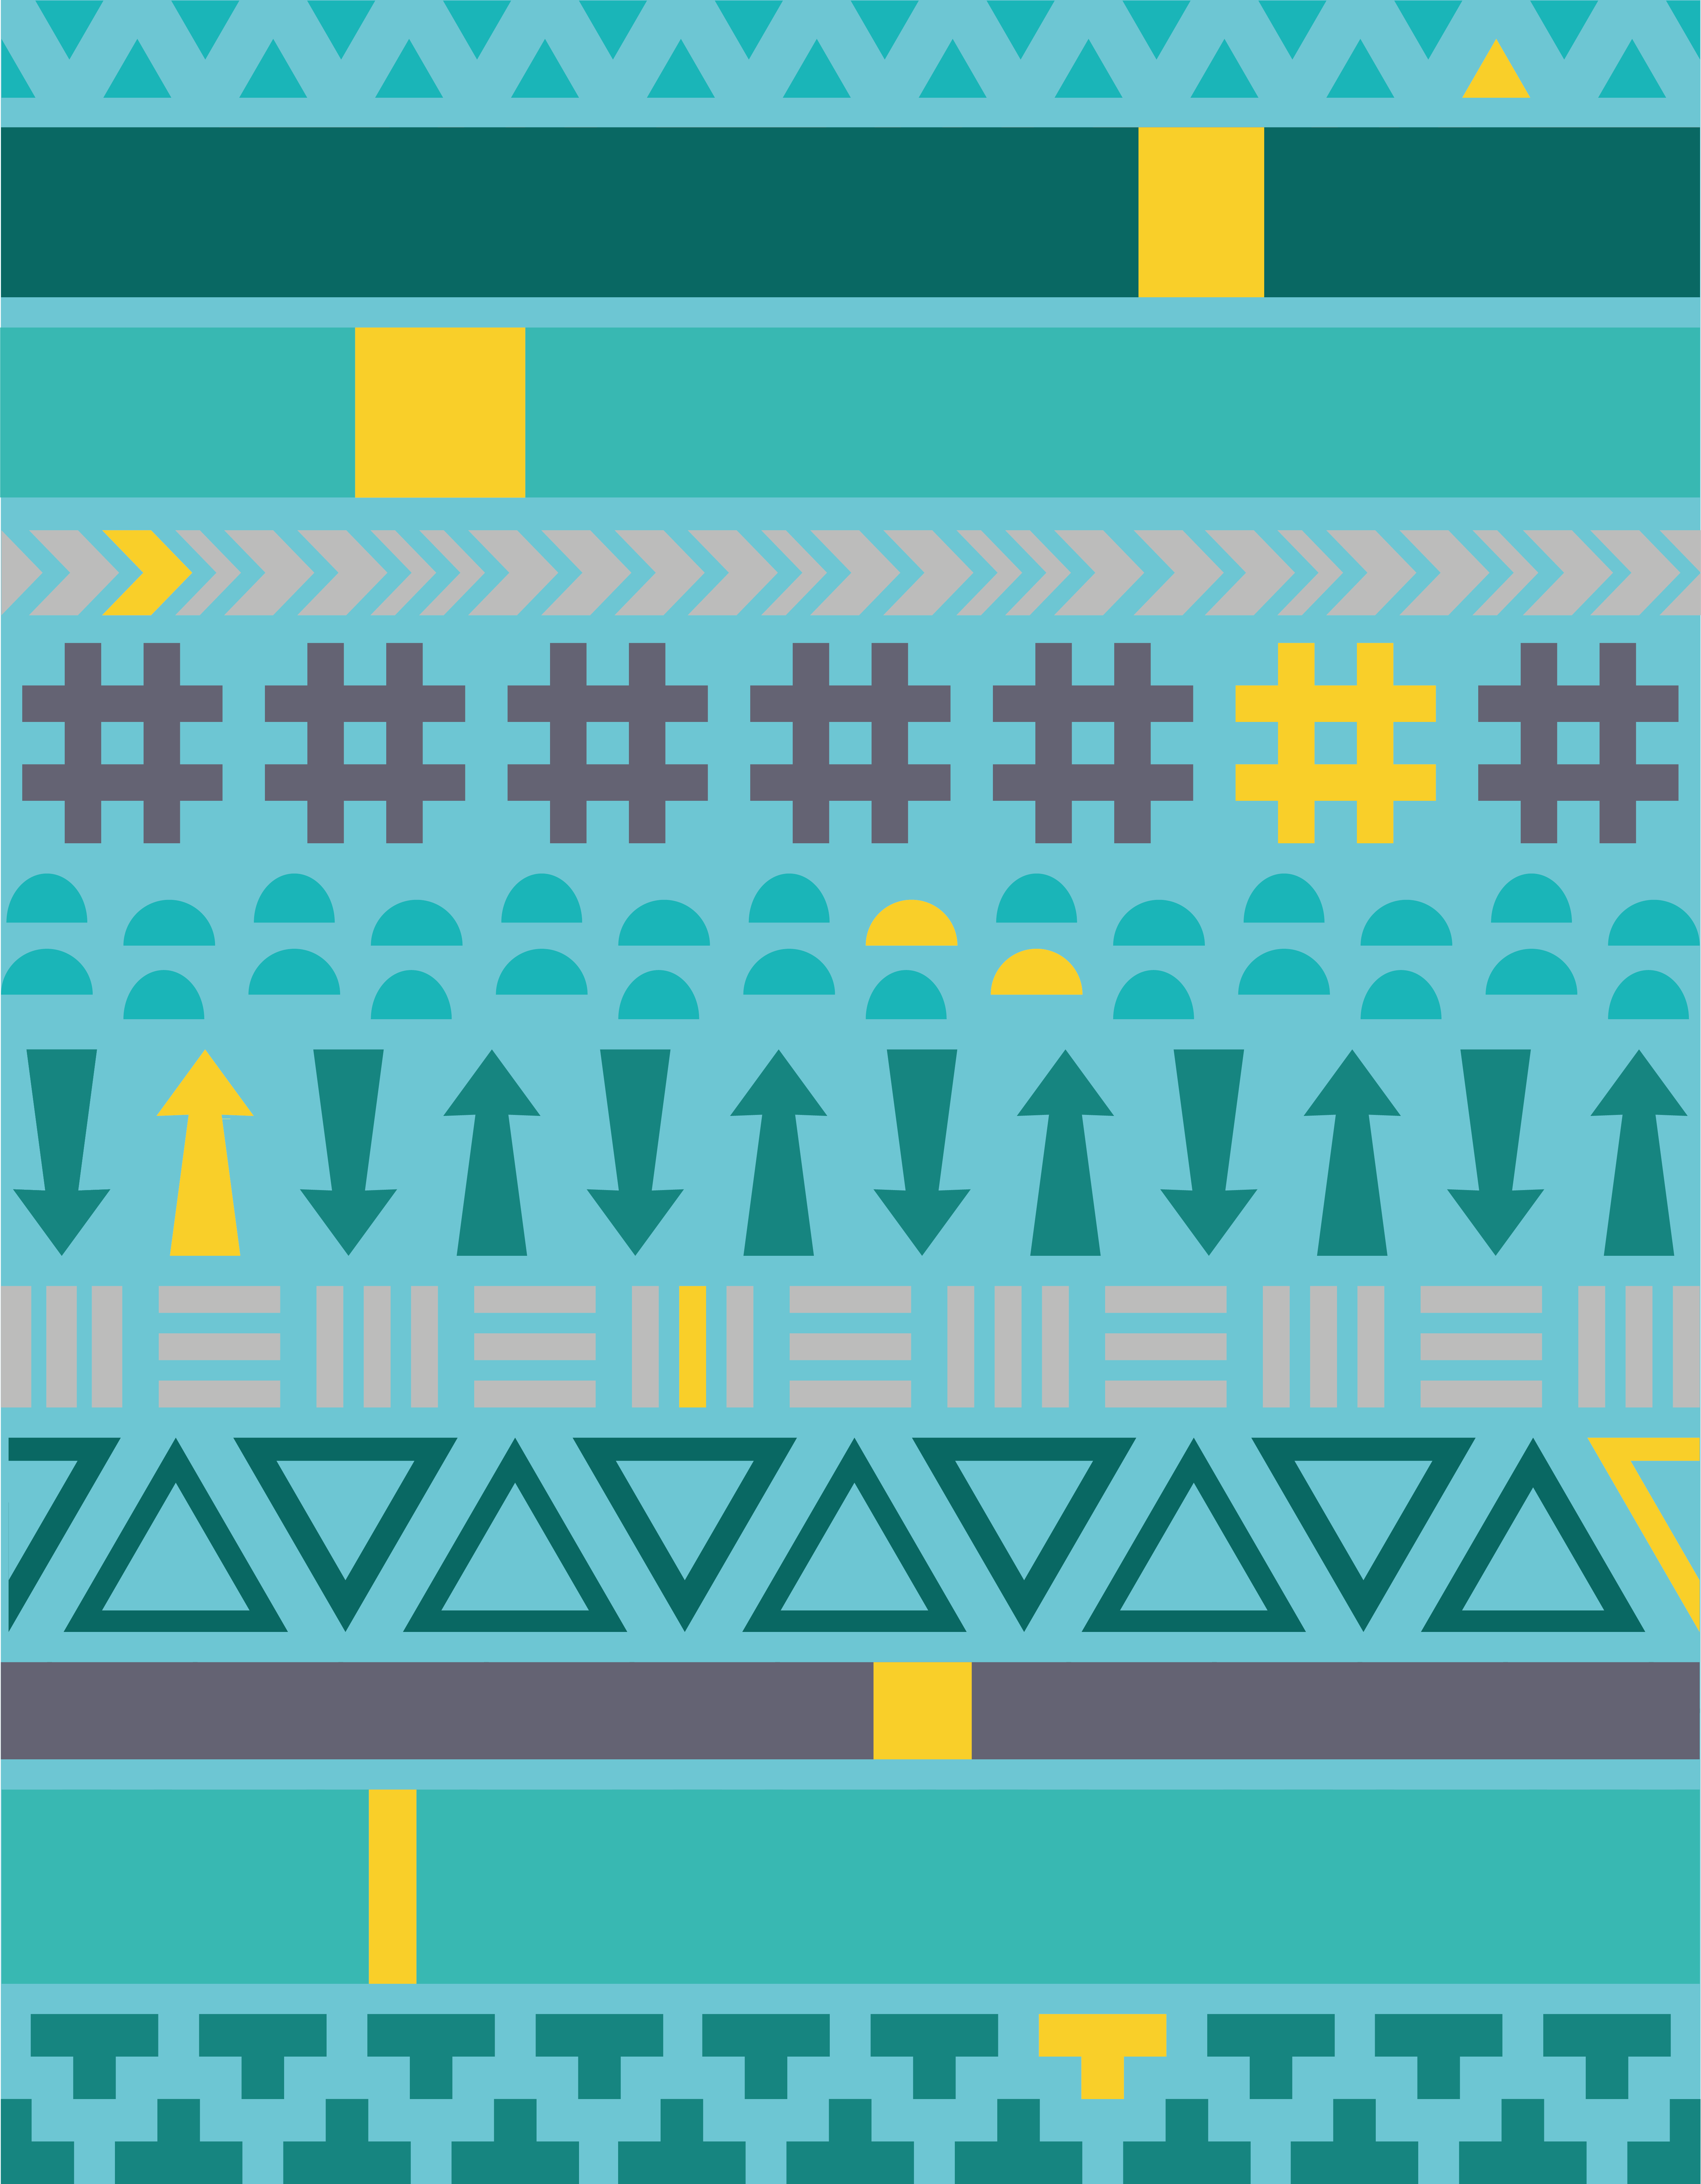
And this is what the schematic of the quilt looks like for the blue fabric kit.
You will need the following to make this row.
- Main fabric: 13 inch
- Accent fabric: fabric for a few strips
- Background fabric: 9 inch
- Inch ruler (12 x 6 or 24 x 6 inch both will be fine)
- Rotary cutter
- Cutting mat
- Iron + ironing board
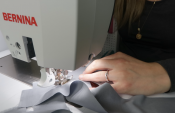
- Sewing machine
- Thread (I use thread in the color of my background fabric)
Version 1: straight and organized
In the video I’m making the wonky version of the row. But here are the written instructions for the straight row.
Cutting your fabric (straight version)
All the measurements below include a 1/4″ seam allowance.
Main fabric (Sour Apple)
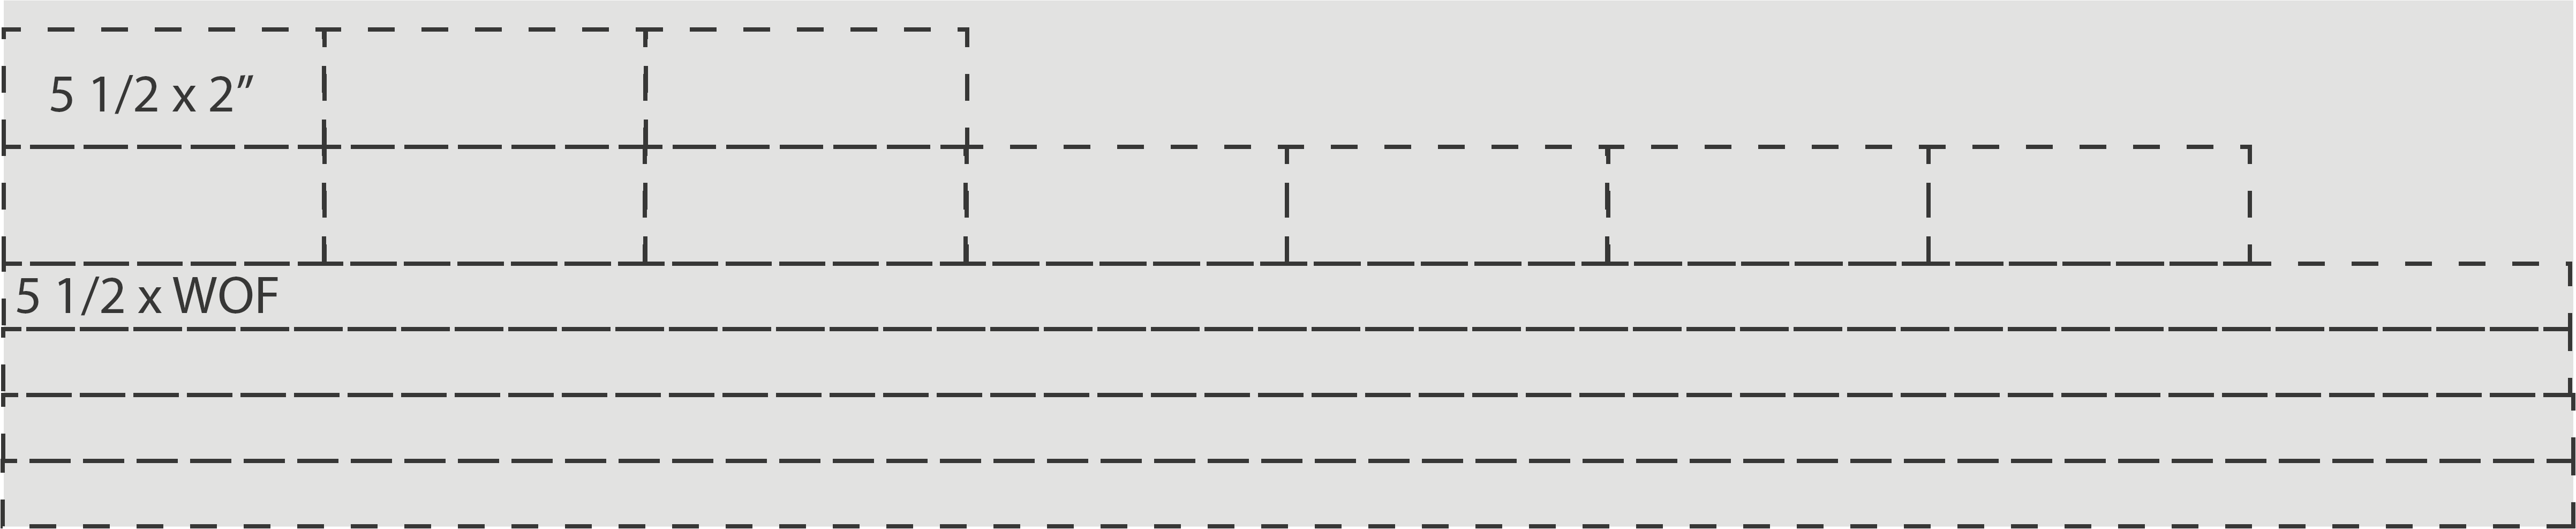
- 5 x a strip of 1 3/4″ x width of fabric
- Cut 2 strips up in 11 pieces of 5 1/2″
Cutting scheme for main fabric Sour Apple
Background fabric (Silver)
- 4 x a strip of 1 1/8″ x width of fabric
- Cut 2 strips up into 8 pieces of 1 1/8″ x 5 1/2″
- 2 x a strip of 2″ x width of fabric
- Cut these strips up into 10 pieces of 2″ x 5 1/2″
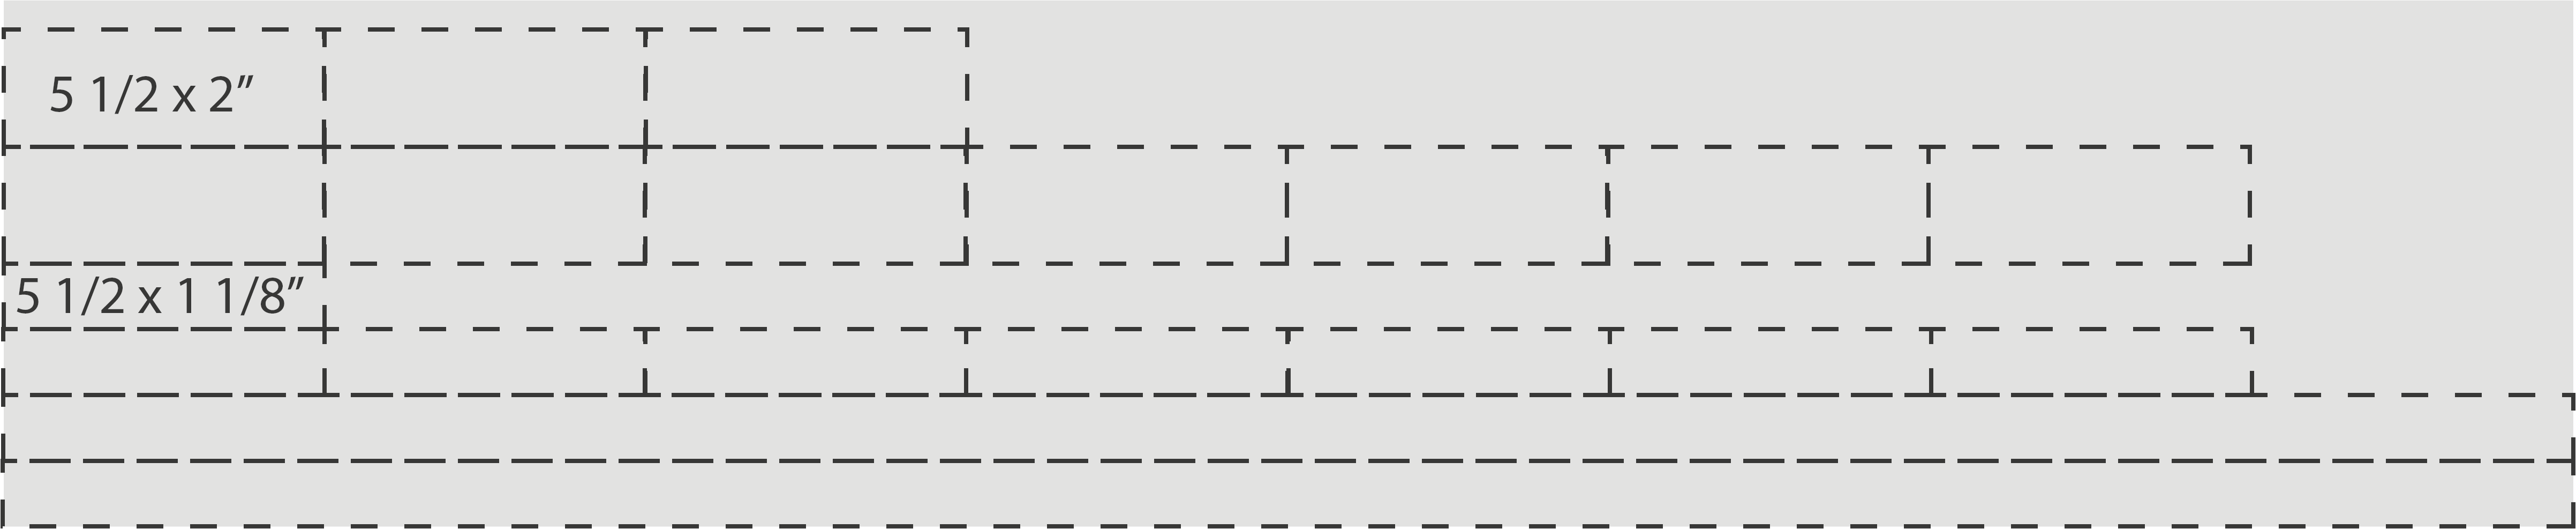
Cutting scheme for background fabric Silver
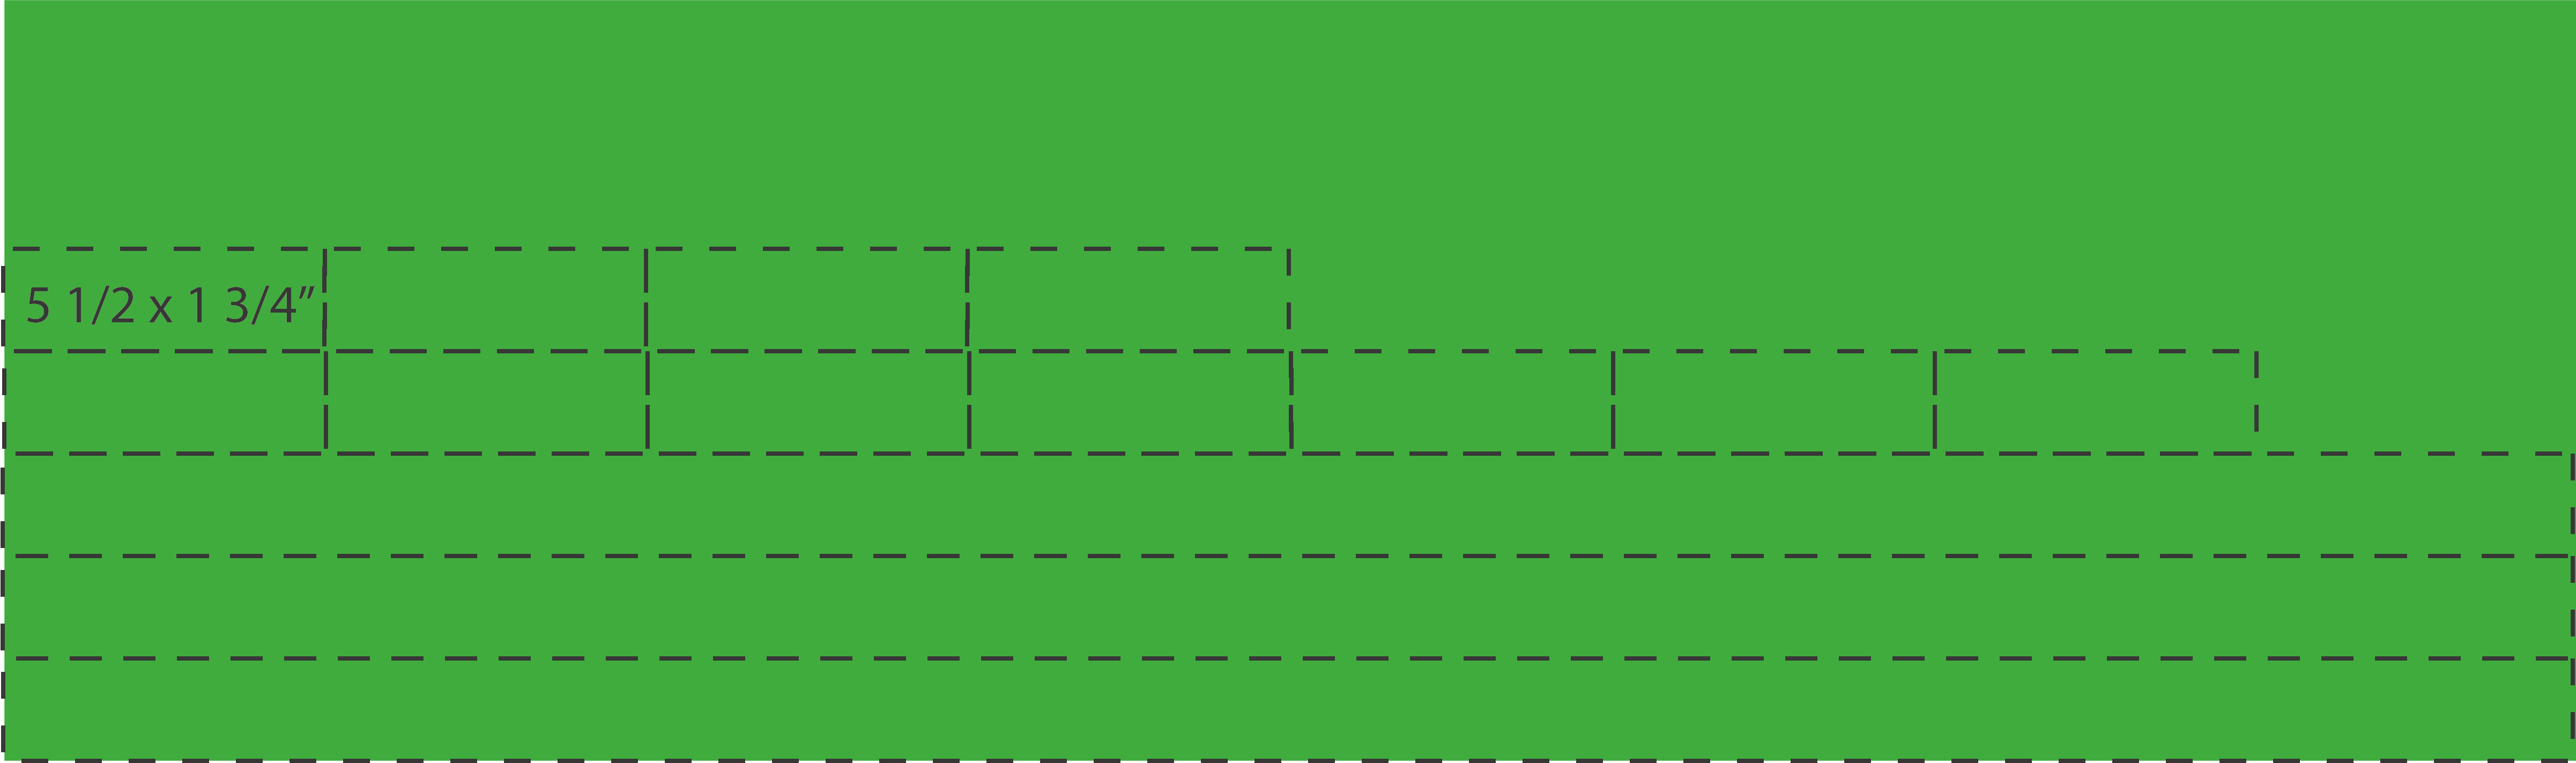
Accent fabric (Titanium)
- 1 or 2 x a piece of 5 1/2 x 1 3/4″
Cutting scheme for accent fabric Titanium
These cutting schemes can also be downloaded as a PDF:
Cutting schemes for QAL part8 – Row #8 [Rainbow straight version]
Here you can download the cutting scheme for the Blue fabric kit:
Cutting Schemes for QAL part 8 – Row #8 [Blues straight version]
Let’s get started (straight version)
Everything in this row will be sewn with a 1/4″ seam allowance. All measurements are including seam allowance.
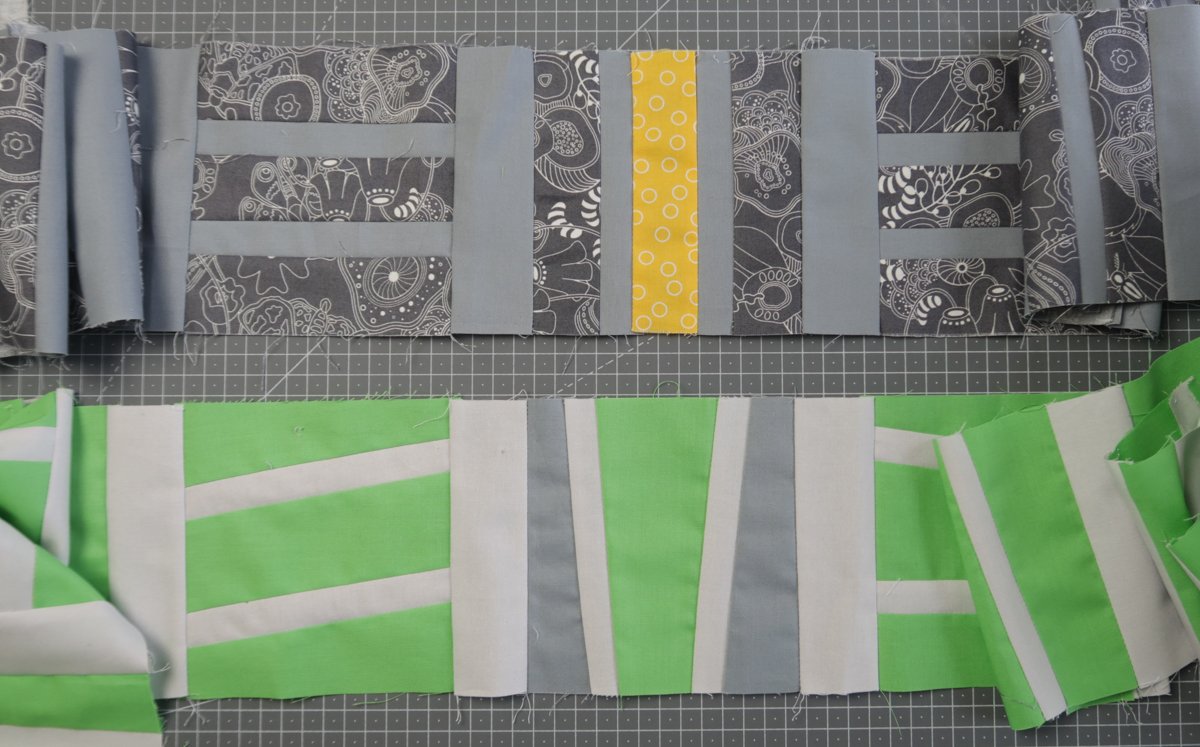
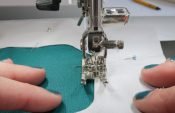
Sew a strip from your main fabric to a 1 1/8″ strip from your background fabric.
![]()
Press the seam and add a strip from your main fabric.

Press and repeat with another 1 1/8″ strip in your background fabric and a strip in your main fabric.

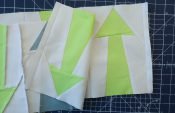
Now cut up this alternating strip in 7 blocks of 5 1/2 x 5 1/2″.

We need to make 11 of these blocks in total. With the 5 1/2″ x 1 3/4″ main fabric strips and the 5 1/2″ x 1 1/8″ background fabric strips we will make 3 more blocks like this. Use one or two accent strips of 5 1/2 x 1 3/4″ to make the final block.
Sew the 11 blocks together using the 2″ x 5 1/2″ background fabric strips as sashing. Start and finish the row with a block in vertical direction.
![]()
The finished row should measure 5 1/2 x 70 1/2″. I placed the accent block as the fifth block from the left.
Version 2: let’s go wonky
This second version is a little bit more wonky, this is the version of the row that I’m making in the video.
Cutting your fabric (wonky version)
All the measurements below include a 1/4″ seam allowance.
Main fabric (Sour Apple)
- Cut your main fabric in half, so that you will have two strips of about 6 1/2″ x width of fabric
- Cut 11 pieces of 6″ wide from these strips

Cutting scheme for main fabric Sour Apple
Background fabric (Silver)
- 4 x a strip of 1 1/8″ x width of fabric
- 2 x a strip of 2″ x width of fabric
- Cut these strips up into 10 pieces of 2″ x 5 1/2″
Cutting scheme for background fabric Silver
Accent fabric (Titanium)
- 1 or 2 x a strip of about 6 1/2″ x 2 1/2″. You can cut these after you have made a few blocks. Then you’ll know how big you want your strips to be.
Cutting scheme for accent fabric Titanium
These cutting schemes can also be downloaded as a PDF:
Cutting schemes for QAL part 8 – Row #8 [Rainbow wonky version]
Here you can download the cutting scheme for the Blue fabric kit:
Cutting Schemes for QAL part 8 – Row #8 [Blues wonky version]
Let’s get started (wonky version)
With the wonky version we will make the main fabric strips a bit wonky or tilted. The background strips will have the same width as in the straight version.
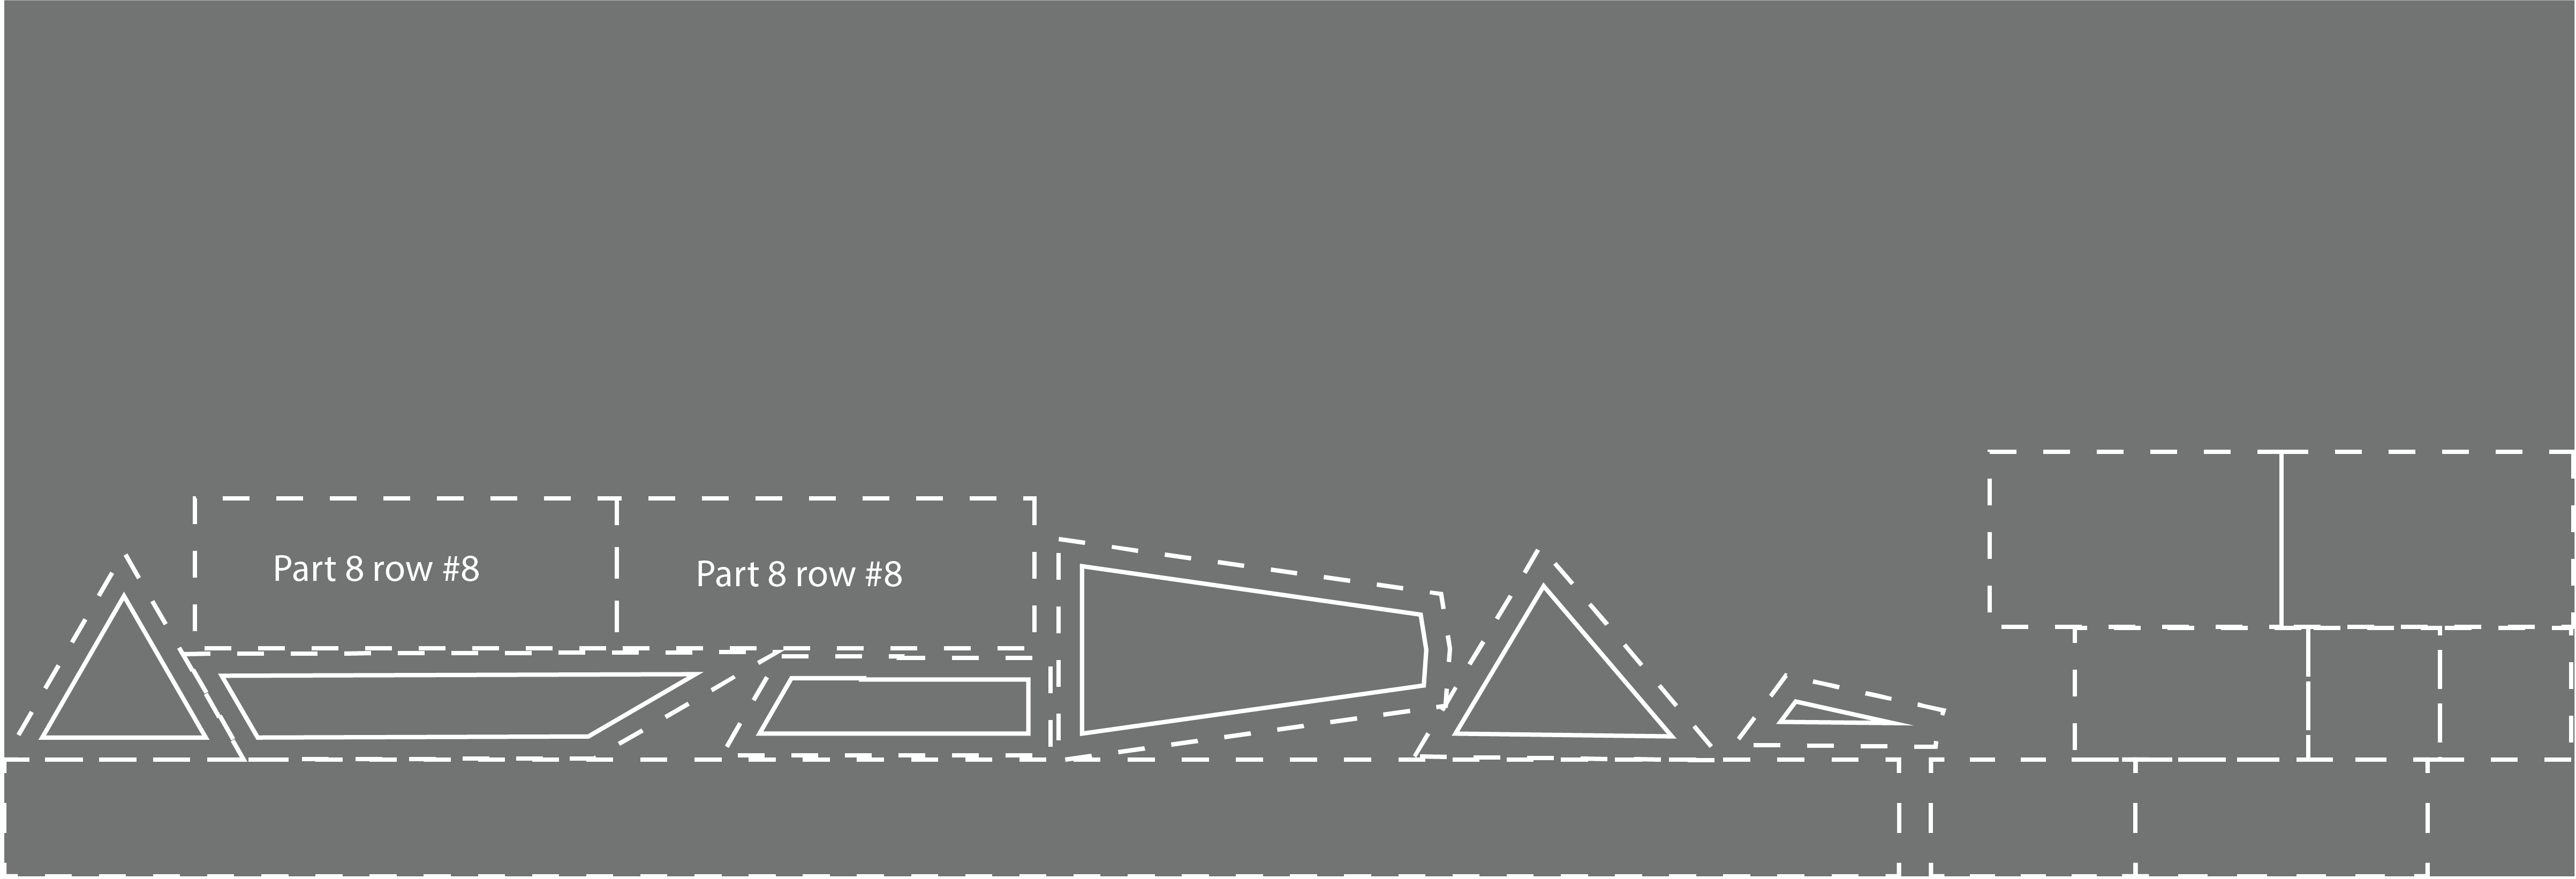
Start with one of the main fabric pieces and a 1 1/8″ background strip. The goal is to make a block of 5 1/2 x 5 1/2″ that has 3 main fabric strips with two background strips in between.
Cut 3 wonky strips from the main fabric.
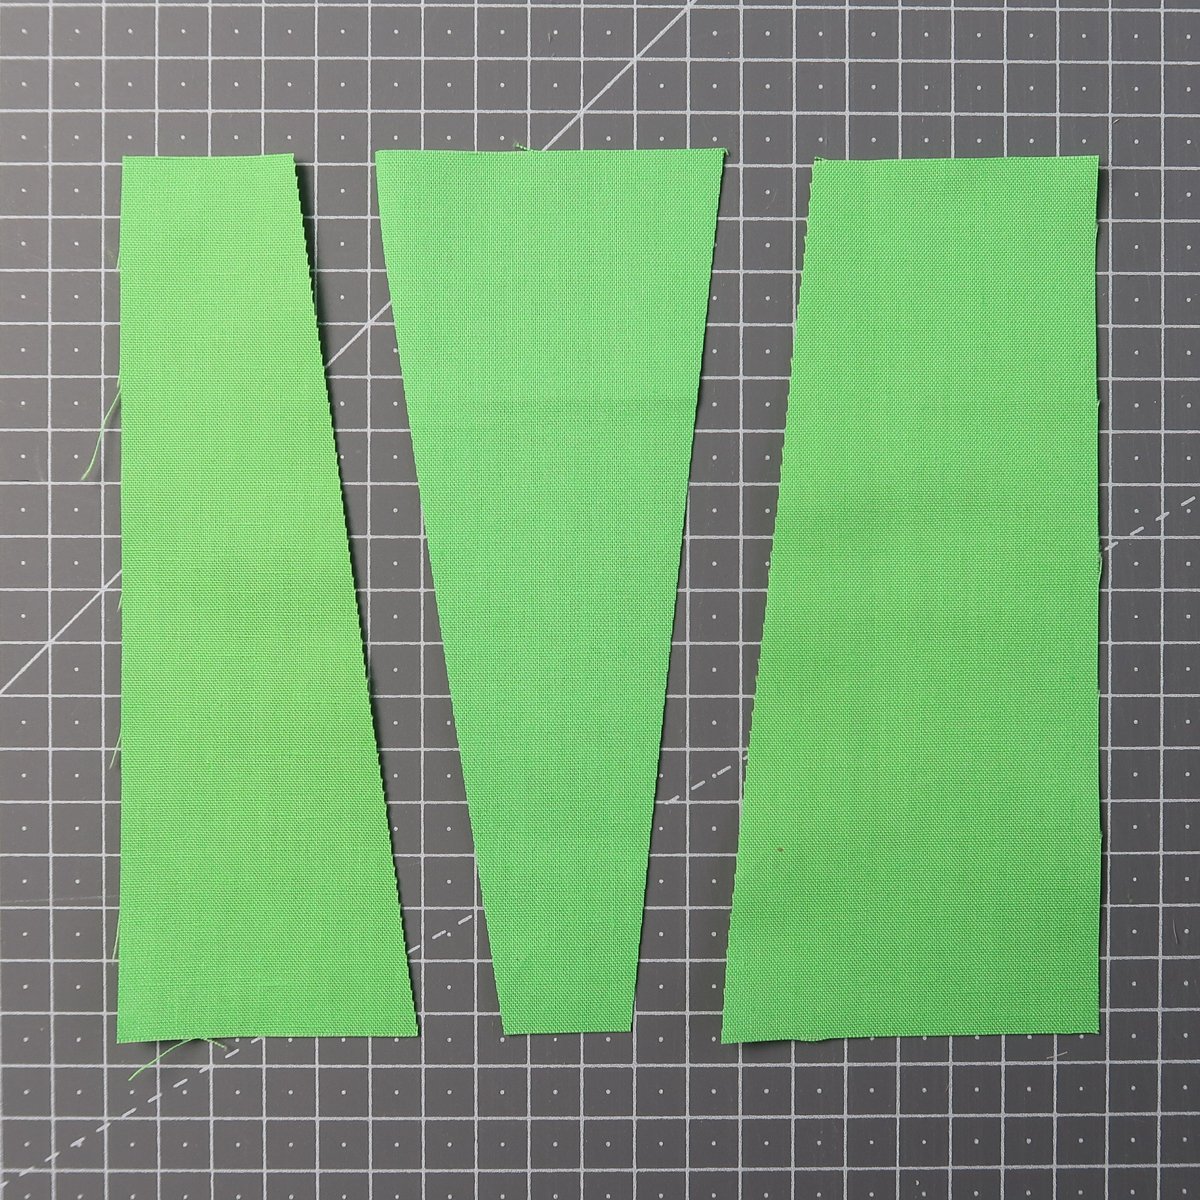
Sew them together with the 1 1/8″ background strip in between.
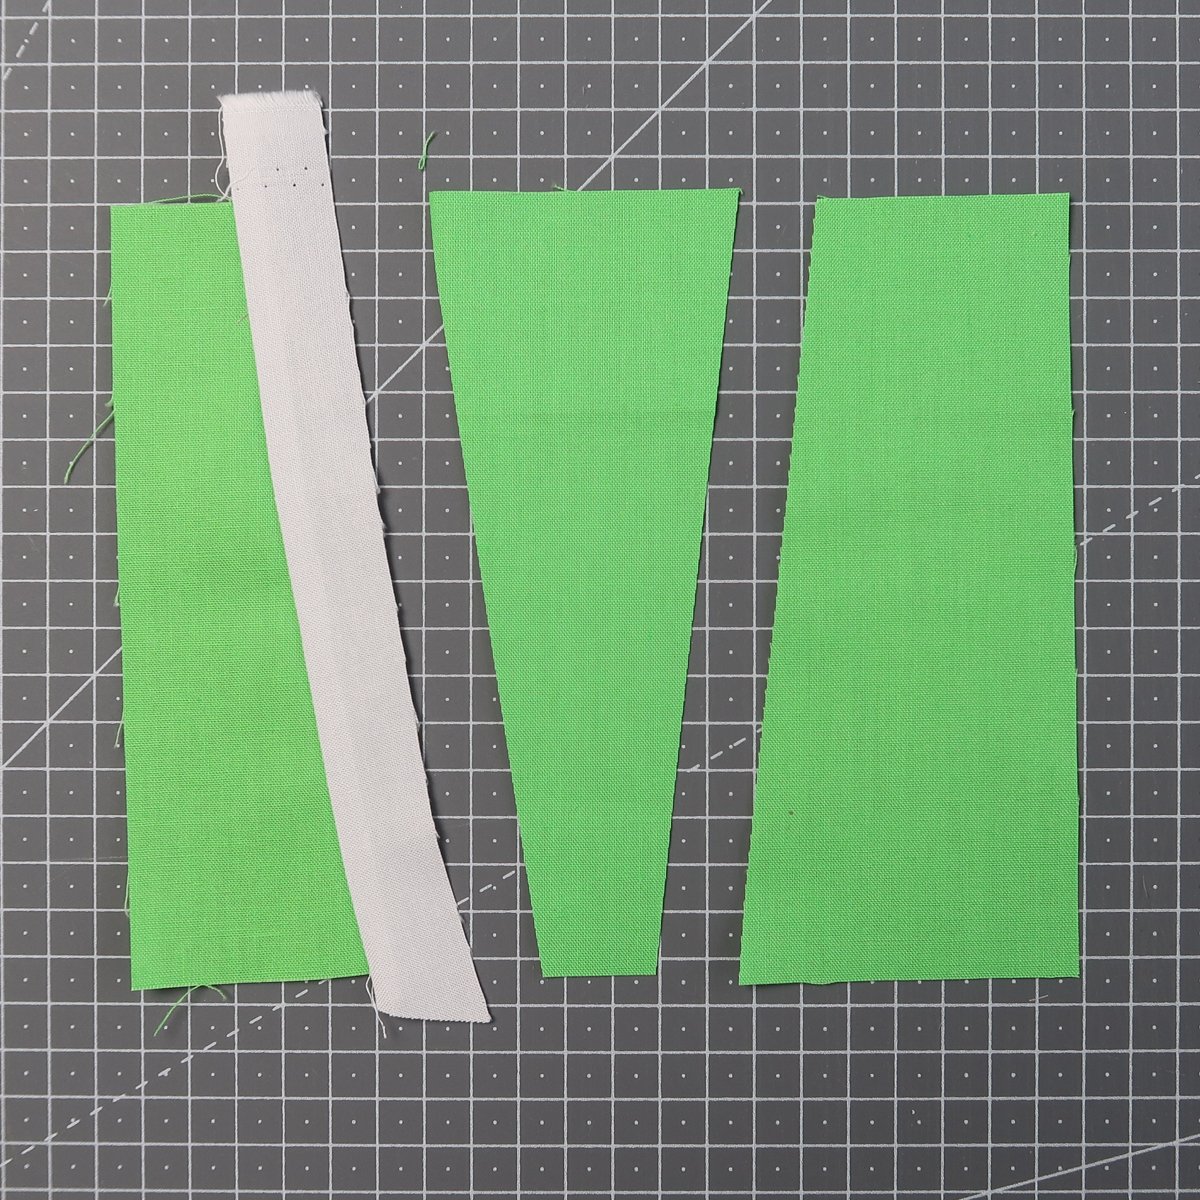
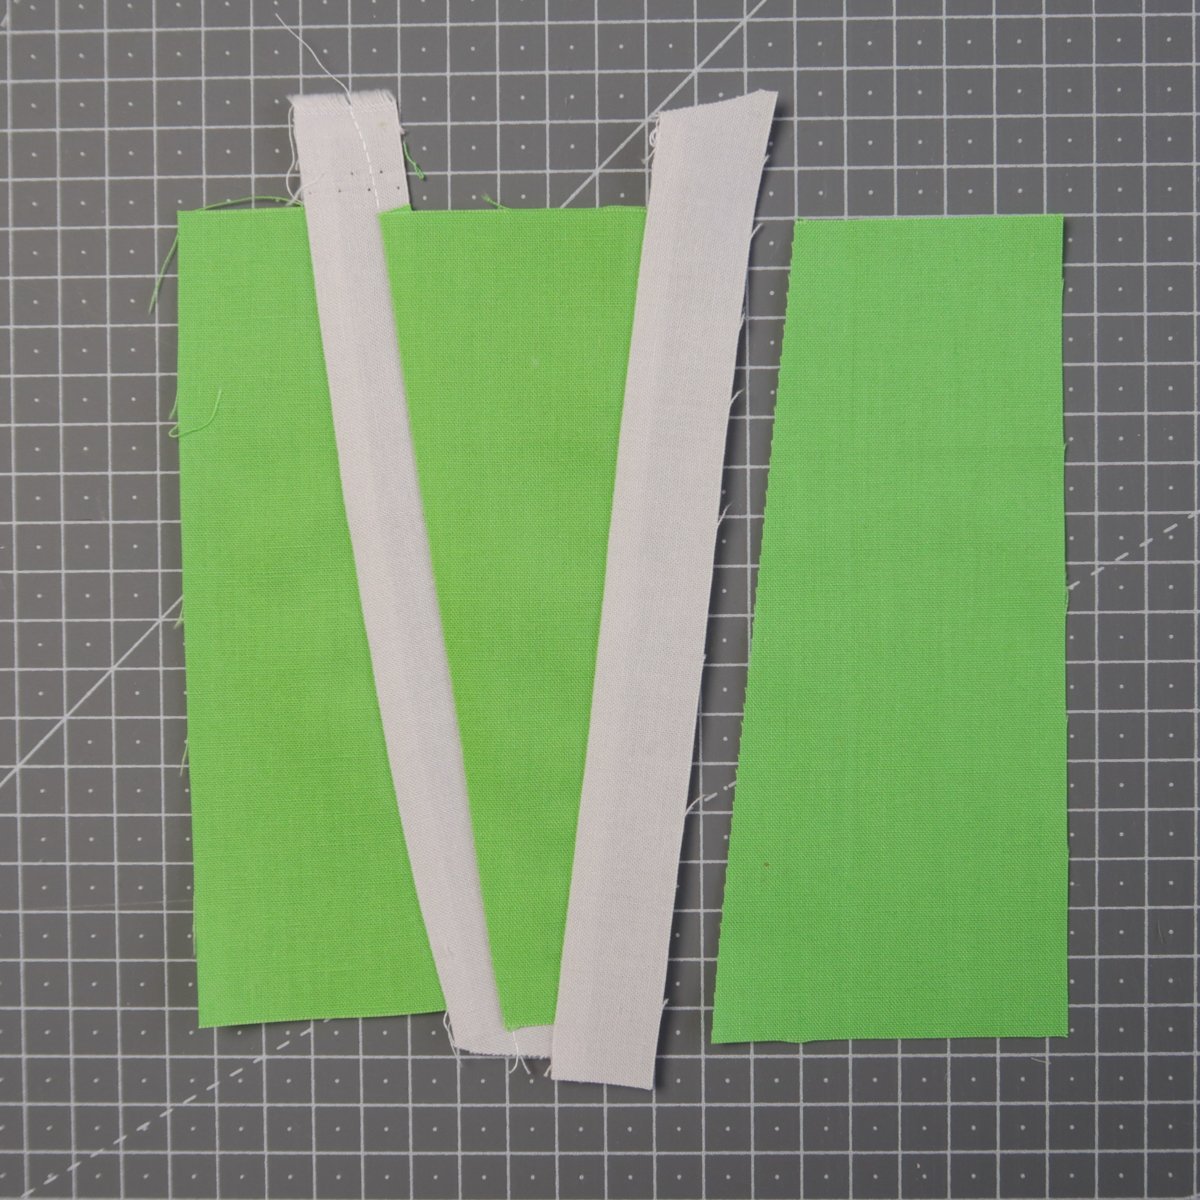
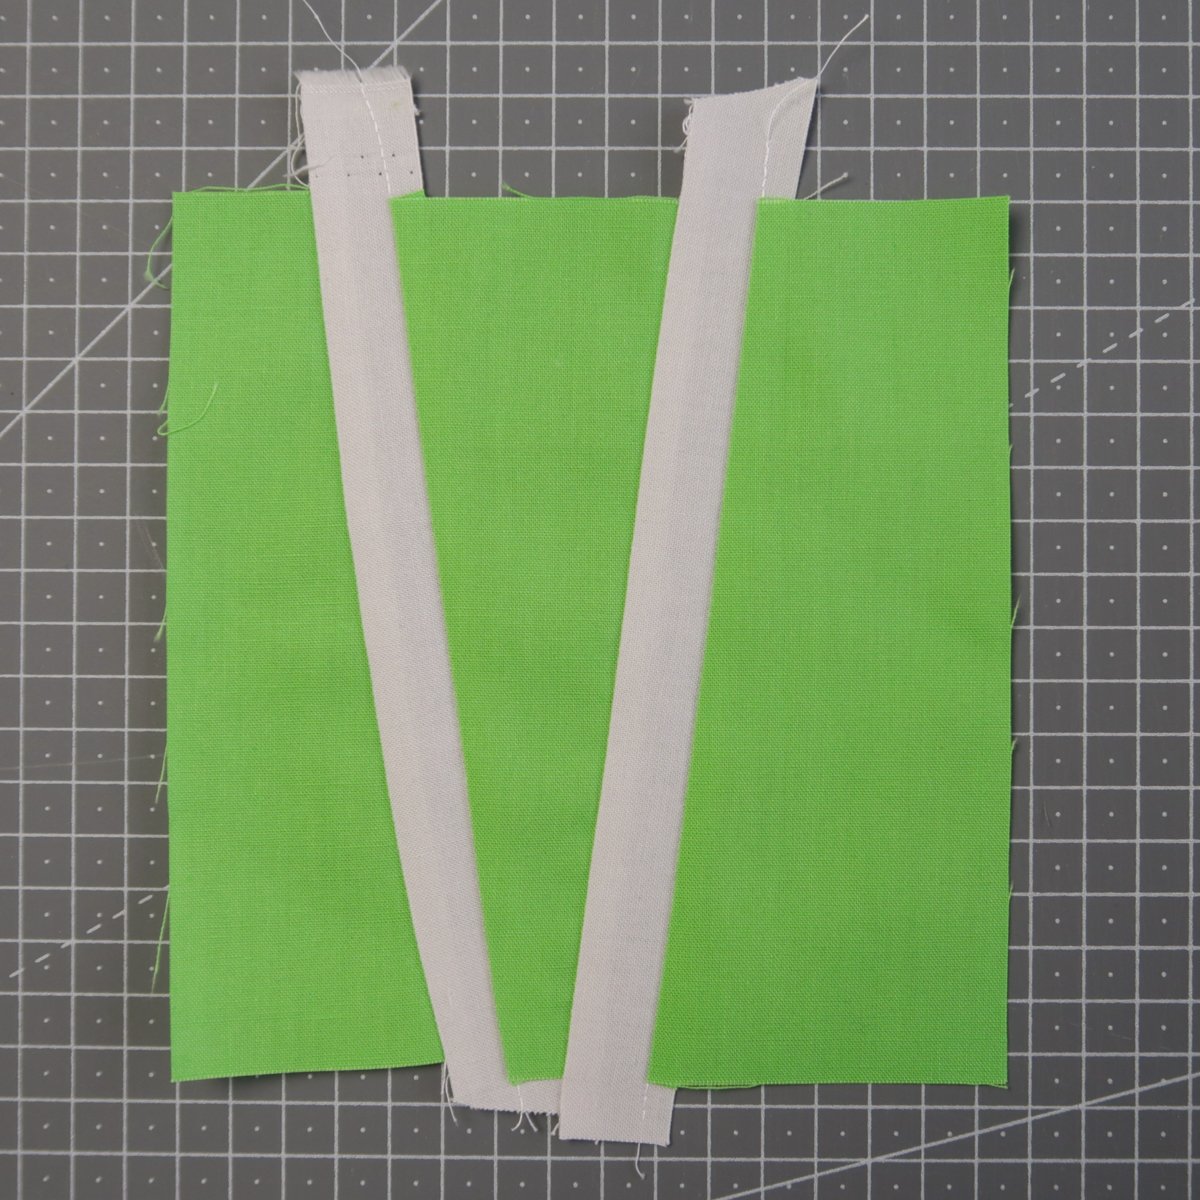
Trim the block down to 5 1/2 x 5 1/2″.

Make 9 more blocks like this.
Make 1 block with one or two accent strips in there
Sew the blocks together using the 2″ x 5 1/2″ background fabric strips as sashing. Alternate with the direction of the blocks. Start and finish the row with a block in vertical direction.
The finished row should measure 5 1/2 x 70 1/2″ when finished. I placed the accent block as the fifth block from the left.
And that is how you can make this row! Did you go for the straight of the wonky version?
Happy quilting!
Irene
Sewed this in June and was so inspired by all the rainbow creativity!
T hree rows to go! I think I can, I think I can, I think I can!
One more row complete. Yay. This was a fun row. And yes, it looks just like when I mow the lawn as I try for straight rows and they mostly are with a few off.
This was such an easy Row! I decided to make 3 wonky blocks and do the rest straight and organized. It feels good to be all caught up. Can’t wait for the next row. Thanks Irene for your detailed, careful instructions. This is my first QAL and I’m loving it!
[caption id="" align="alignnone" width="2560"] wasn’t brave enough for wonky![/caption]
[caption id="" align="alignnone" width="2560"] wasn’t brave enough for wonky! enjoyed this[/caption]
Good fun to make – Mowed Lawn Row 8!
I had fun qith the wonky version 🙂
Row 8 completed. Sad that it is a long time to wait for the next row!!
Love both design versions….any hint on if there will be any more wonky rows? My wonky circles were conservative wonks. I would only do wonky lawns if there were going to be more wonky rows.
Thanks,
Genn
It’s done! Thomas did not want to move so I let him stay.
This one was fun, and fast! Didn’t go wonky, but could totally see myself doing that later on with another quilt.
Love the wonky rows. Really enjoyed it, great instructions as always and was done quite quickly.
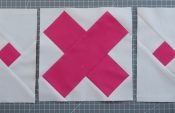
Finished “Mowing the Lawn”…pretty easy going very similar to the “Hashtag” Row. Mine finished at 5.25″ so I went with that. Pretty positive my cutting was spot on and my seams are 1/4 ” not sure what happened. Oh well, it’s done! Happy Trails to all!
Definitely wonky! I like it very much.
NB: there a problem with the “Cutting schemes for QAL part8 – Row #8 [Rainbow straight version]”, te second half of the text links to the right pdf, but the first part links to part7 – Row #6.
There is also a typo in the cutting instructions for the wonky version. I think the background WOF strips are cut at 1 1/8″, not 5 1/2″.
Right, I saw it after.
Hello Irene,
So pleased to see the next row and will be doing the wonky pattern to match my wonky half circles. So enjoying your qal and have also started doing the funky letters too that I ordered from you. ????❤️