 BERNINA Corporate Blog -
Hello wonderful quilters! How are you? I hope you’re good, that you’re healthy and that you’re holding on. That you’re having enough moments of rest, time to slow down and breath. So much is happening in the world around us.
Quilting for me is a perfect way to check in with myself. To stop running, to sit down and do something that I love. It’s truly is a moment of me-time, with a focus on making something beautiful, working with soft materials.
Every now and then I just need to close my laptop, put away my phone. Turn on some relaxing music, or maybe an audio book. And just make something.
It’s so essential to take good care of ourselves, to allow ourselves to rest to recharge. I really hope that you find the same peace in quilting. So let’s take a deep refreshing breath and start with part 9 of our quilt along.
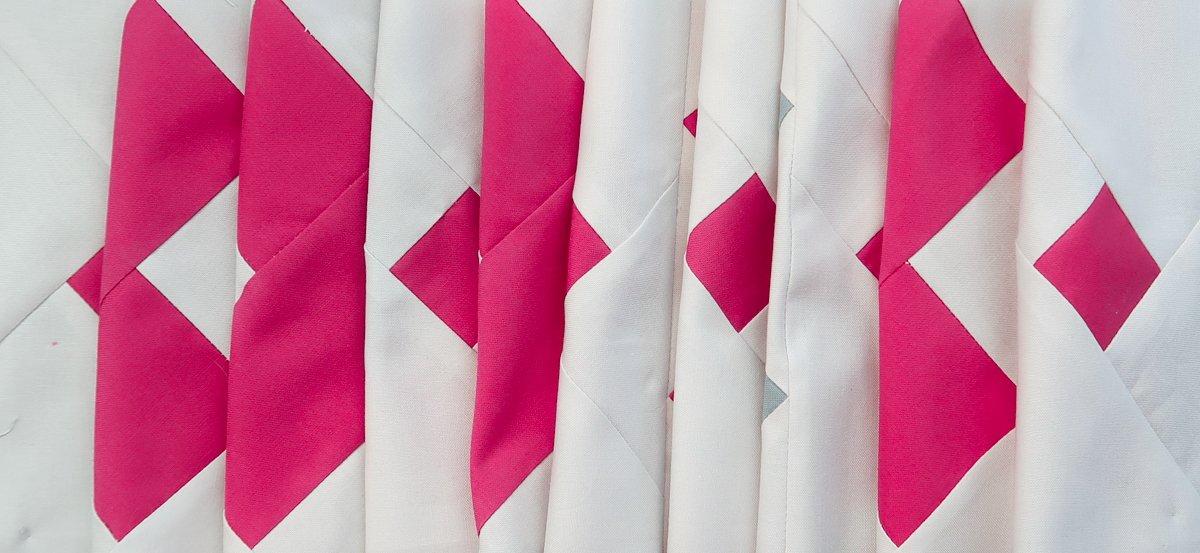
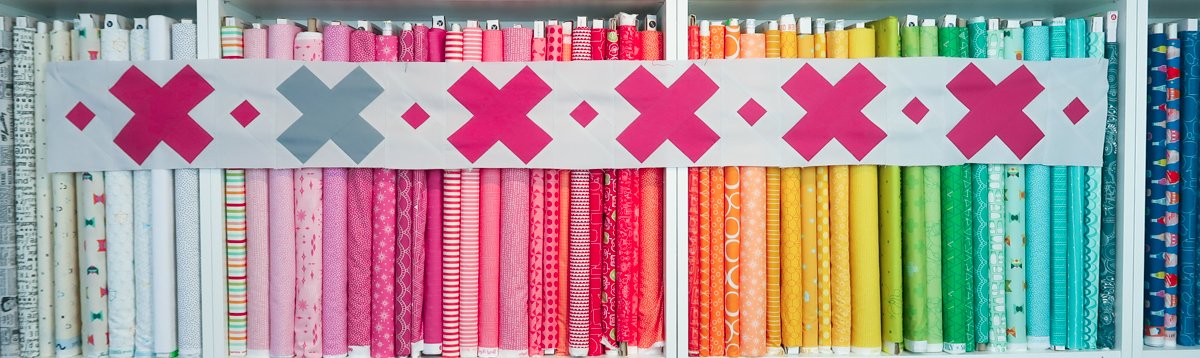
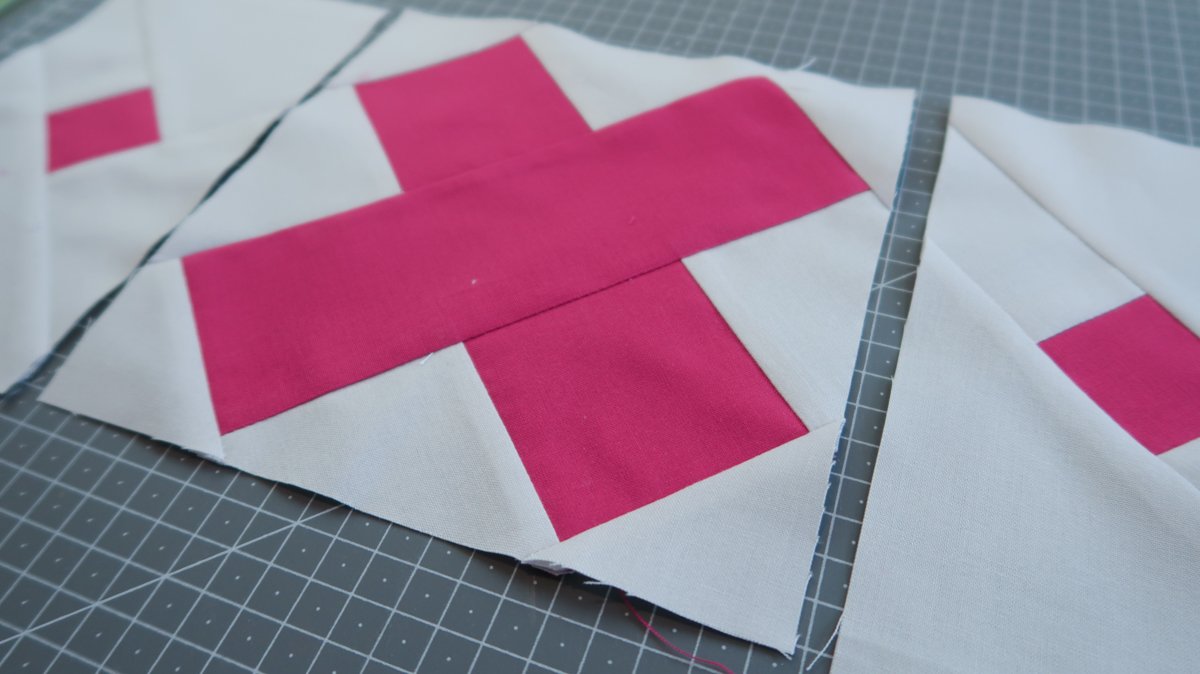
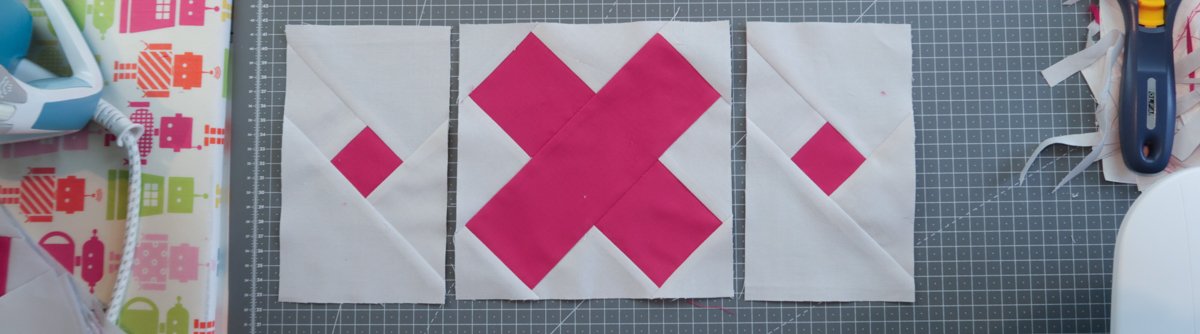
Row #3 ‘Cross stitch’
It is time to do some foundation paper piecing again! We will be making cross stitch blocks. Embroidery and cross stitching was something that I started doing when I was very little. I love the structure of embroidery floss on aida fabric. I don’t really do cross stitching any more, but I still have lot’s of thread and fabric. Maybe I’ll pick it up again this winter 🙂
It’s all up to you if you want to use freeze paper of go for foundation paper piecing on paper for this row. By now you probably know which one is your favorite. I’m going to use the freezer paper method. We will be making six big blocks with an X and seven small ones.
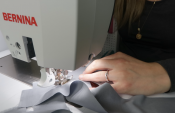
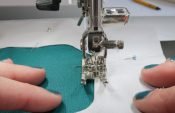
Check out the video below to see the making of this row!
New here?
If you’re new here, welcome! On the 28th of November 2019 we kicked off a super fun quilting project. We started a quilt along, where thousands of quilters from all over the world are making the same quilt. Every four weeks a new part of the pattern, a new row, will be released. After 12 rows you will have a quilt of 70 x 90″.
Even though we started eight weeks ago you can still join us! You will have enough time to catch up. There are also still fabric kits available for this quilt along. You can make the quilt in rainbow colors on silver fabric, in rainbow on white fabric or with blue fabrics. Of course you can also pick your own fabrics or use what you have in your stash.
On this page your can find all the links to previous blog posts about this project. Hop over to this blog post to read all the general information about this quilt project. And also read this one to learn more about the materials we use and the fabric requirements.
Fabric + Material
For this row you will need to print a PDF pattern, you will need some teabag paper (or normal printing paper) or freezer paper and of course you’ll also need fabric.
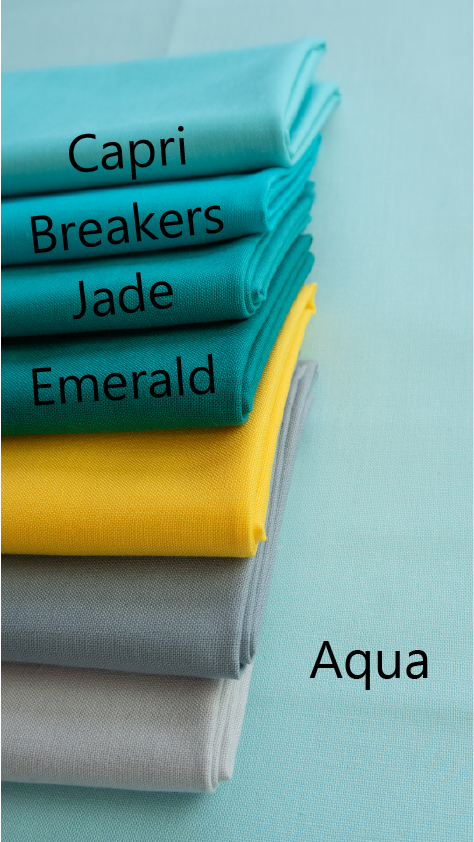
Did you order a kit for the quilt along? Than you’ll use the darkest pink fabric called ‘Pomgranate’ for this row if you are making a rainbow quilt. Or the blue called ‘Breakers’ if you’re making a blue quilt. We will make one of the triangles in accent color, so also get your accent fabric out. And of course your need your background fabric.
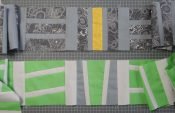
For those of you who want to play with the location of the accent color in each row, or add extra accent colors or just want to get a little more insight in the layout of the quilt. Here is a schematic of the rows and the placement of the accent colors.
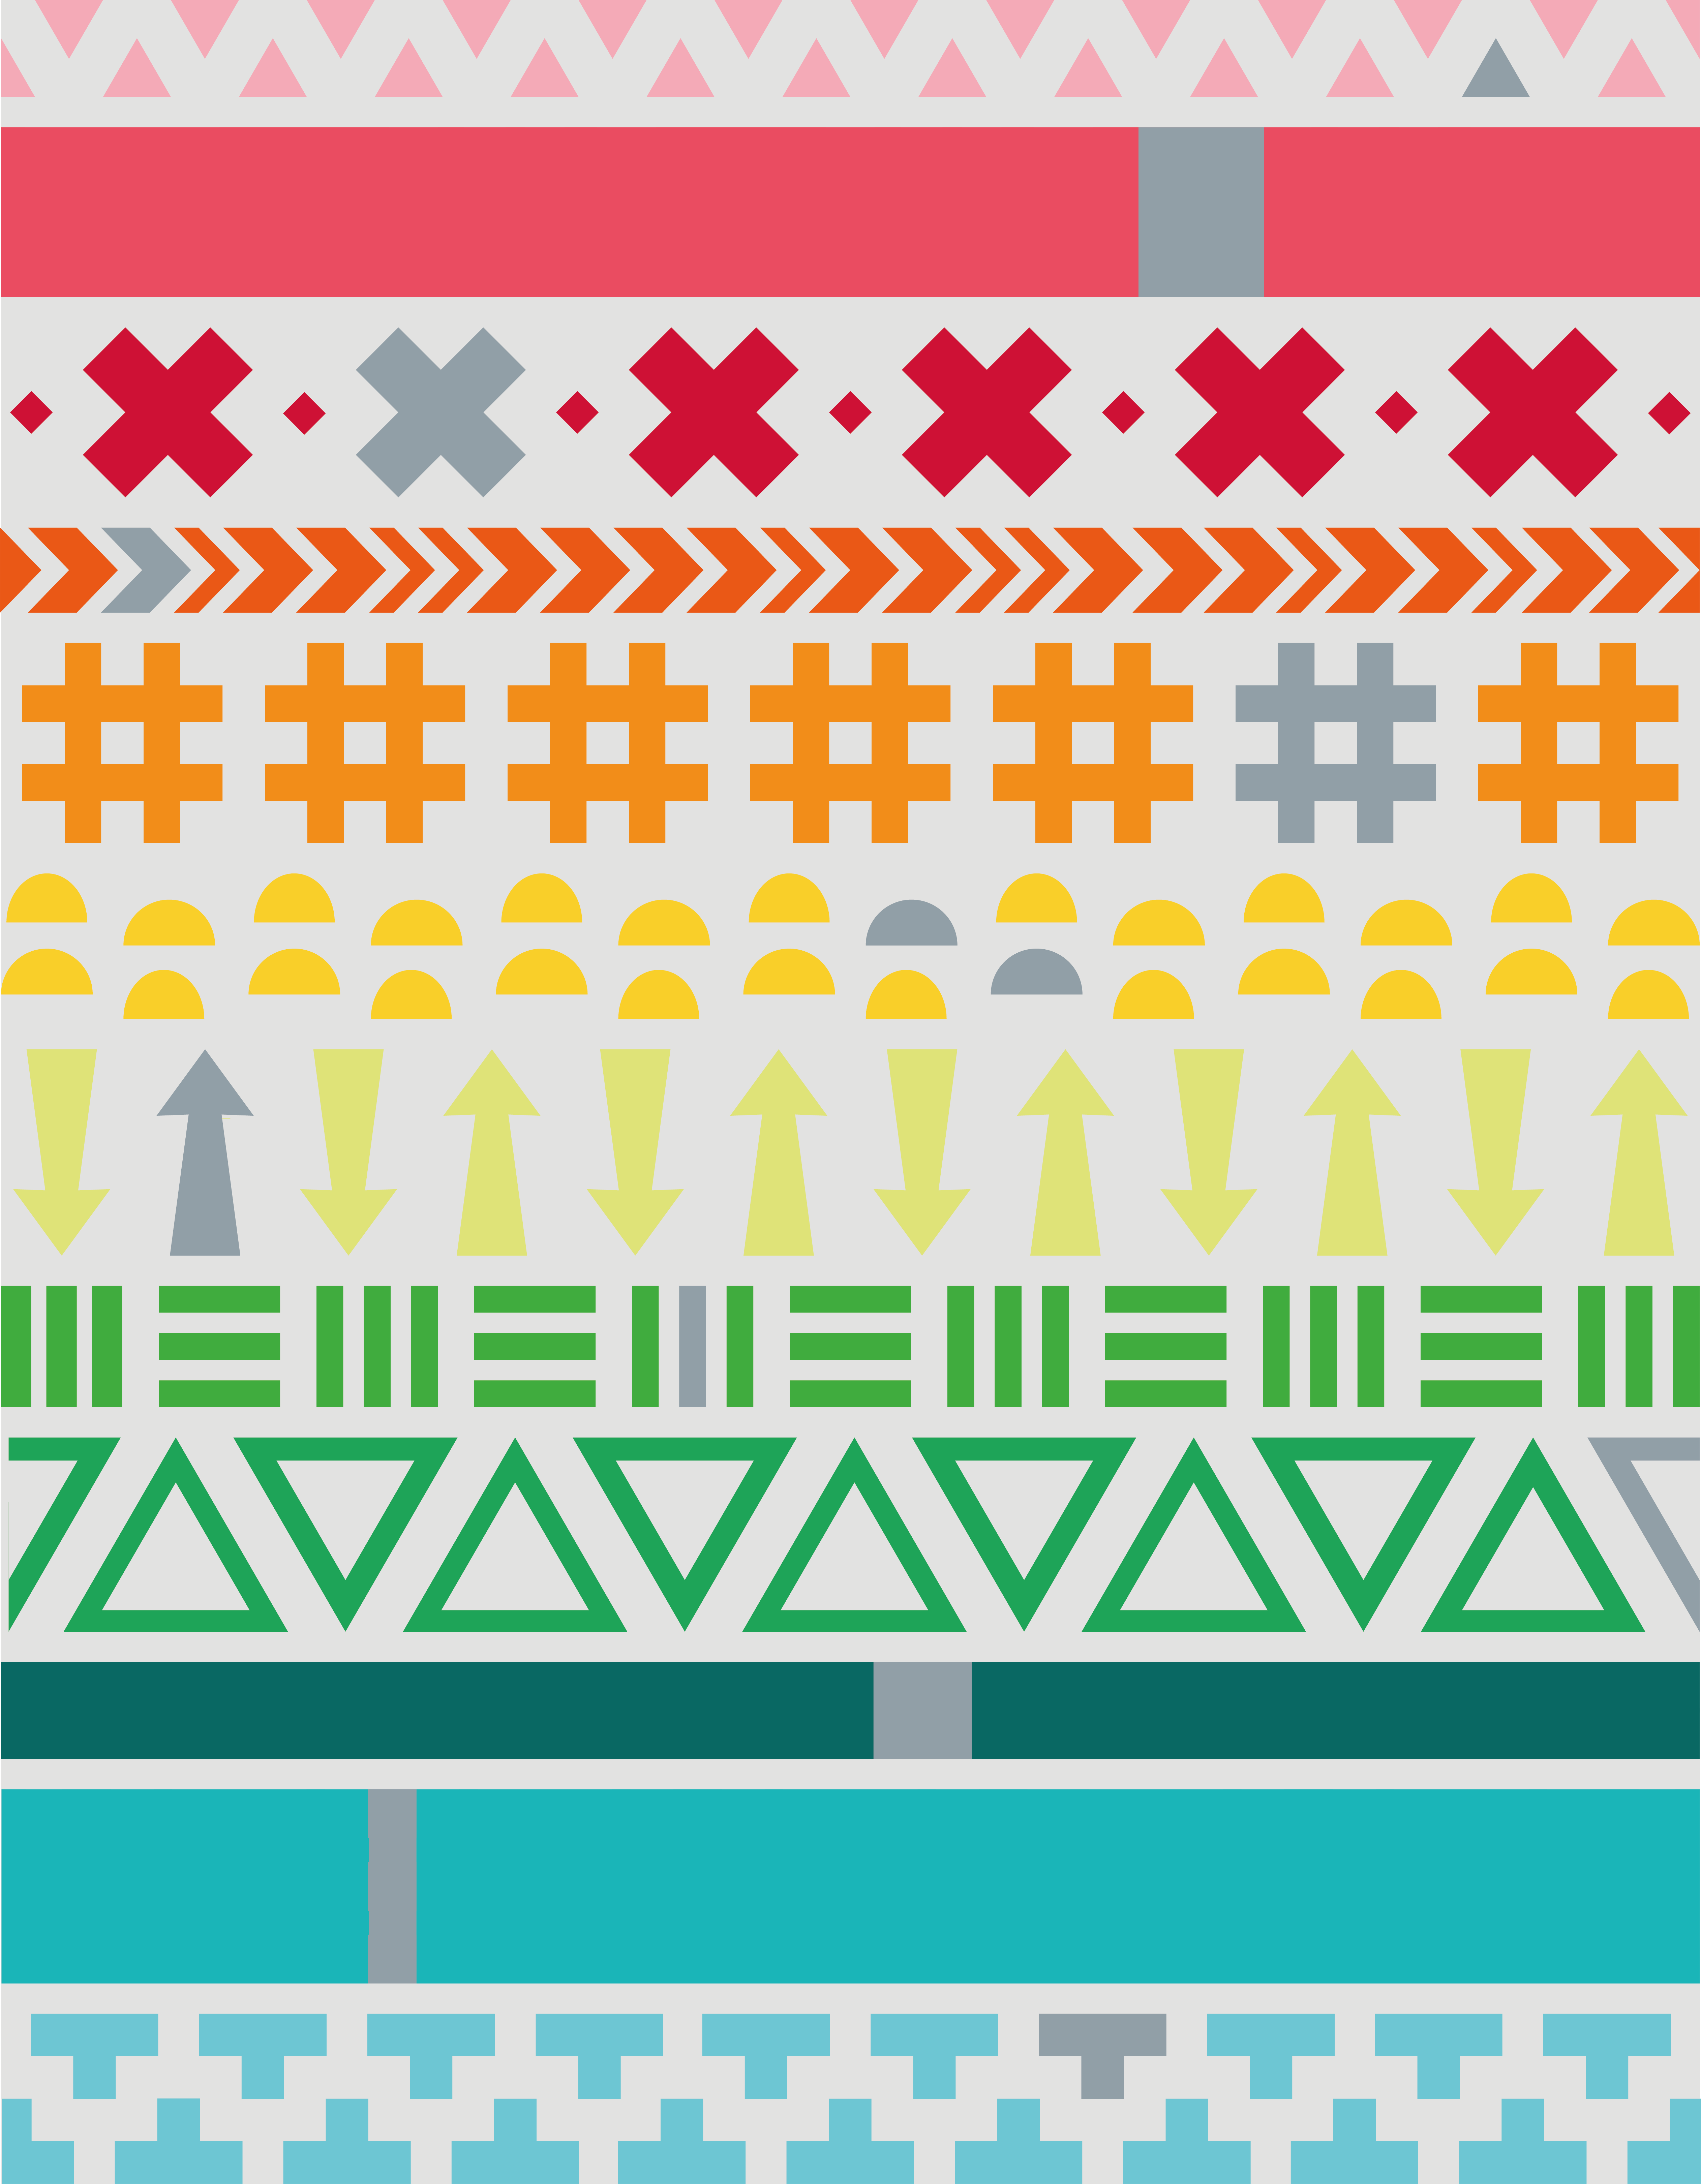
And this is what the schematic of the quilt looks like for the blue fabric kit.

You will need the following to make this row.
- Main fabric: 12 inch
- Accent fabric: fabric for one X
- Background fabric: 19 inch
- Teabag paper or normal printing paper or freeze paper
- Add-a-quarter ruler (it’s super handy to have this ruler, but if you don’t I’ll show you how you can use a normal inch ruler as well)
- Inch ruler (12 x 6 or 24 x 6 inch both will be fine)
- Rotary cutter
- Cutting mat
- Iron + ironing board
- Sewing machine
- Thread (I use thread in the color of my background fabric)
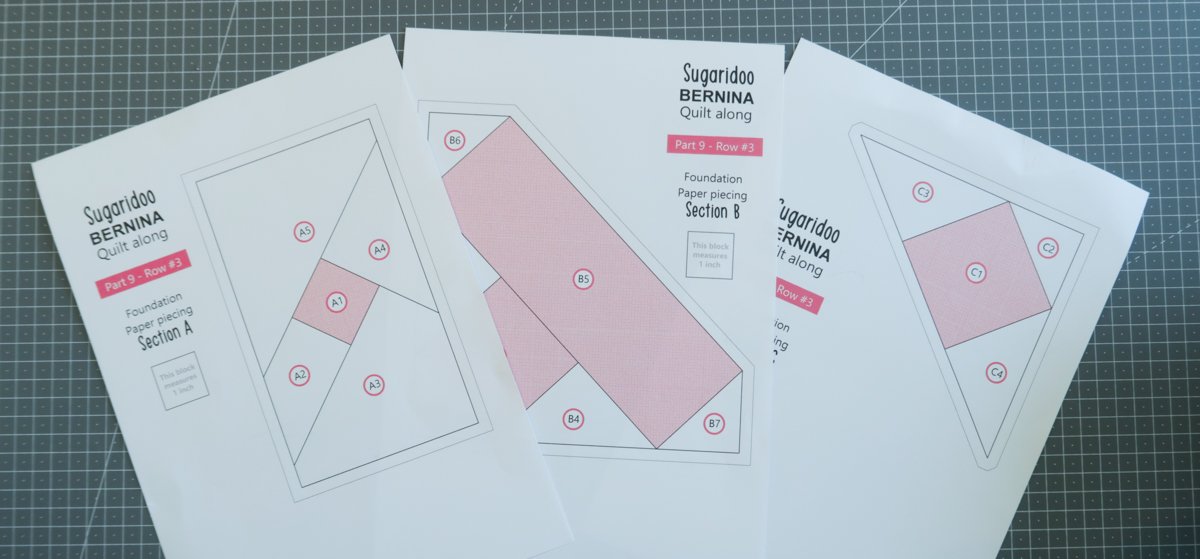
Pattern
Here is the link to the PDF file for the paper piecing pattern. There is a pattern piece A, B and C. Make sure to print everything true to size or scale 100%. The height of this row should measure 7 inch (and should turn out 7 1/2″ with seam allowance).
QAL Part 9 – Row #3 ‘Cross Stitch’ Pattern
What if you don’t have a printer
Here is something for you in case you don’t have access to a printer right now. In the PDF that you can download below you will find all the measurements to draw the block yourself.
The X block is 7 x 7 inch and the block that goes in between is 4 x 7 inch (finished size).
QAL Part 9 – Row #3 Draw your own pattern
In the extra video I made for part 6 row #7 you will find directions on how to use such a PDF to draw your own pattern.
Transfer the pattern
Transfer your pattern to the freezer paper or other paper that you are going to use to make your blocks. You are free to use a different method for piecing your blocks. Just go with what you like best.
When you’re using the freeze paper method you need to fold the pattern over all the lines.
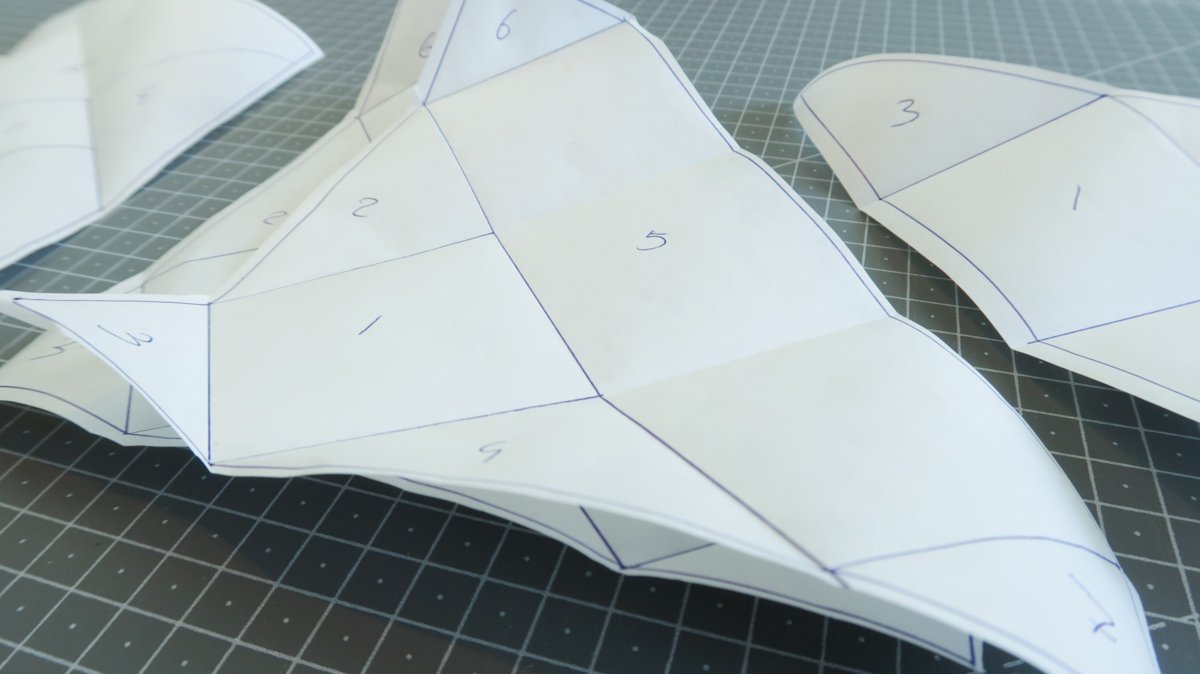
Templates
When you’re done preparing your pattern pieces you can cut your original pattern into templates. These templates are nice to use to cut your fabrics. When you cut your fabrics in roughly the same shape as the templates it will be easier to line them up behind your pattern later on.
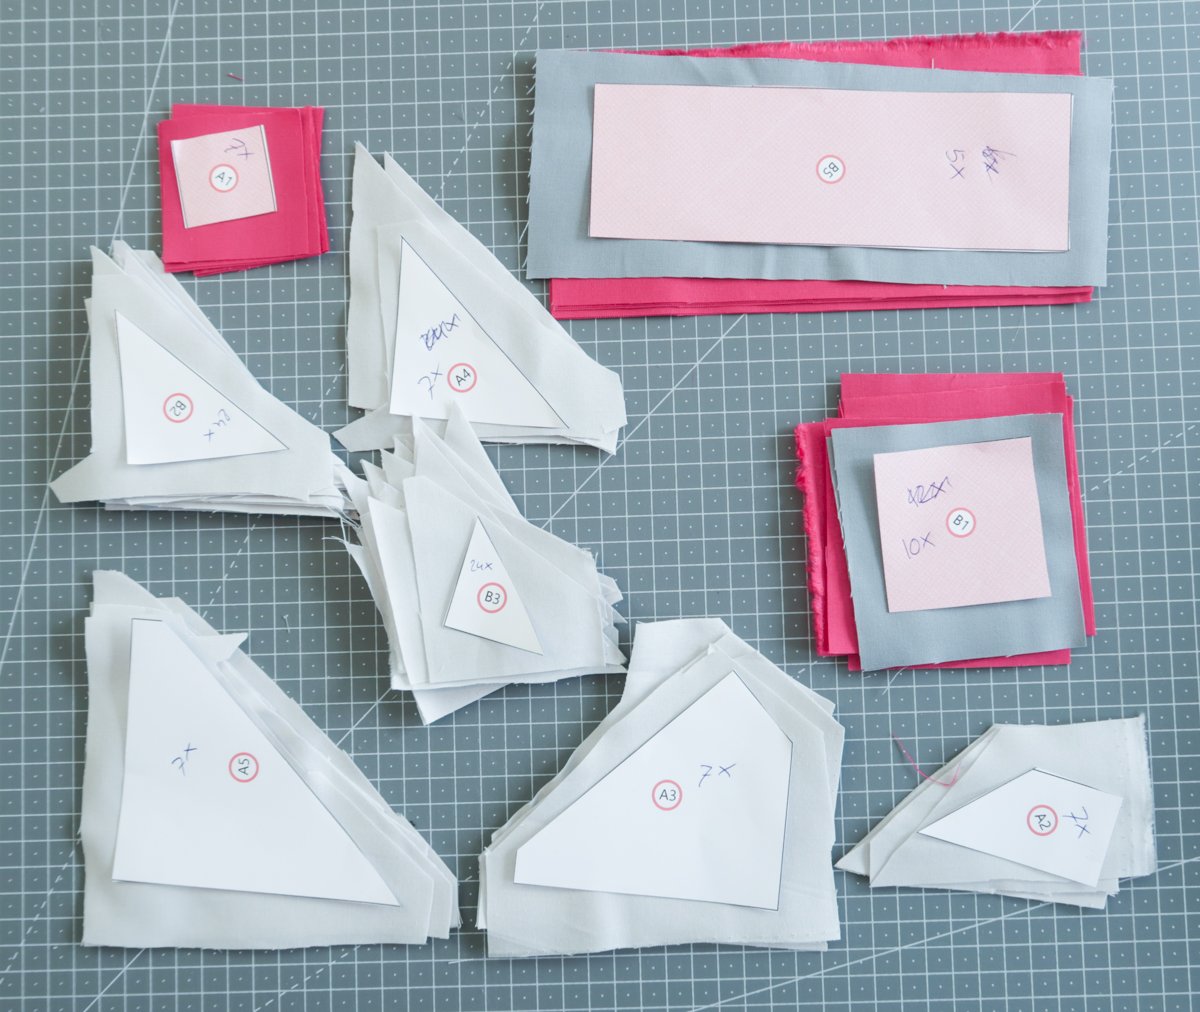
Cutting your fabric
For this row you will need to cut the following pieces:
- Main fabric (Pomgranate)
- 7 x piece A1
- 5 x piece B5
- 10 x piece B1 (this includes 5x fabric piece C1)
- Background fabric (Silver)
- 7 x piece A2
- 7 x piece A3
- 7 x piece A4
- 7 x piece A5
- 24 x piece B2 (this includes 6x fabric pieces B4, 6x C3 and 6x C4)
- 24 x piece B3 (this includes 6x fabric pieces B6, 6x B7 anc 6x C2)
- Accent fabric (Titanium)
- 1 x piece B5
- 2 x piece B1 (this includes 1x fabric piece C1)
In the cutting scheme below you can find how you can fit all the pieces on your fabric. You don’t need to cut your fabric exactly as sketched out here, but it gives you an idea of how the pieces fit on the fabrics from the kit.
The pieces in the cutting schemes below have a seam allowance that is a little bit bigger than 1/4 inch. I always like to cut my pieces for foundation paper piecing a little bit bigger than needed.

Cutting scheme for main fabric Pomgranate
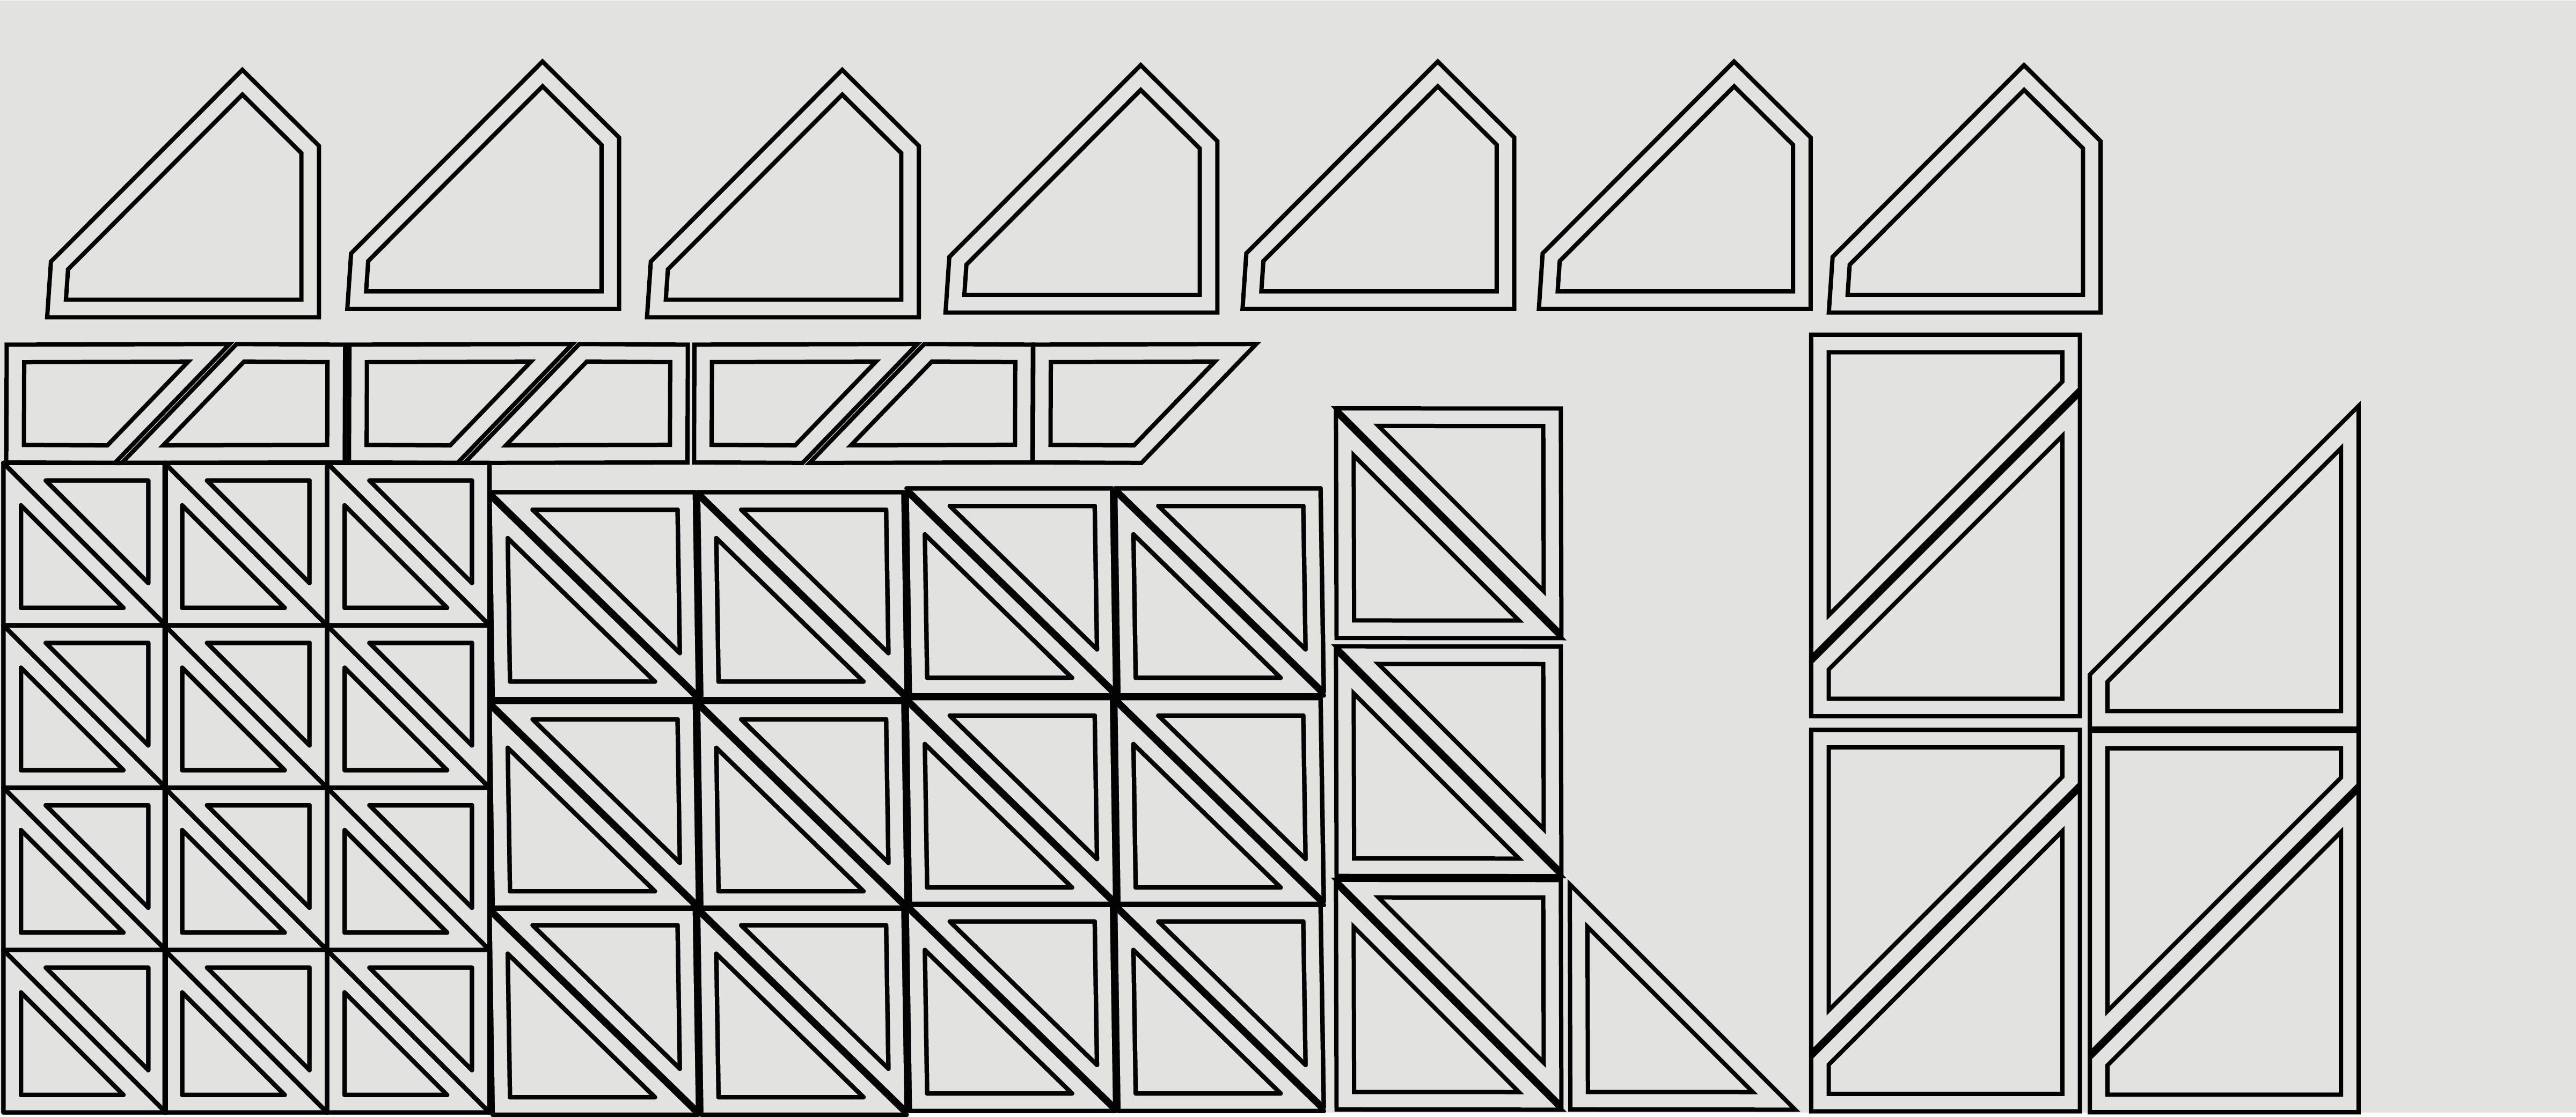
Cutting scheme for background fabric Silver
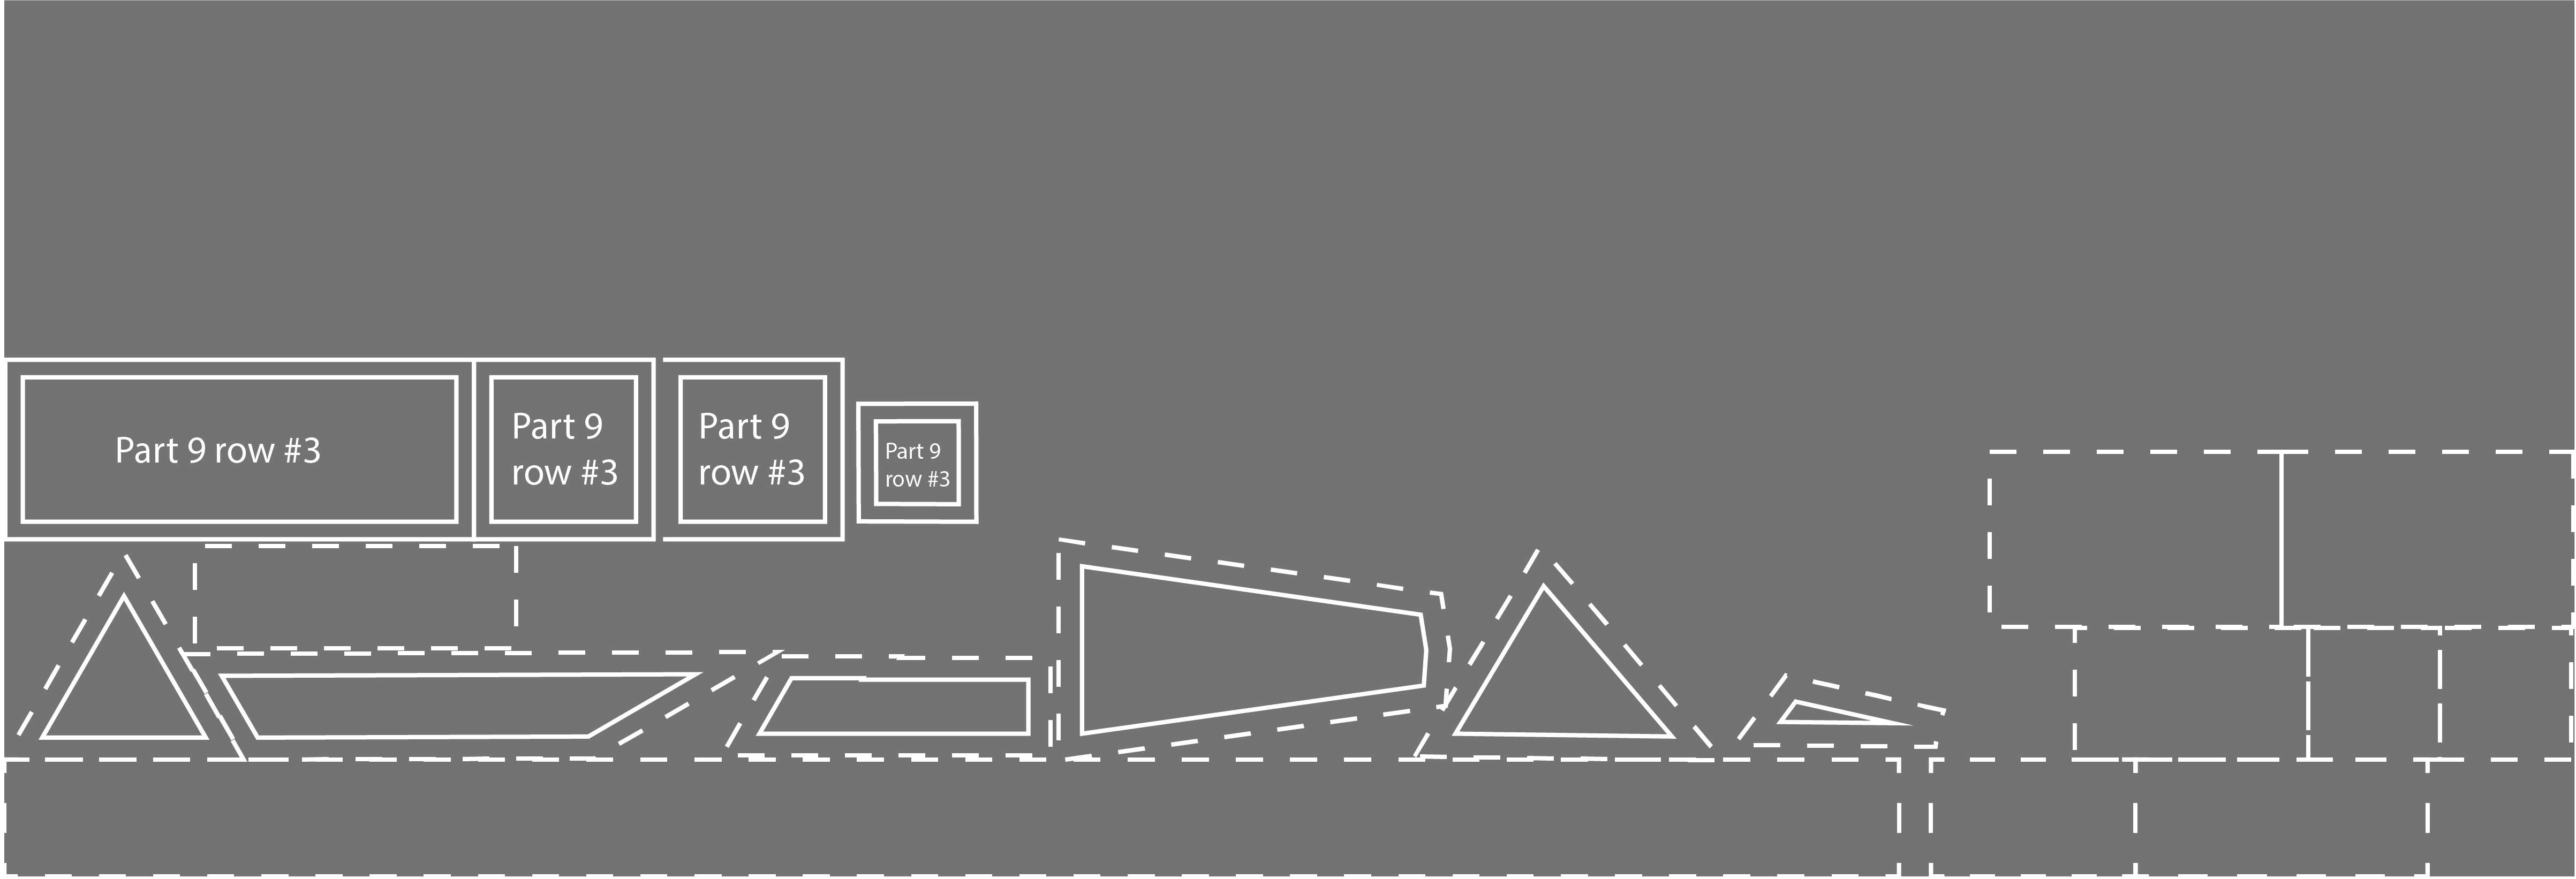
Cutting scheme for accent fabric Titanium
These cutting schemes can also be downloaded as a PDF:
Cutting schemes for QAL part 9 – Row #3 [Rainbow]
Here you can download the cutting scheme for the Blue fabric kit:
Cutting Schemes for QAL part 9 – Row #3 [Blues]
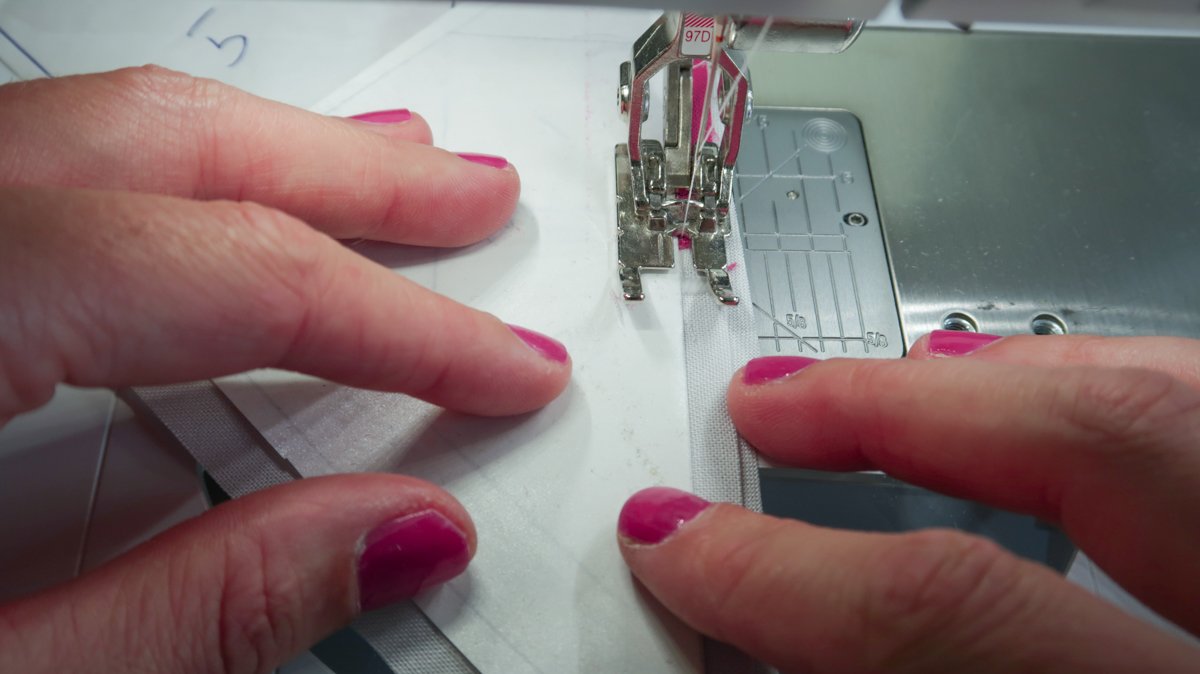
Let’s start sewing!
We are now going to use the paper piecing technique to make our blocks. You can find all the details on this techniques in the following rows:
In the video for this row I’ll show you the overall process that I use in cutting my fabric and making my blocks. But the detailed steps you can find in the videos of the above mentioned blog posts.
You will need to make 7 of the in between blocks and 6 of the X blocks. When you’re using the freezer paper method, be sure to trim them down to 4 1/2 x 7 1/2″ and 7 1/2 x 7 1/2″ before you peel away the freeze paper.
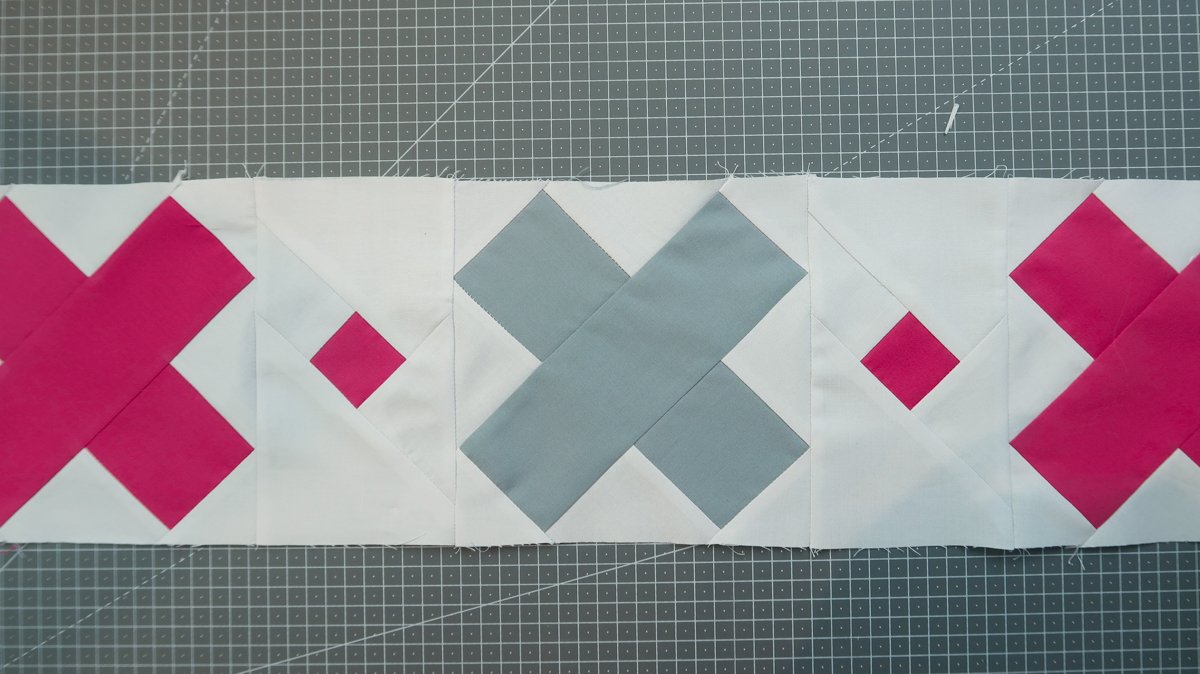
We are going to make one X in accent fabric. I have placed mine as the second X from the left. But of course feel free to play around with this.
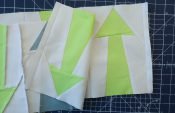
Assembling the row
When you have sewn all your sections it is time to assemble your row. Start with sewing all sections B and C together into X blocks.
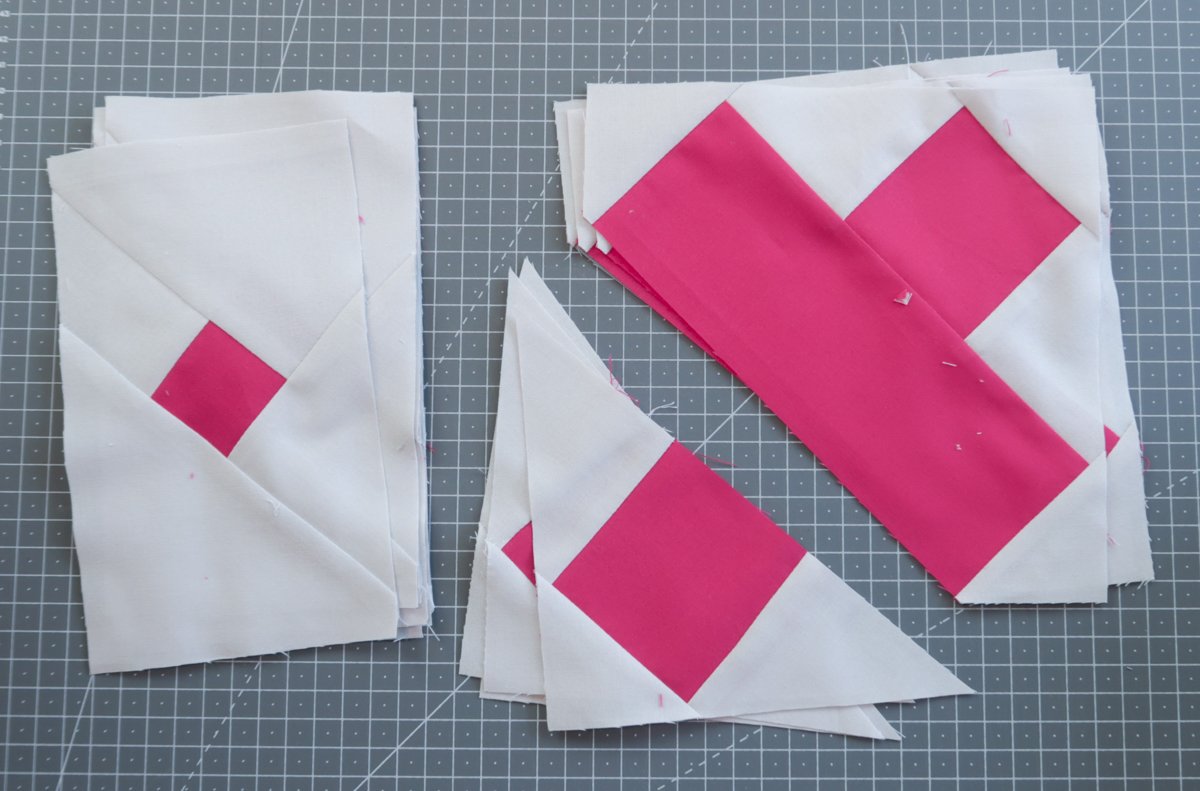
Then sew the row together by alternating sections A and X blocks
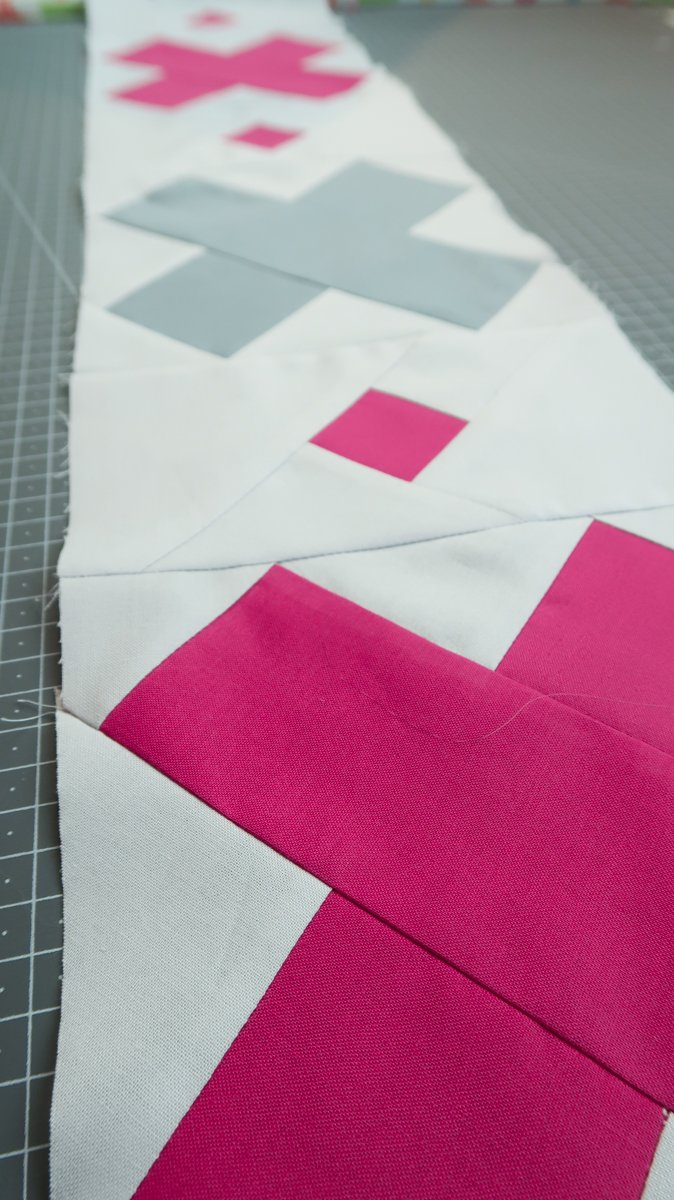
Tadaaa 😀 There is your row #3, the ninth row in our quilt along.
We are so close to finishing the quilt. Some of you already assembled part of the quilt which look amazing! So cool to see it all come together.
Next month I’ll have all the information for you on what you need to finish the quilt, options to order backing fabric and hopefully some very cool extras! Can’t wait to show you.
Happy quilting!
Irene
Maine Coast, USAI loved the Pomegranate color for this row. ❤️ The joy of working with this color helped me persevere through another FPP project!
I finally got to sew after getting a puppy in June. Three more rows to go!
I have finally finished this row. I had a few machine issues with my old machine. My part finally delivered so I may get caught up on rows. I was nervous about using my gray fabric so I used some scraps for the French knots and did all colored cross stitch. I should have been more careful on the direction of my paper piecing but it works and will look good after quilting.
It’s the beginning of the end! Now I’m only 2 months behind. ?
Hi
I’ve been searching for the ‘colouring in’ page I’ve seen because I want to print it and colour in my choices to see how they look. Is there a blackline master link so I can print it please?
Rosalie
love the x’s!
Hello,
finally work in progress picture! Yay for me it is fun to do paper piecing again. Still using old freezer paper but sticks enough to accomplish it.
Hello All,
Does anyone know how to delete comments – here and when you add to the Sugaridoo Bernina Qal as I have uploaded 2 of the same comments by mistake.
Does anyone know the sashing size?
Hi Janet, came across this on the site –
***The rows in this quilt will be assembled with sashing (thin strips) in between them. For those of you who want to cut those strips on forehand here is some more information about the sashing.
What do we need for sashing?
When you look at the layout of the quilt you see 11 times a thin strip in there. However, 3 of the rows already have the sashing incorporated in the pattern. So we will only need 8 times the sashing:
8 strips of 70 1/2″ long and 1 3/4″ high (including seam allowance)
When using 44″ wide fabric, you should cut 13 or maybe 14 strips to sew together to create 8 sashing strips.
Which rows need sashing?
Some of you asked if they could already add the sashing to the row. Yes you can. But keep in mind that there are a few rows that already include sashing in the design. Those rows are row #6 and row #10.
Row #6 has sashing included on the top of the row, so you only need to add sashing to the bottom of row #6.
Row #10 has sashing included on the top and bottom of the row.
This also means you don’t have to add sashing to the bottom of row #9, the top of row #11 and the bottom of row #5.
That’s me finished Row 3. Yes I do like working with the freezer paper and was happy with it. It was only when I came to join the blocks, I thought part of the cross is a little chopped off. Was so annoyed and thinking I should now make more blocks BUT then remembered Irene saying it’s all part of learning.
Fun Fun Block…used tea bag paper and came together like a dream. Really enjoyed it. So excited to put this quilt together soon! Have a great day and everyone stay HEALTHY.

Another fun row! I really enjoy paper piecing and using the freezer paper technique! Thank you, Irene! Be well!
I have a problem reproducing the section A template.
Left lenght is 4.5+2.5+0.5 = 7.5″ and right length is 0.5+4+2,5 = 7″ . And the width would be very helpfull for this part.
Section A is 4″ in width. 4.5″ with seam allowances.