 BERNINA Corporate Blog -
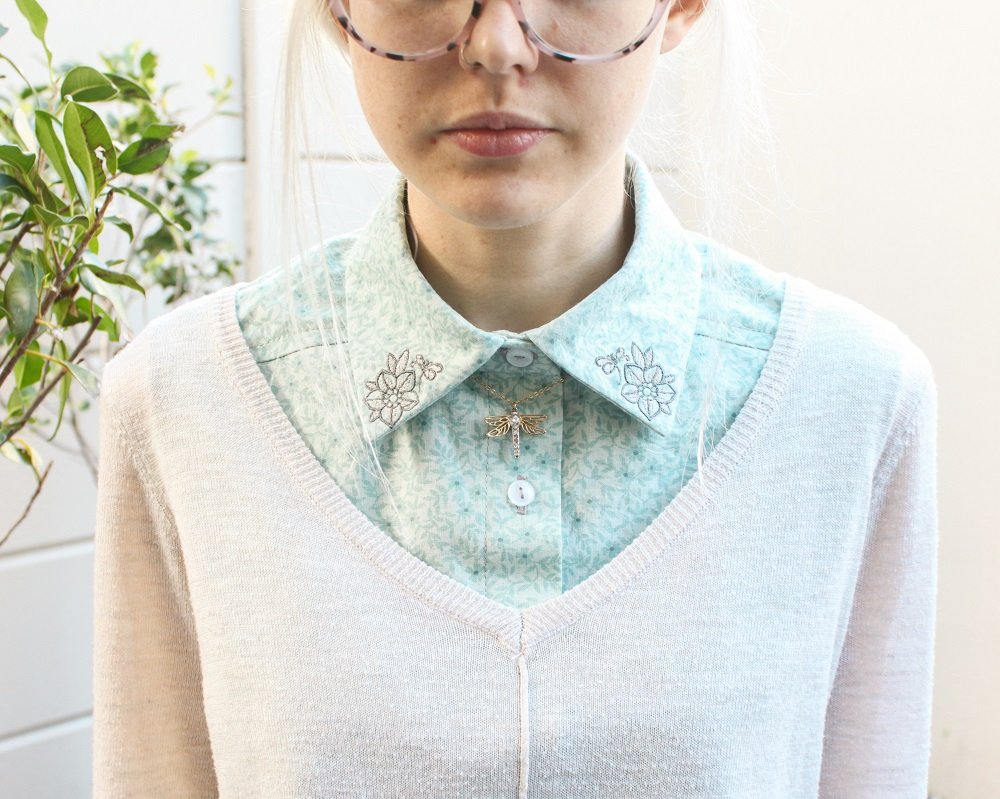
Working from home has become more and more popular during the current pandemic.
This has meant more work meetings as well friendly catch ups with friends and family over video calls.
Staying at home has also caused a shift in the fashion industry. Comfort has become the biggest factor when choosing what to wear.
However, comfortable clothing isn’t necessarily smart enough for meetings, even if it is only over video. There are a few ways to find a balance and I’ll share with you one of my suggestions.
Even though I don’t need to partake in meetings for work, I still want to look good when catching up with friends over video calls.
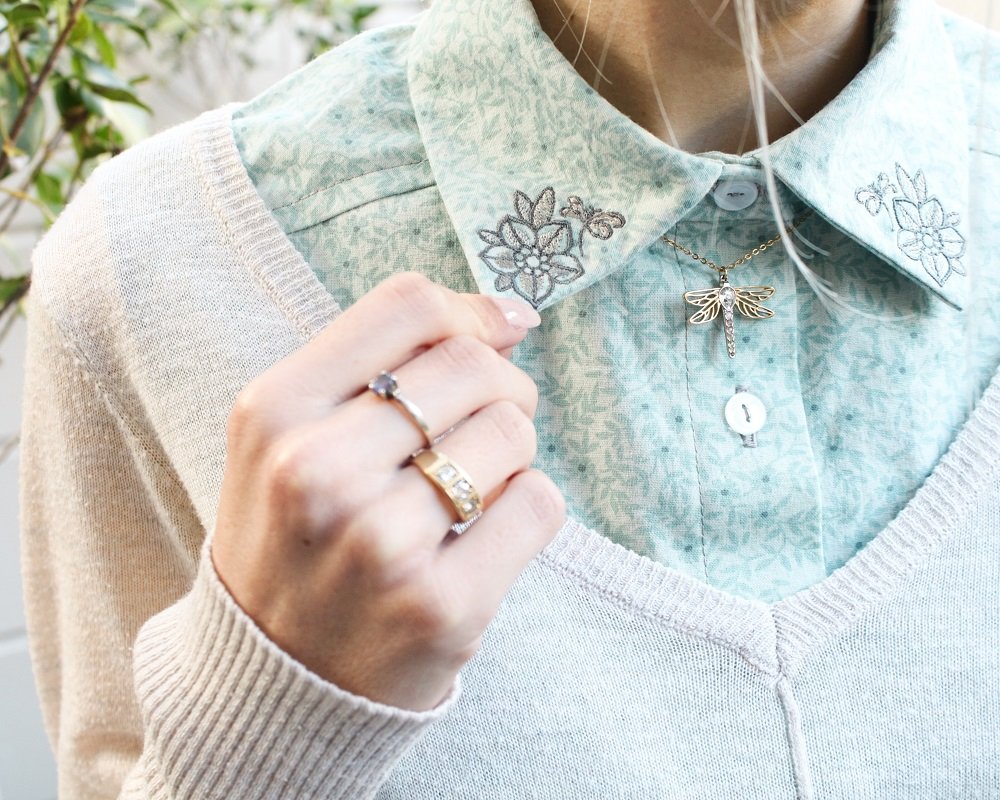
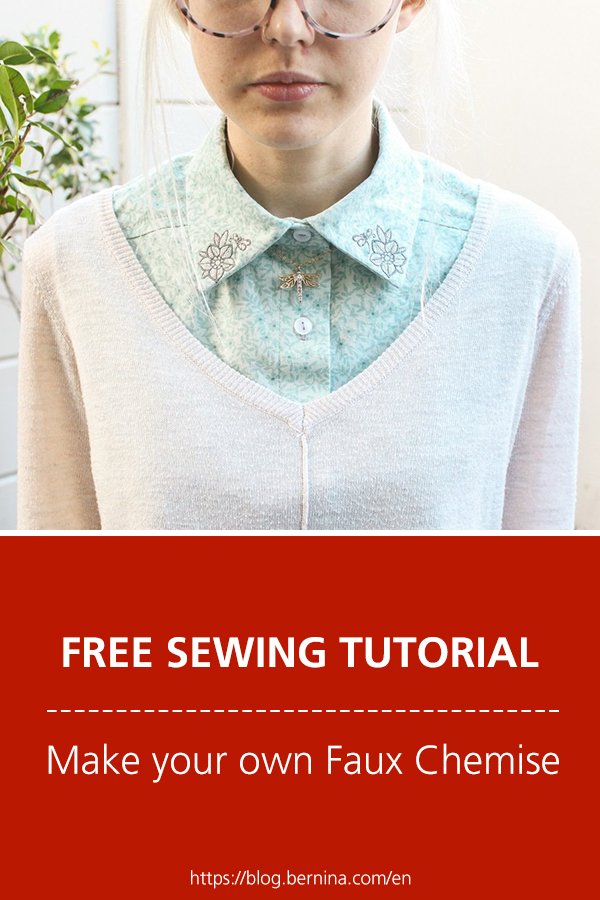
I came across a clever garment called a Faux Chemise [foh shuh meez] or a Chemisette [shuh meez et]. That’s just a fancy way (French) of saying a Fake Shirt. Another name (American) for this garment is a “dickey/dickie”.
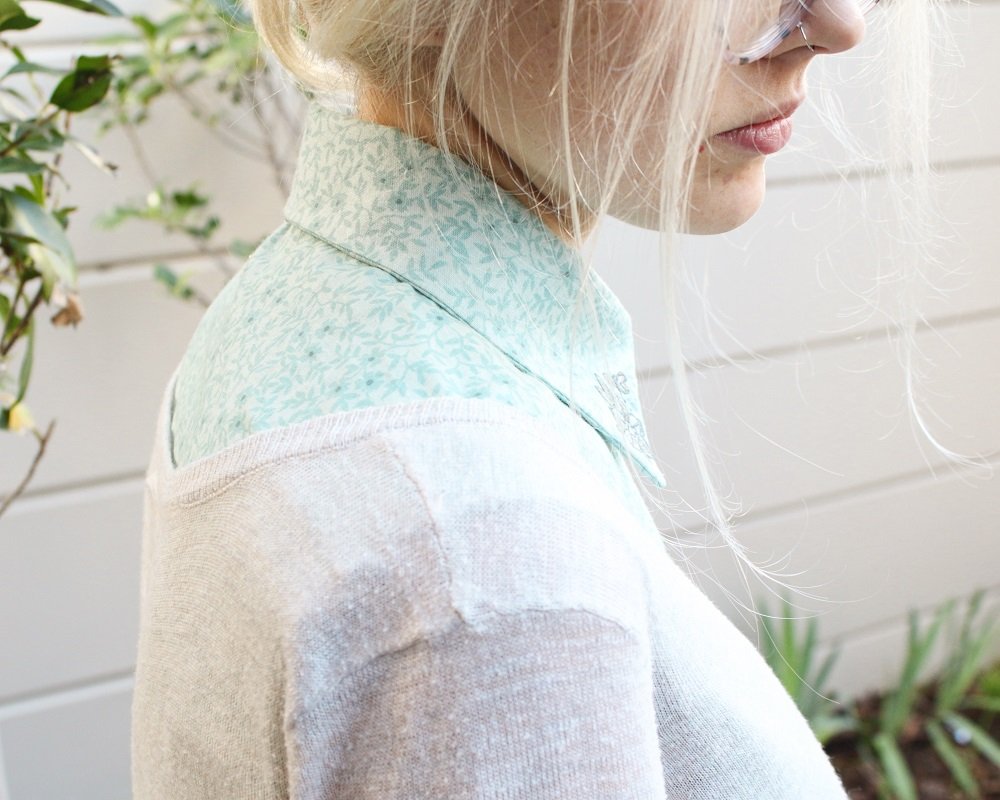
You can wear it under a jersey, long sleeve top or a dress and it looks like you are wearing a collared shirt! But you don’t have to deal with the sometimes uncomfortable cuffed sleeves or stiff bodice. It’s also great for in between weather, when it would be too warm to wear 2 layers but too cold for short sleeves. As a sewist, it is also a sneaky way to make a shirt if you don’t have the effort to actually make a shirt with all the bells and whistles or have limited fabric.
What will be needed:
- Sewing machine
- Overlocker
- Shirt Pattern
- Pattern Paper
- Shirt pattern adaption for a Faux Chemise
- Buttonhole foot #3A
- Woven Fabric (Amount dependent on your adapted Pattern)
- Vilene/Fusable Interfacing
- 4 or 5 Buttons
- Embroidery:
- Embroidery Module
- Embroidery Hoop
- Embroidery foot #26
- Stabiliser
- Embroidery thread
- Embroidery design
- Chalk or removable Fabric Marker
Steps
Pattern Adaption
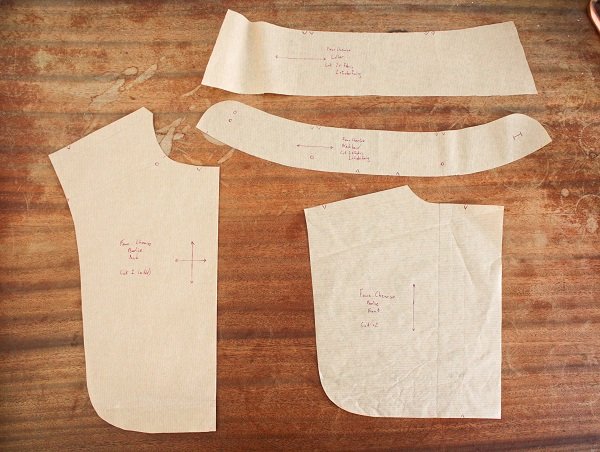
Download my Shirt pattern adaption for a Faux Chemise to learn how to adapt an existing shirt pattern.
You can use any Shirt pattern with a collar. It could even be a Shirt Dress or a men’s Classic Shirt pattern.
Or have a look for free “Button Down Shirt” or “Classic Collared Shirt” patterns available on the internet.
Embroidery
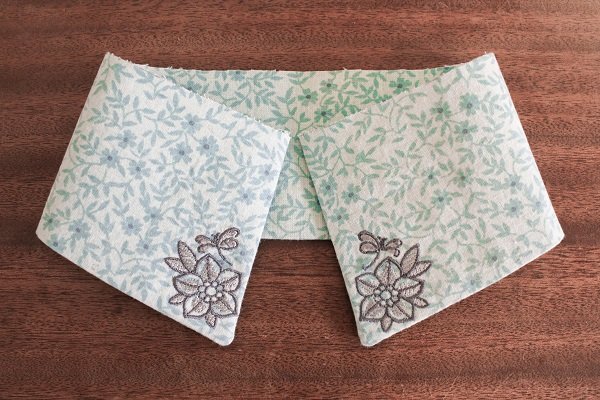
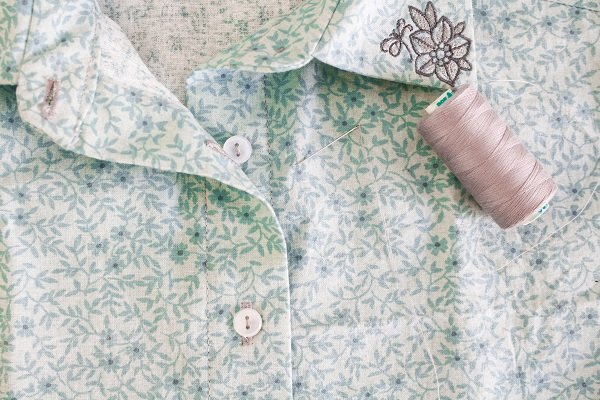
For an extra bit of customizing, embroider on to the corners of the Collar.
I would suggest embroidering before cutting out the Collar from your fabric.
Keep in mind how the Collar will sit once attached when figuring out the embroidery placement.
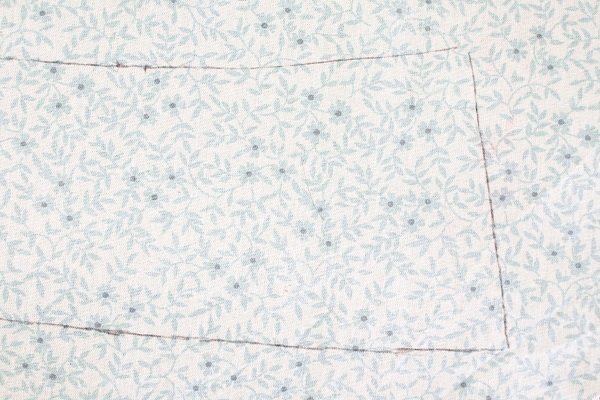
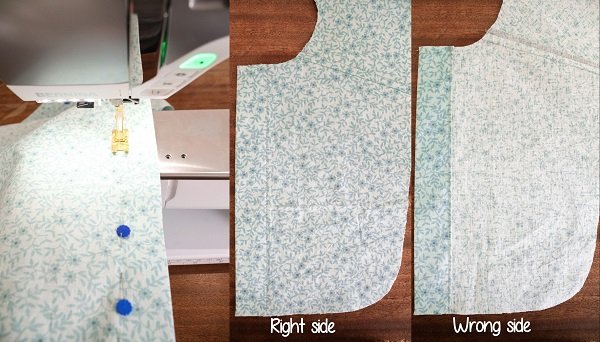
- Draw the Collar piece on to the right side of the fabric with Chalk or removable Fabric Marker.
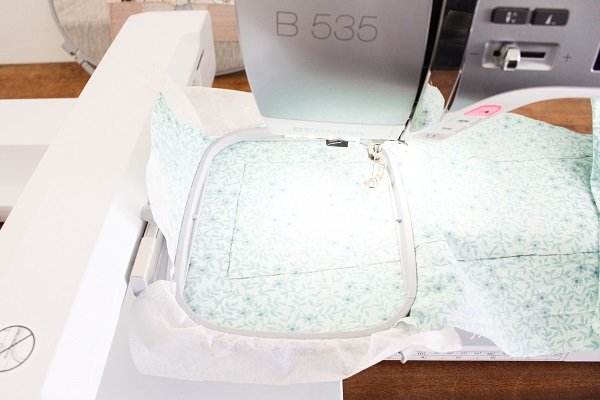
- Place the Fabric in to the Embroidery Hoop with the stabiliser.
Focus on embroidering one corner at a time.
I chose to use Tear-away stabiliser and placed it below the Fabric in the Hoop.
I tried as much as possible to place the area to be embroidered in the centre of the Hoop.
A Small Hoop would work really well, I used a Medium Hoop as that is the smallest I have.
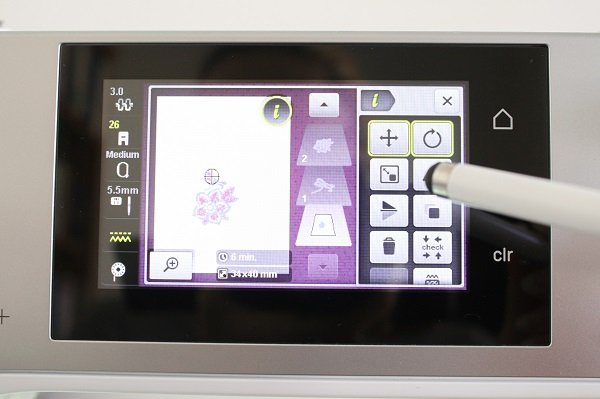
- Choose the Embroidery Design. Adjust the size and position if necessary.
Keep in mind the Seam Allowances on the Collar when placing the design.
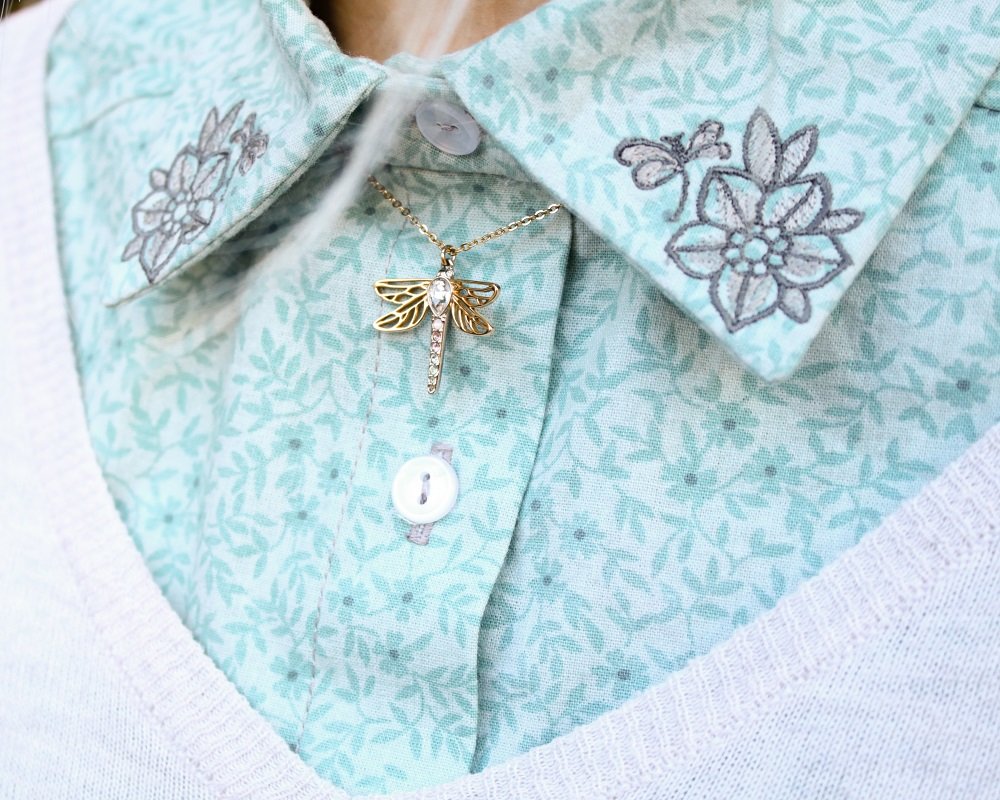
I combined the Cherry Blossom Flower & Dragonfly designs digitized by Igor Denisov.
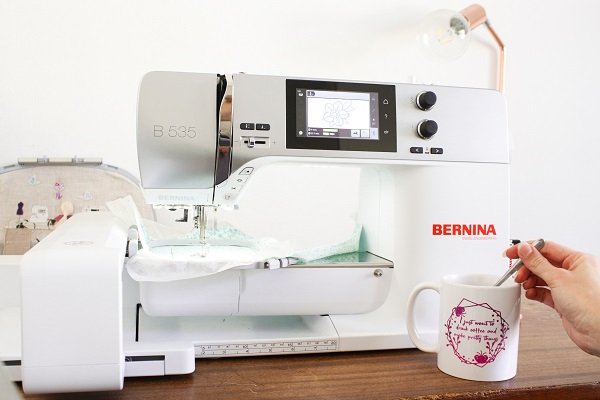
- Grab a cup of coffee and embroider.
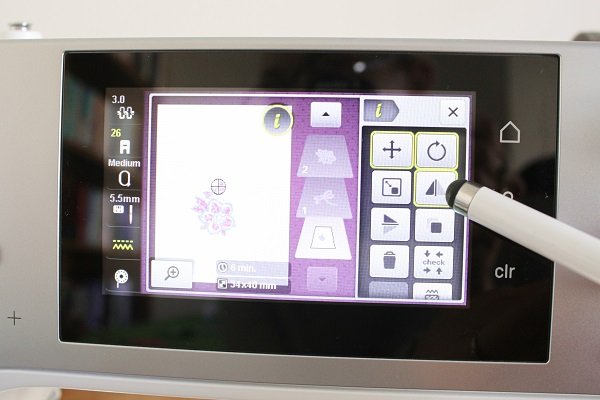
- Remove the Fabric from the Hoop and repeat the above steps for the other half of the Collar.
Consider mirroring the design and remember to adjust the placement.
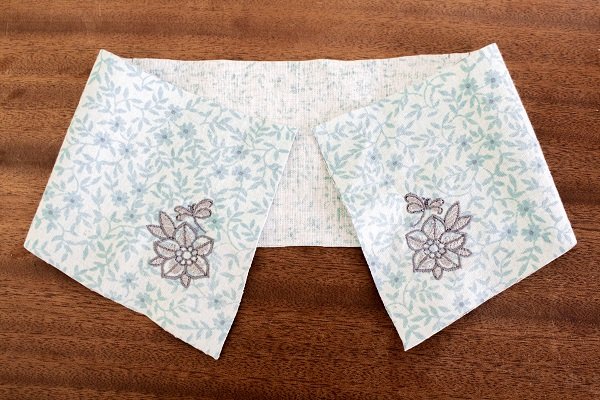
- Remove the Stabiliser from the Embroidery design and cut out the Collar.
Fusing/Interfacing
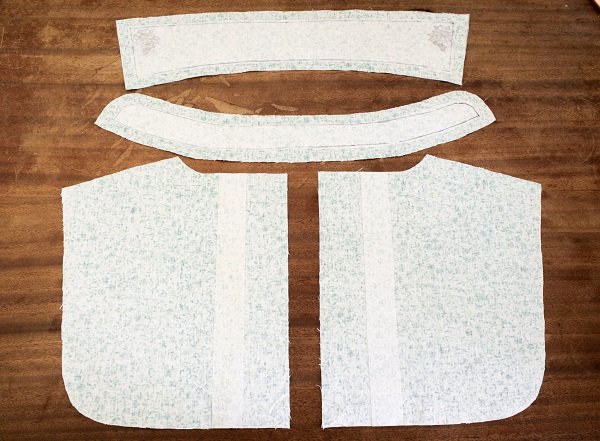
Iron on Interfacing on the wrong side of:
- one Neckband
- one Collar (the Embroidered Collar)
- both Button Stands along the Button/Buttonhole placements.
Sewing
It’s always a good idea to read the instructions that come with your pattern.
These are the steps I used to assemble my garment.
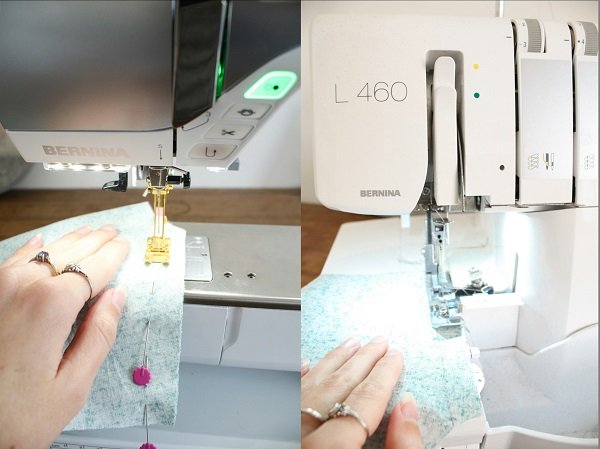
- Join the Front to the Back along the Shoulder seams.
Straight stitch using your patterns seam allowance & Overlock the raw edges.
- Press the seam towards the Back and topstitch it in place.
- Attach your Button stand if it is separate (mine is cut on). Press along the fold lines.
- Secure the Button stand in place.
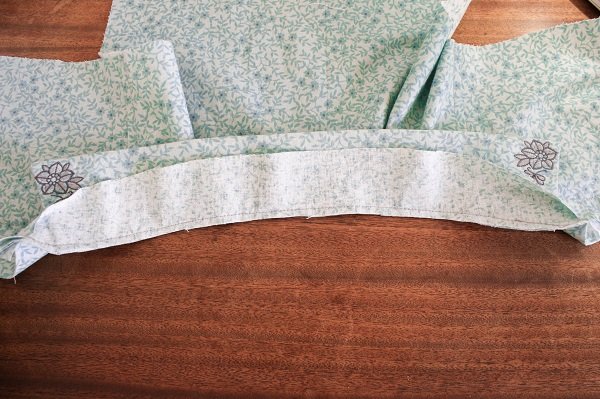
- Attach the interfaced Neckband to the neckline. Match up the notches and extend the seam allowance past the Button stand.
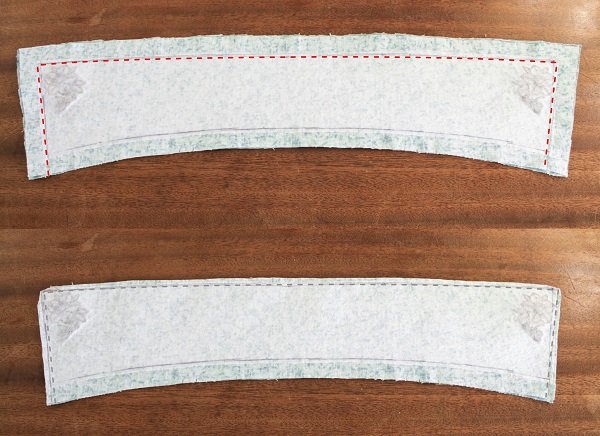
- Join the Collar pieces together. Leave open the part that joins the Neckband.
Trim the seam allowance and closely snip around the points. Be careful not to cut the stitches.
- Turn the Collar right-side out and press. I used a knitting needle to help get more pointed corners.
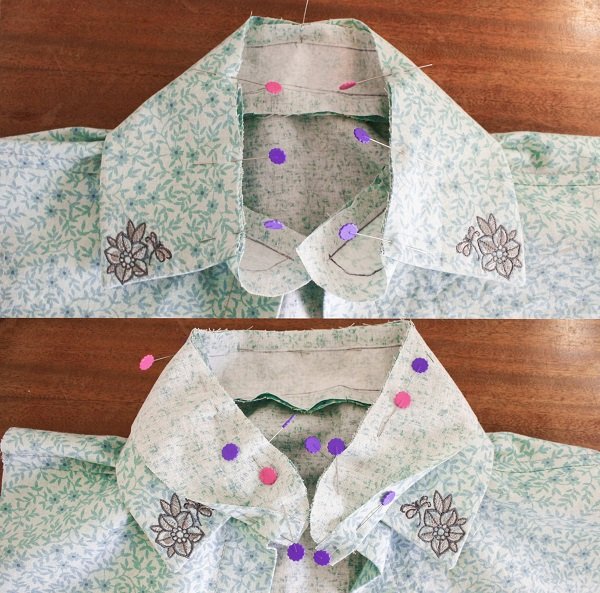
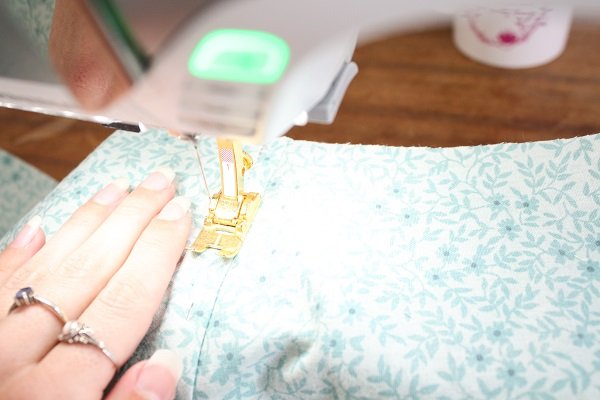
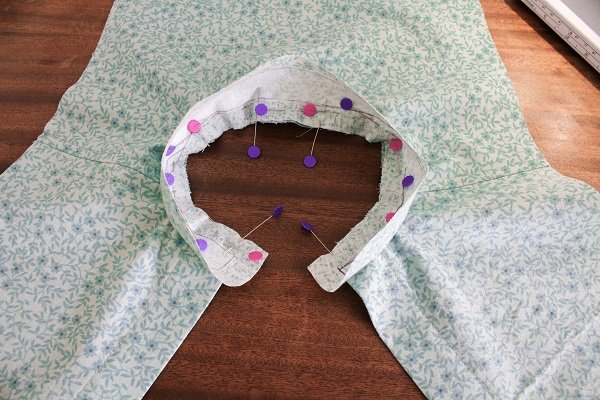
- Match up the notches and pin the Collar to the Neckband.
Pin the other Neckband piece on top of the Collar, folding up the seam allowance.
Stitch them all together.
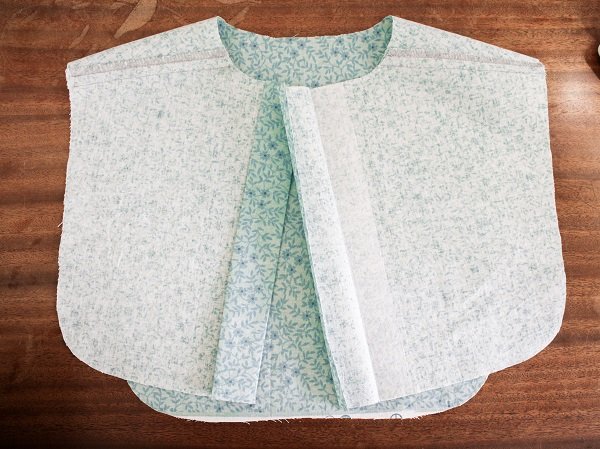
- Trim the seam allowance and turn right side out.
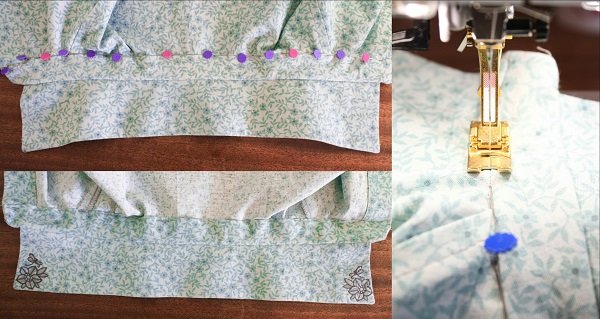
- Fold in the seam allowance and pin in place.
Secure by stitching in the ditch.
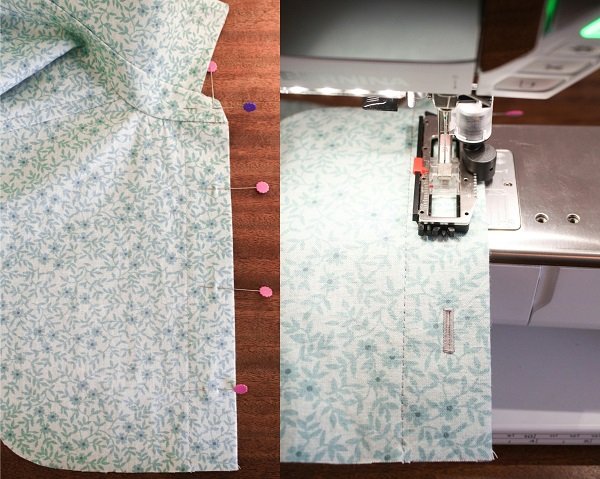
- Mark the placement of the buttonholes.
Traditionally for a woman’s shirt, the Buttonholes are on the right.
Stitch the Buttonholes. I used foot #3A.

- Match up the bottom of the Button stands and pin together.
Finish the raw edges of the garment. I used my Overlocker but you could bind it or sew a hem.
- Open the Buttonholes and attach the Buttons.

Tips
- An even simpler way to make a Faux Chemise would be to refashion an existing shirt.
- You could make the garment out of lace for something very feminine.
- Have fun with different styled collars: mandarin with ruffles, rounded corners, peter-pan…
- You could make the collar a contrasting colour the body of the garment.
- If you find your garment rides up or moves around too much; add elastic or adjustable straps at the bottom points to join the front to the back under your arms.
I would love to see what you make, please feel free to share with me!
Instagram
Facebook
-Hannah-Rose


What about some matching cuffs to complete the shirt story… They could peep out from under the jersey.
Oh my, yes! That would be cute!
Great idea Angie 😉