 BERNINA Corporate Blog -
Hello my sewing friends
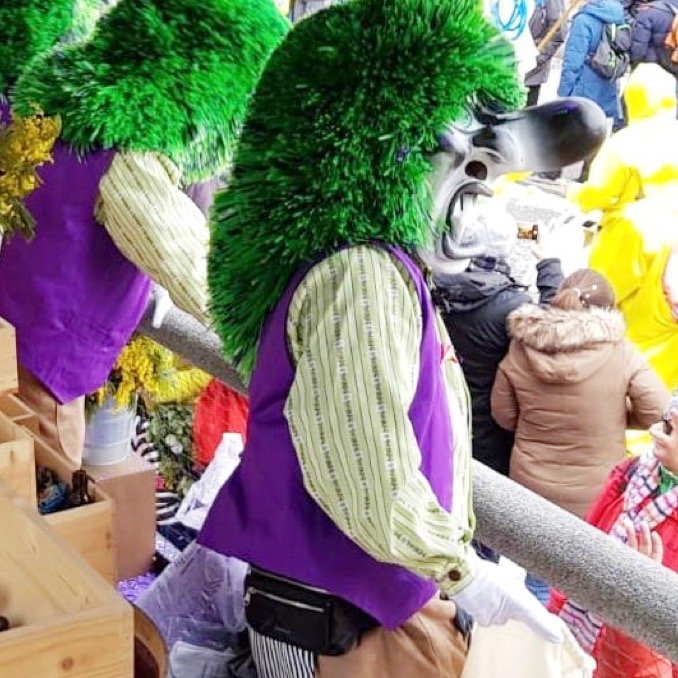
Today I got something different for you. A little while ago a dear friend asked me to upcycle a carnival costume he used back in 2019. Spontaneously he thought of a vest but he admitted to rarely wearing green so in the end I decided to make two vests for his two boys.
This was the original carnival costume.
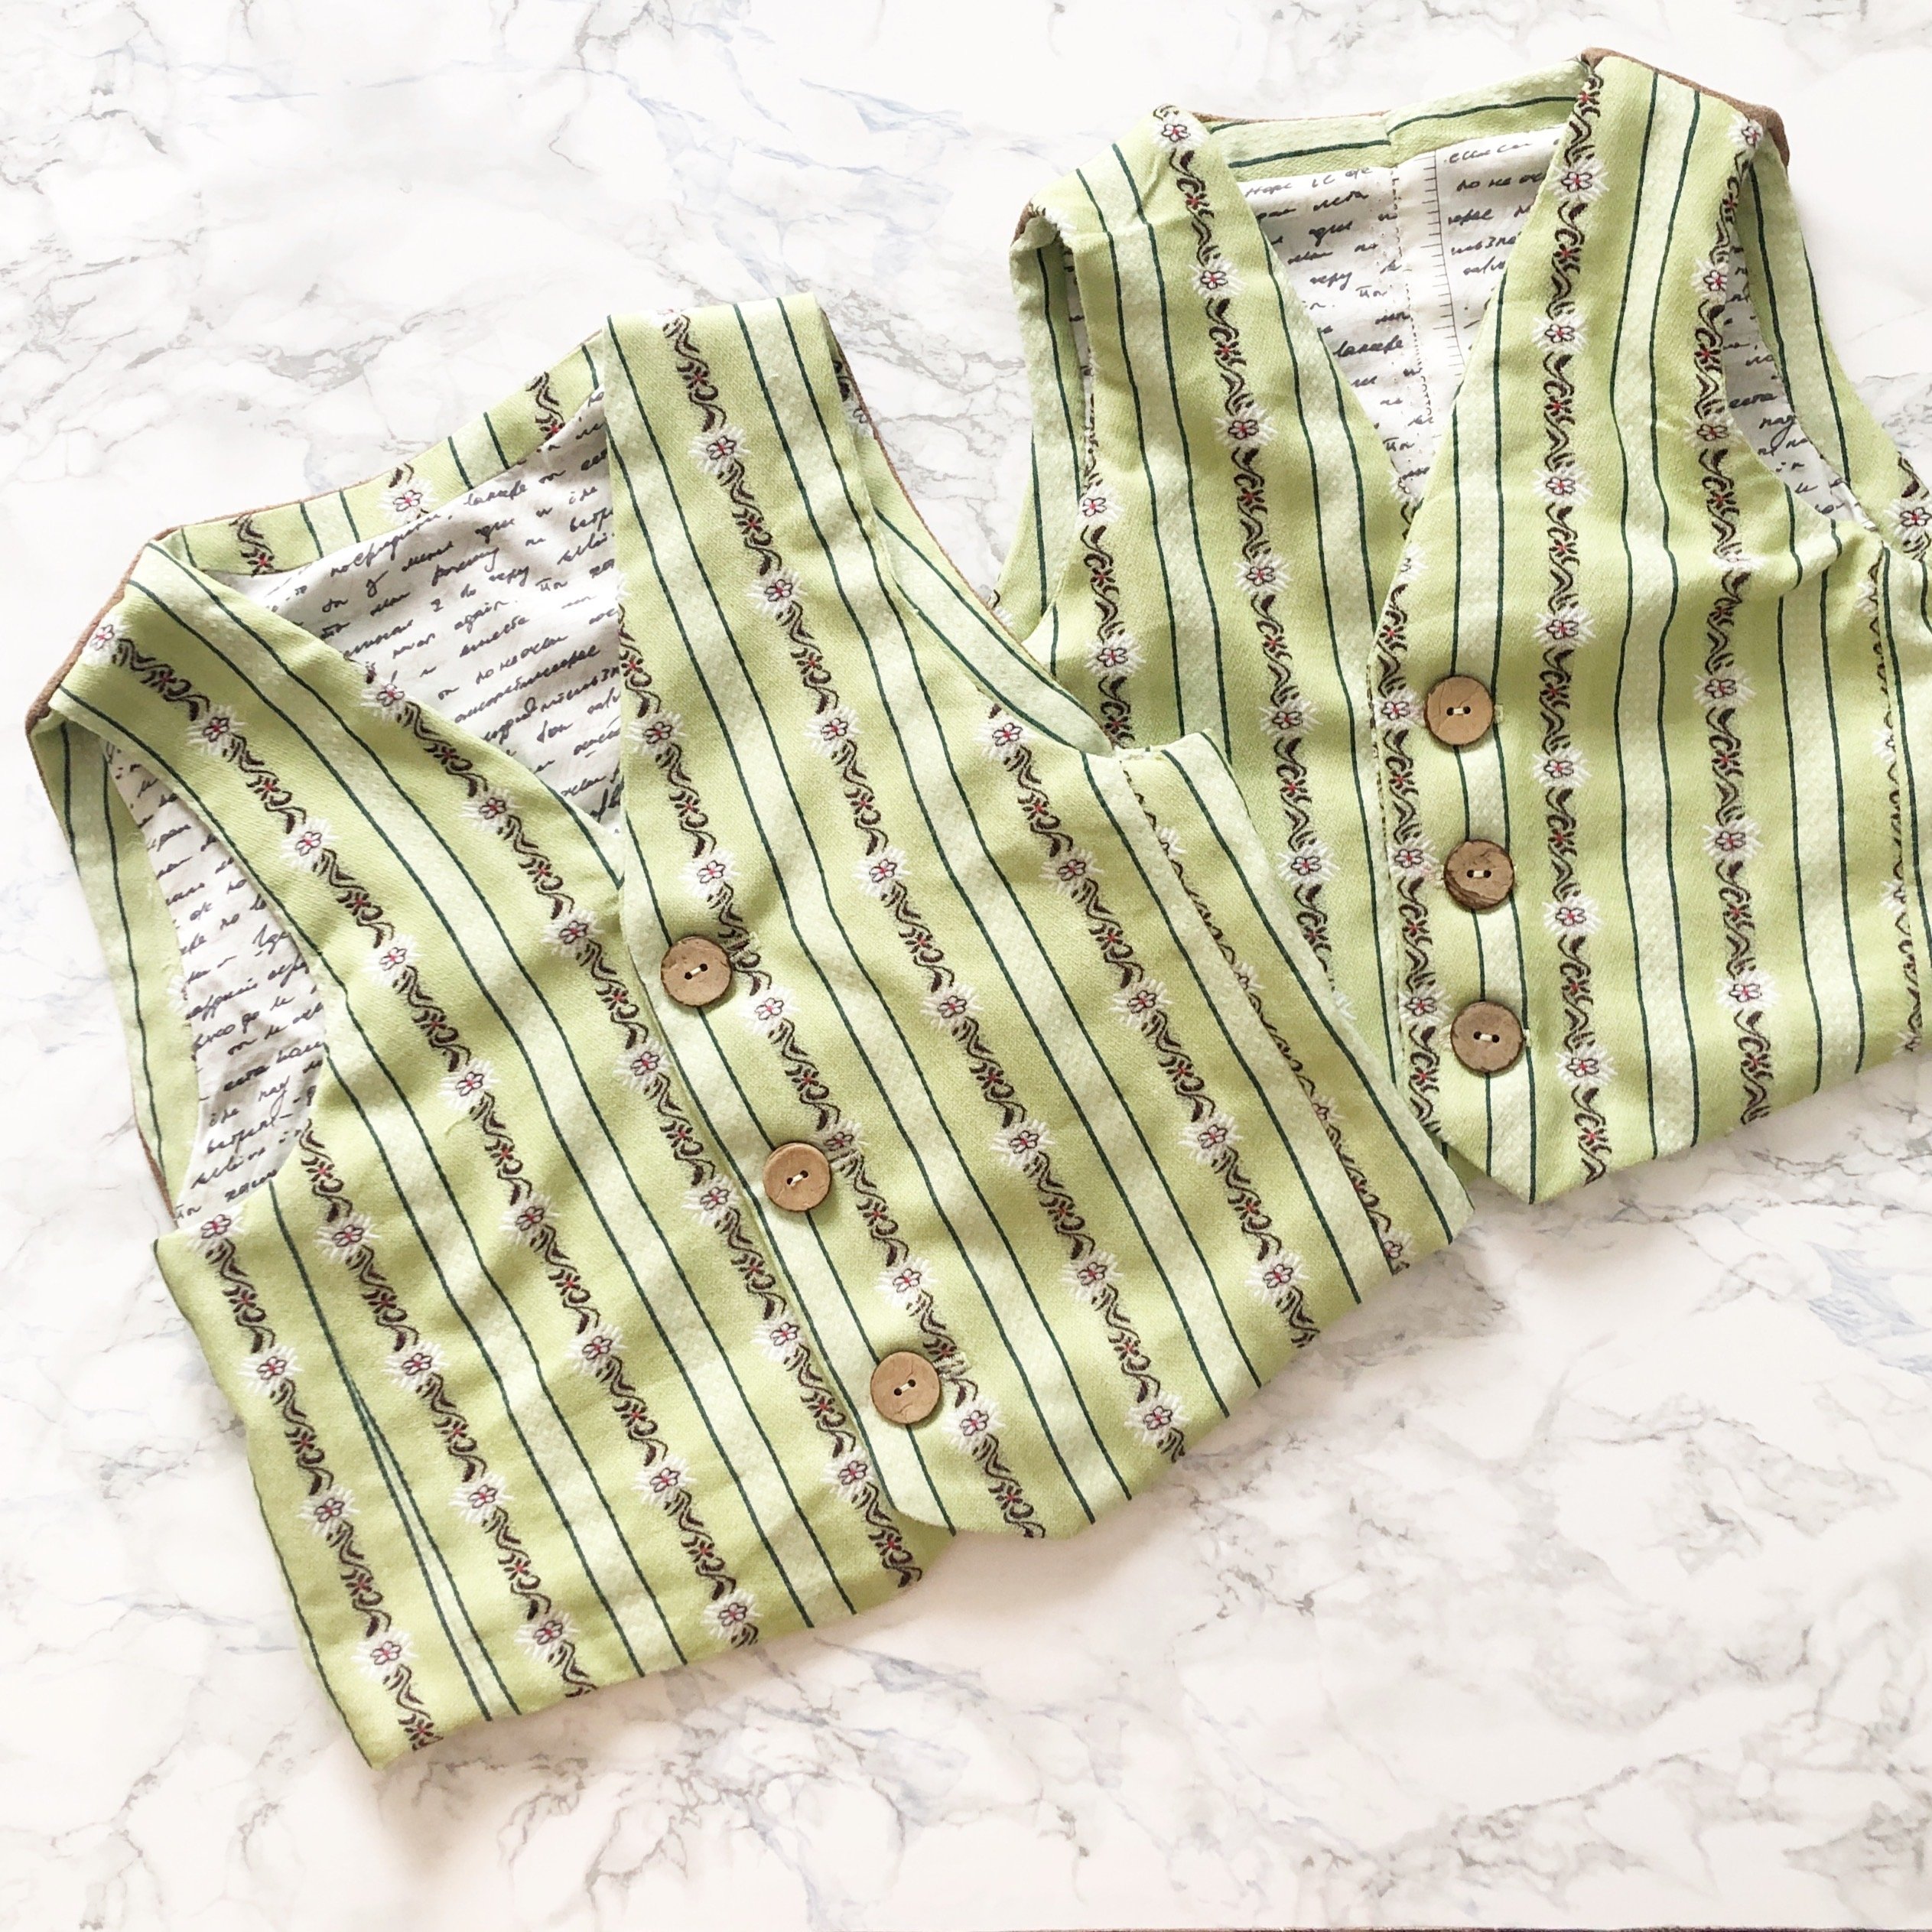
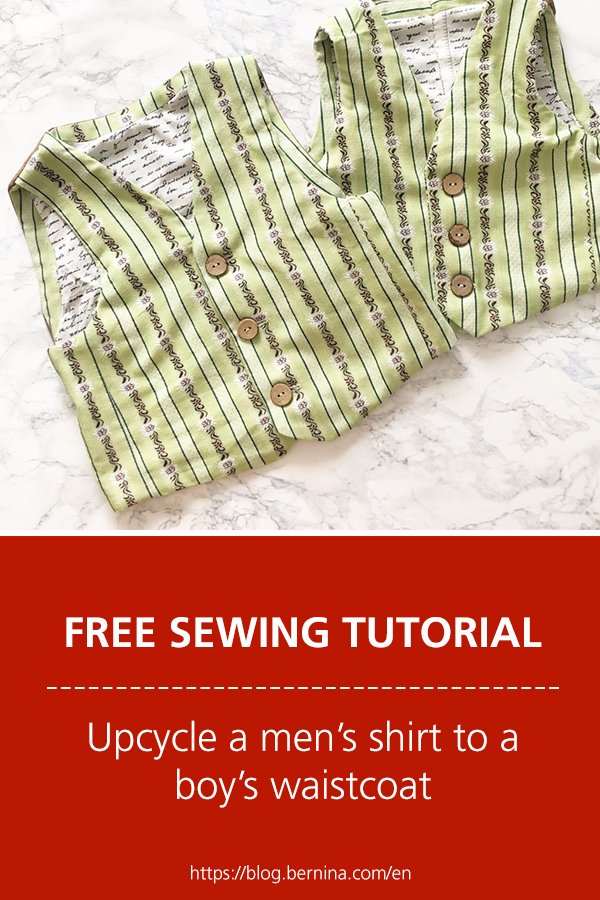
And this is what I made of it.
I browsed the Makerist site and landed on a sewing pattern that would lend itself to a casual vest but also some fancier occasions.
First I had to check how much fabric the costume would yield so “out with the scissors”! After I “harvested” all the materials this is what I had to work with.
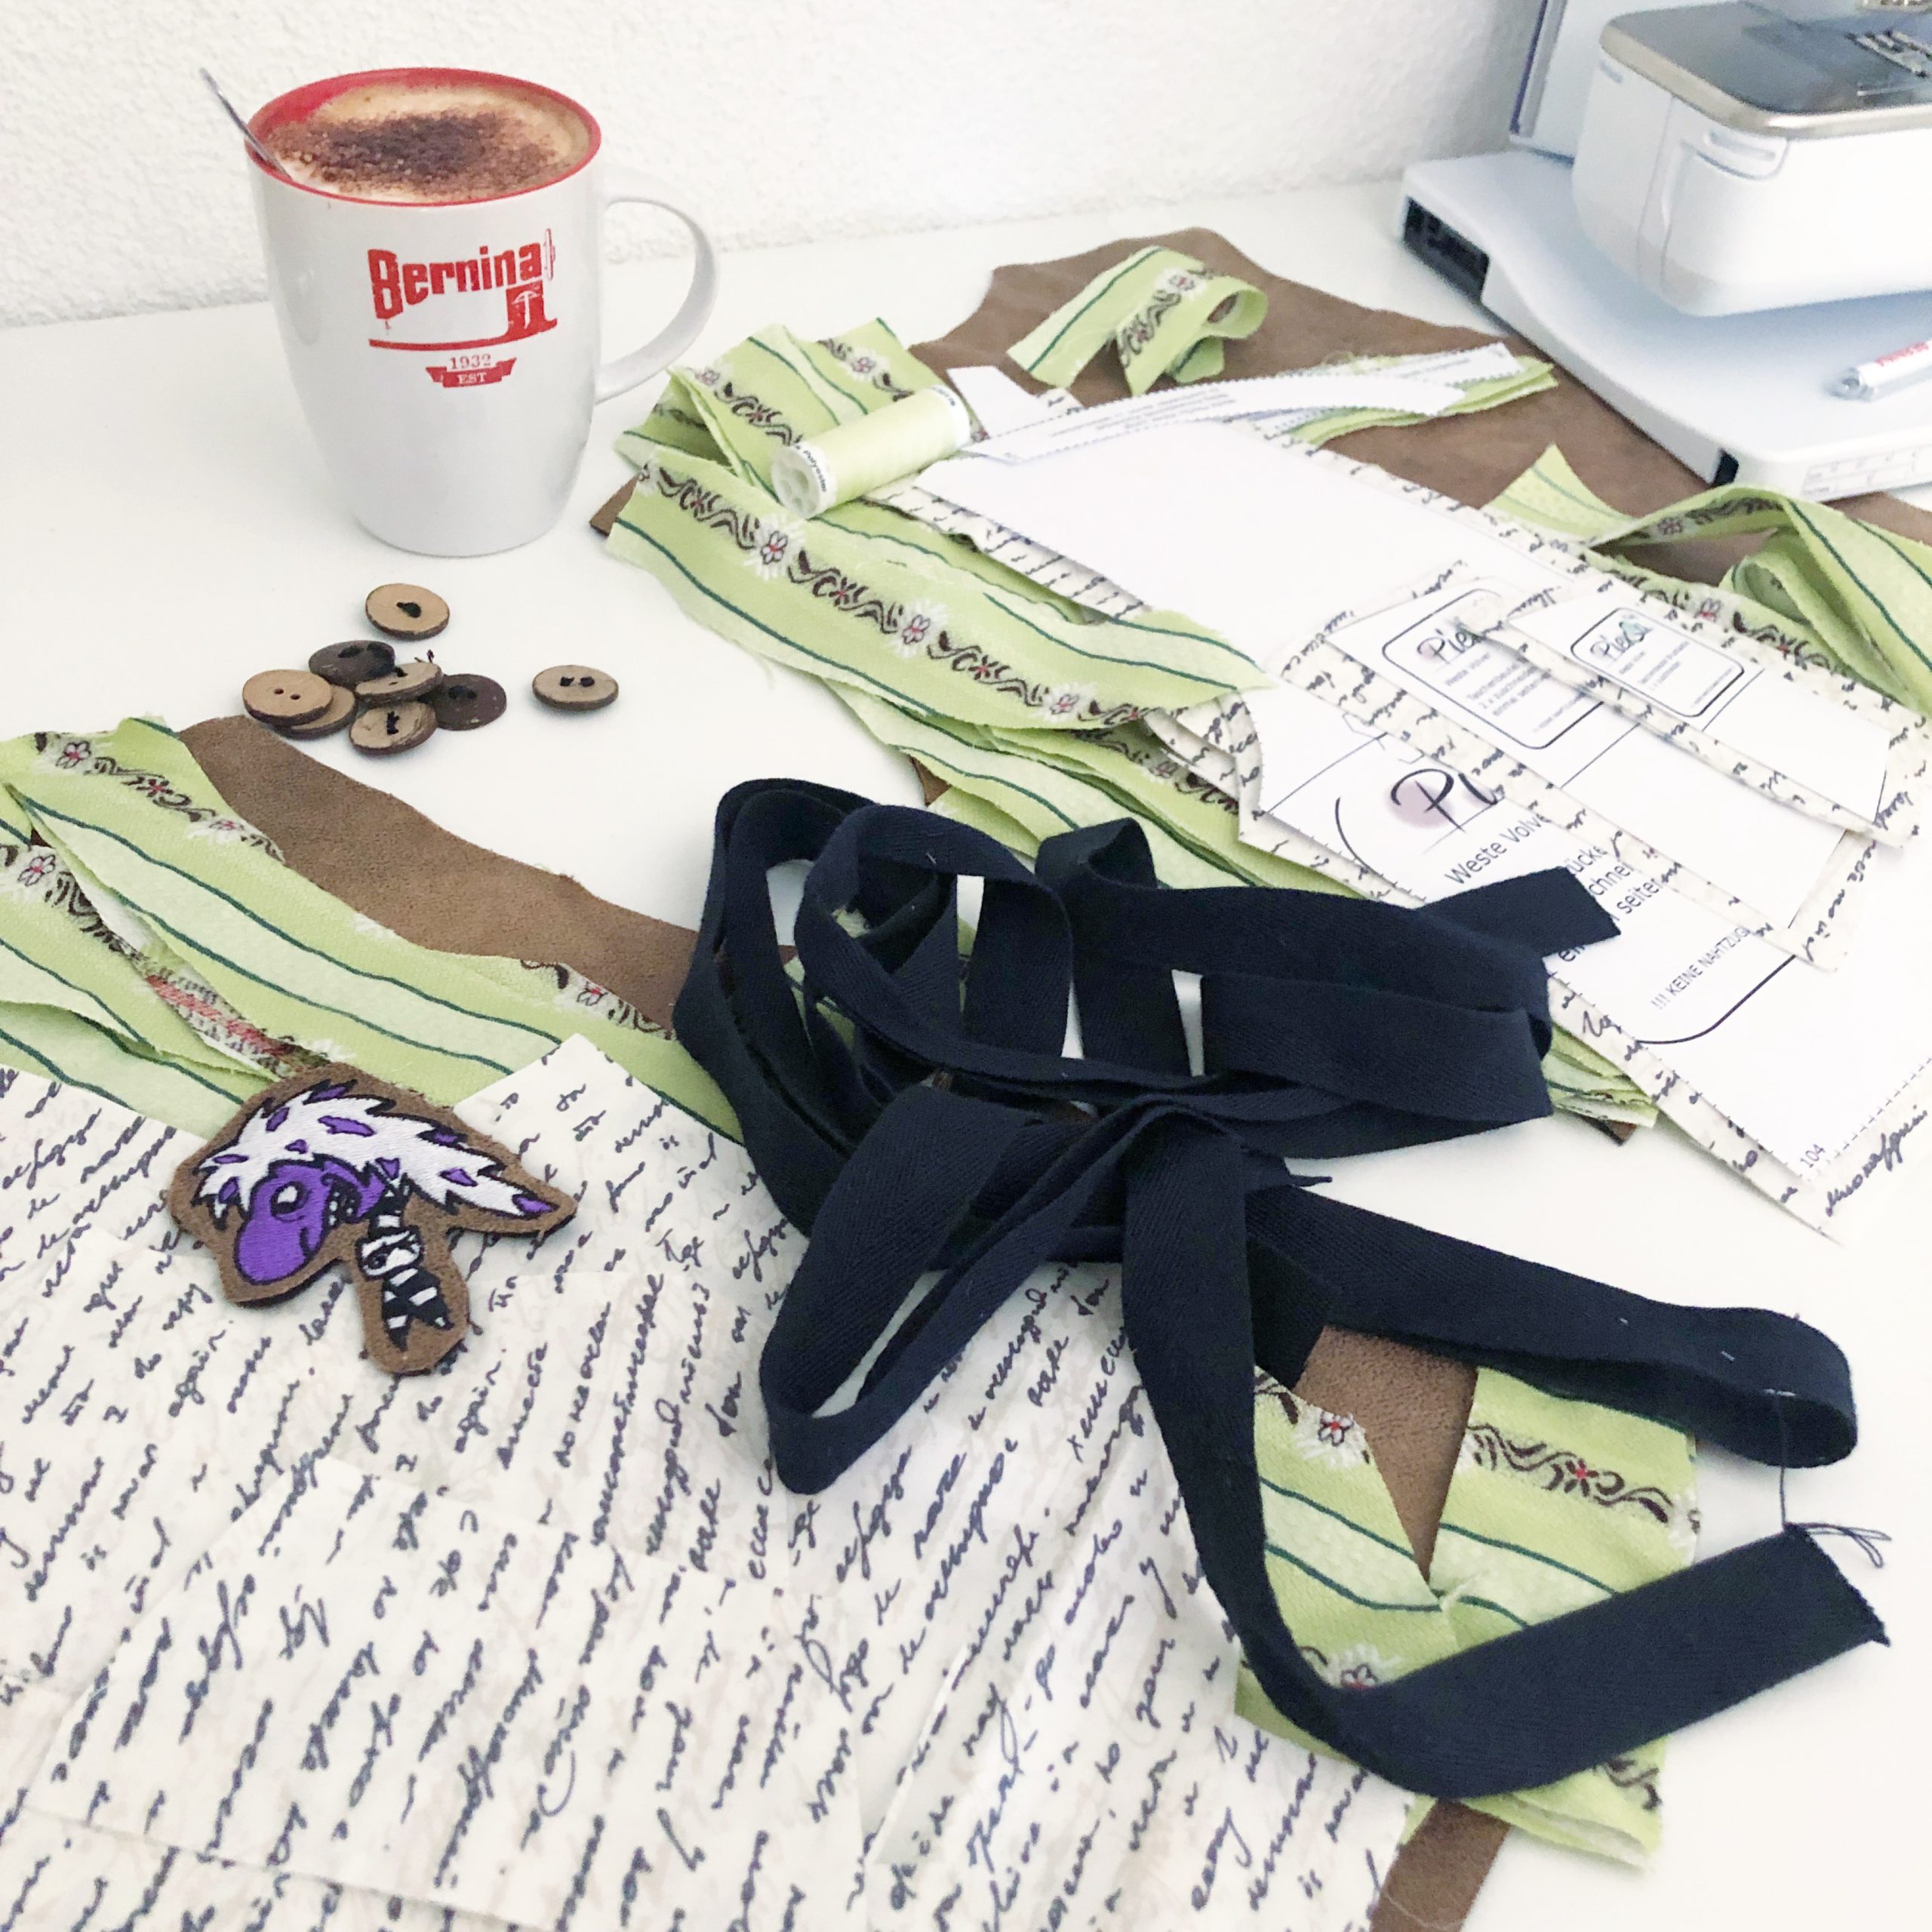
You can see some carnival greetings coming my way while taking the whole thing apart.

After cutting it was time for the sewing part. The instructions were pretty straightforward.
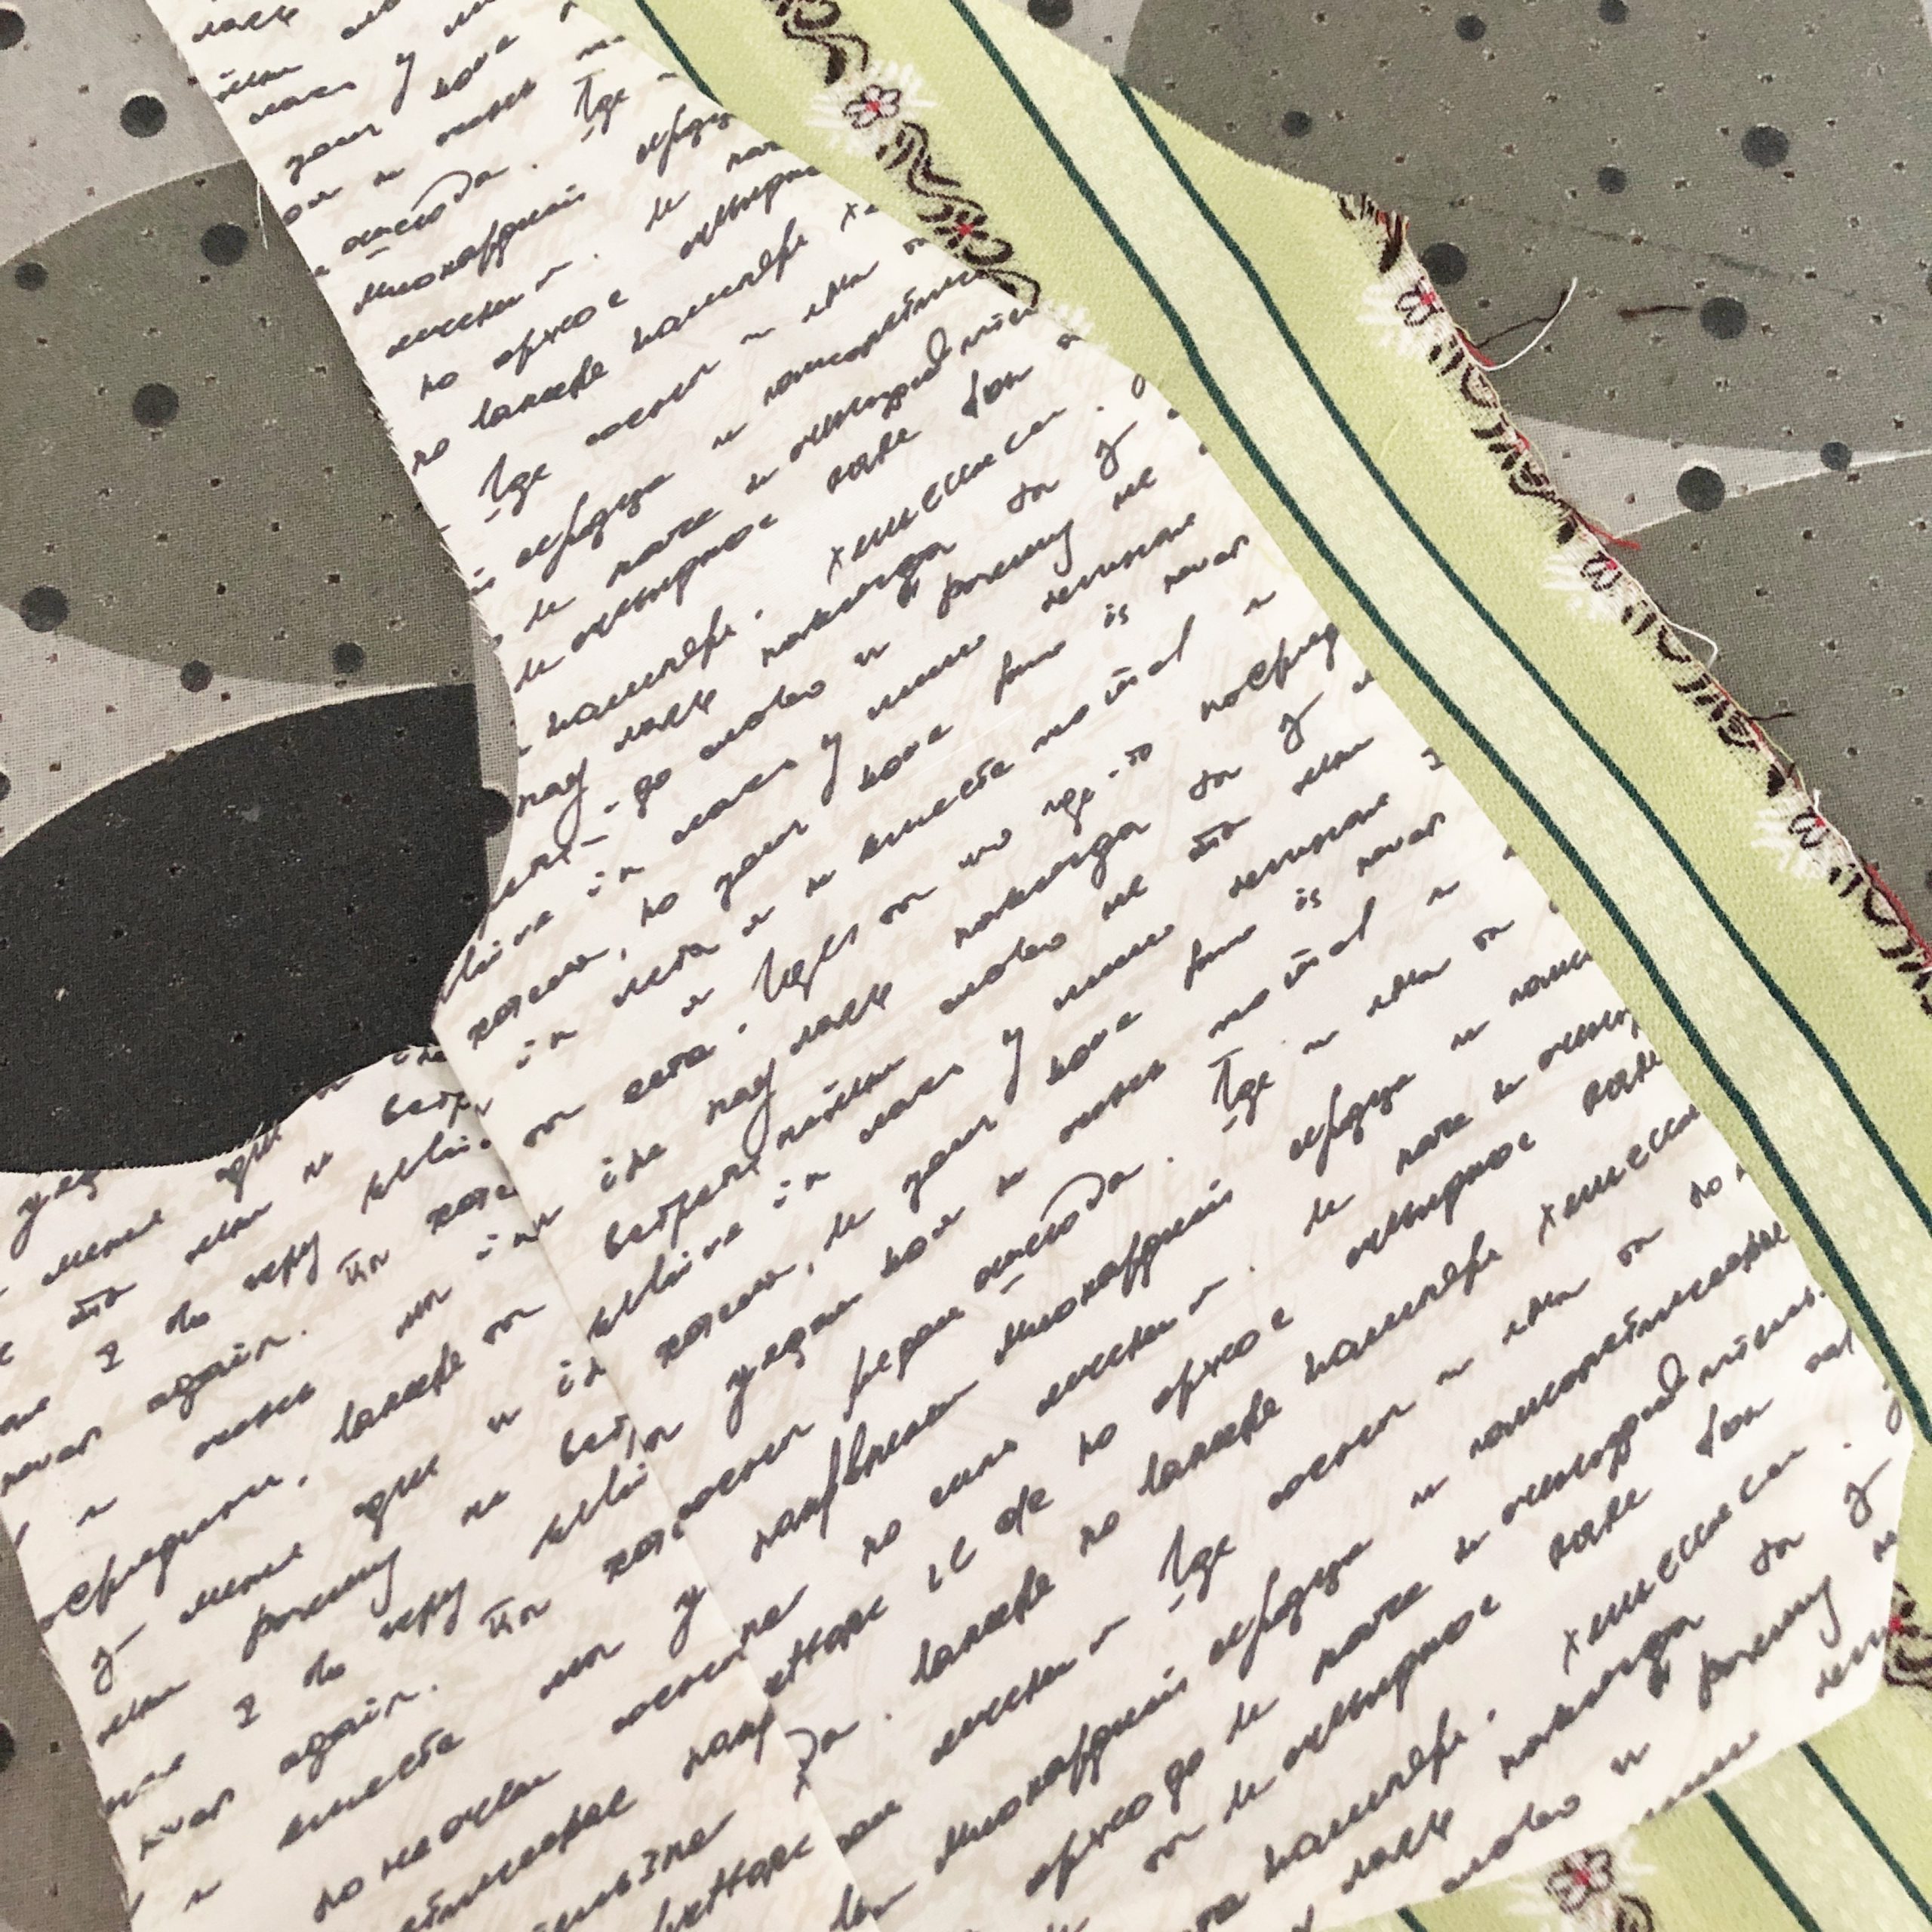
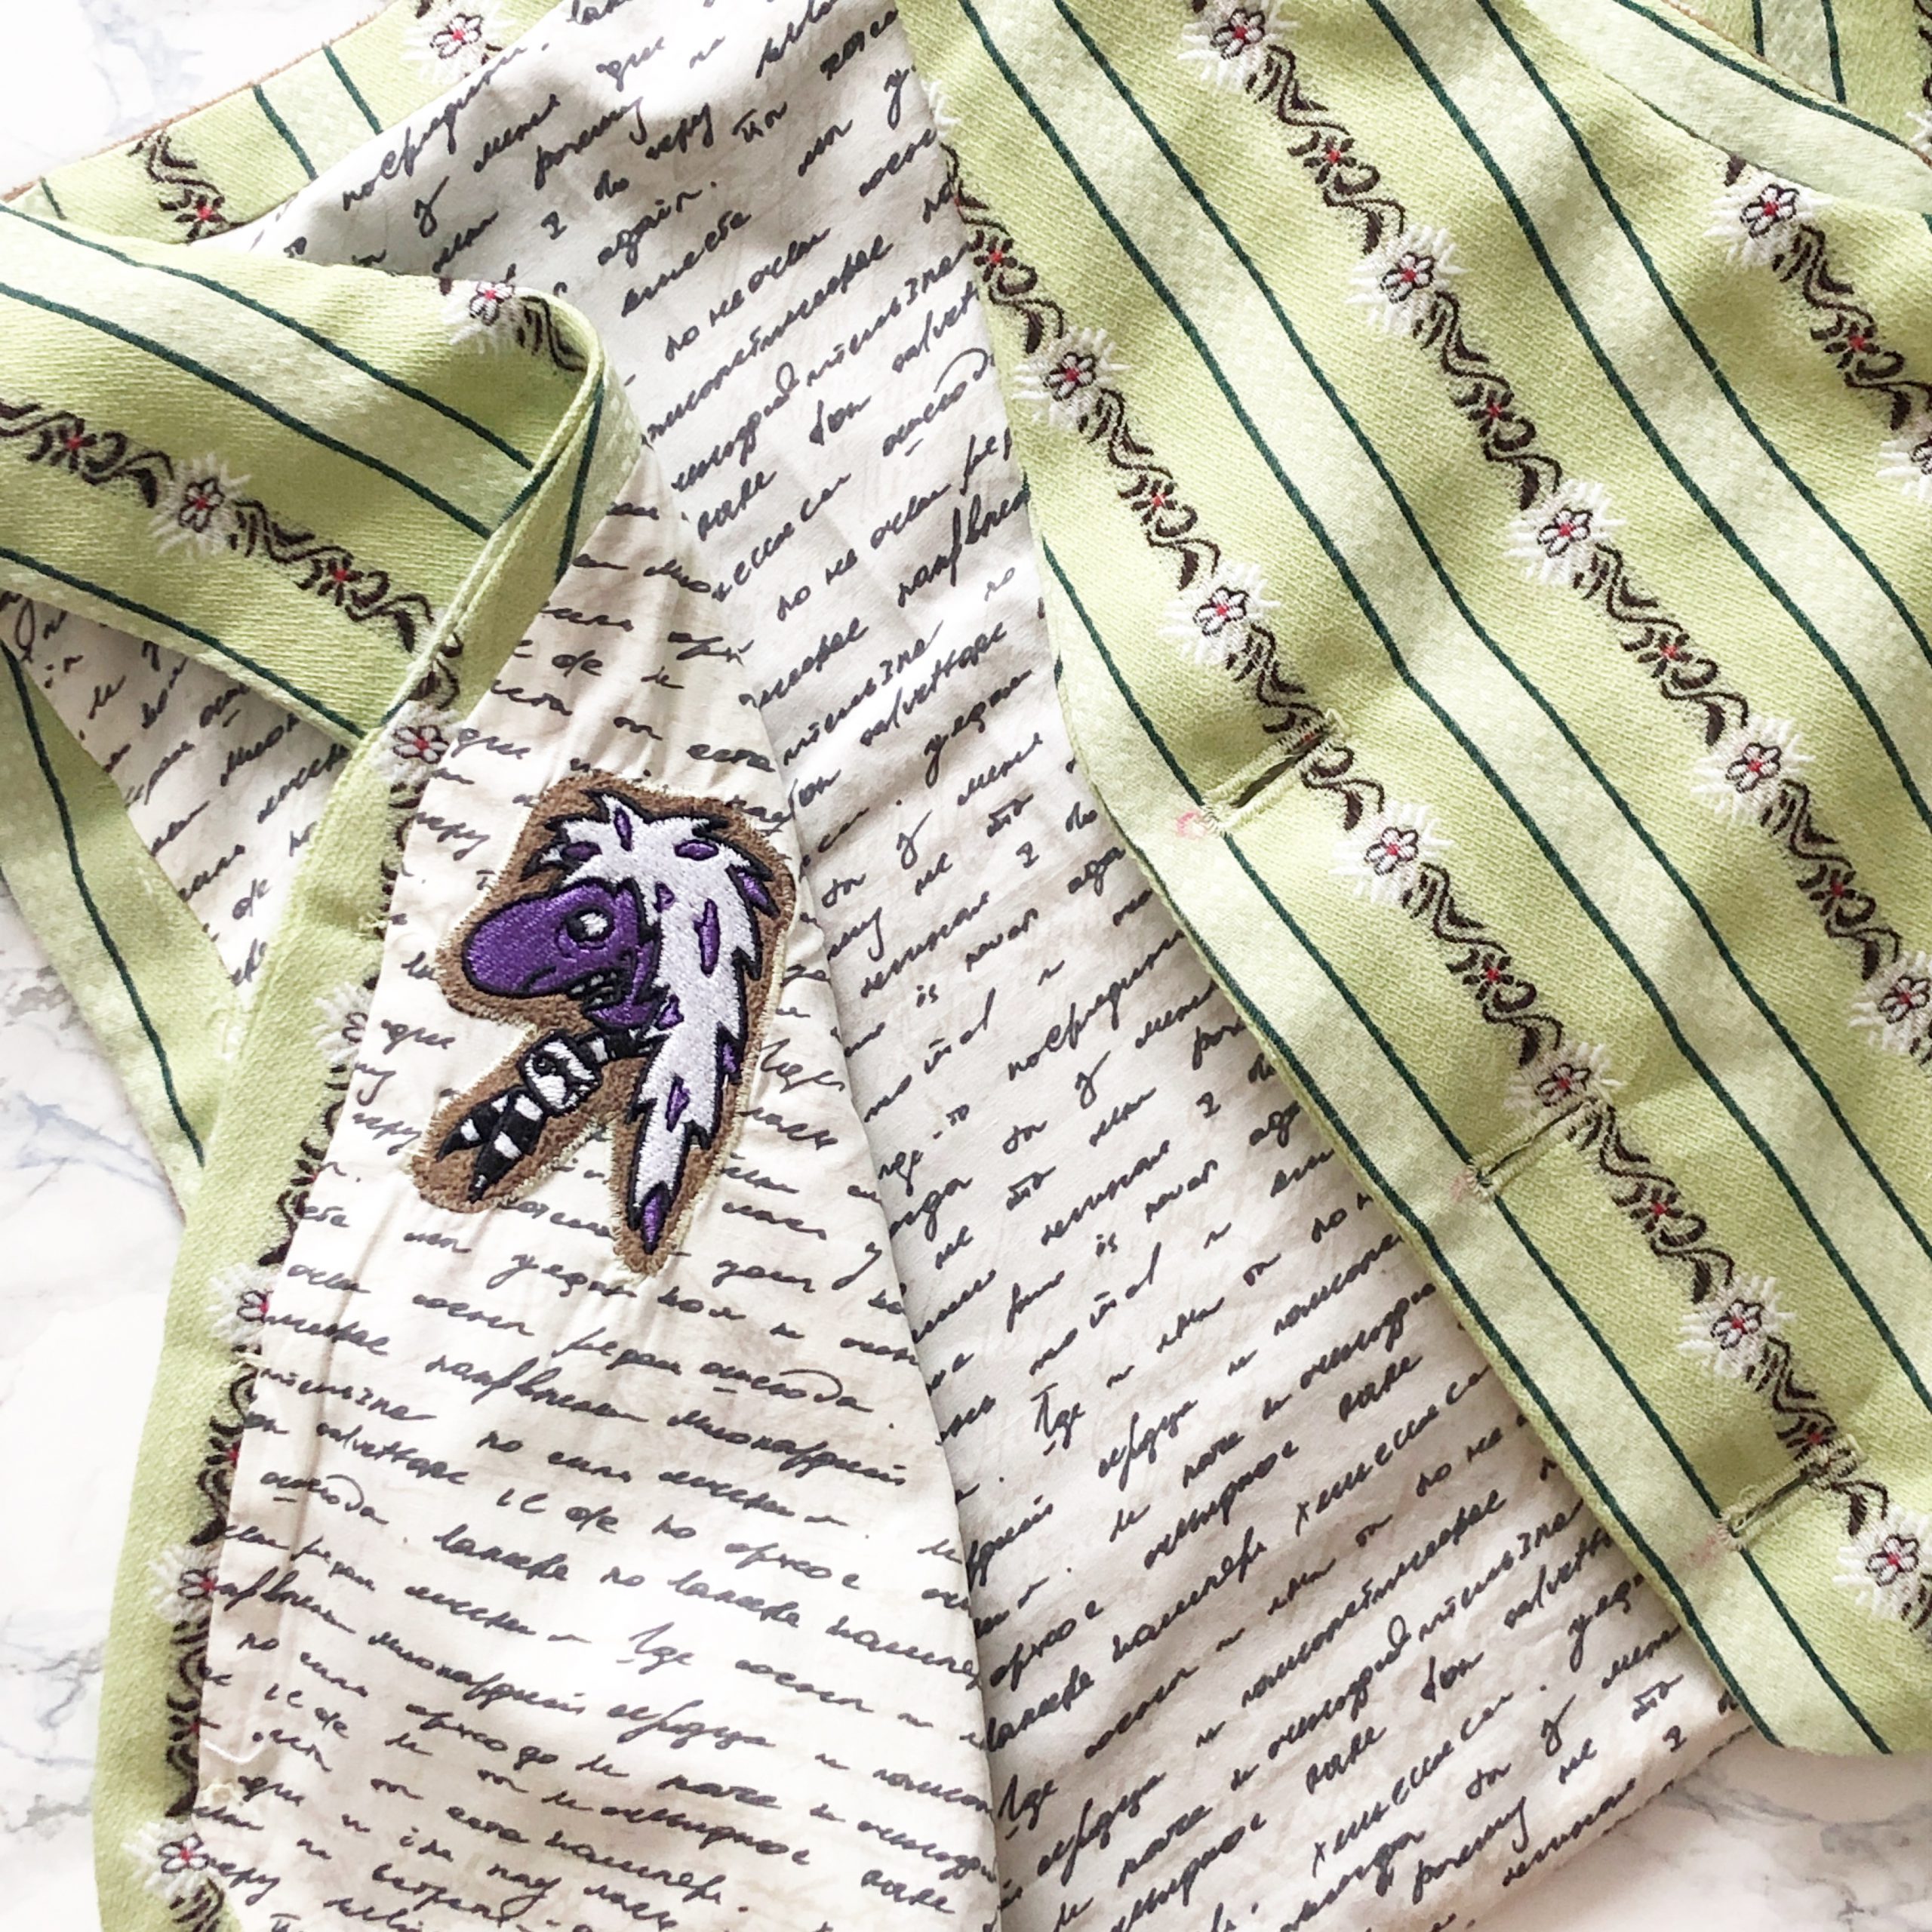
First I sewed the facings to the lining fabric to make one continuous front piece.
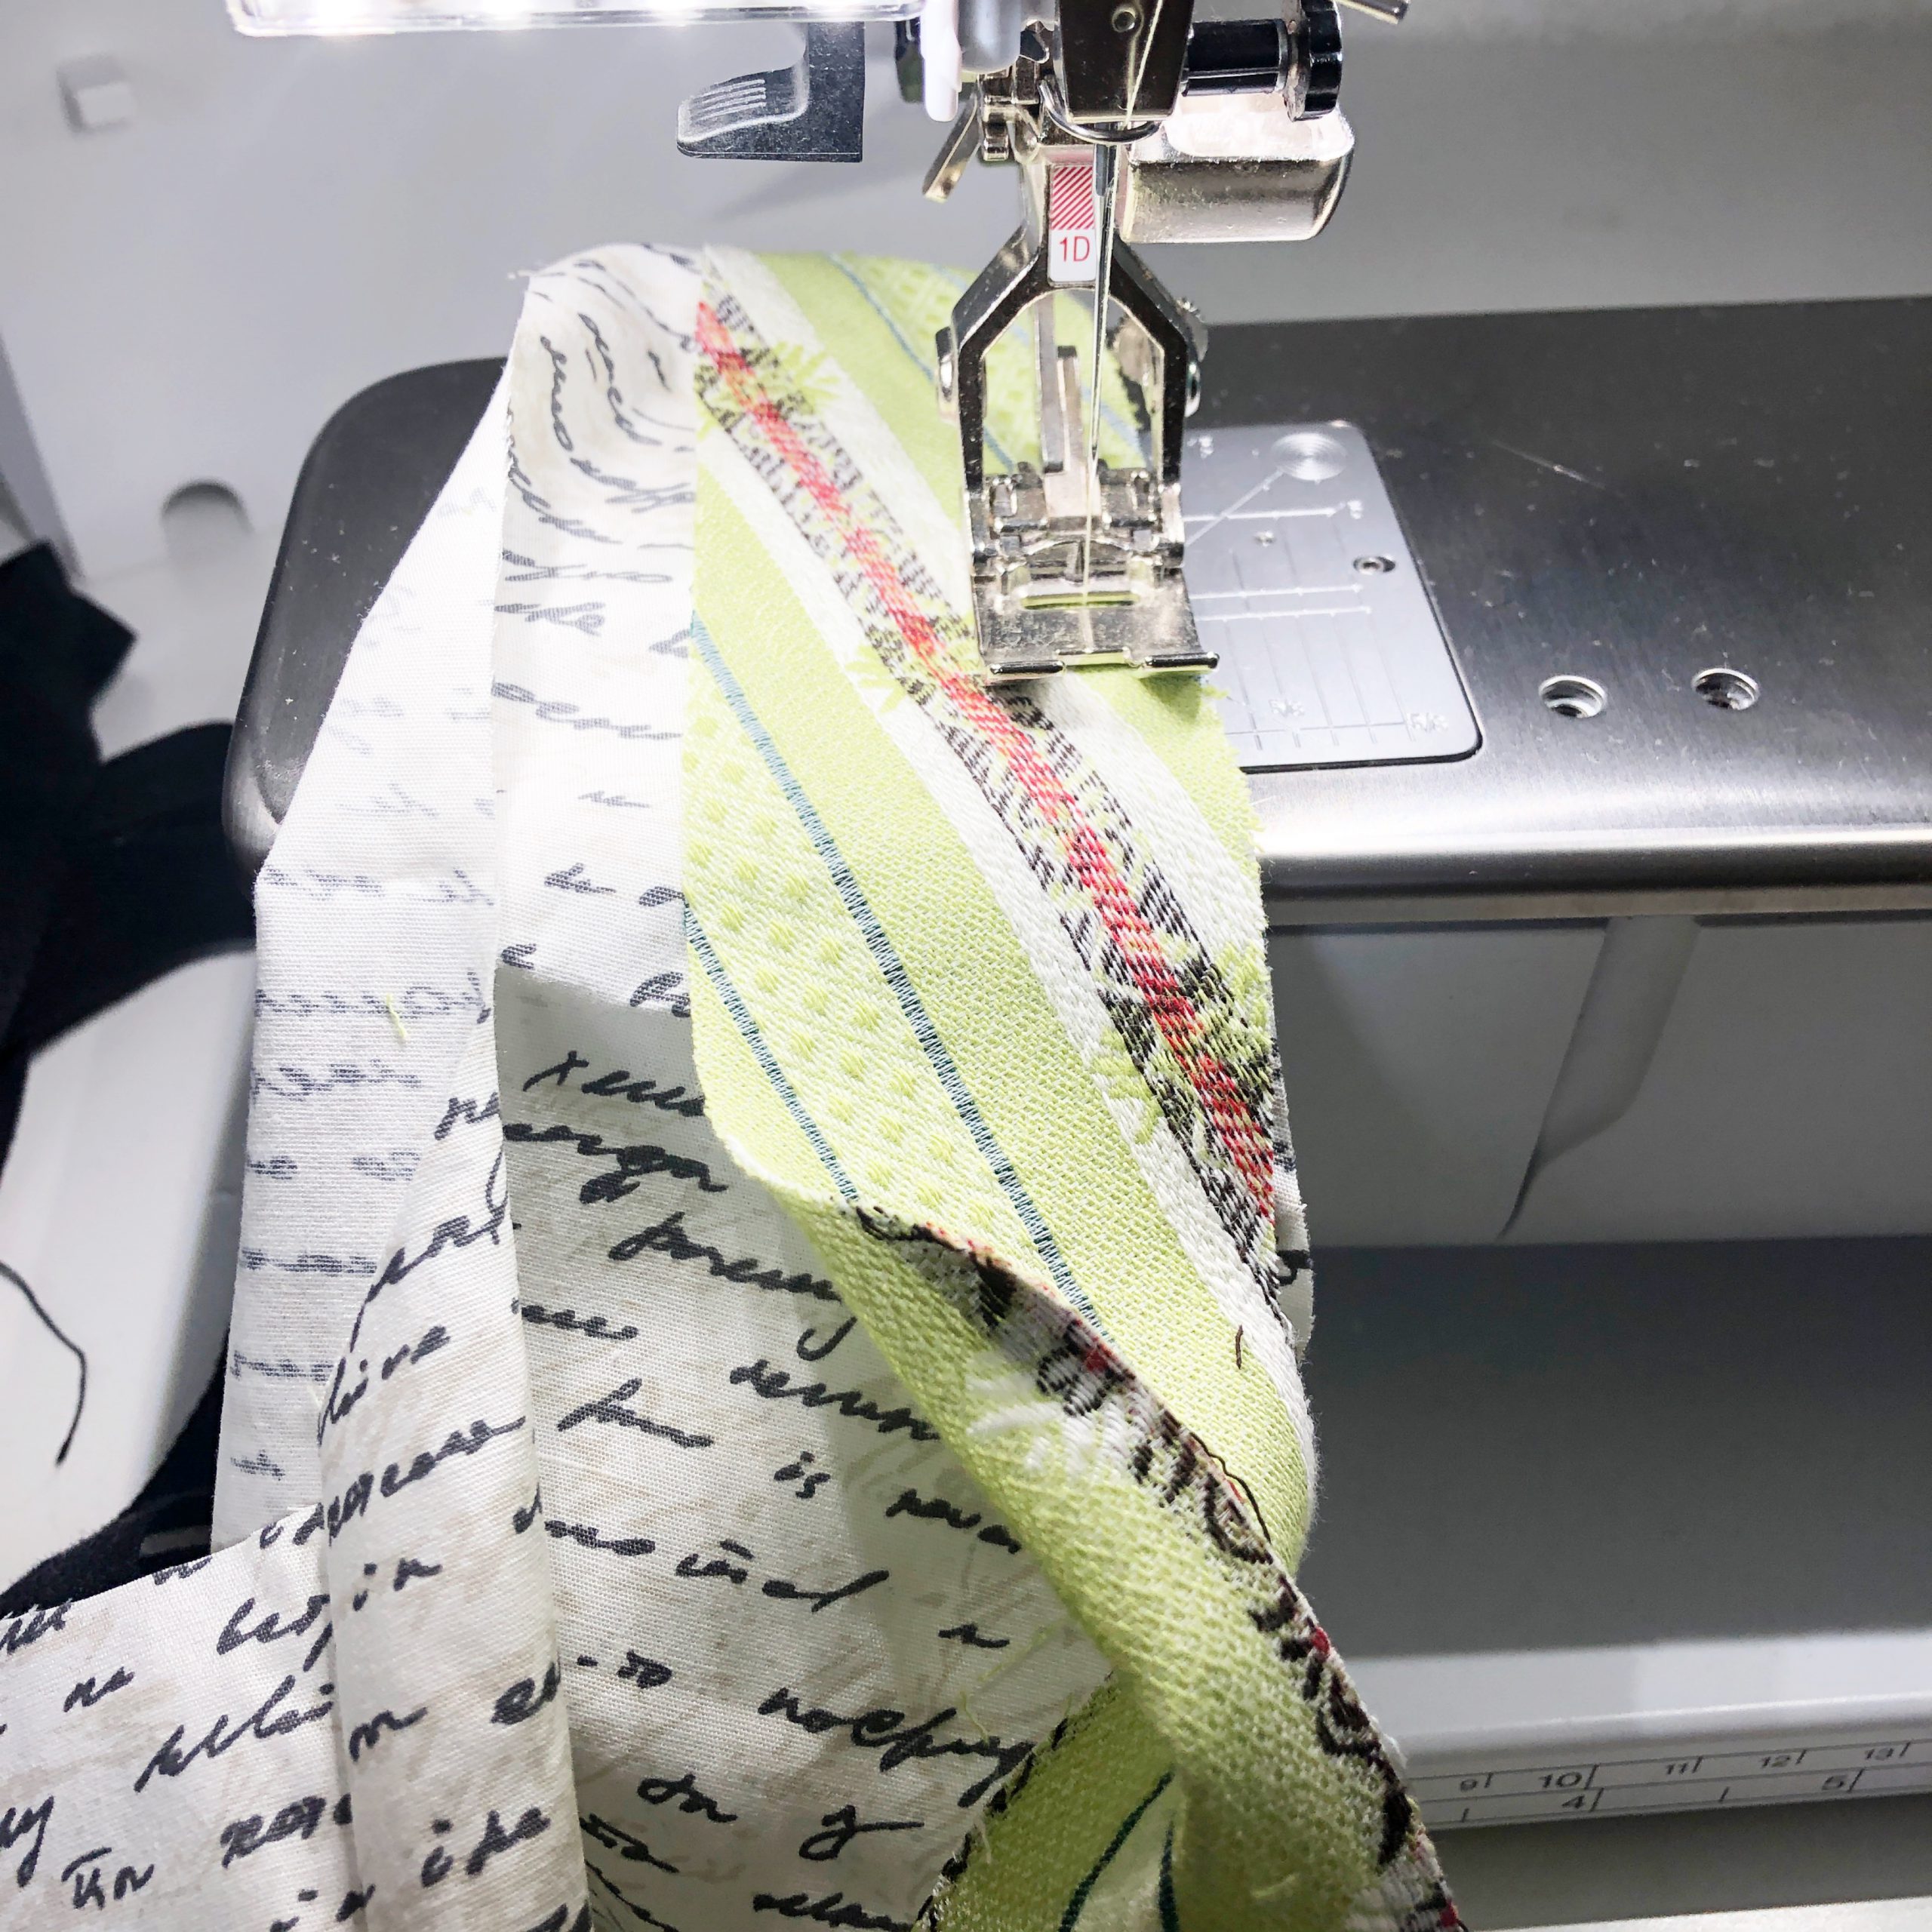
I did not use pins to attach the facings since I prefer to control the pieces only with my hands…
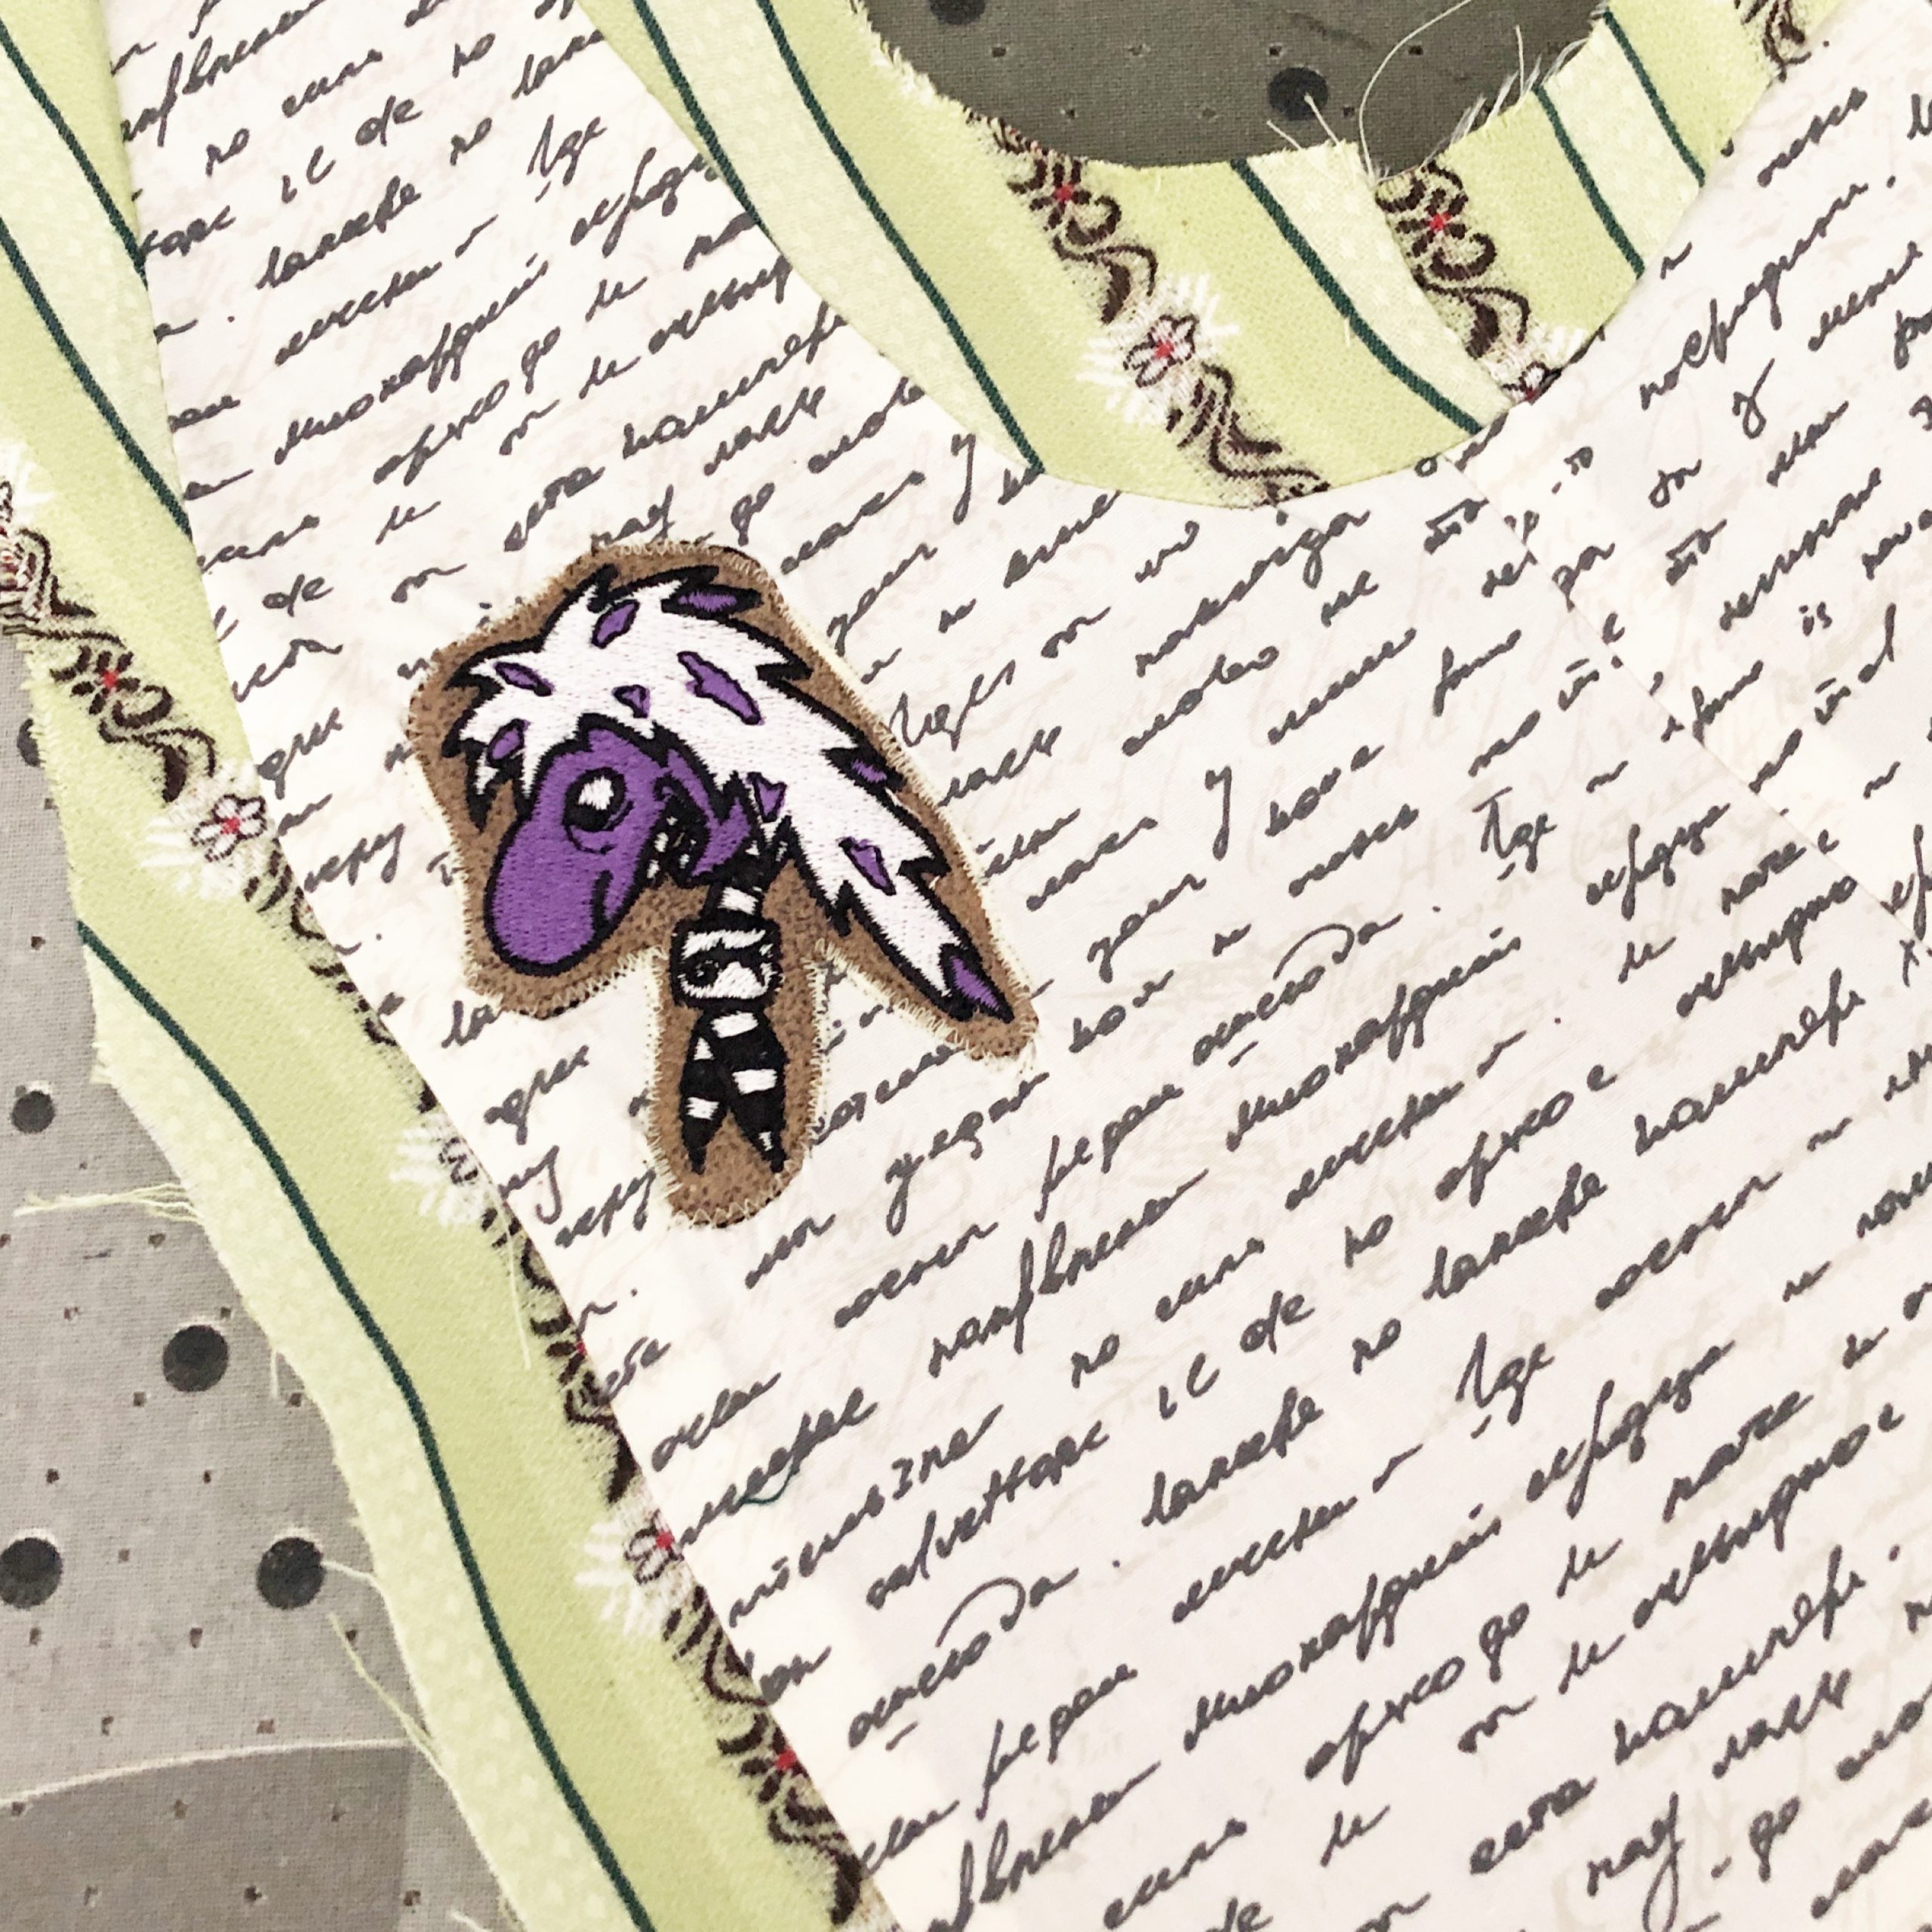
This is the “carnival” logo which was on the original costume. I cut it out and used it as a decoration on the lining.
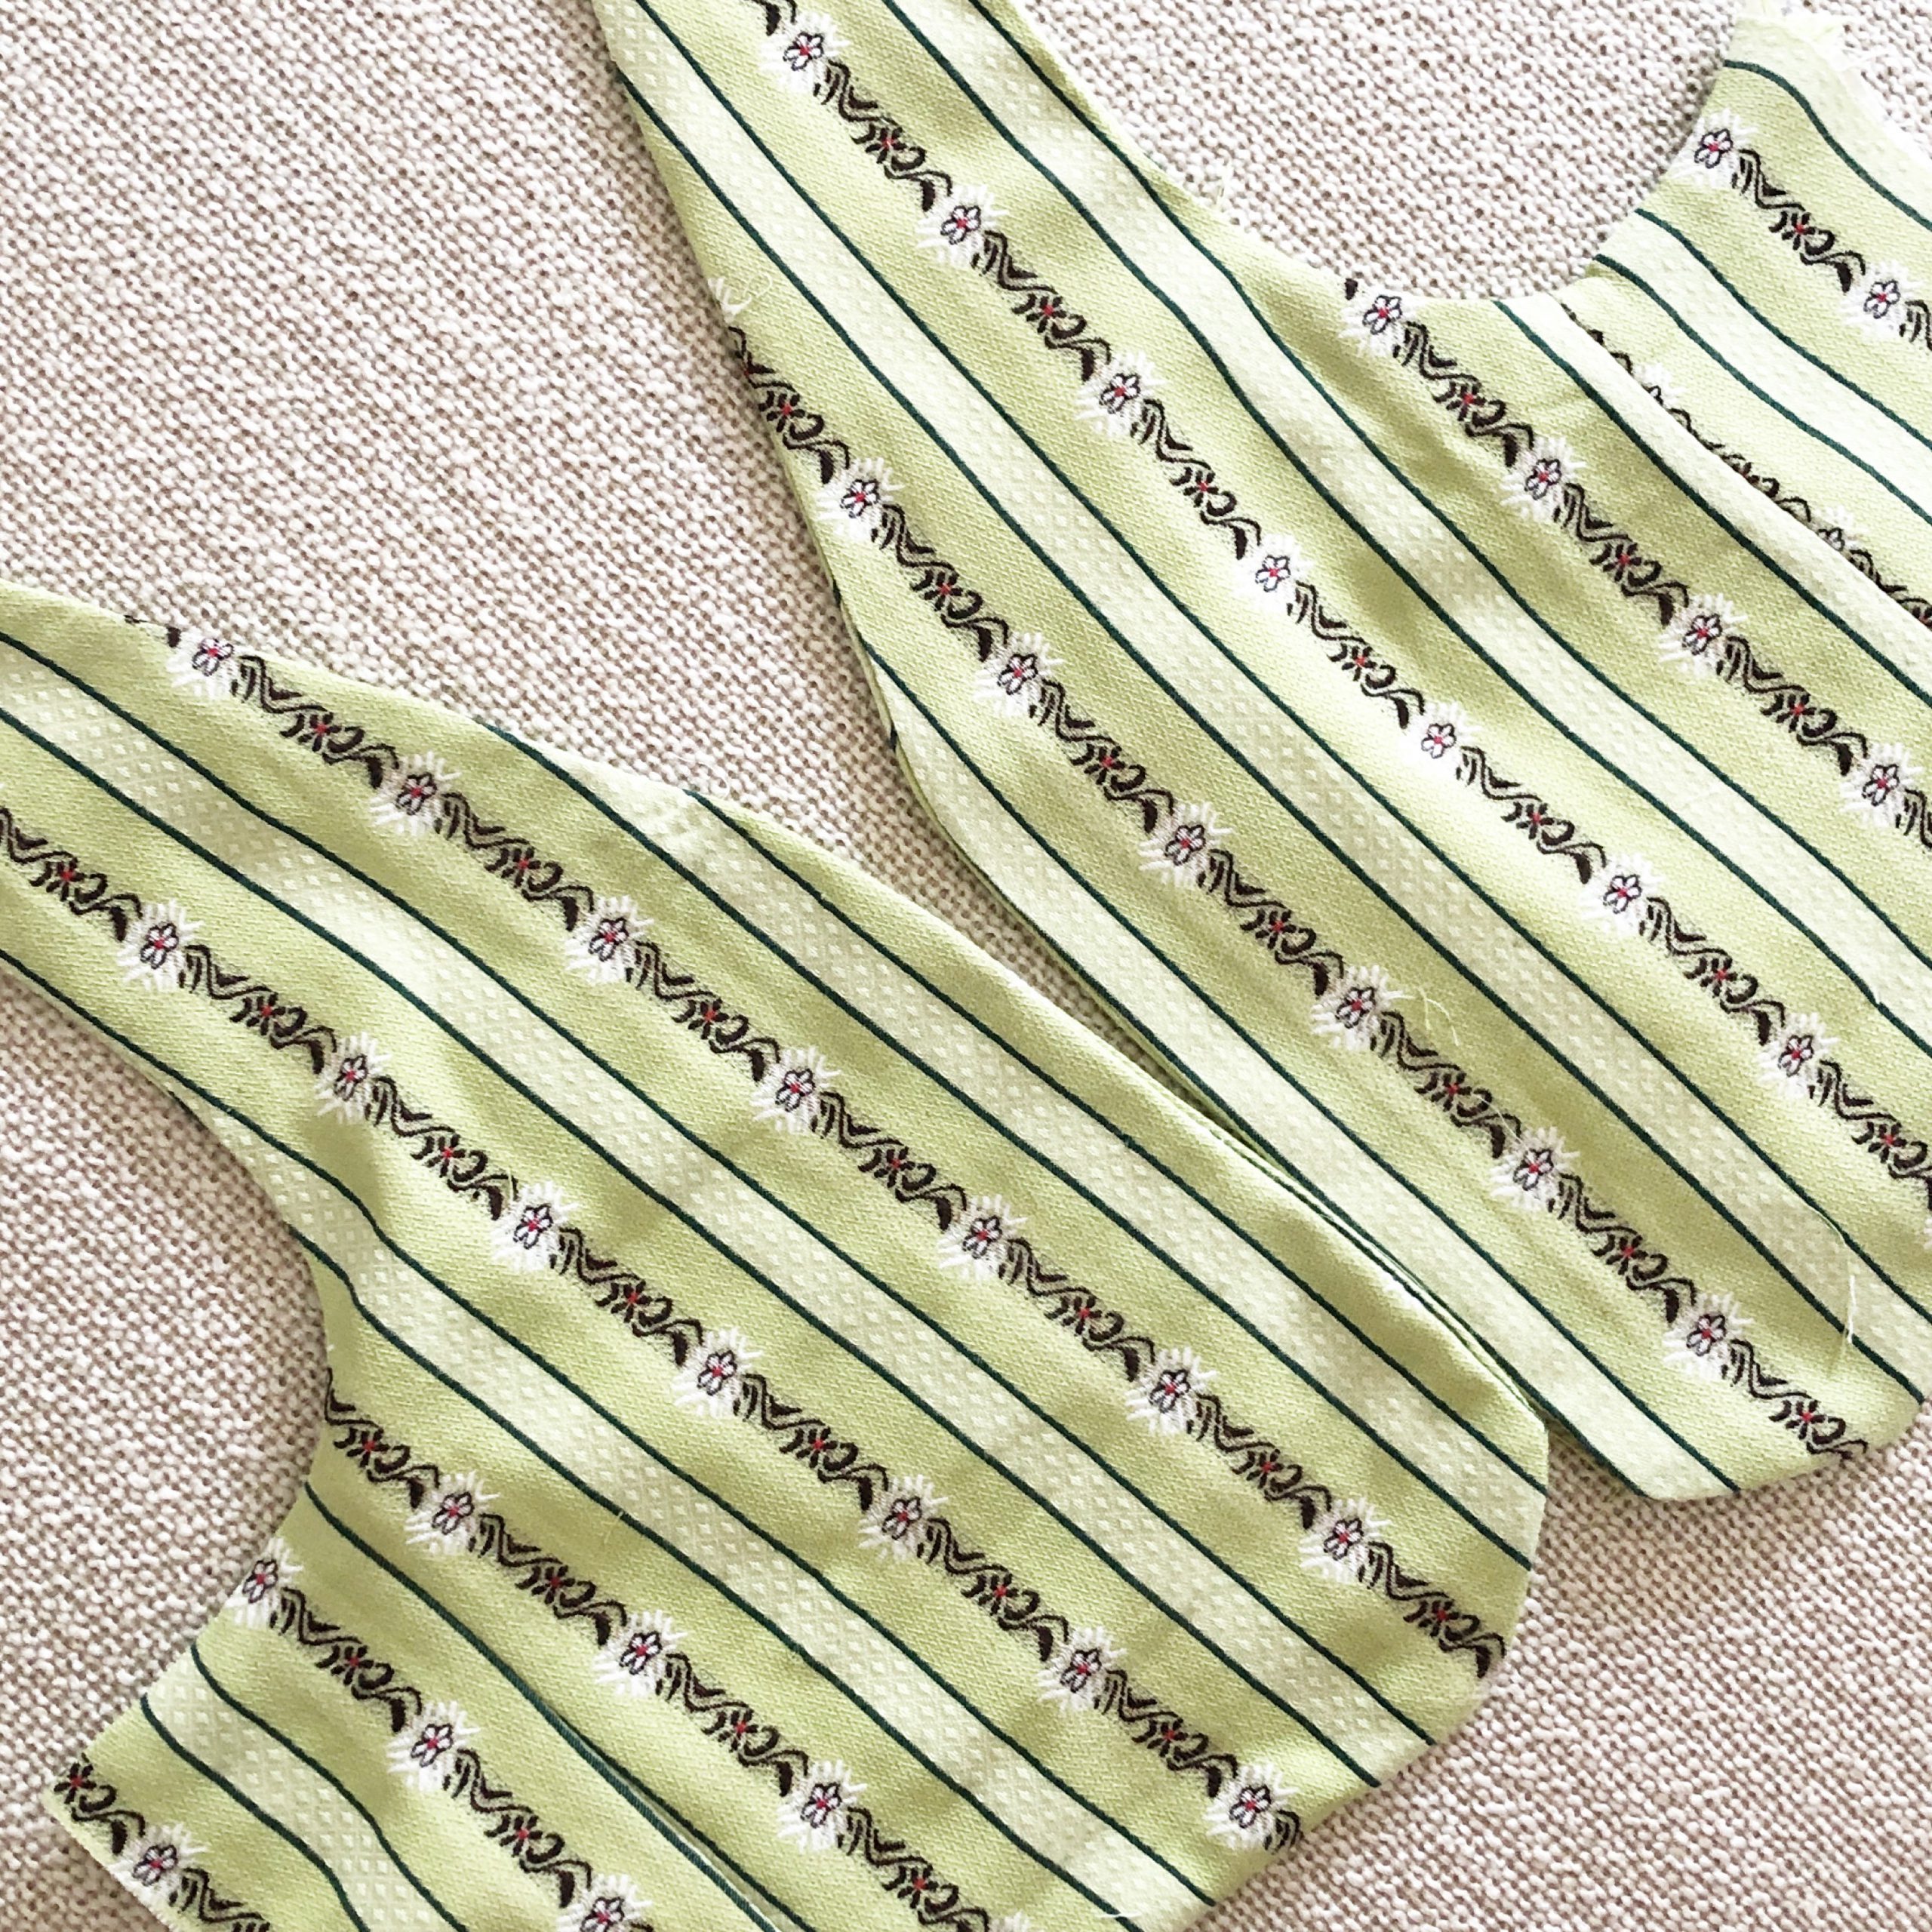
I attached the lining to the front pieces and turned them inside out. This way the armholes are already finished.
This is how you would do it. However, for the smaller version I thought I could forgo this and ended up hand sewing the armholes which was three times the work…
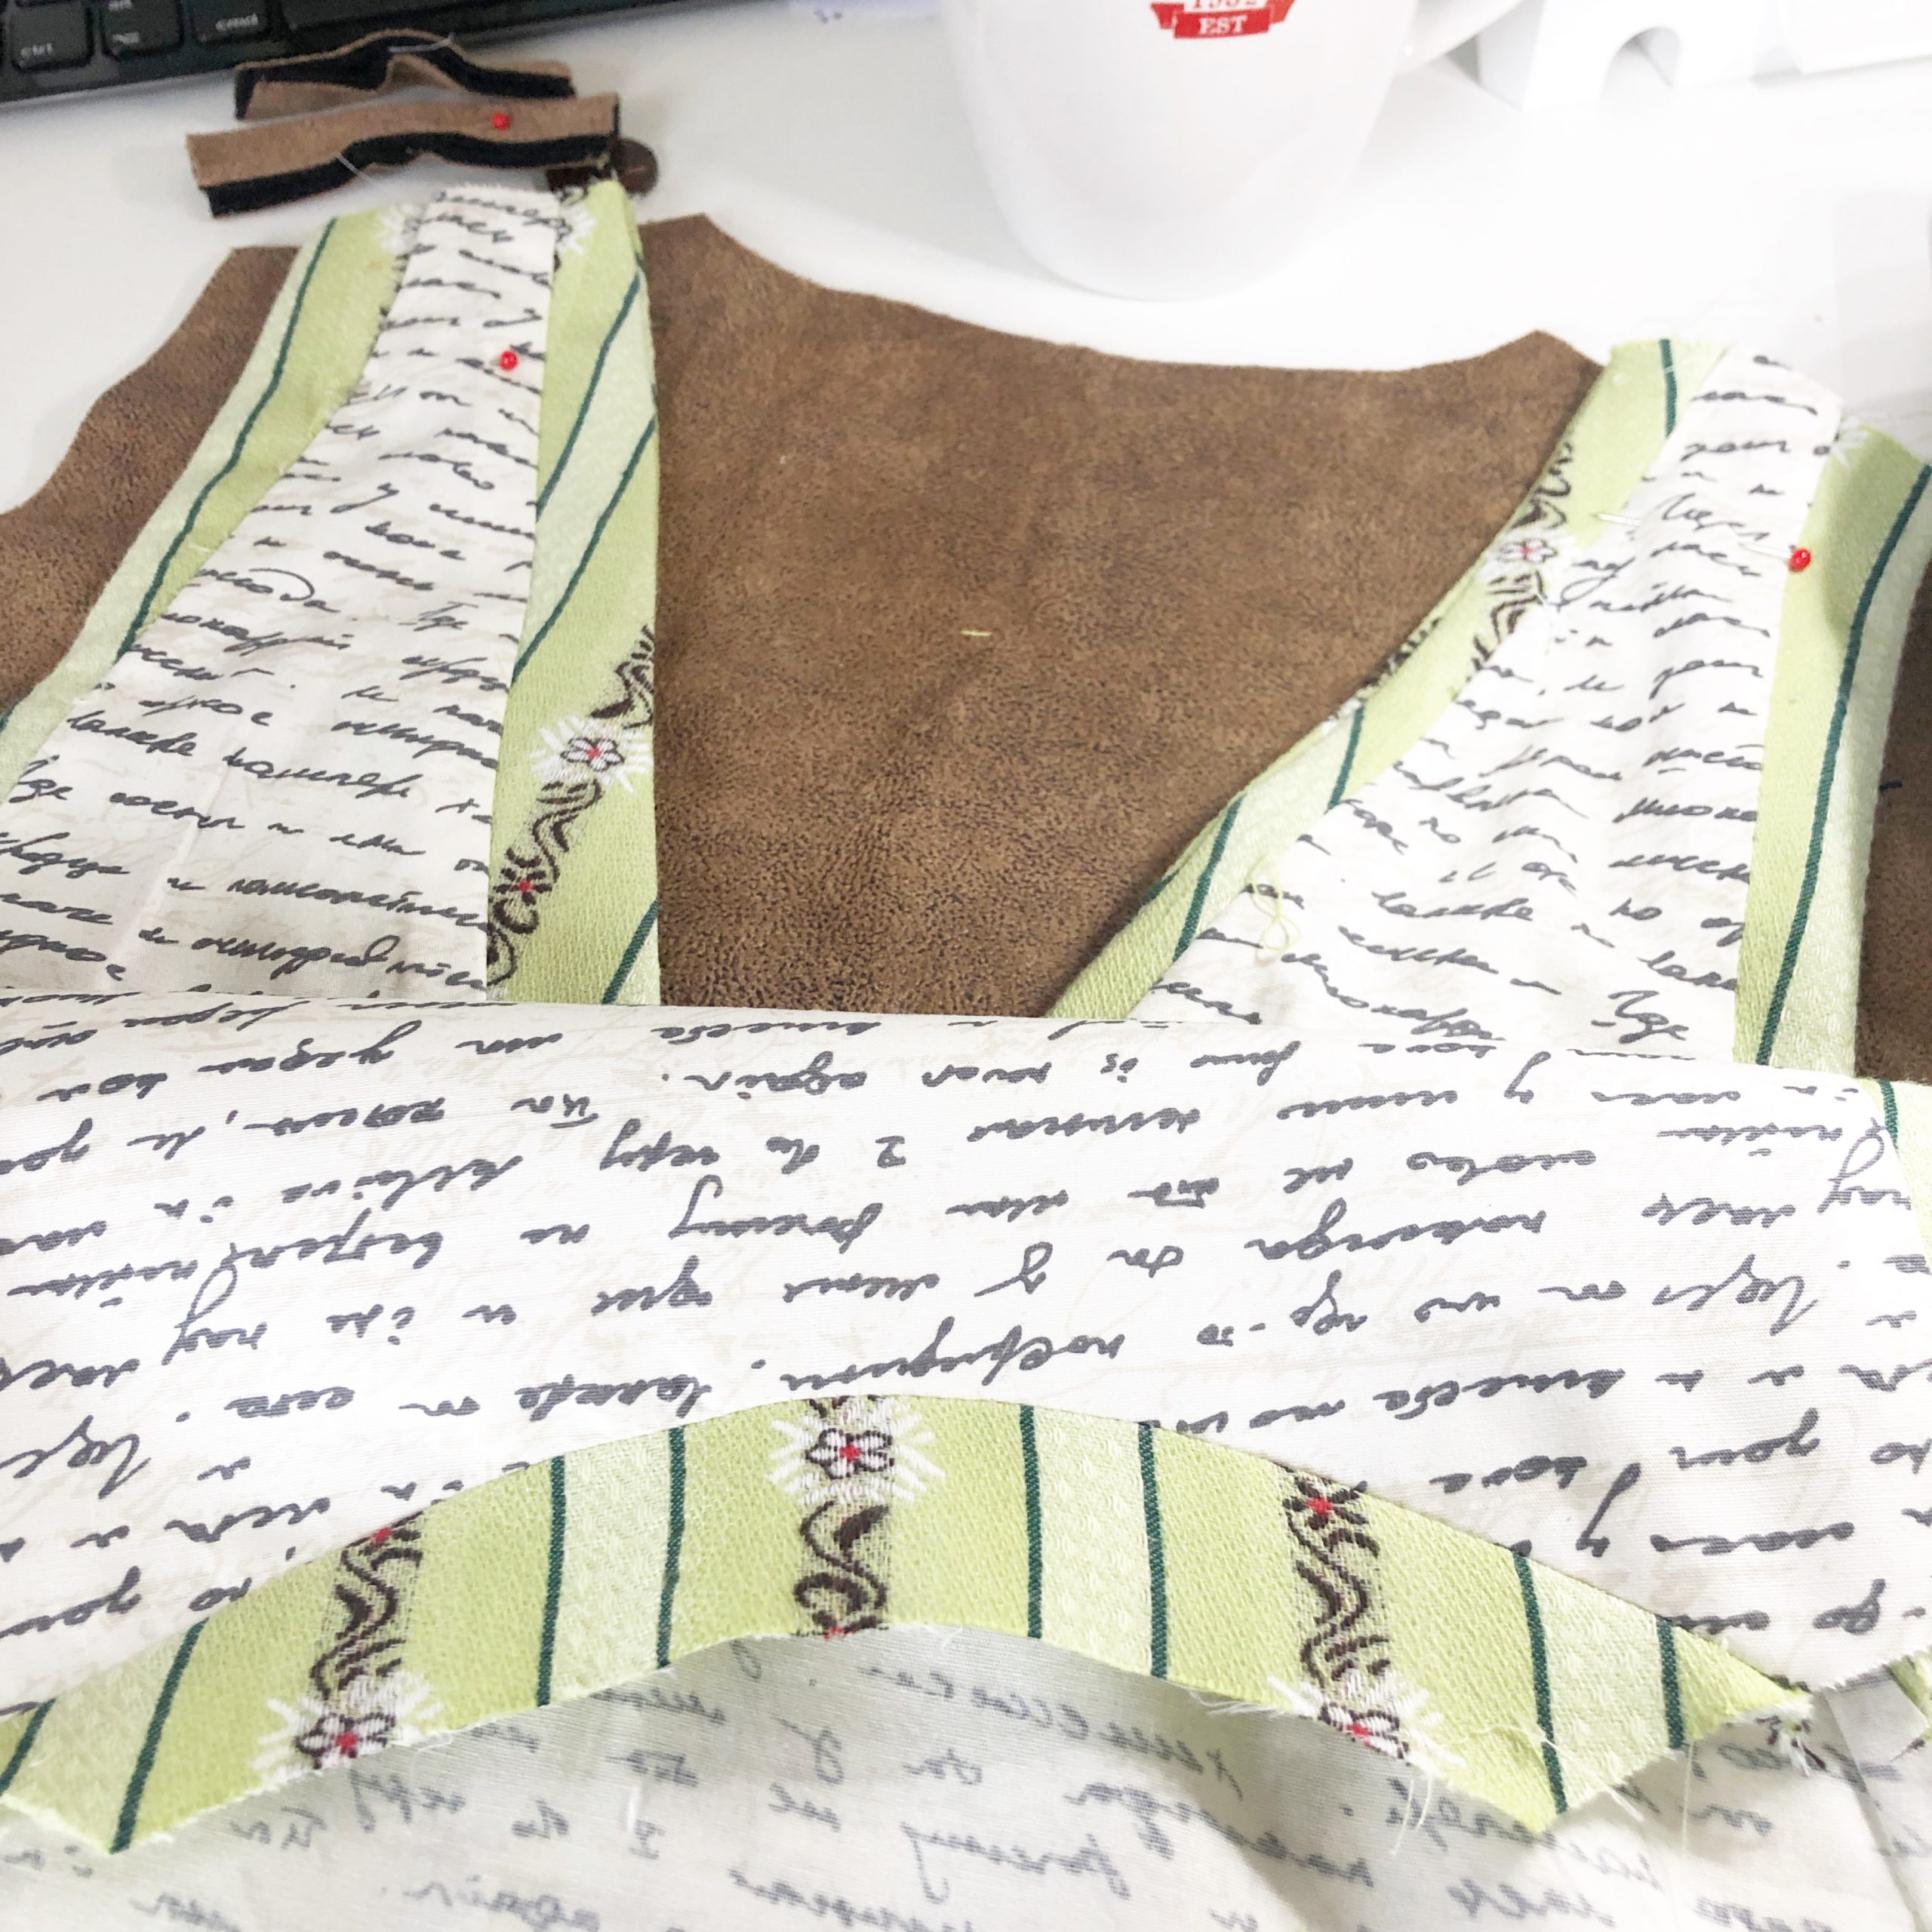
Next you sandwich the two front pieces between the main fabric back piece and the lining. Sew all the outside seams but leave an opening at the bottom to turn this inside out.
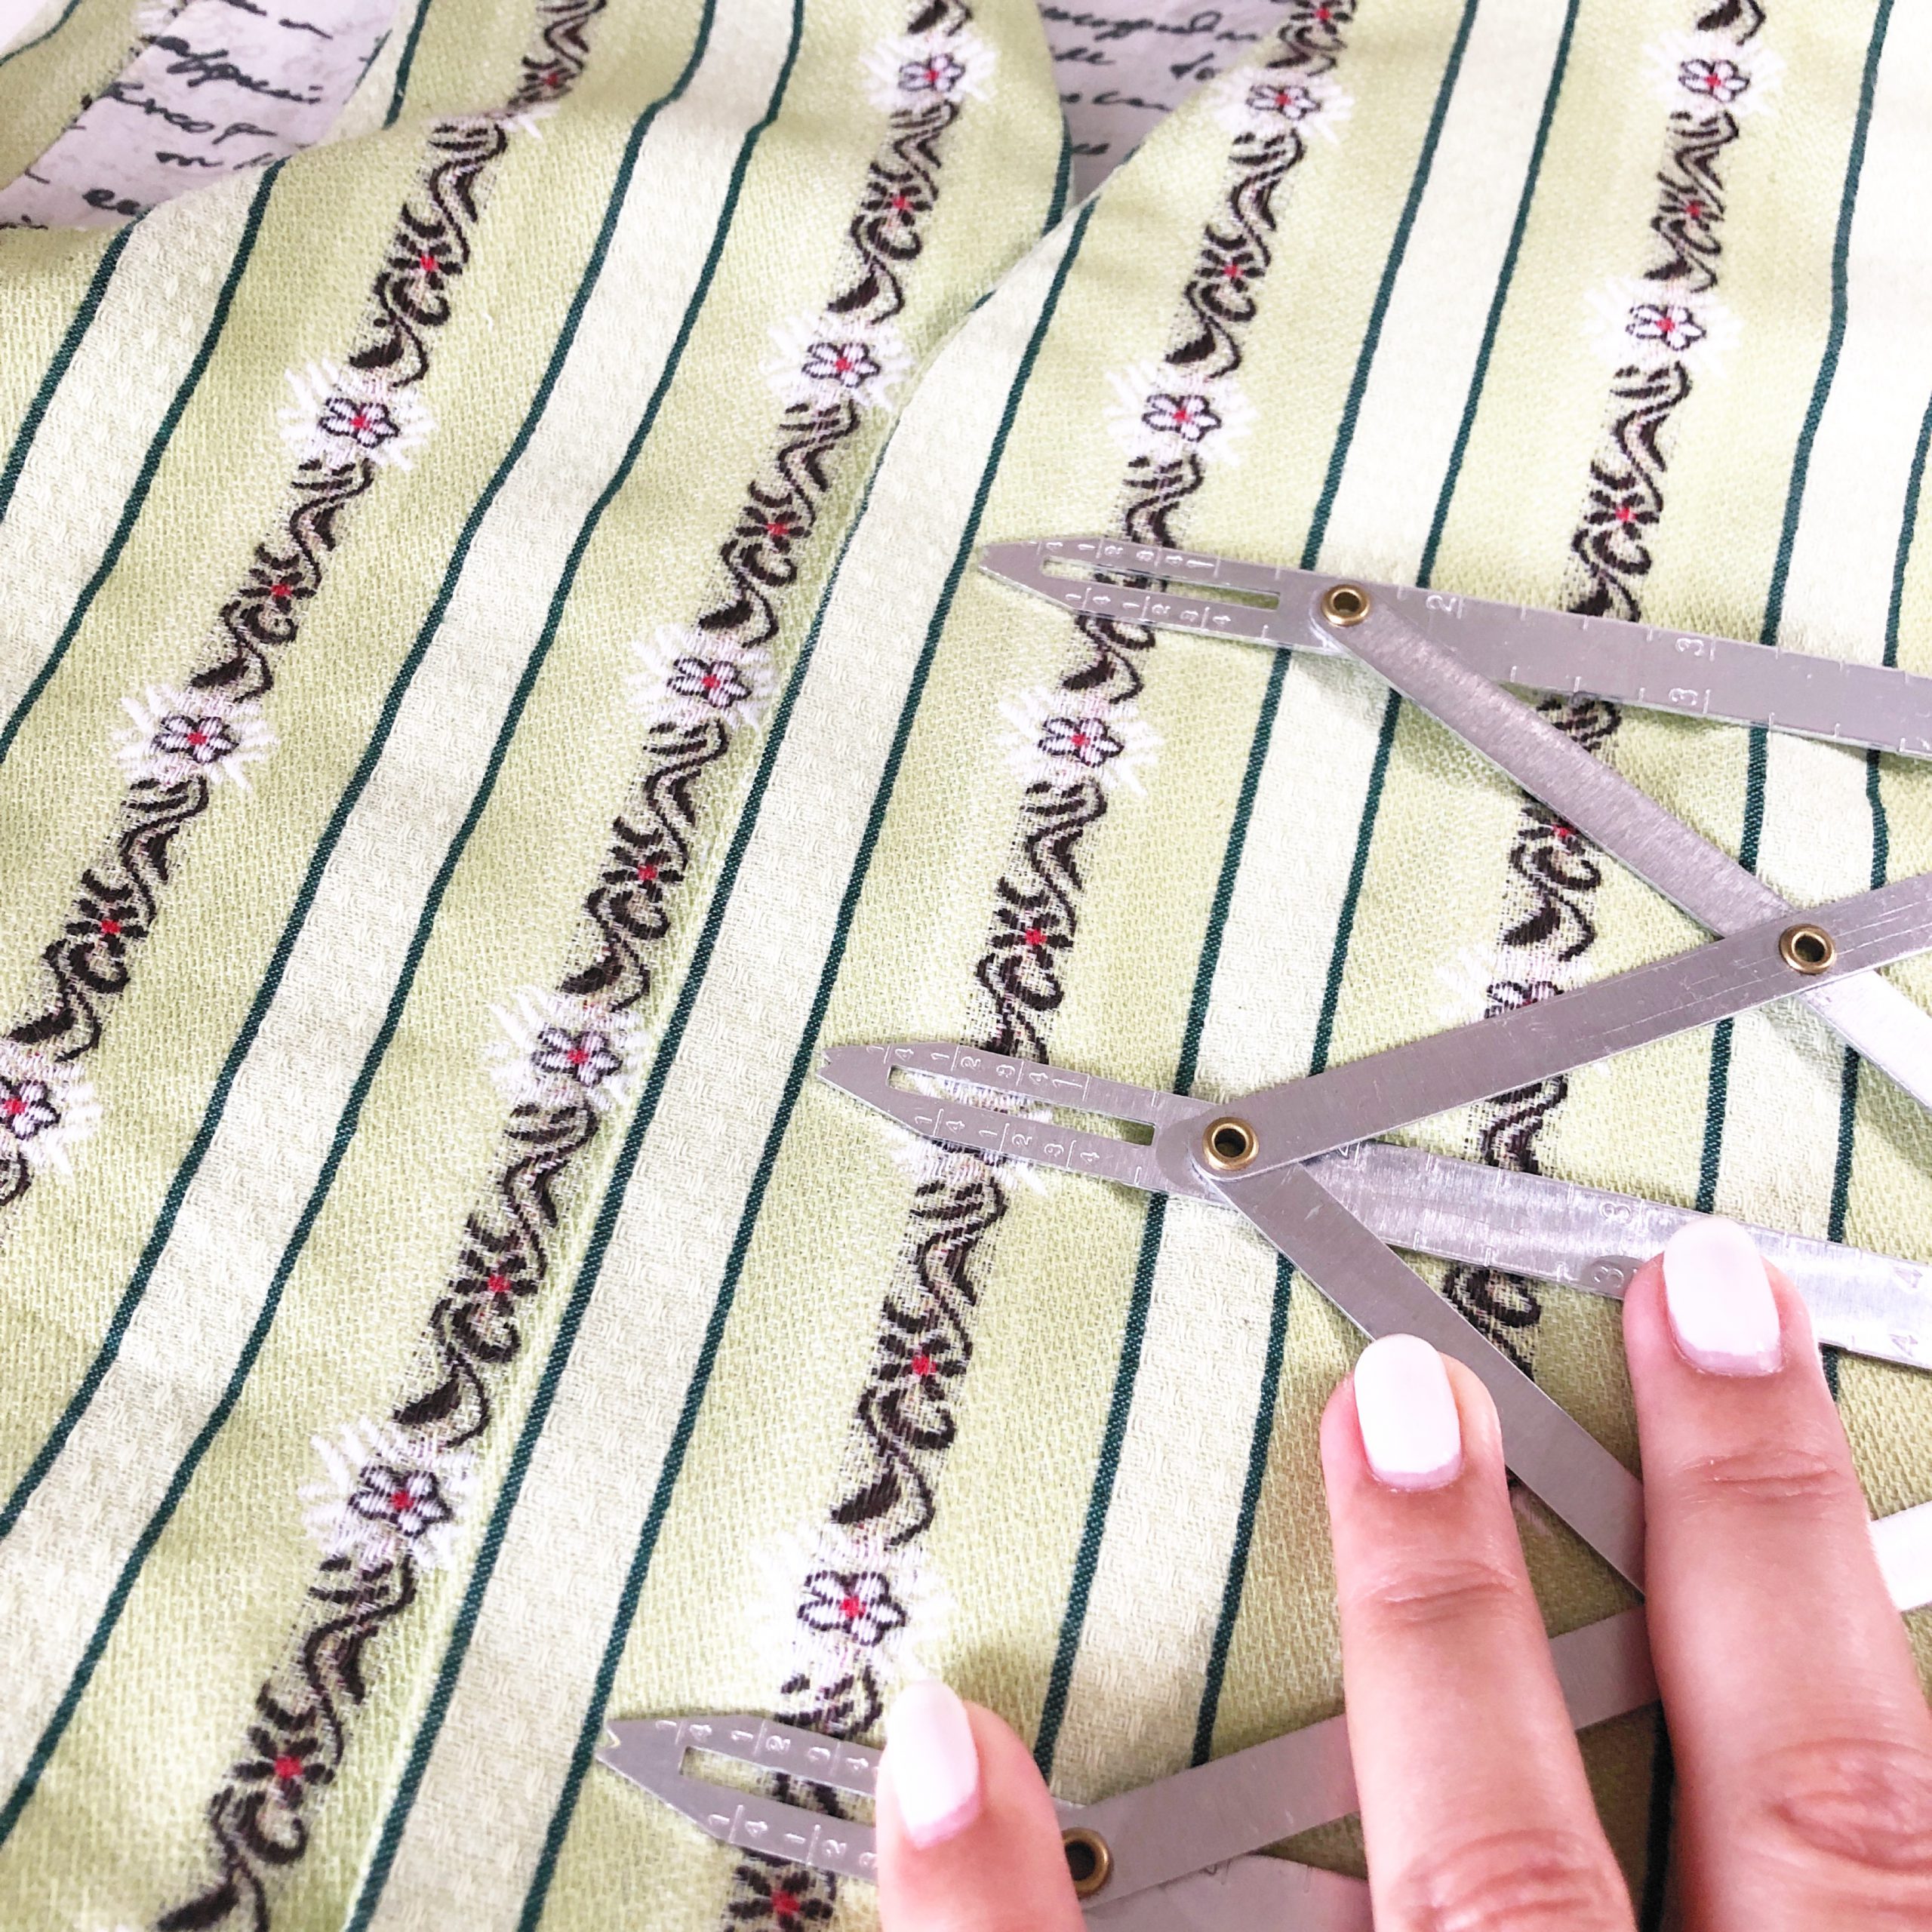
I used my seamgauge to mark the buttonholes. The buttons btw were on the original shirt. Everything gets reused…
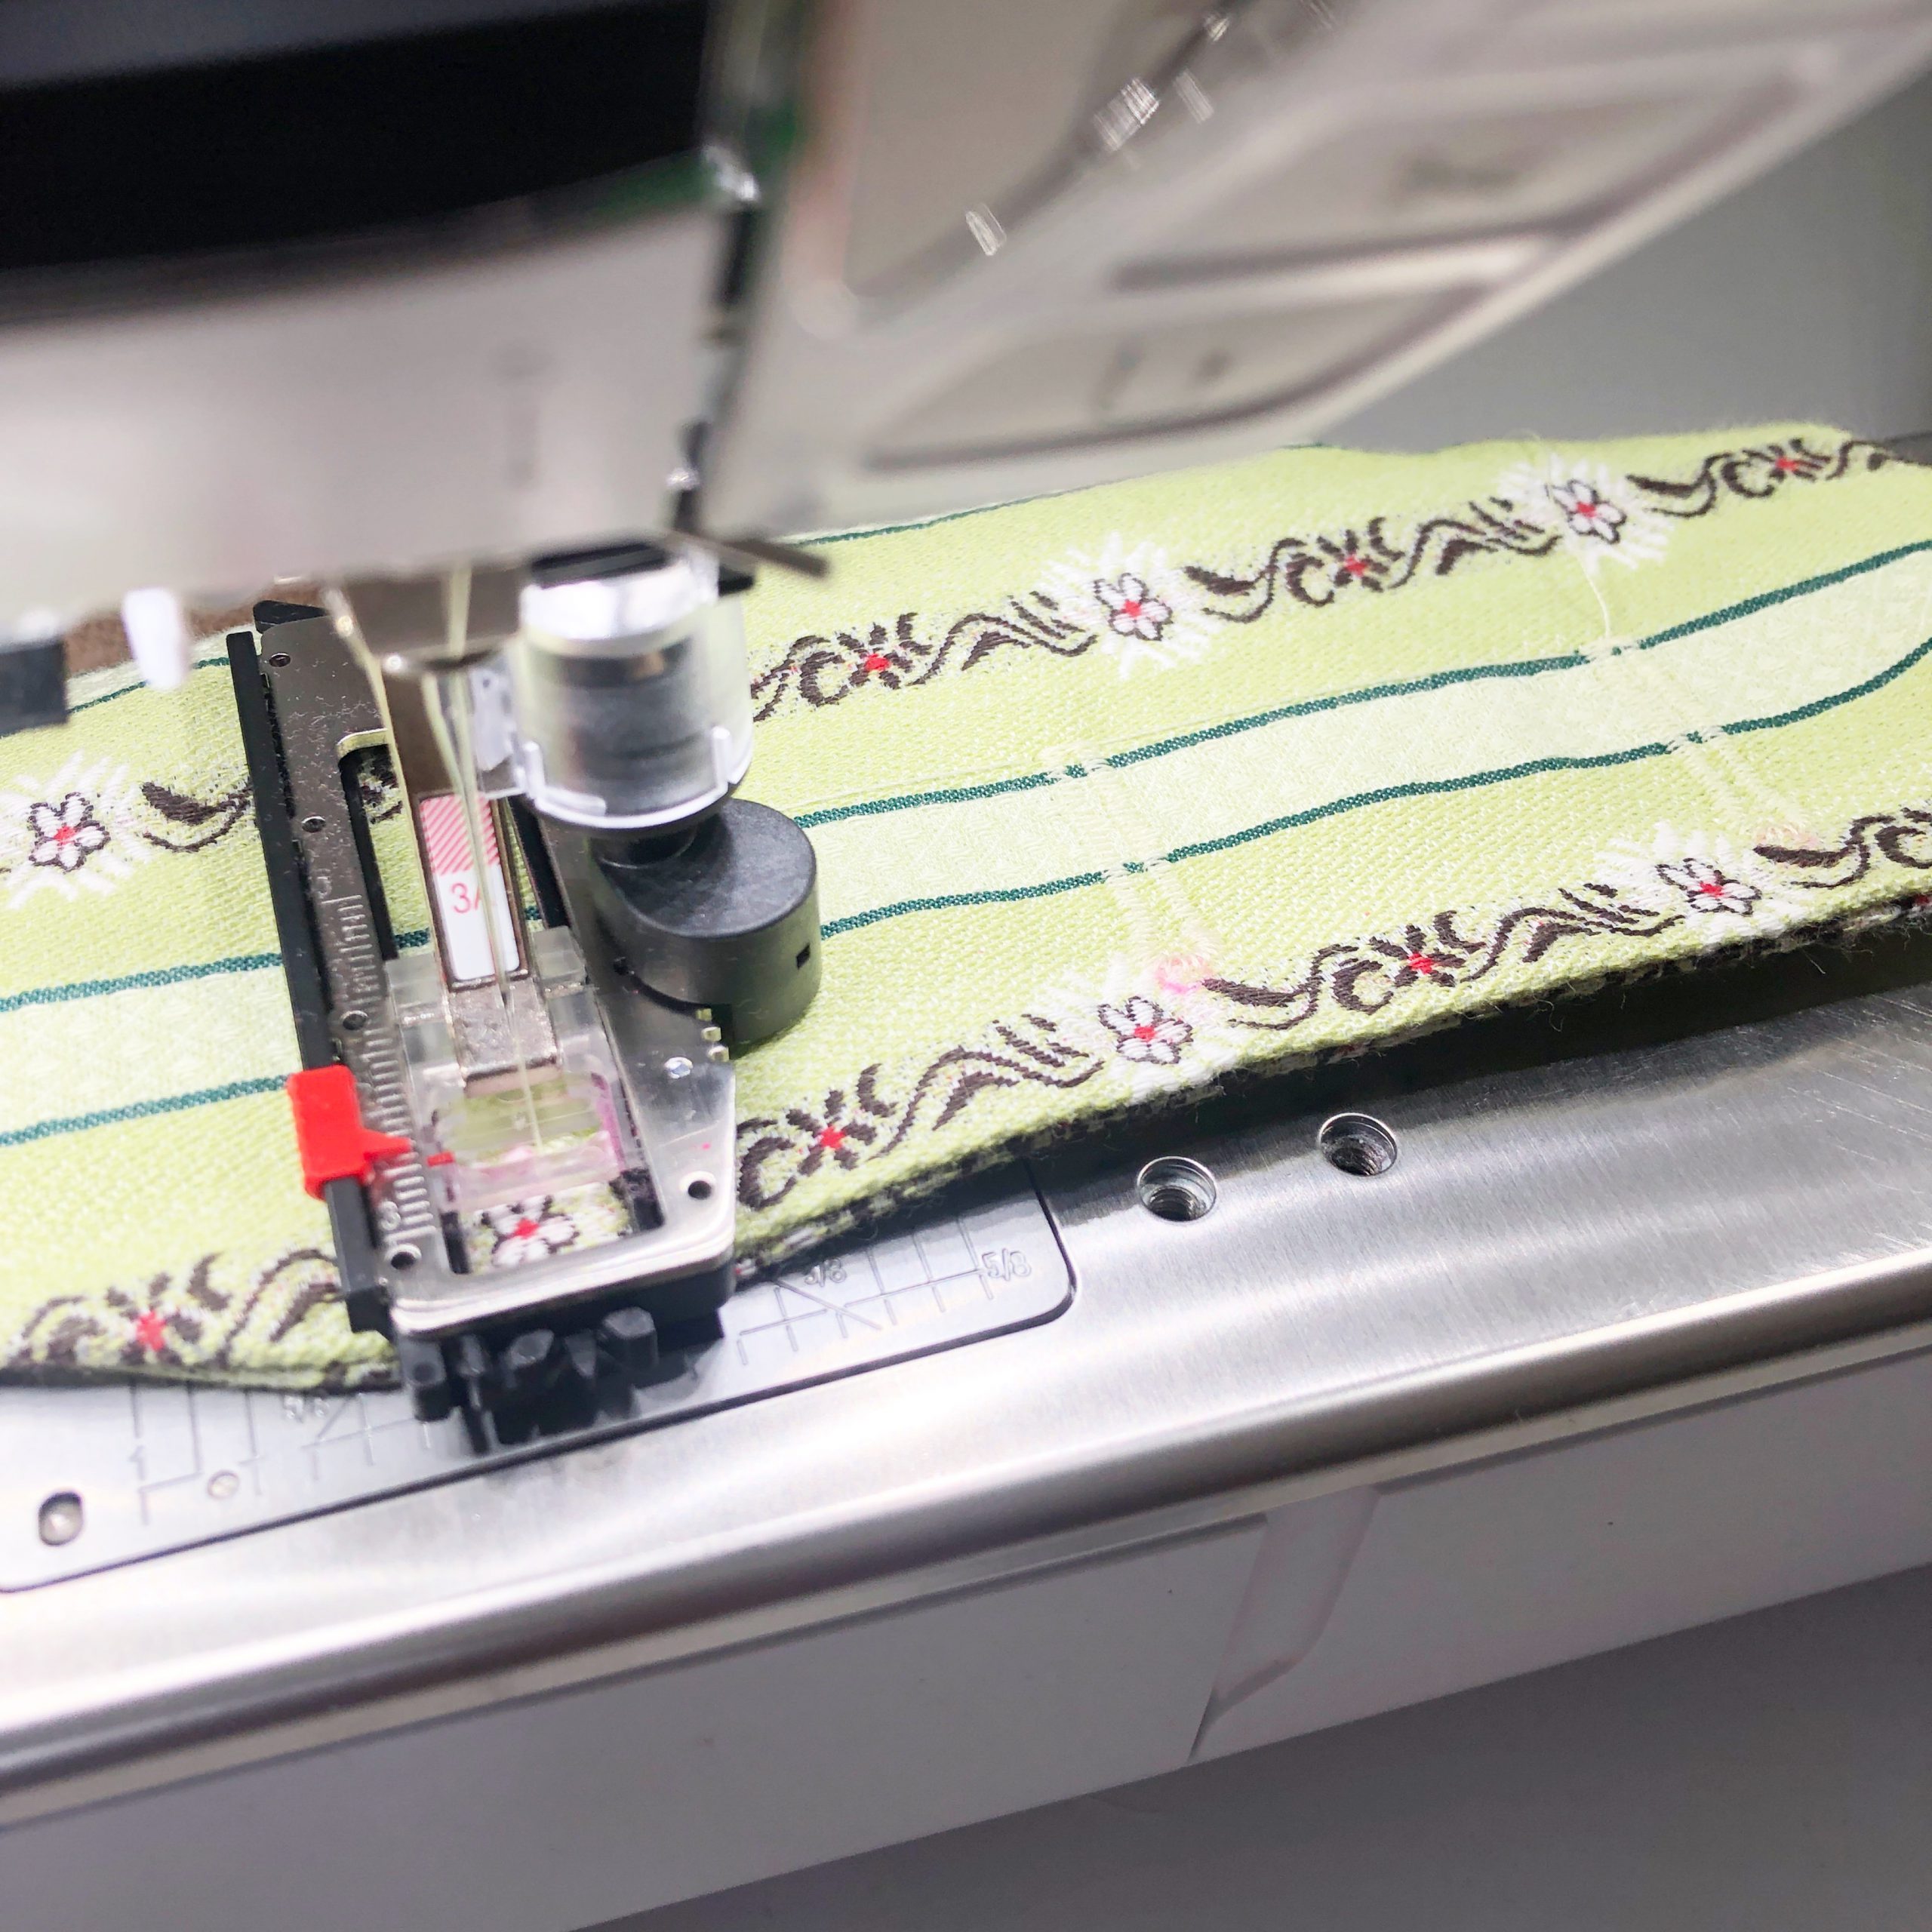
I used my trusted 3A buttonhole foot to make the buttonholes…

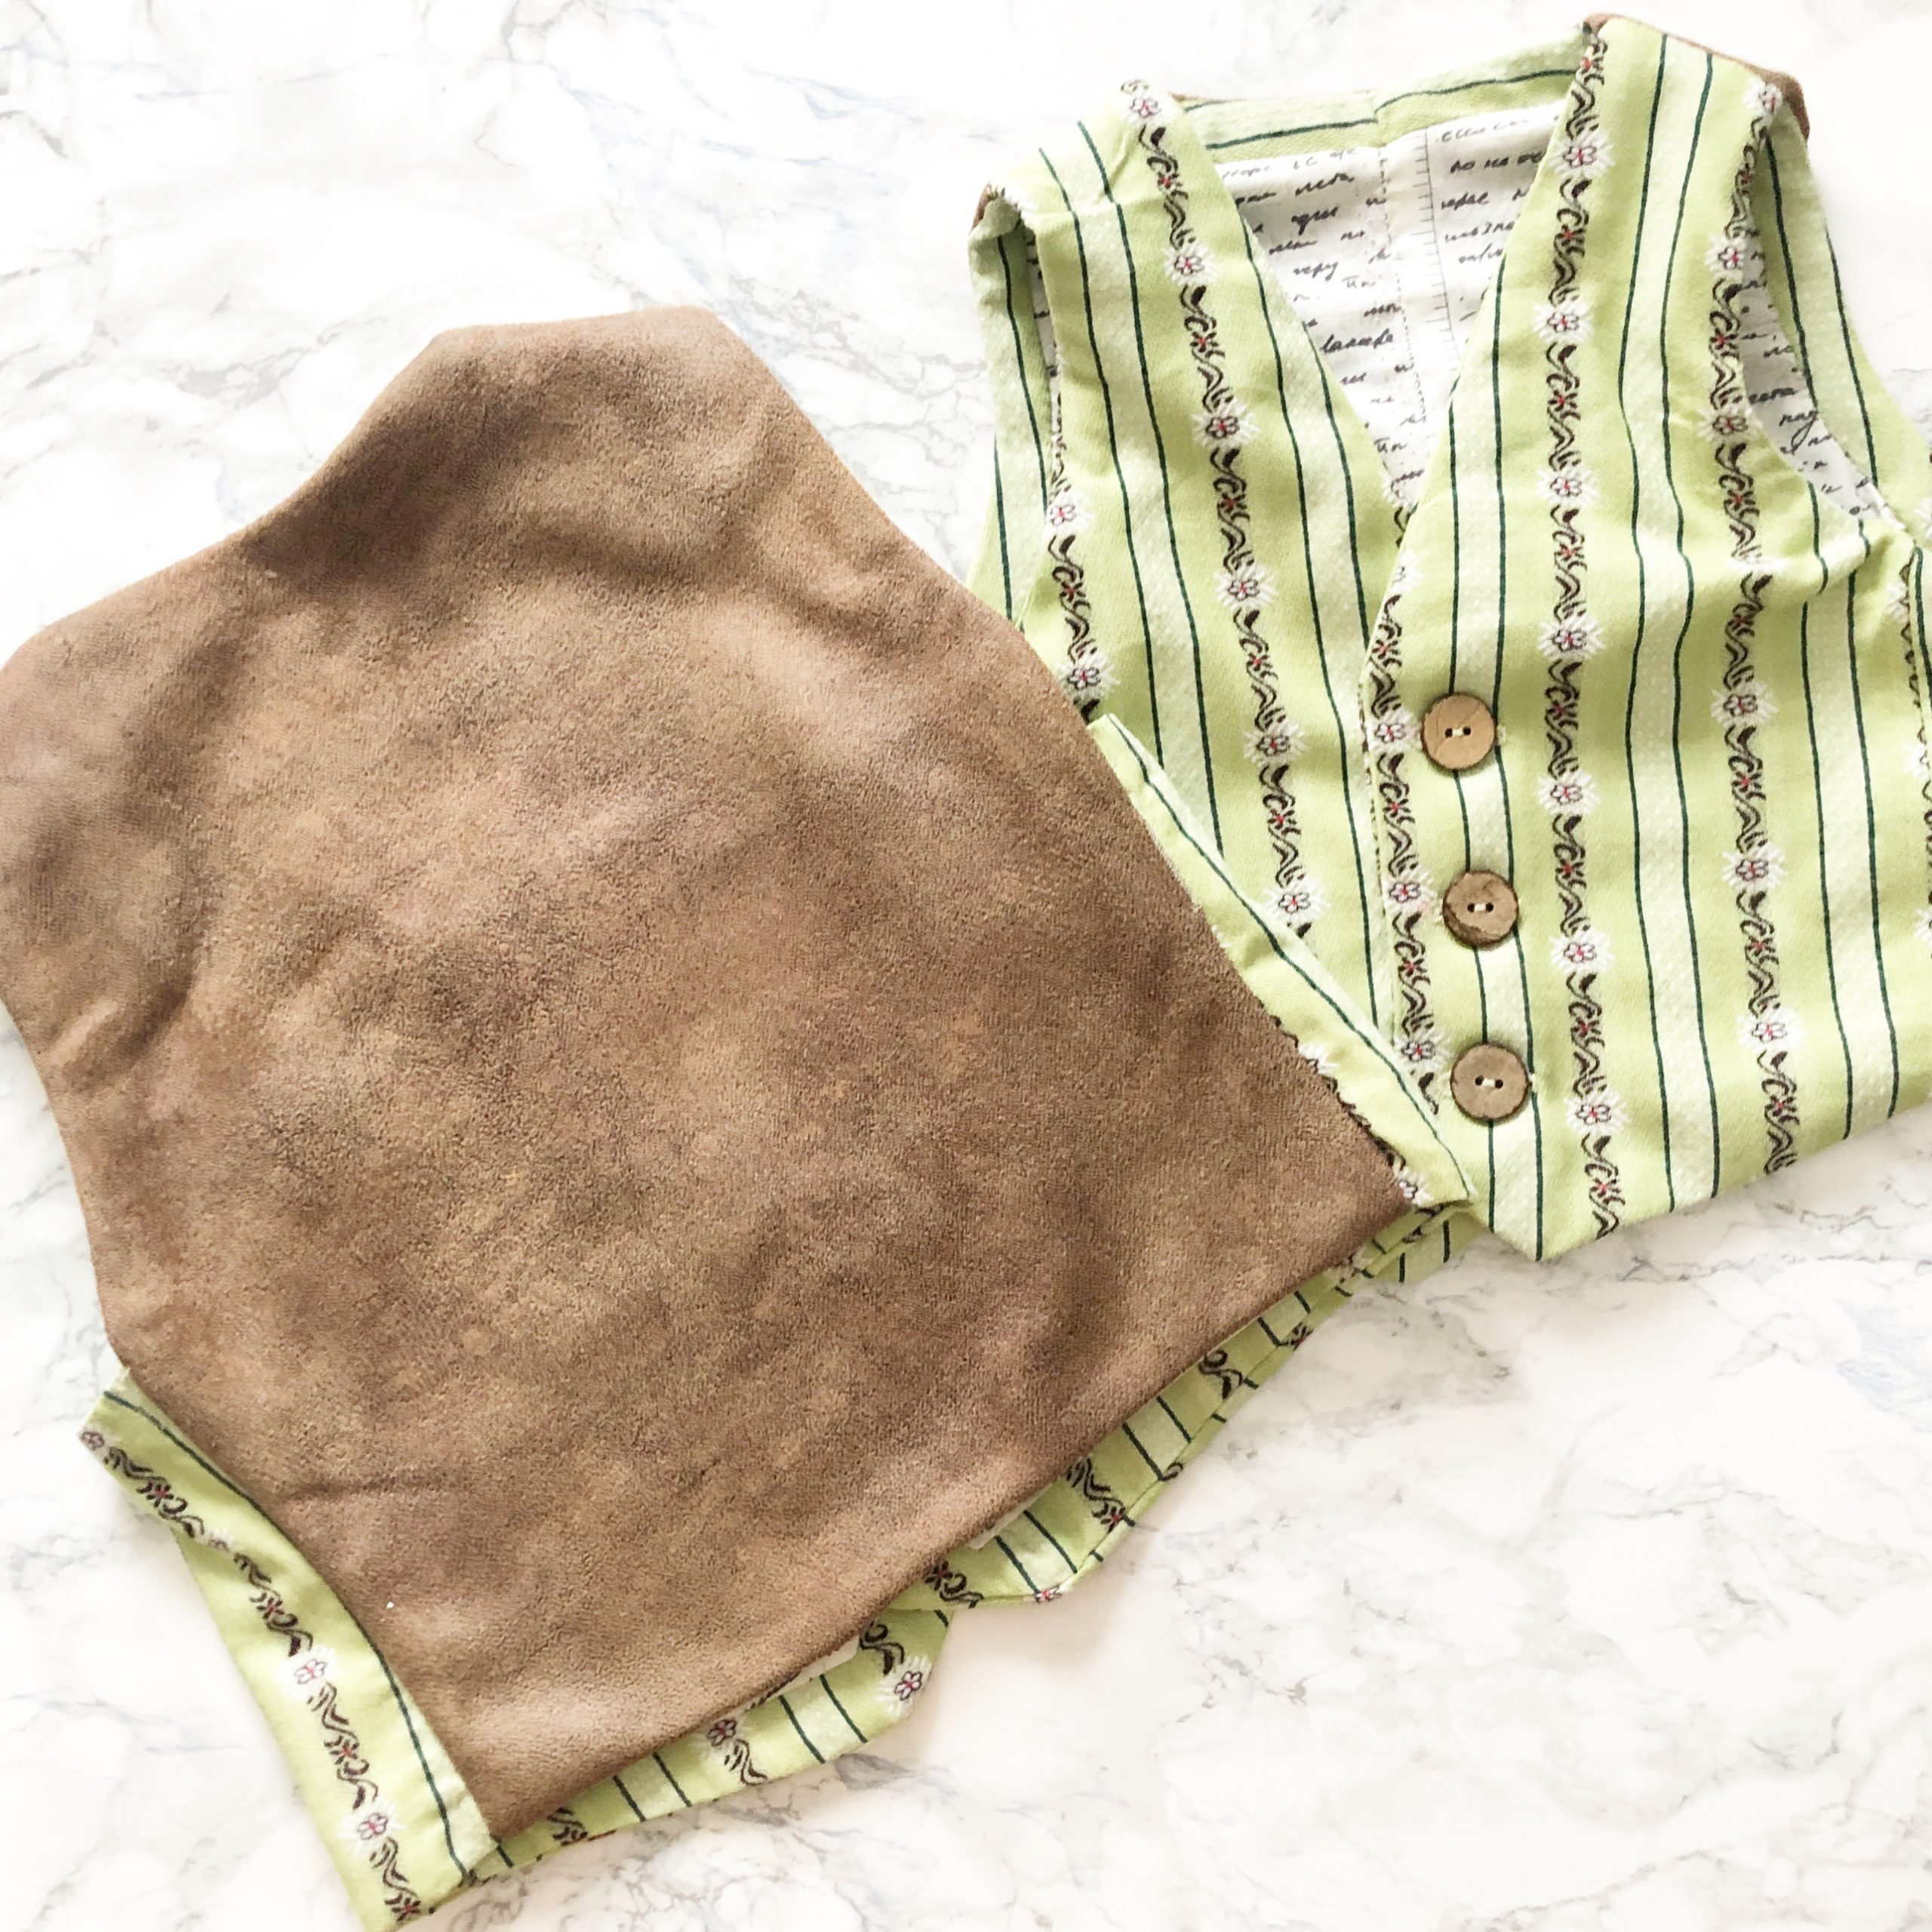
This is my smaller version of which (as I mentioned above) I had to handsew all the armhole closed… took me a solid 40 minutes. It would have been so much quicker if I had just followed the instructions from the start. But I thought it was important to show you that mistakes happen…
The result is pretty satisfying so I hope the two boys will like them. All in all it’s a good thing that this costume will not land somewhere in a cellar wardrobe but is used by the next generation.
If you decide to follow along, tag me in your makes on Instagram (@heart.pleat) – I am a very curious person!
Happy Sewing
Nadine
0 Responses