 BERNINA Corporate Blog -
I am so excited to share with you all how to upcycle fabric scraps into fabric collages. Fabric collage is a very broad practice with many variations and creative possibilities. Here are some amazing things about making fabric collage:
- You can use all sorts of fabric scraps and transform them into something special
- You can get super creative without following any rules
- You can create little stories
- You can transform a fabric collage into a pillow, a fabric book, a wall hanging, a tea cozy, the sky is the limit!
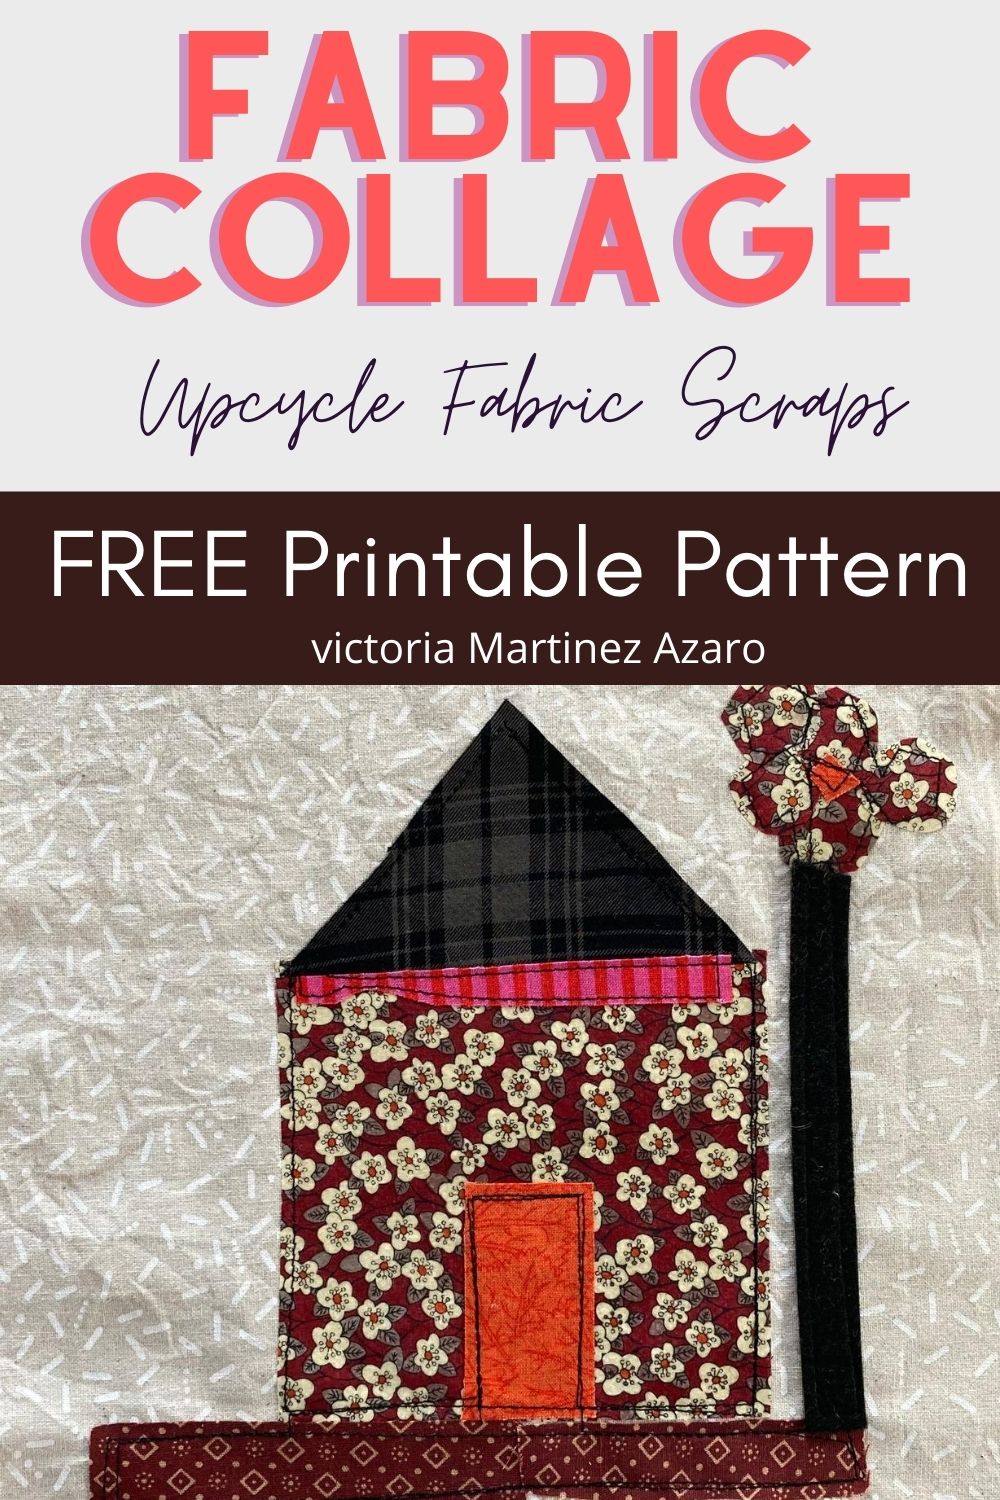
In this tutorial I will show you how to make a little fabric collage using fabric scraps, an applique pattern and iron on adhesive fusing. It’s super simple and straight forward. The template I am using is a little house and its a cute little template that allows you to play with many different textures and fabric colors.
If you are interested in fabric collage and want to learn more about how to make fabric books using this technique check out some more ideas here.
Tutorial: How to upcycle fabric scraps into a fabric collage
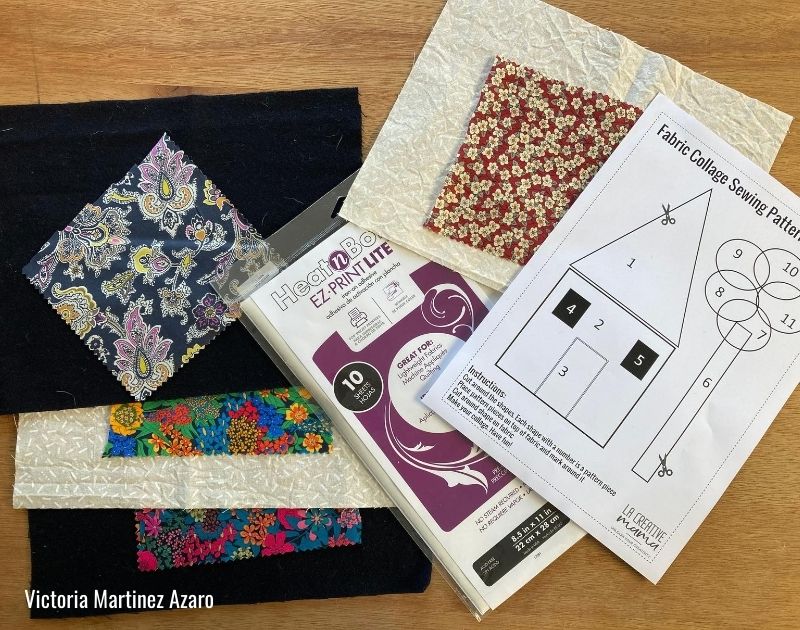
Materials and equipment:
- Fabric scraps (in this case I am using 100% cotton since I will be using a hot iron to fuse the applique pieces)
- Fabric for the base of the collage (I used a piece that measured 22 cms by 28 cms) 100 % cotton.
- Iron on adhesive fusing (I like to use Heat & Bond Lite)
- Applique pattern (Click here to download)
- Fabric scissors
- Paper scissors and pencil
- Iron
- Sewing machine (I use my Bernina 475 QE)
Step 1:
Gather your material and play around with your fabric combinations. Make sure all your scraps are washed. Download and print out the applique patterns.
Step 2:
Using the paper backing from the iron on adhesive fusing sheet trace the pattern pieces from the applique pattern template. You will be using different fabrics for the different shapes so have some fun thinking about what works best.
For example if you are using a printed fabric for the base you may want to use a solid contrasting color for the door.

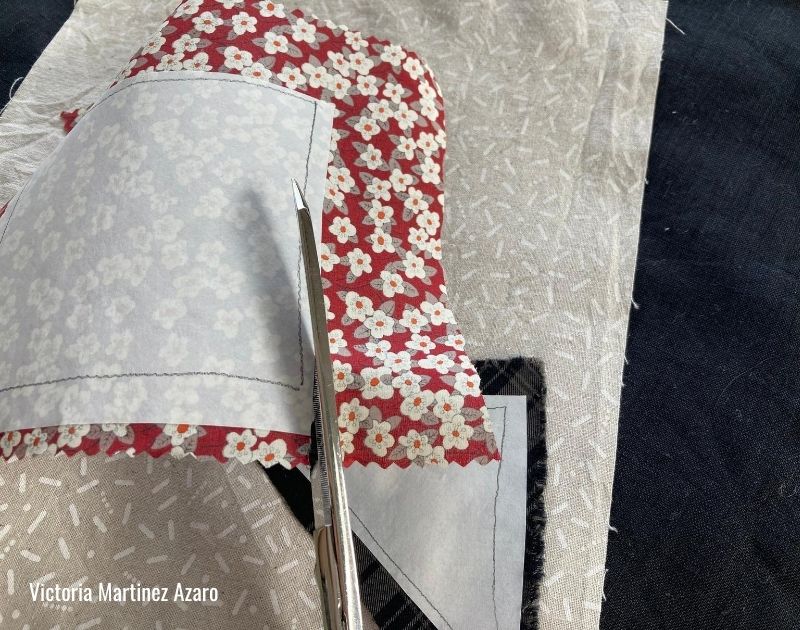
Once you have traced all the pieces go ahead and cut around them leaving 1 cm to edge around the traced line.
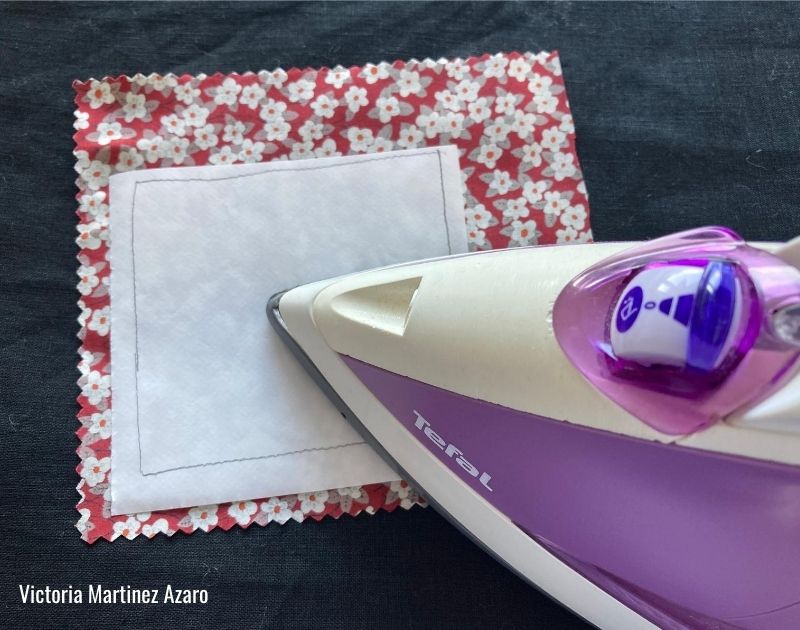
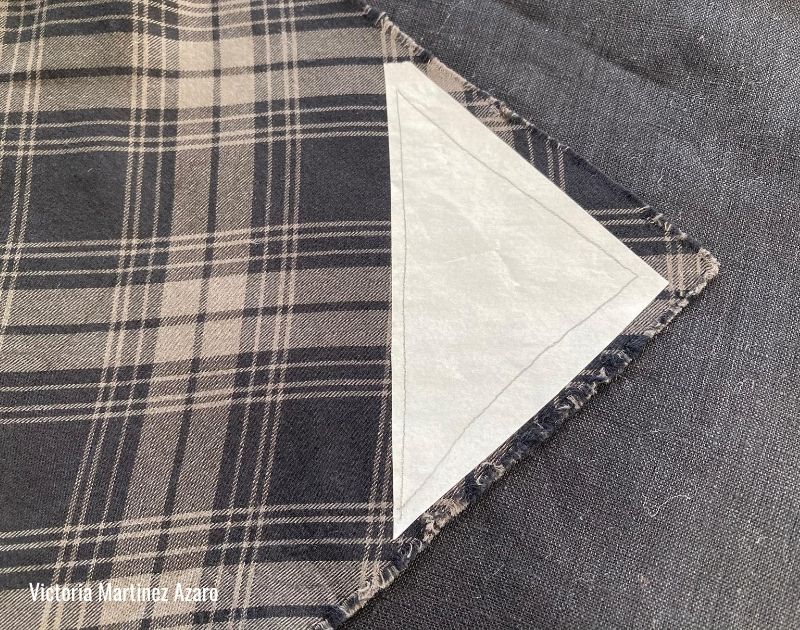
Step 3:
Place your chosen fabric on your iron board. Make sure the wrong side of the fabric is facing up. Place the traces fusing sheet on top of your fabric. The wrong side of the fabric needs to be touching the glue side of the iron on fusing paper.
Place a hot non steamy iron and hold for 4 seconds. Keep pressing in 4 seconds intervals until the whole shape is fused.
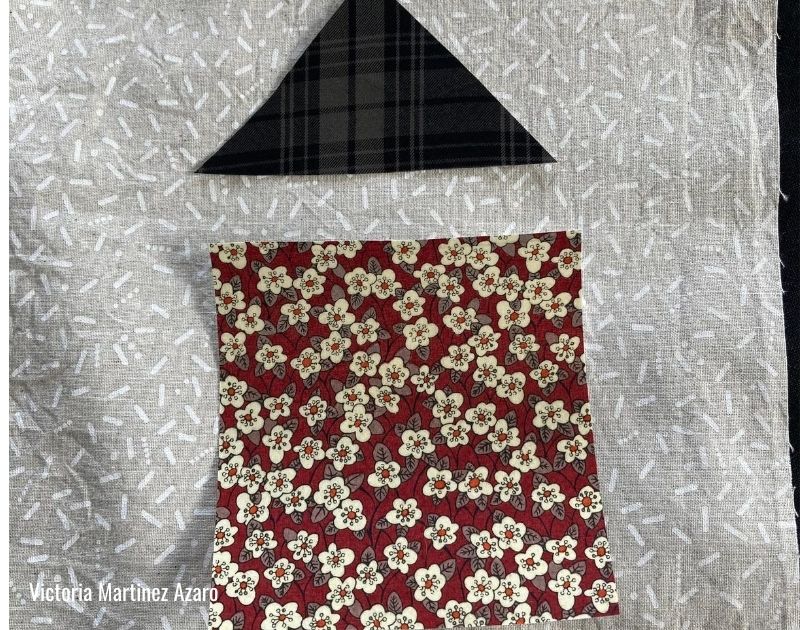
This will be the base of my house.
Repeat this process with all the different pattern pieces.
This will be the roof 🙂

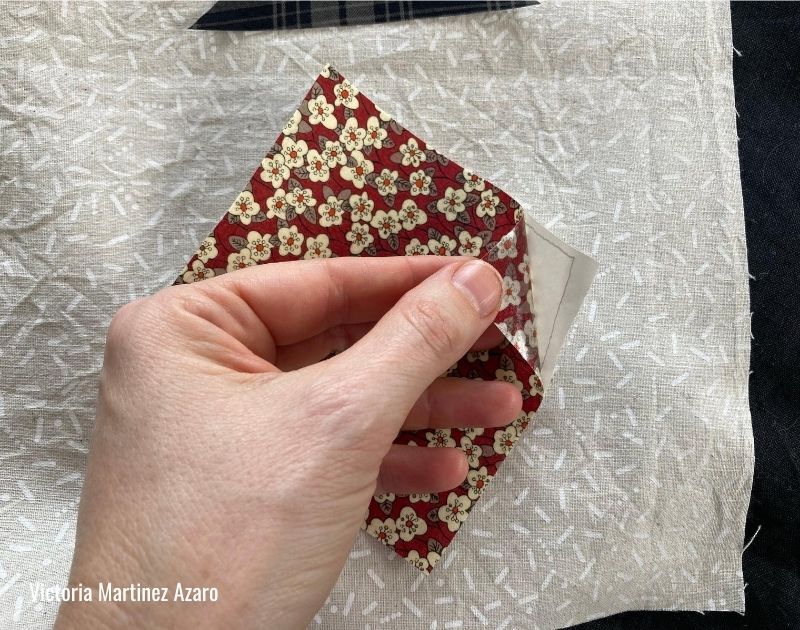
Step 4:
Once all your pattern pieces are fused you need to cut around them following your traced line.
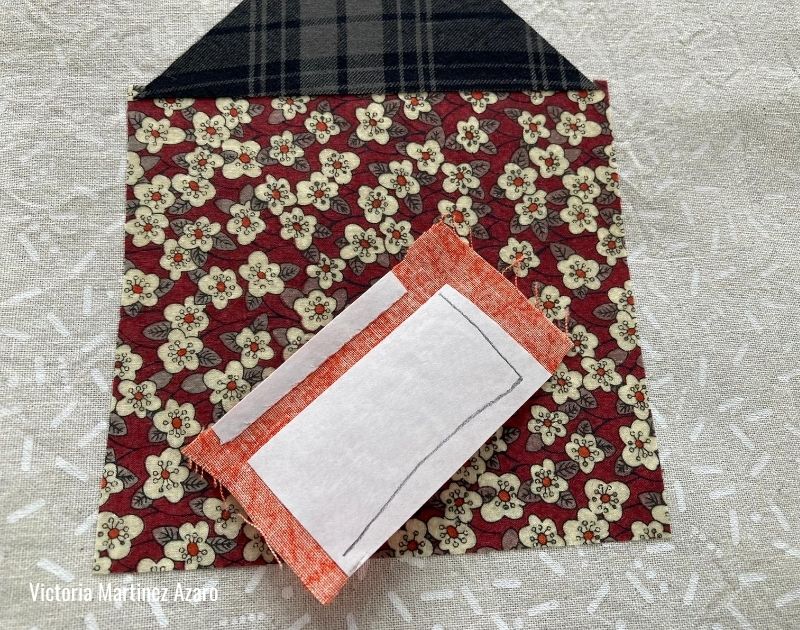
Step 5:
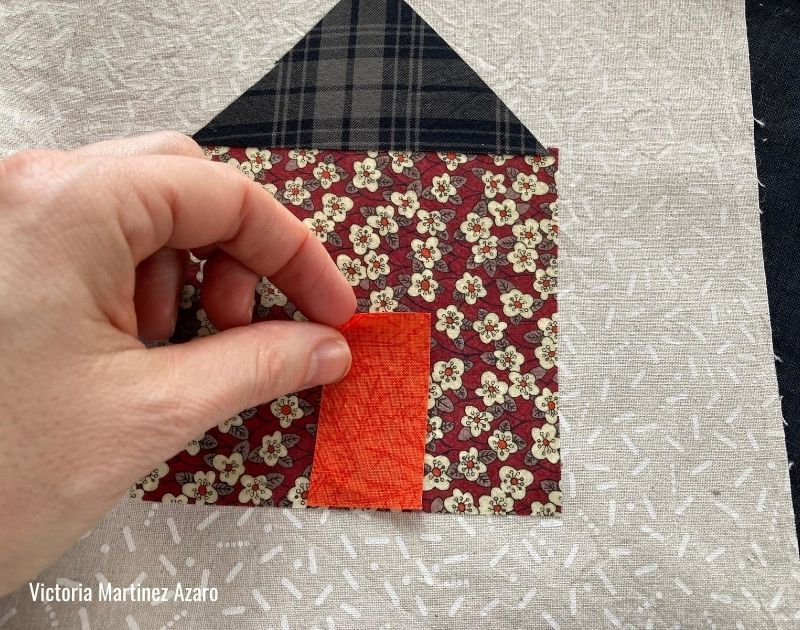
Place your applique pieces on the base fabric.
Once you are happy with the placement go ahead and peel off the paper backing. This will leave a glue lining on the back of your fabric scrap.
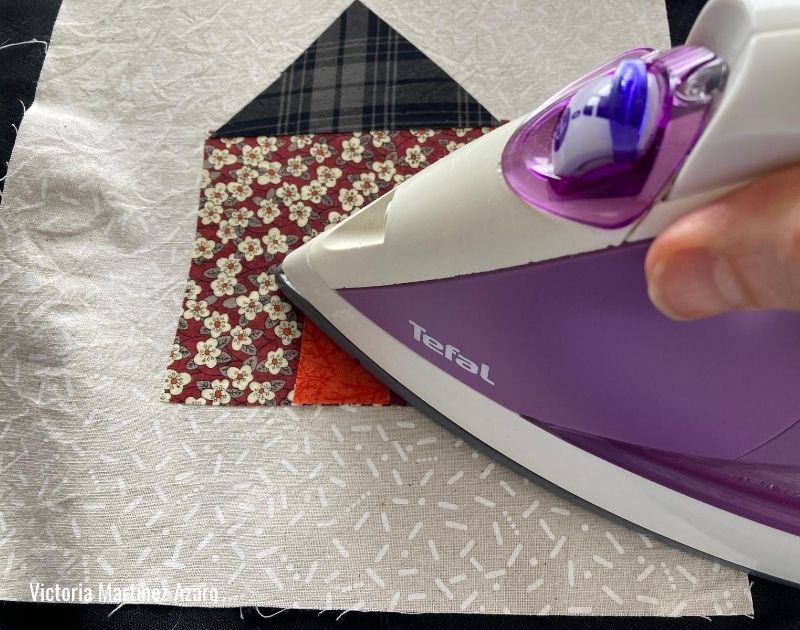
Place a hot non-steamy iron on top of the fabric piece and repeat the process of holding the iron down for 4 seconds and releasing. Build your collage by doing the same with all fabric pieces.

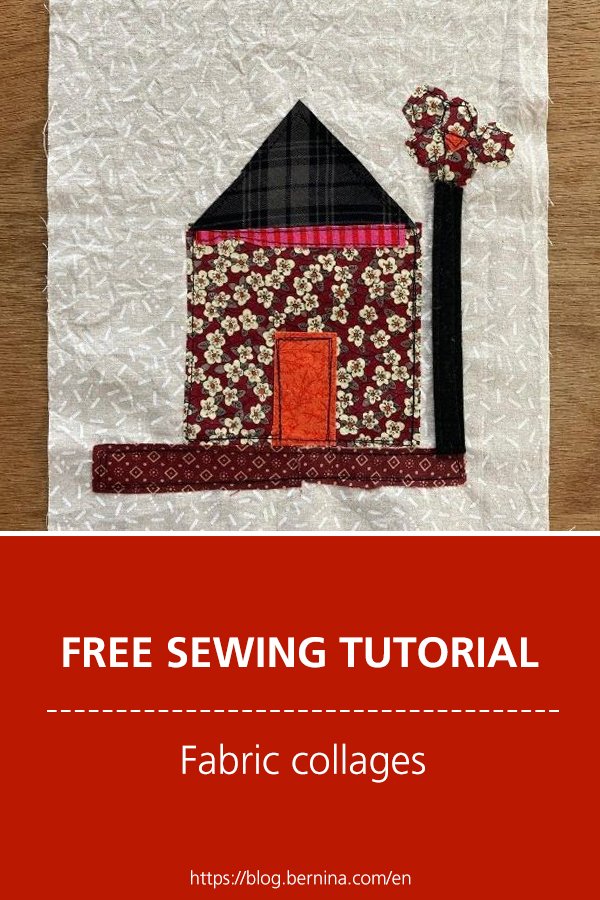
For this template design the order of placement should be:
- The base of the house (pattern piece 2)
- The rood (pattern piece 1)
- The door (pattern piece 3)
- The windows optional (pattern pieces 4 & 5)
- The tree trunk (pattern piece 6)
- Tree leaves (pattern pieces 7-8-9)
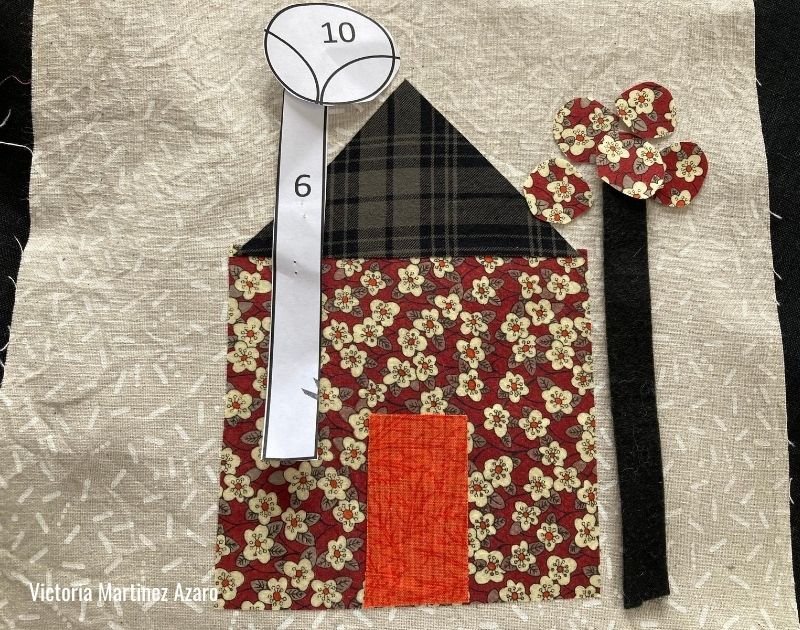
Note: I am using a wool felt fabric for the tree trunk so in this case I have fused all my cotton pieces first (tree flowers) and I will place the tree trunk last.
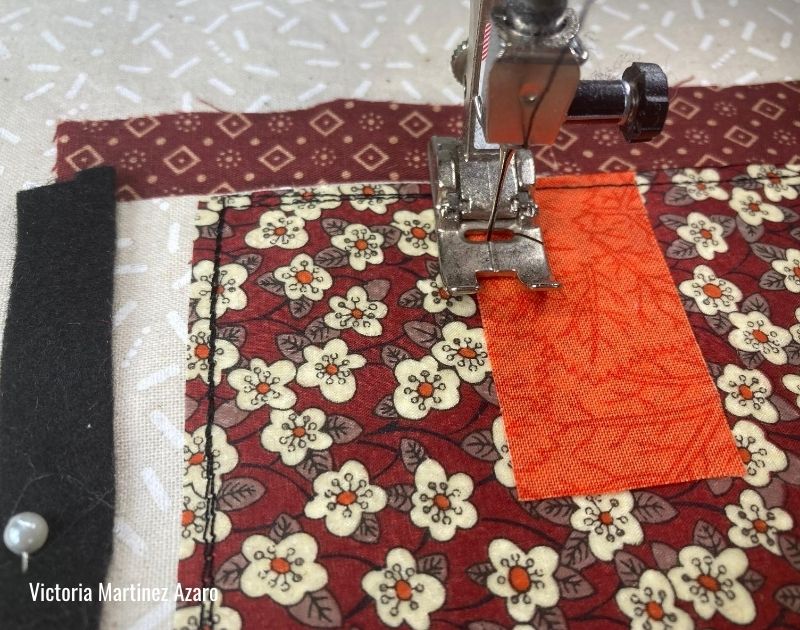
Step 6:
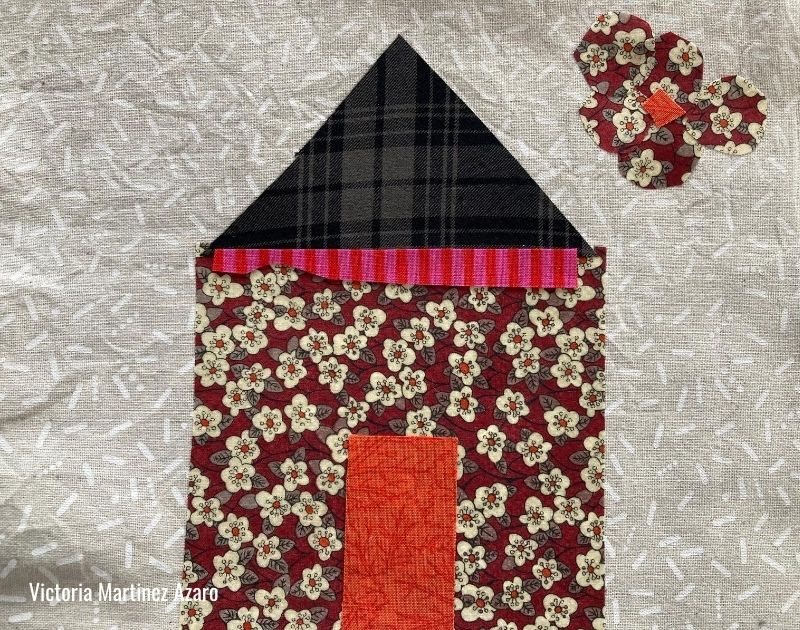
Once the collage pieces are all fused its time to sew a top stitch all around your applique pieces. I have chosen a black cotton because I wanted an outline effect but you can choose any color thread that you prefer 🙂
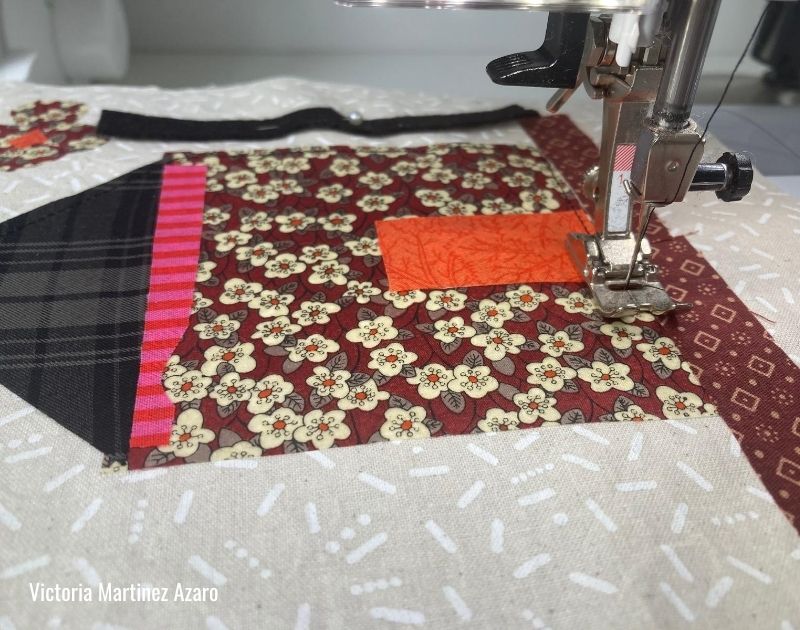
When you have completed all the sewing and you have a nice outline go ahead and sew the felted tree trunk. This will be the last item of the collage.

This is the final piece. As you can see I got carried away and added a few more details in the sewing process. I added a pink detail to the roof as well as a patio/footpath to the bottom of the house. You can build this basic house template as much as you want. All you need to do is follow this simple steps and keep adding layers of color and texture.

Now, what shall we do with this lovely fabric collage? I am thinking to turn it into a pillow for my daughter’s room 🙂
Check out these really cool upcycling fabric scrap tutorials:
A ClosetCase Patterns Pouf – made out of fabric scraps
0 Responses