 BERNINA Corporate Blog -
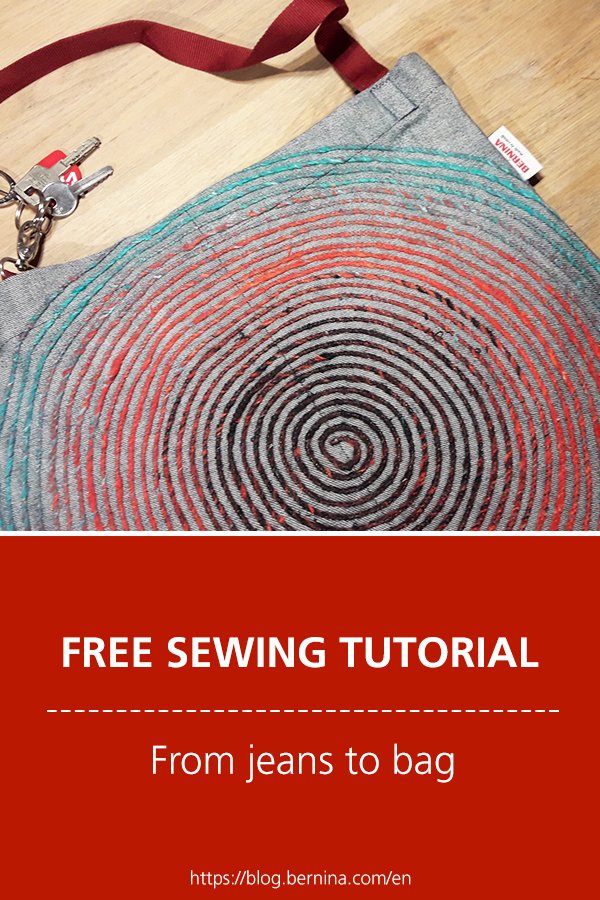
I have a creative project in my mind: I want to turn an old pair of jeans into a bag and make it extra sprecial by couching a spiral with variegated yarn. Such a design will be something you won’t see twice!
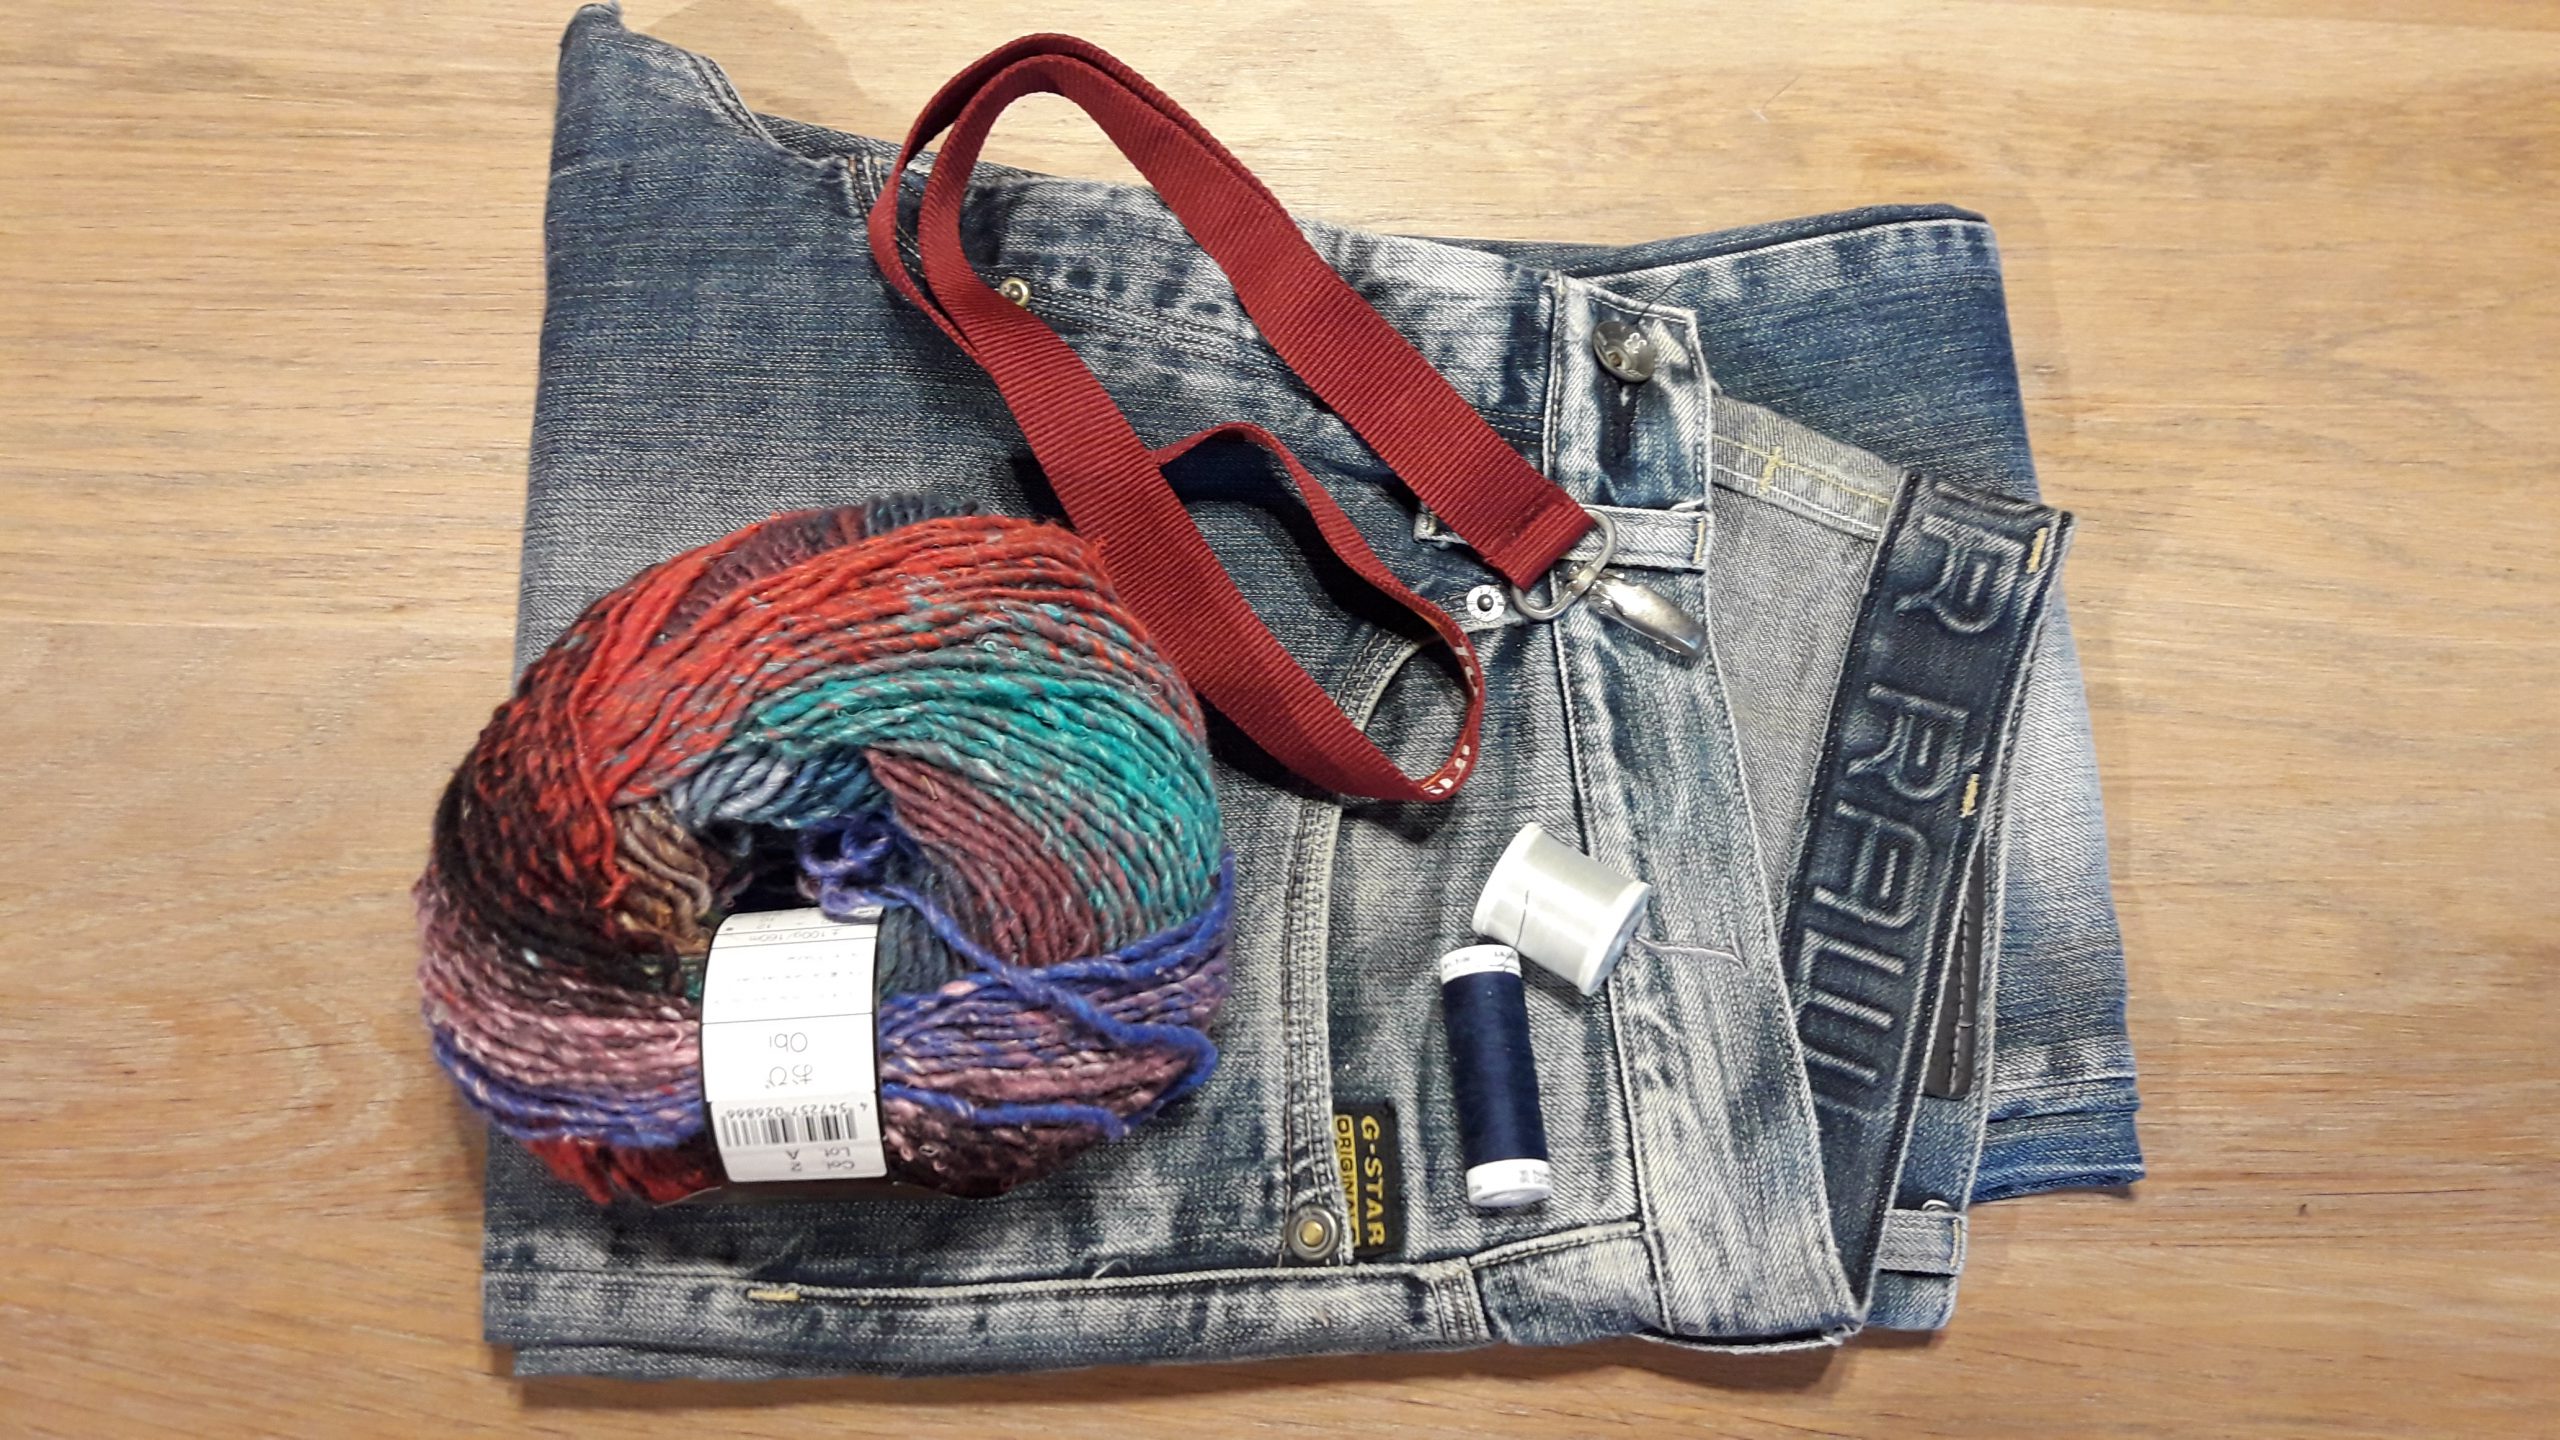
What do I need?
- An old pair of jeans
- Mettler Denim Doc thread to sew the bag
- Mettler Transfil nylon thread (if you’d take a different brand of nylon thread, check at first if you can iron it)
- Variegated yarn
- Stabiliser (I used a water soluble stabiliser)
- A keyhanger and ribbon in a matching color. Take a long ribbon, if you’d like to use this bag as a cross-over model
- Embroidery hoop
- A label?
- The overlockmachine BERNINA L 460 and my trusted BERNINA 710
Let’s turn the jeans into a bag:
Cut the legs of the jeans in 2 equal rectangles:
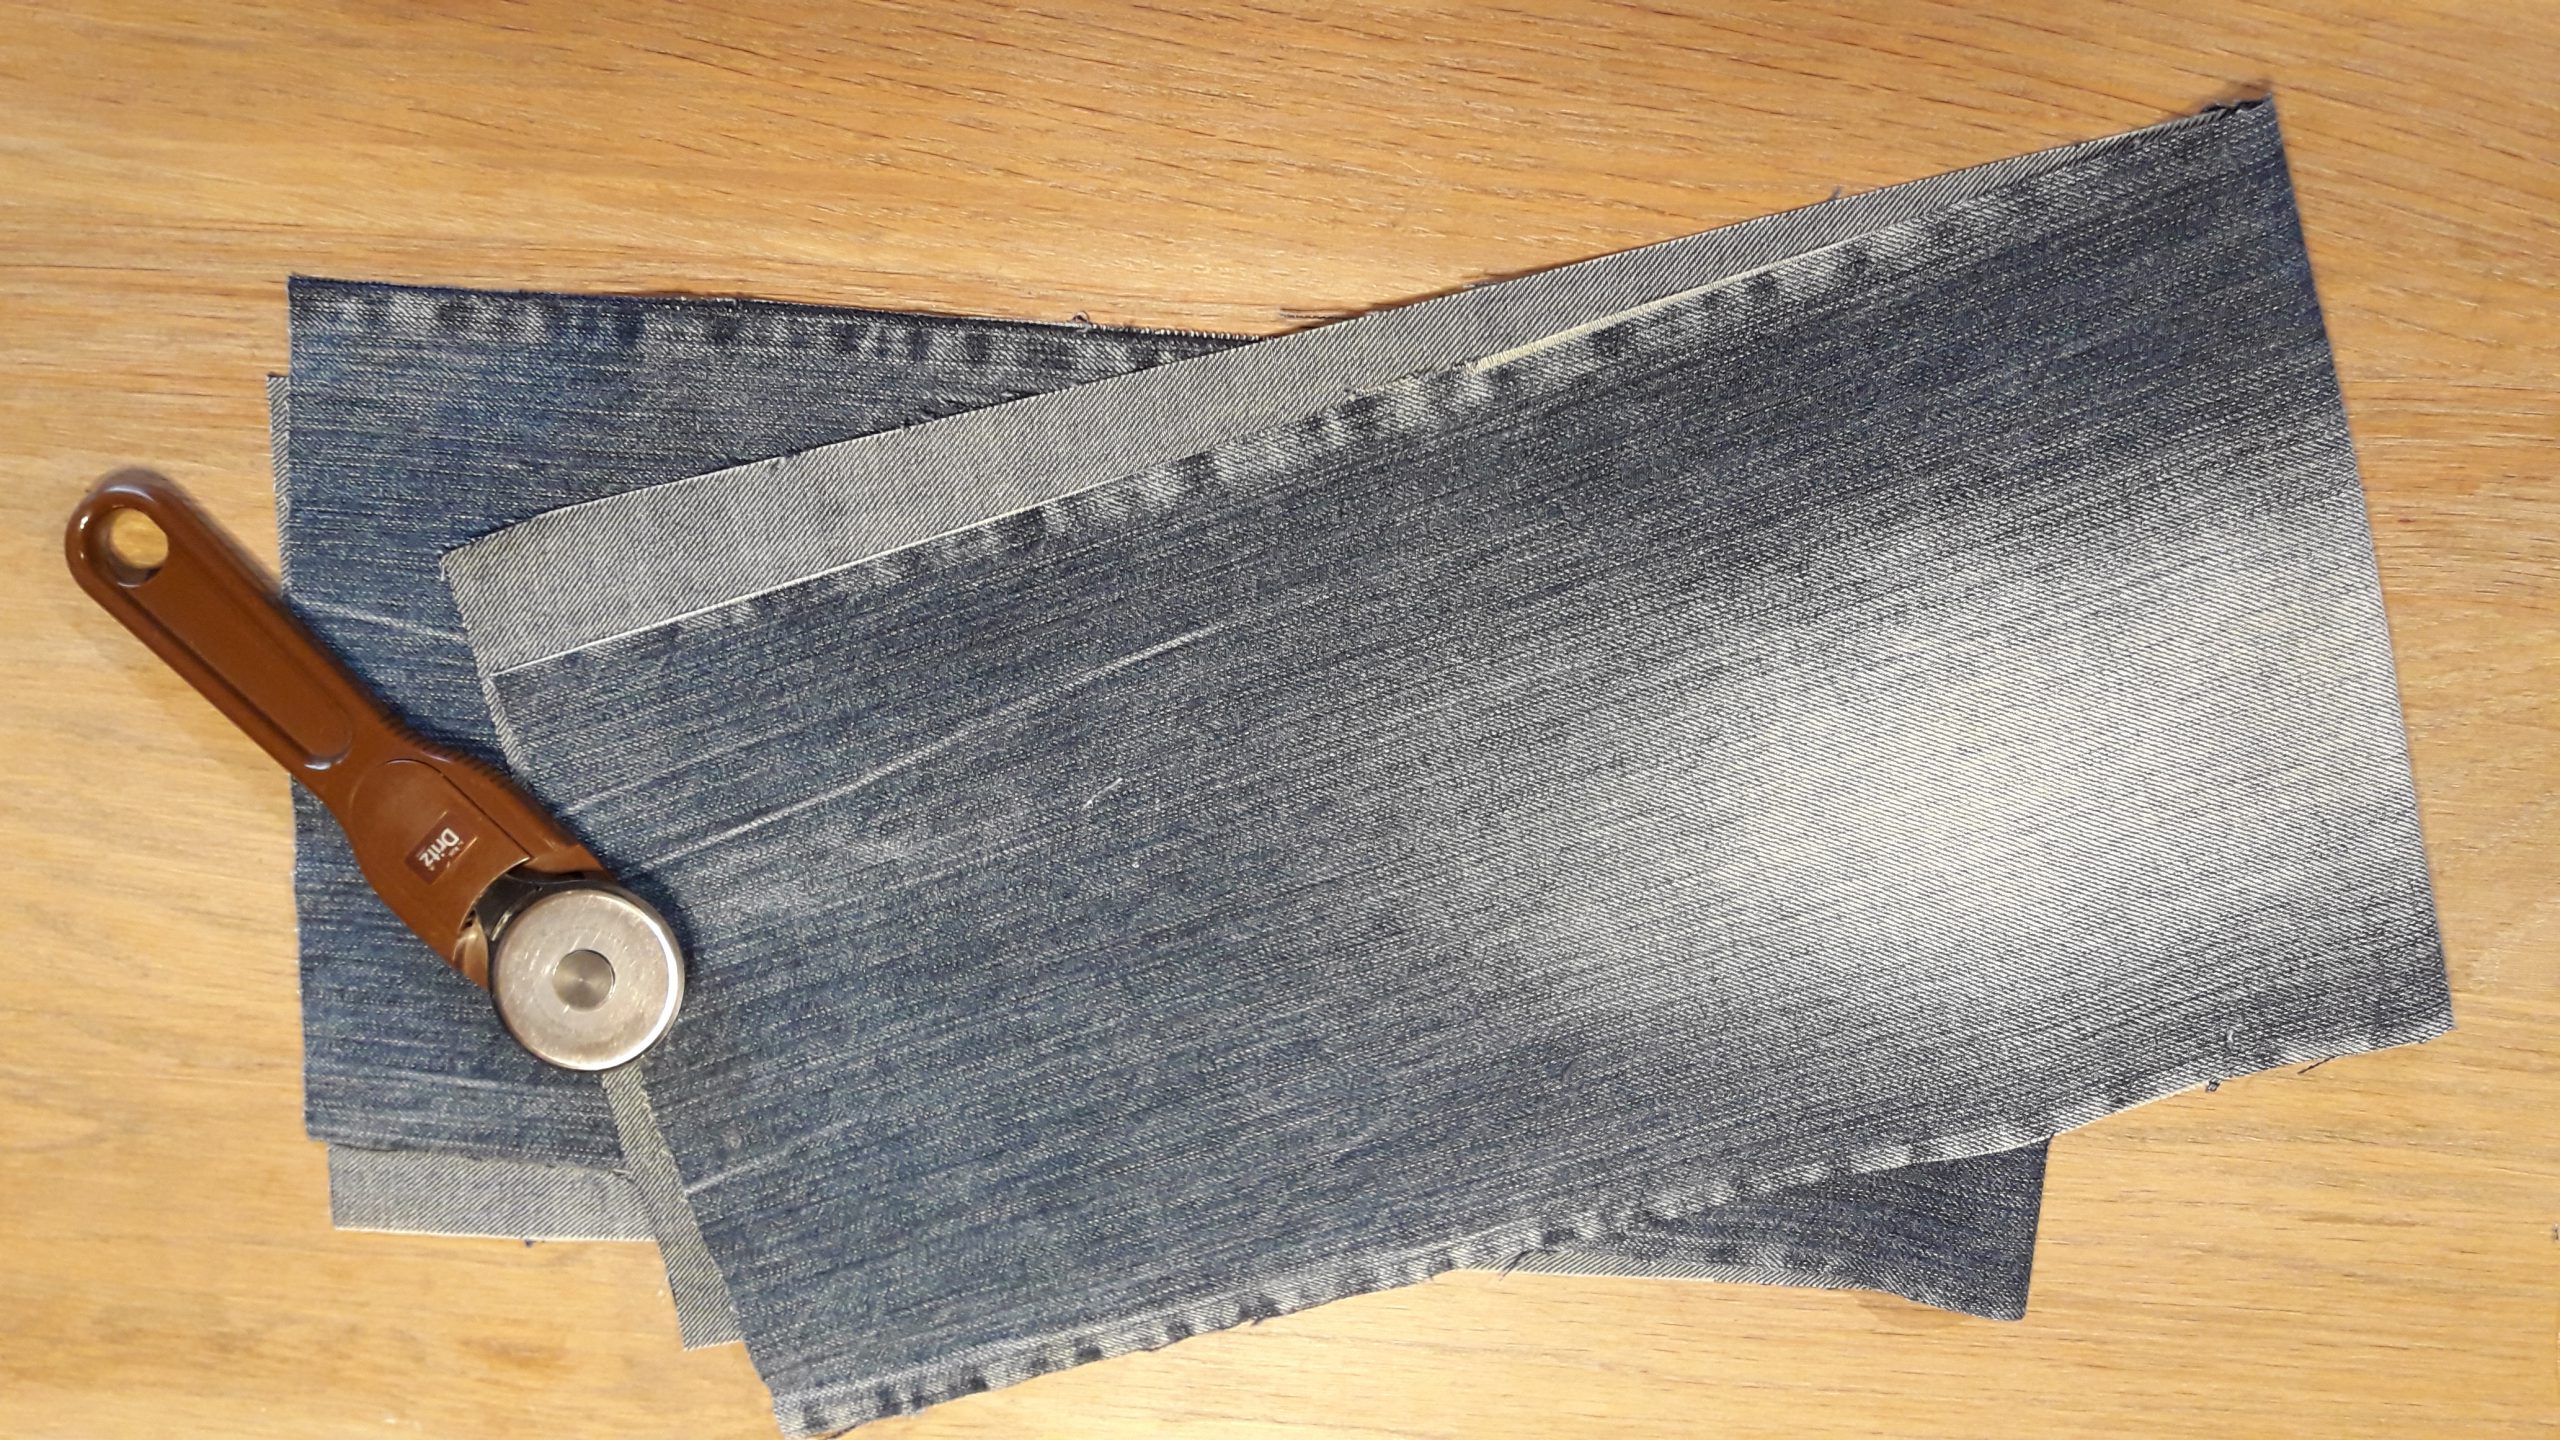
I overlock all edges to prevent fringing while working on it. I assemble all rectangles into one big piece.

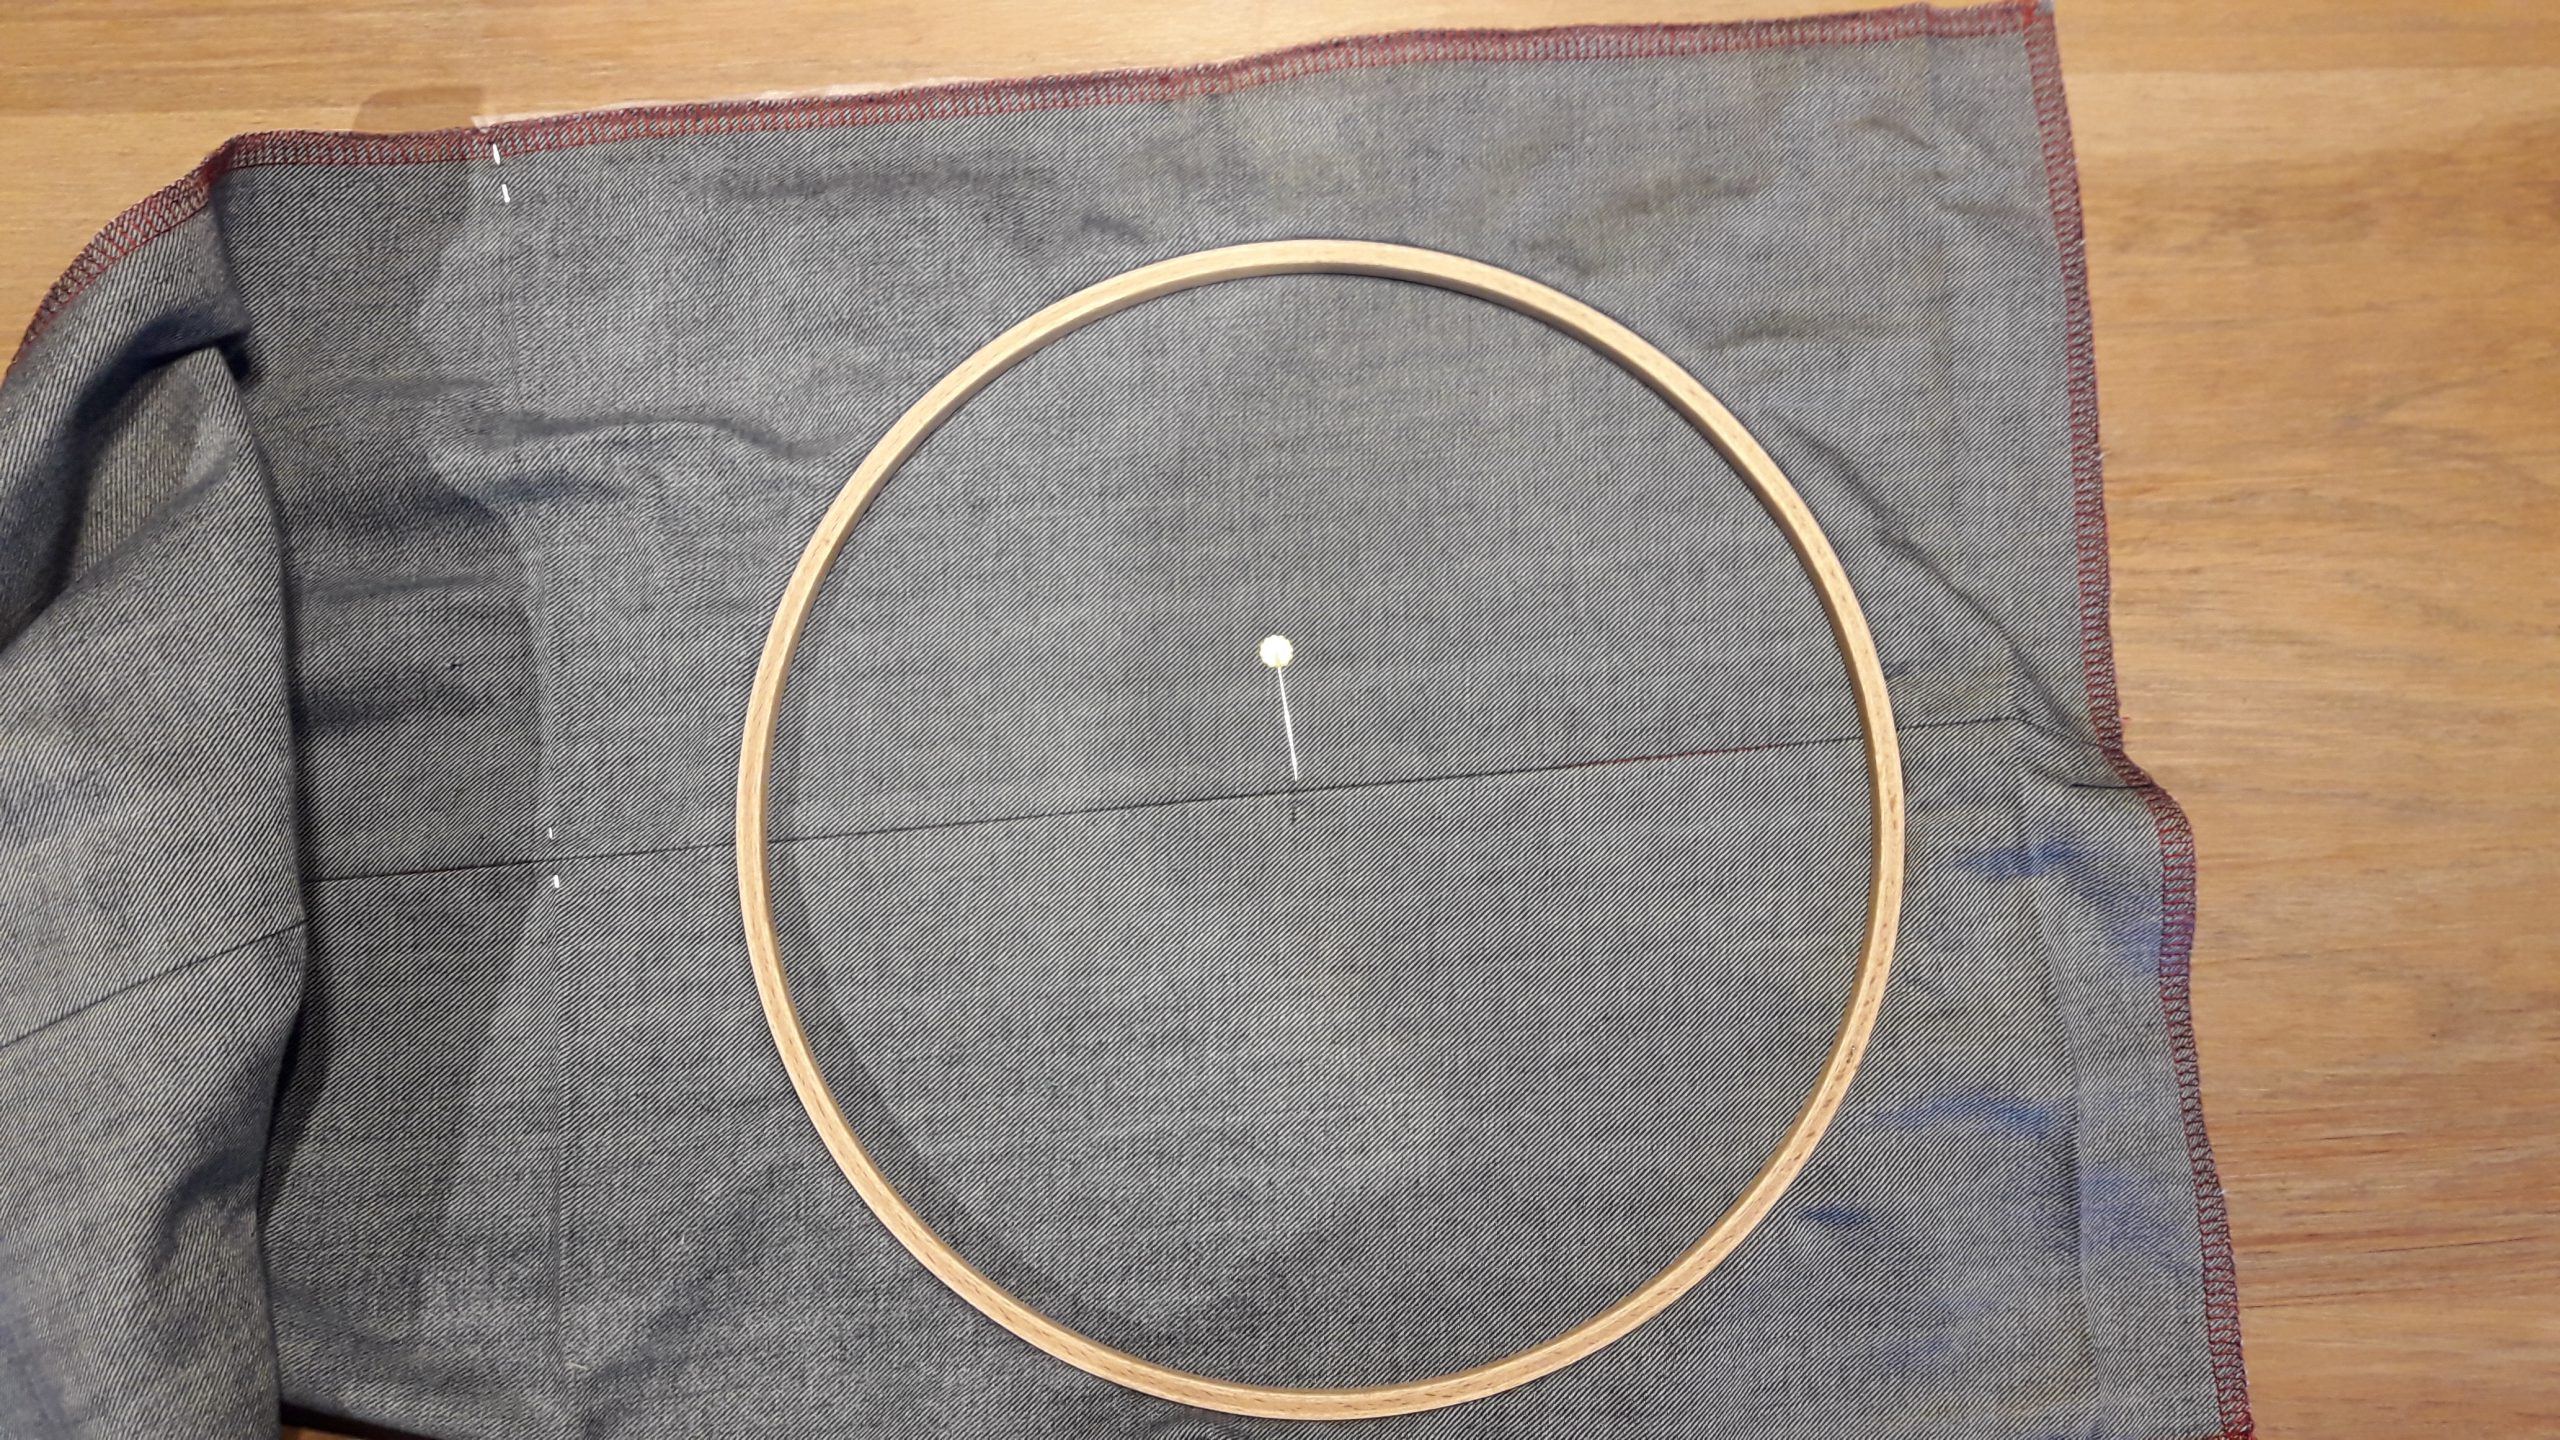
Iron your seam allowances appart. At the openings of the bag, fold 4 cm seam allowance over and iron the edges, then fold the bag in the middle and iron again (to mark the bottom of the bag). It’s a coincidence that I have two nice squares now, your bag might have a different shape. Attach water soluble stabilizer to the back of your fabric with either pins or spray adhesive. Measure from the bottom fold to the opening fold and put a pin in the middle.
My project needs to be hooped in an embroidery hoop to stay stable.
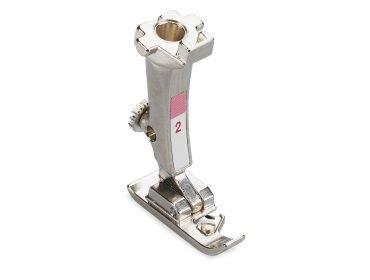
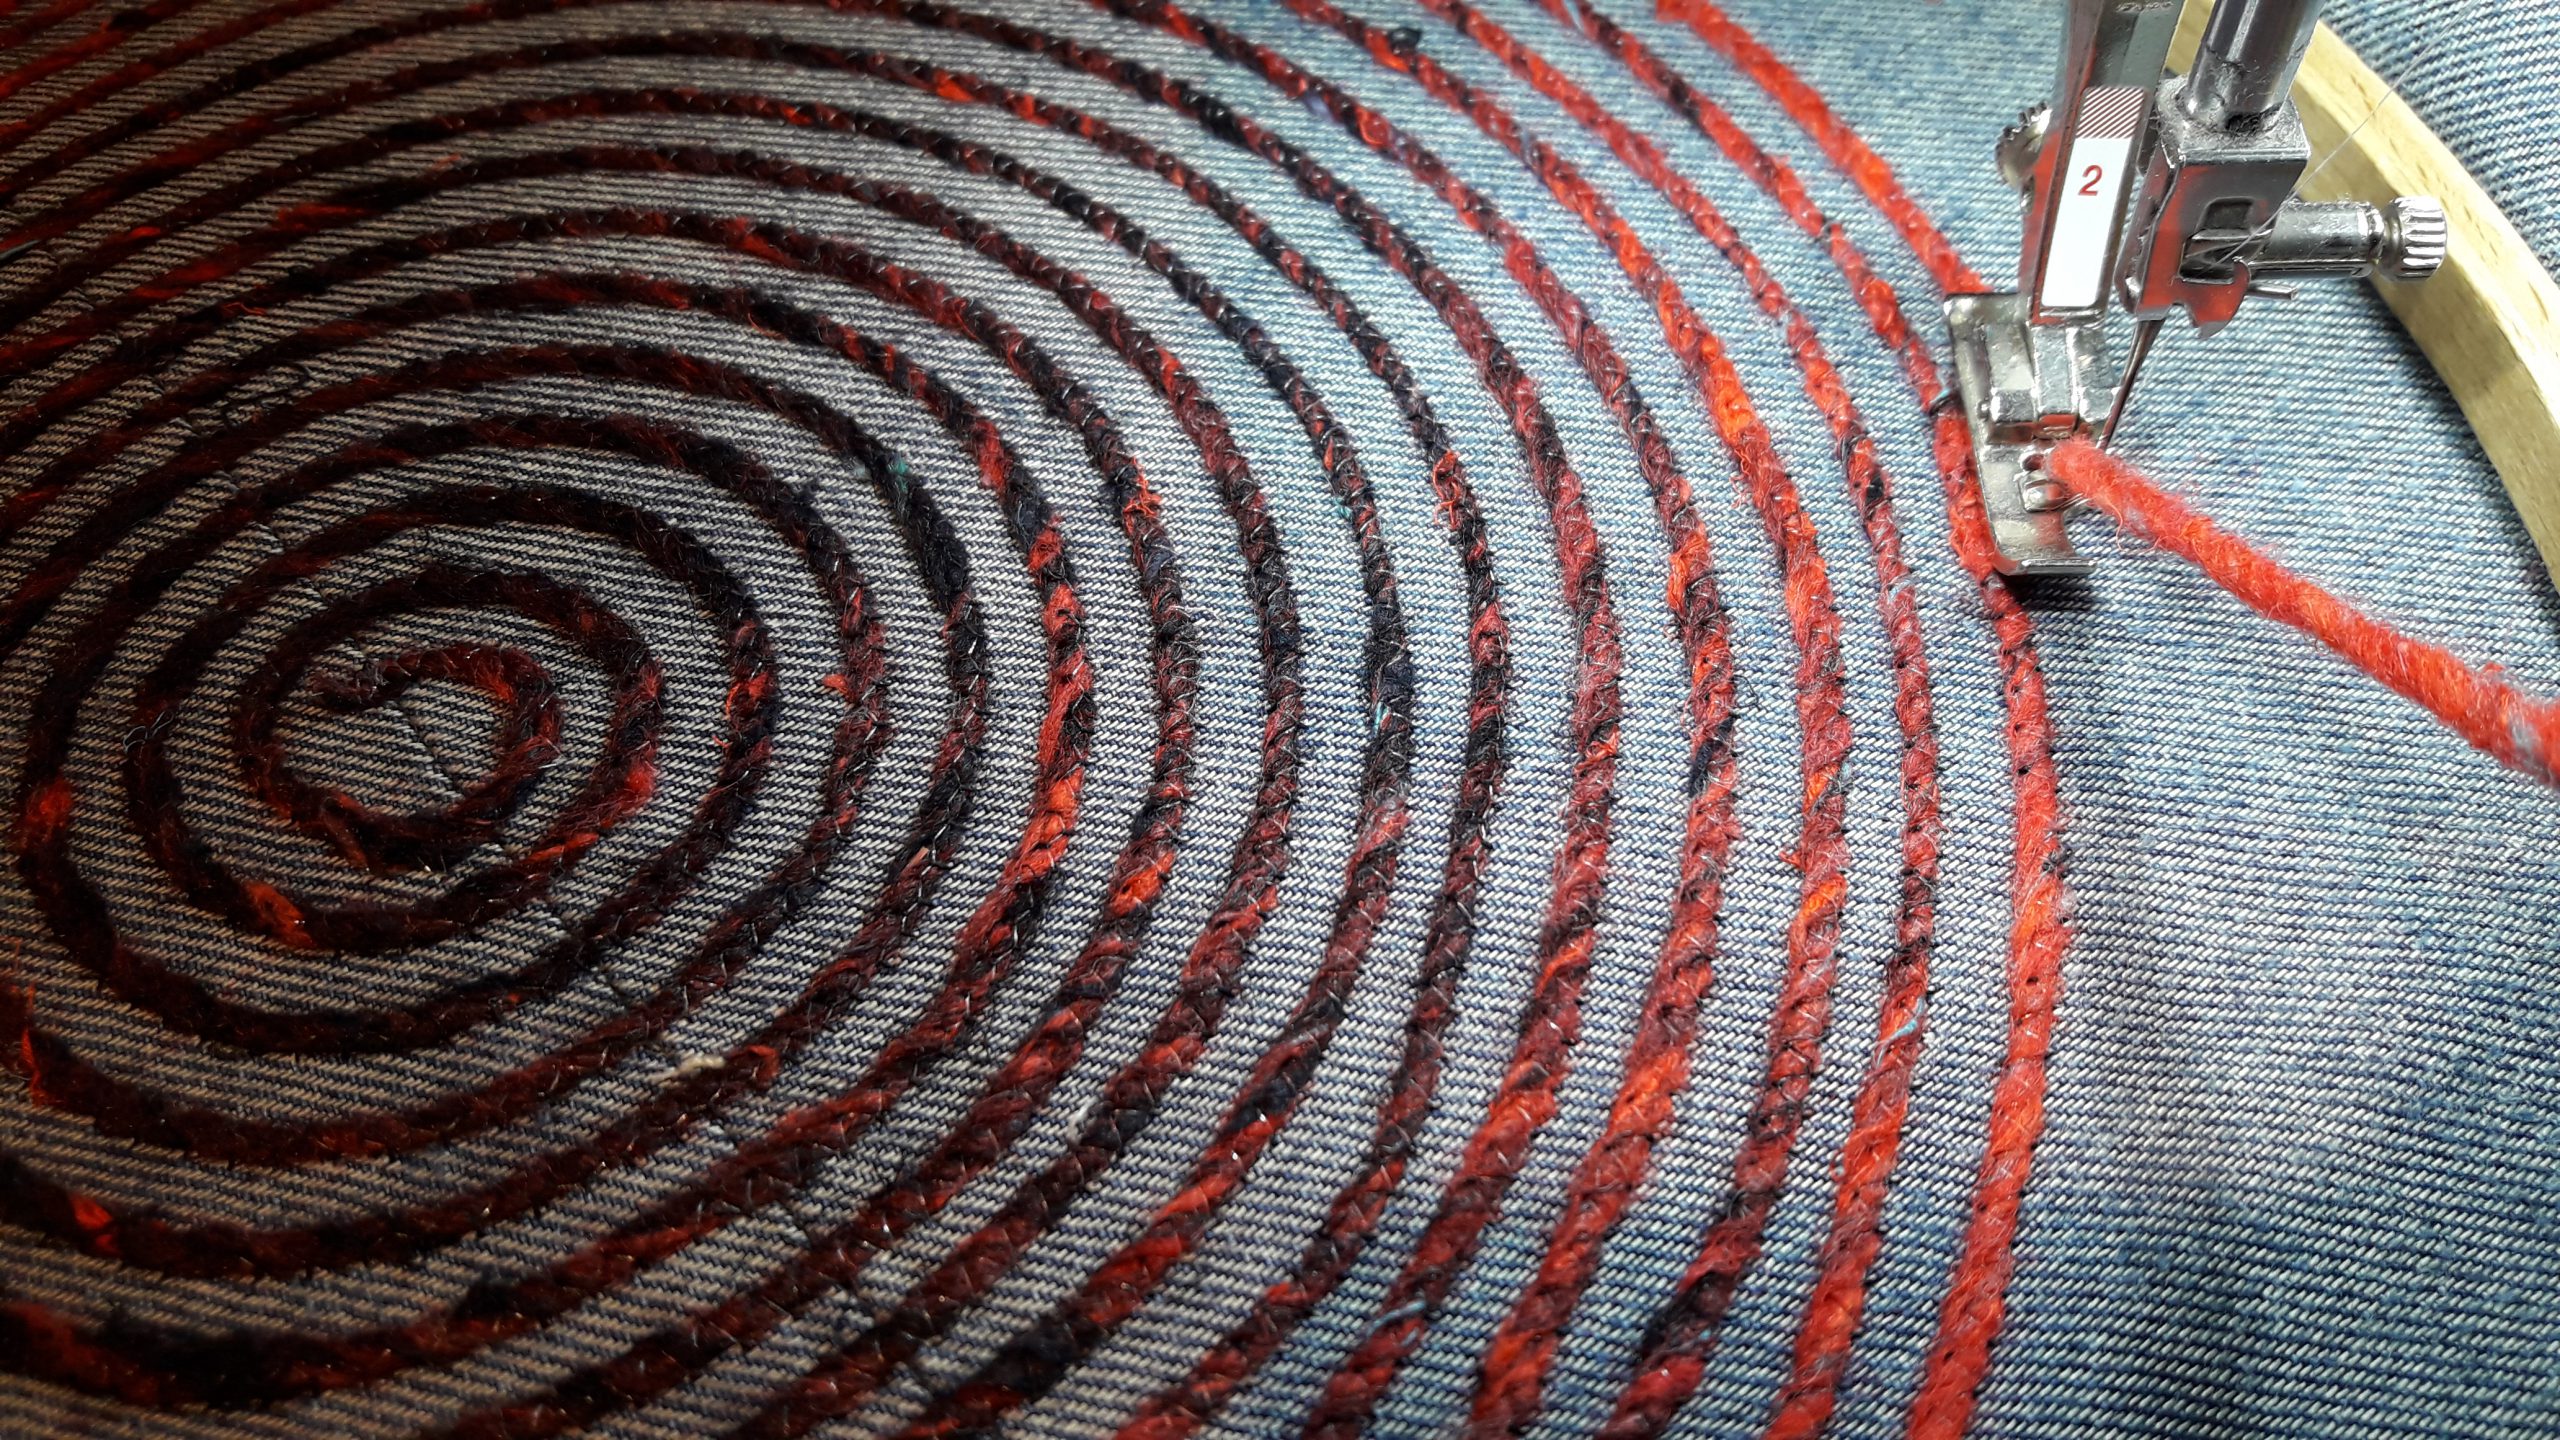
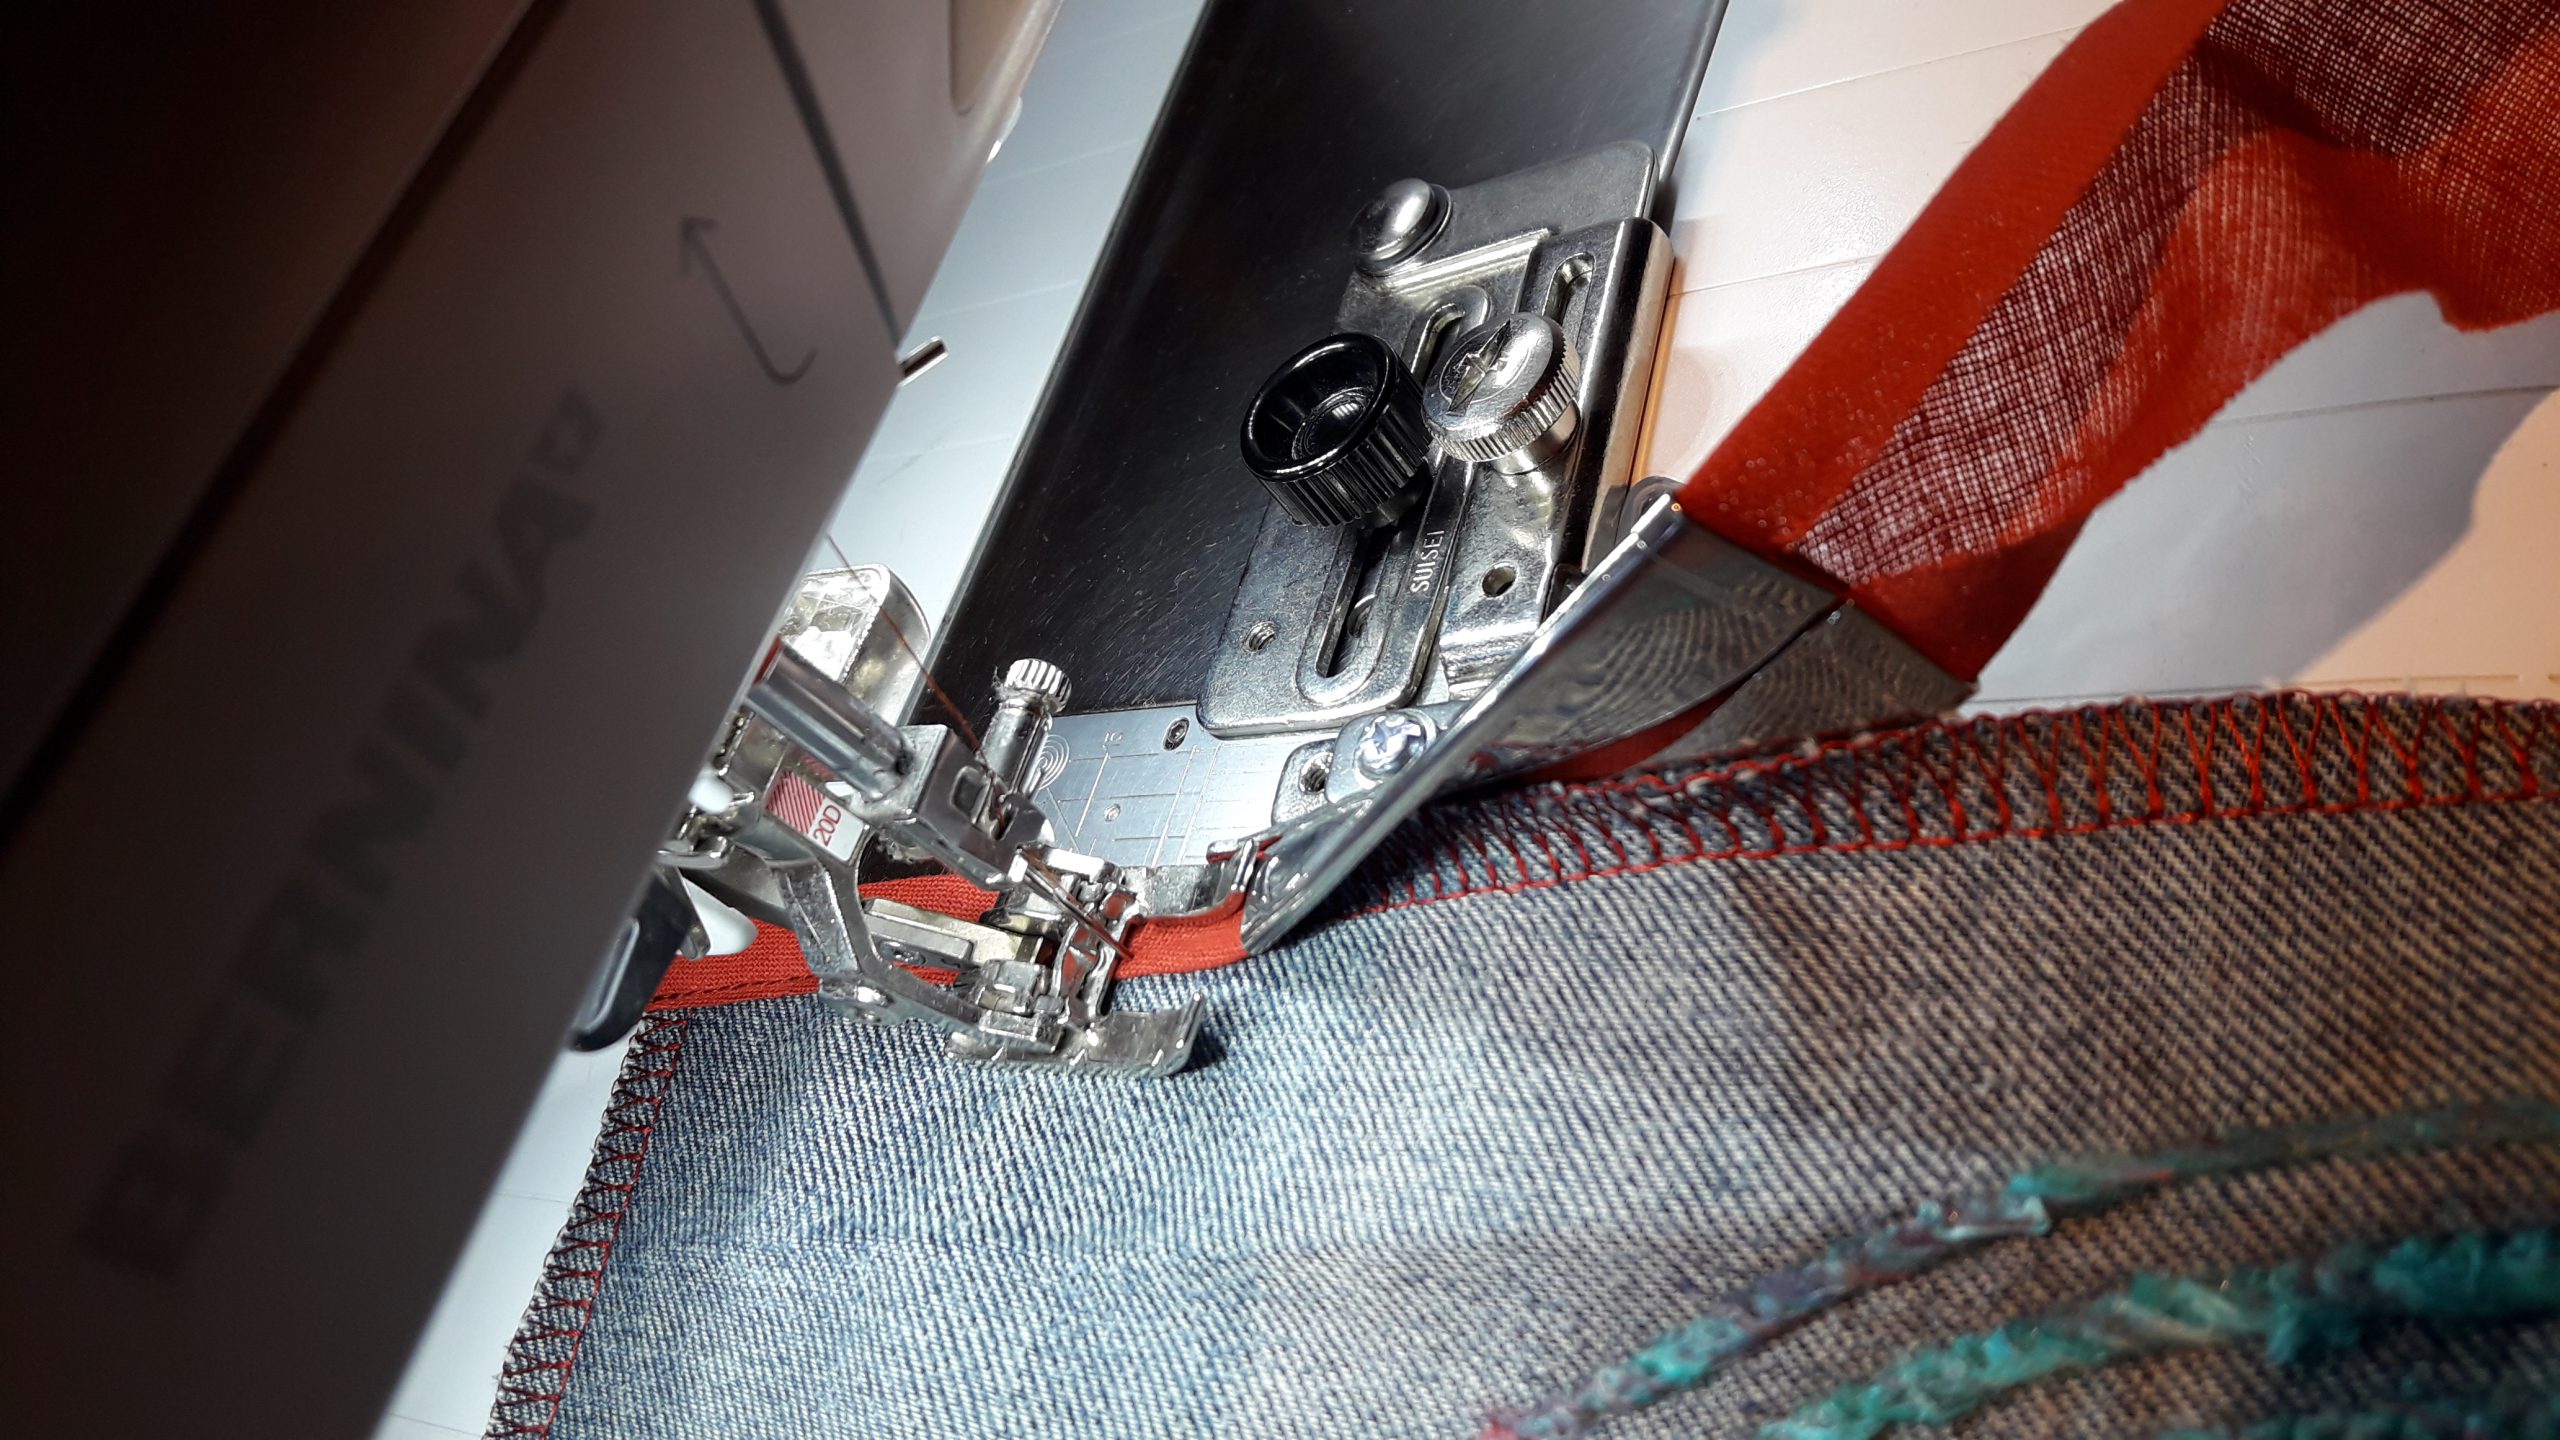
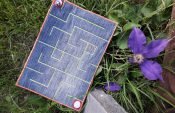
Start sewing the spiral from the middle of the bag, with the Nylon Mettler Transfil. This thread is almost invisible to the eye and won’t cover the yarn as much as standard sewing thread. I chose a narrow zigzag, but you can achieve different looks by choosing other stitches. I keep a good view with my Overlock Foot #2 , and I can guide the wool in it, which is a very comfortable way to sew. When finishing the spiral, I stop at the seam in the middle of my bag.
If you’d use very thick wool, you could also use other presser feet, such as the : Braiding Foot #21, #22 and #25.
When the spiral gets too big for the hoop, I cut the nylon thread and the bobbin thread (but not the yarn). Now it’s possible to take away the hoop and continue sewing my spiral as big as I want.
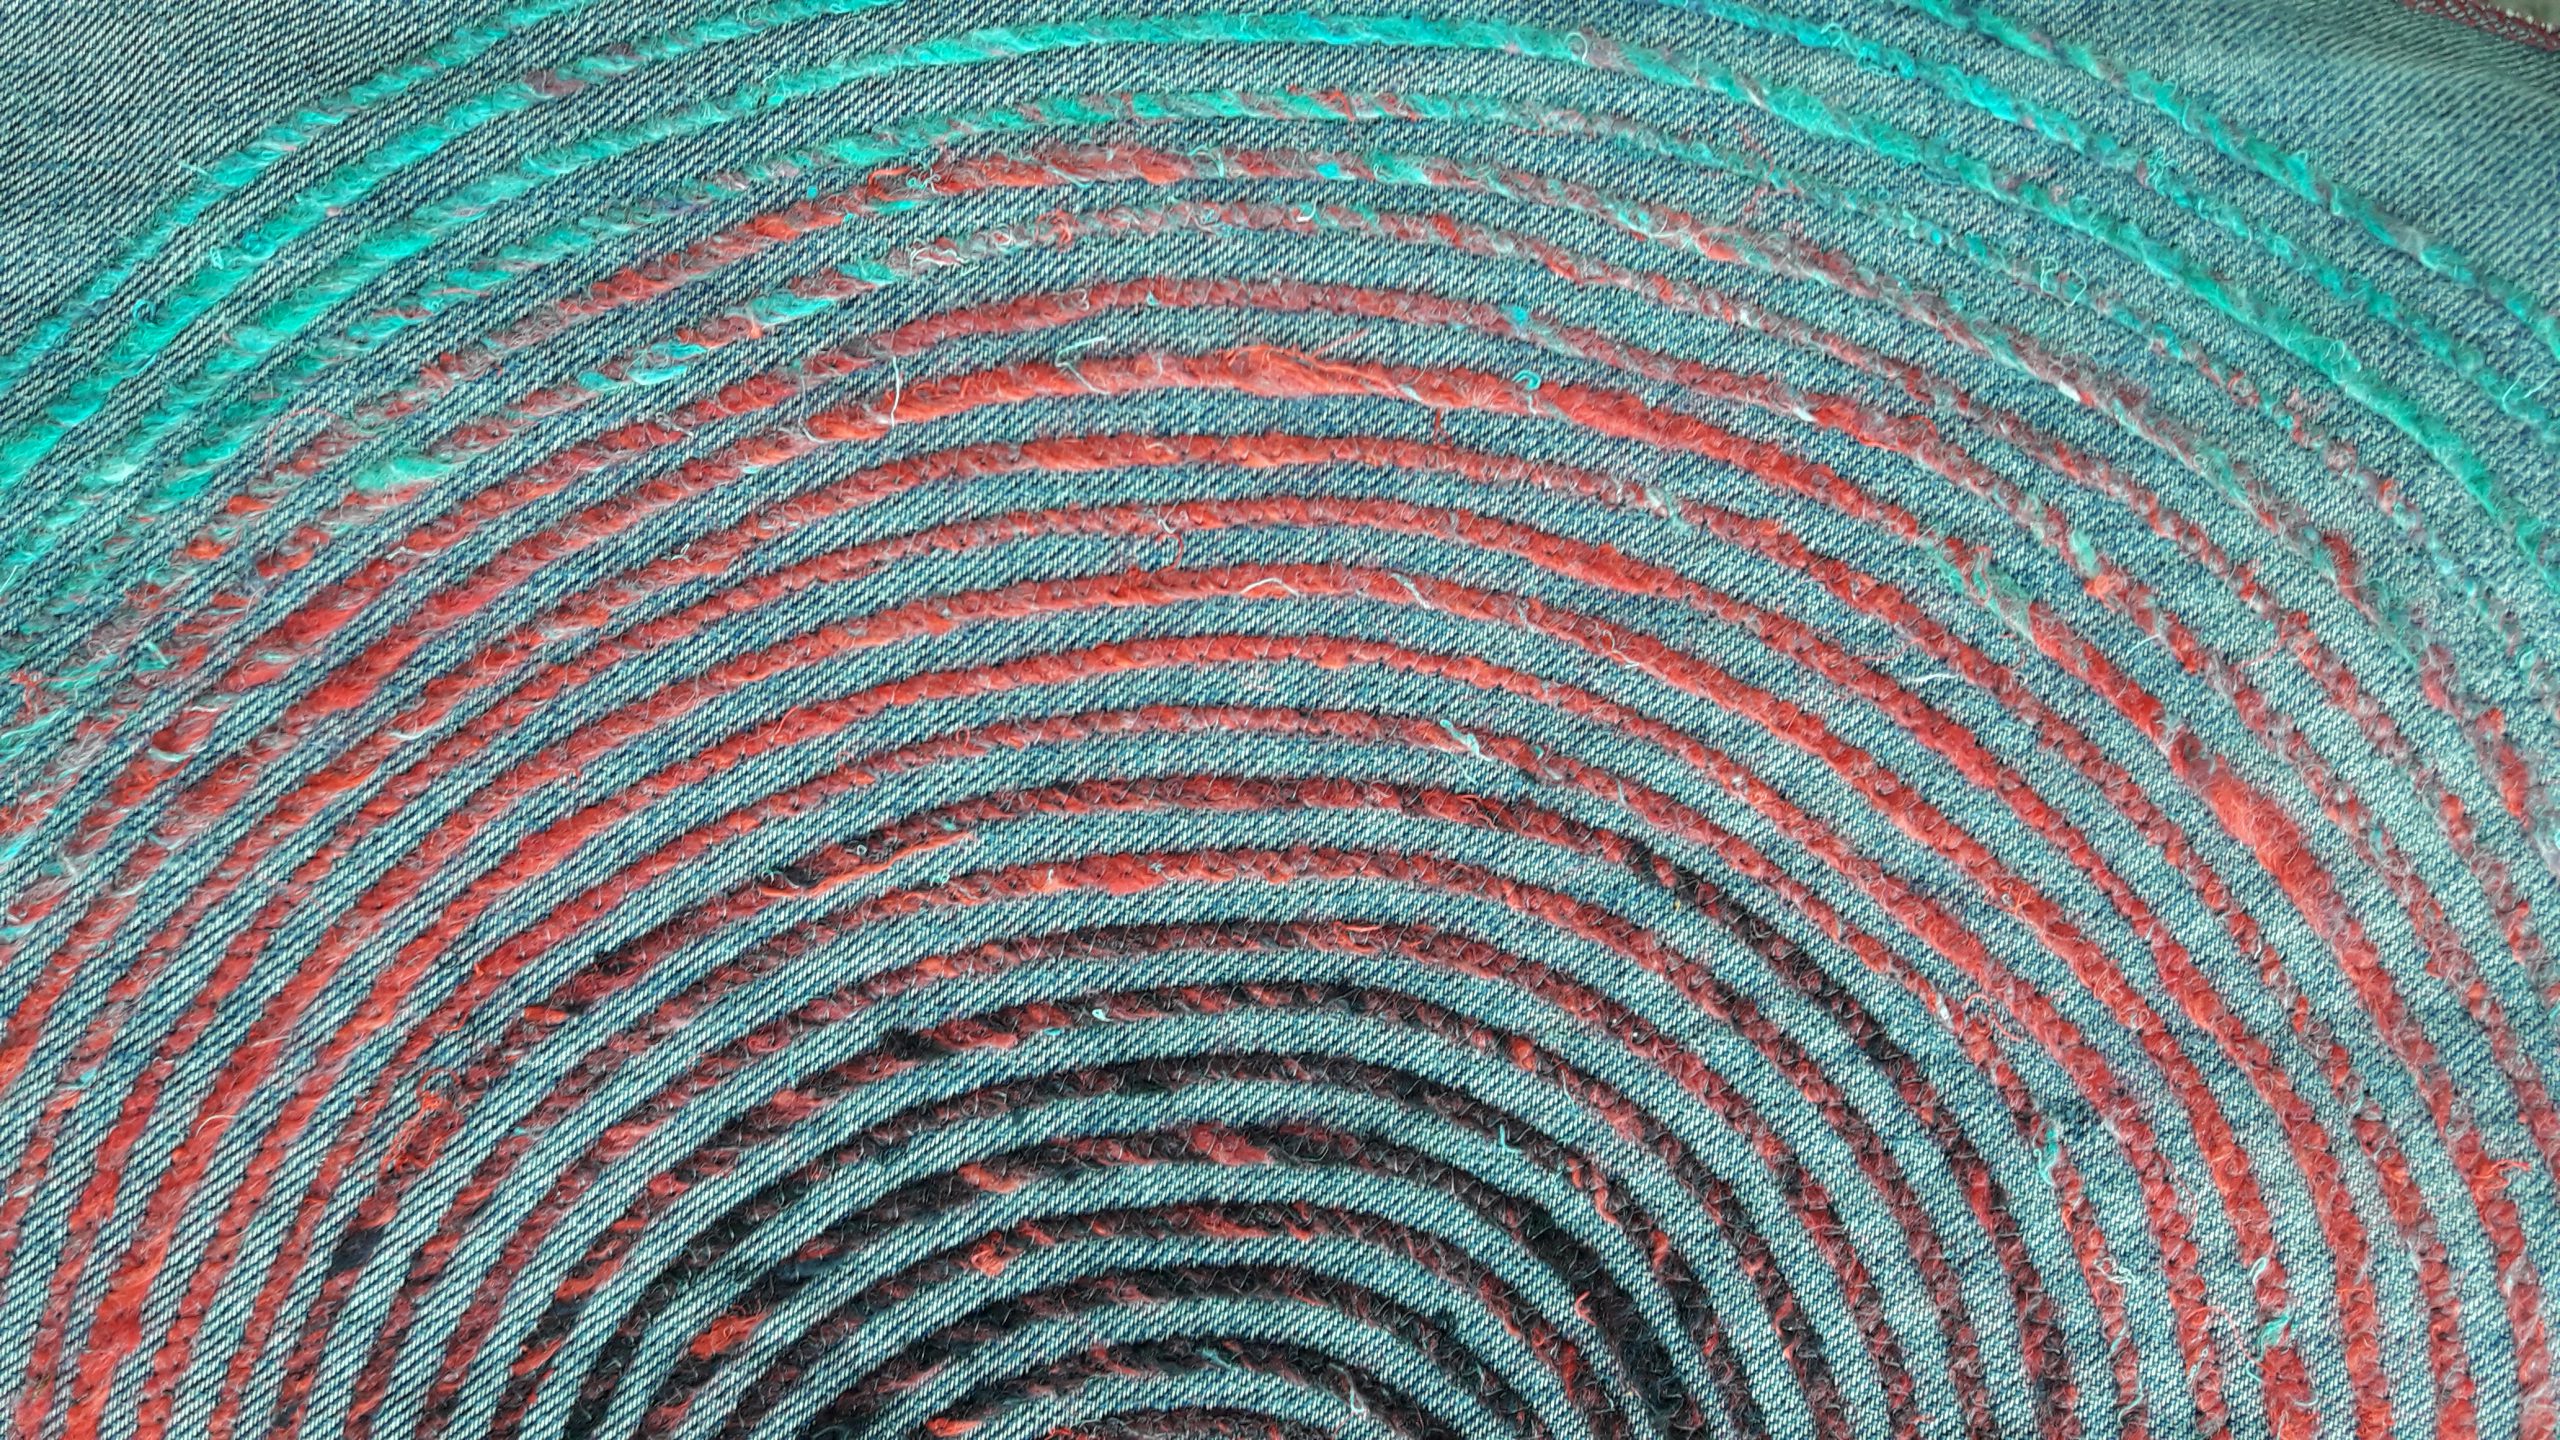
Leave more or less space between the spiral lines to create different effects. You can also use the Adjustable Guide as a support to achieve consistant spacing.

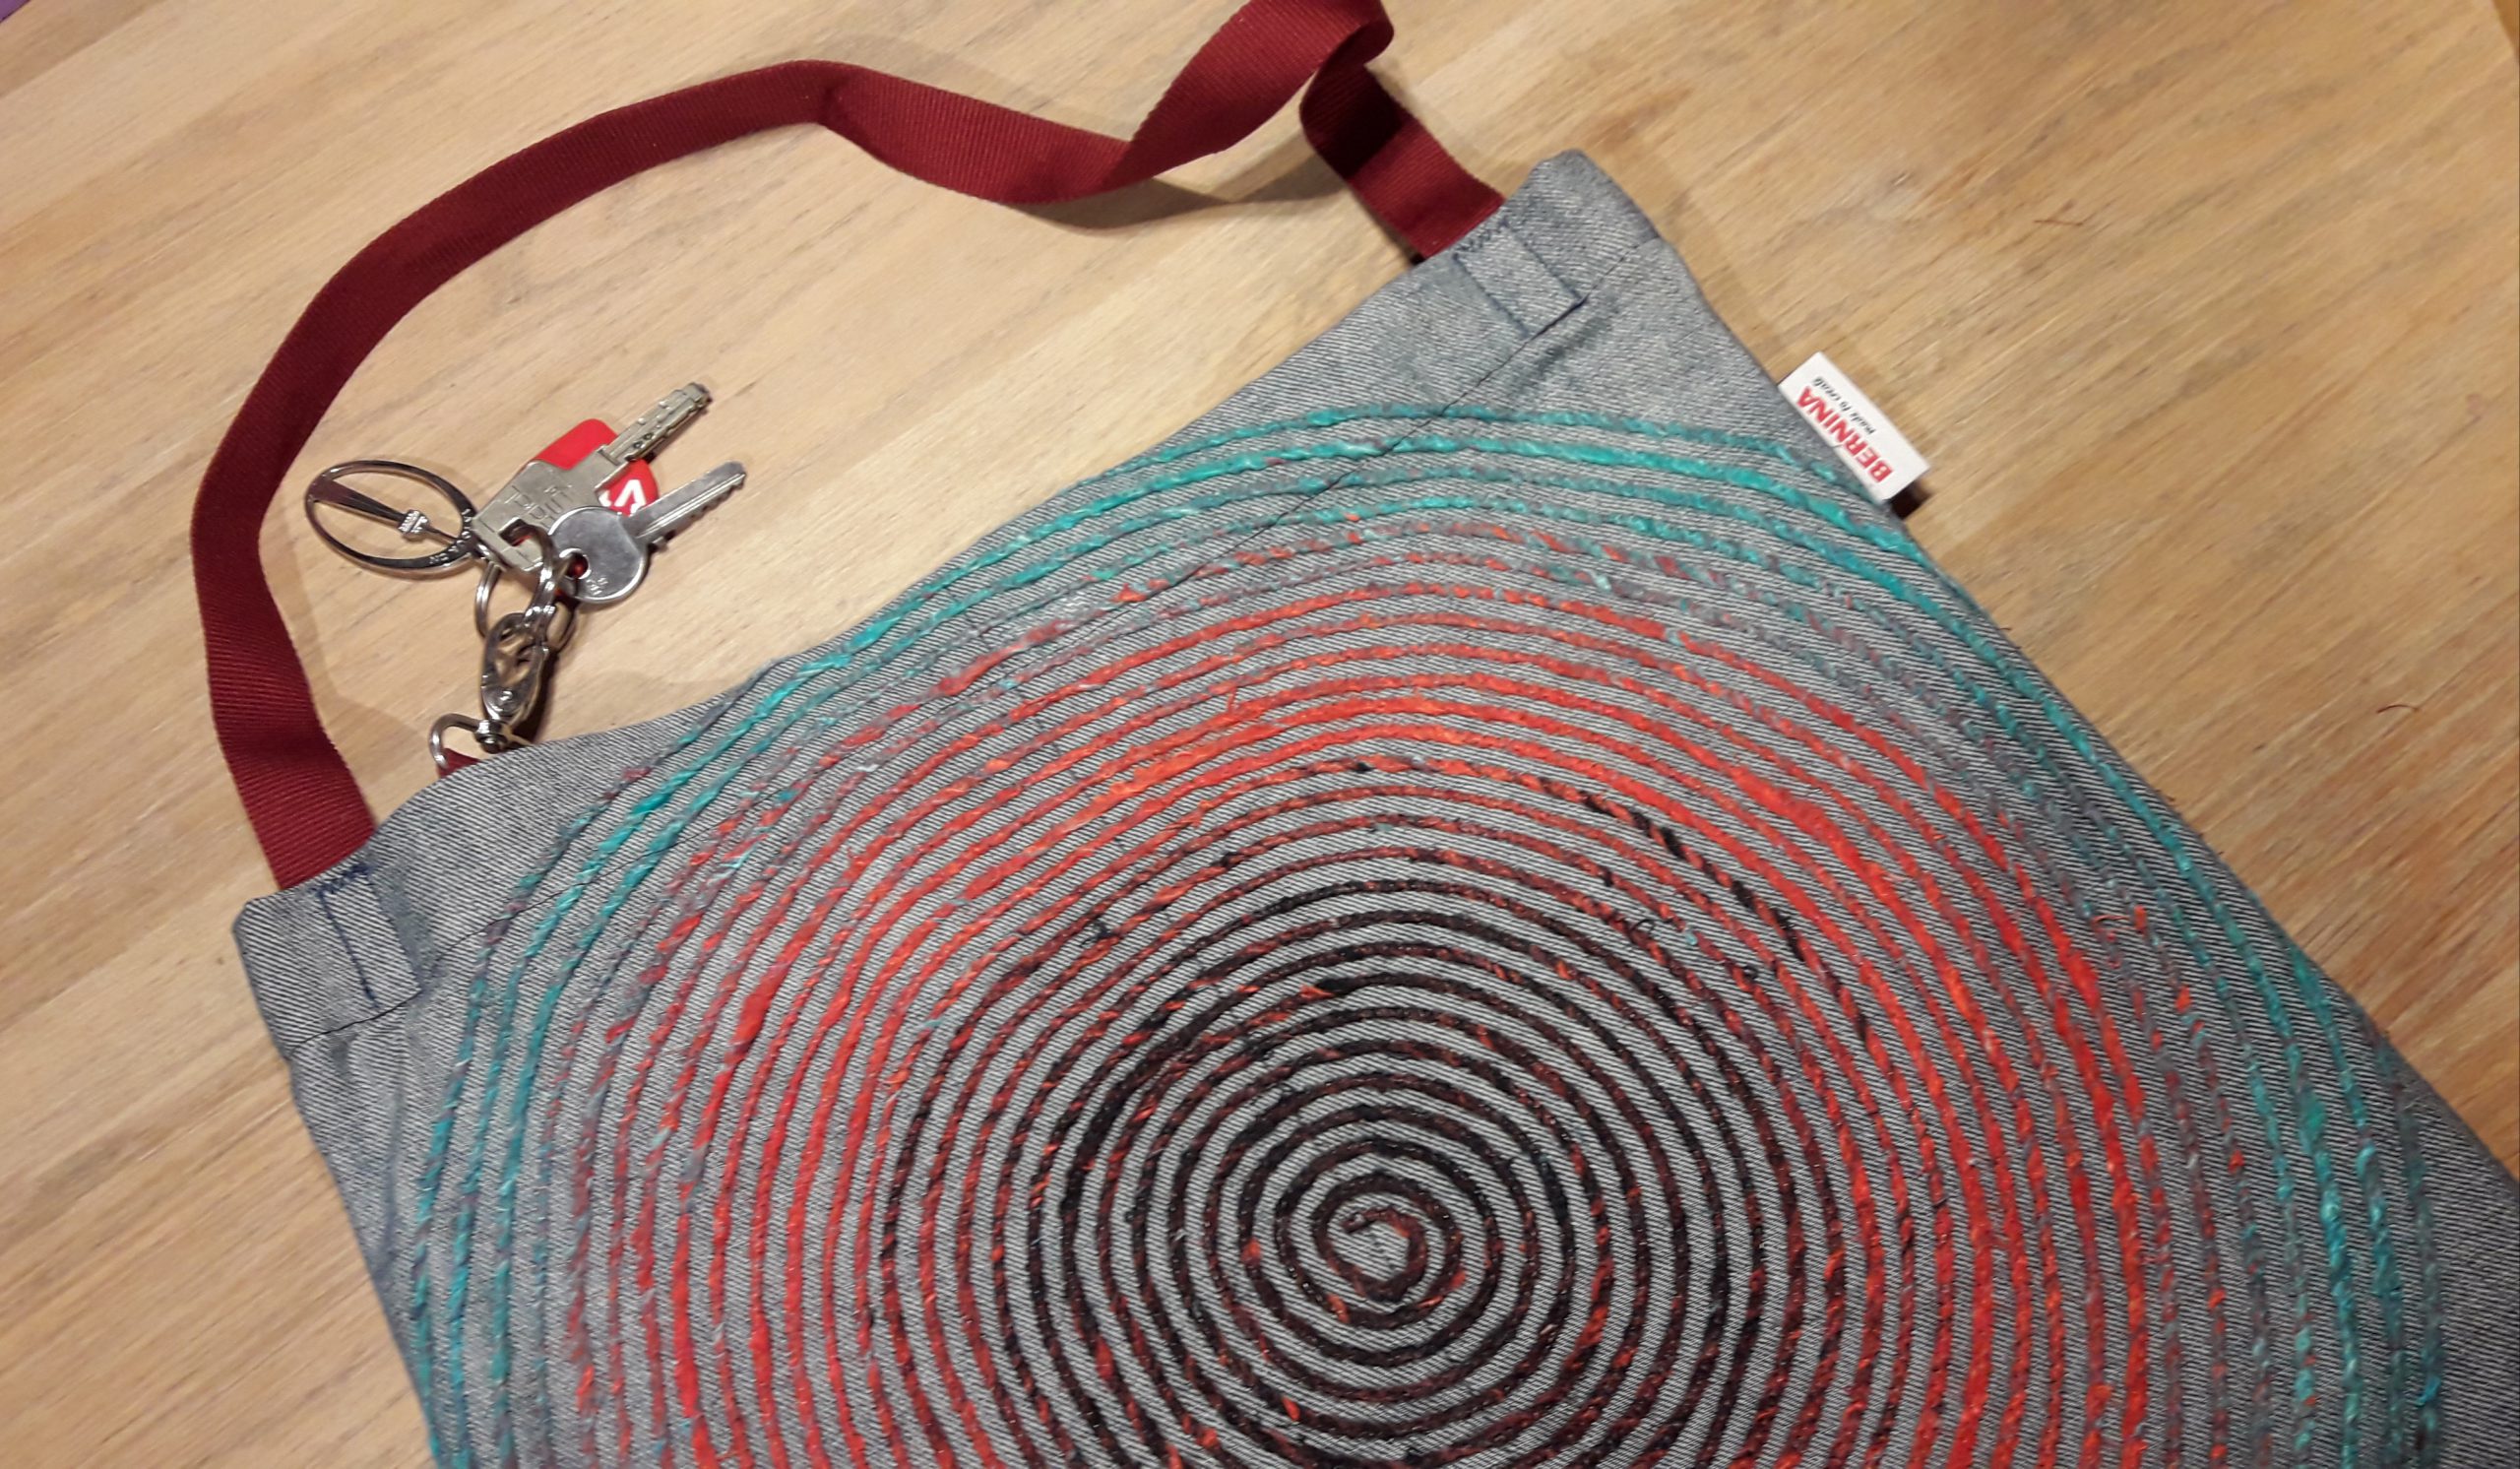
I noticed that the color change of my yarn doesn’t come as quick as I thought. I started with red and it changed to green. It doesn’t give the strong visible contrast I was looking for.
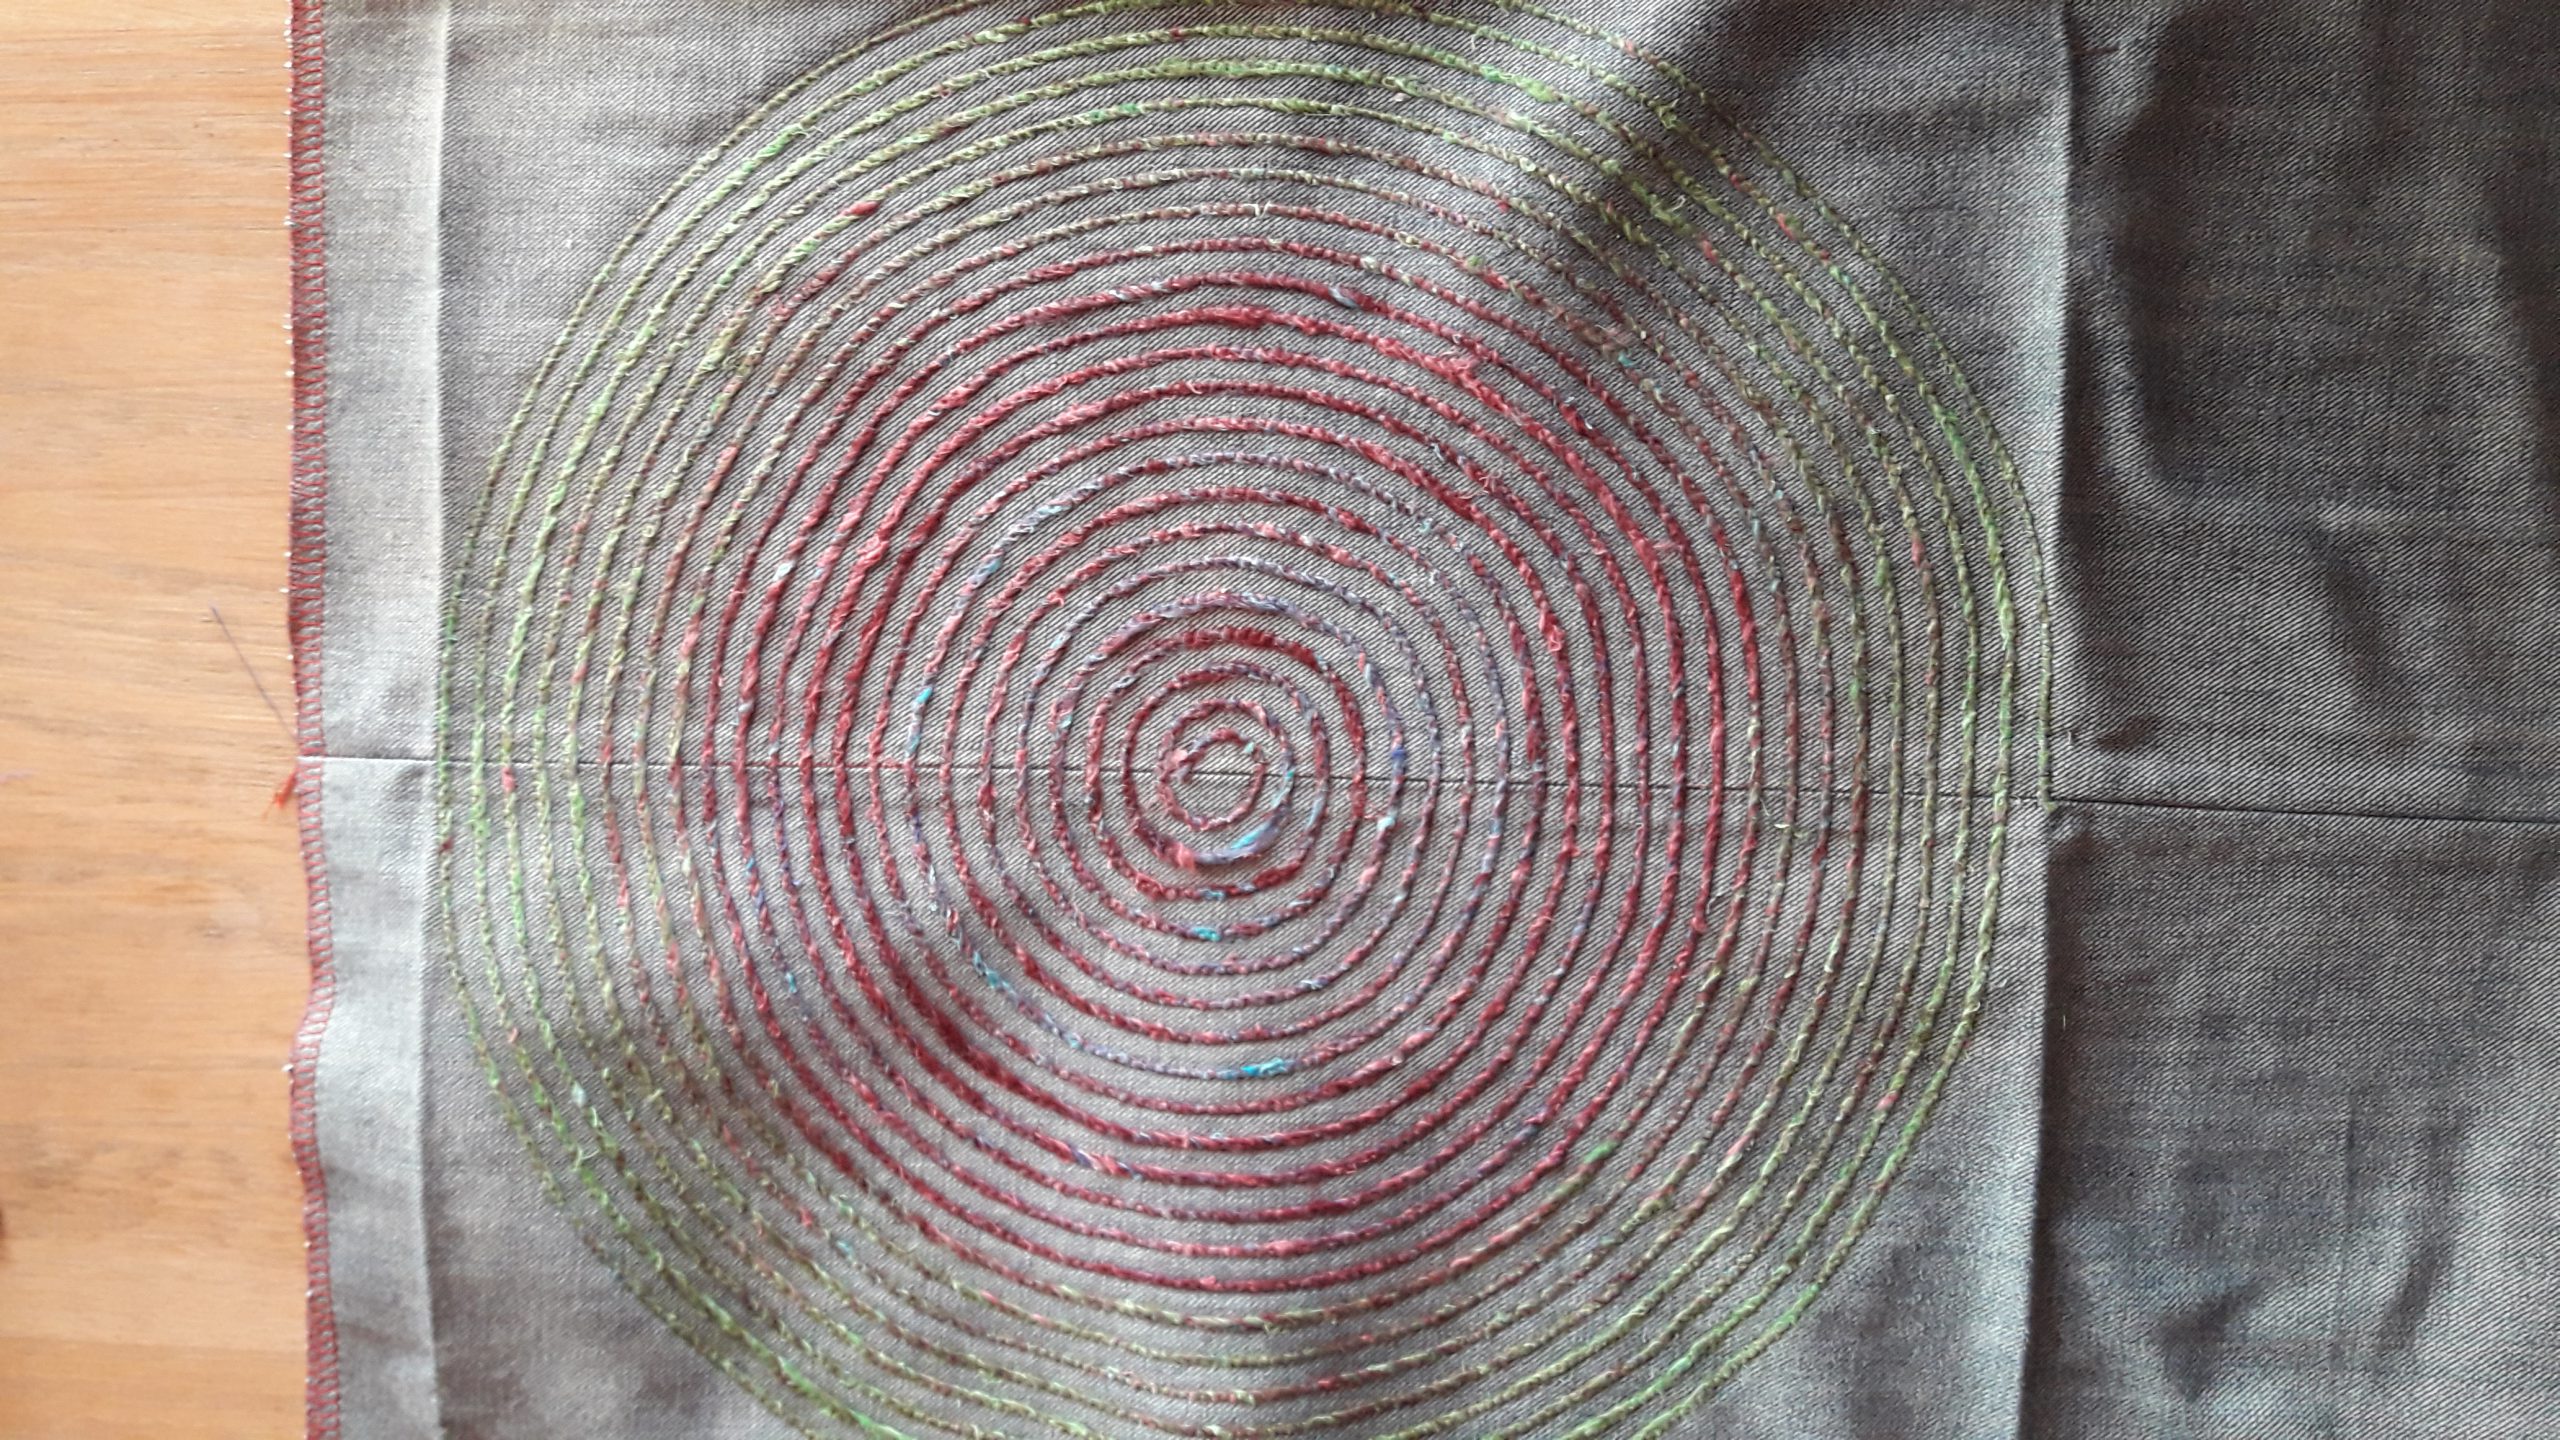
To be sure I will have brighter colors on the second side of my bag, I cut away a part of the yarn before I started the second spiral.
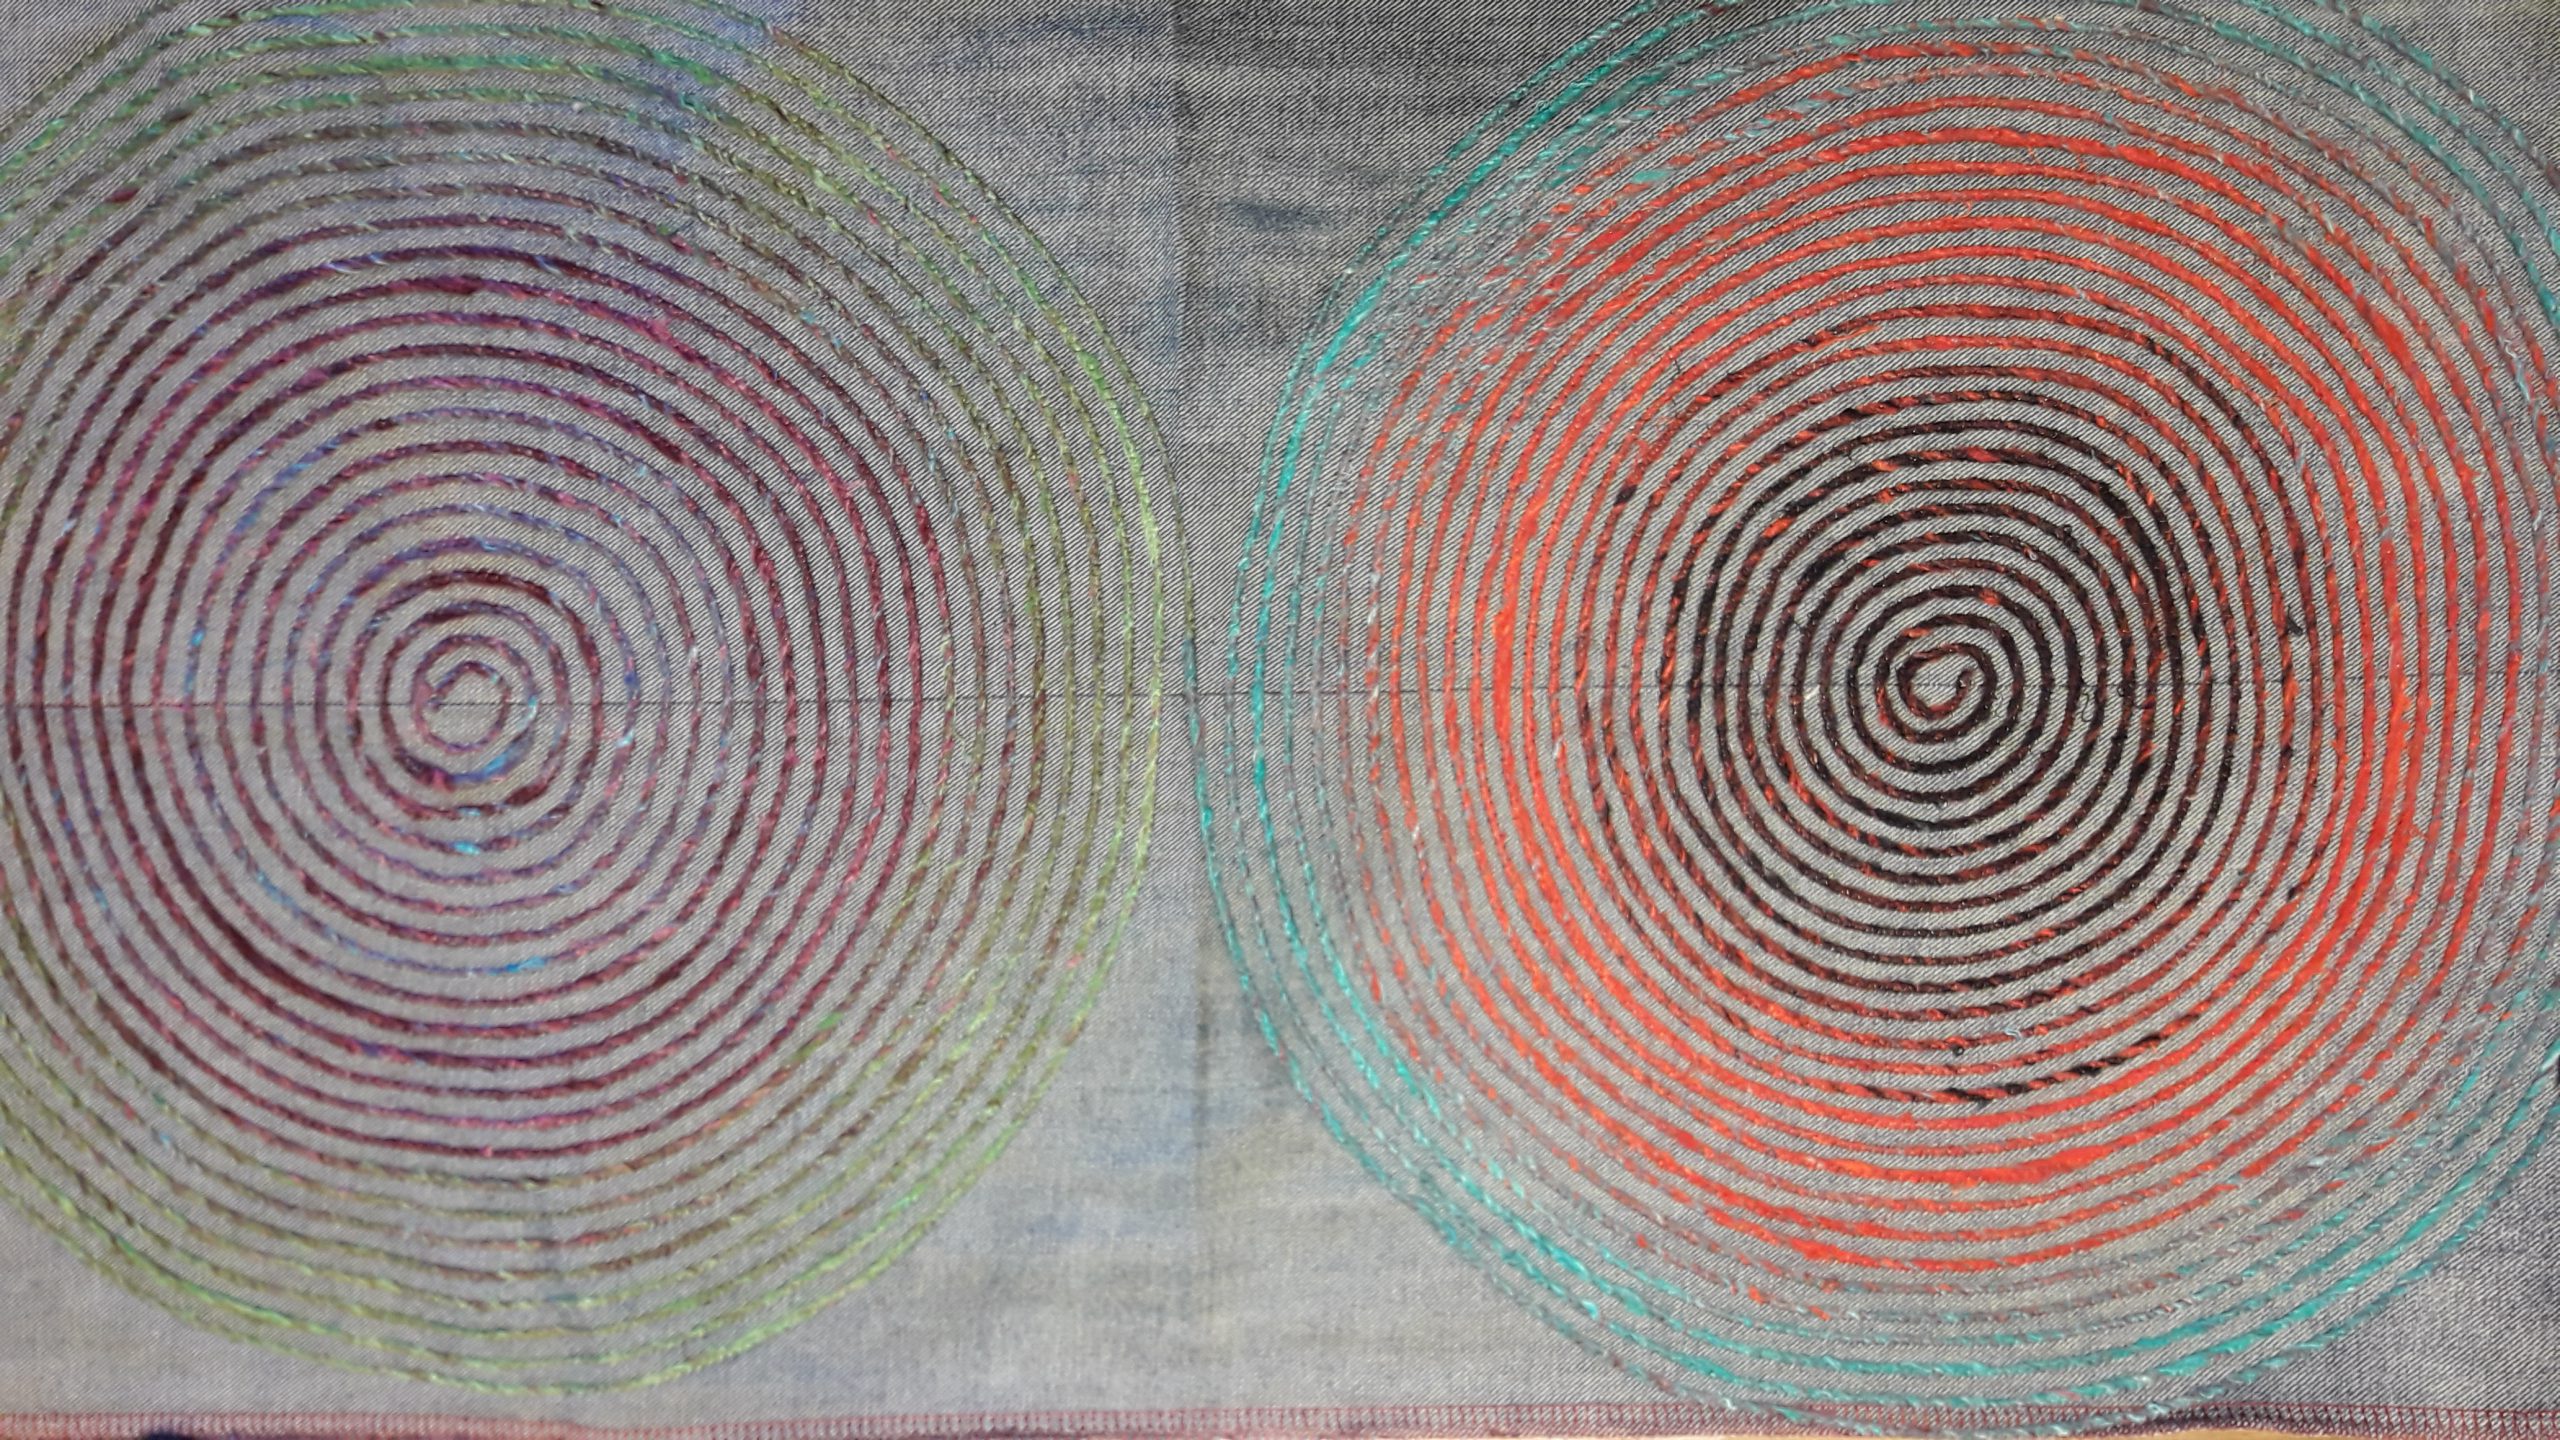
I think this design is really fascinating. I feel so happy with how it looks on the bag!
Finishing the bag
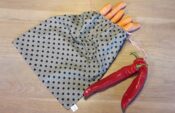
You can wash away the soluble stabiliser before finishing the bag or afterwards. I decided to wash it first. To sew the bag, fold the fabric in two halves, right sides together.
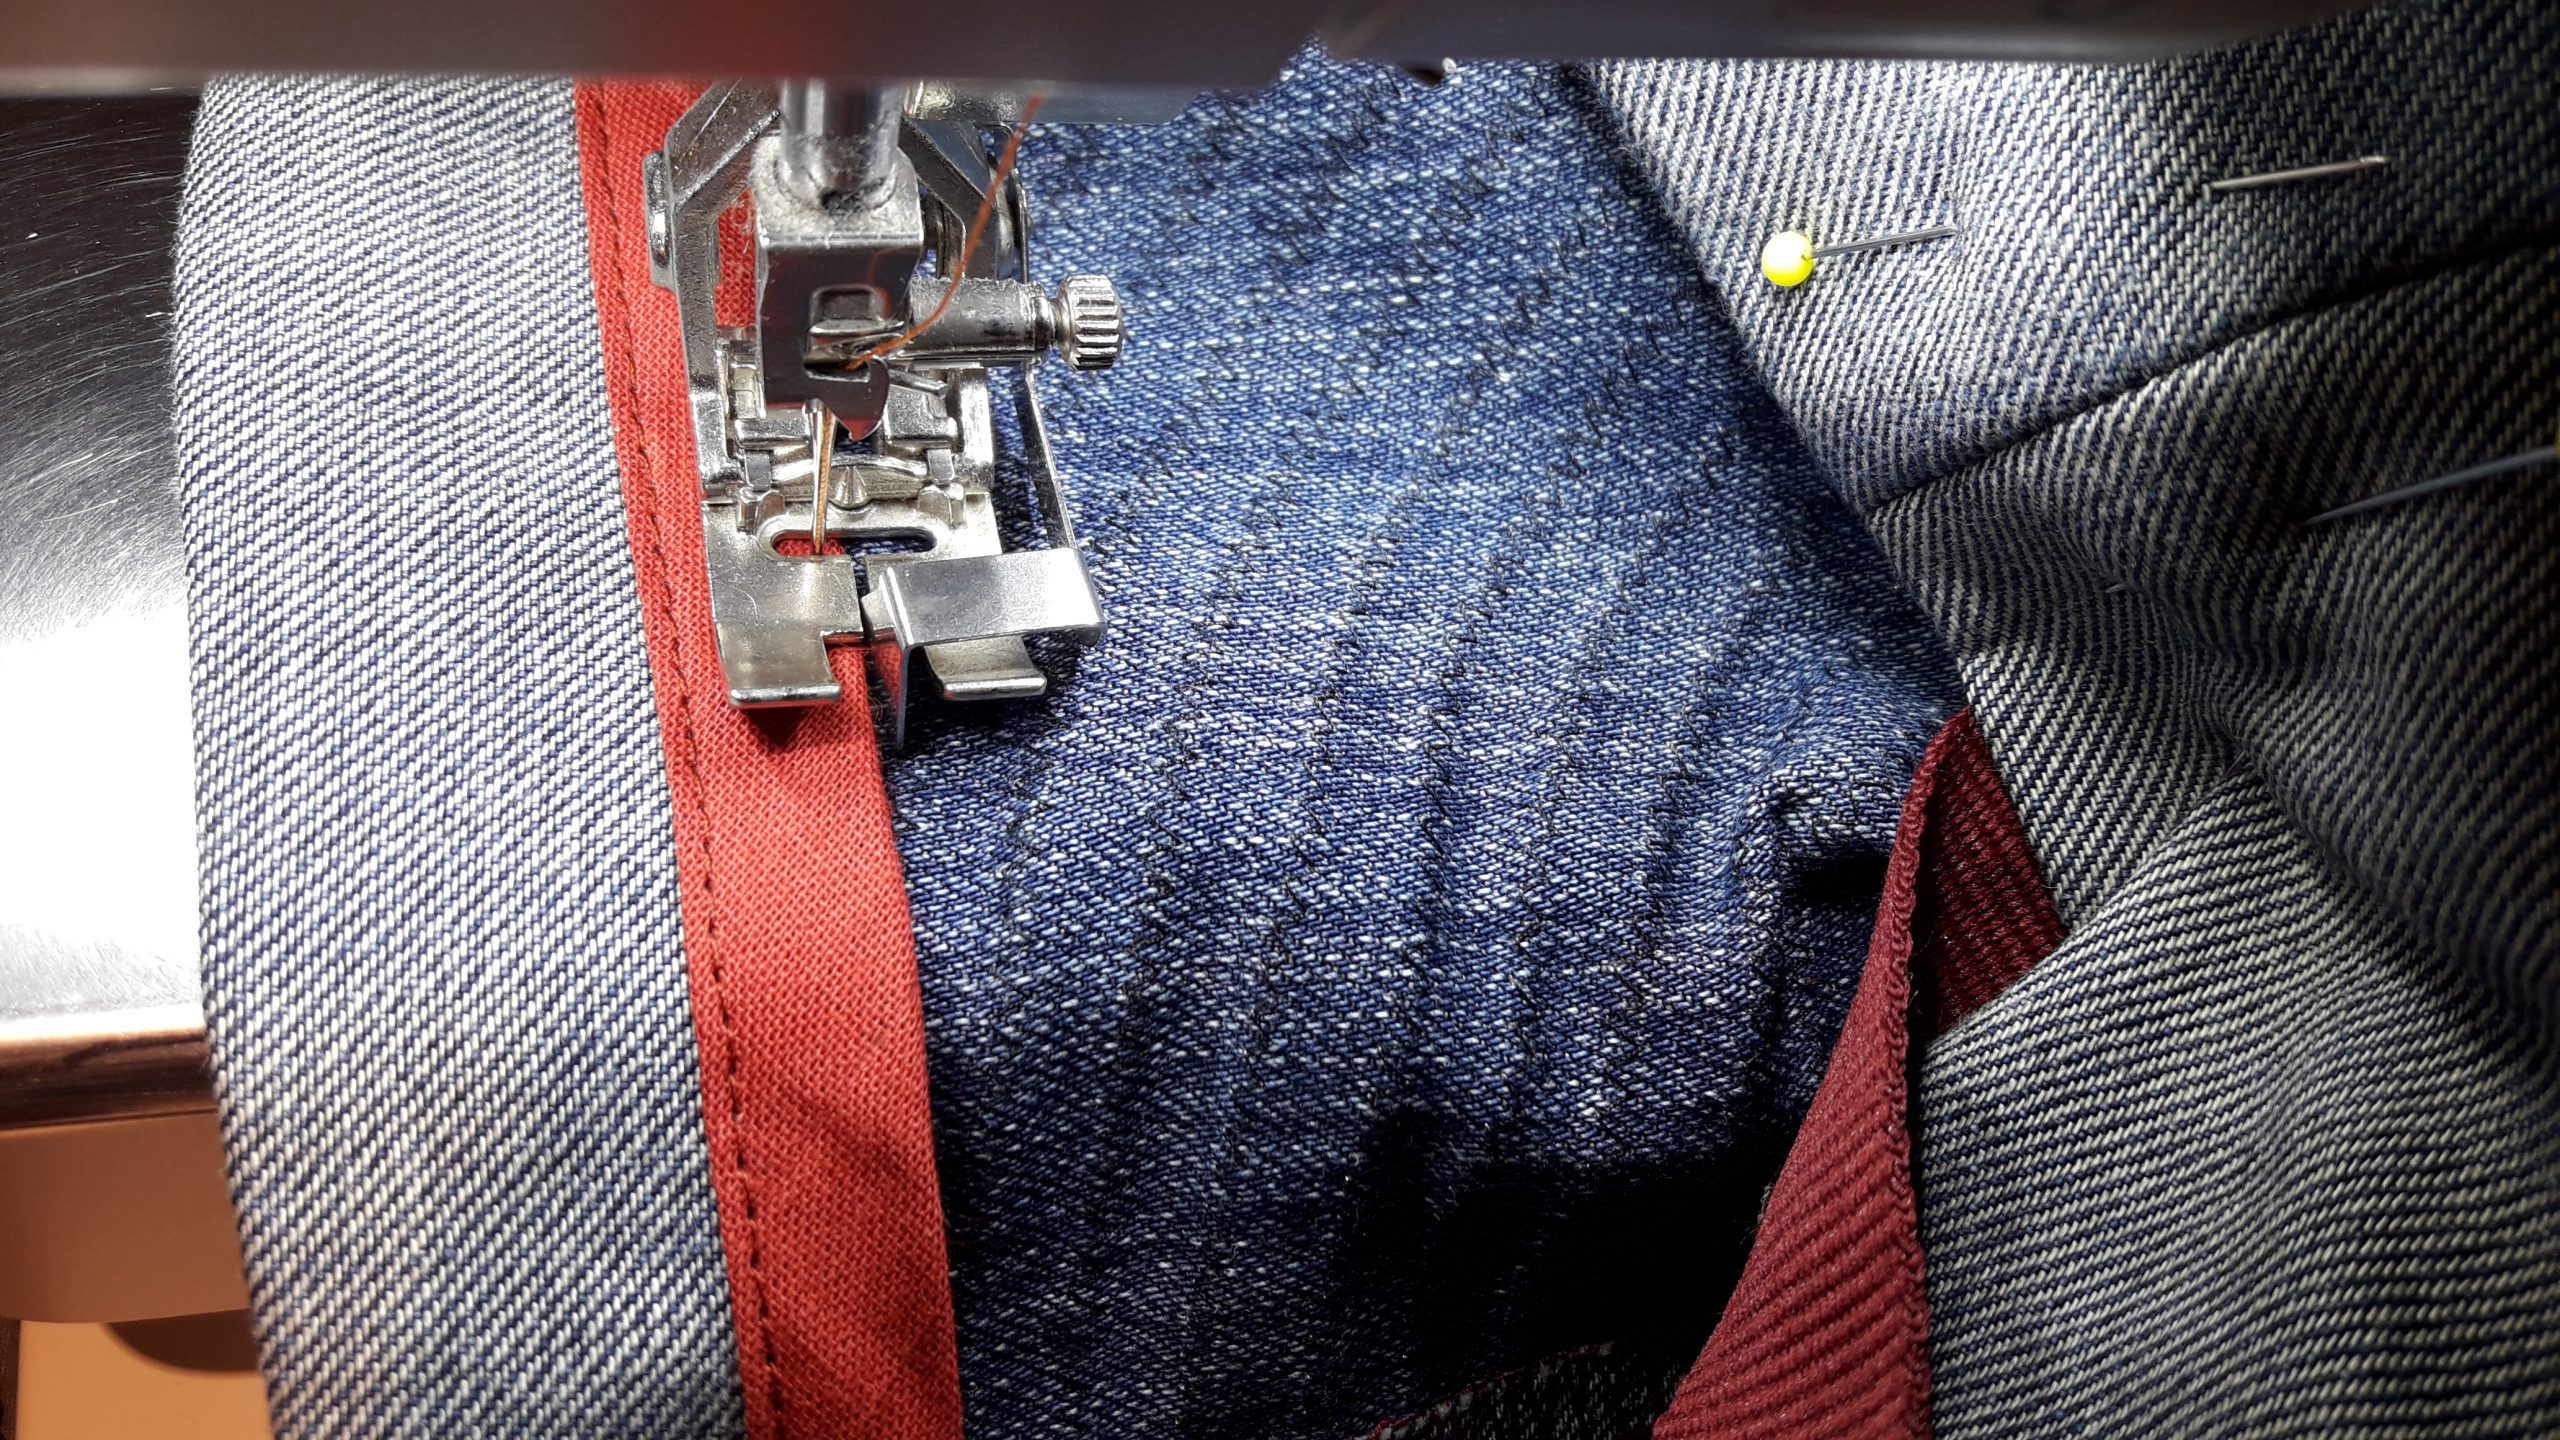
Sew one side seam. The top edge gets a clean finish with contrasting bias tape. It is practical to use the Binder Attachment for Pre-Folded Bias Tape #87 for this step.

Close the other side seam. If you wish to use a label, don’t forget to place it in between the side seam beforehand.
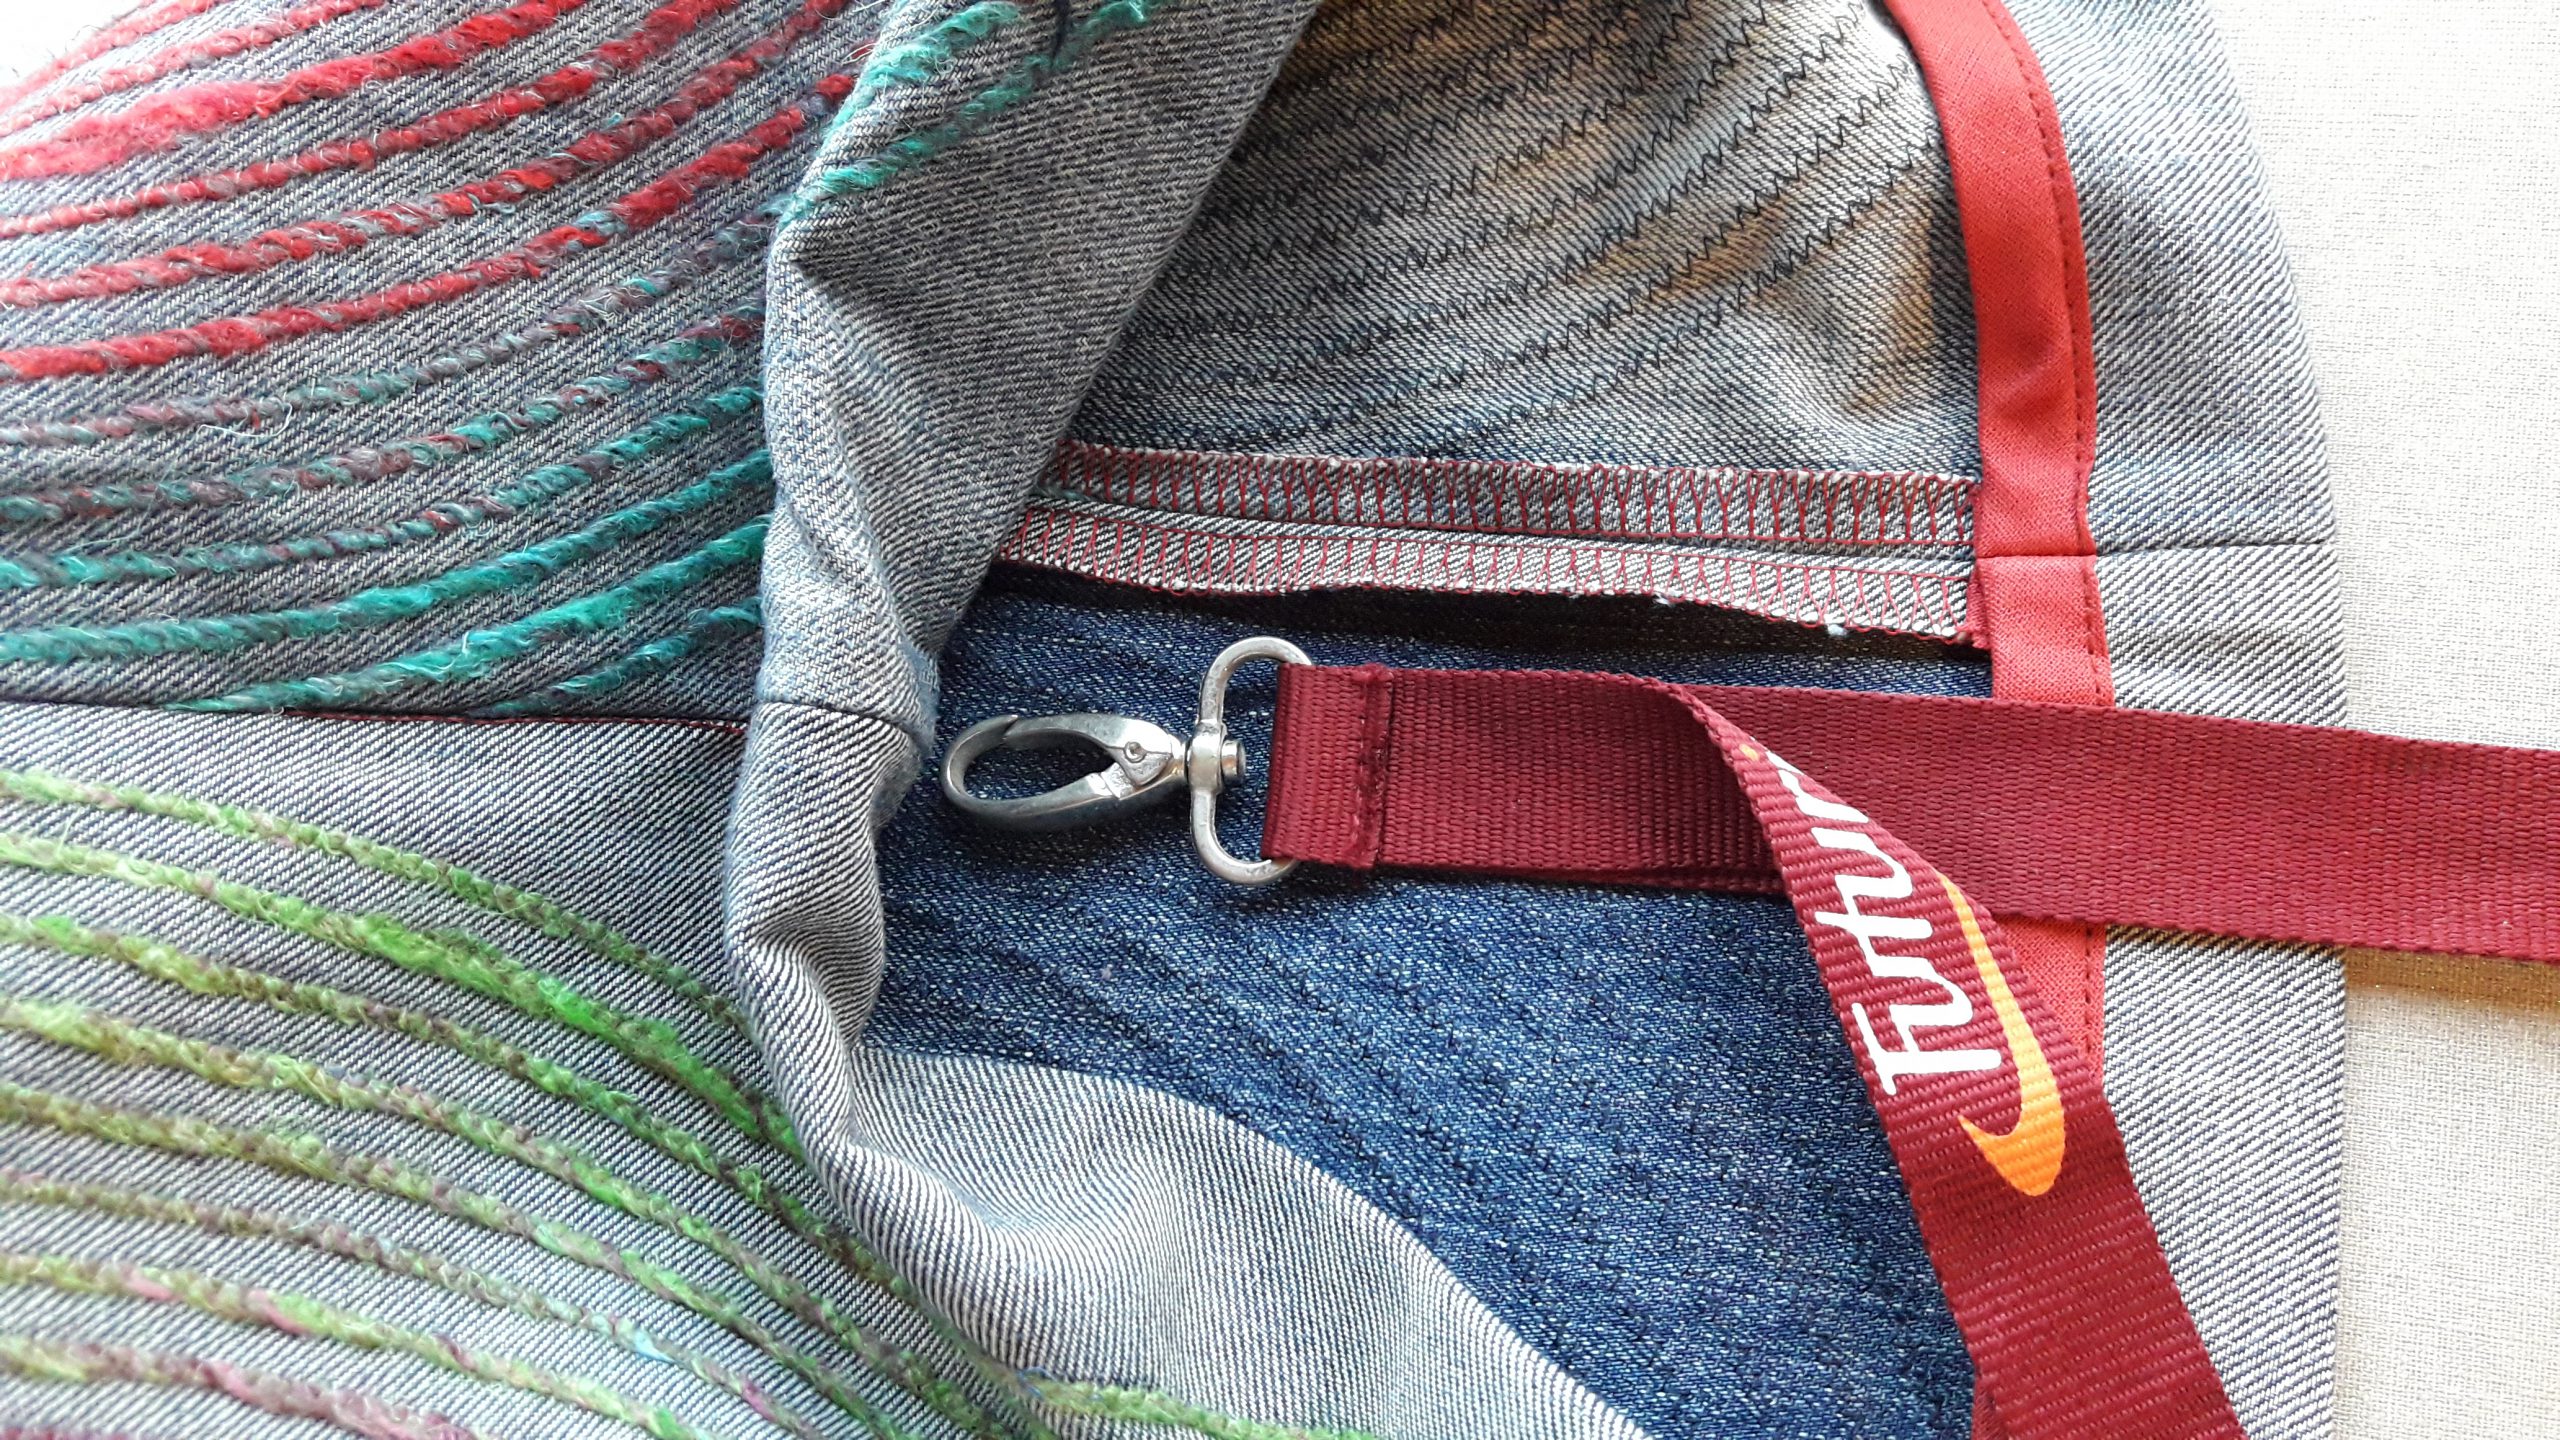
To add a special and useful detail, cut a keycord to attach it on the inside of the bag (a little less than an inch from the side seam). You hide its end by sewing it between the outside of the bag and the opening fold.
I use the Edgestitch Foot #10 to sew the upper fold to the bag. See how nice you can guide along the edge?

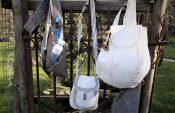
Attach the shoulder strap(s) with your prefered placement and lenght. Your one of a kind bag is finished!
It was so much fun to create something new with a loved pair of jeans. The redesign with the couched spiral makes it stand out.
Did you ever think of a fun redesign project? Please, show it in our Blog Community or show it on social media, with the hashtag #BERNINAredesign!

Nowhere is the number 10 foot referenced but I do see it. Instructions are not the best.
Debbie, I only saw your reaction today. My excuses I forgot to mention the foot nr 10. It is used, where you see the picture with foot 10.” Sew both sides of the bag together, with the shoulder tape in between.” This is where foot 10 is the ideal presser foot to sew a neat finishing. I hope this still helps you.