 BERNINA Corporate Blog -
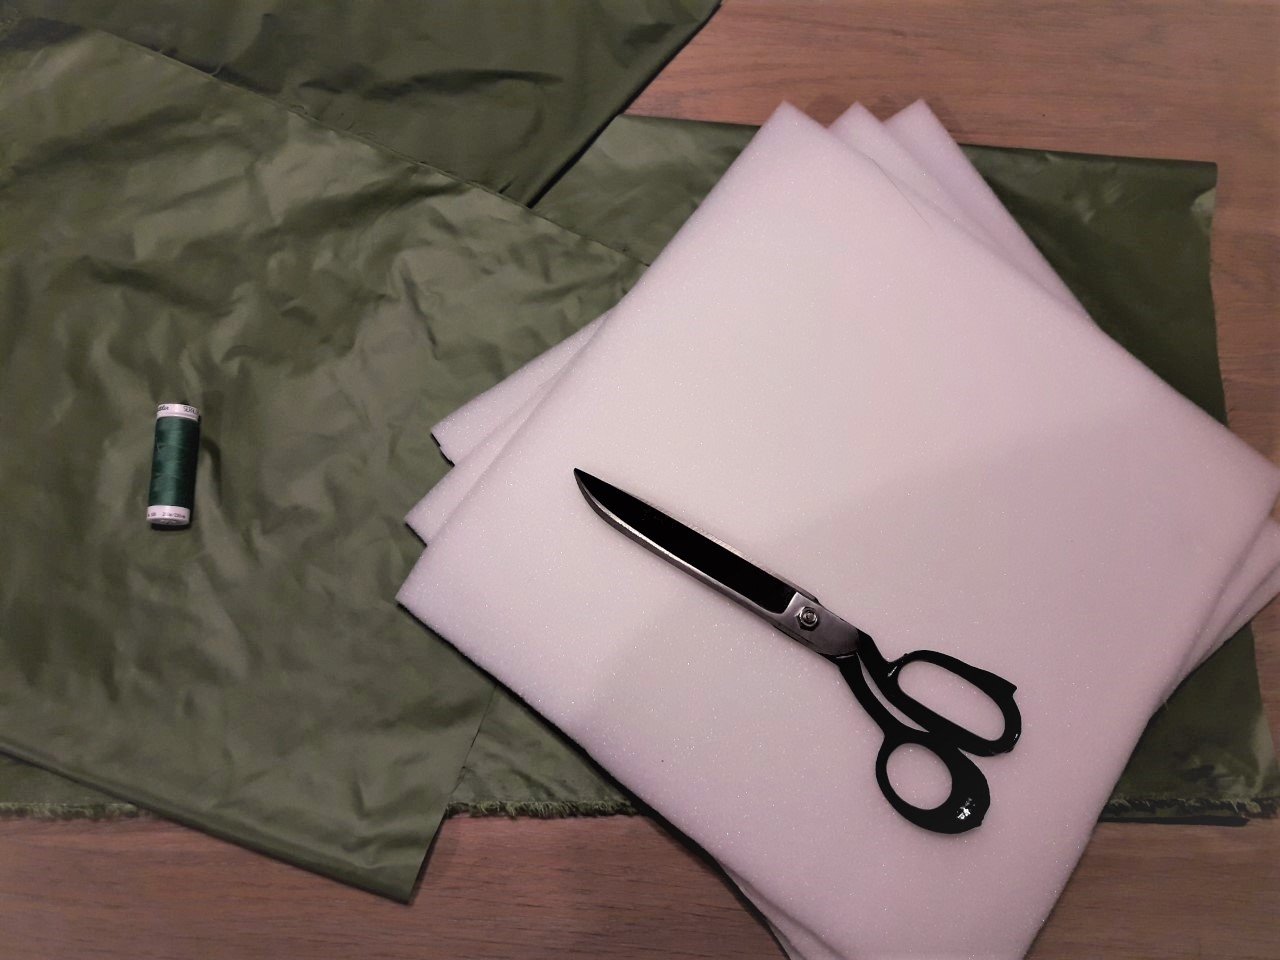
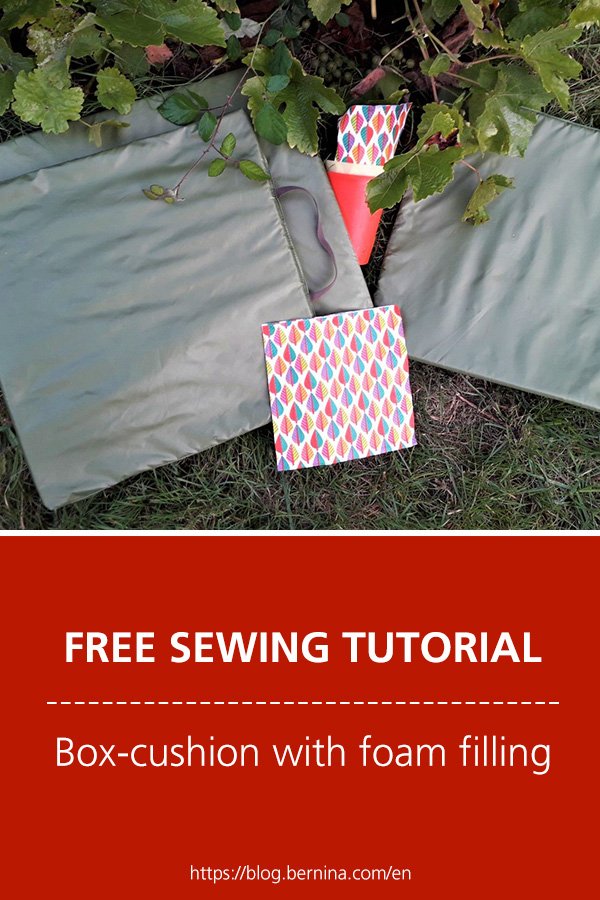
I want to sew some box-cushions with foam filling, for the children to go out for a picknick on these last days of summer. This is a really easy tutorial to sew. I made it on the BERNINA 710, this machine is quite similar, this machine is similar to others in the 700 series.
How to find out how much fabric I need:
I want my cushions to be 35 x 35 cm. I cut the foam pieces 34,5 x 34,5 cm, to have a little extra space for the seams and to prevent from deformation.
As the filling is 1 cm, I need to count this extra cm in the surface of the fabric. 35 cm + 1 cm for the foam, + 2 x 1 cm seam allowance, makes 38 cm. I need this for both sides. To work easily, I cut it on fabric fold, that saves a 2 cm fabric. The fabric I need, should be 38 cm x 74 cm and I took a water repellent fabric.
So:
- For each cushion of 35 x 35 cm (and 1 cm thick): 38 x 74 cm fabric
- Mettler Seralon sewing thread,
- A sharp needle,
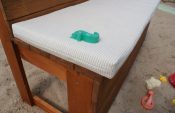
- 1 cm foam (34,5 x 34,5 cm
- Standard paper
- Optional: 22 cm tape for a handle.
Let’s start:
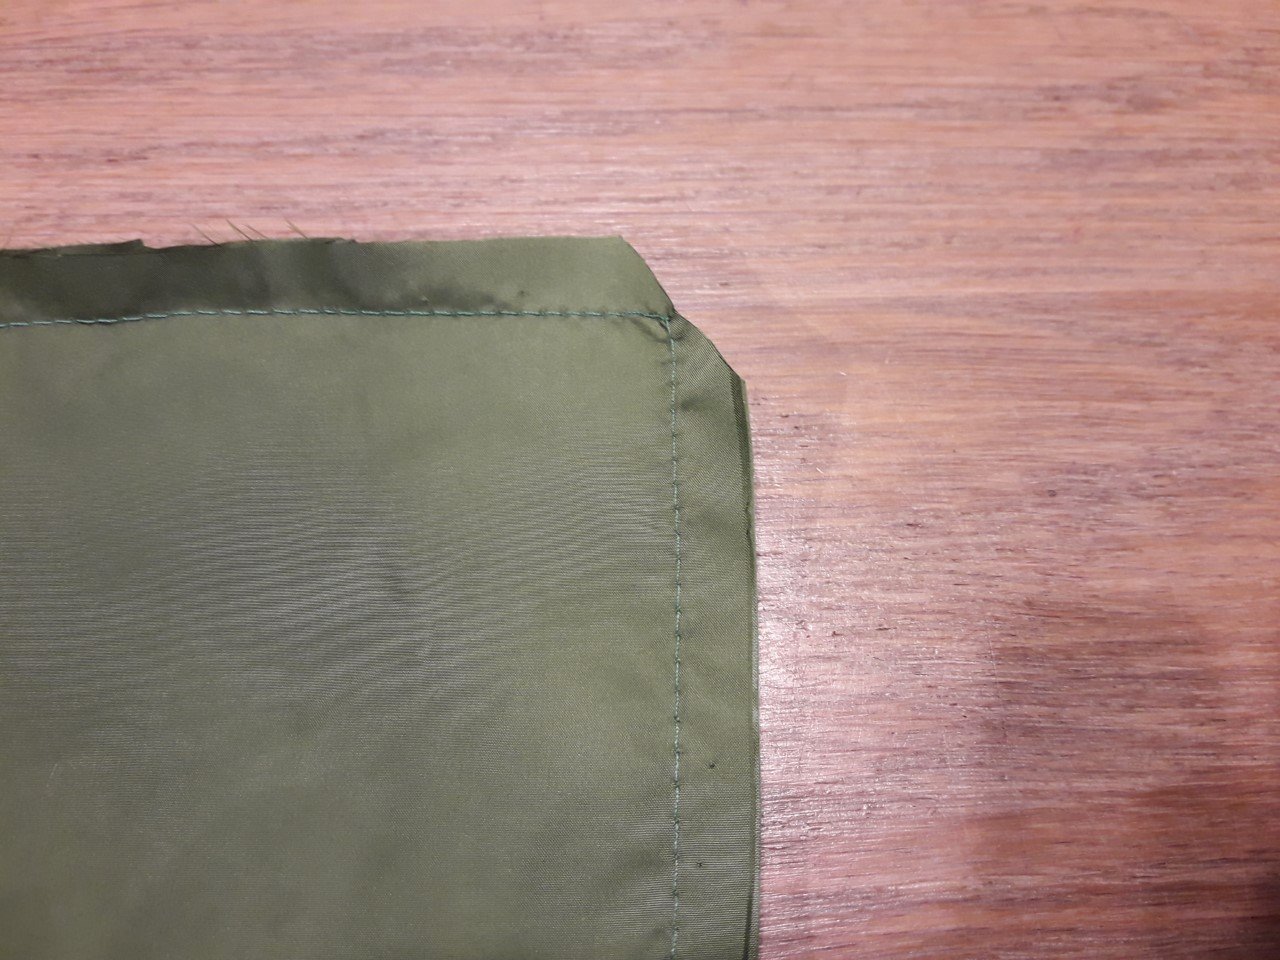
I fold the fabric over, right sides together and pin it on the seam allowance. Of course I take the pins away before sewing the seams. Only sew over pins when you put them cross the seam.


So, don’t sew where you see the curved line.
I sew both side seams and part of the side opposite to the fold with a larger stitch (I took stitch length 3).
Now, I need to cut away the corners.
Cut away the corners.
I fold the corners over, check if seam or foldline match.
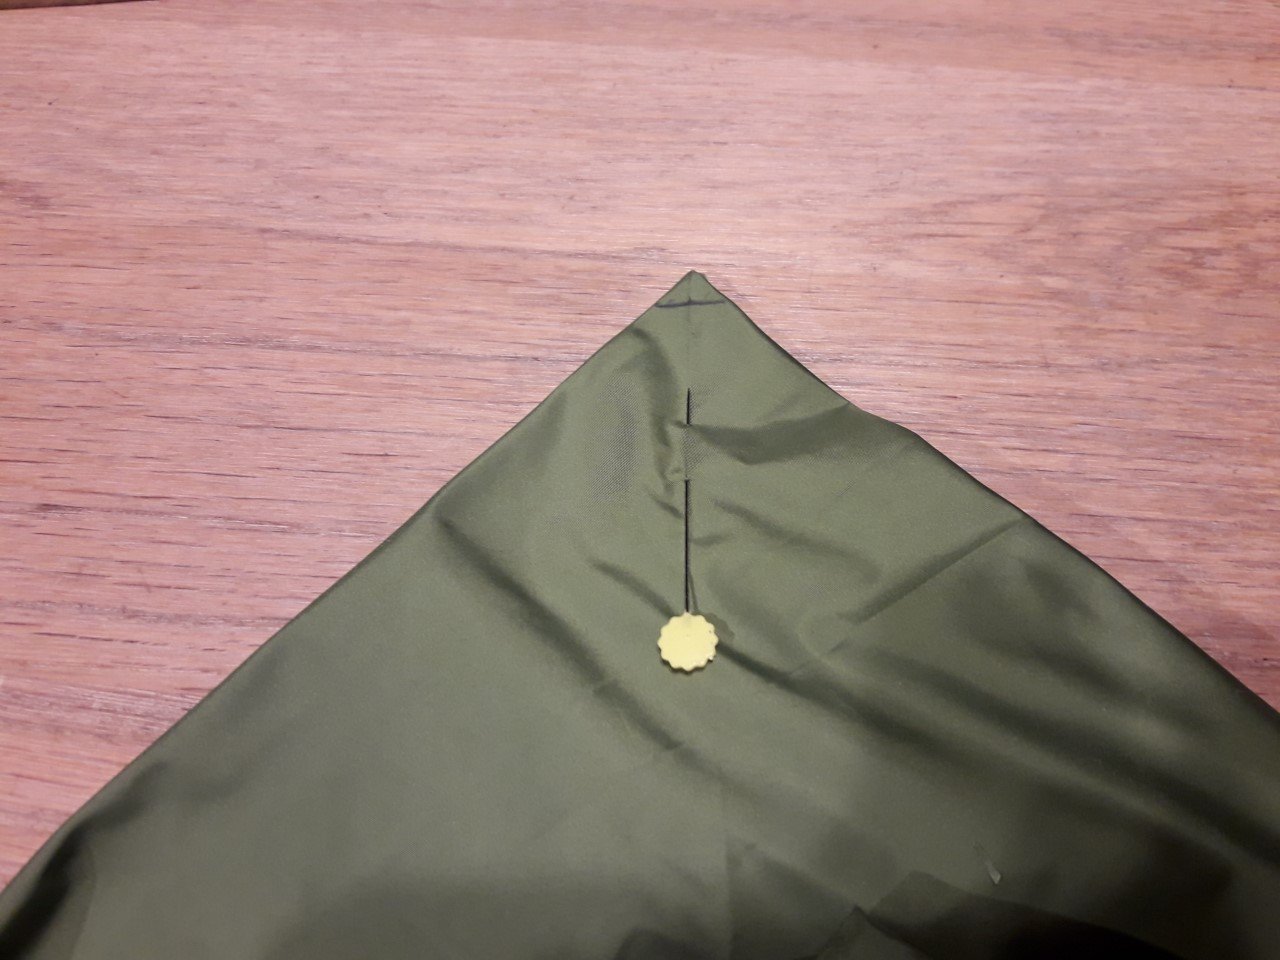
The line shows you where I will sew.
I draw a 1 cm line across the corner.
This short line needs to be sewn, to give a volume to the cushion. With the open embroideryfoot 20 it is possible to have a clear view on my work. I stitch over a piece of paper to prevent the stitches from constricting my fabric.

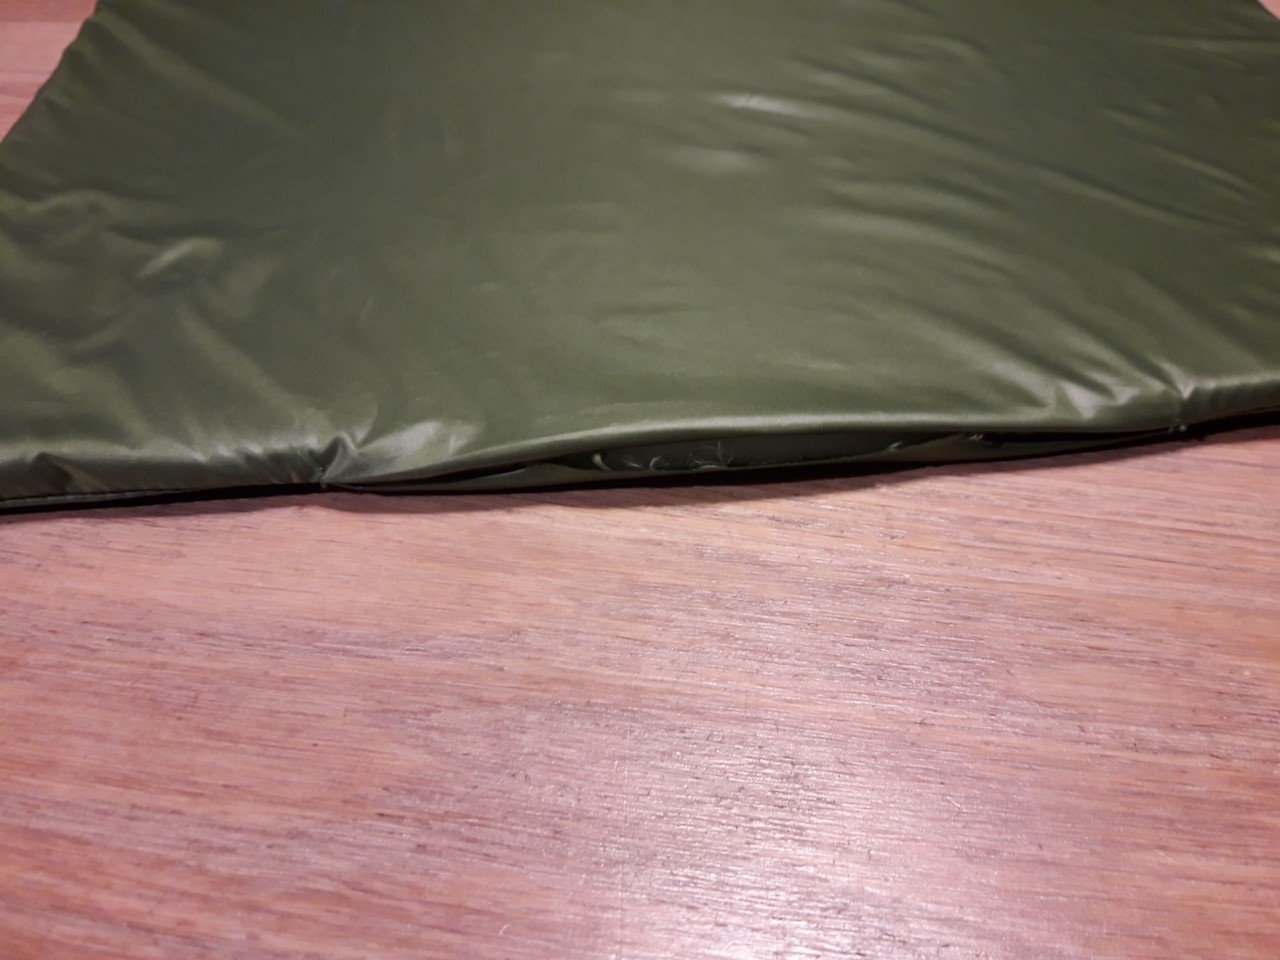
When the 4 corners are ready, I can turn the cushion. Can you see the volume?
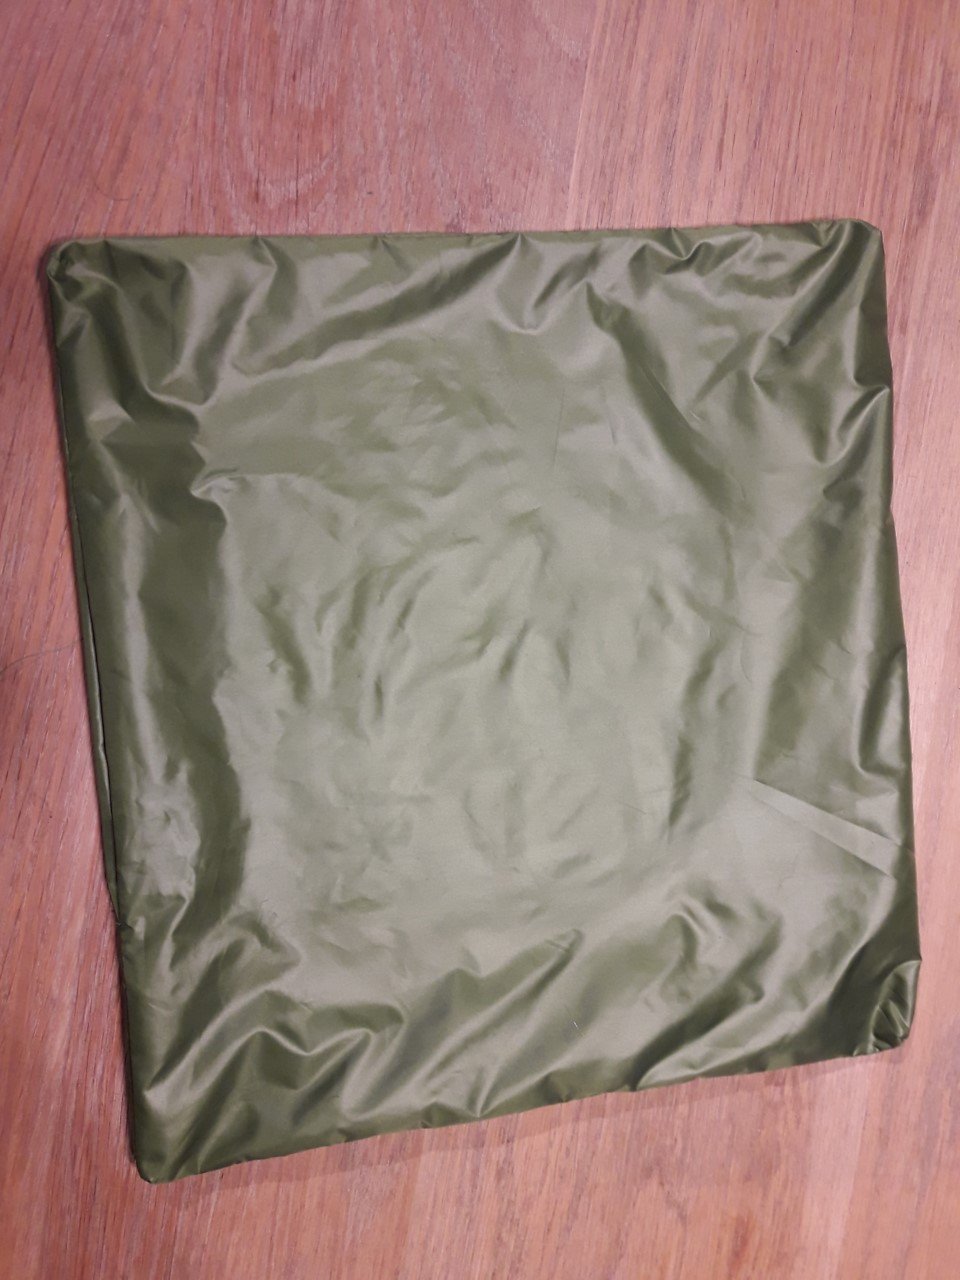

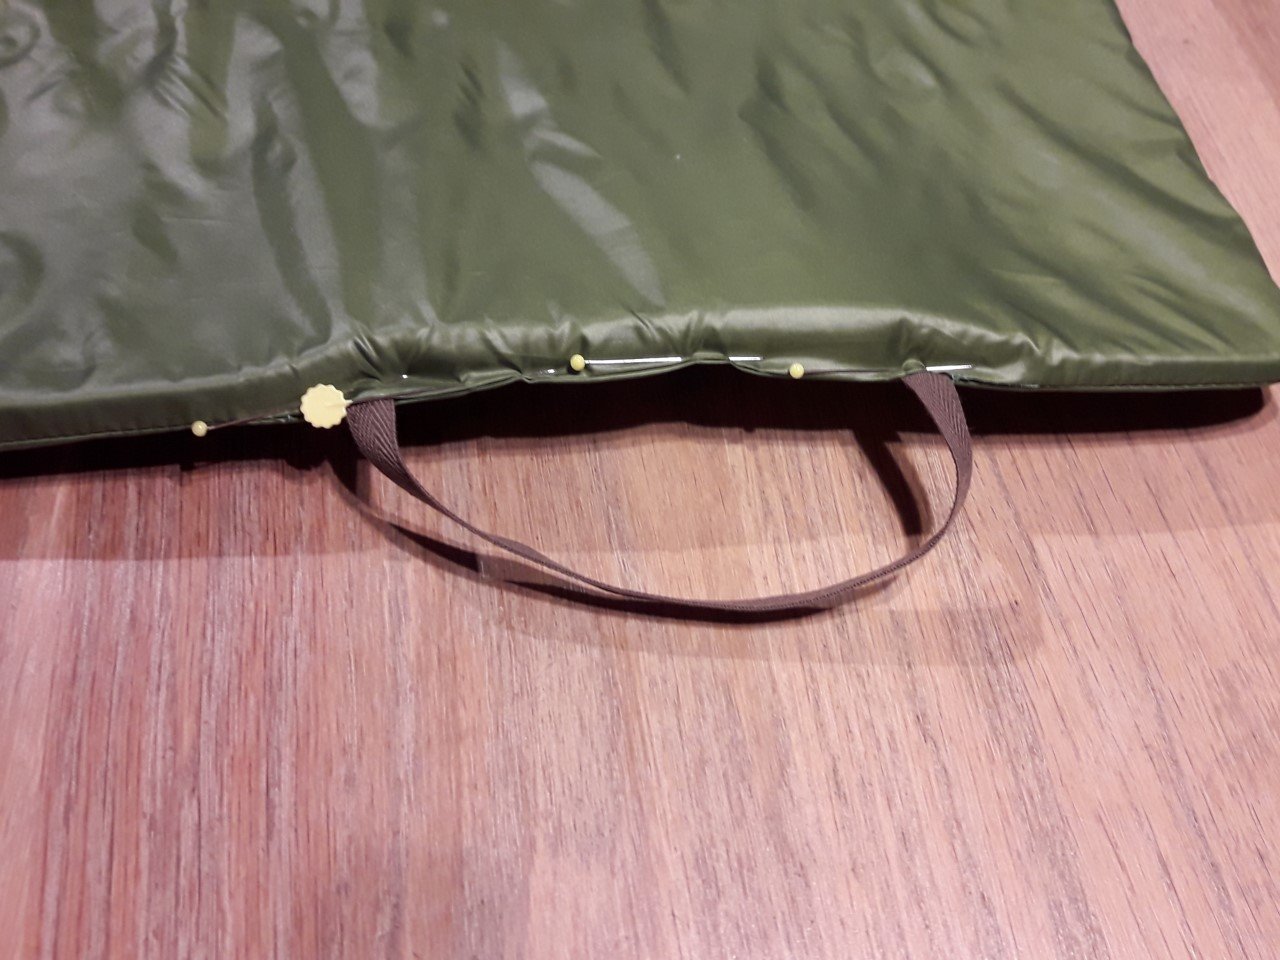
Would you like a handle? Put it in before sewing the opening..
Do you think it is difficult to put it in? You could as well sew it in a sideseam (place the ribbon on the inside, between the right sides of the cushion, while pinning).

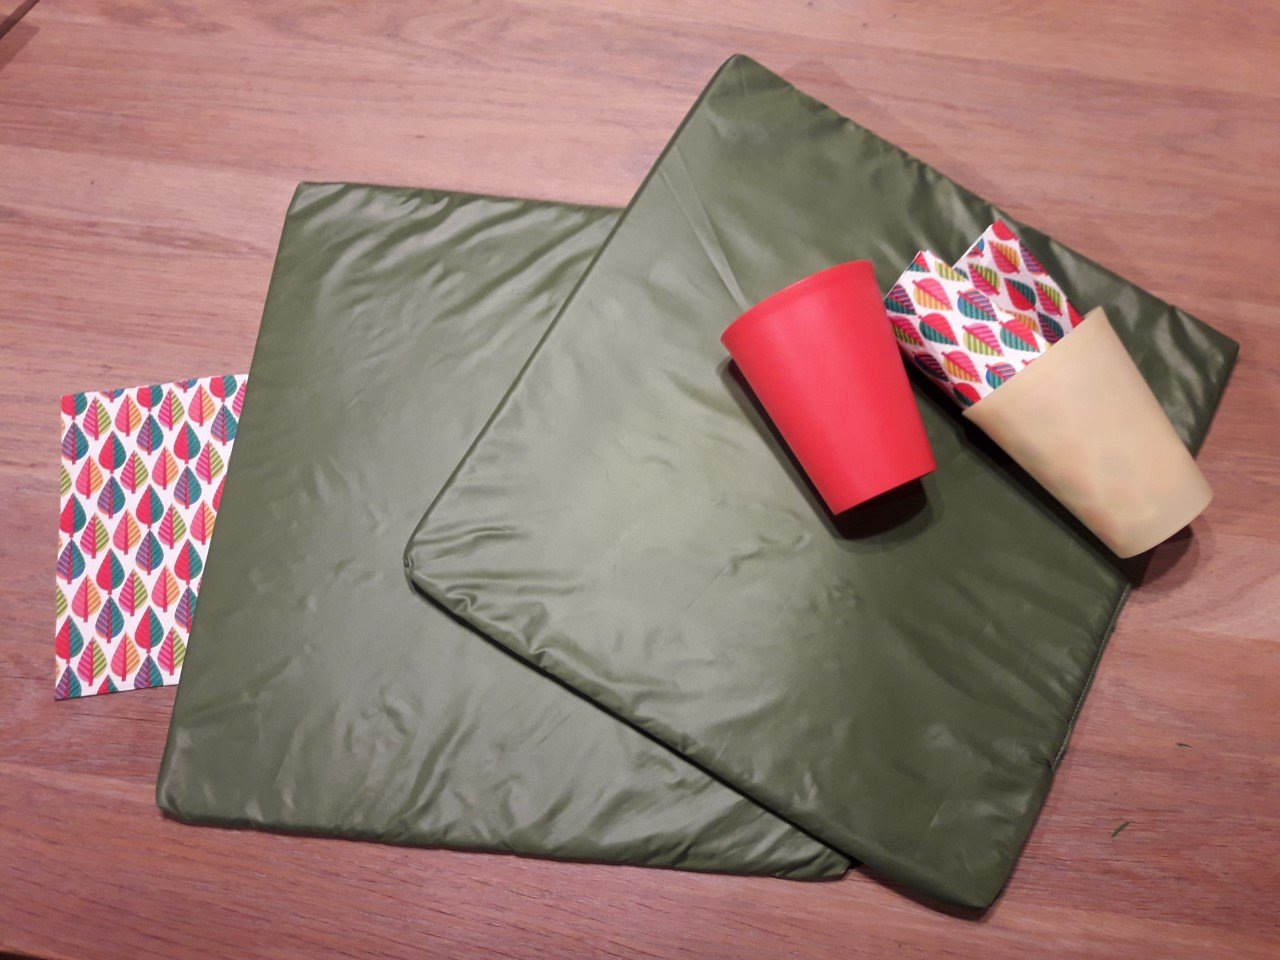
We are ready for the picknick!
Let’s go outside, on these last days of summer.
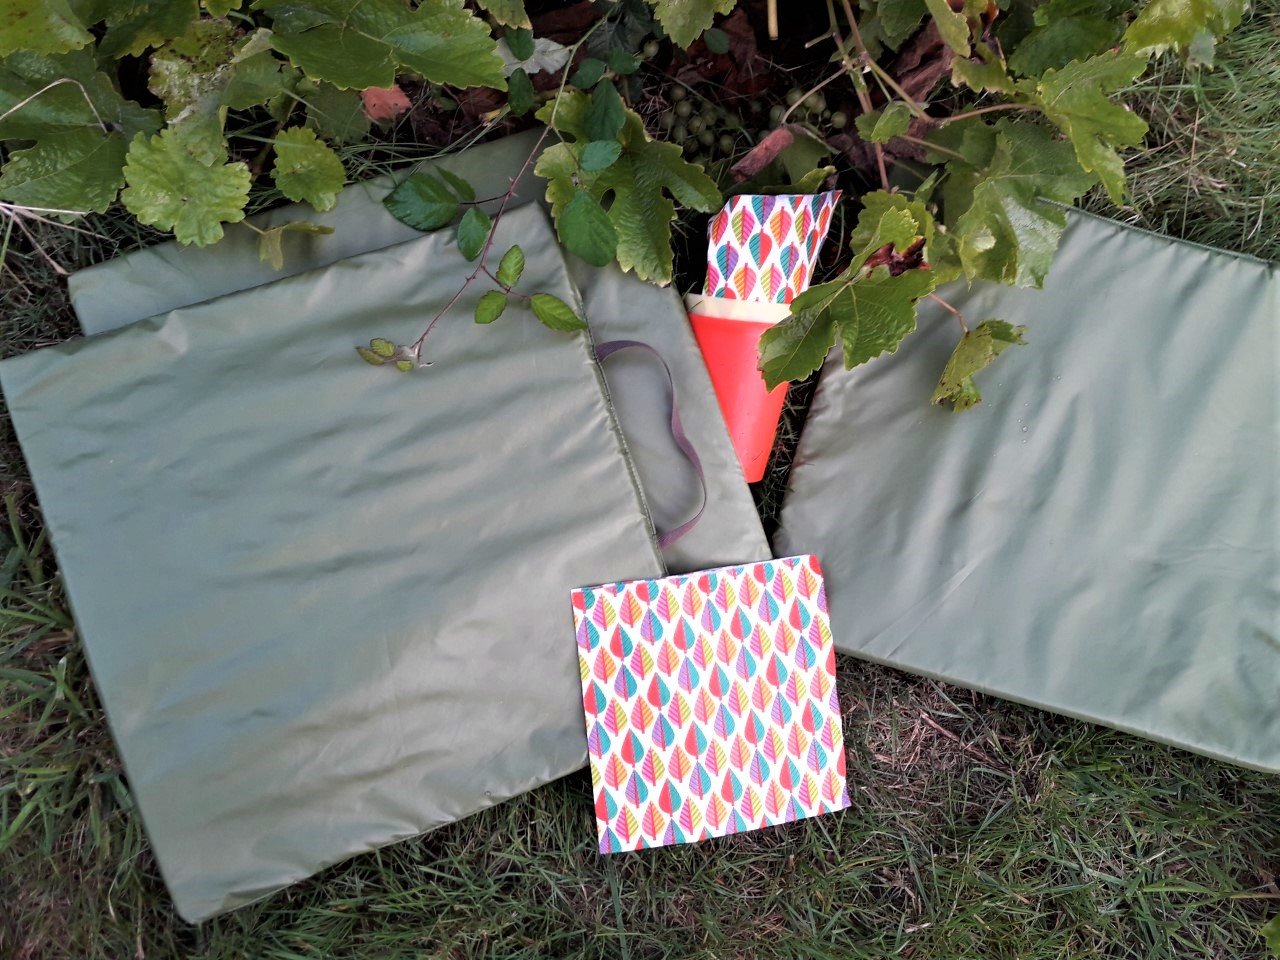 Enjoy it!
0 Responses