 BERNINA Corporate Blog -
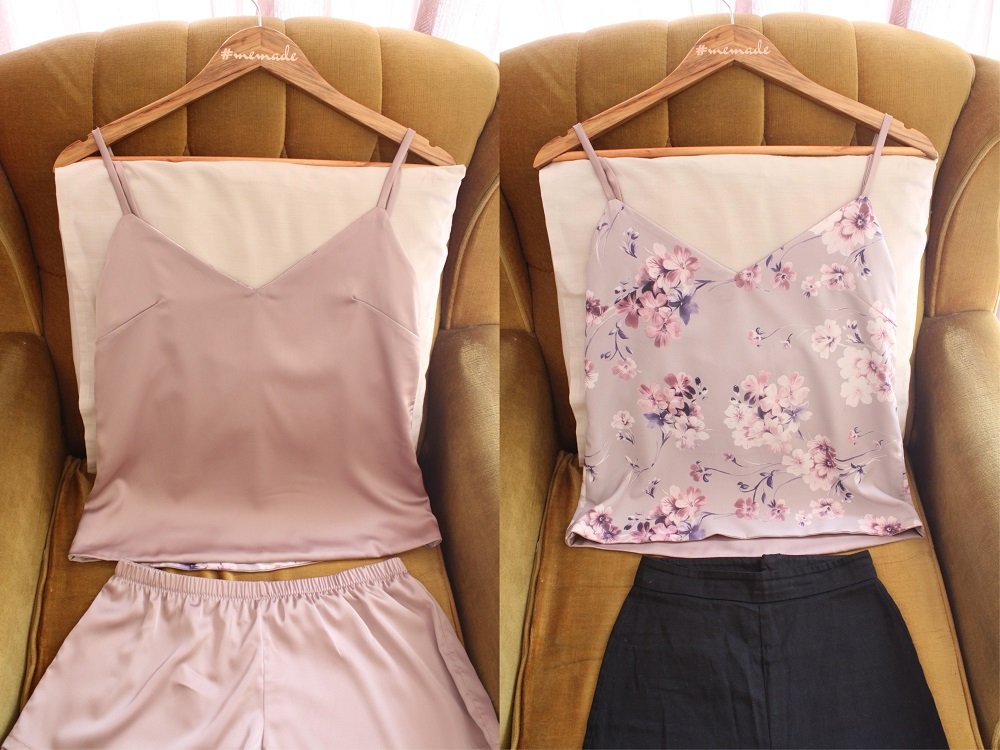
Have you ever attended a Frocktail event?
They are social events hosted by local sewing communities all over the world. Fellow sewing enthusiasts of all skill levels gather over cocktails (or mocktails) dressed in their favourite self-made outfits to get to know each other and make new sewing friends.
I was looking forward to meeting my local sewing community at my first Frocktail event in Cape Town. However, due to the pandemic, I will need to wait a bit longer to meet my fellow sewists in person. I am glad that the organisers decided to still host a virtual version of the event, which anyone could take part in.
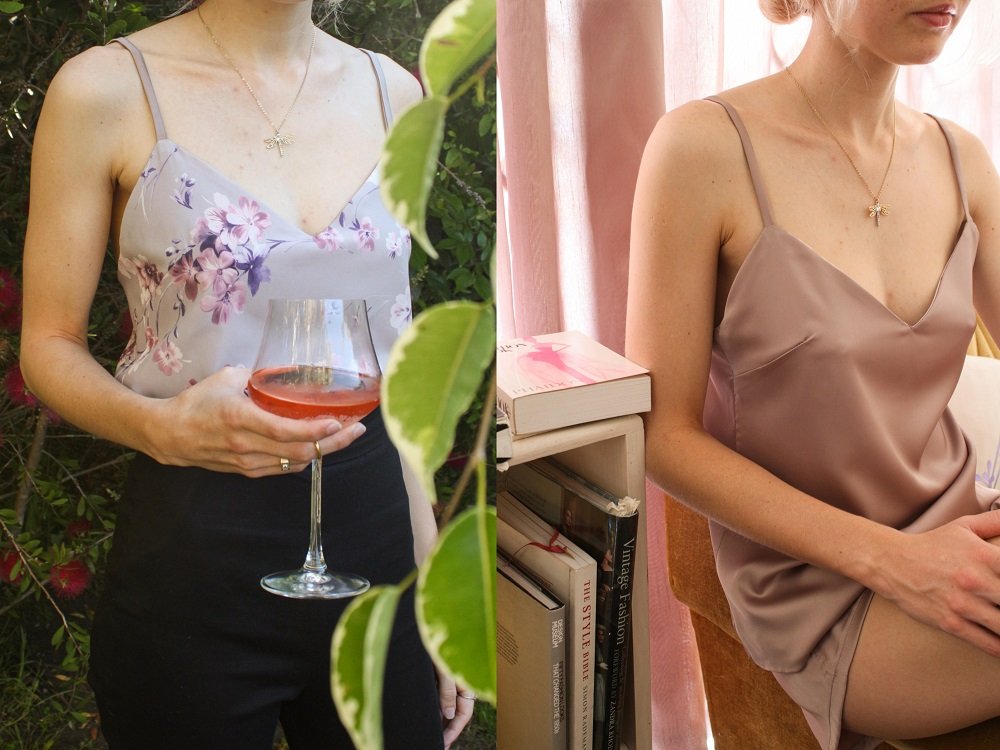
I decided to make a versatile camisole to wear for the event. Instead of simply lining my camisole, I decided to make it reversible! The reversibility paired with my fabric choices, makes for a very versatile garment.
I could pair my top with a pair of self-made trousers for the event and then flip it over and put on a pair of matching shorts, ready for bed! A quick and easy Day to Night look.
I love that I can dress my camisole up or down, wear it while lounging at home or when I do eventually go out.
If you want to make matching shorts like I did, check out my blog post with a free pattern from Measure Twice Cut Once: His & Hers Lounge Shorts
(I chose to omit the fly for my satin pair.)
What will be needed:
- Sewing Machine
- A camisole pattern
- 2 fabrics of similar weight & fibre content (amount dependent on your pattern)
- 1 Thread (match to one of the fabrics or choose a neutral colour)
- A sharp 60/8 Universal Needle
- A sharp hand sewing Needle
Pattern
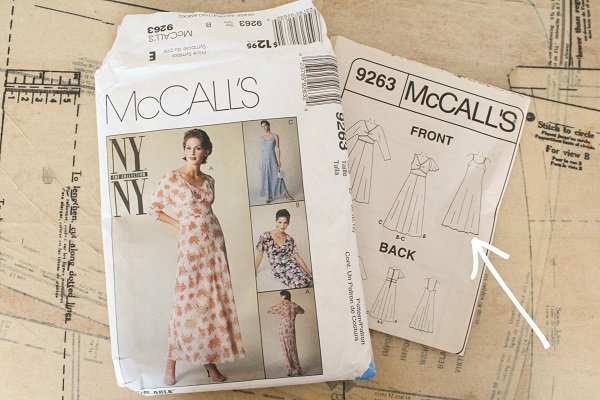
You can use pretty much any camisole pattern for this reversible technique.
I used a pattern from a box of gifted vintage and retro patterns. The slip dress pattern I shortened for a camisole was included in a pattern for some lovely sheer dresses. I already made a reversible version of this slip dress for a different virtual frocktails event earlier this year, which you can view here on my Instagram
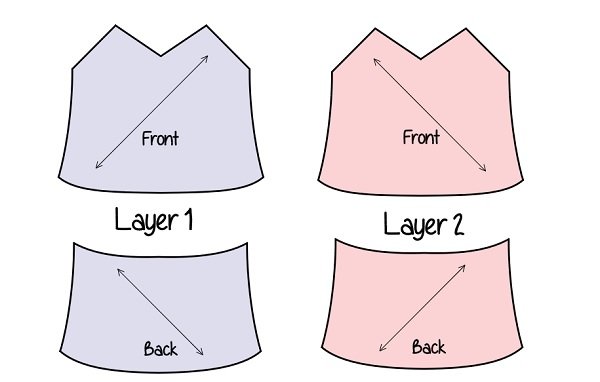
If your pattern requires you to cut on the bias, I recommend cutting the 2nd layer on the opposite bias.
You want the grainline of both layers to run in the same direction when the garment is worn.
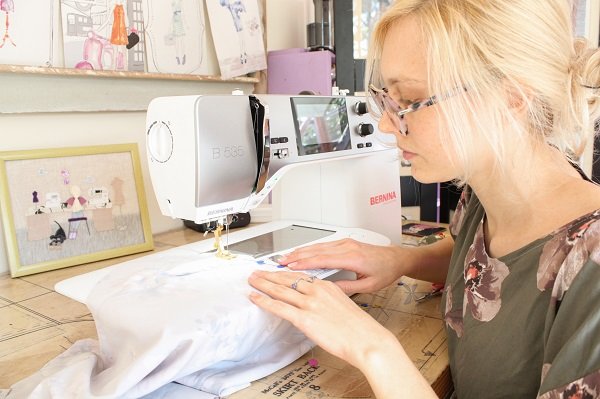
Sewing
These assembly steps are based on my pattern, your pattern may have slightly different instructions.

- Mark out and sew the darts on both layers. Be careful not to stretch the fabric.
I prefer to sew darts by starting at the dart point and stitching towards the notches.
I don’t backstitch to start, only to finish.
Once the dart is sewn, I tie the threads in to a knot at the point and feed the tails into the dart.
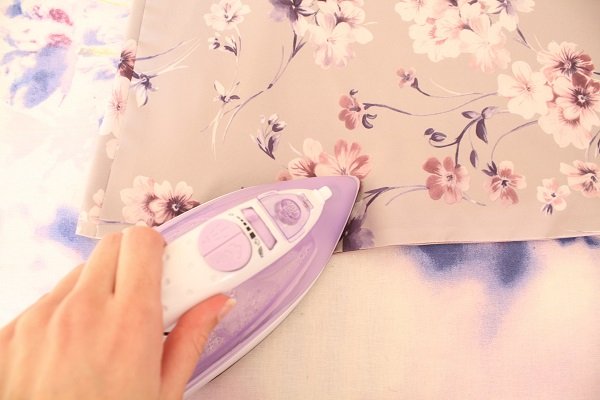
- Gently press the darts.
You may want to press the darts downwards on one layer and upwards on the other. This will help reduce bulk when the garment is worn.
To avoid potential water marks, use caution with or avoid using steam.
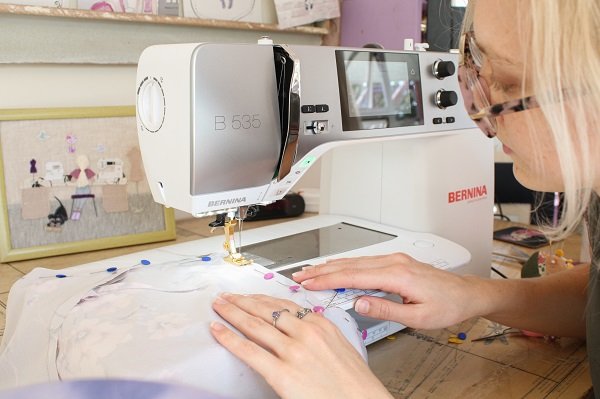
- Join the side seams of the respective layers.
Use your pattern’s suggested seam allowance.
Leave an opening on one of the side seams.
I left a 3cm opening on a side seam of my patterned fabric.

- Press seams.
I would recommend pressing the seams towards the back on one layer and towards the front on the other.
Once again, this will reduce bulk.
- Join the two layers together along the top edge.
Use your pattern’s suggested seam allowance.
Leave spaces for the Straps.
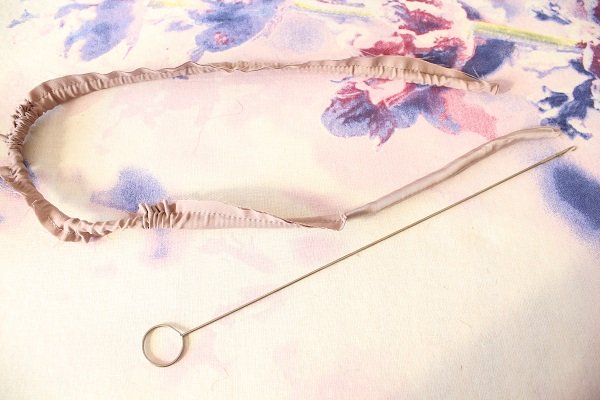
- Sew and turn Straps.
I recommend cutting the straps on the bias to make them more comfortable, especially as these straps won’t be adjustable.
- Attach the Straps to the Bodice at the Front. Remember to sandwich them between the 2 layers while the garment is inside out.
Press the seam from step 5.
Put the garment on to check the length of the Straps before attaching them at the Back.
If you are working on the bias: let the garment hang overnight before sewing the hem.
The bias grain needs to relax so that you will have a better idea of the length of the layers. You may find that the hem lines will be a bit wonky once the fabric has relaxed. This is perfectly normal and you can cut it straight before joining the hems.
- Take your time with these steps to join the 2 layers at the Hem.
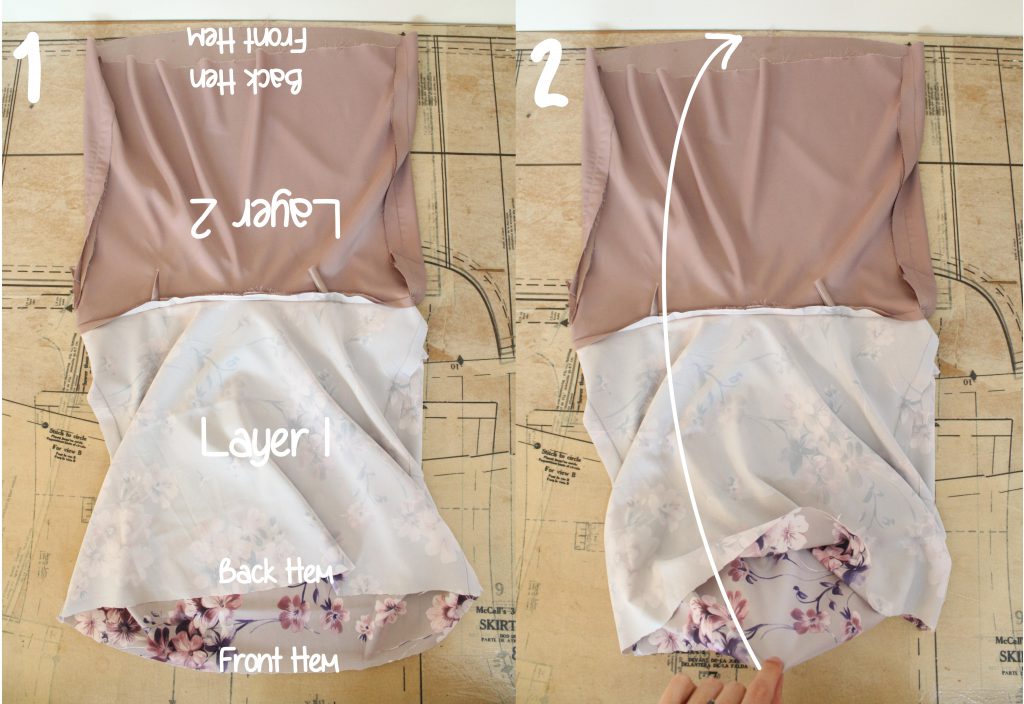 1. Lay the garment inside-out on a flat surface. Have it so that the Fronts of both layers are touching the surface.
2. Take the Front Hem of Layer 1 and match it to the Front Hem of Layer 2.
You will create a bit of a sandwich with the rest of the fabric between them.
Pin the along the Hem, joining the Fronts together and the Backs together.
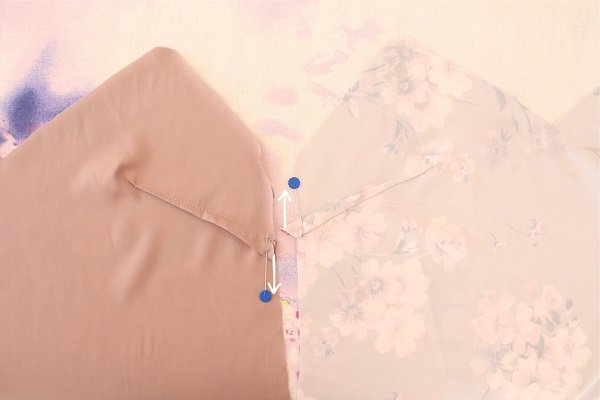
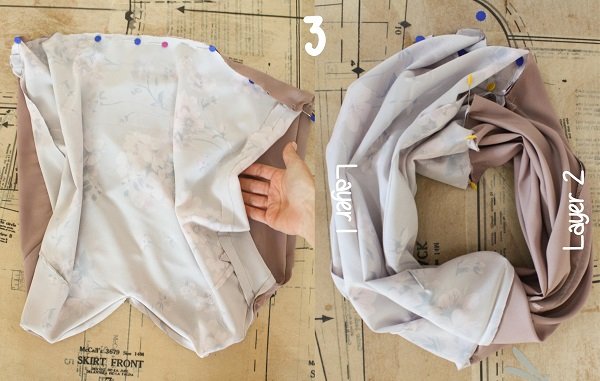 3. You should end up with your garment looking like a tube.
Layer 1 (the patterned layer) should be separate from Layer 2 (the plain layer), only joined at the Neckline and Hem.
You should be able to put your arm between them.
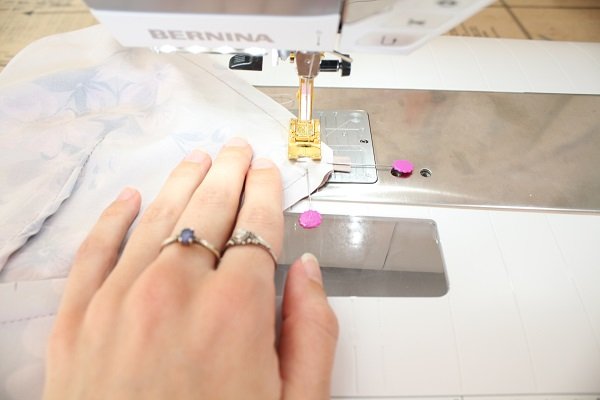
Use your pattern’s suggested hem allowance and sew along the hem.
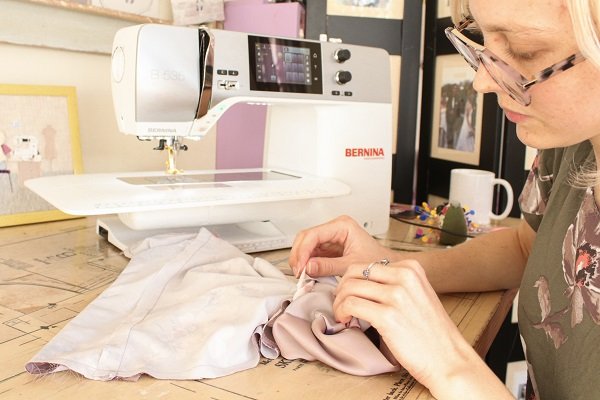
- Turn the garment right-side-out by carefully pulling it through the opening in the side seam.
- Neatly hand stitch the opening closed.
- Give the garment a final press.


Tips
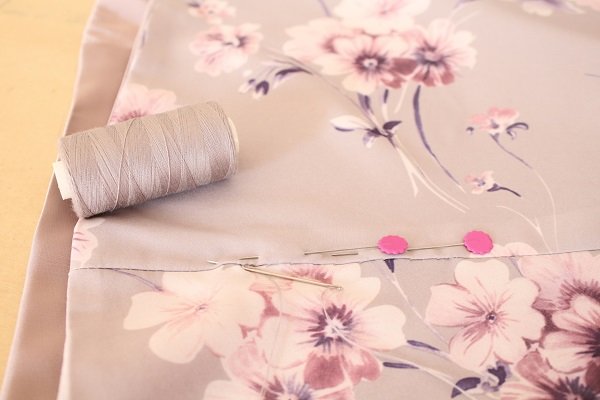
Here are some tips for working with thin/lightweight satins like mine.
These are just my recommendations, especially for a project like this one.
- Use sharp pins.
Slightly blunt pins will snag the fabric very easily and create nasty pulls in the fabric. - Use a sharp and thin needle for your machine and for hand stitching.
- Use a wide seam allowance like 1.5cm.
A seam sewn with a narrow seam allowance may pull apart as the fabric frays over time. - When you cut out the fabric, try cut one layer at a time as the fabric tends to be slippery.
- Don’t overlock.
This may stretch the fabric causing wobbly seams and the stitches will likely be visible through the thin fabric. - Be careful if using steam when pressing.
Satin is prone to water stains, especially if it is a silk blend.
If possible, check the suggested washing instructions of the fabric or test with a scrap piece of fabric.
I tend to wash my satin garments, such as the one in this project, in a cool wash like my other clothes. But I have chosen satins that I know wash well.
I would love to see what you make, please feel free to share with me!
Instagram
Facebook
If you want to see who else took part in the event, click here #virtualcapetownfrocktails
-Hannah-Rose


Just realised that the pattern is here! Thank you.
Hi. This is just what I want to make this weekend. Great techniques. Please share the name of the pattern so I can buy it. Looks lovely on you.