 BERNINA Corporate Blog -
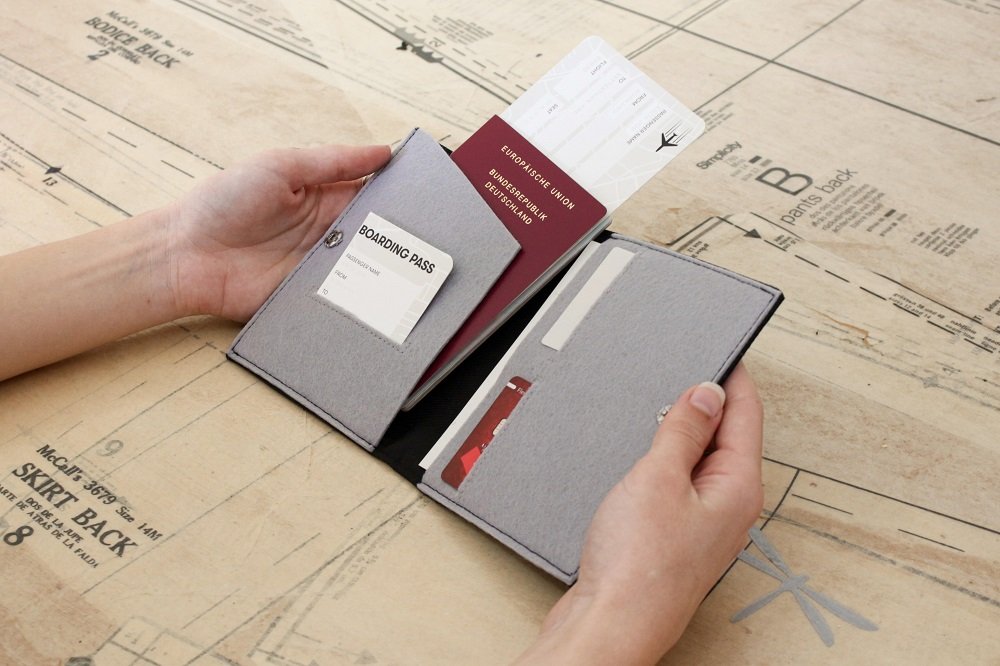
In South Africa we celebrate Heritage month in September, with Heritage Day being on the 24th.
We have so many amazing cultures and heritages to celebrate in South Africa.
Part of my heritage is German and I received a German passport just in time for my birthday on Heritage Day!
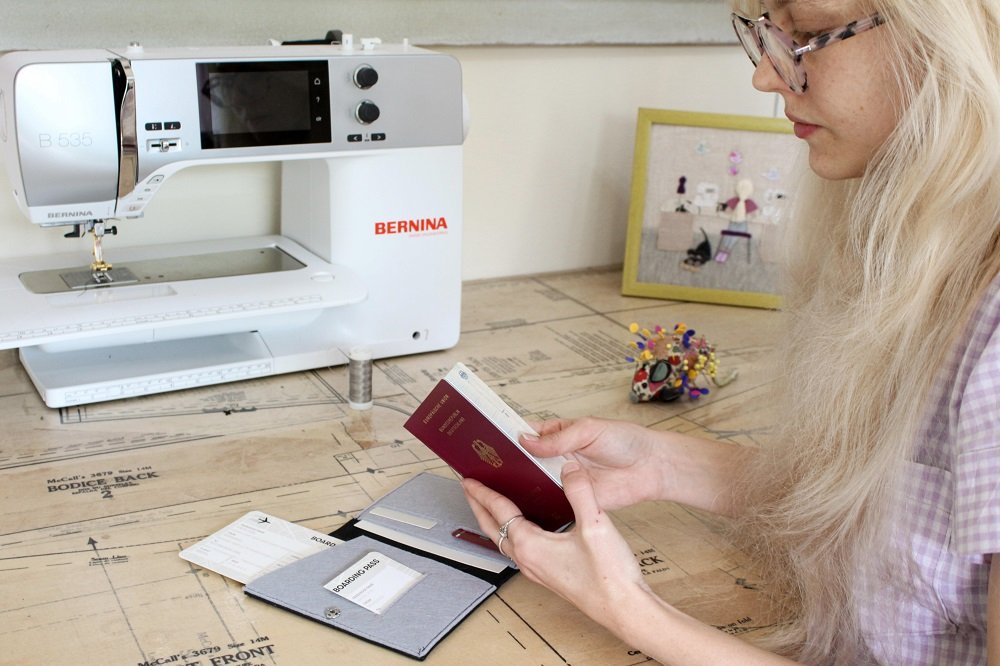
I can’t wait to fill my new passport with stamps. However, while International travel is a bit tricky due to the pandemic, I decided to make a custom holder for when I do one day fly again.
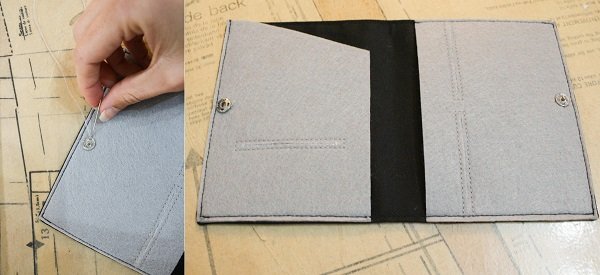
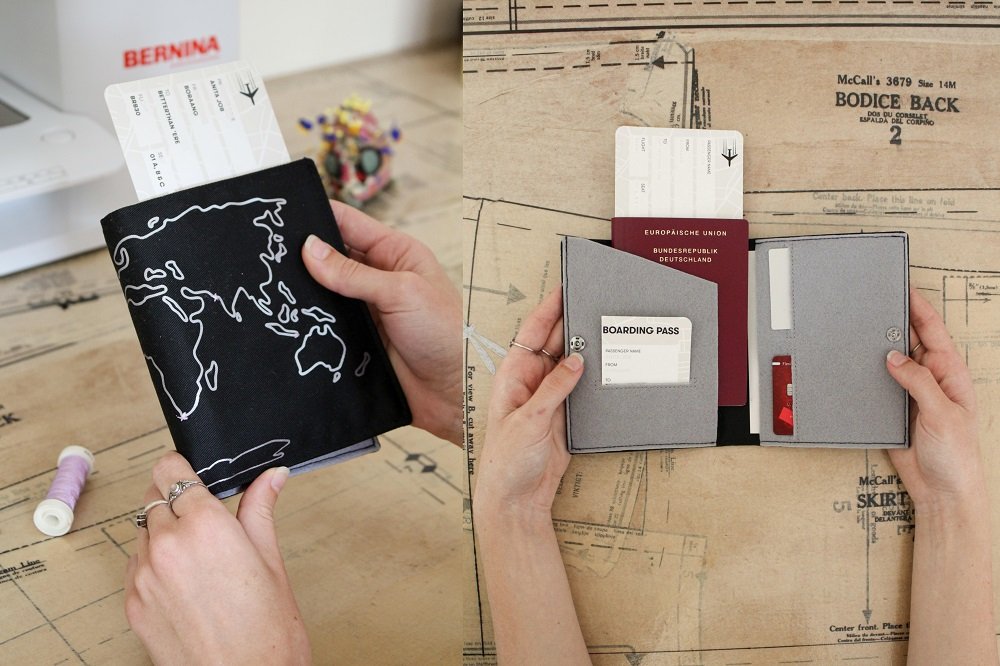
I designed the holder to have a place to keep your passport and boarding pass with a slit to keep the torn off piece of the boarding pass. There is also a space for notes or money and two more slits for cards.
I have included the pattern for free so that you too can make a Passport Holder.
What will be needed:
- Sewing machine
- Passport Holder Pattern
- 26cm x 29cm Durable Woven Fabric (cotton twill, canvas, denim…)
- 15cm x 20cm Thick Felt
- 15cm x 24cm Iron on Vilene/Interfacing
- Thread to match fabric
- 1 Snap Fastener (the type to hand sew on)
- Hand Sewing Needle
- Denim Sewing Machine Needle
Steps
Pattern
Download and print out my Passport Holder Pattern
Cut your fabric according to the instructions on each pattern piece.
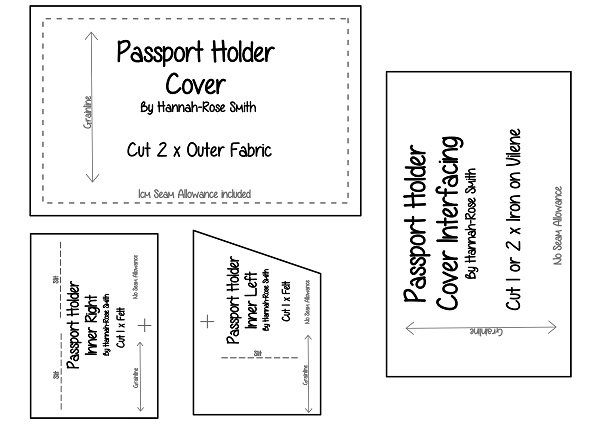
You will end up with:
2 x Cover pieces in Durable Woven Fabric
1 x Left Inner piece in Felt
1 x Right Inner piece in Felt
1 or 2 pieces of Iron-on Vilene
Preparing the fabric
Cover
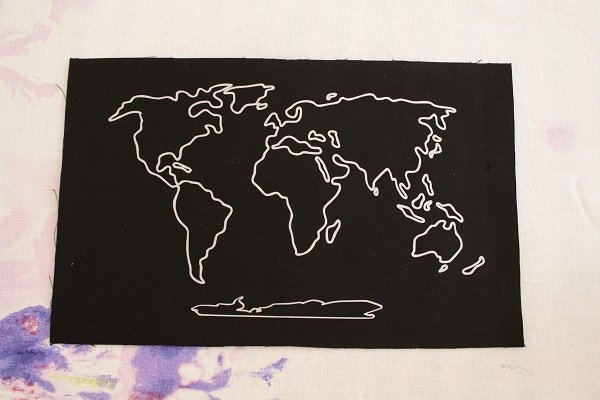
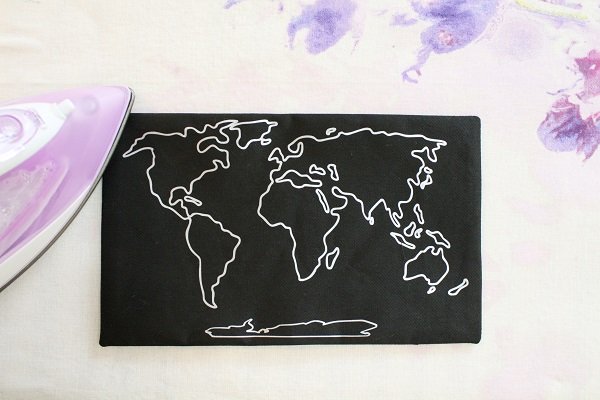
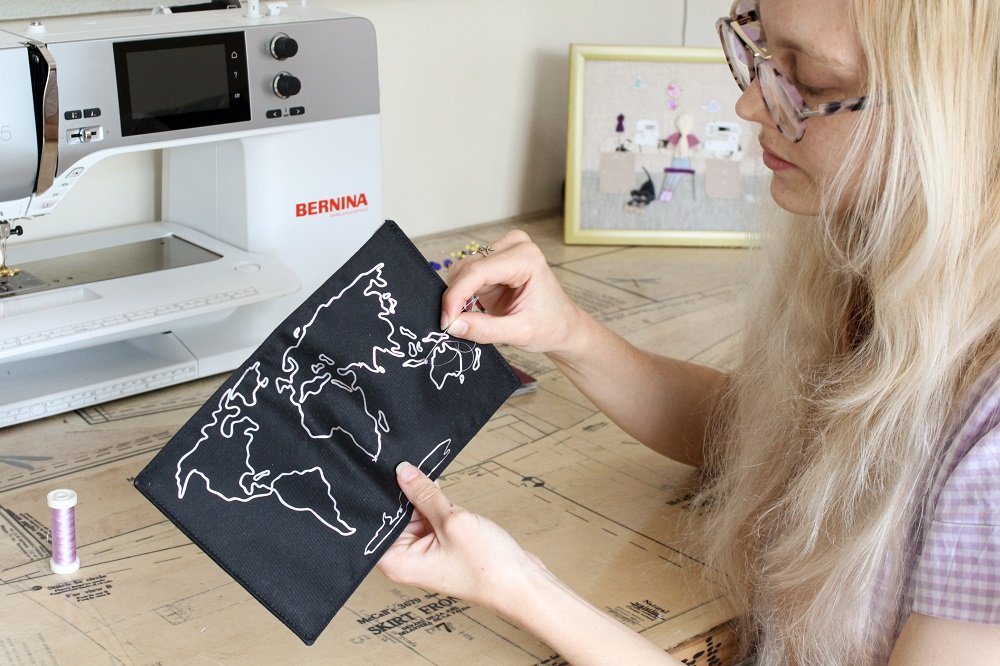
If you want to create a custom design on the Cover, now would be a good time.
I used Heat Transfer Vinyl for the map design but you could free motion machine stitch, embroider or even paint the design.
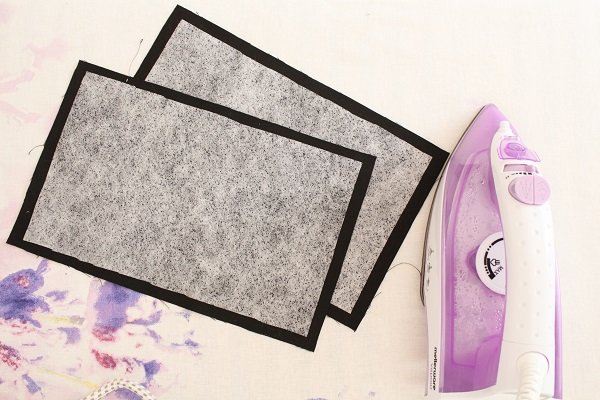
Depending on how thick your woven fabric is, iron Vilene on to the wrong side of one or both Cover pieces.
If your fabric is very firm, you might not even need Vilene.
Inner
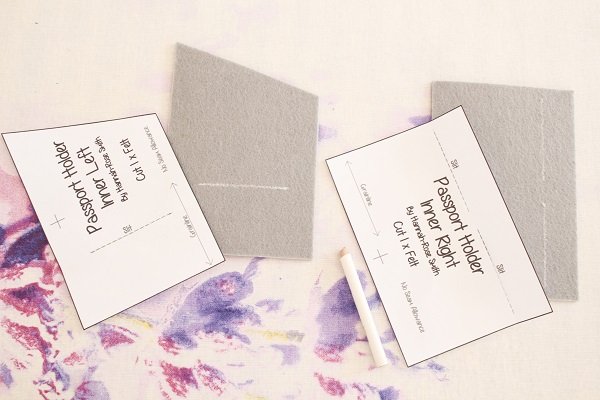
Take note of which are the Left and Right Inner pieces.
If you are left handed, you can swap them around. I would recommend relabelling the pattern pieces to avoid confusion when I later refer to the Left Inner piece.
Use the pattern pieces for placement of the slits on the Inner Felt pieces.
With the right side of the fabric facing up, use an erasable fabric marker or chalk to mark out the slits.
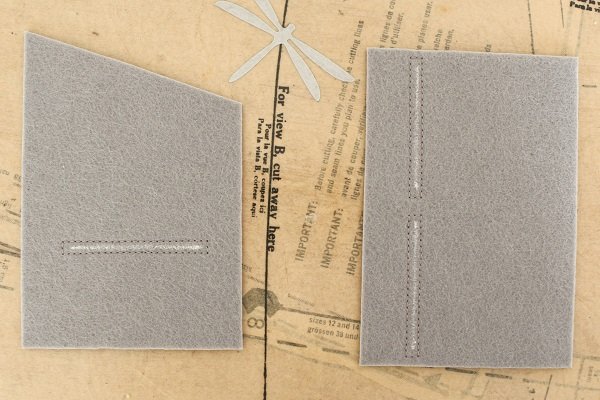
Topstitch around the drawing line. Stitch 0.3cm out from the line.

Only cut along the markings.
Sew
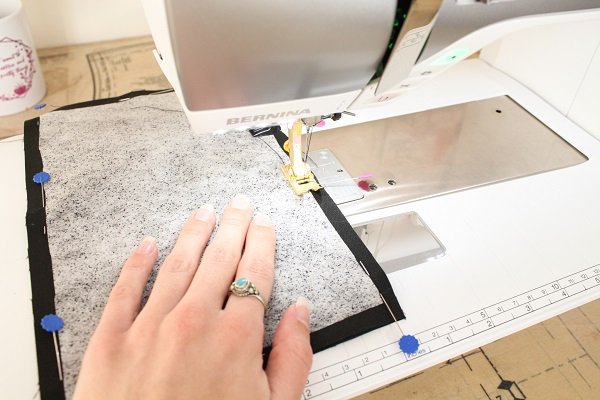
- Join the Cover pieces together with a 1cm seam allowance.
Leave an opening somewhere along the bottom edge.
I left a 5cm opening but you could leave a maximum opening of 20cm.
The bigger the opening, the easier it will be to turn the fabric right-side-out. However, it may be tricker when it comes to topstiching later on.
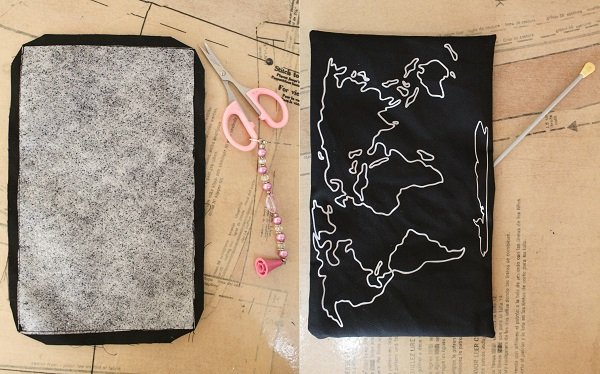
- Trim the corners and turn the fabric right-side-out.
Use something like a knitting needle, to turn out nicely pointed corners.
- Give the Cover a press.
Make sure to neatly press along the seam allowance of the opening.

- Place the Right Felt piece on the inside of the Cover.
Line up the edges of the Felt with the edges of the Cover
Pin in place.
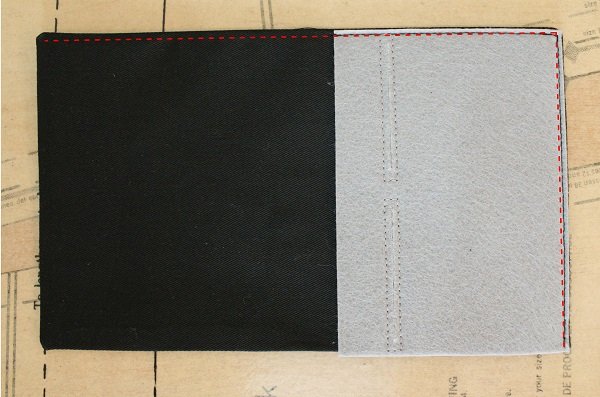
- Stitch along the top edge of the cover and down the Right edge.
Stitch 0.3cm in from the edge.
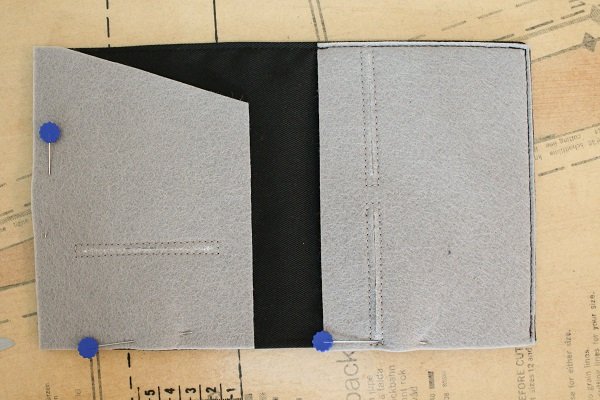
- Place the Left Felt piece on the inside of the Cover.
Line up the edges of the Felt with the edges of the Cover
Pin in place.
Pin the opening closed too.

- Stitch along the Bottom edge of the cover and up the Left edge.
Stitch 0.3cm in from the edge.
You will be stiching closed the opening at the same time.
Snap Fastener
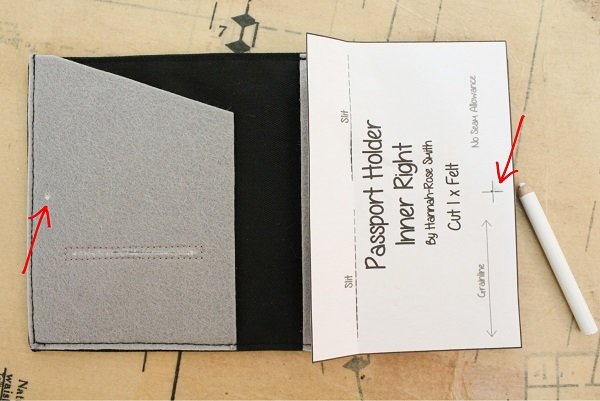
Use the pattern pieces for placement of the snap fastener on the Inner Felt pieces.
Make a mark.
Hand stitch the snap faster pieces in place.
I recommend stitching through the Felt and the Inner Layer of the Cover if you can.
This will help prevent the stitches from pulling through the Felt after a few uses.
Try to not stitch all the way through to the Outer Layer of the Cover, otherwise the stitching will be visible.
I started stitching little x’s on the places I have visited like Bali, Mumbai and of course my home, Cape Town.
Tips
- The colour of the Felt can match or contrast the colour of the Outer Fabric
- You could use a thread colour that contrasts the Cover.
I would recommend you stitch with the Felt side down so that the neater top-stitches will show on the Cover. - You can trim the Felt pieces a bit to better fit when attaching them to the Cover.
I would love to see what you make, please feel free to share with me!
Instagram
Facebook
-Hannah-Rose
All patterns designed by me are for personal use only.


Beautiful idea & nice information custom passport cover.
Thank you Raj
Since you use HTV for your map design would these patterns also be available as an SVG?
Hi Joyce
I unfortunately haven’t got an SVG version of the pattern but I’ve seen a few free websites available where you can convert the PDF file into a SVG file.
Hope that help