 BERNINA Corporate Blog -
Hello my sewing friends! Long time no see! If I remember correctly I promised you a bra blog post but something (good) got in the way. Due to COVID-19 my cousin wasn’t able to get married in a church back in May but luckily got a new date (very romantic I know) to get married in September.
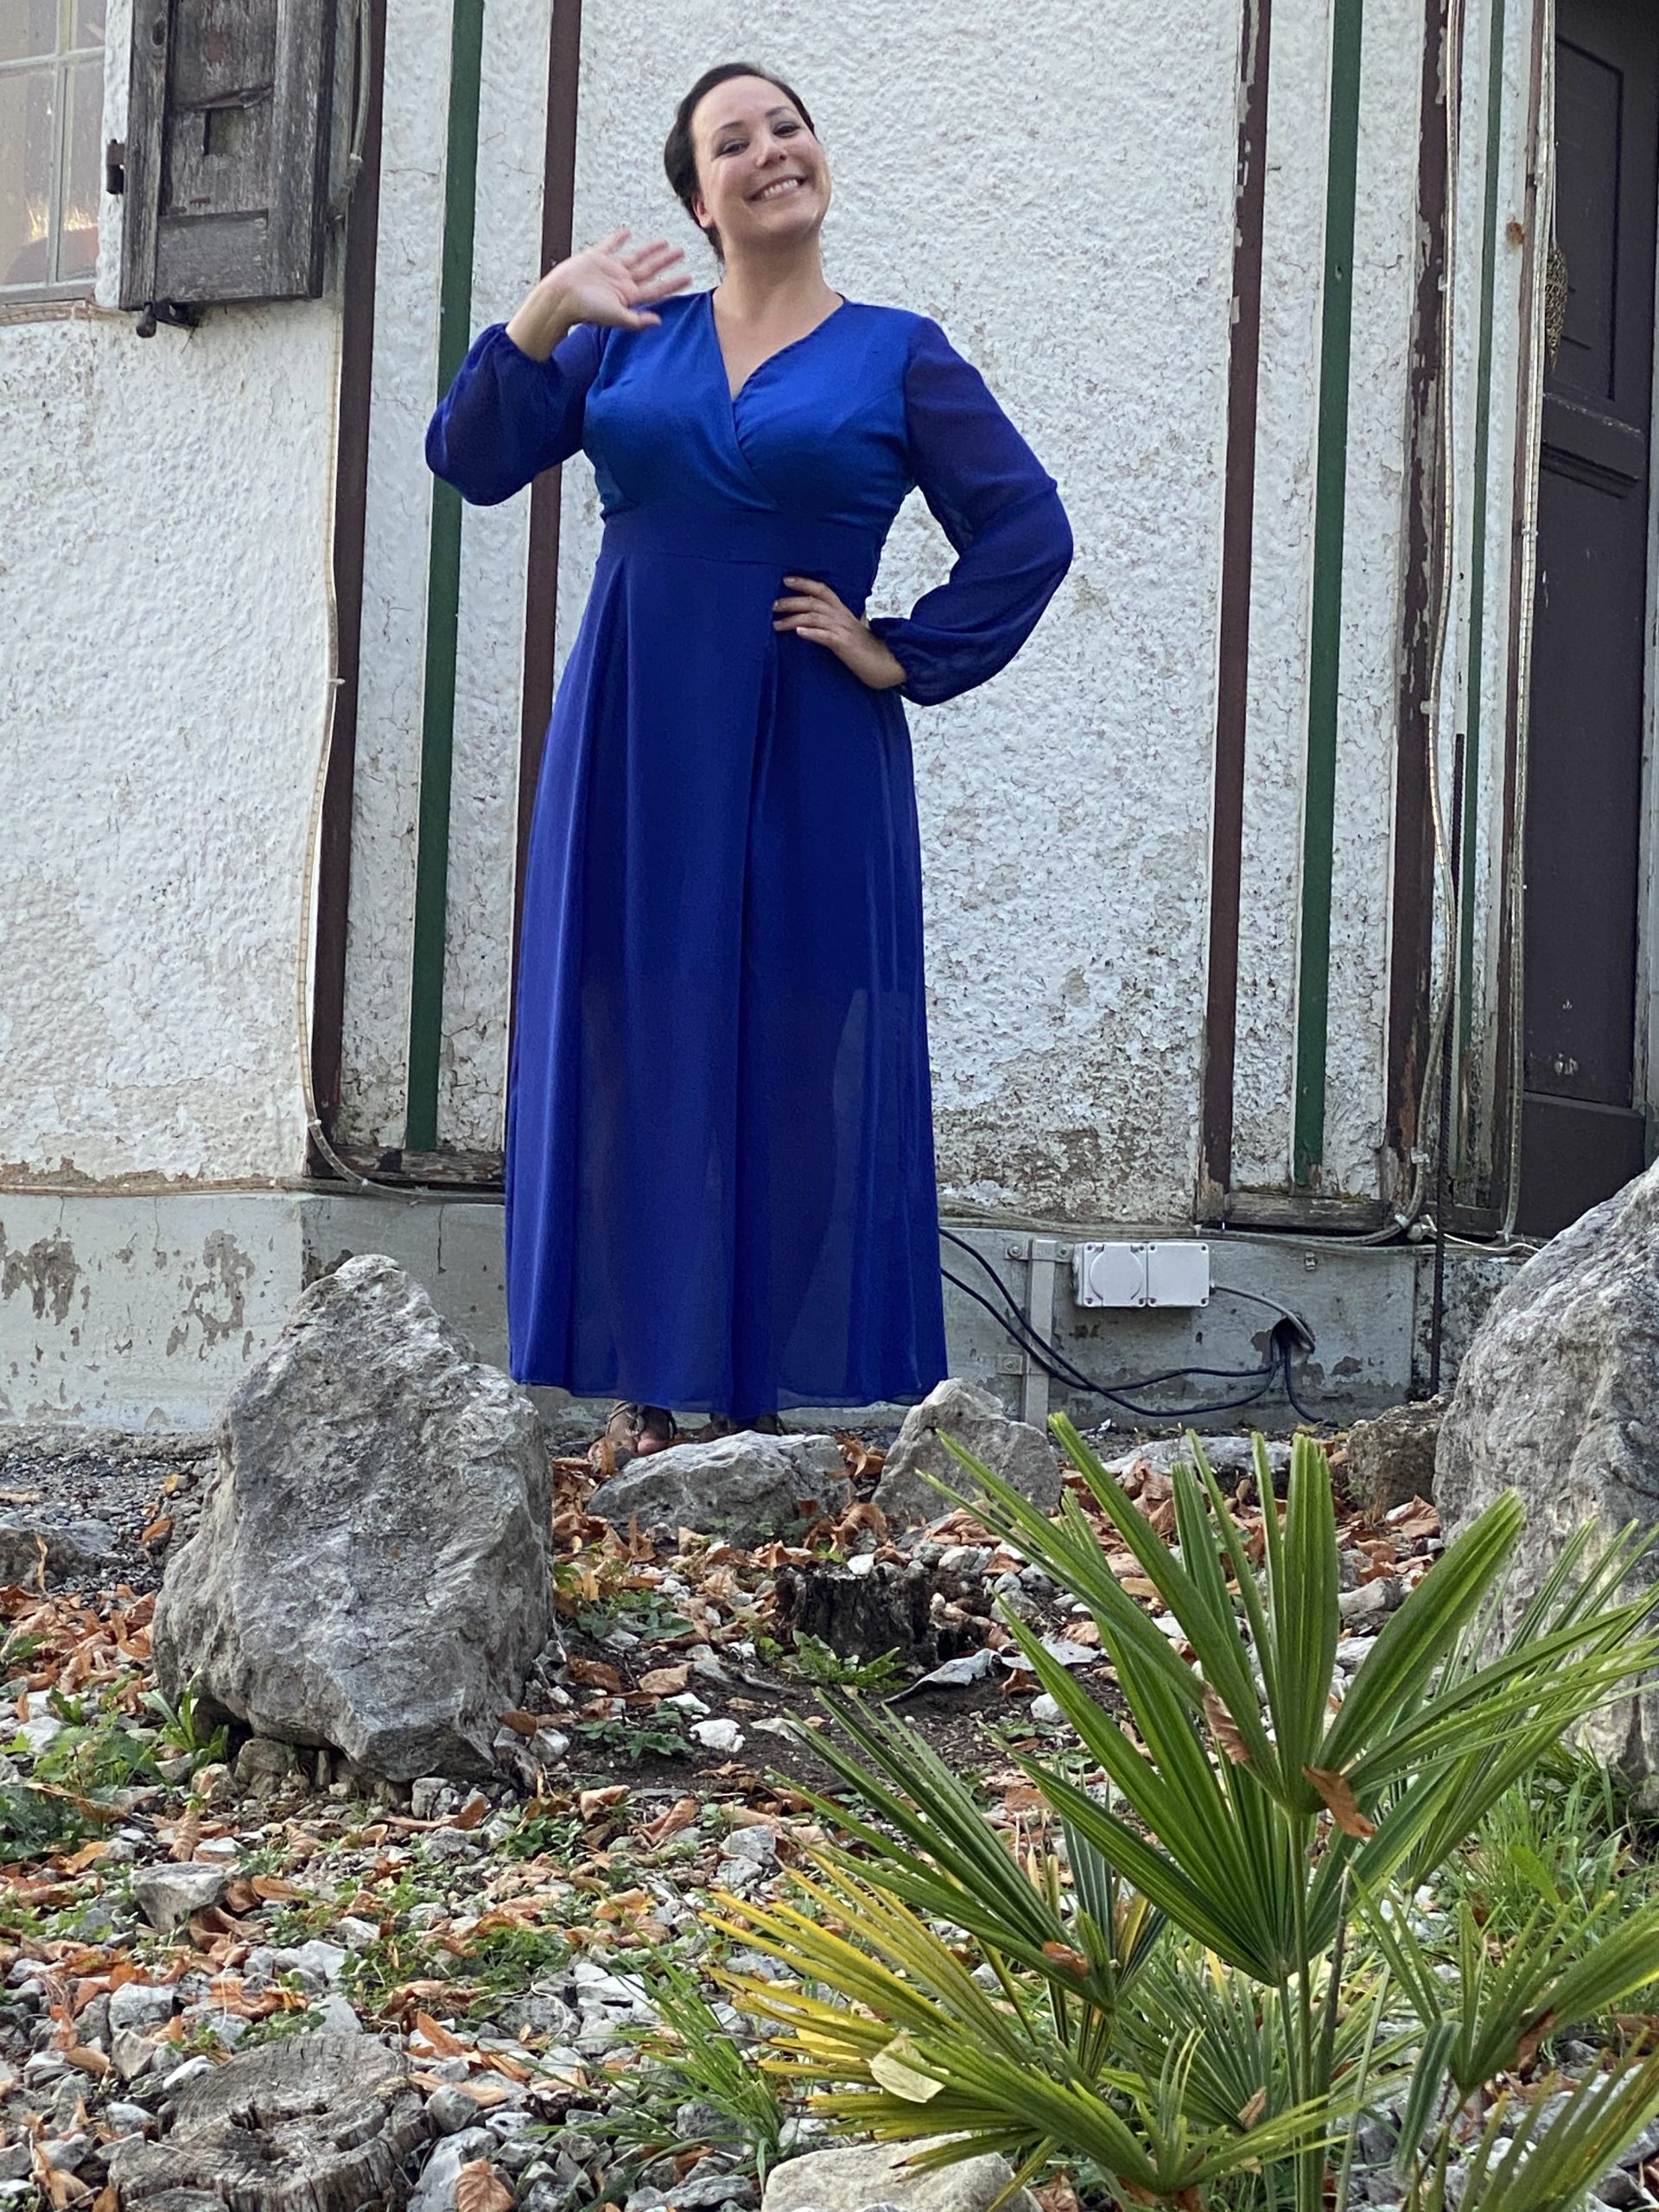
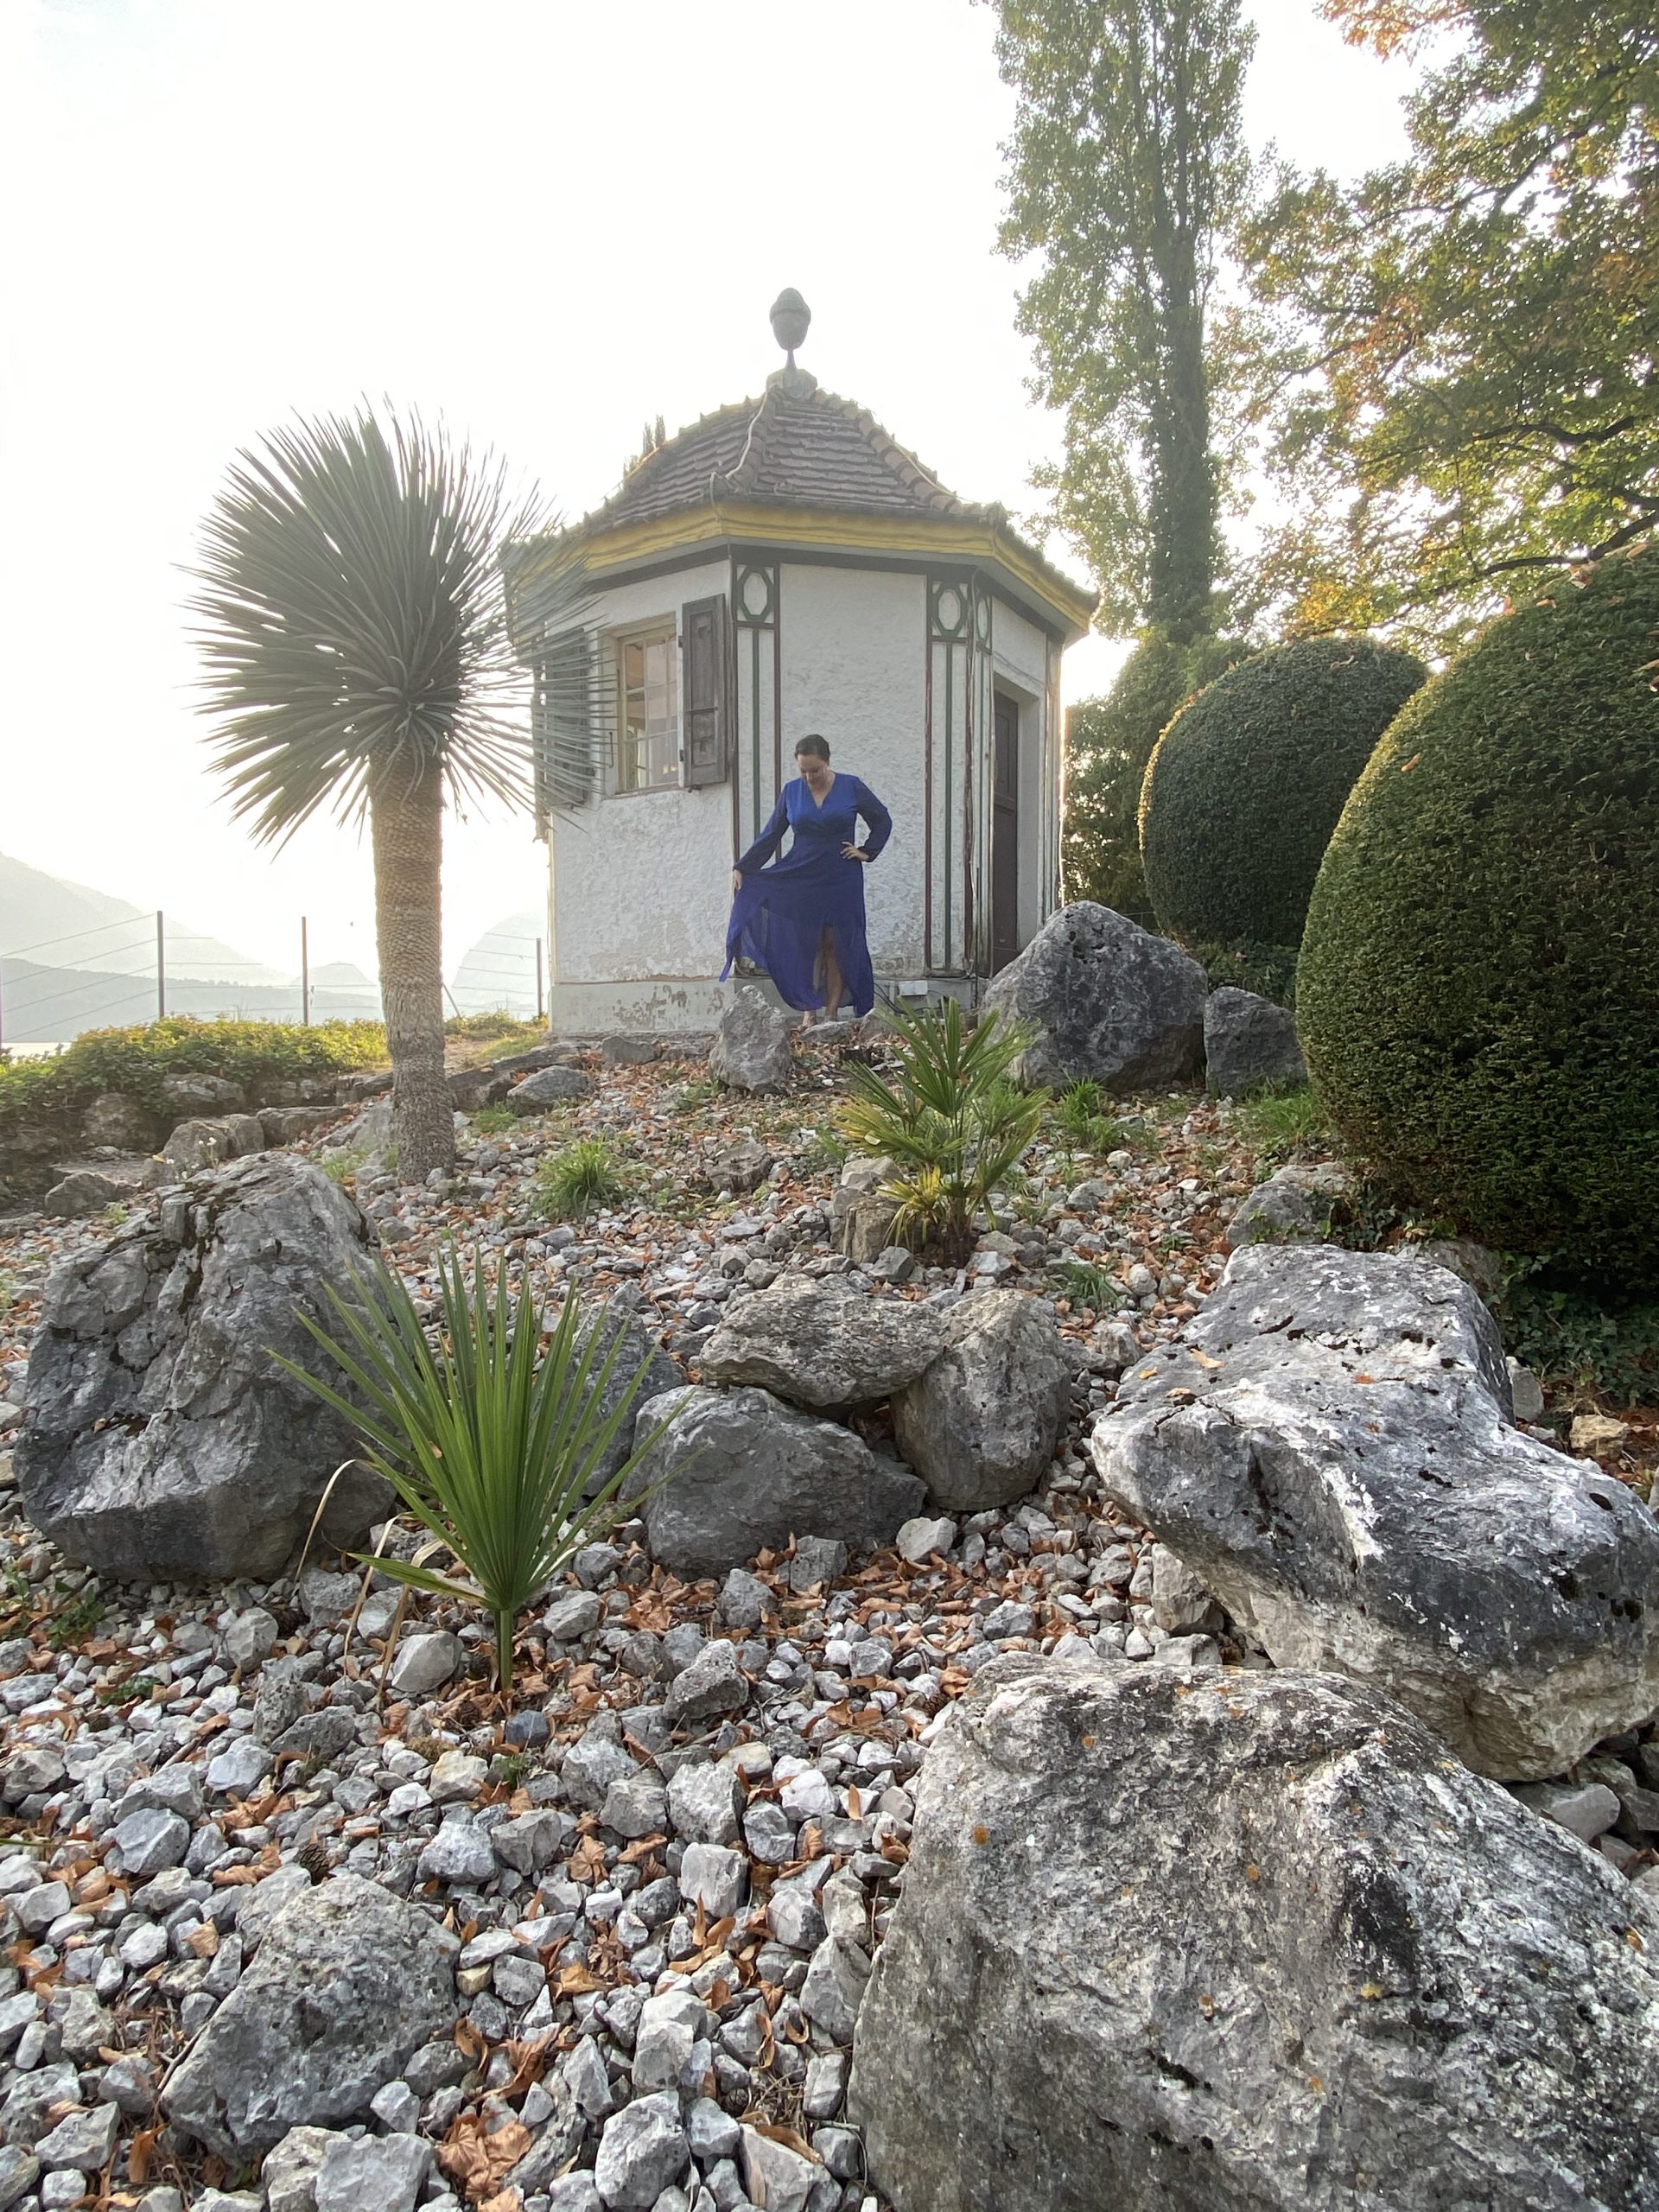
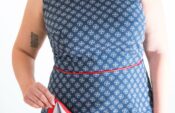
But this also meant that I had to sew up a dress for the occasion. Before you get all upset with me about me sewing something just for this occasion let me tell you this. My size changes all the time and I really had nothing formal enough to wear to this occasion. On the other hand I’ve had this electric blue crepe fabric for four years now and always wanted to make a long flowy gown with it.
About the pattern
I bought the Magnolia dress by Deer and Doe a while back and when the decision was made for a long flowy gown I knew it was going to be a Magnolia. Part of the reason was that I had the changes I usually need to make to D&D patterns down and I knew, because of this, it was a suffieciently quick make.
Deer and Doe design for a D Cup which means I am ok with bust adjustments. I usually have to shorten the torso front and back above the bust and narrow the shoulders but that’s it. And because with pattern companies the design block is usually the same I make these adjustments from the get go!
My fabric tribulations
Little did I know that my project would come to a staggering halt when I checked the required fabric against what I actually had. Somehow I wrote on my Trello board (yes, I keep check on my fabric stash on Trello), that I had 4m of said crepe fabric when in reality I only had 2.5m. But “no worries”, I said to myself because also on the Trello cards I note where I got the fabric and there is usually a direct link to it. A few clicks later I had ordered an additional 2m from the vendor.
When my package arrived though I had the unpleasant surprise of realizing that I had ordered the wrong fabric: a blue chiffon. And it was not the same shade of blue I had in the crepe. Well, I was short on time so I decided to just mix the two.
I would make the bodice and a short underskirt out of the crepe and the rest in the chiffon. It turned out better than I expected and I received a lot of compliments for my Magnolia dress.
Here are some quick notes on the sewing process.

I started off – like always – by sewing the bodice. I usually sew the princes seams with the side piece (the piece with the steeper curve) on top so I can easily adjust while sewing.
As you see I only pin at the start and at the finish line. You can use as many pins as you like but with these delicate fabrics the less pins you need the better. Every pin might damage the fabric.
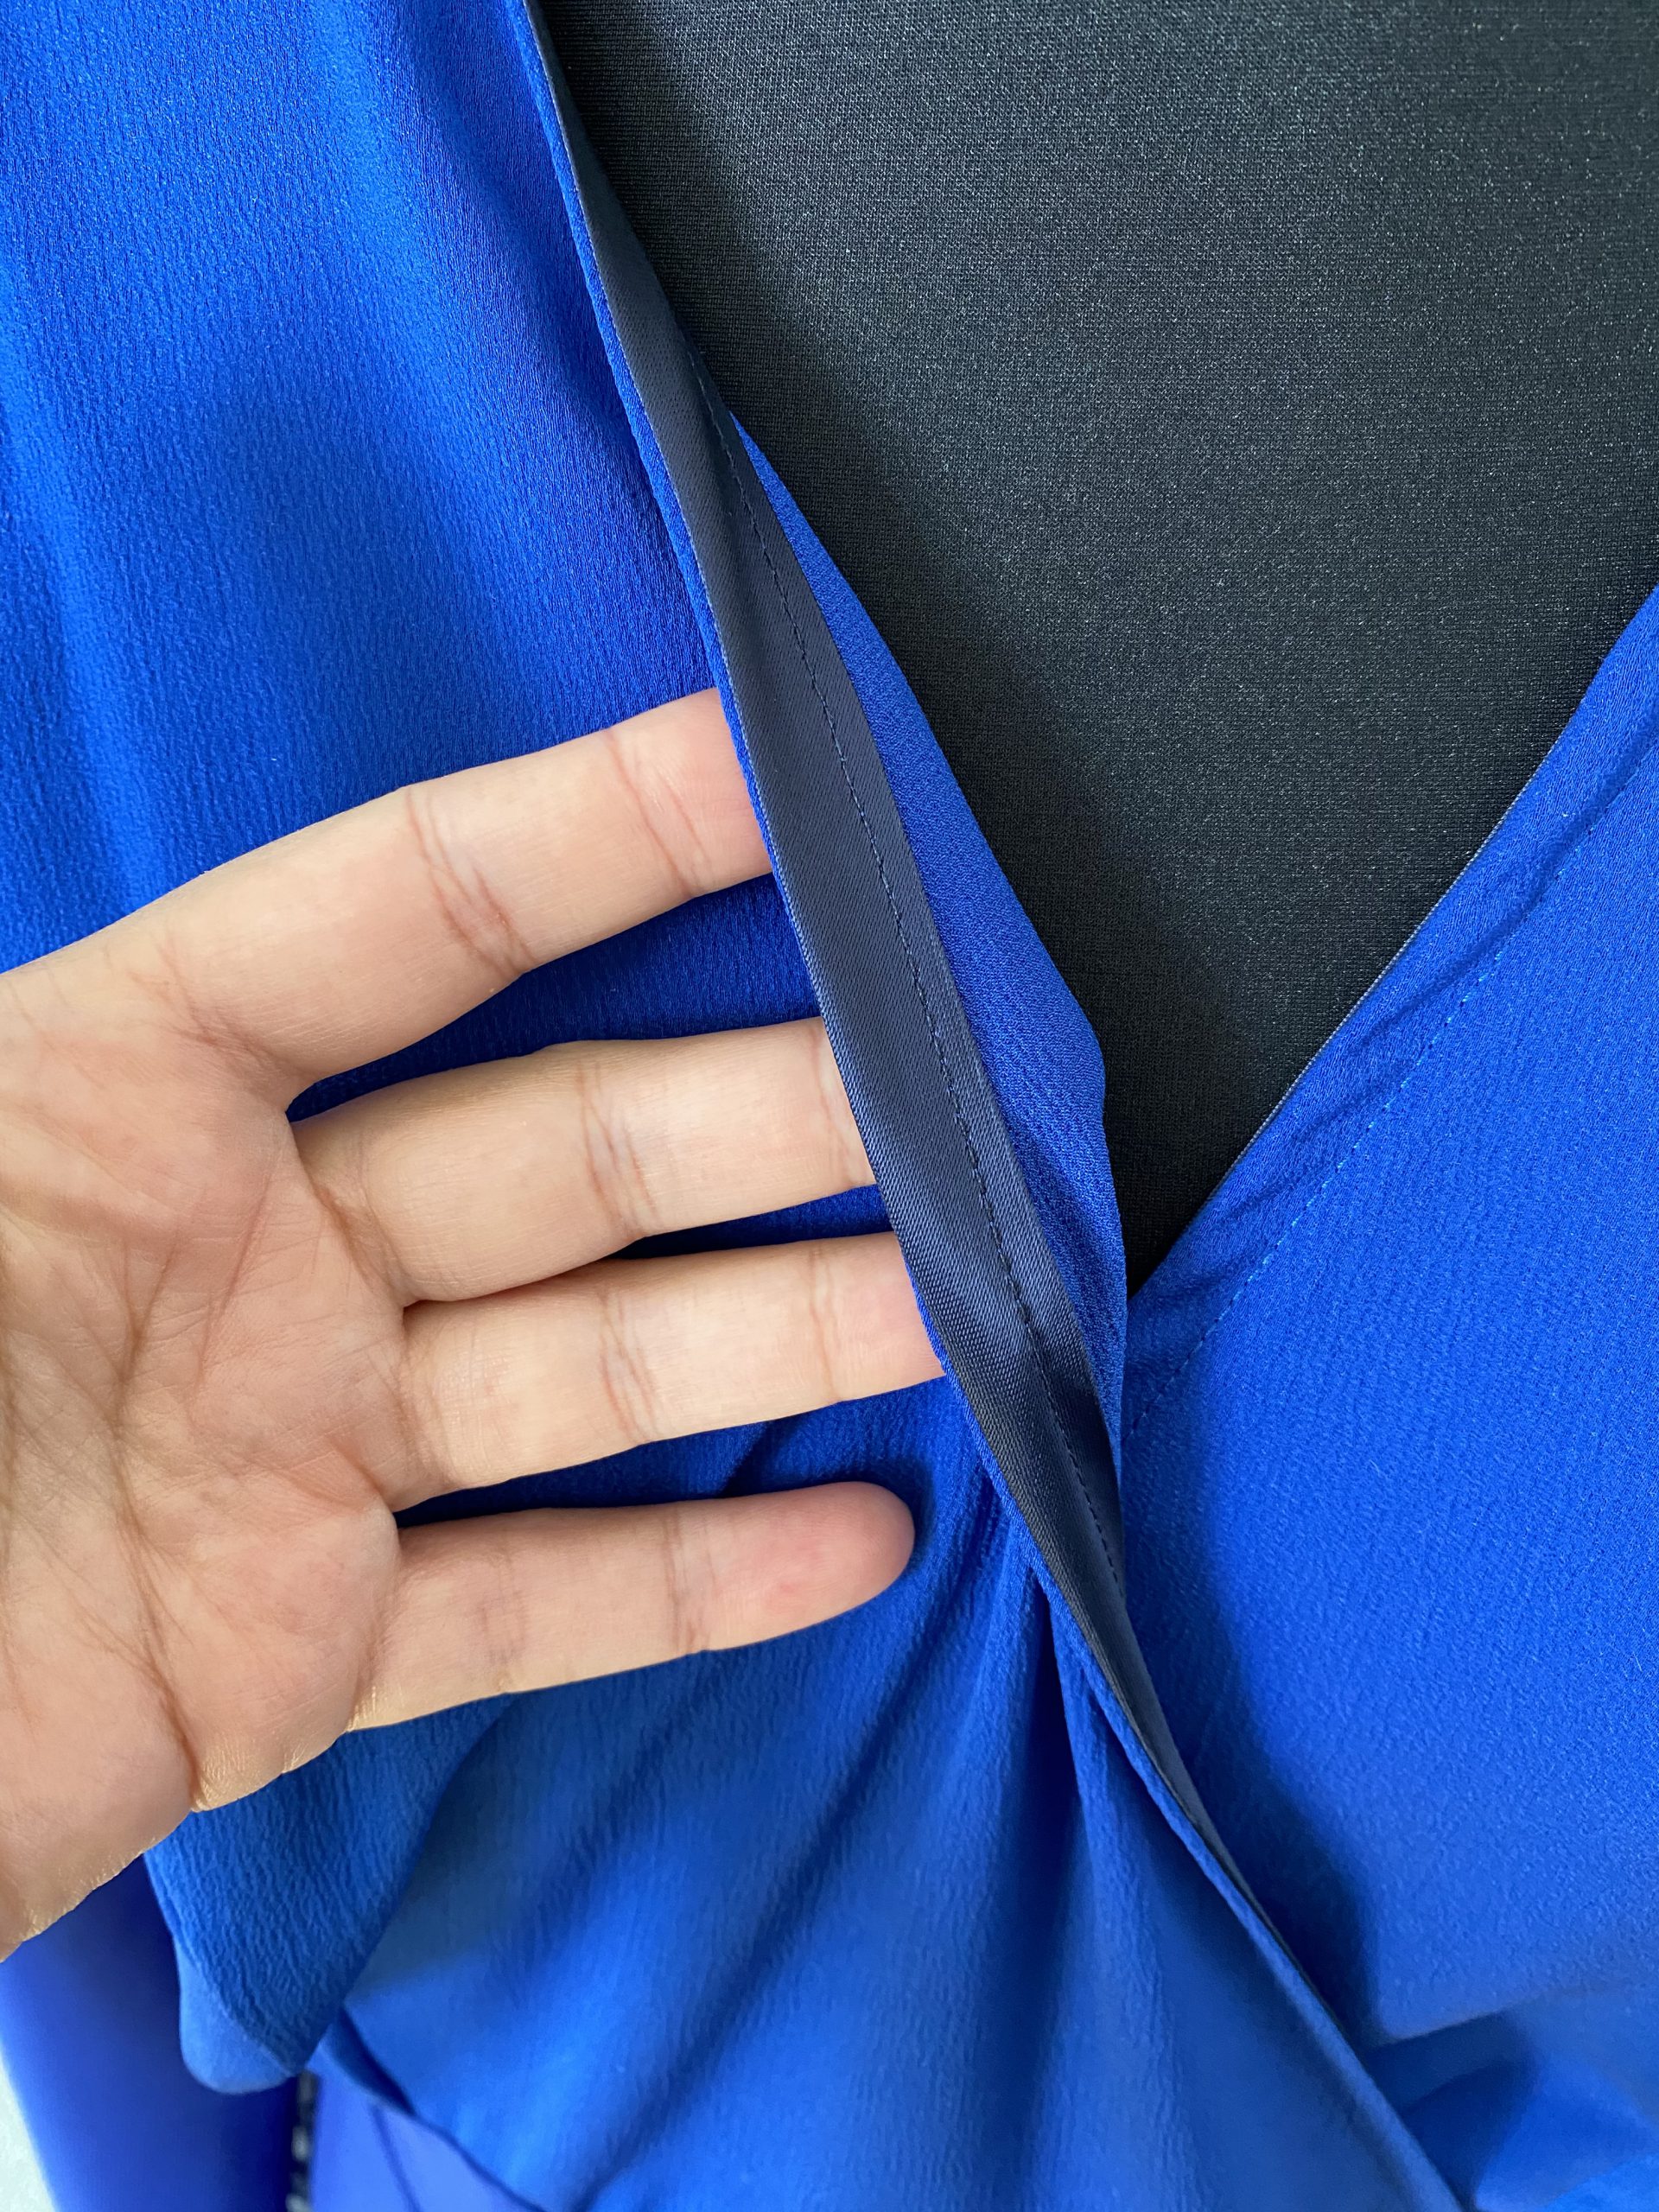
The pattern calls for bias binding to finish the neckline. Make sure you use a binding that matches the weight of your fabric.

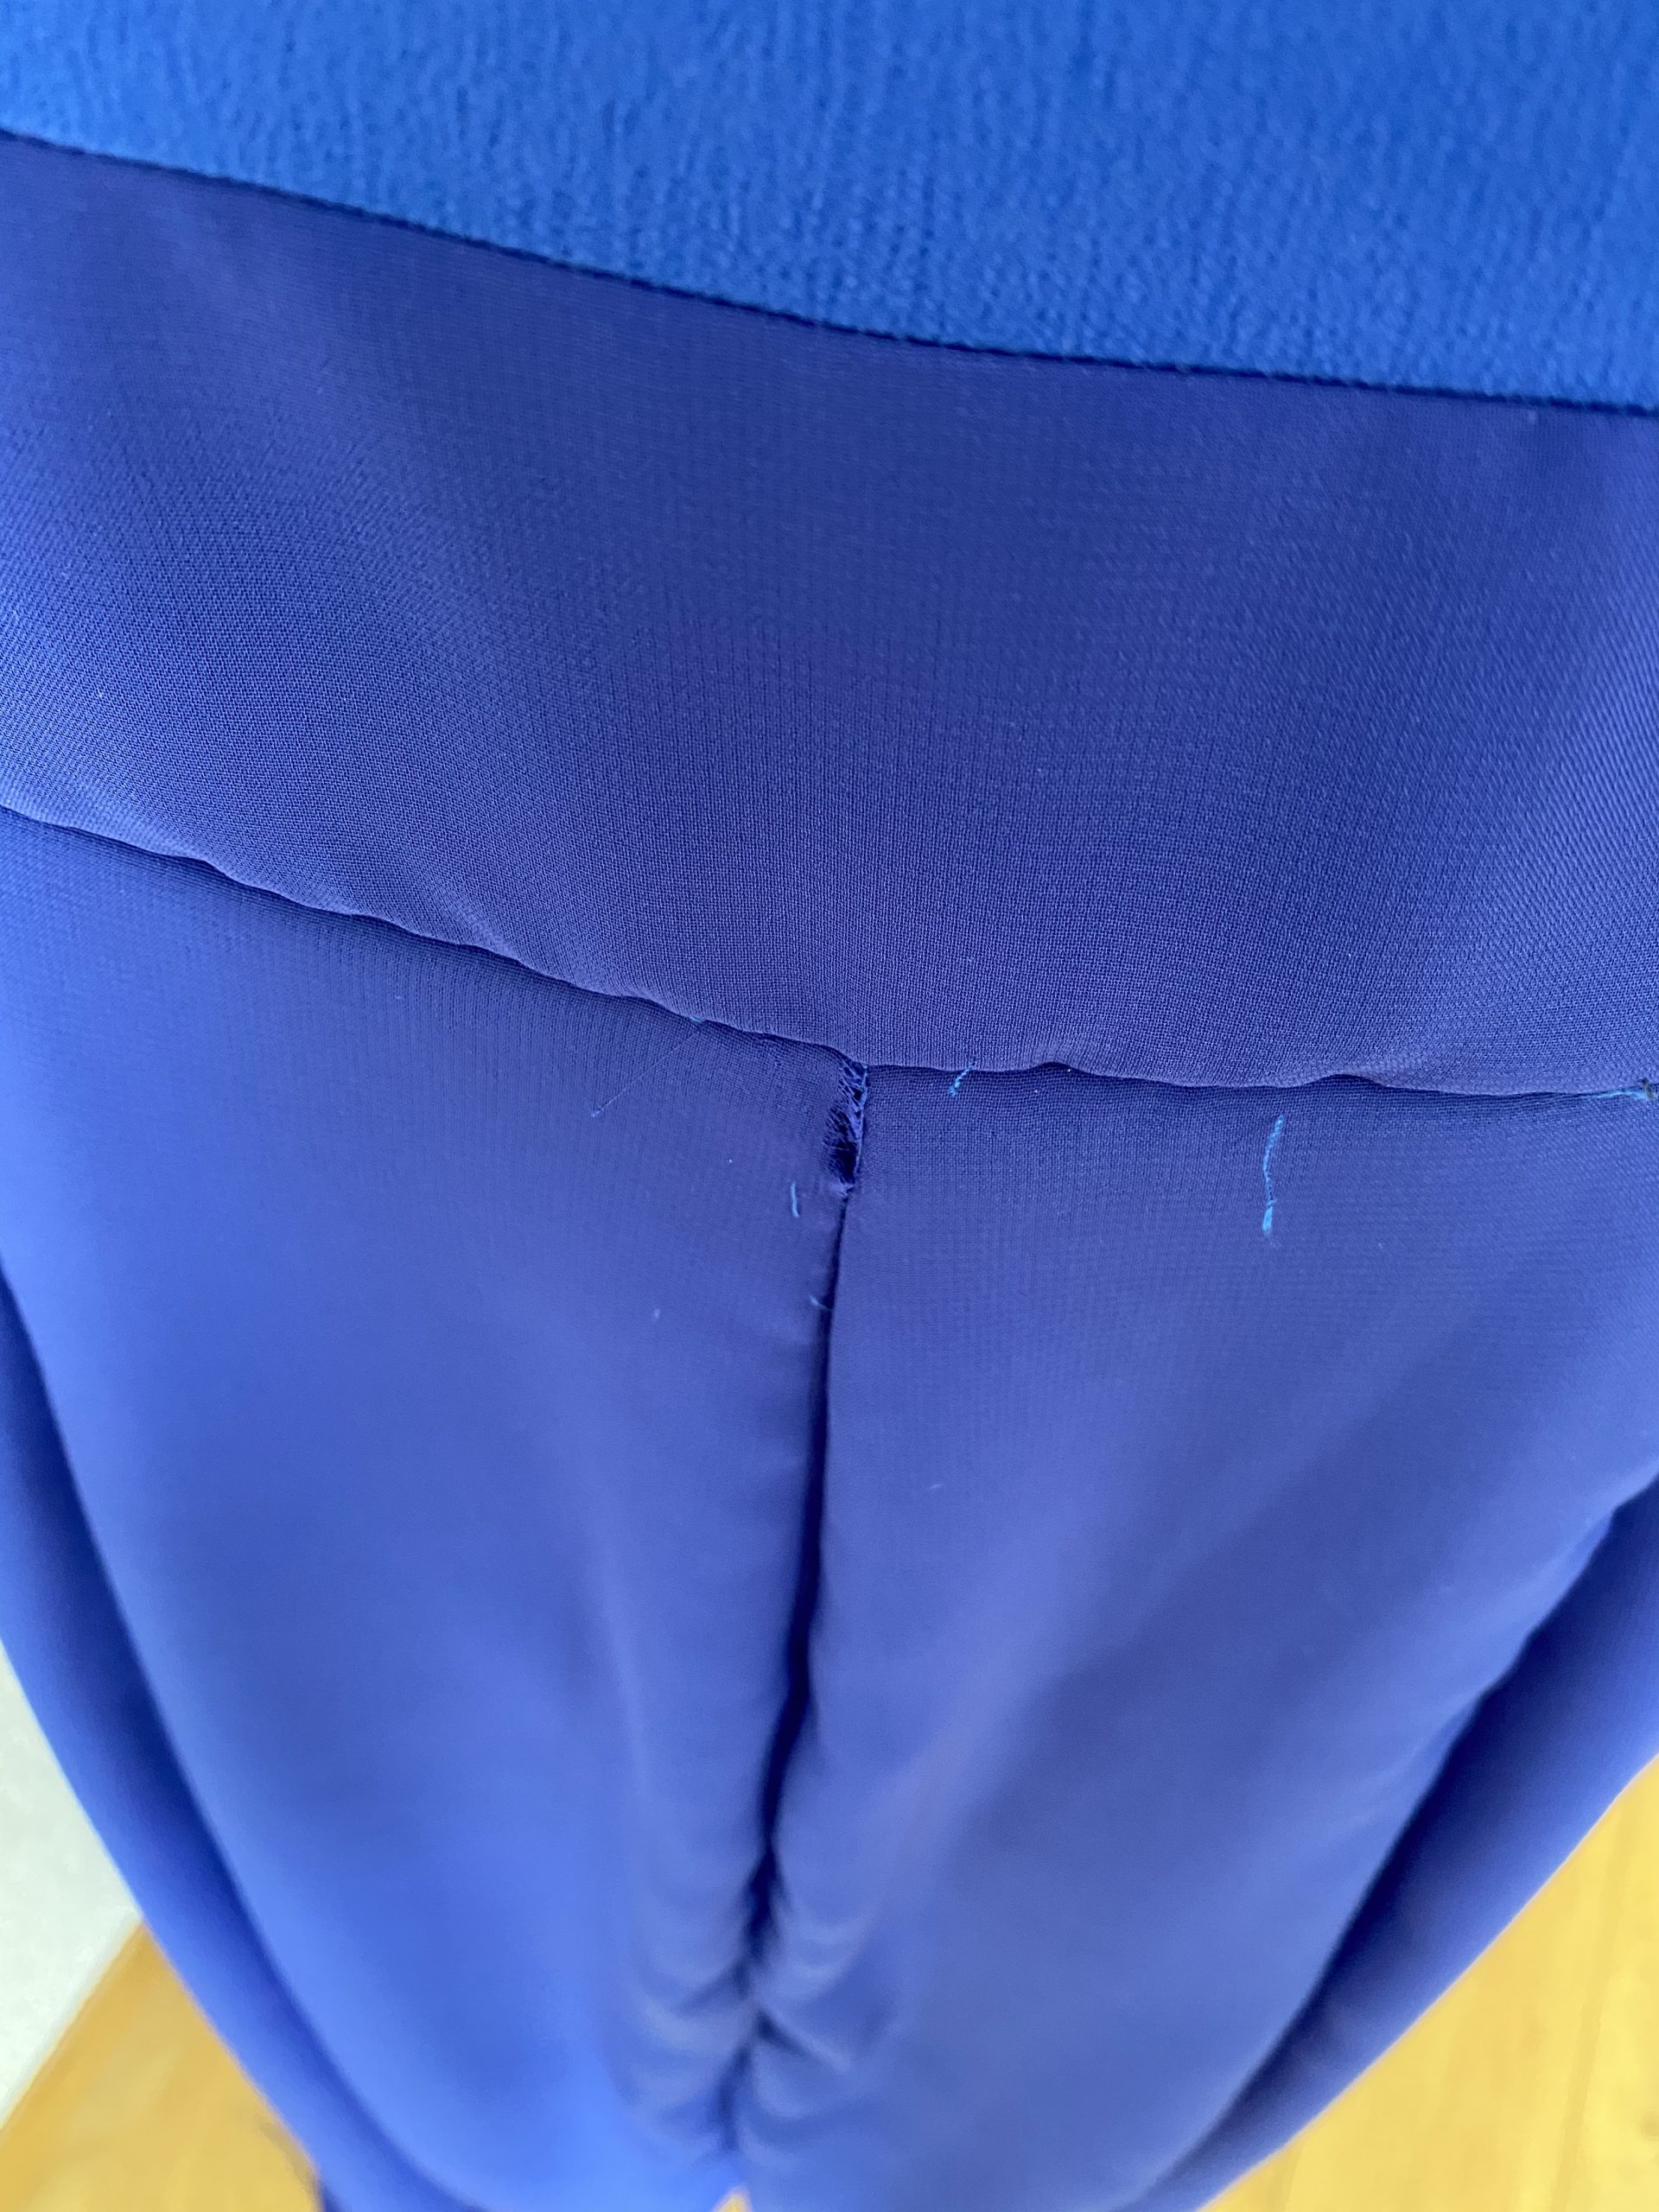
Attach the waistband to the bodice leaving the side seam open to insert the zipper later.
After attaching the skirt to the bodice I noticed the tiniest of holes right at the back.
So I had to open the seam again to fix it. This was not a big deal but annoying nonetheless. But these tiny mistakes are part of our sewing journey as well, so let’s be honest about our mistakes.
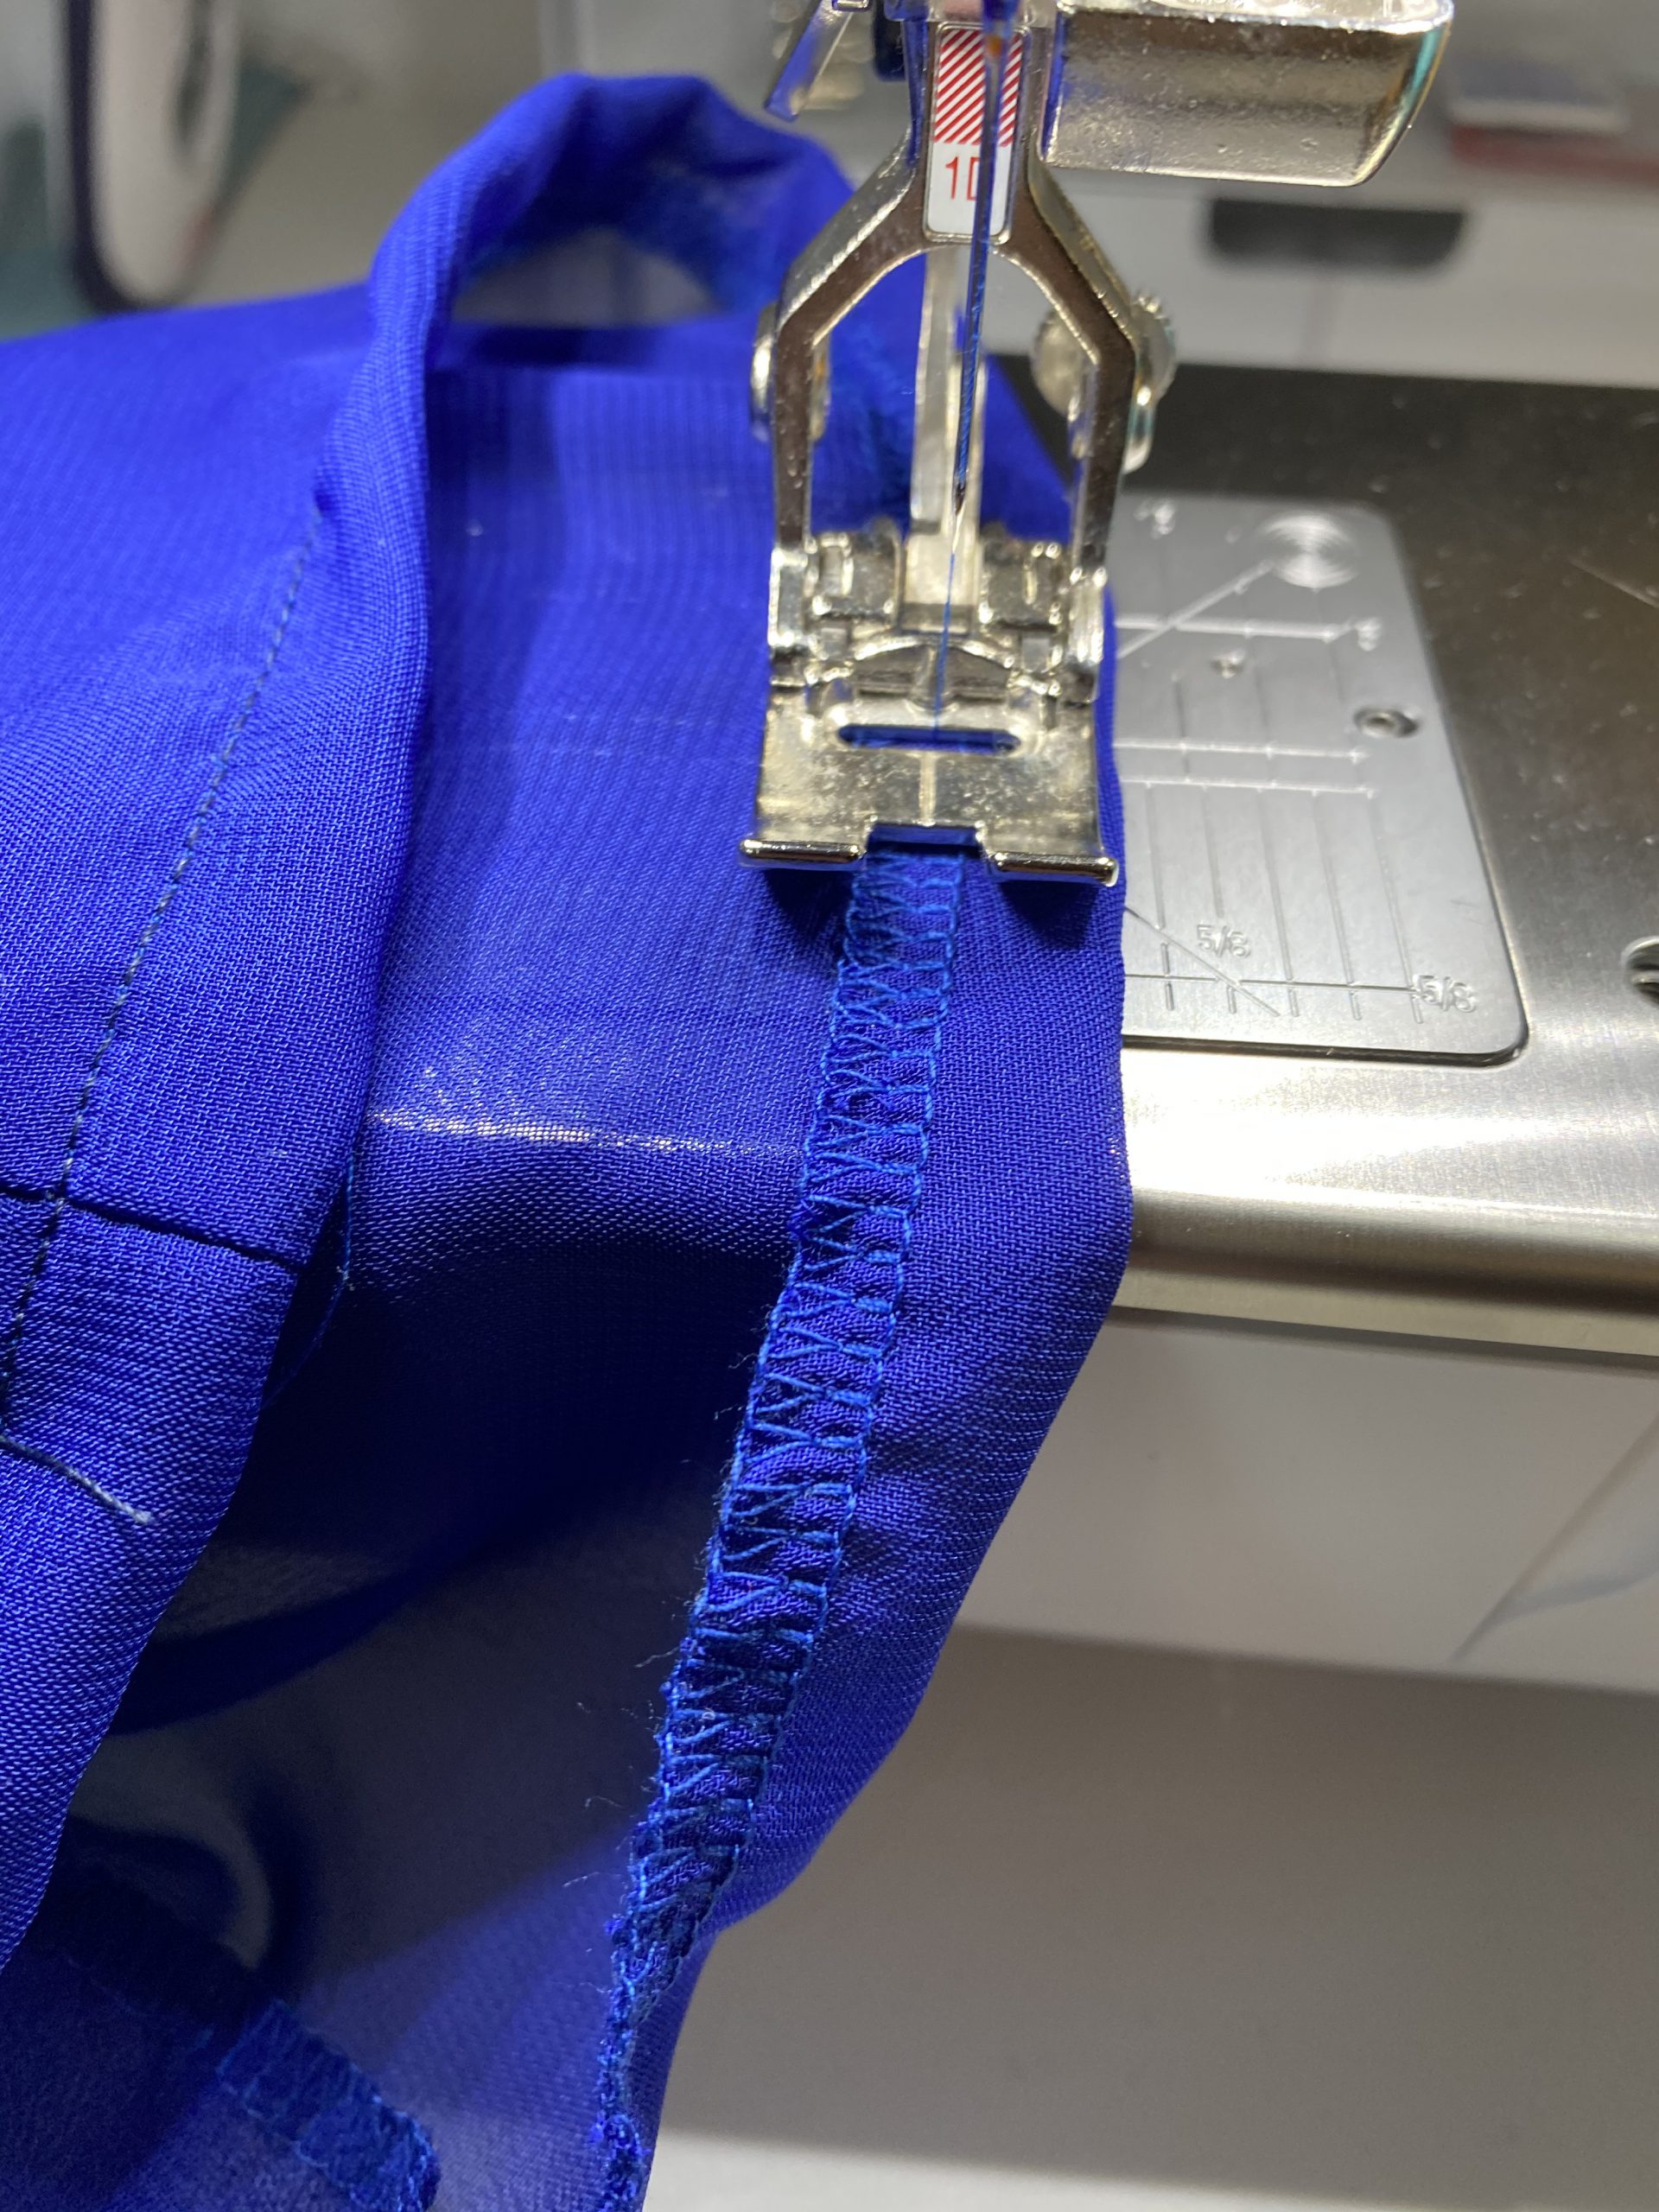
Now onto my favorite part of the whole project. The amazing rolled hem…
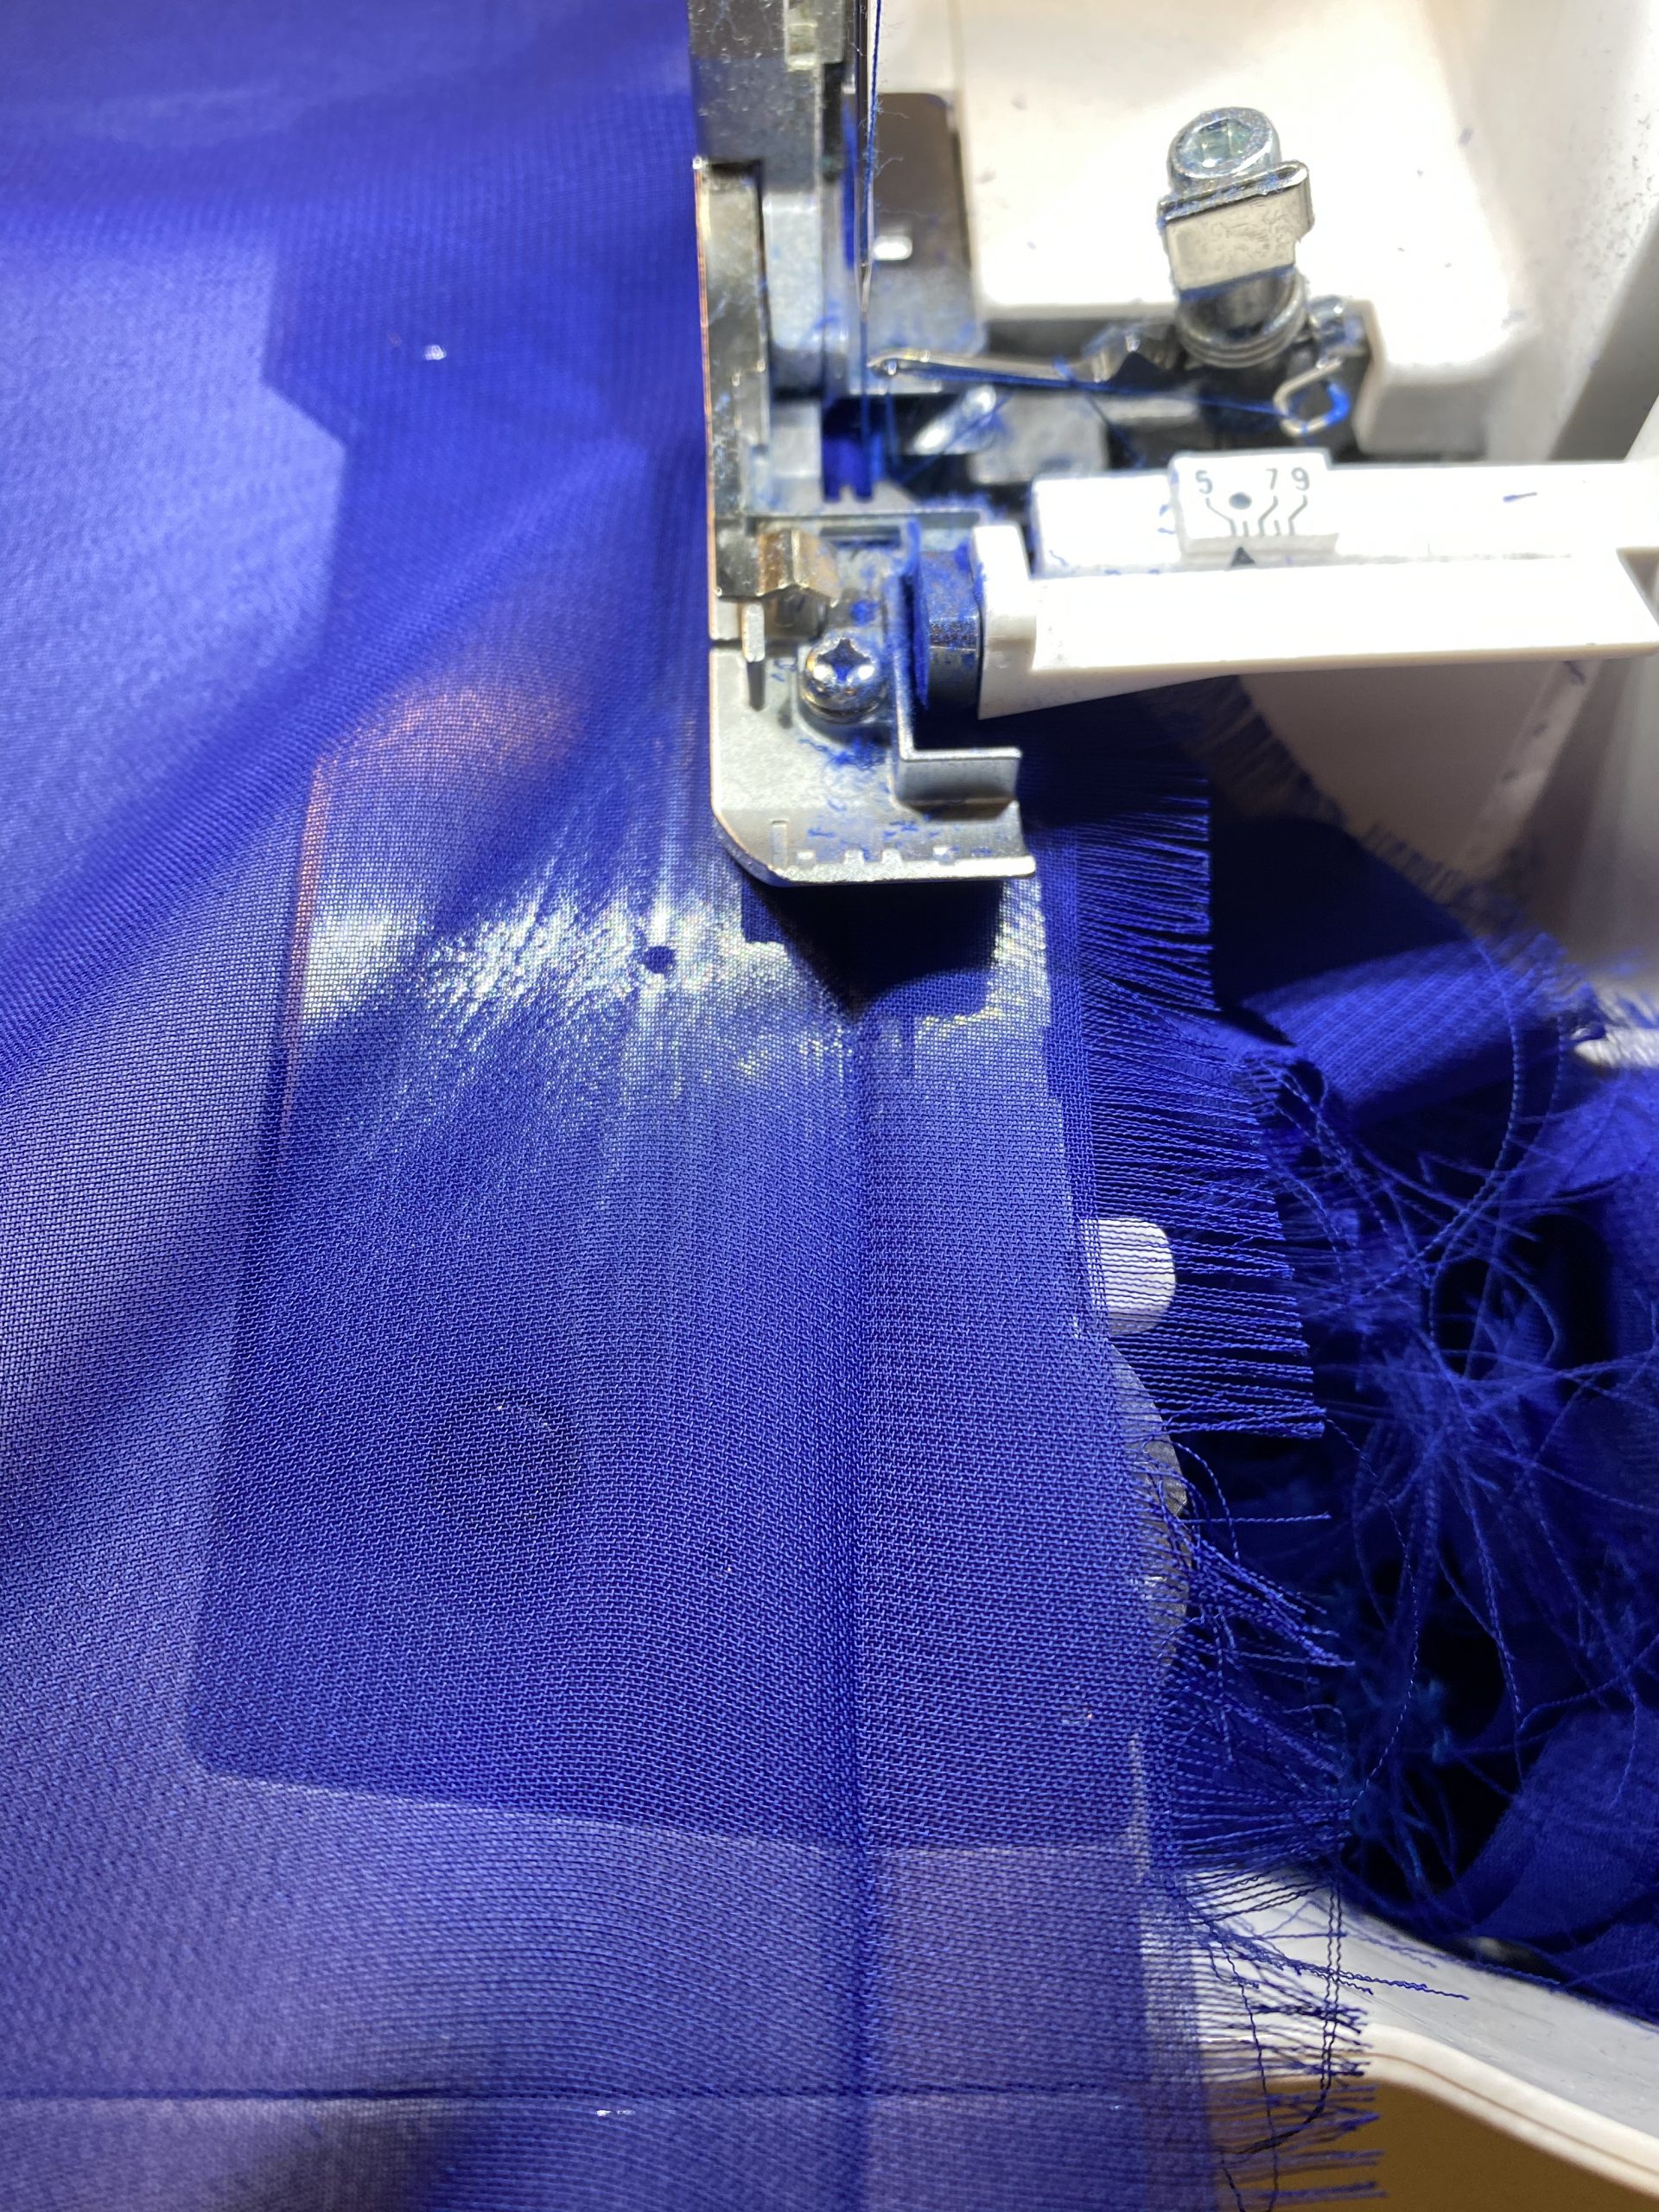
Even though I handled the fabric as little as possible it frayed badly. The rolled hem is a feature that comes with my serger. Check your serger instructions to correctly roll your seams.
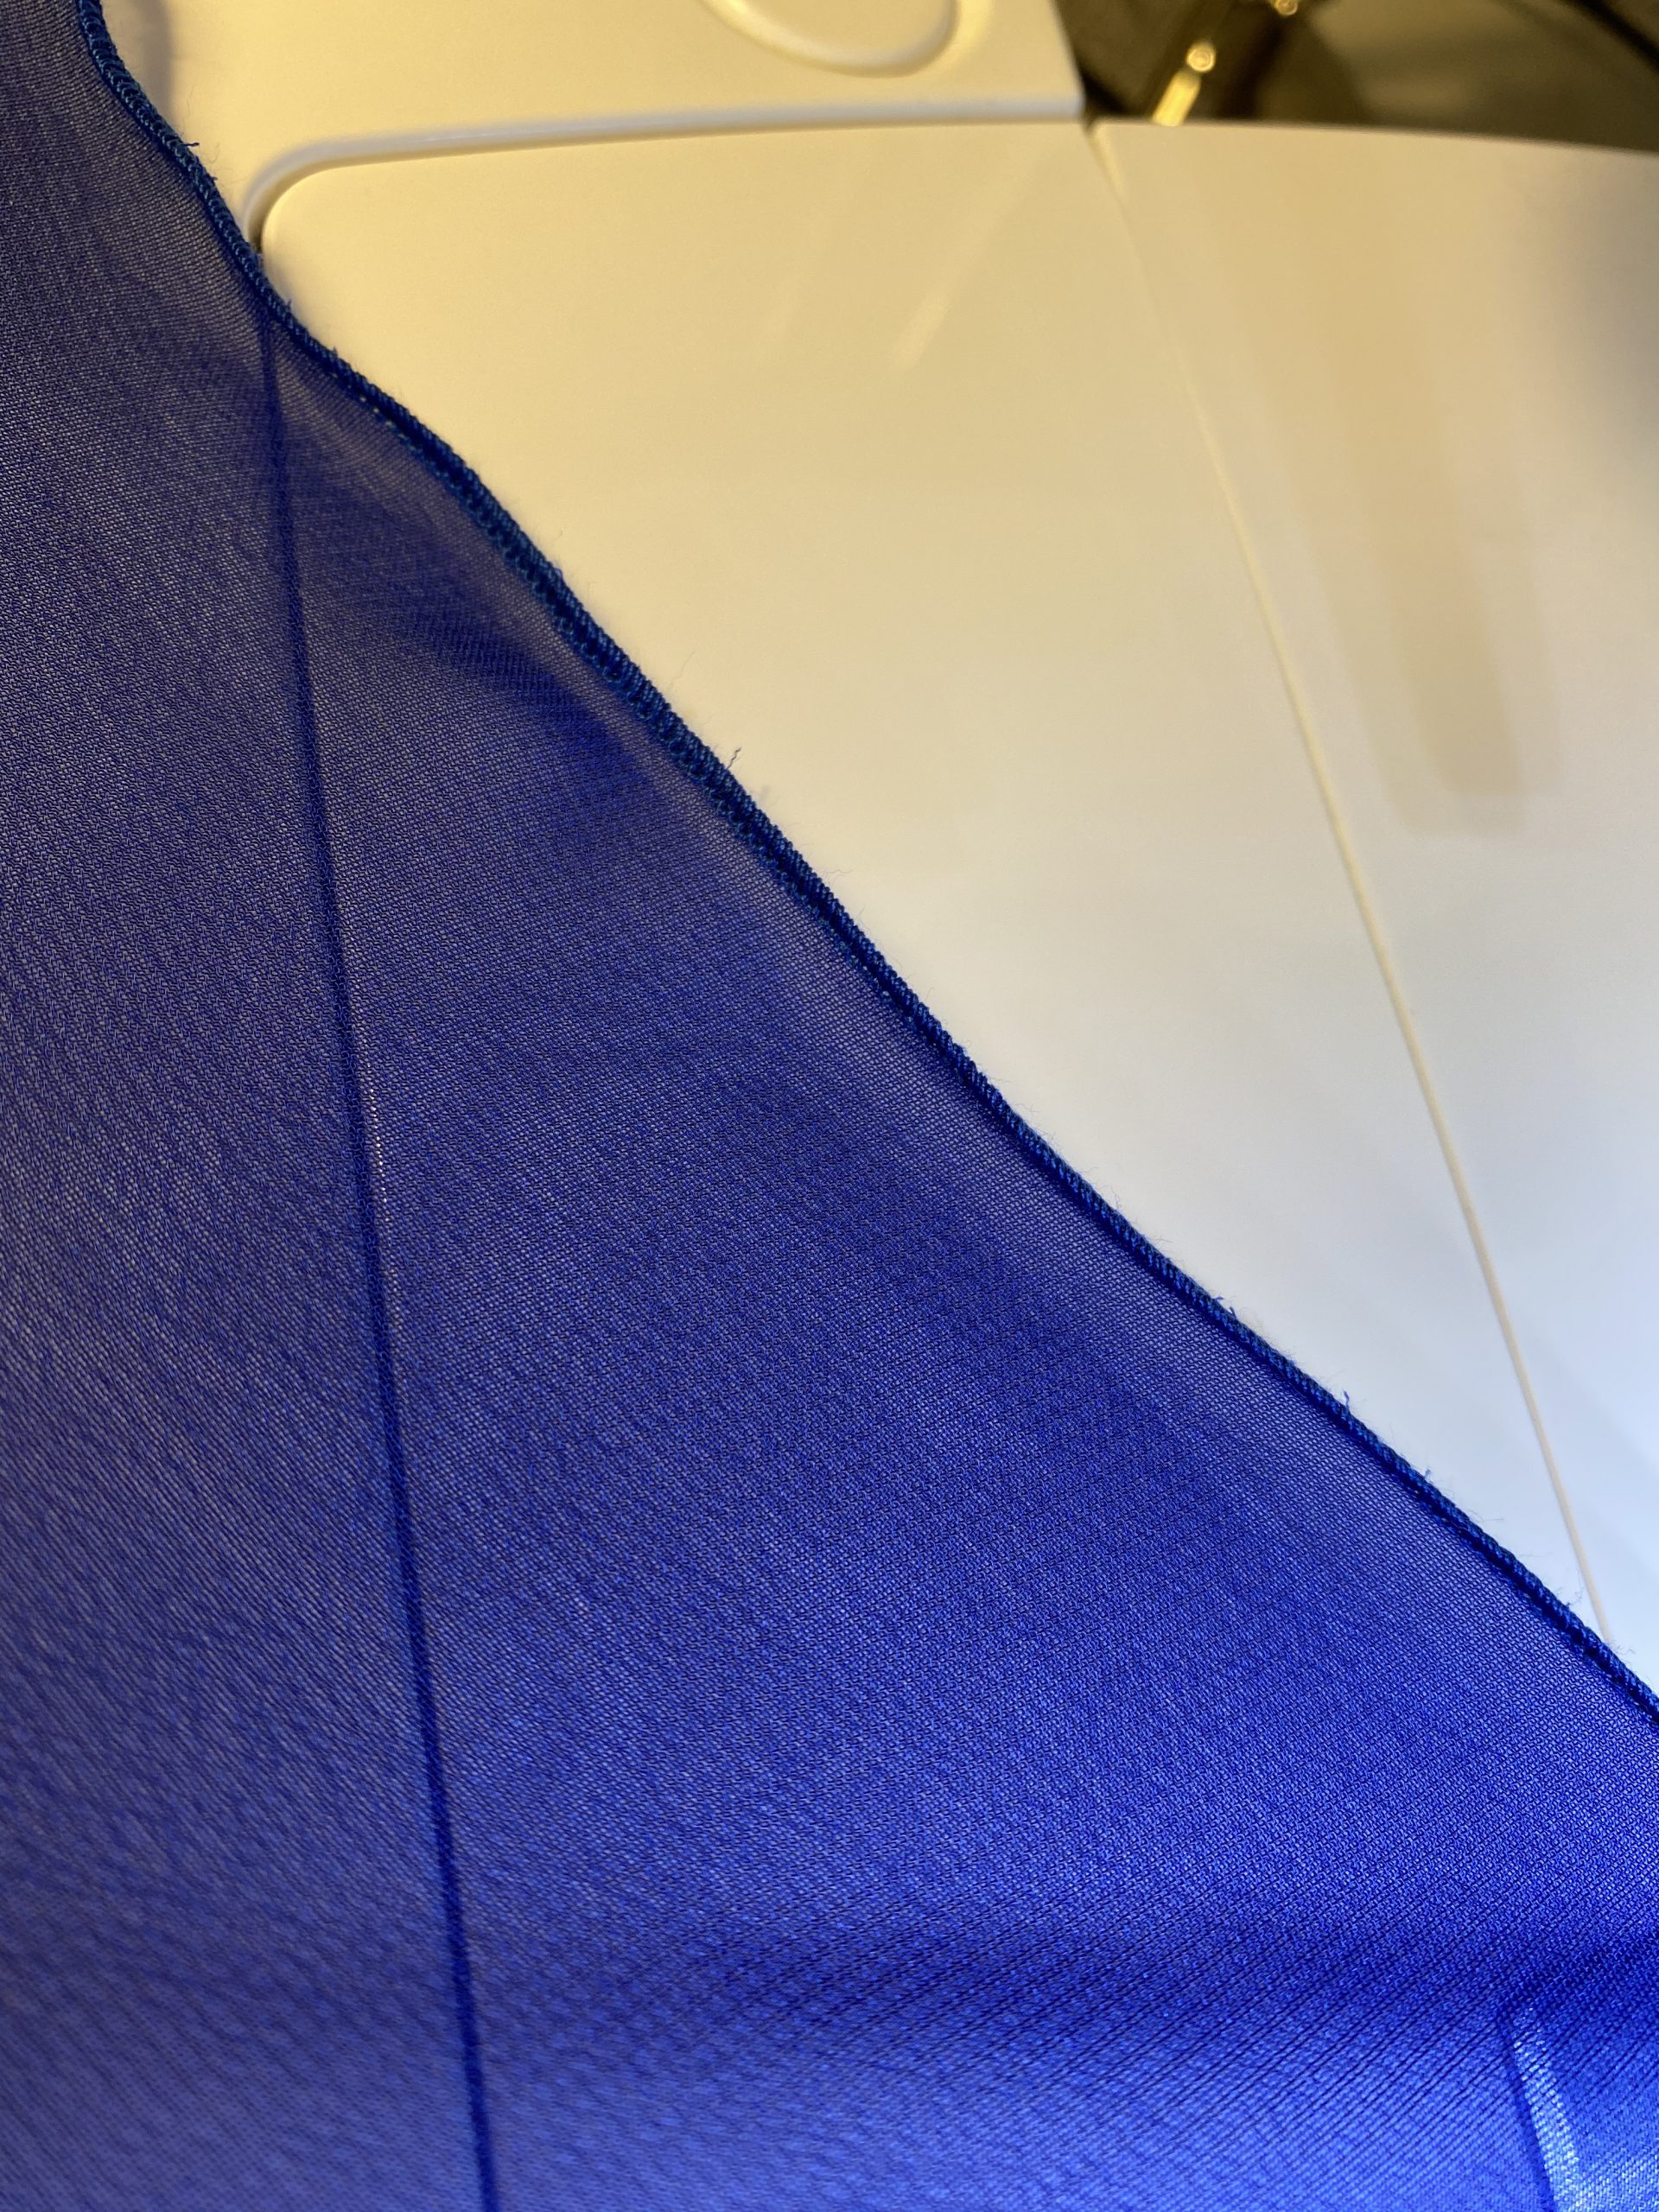
Looks nice, right?
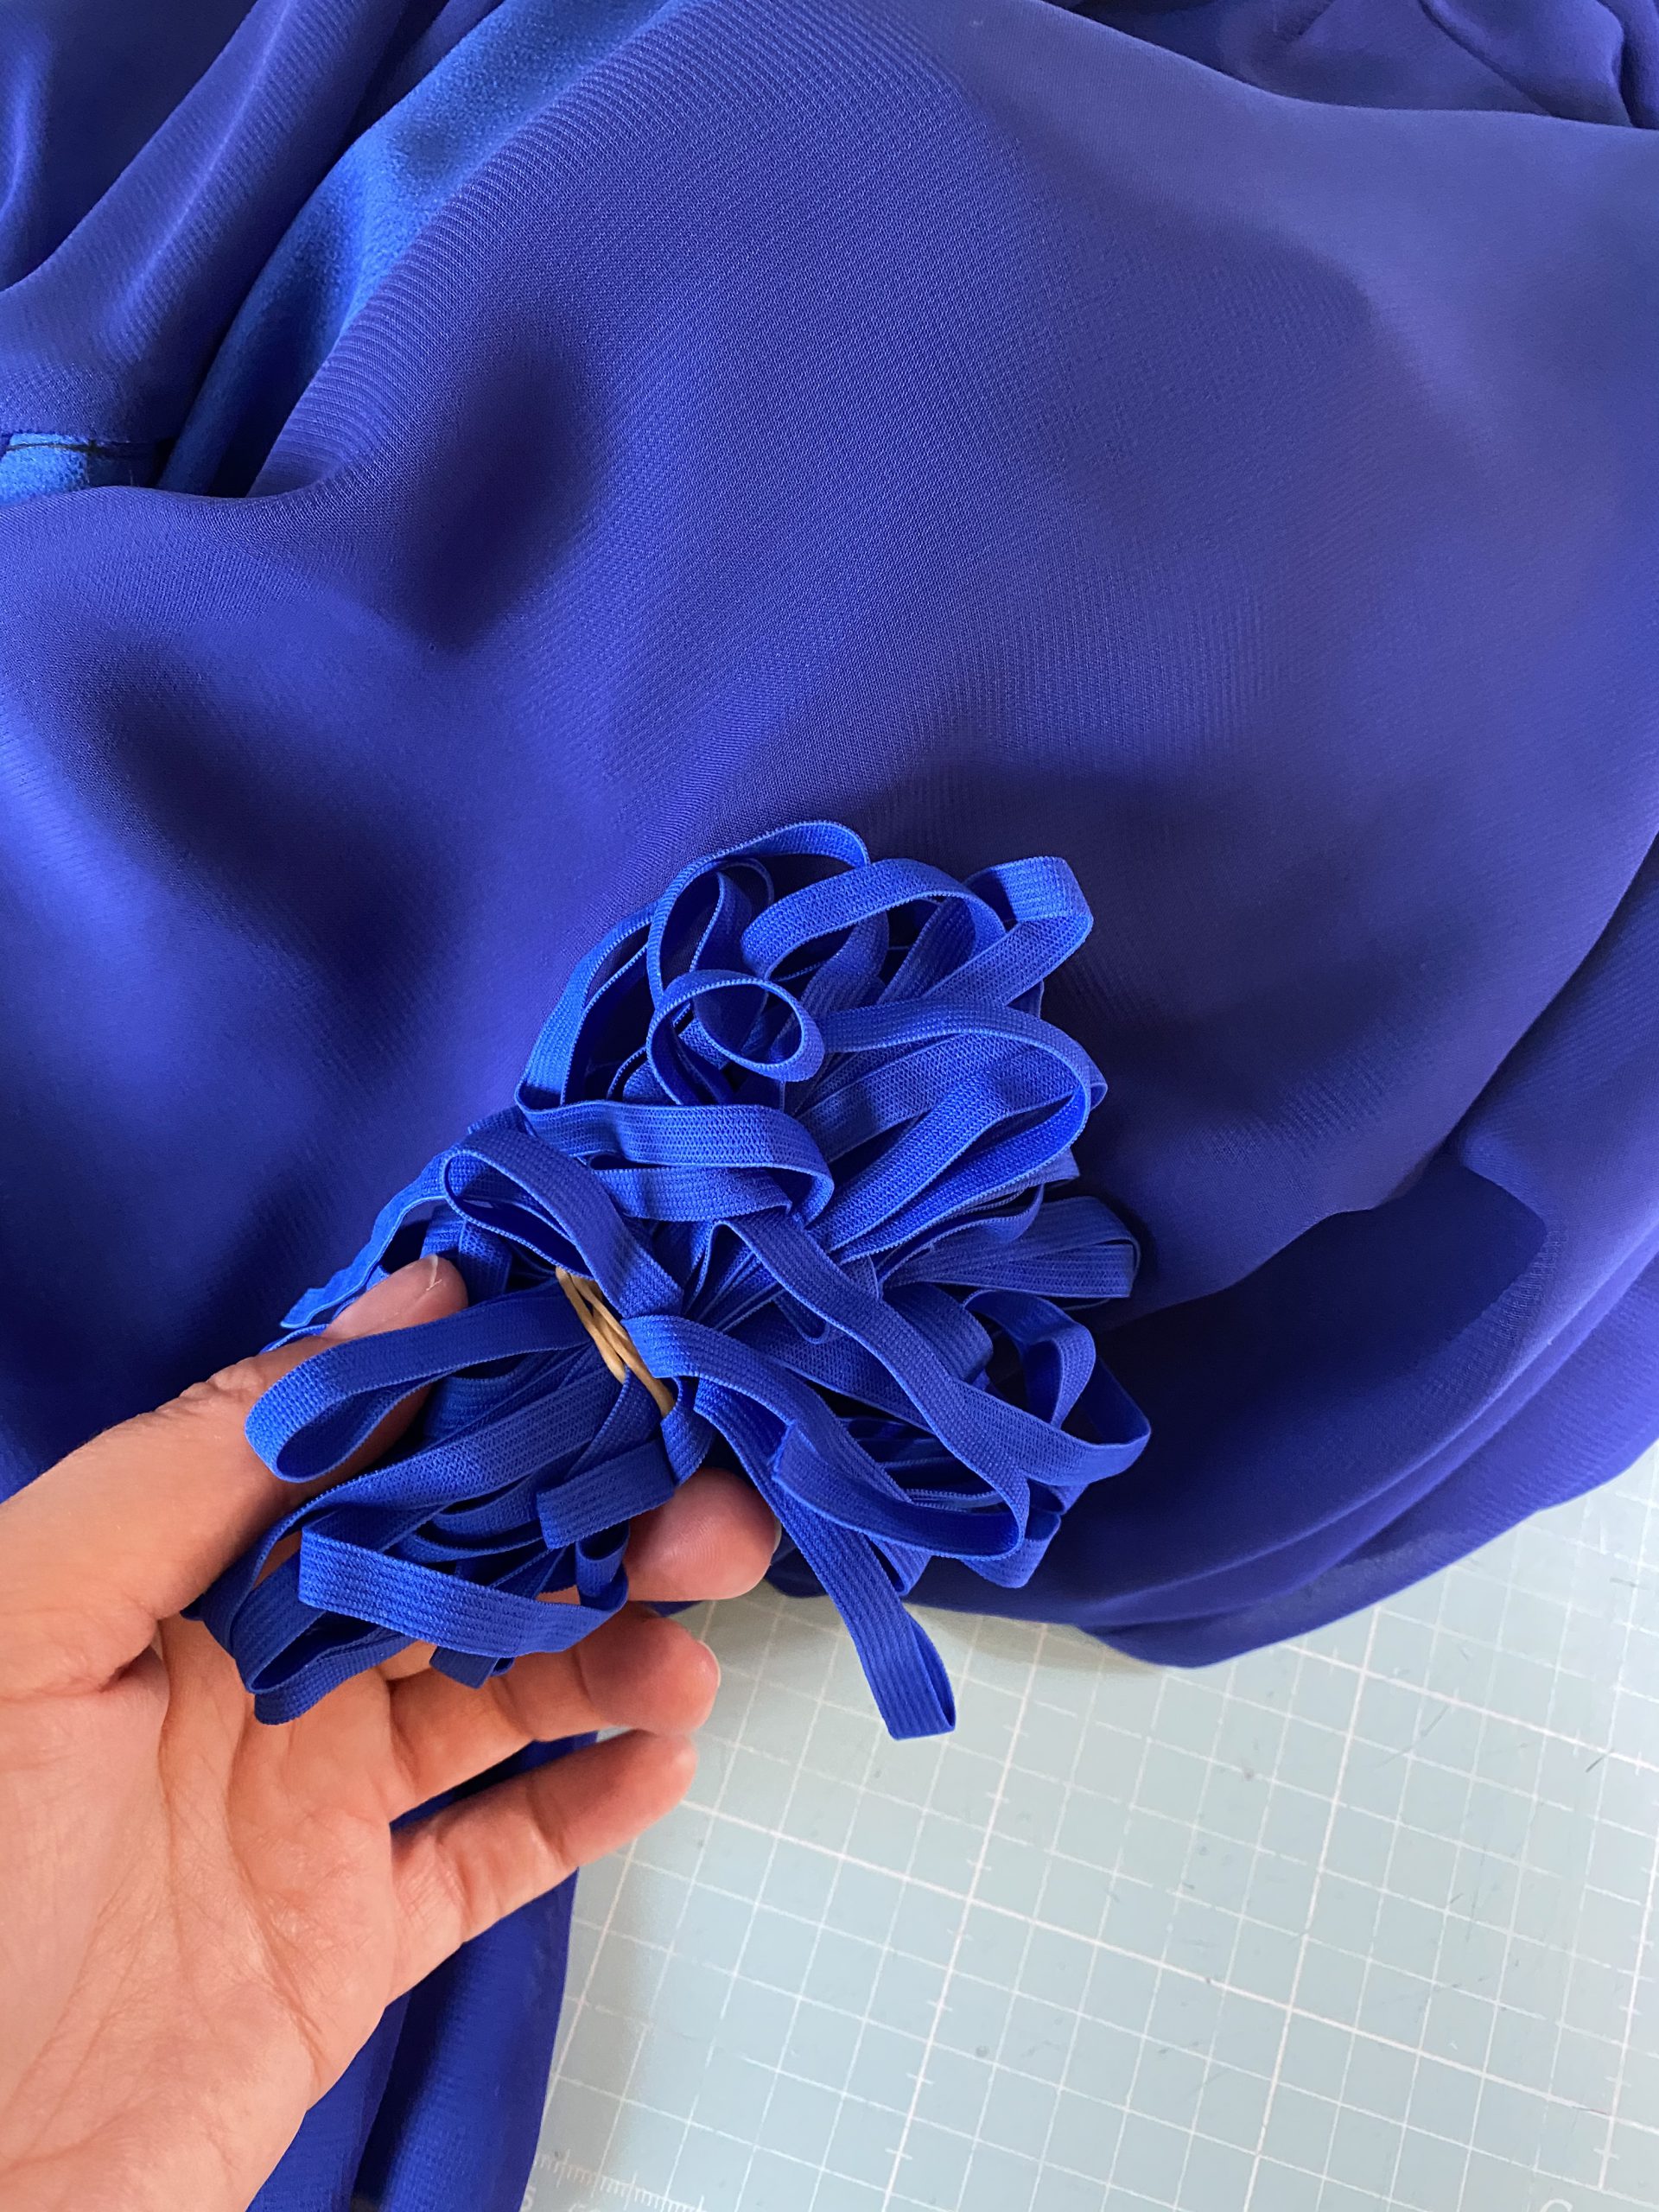
Luckily I had just the right kind of elastic that matched my fabric to finish the sleeves.
Just sew a simple tunnel to insert the elastic.
Insert the zipper and you’re done!


0 Responses