 BERNINA Corporate Blog -
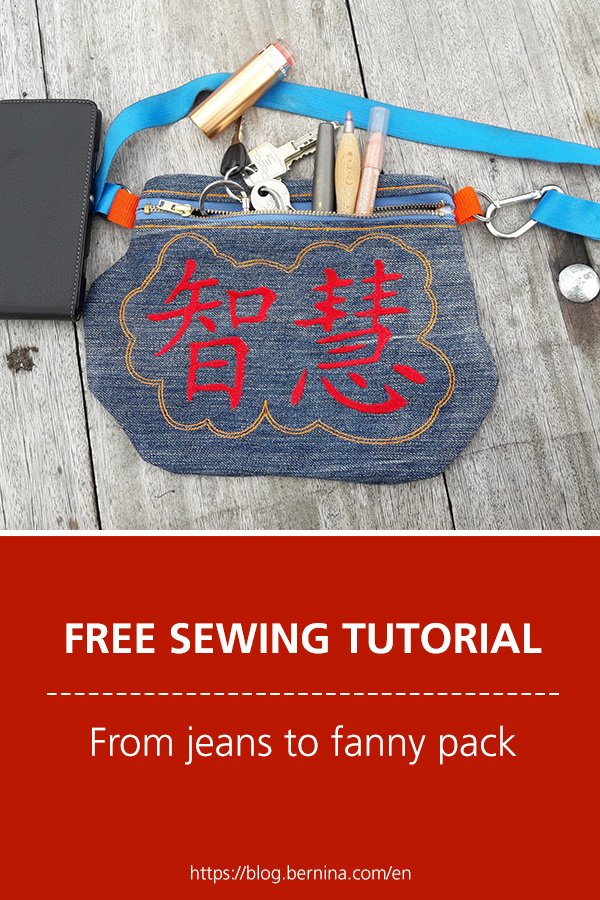
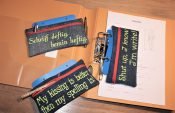
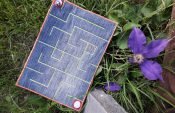
I had a jeans, ready to be recycled. At first I made a coloured bag and a marble labyrinth out of it. I wrote about it in a former blogposts. Today’s project is an ‘in the hoop’ project: Redesign in no time: from jeans to fanny pack.on the embroidery machine BERNINA 700. The Chinese sign Wisdom is an eye catcher.
What do I need to redesign from jeans to fanny pack?
- An old jeans (1 rectangle minimum 30 cm x 19 cm, 1 patch 30 x 5 cm en 1 patchvan 30 x 19 cm.)
- A zipper 19 cm long (the metal part) and 2,6 cm wide
- Mettler Poly Sheen embroidery thread
- 2 keyholder rings
- A carabiner hook
- 2 x 6 cm coloured tape
- Tape or ribbon for the waistbelt
- The embroidery file (available in EXP and PES) Purse Chinese sign Wisdom 21 x 28 cm
- Mettler Web Bond temporary adhesive spray is useful.
- Cut away stabiliser
- Maxi hoop

Let’s start.
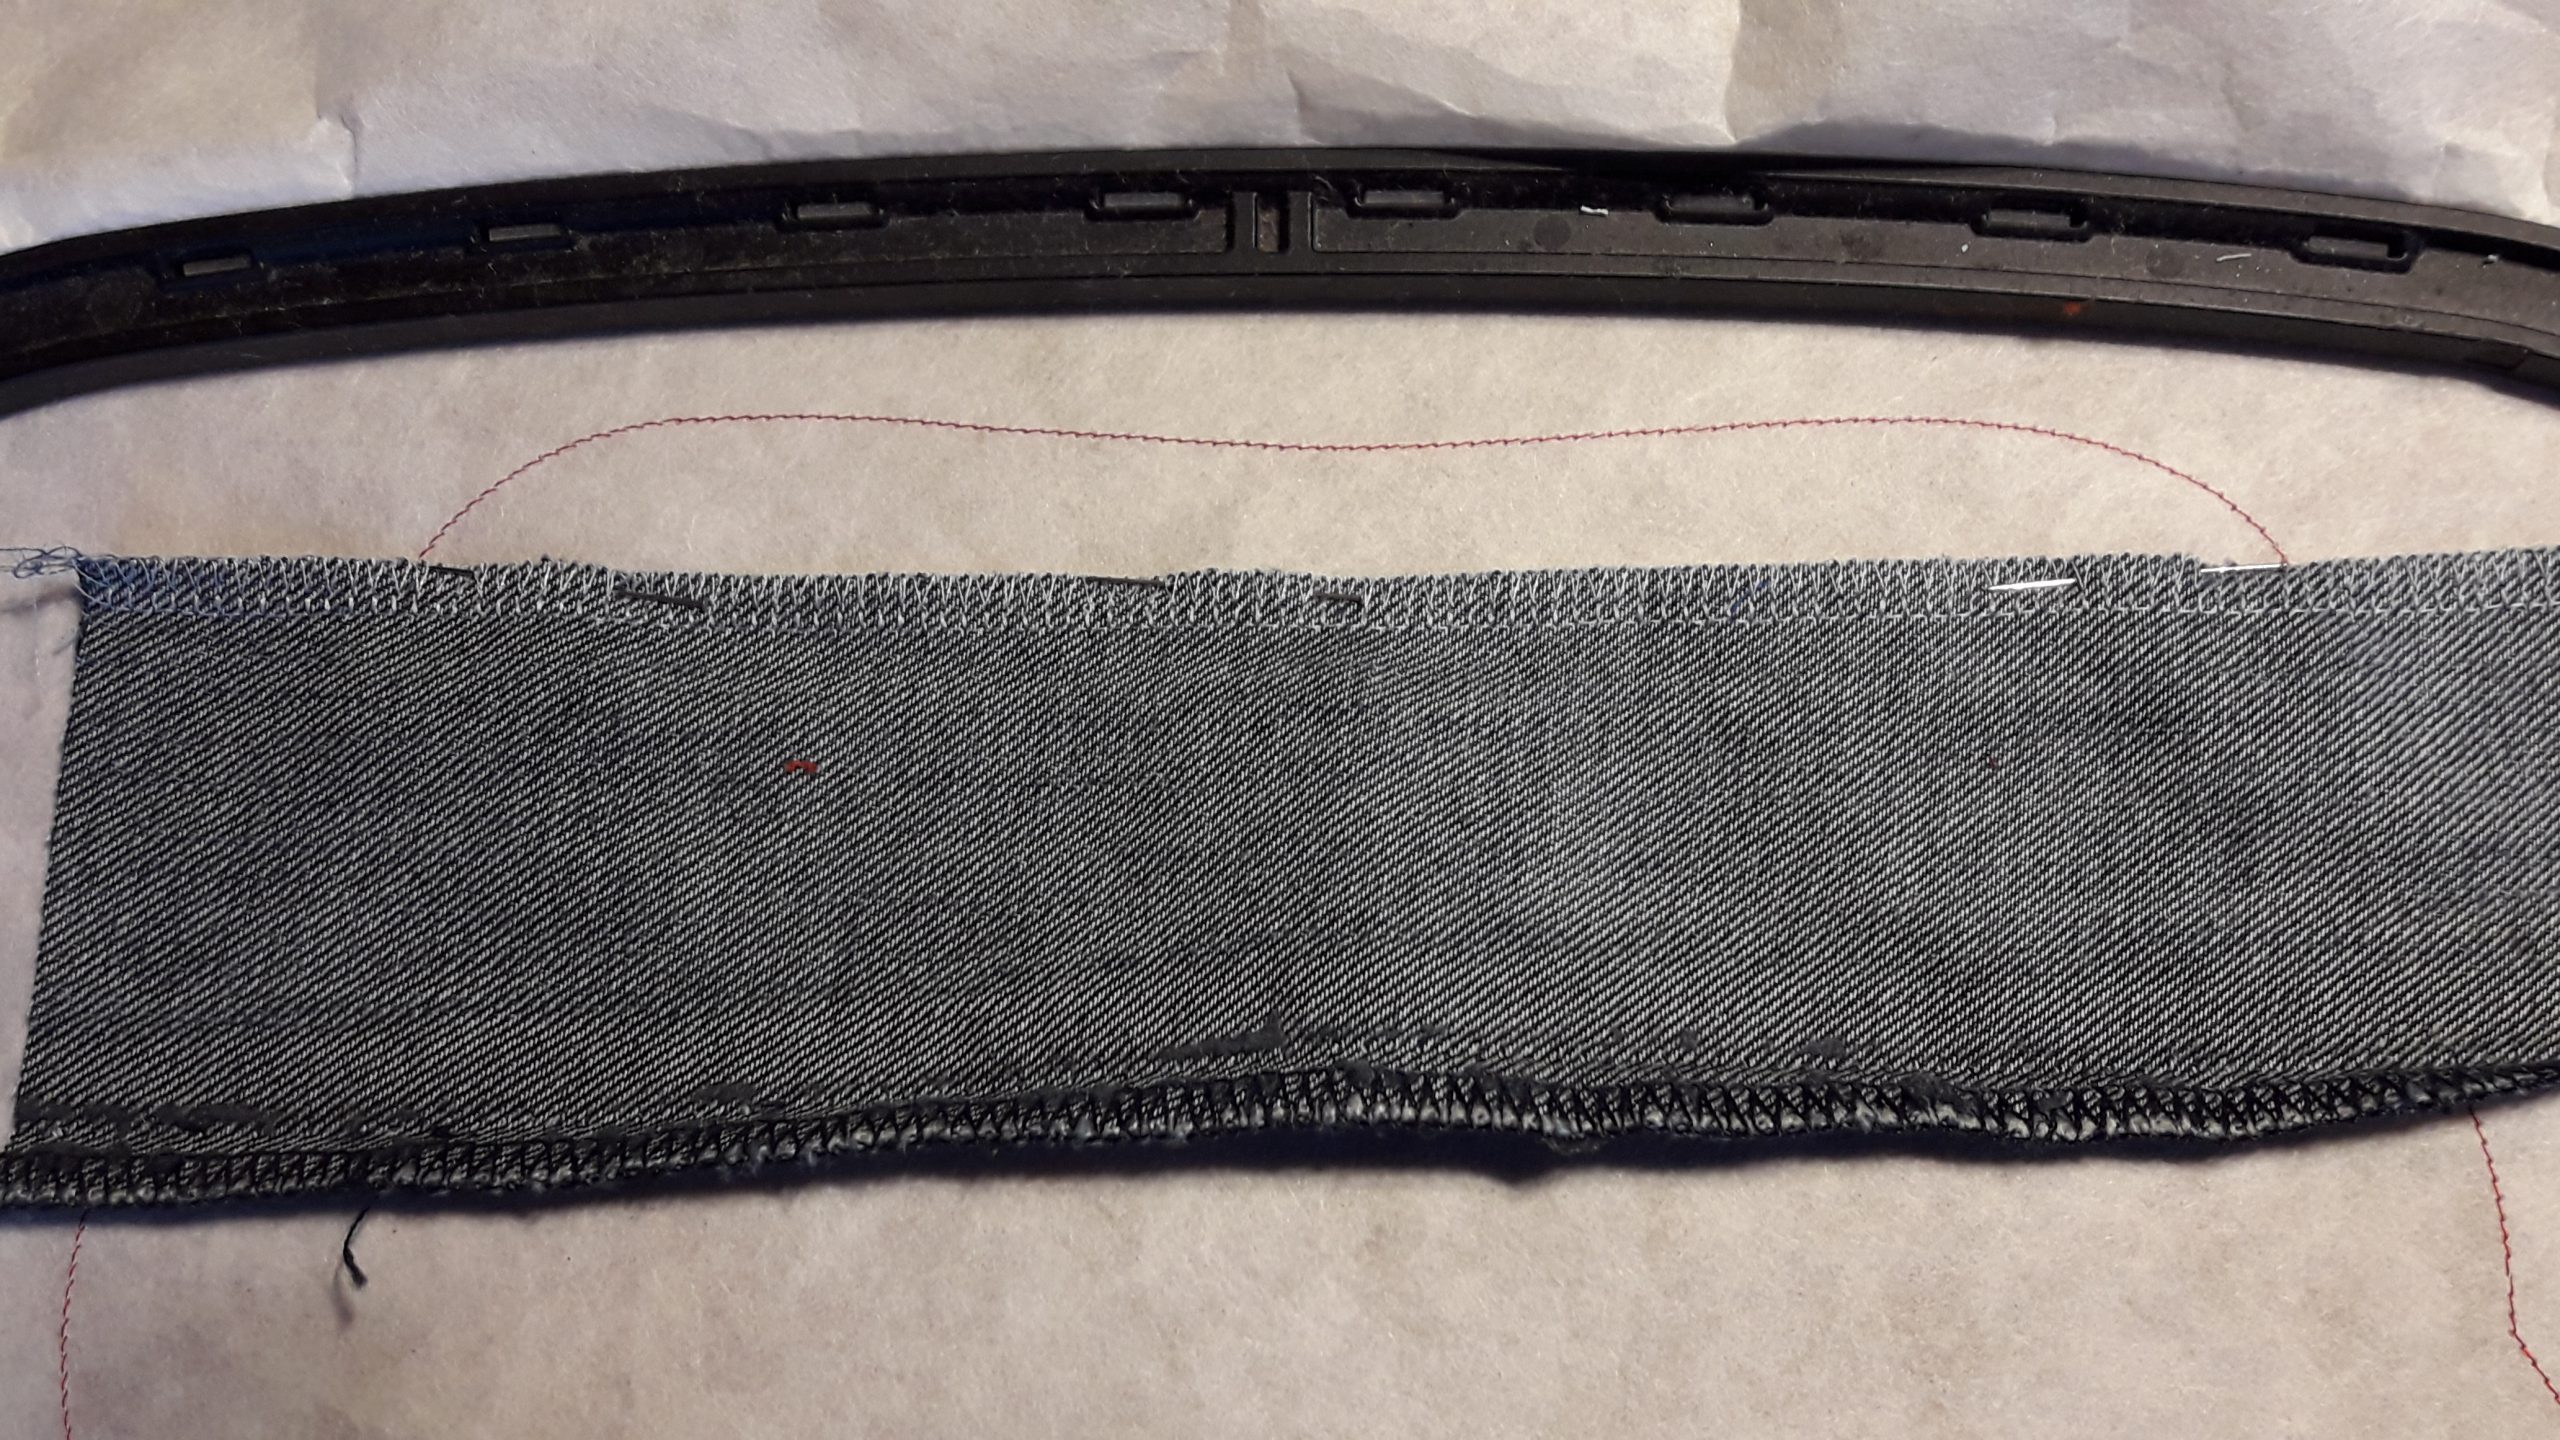
Overlock one 30 cm side of the 2 smaller rectangles
Hoop the cut away stabilizer.
Embroider the first step: the outline for the bag and the position of the zipper.
In the zipper line, you can find 2 signs that help you position the zipper. Take care to keep the metal parts of the zipper within these lines.
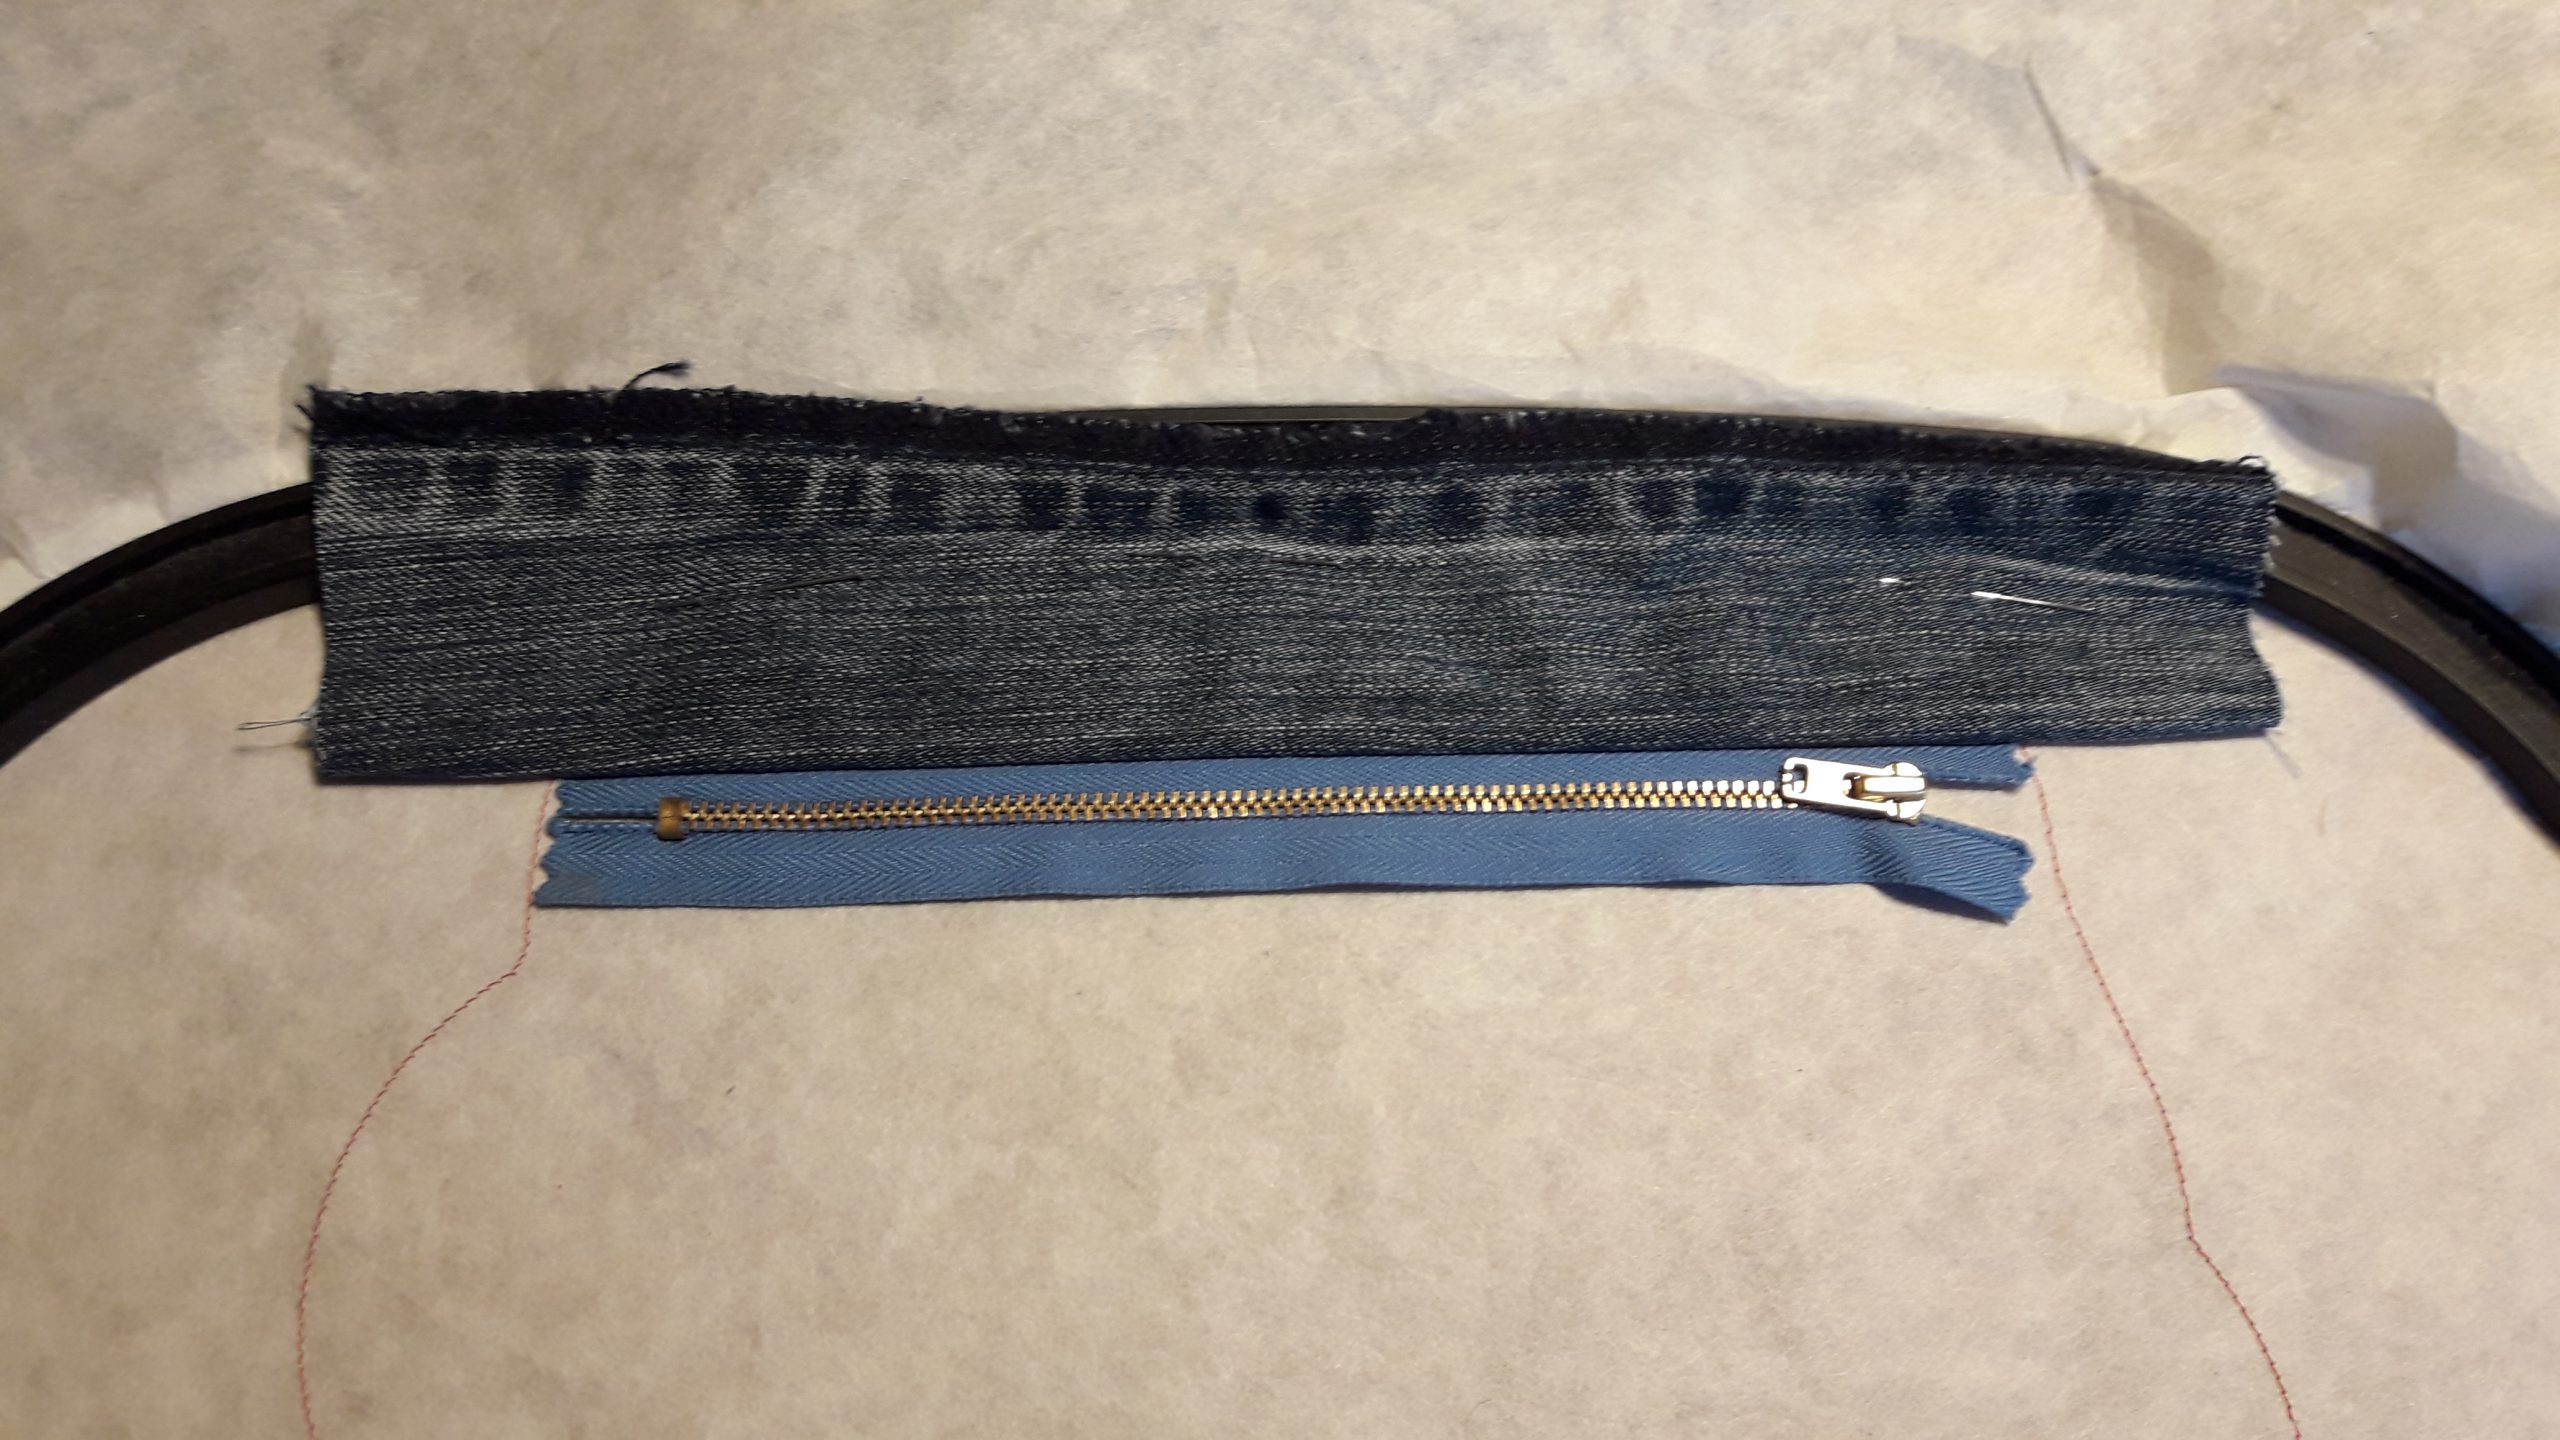
 Position the zipper with the zipper puller on the right side.
 The zipper is stitched in 2 lines (starts right). It helps you to move the puller and helps you prevent curved lines.
Put the smallest part on the zipper, right side down and pin it in the way you see in this picture:
 Stitch the next line, it fixes the fabric to the zipper.
Fold the rectangle over (don’t forget to take away the pins). Pin it to the stabilizer (away from the outline).
 Repeat this step for the next line. Temporary adhesive spray can be useful.
The next embroidery line is a topstitching on both sides of the zipper.
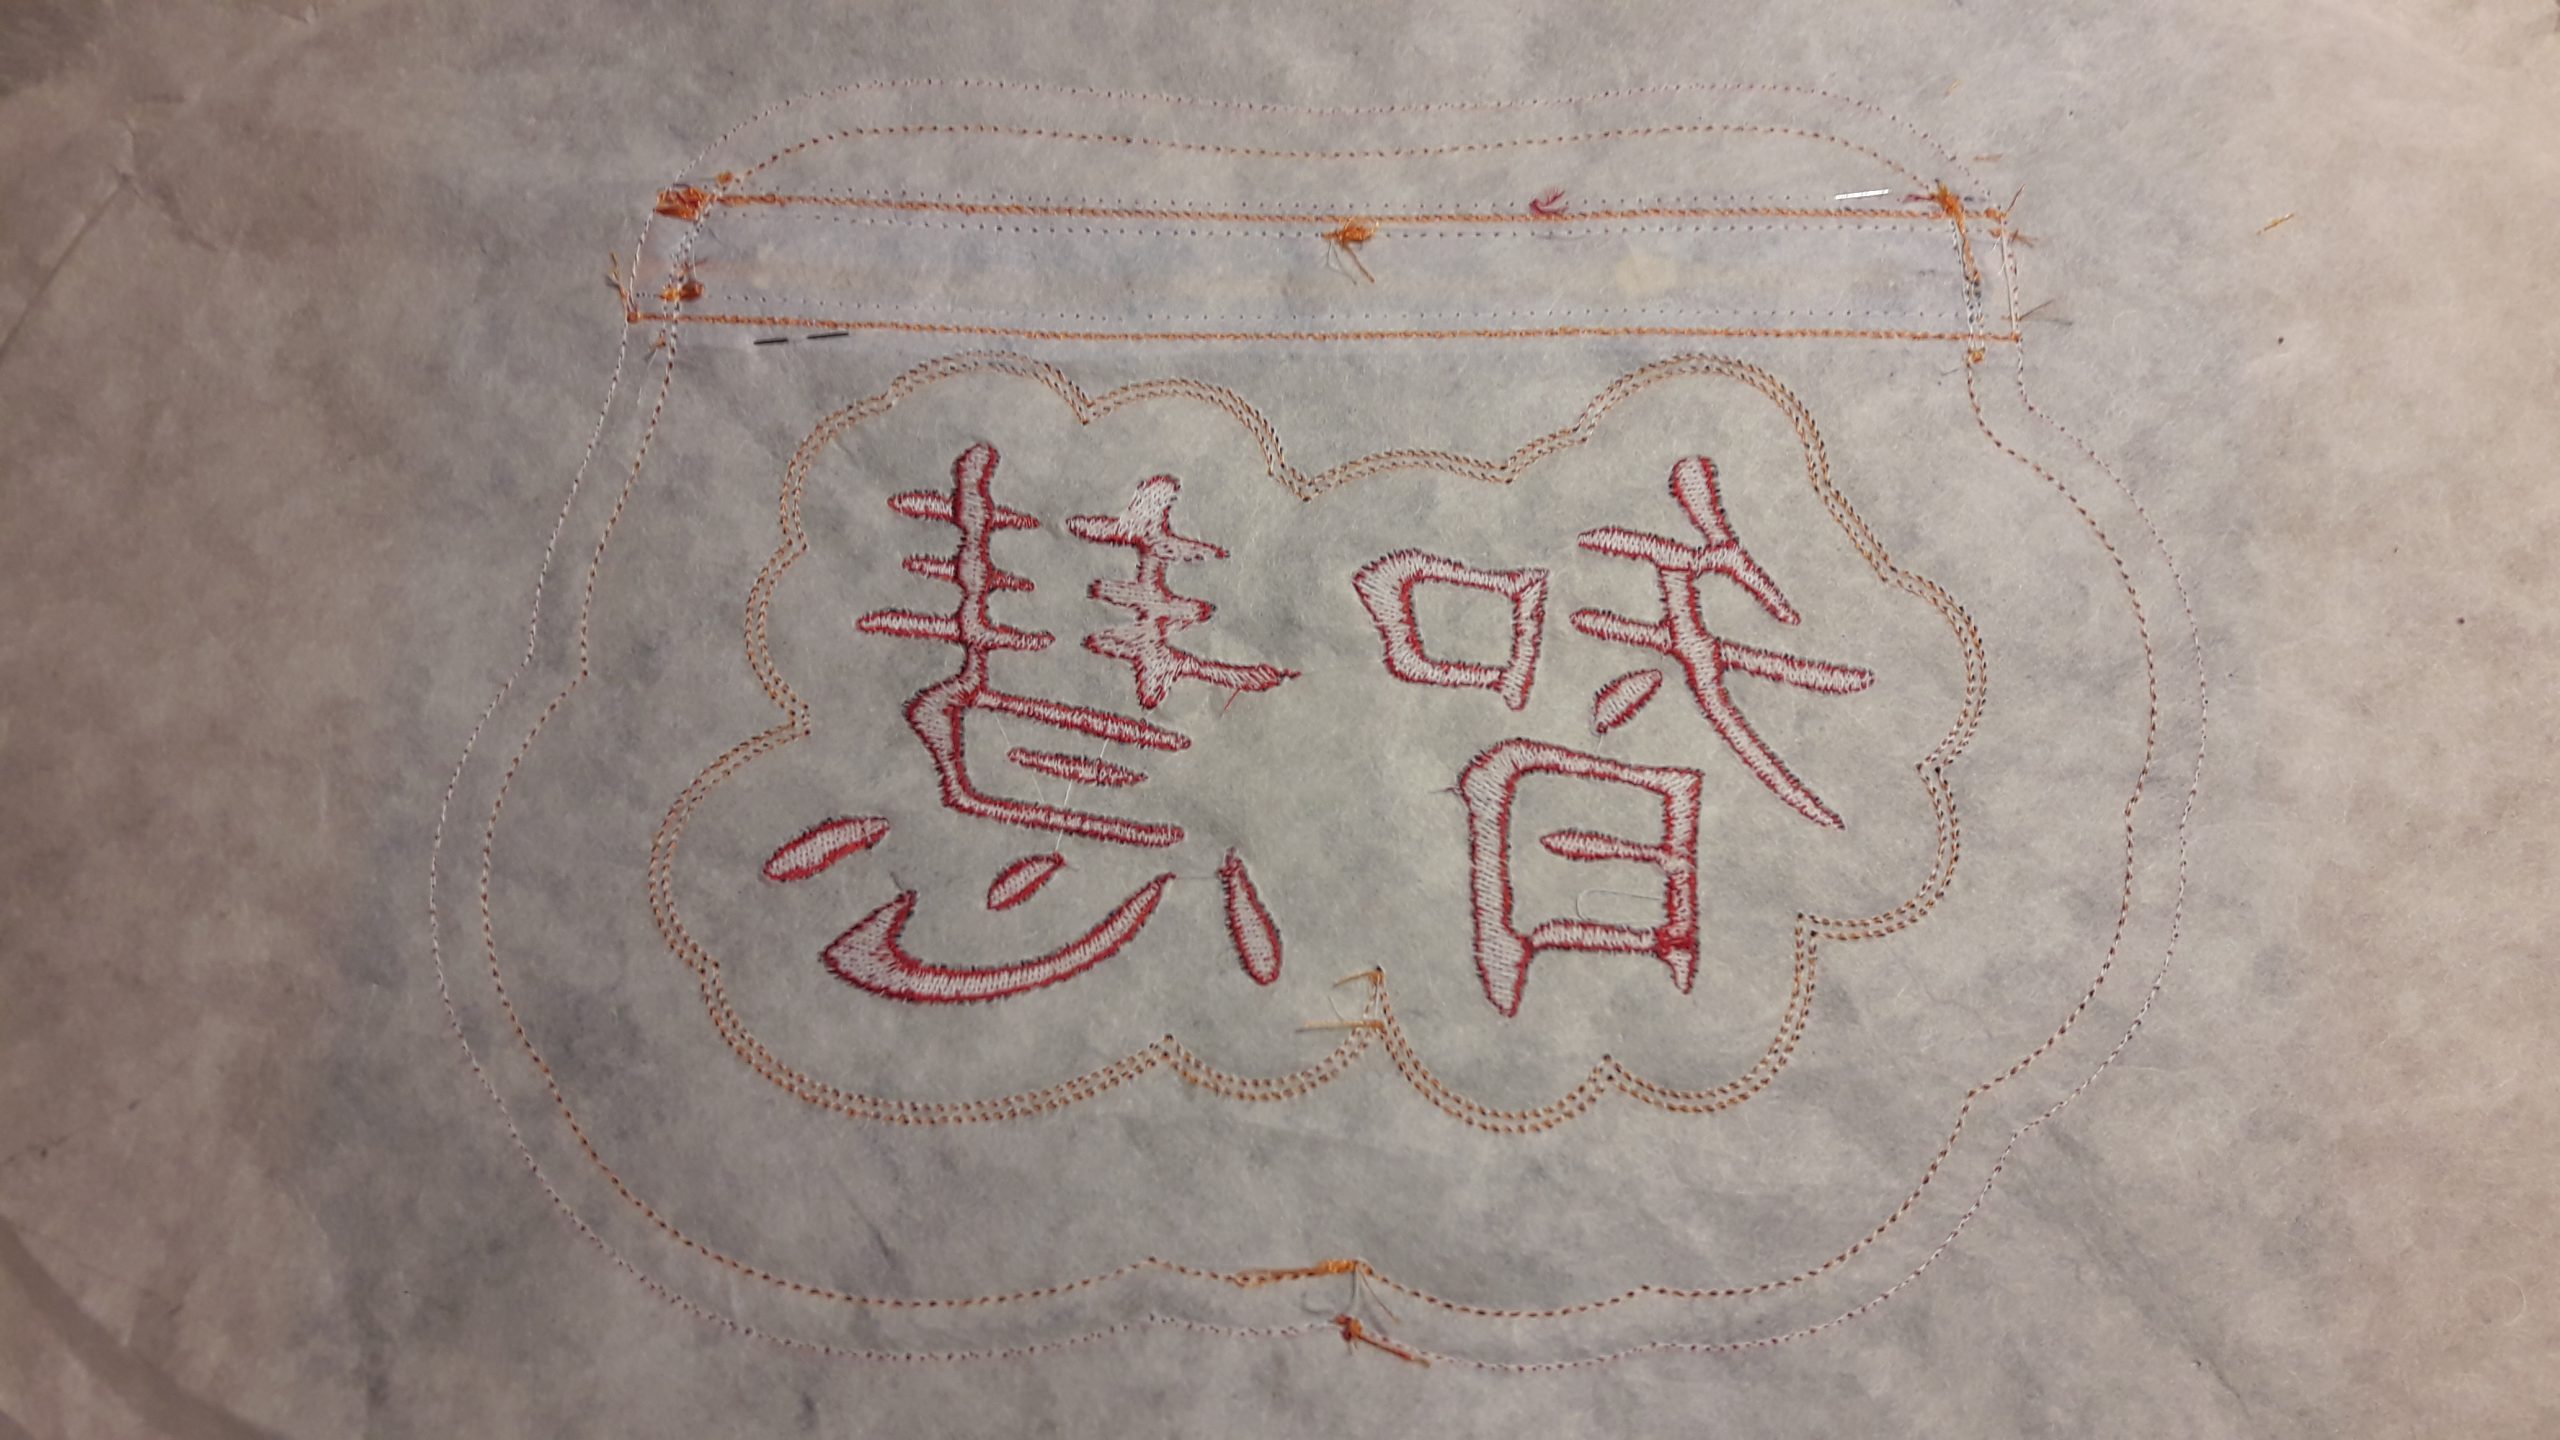
Now you will embroider a complete outline, it prevents the fabric from curling over.
Next is the chinese sign, with double outline.
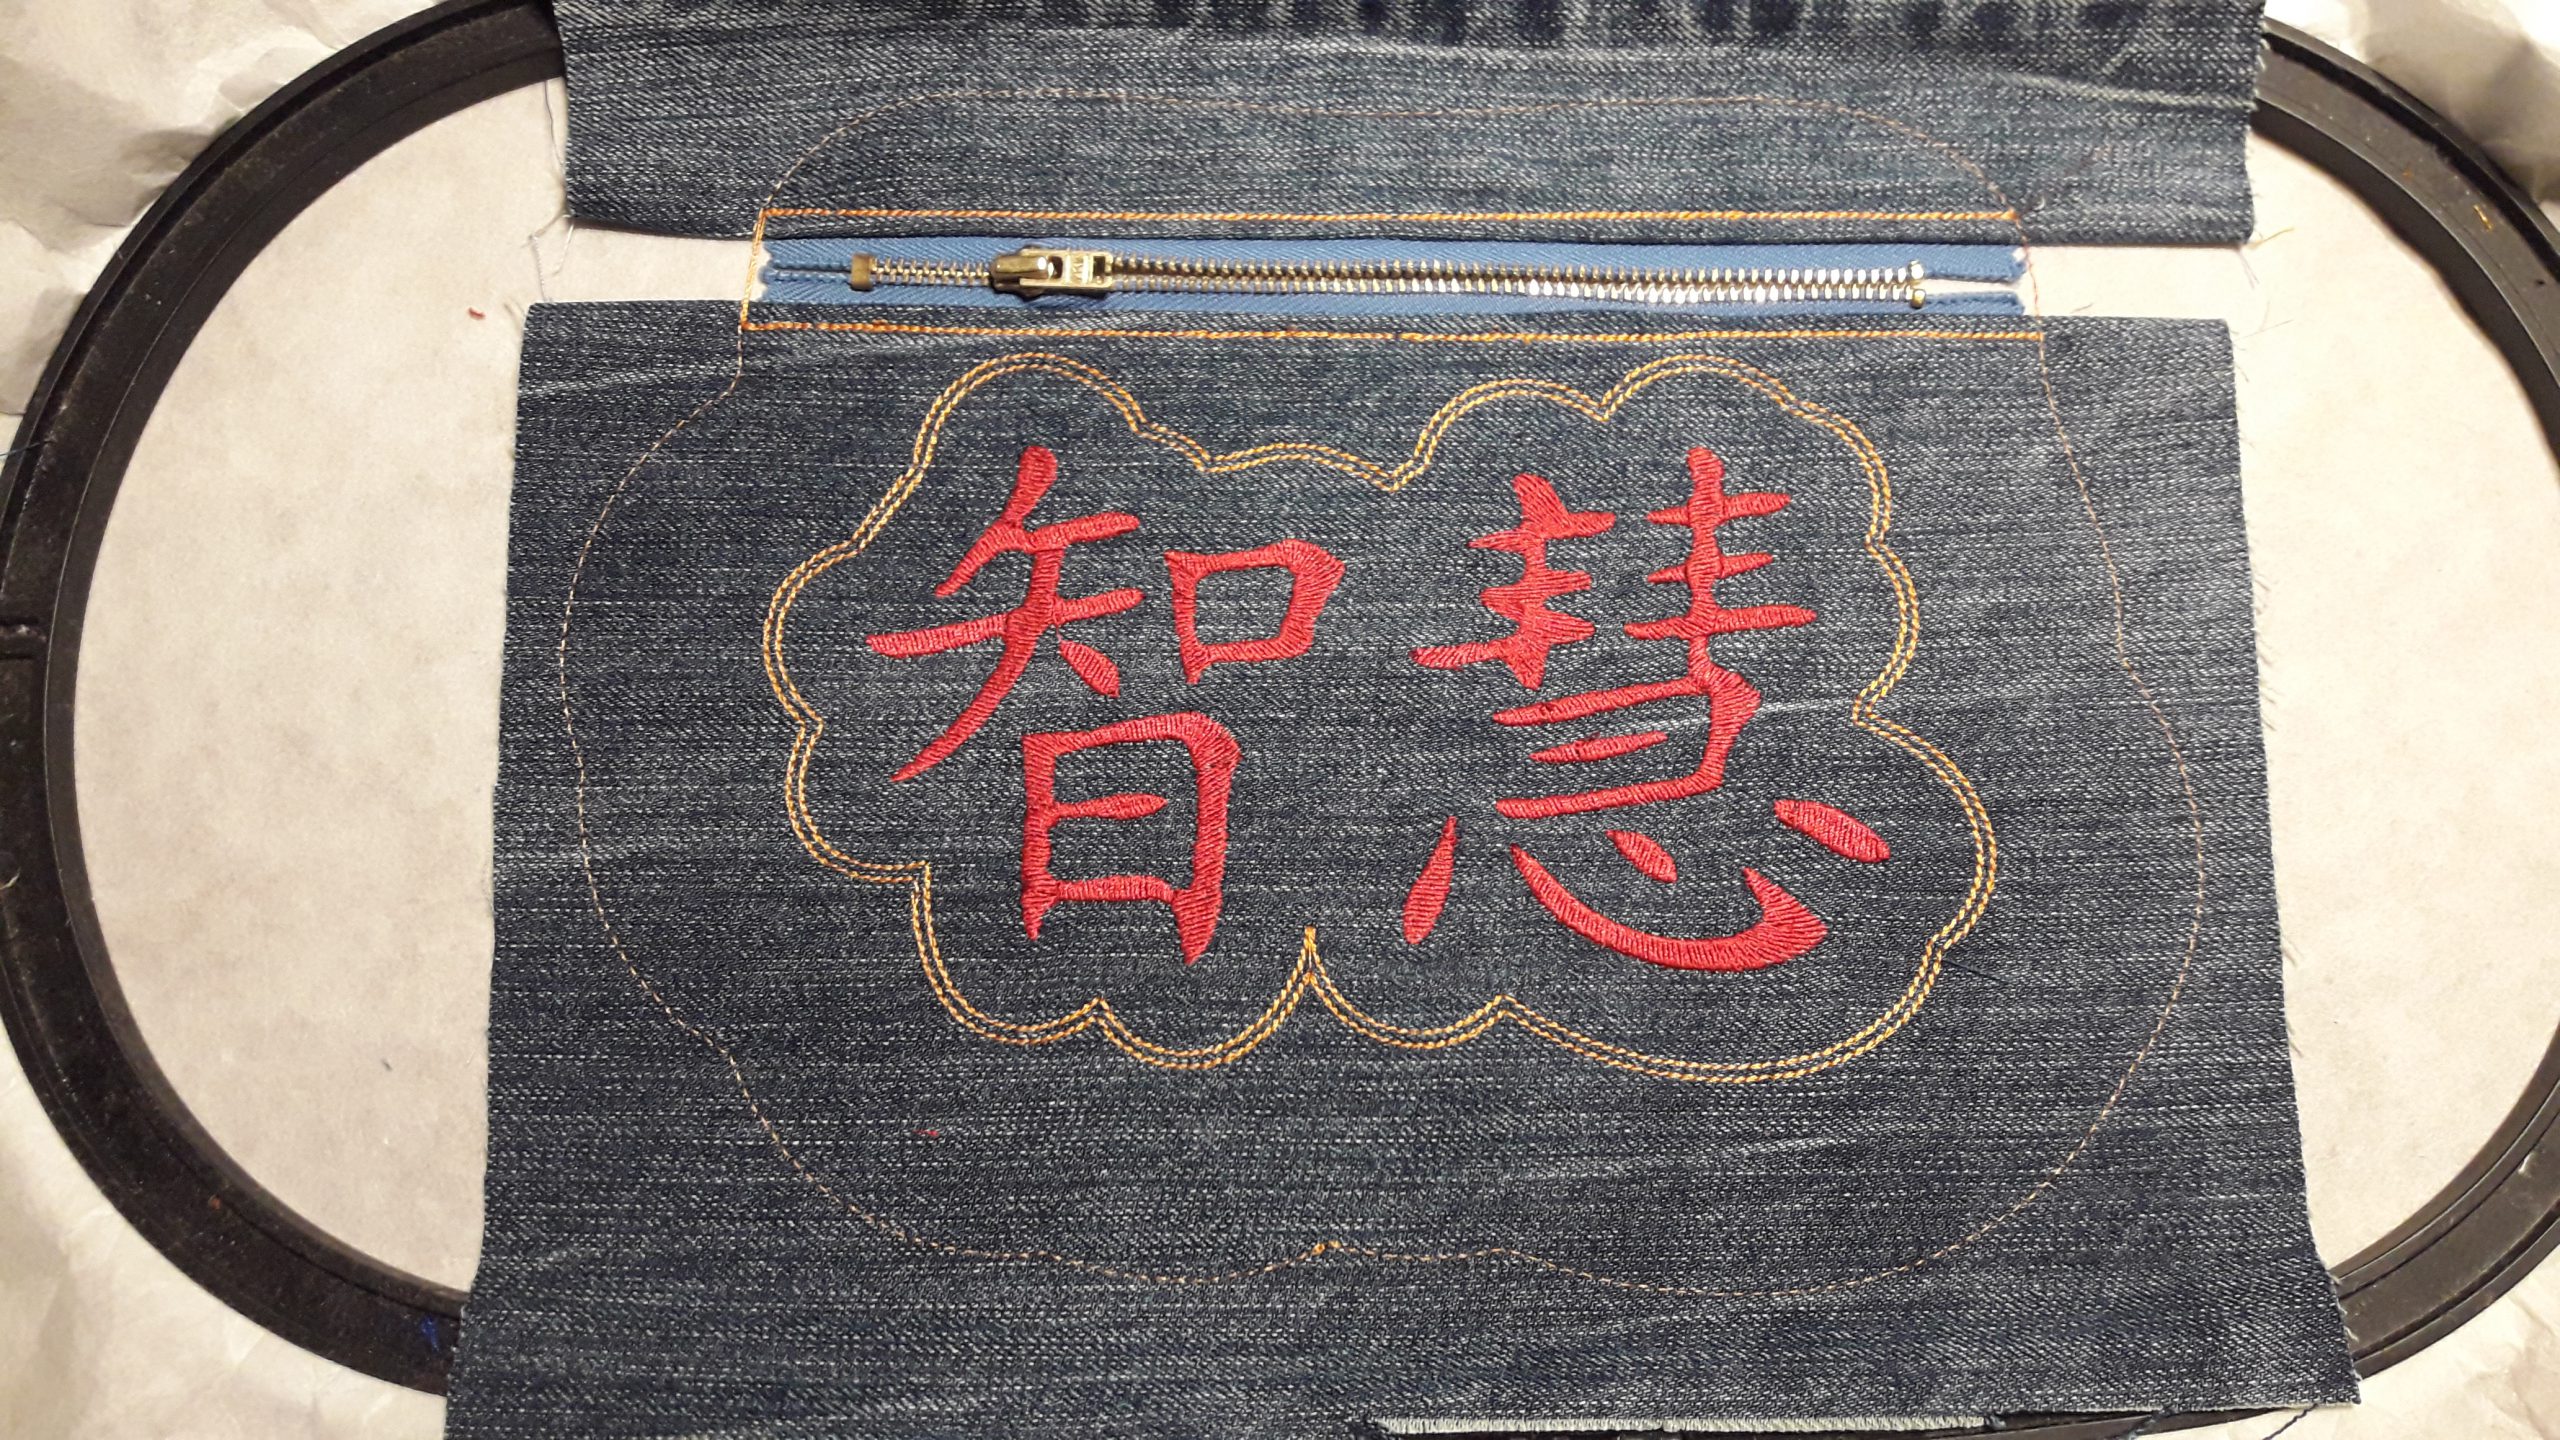
The fanny pack’s outline follows the shape of the chinese sign.
Add the back:
Open the zipper for partially, be sure to leave some cm open at the end (see picture).
Pin both short tape parts at both sides of the zipper and attach with the next embroidery step.

Don’t forget to open the zipper.
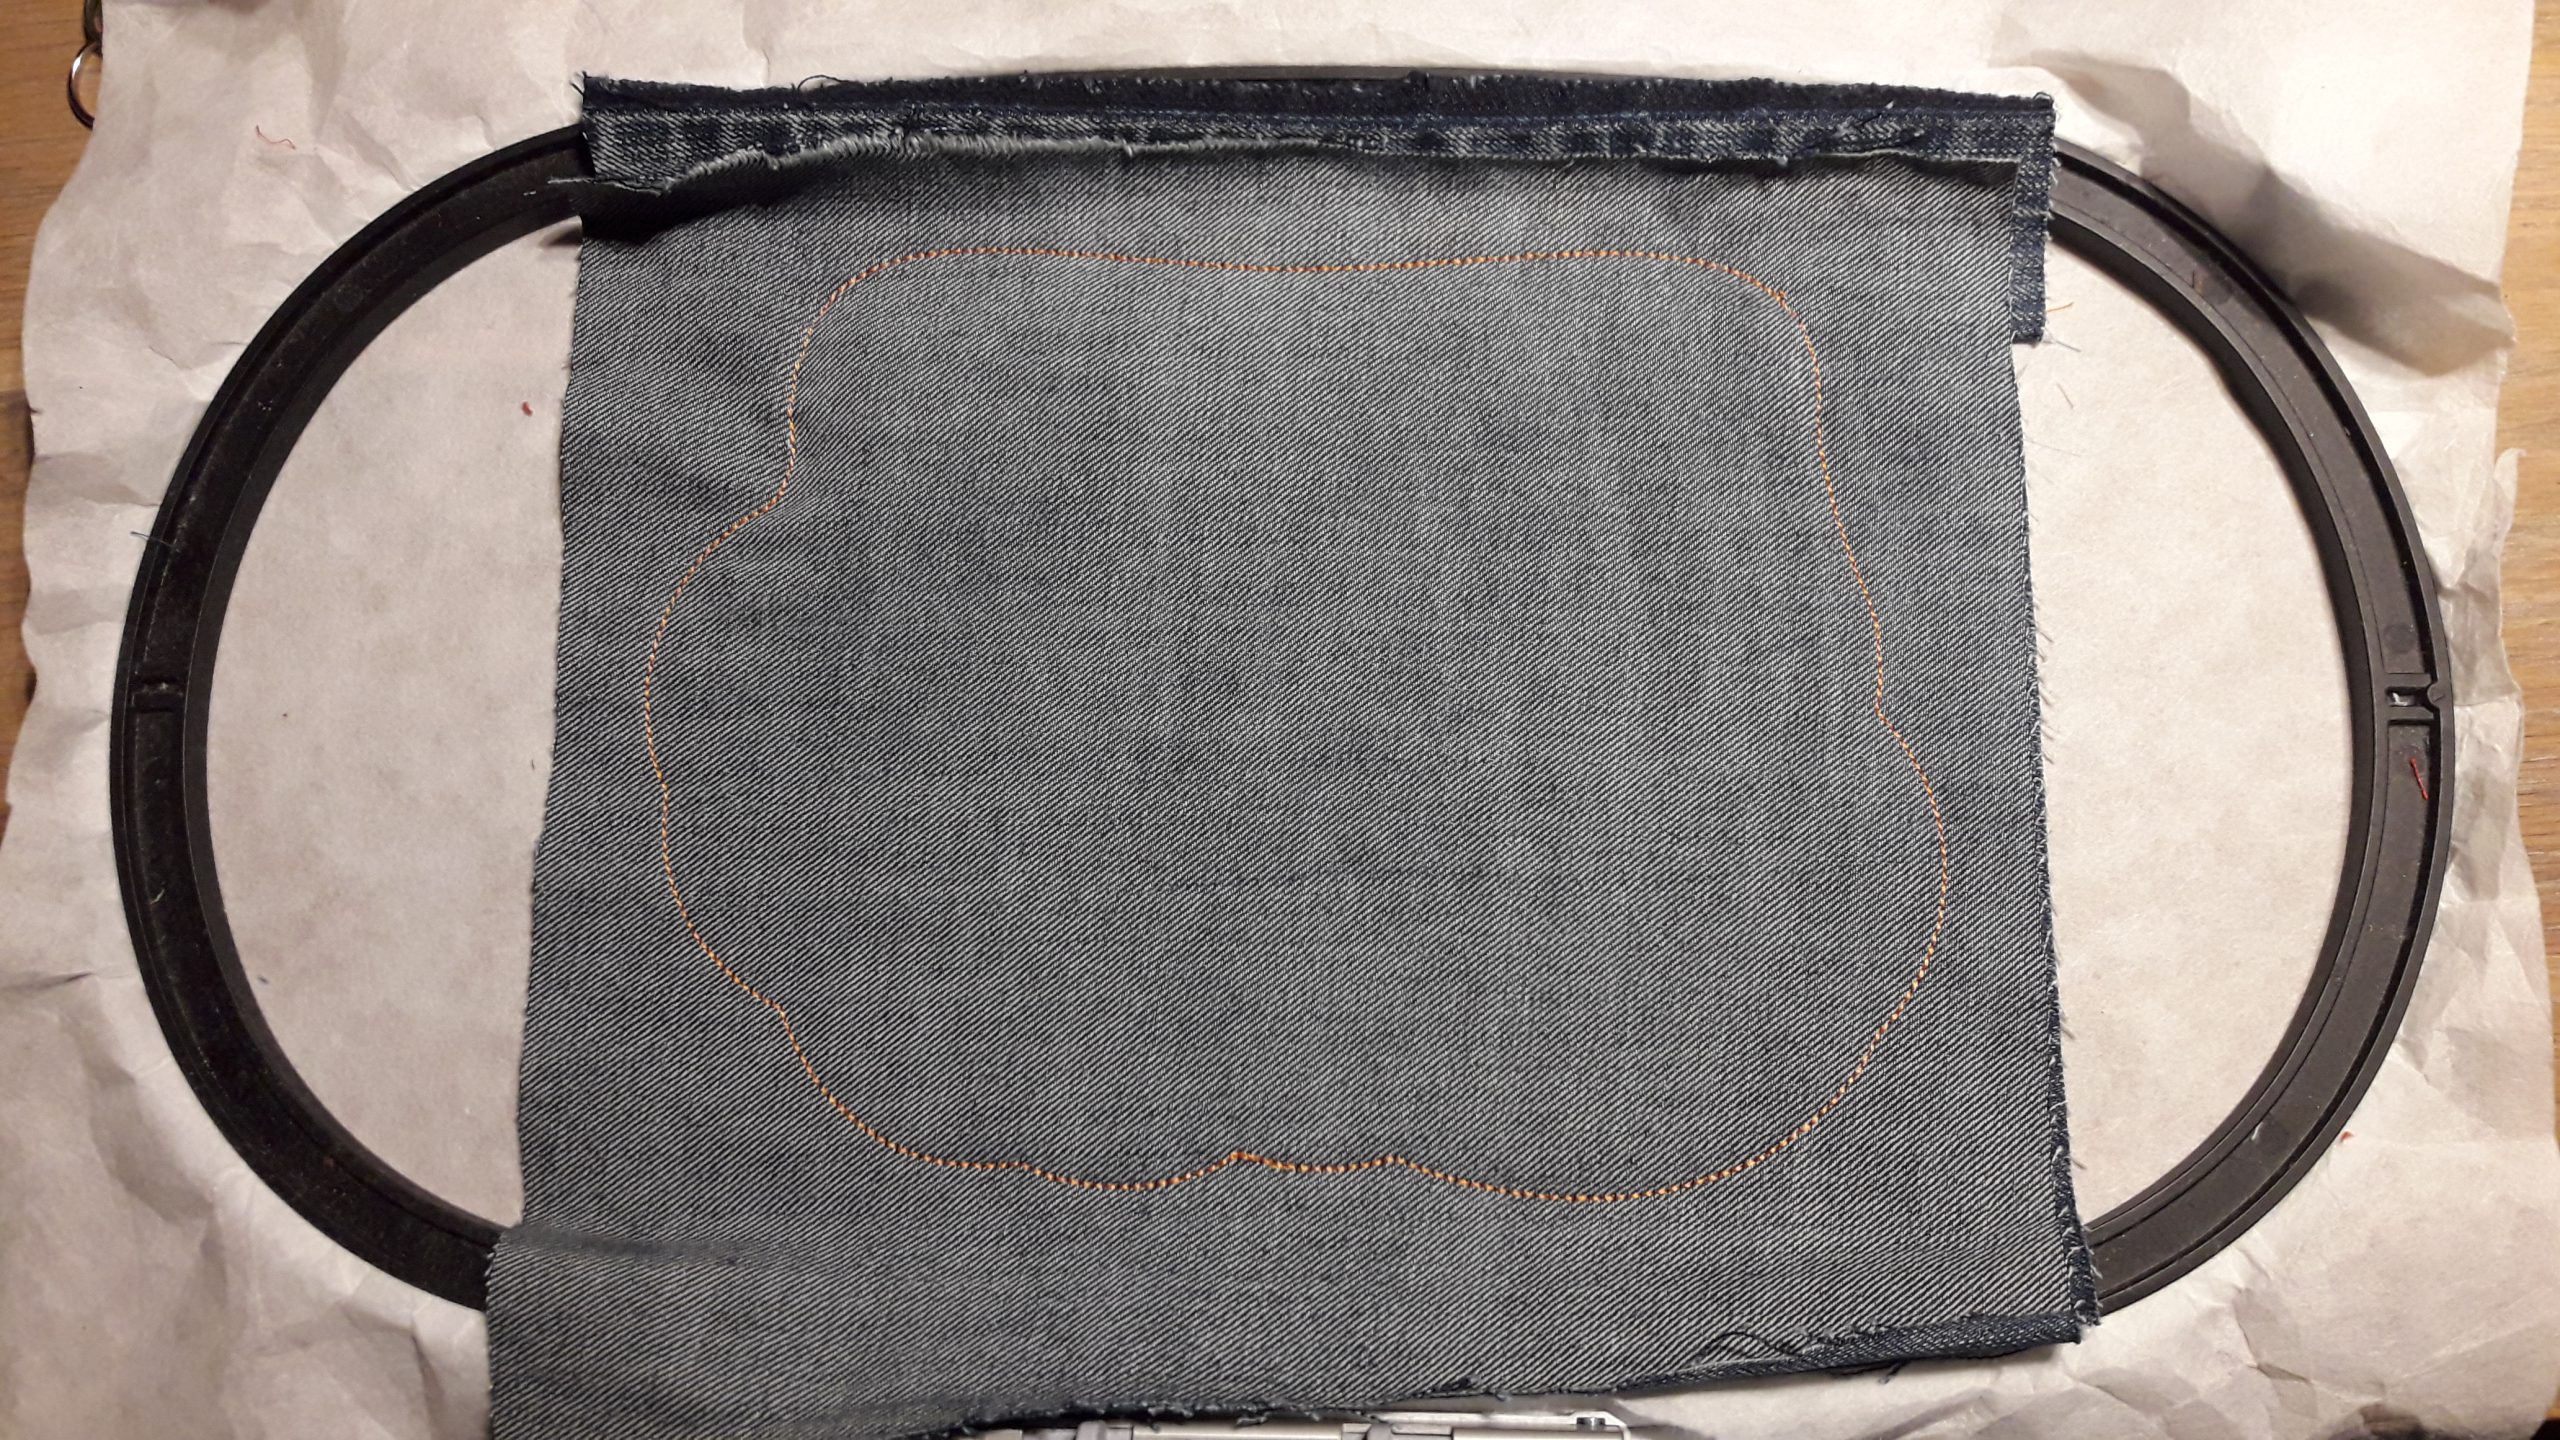
Lay the larger patch (right side down) on the project. Be sure to cover the outline of the fanny pack entirely. Pin it outside the outline.
Sew the next step, it is the seamline for the pack.
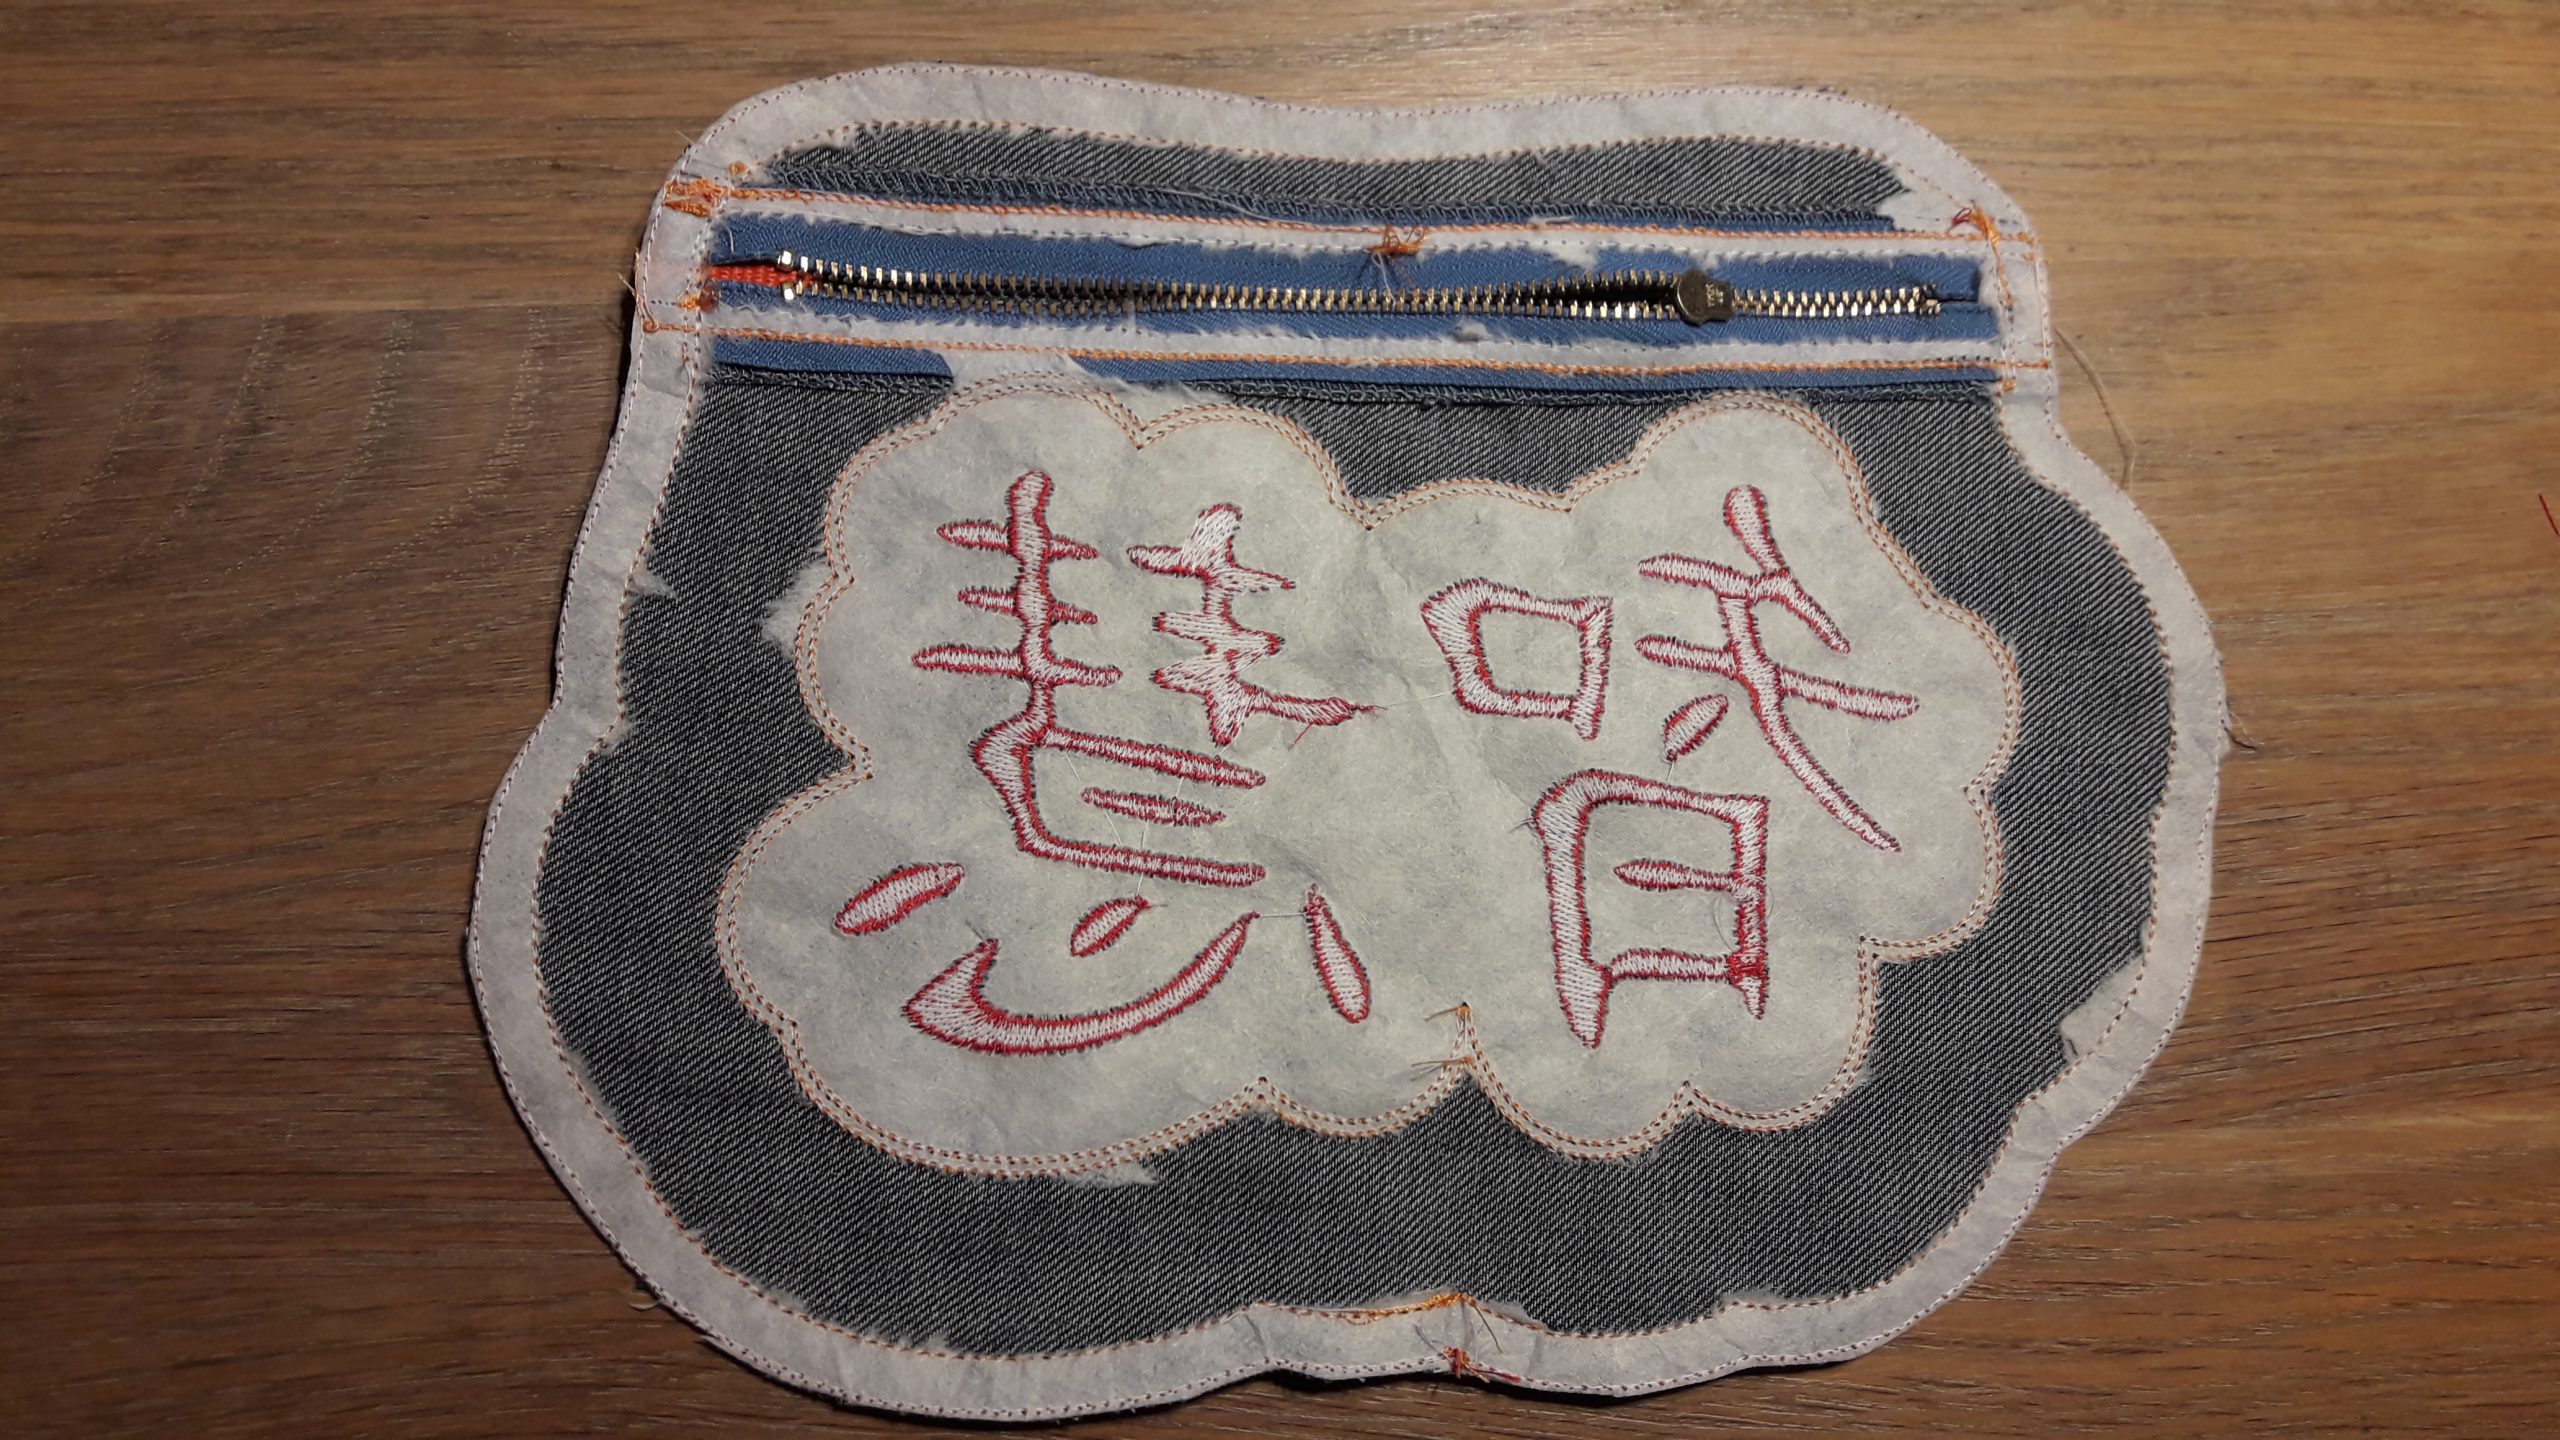
 Take your project out of the hope and remove the stabilizer, especially around the zipper.
Cut fabric and stabilizer away around the outline of the fanny pack.
Remove the stabilizer as much as you can.
Cut in the seam allowance in the corners.
 Turn the fanny pack inside out.
Be sure to fold out the curved lines and iron.
Attach the key rings and the carabiner.
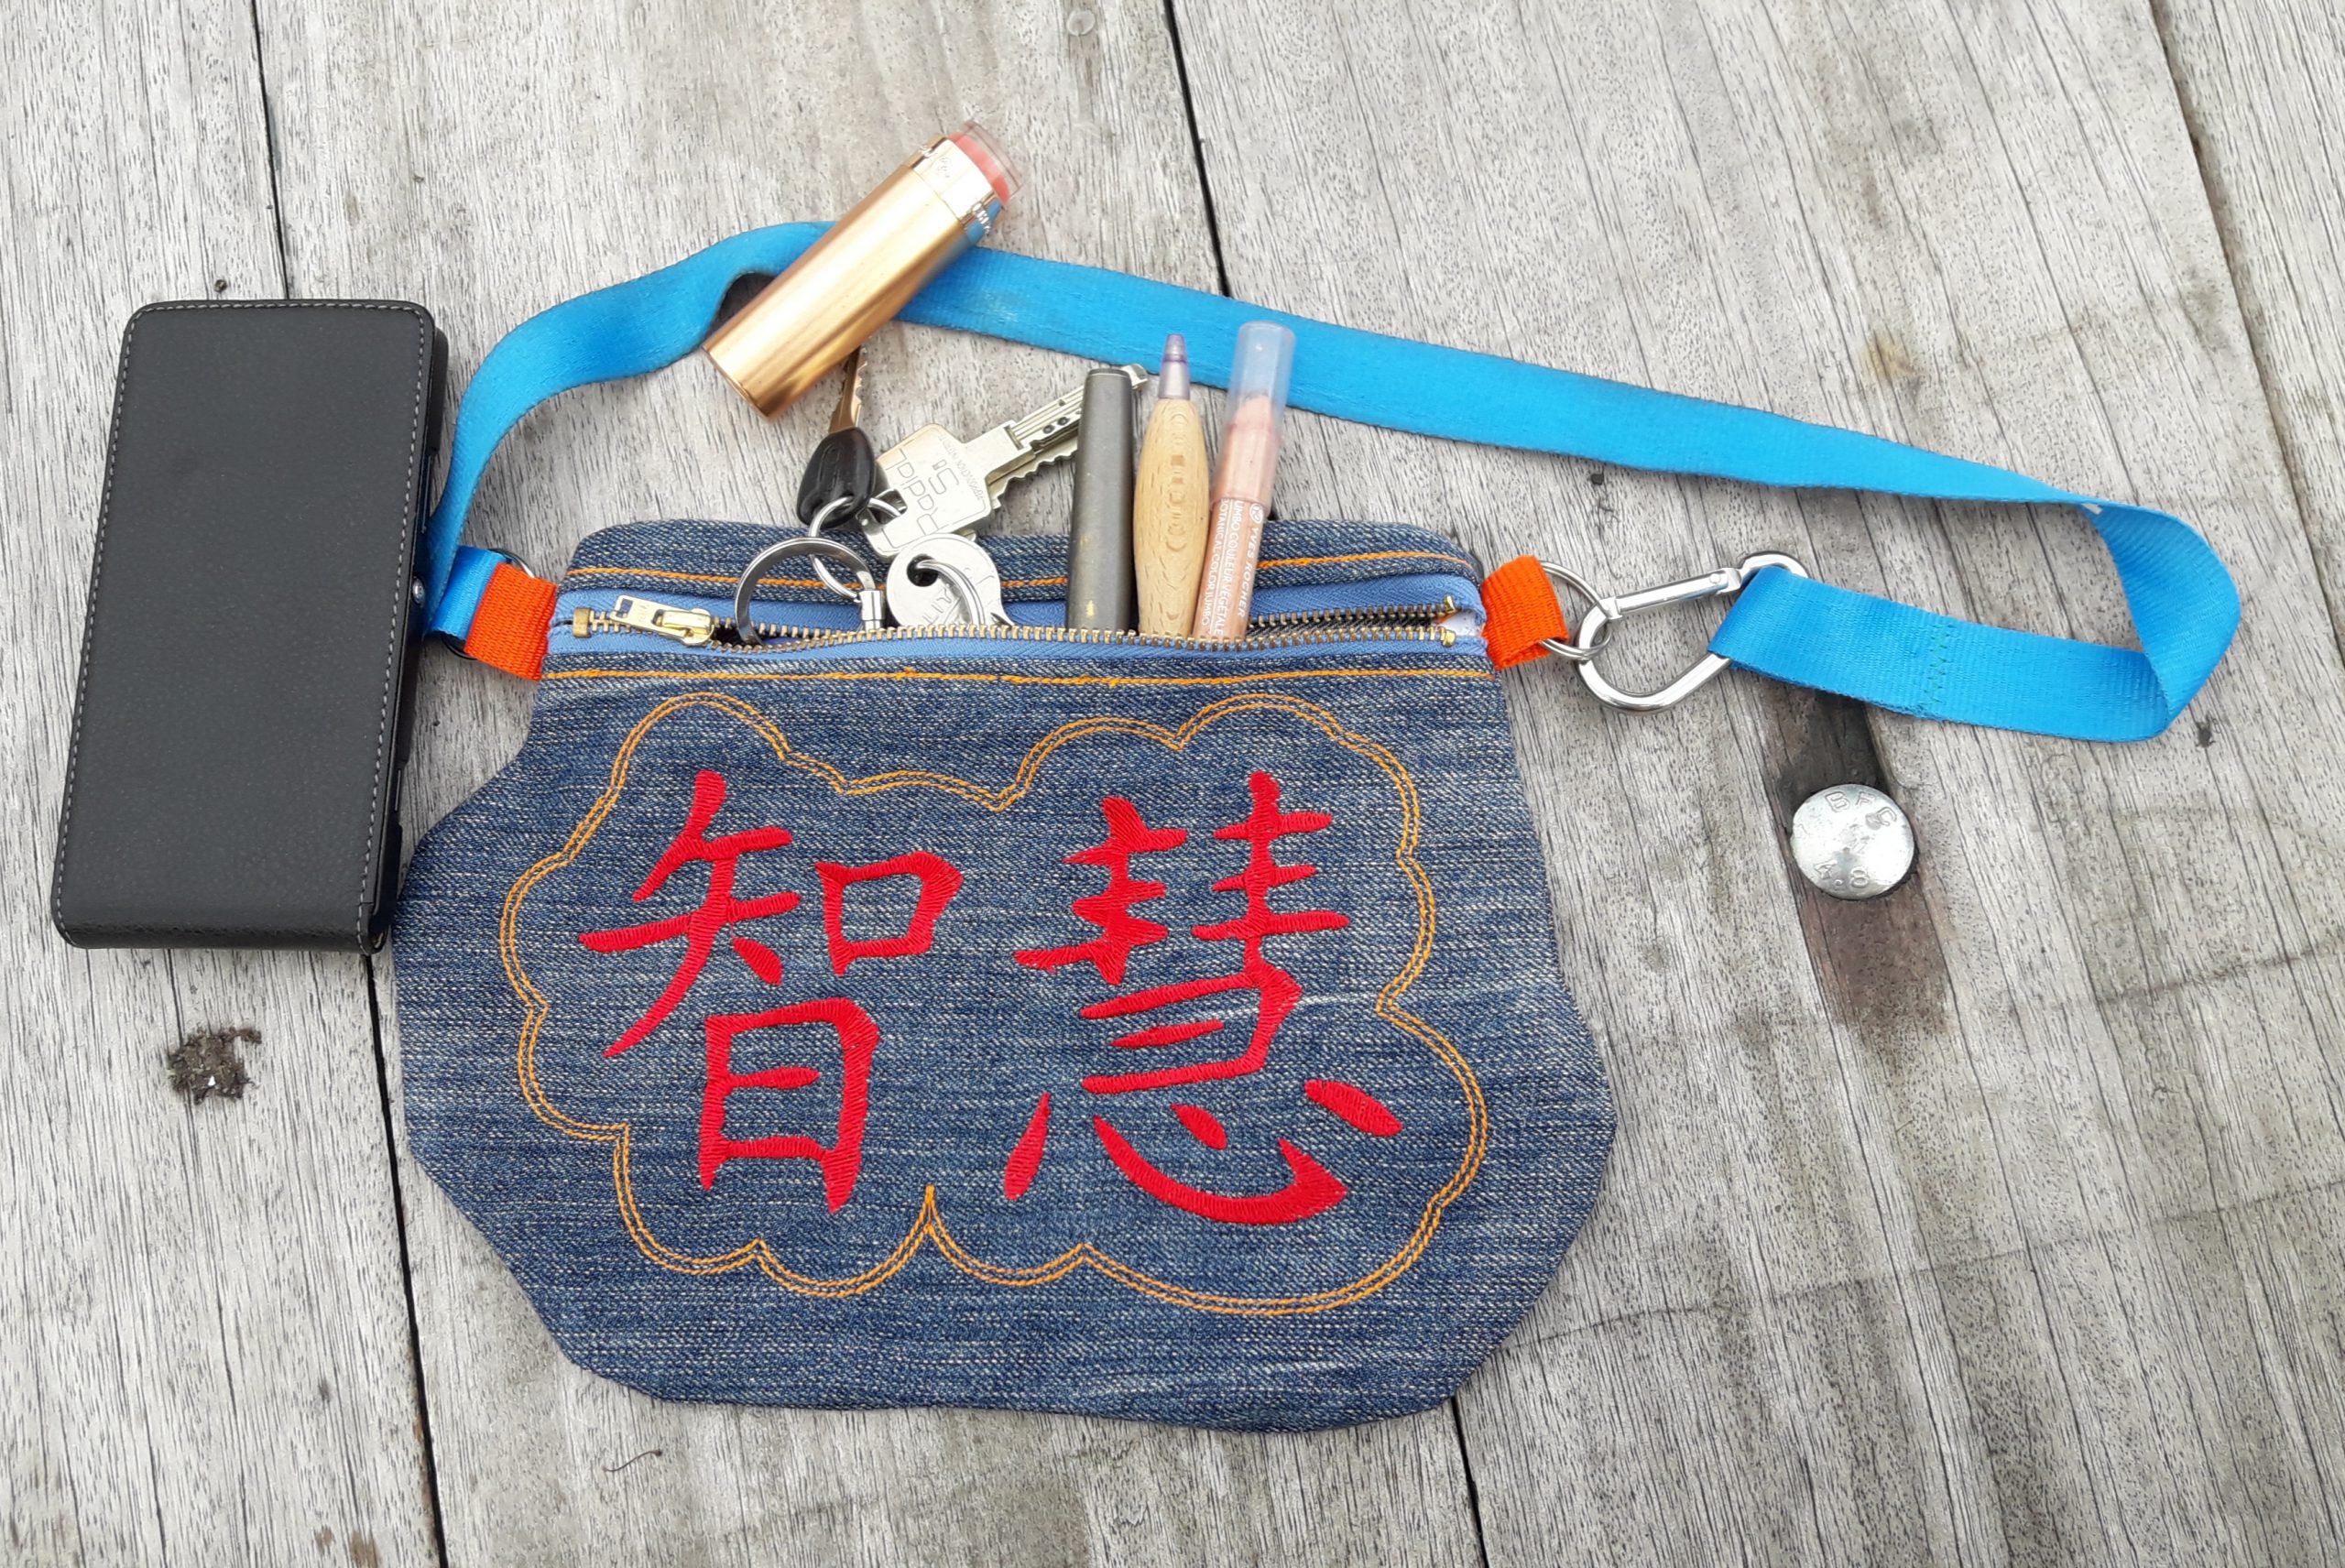
Your fanny pack is ready.
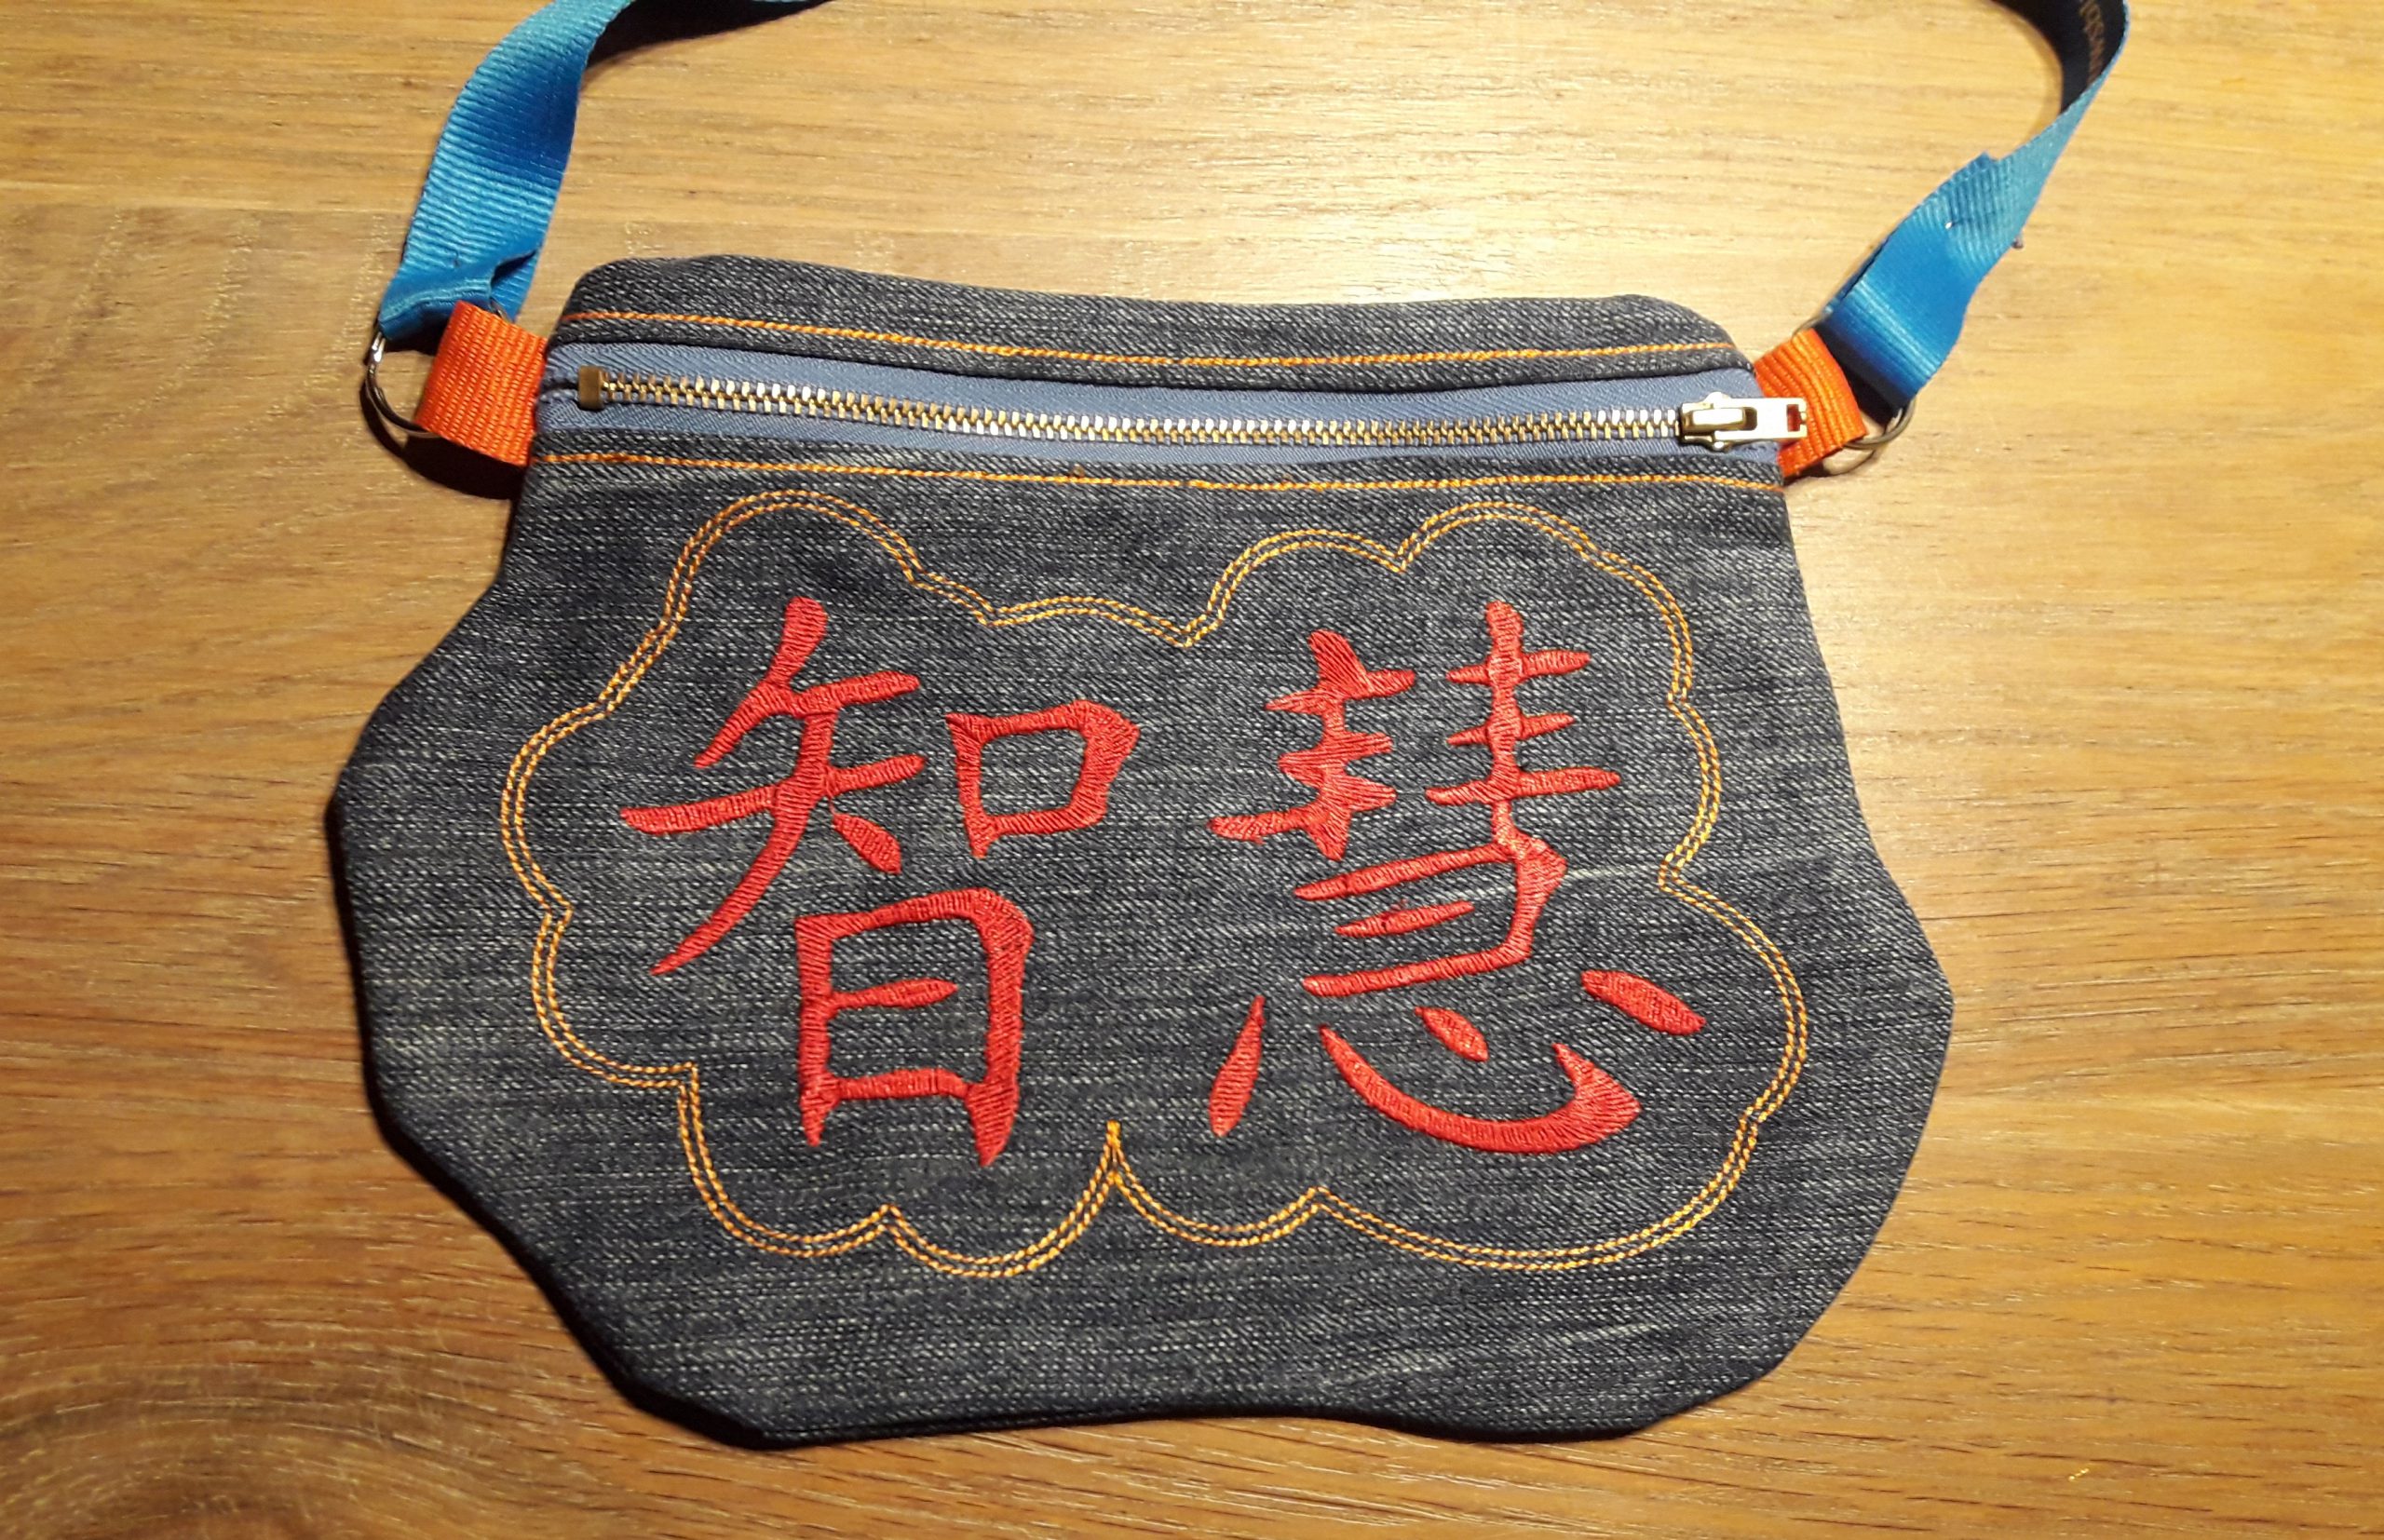
From jeans to fanny pack.
You agree it’s funny and practical?
 Do you have a good idea to redesign jeans? Let us know!

0 Responses