There we are. At the end of the Sugaridoo BERNINA quilt along. Well it’s almost the end. I’m having a hard time saying goodbye to this wonderful quilting adventure. So I will keep making blog posts and videos until the very last stitch on our quilt is done.
Today we’ll be making all the rows the same length, cut our sashing and assemble the quilt top.
In the coming weeks I will share blog posts with videos on the following topics:
- Making a quilt sandwich
- How to quilt the quilt with rulers. This will be a three part series
- How to quilt the quilt, in three sections, with wavy lines, made with a walking foot
- Assembling the three quilted sections
- Adding a binding to the quilt
I think that will keep us busy until the end of 2020 🙂
Video
This weeks video is a long one. Do check the description below the video to see the different sections so you can easily hop to the part that you need to watch.
Trimming the rows
Our finished quilt should measure 70 x 90 inch. Including seam allowance that is 70 1/2 x 90 1/2 inch.
Not all the rows have the same length. Every row was made with a different pattern, with a different technique. Some of the patterns were intentionally over 70 1/2″, because the pattern worked out easier that way. Other rows had a lot of 1/4″ seams. And when those aren’t really 1/4″ then the row will turn out a little longer or shorter than 70 1/2″.
So don’t worry if your row aren’t all 70 1/2″ long. My row aren’t either. In the video you can see me trim all twelve rows of the quilt. In general this is my approach:
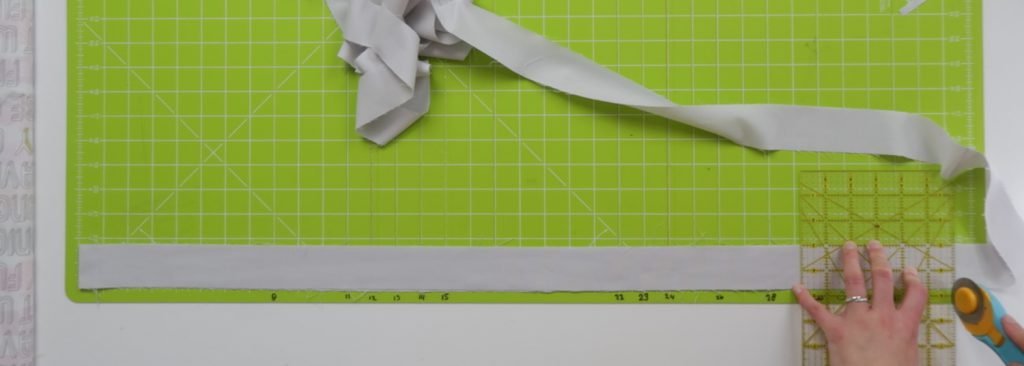
Use a 36″ cutting mat, or tape a measuring tape to your table. Fold a row in half, put the fold on the 0 inch line. And trim away the ends of the row so the folded row is 35 1/4 inch long.
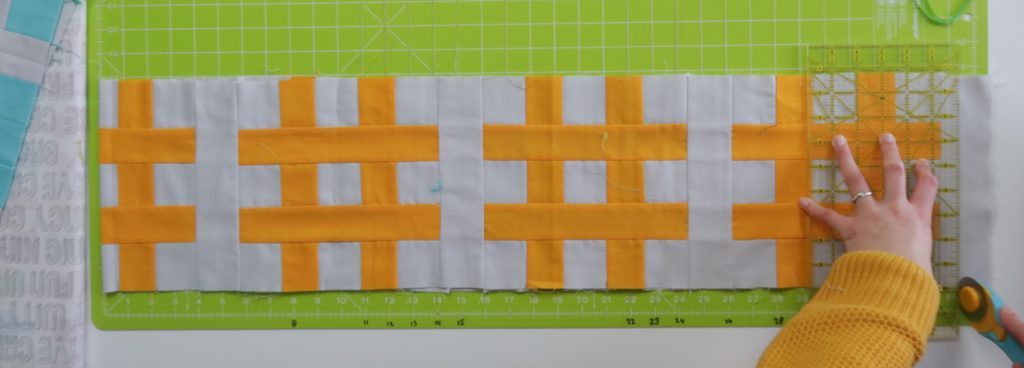 For some rows this way of trimming the rows won’t look great. And maybe your row is not too long, but maybe it is too short. Here is a list on how to make each row longer or shorter.
Row 1 – On Point
This row should be 4 1/2 inch high (incl. seam allowance).
Use the general approach to make the row shorter. To make the row longer you can either add a strip of background fabric to each side, or you could add an extra section of the paper piecing pattern and then trim the row to the correct length.
Row 2 – Out of the Box
This row should be 7 1/2 inch high (incl. seam allowance).
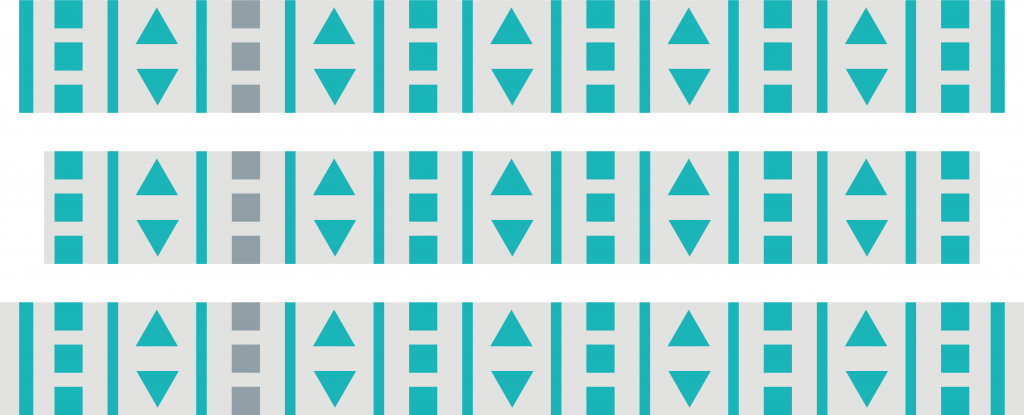
When you only have to trim a little bit, just use the general approach to trim the row. When you need to trim off quite a bit you can remove the blocks on both ends of the row and trim the sashing of those blocks. Like illustrated in the figure below.
Is your row too short? Just add a strip of background fabric to both ends
Row 3 – Cross Stitch
This row should be 7 1/2 inch high (incl. seam allowance).
Use the general approach to make this row shorter. To make it longer you can add some back ground fabric to both ends.
Row 4 – This Way
This row should be 4 inch high (incl. seam allowance).
This row can be trimmed on both ends or just on one end like I did in the video. That way I kept the triangle on the beginning of the row in tact.
When you need to make the row longer, just follow the pattern of row to add some more pieces to the row.
Row 5 – Hashtags
This row should be 8 3/4 inch high (incl. seam allowance).
There is a little bit of background fabric on both ends of this row. So you can trim both ends with the general method to make the row 70 1/2 inch. Also cutting off a little bit of both outer hashtags won’t be a big problem I think to make your row shorter. If you have to cut a lot from the hashtags to get the correct length for this row, you can use the method I explained for row 2 and trim the sashings on the outside blocks.
Row 6 – Around the Corner
This row should be 7 3/4 inch high (incl. seam allowance and incl. the sashing at the top of the row)
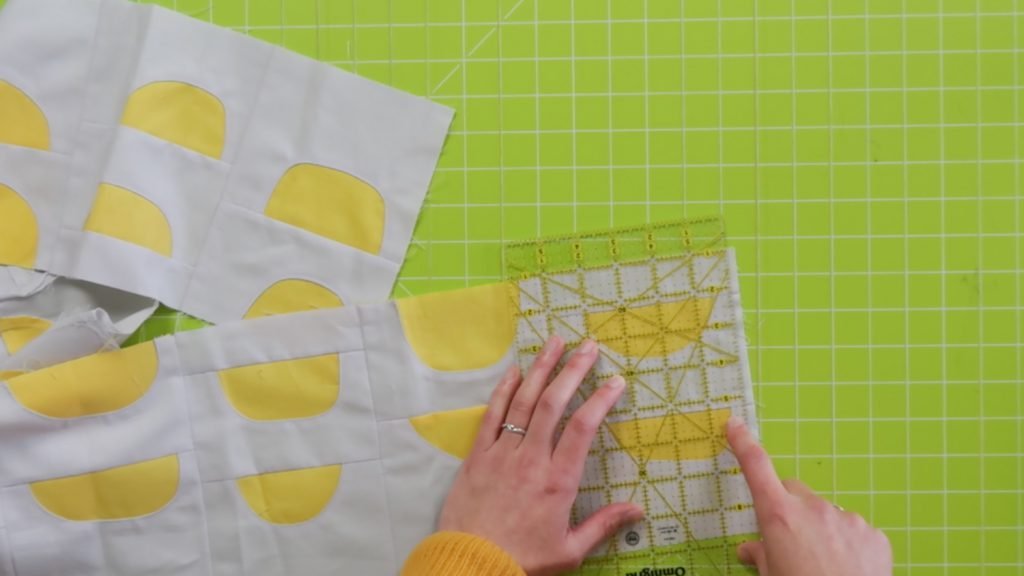
You can go ahead and trim a little bit from both ends to make this row shorter. As you can see in the video we’re my yellow wobble bobbles pretty close to the edge of the row. I could trim away the background fabric on both ends and was left with 1/4″ background next to the yellow shapes. That was enough for me.
In case you want to have more background fabric on the outside of the shapes you use the method explained for row 2. So remove the outside blocks and trim the blocks a bit before you sew them back to the row.
Making this row longer can be done my just adding a bit of background fabric.
This row should be 9 inch high (incl. seam allowance)
For this row just use the general method to trim both ends of the row. To make is longer, you can add a strip of background fabric to both sides.
Row 8 – Mowed lawn
This row should be 5 1/2 inch high (incl. seam allowance)
When you only need to trim off a little bit, I would use the general method to make this row a little bit shorter. If you need to trim a lot you can either trim the blocks on both ends, or remove one block and add some background fabric instead to make the row 70 1/2 inch.
To make the row longer, add some background fabric to both ends.
Row 9 – Delta
This row should be 8 1/2 inch high (incl. seam allowance)
To make the row shorter you can just trim a bit from both ends of the row. To make it longer it is probably the easiest to add a bit of back ground fabric to both sides.
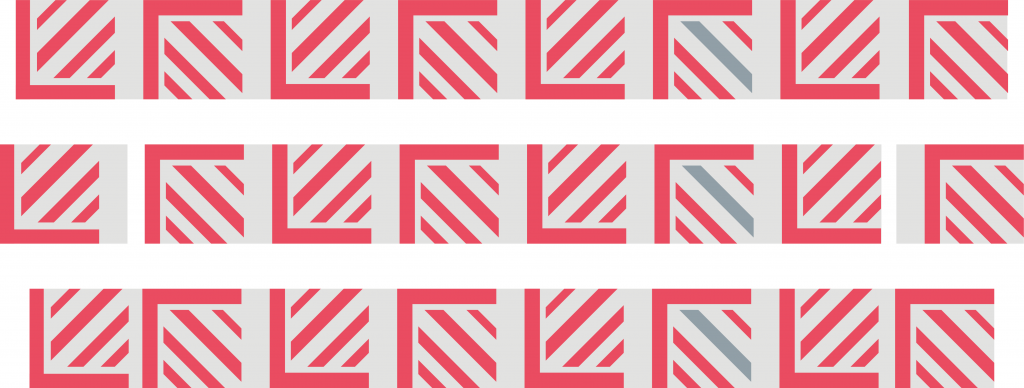
If you want to keep the pattern running until the edge instead of having background fabric on the ends, you could remove one of the half triangles. Then replace it with a whole triangle and trim the row to 70 1/2 inch.
Row 10 – Dot Dot Dot
This row should be 7 inch high (incl. seam allowance and incl. sashing at the top and bottom of the row)
This row had enough fabric on the outer ends to just trim the row with the general method.
Also making the row longer can be easily done with adding some background fabric to both sides.
Row 11 – All together now
This row should be 8 1/2 inch high (incl. seam allowance)
When your row 11 is too long you can cut off a little bit from both sides. It will look fine, even if you cut off the whole outer blue strip.
To make the row longer you can either add a little bit wider outer blue strips or add some background fabric.
Row 12 – Tetris
This row should be 7 1/2 inch high (incl. seam allowance)
This row was pretty long, but trimming it is no big deal since the row is symmetrical. So just trim as much as you need from both ends.
To make it longer you can just follow the pattern for row 12 to make the row a bit longer.
Sashing
All rows are trimmed. Now it’s time to cut the sashing. The sashing between the rows is 1 1/4 inch wide.
We will need 8 sashing strips of 1 3/4 x 70 1/2″ in total (incl. seam allowance). For that you need to cut 13 or 14 strips of 1 3/4 inch x WOF from your background fabric.
Sew all the strips together in to one very long strip. Then cut them up into strips of 70 1/2 inch long. I used the same method as for trimming my rows. I folded the strip double and cut off 35 1/4″ pieces.
Assembling the quilt
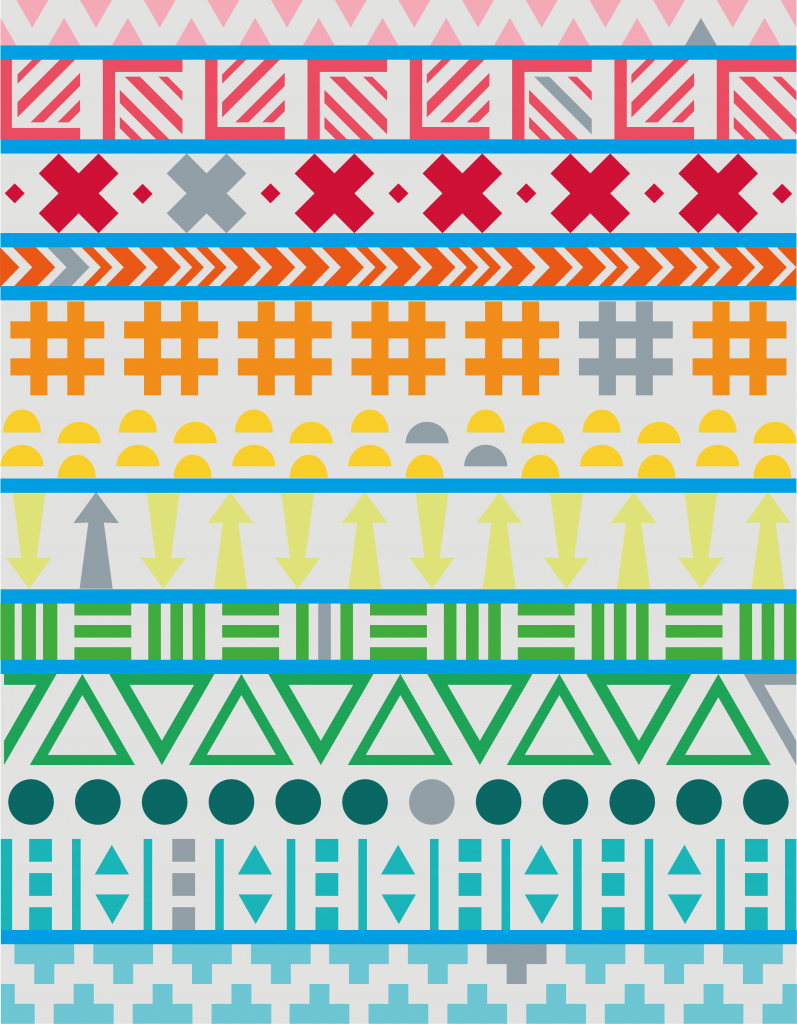
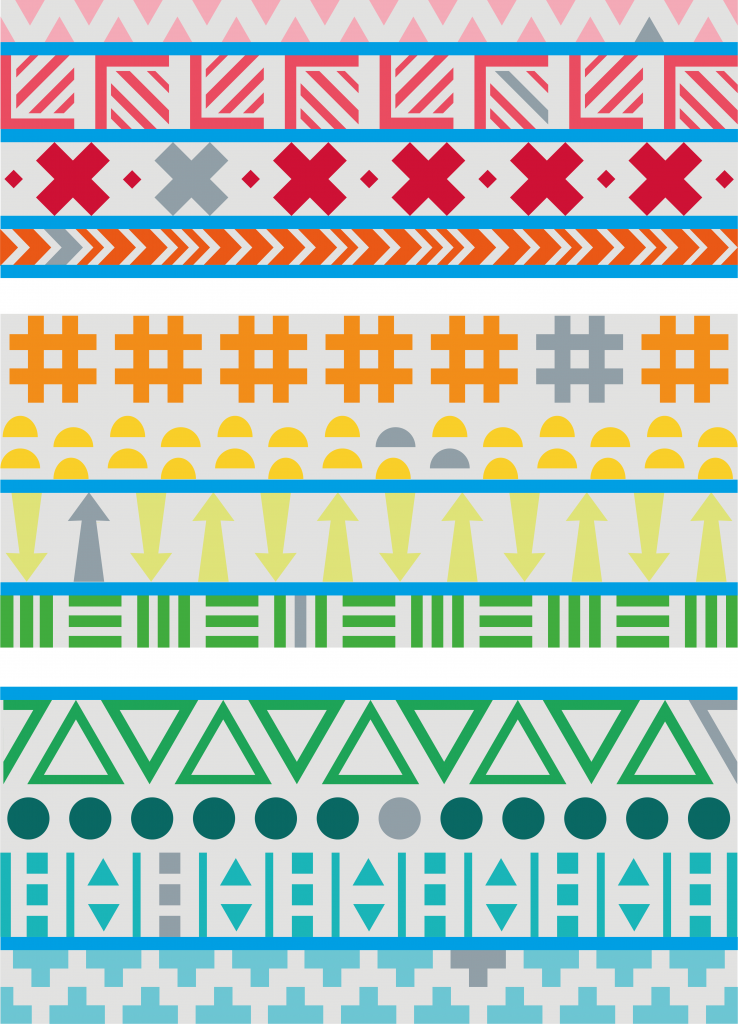
Final step in the making of our quilt top is assembling all the rows with the sashing in between. In the figure below you can see where you need to place sashing. The blue strips are the sashing you need to add.
So basically one strip of sashing will be placed between all the rows. You only don’t have to sew sashing below row 5, below row 9 and below row 10.
To sew the sashing to the rows, I like to pin. Well I don’t really like to pin anything, but for sewing together such long pieces of fabric I make an exception. It will turn out more evenly when you pin the sashing and rows together before you sew.
This is how I pin: Place the sashing on top of the row. Then place a pin at both ends. Fold the row+sashing in half to find the center. Then place a pin in the center. Fold half of the row in half and place a pin at a quarter of the length of the row. And so on. I do this until I have about 9 pins in there. (Also check out the video, that will probably make it more clear.)
If you have a very large table (or use the floor) you can just lay out the row and place the sashing on top of it to pin it. That could be a little bit easier 🙂
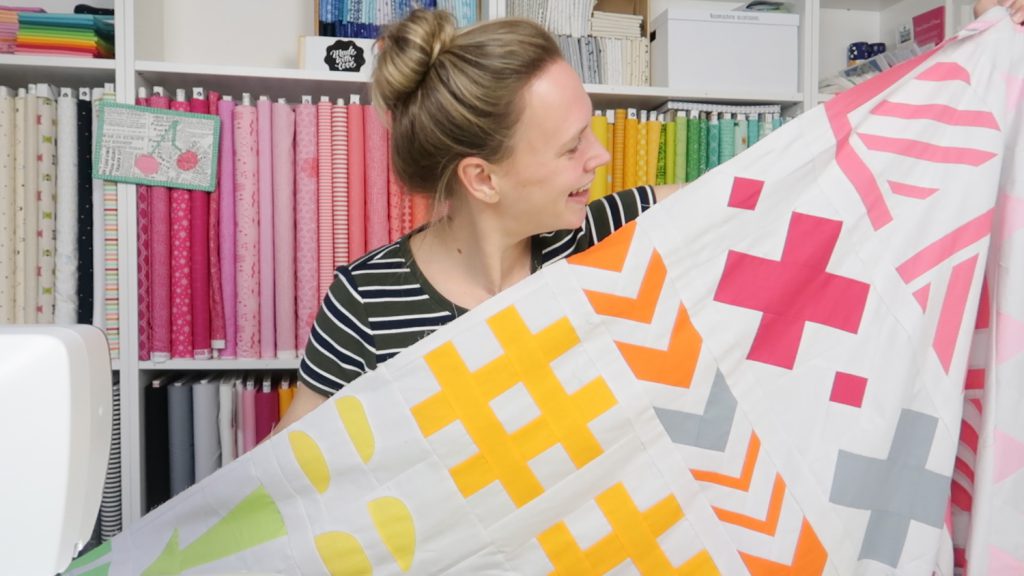
I pieced the first 6 rows together and after that pieced the bottom six rows together. Then I assembled both halves in to one quilt top. Whoohoo! There was my quilt top finished!
Do you want to assemble your quilt in three pieces? The I would suggest to make the section like in the illustration below. That will give you three sections of about the same size.
Thank you
Thank you so so much for participating in this quilt along. What a great adventure we had this year. So many quilters joined the fun of making this mystery quilt. And most of you did not only join the QAL, but also helped and encouraged each other along the way.
It was such a great experience for me, hosting my very first quilt along with so many enthusiastic quilters. I’ve had a wonderful time with all of you this year and learn a lot. I’m super happy and proud that we have assembled or quilt tops now. But I’m also a little bit sad that it’s over. So let’s just pretend it’s not over yet while we start quilting our QAL quilts.
Biggest hug!
Irene
Give away
Now our quilt tops are finished, it’s time for the give away! Are you excited? I sure am! Who is going to win one of the three BERNINA 570QE’s or one of the ruler kits? Here is how to enter the raffle for the giveaway.
To enter the giveaway you need to make a picture of your assembled quilt top. This can be in one whole or in three sections. This is just for the quilt top, your quilt does not need to be quilted through.
- Post your picture on Instagram, tag @Sugaridoo and use #SugaridooBerninaQAL on that post.
- Or upload your picture to the community section on the BERNINA blog: Sugaridoo Quilt-Along on the BERNINA Blog. When uploading to the BERNINA community section make sure to select “Sugaridoo Quilt-Along” from the dropdown list.
We will draw six random winners from the entries and publish the winners on Thursday the 2nd of December on the Bernina blog, Sugaridoo Instagram and in the Sugaridoo Bernina QAL Facebook group.
Conditions of participation for the raffle
Acceptance of these conditions is a requirement for participation on the BERNINA Blog.
Employees of BERNINA and their dependants are excluded from participation.
The winner will be drawn by ticket on 02 December 2020. The winner will then be notified by e-mail within seven days. We are not liable for the non-receipt or late delivery of the notification.
If the winner is unable or unwilling to accept the prize, we do not guarantee that an alternative prize or substitute can be offered. The prize cannot be paid out in cash and the claim to the prize cannot be assigned.
If there is no response to the email notification of the prize within 7 days, the prize will be cancelled.
The prize will be sent to the winner by post. To make sure that the prize is delivered, the winner must provide correct name and address details after notification. If this is not done, the prize cannot be delivered. The prize will then be cancelled.
We reserve the right to interrupt or terminate this competition at any time or to vary the procedure and rules. Legal action is excluded.
 BERNINA Corporate Blog -

Hi, my friend and I just finally finished our Sugaridoo quilt tops! A bit late, but they turned out awesome ?. Now we have to quilt them. Do you have any suggestions on the method of quilting that would suit this quilt? It’s been an adventure and we are thrilled with the way they have turned out! Thanks, Susan
Your quilt turned out amazing! Such a masculine quilt!!
I am an architect so that may have some influence in the color choices. I do love bright colors too.
My QAL is done in the nick of time and posted on Instagram. It was a fun project to do as I had someone in mind for the quilt. I took their occupation of ‘finish carpenter’ and based it around that theme. The background is black & white growth rings of different sized trees and the rows are done in different leaf green colors with a dash and splash of fall reds. It has been a fun project during this Covid-19 isolation. Thank you Bernina and Irene.
Can someone from Bernina confirm this is the correct place for my entry? Thanks!! This Qal was fun, I hope you do another!
~Ginette
Hello Ginette,
The comment section is not the correct place. But if you upload your project asap in the community section, we can still include it!
Go to this page:
https://blog.bernina.com/en/user-gallery/campaign/sugaridoo-quilt-along/
Click “New Project”
Choose “Quilting” and the “Sugaridoo Quilt-Along”
Choose title & description, attach your pictures before submitting and you are good to go.
Your project will not show immediately on the blog. Please be patient and wait a couple of minutes. Refresh your browser by hitting the CTRL+F5 key combination.
Good Luck!
Ramona
This was my first QAL!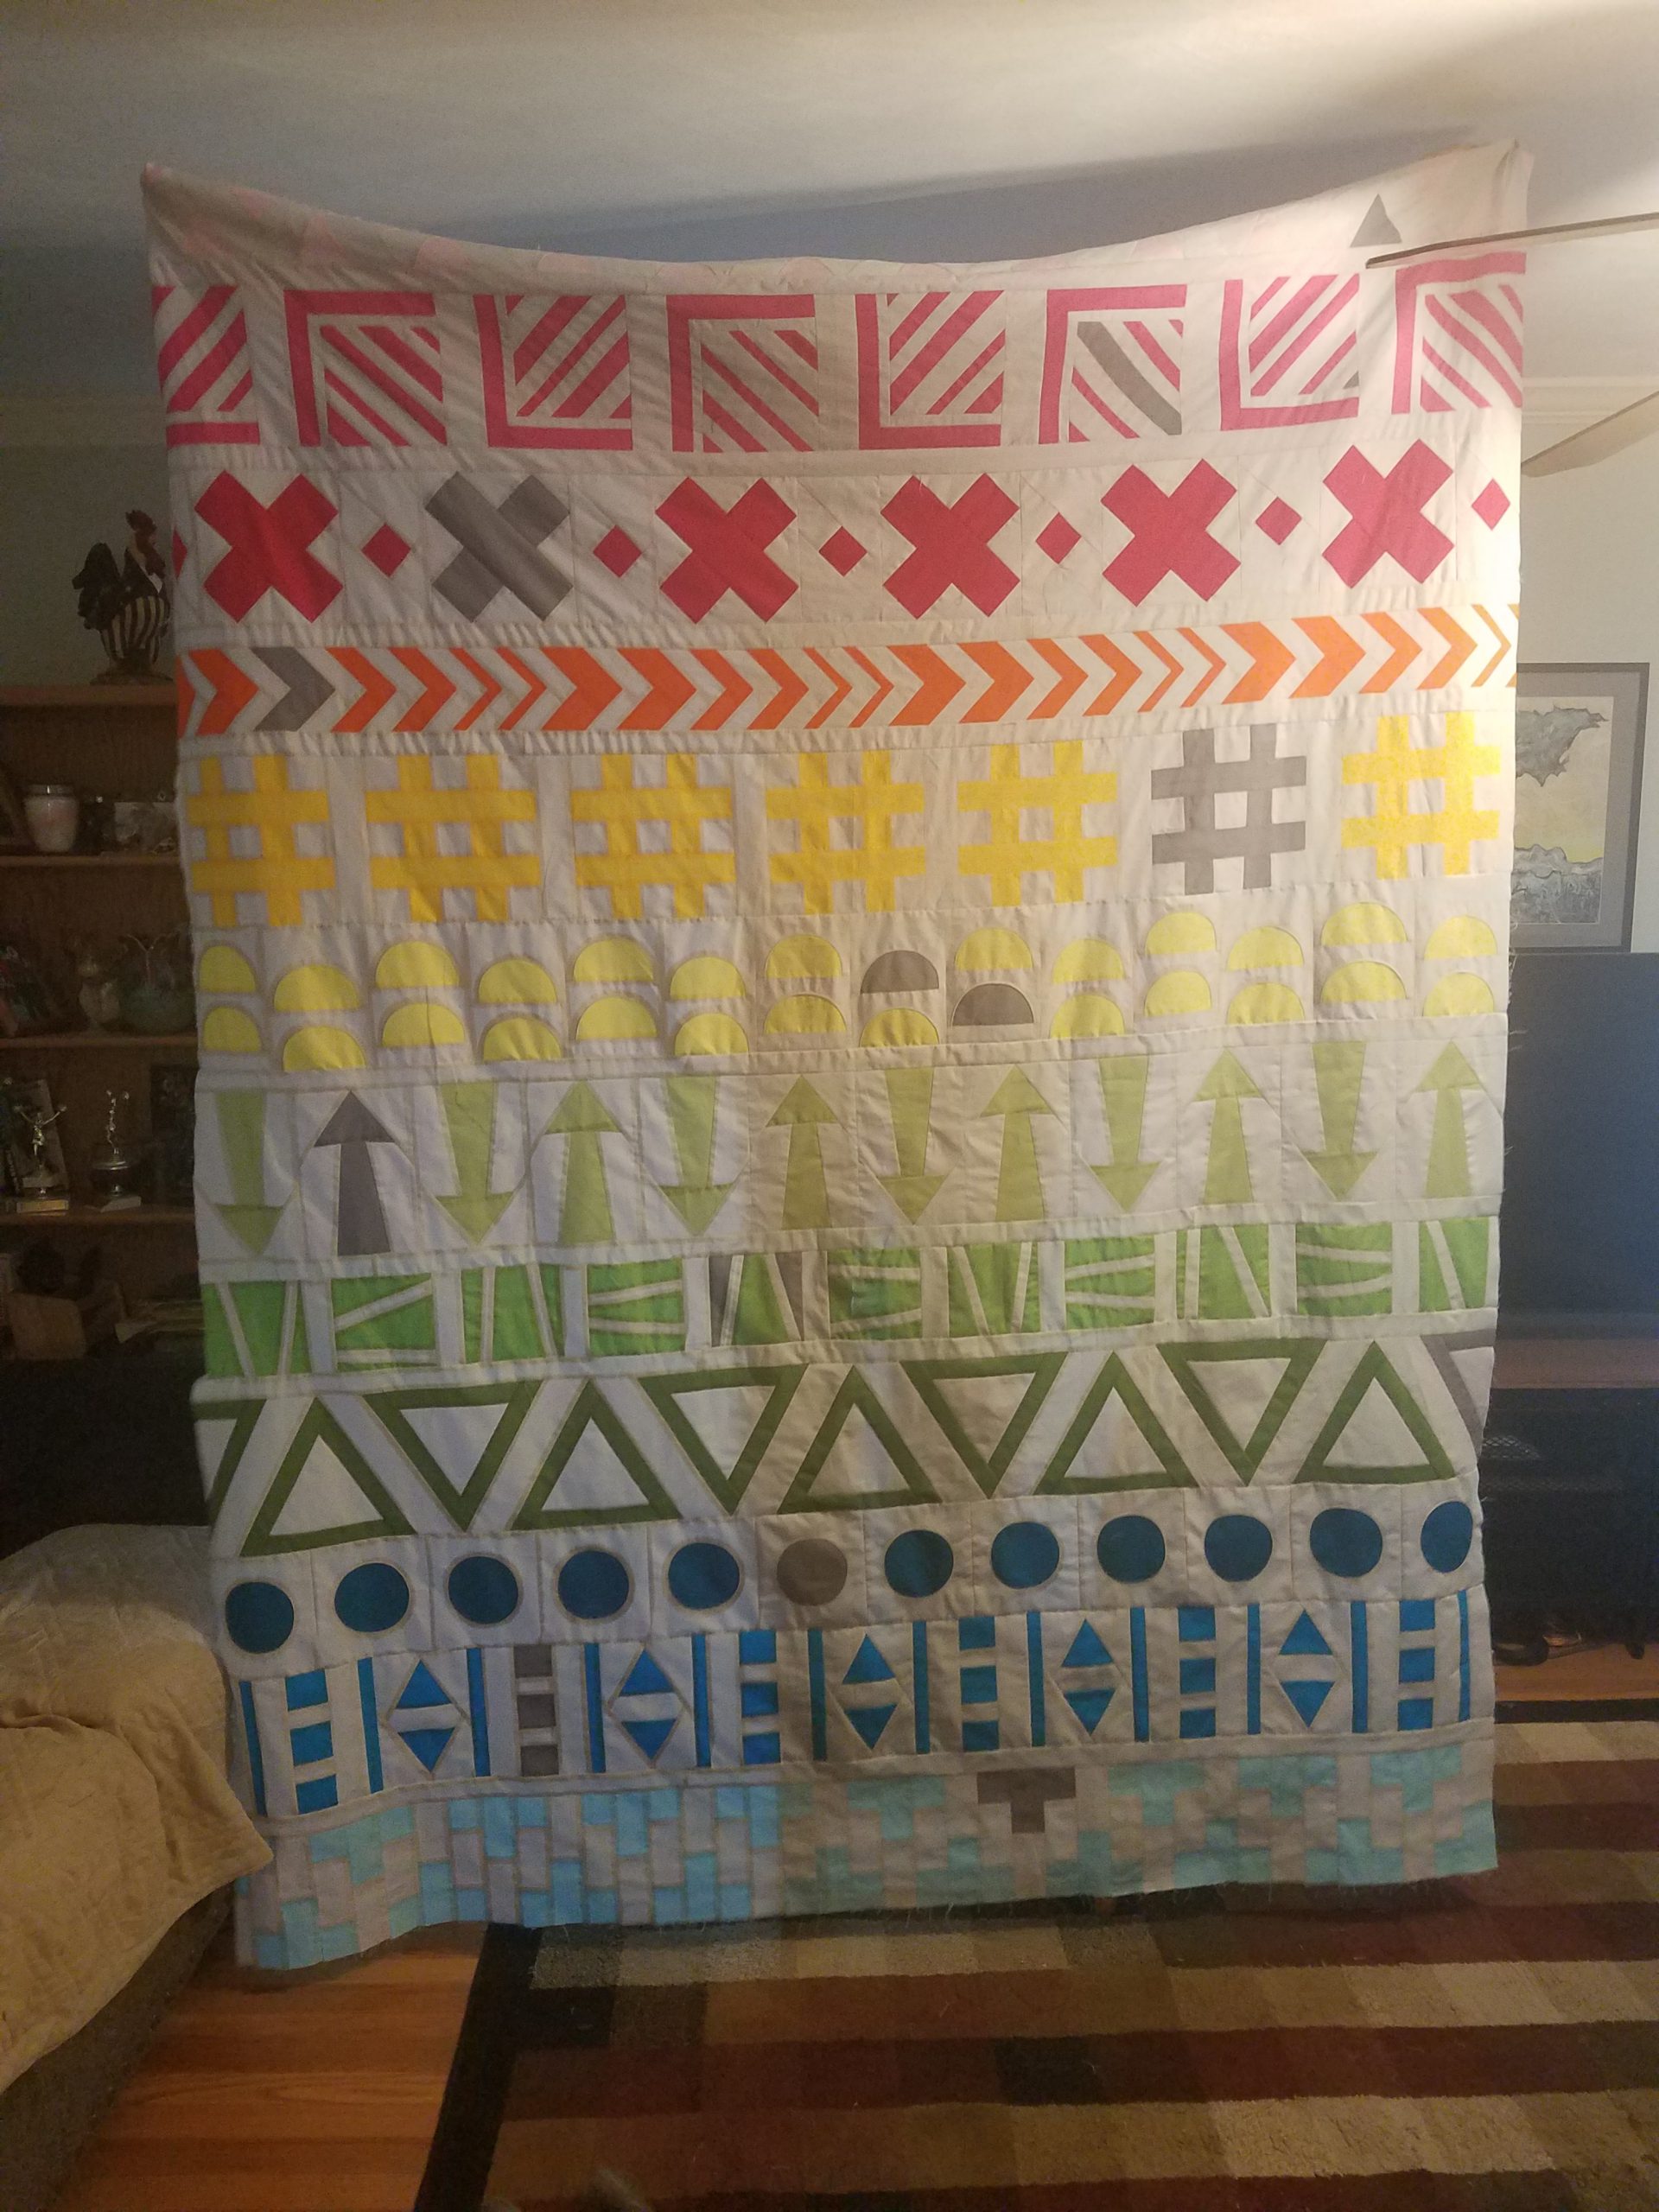
I had an absolutely amazing time learning how to Quilt, which I began in May 2020 and 6 months later, here is my finished project as part of the Sugaridoo QAL. Irene, you’ve been a phenomenal teacher through who I have learnt a lot of different techniques, thank you.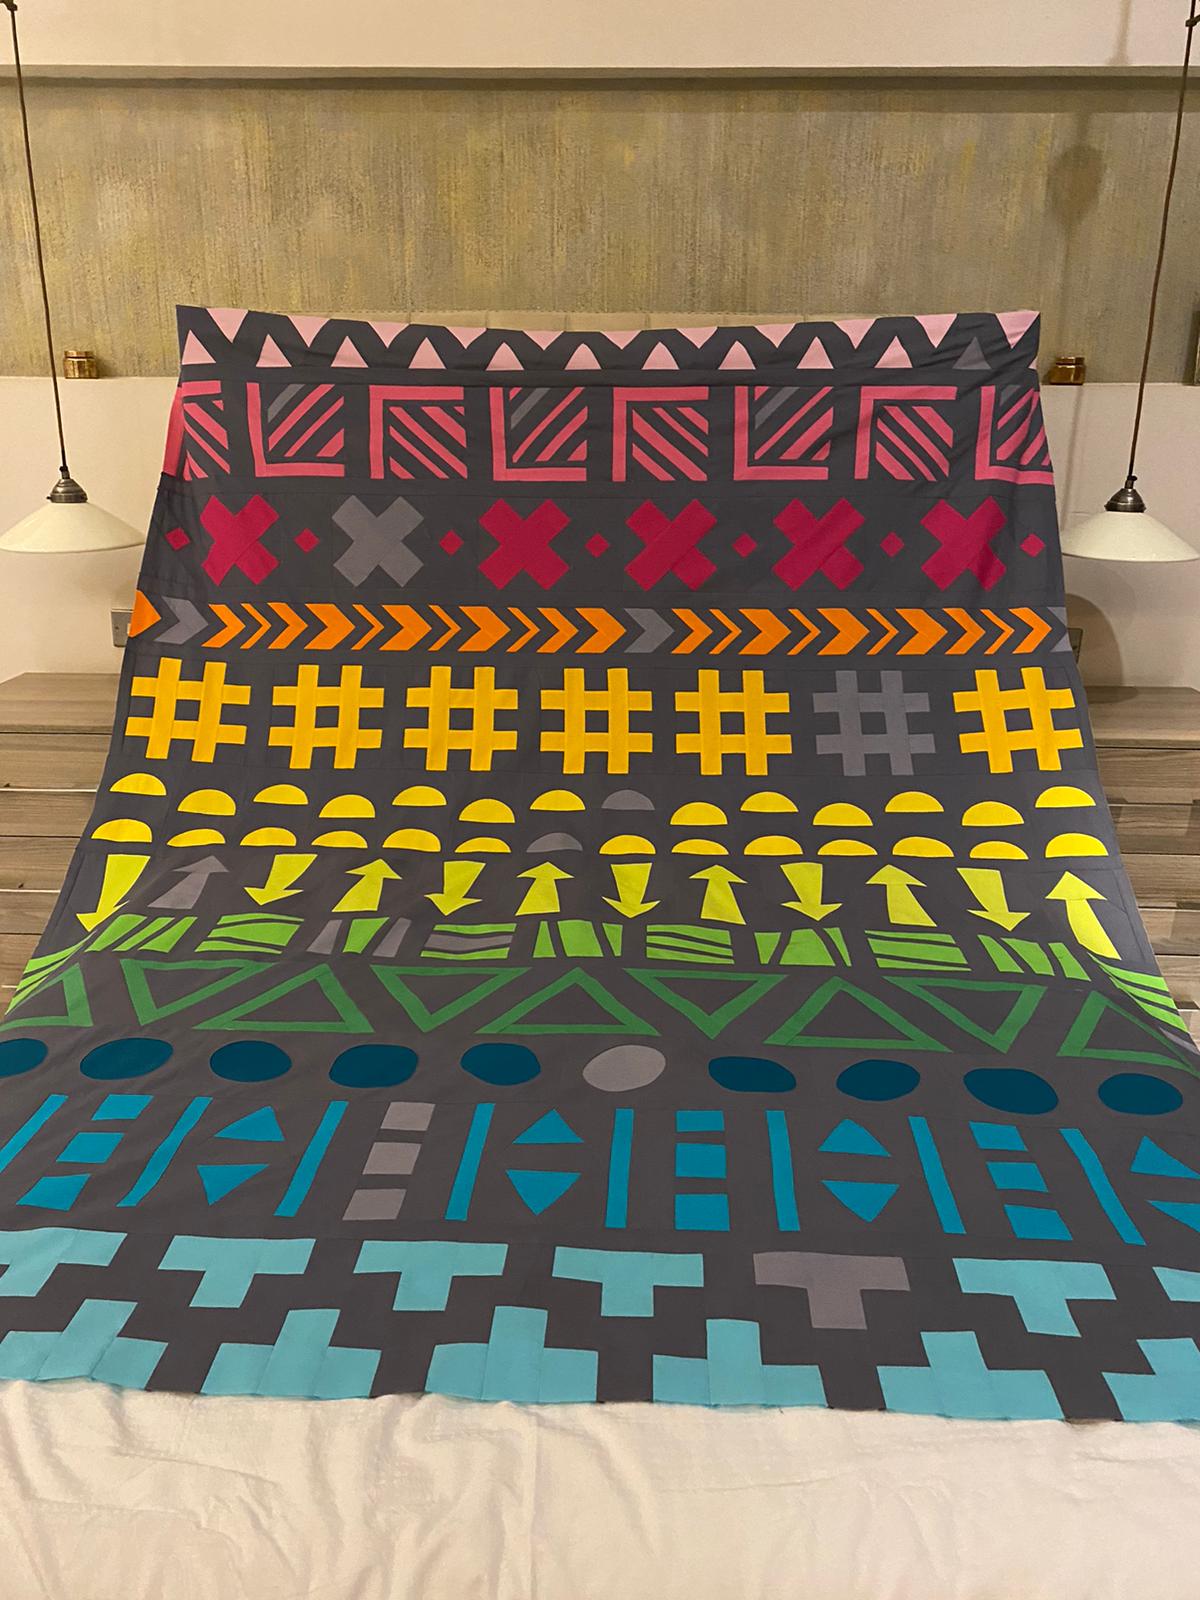
Thank you Irene and Bernina, how was this a year already? So much fun.
Quilt top finished in 3 section as my machine too little to sew/quilt whole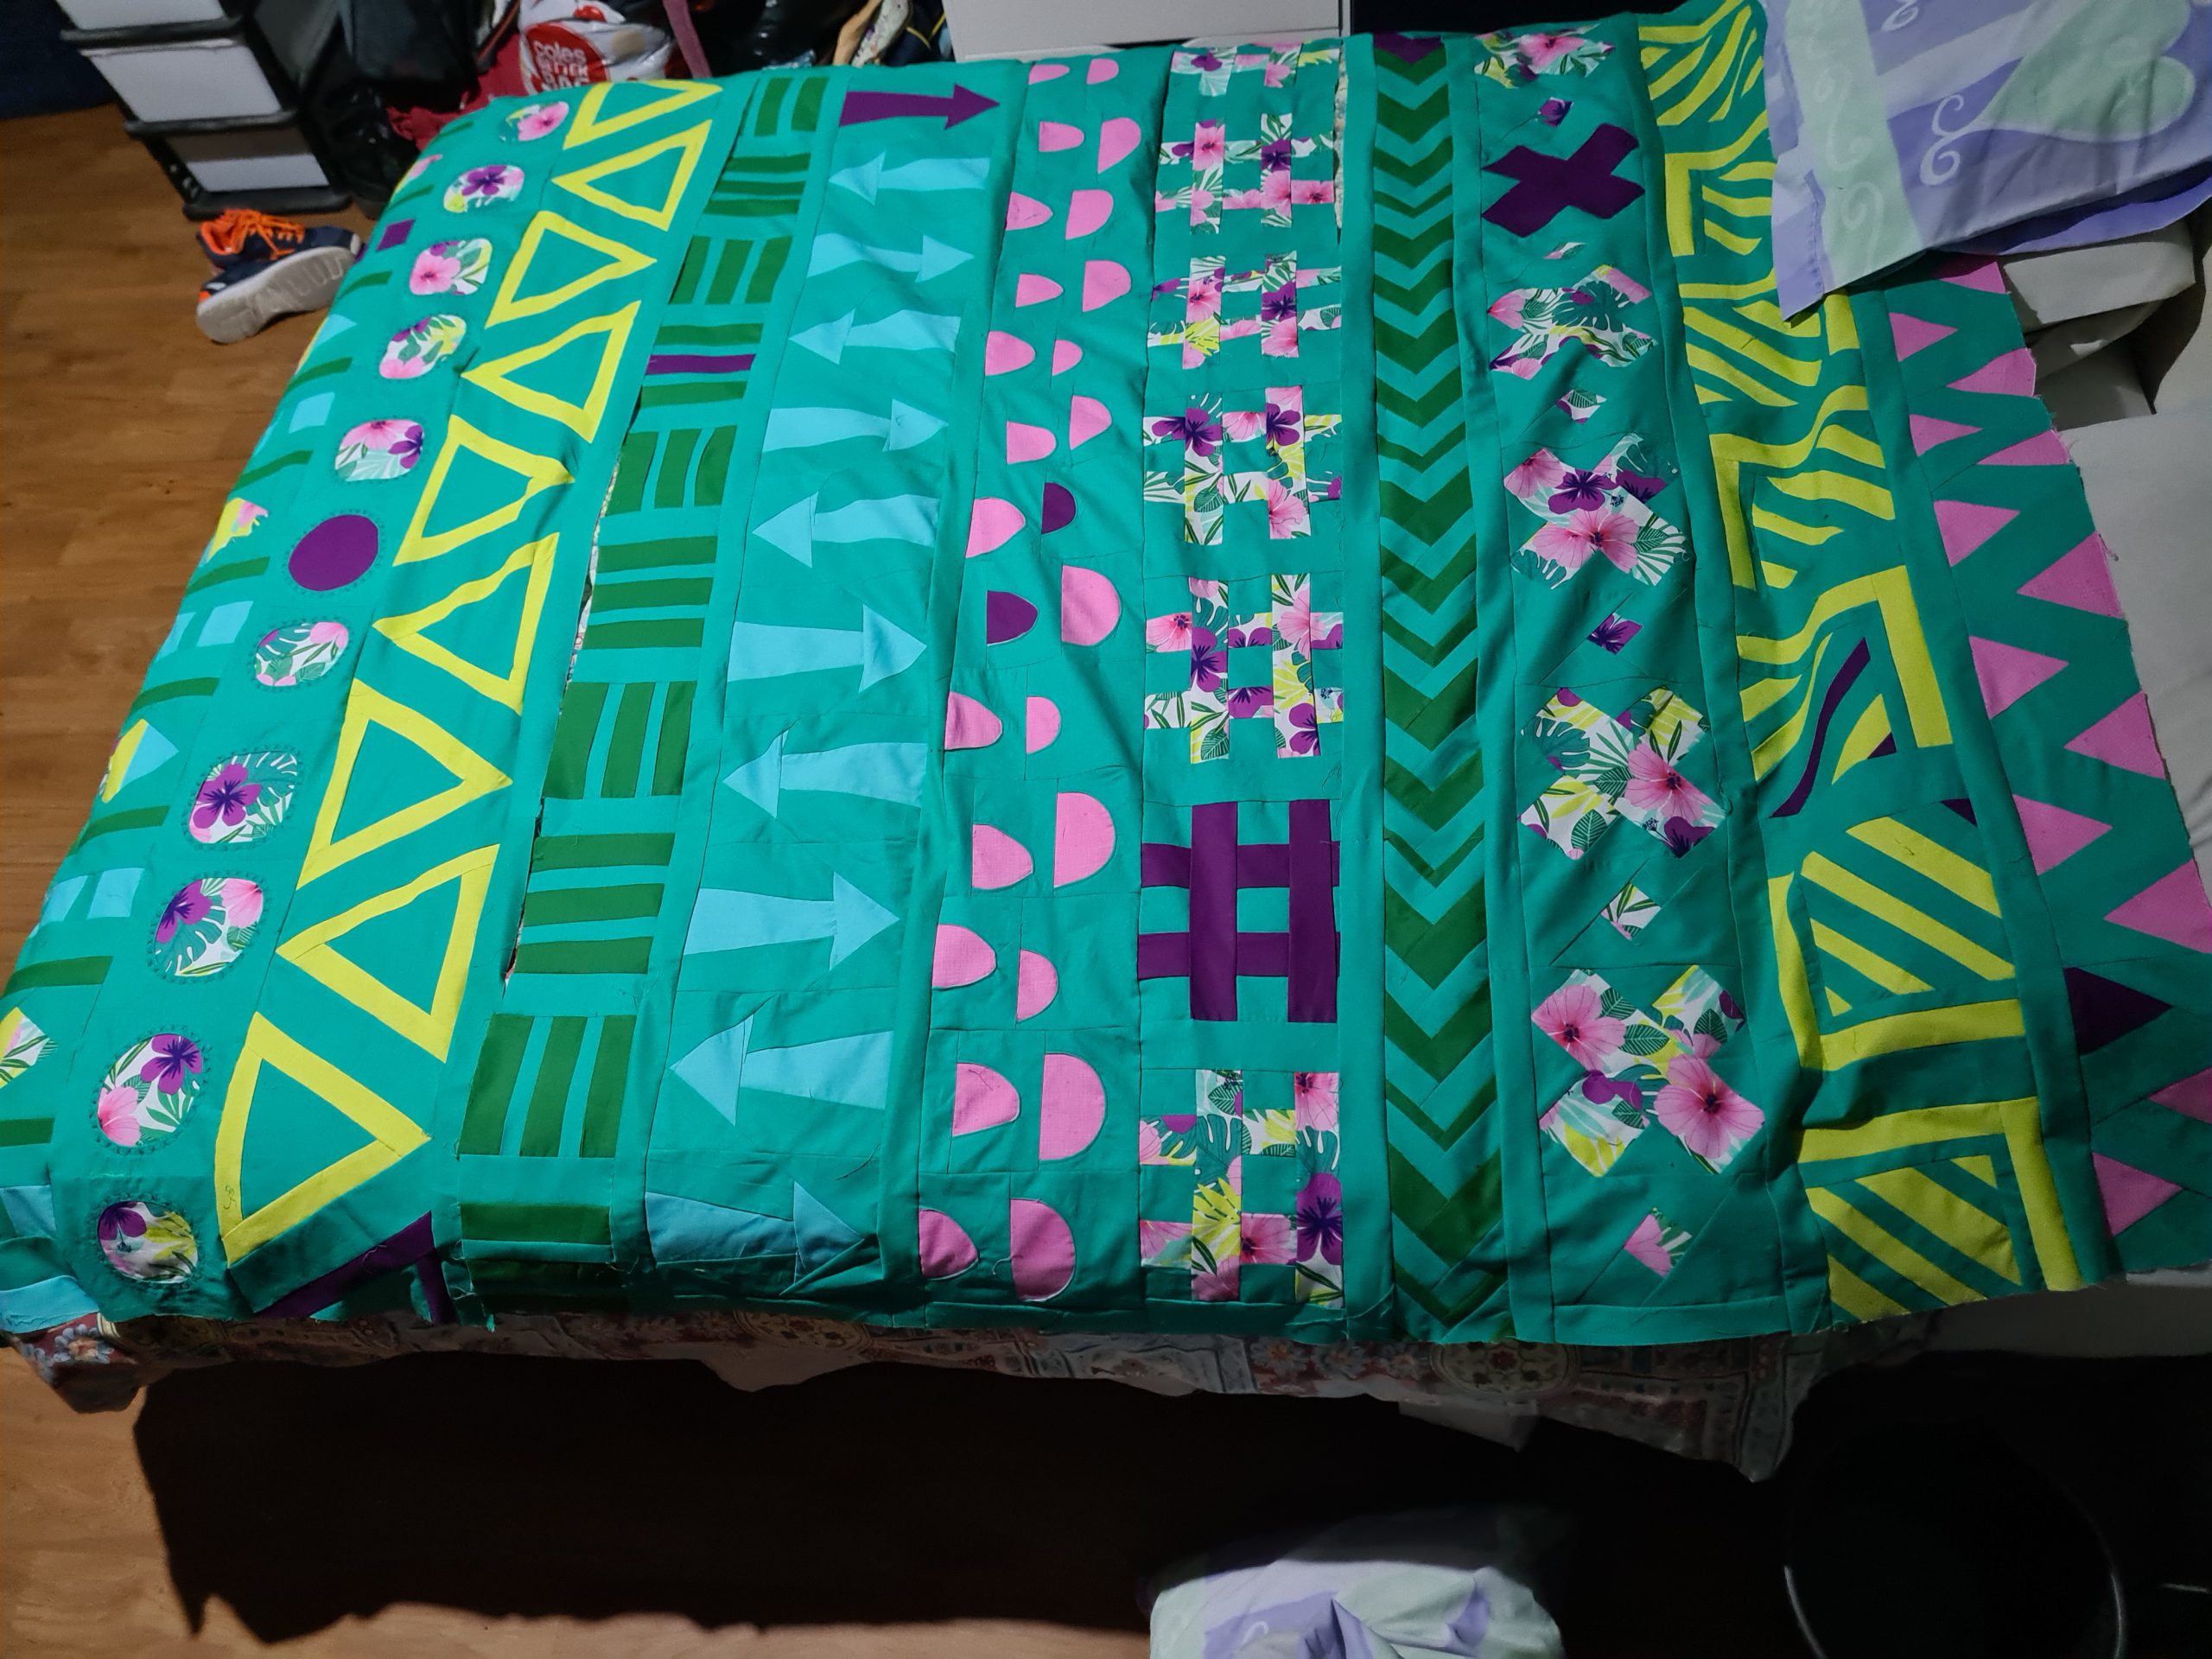
Thanks so much for the awesome QAL in a less than awesome year! It was always great to look forward to another challenge! Learned so much! All the best Irene!
thank you Irene , I enjoyed the QAL , my first one , I learned so much a long the way especially since I am beginner with your teaching , I love FPP , your teaching style is very clear and easy to understand .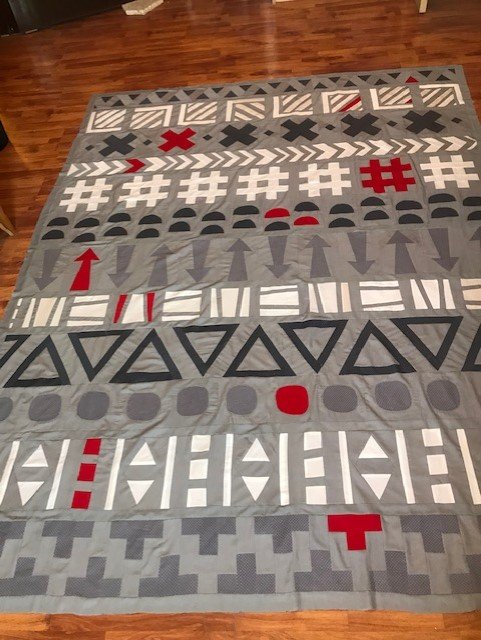
Hi there. How can I post my picture on the right blog? I see other pictures but do not see where I can post mine.
Sashed and Rows in three sections for layering and quilting. Thank you Bernina and Irene for a fun year.
sorry I posted the wrong picture!!!
Thanks Irene! This was such a fun and cheery project. Just what was needed for this year!
I did it! This is the biggest quilt top I’ve ever made. Will definitely have to get this one professionally quilted, my domestic is too small for that.
Maine Coast, USA
70.5″ x 90.5″ It was a bit surreal to finally put the rows together, after having them in separate rows for many months. Firsts for me: first QAL, first FPP, first Reverse Applique. I really adore Irene’s enthusiasm, fun spirit, and freedom when quilting. I’m looking forward to quilting this & then gifting it to my niece for Christmas.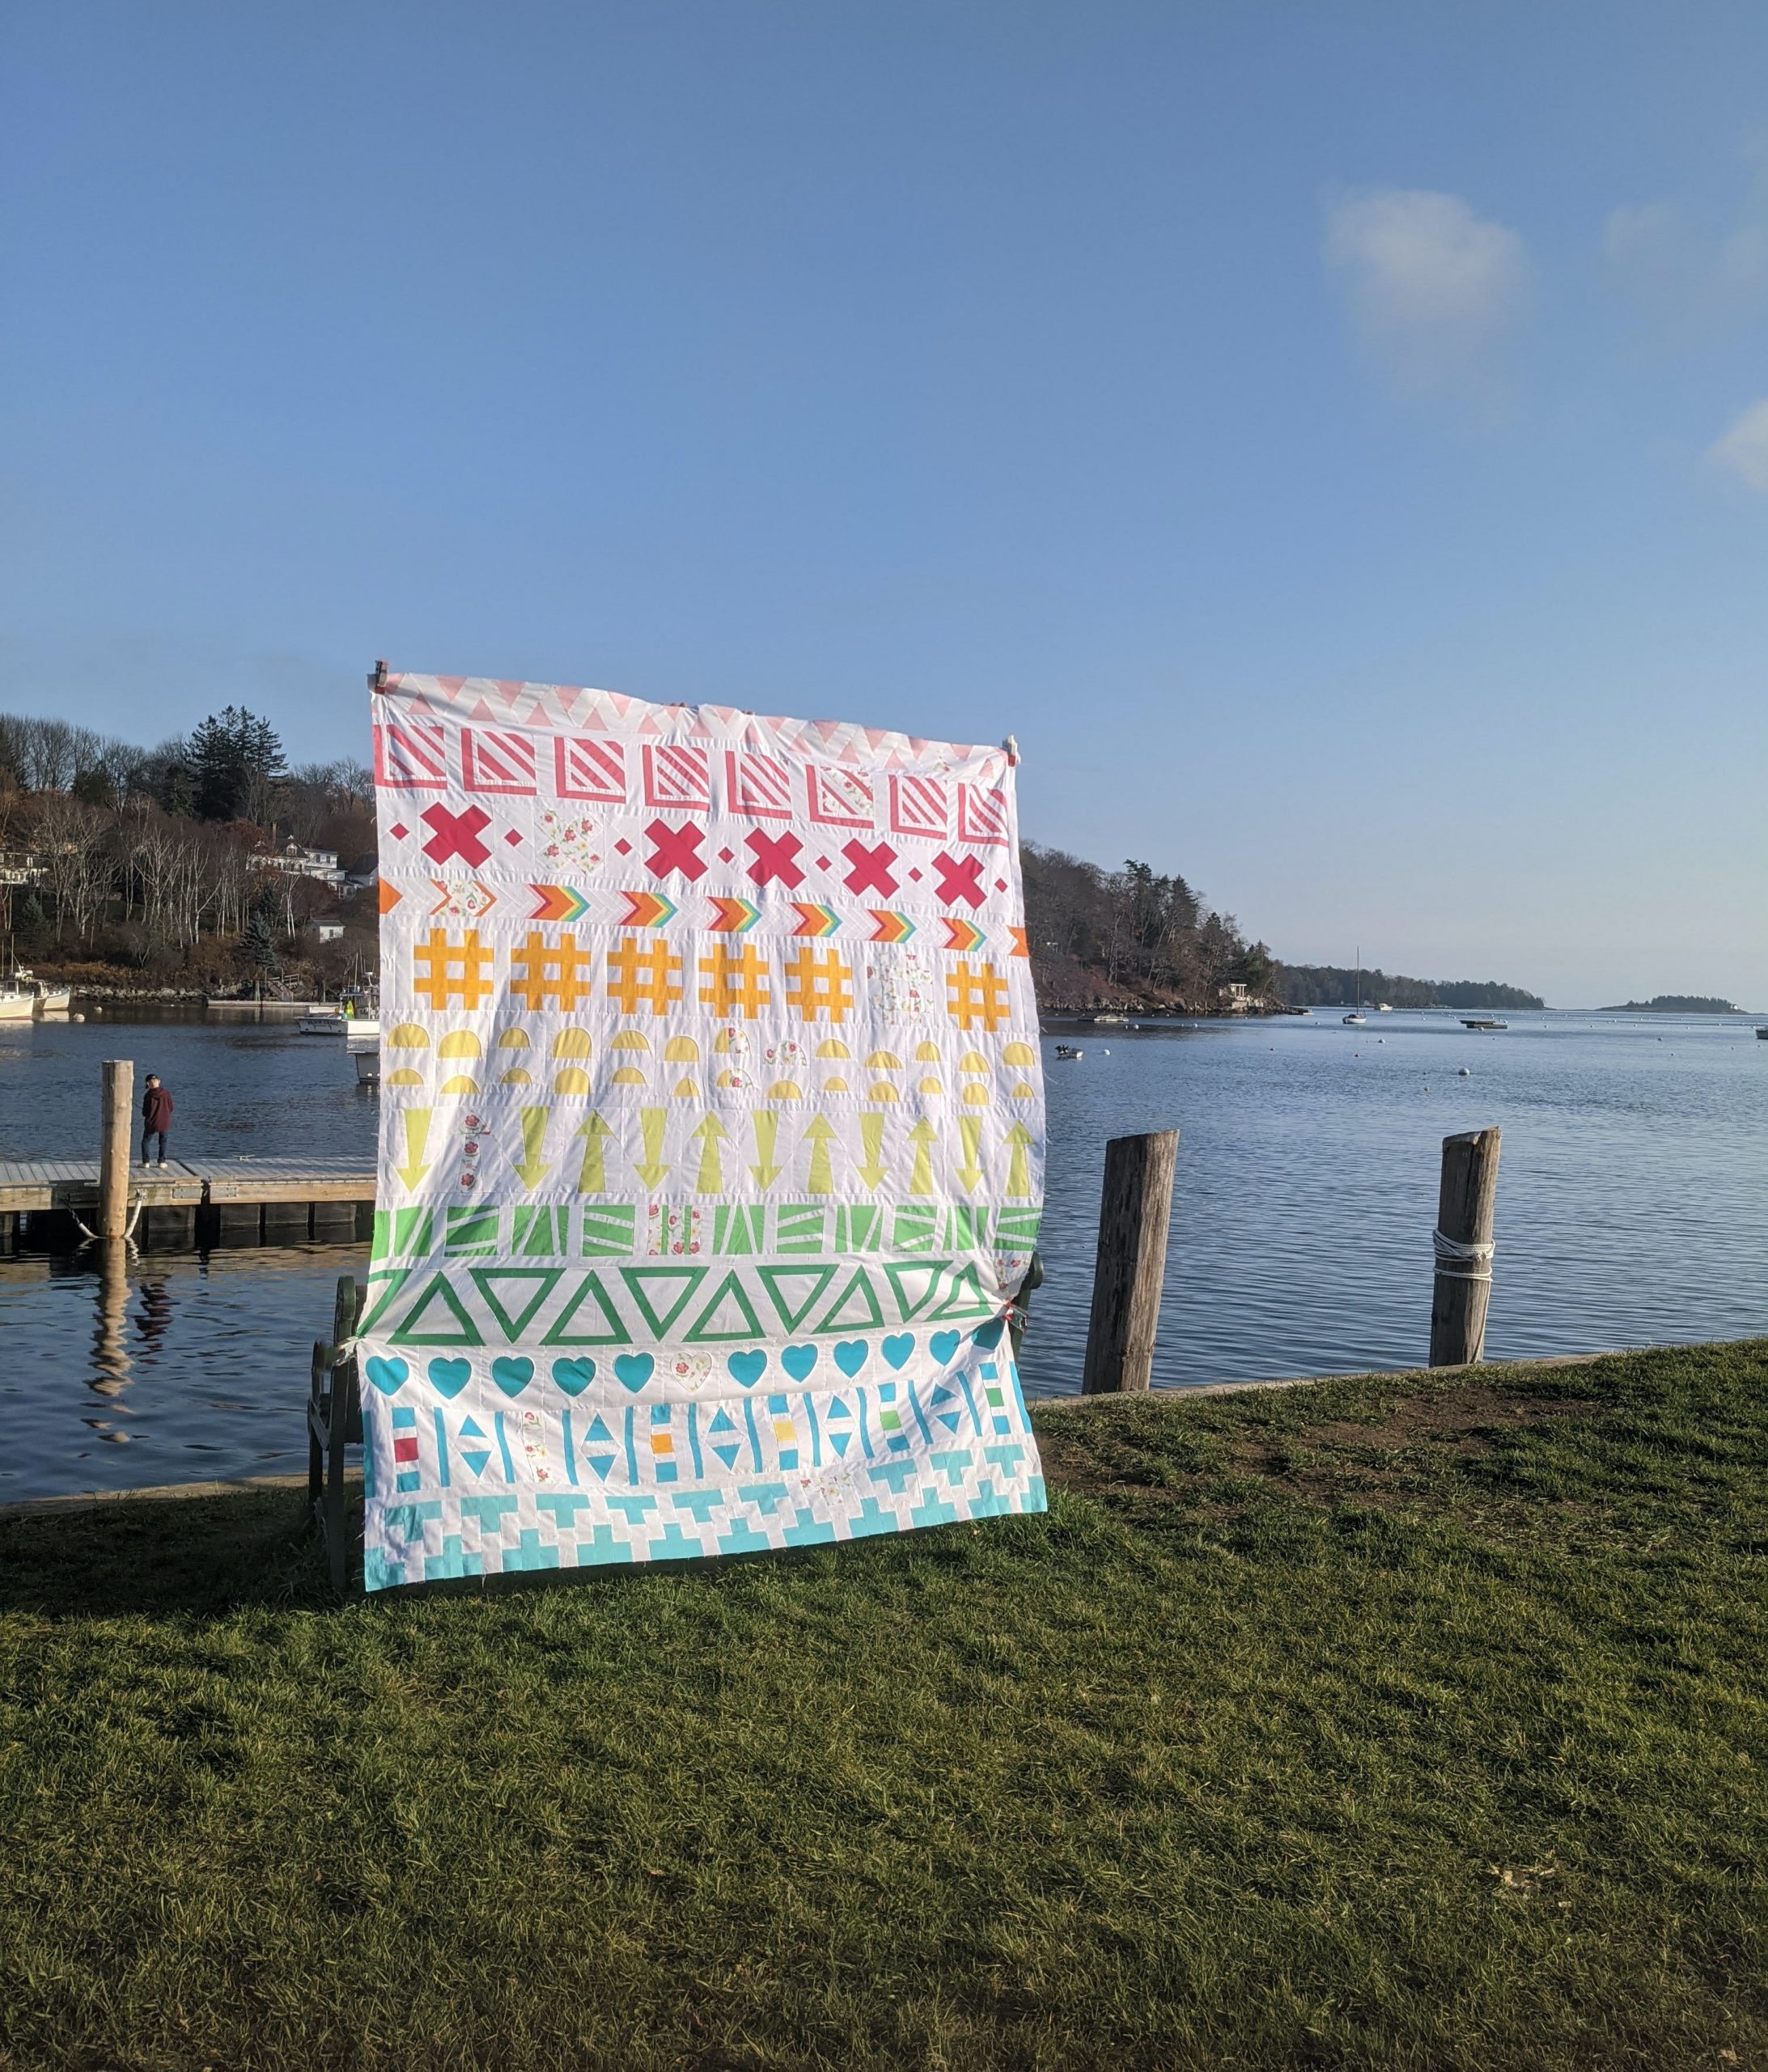
Top is sandwiched and ready to quilt by domestic sewing machine. Thank you Irene and Bernina, this quilt challenge gave us all something to look forward to during this ‘stay at home’ pandemic.
Top is sandwiched and ready to quilt by domestic sewing machine. Thank you Irene and Bernina, this quilt challenge gave us all something to look forward to during this ‘stay at home’ pandemic.
final 3 parts 😀
Yeah. Top is done. Now to quilt.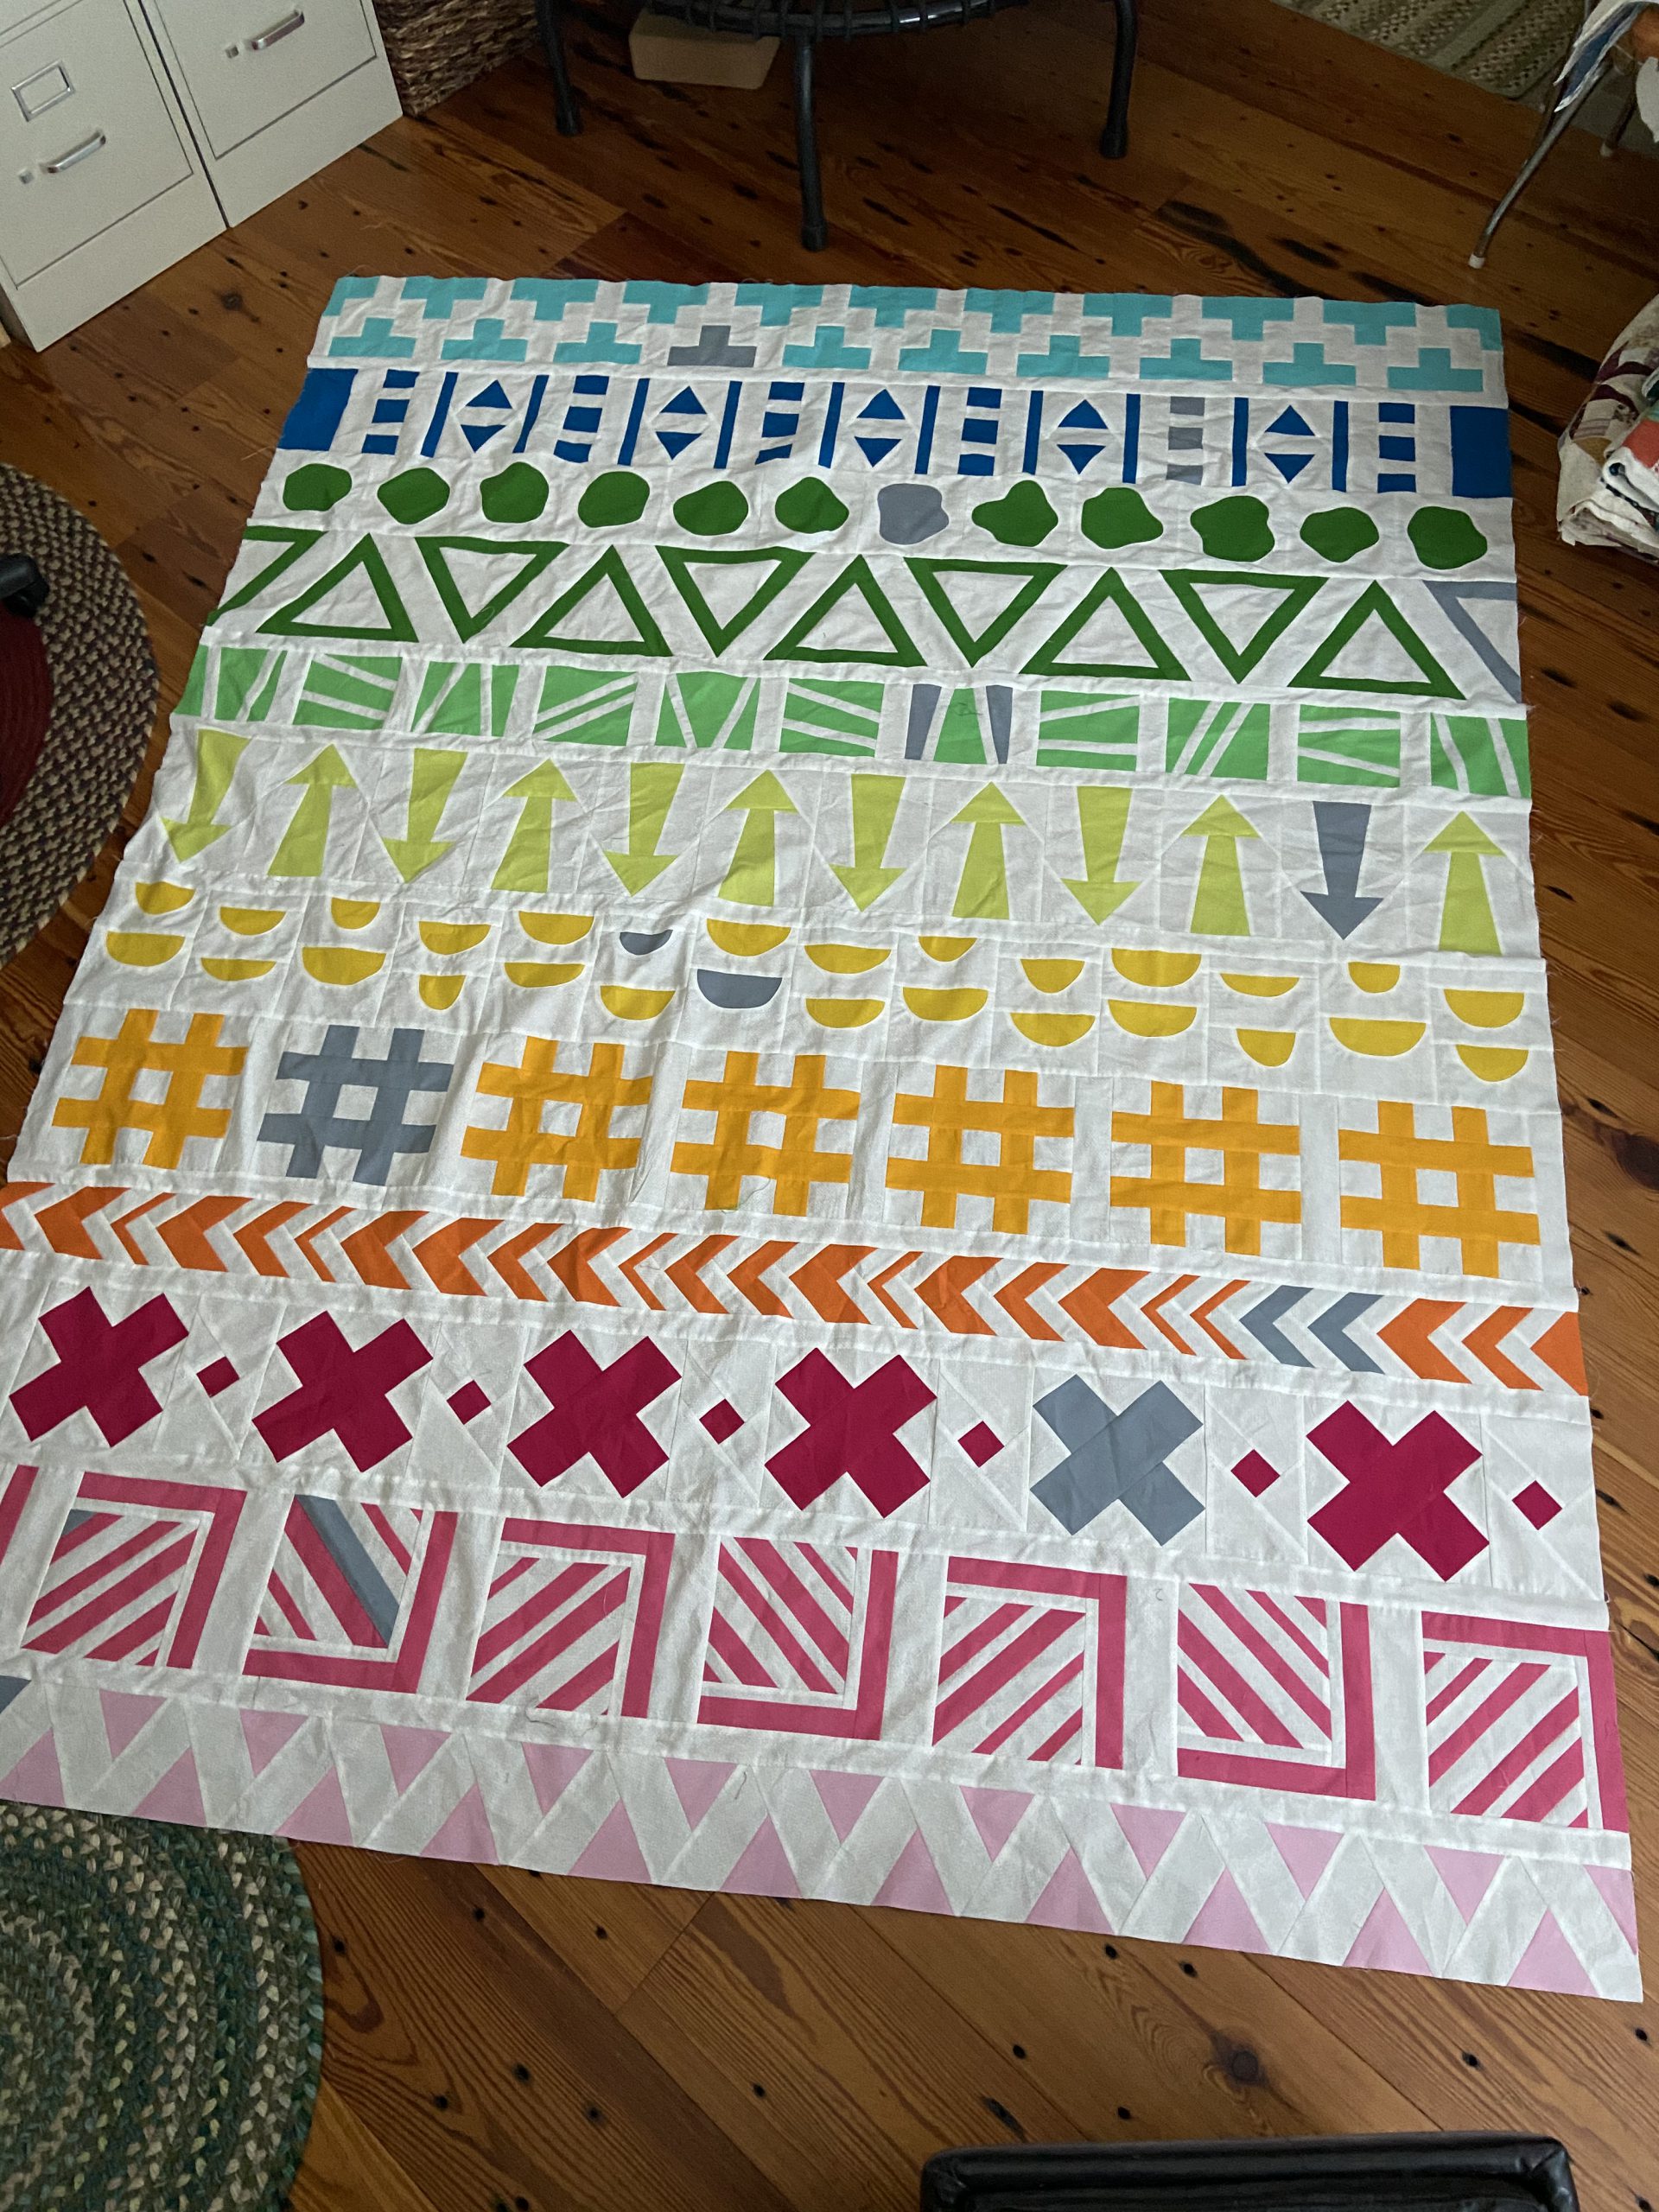
I had so much fun with this QAL – Top finally together and ready for trim, borders, and finishing. Love it. Thanks so much Irene and hope you are planning another one. Take Care.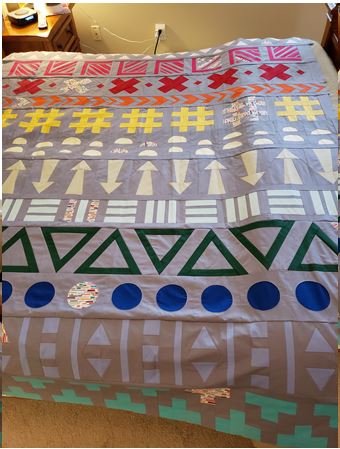
I have thoroughly enjoyed the process of making this quilt and having something new each month to focus on. I am looking forward to the quilting also. Thanks for this free project.
Absolutely beautiful!
Thankyou so much, It has been fun, with a few oh no, do it again moments! My quilt looks lovely. Have really enjoyed all the rows. Looking forward to more videos.
Karen Brown is there some way to see your quilt? I enjoyed your interview with Irene.
I am just so very excited to get all the rows out together! I was able to get half of it assembled today and will work on the other half tomorrow :). Something to look forward to! Thank you so much for such a fun project!
more later! ?
Oh, and so many pretty quilts and quilt tops already! ?
Thank you for a fun project!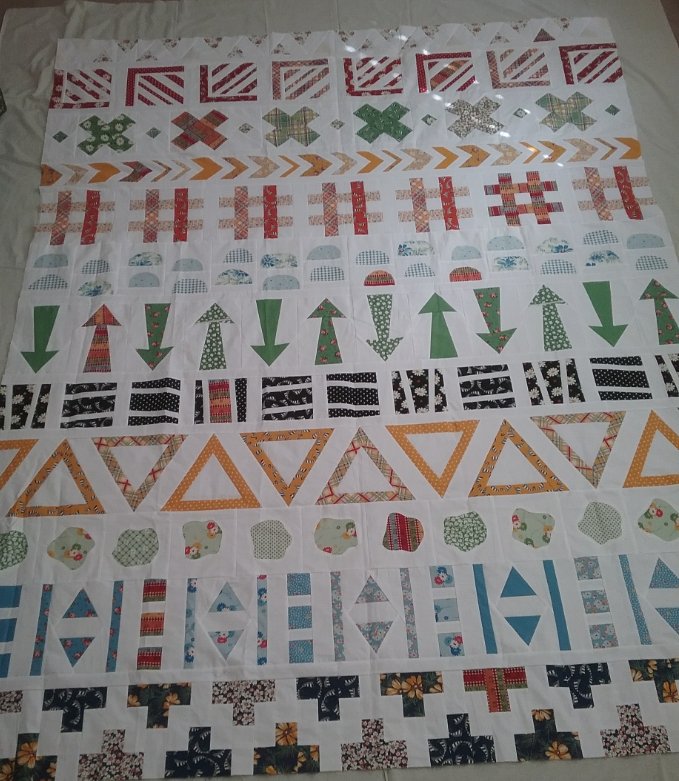
I love how scrappy it looks with all the different fabrics. Which I had thought of that. Good Job!!!!
The fabric was bright, happy and uplifting colours. This was the perfect match for these fabrics!
I love, love, love your fabric choices! This is so inviting and fun!
I so enjoyed this project and learned so much through your different techniques.