Color block your sweater
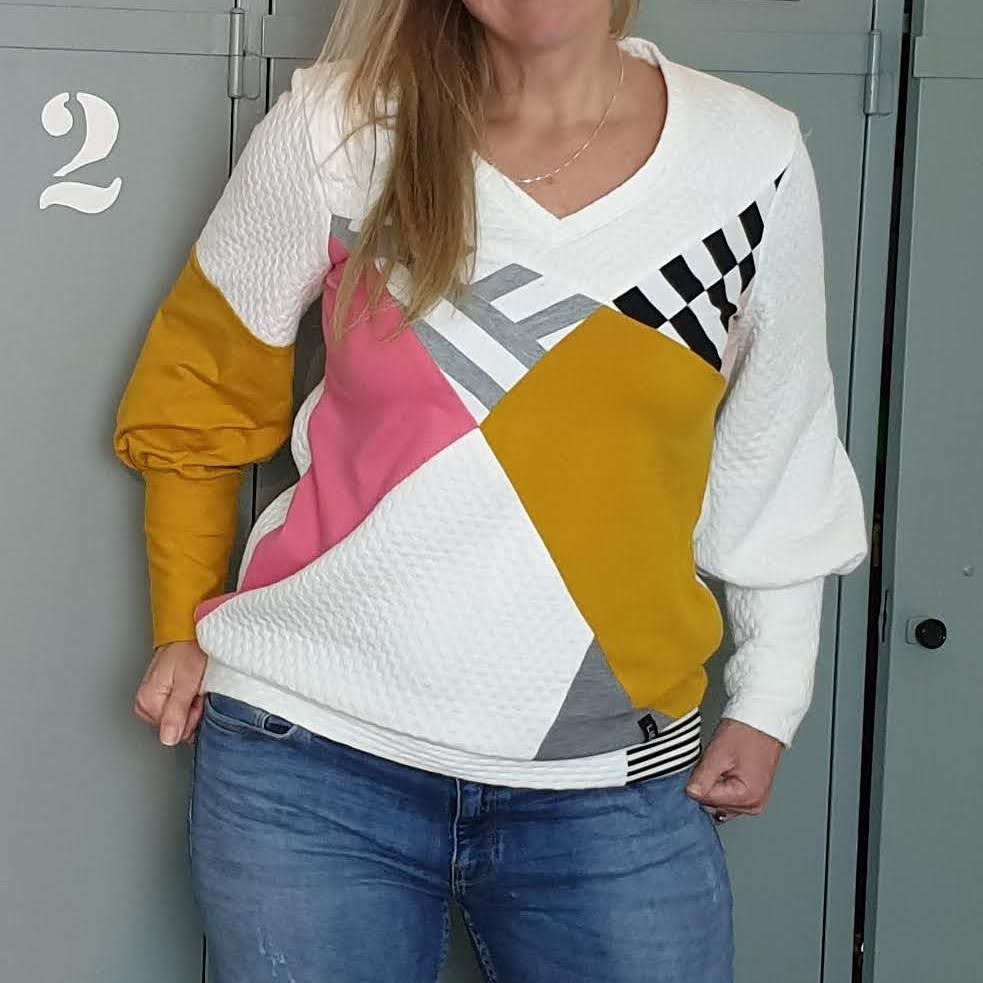
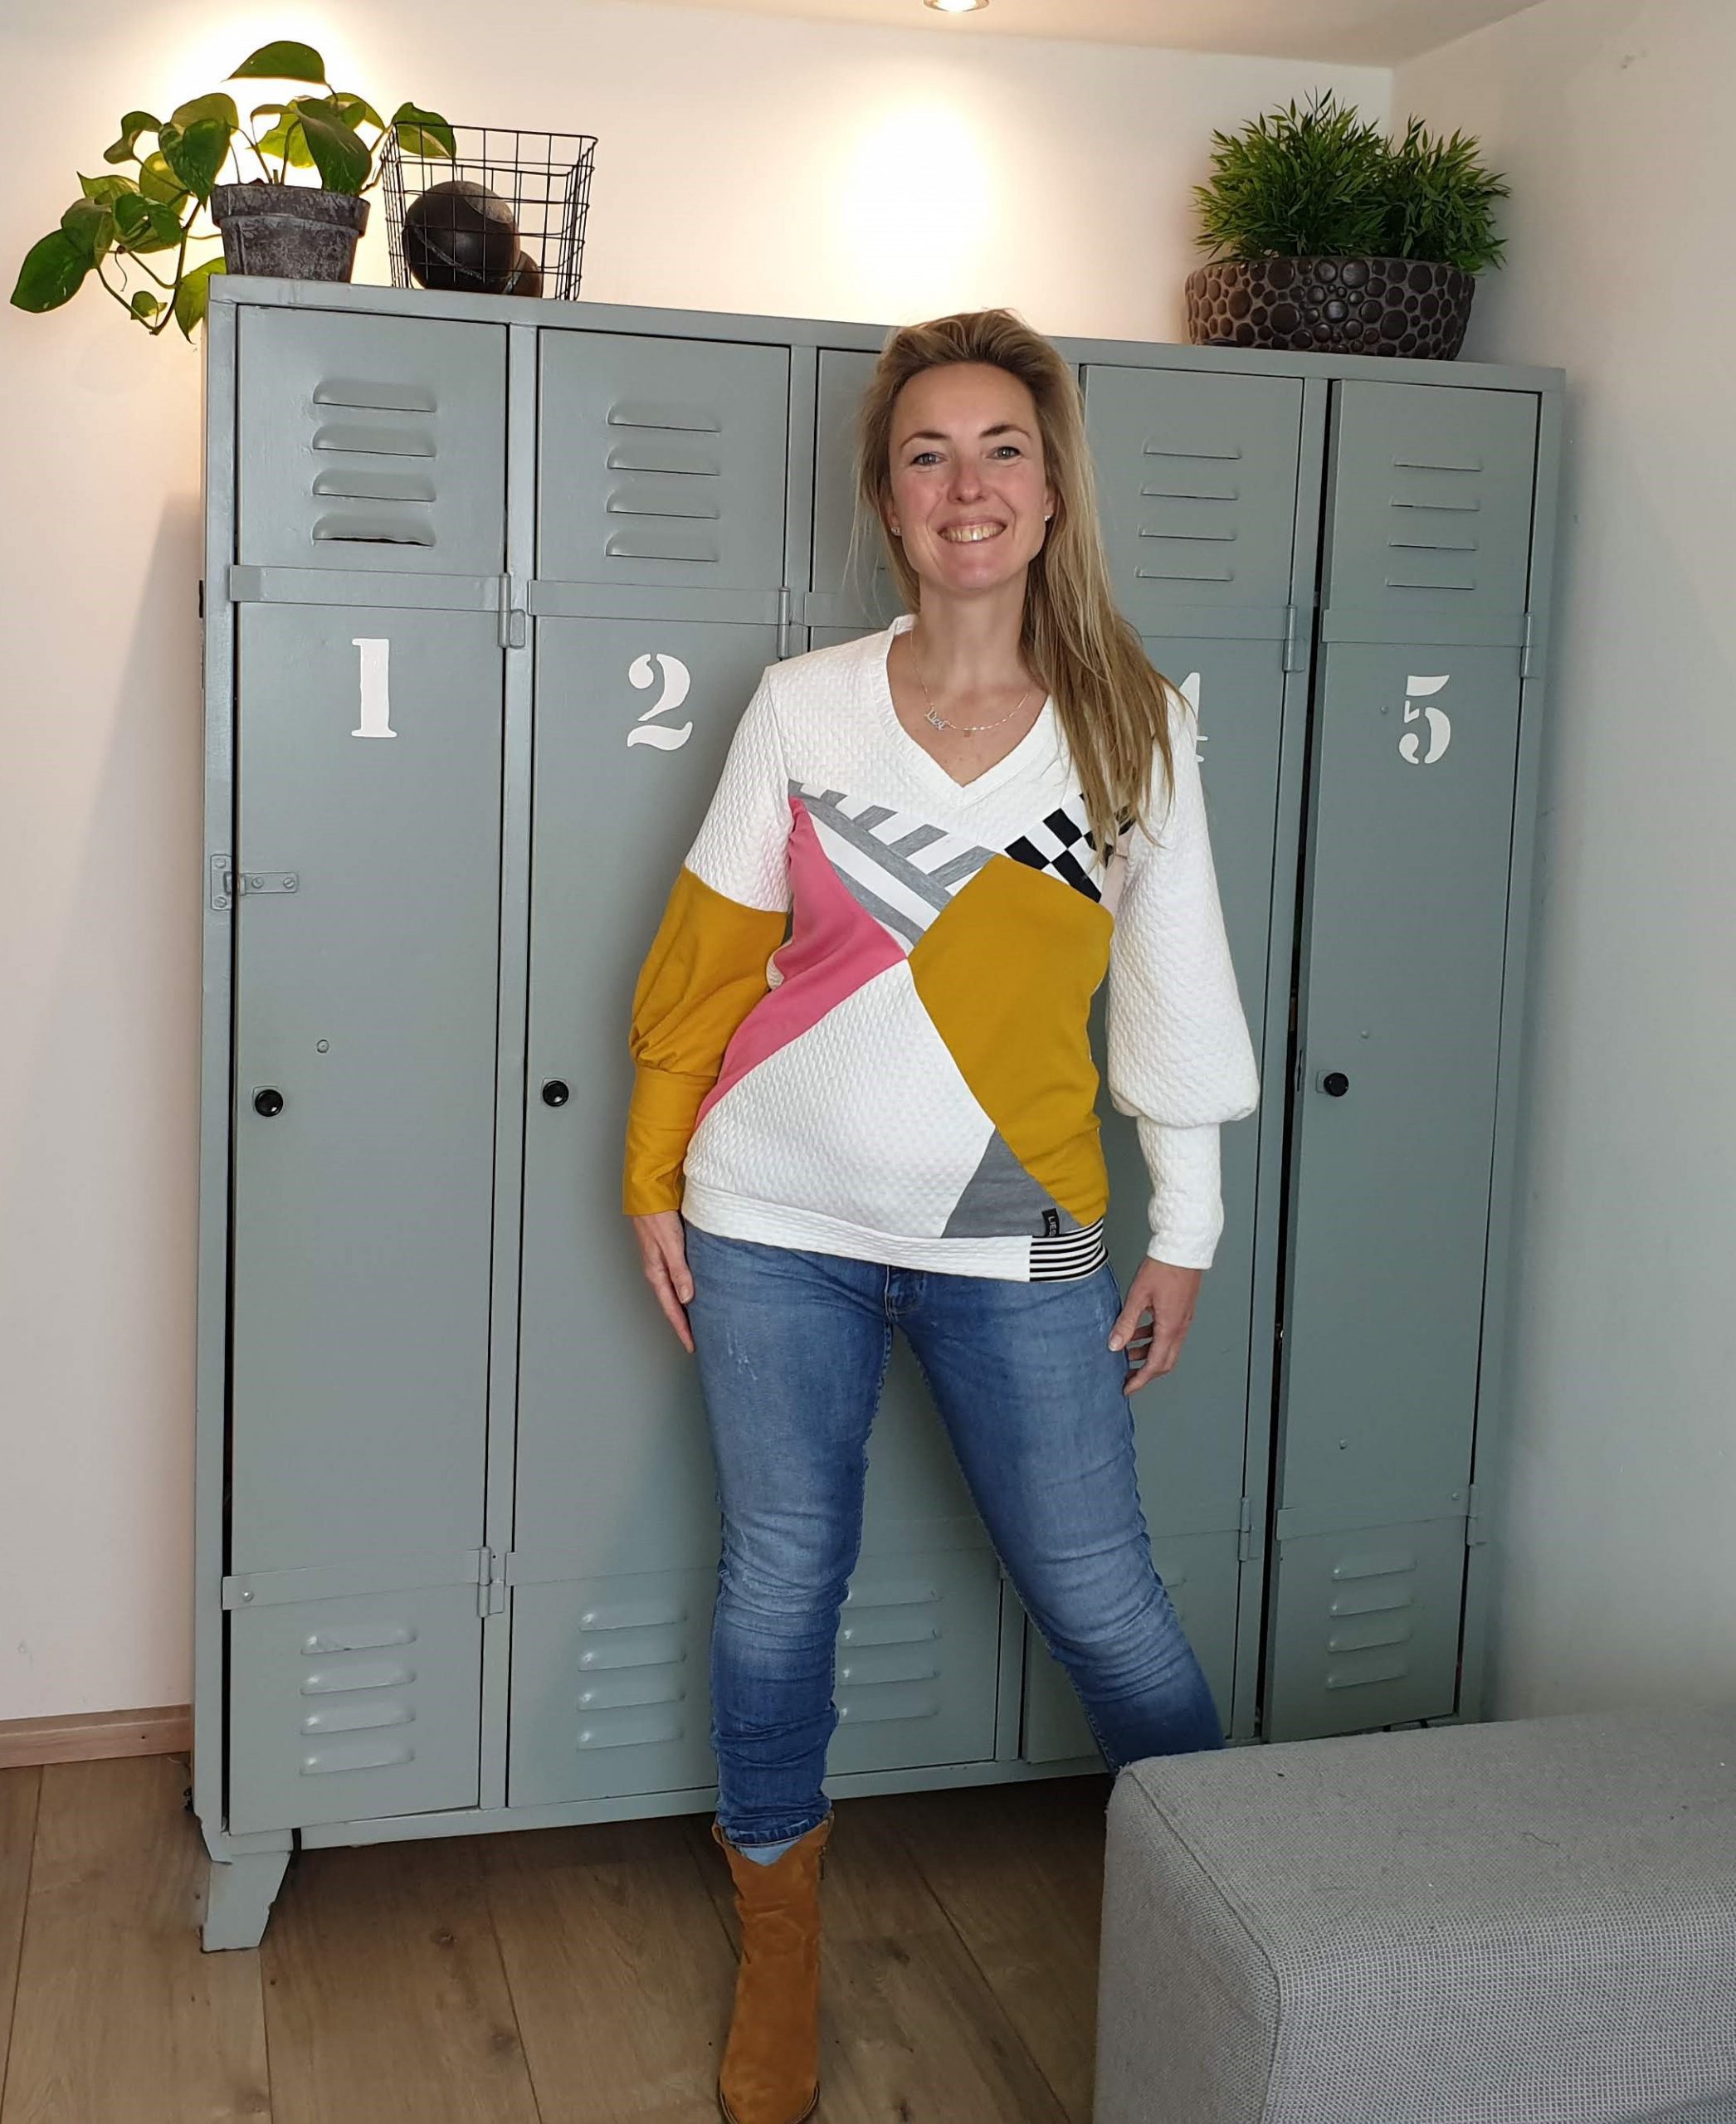
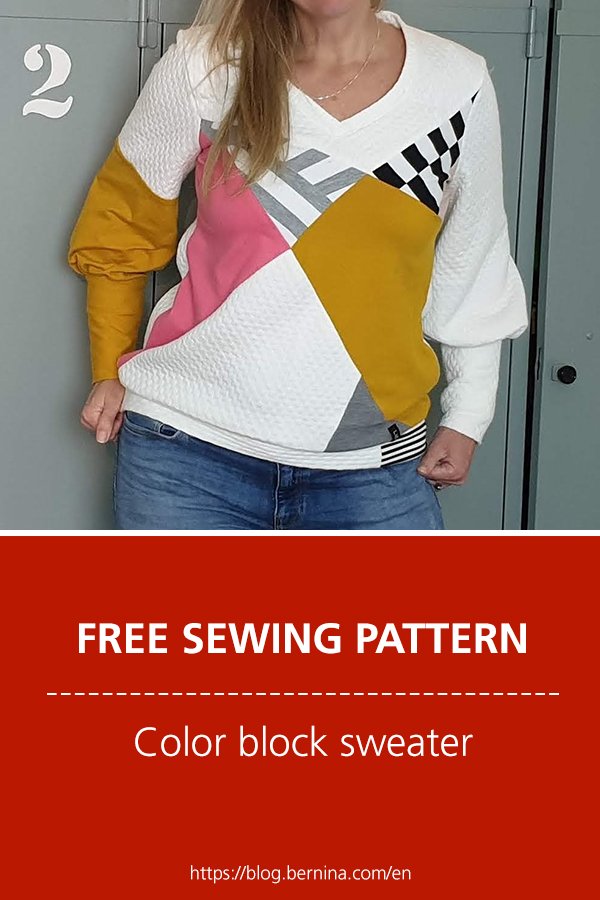
When you haven’t enough fabric for a piece, but you have loads of scraps. Just piece them together and create a new fabric. I did just that making this fun color blocked sweater. In this blog I will take you on my sewing journey. From pattern testing till color blocking.
The pattern is free, the color blocking is a DIY.
Pattern testing
Last month I was one of the pattern testers of the Vera top. My first testers adventure. So fun. In a private Facebook group all testers shared their experience making this top. Given that we are all different shaped it is quite a task to design a pattern that fits all. After a few tweaks by the desinger ‘Forget me not Patterns’, this top is now free to download:
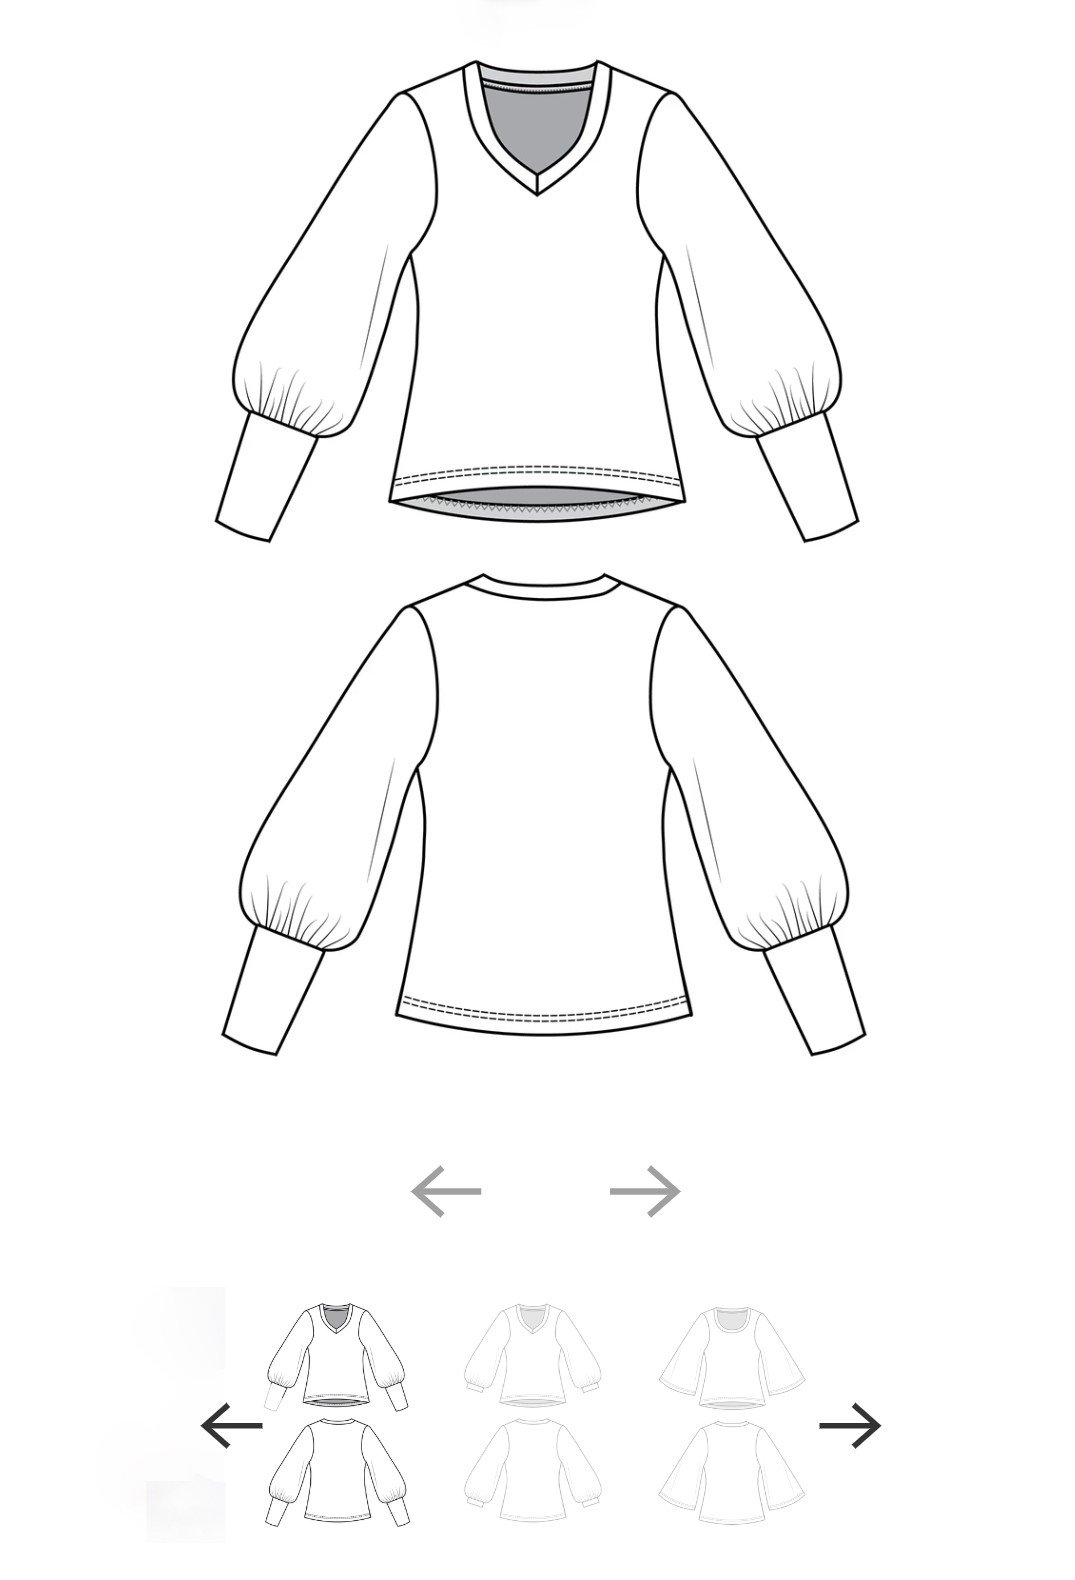
The Vera top is designed for knit fabrics with a fun, full sleeve and an elegantly subtle V-neck. You can choose to use a long or small cuff and even leave the cuff off for a simple flared sleeve.
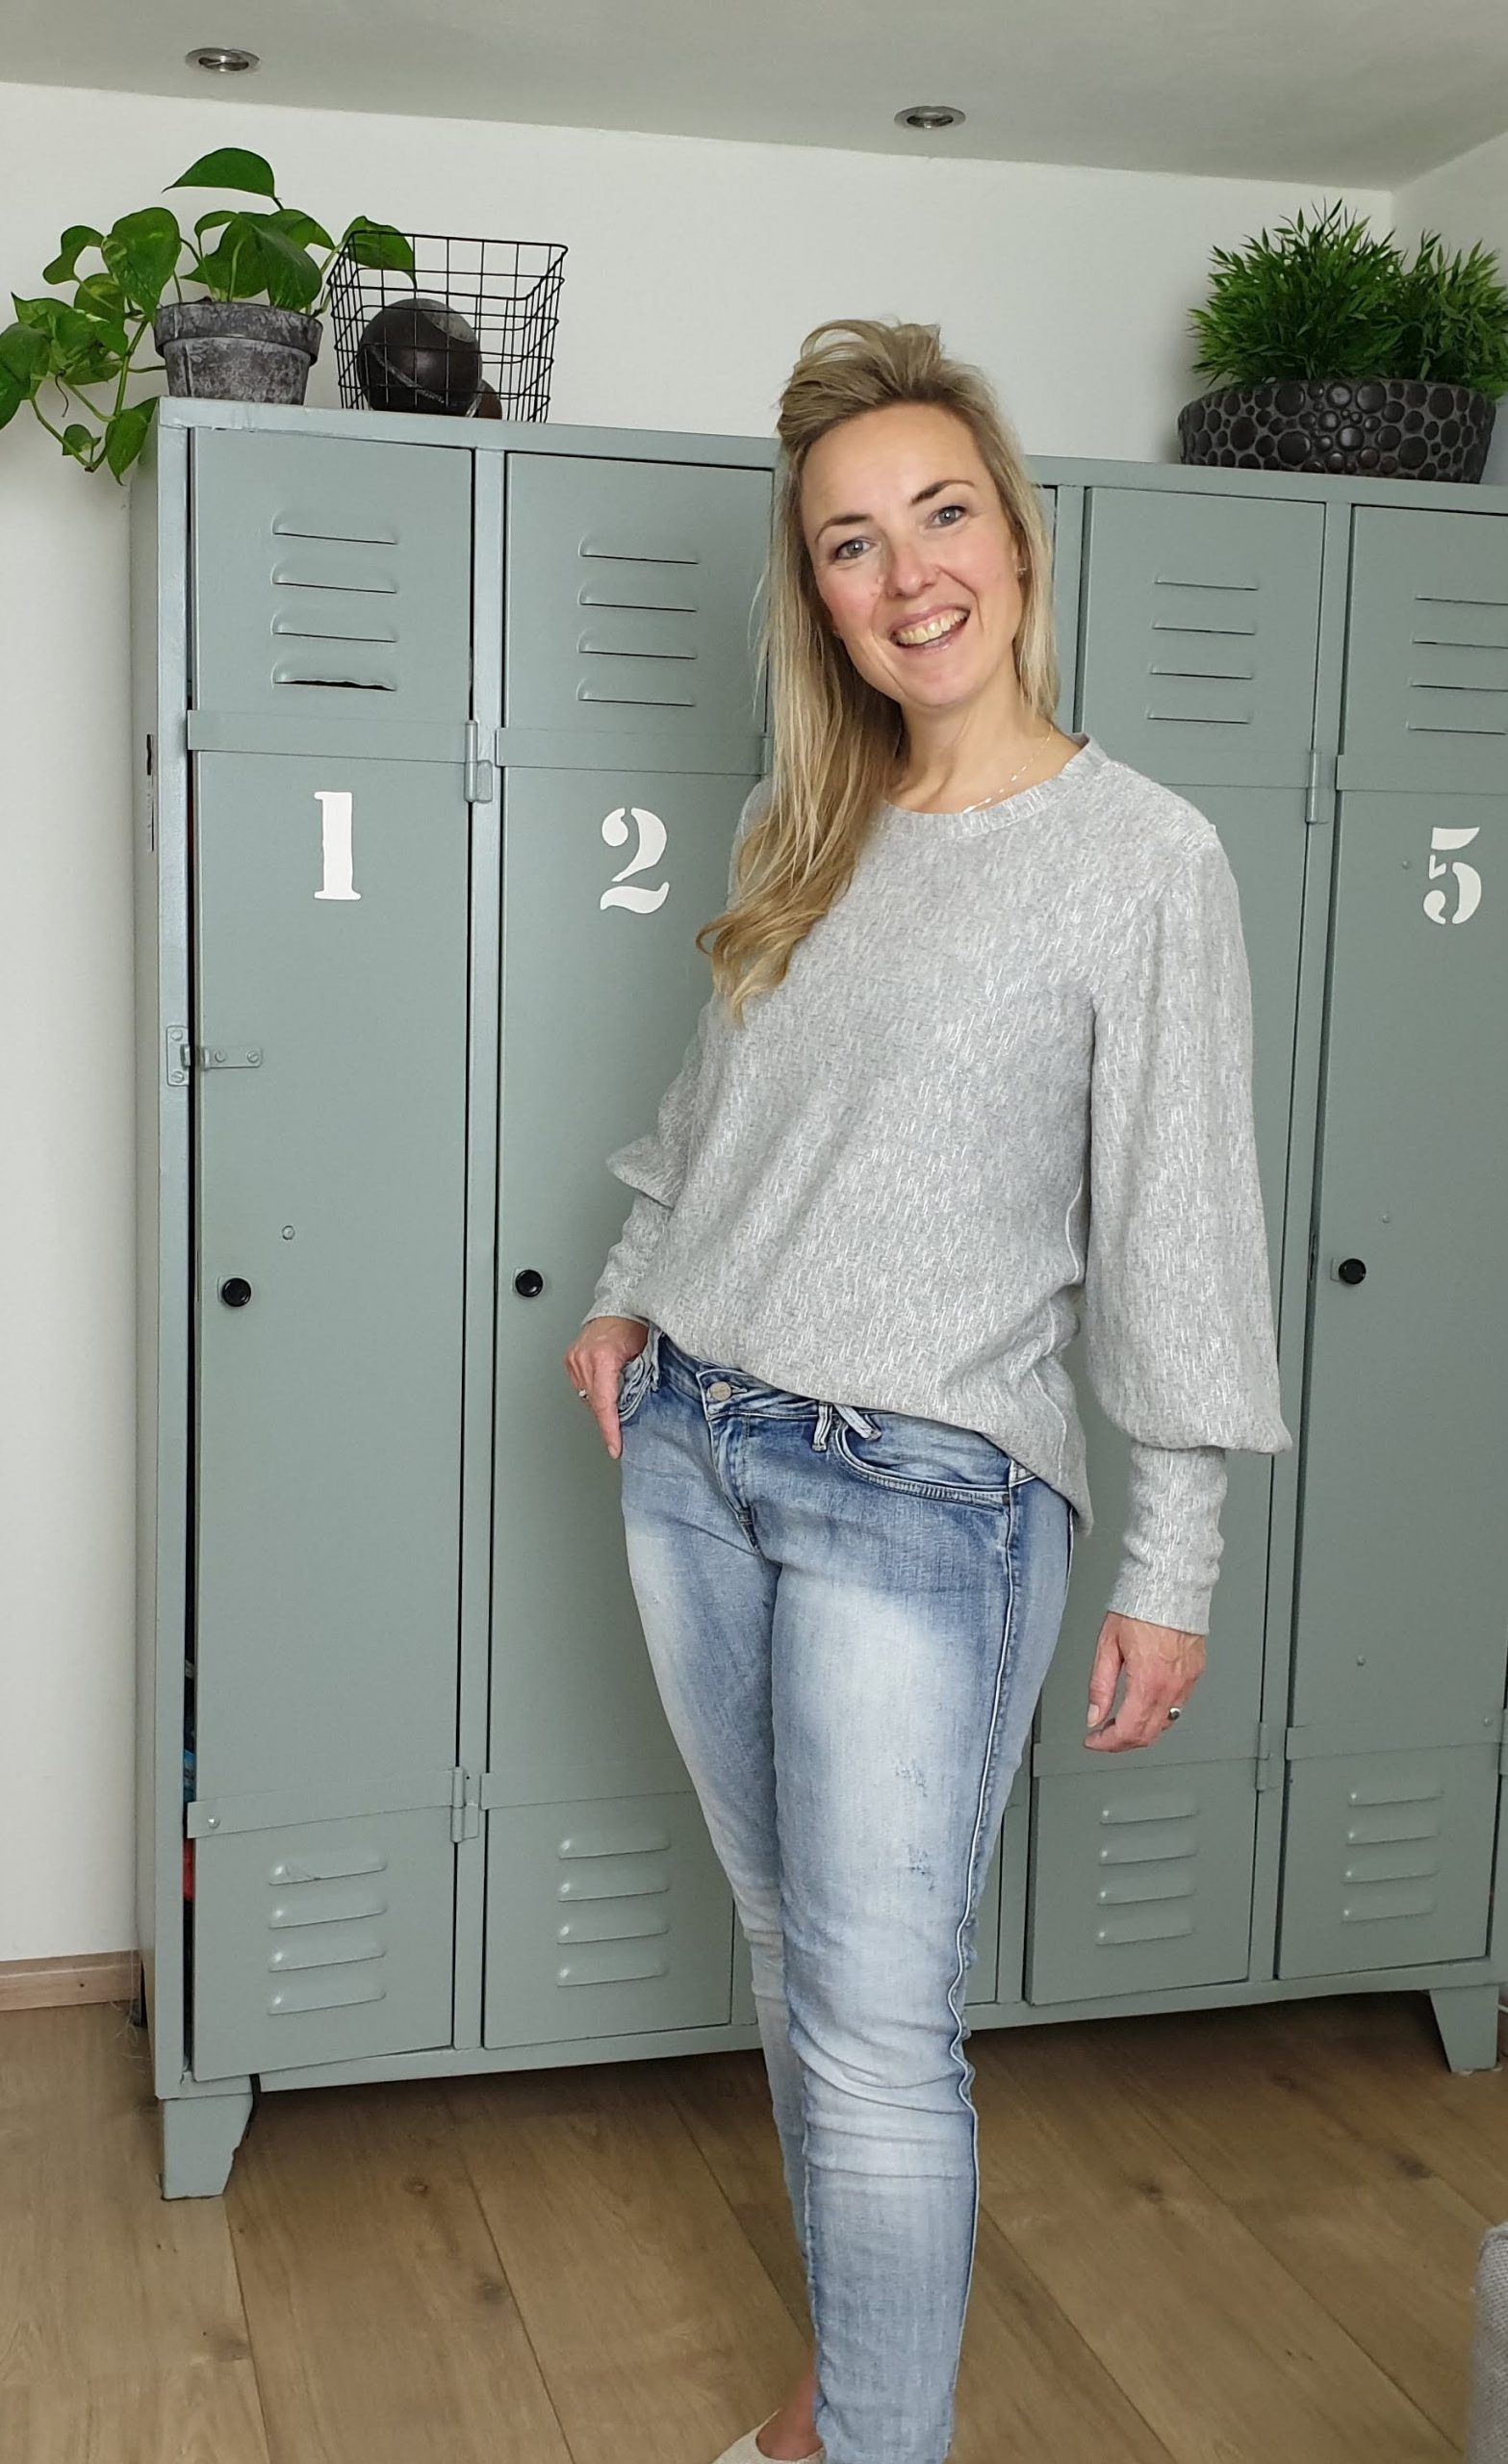
My first try was a version with a scoop neck. Slightly easier to sew. This is a paid expansion to the pattern (not expensive, by the way). Making this first version I forgot the seam allowance were included, so the fit is looser than intended. I quite like it.
Next plan
I had planned to make a simple white top as a second version. I had the perfect, slightly thicker, knit fabric for it. After making the first Vera top I came up with the idea to add a waistband. This suits my shape better and it also emphasizes the sweater look of the fabric. I soon realized I didn’t have enough fabric. So I created some more fabric by the technique of Freestyle Color Blocking.
Freestyle color block
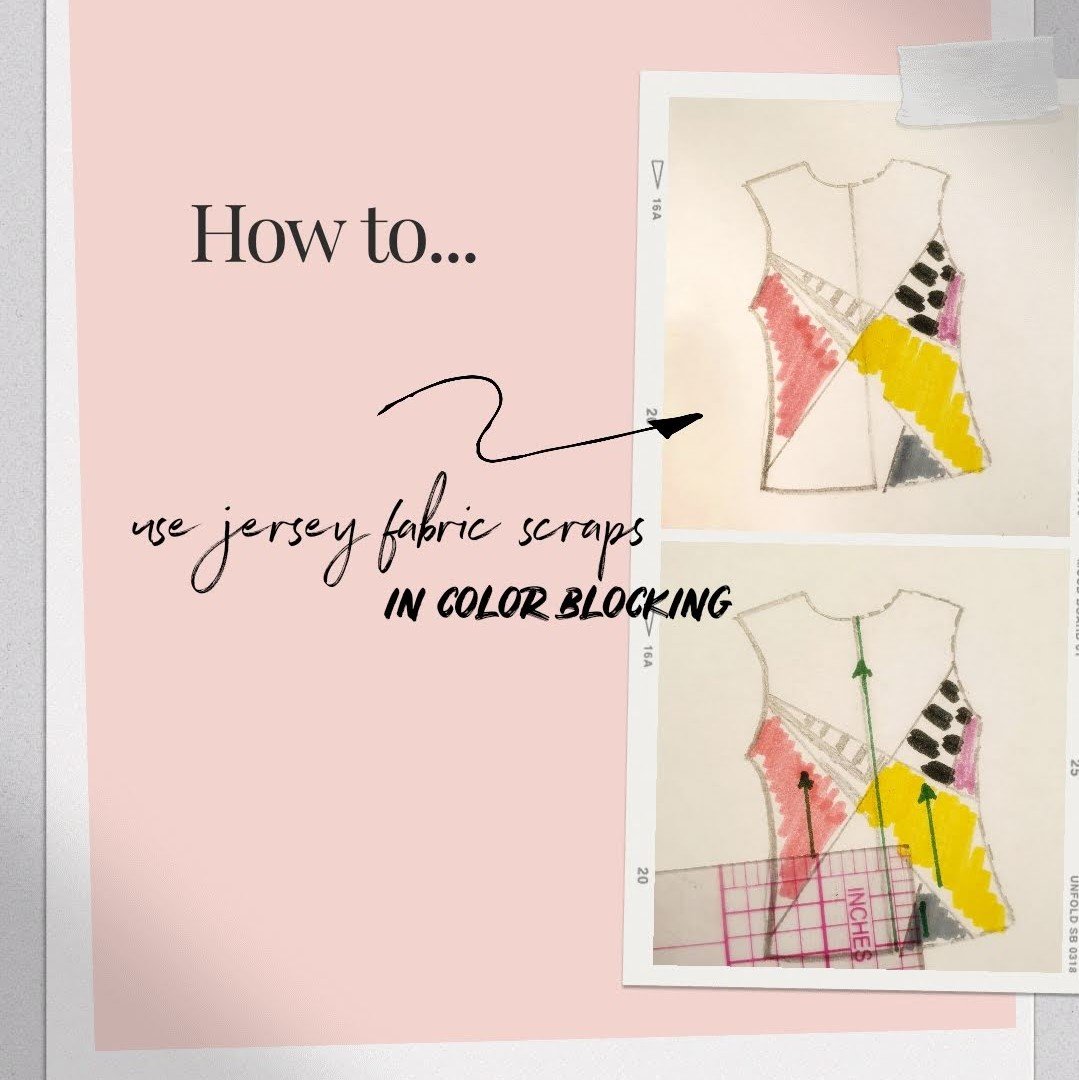
This means you ad different colors of somewhat similar fabrics and sew them together designing a new piece of fabric. I made quite a few garments using this technique, like the Liberation skirt. This time I pre-designed how to use the different fabrics by drawing the color blocked pieces onto the pattern.
On my Instagram I did a little pictorial about it. Explaining how to align the pieces using the grainline and how to determine the grainline in a scrape. Take a look.
Assembling
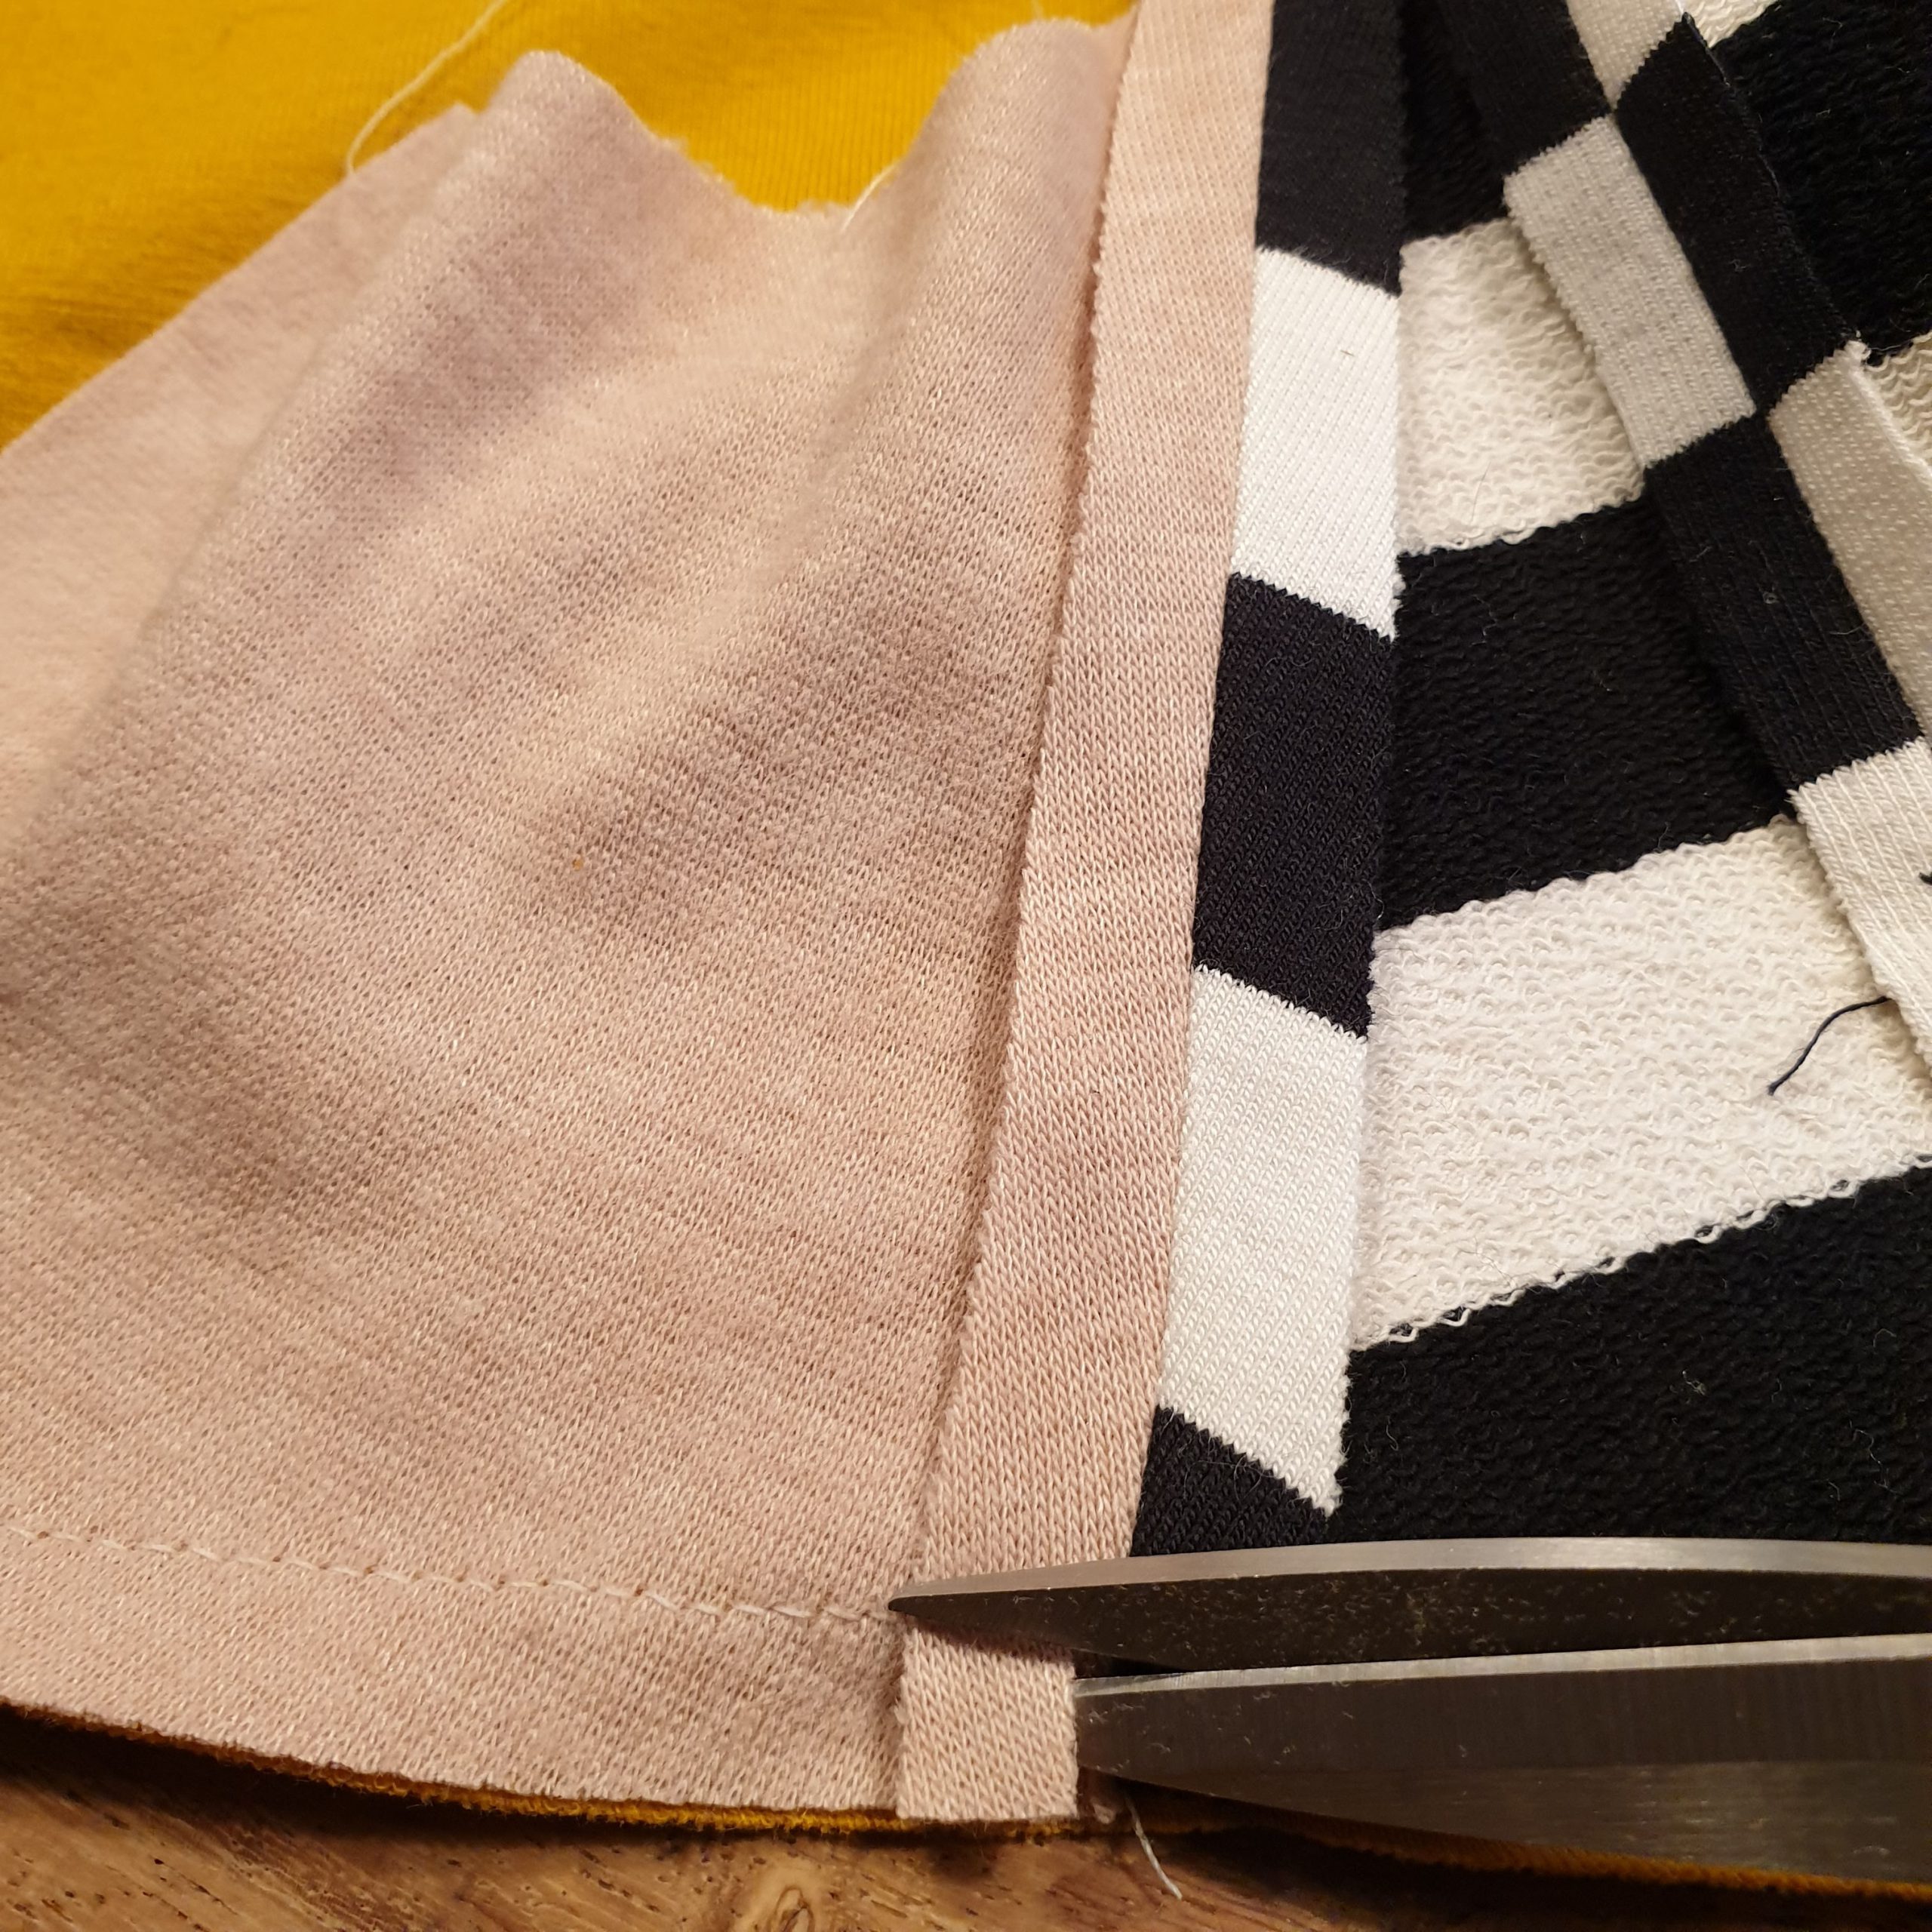
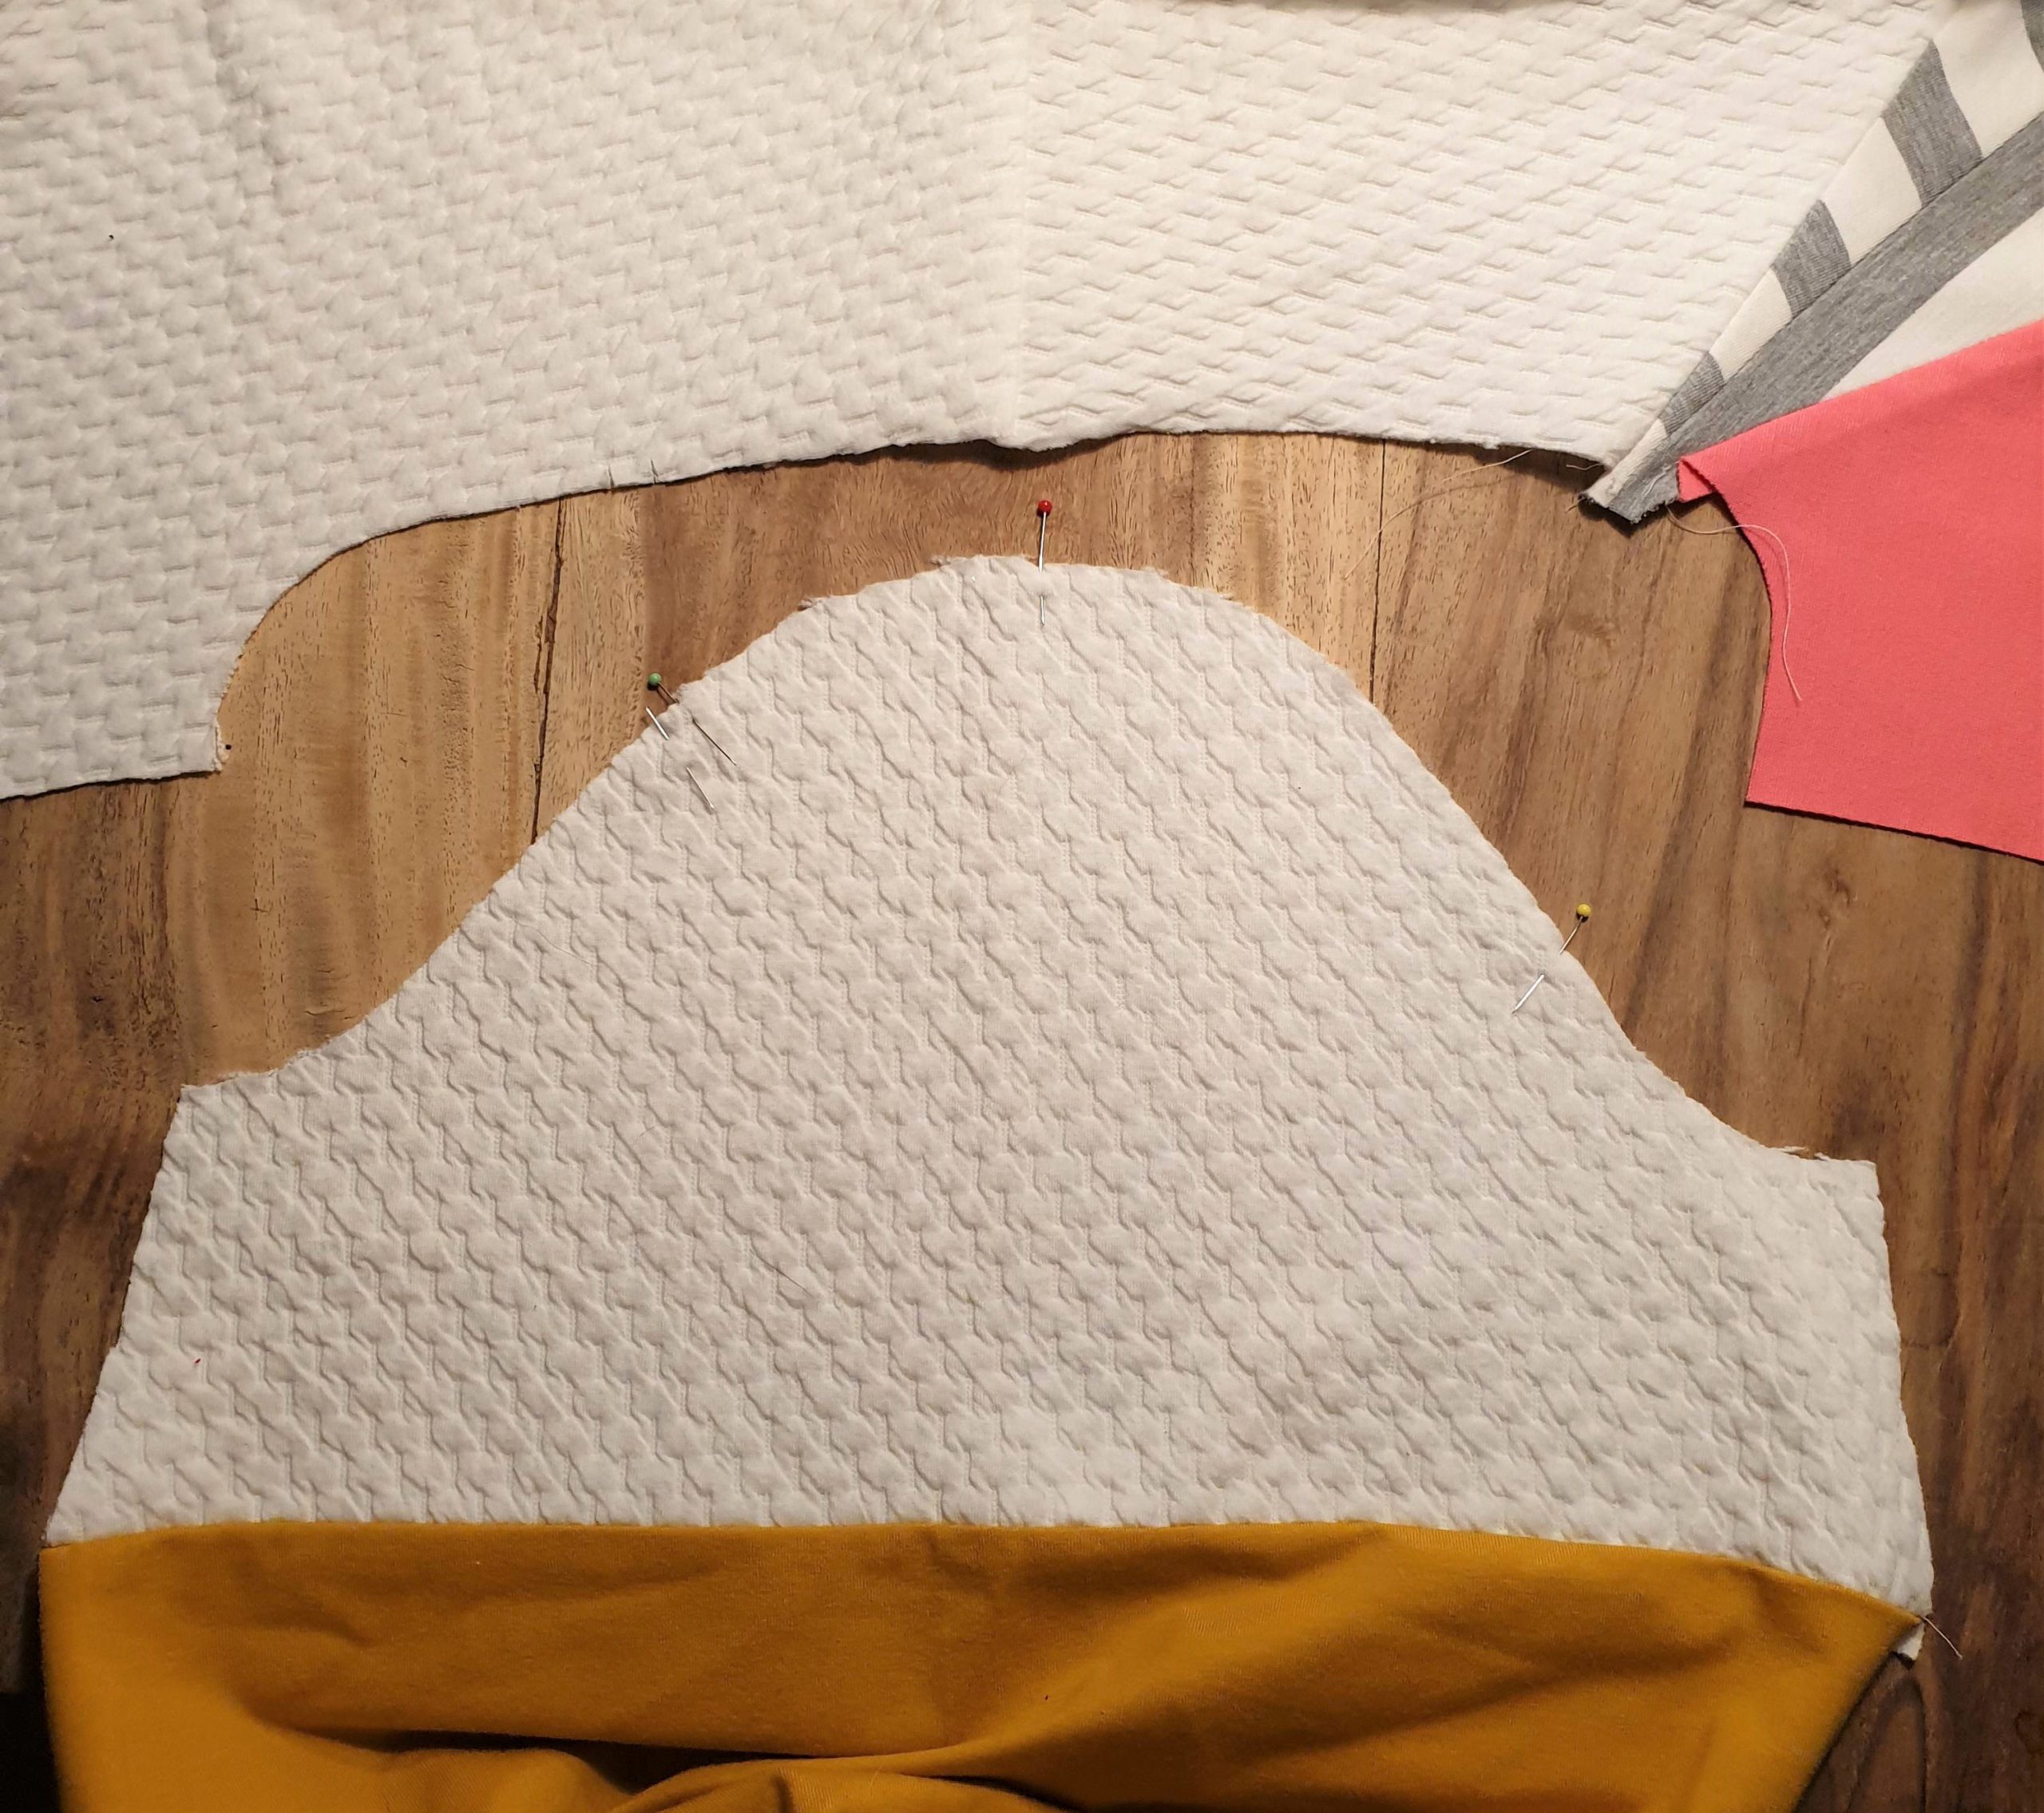
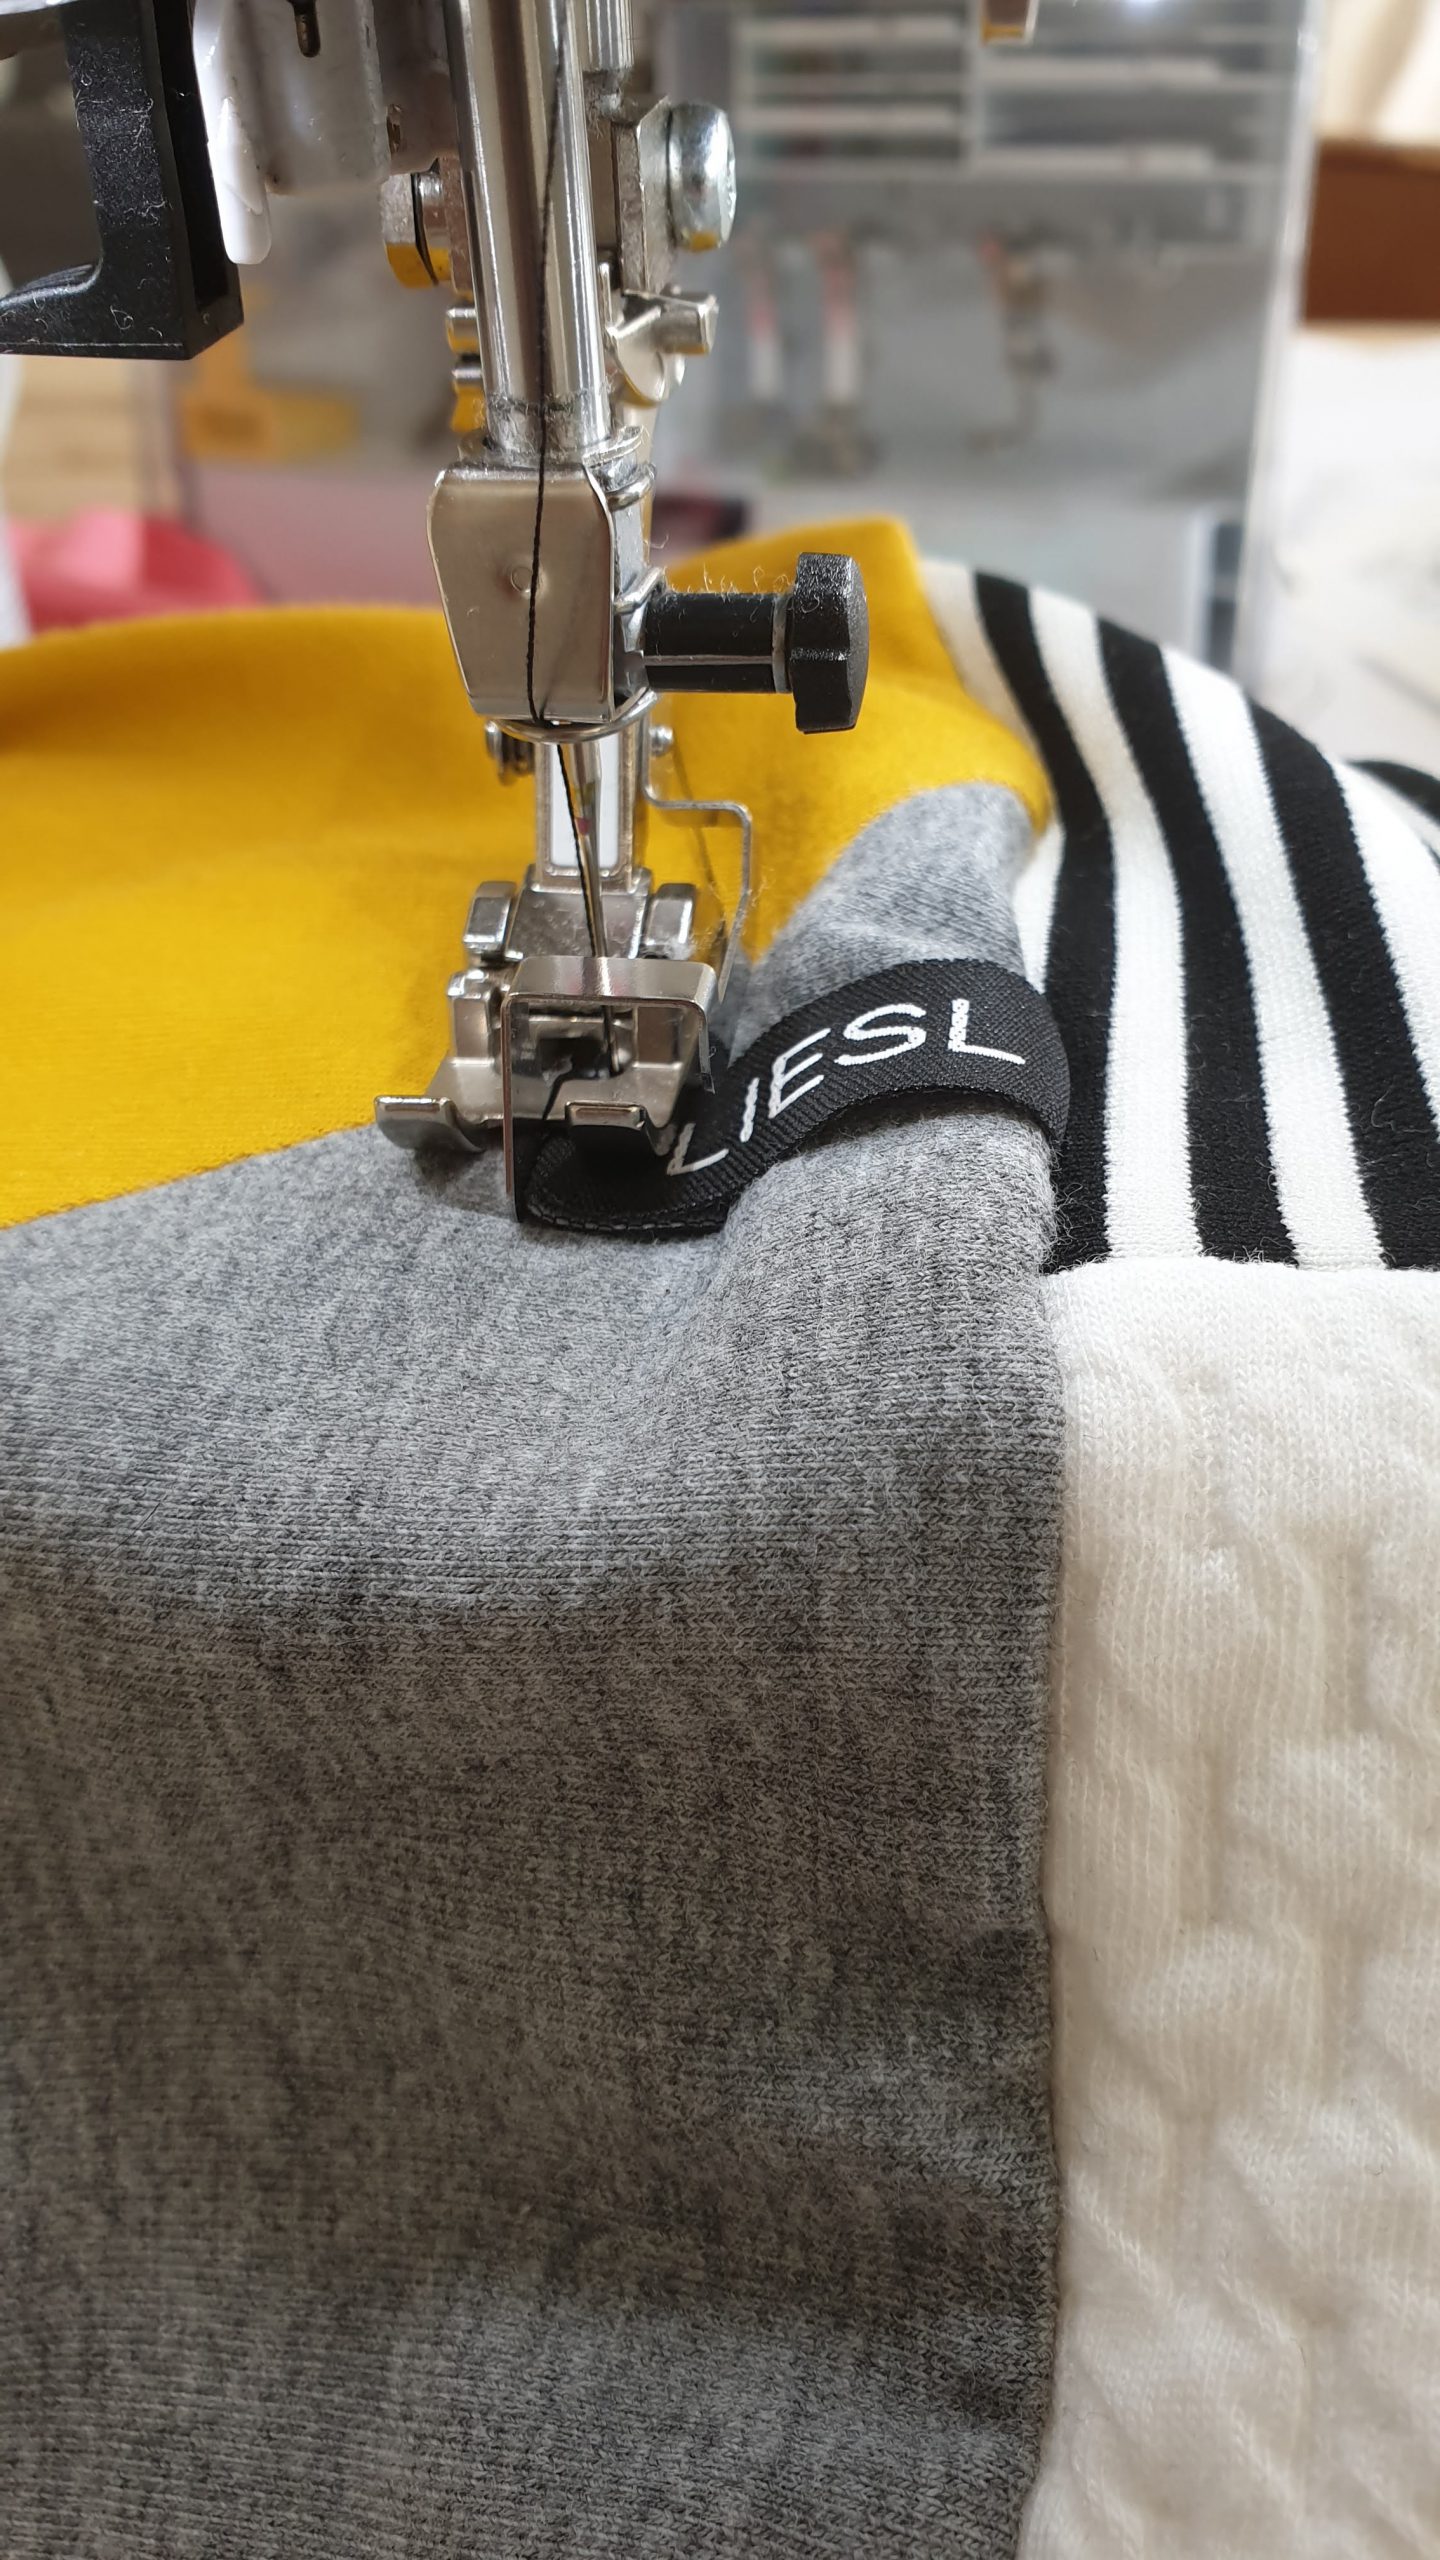
After selecting and cutting the scraps into the desired pieces, I pieced the front together. Row by row. Using a straight, slightly zigzag stitch, Reverse pattern foot #1 and a jersey needle. In between I ironed the seams, but did not serge or zigzag them. They tend to be too bulky or wobbly if you do. Most of used fabric didn’t fray anyway. Only the used white fabric did. I might topstitch that to set later.

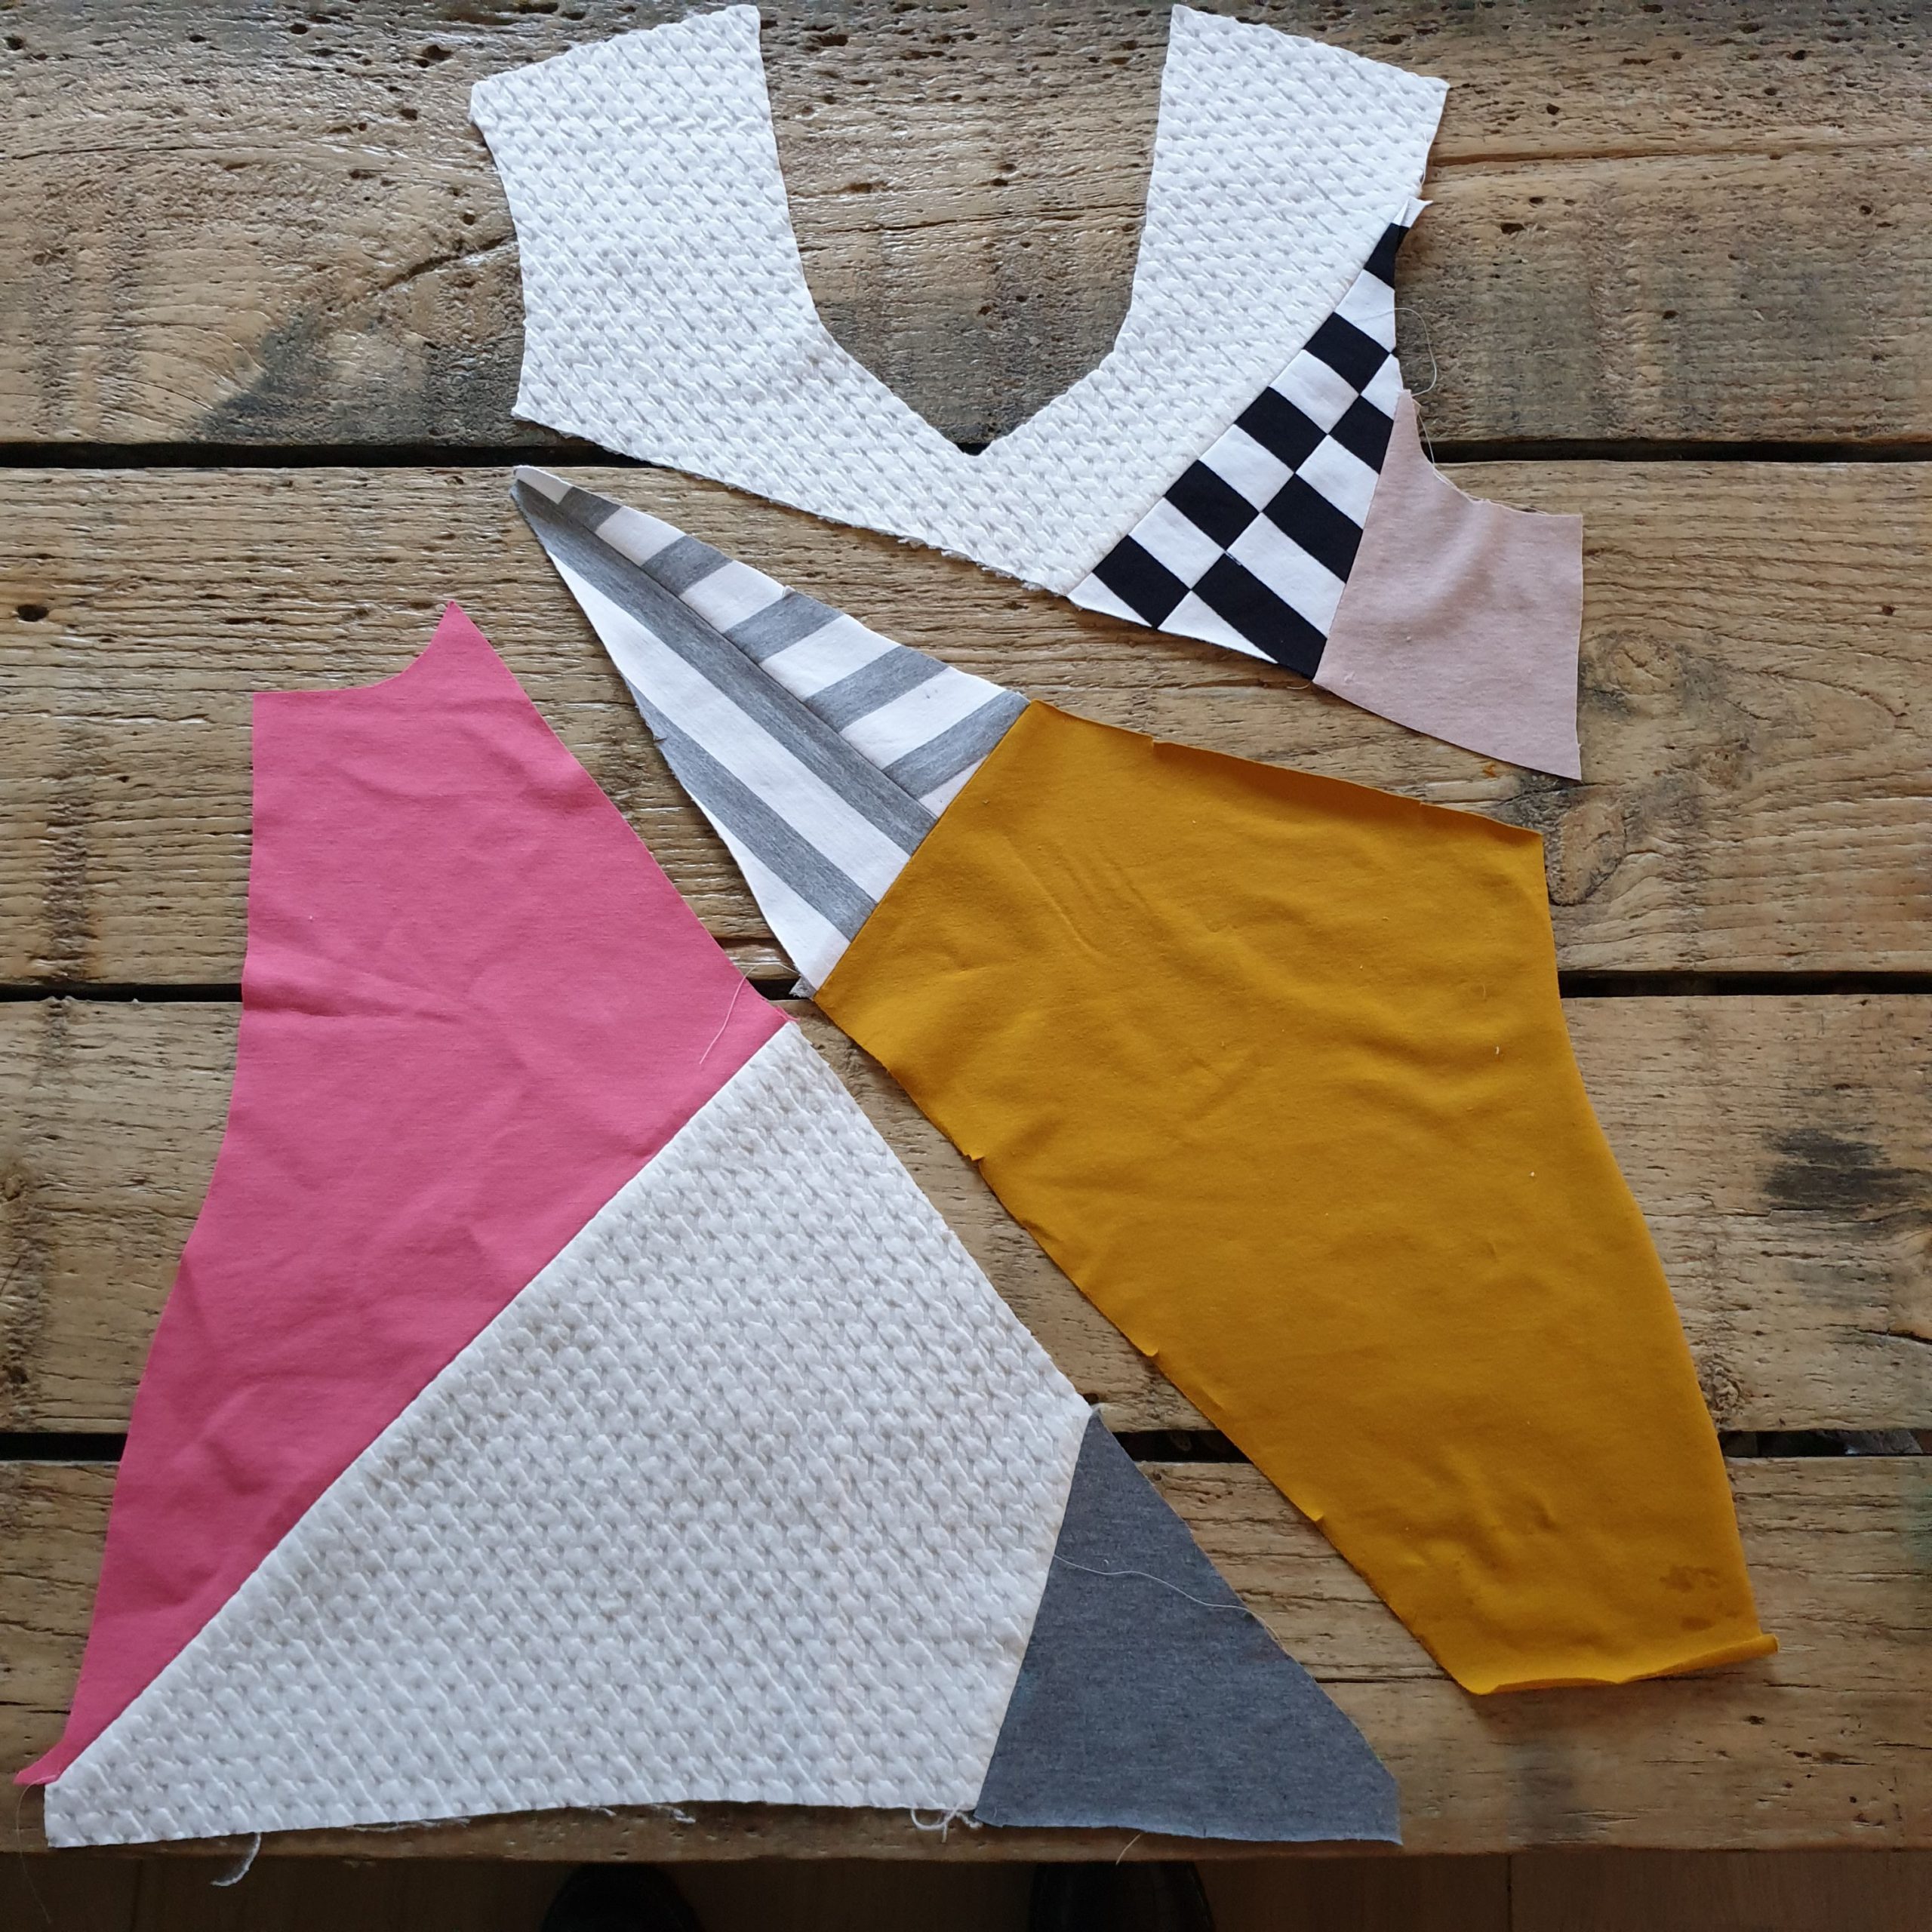
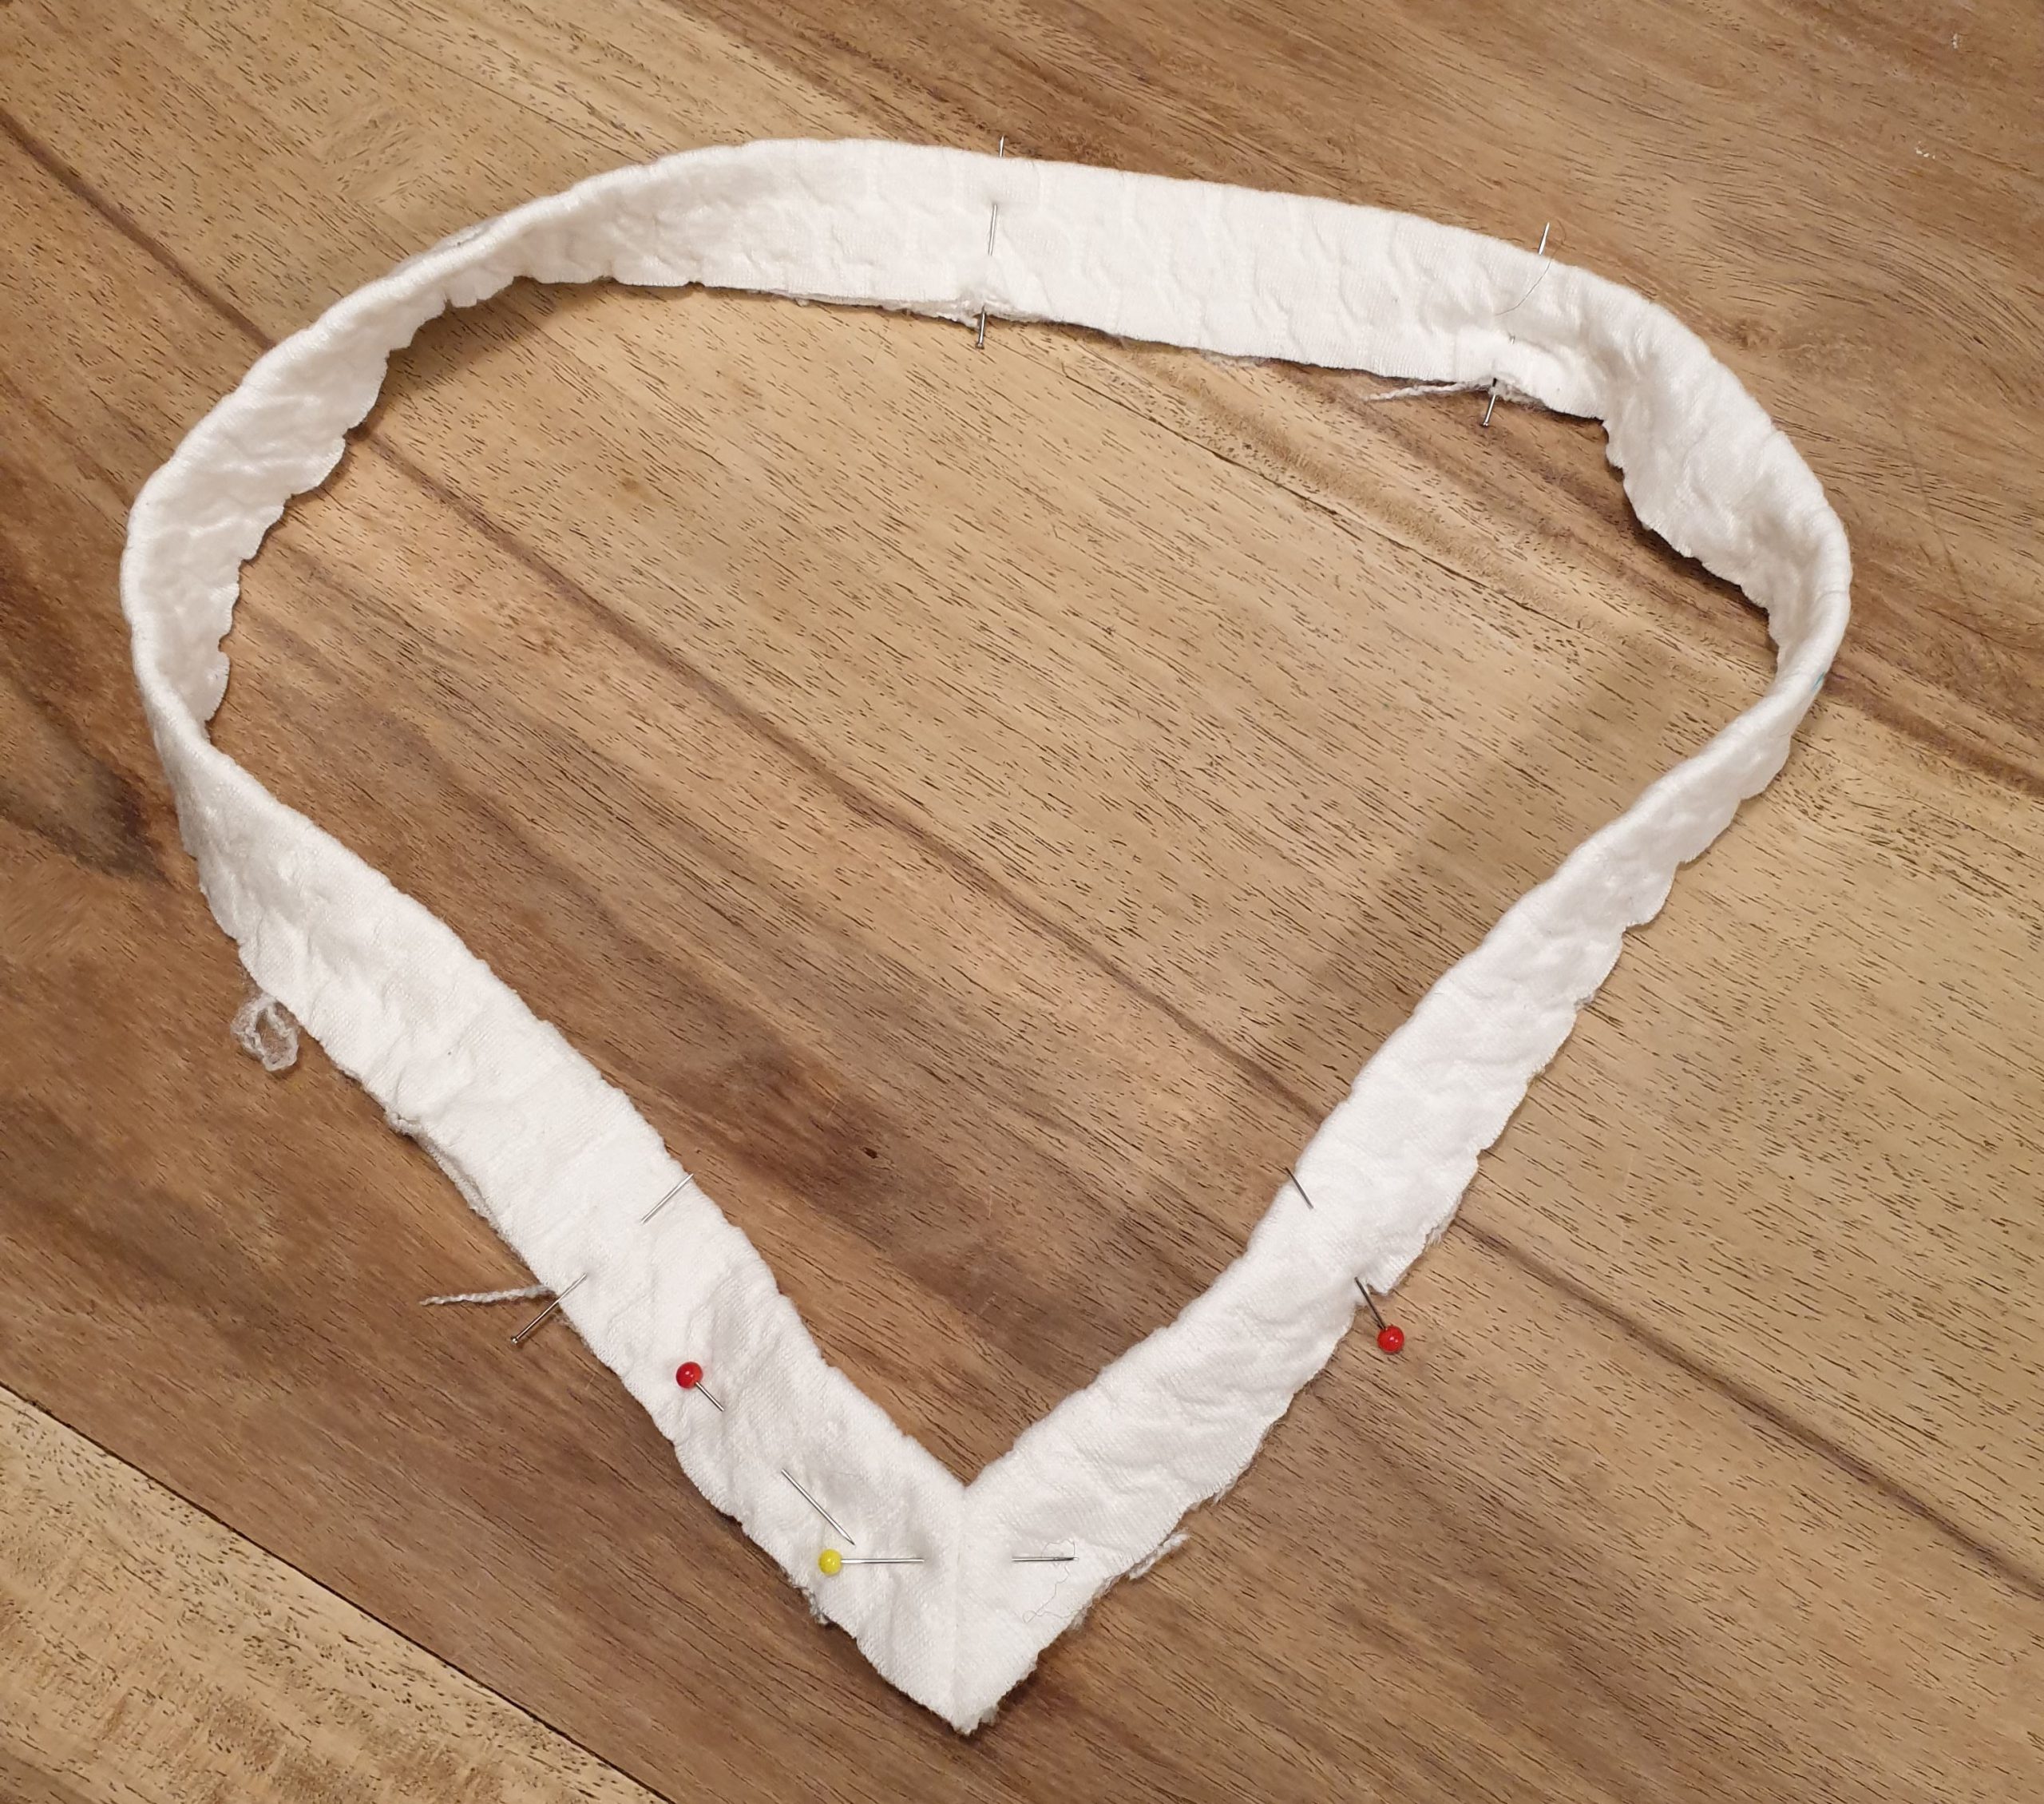
The instructions of the Vera pattern are quite clear. It is a pretty easy sew. Sewing in the sleeves went smooth. Just stay focussed when you sew on the neck band and you’ll be fine. It was my first ever V-neck done like this and I am pretty chuffed.
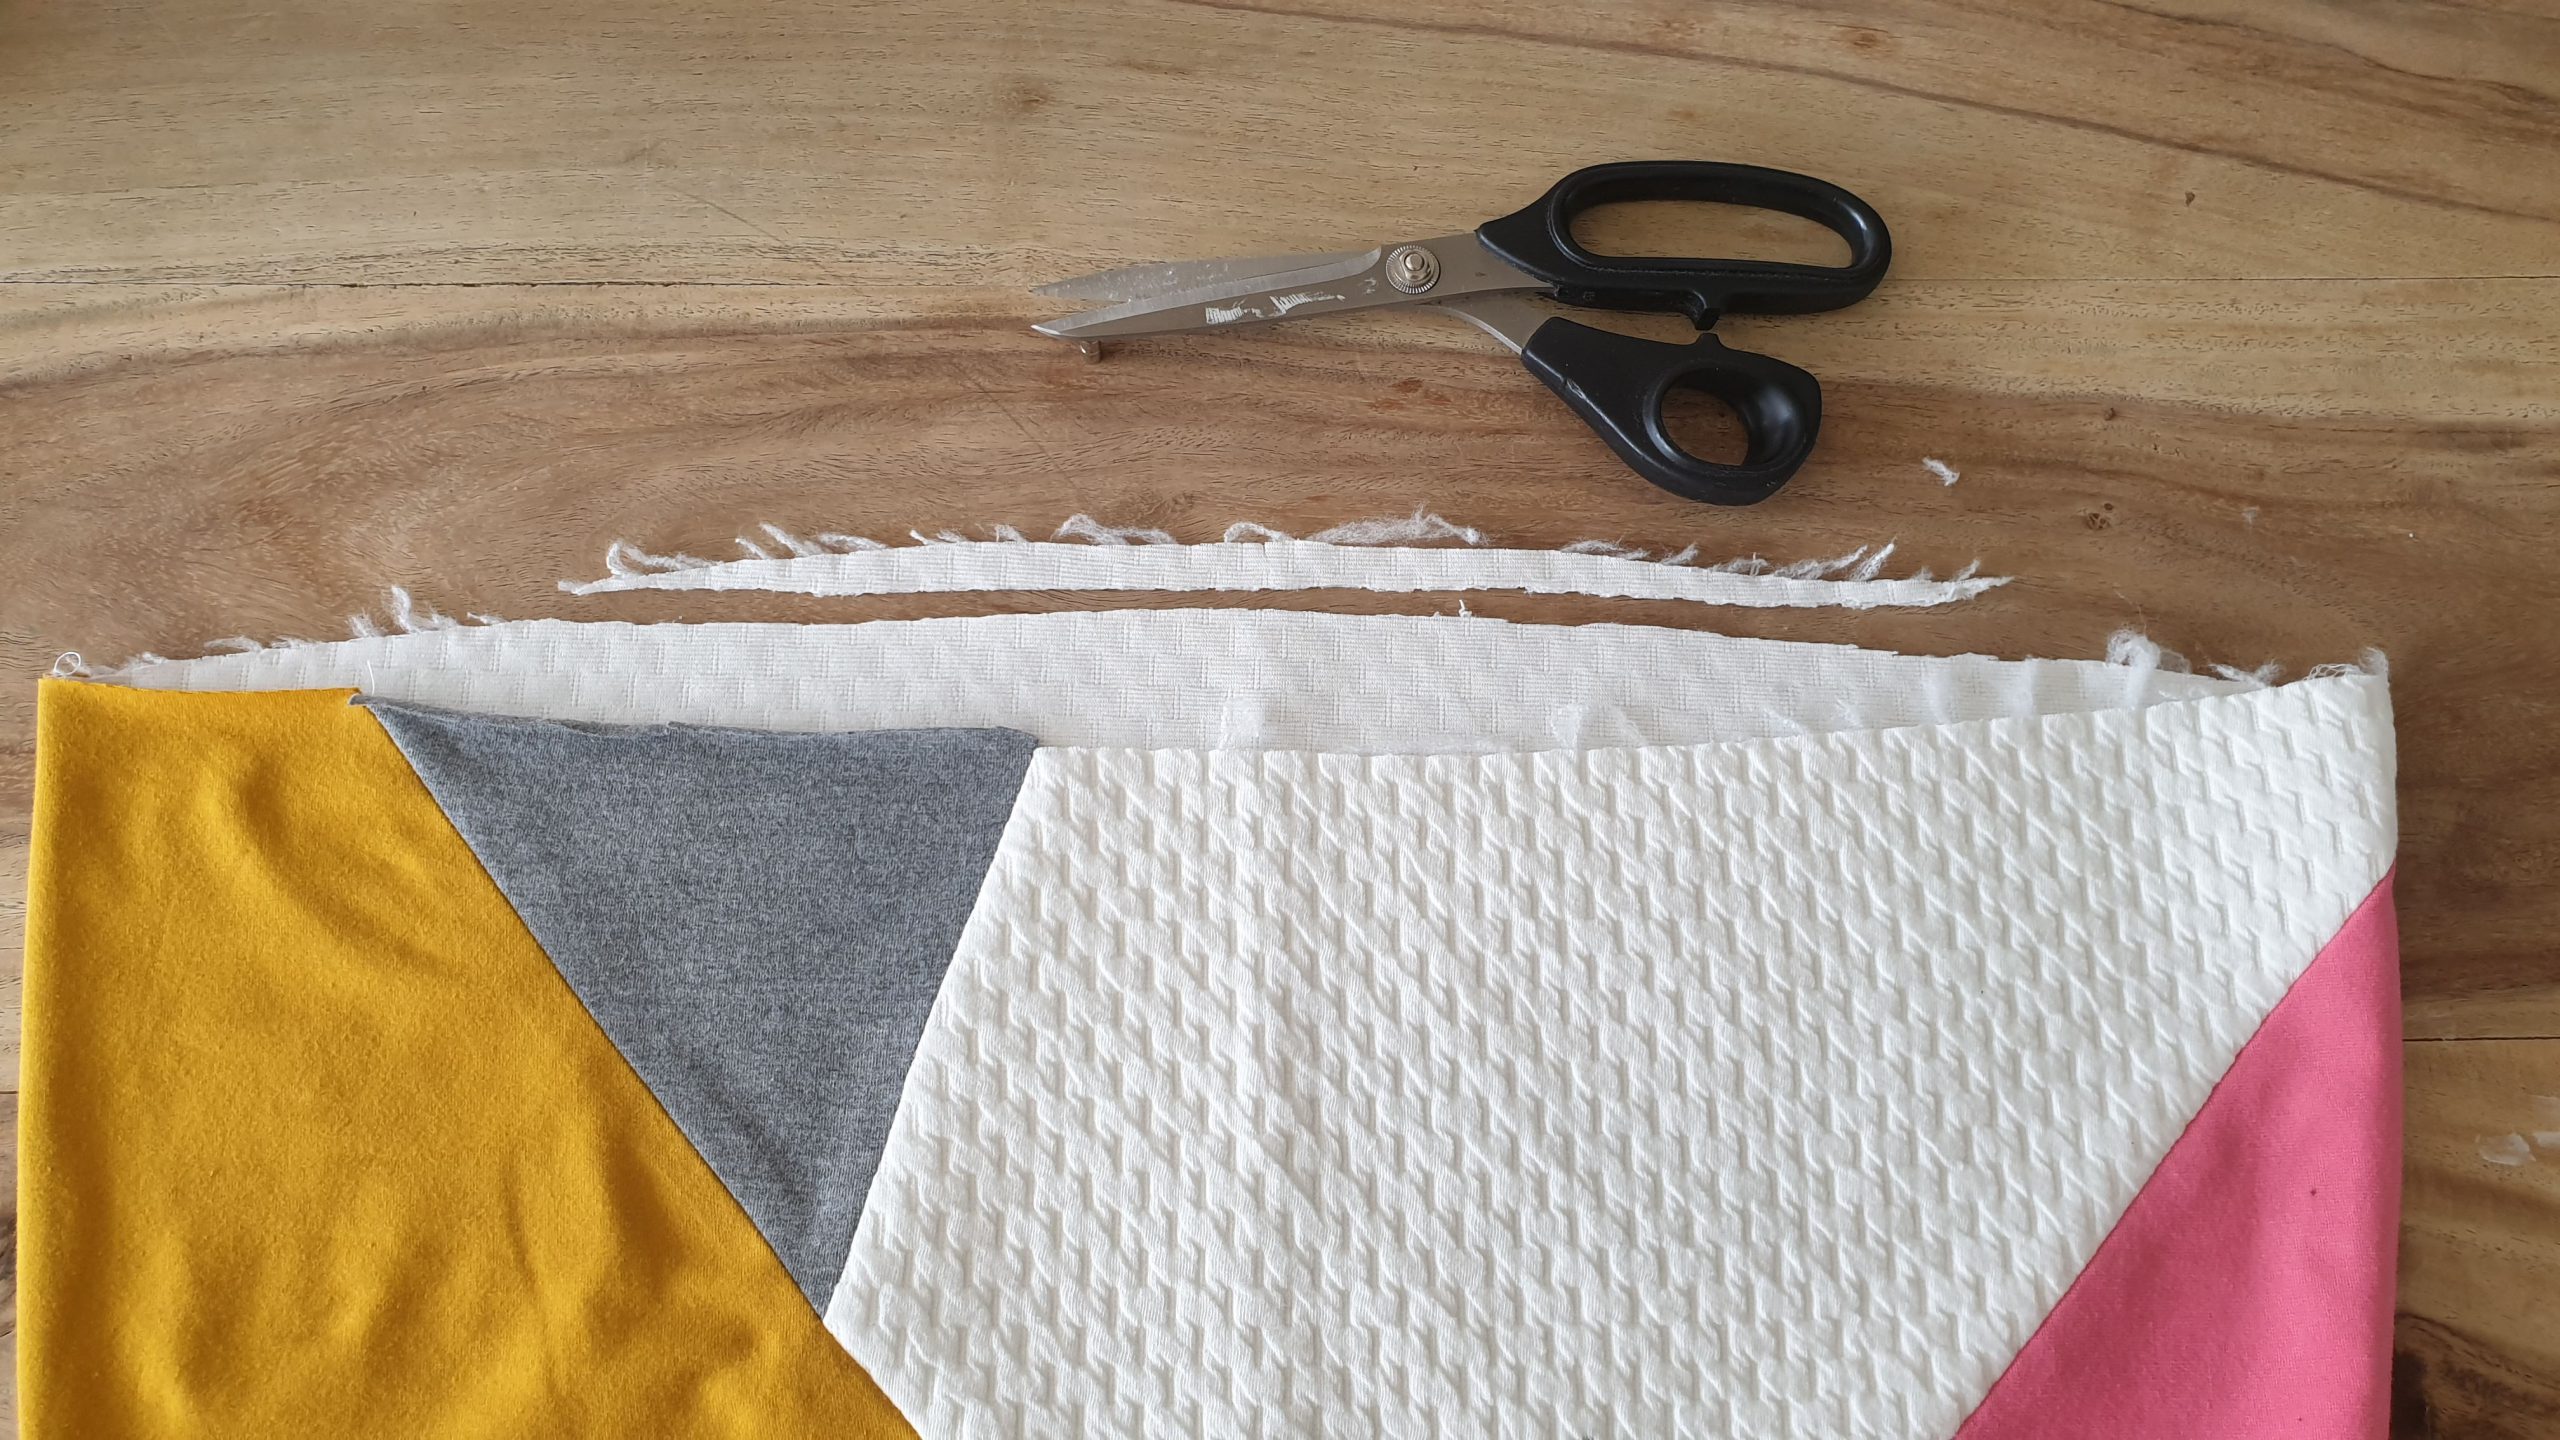
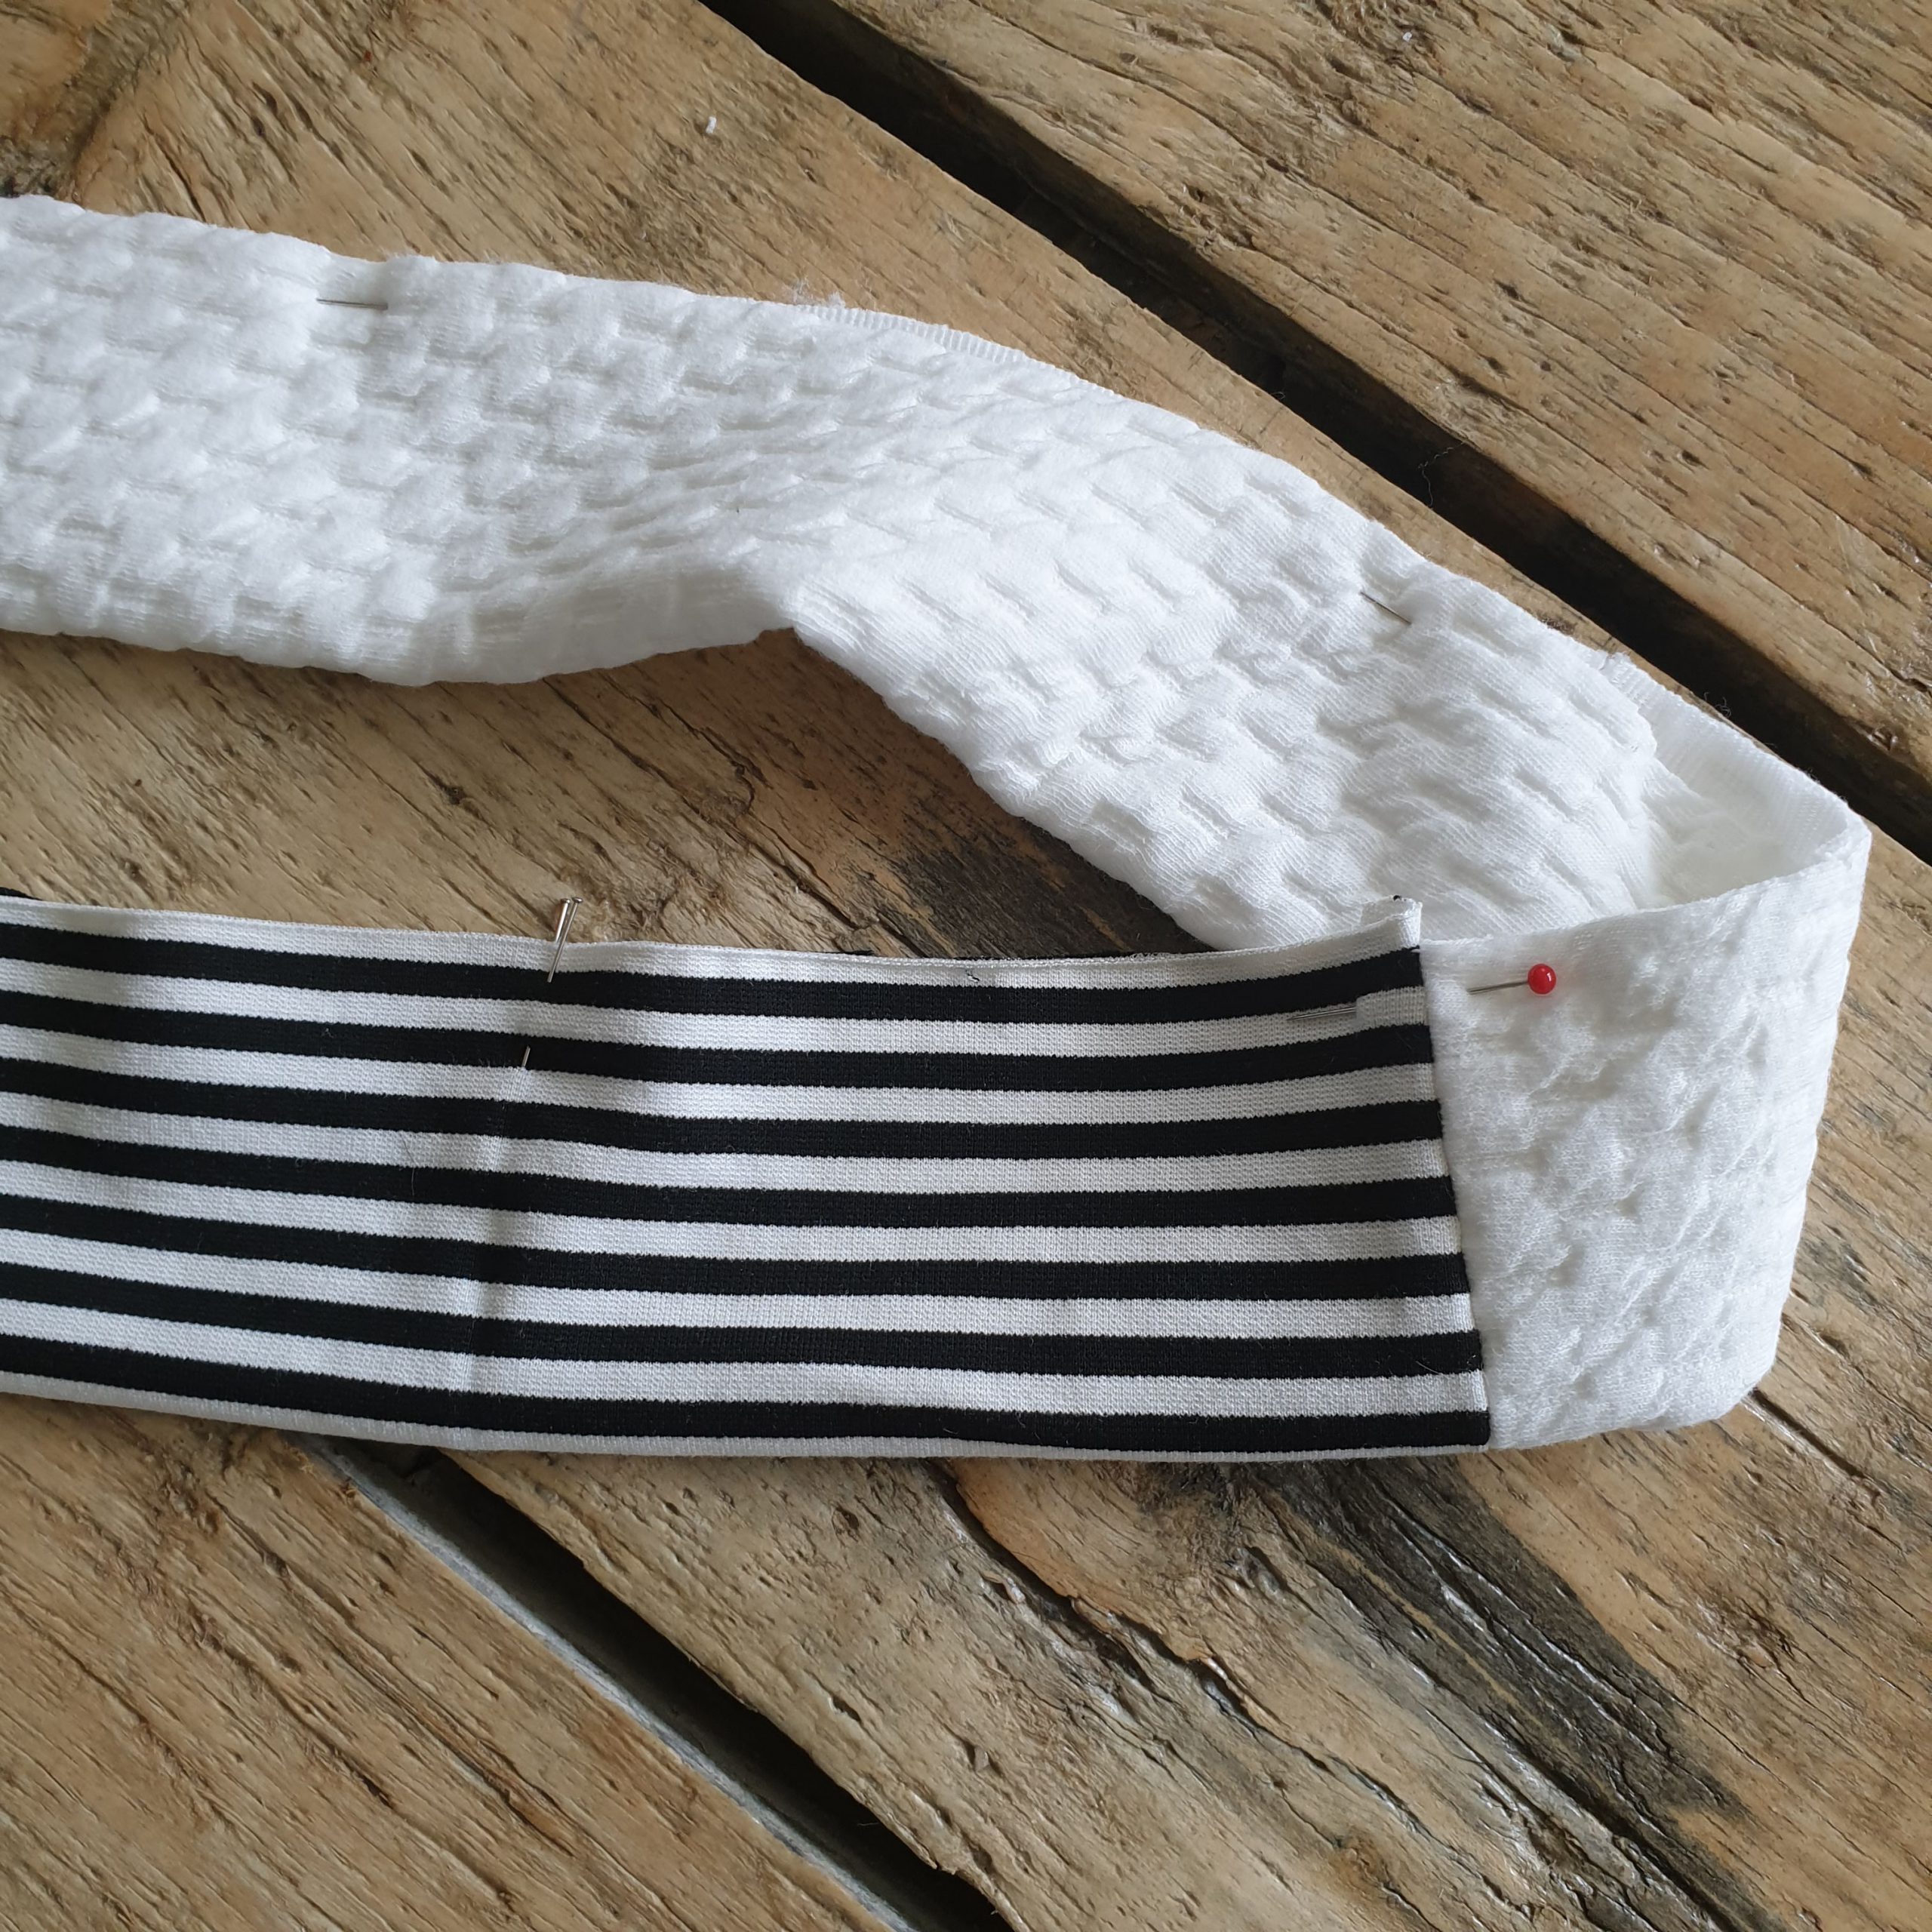
As an addition to the pattern I made a waistband. Before doing so I cut the bottem line straight. I used the last scrap of the white fabric and complement it with another scrap of striped fabric forming the waistband. The waistband folded is 5 cm wide. A LIESL label was attached while sewing on the waistband. It’s all in the details.
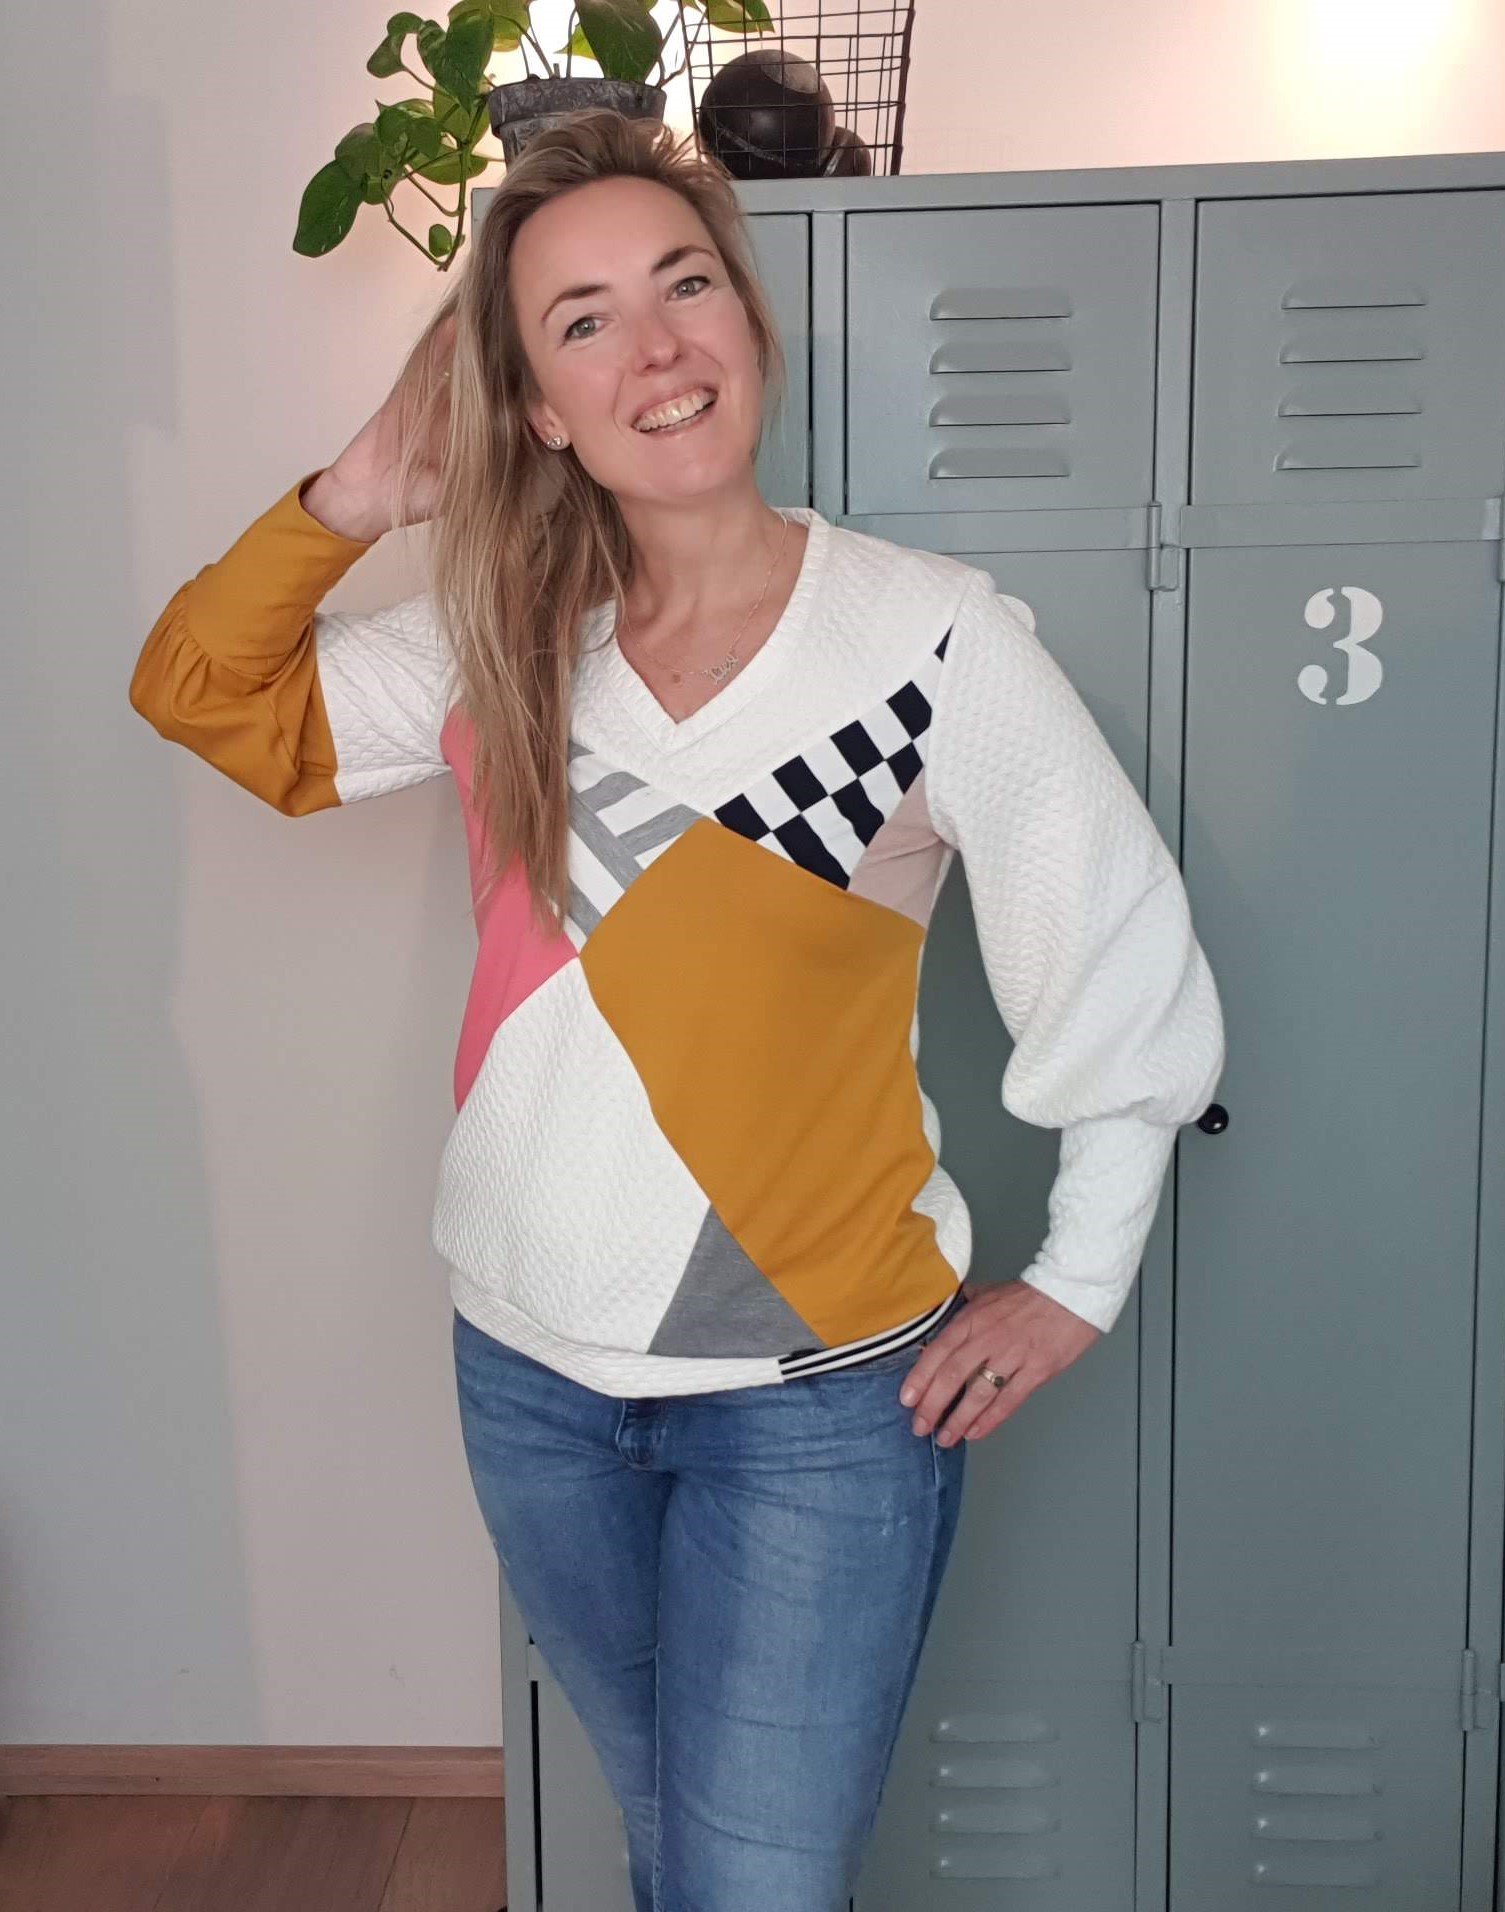
And there she is. My second Vera top. Go and make yours!

Love,
Marlies
 BERNINA Corporate Blog -



This is such a fun top! I just downloaded the pattern after seeing this! 🙂