 BERNINA Corporate Blog -
A friend of mine gifted me a bag of fabrics that belonged to her gran. They were all shades of purple which is my favourite colour.
My favourite of the lot was a lightweight cotton type fabric with a beautiful drape. Printed on the selvedge was “Fibre content made in Japan”.
I thought this fabric would make a lovely flirty dress that was as easy to make as it would be to wear.
What will be needed:
- Sewing machine
- Overlocker
- Your Self-Drafted Pattern (refer below)
- Optional: Inseam Pocket Pattern
- Lightweight Dress Fabric (amount dependent on your pattern)
- 30cm x 80cm of Lining Fabric for pockets
- Bias Binding (amount dependent on your pattern)
- 1cm wide Elastic (enough to fit your waist)
- 3-4 threads to match your fabric
- Safety pin.
Steps
Pattern
 I have broken up the process of drafting a basic pattern in to step-by-step instructions. It is up to you how you want to build on and customise it.
I know it may seem a bit daunting if you haven’t drafted a pattern before, but take your time and read through the instructions carefully.
Download and follow these 3 documents to draft yourself a dress.
1. Draft yourself a Dress Pattern. Measurements
2. Draft yourself a Dress Pattern. Bodice
3. Draft yourself a Dress Pattern. Skirt
By drafting a pattern, you can make something truly unique.
The garment will be made to your measurements and you have the freedom to make it your own.
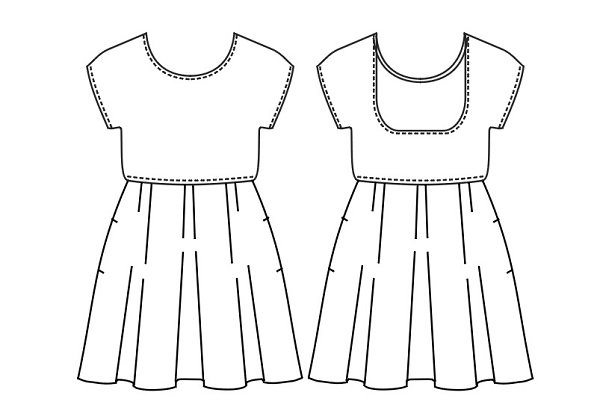
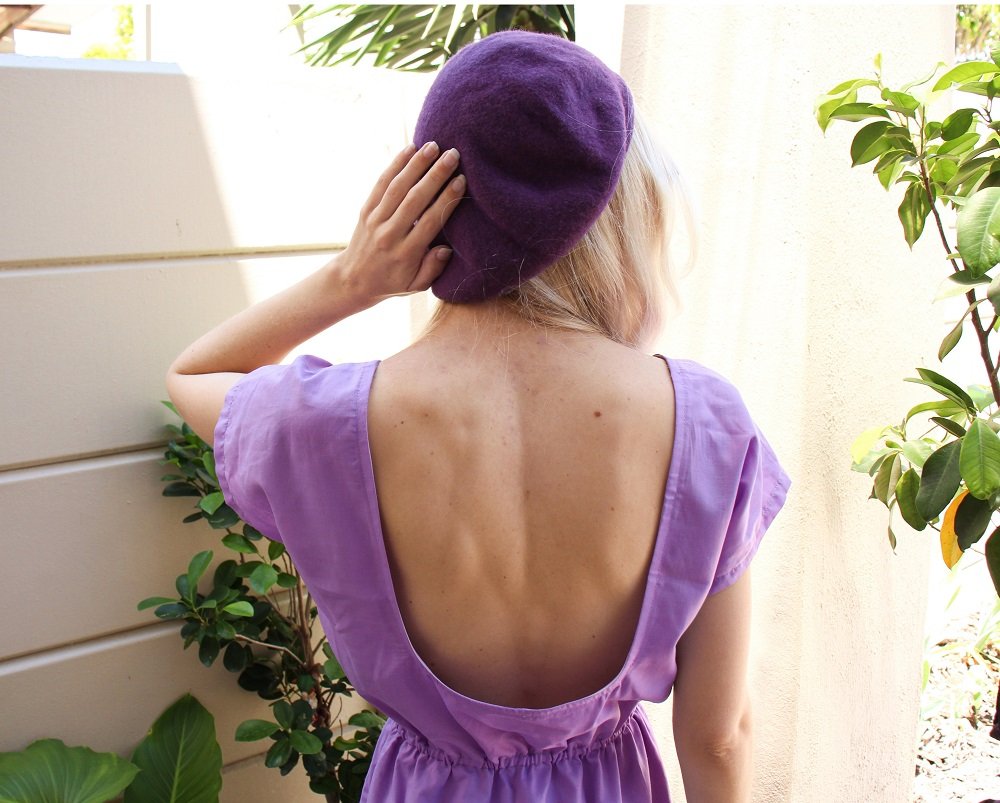
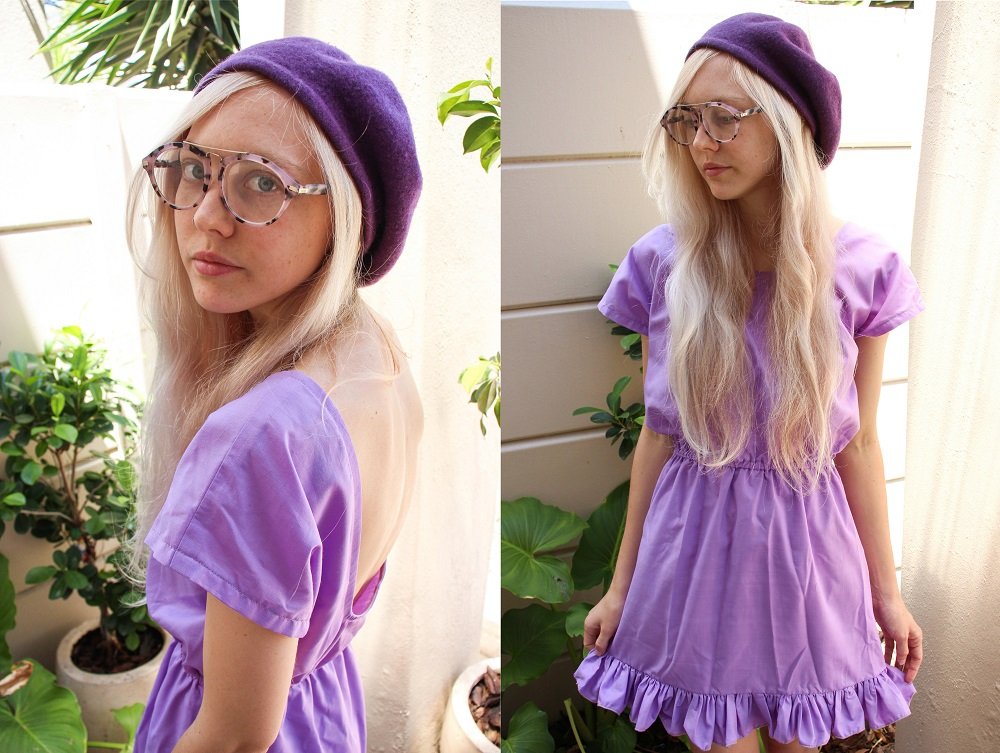
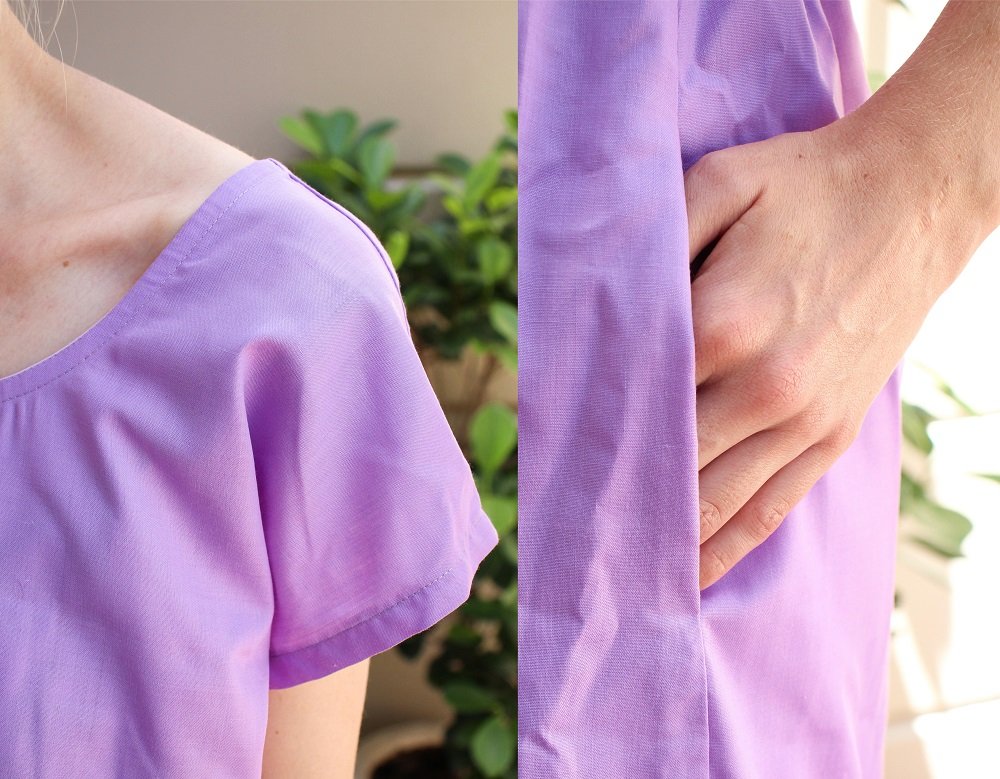
For example, I chose to have a low back neckline, make the skirt of my dress short with a frill and added inseam pockets.
You could choose to have a full length skirt, long sleeves and a V-neck. The choice is yours!
Instructions and pattern for the pockets can be found here:
Secret to a Hidden Inseam
Cutting Layout

Cut all Dress pattern pieces on the Fold.
Sew
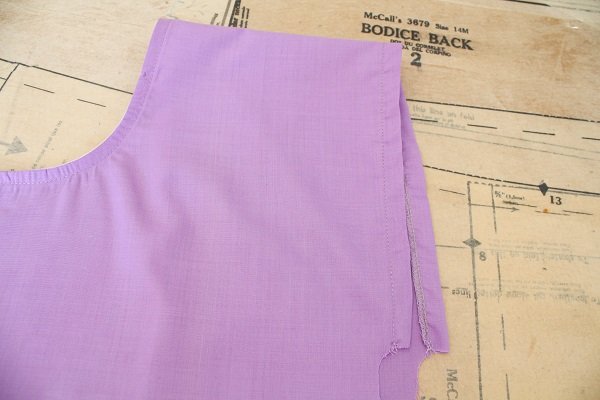
Bodice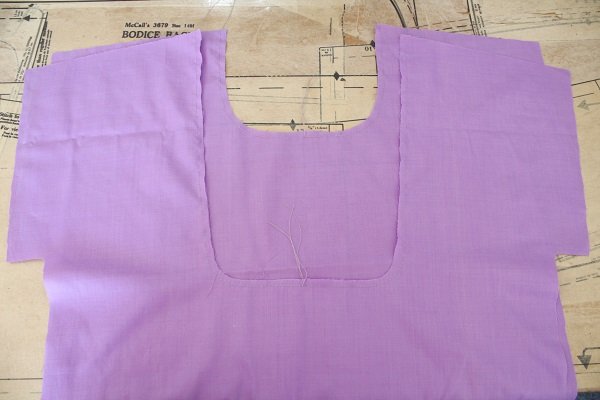
- Stay stitch the Necklines.
I recommend stay stitching to prevent the neckline stretching and losing its shape.
Use a longer stitch length and do not back stitch so that it is easier to remove the stitches later if necessary.
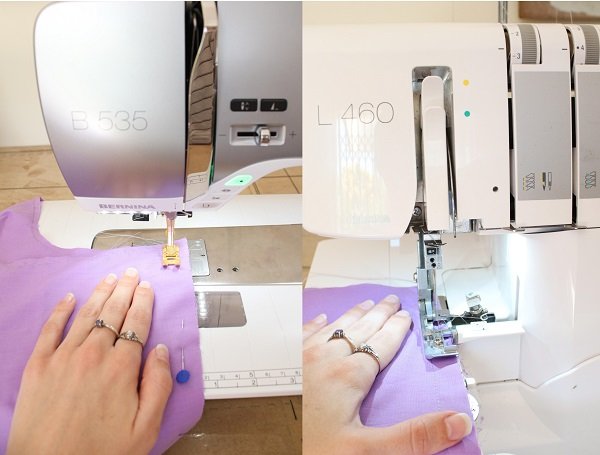
- Join the Shoulder seams with 1.5cm seam allowance.
Press the seams to the Back
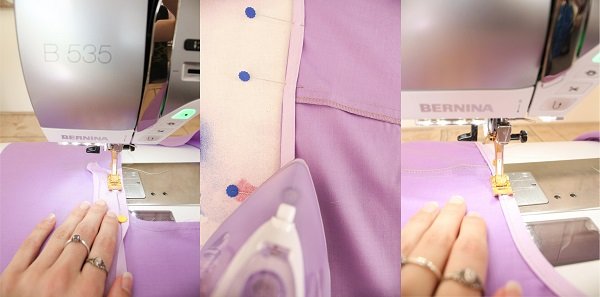
- Cut the binding to fit the length of the Neckline and attach it
I used the Single Fold Technique:
-Attach the binding along the Neckline on the right-side of the fabric. Stitch in the crease closest to the garments raw edge.
Gently stretch the binding as you sew, especially around the corners.
Snip the fabric around the corners so that the fabric will sit properly when the ironed.
-Turn the bias binding to the wrong-side of the garment and press along the binding.
-Neatly stitch along the inner edge of the Binding.
- Sew the Hems of the Sleeve Openings.
Overlock the raw edges and fold the Hems up 1.5cm before topstitching in place.
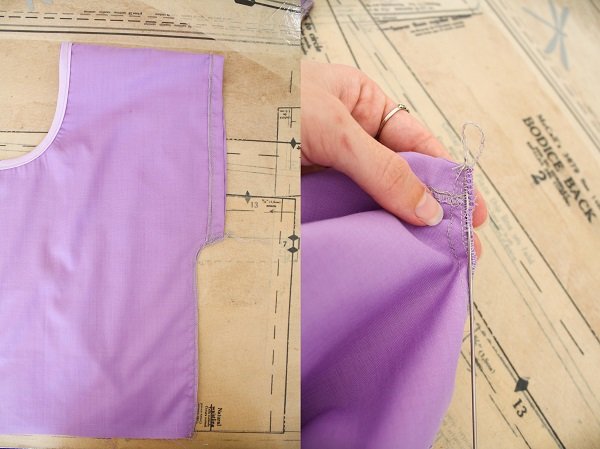
- Join the side seams of the Bodice with 1.5cm seam allowance.
Stitch all along from the Sleeve Opening to the Waistline.
Overlock the raw edge.
Press the seams to the Back.
Thread the overlocking tails back through the overlocking stitches. (Instead of just cutting them, I recommend doing this to prevent unraveling)
Skirt

- Optional: Attach the pockets to the Skirt and join the side seams with a 1.5cm seam allowance.
Have a look at this previous post for in depth instruction.
I placed my pockets 10cm down from the Waistline.
Otherwise just join the side seams with a 1.5cm seam allowance.
If using pocket, press seams to Front.
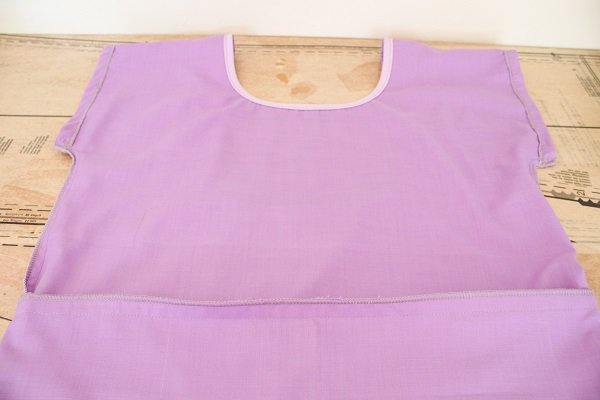
- Join the Bodice and Skirt with a 1.5cm seam allowance and finish the raw edge with the overlocker.
Match up the Centre Front, Centre Back and Side seams.
Press the seam towards the Bodice.

- Sew the Hem.
For my dress I added a frill instead of a common Hem finish
I gathered my Frill and attached it to the Skirt before overlocking the raw edge of the Frill with the Rolled Hem stitch.
Elastic
There doesn’t seem to be a set rule for calculating the length of elastic. A lot depends on the width and how stretchy it is. The stretchier or narrower it is, the more you need to subtract.
It also depends on how you are using the elastic. If you are sewing or overlocking the elastic onto fabric you’ll need to subtract more than if you are making use of a casing where the elastic is loose.
What seems to work for me is to subtract between 5cm and 10cm from my Waist measurement. I start with 5cm and wrap the elastic around my waist to check if I need to subtract any more.
Remember to factor in overlapping the elastic to join the ends. I usually do a 1.5cm overlap.
Eg: Waist measurement – 5cm + 1.5cm overlap = Elastic length
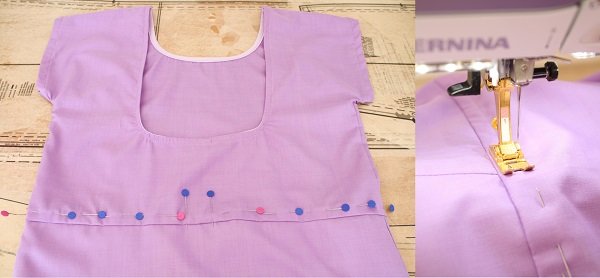
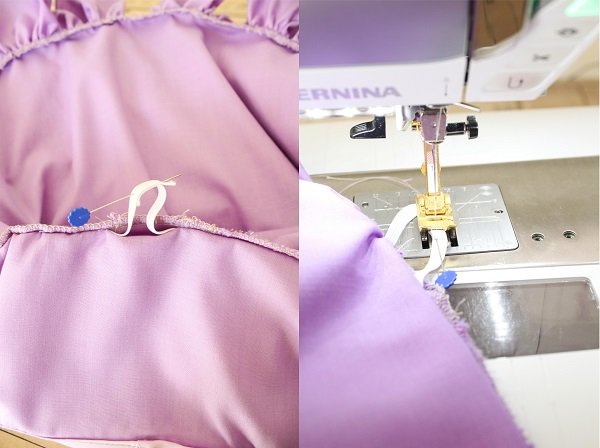
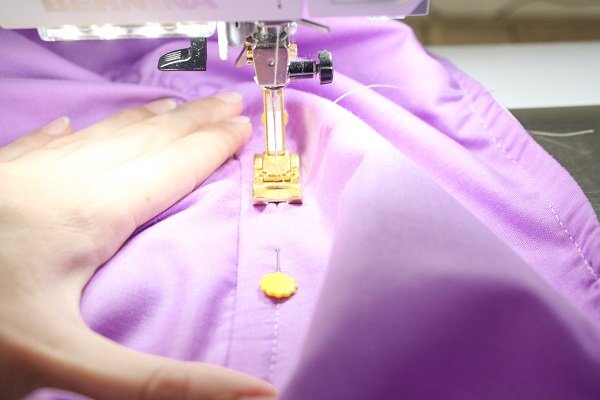
- Create a Casing for the elastic
Pin the seam towards the Bodice and topstitch in place.
Stitch about 1.3cm out from the Waist seam and leave an opening at the Side Seam or Centre Back to feed the elastic through.

- Feed the elastic through the casing using the safety pin. Be careful to not twist the elastic.
- Join the ends of the elastic.
- Topstitch the opening closed.
Tips
- You could make this dress in a lightweight knit fabric too.
If you do, I would recommend adapting the neck finishing by adding a neckband.
Refer to “Neckline Adaption” under “Pattern Adaptions” in this previous blog post:
Athina Top Pattern Hack - If you are adding a Frill like I did, I would recommend making the length of the frill at least double the width of the Skirt’s Hem.
I would love to see what you make, please feel free to share with me!
-Hannah-Rose


0 Responses