 BERNINA Corporate Blog -
Sewing invisible zippers – really easily and flawlessly
I’ve written a few articles about sewing tips and tricks, as well as cleaning and oiling, and now I thought it was time to introduce you to my favorite feet.
In my work as part of the BERNINA Education Team, I am jointly responsible for presser feet. And I can tell you, it’s really exciting. There is a special presser foot to suit almost every application! I have already had occasion to put many of them in front of the camera – you are probably familiar with the helpful video tutorials on YouTube and on our website.
If not, take a look, it’s worth it!
Our instruction videos on YouTube
But now to my absolute favorite of all the presser feet: I love invisible zippers. They are a truly great invention! Almost invisible and easy to sew, at least that’s how they are advertised.
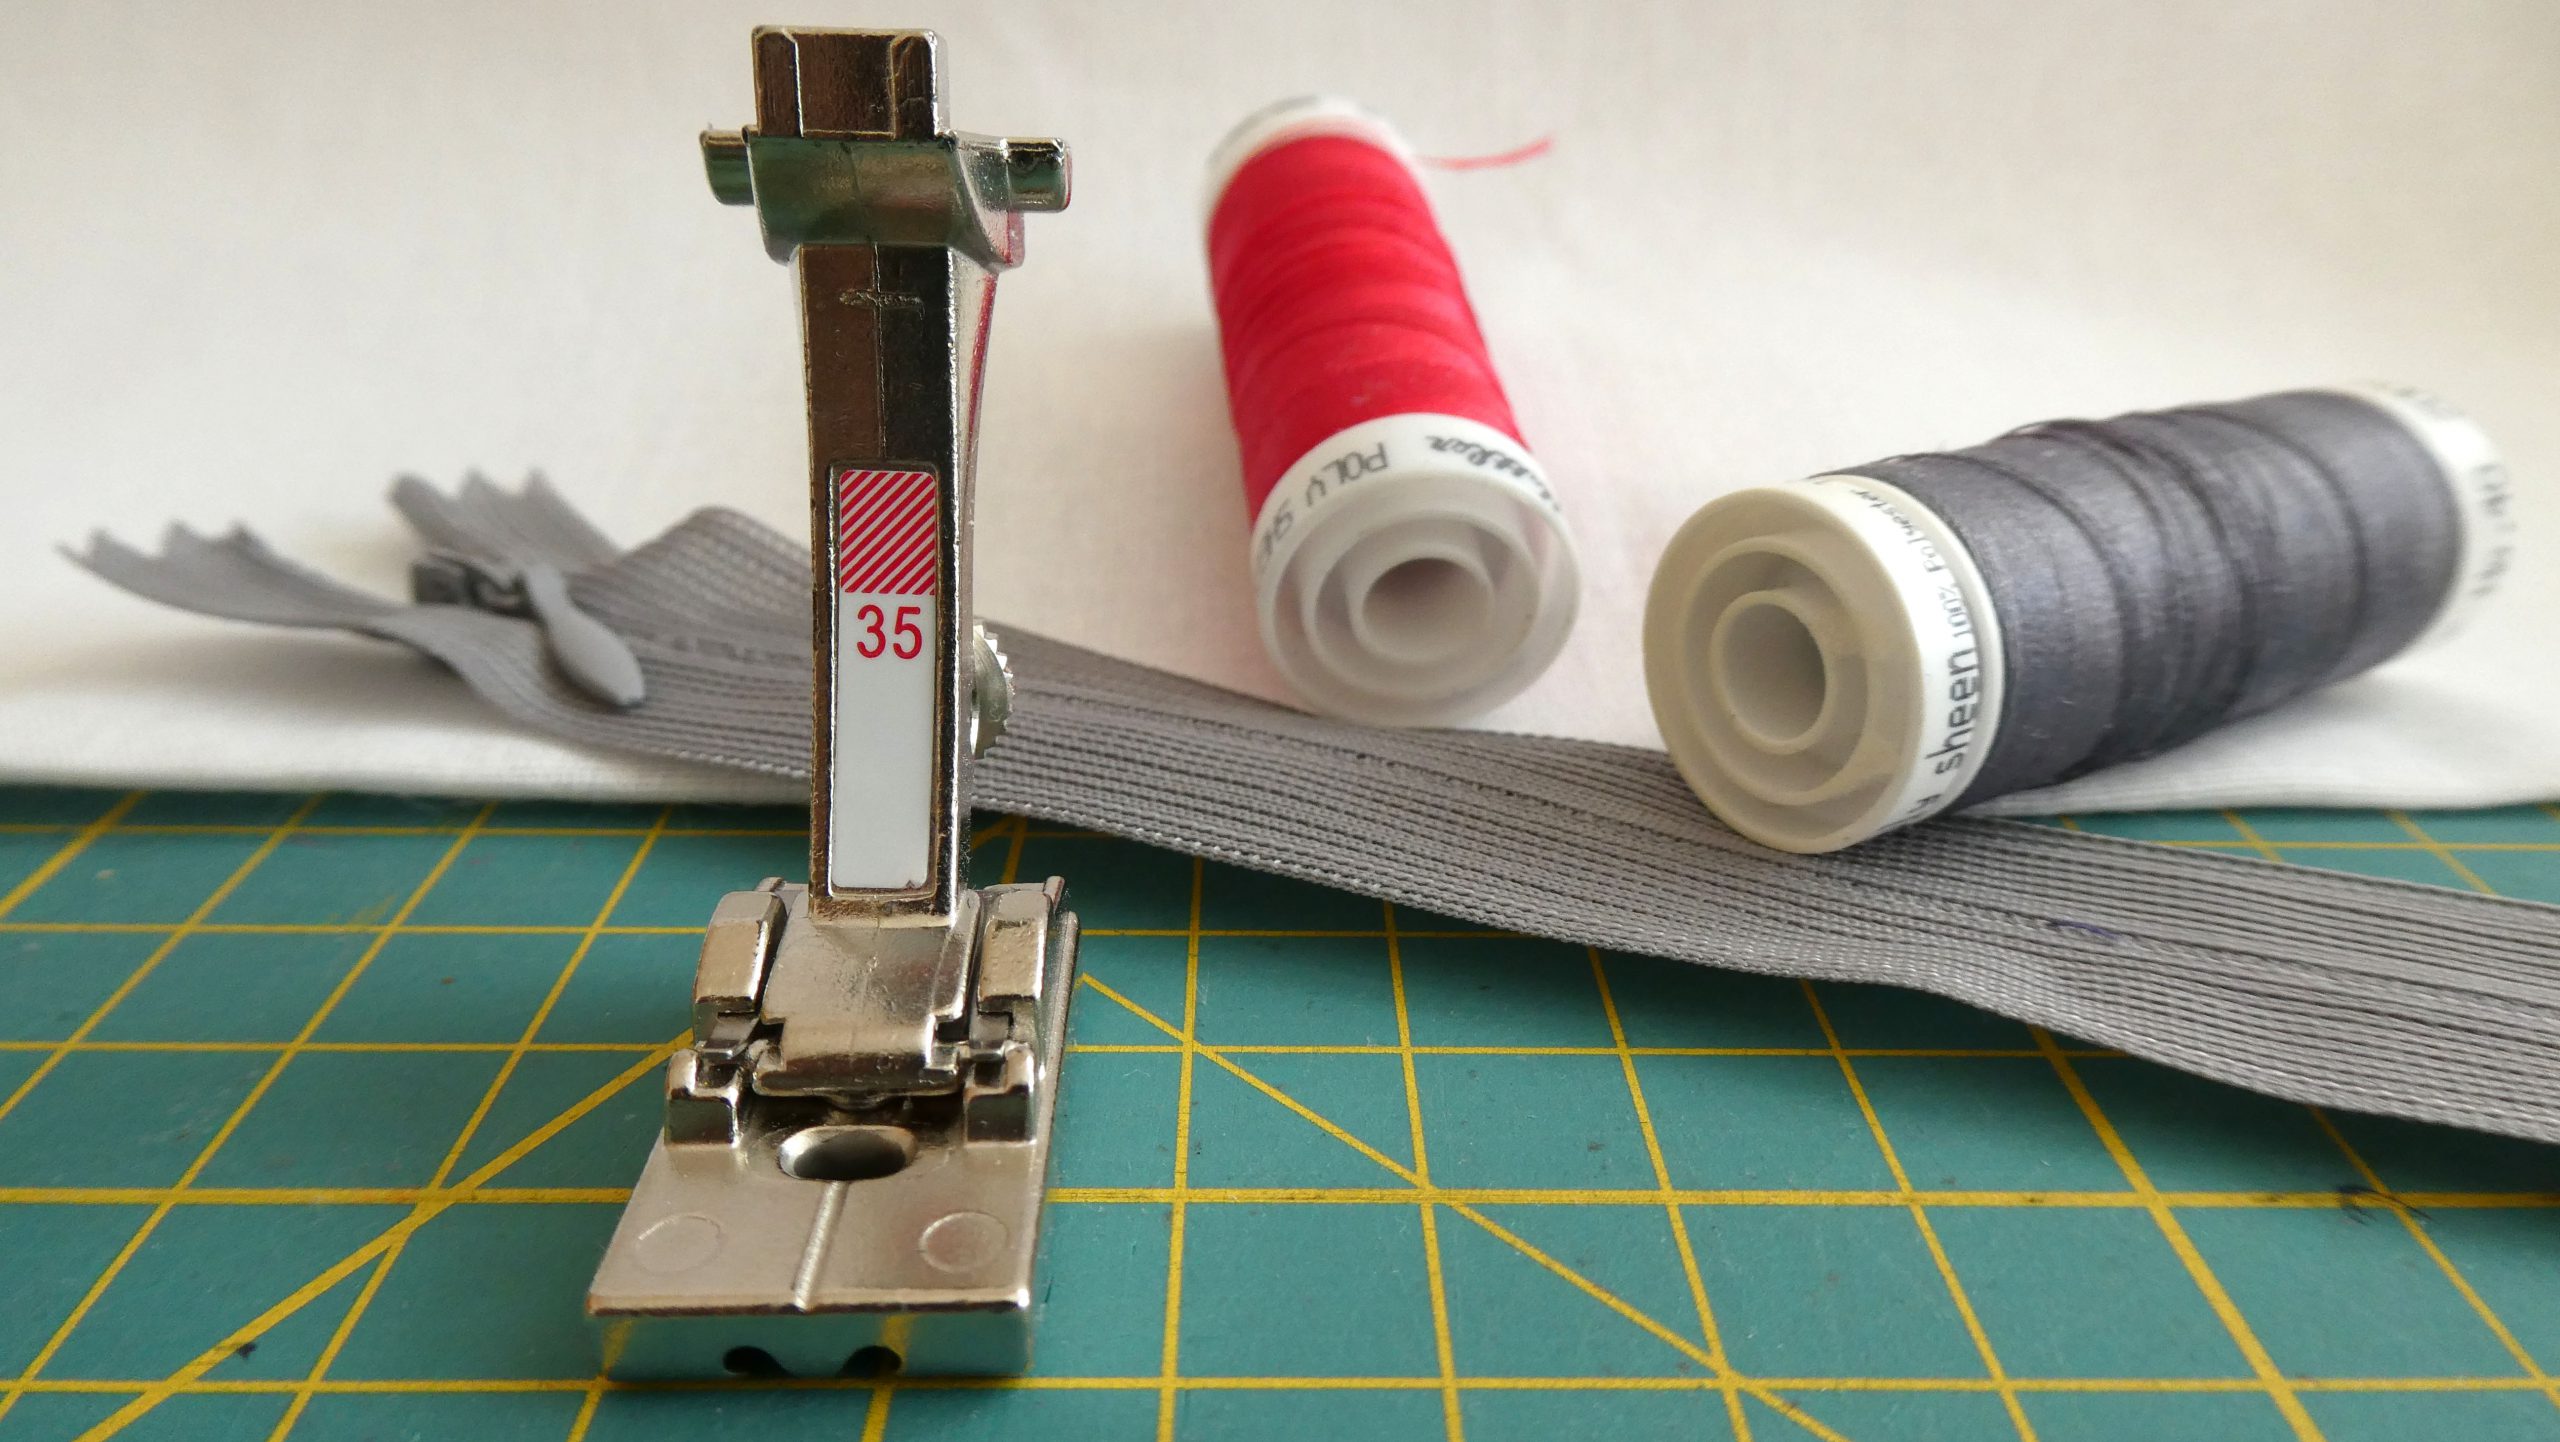
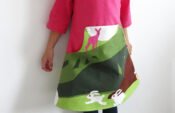
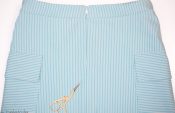
It goes without saying that I’ve been sewing this type of zipper into skirts, dresses and even some tops for many years. And of course BERNINA has developed a special foot for them: the Invisible-Zipper Foot #35
Two diagonal grooves on the underside of the foot act as a guide, allowing the zipper coils to pass through easily:

Of course we also have a video for this foot:
So far so good. But have you ever been annoyed by bagging at the end of the zipper that occurs when you then close the seam from the bottom up to the end of the zipper? Or have you had seams that did not come together nicely on a yoke? Or have your checks moved out of alignment? This has happened to me despite taking every care, so I then had to unpick it all again. Really annoying! I’ve tried all sorts of techniques that are shown online and even on YouTube, but I’ve never been 100 percent satisfied.
So today, I would like to introduce you to a technique that is really easy, where nothing slips and no unsightly bags appear at the end. I saw this on Birgit Reinartz’s course and was absolutely thrilled!
The perfect way to sew in an invisible zipper
First of all, I give the zipper a burst of steam with the iron. Or I put it between two pieces of fabric and iron over it. This stops the zipper from shrinking later on during washing and ironing.
Now I measure the length of the zipper – from the top edge to about 2 cm before the slider.
To do this, I open the zipper fully, place it on the edge of the fabric where it will be sewn in afterwards, and mark on the fabric how far up to sew the seam below the zipper.
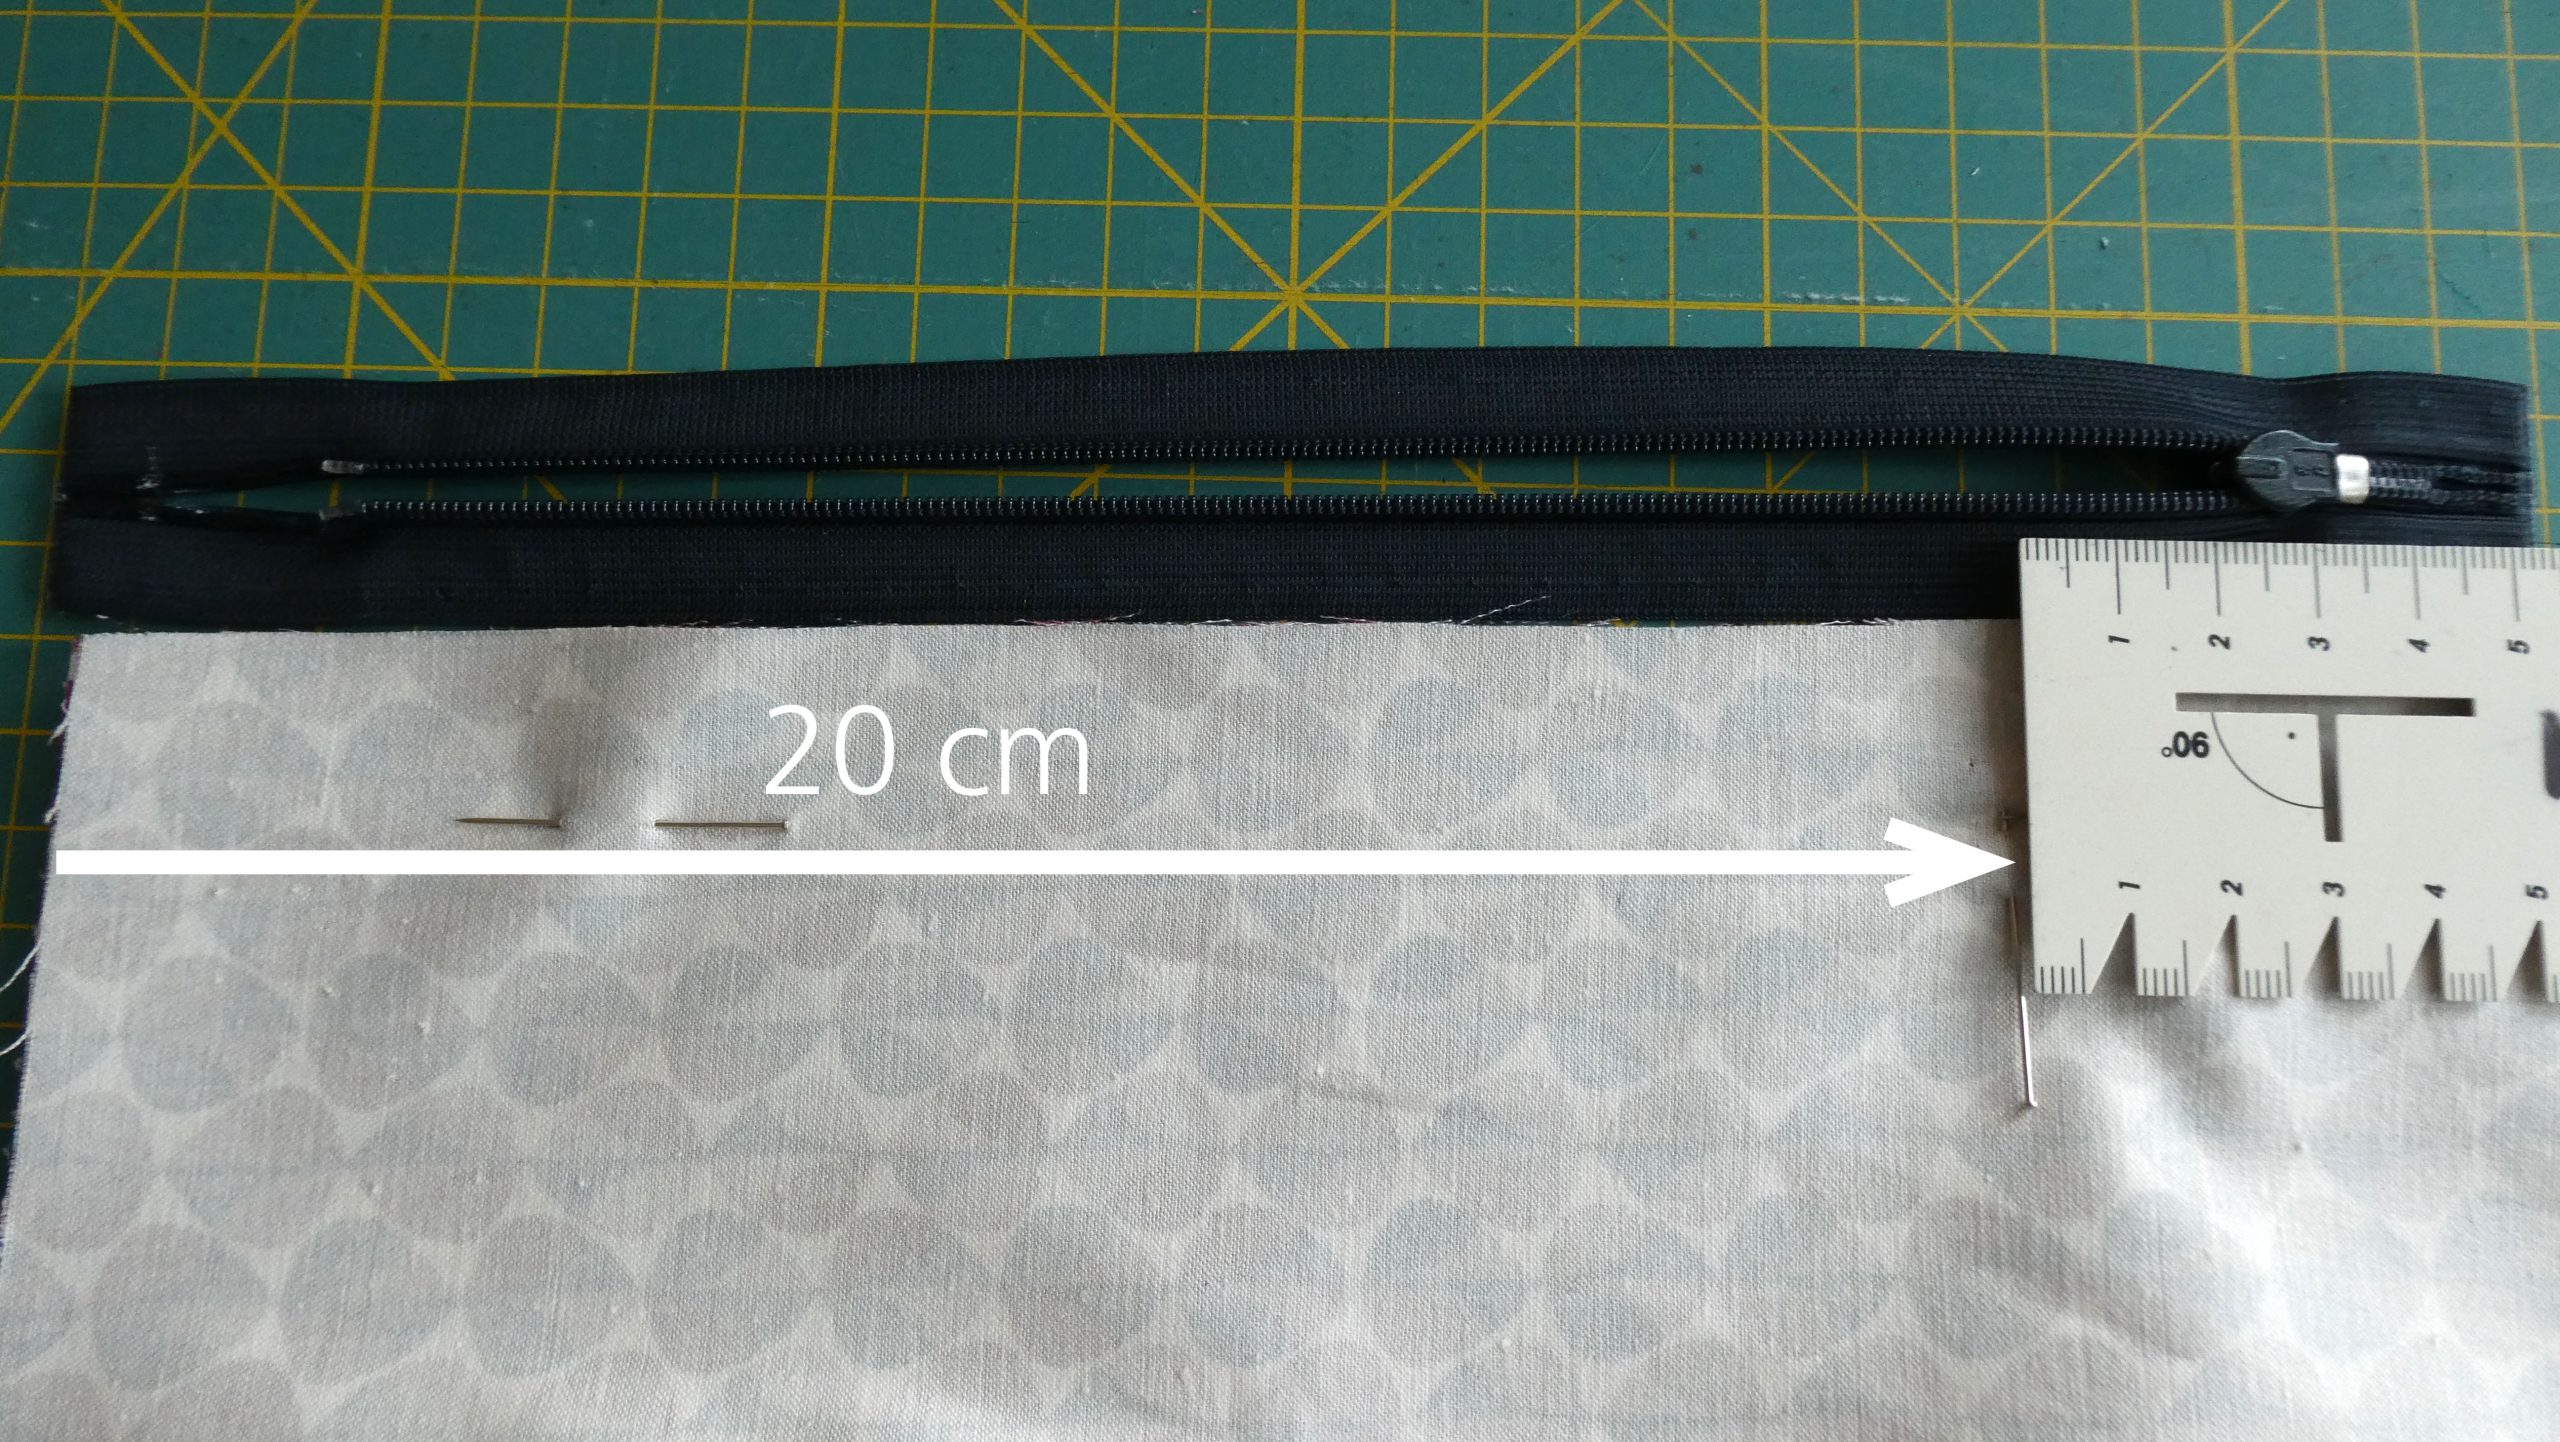
Now I sew the entire seam (in my case, it was the center back of a skirt) using a straight stitch. For the first 20 cm, use a long stitch that is easy to unpick again afterwards, then secure the seam so that it doesn’t come undone. Sew the rest using a normal stitch length. Iron the seam allowance open.
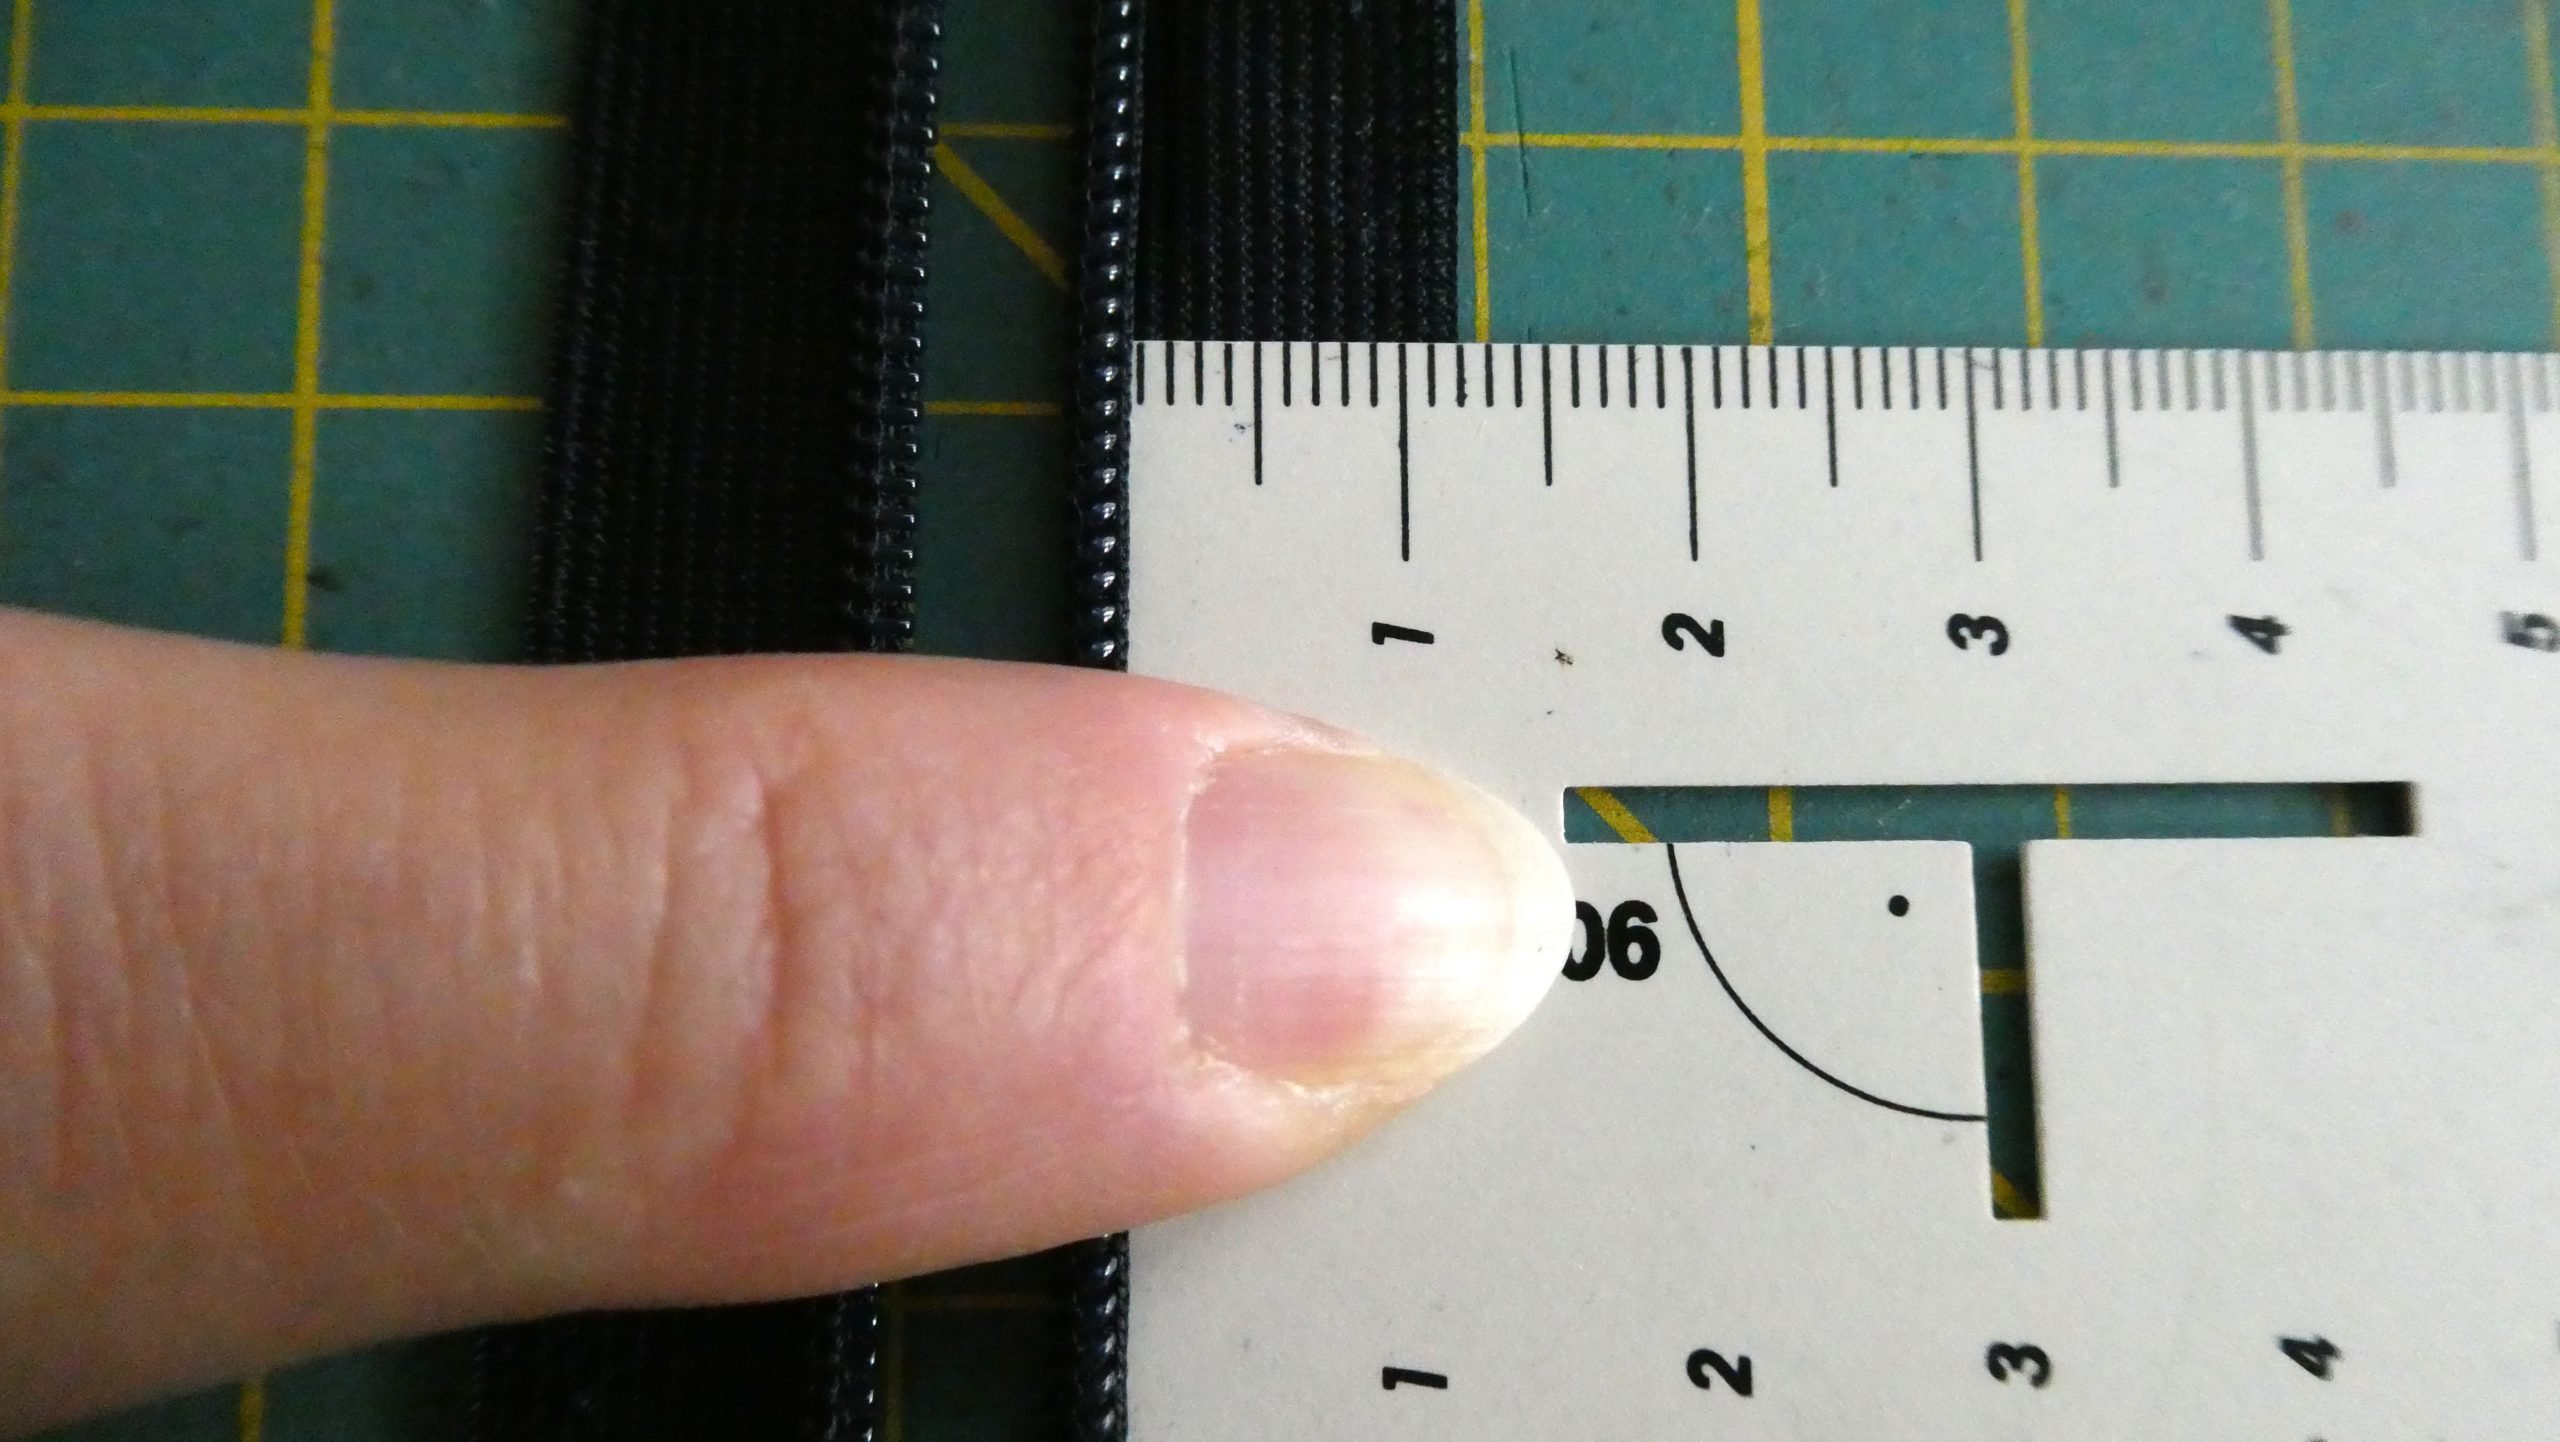
Then I measure the width of my zipper. For this, I measure from the edge to the folded up coil. I had a seam allowance of 2 cm, the zipper tape is 1.2 cm wide, so I position the outer edge of the zipper just under 1 cm away from the fabric edge.
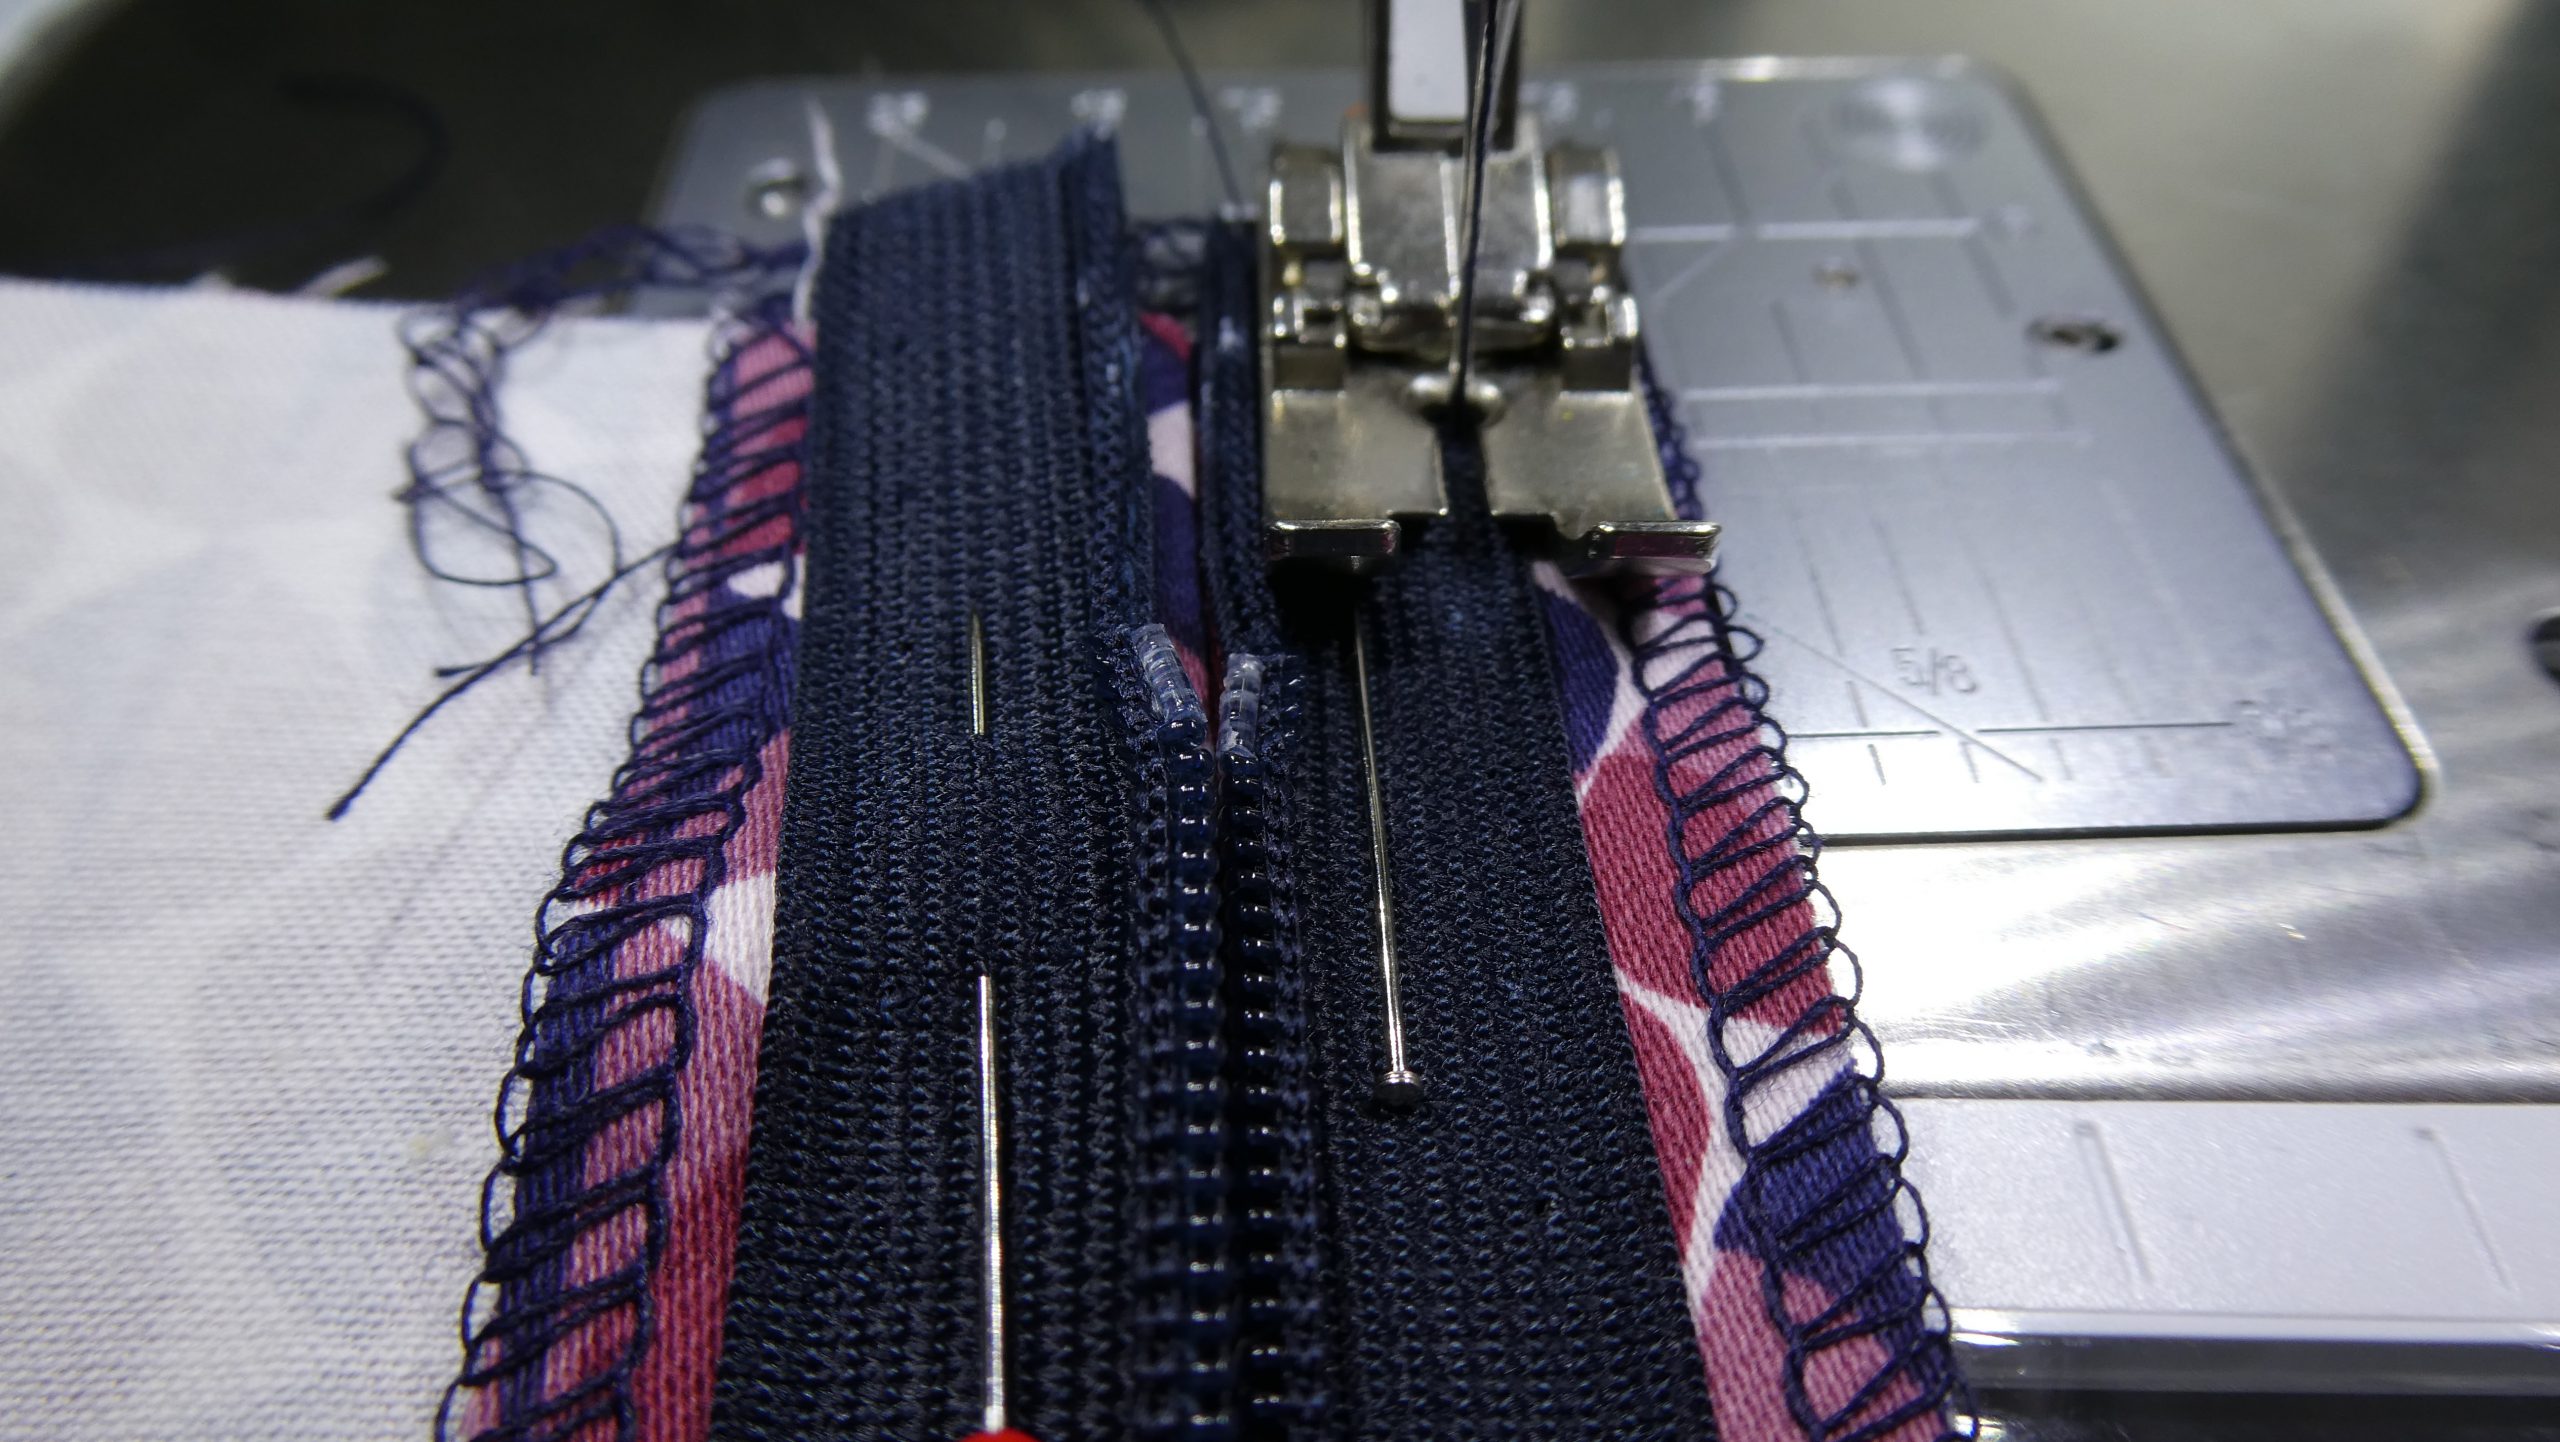
The open zipper is pinned onto the seam allowances with the right sides together (the top part of the seam is still closed with the long stitch!).

Time to start sewing!
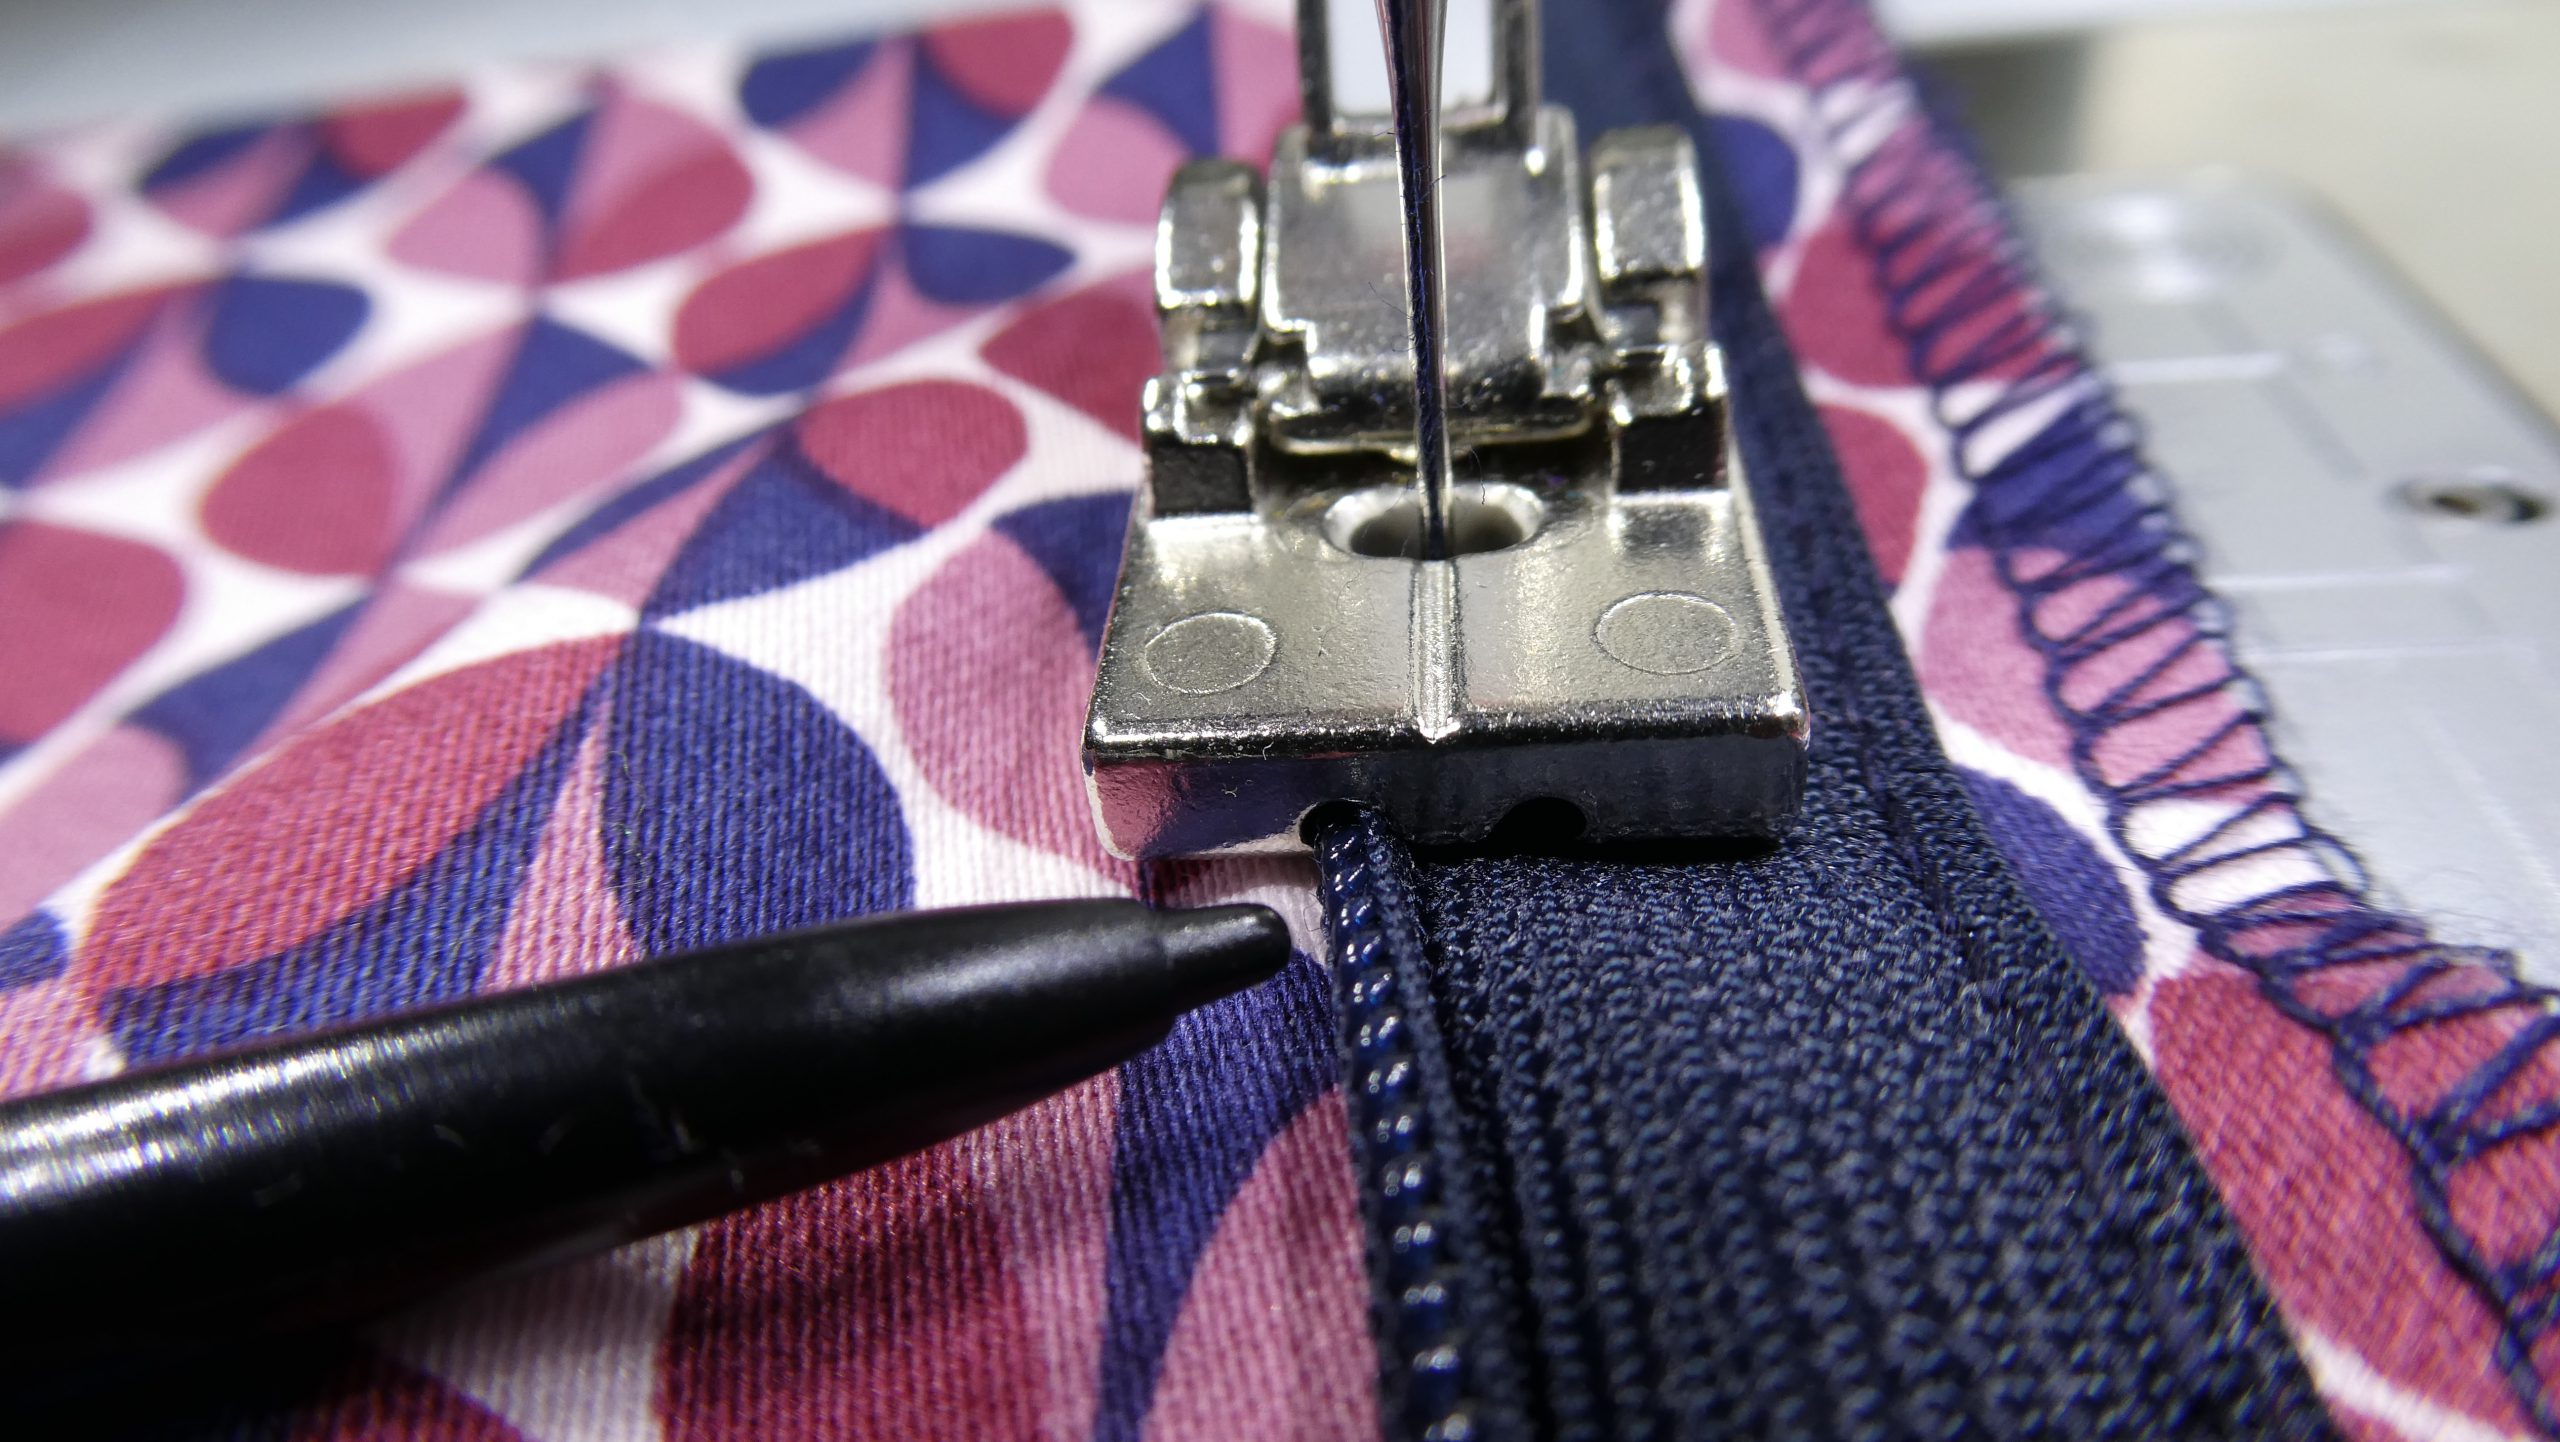
Now it’s time to start up the sewing machine. The zipper tape is sewn onto the seam allowance at the edge. For this I use a narrow foot, such as Jeans Foot #8. I start at the top and sew as far as I can. You will notice that you can’t get past the slider, but that’s OK.
Secure the seam and sew the other side in the same way from top to bottom.
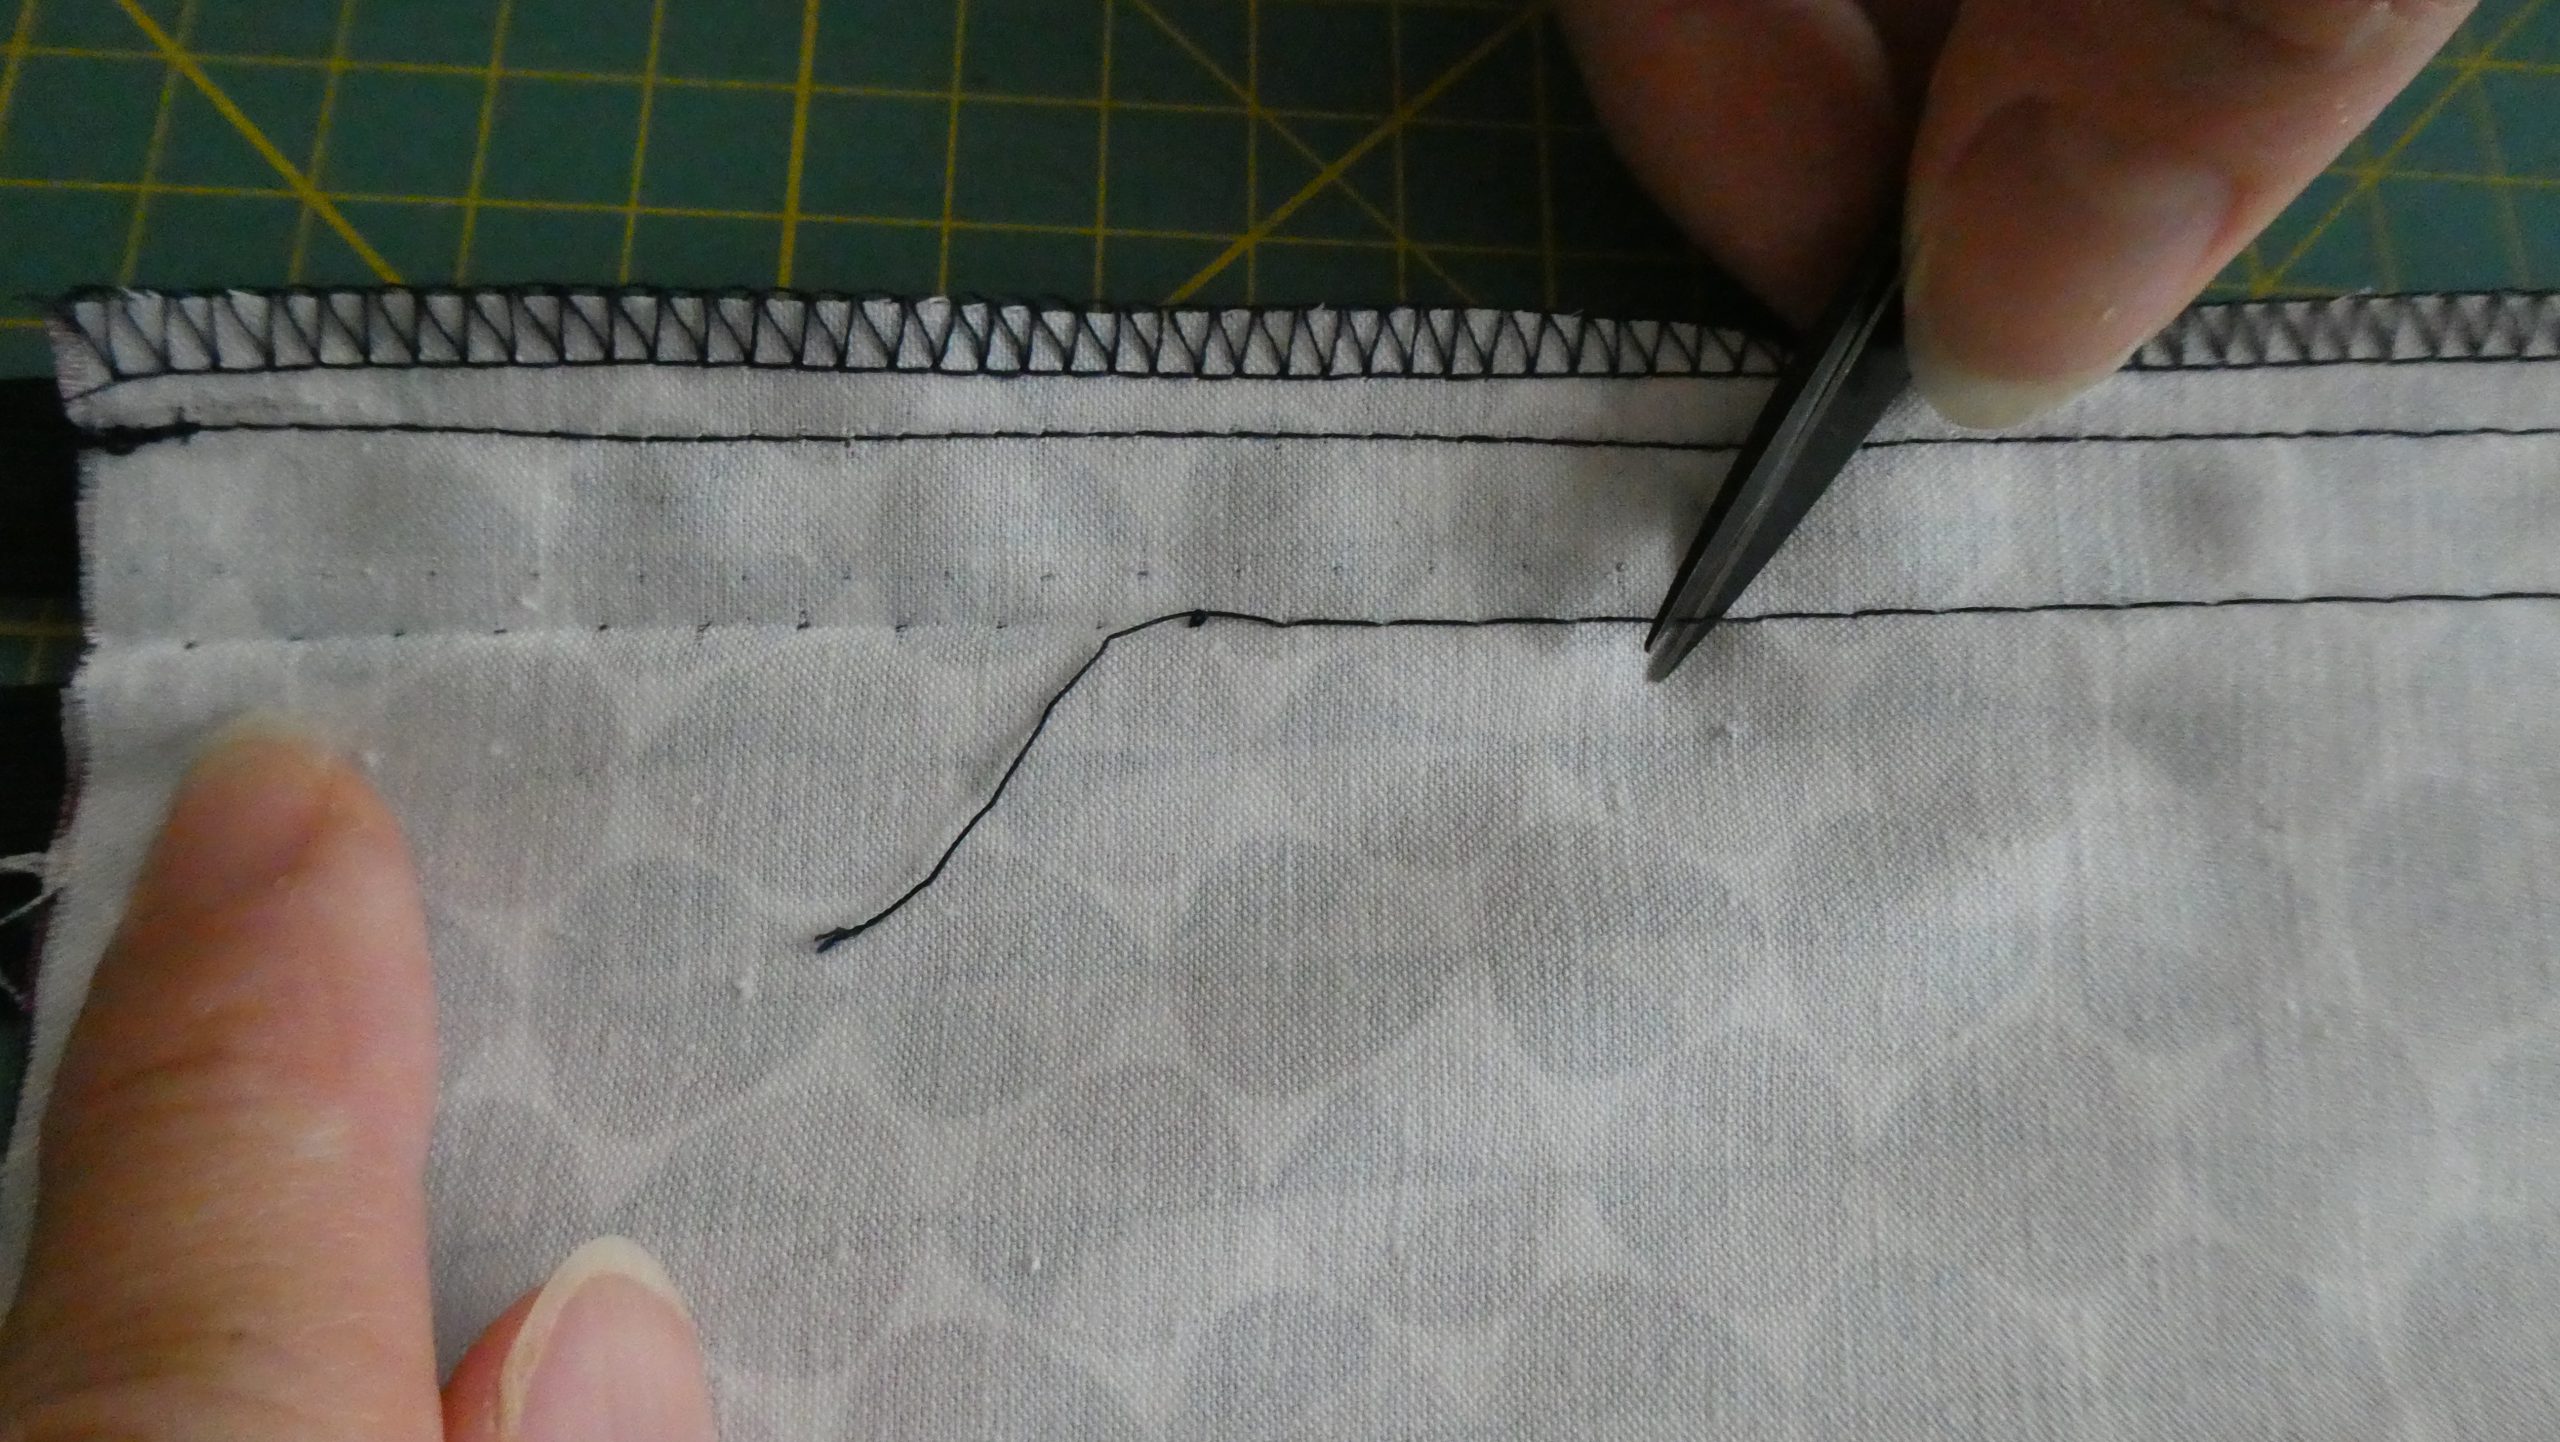
Now unpick the tacking seam up to the bartack:
Next, I attach the fantastic Invisible-Zipper Foot #35 to my BERNINA.
My zipper is already pinned at the edge, so I don’t even need to do any more pinning. I place the right side of the zipper as I look at it into the left groove of the zipper foot and the coil slots into the proper position as if by magic! As a rule, I don’t need to adjust my needle, but I’ve sometimes sewn in cheap invisible zippers where the coil didn’t fold up as well, and in that case, I also adjusted the needle position.

Once again, sew in the zipper from top to bottom as far as it will go. Once you have reached the slider, secure the seam well.
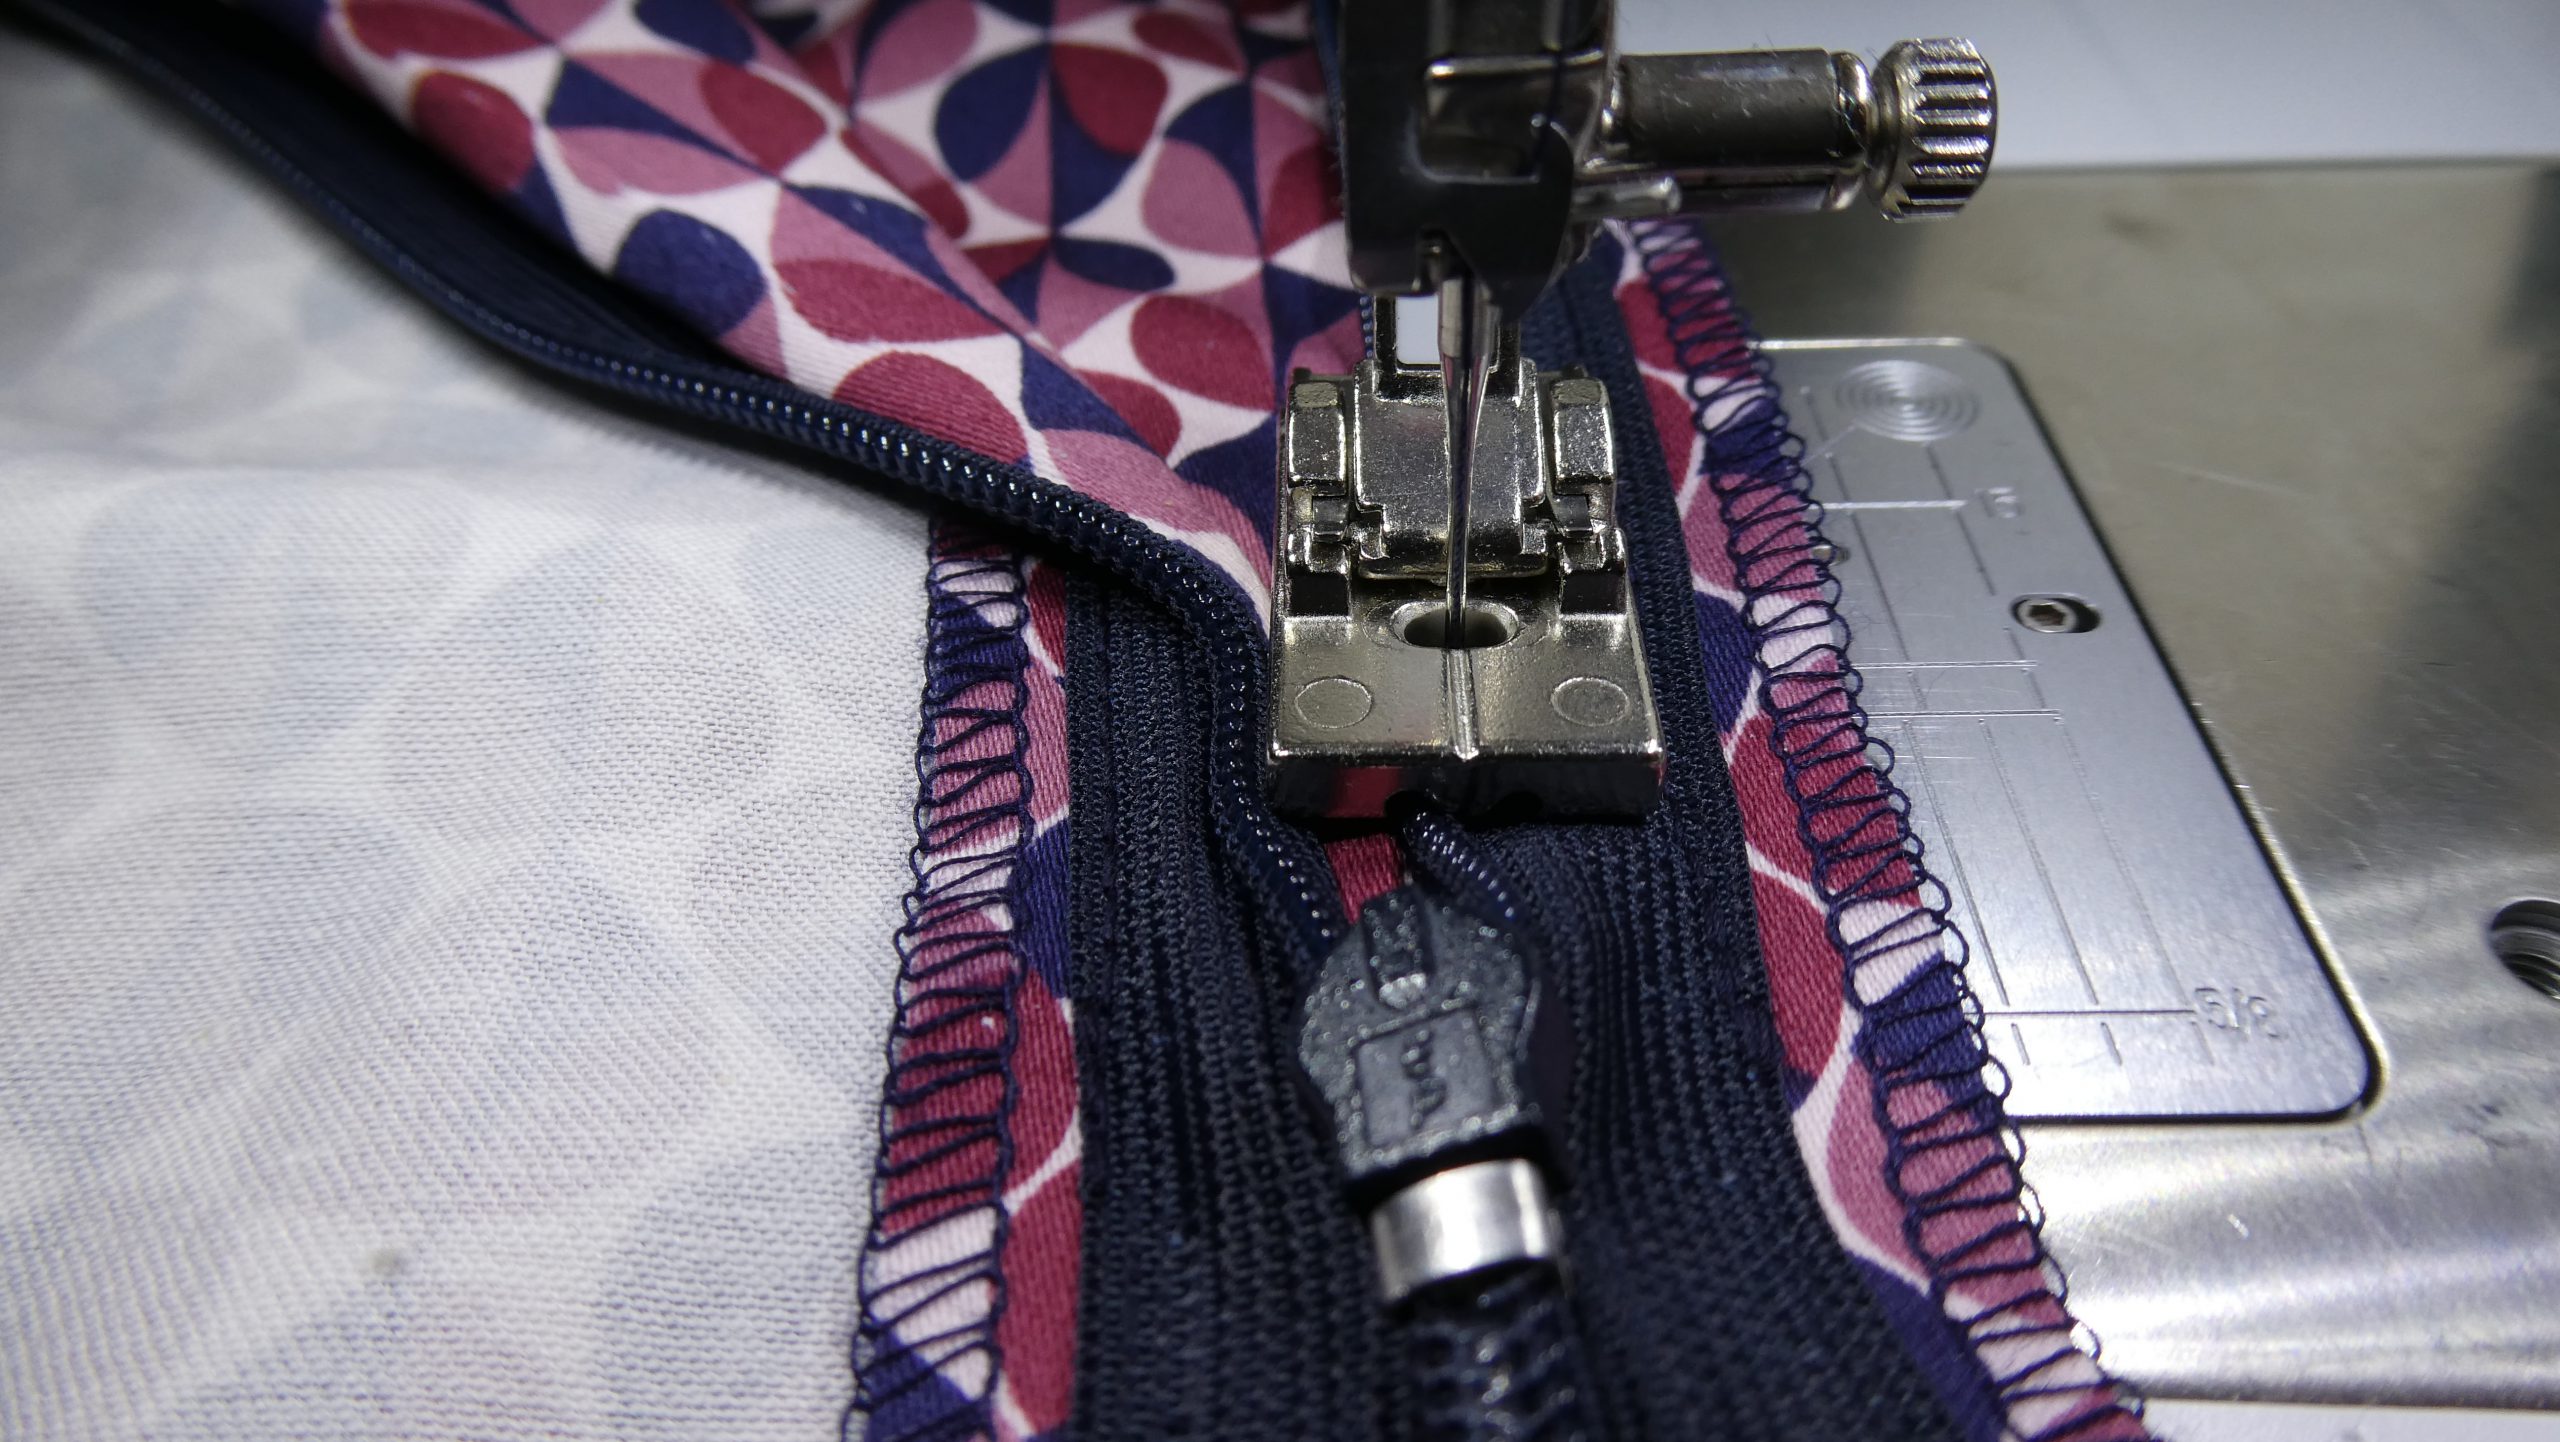
Sew in the second side in exactly the same way from top to bottom. Here, the left side of the zipper as I look at it goes into the right groove of the foot.
You will notice how easily, precisely and beautifully the foot sews in the zipper, almost by itself!
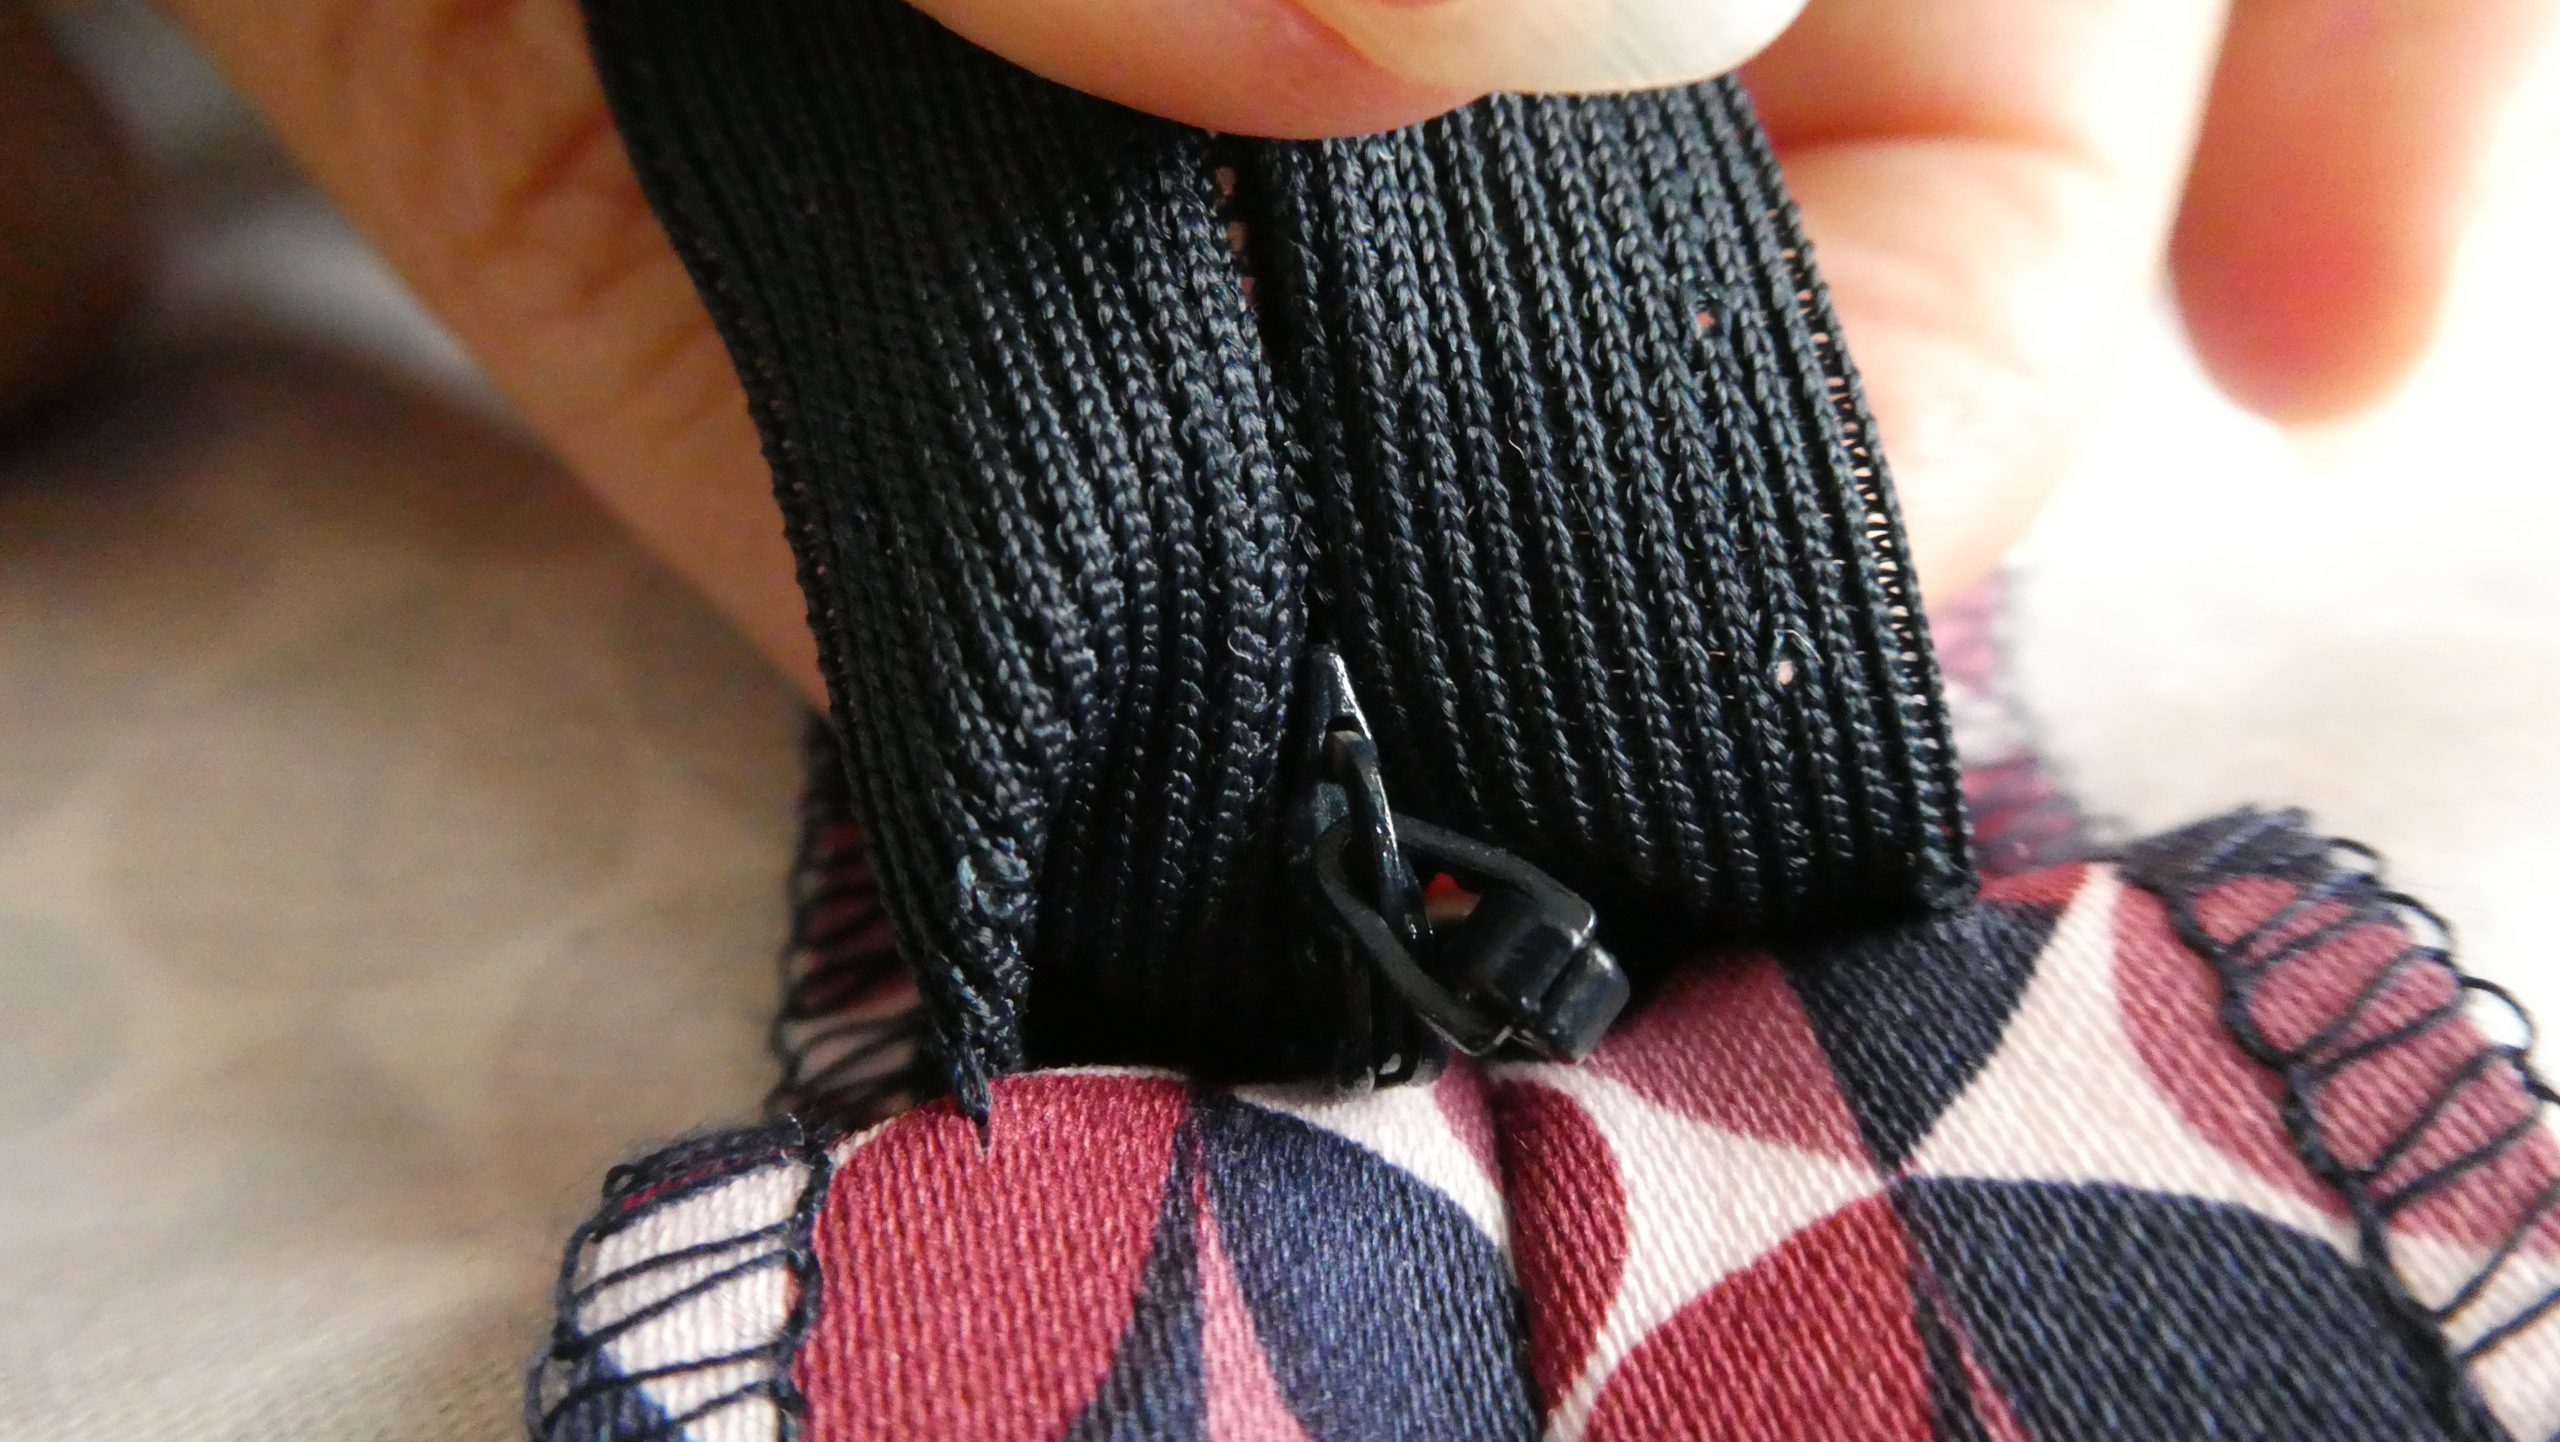
Now you just have to pull the slider up through the small opening:
Close the zipper and enjoy the fact that nothing has moved and there is no bagging! Perfect!

See for yourself what this ingenious foot can do and let me know your experiences. Have fun trying it out!
Which is your absolute favorite foot?
Best wishes,
Mirjam

How do you find the invisible zipper foot with YKK zips? They are the main one available in the UK (or that I’ve found) but they seam to stick rather than slid through the foot.
Dear Andrea,
I would like to forward your request to our partner in the UK. Hannah is our specialist for all BERNINA machines and accessory.
Please feel free to contact her: [email protected]
Thanks and best regards
Mirjam