 BERNINA Corporate Blog -
It’s easy to recycle partytent to bags (free patterns). I remembered this project after I watched the episode of the Great British Sewing Bee. It was all about recycling. This project took place in 2019 for Festival Dranouter in Belgium.
In 2018 we collected left tents and partytents at the festival camping. Early 2019 we started sewing with a group of 36 volunteer seamstresses and non-sewing helpers. We had a participation with a local secondary school with ‘sewing and fashion’ classes.
Many members of the Facebook community ‘Great British Sewing Bee fans’ asked me for the patterns and it seems to me that a tutorial in a blogpost could be useful.
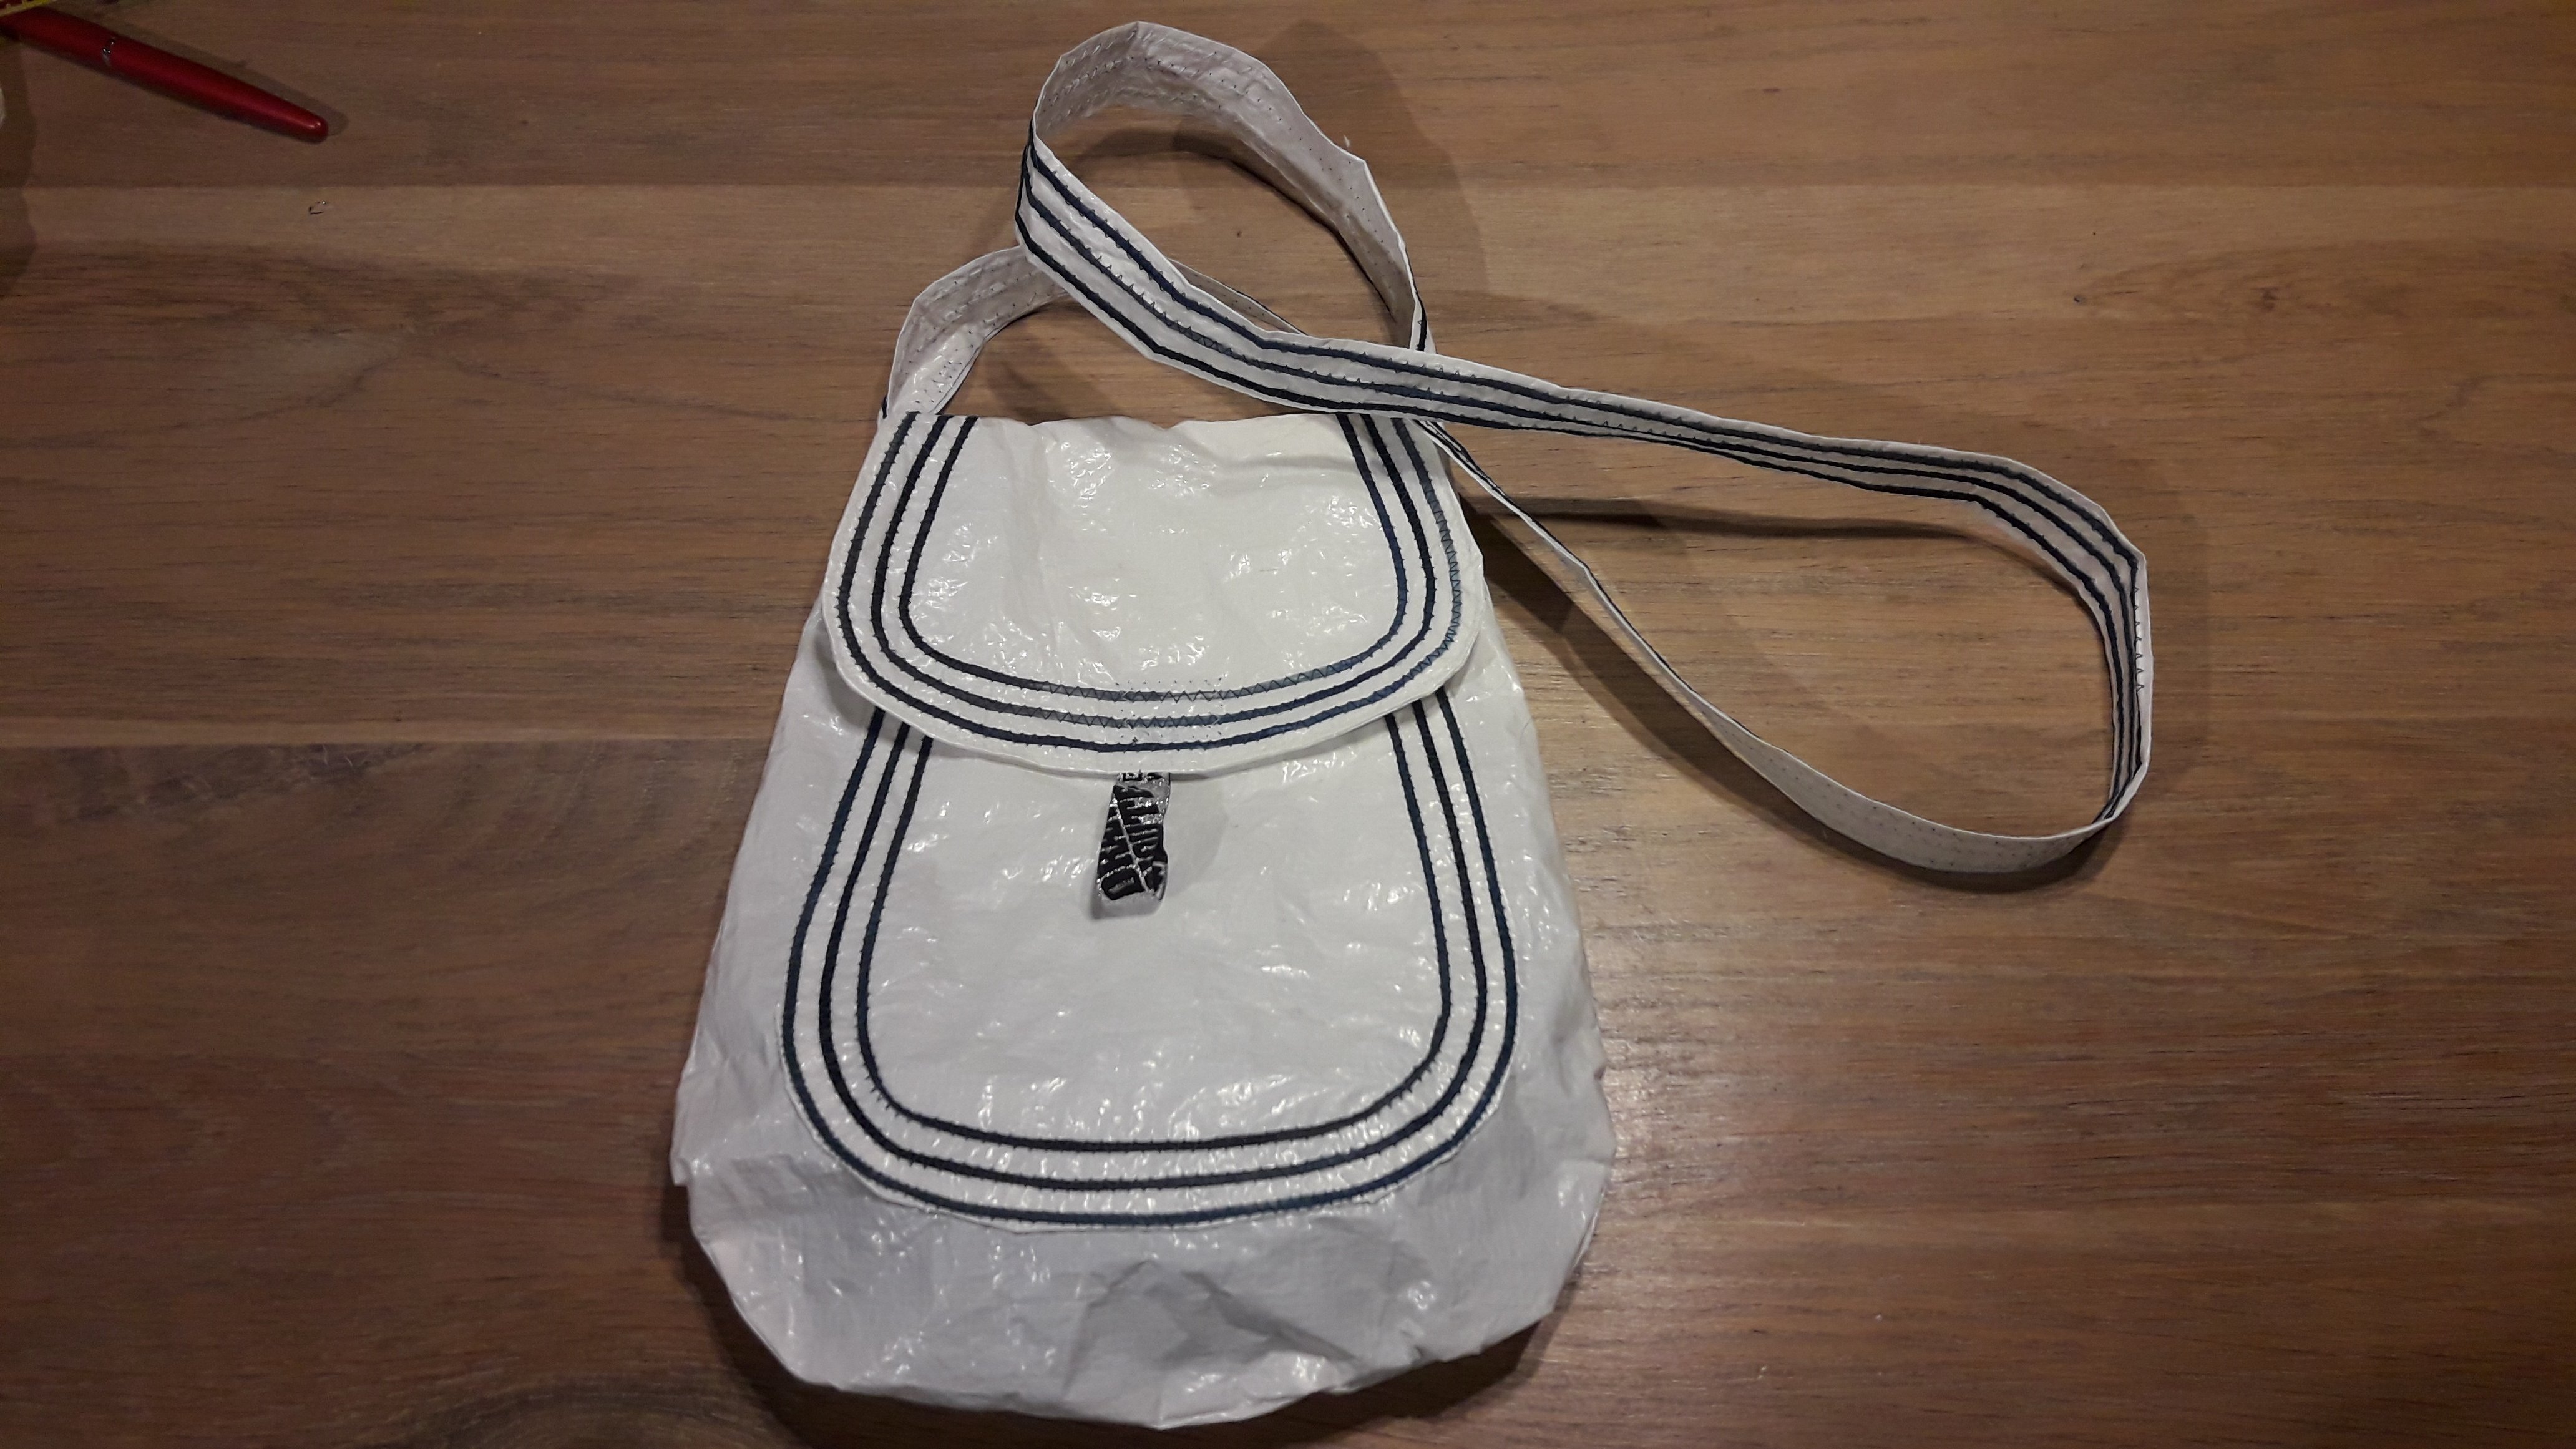
1. Recycle partytent to backpack
What do you need to make a recycled partytent backpack?
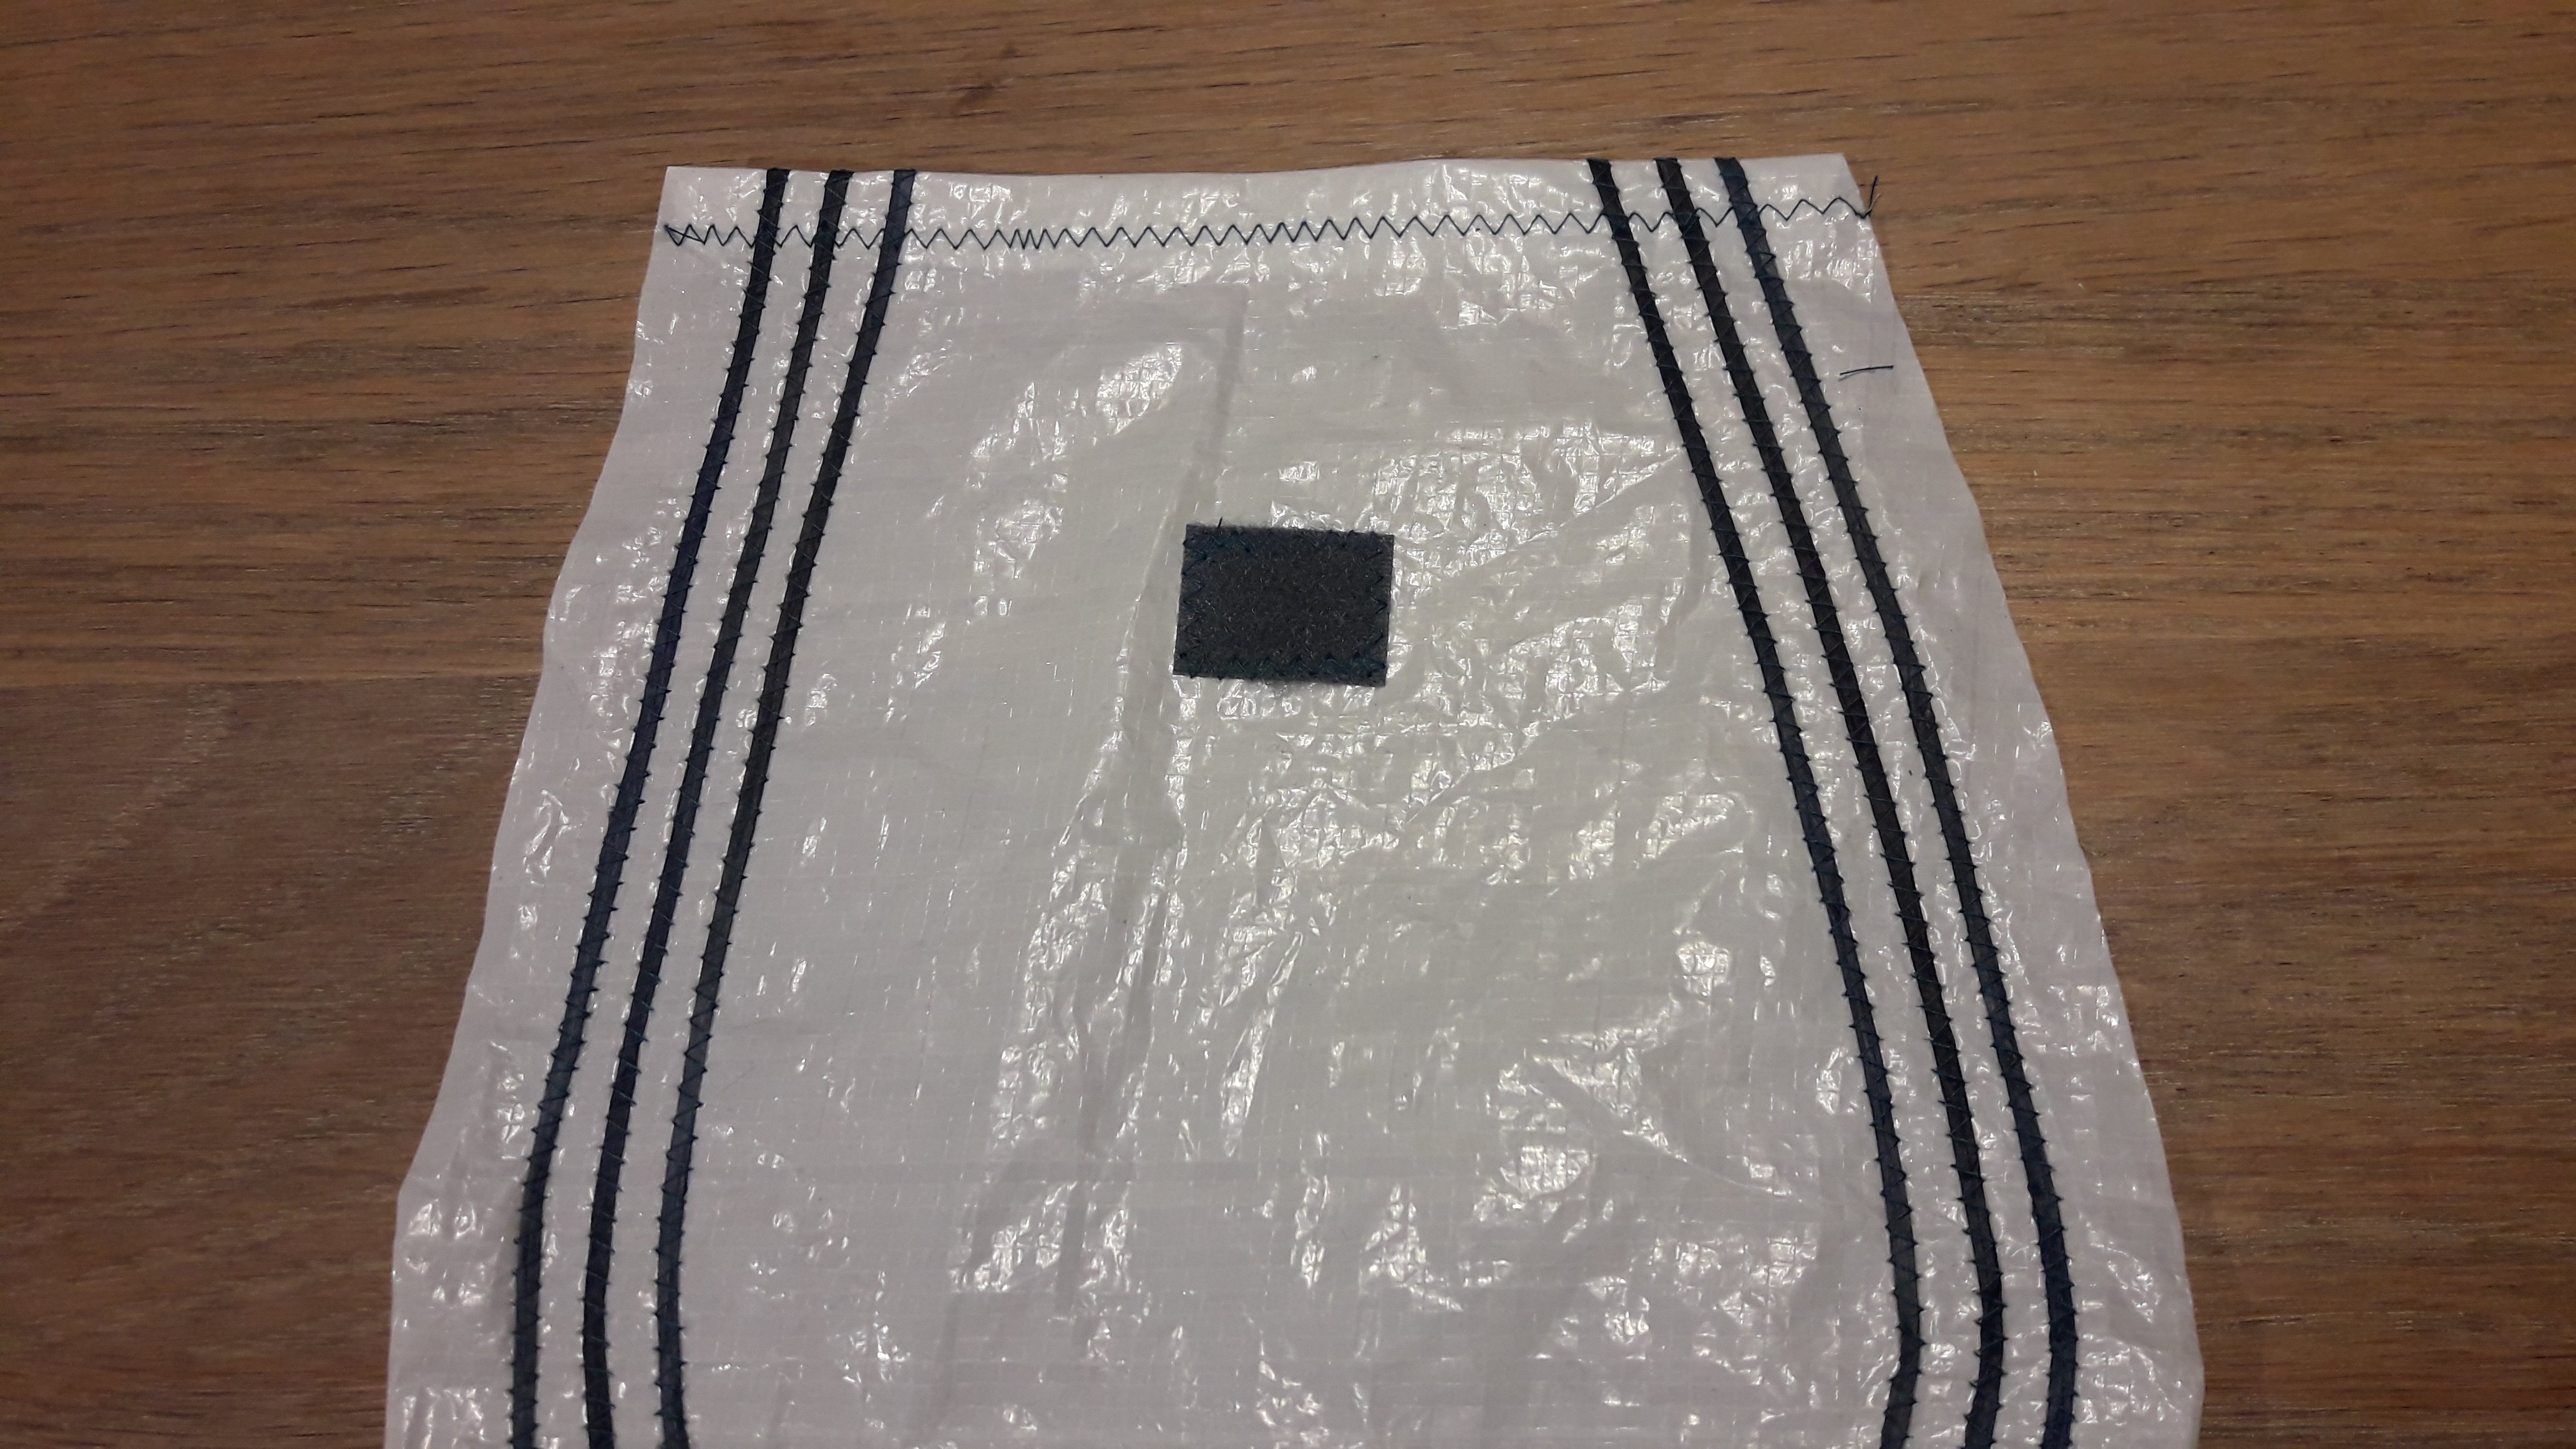
- 16 cm velcro: cut in 2, for closure and flap
- optional: 1,5 m reflecting tape (I ordered mine in a 2 mm width at Bart en Francis)
- partytent fabric
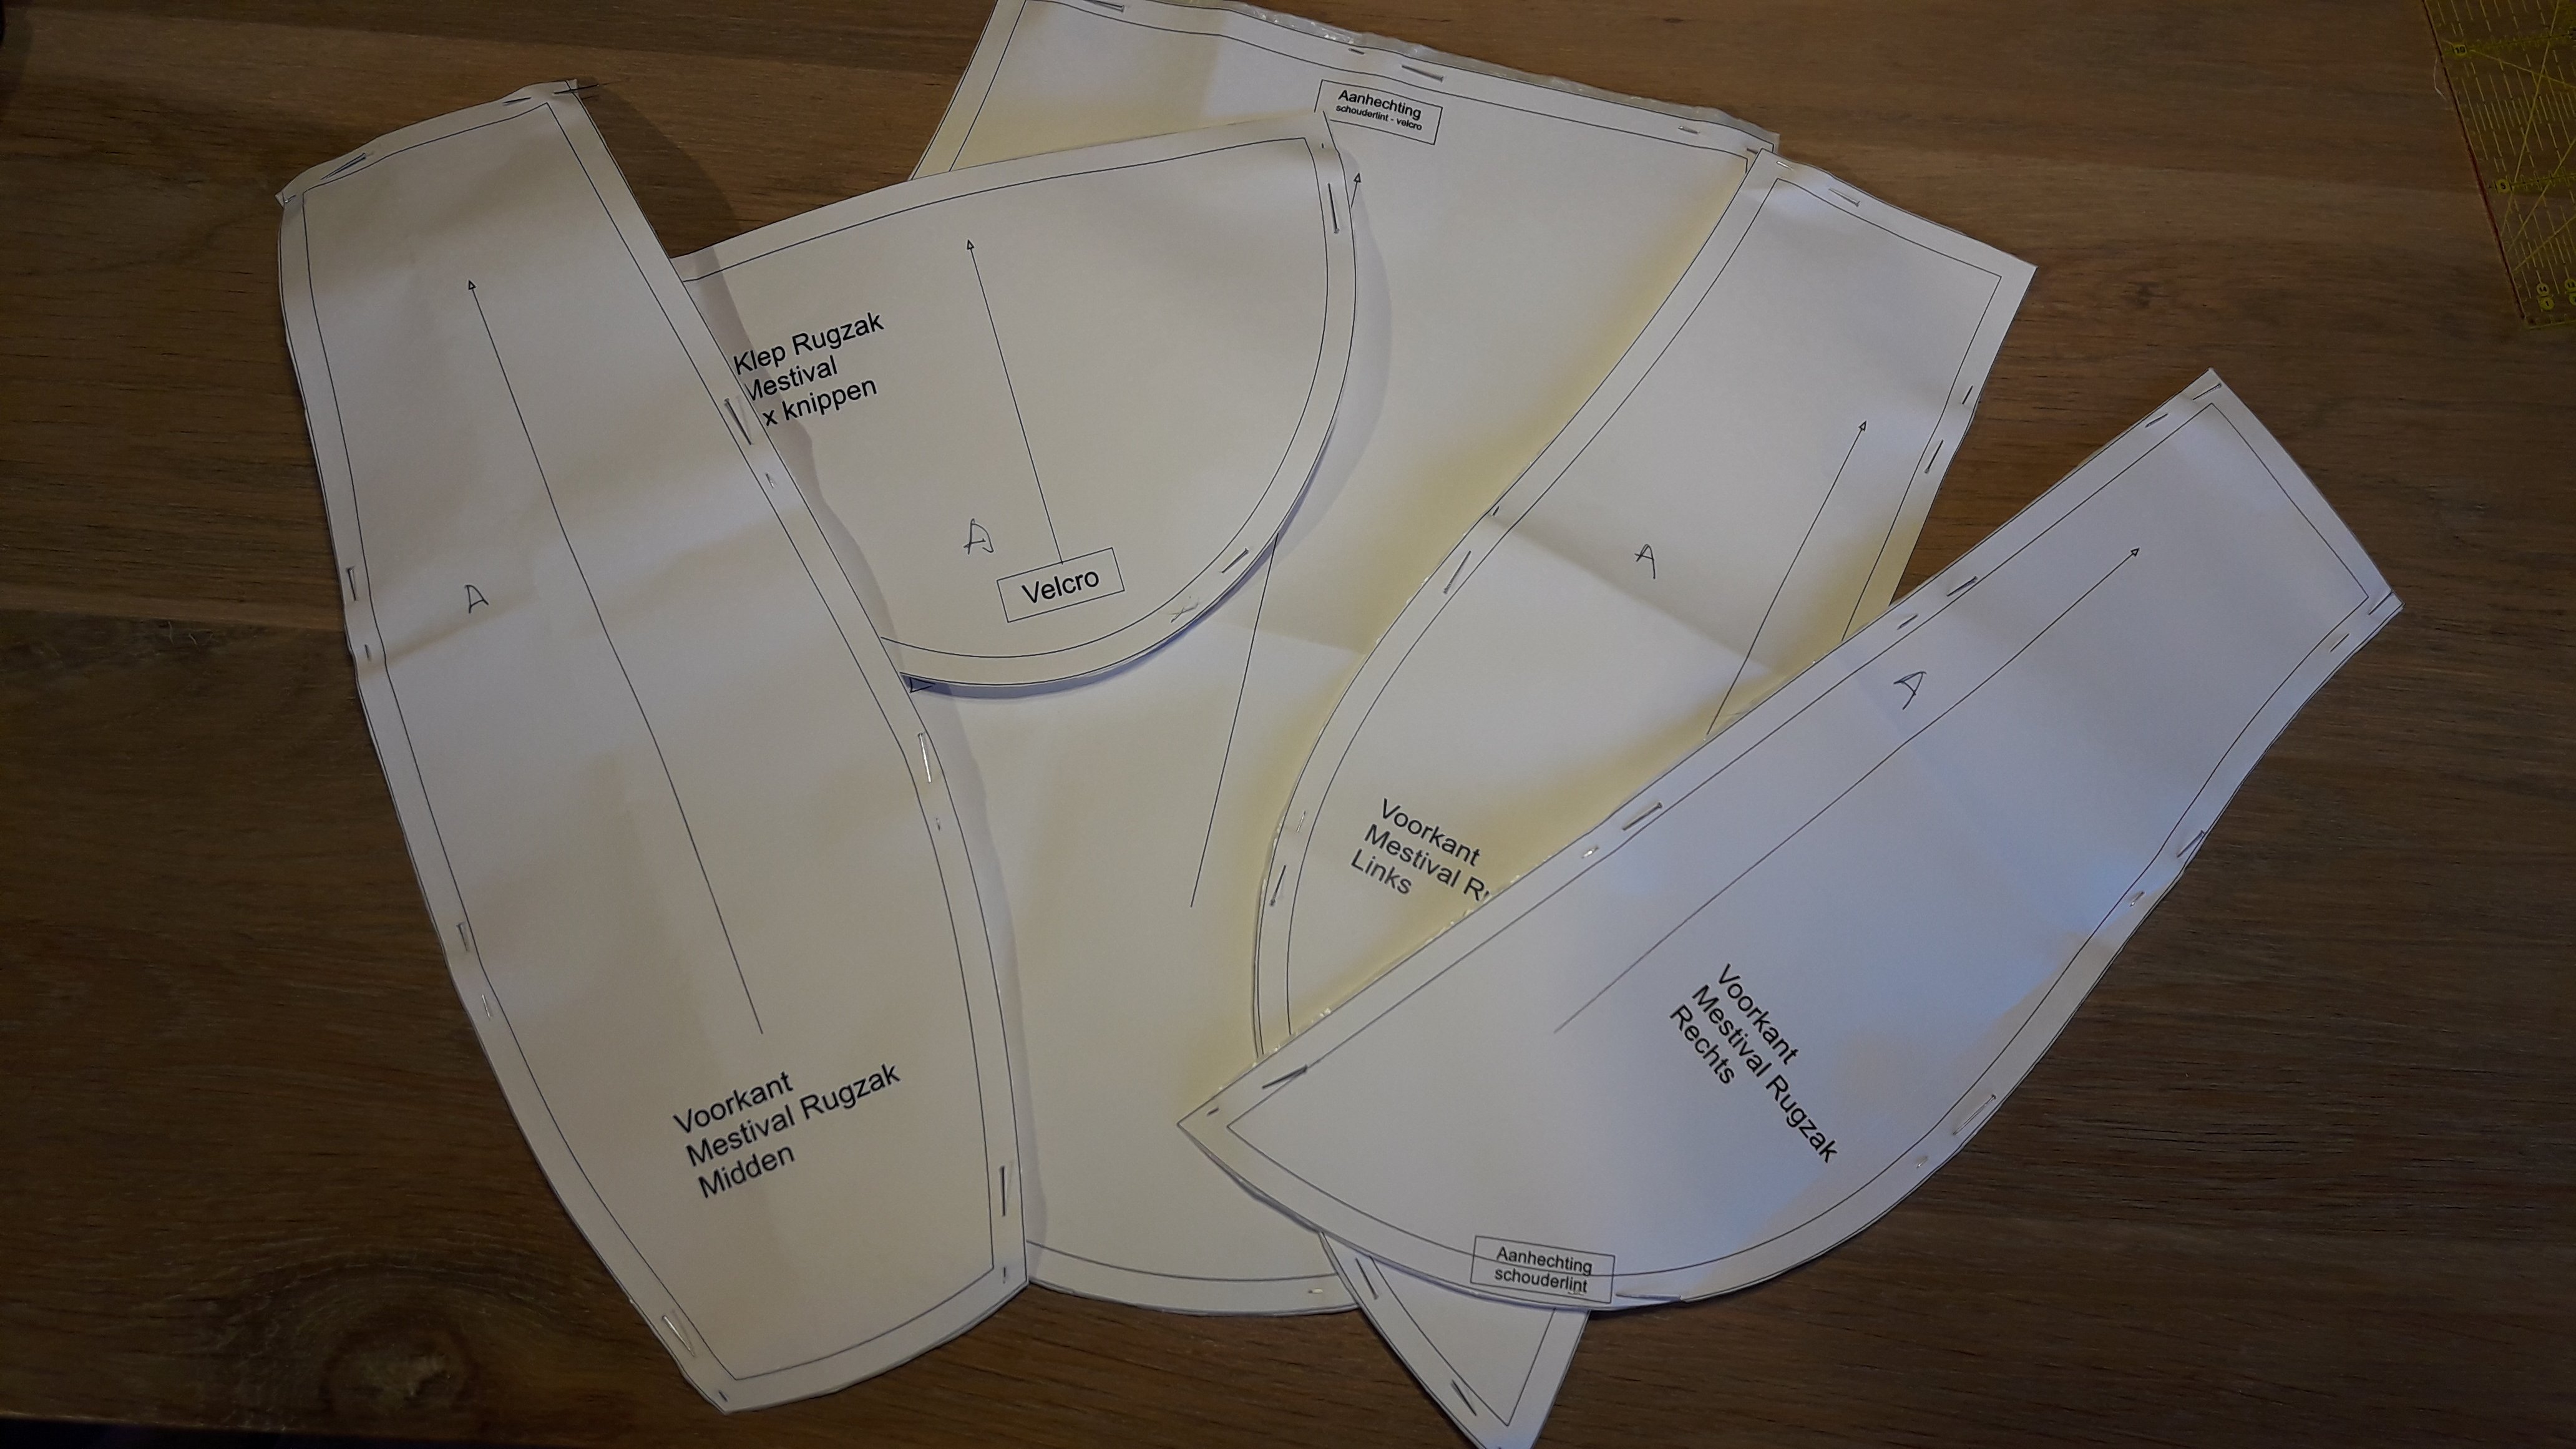
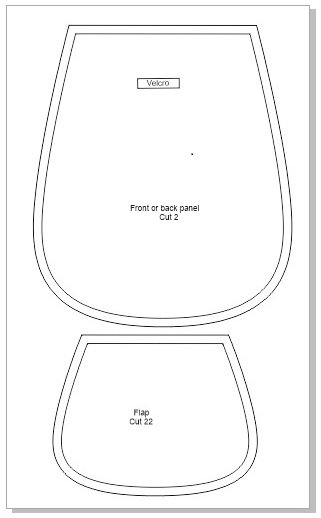
- FREE pattern downloads: Festival backpack

How to make the backpack:
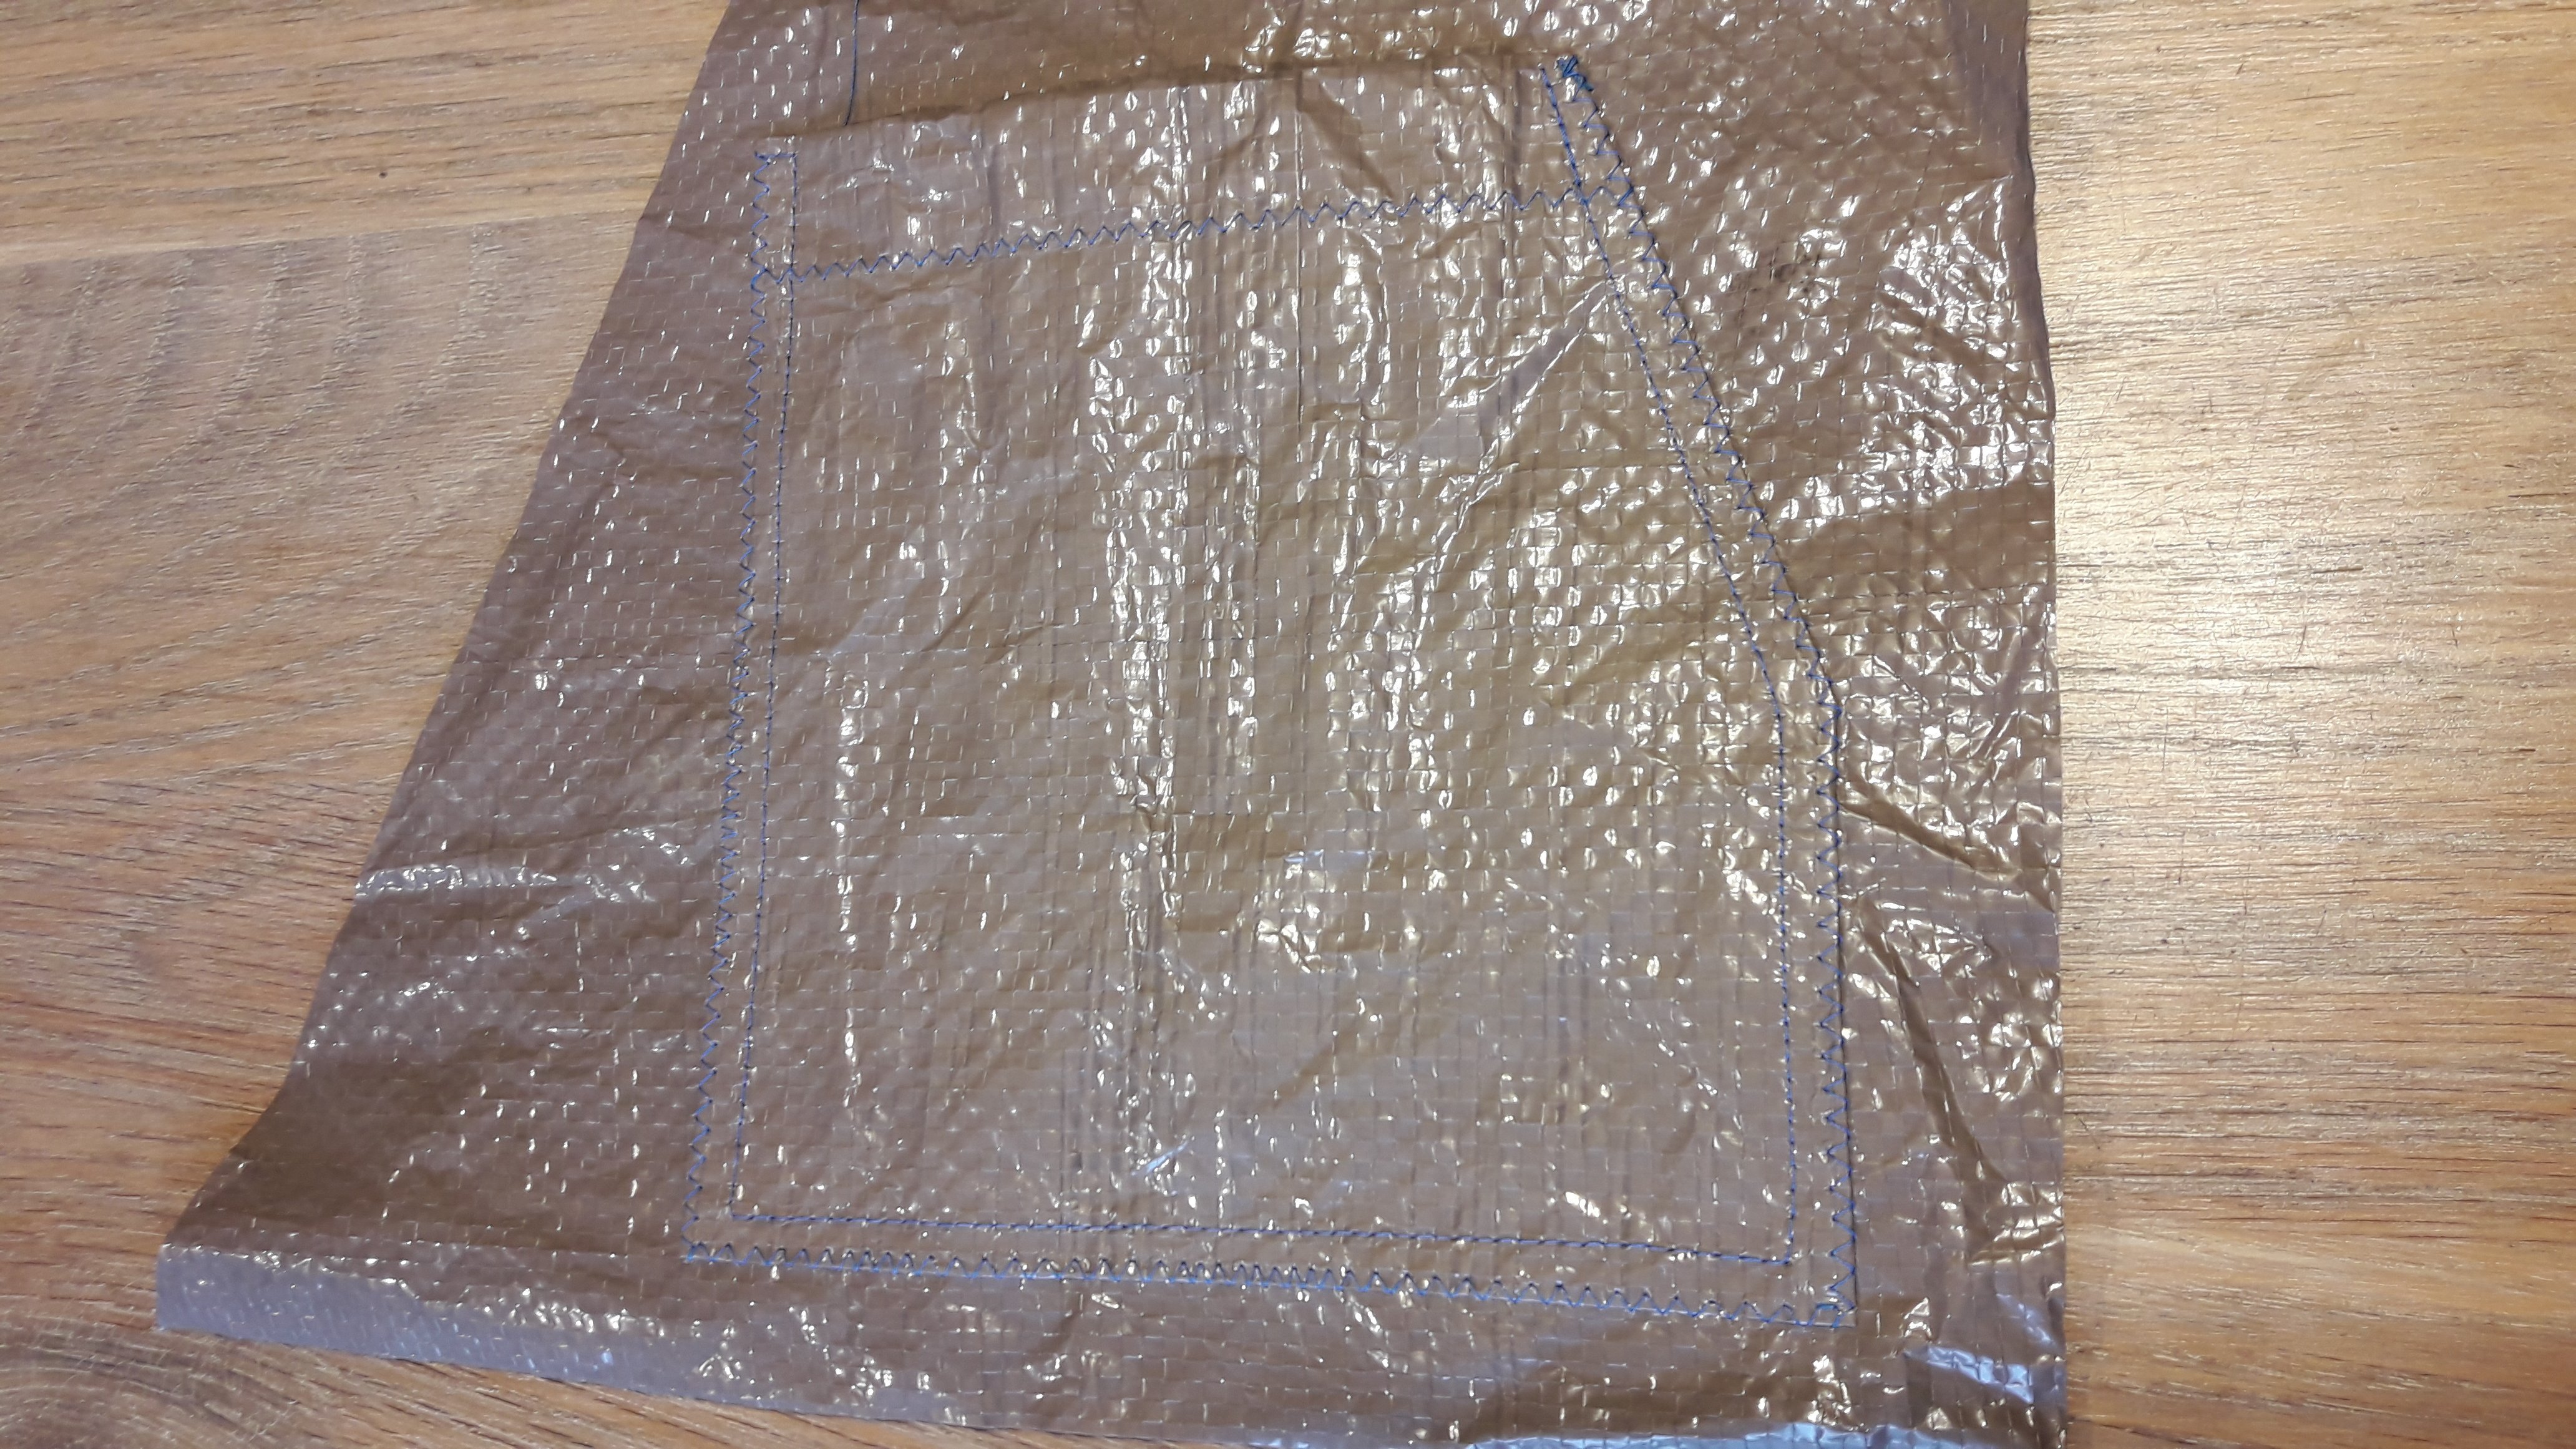
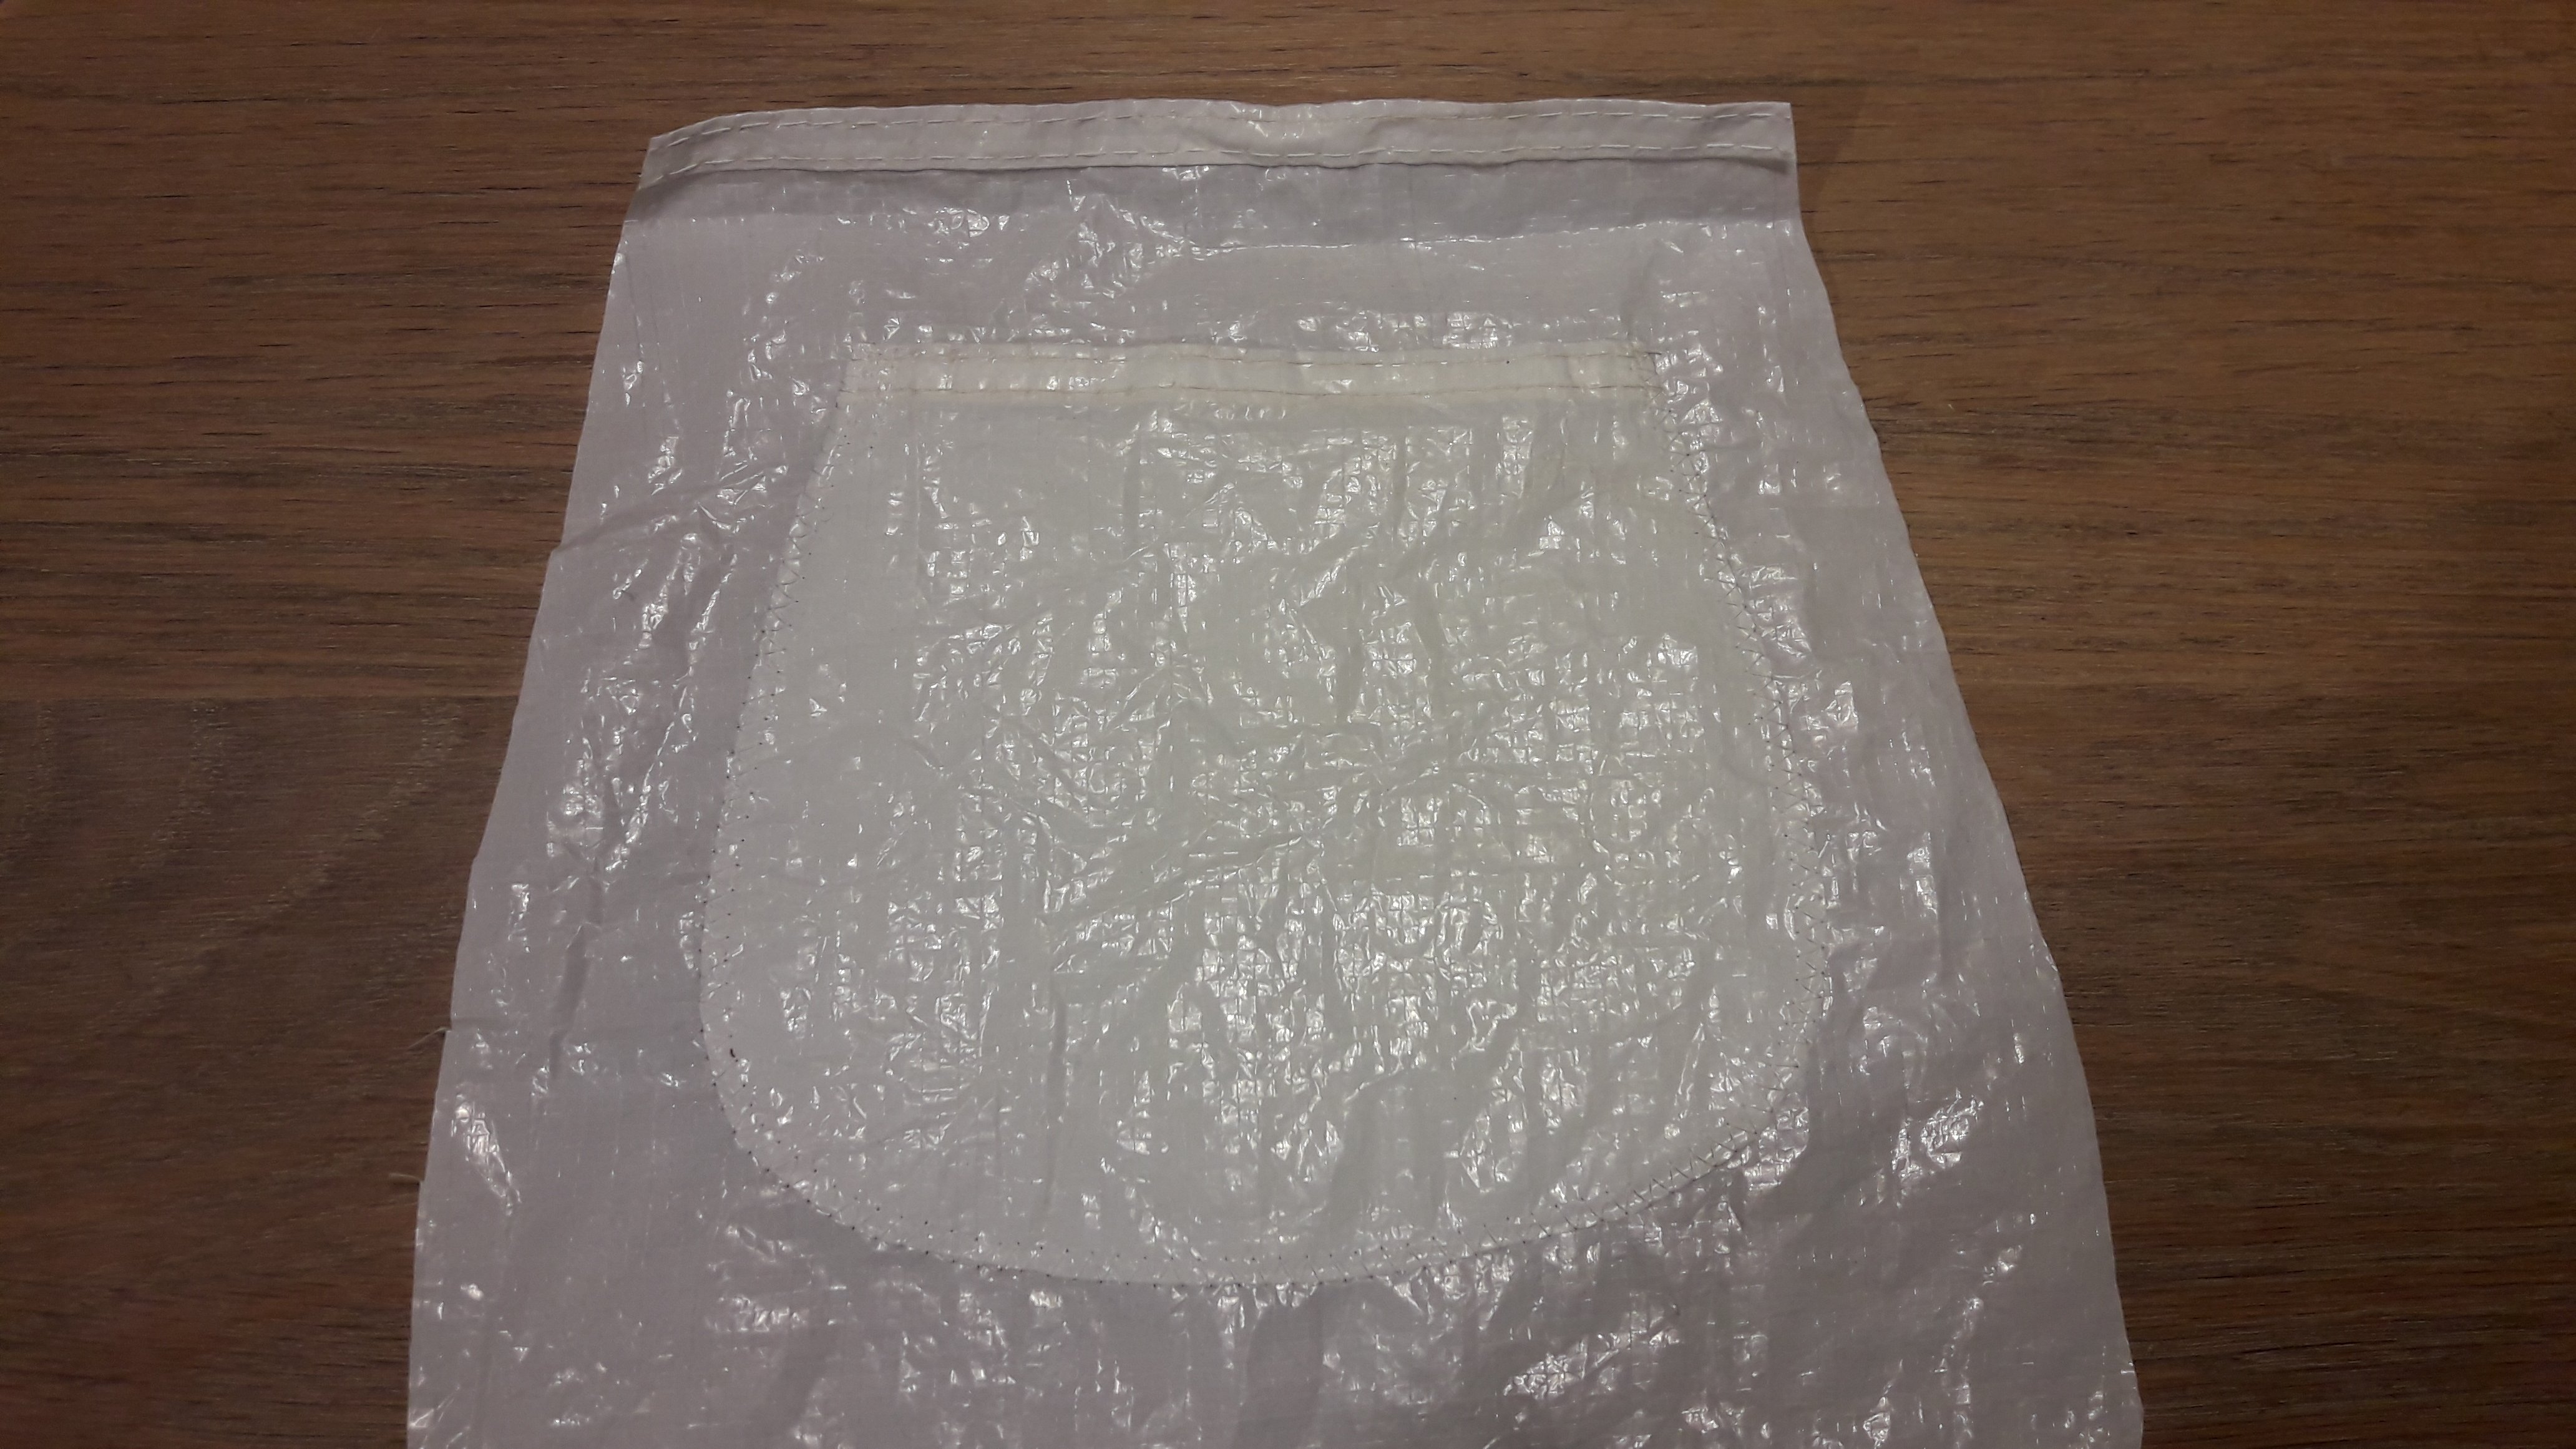
Cut the pattern parts from the partytent.
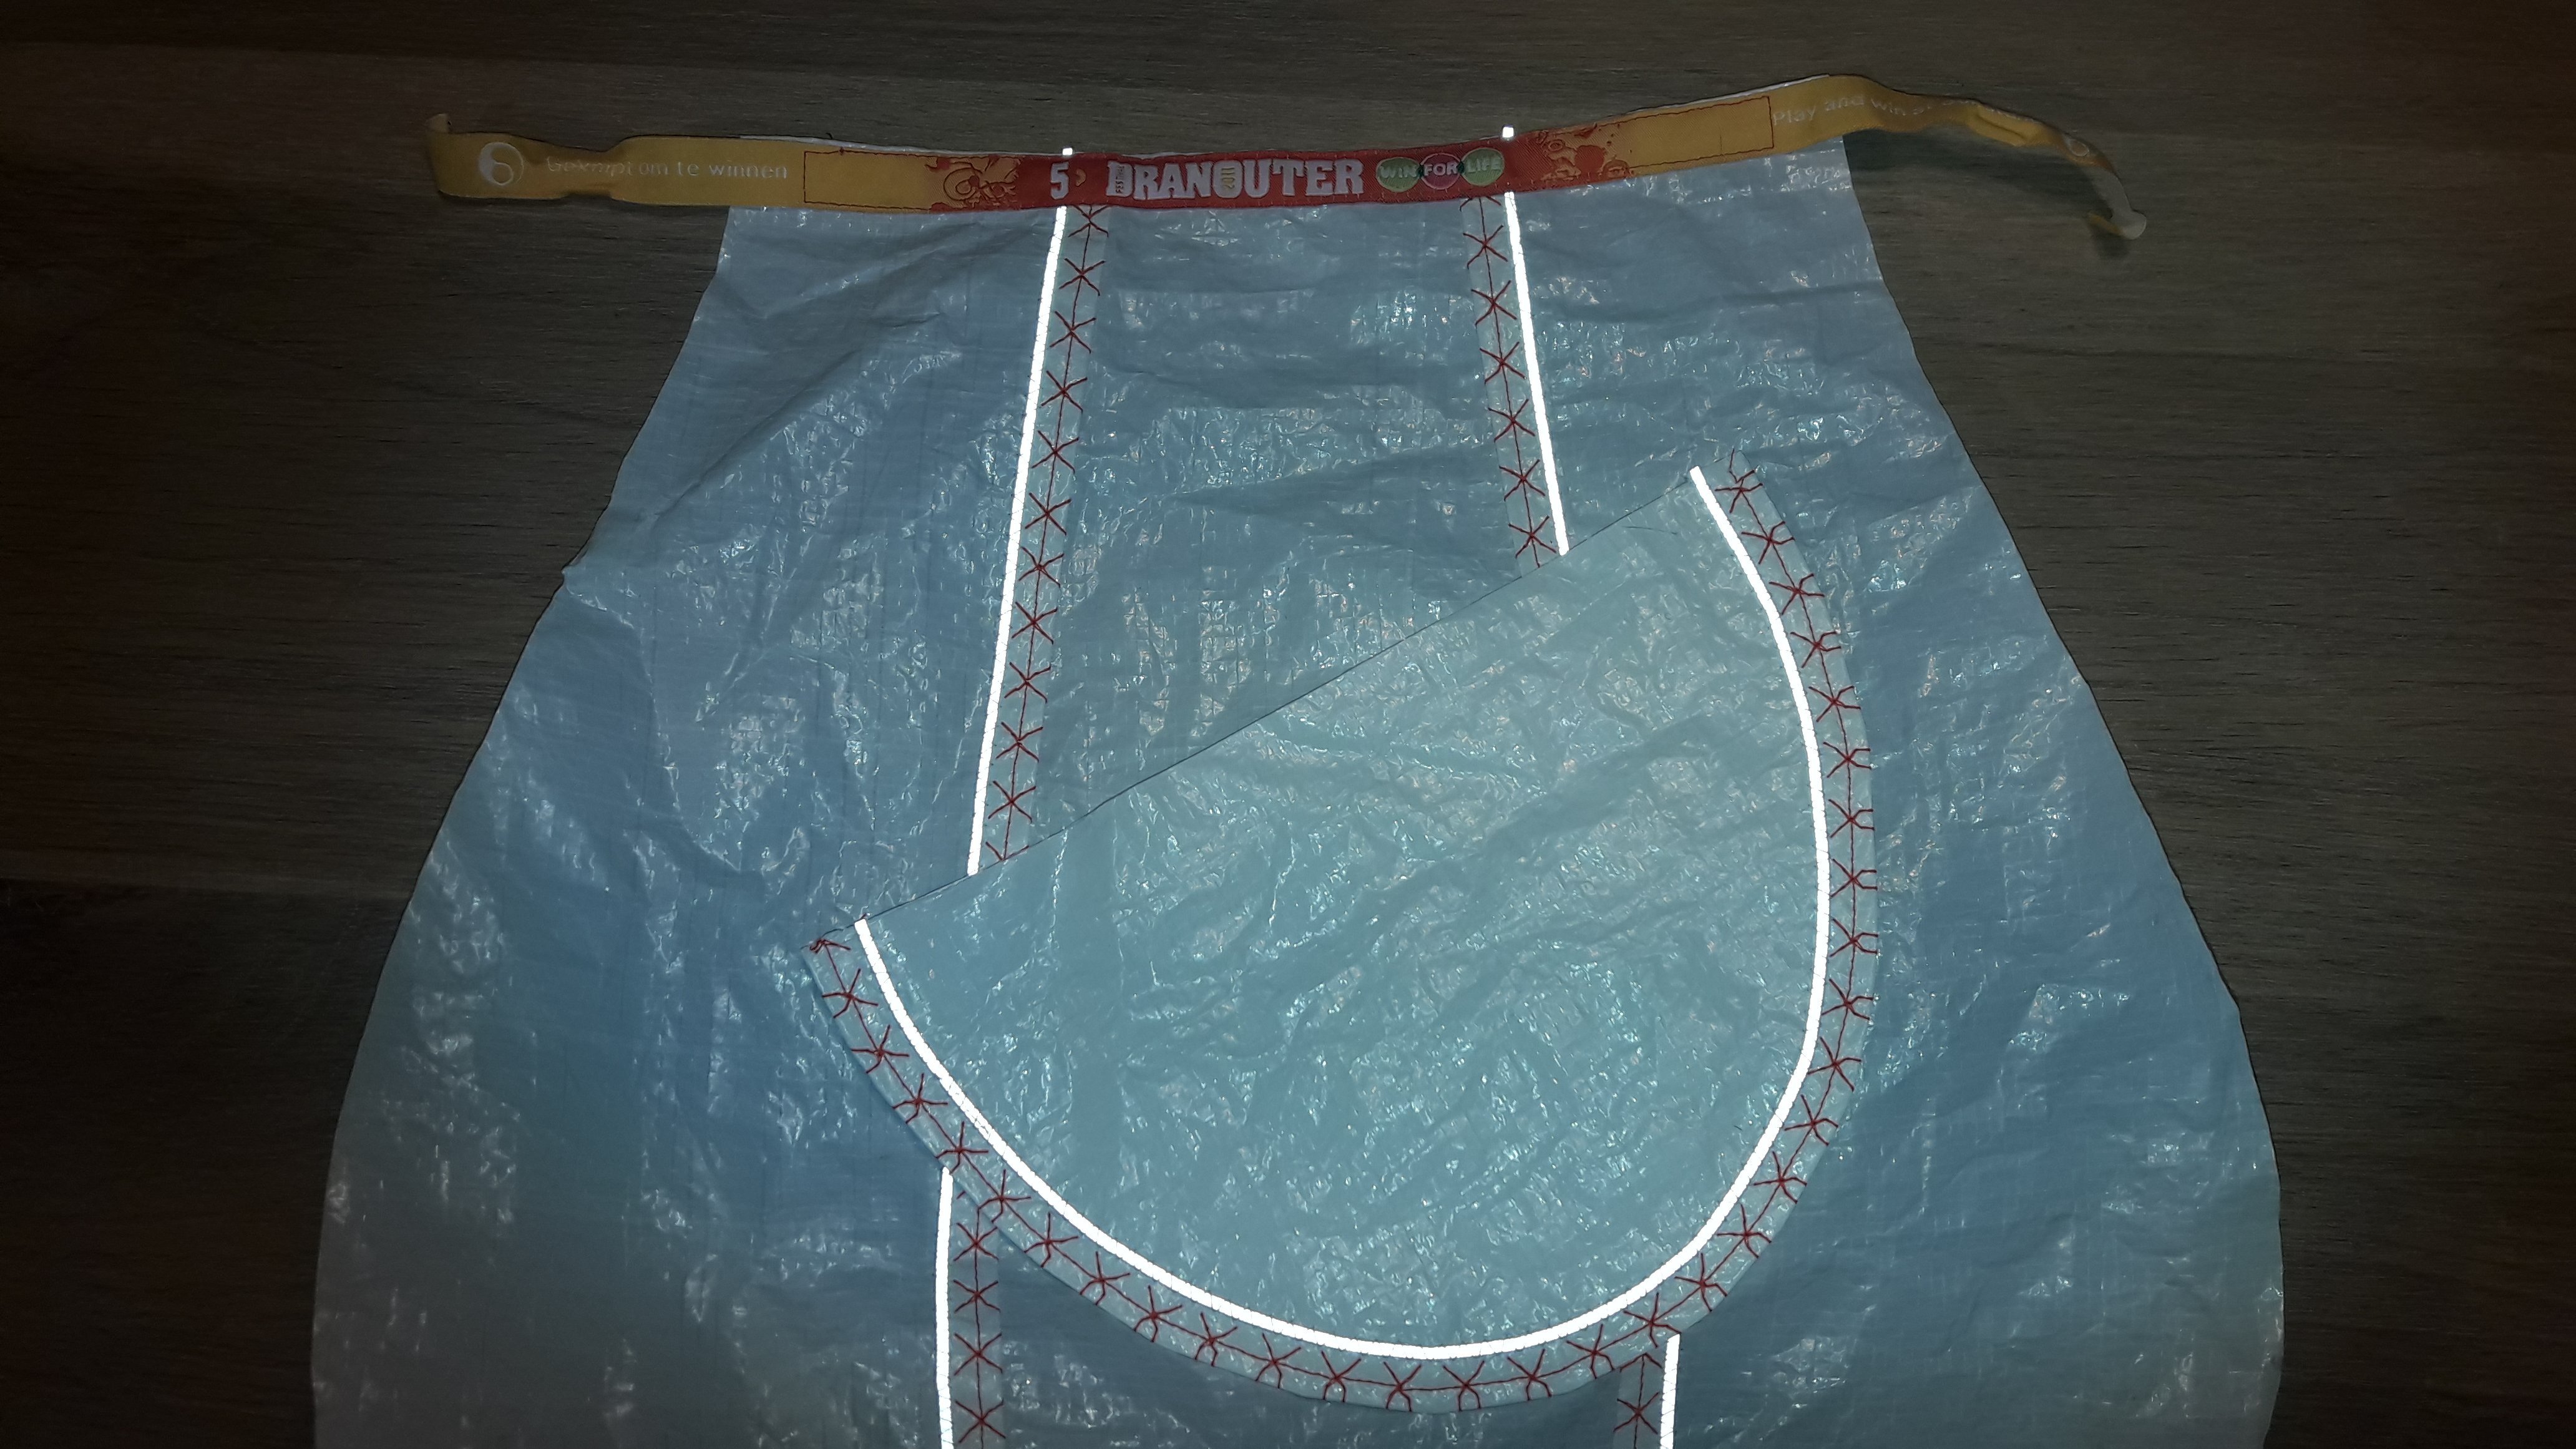
Sew the front parts together: sides to middle (right sides together).
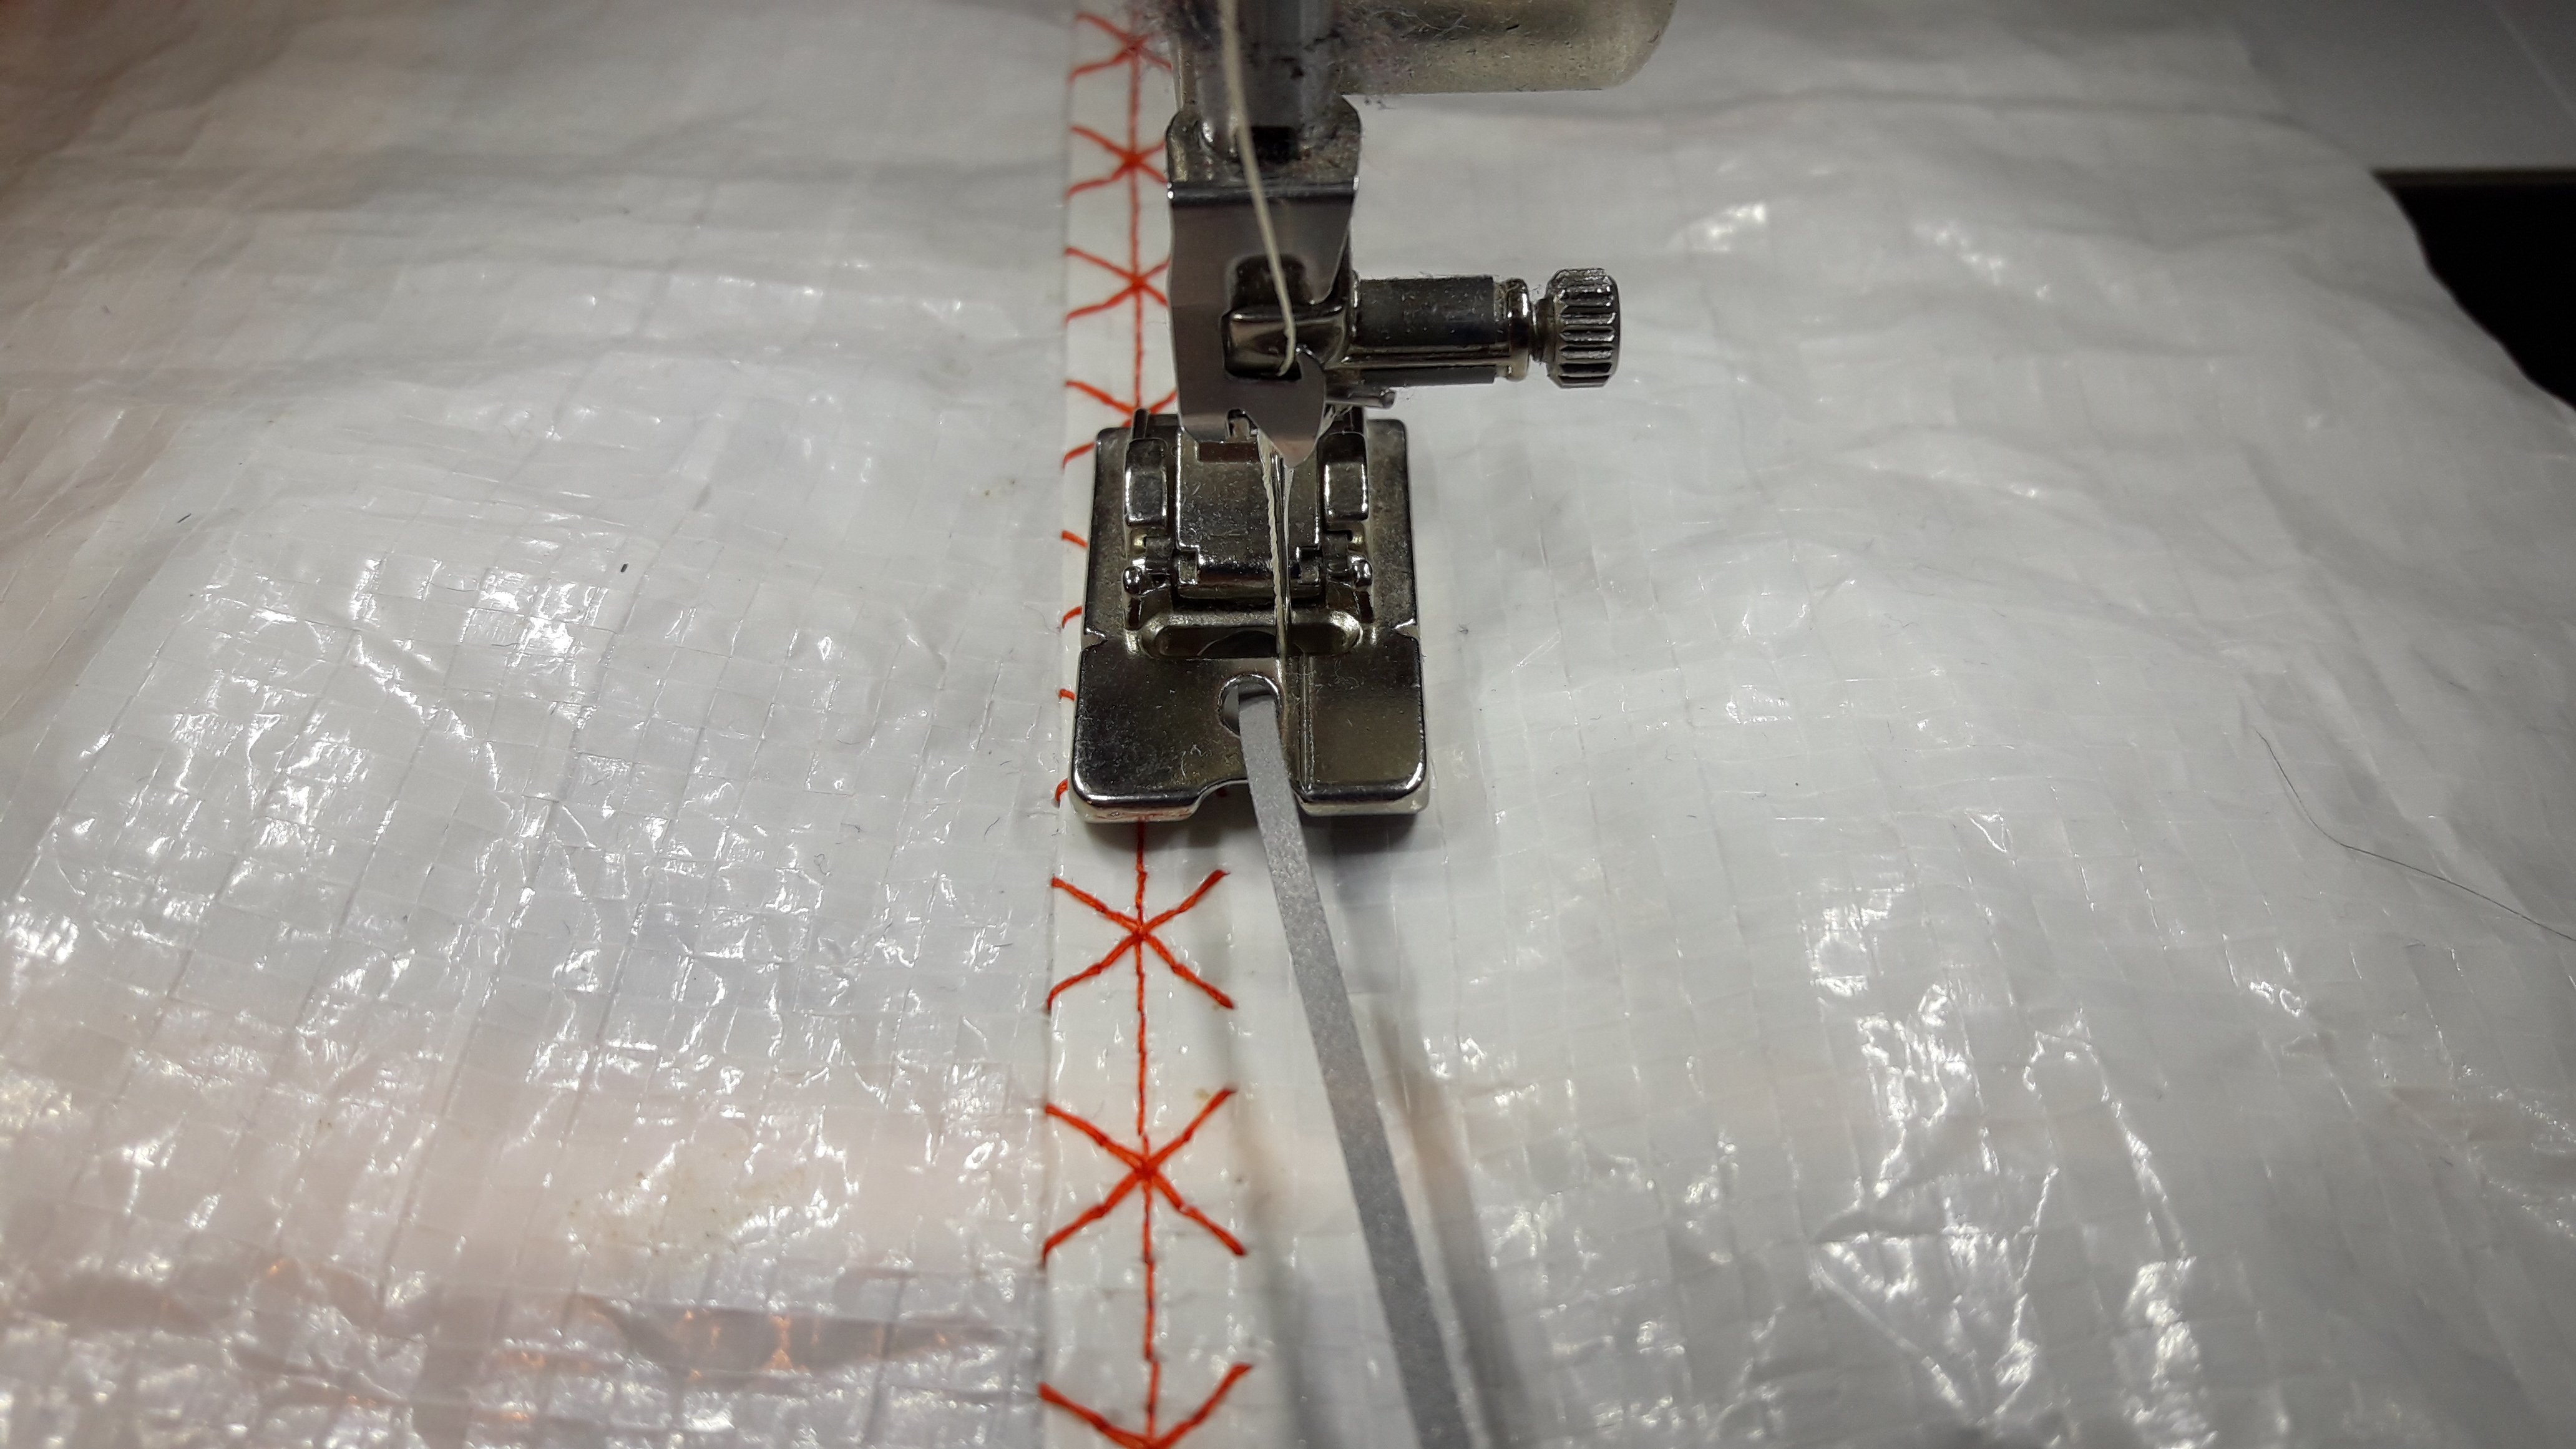
Fold open and topstitch with contrasting yarn and a not too dense embellishing stitch. I took BERNINA stitch nr 35 (might be a different stitch on your machine).
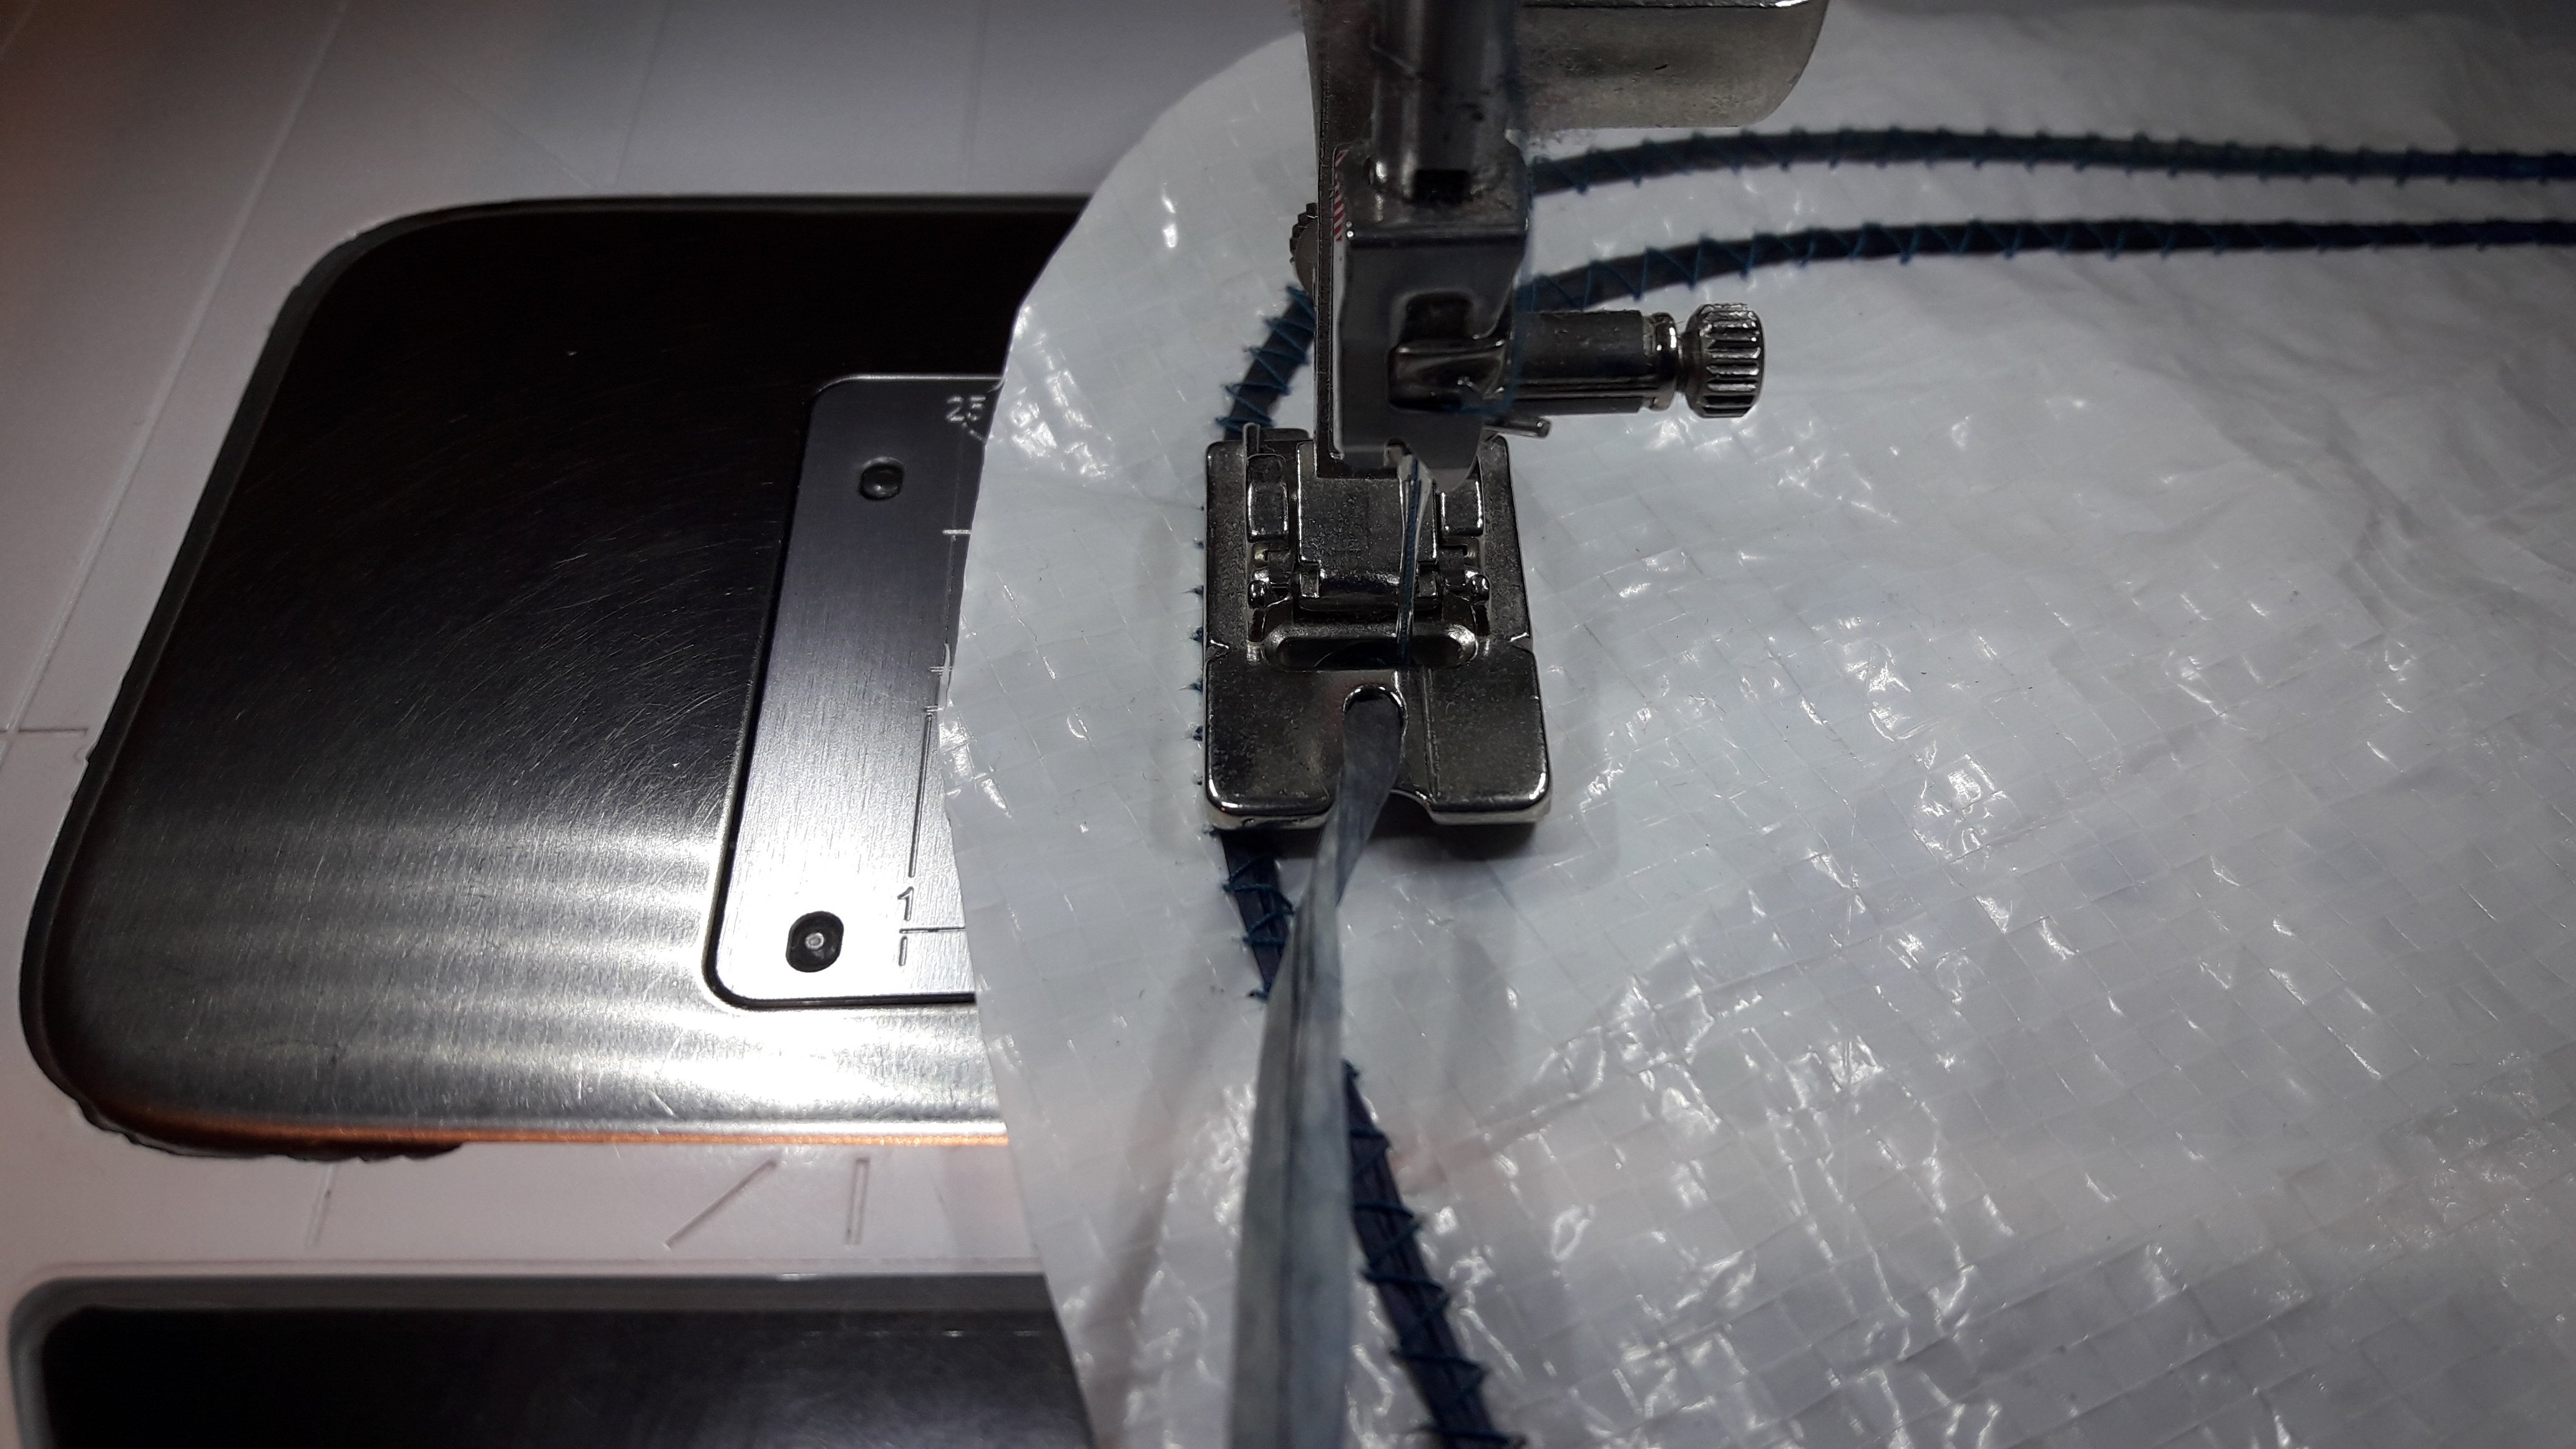
If you add a reflecting tape, sew it along the seams. I used the bulky overlock foot nr 12. Guide it through the opening of the presser foot.
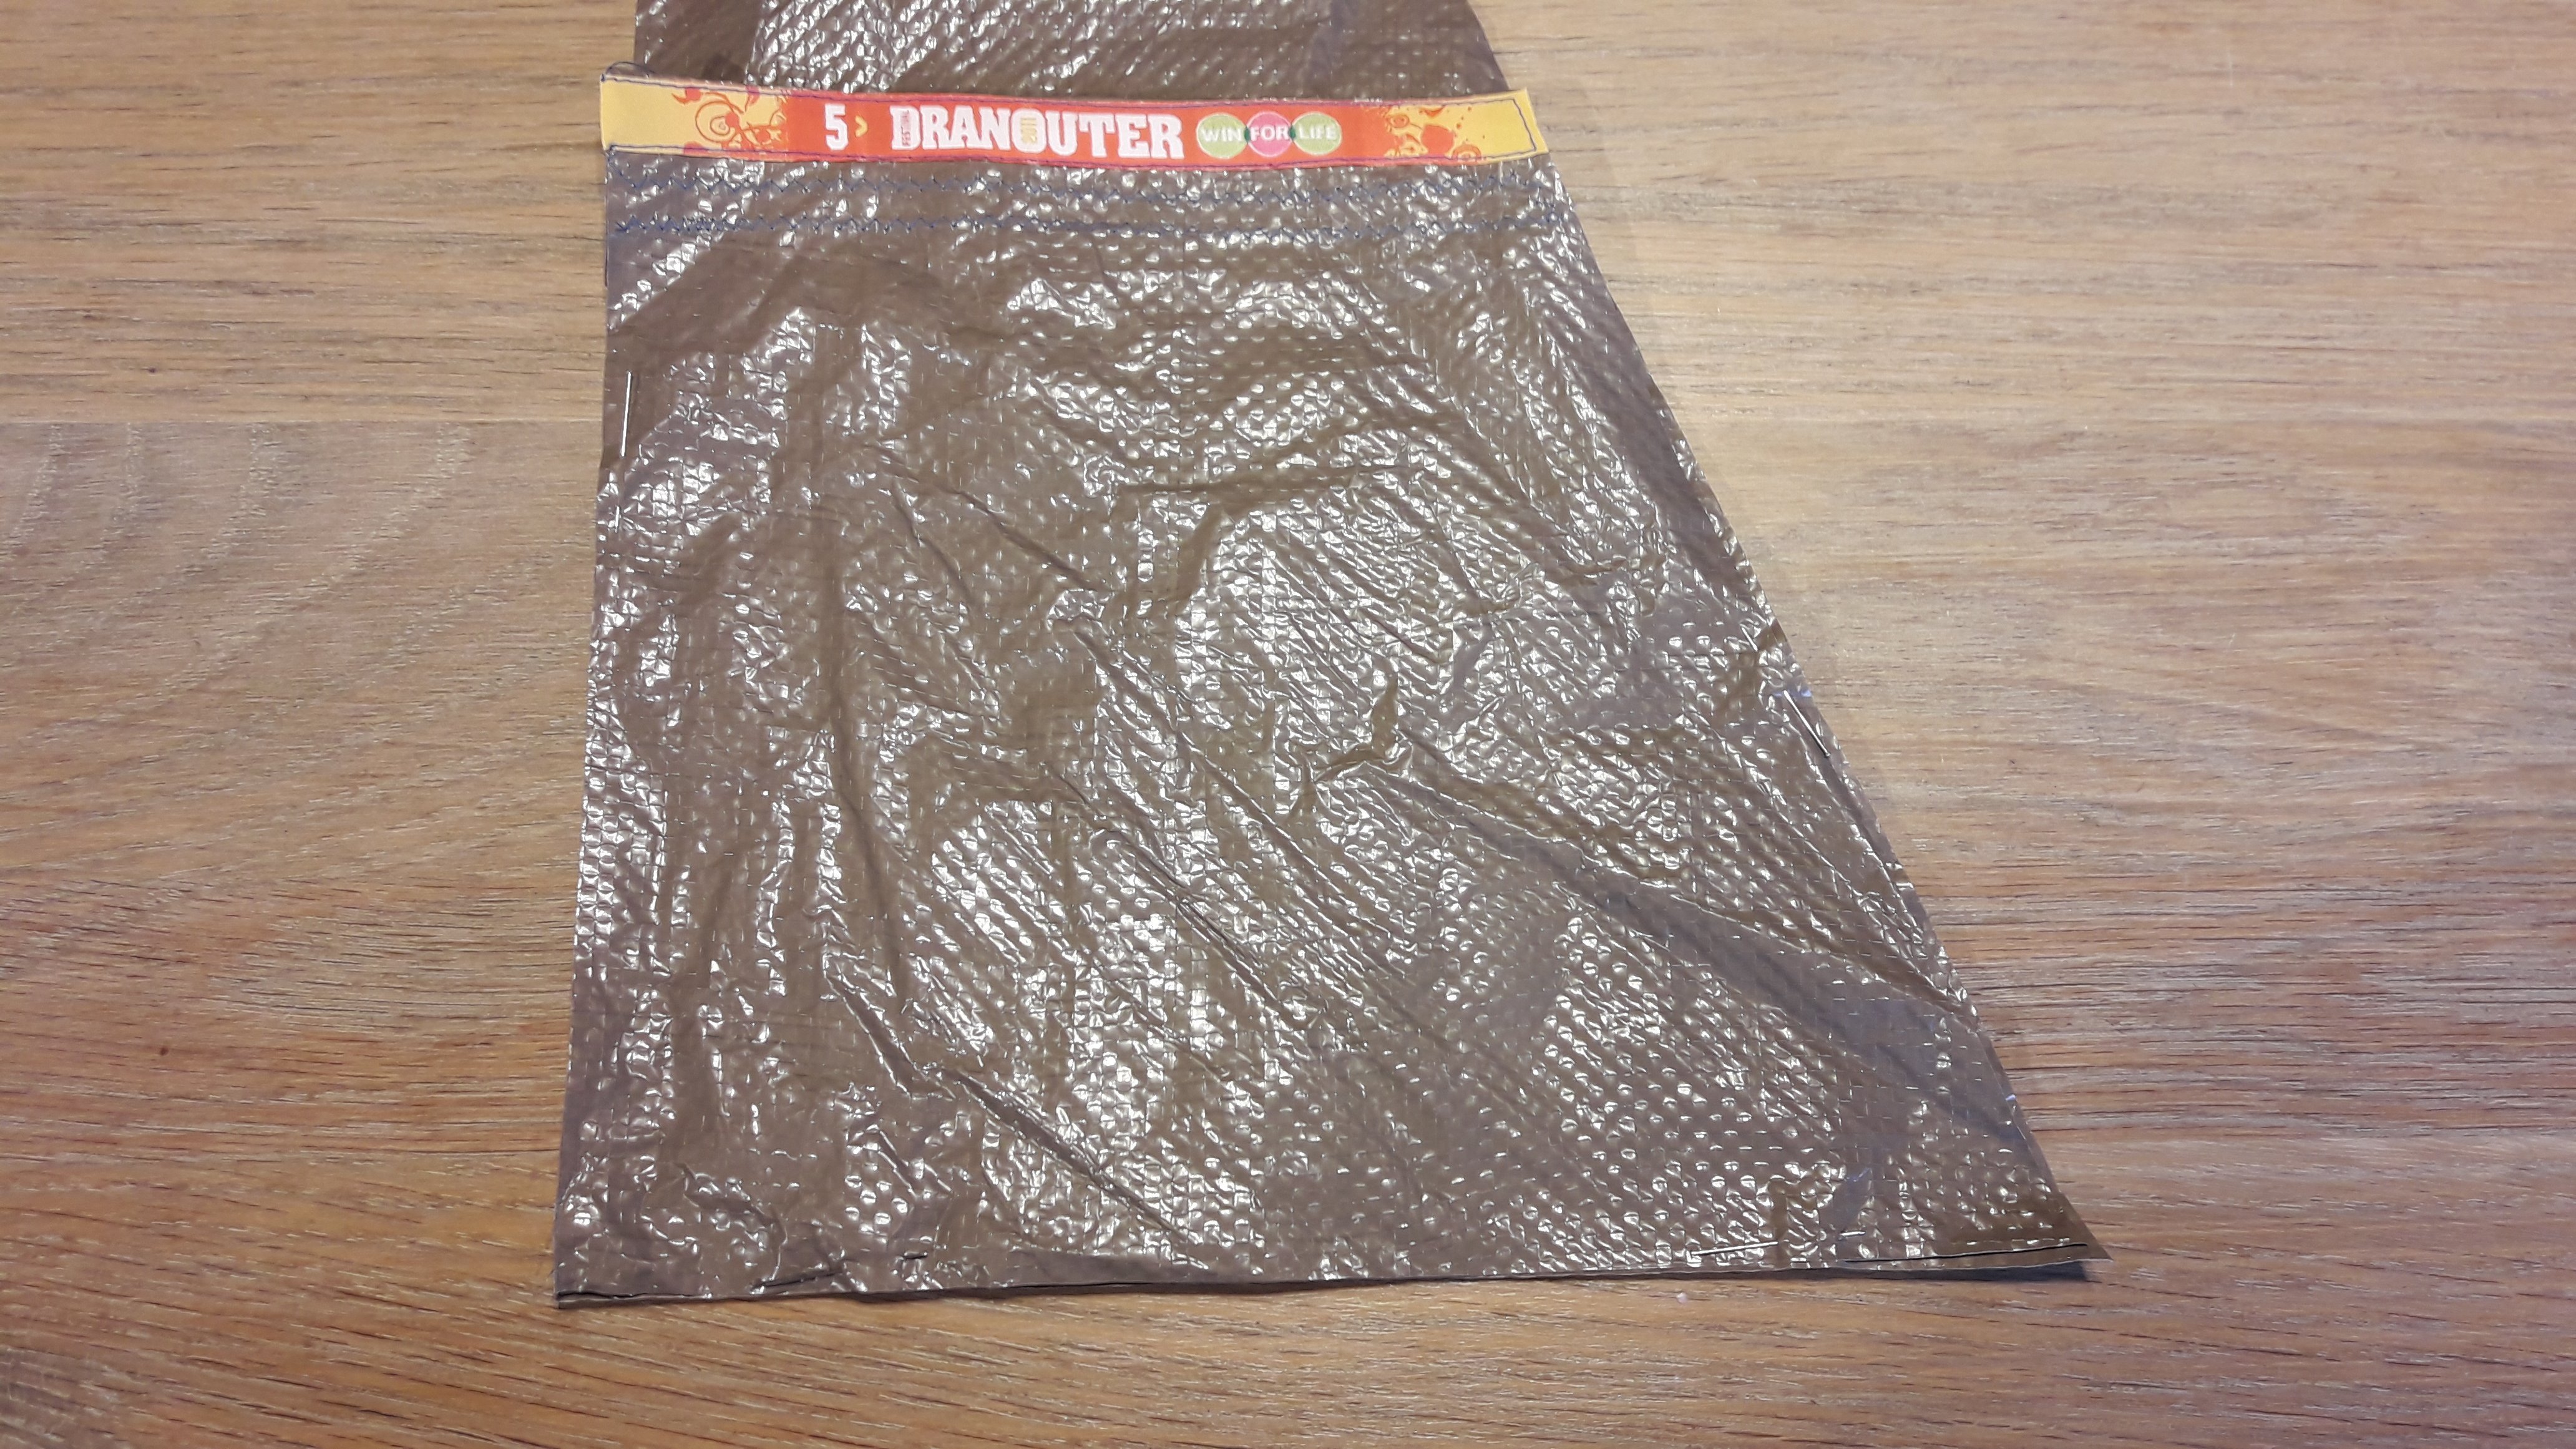
Sew the velcro in place on the middle front. I embellished with a wristband of a former festival edition.
Sew both pattern parts of the flap right sides together.
Turn it inside out.
Topstitch with a contrasting color and in a fantasy stitch.

Can you see the reflection of the light on the reflecting tape?
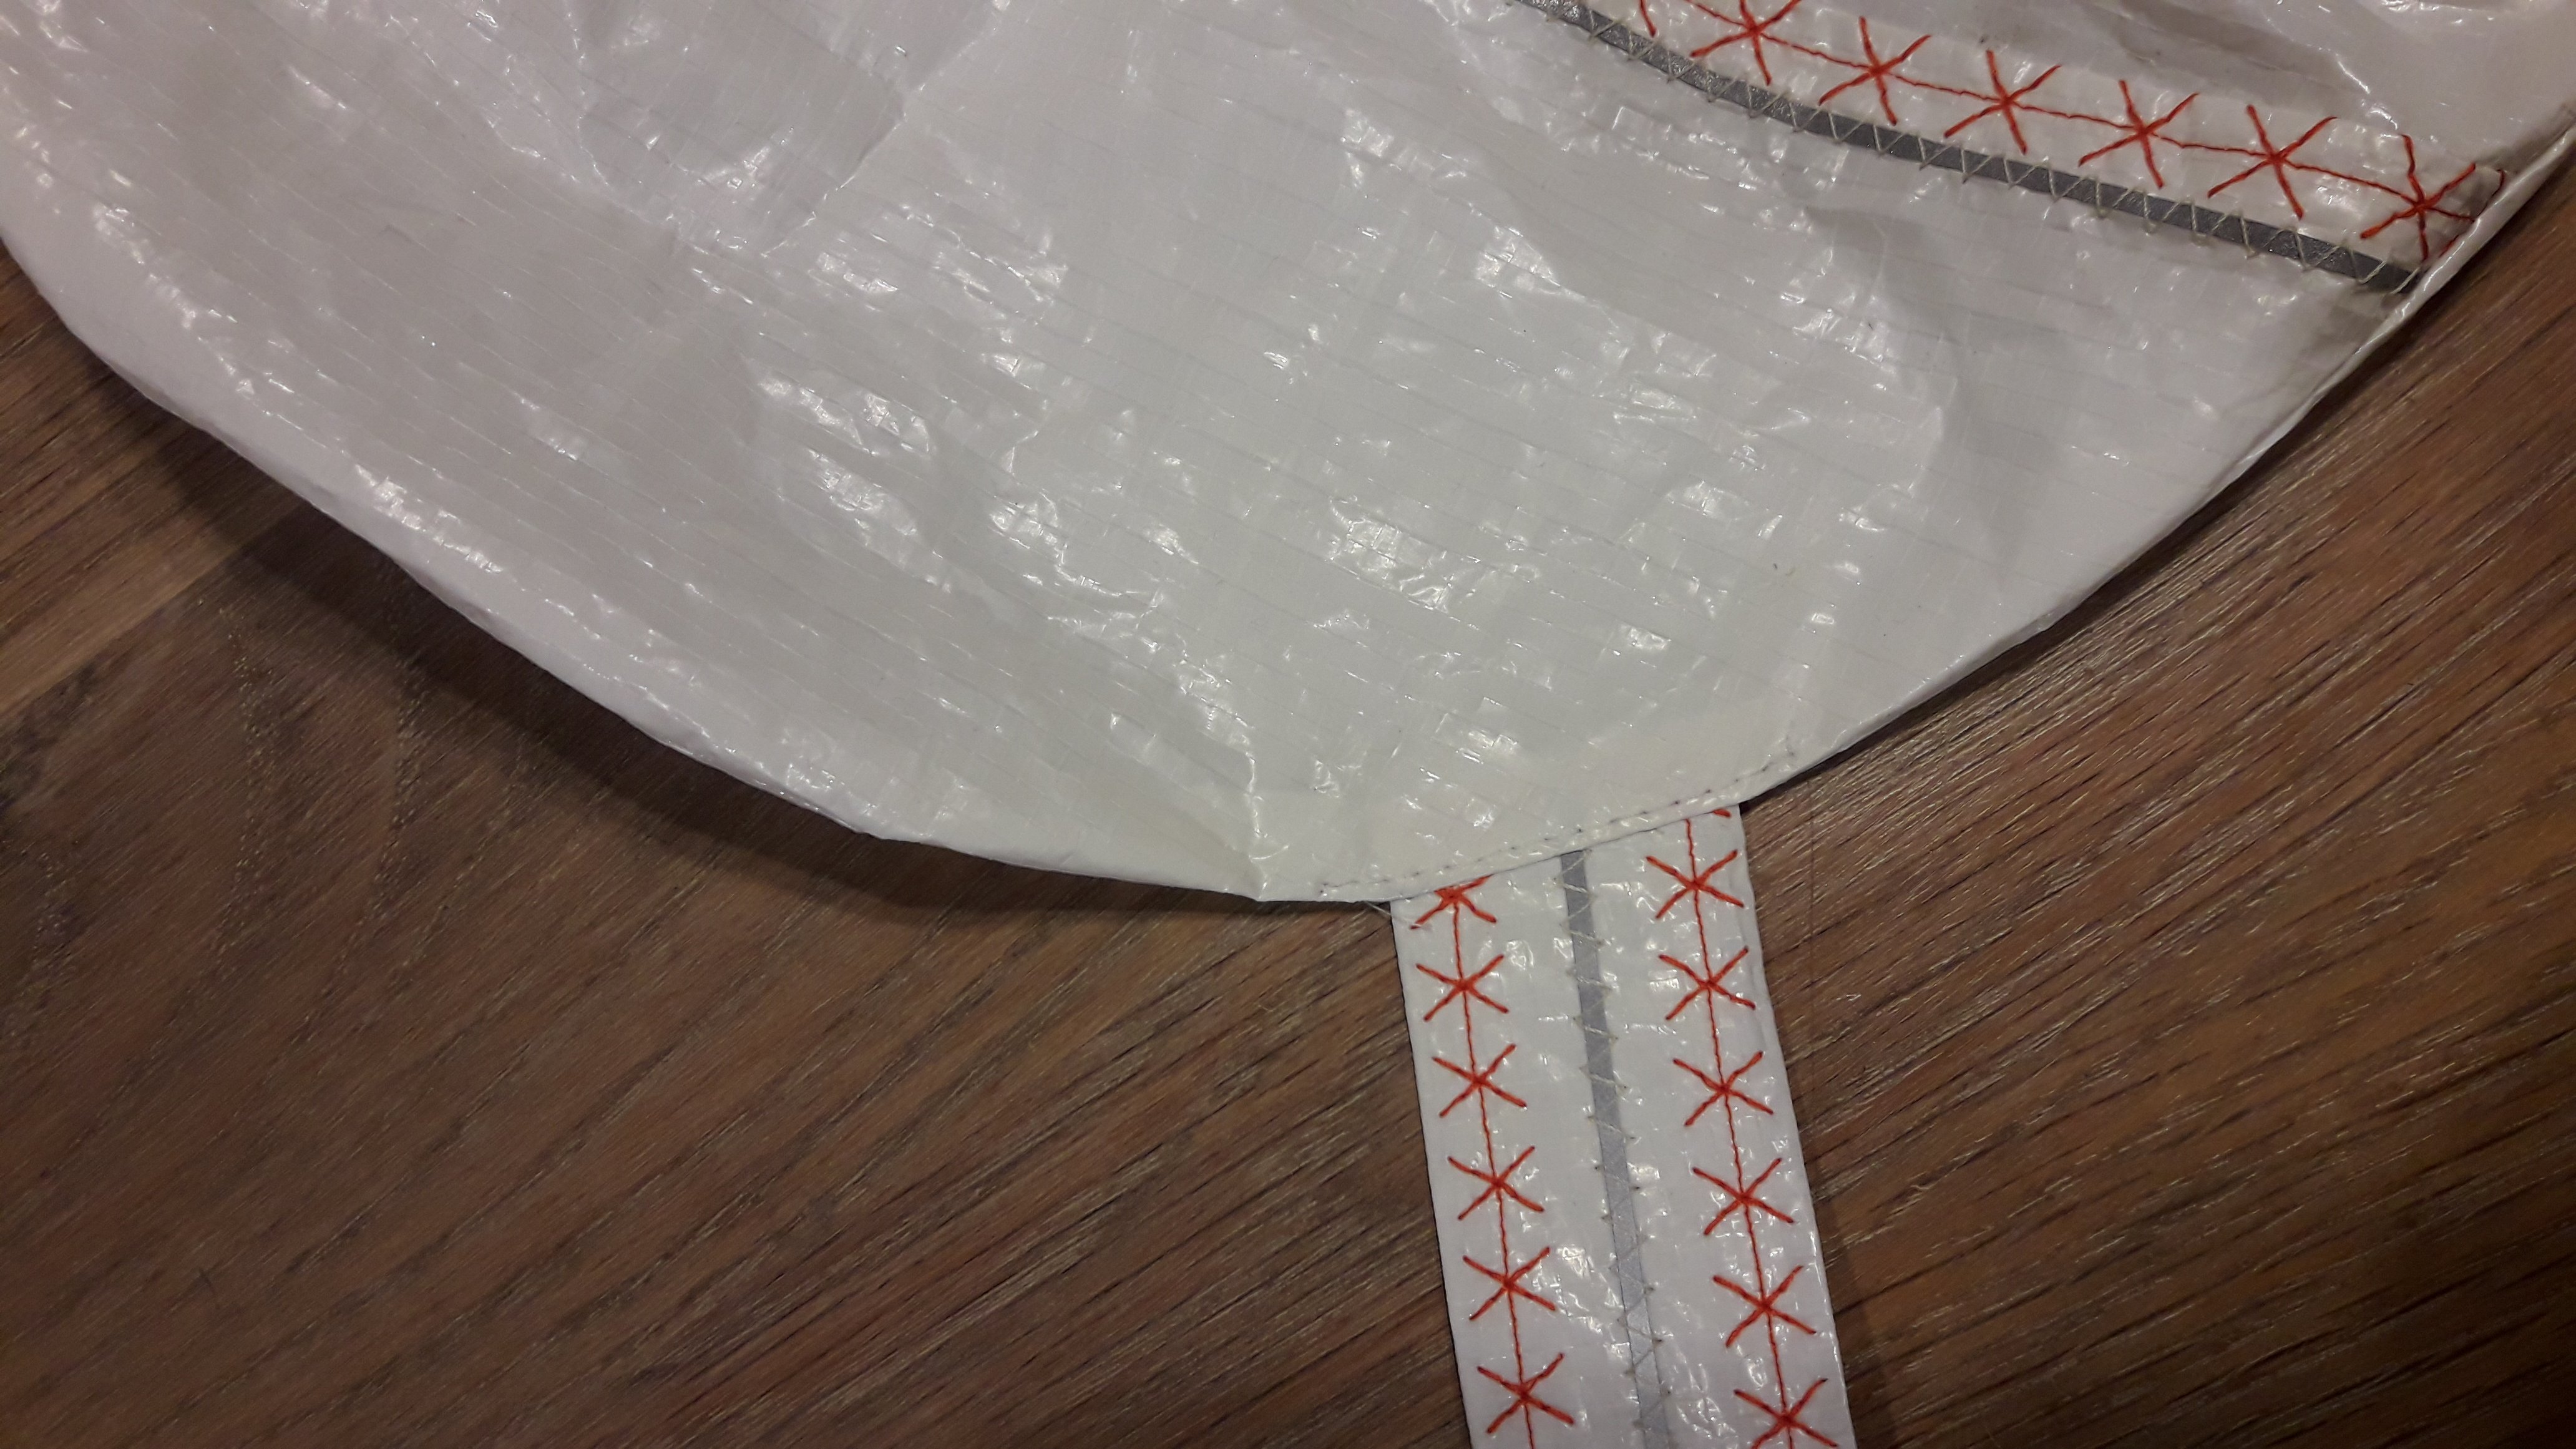
Sew the flap on the back part, with the opening in the direction of the upper side of the backpack.
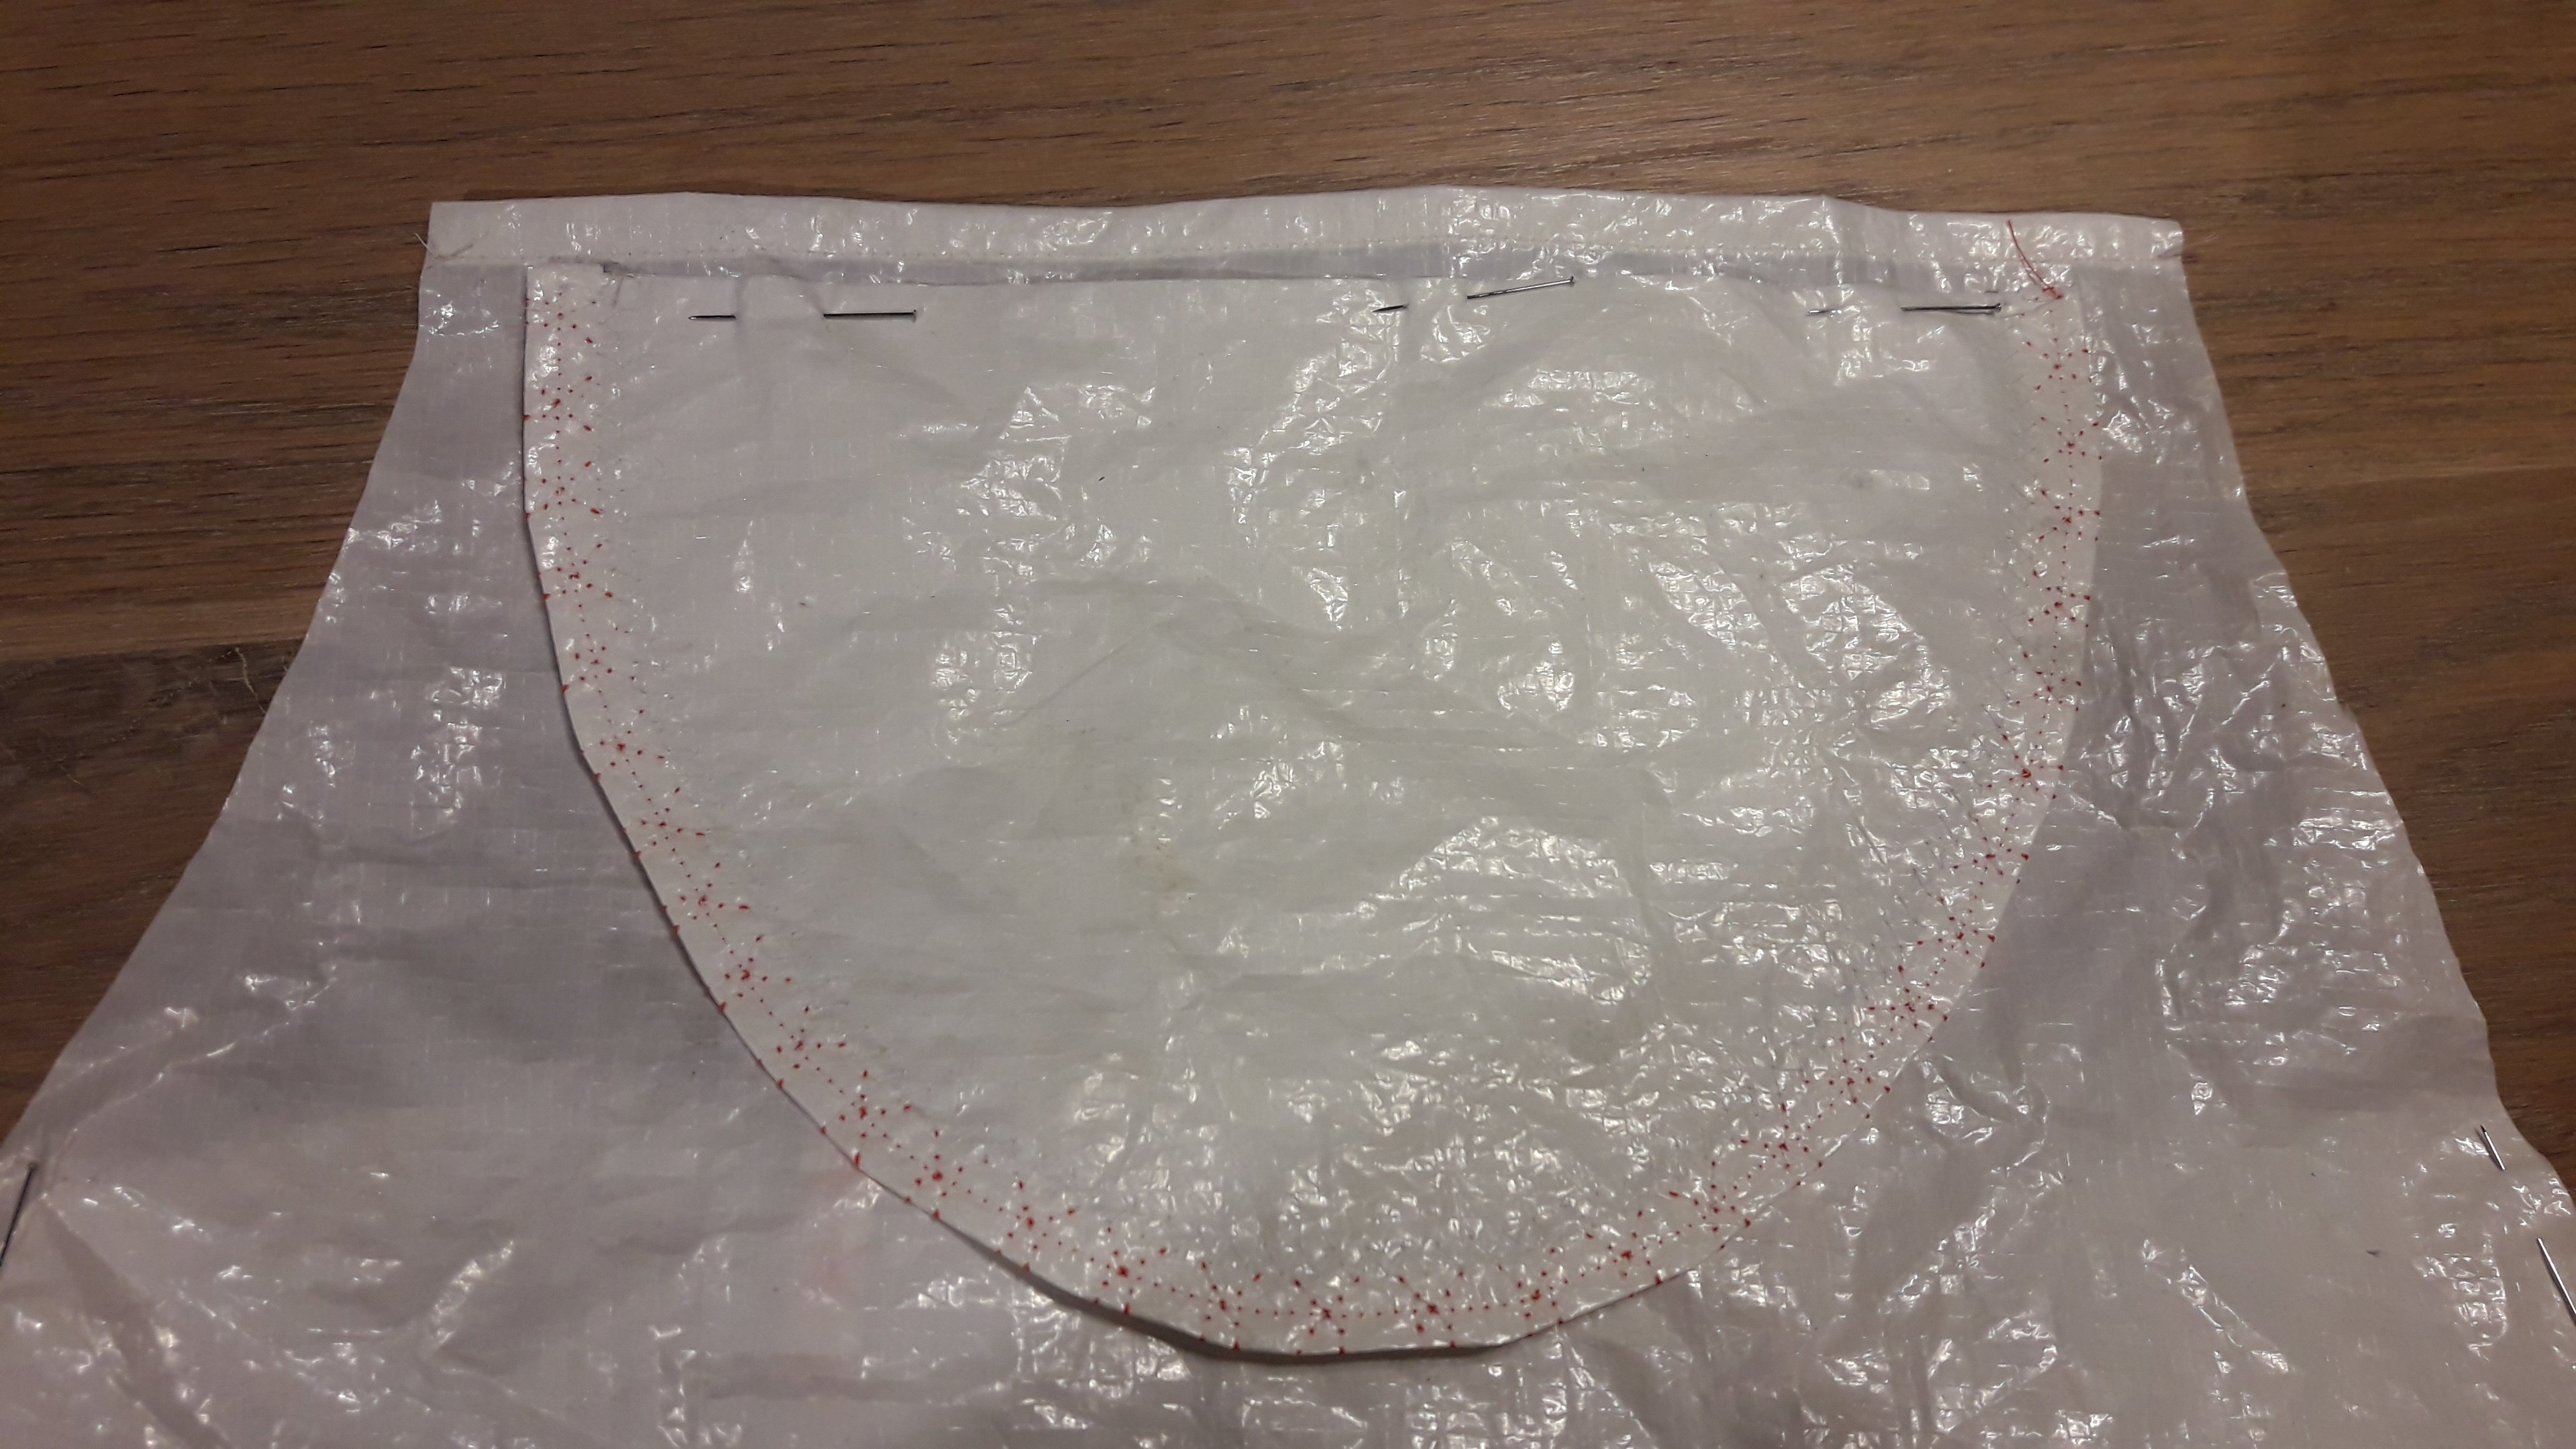
Fold the flap over and topstitch with a rectangular shape.
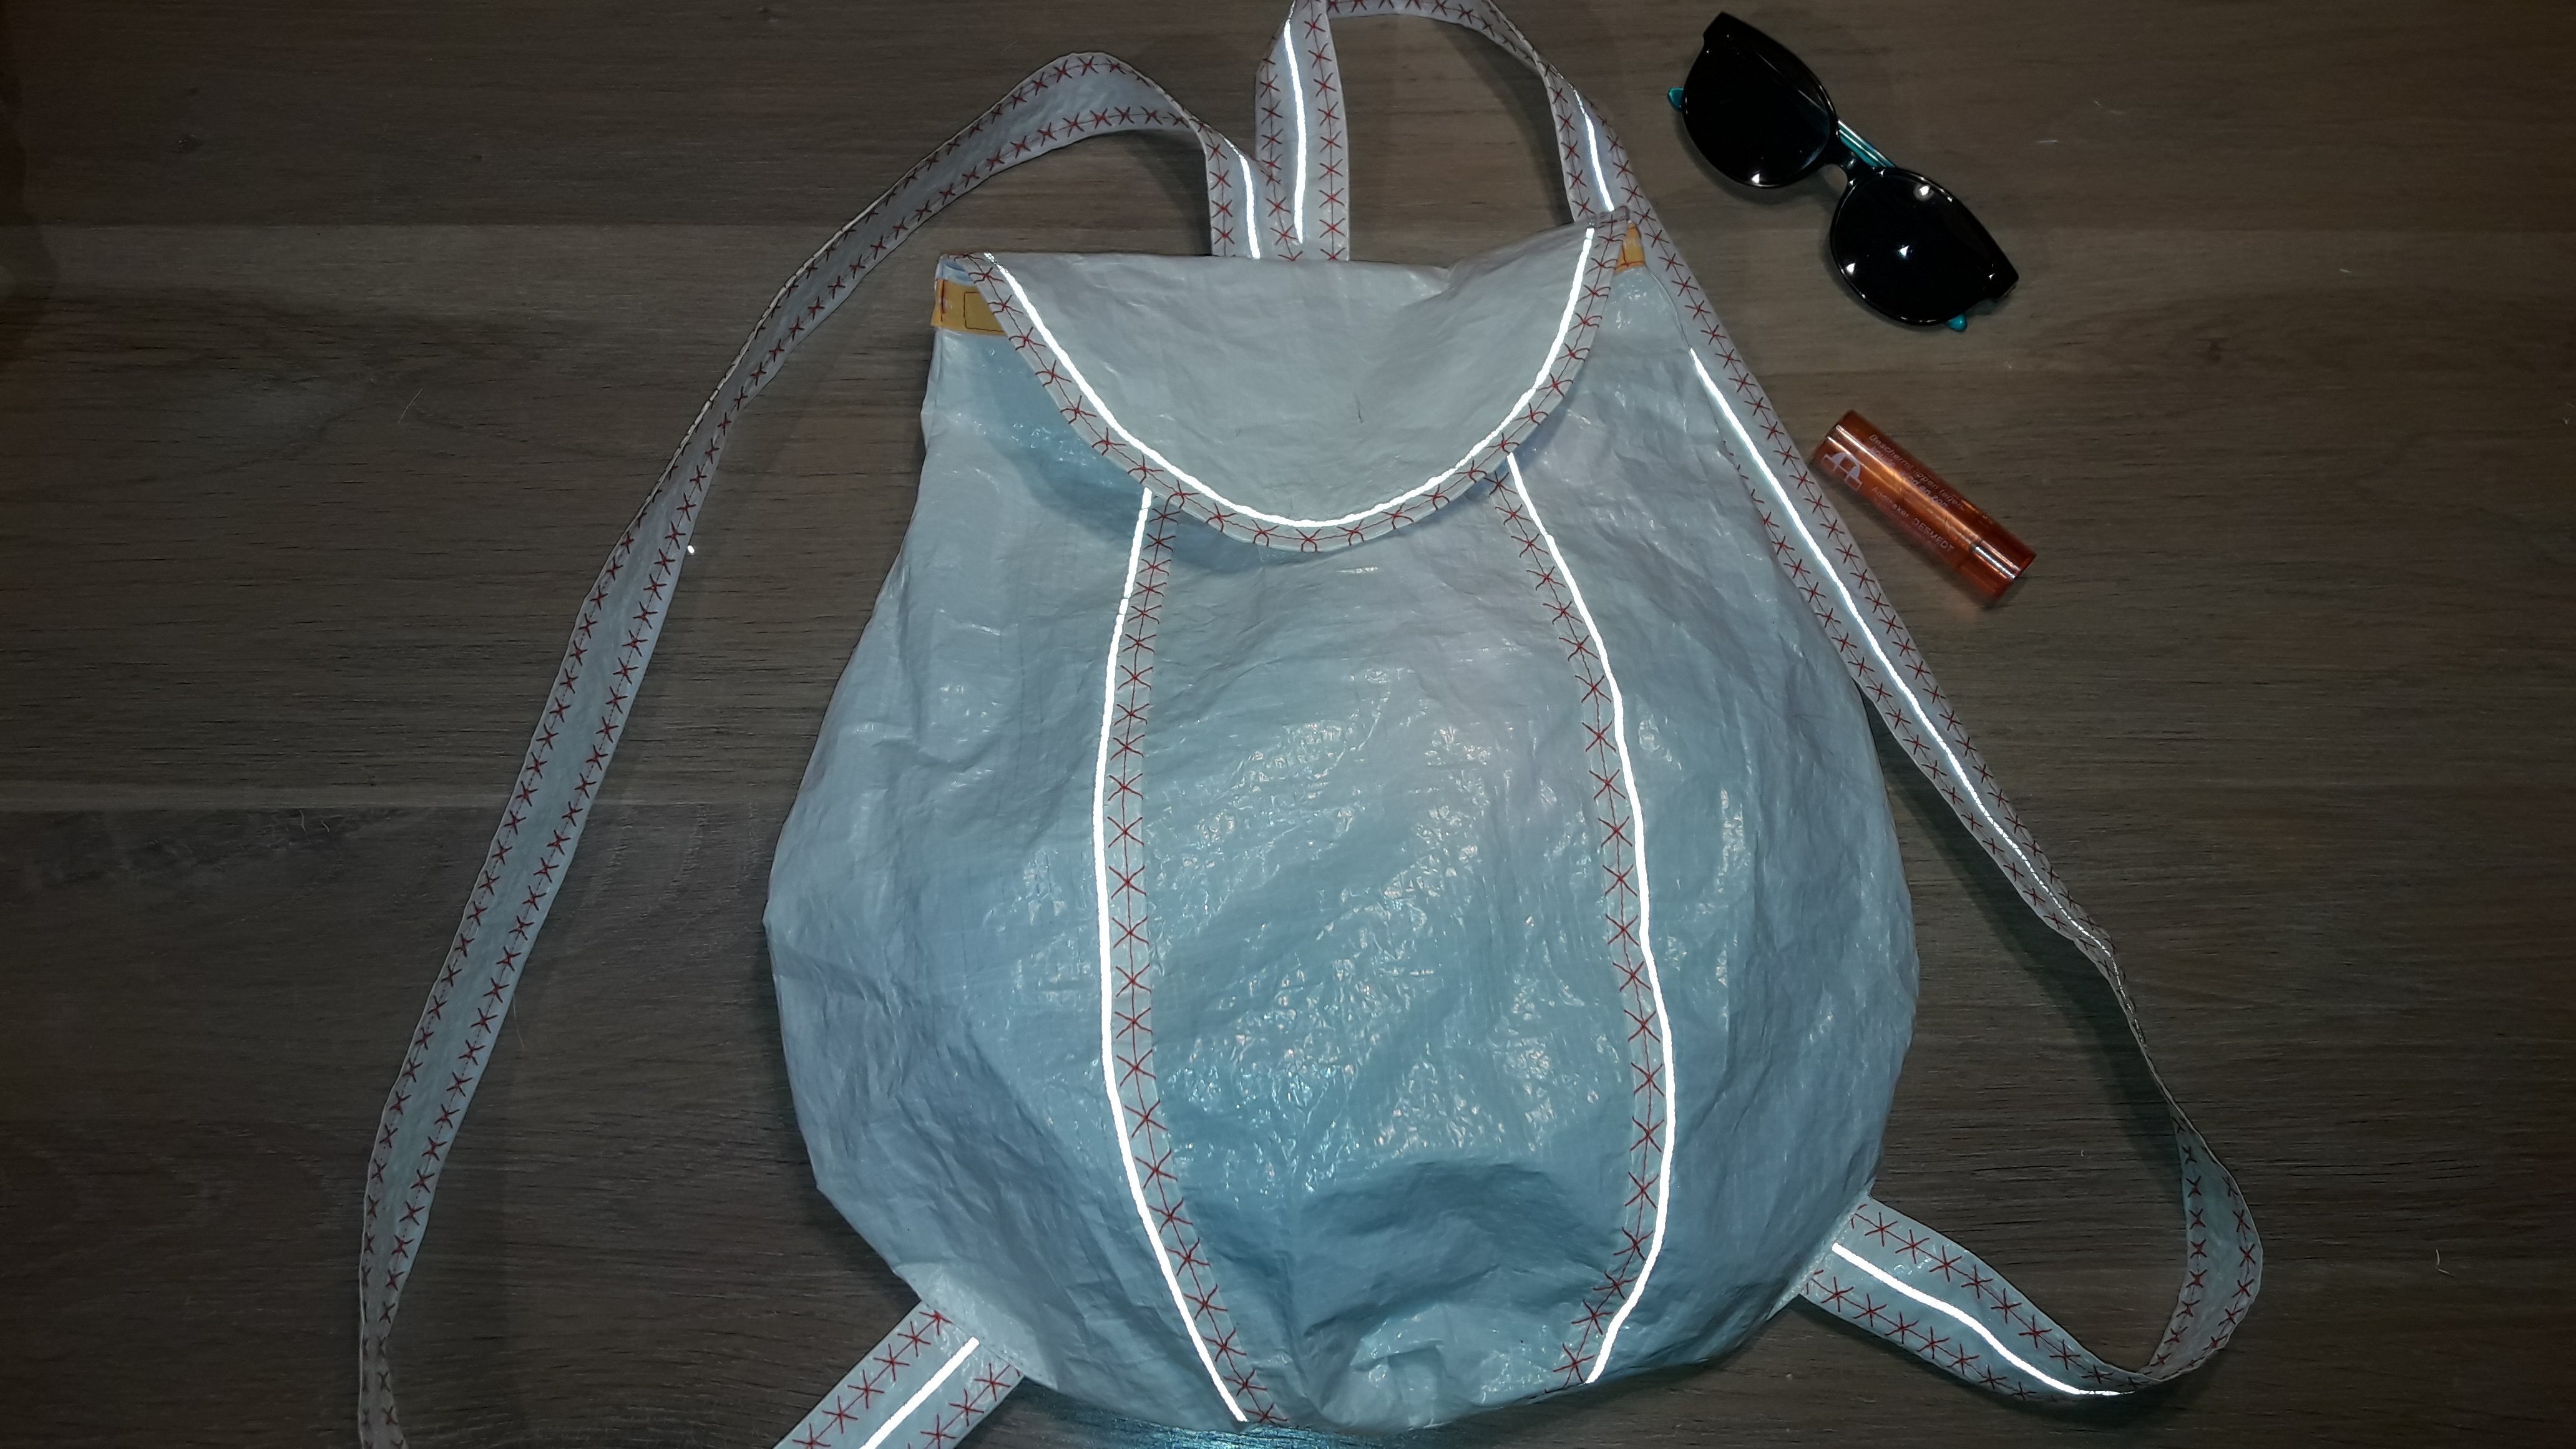
Finish the backpack
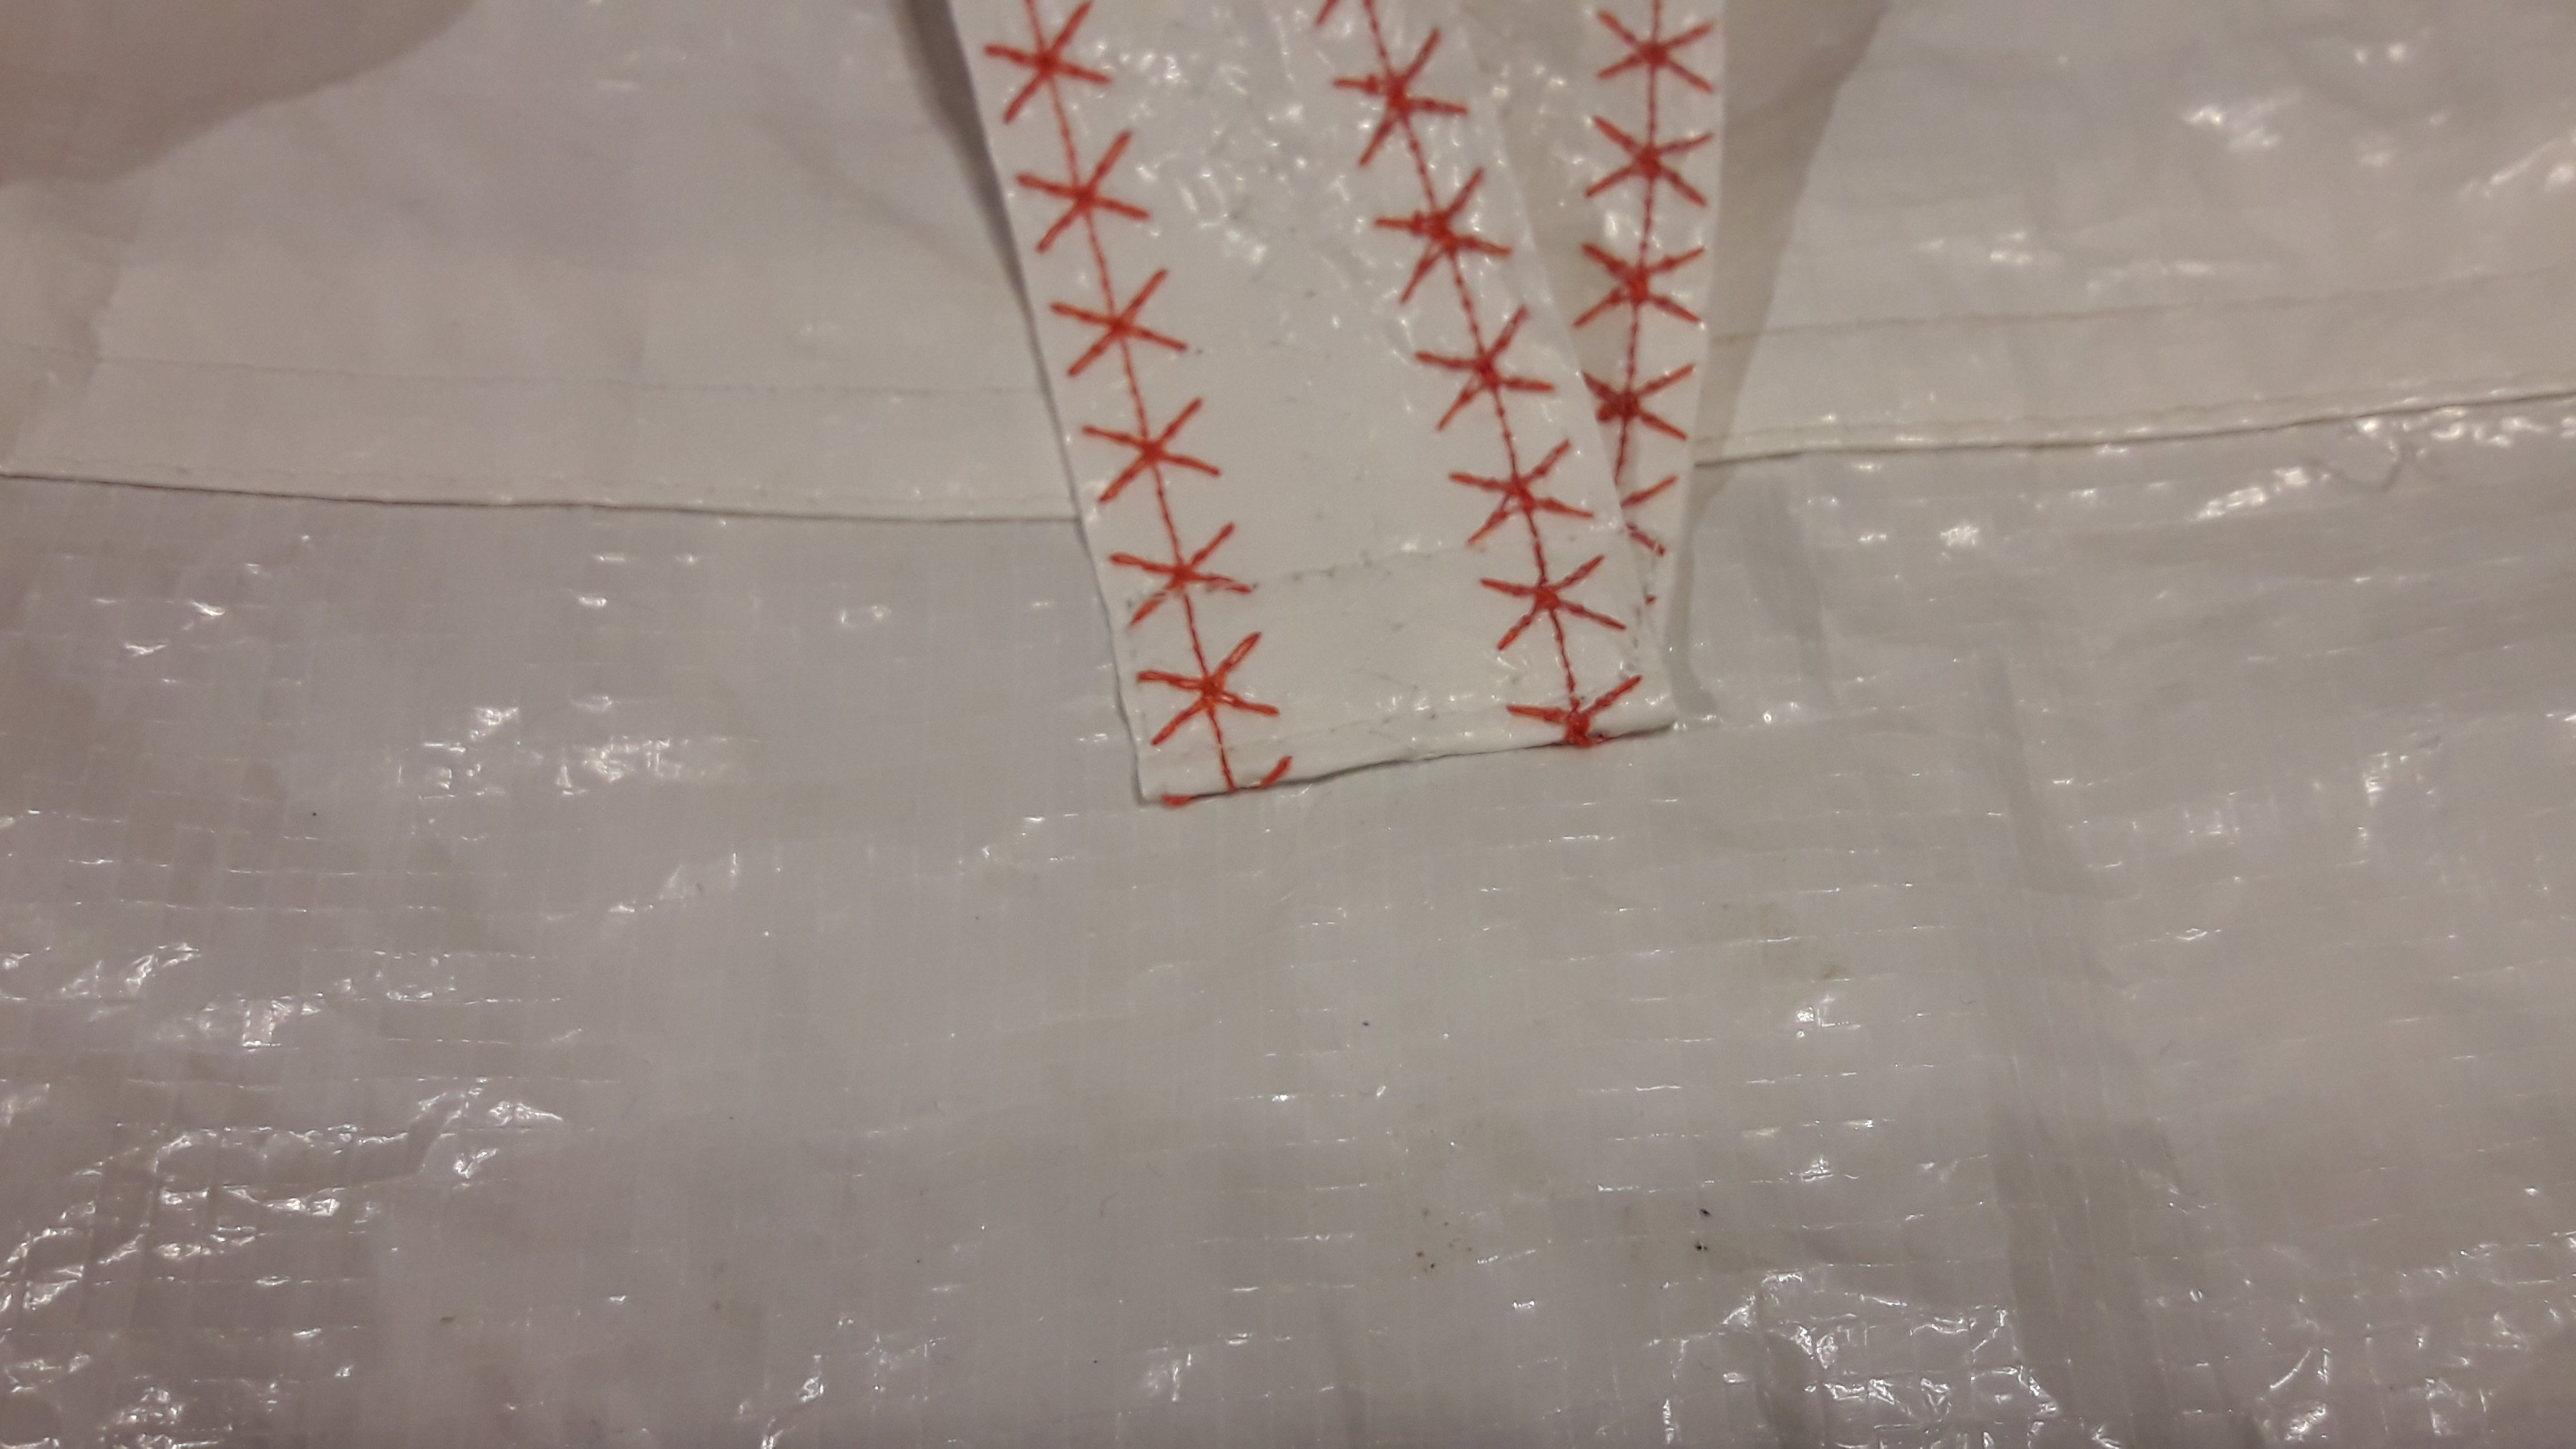
Fold the shoulder strap in two.
Topstitch with a fantasy stitch.
Sew back and front right sides together and don’t forget to insert the shoulder straps in the right place.
Turn the backpack. Secure stitch the attachment of the shoulder straps.
Fold the shoulder straps and sew them with a rectangular shape to the middle of the back part.
Topstitch the opening with the tape of partytent, to prevent from tearing apart. For the backpack I made, it wasn’t necessary, as the wristband was sewn over the side seams.
Sew the 8 cm velcro to the upper opening and on the back of the backpack and to the flap.
You’re finished.
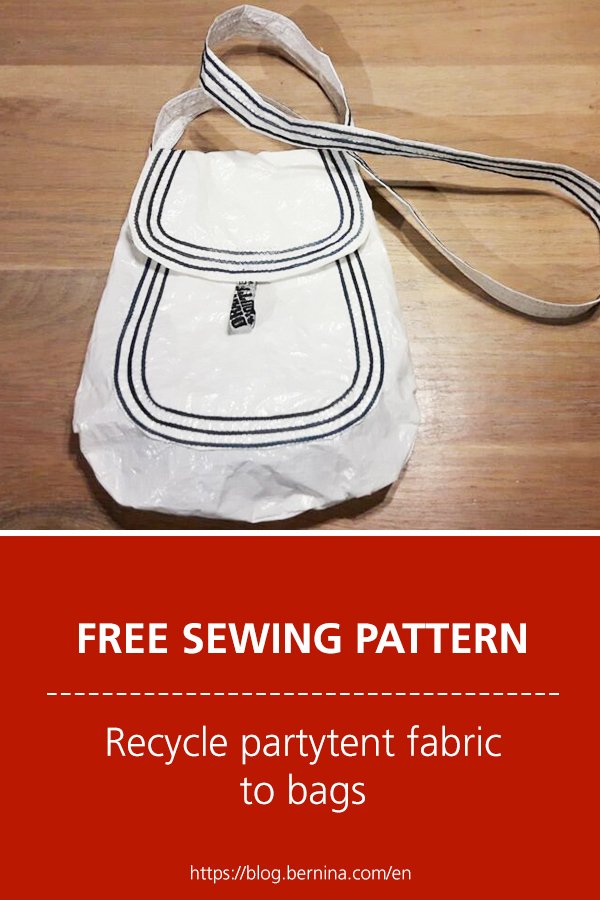
2. Recycle partytent to man-bag
What do you need for the man-bag?
- Partytent fabric or similar (even leather)
- wool, tape, label to decorate
- a carabiner hook (you get so many at festivals for publicity)
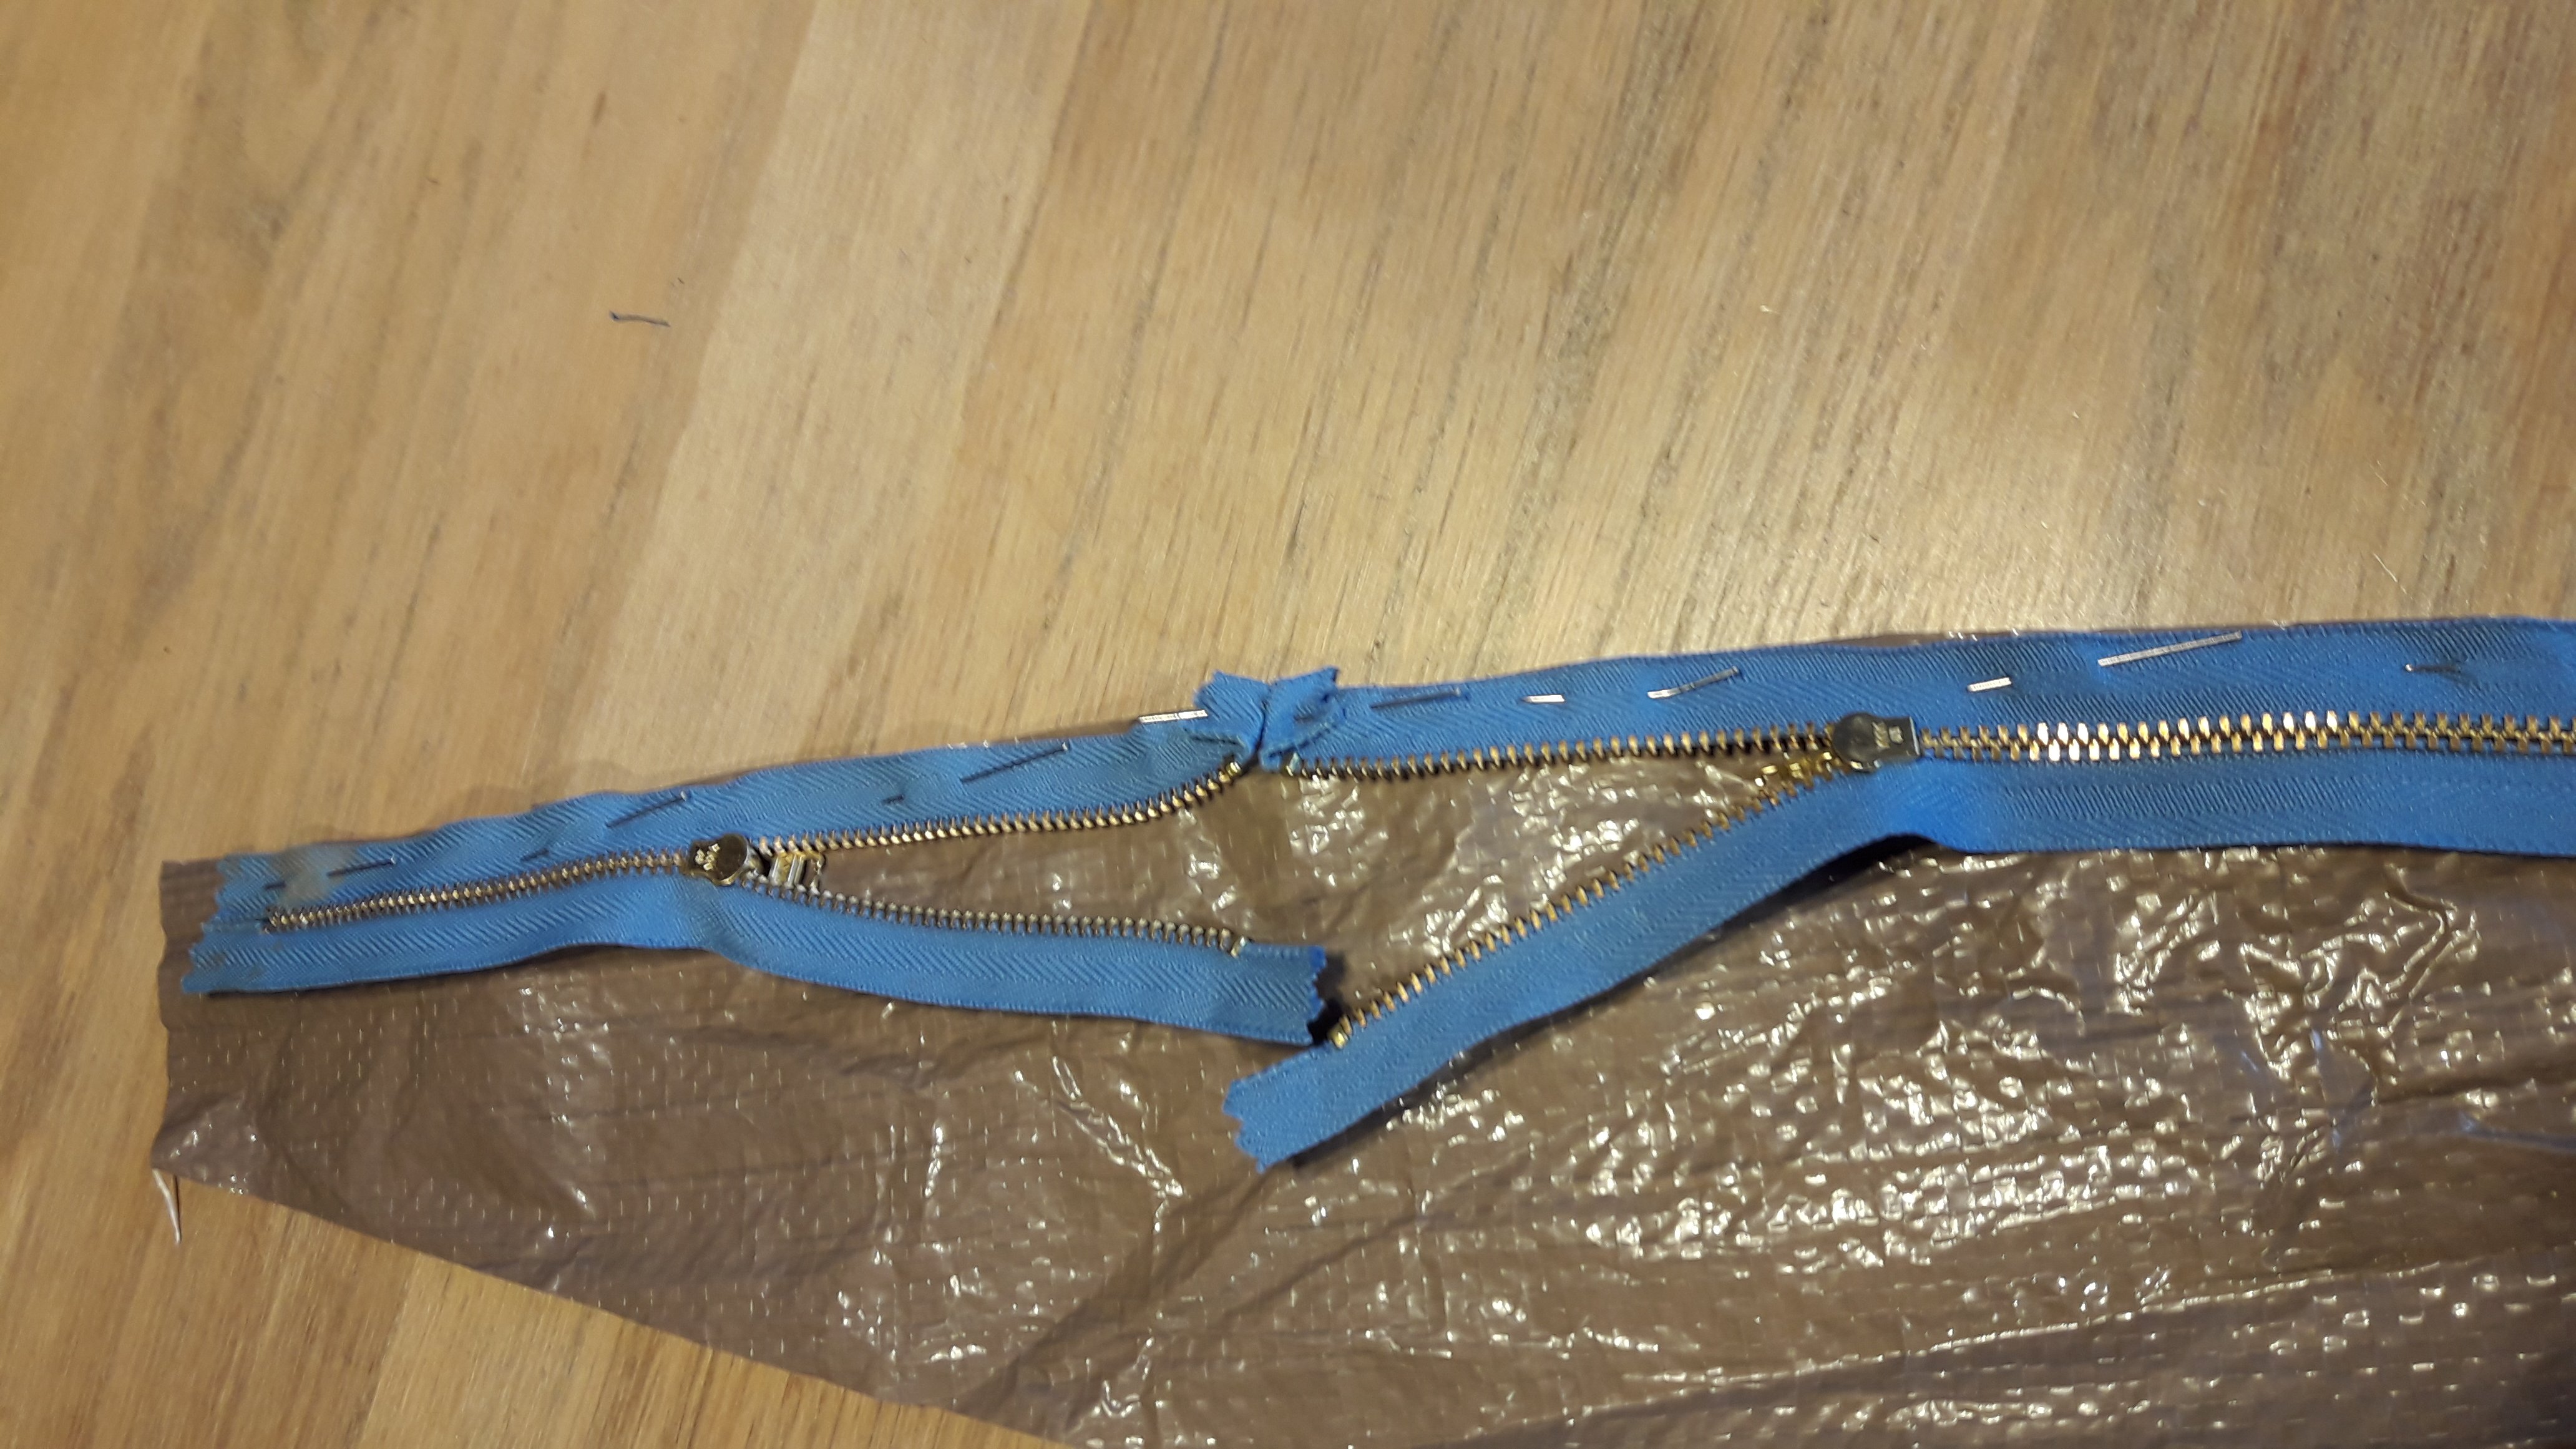
- A 38 to 40 cm zipper – or 2 19 cm zippers.
- optional: reflecting tape (2 mm) from Bart en Francis
- 3 cm wide bias tape in matching color, makes a nice finishing for the shoulder strap.
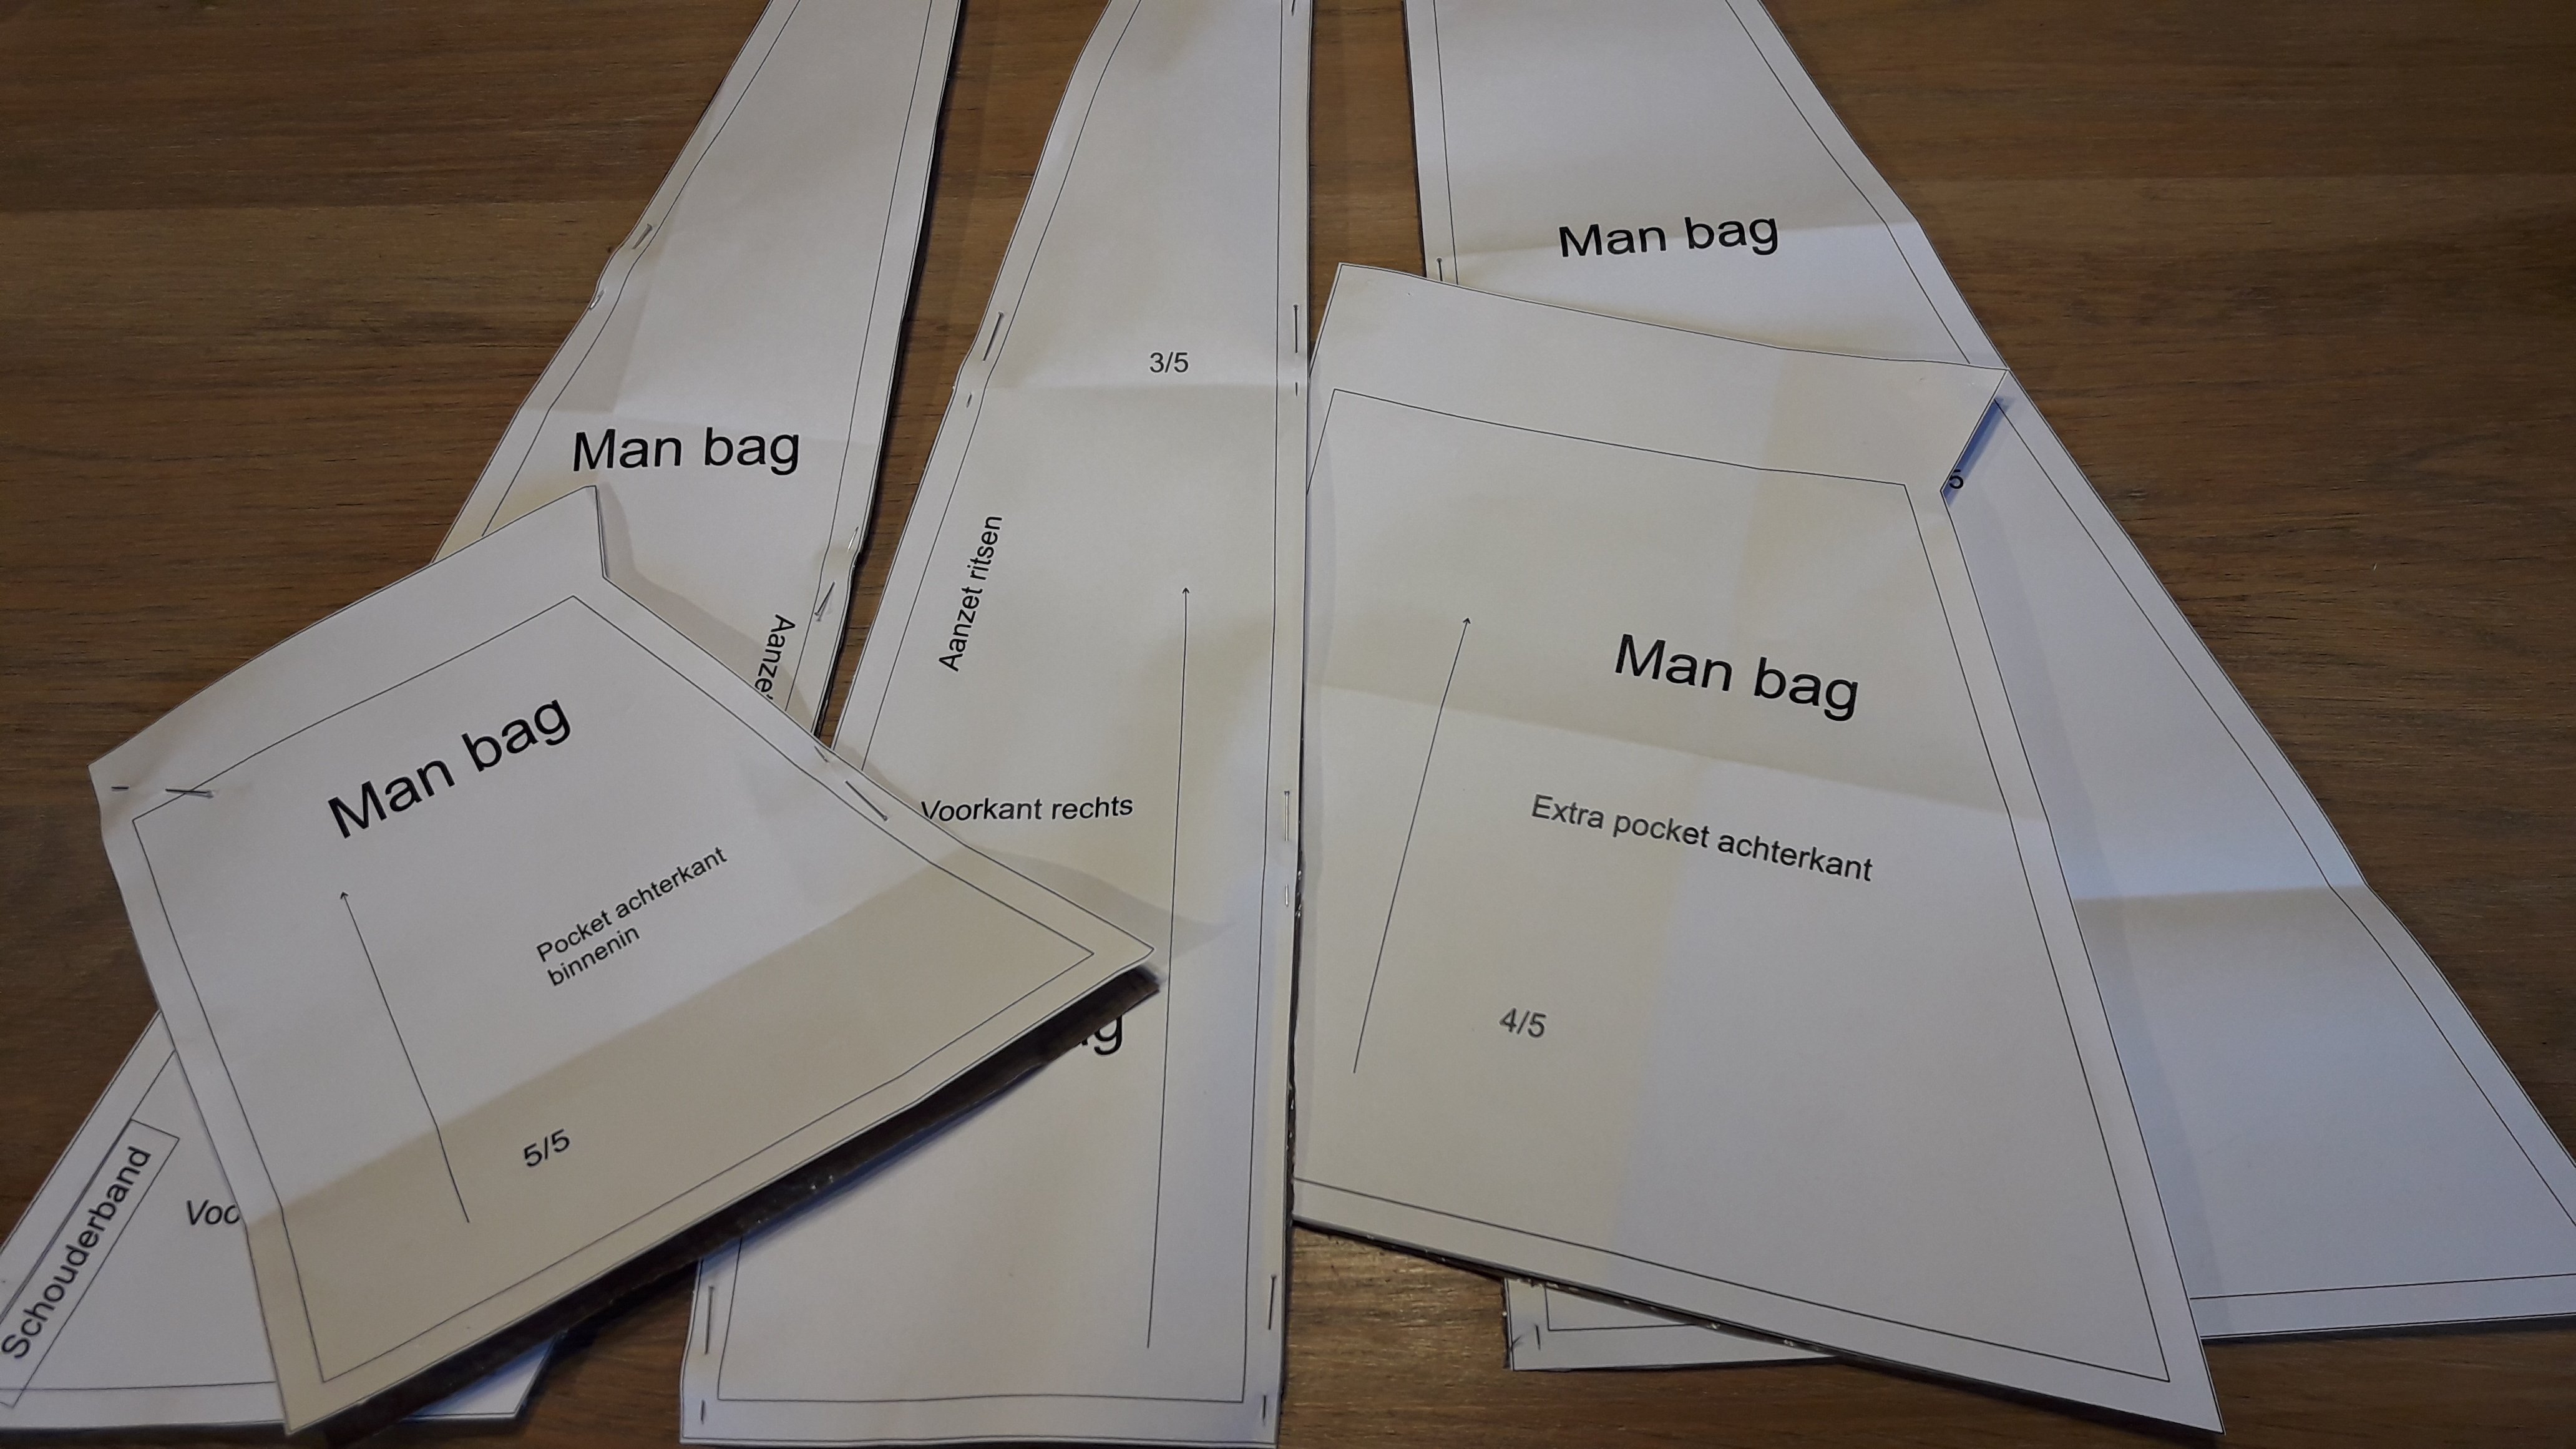
- FREE pattern download: Mestival manbag
- Sewing thread Mettler Seralon, in a matching color with the zippers
There we go:
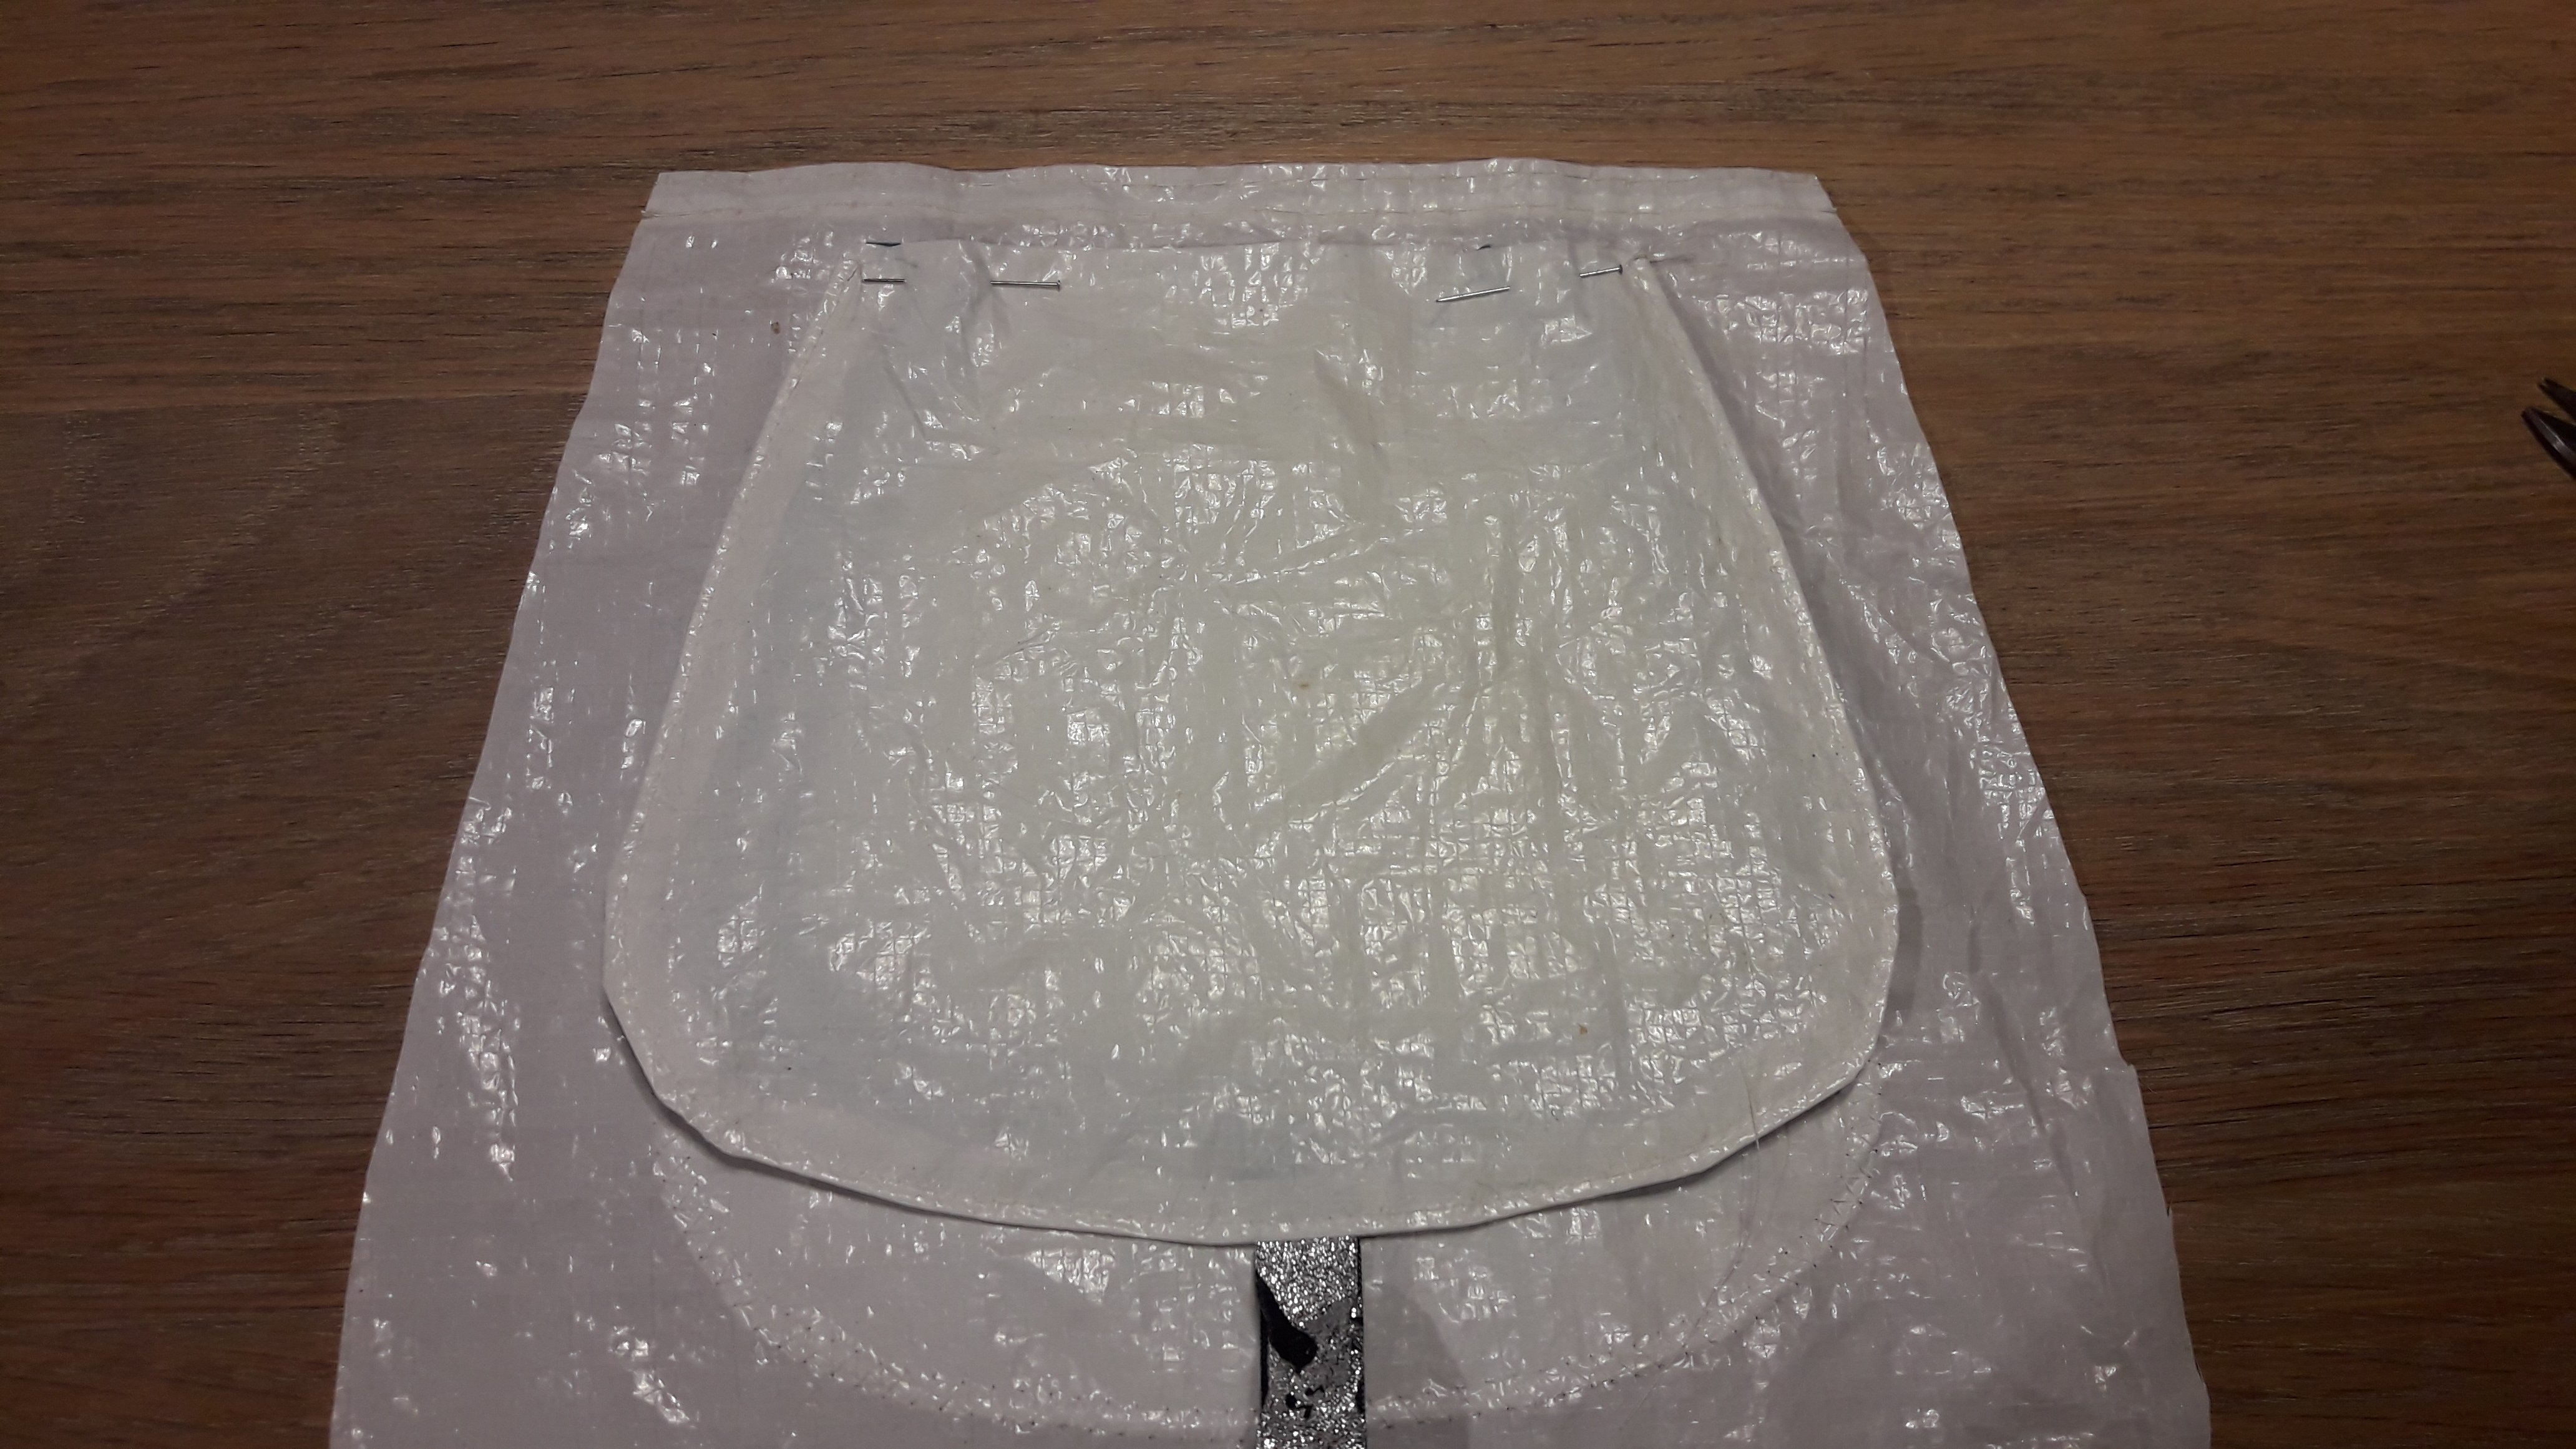
Print the pattern (true size) and cut it out.

Cut a strip 14 cm x 120 cm long for the shoulder strap (measure the happy one who’ll get it, to be sure). I started with a 130 cm, but it was too long for my husband, sized XXXL.
Fold the upper seam for the pocket (inner side of the back part) and topstitch afterwards. Fold other side seams over and sew the pocket to the inner side of the back part.
(I made a mistake, took the wrong side out and only noticed after topstitching the upper part, so I made a little adjustment).
Fold the upper seam for the bigger pocket (for the outer side of the back part). Embellish by topstitching or add tape or a label. Stitch it to the outer side of the back part.
My label was a wristband from one of the former editions of the festival.
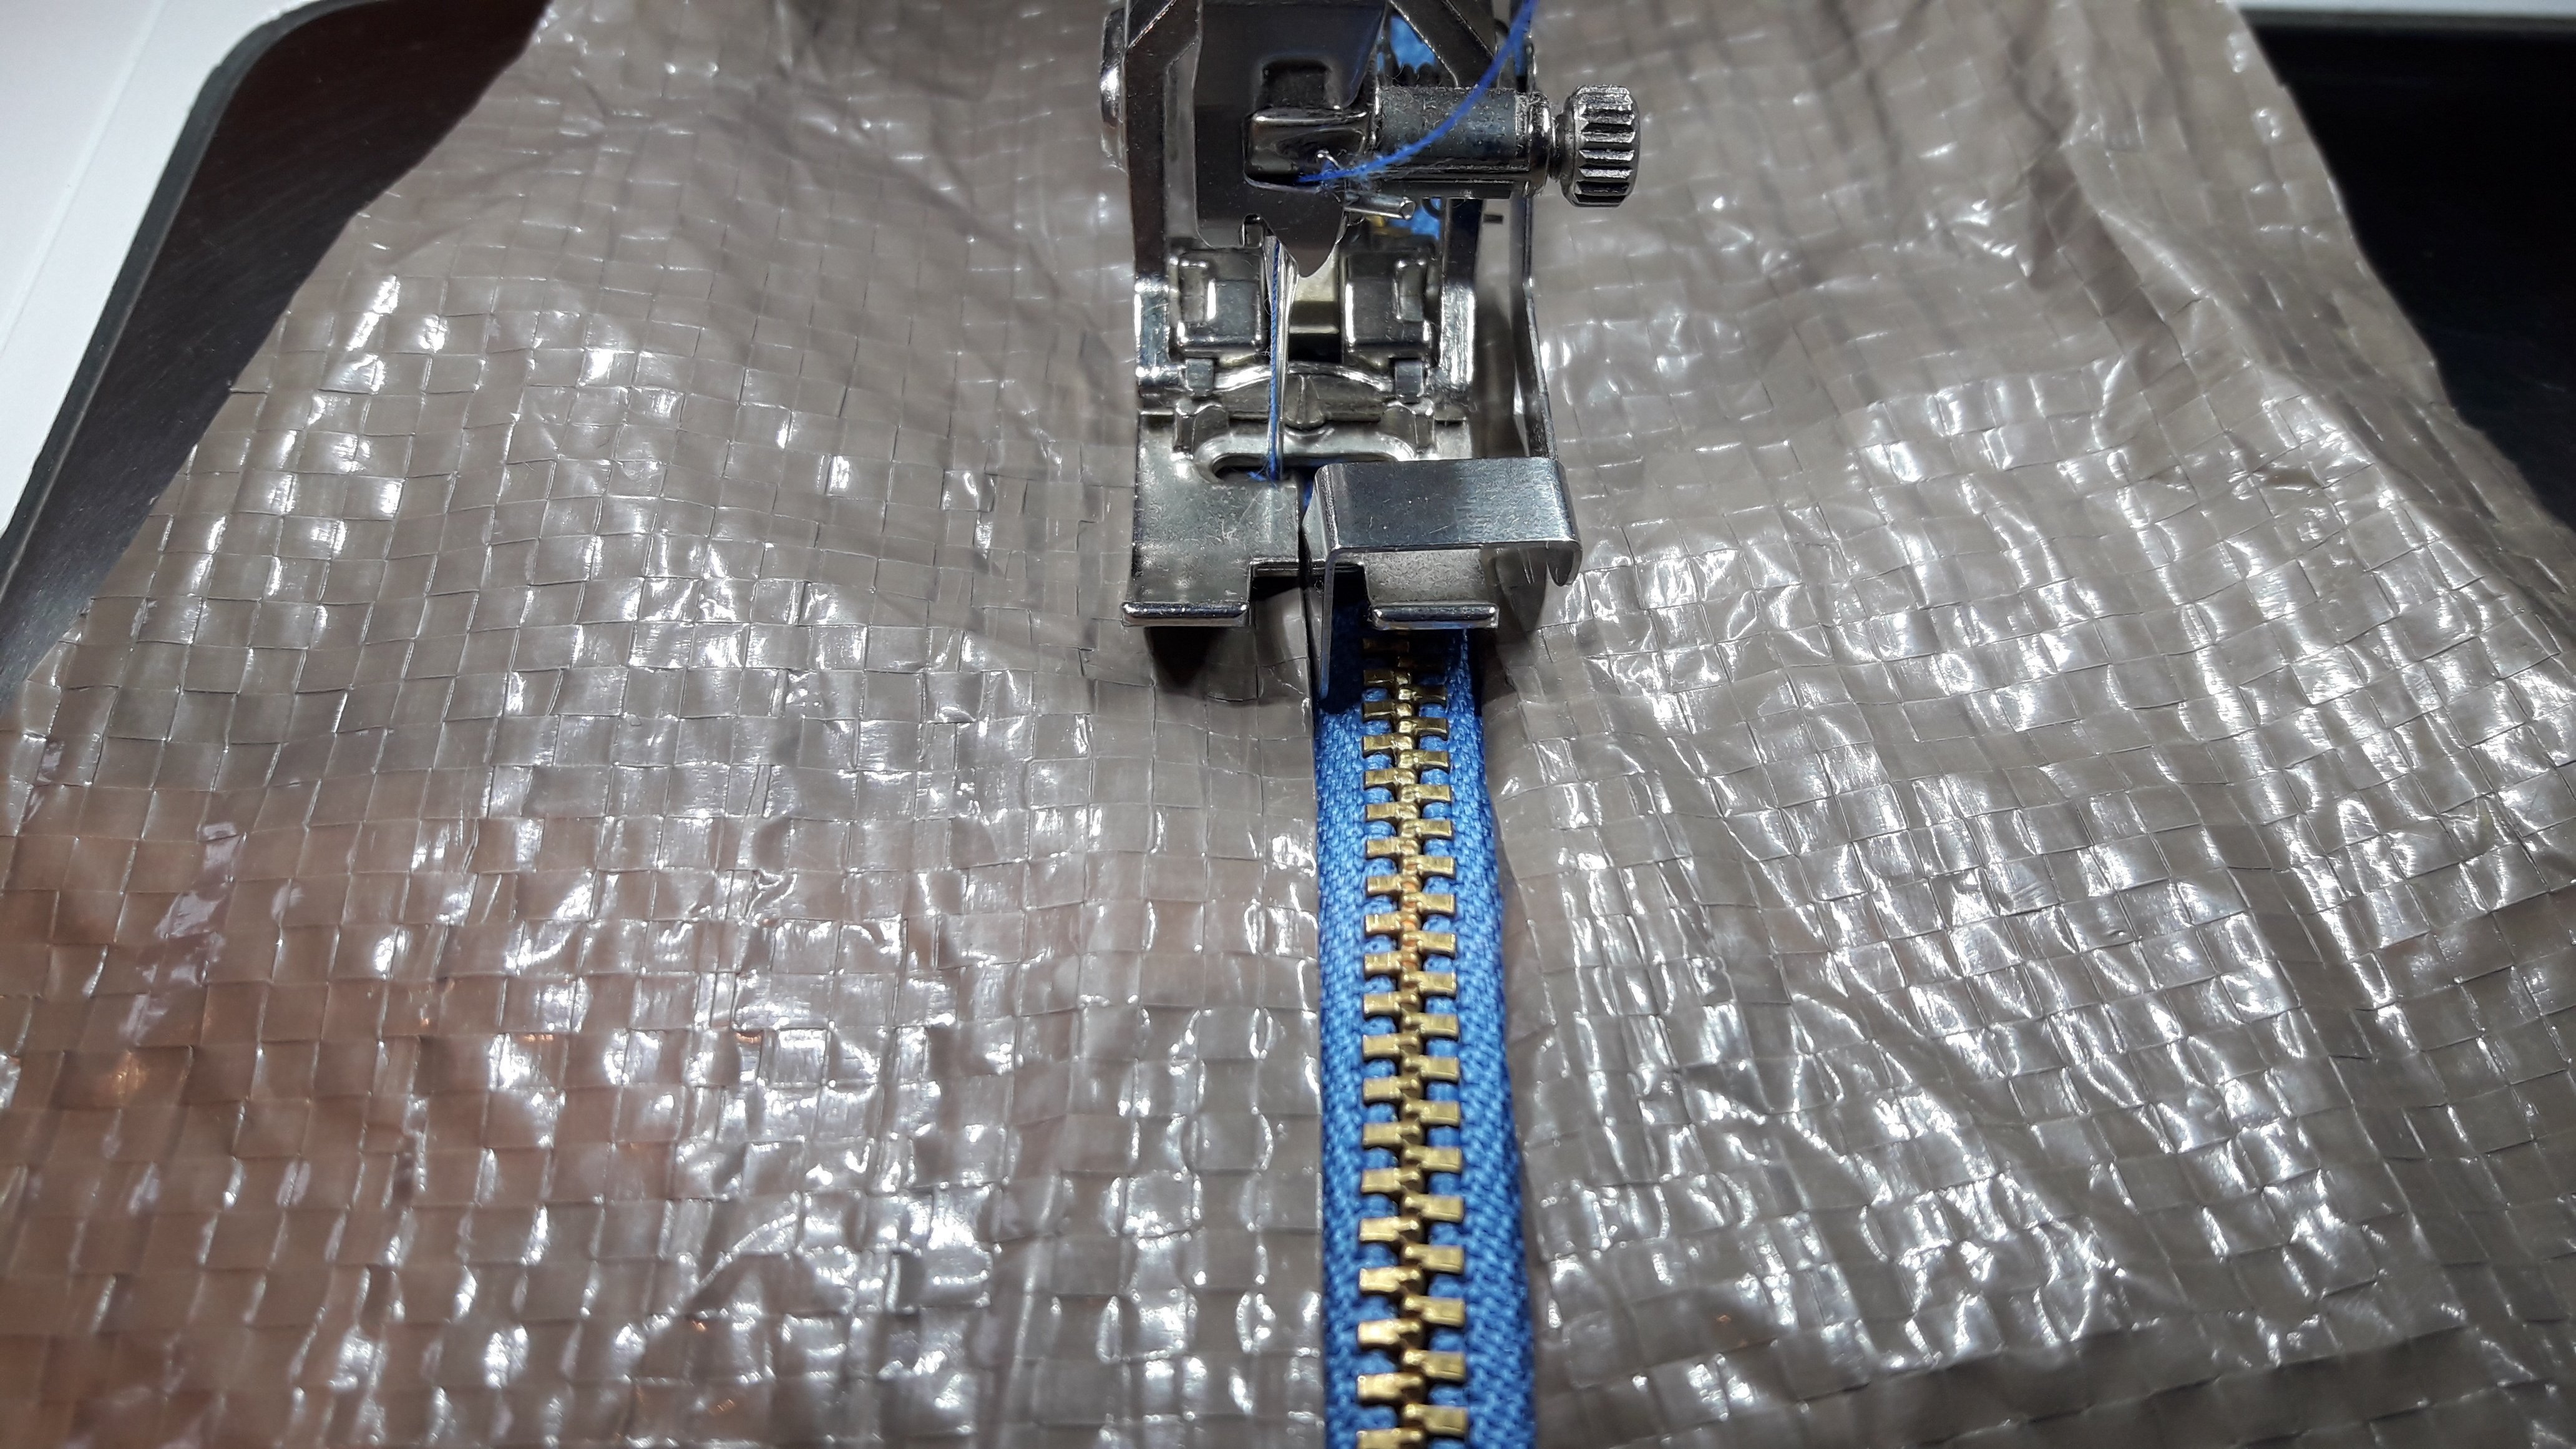
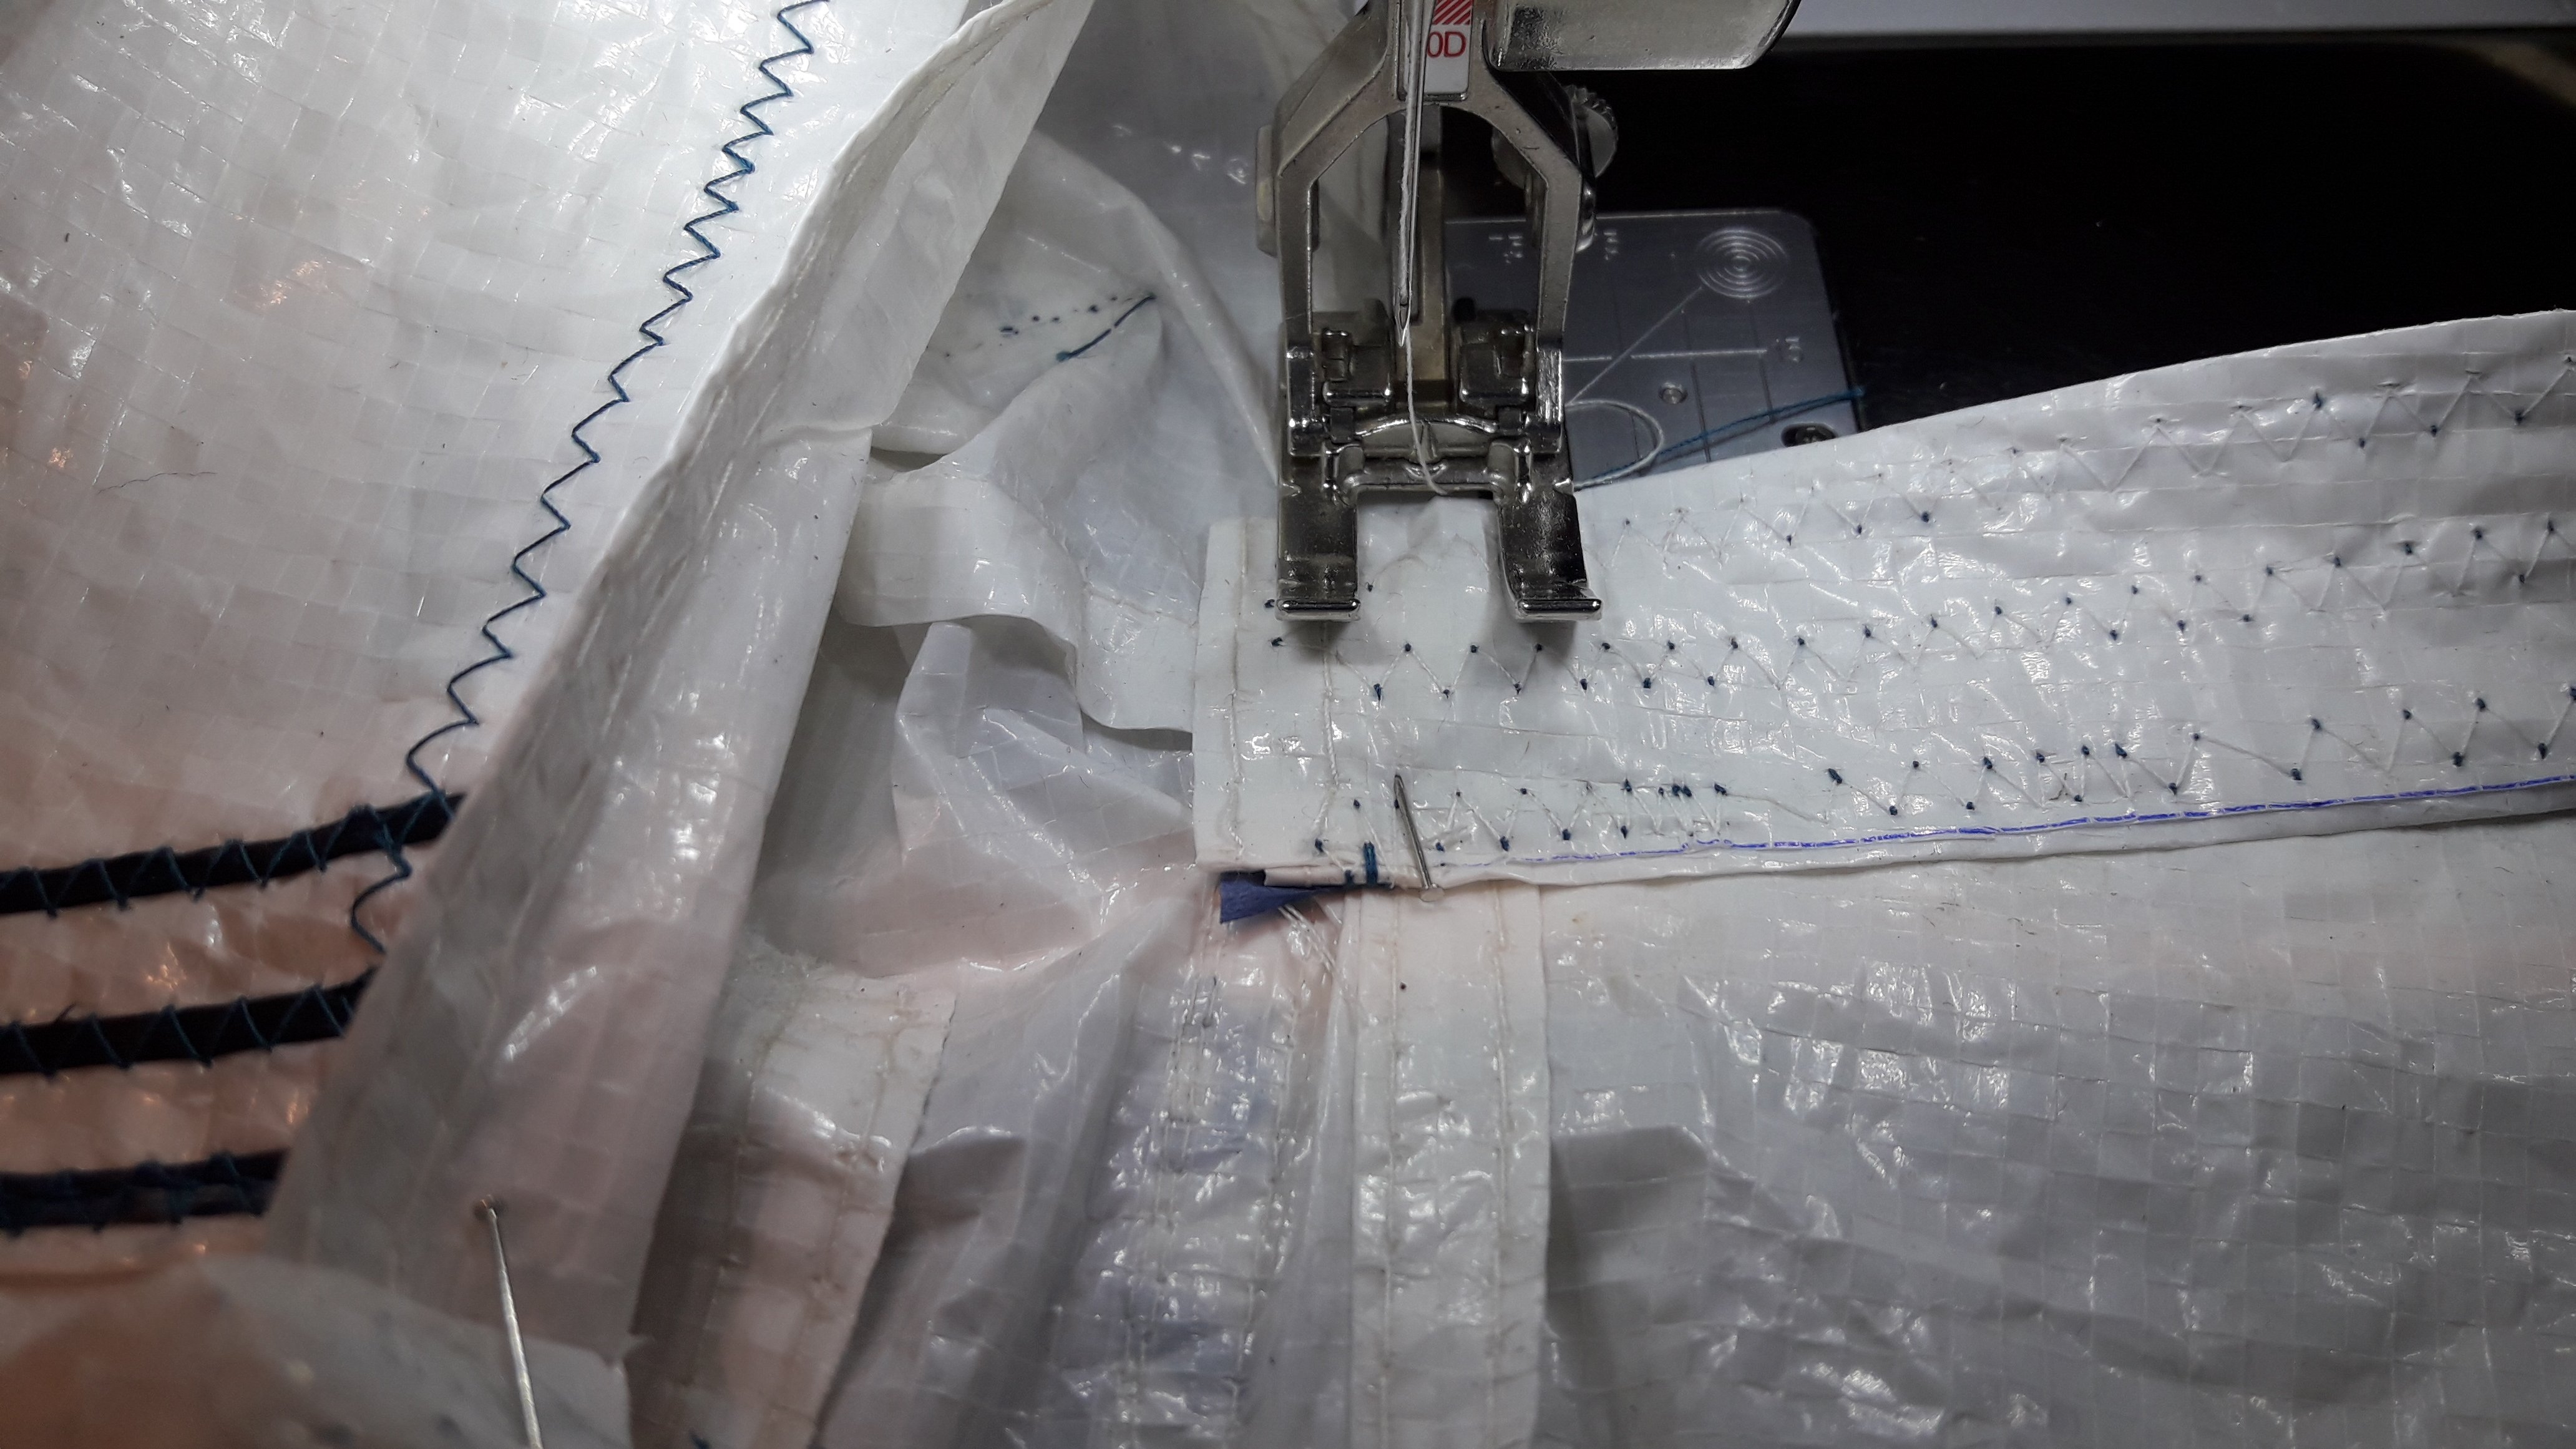
Sew the zipper in the front panels, as marked in the pattern. You probably wonder why I used 2 zippers? Well, it’s a good height to open the bag and grab your stuff, but there was a more practical reason: someone gave me a 100 zippers, length 19 cm, to use ‘for a good purpose’. And so we did 🙂
I used the zipper foot with guide 14D. It gave me the advantage to engage dual transport.
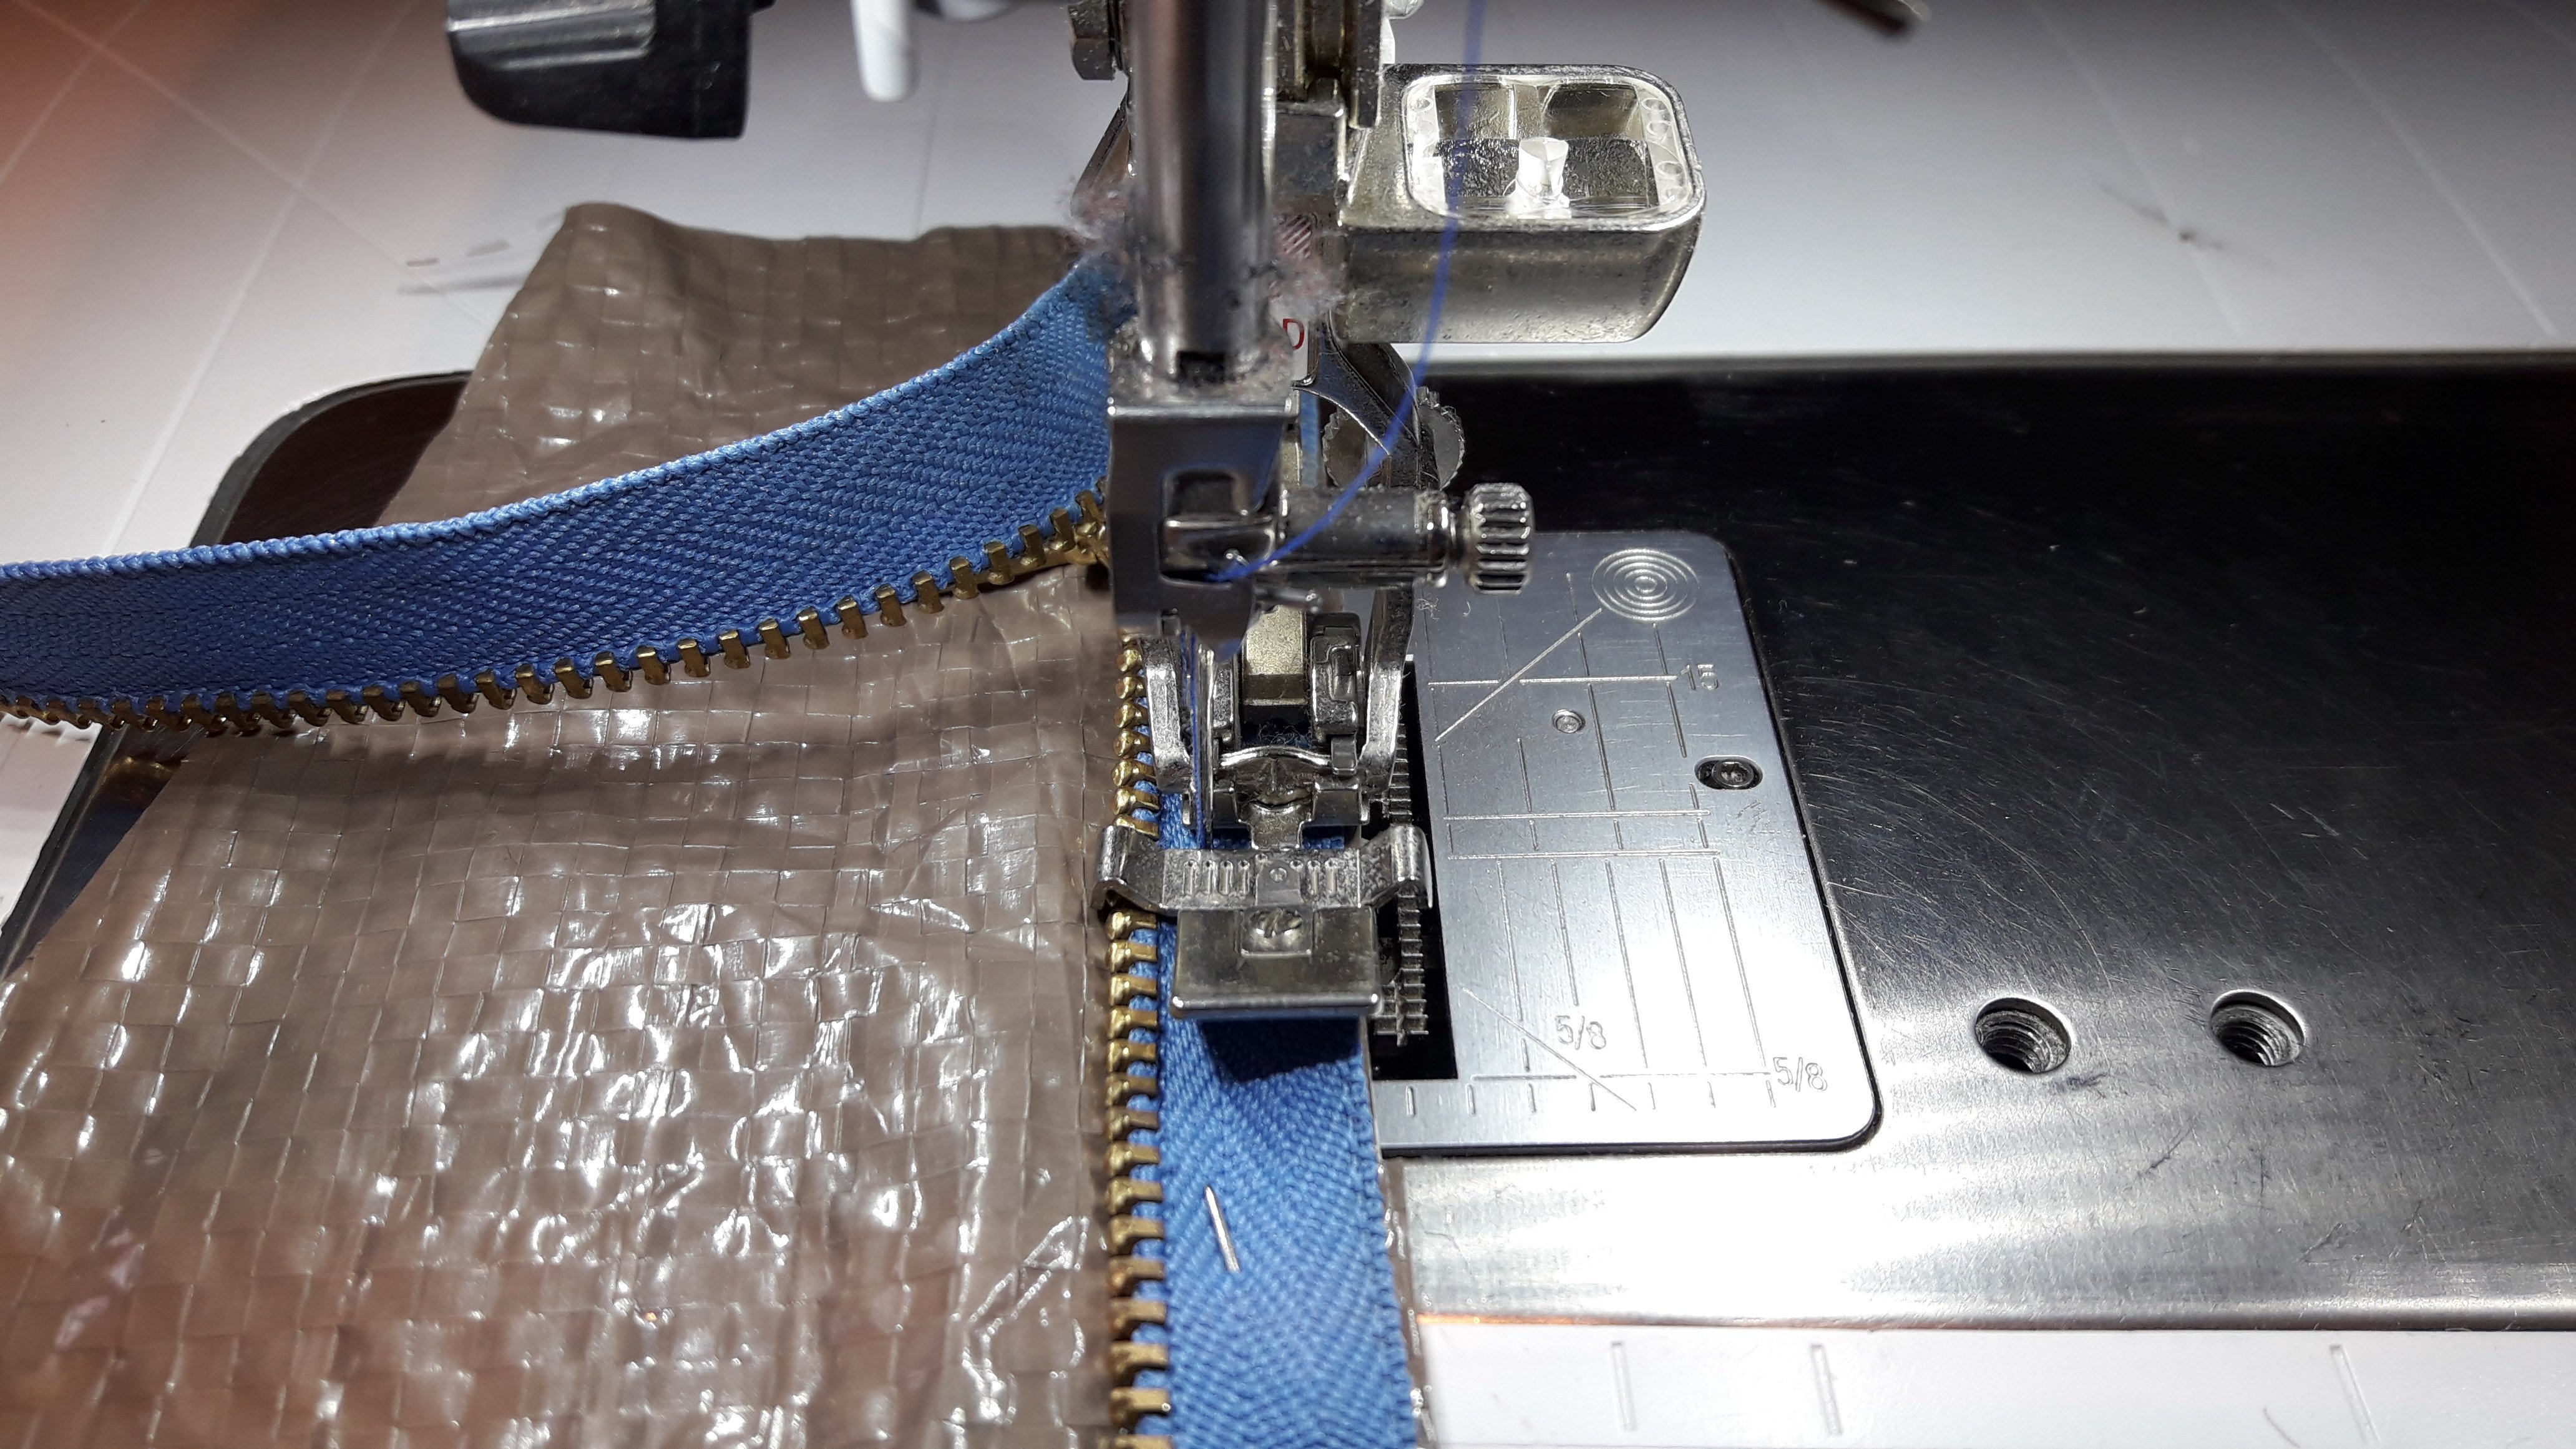
Topstitch the zippers then on the right side. I used the edge stitch foot 10D. I stitched over the zipper with a zigzag stitch.
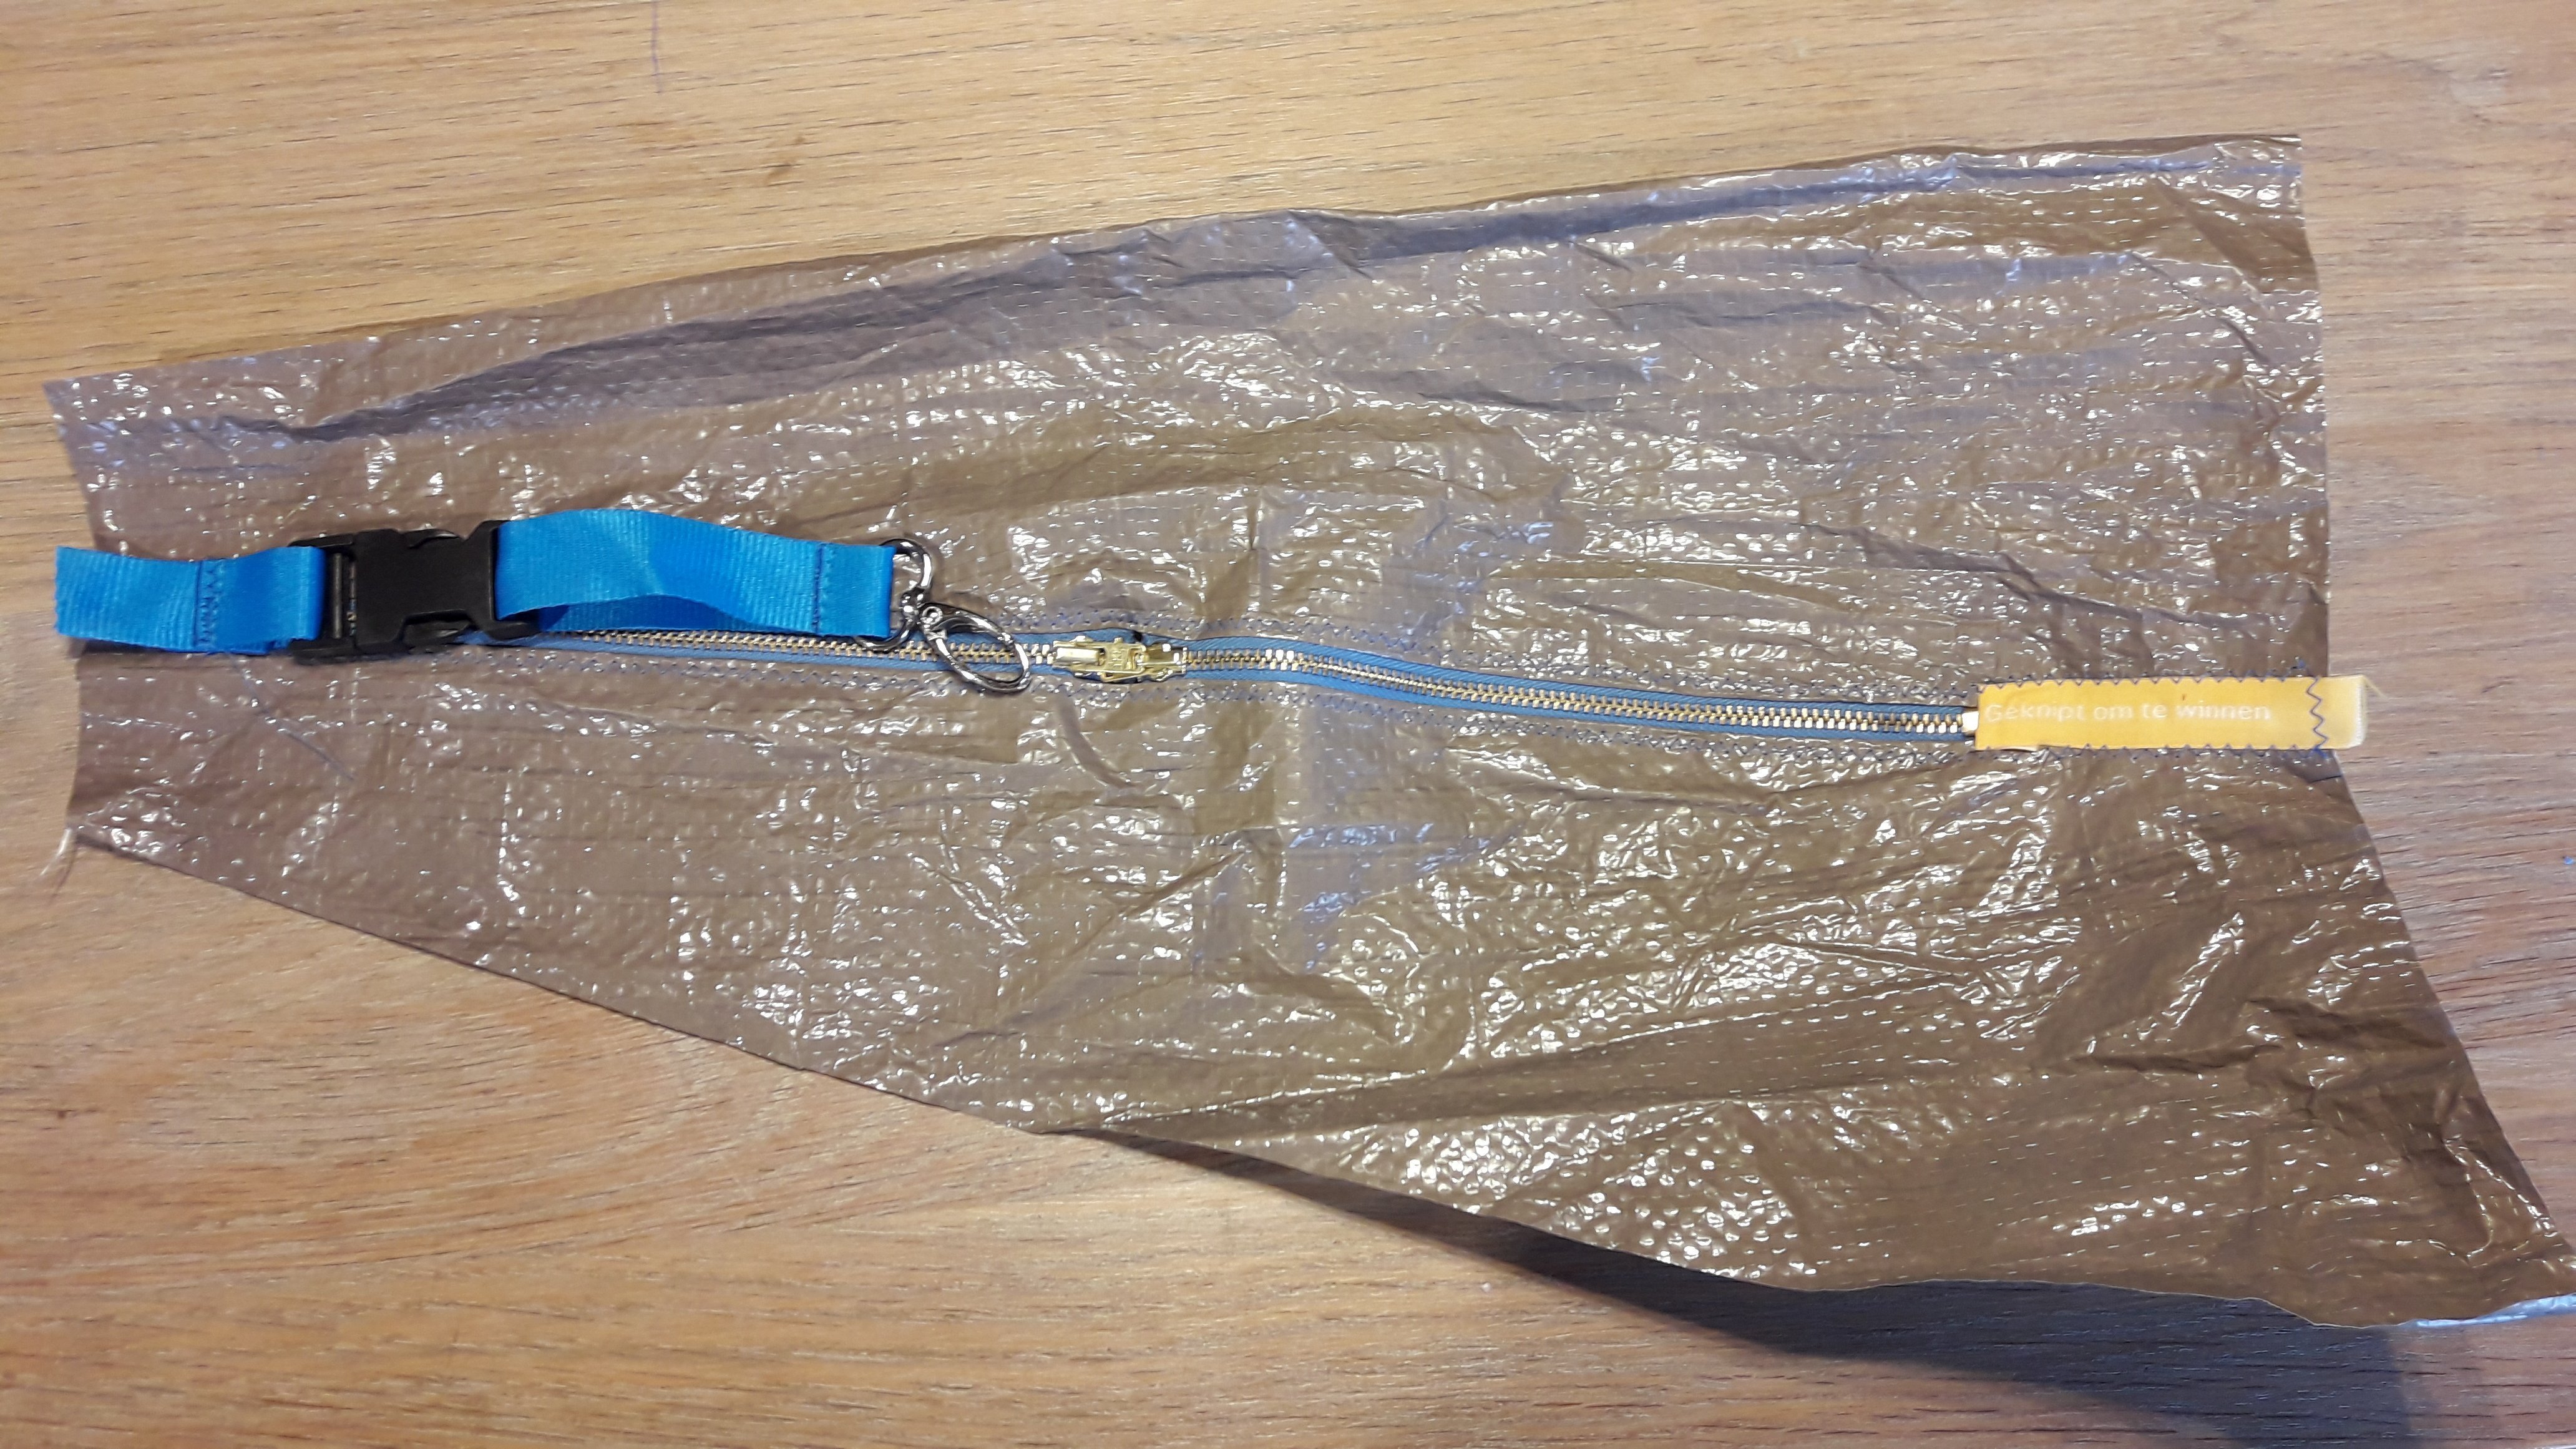
At the end of the zipper I sew another embellishment label.

On the upper side of the bag, I attached a key hanger with carabine hook. So handy!
Continue with the man-bag:
Fold the shoulder strap over. Attach bias tape to both sides, it makes a nice finishing, but it is not necessary.
I used the bias tape attachment 87 for folded tape (but I guided unfolded tape through the attachment, worked well!). It’s in a combination with open embroidery foot 20D.
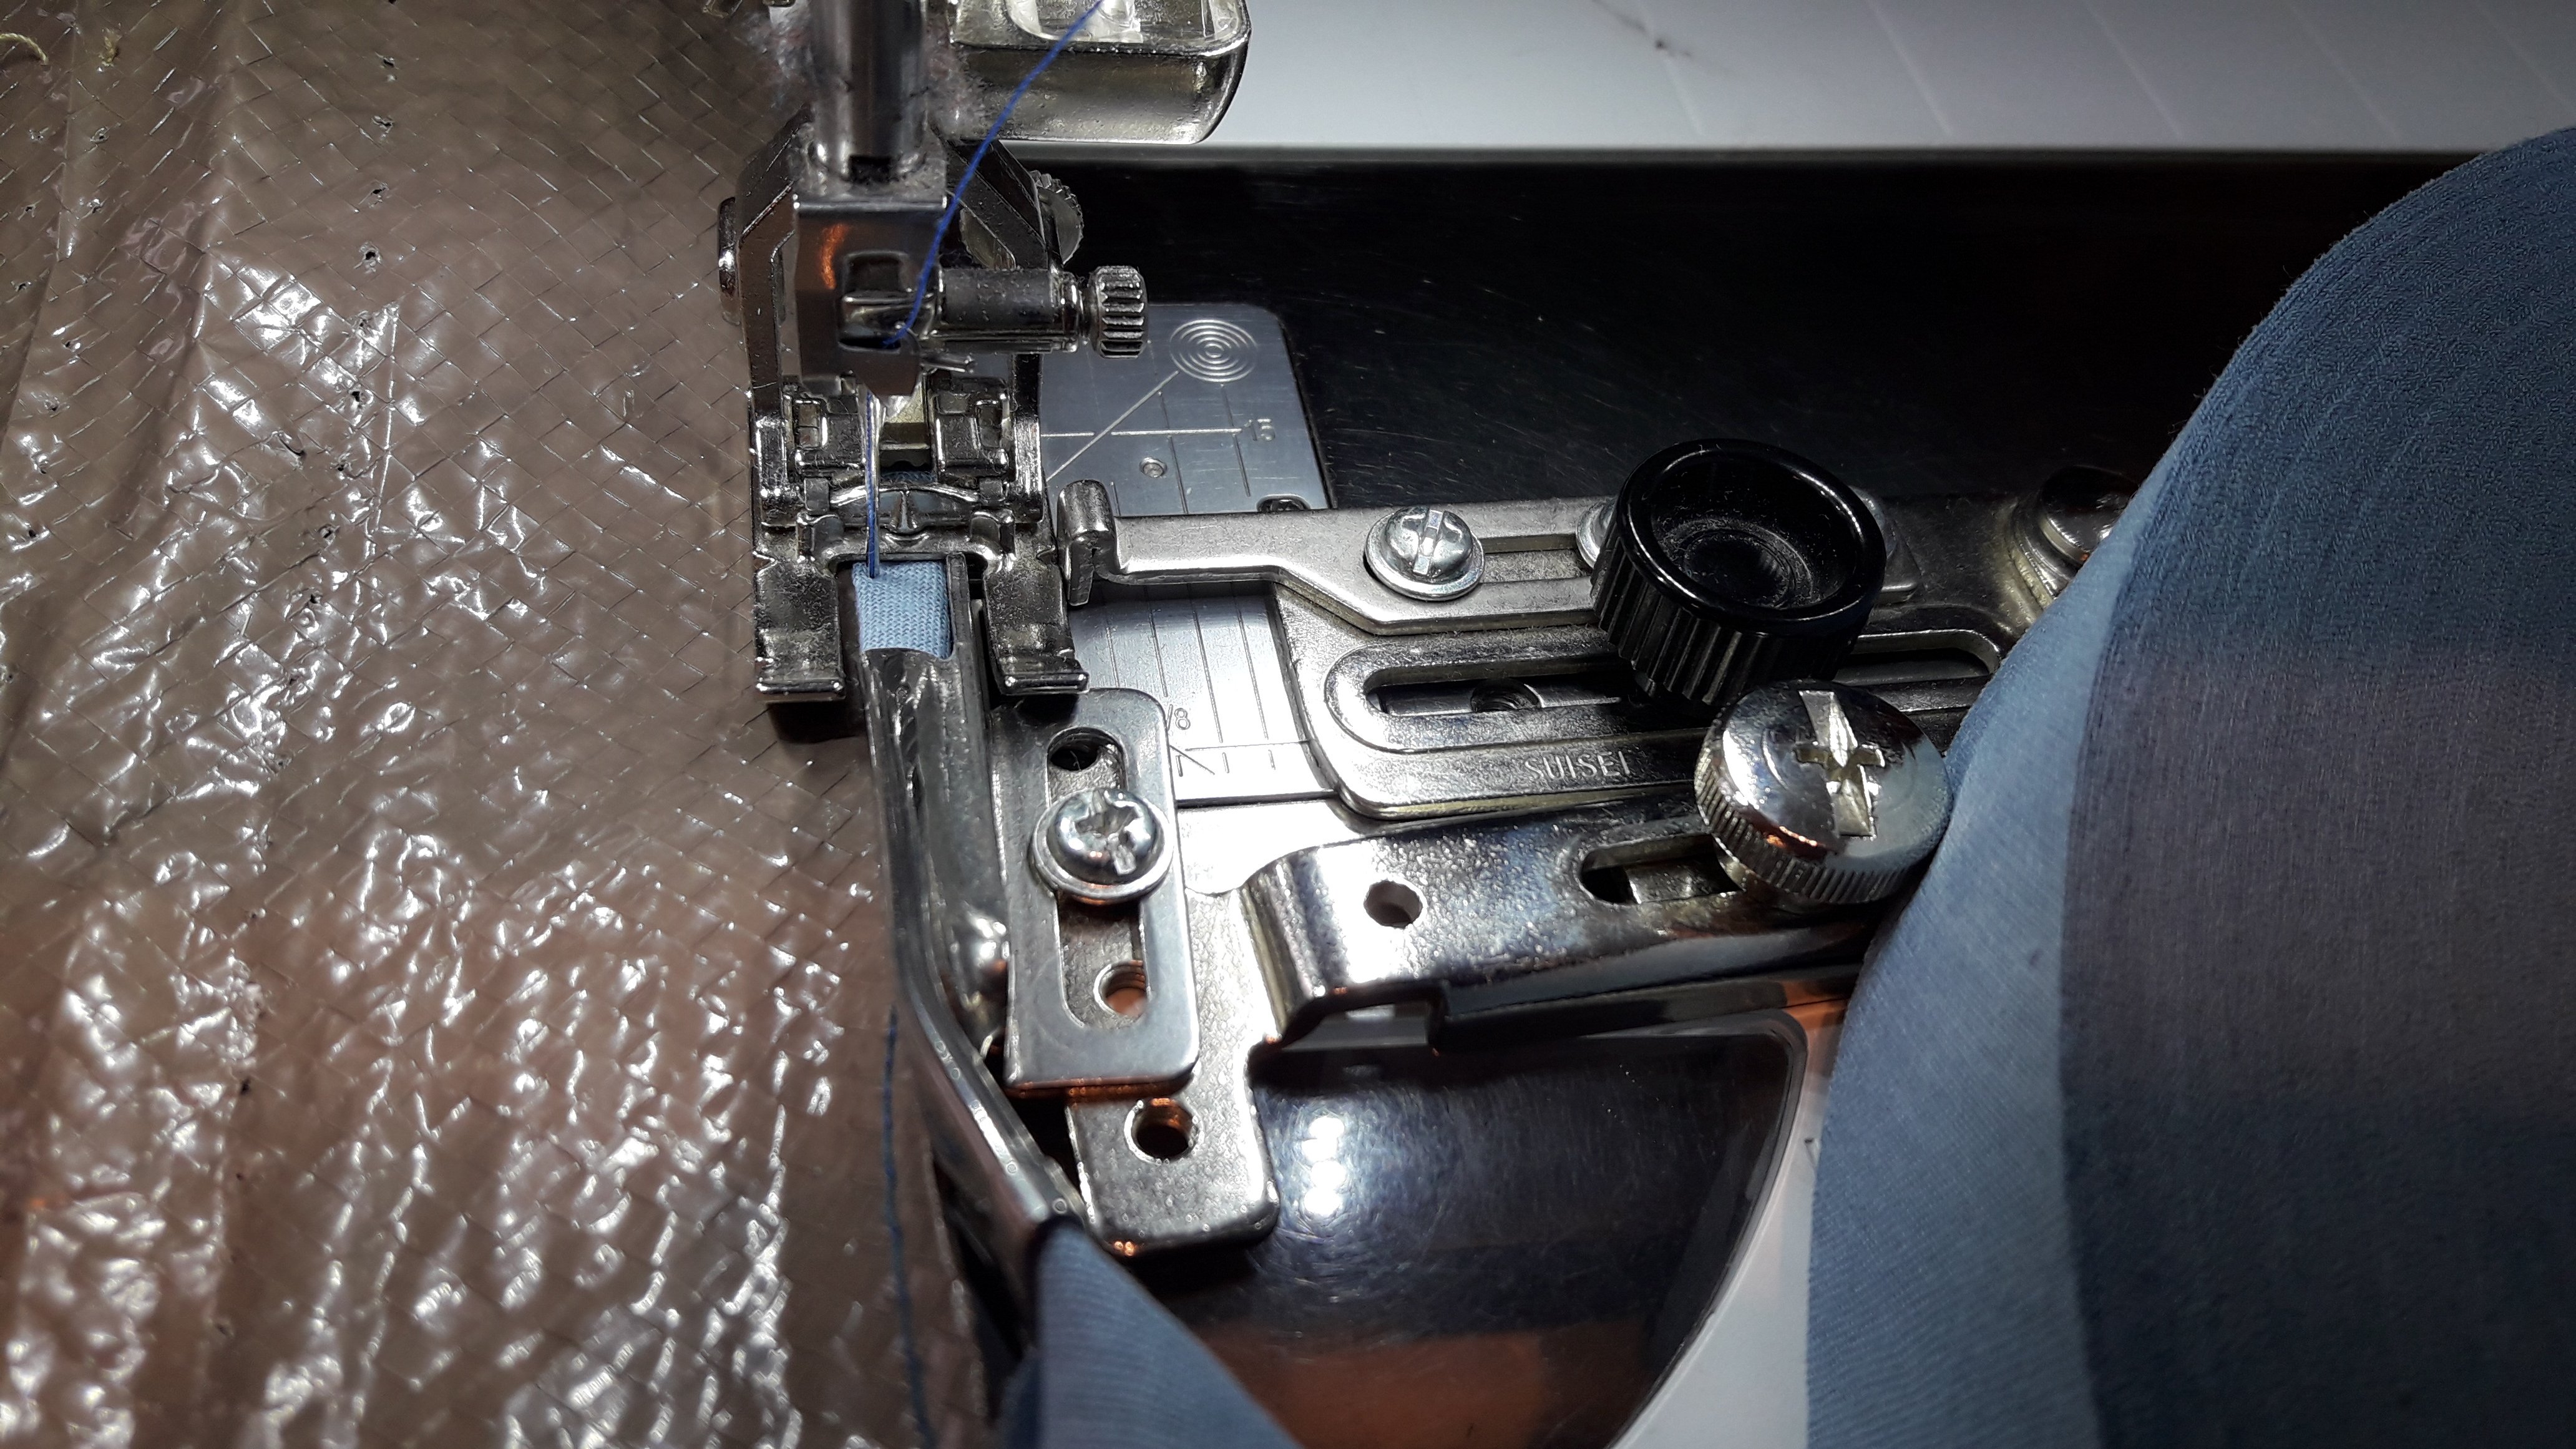
Keep guiding the tape through the attachment, it works fine!
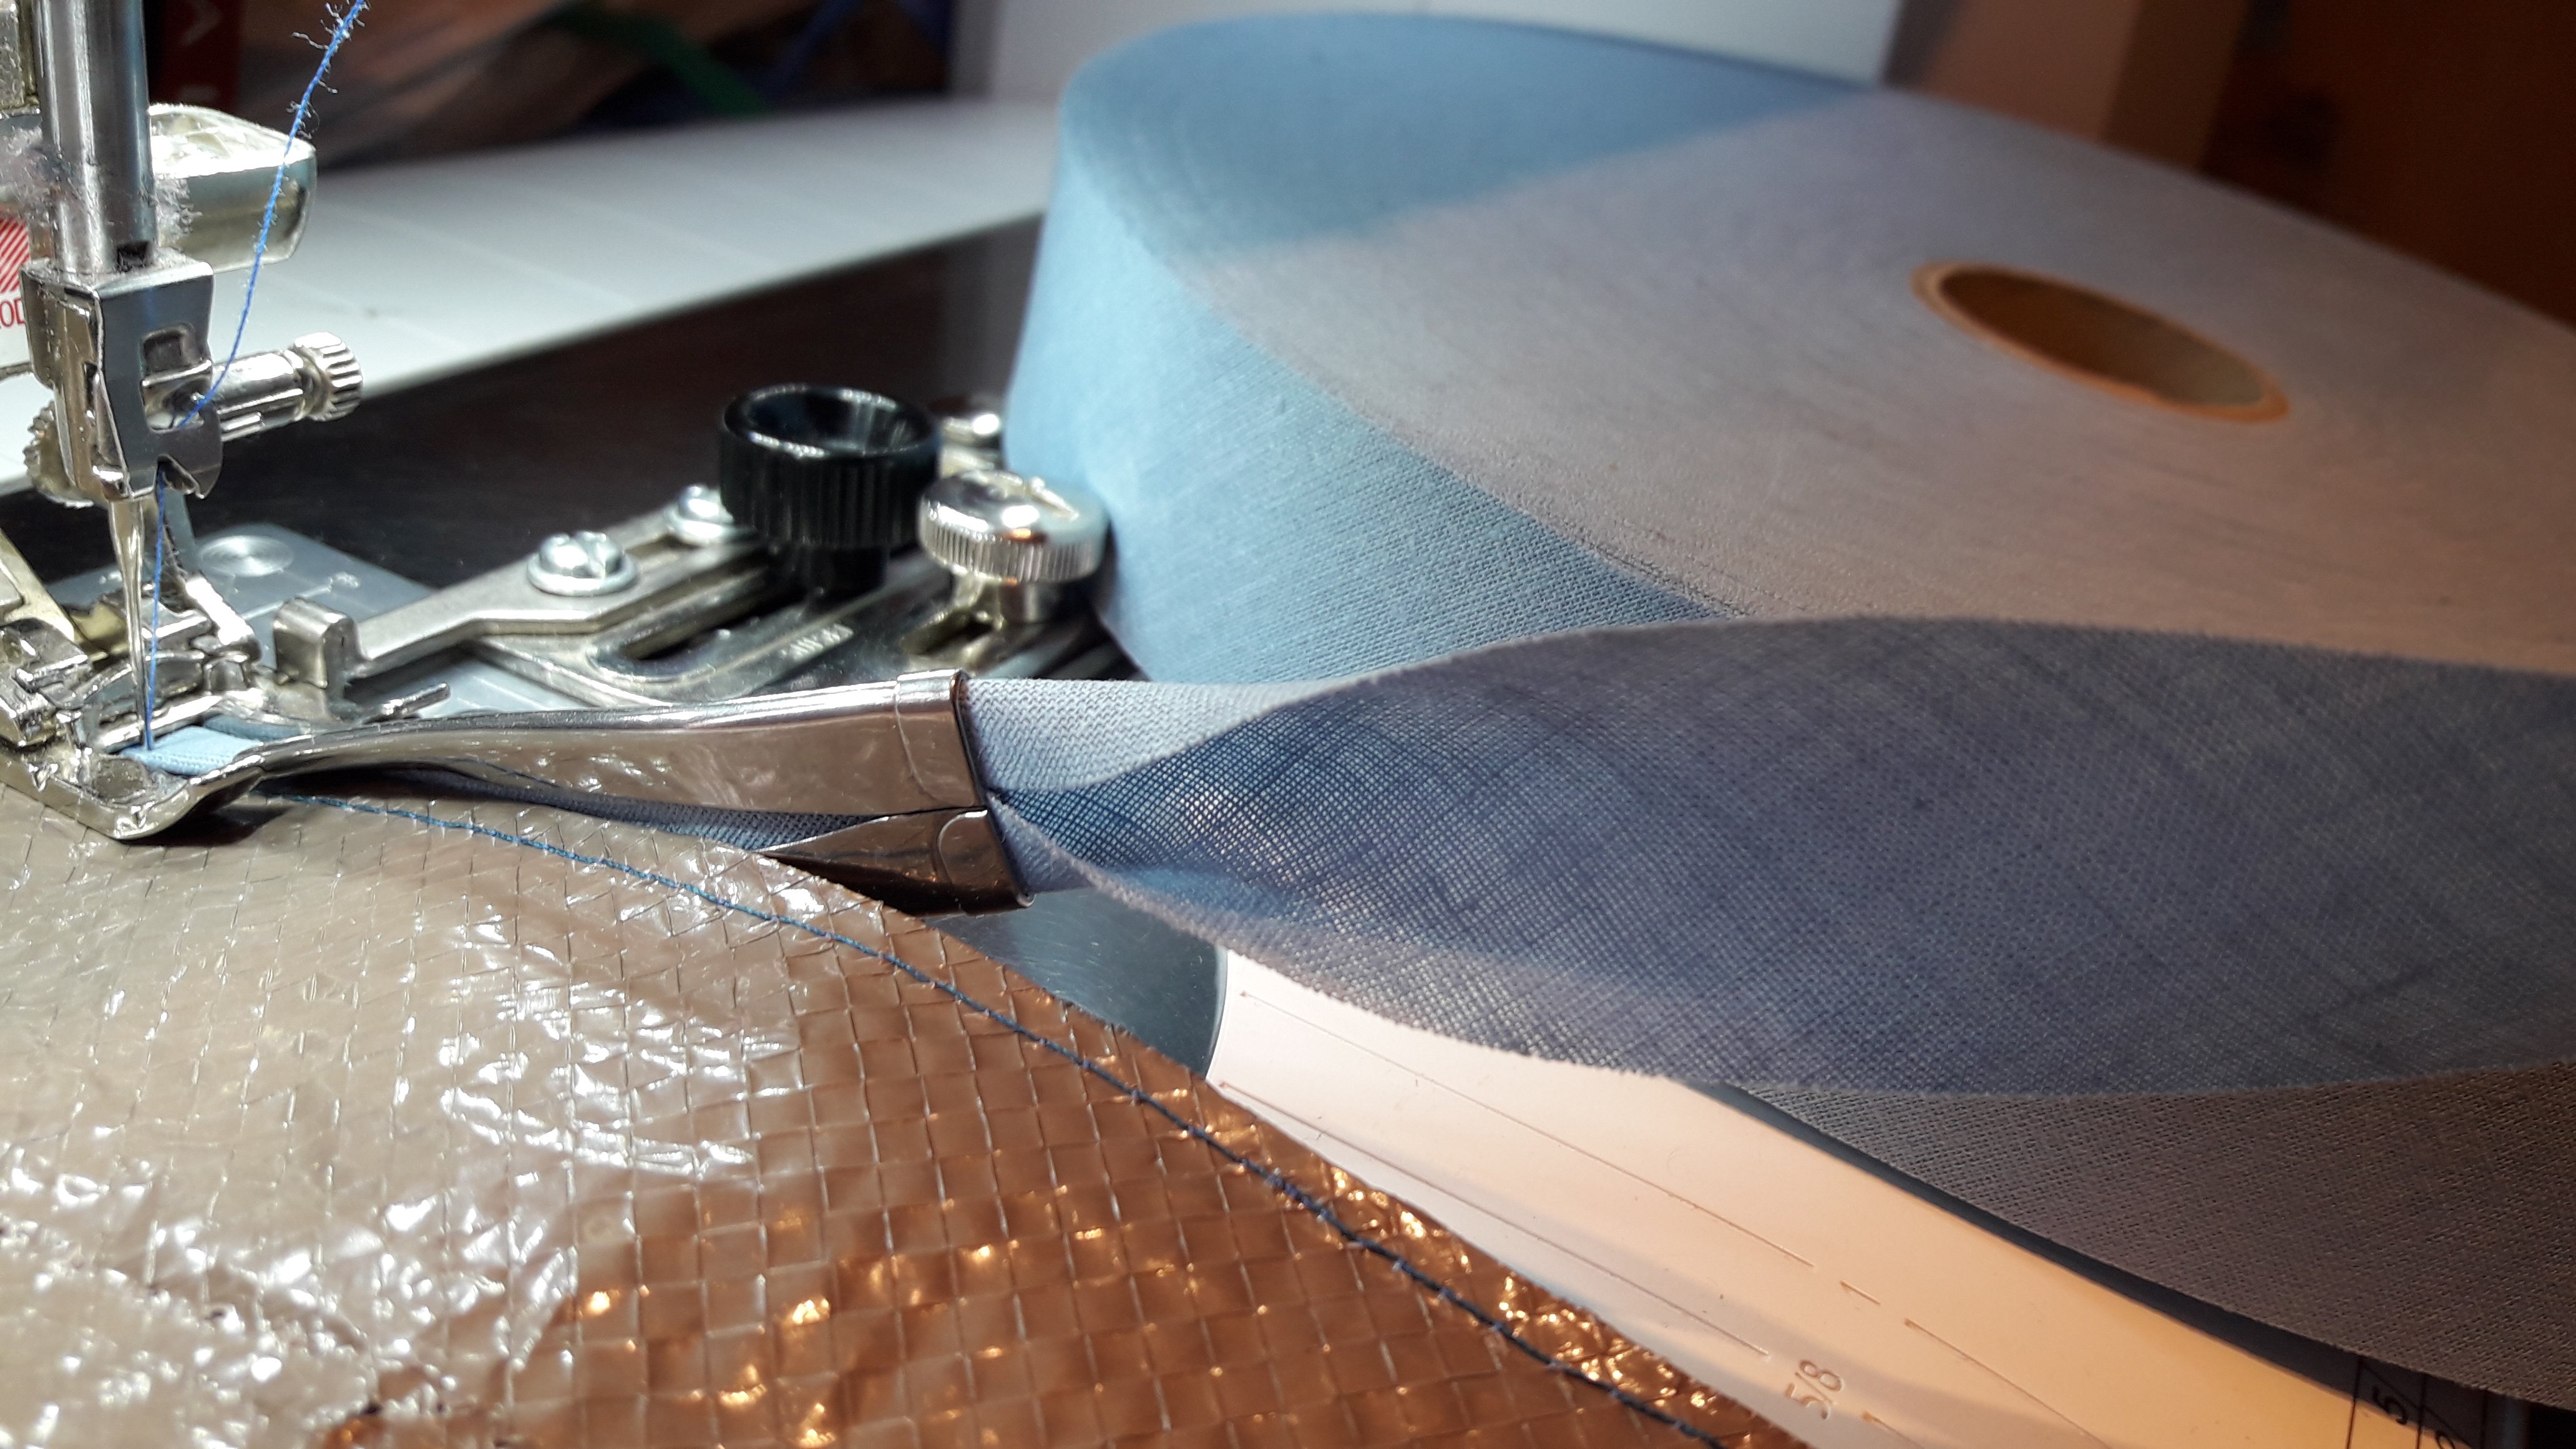
As an extra safe embellishment, I stitched reflecting tape over the shoulder strap. Nice detail! I used the bulky overlock foot 12.
Now sew both parts back and front together, with the shoulder strap in between. Be sure the right side of the strap is faced to the right side of the bag.
And it’s finished.

I think it’s a success!
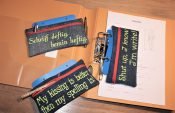
3. Recycle partytent to handbag.
The third bag is a simple handbag.
You can find the FREE pattern here: Festival handbag
Print the pattern and cut out the parts. Seam allowance is included, as you can see.
What do you need?
- Partytent fabric or similar (even leather)
- Left over ribbon, tape or wool.
- 2 pieces of velcro
- White and colored sewing thread
Let’s start:
Cut the pattern parts out of the partytent fabric.
Embellish the front part and one flap with the ribbon/tape.

I took the bulky overlockfoot 12C. I could guide the tape through the hole.
Now sew both parts of the flap. Sew with the right sides together and turn over.
Next sew the velcro to the right side of the front panel.
Sew both parts of the bag (right sides together), then turn the bag over.
Sew the flap to the back part in this way: put the right side of the flap to the back part of the bag and topstitch.
Fold the flap over in the end and topstitch in a small rectangular shape.

Cut a 9 cm wide tape. Measure the size to go over your shoulder (mine was 120 cm).
Fold it in 3. Embellish the middle part in the same style as you did for the front panel.

Now fold it in three and stitch together.
Finish with the straps:
Continue to the shoulder trap to the sides of the bag. Don’t sew the flap to the strap.
Find out where to sew the second part of the velcro by closing the bag and sew it to the flap.
You are ready. 
Do you like recycling? I’m interested to get new ideas!


Fantastic – thank you for sharing your blog. Brilliant recycling/upcycling idea
Hi Lesley, thanks for your compliments. There are so many things you can make out of throw away fabric or synthetic material. Just give it a try. Are you used to reuse stuff?