 BERNINA Corporate Blog -
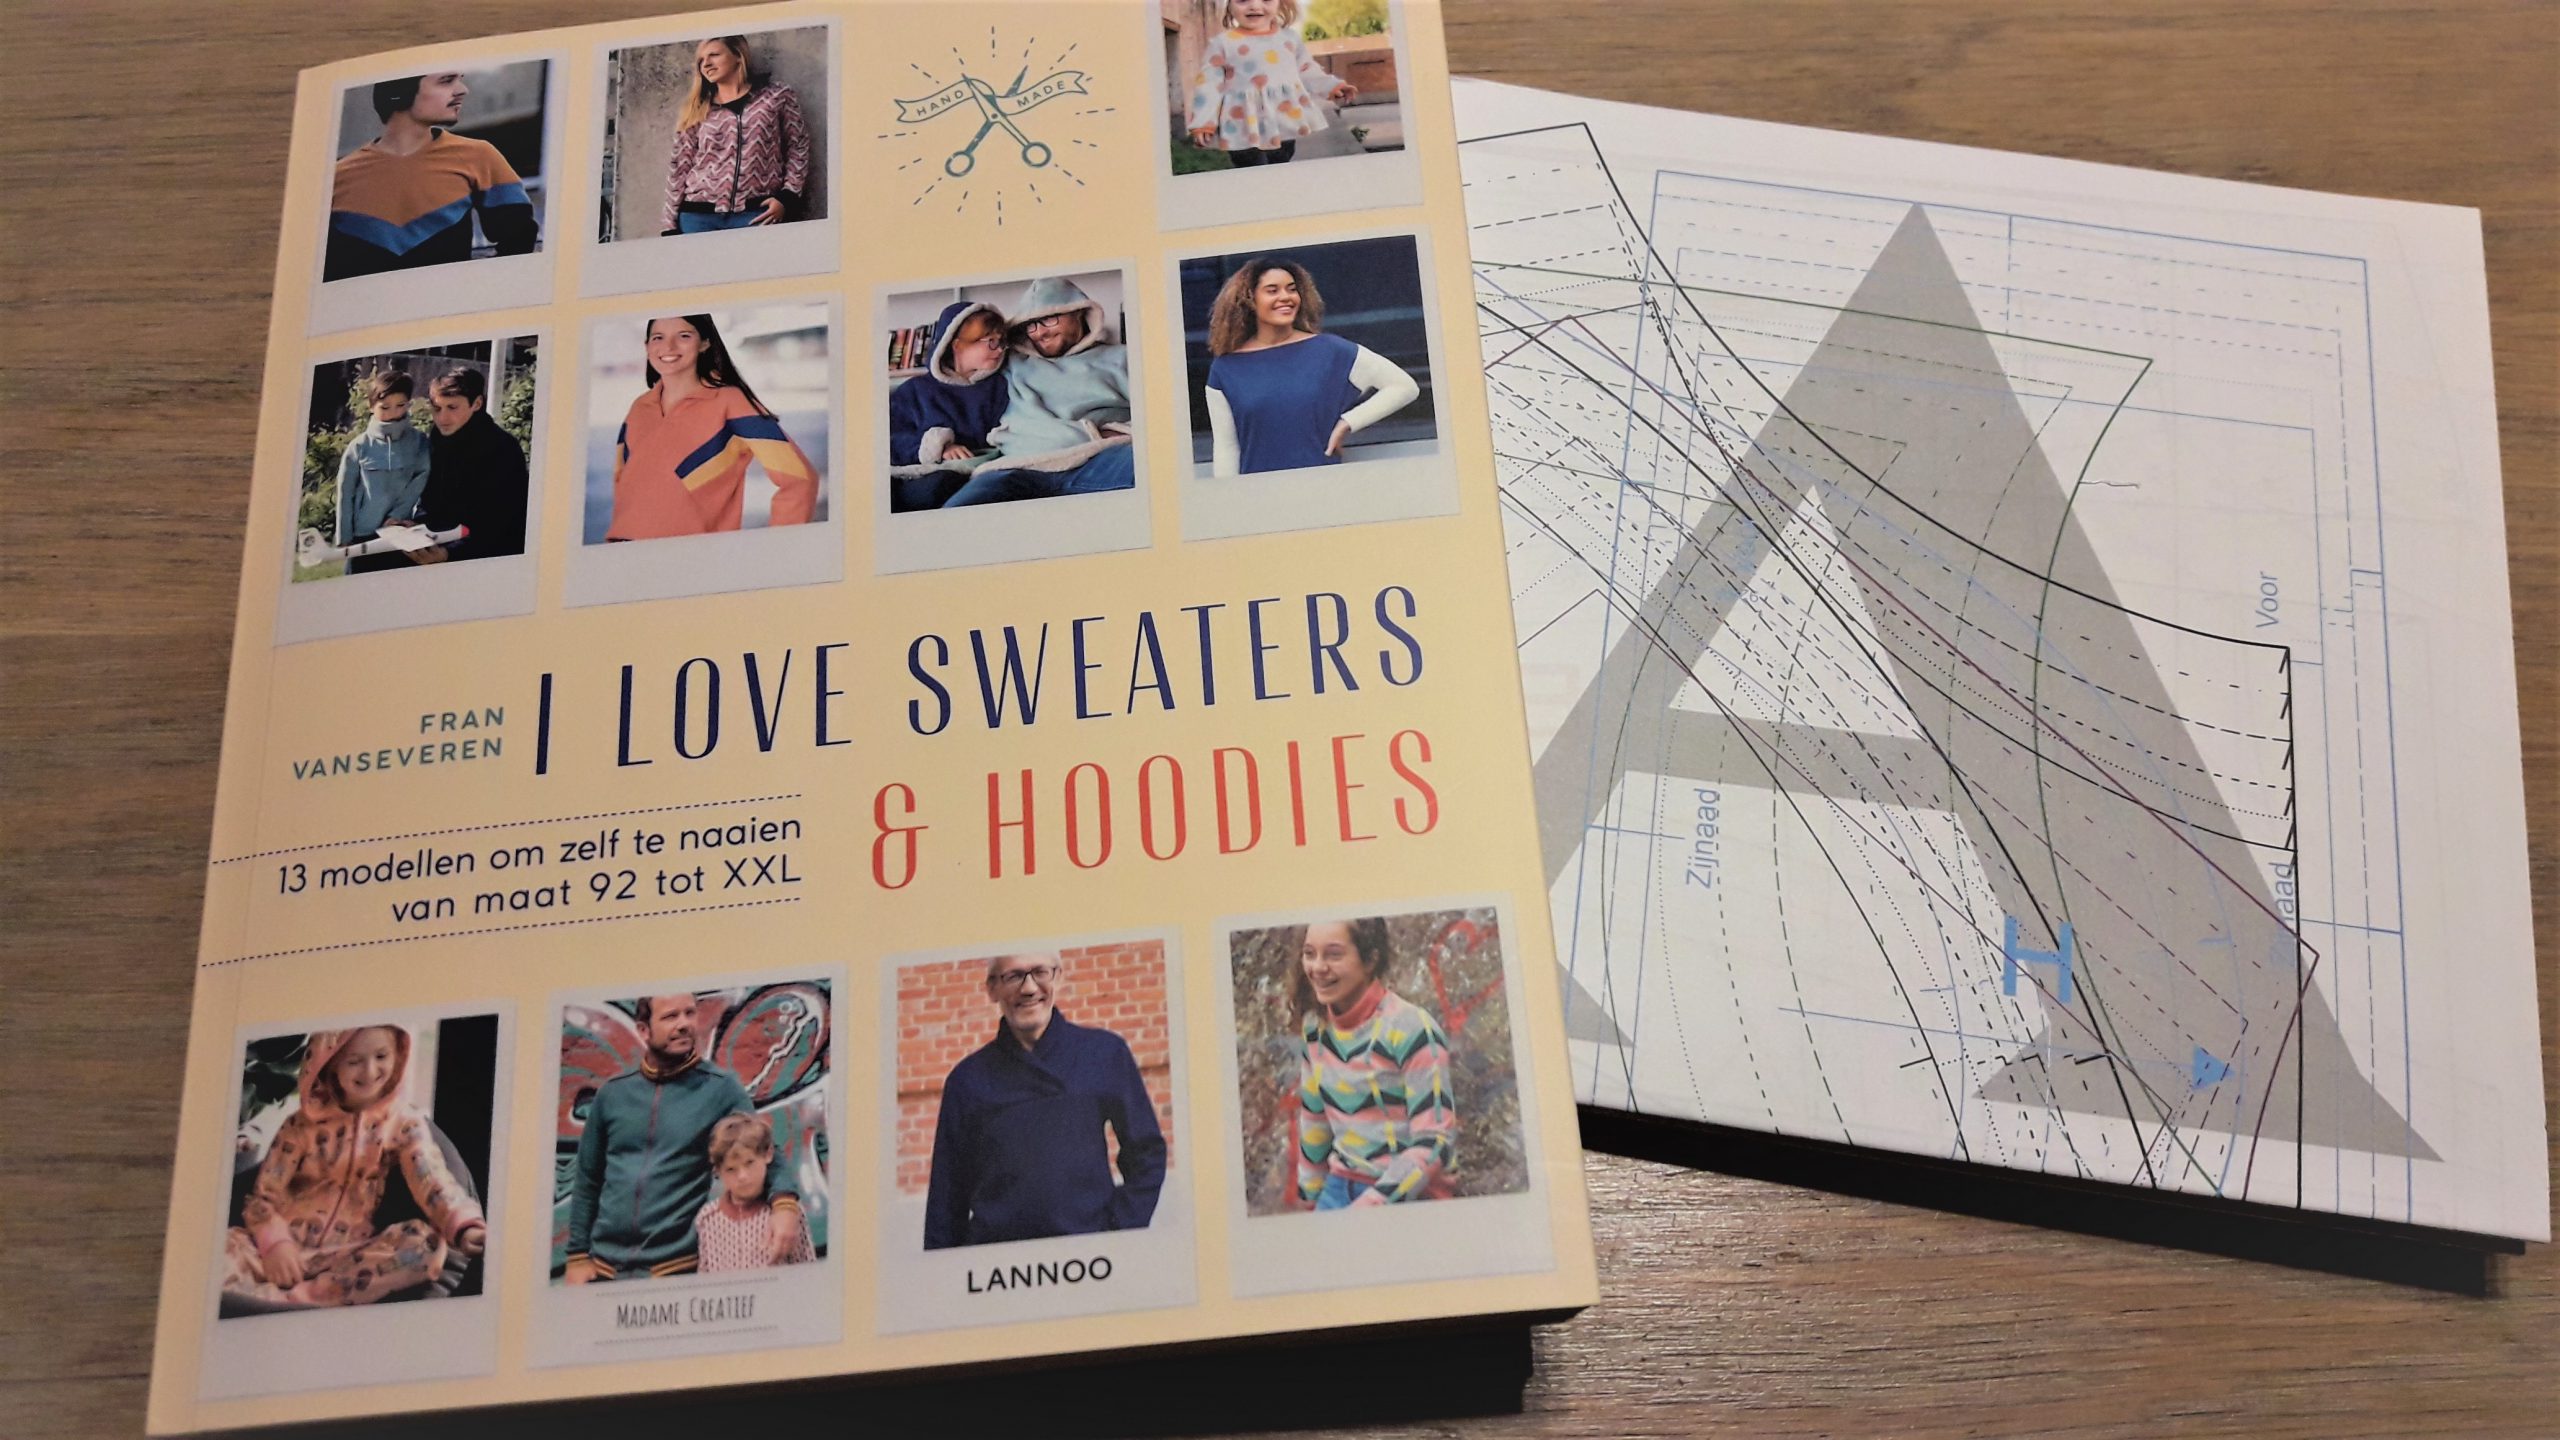
In a Facebook community, I saw the (Dutch) book ‘I love sweaters & hoodies’. It seemed so interesting I wanted to sew one straight away. Sew a sweater with the overlock L 460 and sewing machine, don’t hesitate!
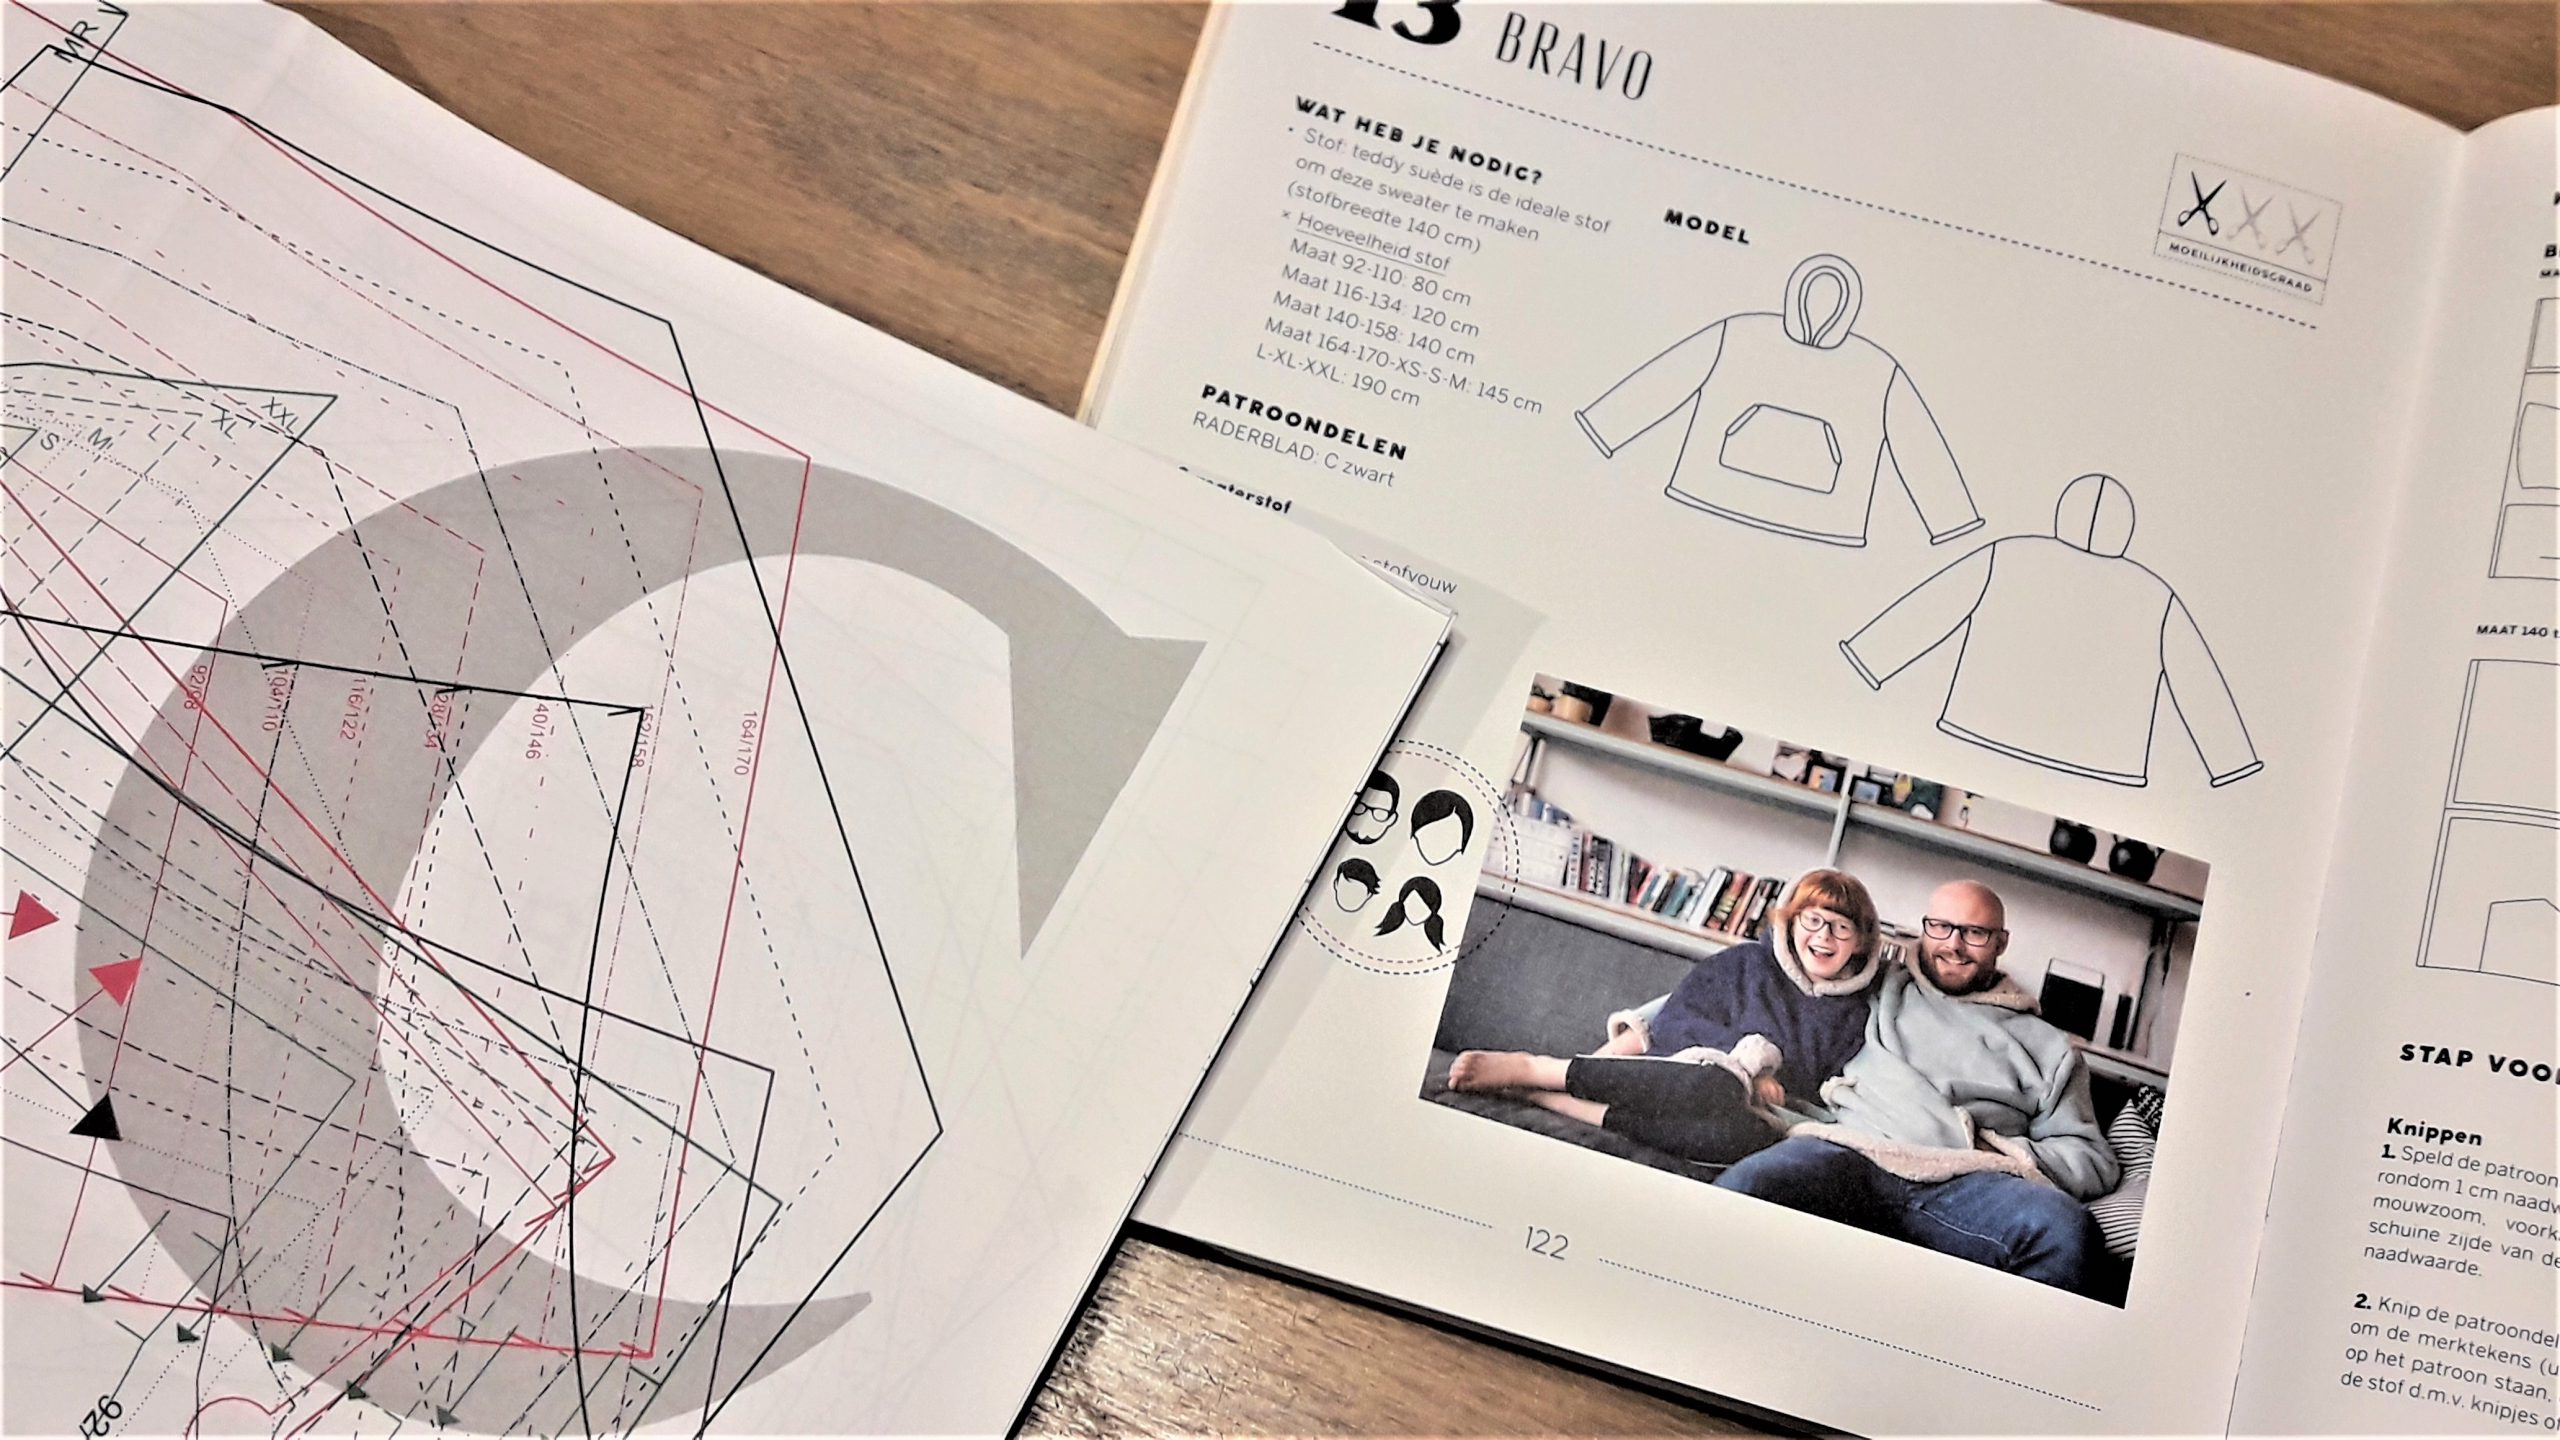
My choice is a warm, cosy, wintermodel.
Always check measurements with your own size. I always need some modifications (extra length in the back, narrow shoulders). Because I want to wear the sweater on top of an other one, so I need to think of some extra volume.
I mentioned that this is a model for beginners. But if you take a double layer of fabric, I wouldn’t recomend it for a beginner. This implementation would be considered ‘experienced’.
What do I need?
- The pattern
- Matching thread Mettler Seralon and Mettler Seralene
- I used the overlock L 460 and the sewing machine BERNINA 710 from the 700 series.
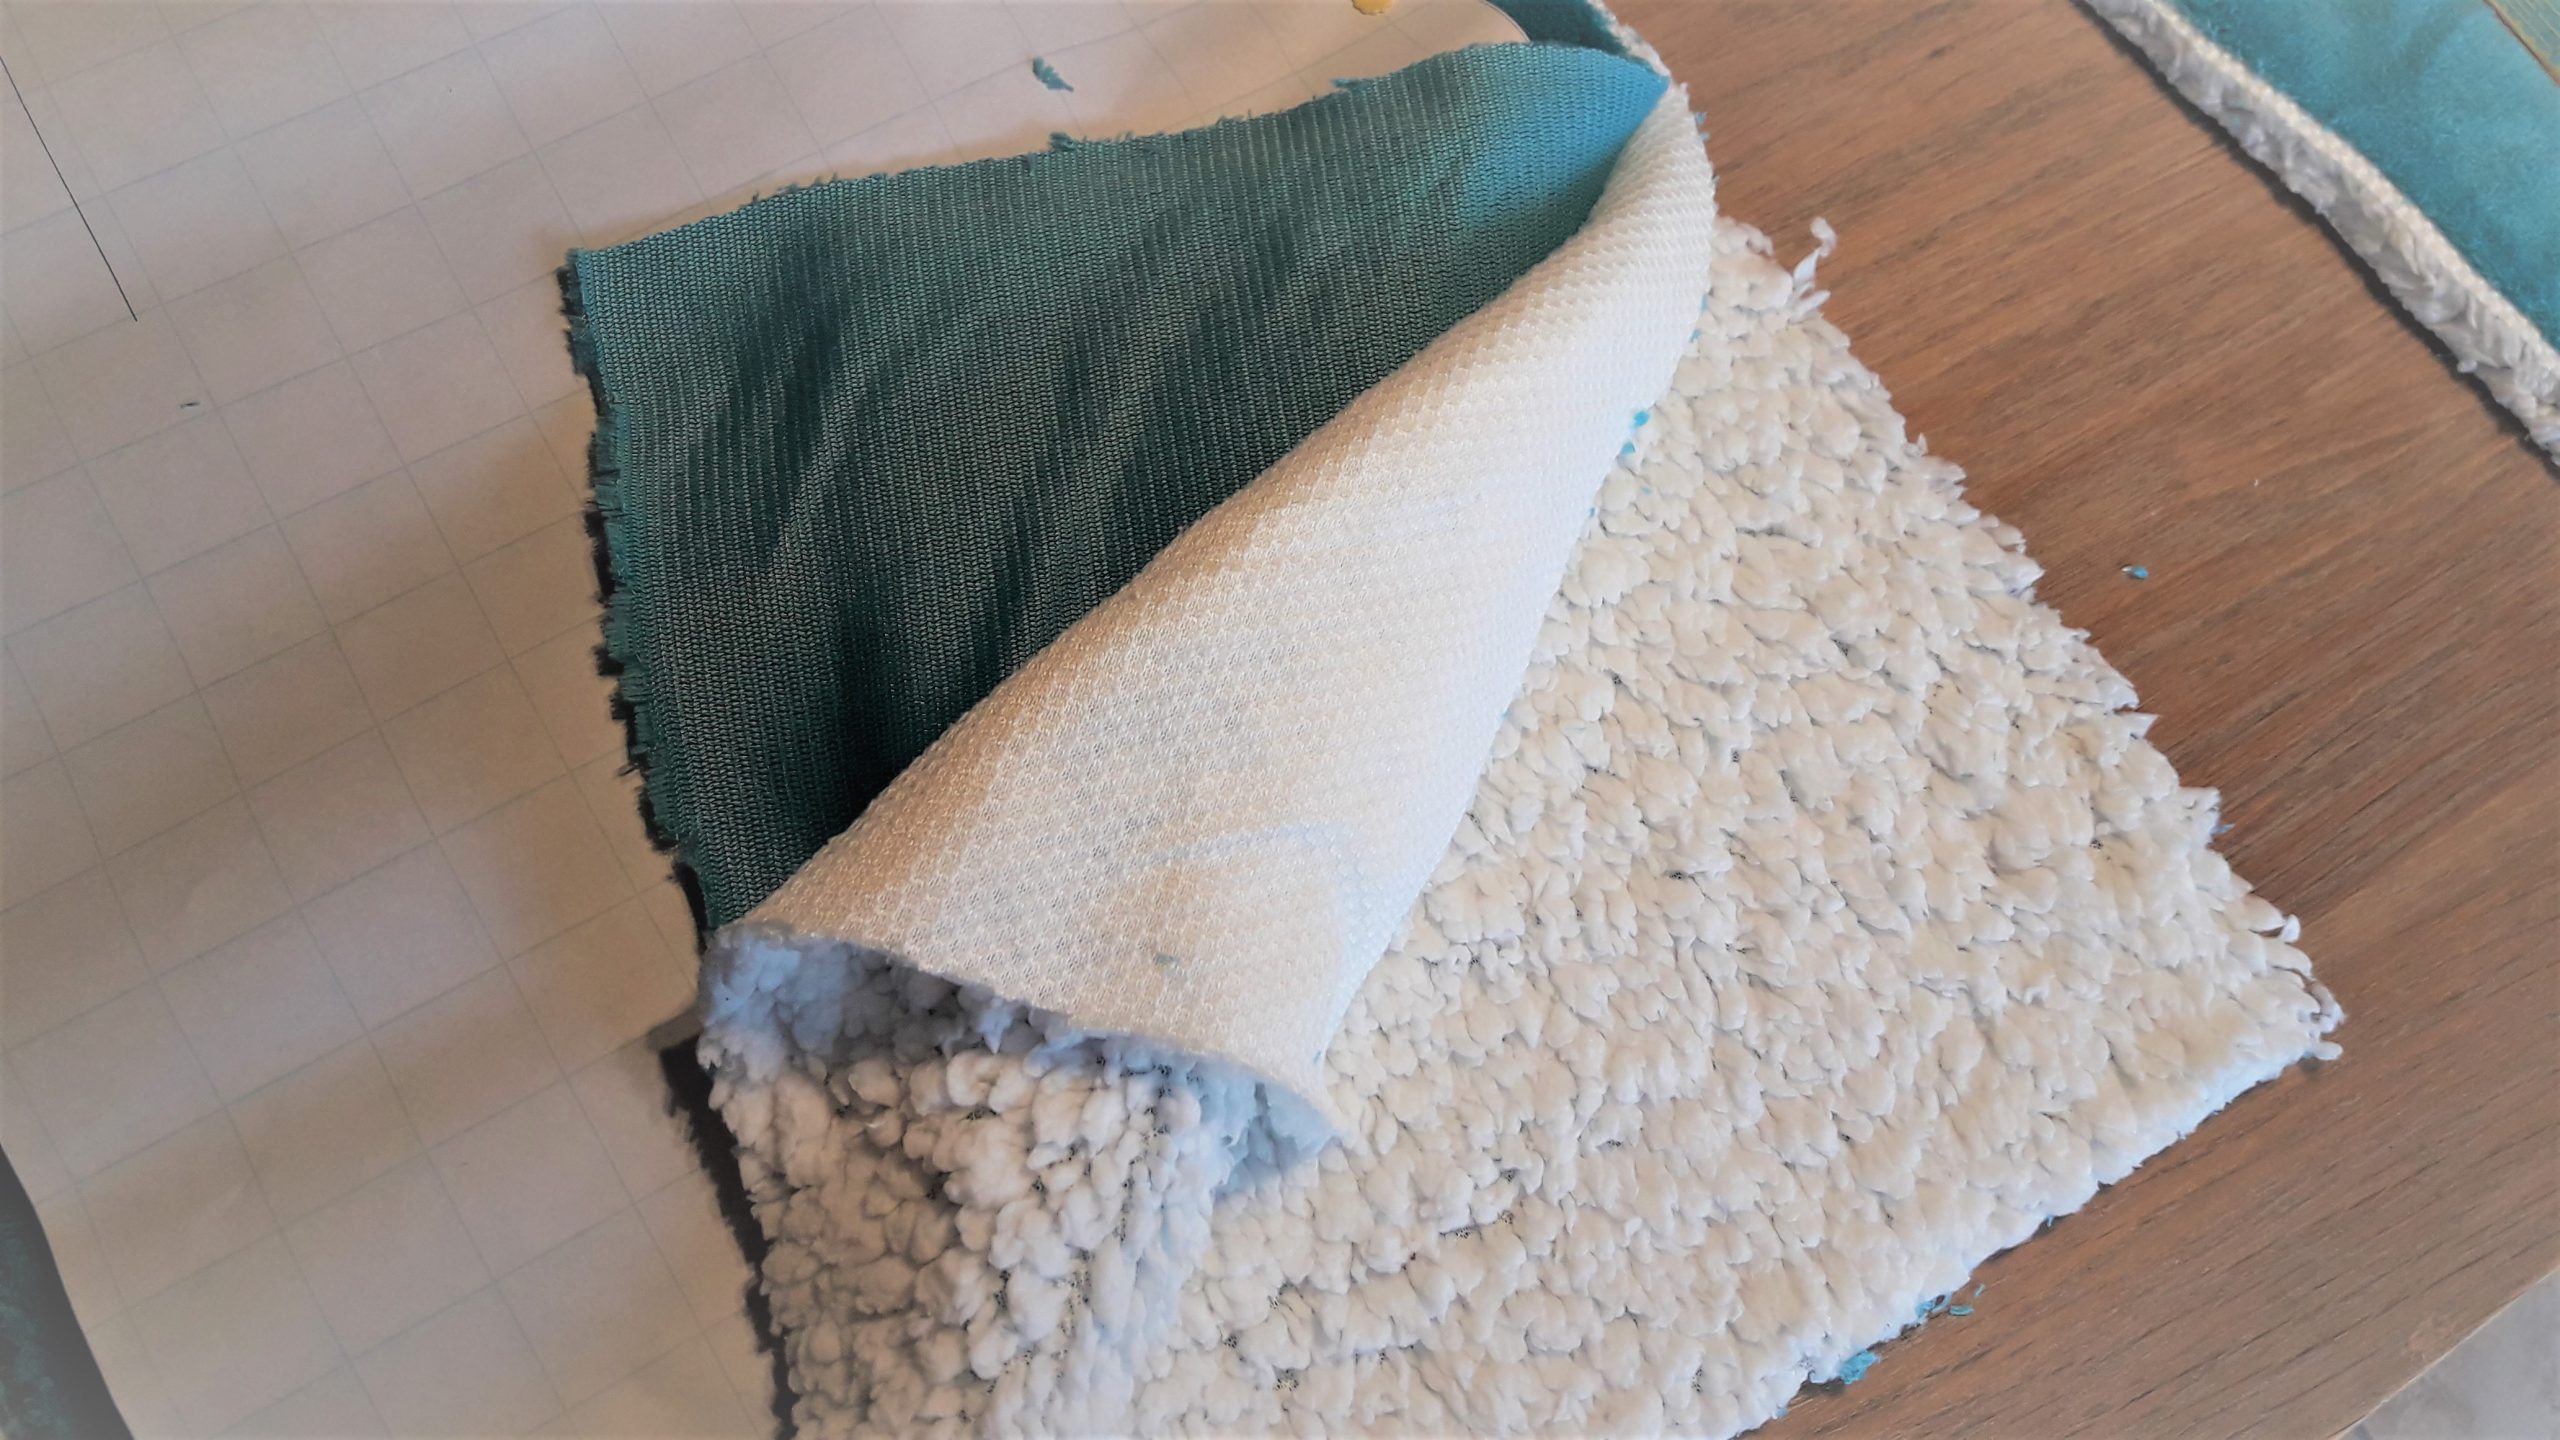
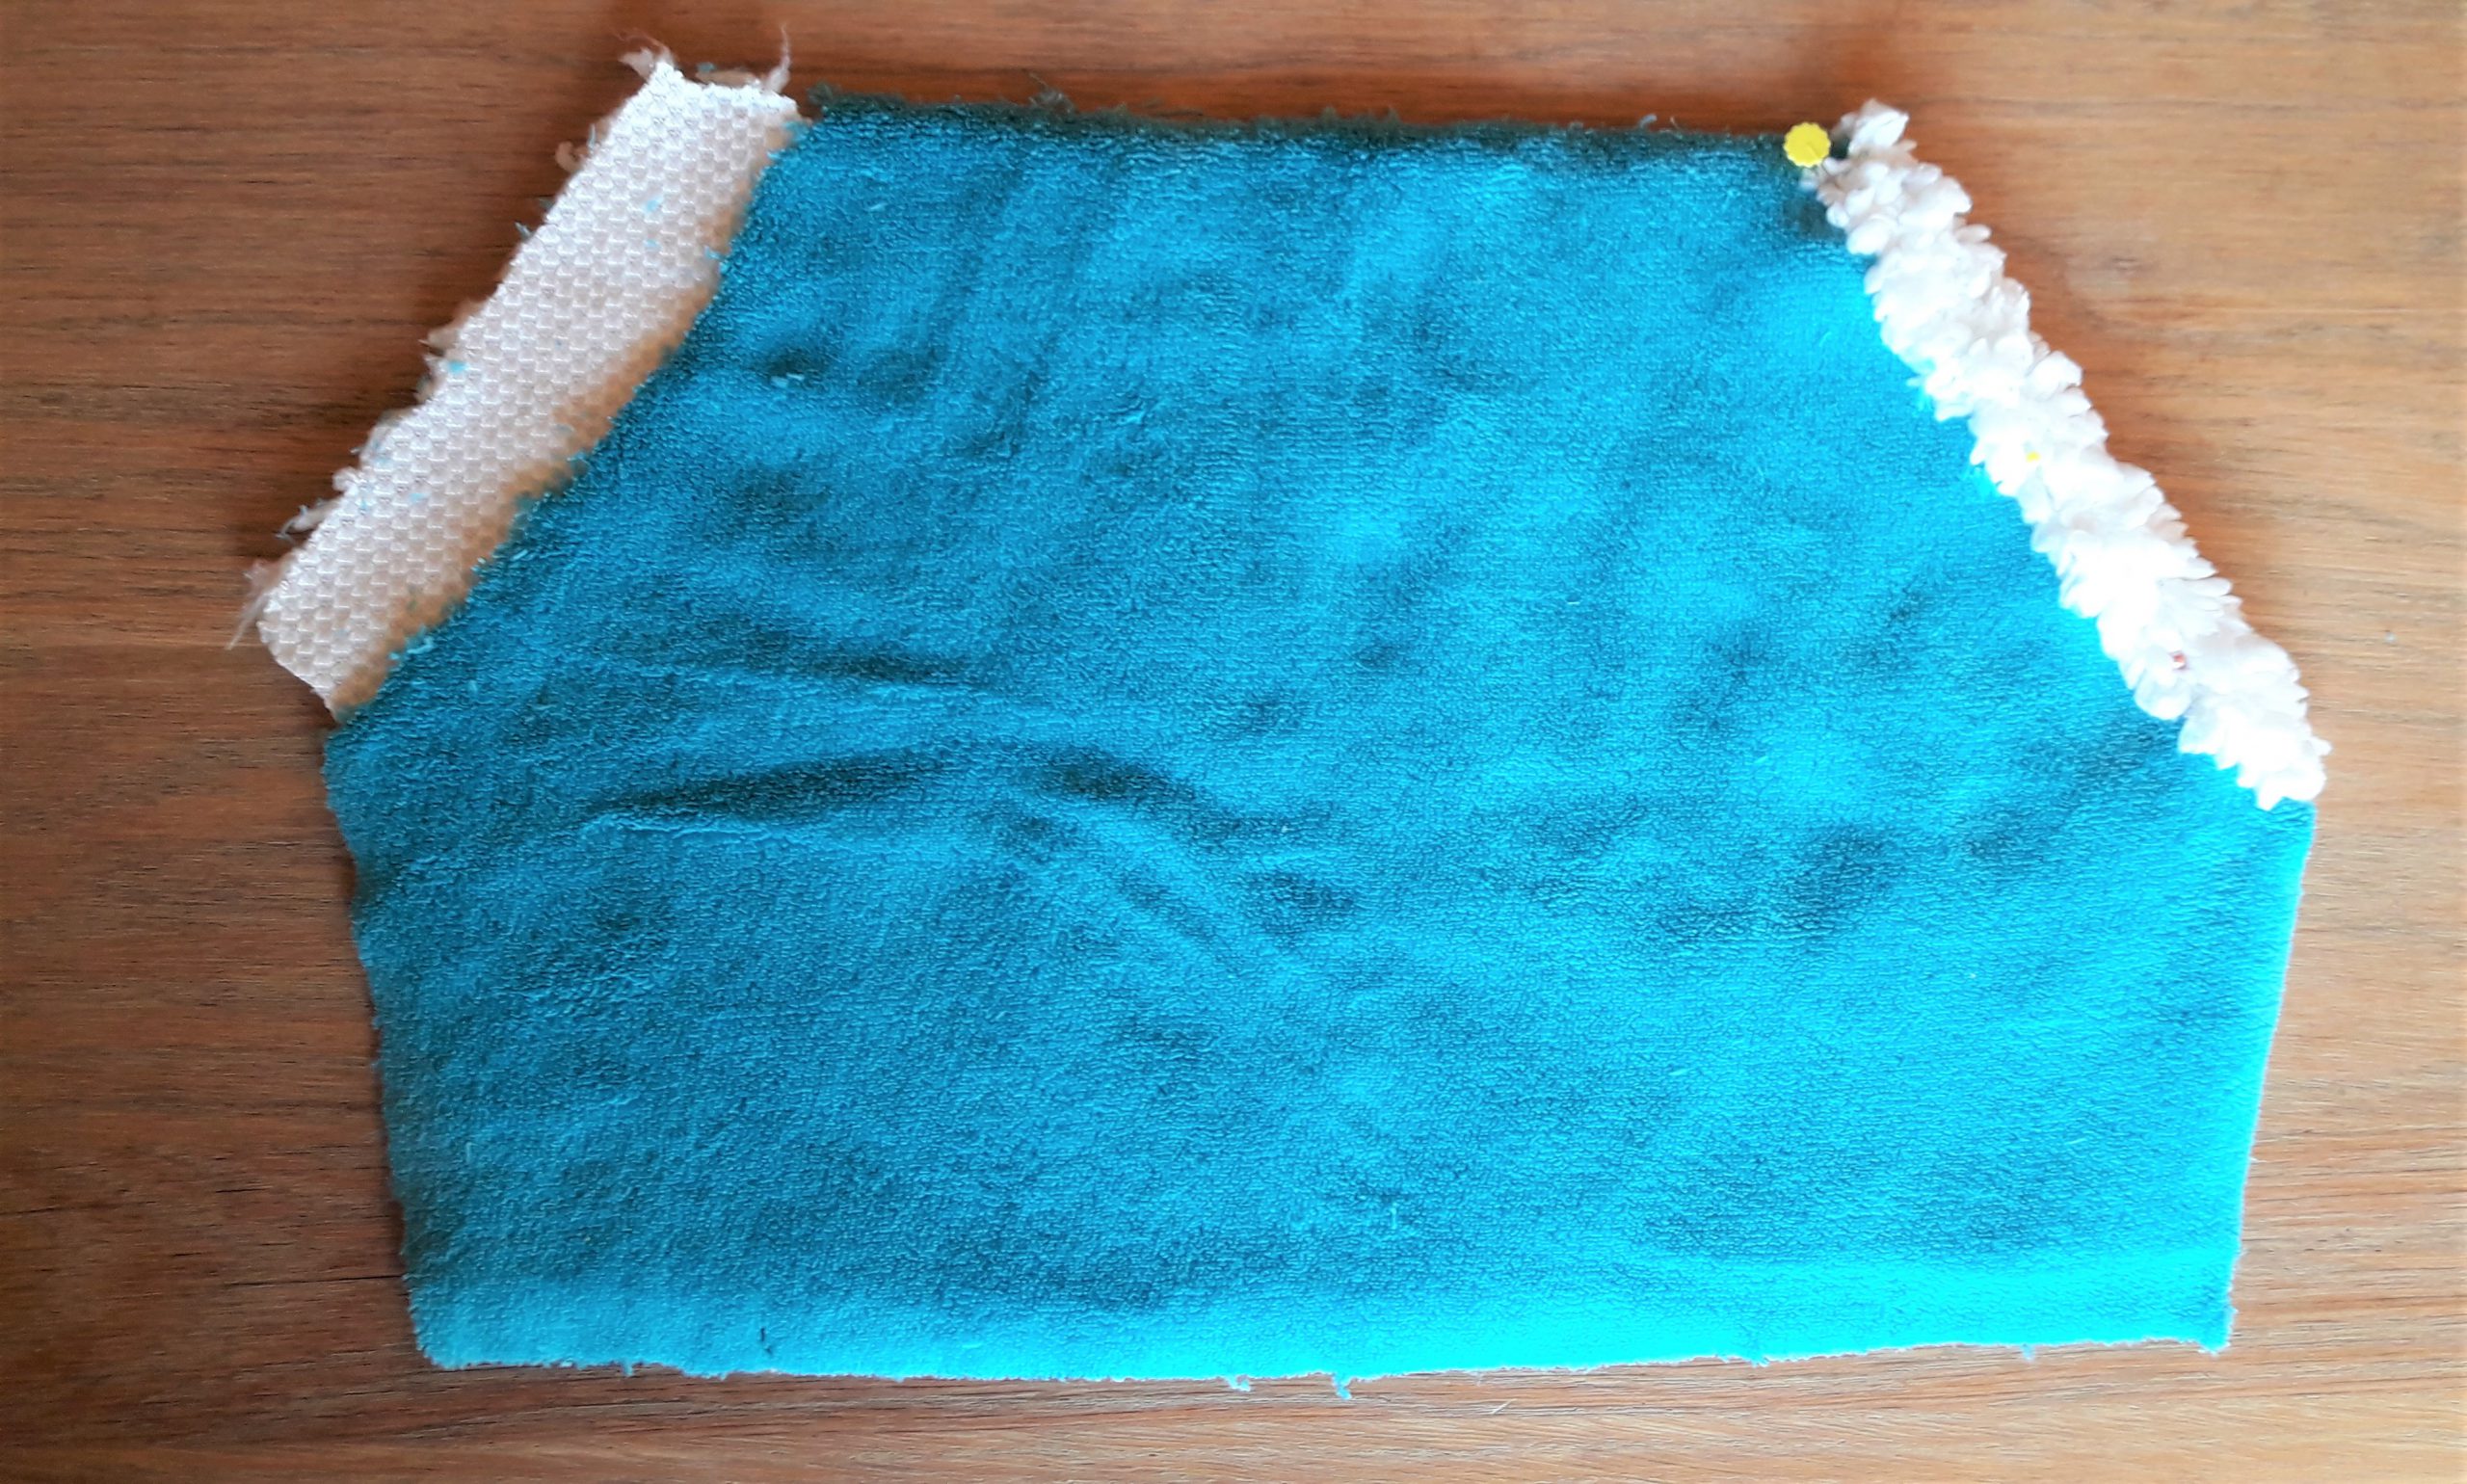
- Stretch fabric, like fleece (I bought a plaid). When I came home, I noticed it was made of two seperate layers. A somehow bigger challenge to make a sweater out of it, but it worked.
- TIP: Check the back side of the fabric. Is it suitable to fold over to the right side? If not, then fold them to the back side.
Preparation:
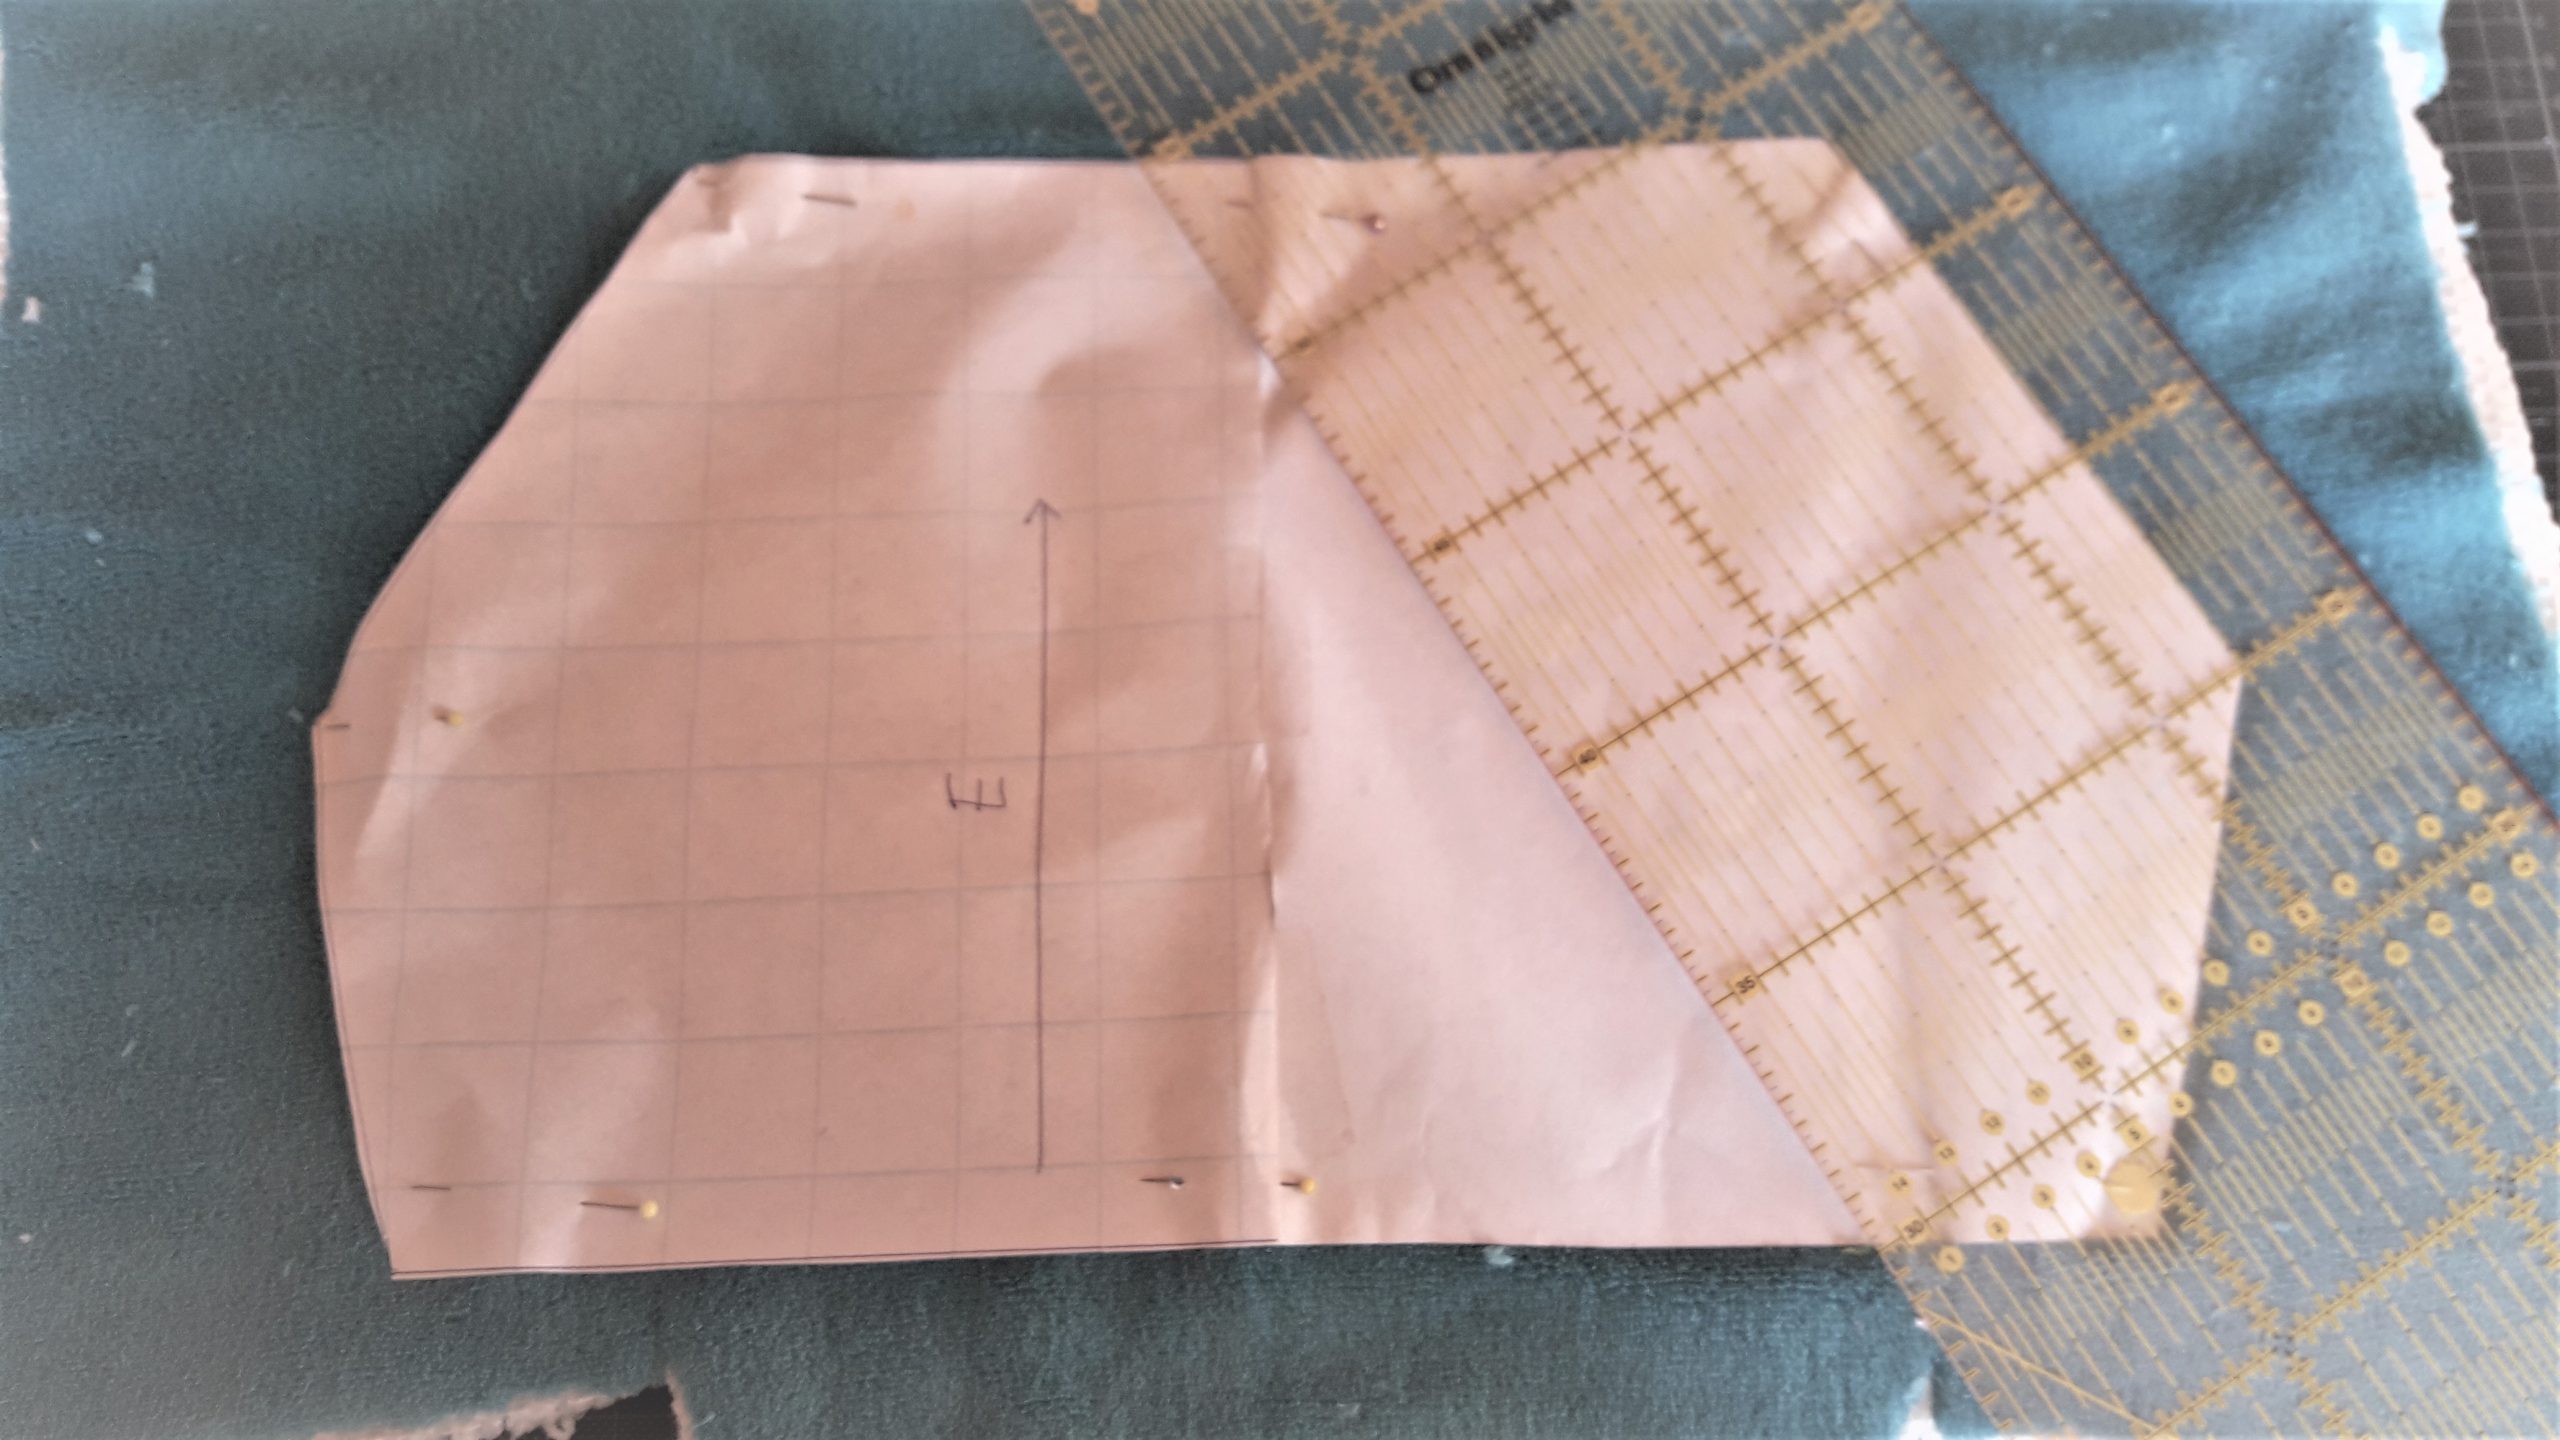
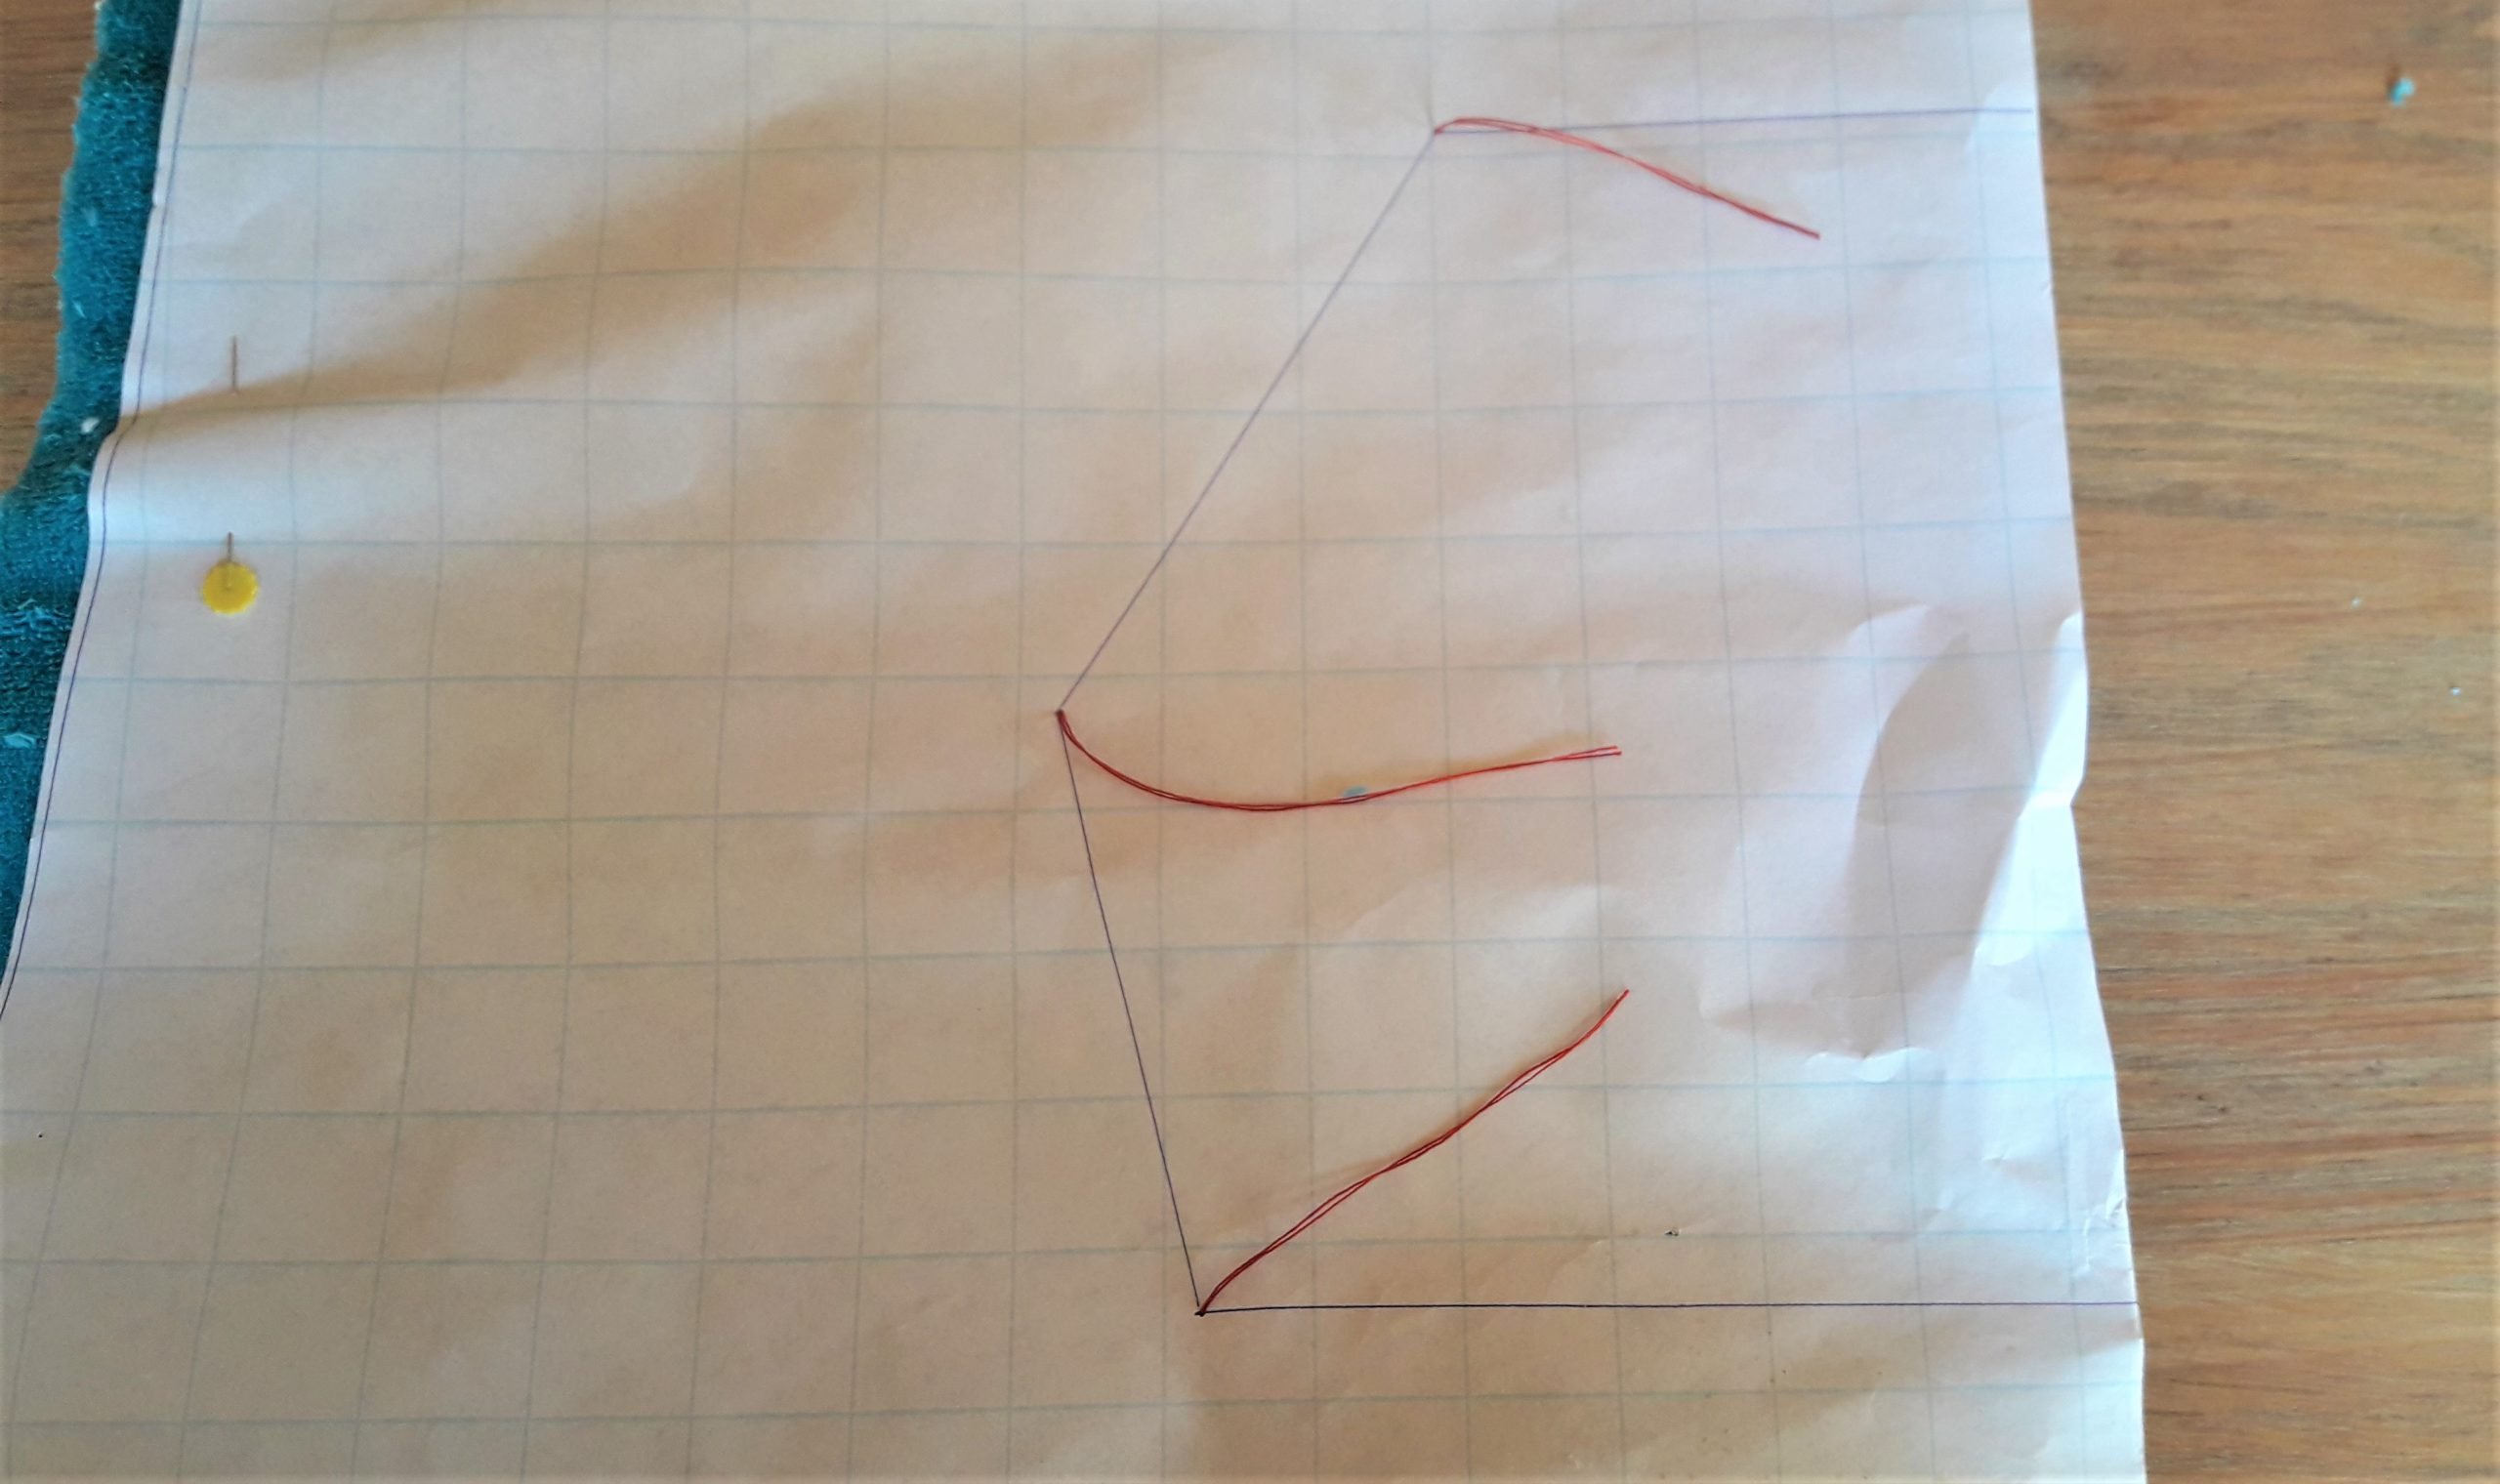
It’s a good idea to read the explanation before starting. At first I marked the pattern pieces on the right page.
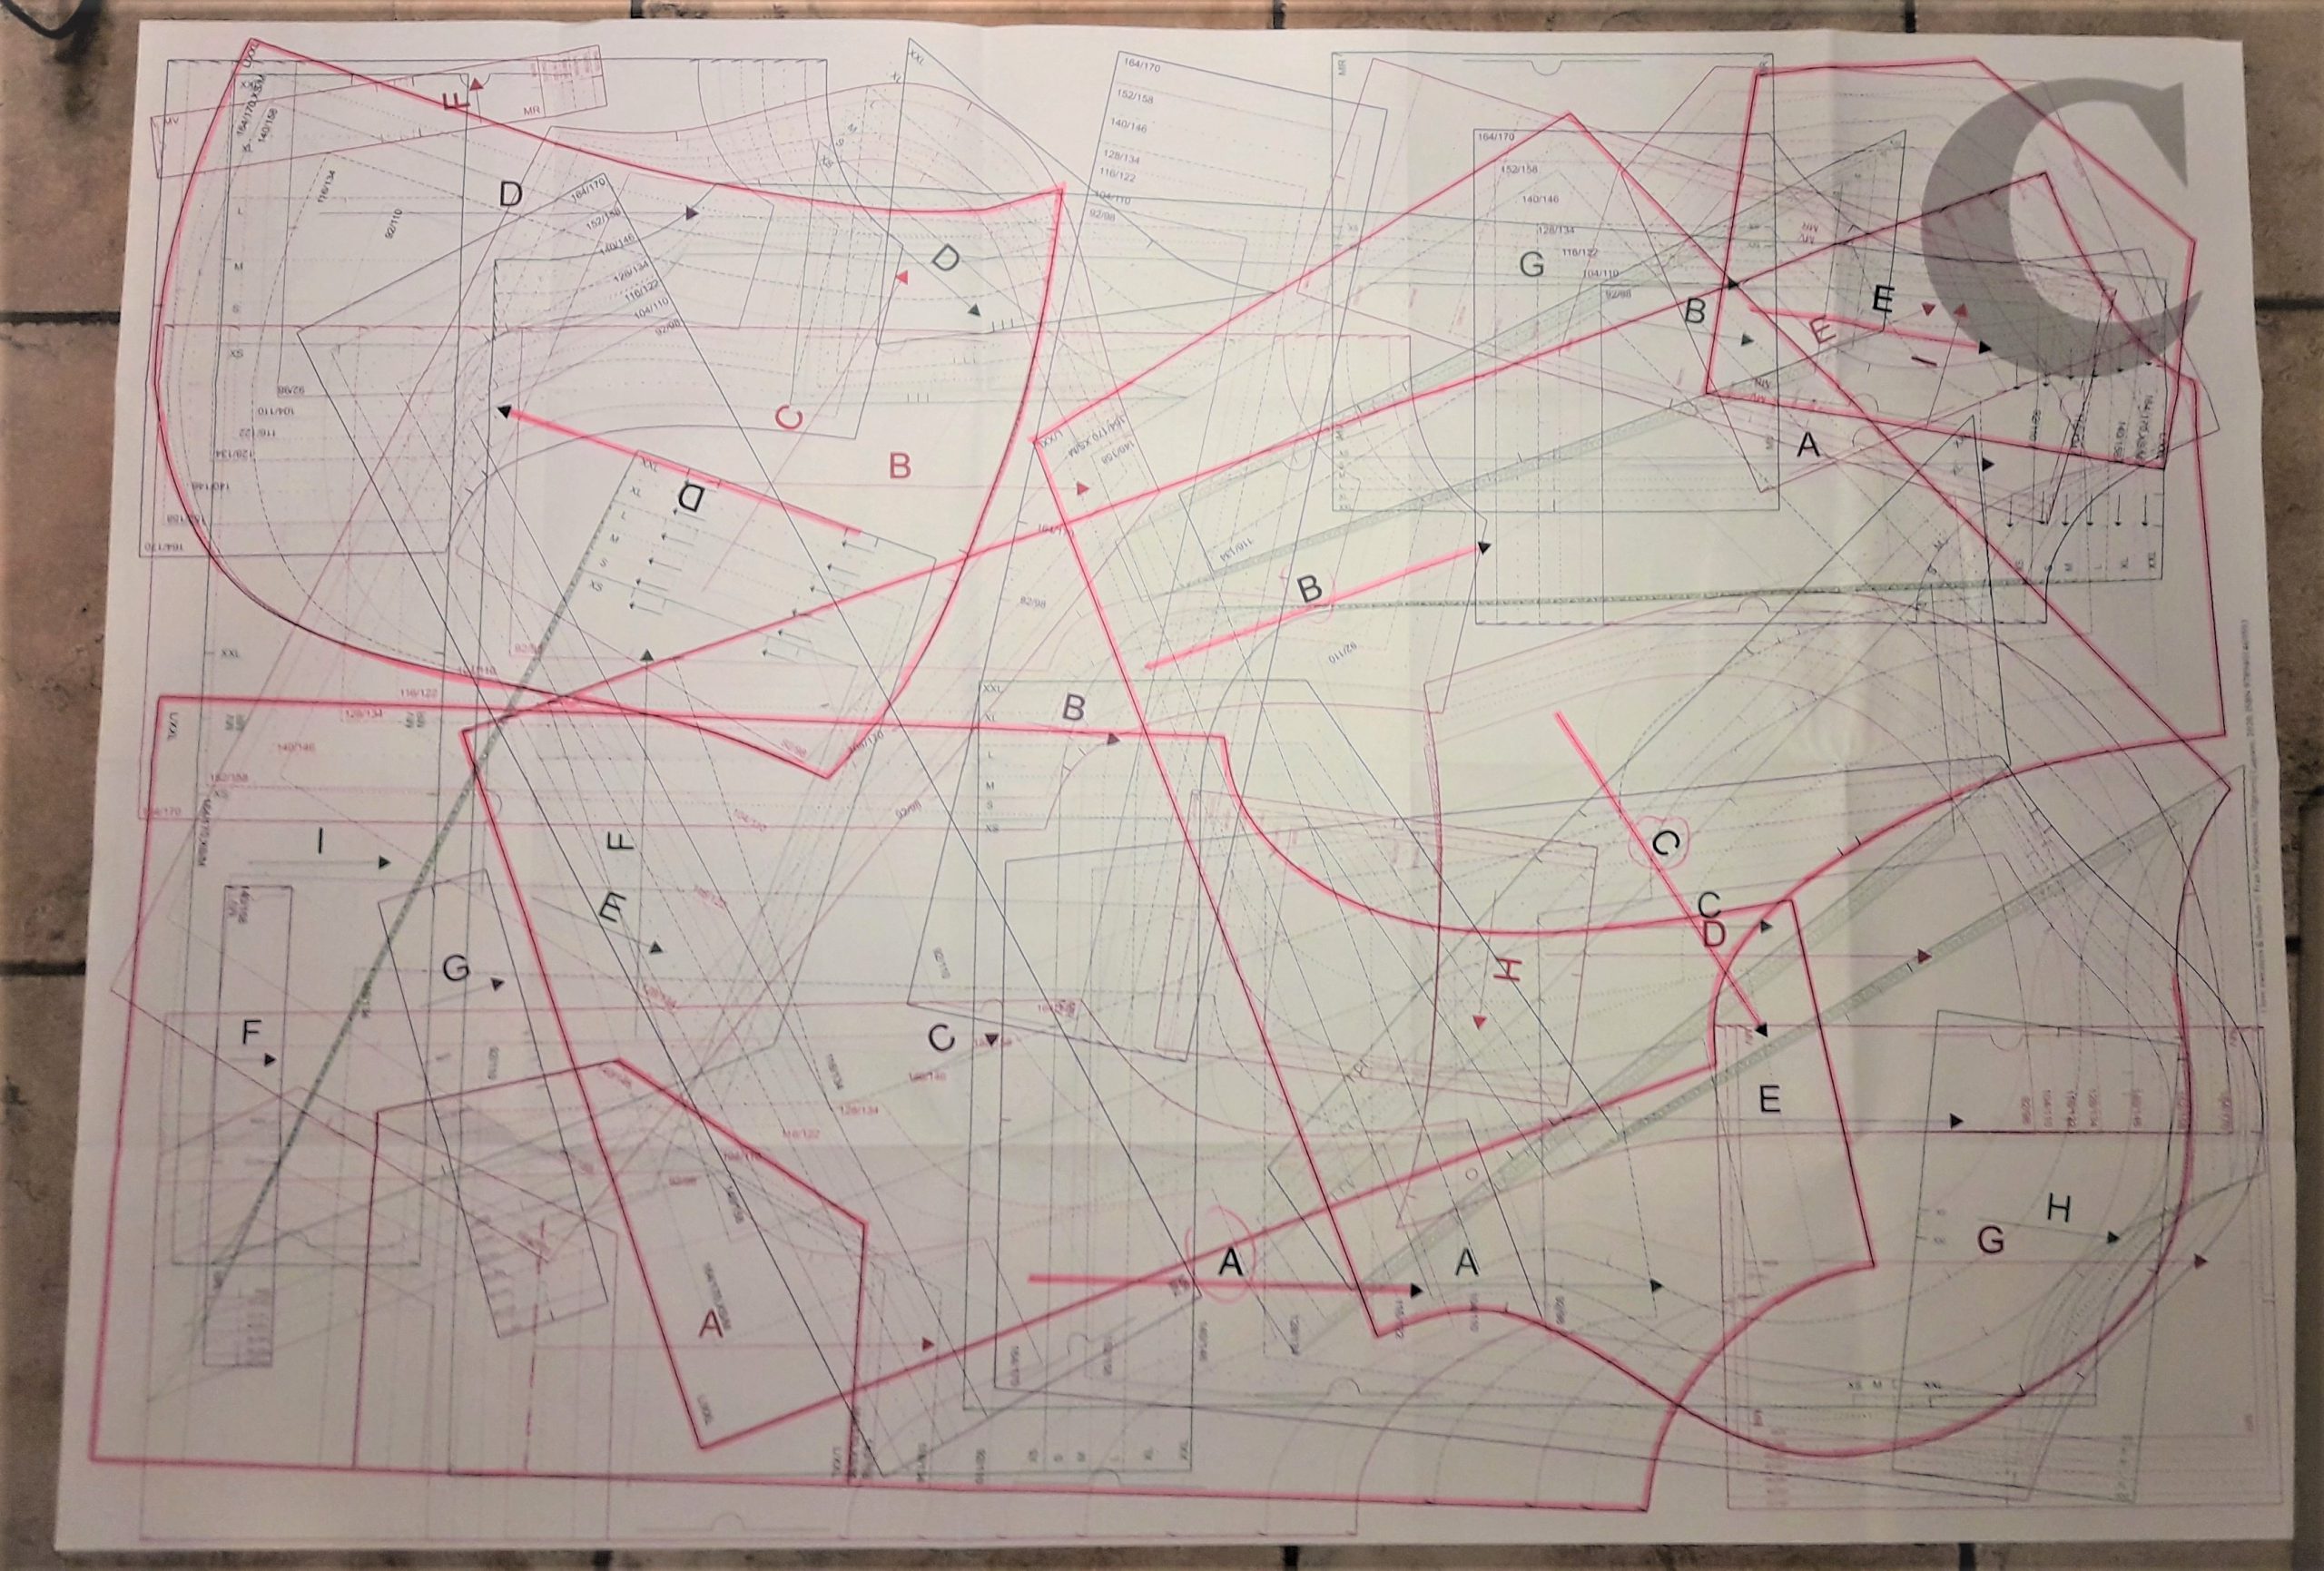
Now trace them on pattern paper and cut them out:

Let’s start:
I want to finish the seams on the overlocker L 460. With a 9mm stitch width, it works well. I diminished the stitch length a little, for nice seams.
These are the steps:
The fabric is so fluffy and dusty (2 layers!), I cut a 2 cm seam allowance, meant to cut away 1 cm with the overlock.
I took a rotary cutter to cut the pocket.
I used basting thread for the marks. They go through both layers (take them long enough) and you cut them in between both fabric layers.
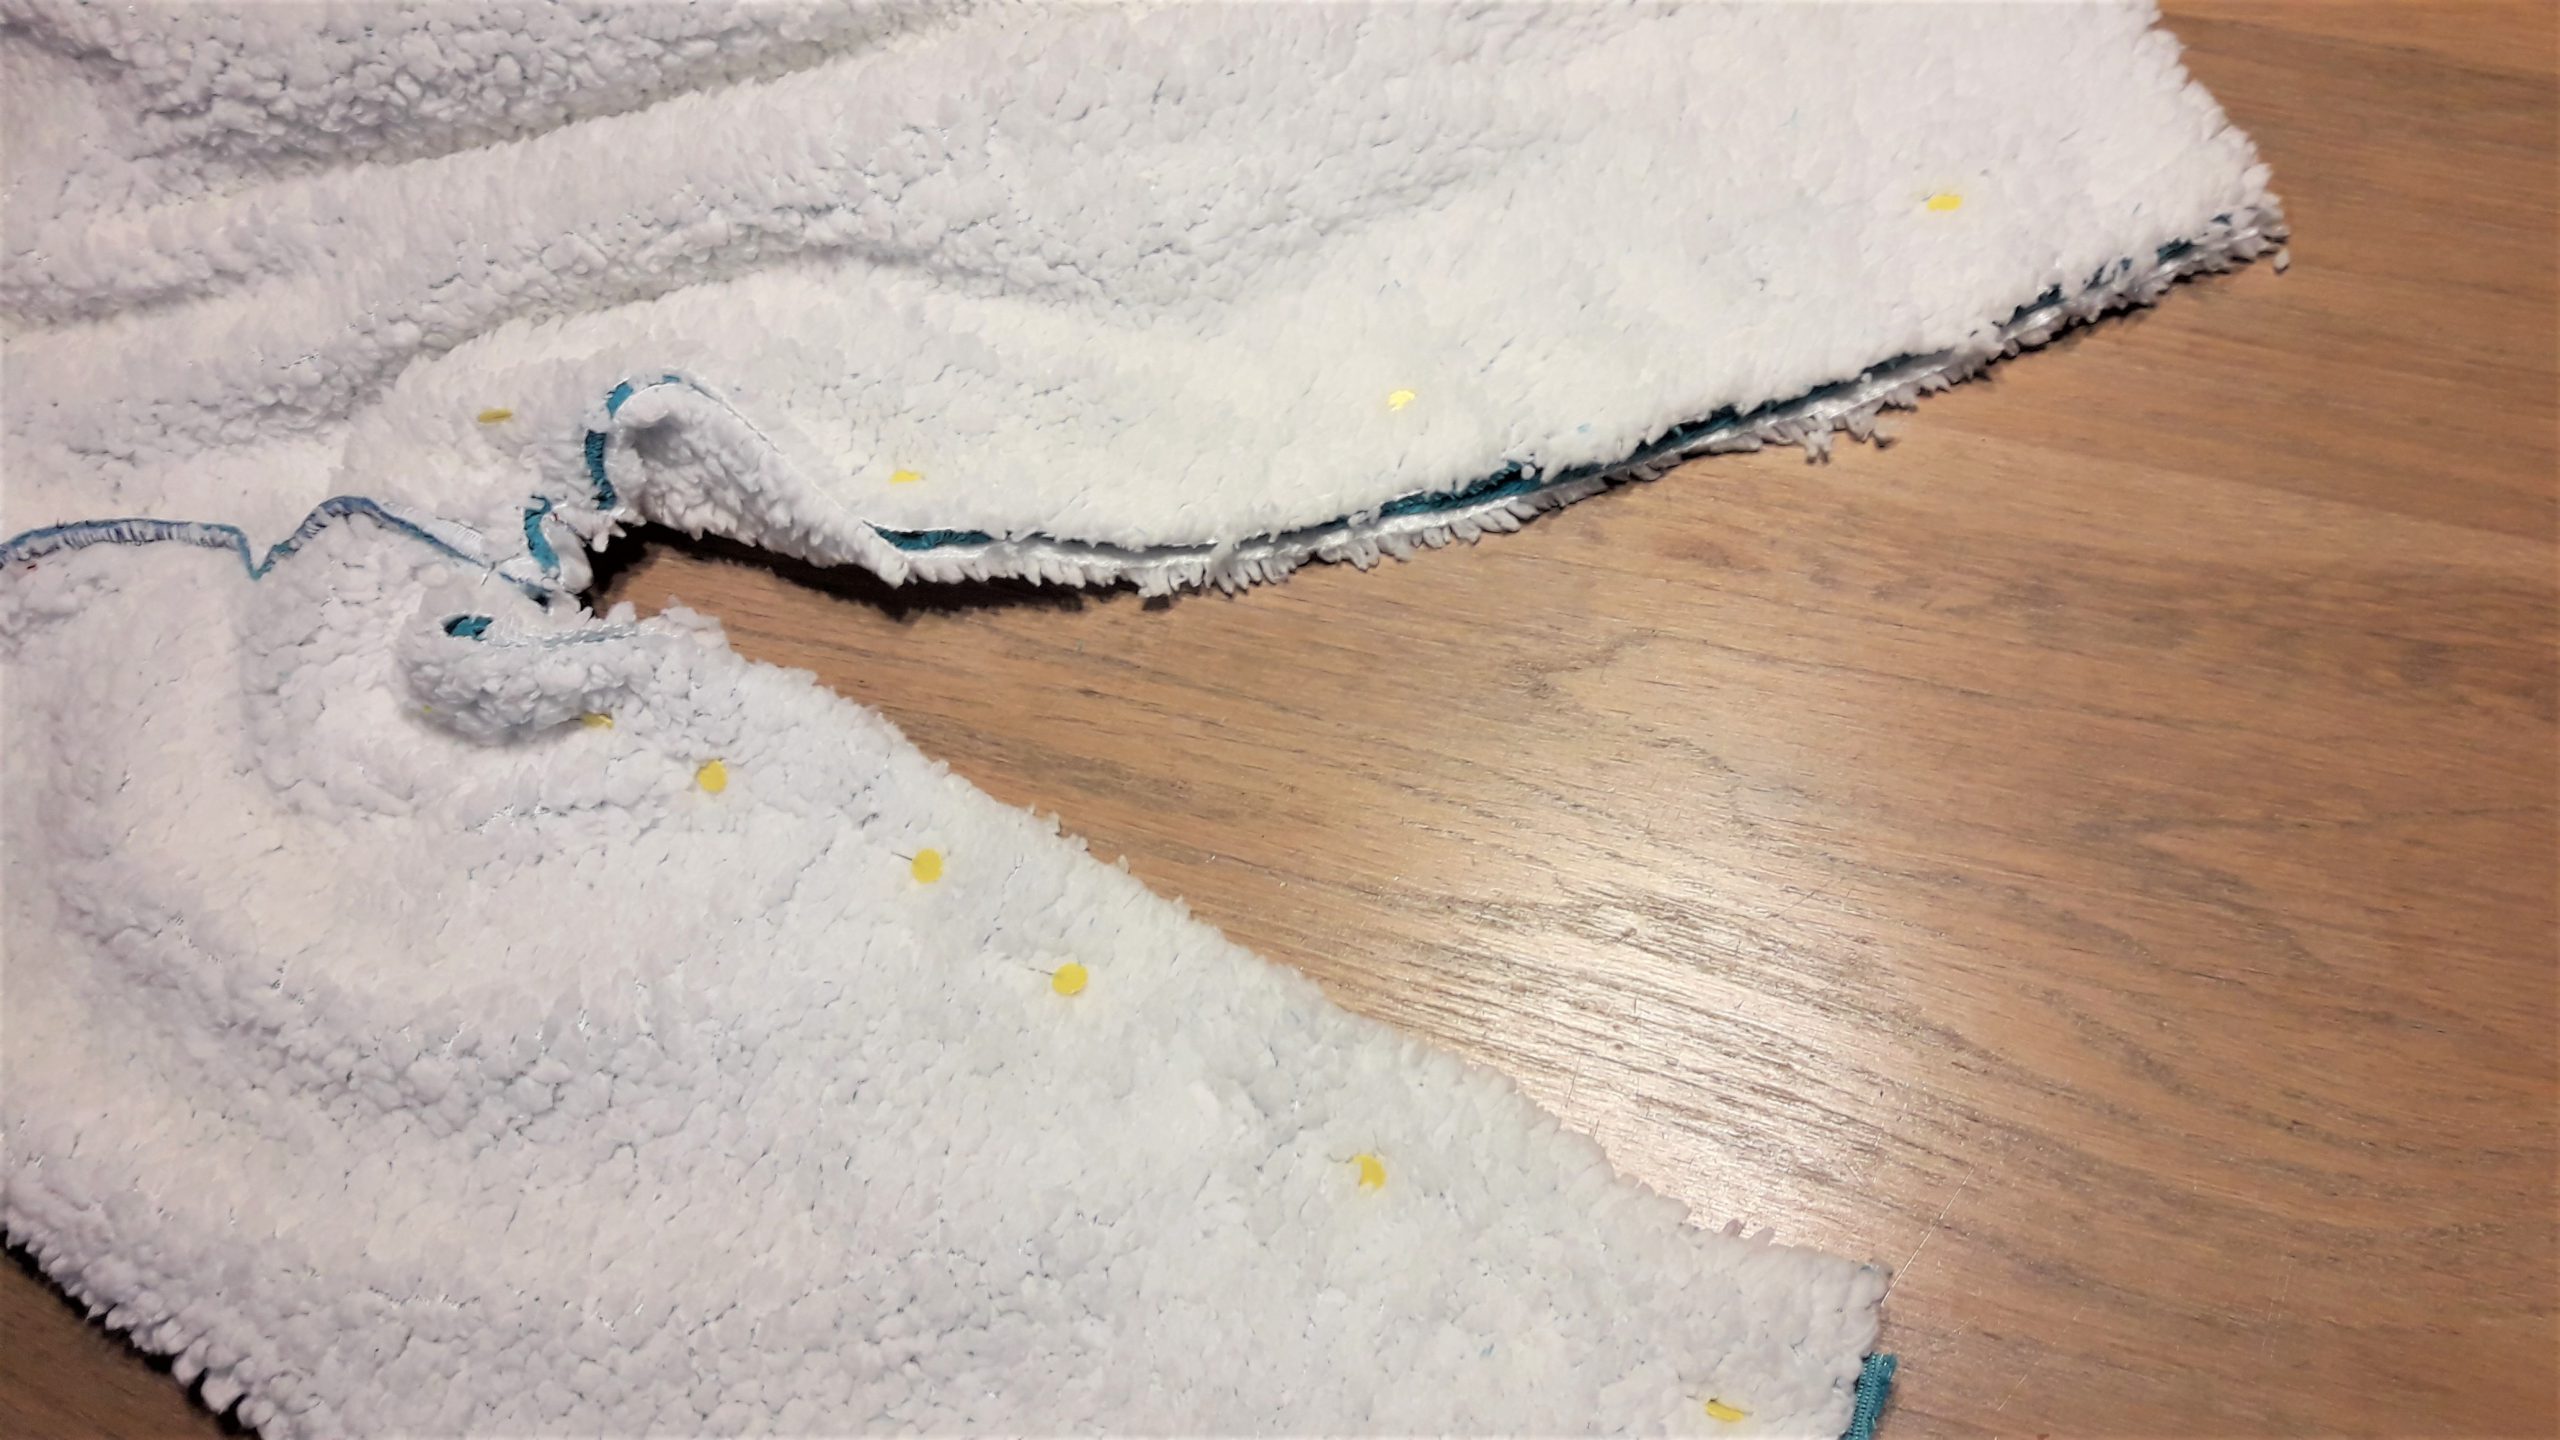
Start with the pocket:
For the opening of the pocket, I fold the white fabric to the right side.
Then I fold the seams to the back.
I pinned the pocket to the front panel and sewed it. I used a double stitch line to be sure both layers of fabric would be stitched. The edgefoot nr 10 was ideal for the job.

Sewing front and back panel together, then continue with the shoulder seams:

I toptstiched on the right side (folding the shoulder seams to the back).
Adding the sleeves to the sweater:
The back part of the sleeve is marked with a double sign.
 I overlock this seam.
Sewing the side seams.
In one stitching, sideseams are stitched and sleeves are closed..
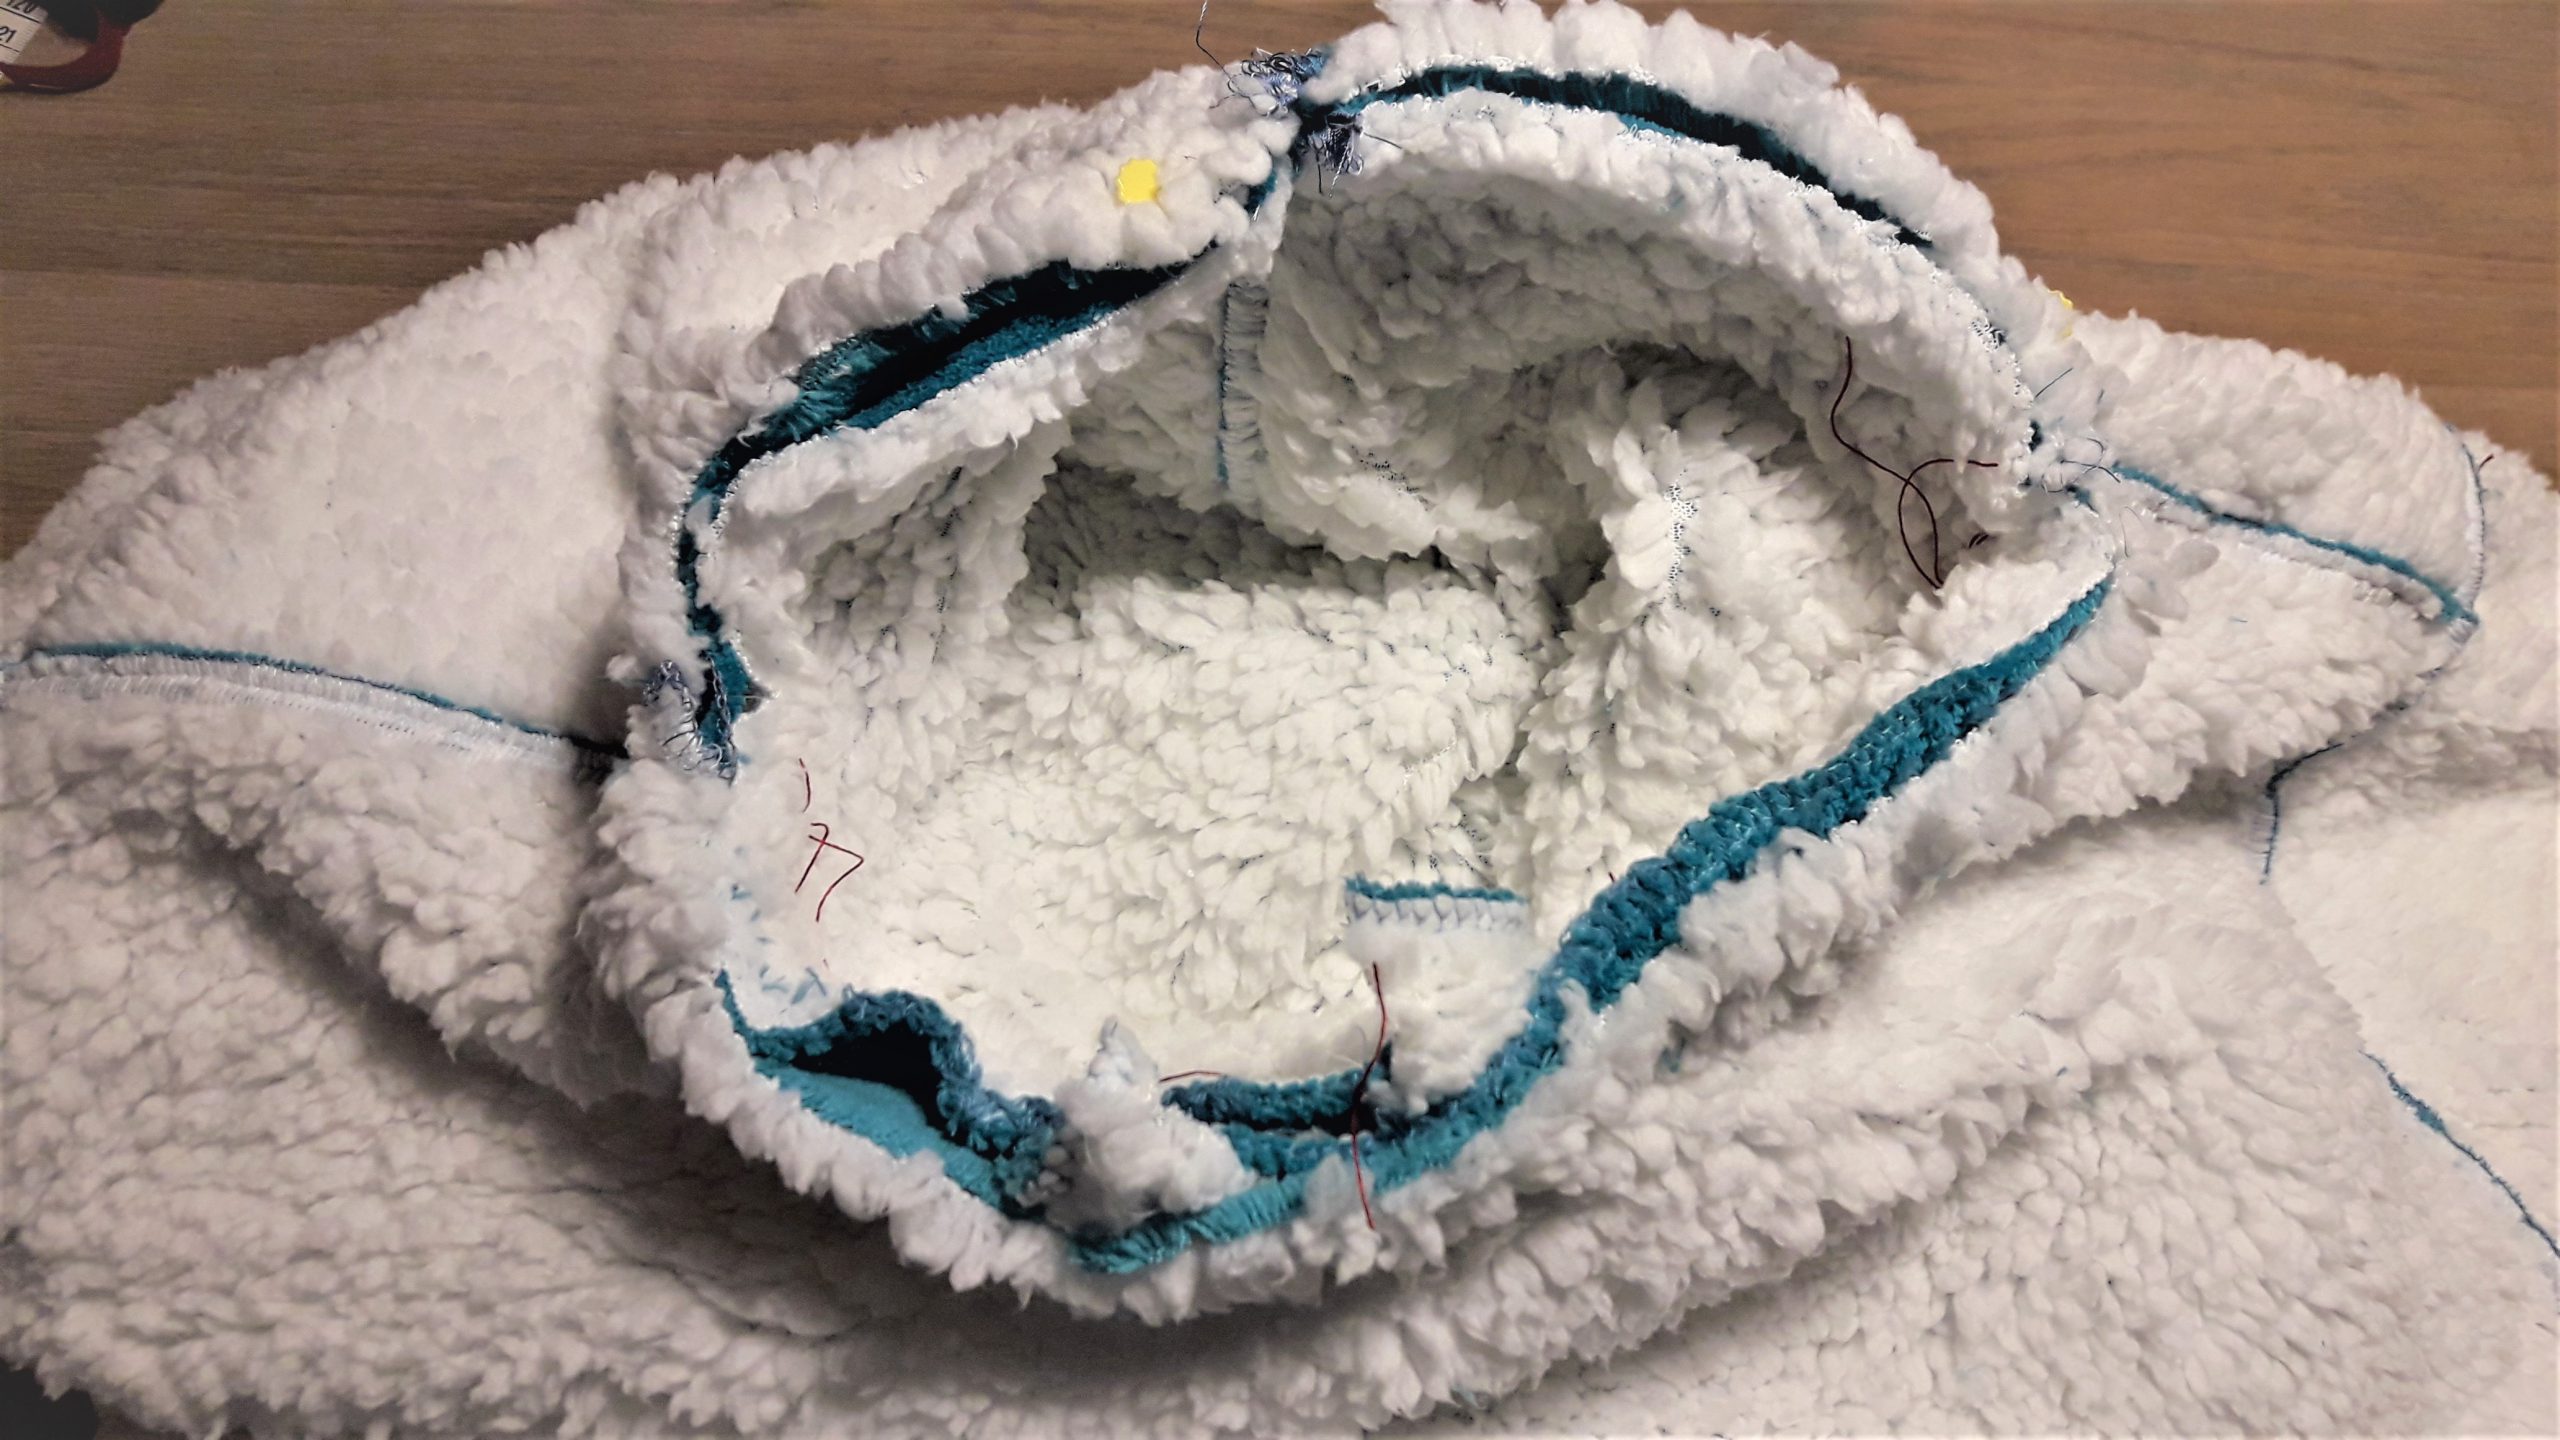
And the hood:
The long, curved seam is to be stitched first. I topstitch to have a nice flat seam.
Again, I use the edgefoot nr 10, with needle position -4:
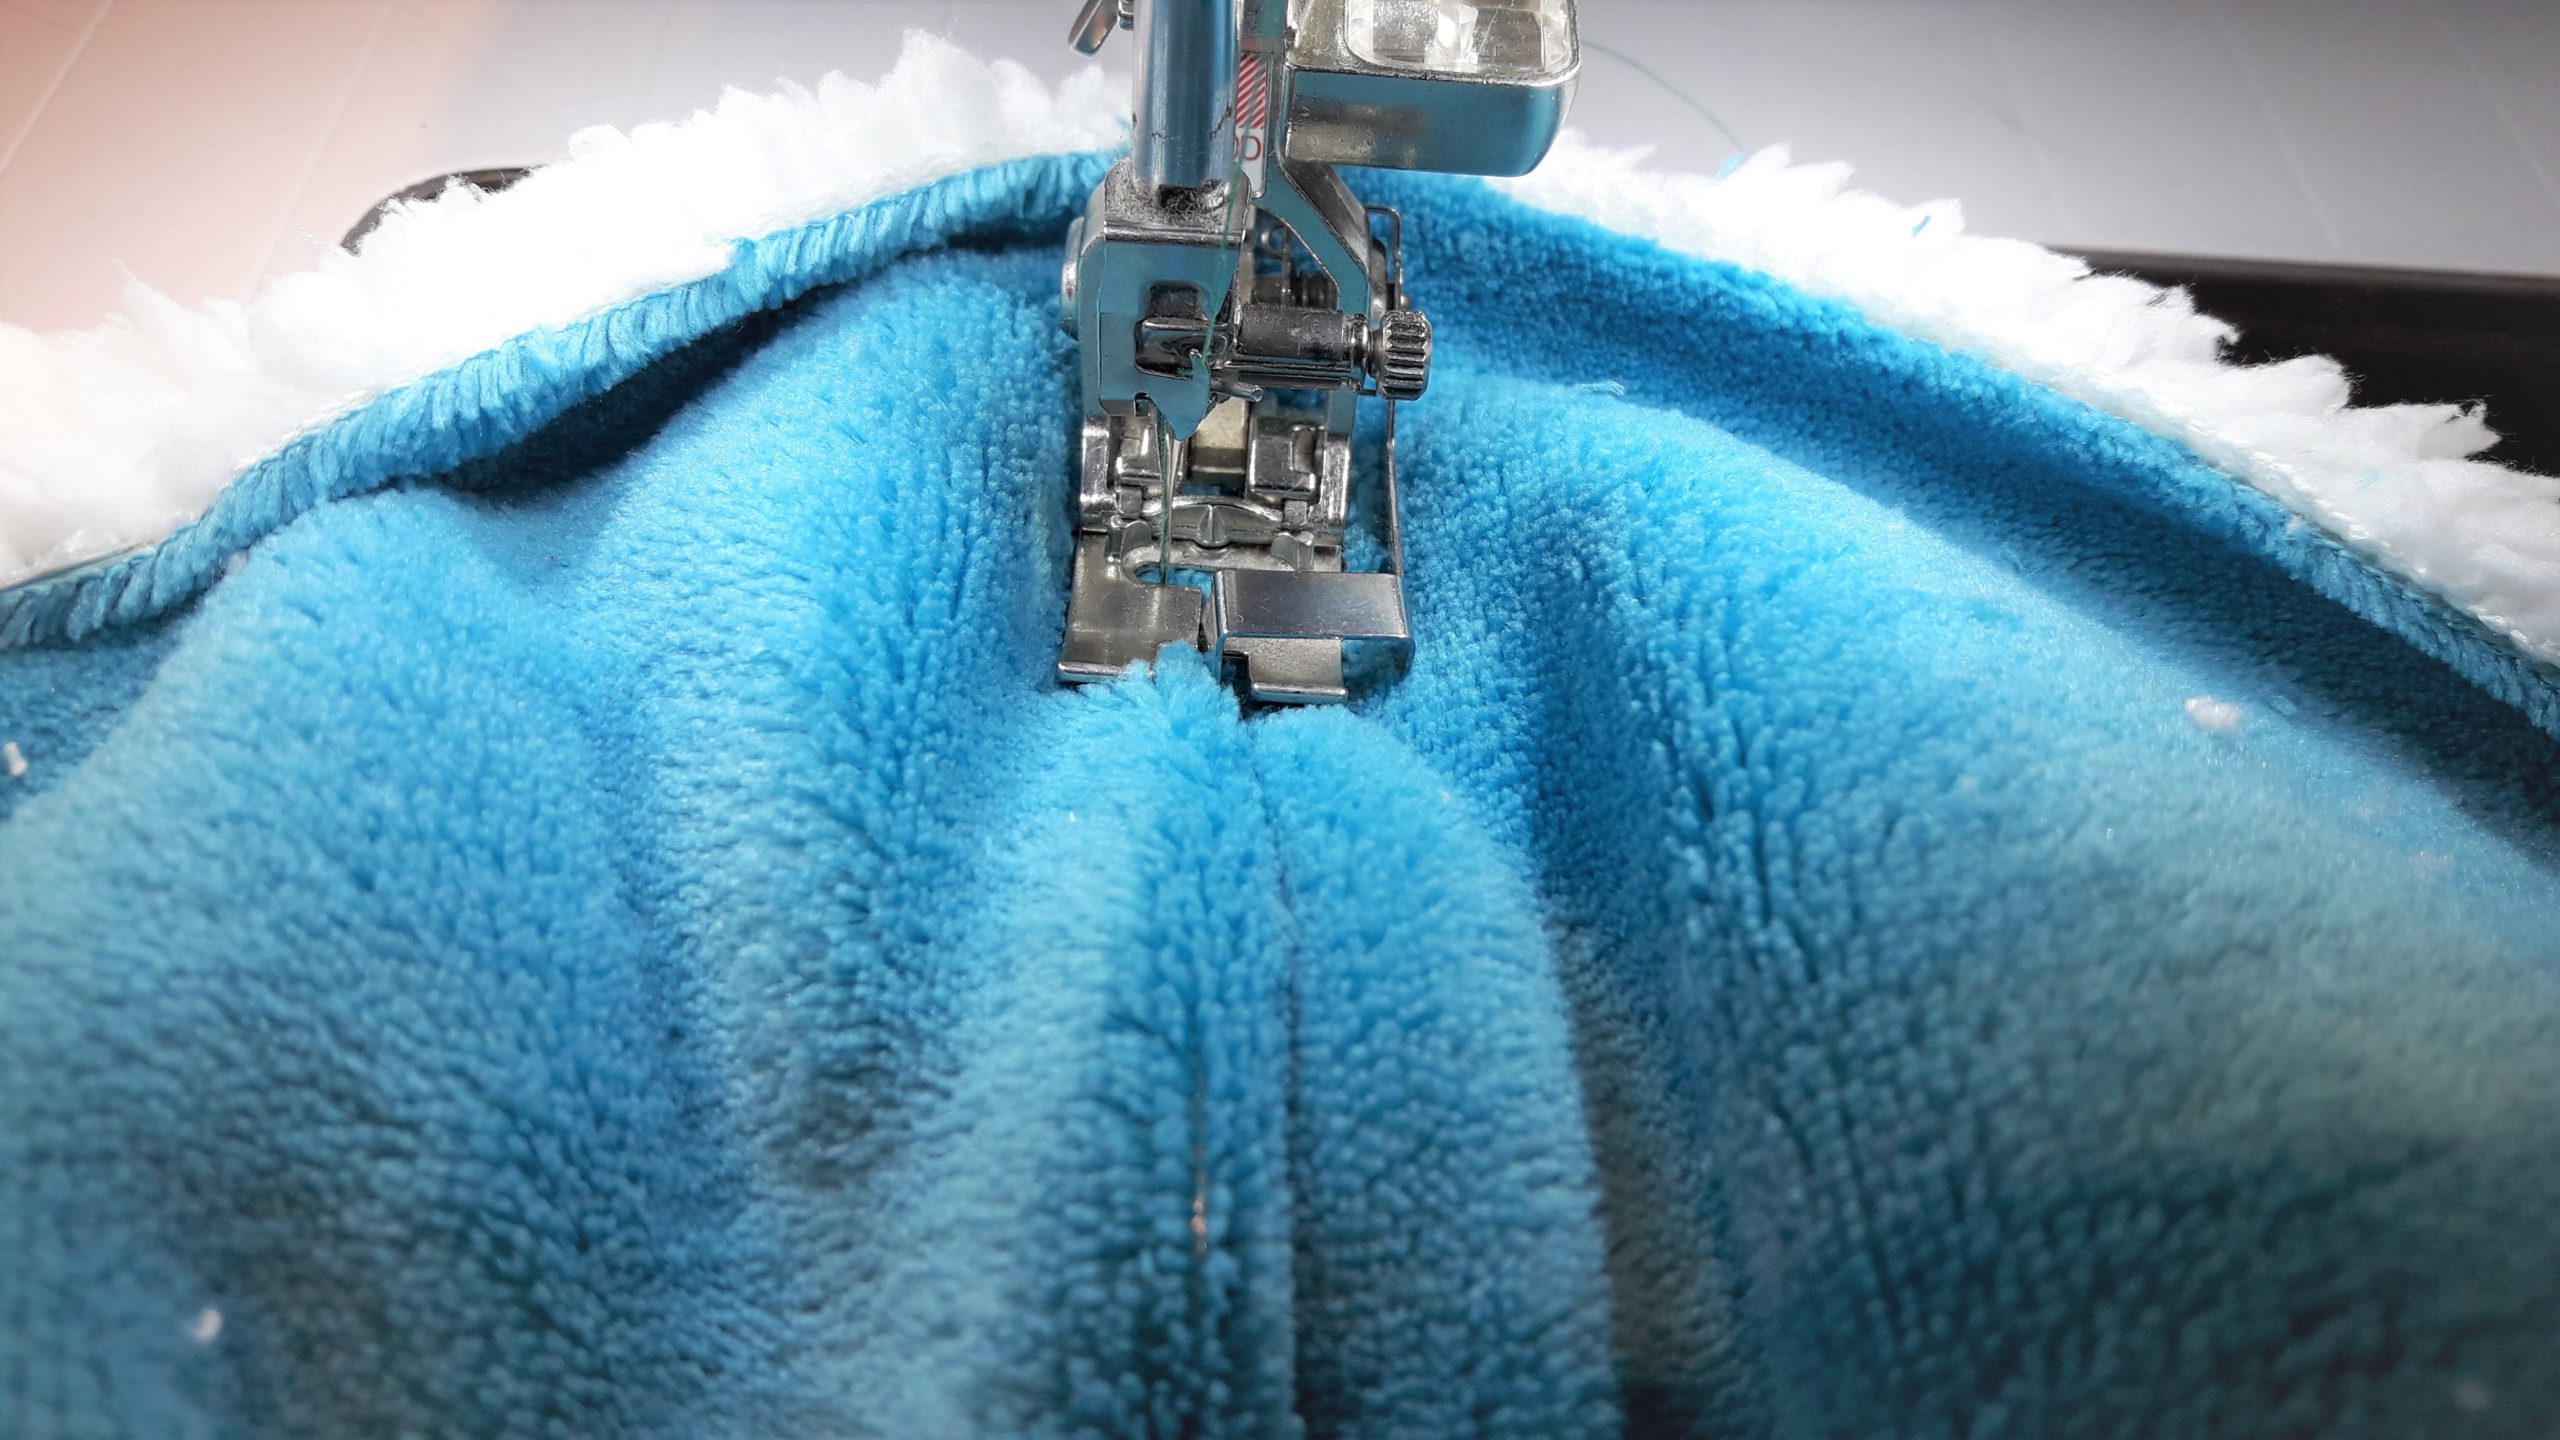
Next thing is to fold the border over to the right side of the hood. I sew them to the hood with a 5 mm zigzag stitch.
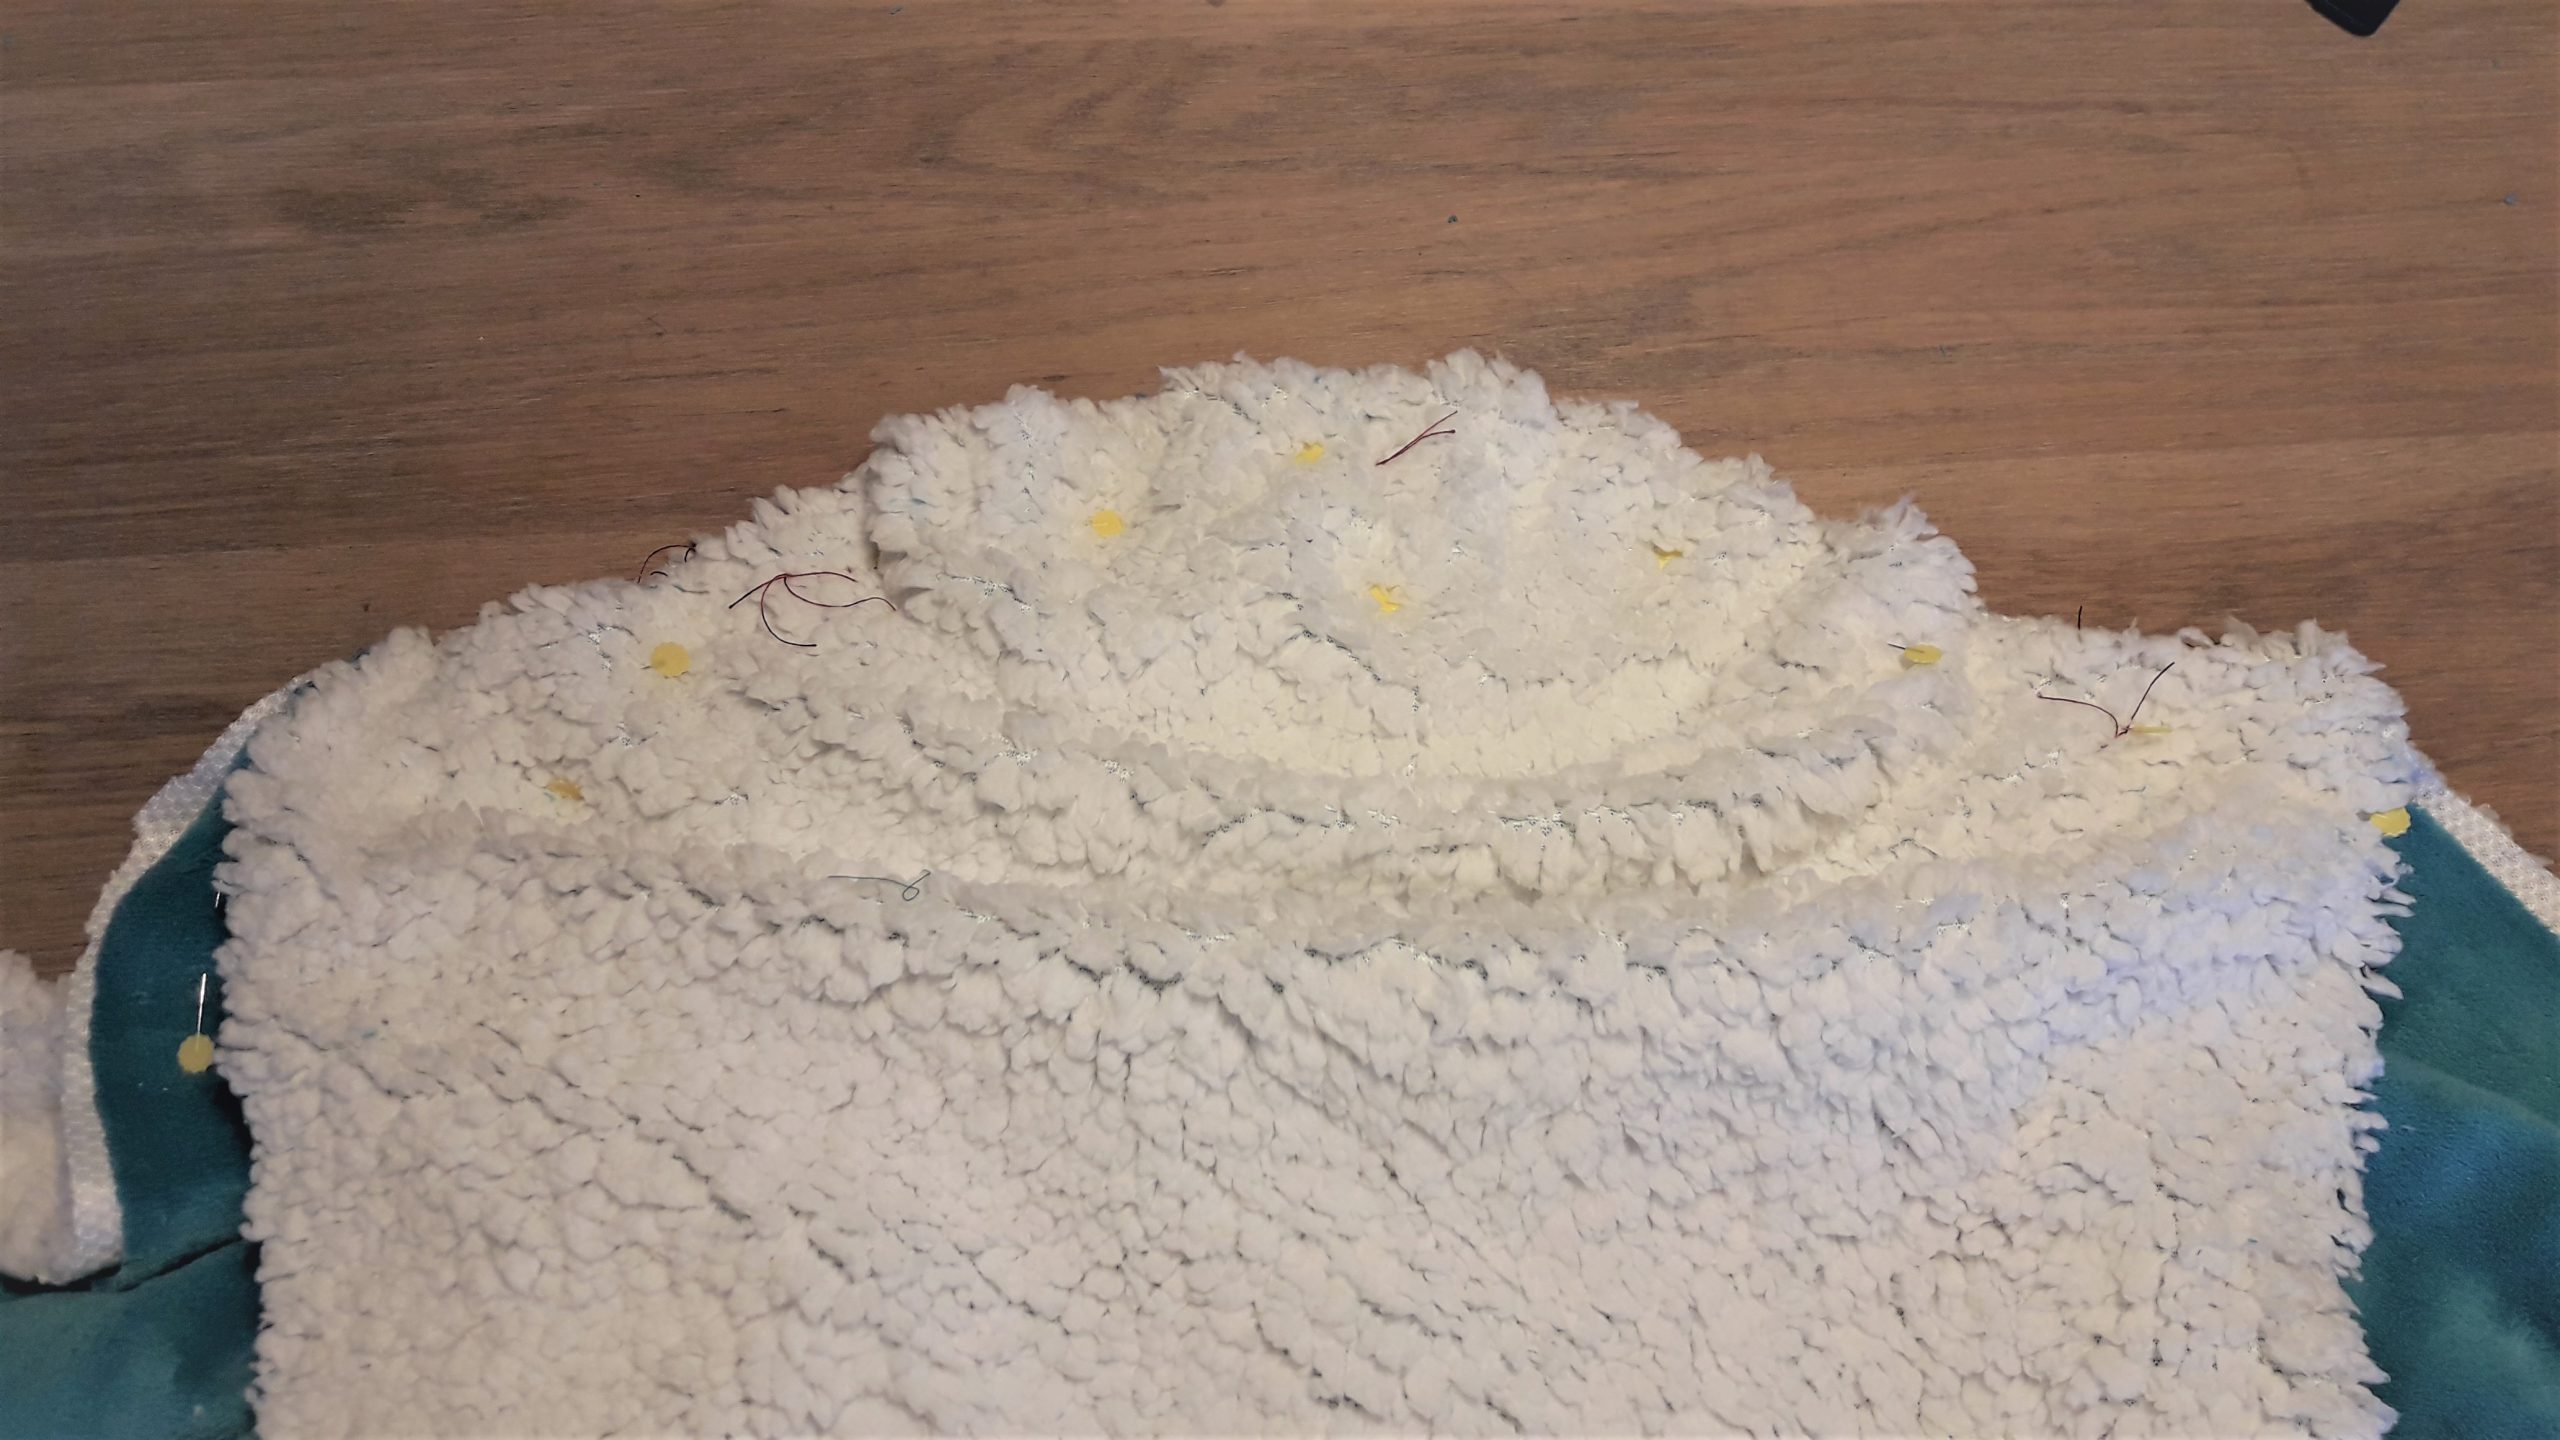
I pin the hood to the sweater:
The only thing left is finishing the borders in the same way like the hood and pocket are finished.
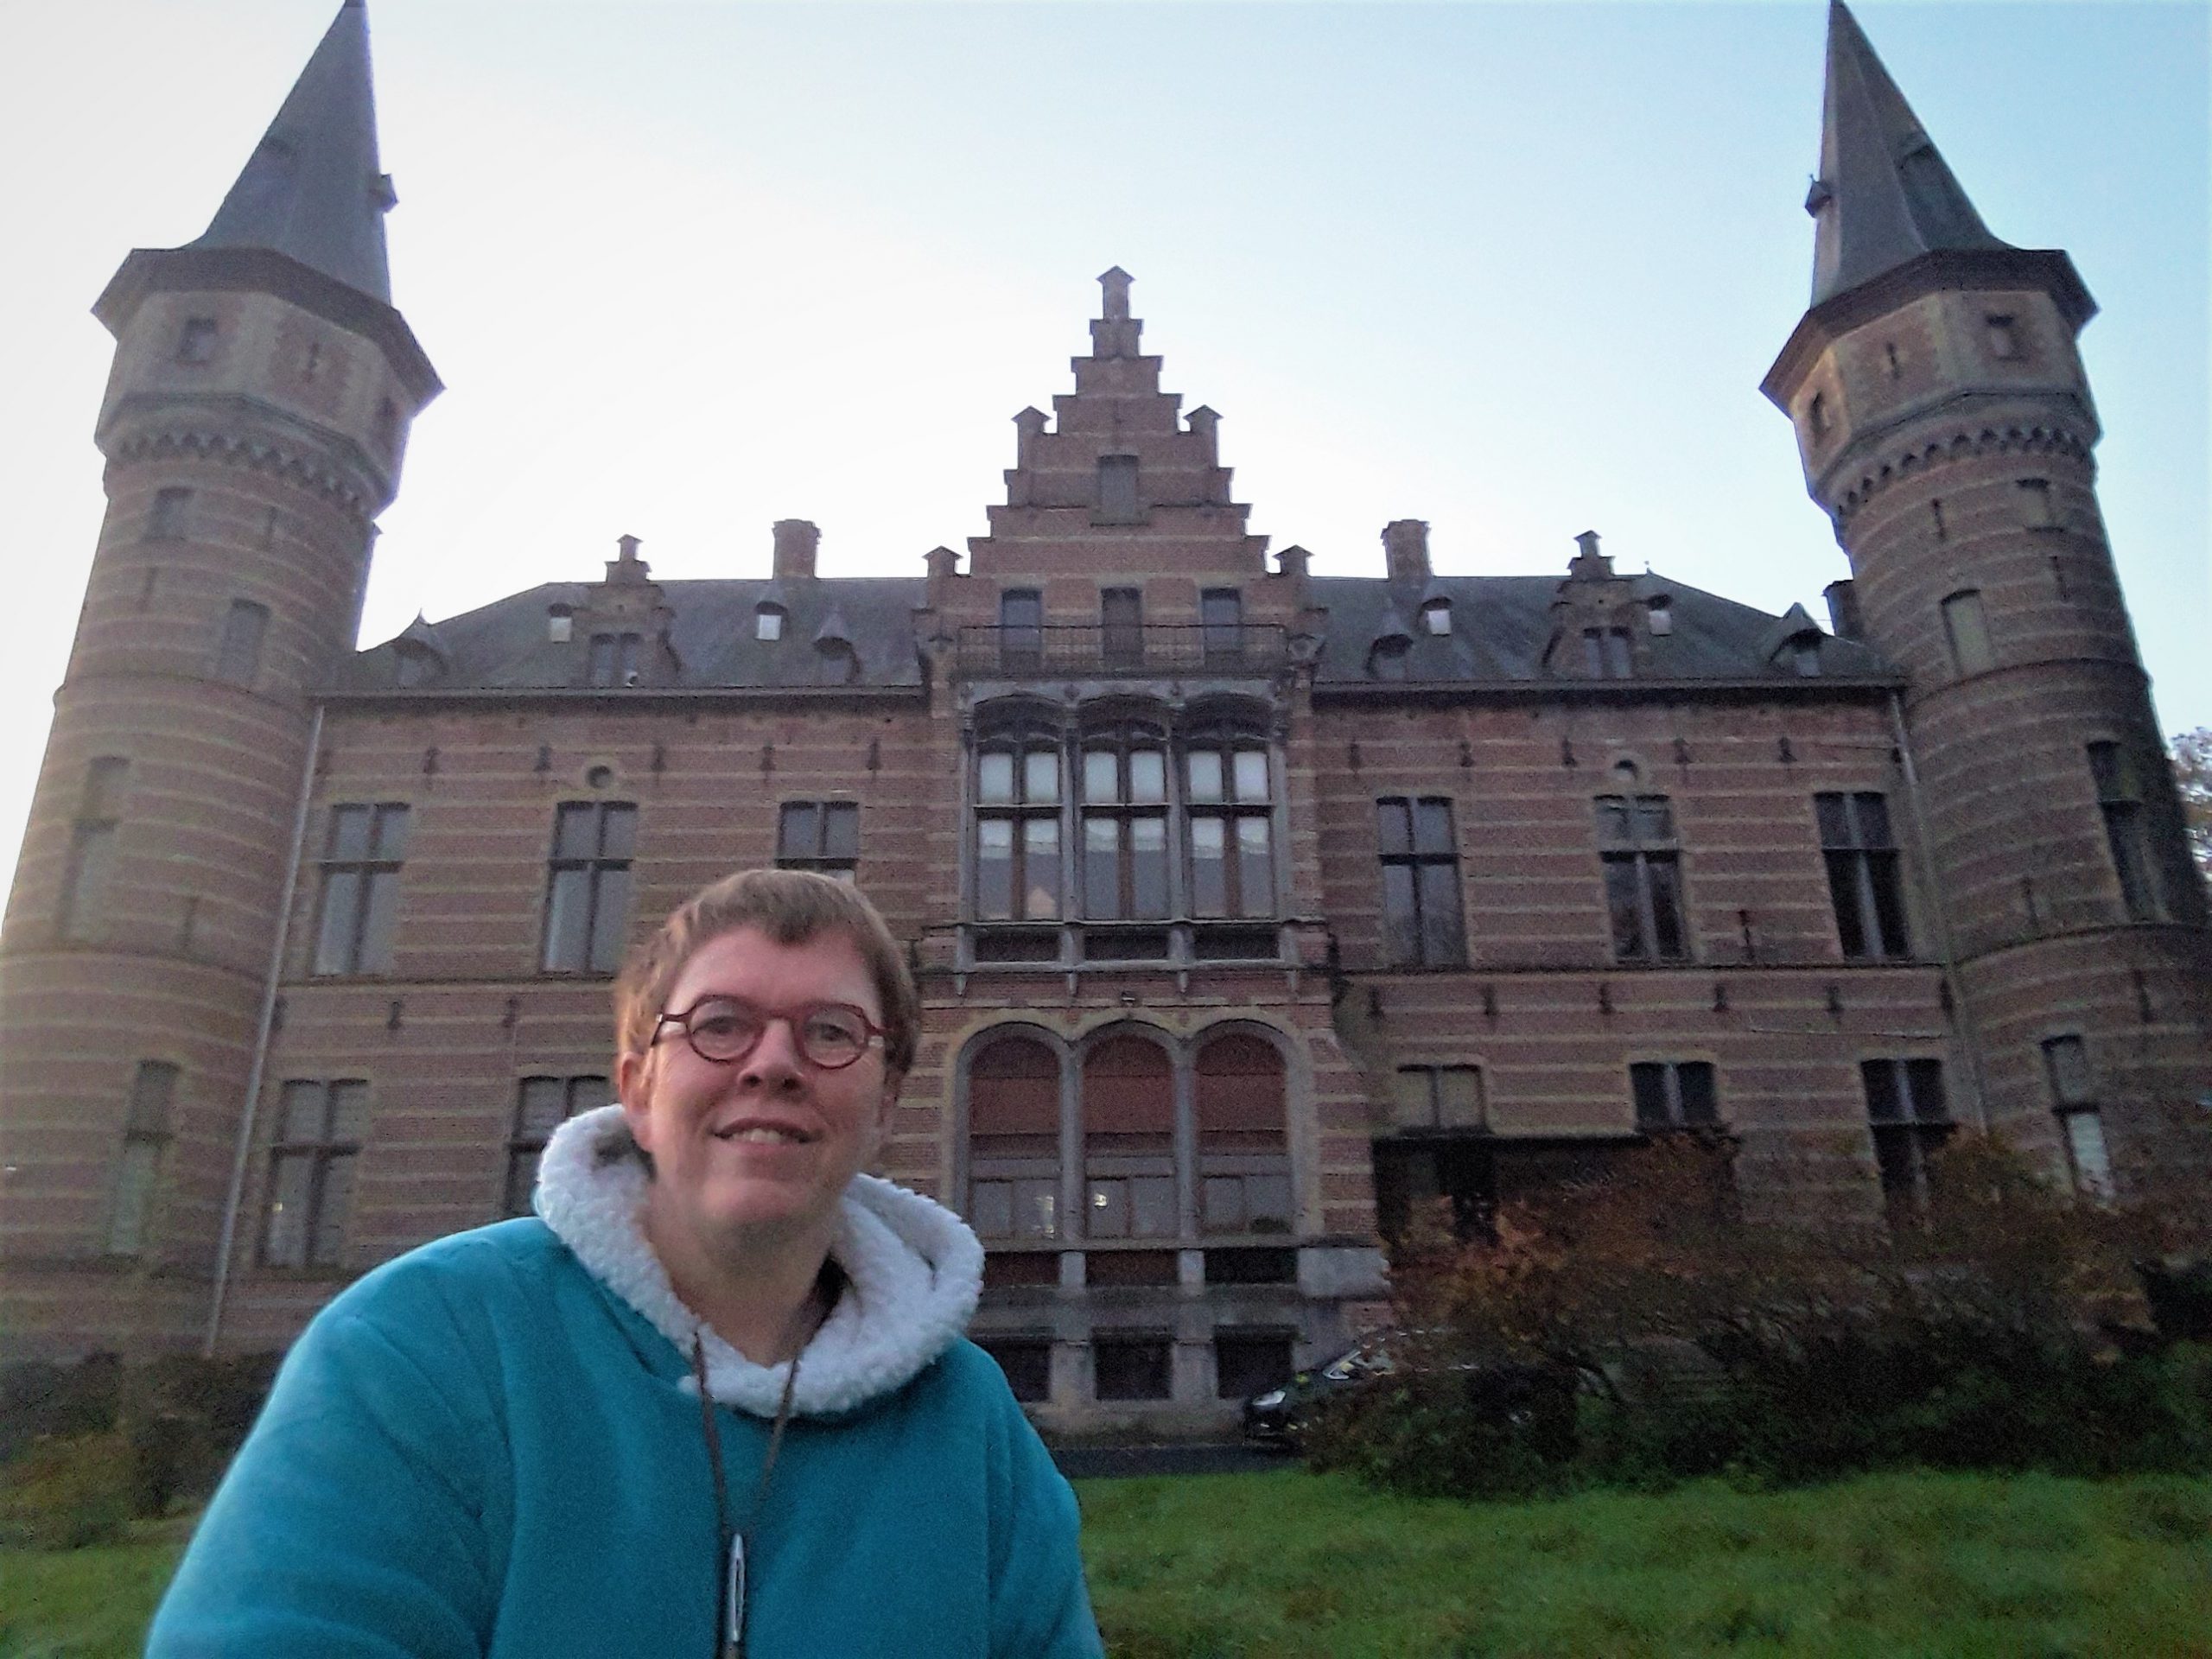
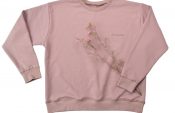
This is my cosy wintersweater.
Warm and comfortable, just what I wished. Straight over another pull, to go outside for a healthy winterwalk. Or a tasty winterbarbecue, who knows?

Sometimes I’m at a castle, where the heating is not as luxuruous as in a modern home. Not a problem to me 🙂
 Tell me what your winter projects are. I’m curious.
And you see you don’t have to hesitate to sew a sweater on the overlock and sewing machine. Give it a try!


I love this and great job! The instructions were excellent. When I saw this I thought if this was in red, she could be Mrs. Santa!
Thank you for sharing your project with us.
Hi Wattcin, thanks for your compliments. Yes in red and white, it were Mrs Santa, never thought of it yet.