 BERNINA Corporate Blog -
Today is the start of Advent, a time of preparing for Christmas. As of today, the BERNINA Blog will feature fun projects all based on the theme of “Christmas from the heart”. We’ll be offering creative ideas in a variety of ways to make it a magical time. Bloggers from Germany, the Netherlands and Belgium are busy working on this Advent series, and I’m very proud to be leading the project. Embroider Christmas cards – instructions for festive sewn Christmas cards
Christmas is the most wonderful time of the year and, traditionally, a time for celebrating with family and socialising.
In 2020, however, we have missed each other’s company a lot. That’s why I’m writing lots of extra cards this year, both for my close friends and for anyone to whom I sincerely wish a better year.
Embroider Christmas cards
I chose a luxury version made from soft fabric and embroidered on the BERNINA 700.
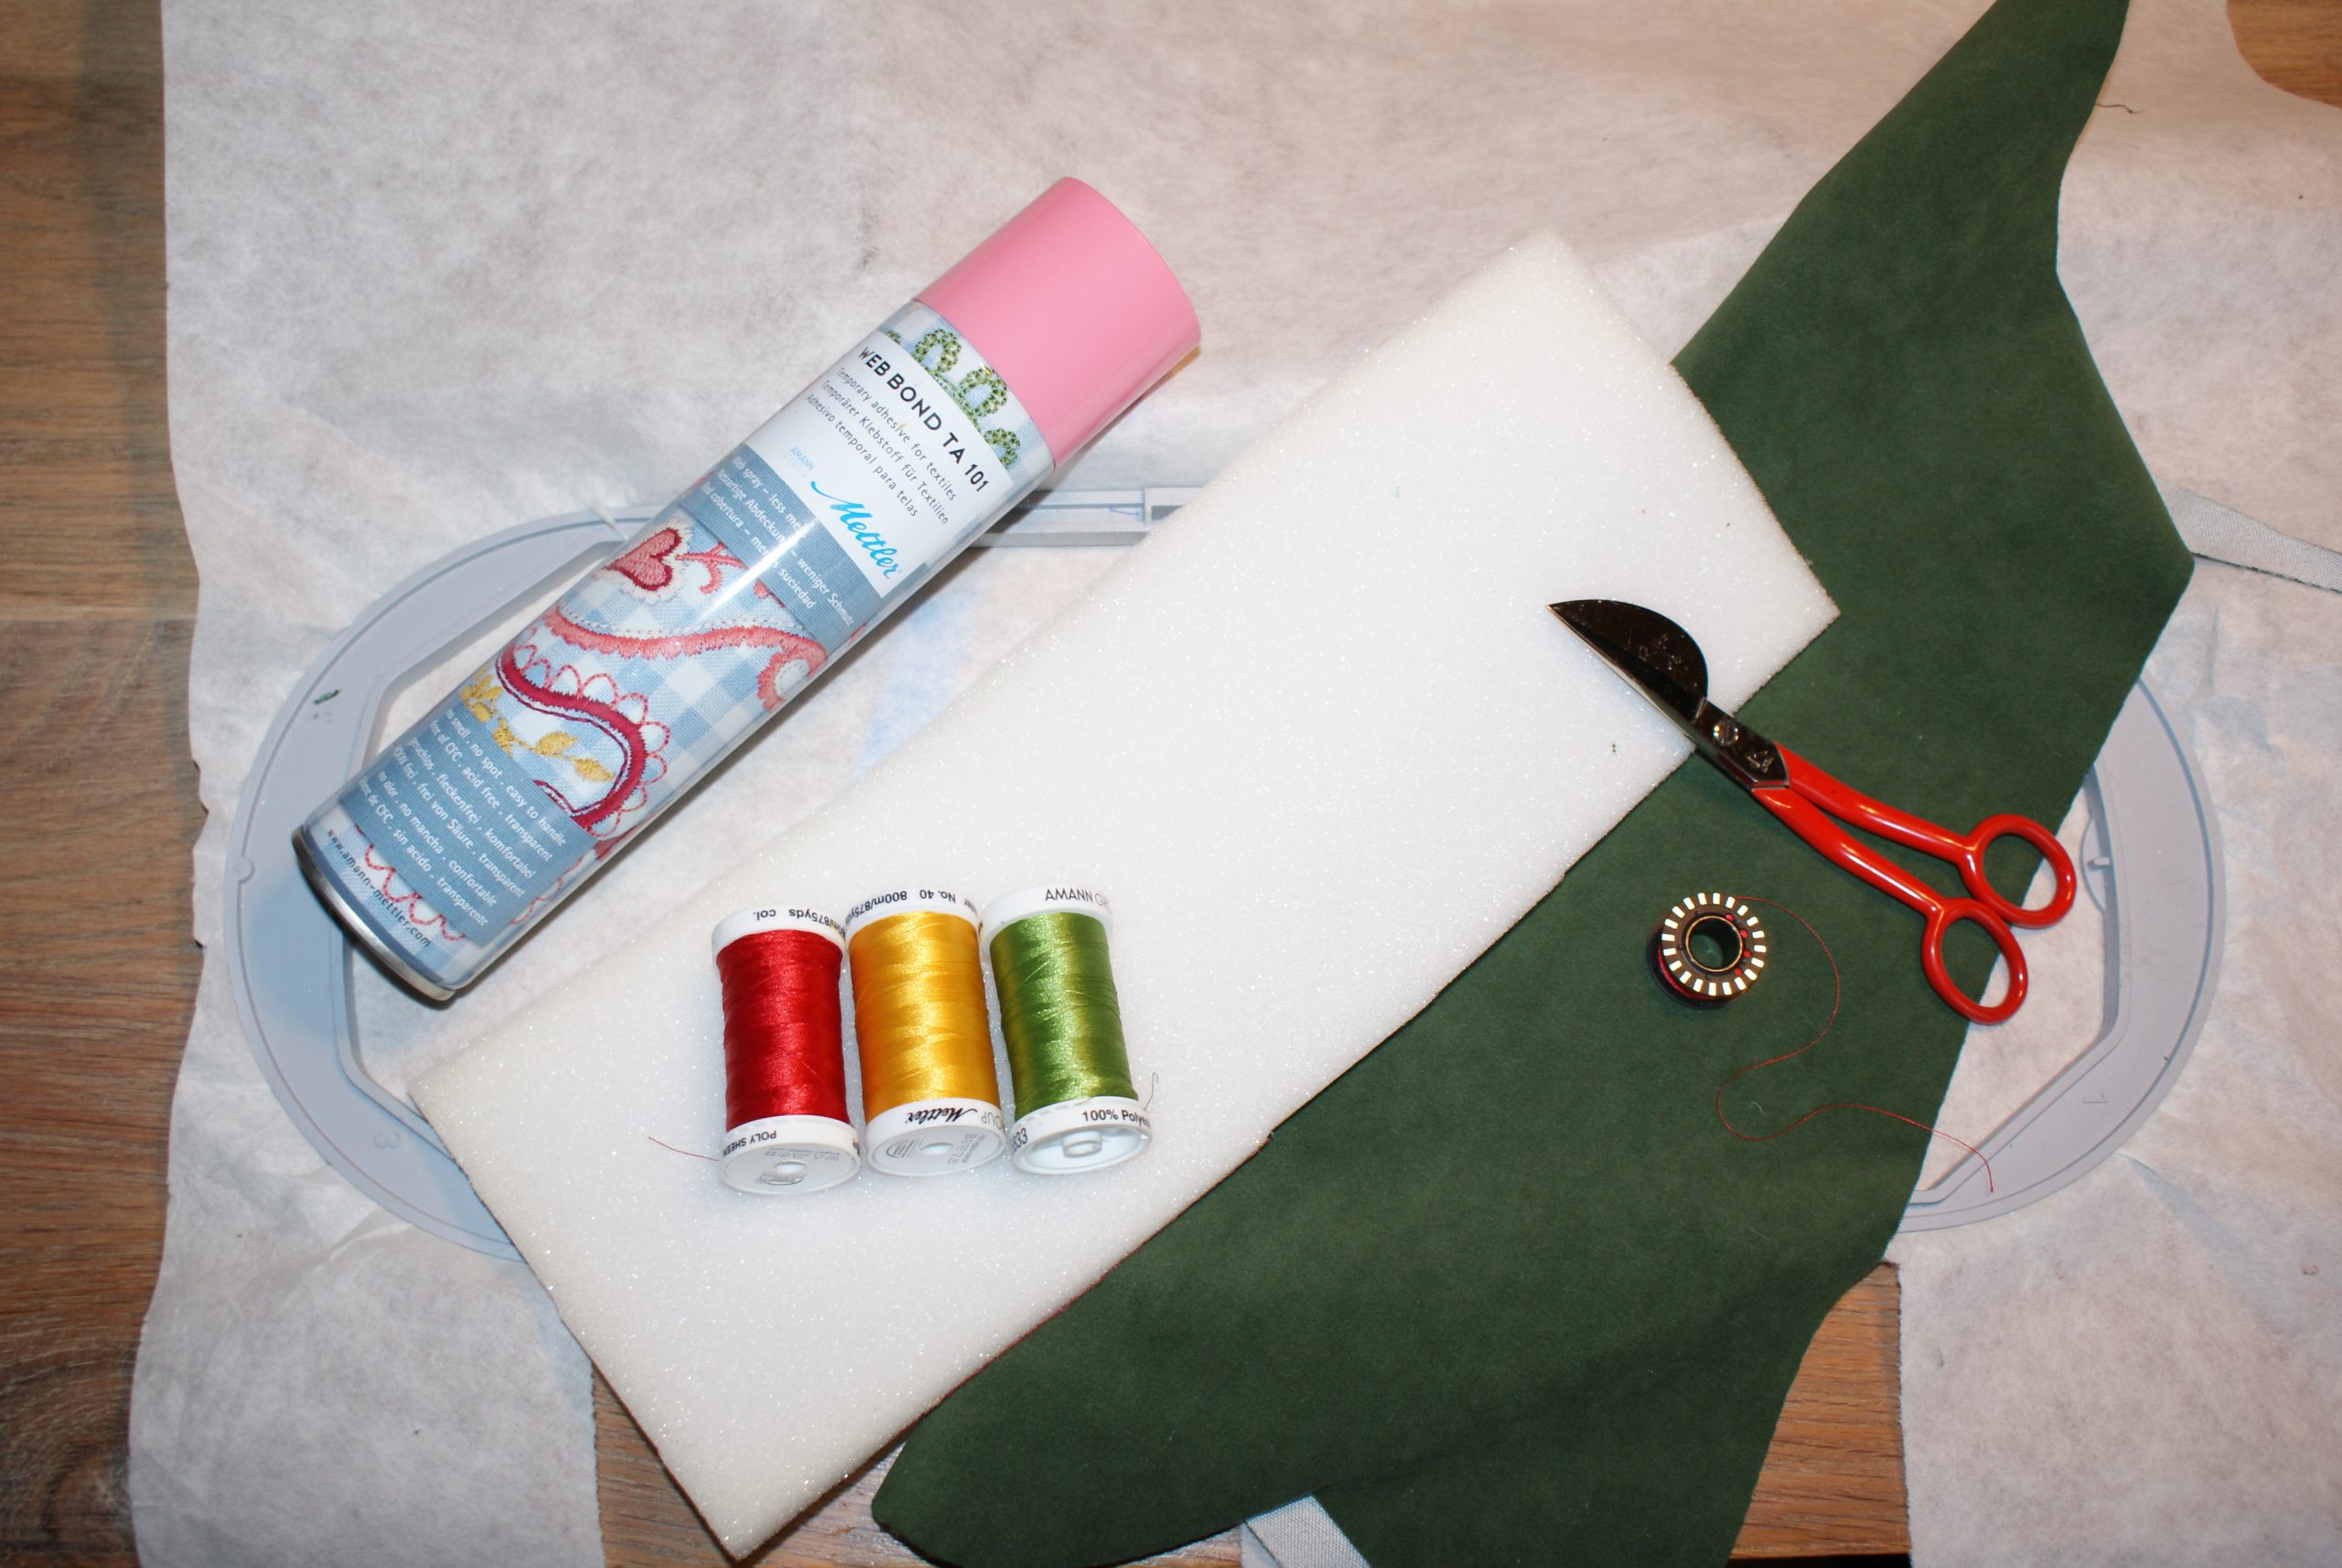
What do I need?
- Soft green fabric, ecru-coloured fabric for the back (and if you decide to use Decovil fabric reinforcement, you can even write on it).
- Filling material (choose from: thin foam of maximum 1 cm, knitted fabric, fleece, 2 layers of flannel)
- Mettler Poly Sheen embroidery thread in green, gold and red.
- Stabiliser
- The embroidery file can be downloaded in EXP and PES format: 3D Christmas Card 2 in Mega hoop
- Mettler Web Bond temporary adhesive spray is useful.
- A Mega embroidery hoop
Let’s get to work for the Christmas cards!
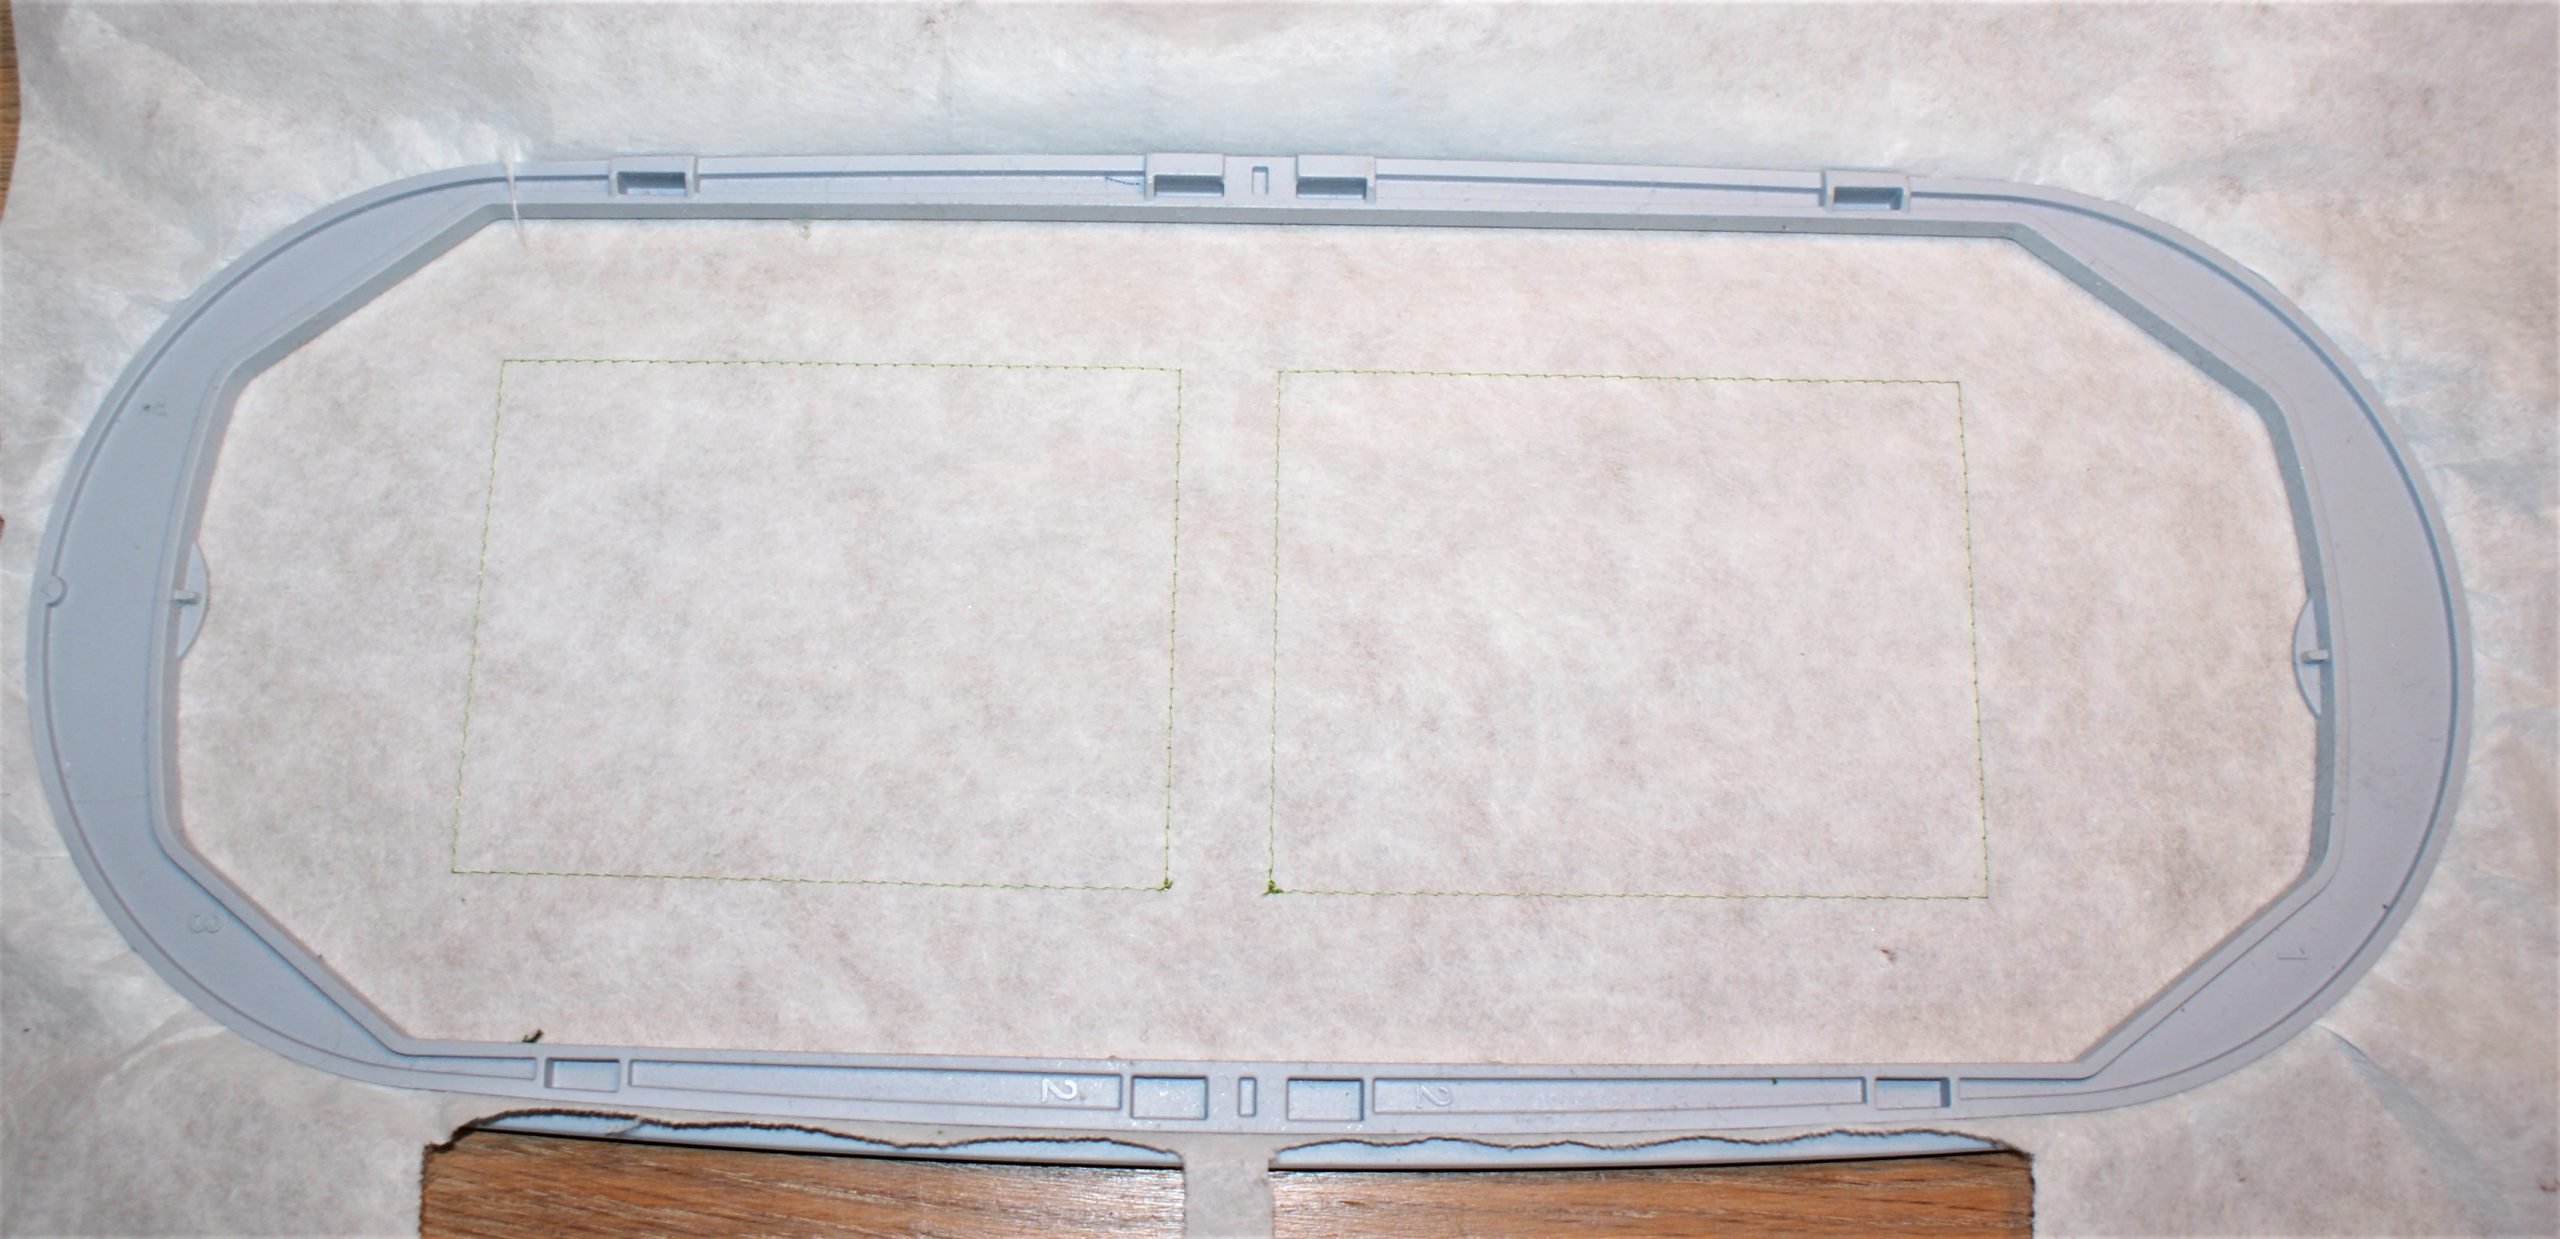
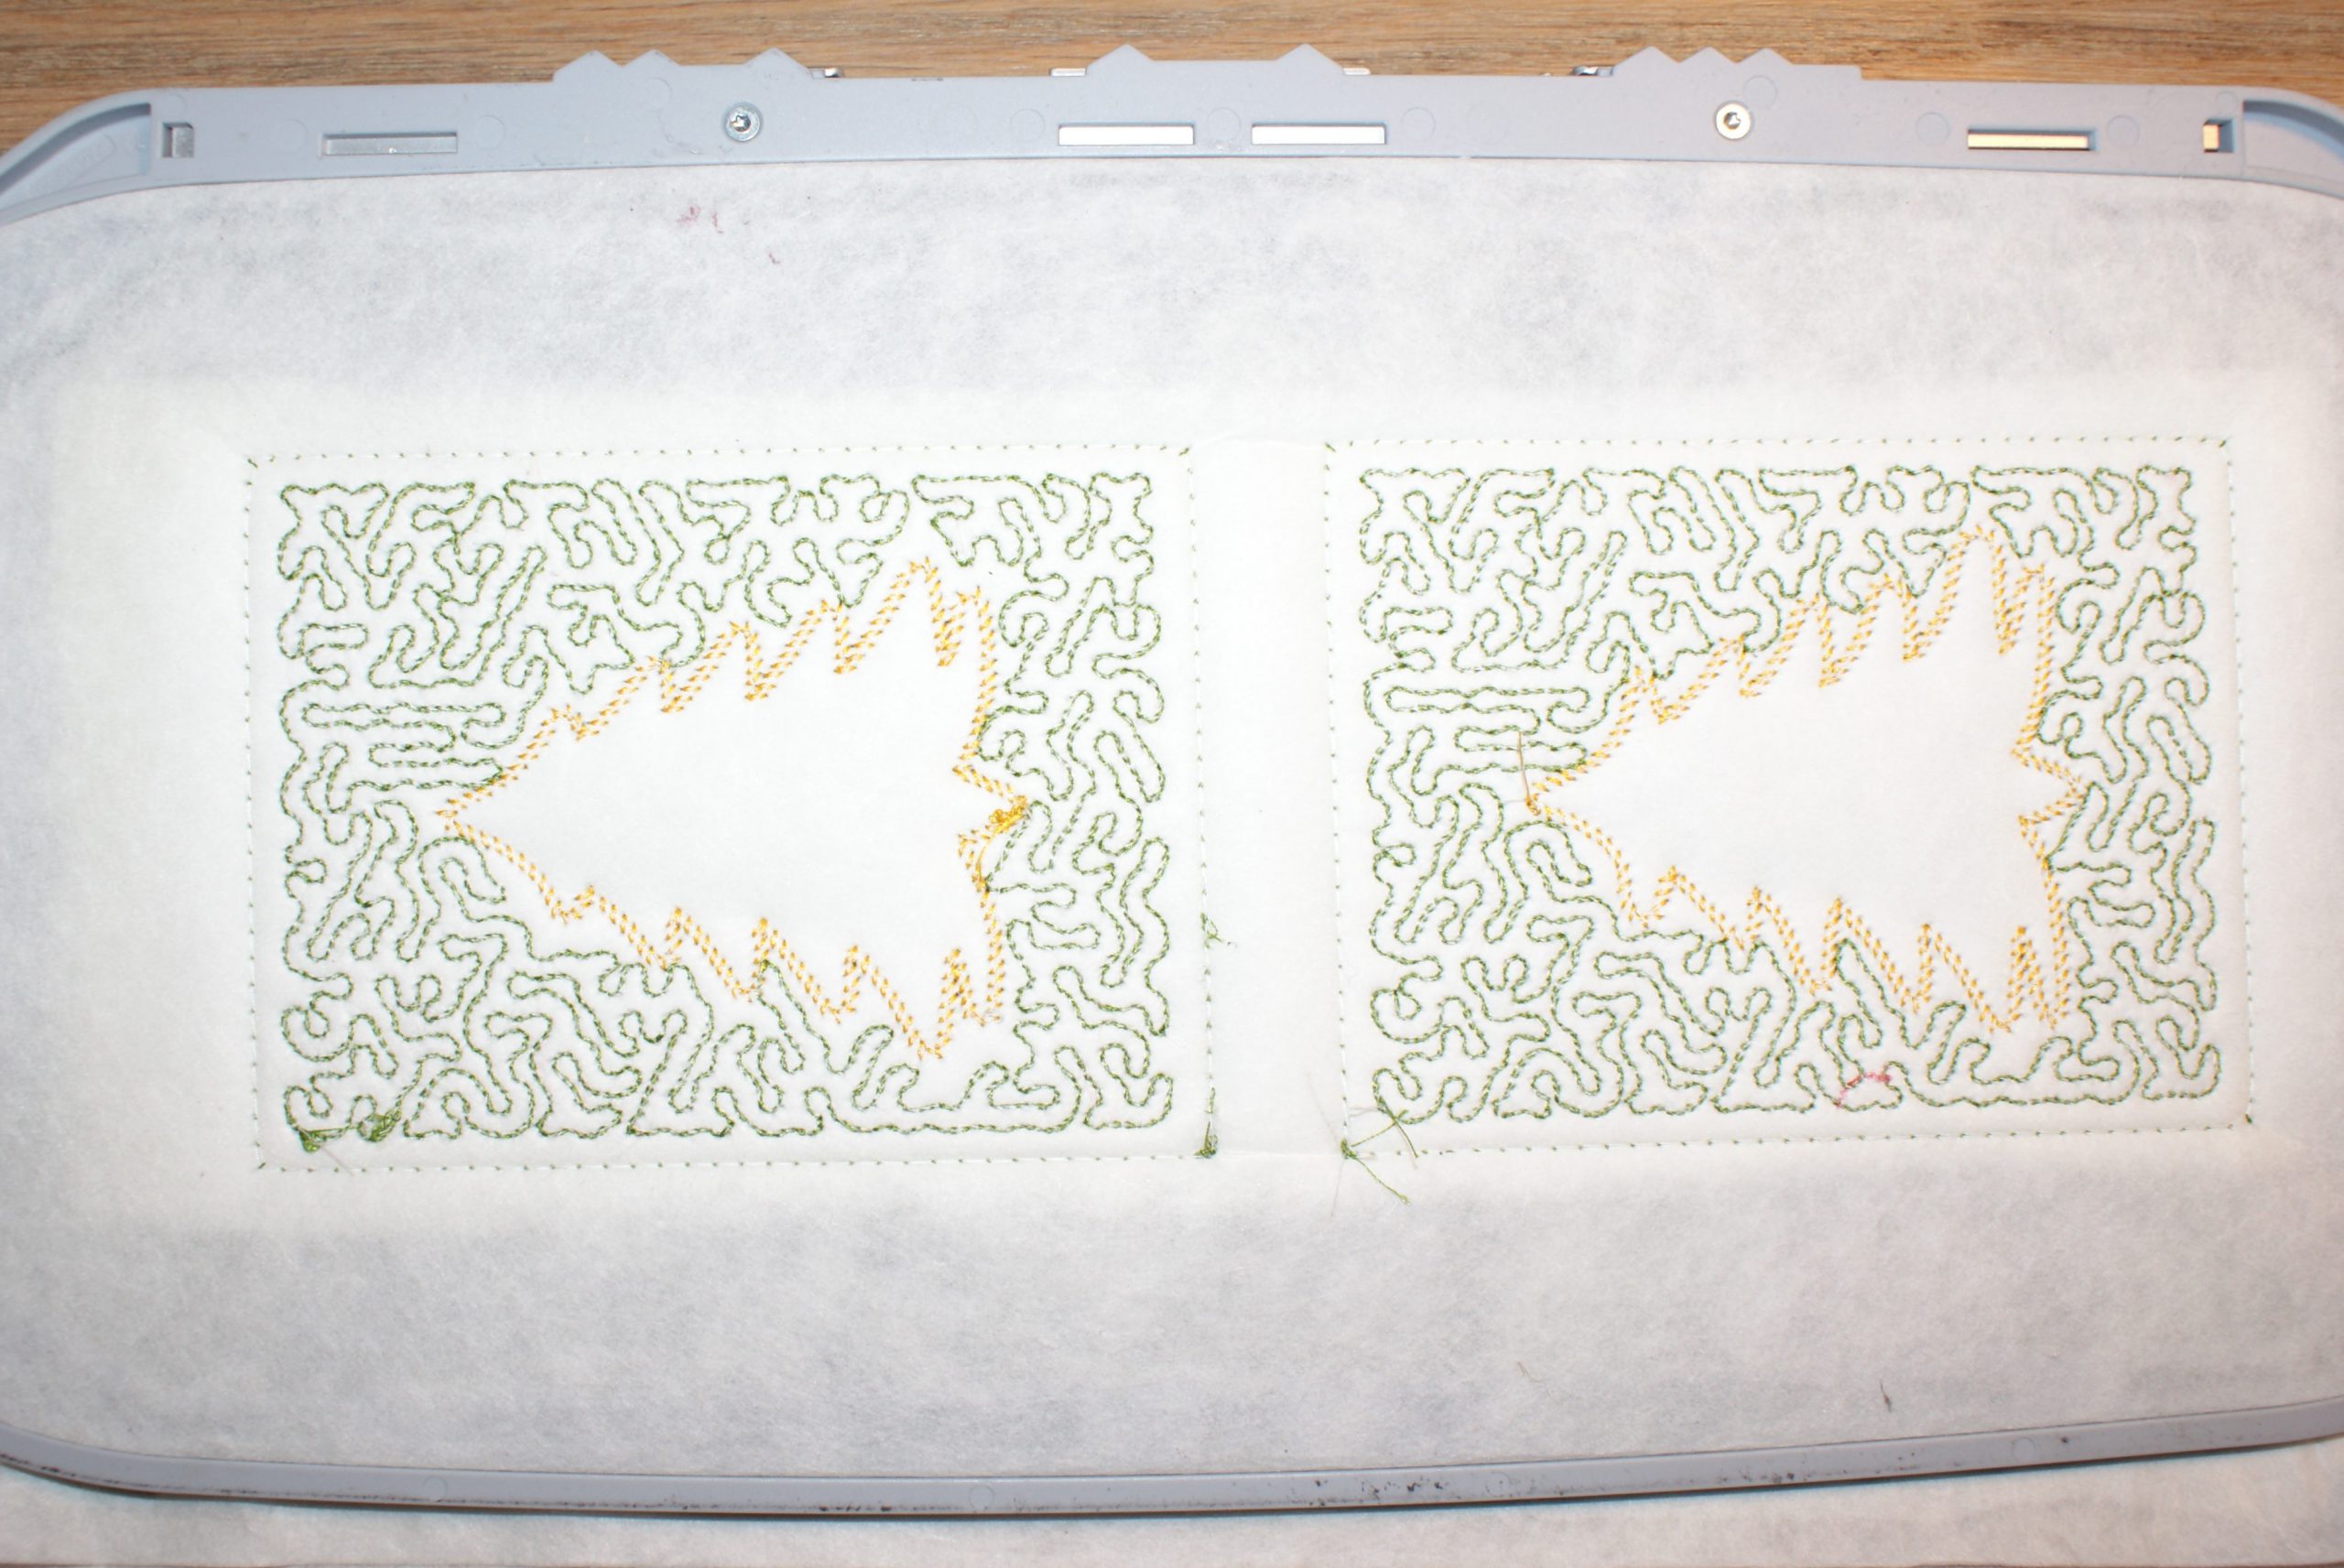
Download the embroidery file in EXP format, stretch the stabiliser over the Mega embroidery hoop and thread the needle with green embroidery thread. Start the embroidery with 2 rectangles, which indicate the place where you should place the stuffing material.
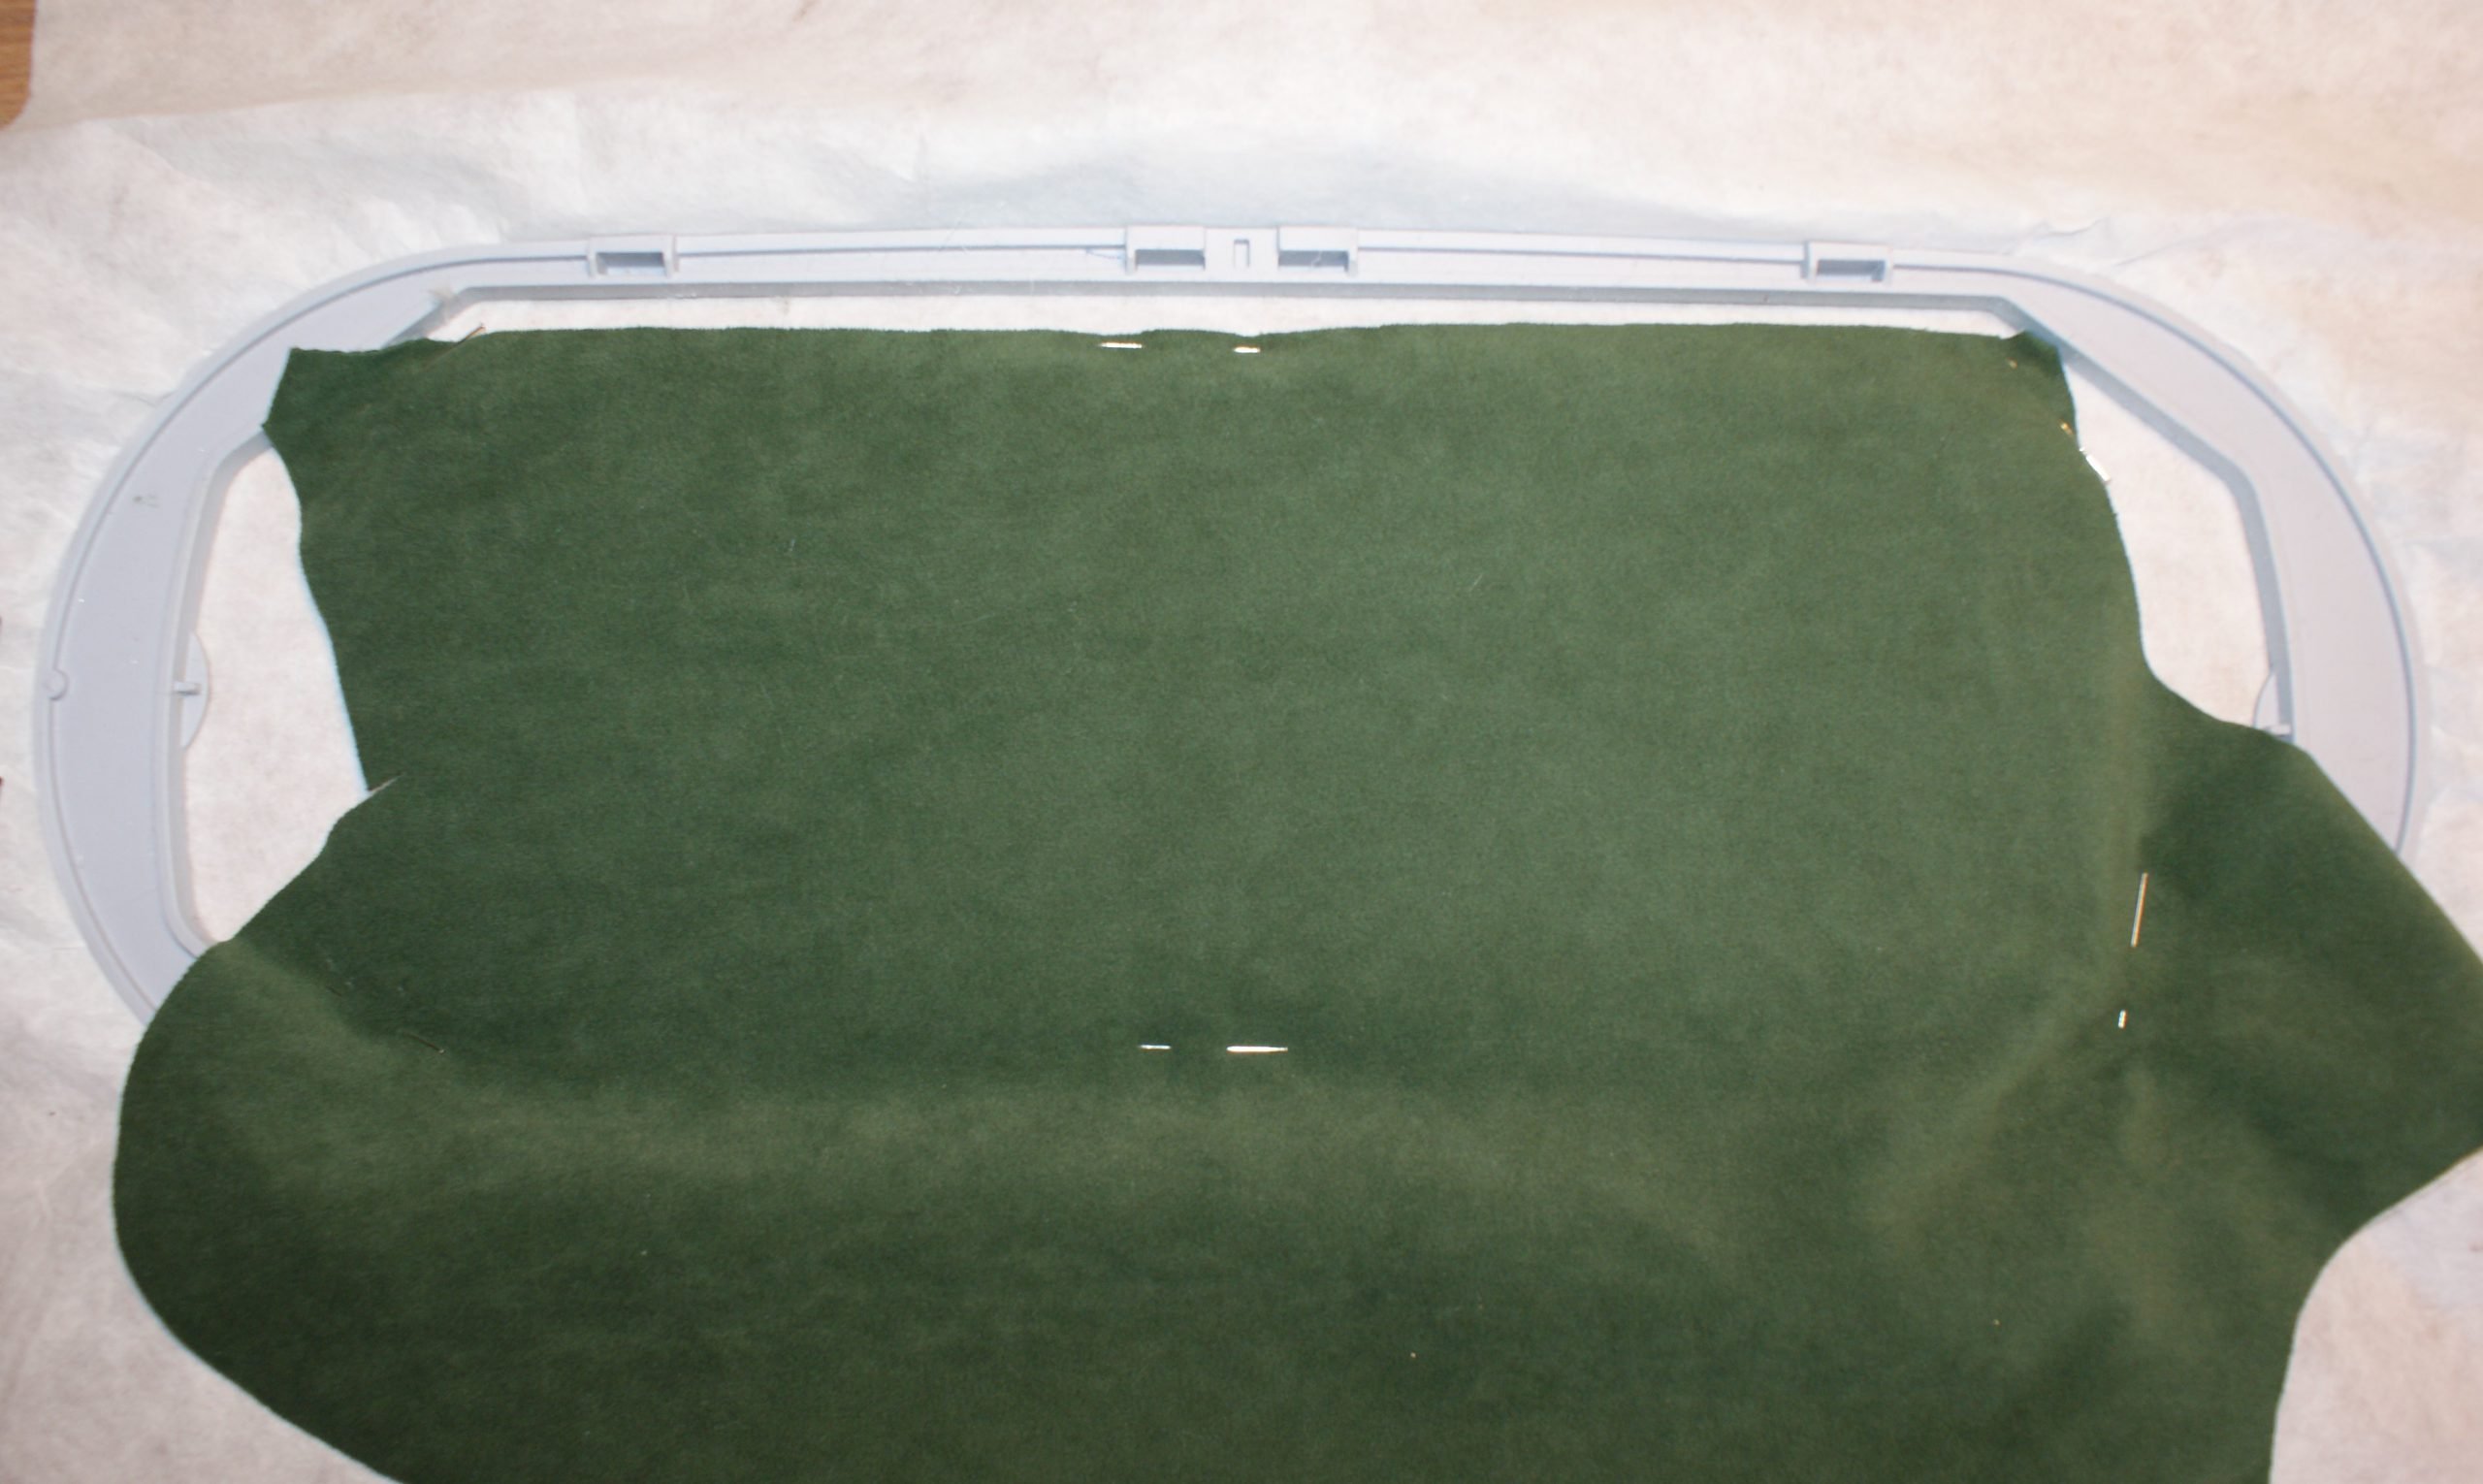
Spray the glue on the stabiliser, place the filling fabric on top and then place the green fabric on top of that. Pin at the side.
Embroider the second line, stitching the green fabric and filling material. Can you see how the filling becomes visible?
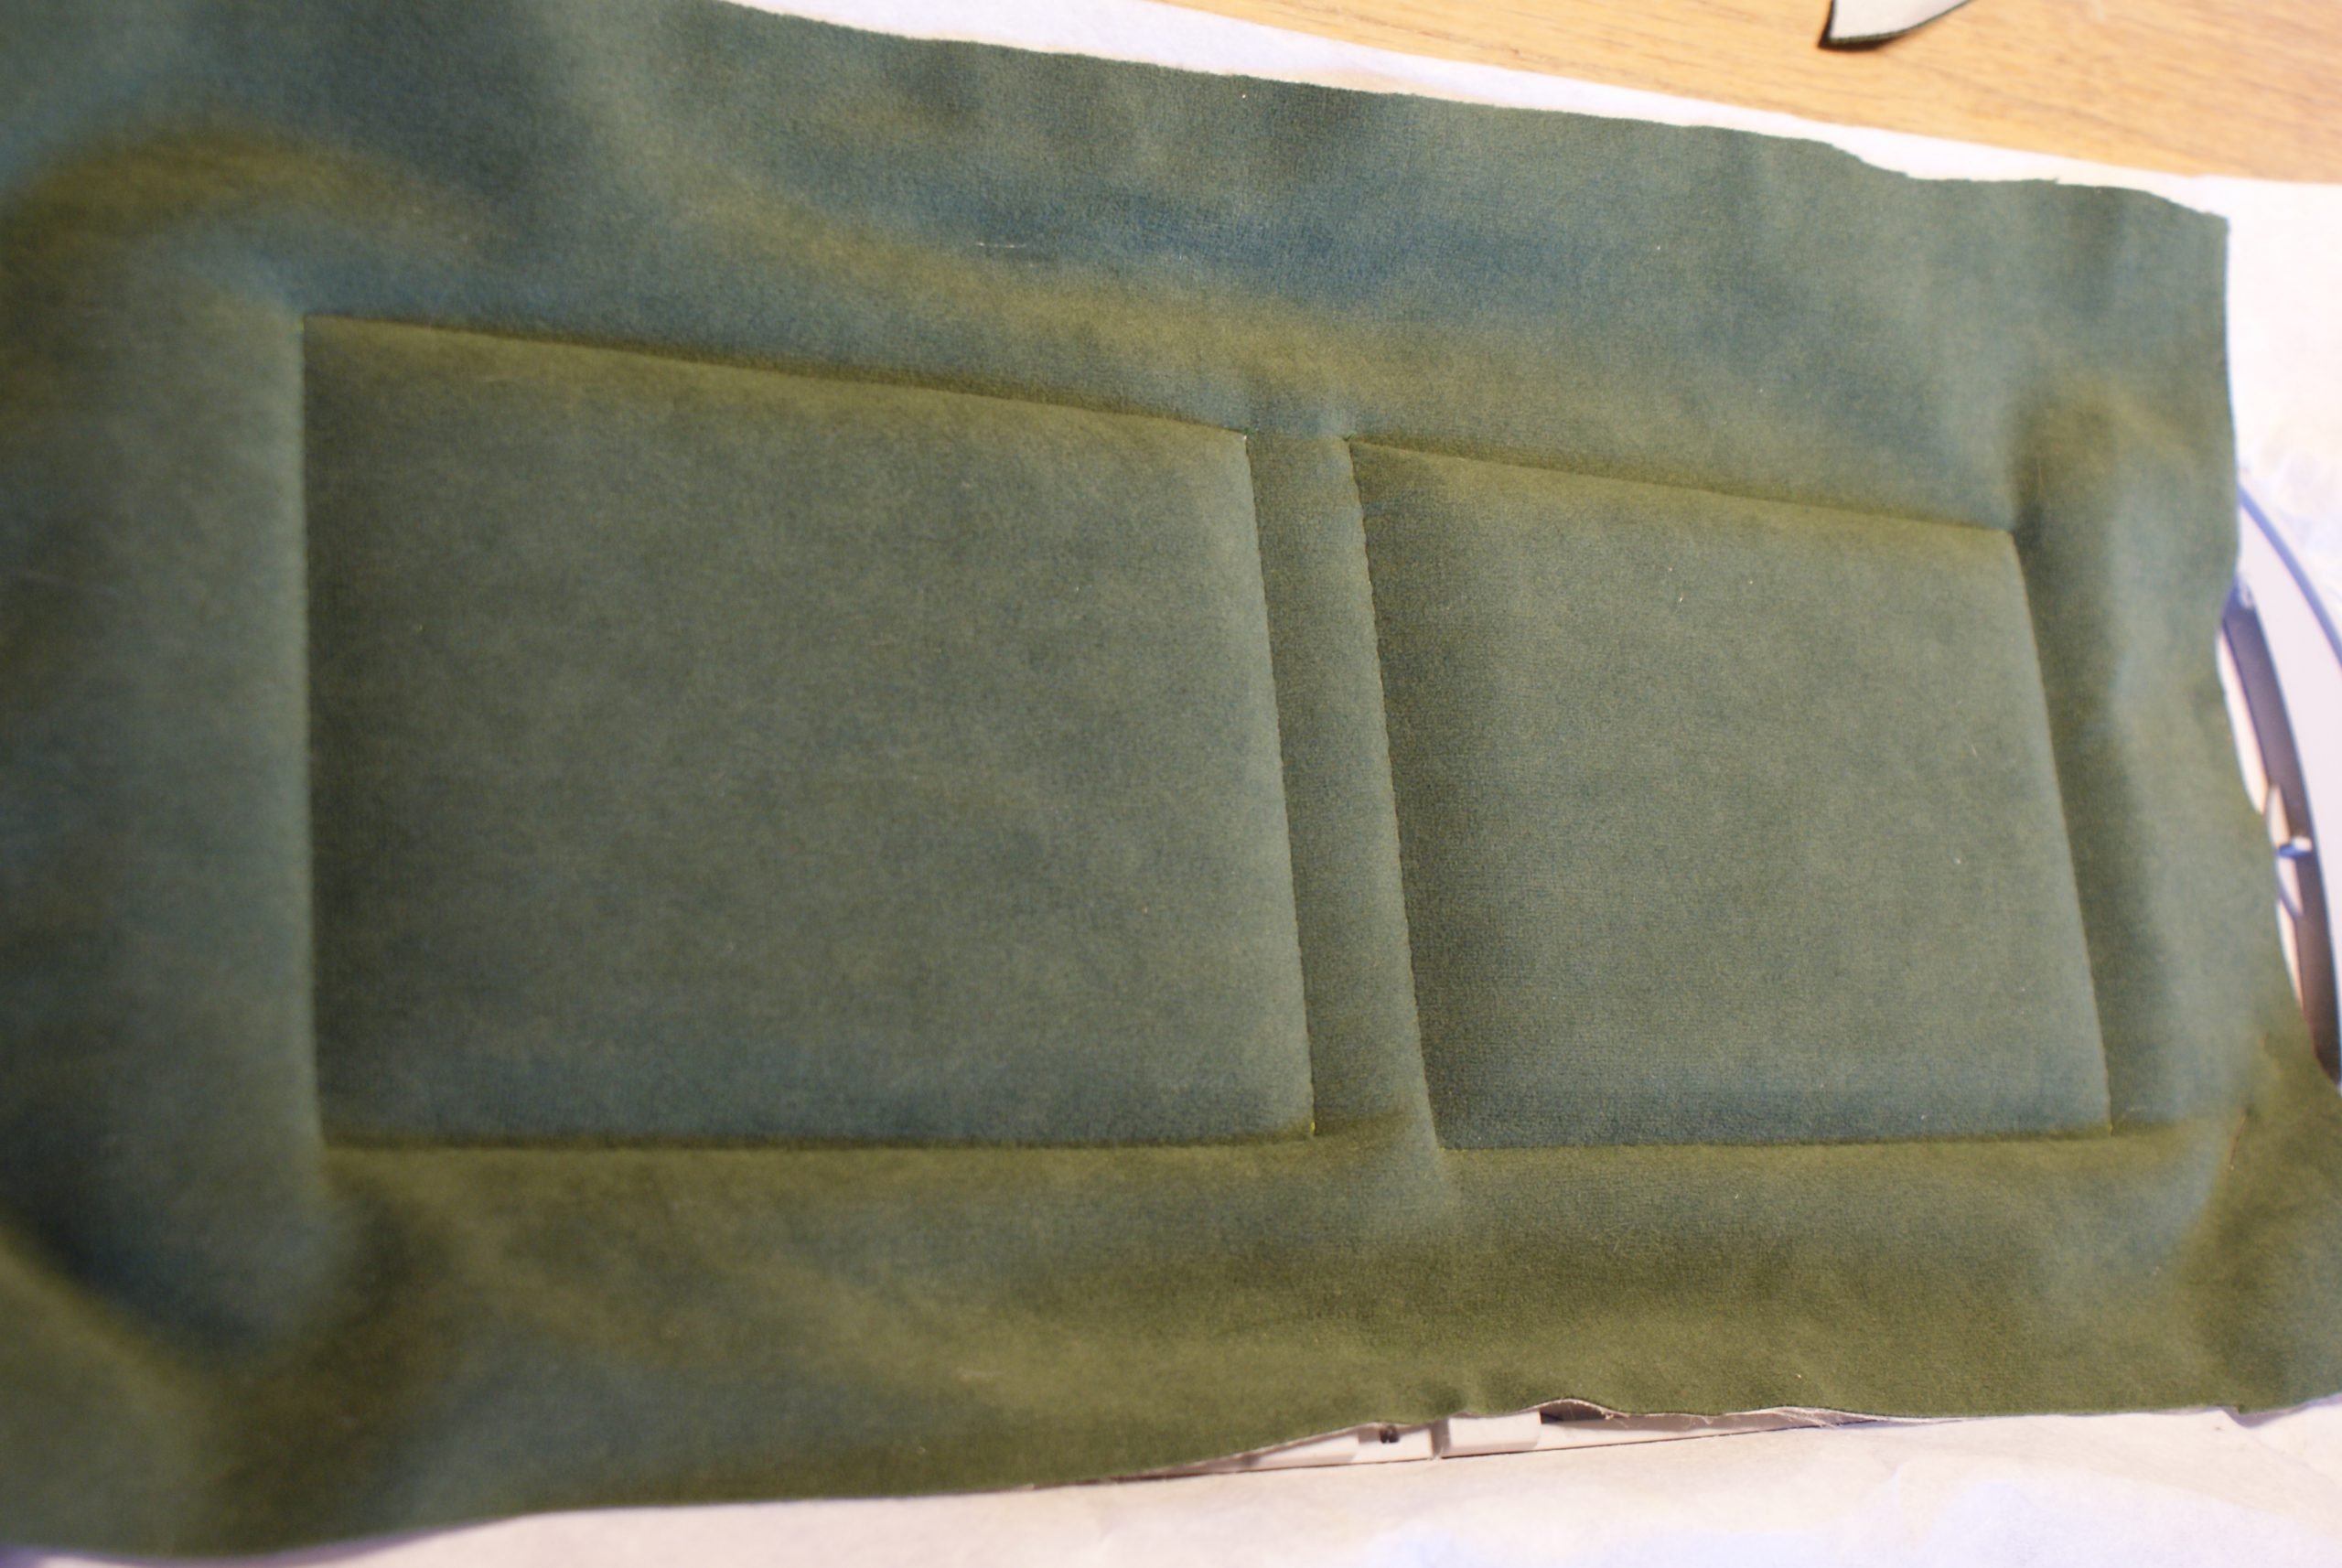
You can then embroider the green filling for the background.
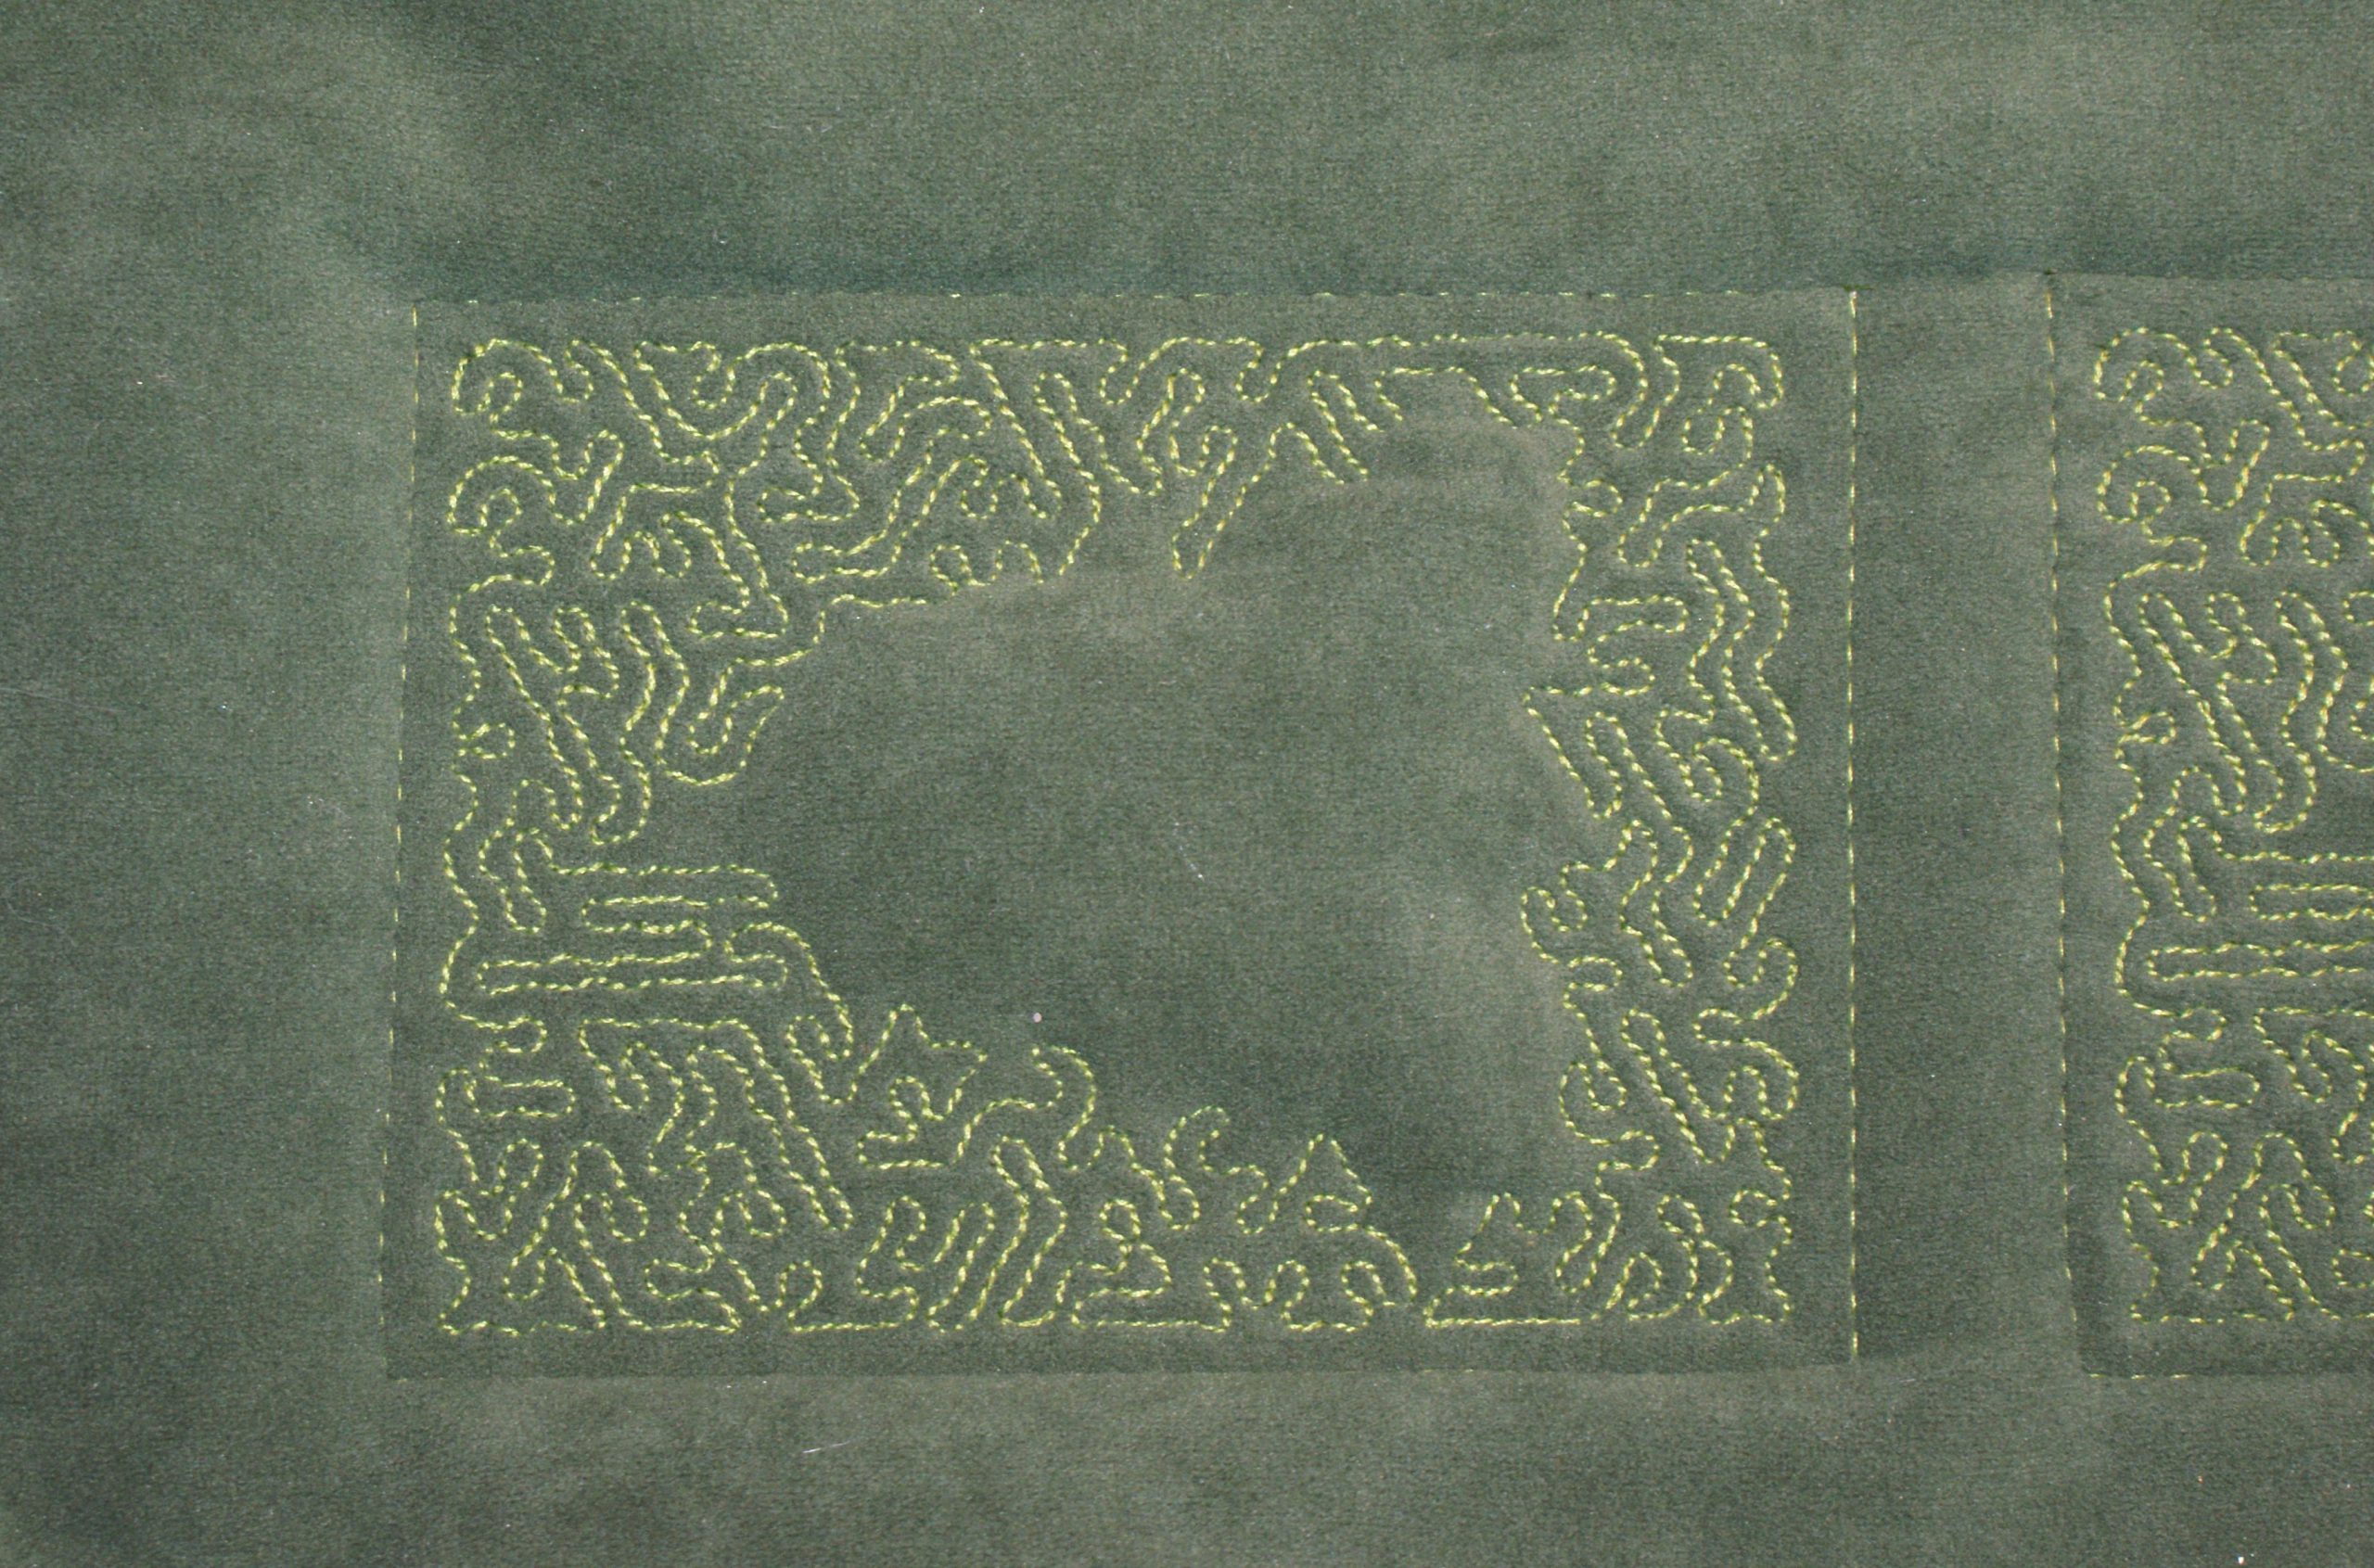
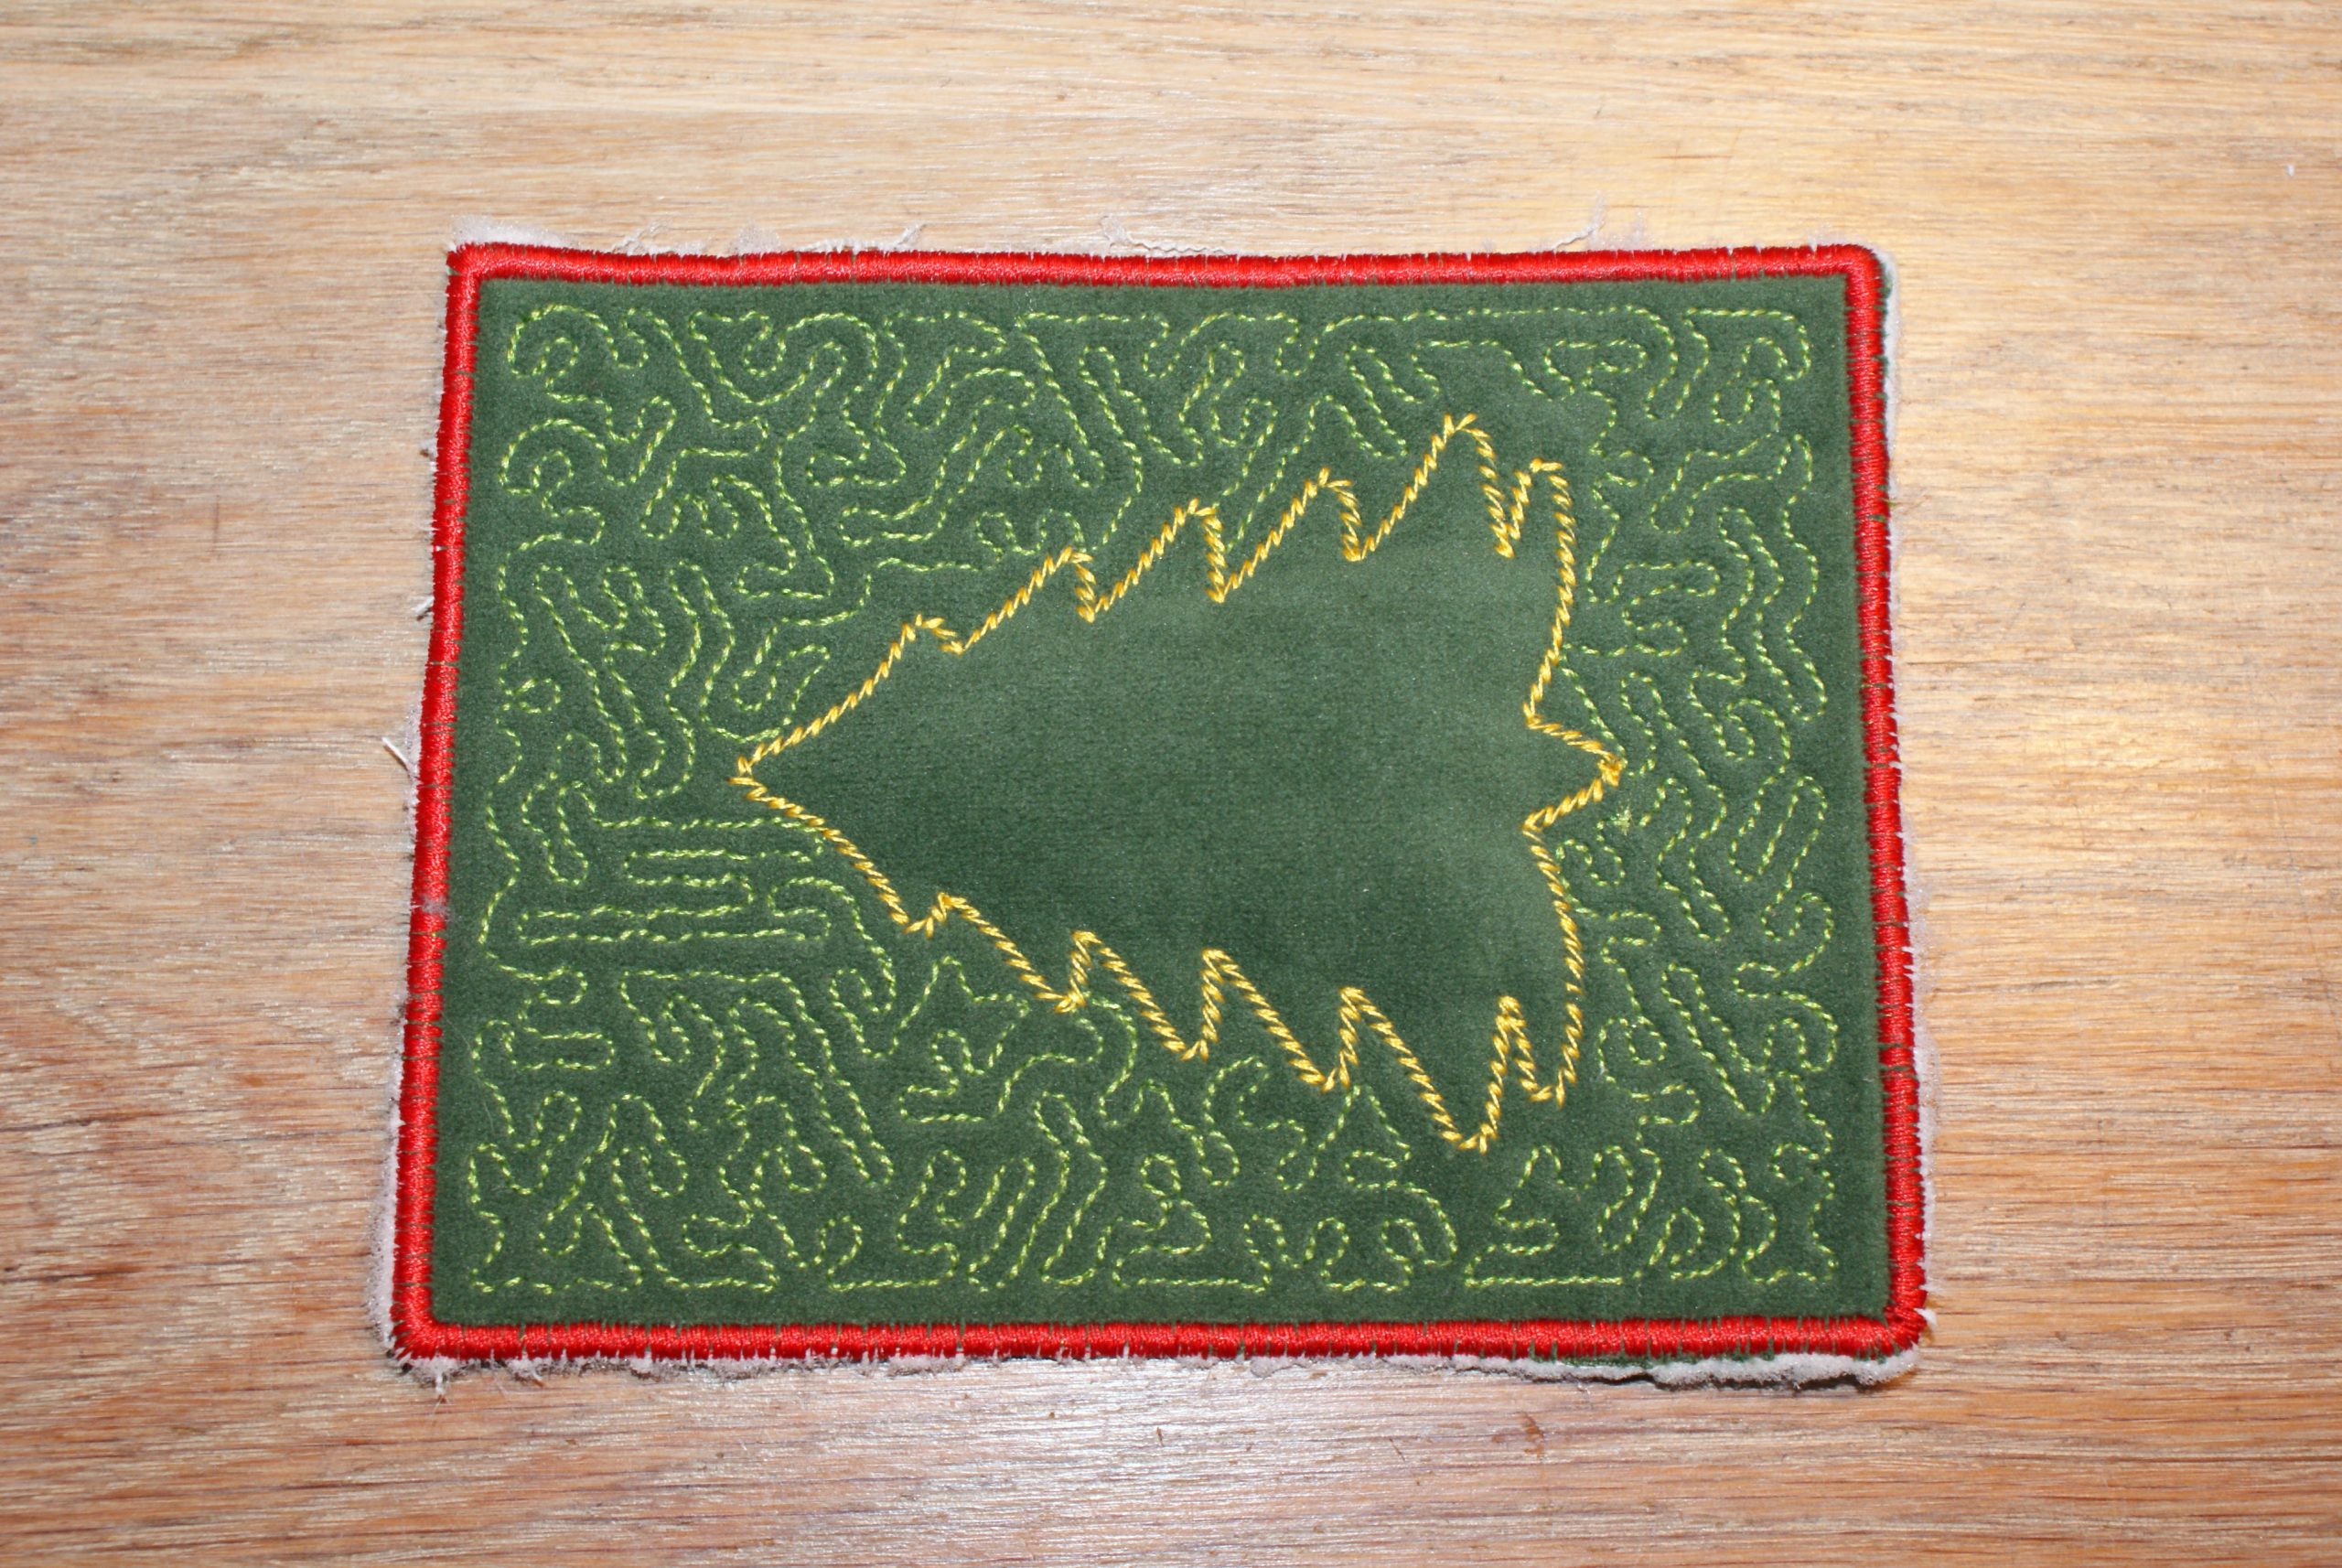
Now take the gold embroidery thread and embroider the shape of the Christmas tree.
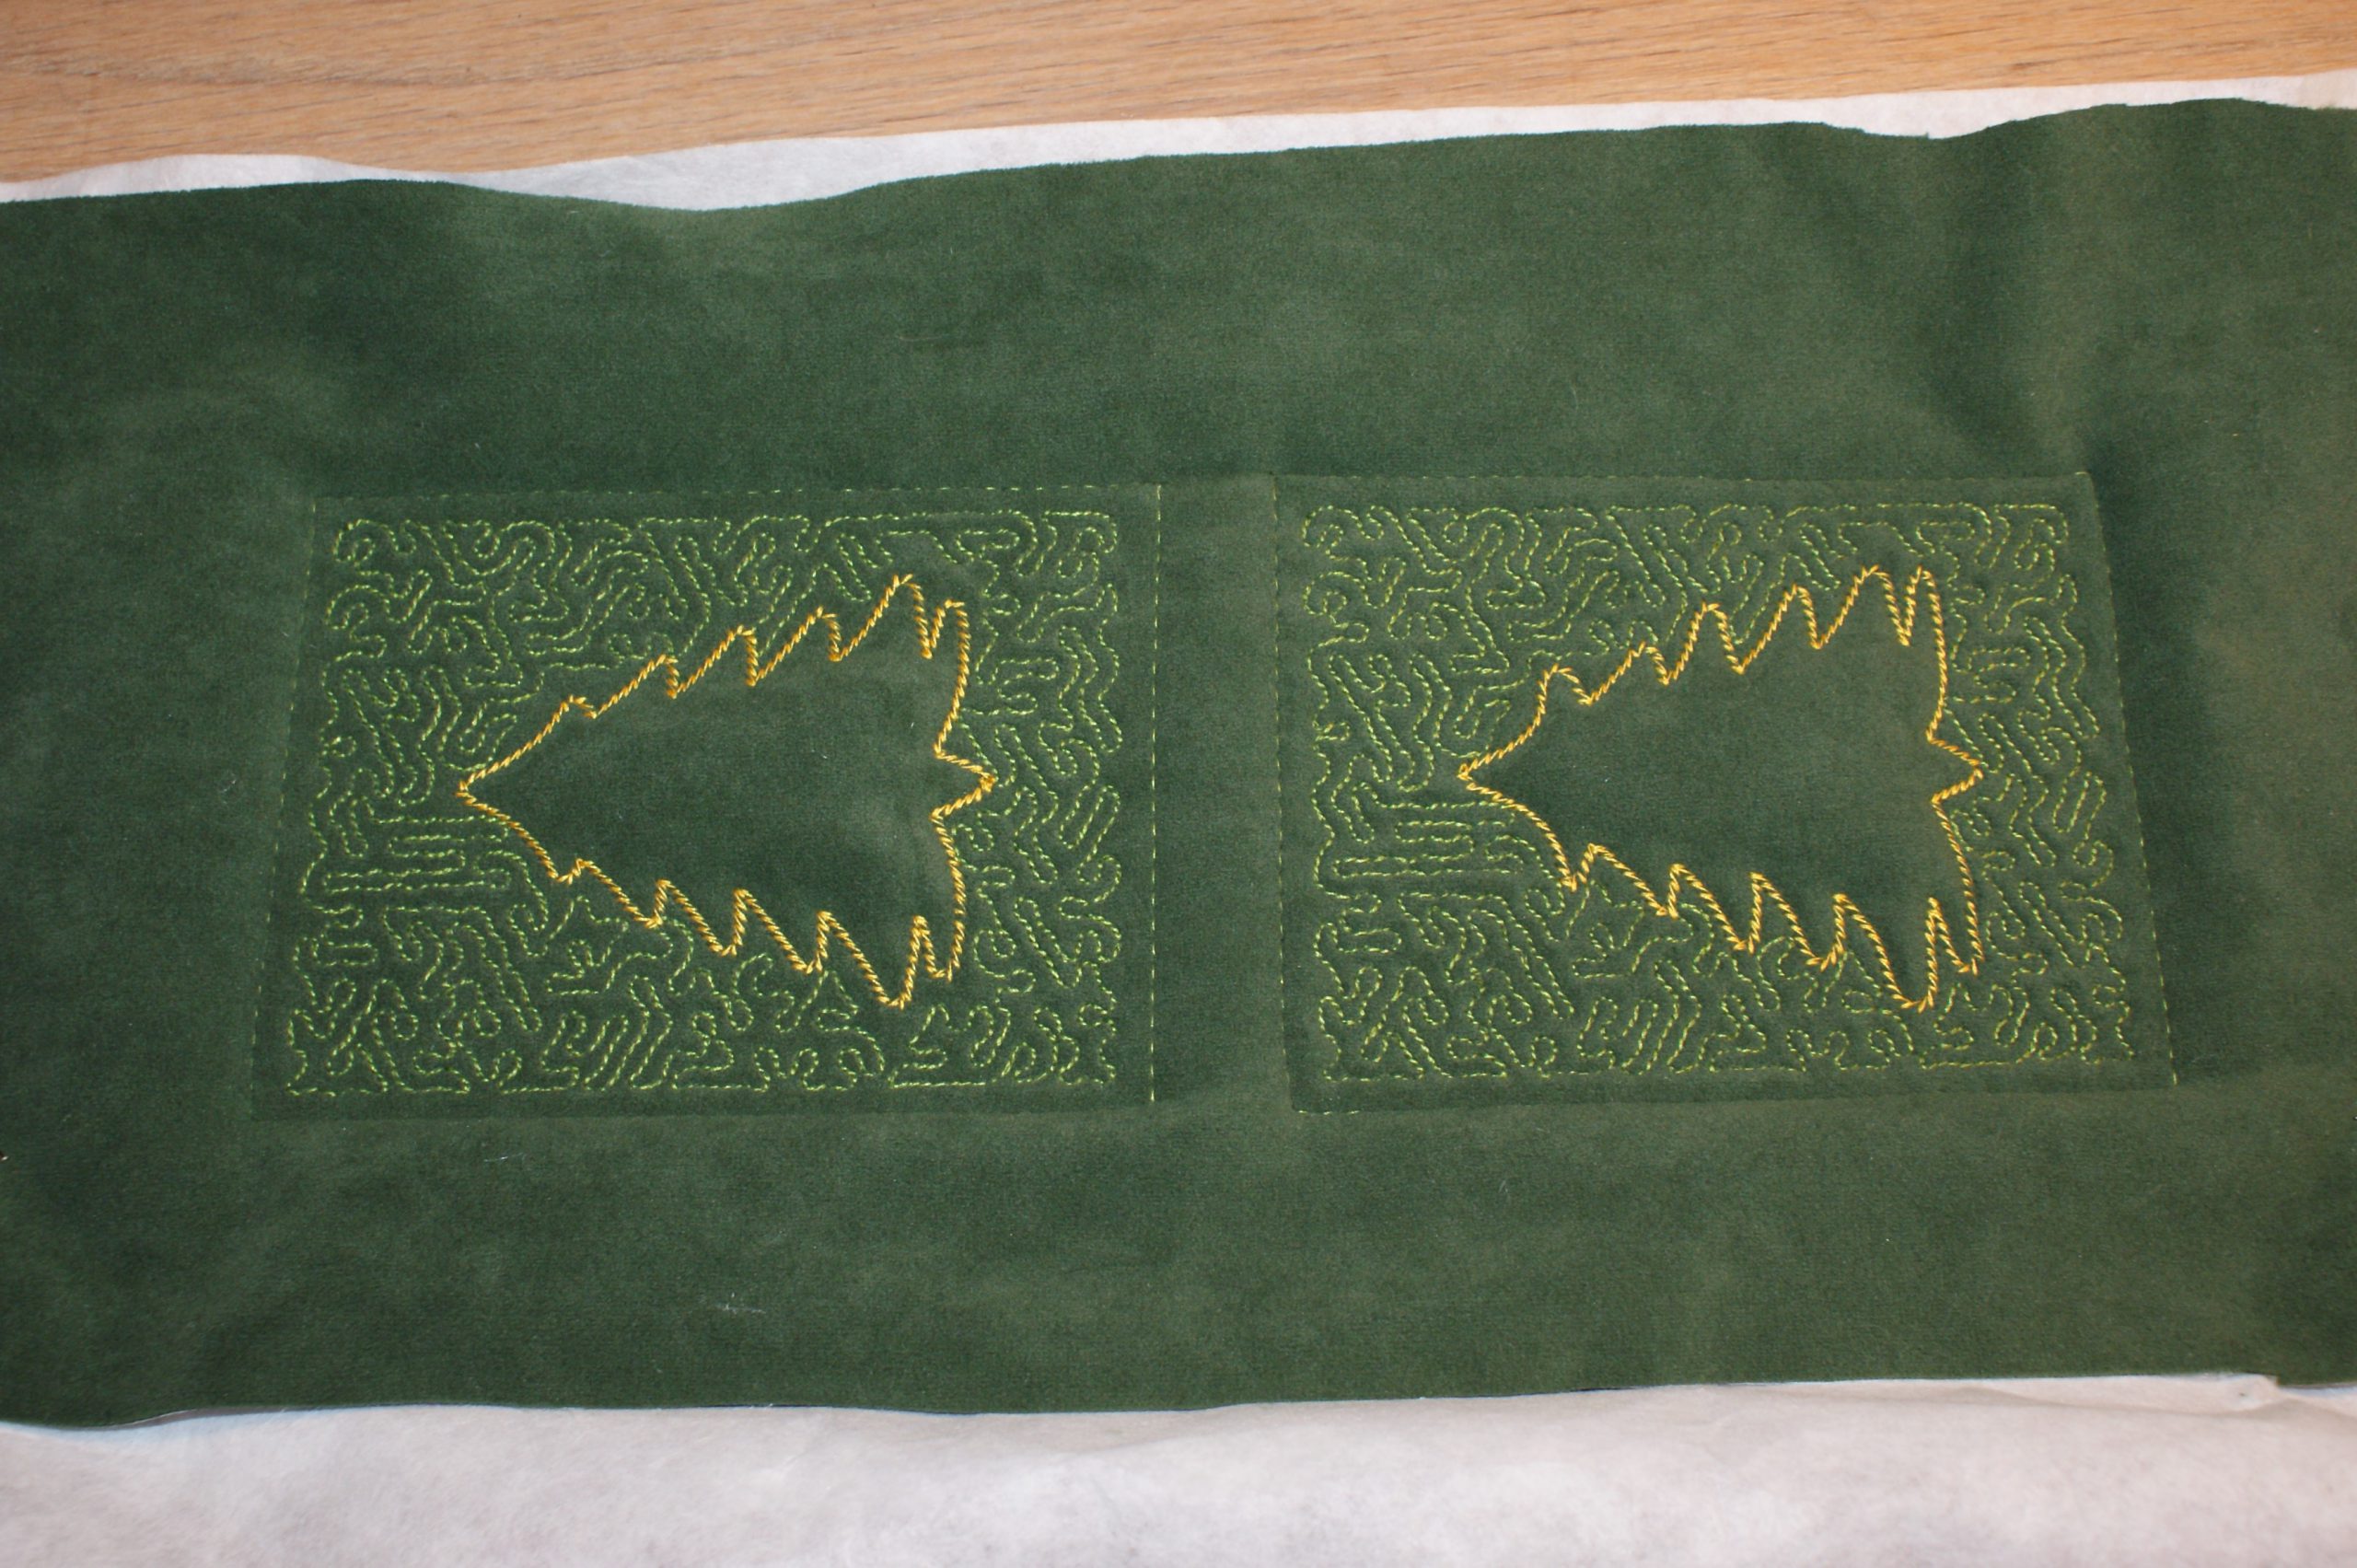
The spool thread is visible at the back of the work.
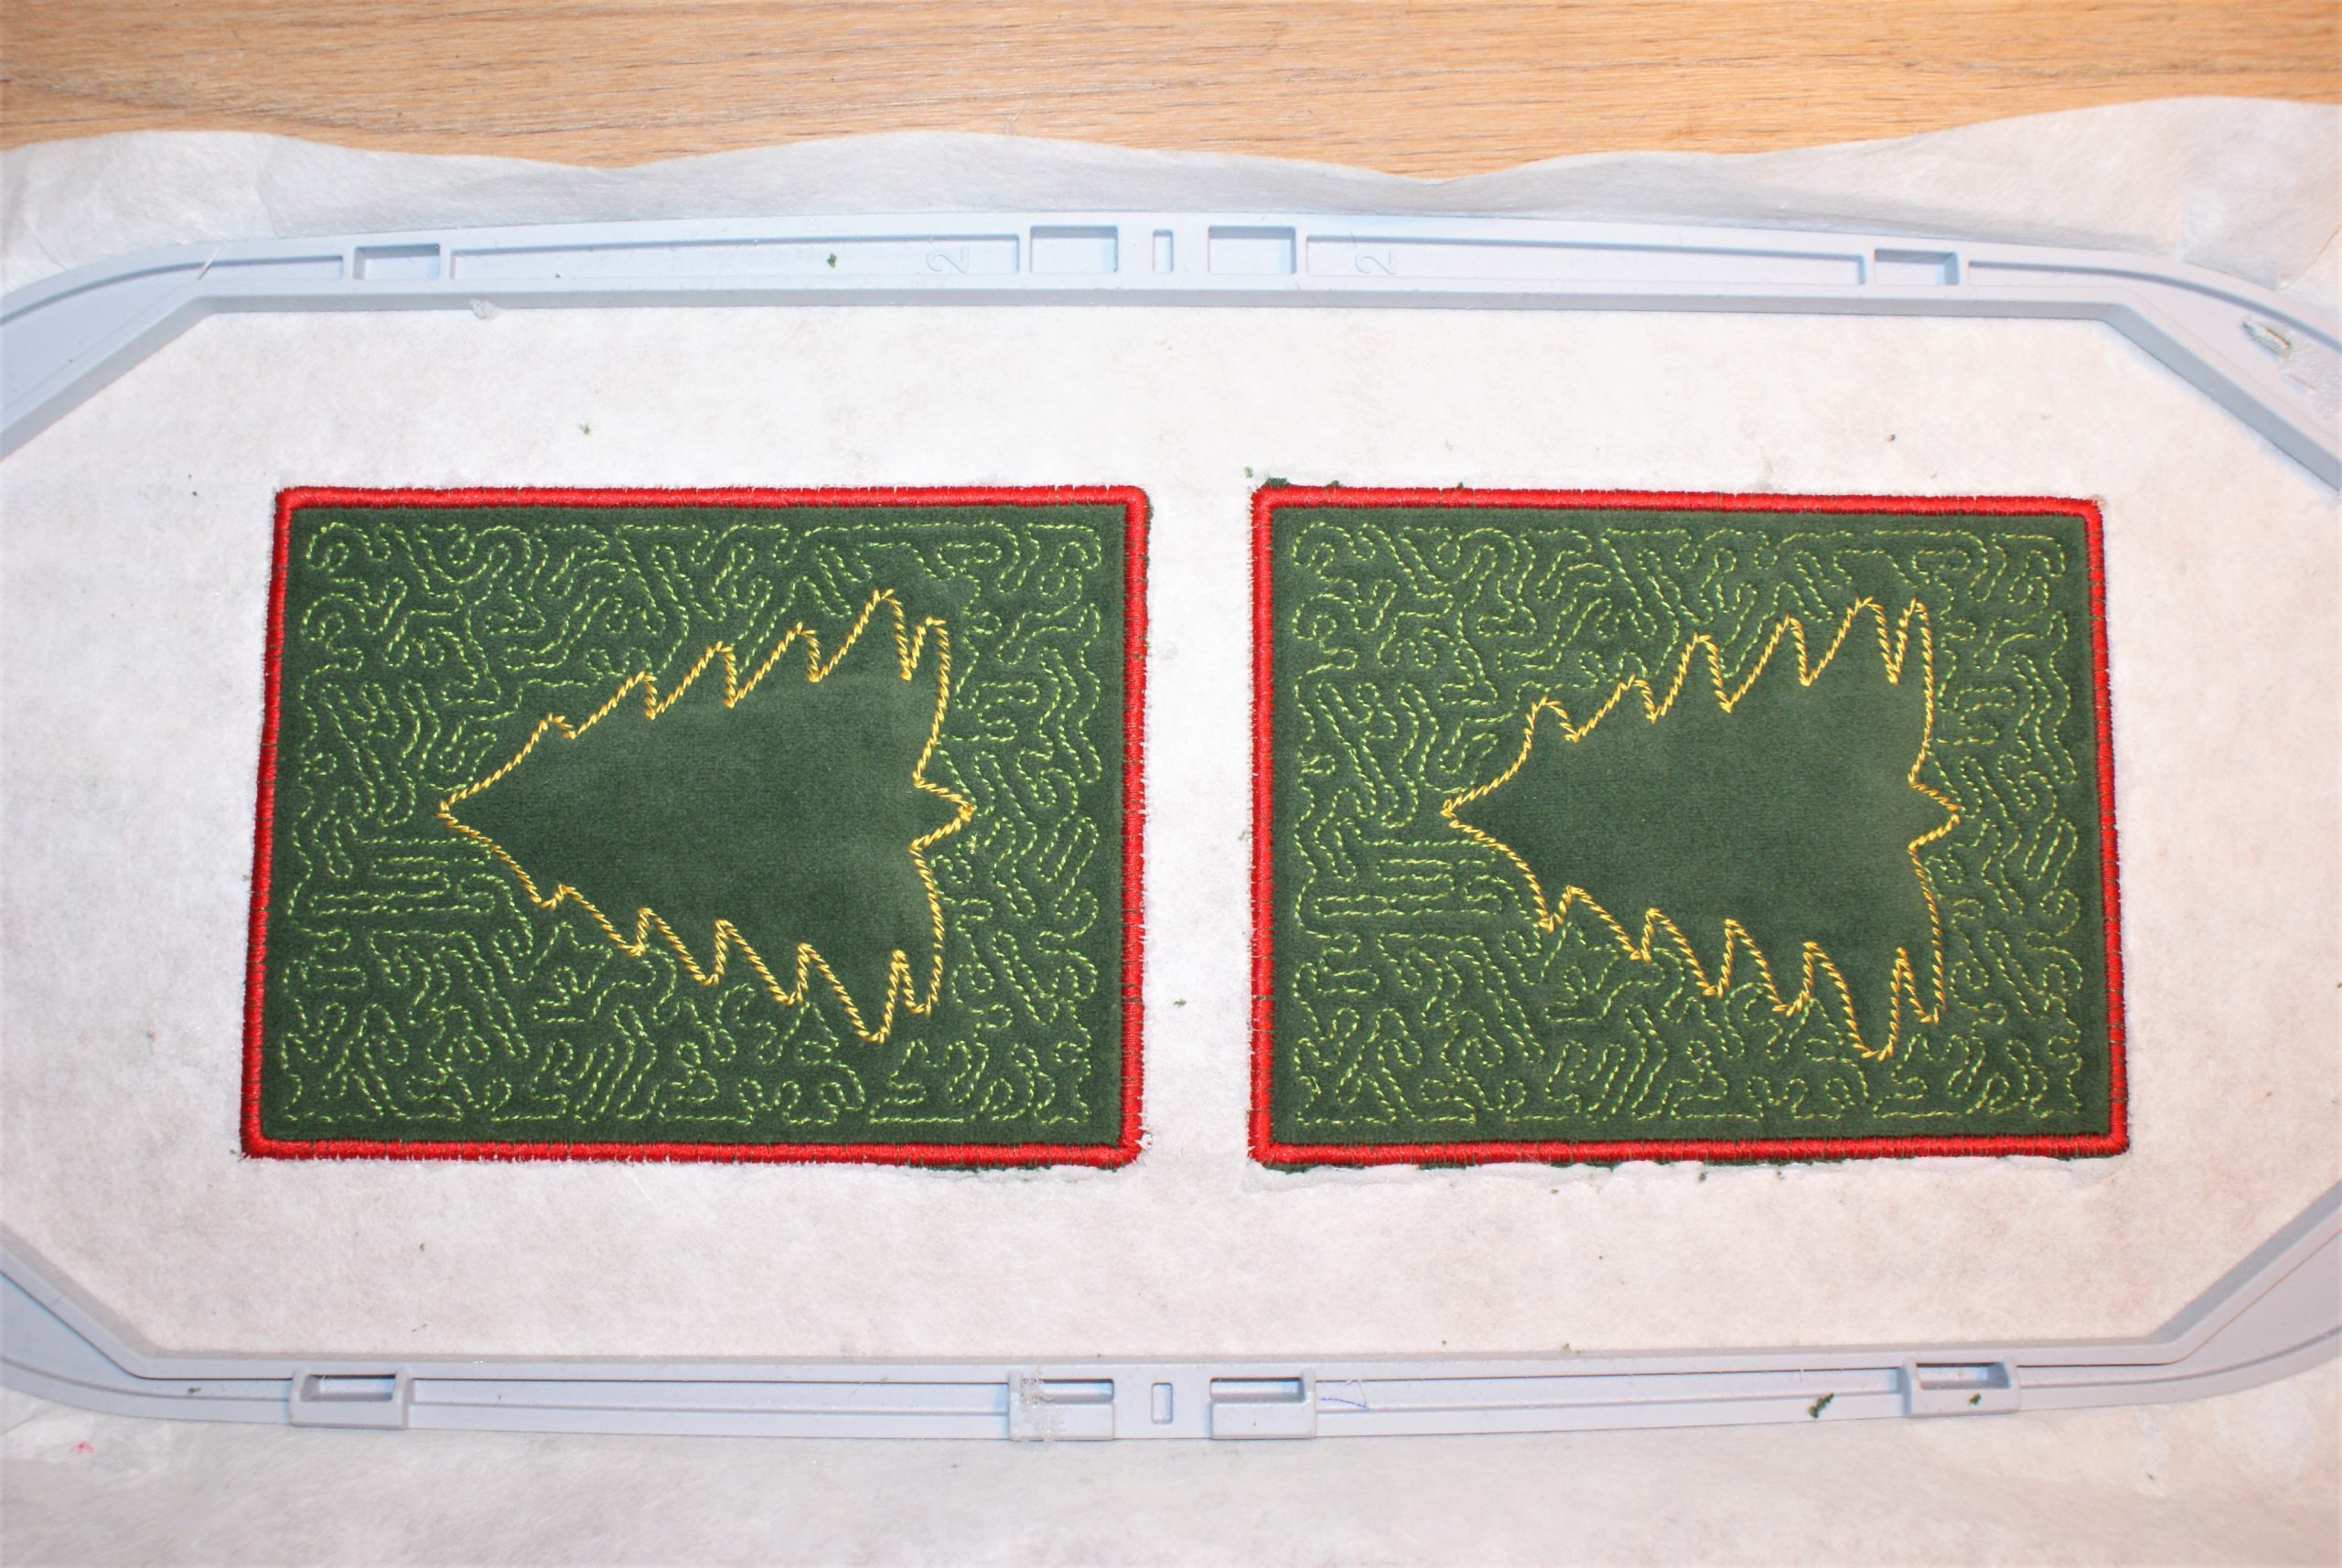
Spray glue on the back of the work and place the cream fabric under the work. If necessary, you can pin around the perimeter of the rectangles. Then embroider the 2 rectangles again in red, stitching the fabric for the back. Remove the embroidery hoop from your work and cut away the fabric around the rectangles. Do this on the right side as well as on the back of the card.

Now take a spool thread in red, in the same colour as the embroidery thread for the right side of the work. Embroider the border.
Finish the embroidered Christmas cards:
If you notice any residual fluff around the edges, simply cut it off afterwards.
Be very careful not to cut into the embroidery thread. If this does happen, you can still fix it by using a drop of textile glue. Can you see the difference?
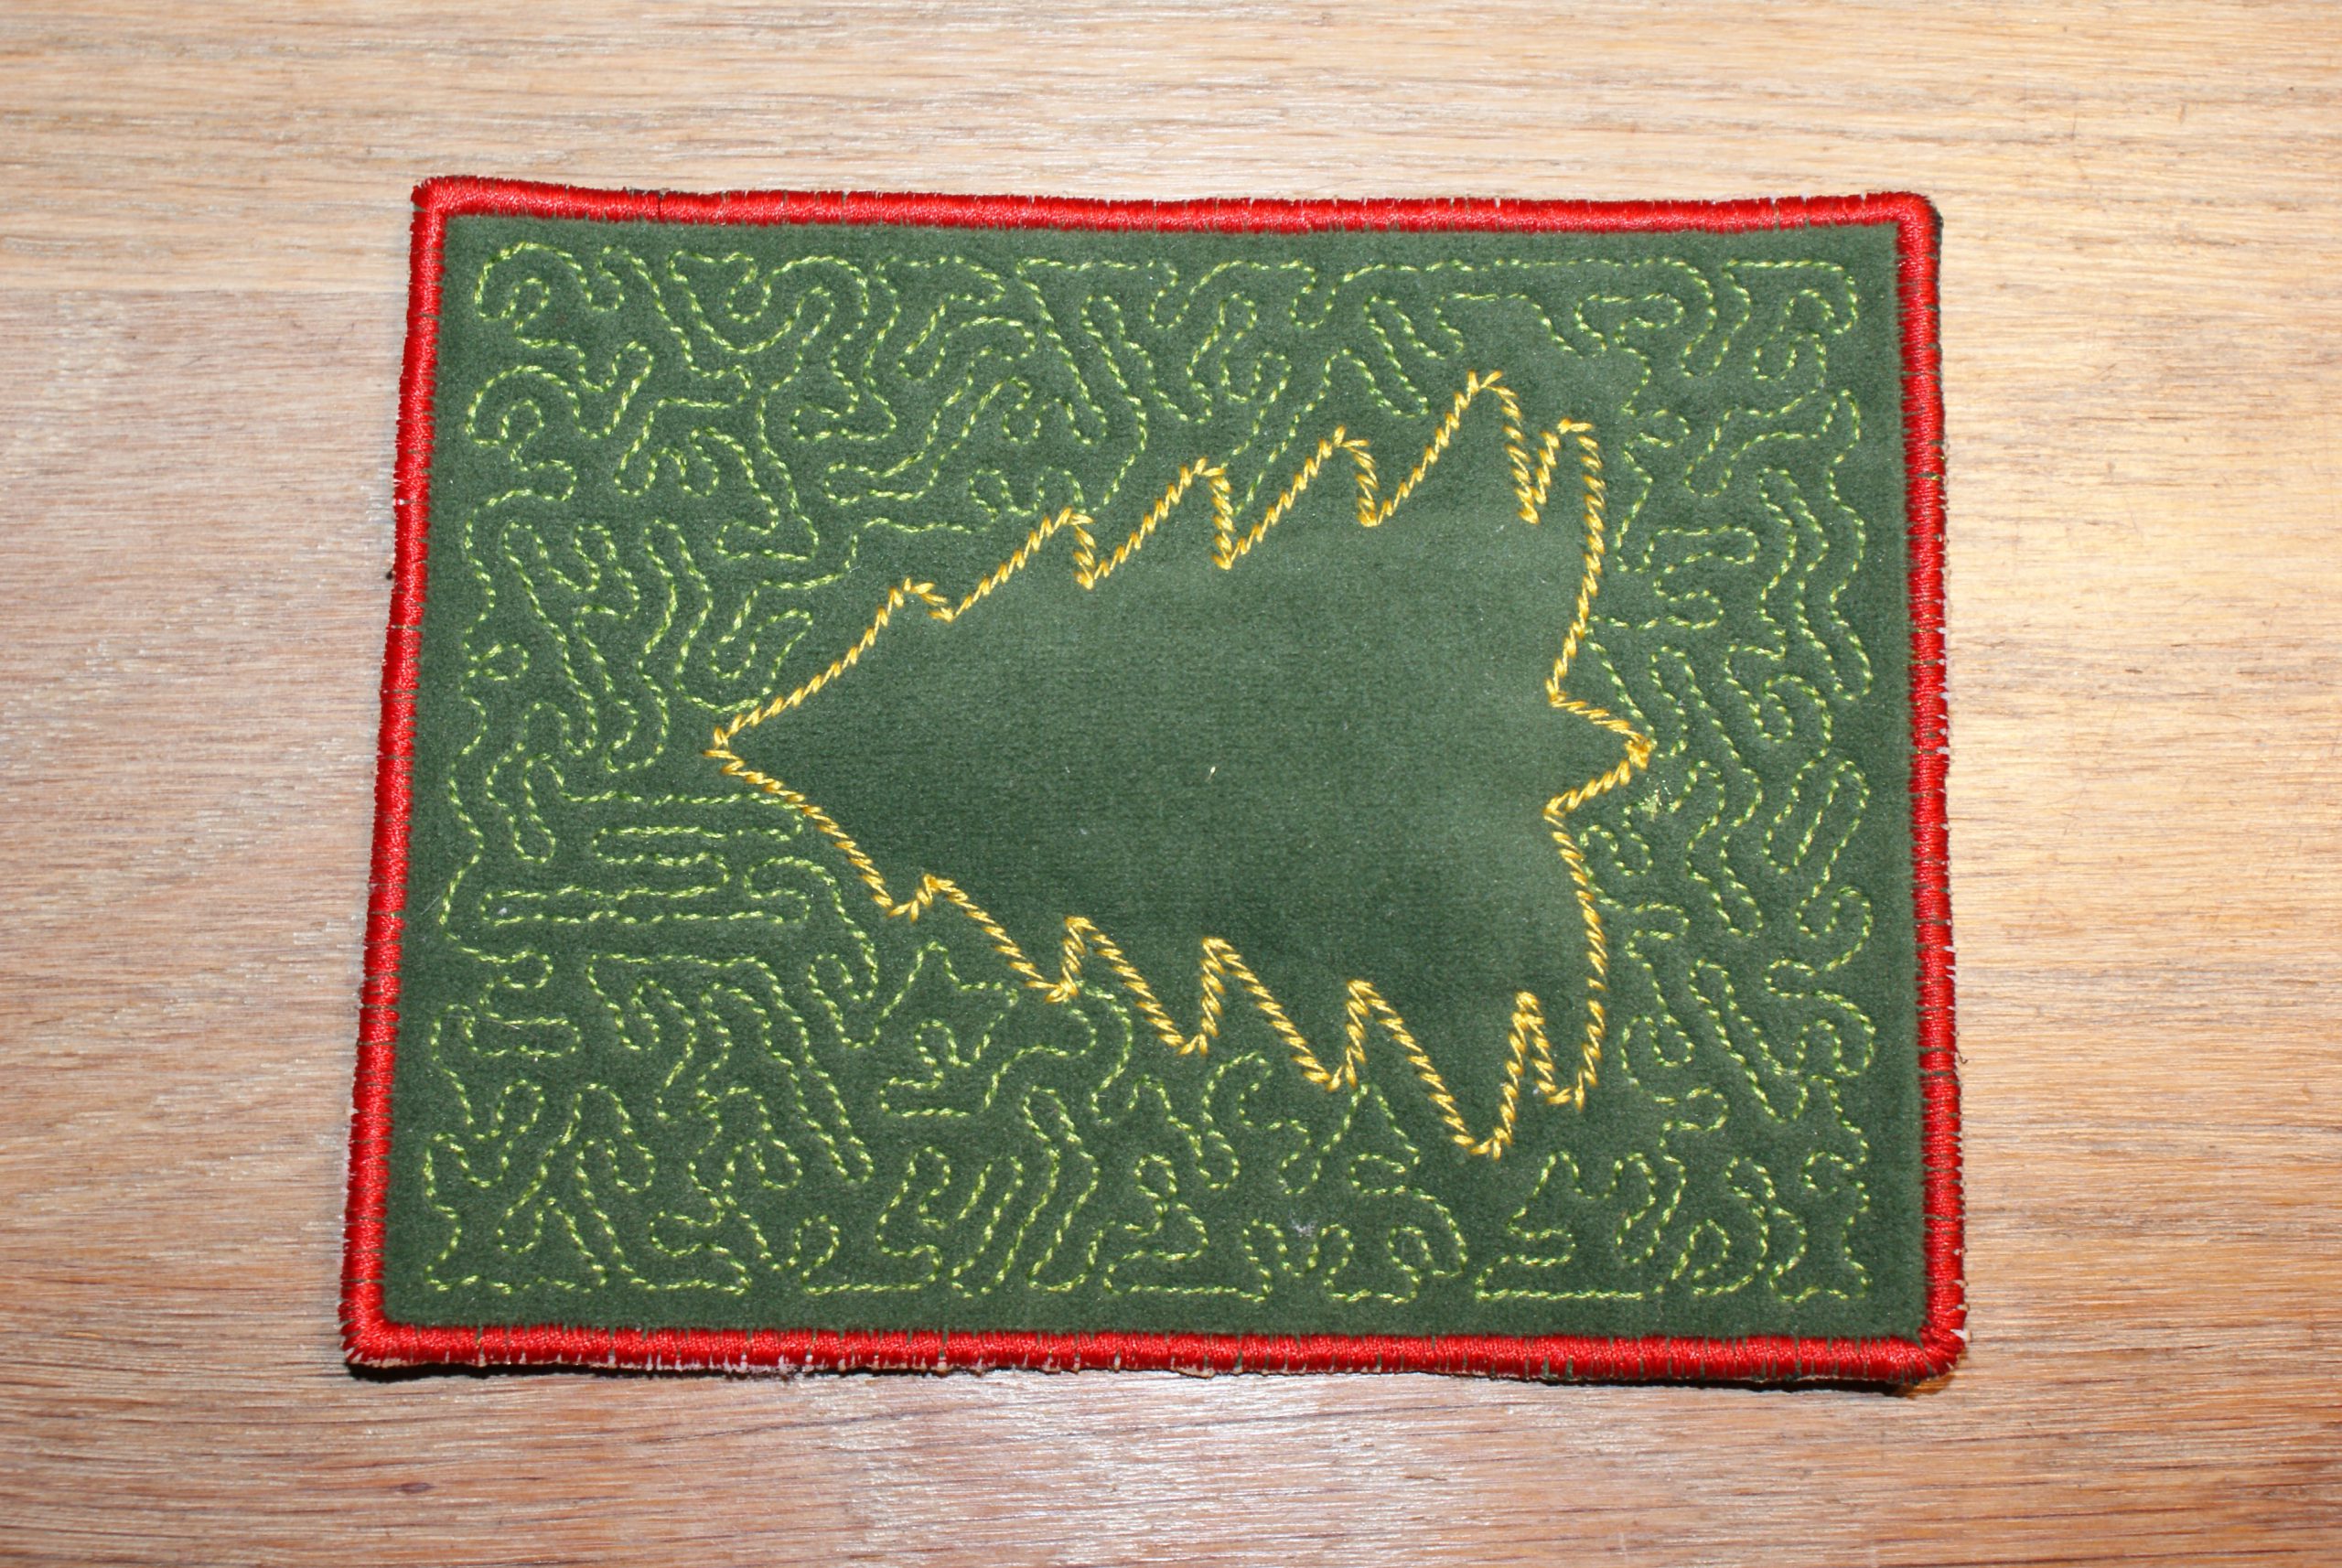
All done.

Now all I have to do is send them 🙂
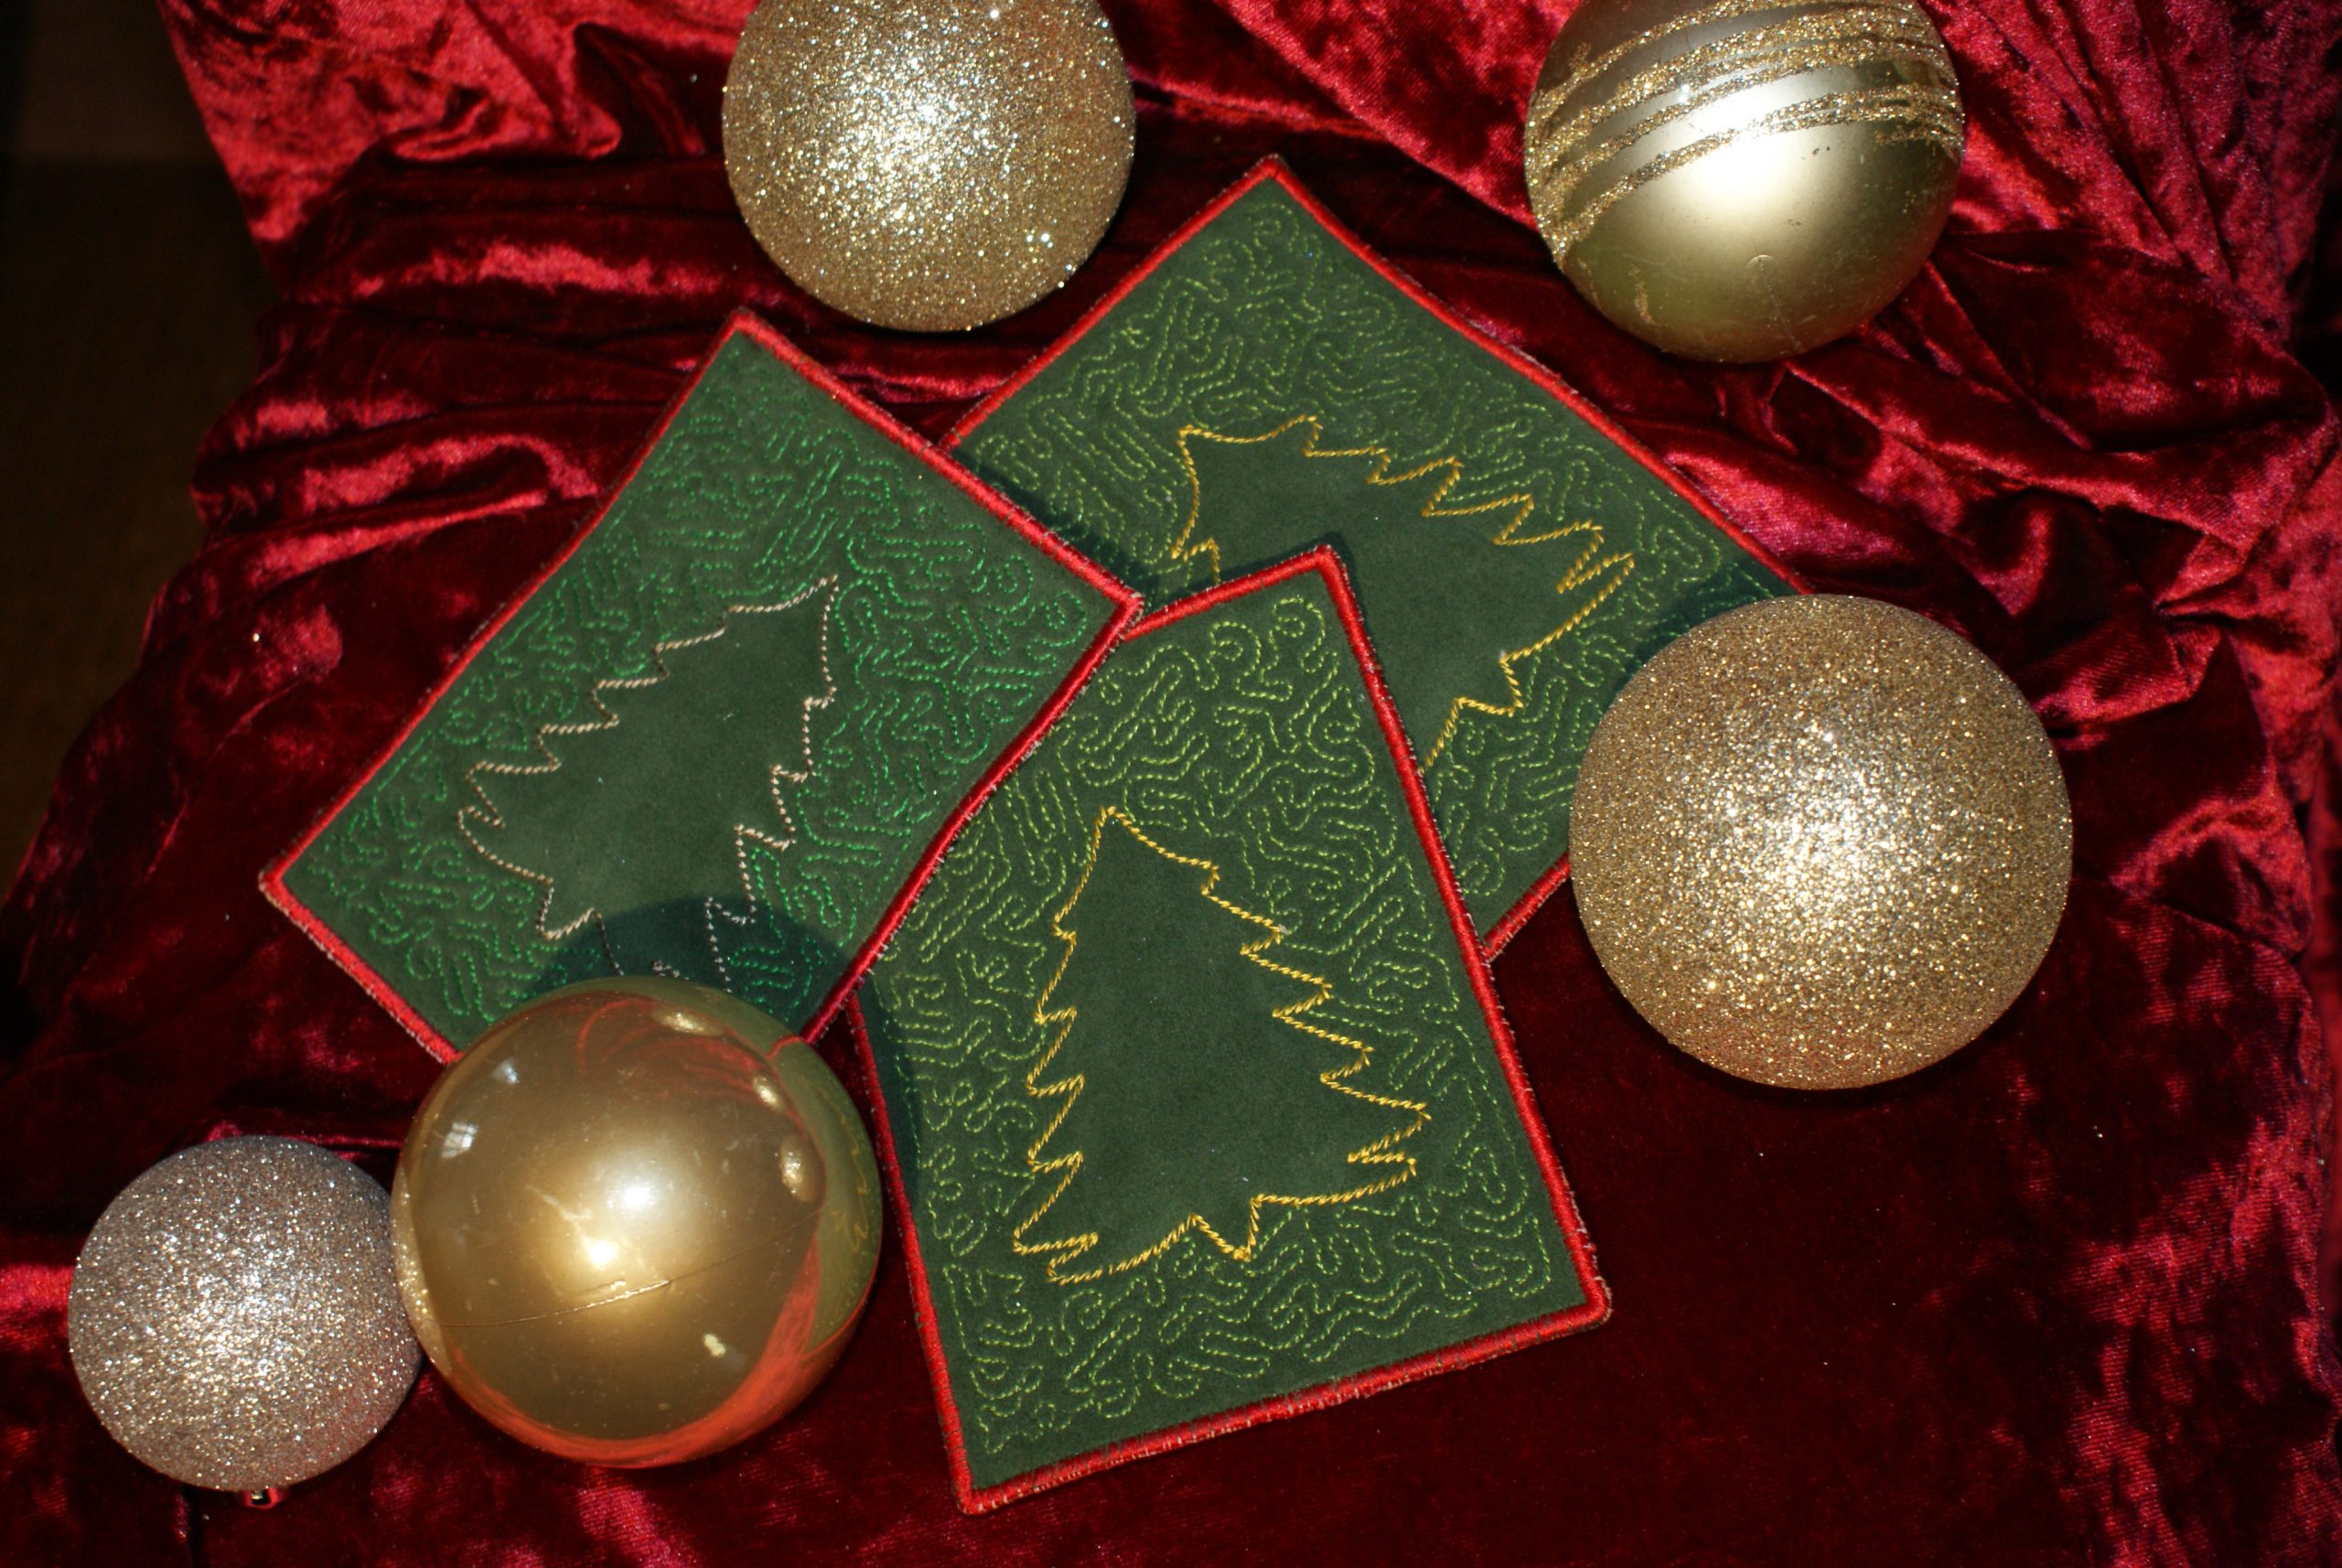
Would you like a cosy Christmas card, straight from the heart?
I hope you liked to embroider Christmas cards – instructions for festive sewn Christmas cards.


Thank you very much
Very pretty Bea! I will enjoy making these. Merry Christmas.
Oh, Jan, thank you for your compliment. Have fun making them! Merry Christmas for you and your family.
Love this simple card! Thanks for posting it.
Hi Sheron, I like simple projects as well, and that’s why I made it this way. The 3 dimensional volume says it all. Merry Christmas!