 BERNINA Corporate Blog -
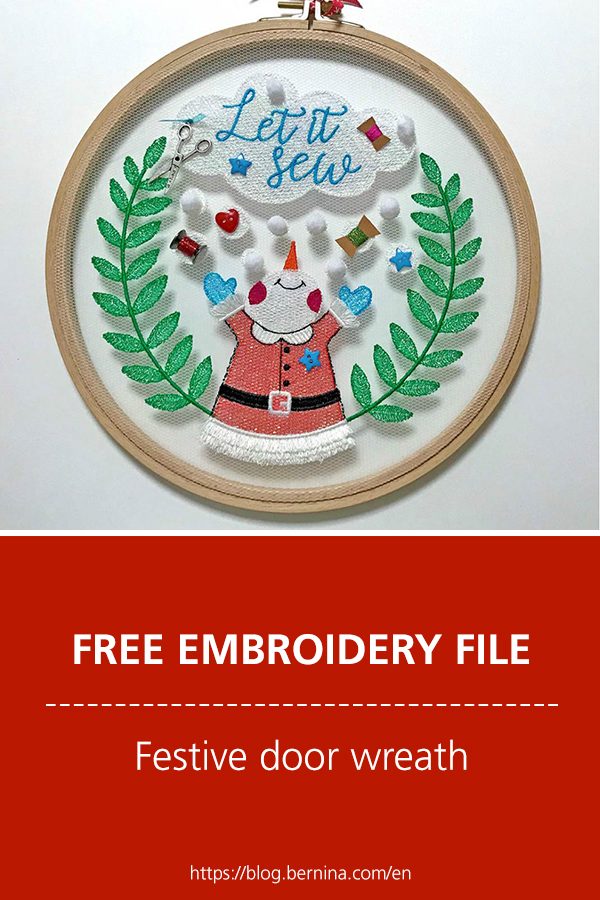
Today we’re embroidering a fun door wreath together. I have fond memories of my first Christmas in New York. Even now, I am very impressed by the number of decorations and lights. One thing I wasn’t familiar with is door wreaths. This type of decoration is commonly used in the USA all year round, but I’ve always thought that the ones hung up at Christmas time are the most beautiful. Door wreaths symbolize safety, warmth and home.
This year’s theme for the blog advent calendar is “from the heart”. I thought it would be particularly fitting to embroider this door wreath for a dear friend, because she is always there for me and makes me feel warm and safe. Do you have a friend like that too? Or maybe you’d like to create a fun wreath like this for your own door?
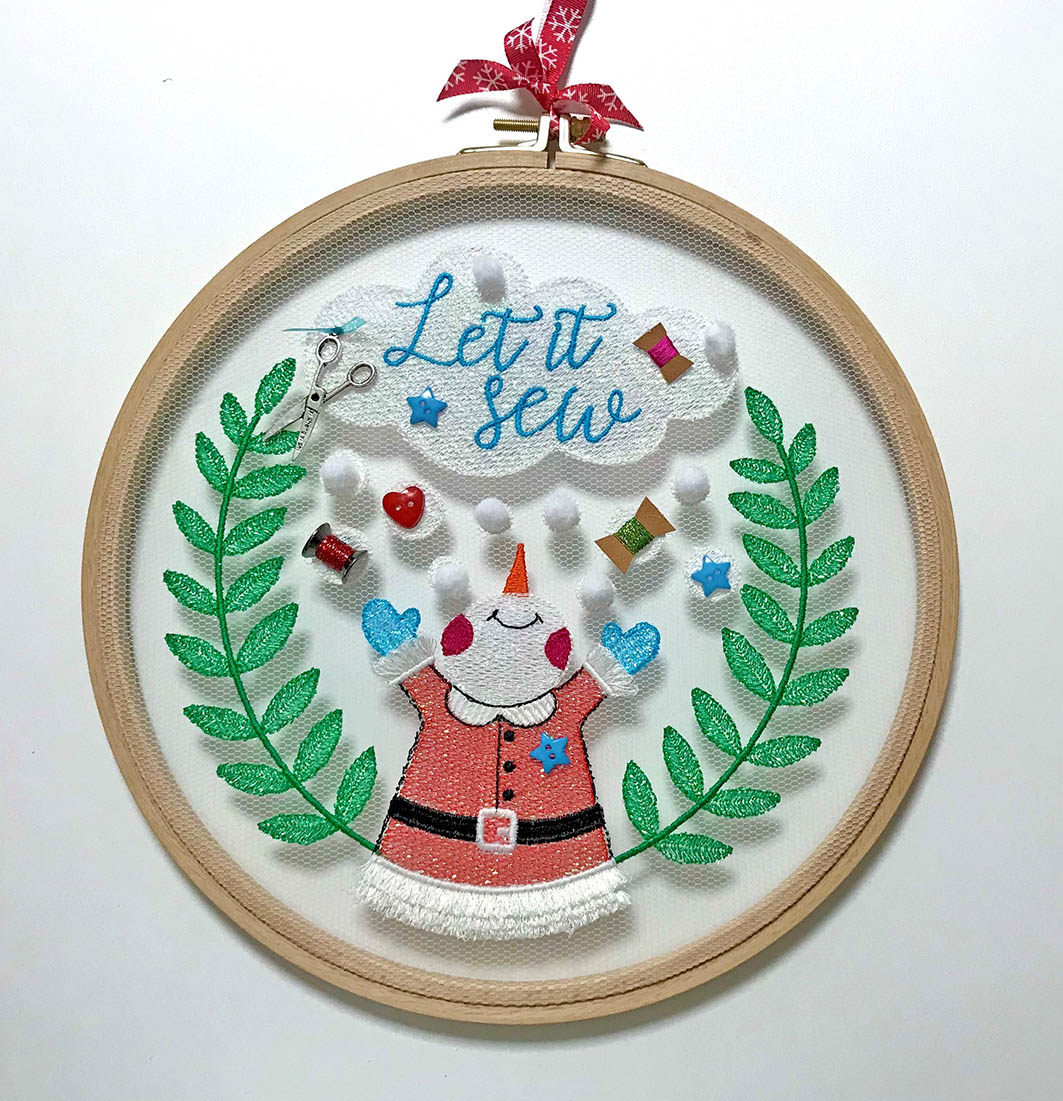
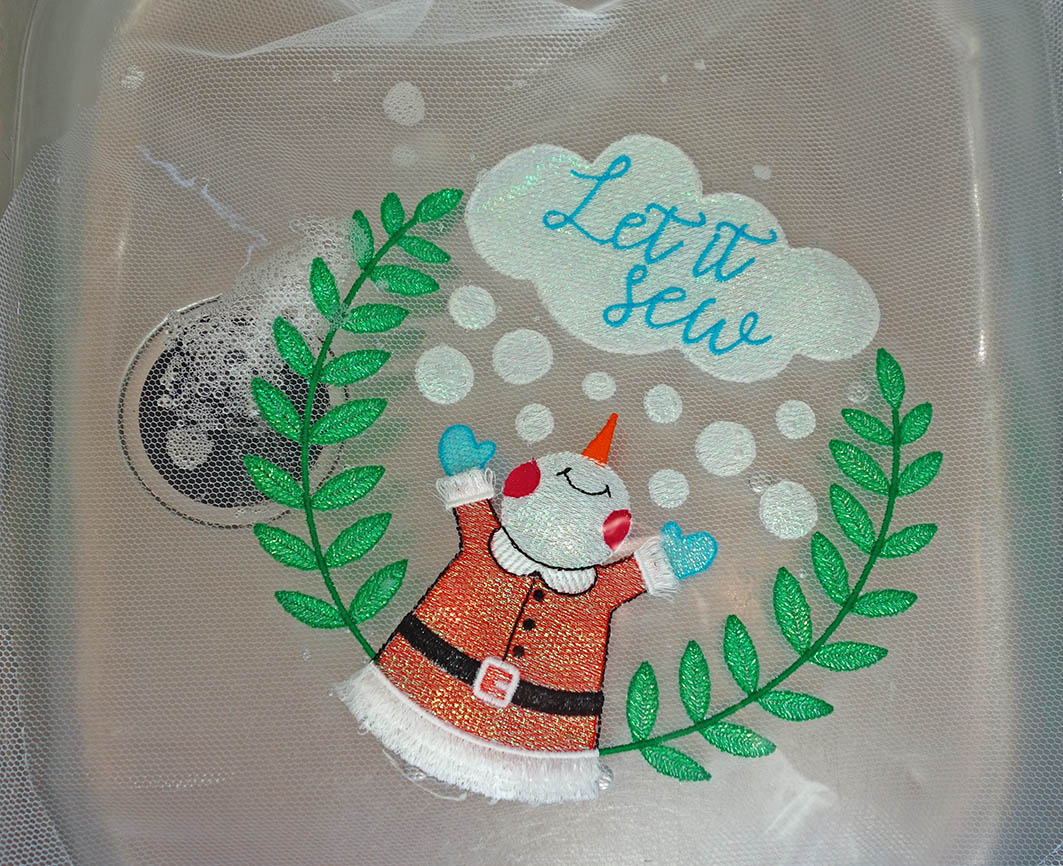
The embroidery film gives the delicate tulle a glittering surface that makes it look like it has been embroidered with metallic threads. If you don’t have any tulle or embroidery film, you can embroider the pattern onto woven cotton fabric. A cut-away stabilizer is sufficient as a base for the embroidery. It should be noted that the larger areas are digitized a little more loosely and the background fabric will show through slightly. I would not embroider on tulle without embroidery film!
Free door wreath embroidery file
You can download the embroidery file for free at the following link:
Download door wreath embroidery file
The file is optimized for the BERNINA Maxi Hoop.
Materials
- Water-soluble stabilizer – 2 layers measuring 35 cm x 55 cm each
- 35 cm x 60 cm tulle – the coarse variety known as carnival tulle
- 30 cm x 25 cm embroidery film – also available from the Creative Center in Steckborn
- Embroidery threads
- 25 cm embroidery hoop made of wood or plastic
- Tear-away stabilizer remnants (5 x approx. 10 cm x 5 cm)
- If required: buttons, pompoms, little scissor tags, ribbon or cord to hang up, hot-melt adhesive
Embroidering the door wreath
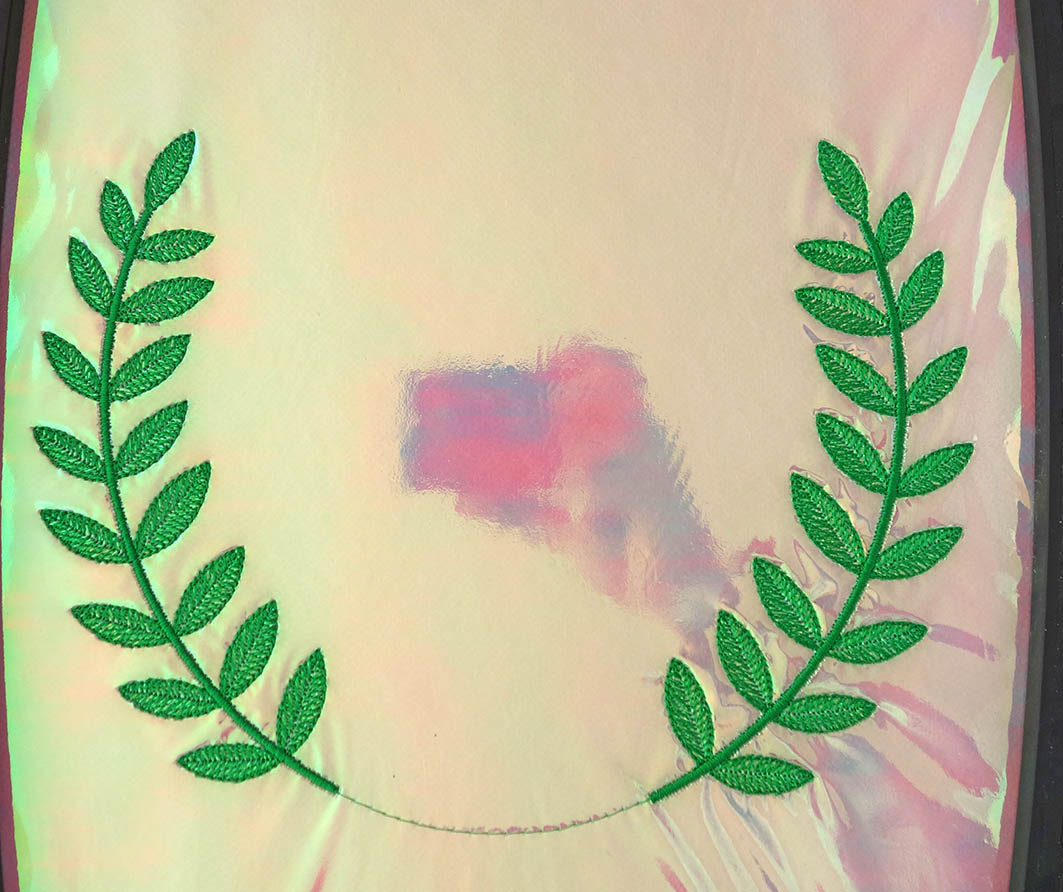
Insert a sandwich into the hoop drum-tight as follows: water-soluble stabilizer, tulle, water-soluble stabilizer, embroidery film.
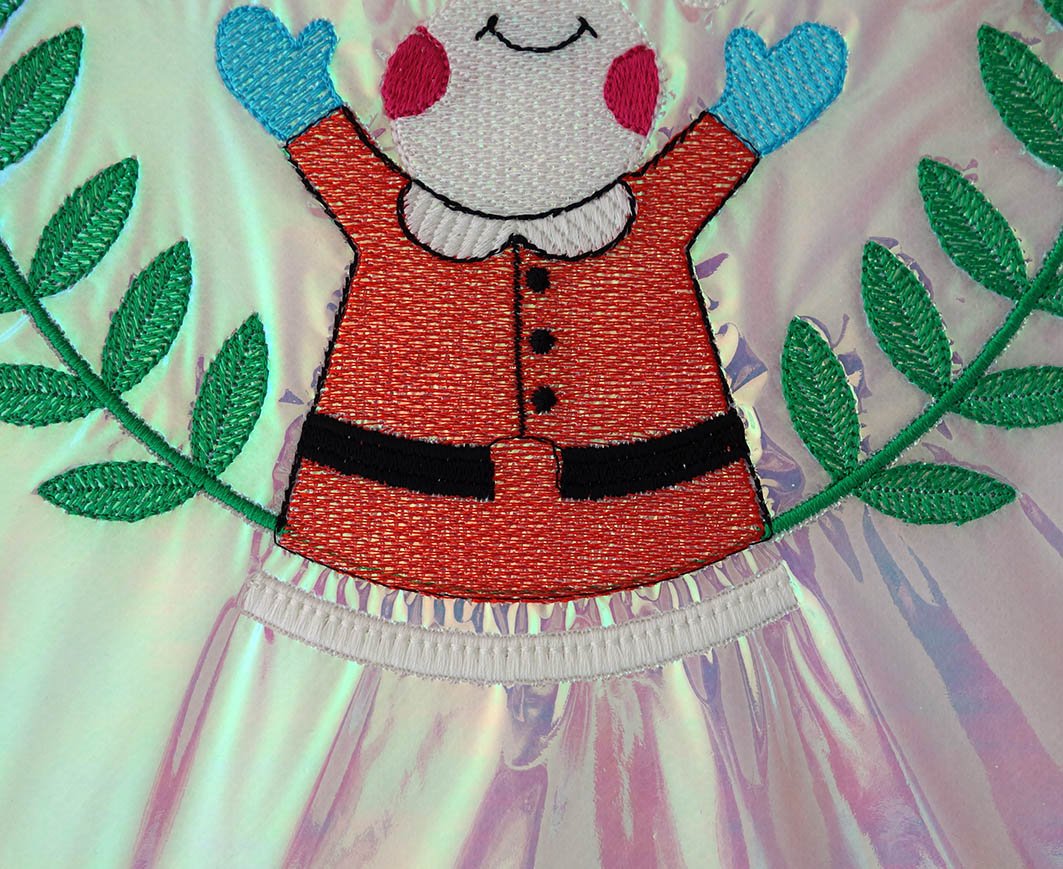
Embroider colors 1 to 7 according to the color chart.
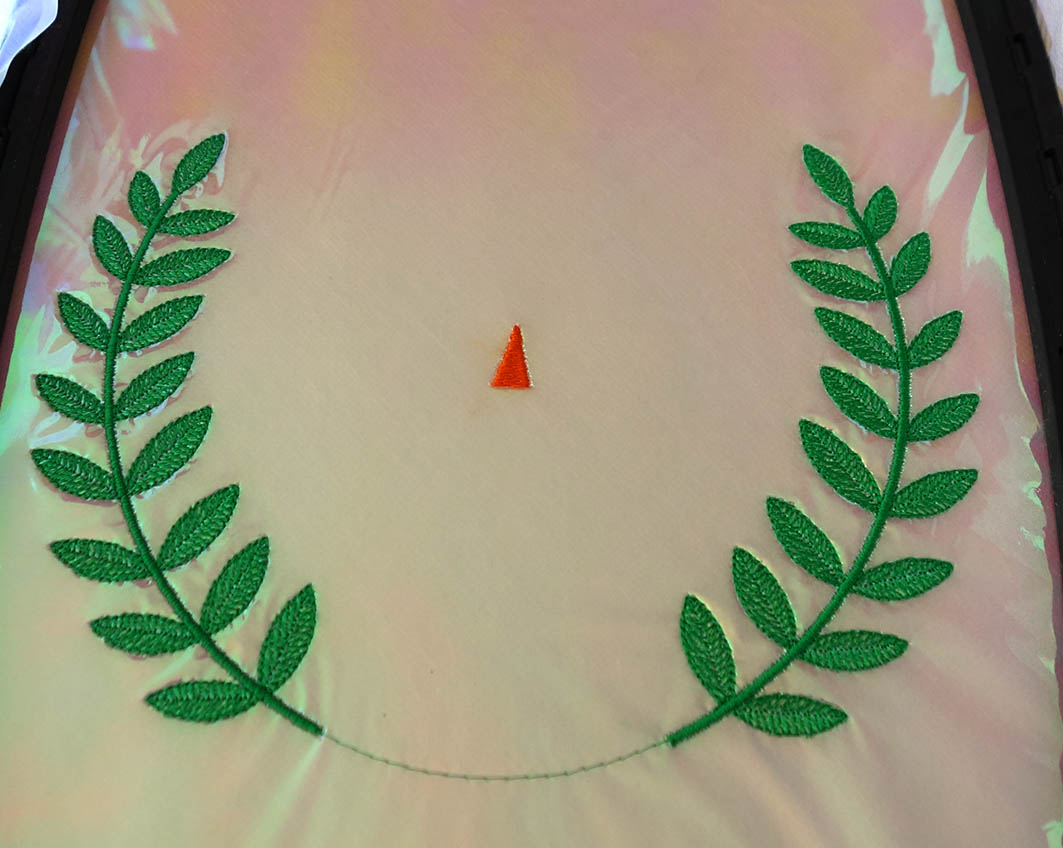
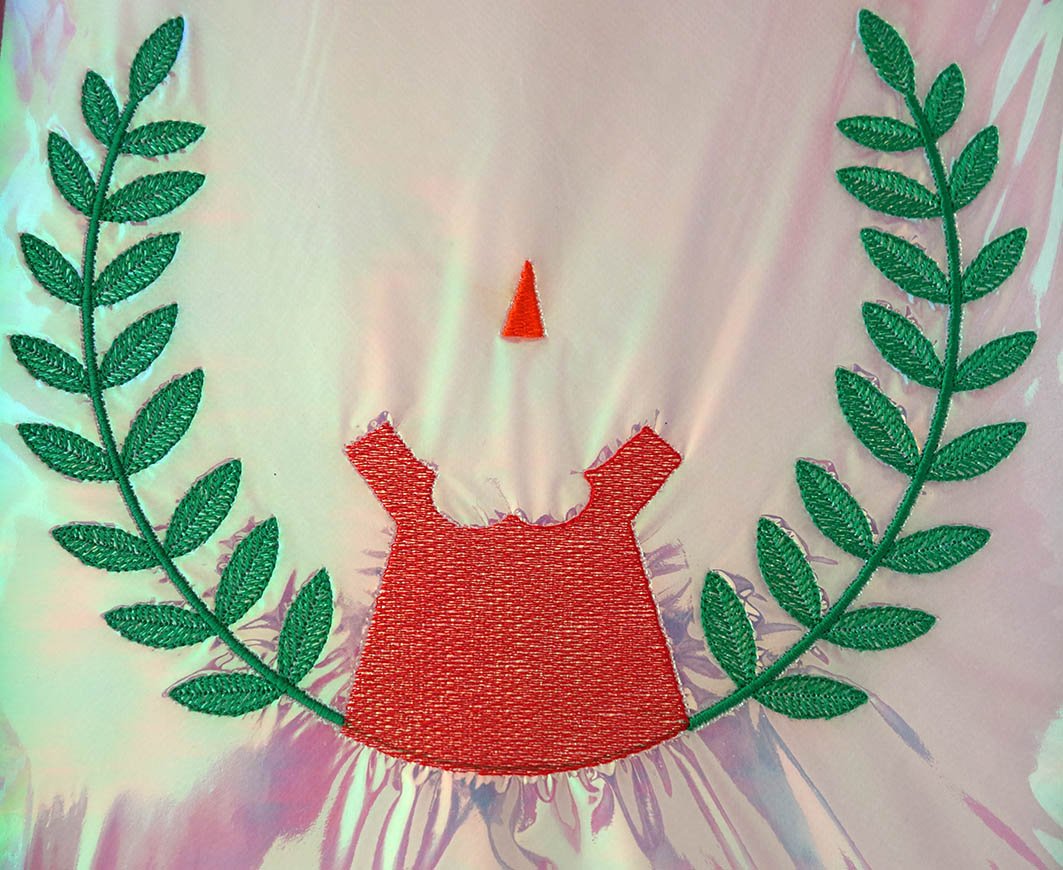
Color 1 – branches:
Color 2 – nose:
Color 3 – jacket:
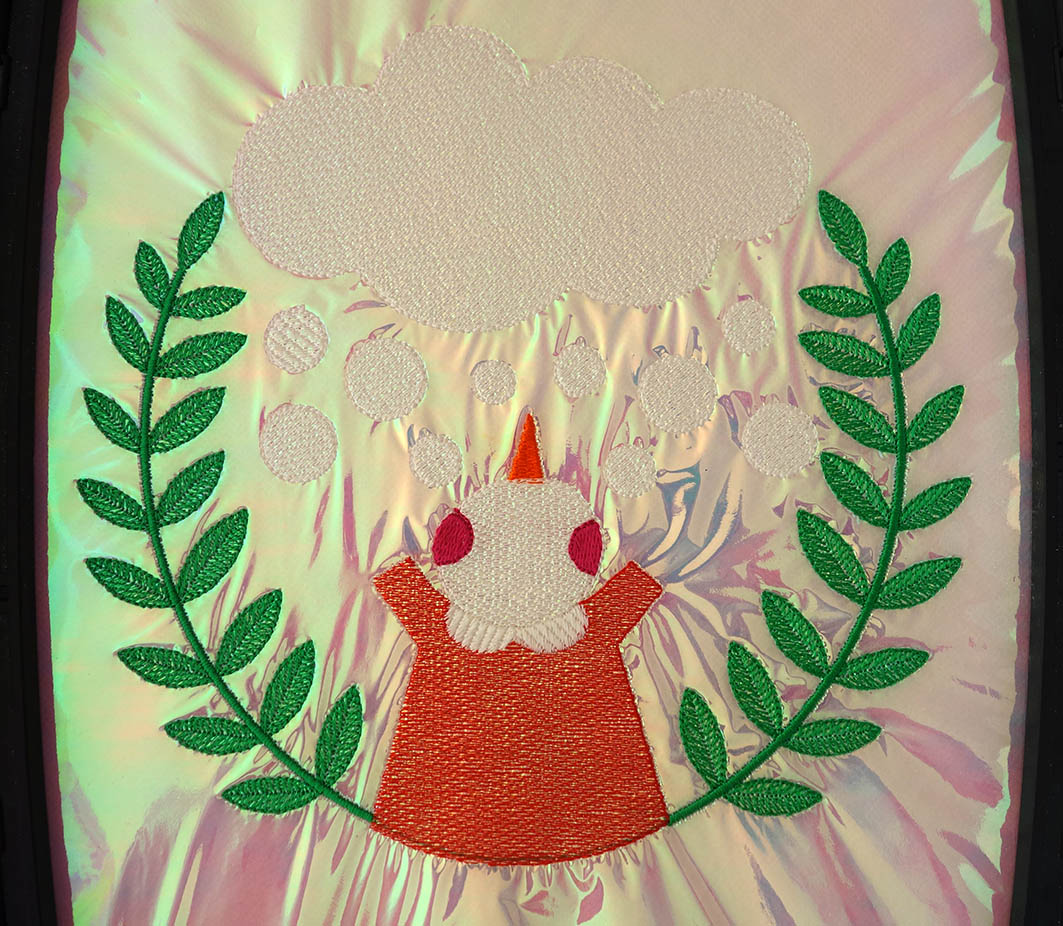
Color 4 – head, collar, snowballs, cloud:

Color 5 – cheeks:
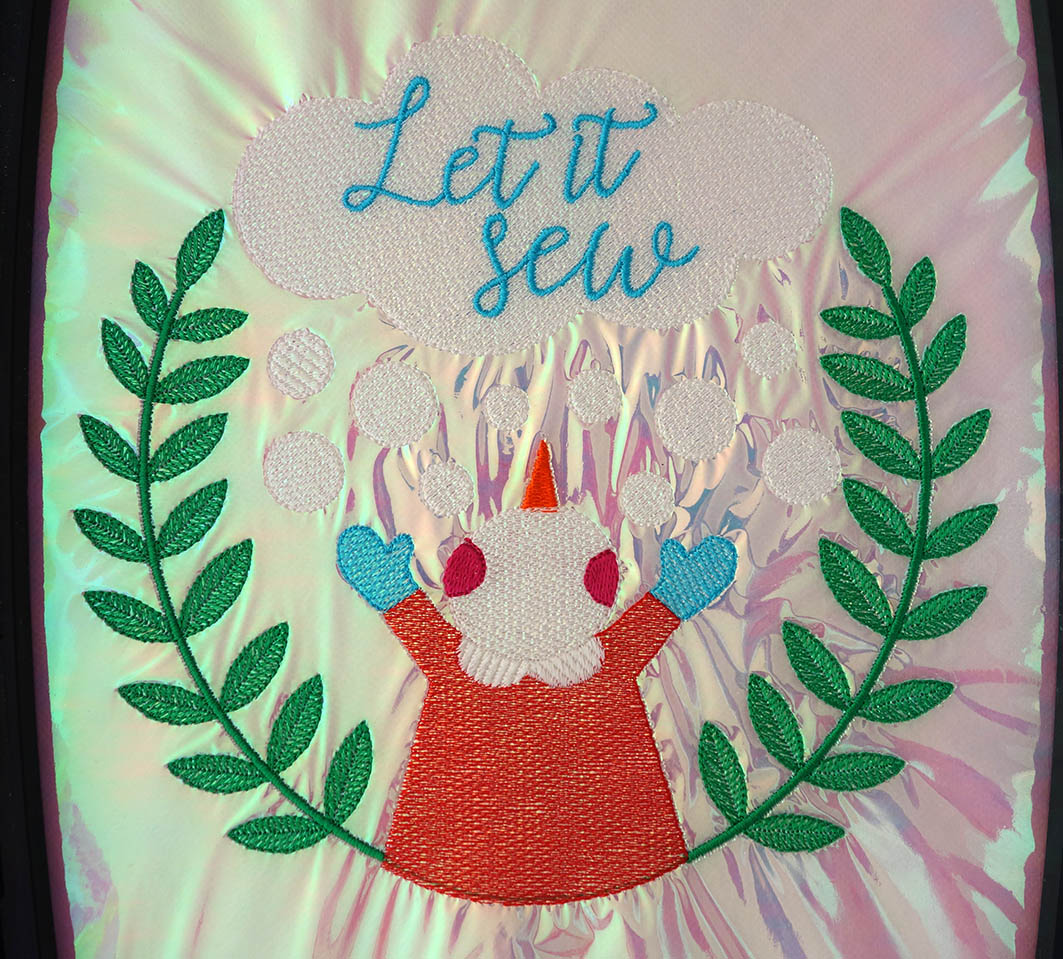
Color 6 – gloves and lettering:
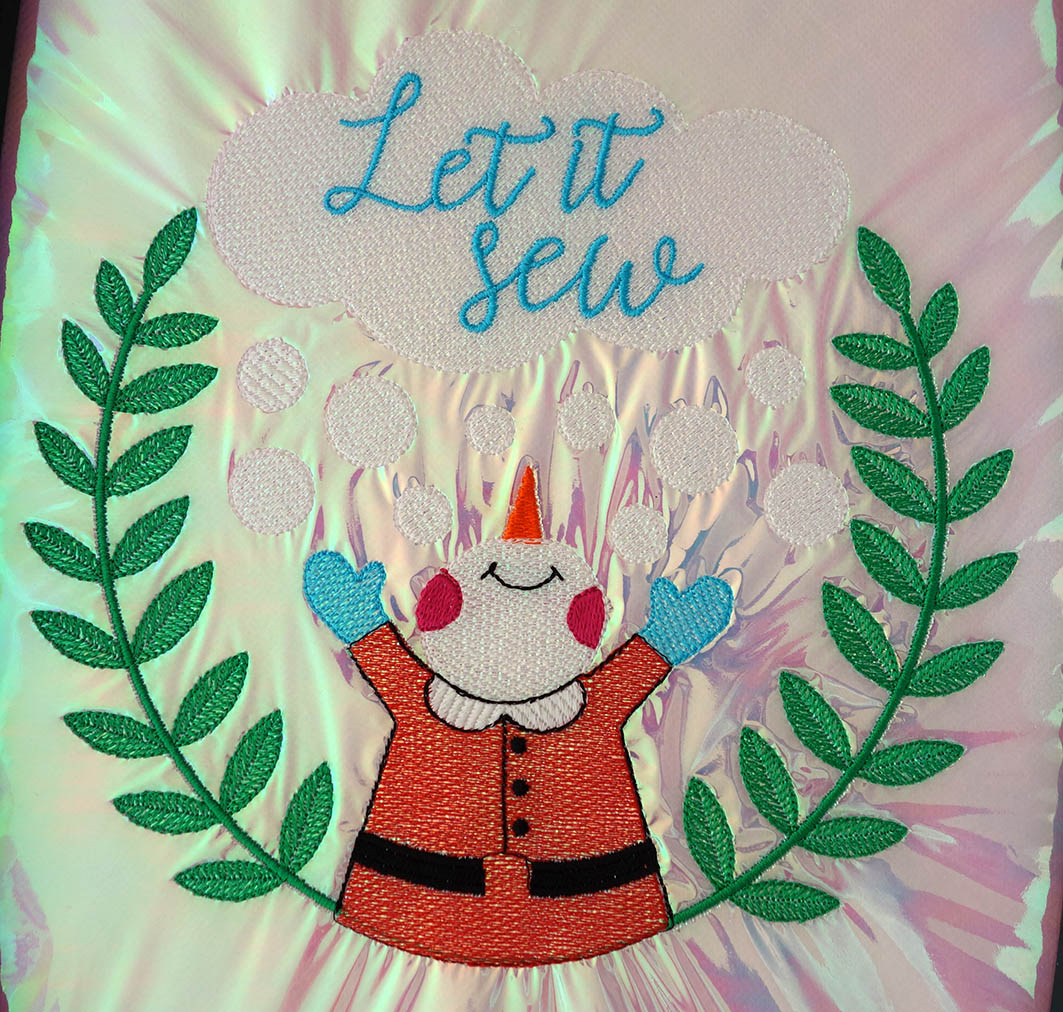
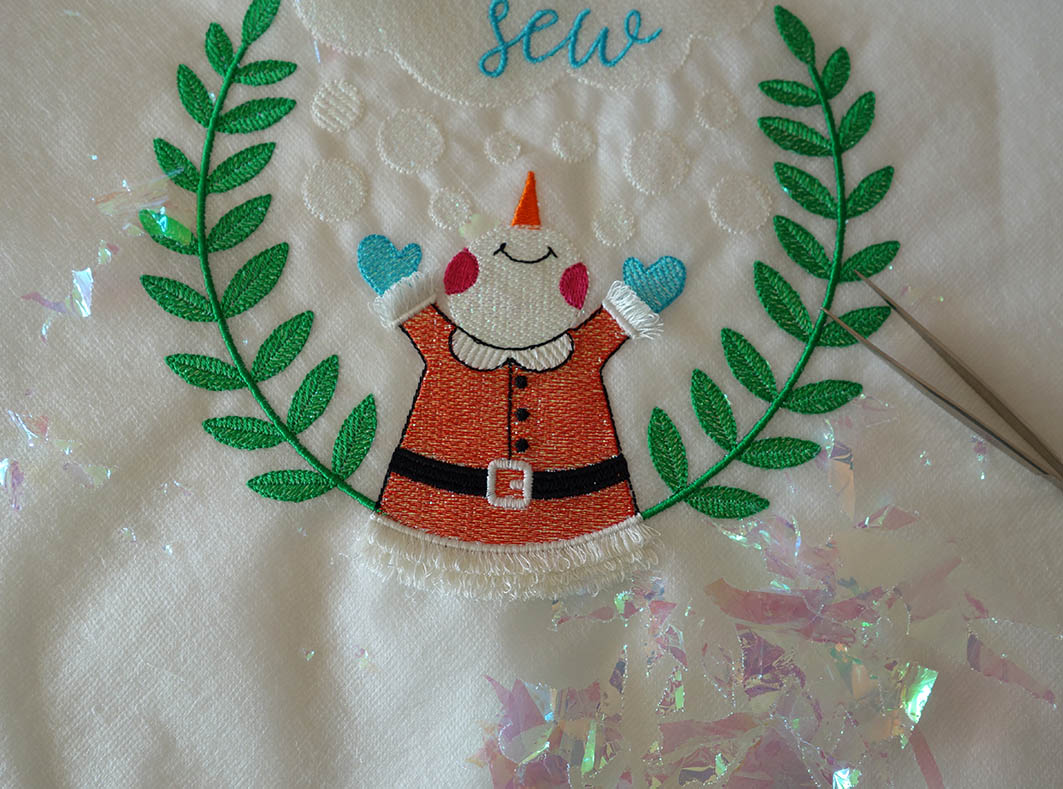
Color 7 – mouth, belt, buttons and outline of the jacket:
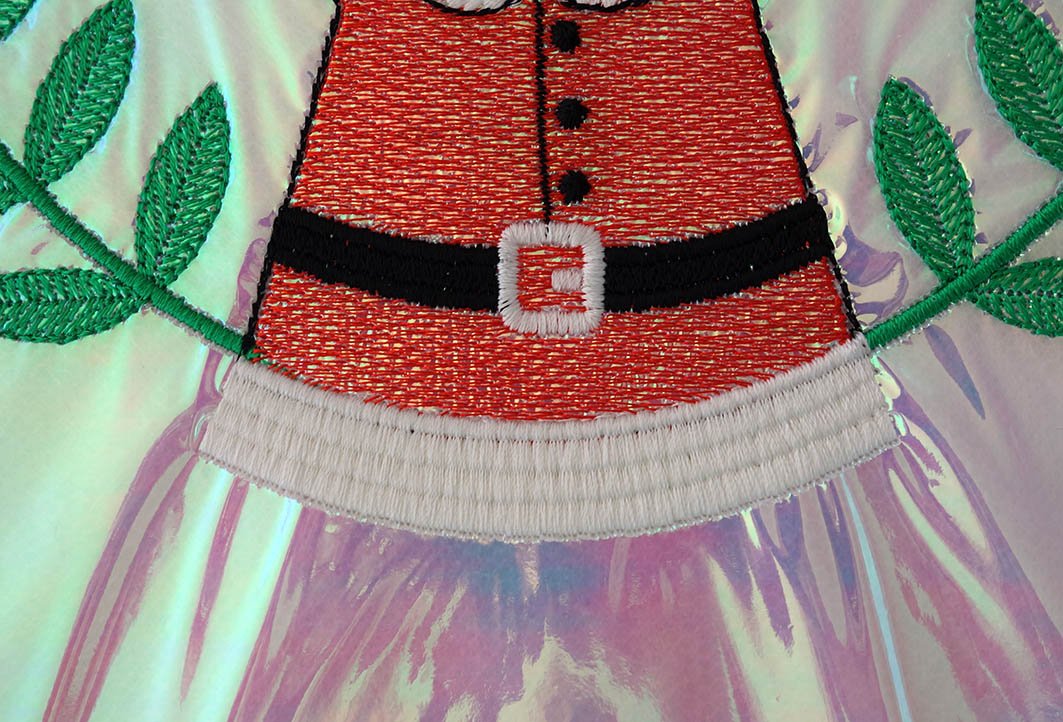
Embroidering the fringes
The remaining colors are all embroidered in white. Some of them are programmed in different colors in the embroidery pattern so that the machine stops and we have time to put stabilizer underneath. Next, in step 8, we embroider a layer of the fringes. If you want longer fringes, you can reduce the upper thread tension a little so that the machine gives out more thread.
Ideas and tutorials for your next sewing adventure
Subscribe to the BERNINA Blog Newsletter
If you love to sew you don’t want to miss the chance to receive the latest content from our authors directly into your mailbox.
Sign up for the blog newsletter
First, attach a piece of tear-away stabilizer (approx. 10 cm x 5 cm) at the bottom edge of the snowman on the wrong side and embroider color 8. We do this both because it gives extra stability, and also because the stabilizer layers make it easier to cut open the fringes later on.

Attach another piece of stabilizer on top and embroider color 9. Repeat this step for color 10.
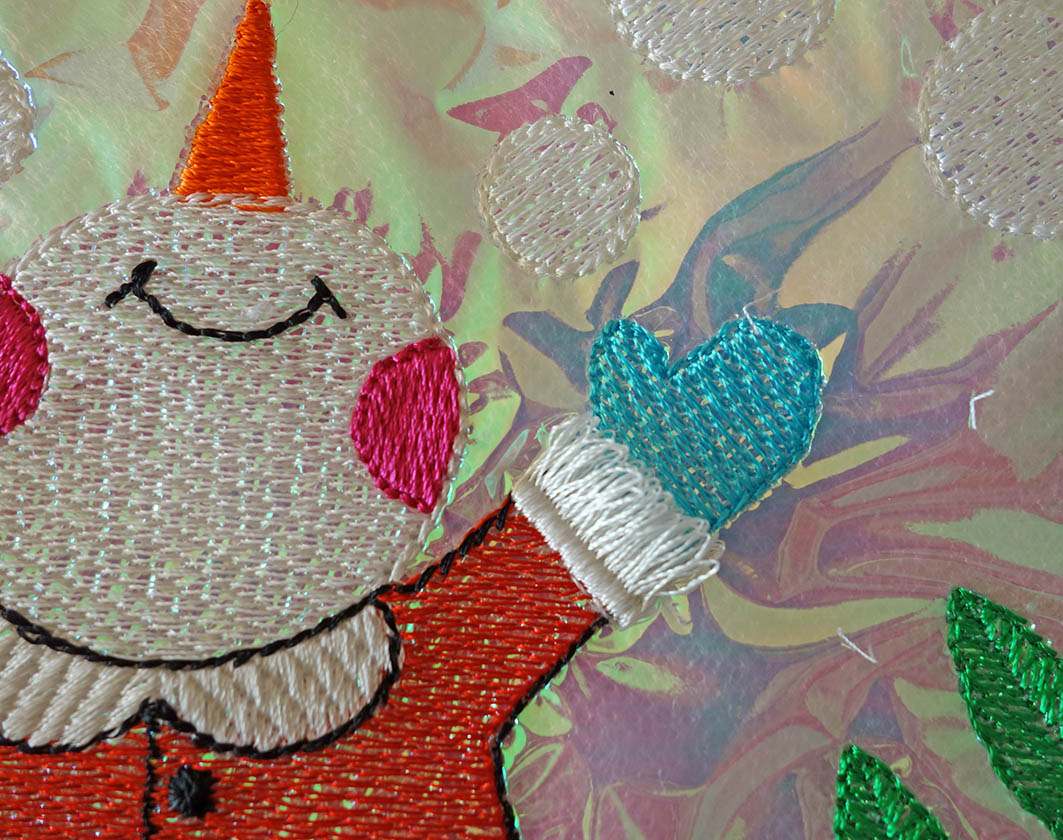
Now attach a piece of stabilizer where the gloves are and embroider the penultimate color (11). Repeat this step for the last color (12).

Finishing off the door wreath
Remove the project from the hoop and cut open the fringe loops as shown in the picture. Here we are cutting the bobbin thread.

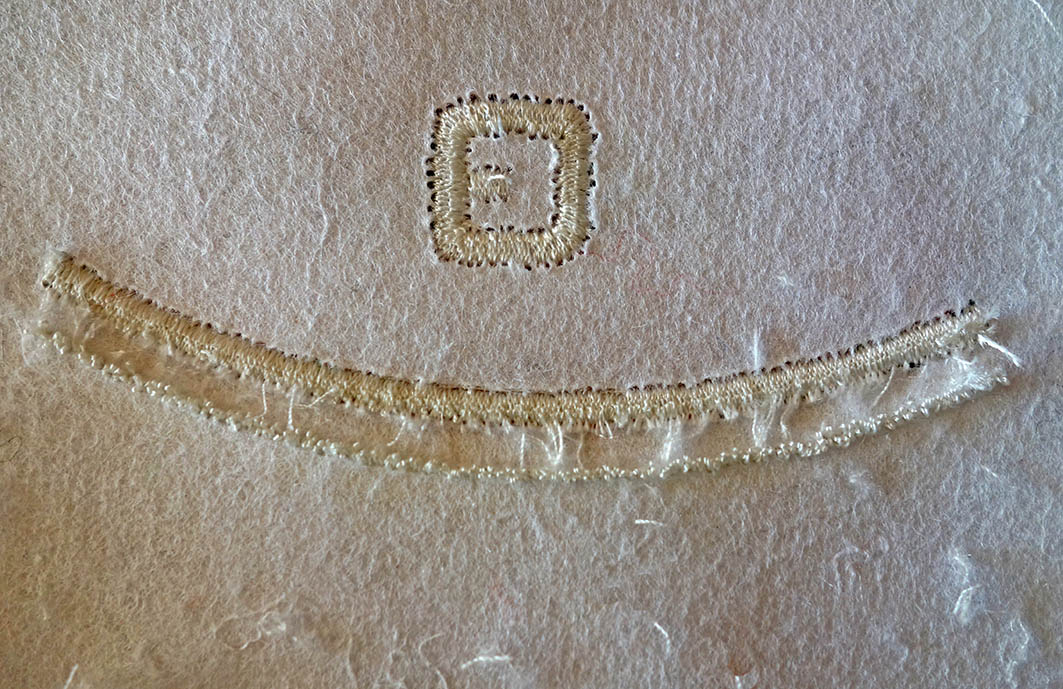
Remove the layer of the tear-away stabilizer and pick the fringes (top row) free on the right side. I usually do this with the blunt side of a seam ripper.

Cut open the next layer of bobbin stitches, remove the stabilizer and loosen the stitches on the right side (middle row). Cut open the last row of bobbin stitches (bottom row) and continue as described above.

Do the same for the fringes on the sleeves.
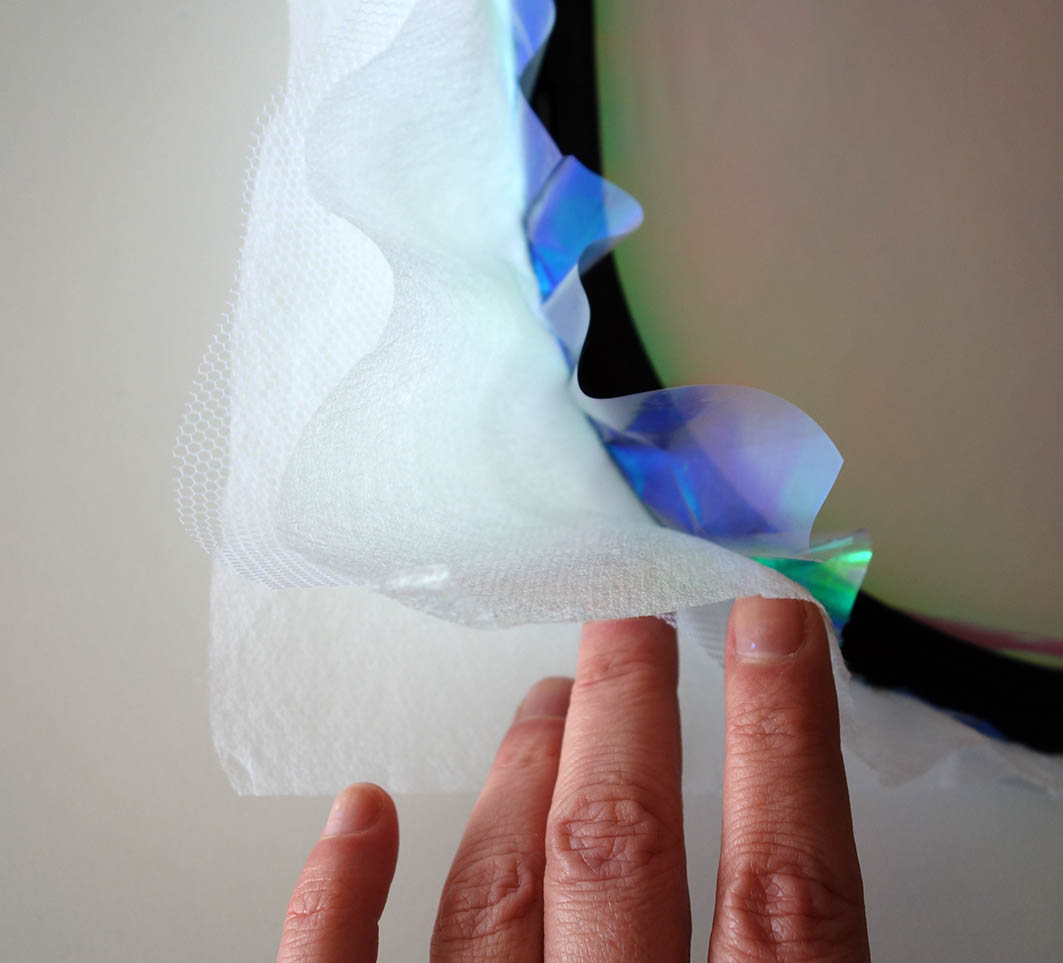
The embroidery film can now be torn away. It may be necessary to use tweezers in some places. Remove the connecting threads on the wrong side – as we are working with tulle here, you can see any connecting threads if they are not removed.
Roughly cut away the water-soluble stabilizer on both sides…

…and put the piece into water to remove the stabilizer. Lay your work flat to dry. You can then carefully iron it flat over a tea towel (1.5 setting).
Position the tulle centrally in the wooden or plastic embroidery hoop and trim the tulle on the back close to the edge. You can secure the edge with a small amount of hot-melt adhesive, but it is not usually necessary. If you want, you can stick on buttons, pompoms or anything else you choose with a little hot-melt adhesive or sew on these decorative elements by hand.

Have fun making the wreath and best wishes


Would embroidery film be considered the same as Mylar?
Hi Shelley
I am not quiet sure what embroidery film is. Is that a water soluble foil used as a stabilisator for embroidery? In this case ist is not the same as Mylar. Mylar is a polyester foil that has up to 300 nano layers of special paint printed on it, which then changes color depending on how the light falls on it. It looks a bit like the foil used to wrap flowers.
greetings
kasia
Is the Door Wreath embroidery file still available? If so, how may I download it? Please let me know as soon as possible. Thanks!1
Hallo Alberta
Please read the article. You will find the download link on top of the post where the Materials are listed. If you click on the red text “Dowload door wrteath embroidery file” the download will start autiomatically.
Have fun embroidering and best greetings
Kasia