 BERNINA Corporate Blog -
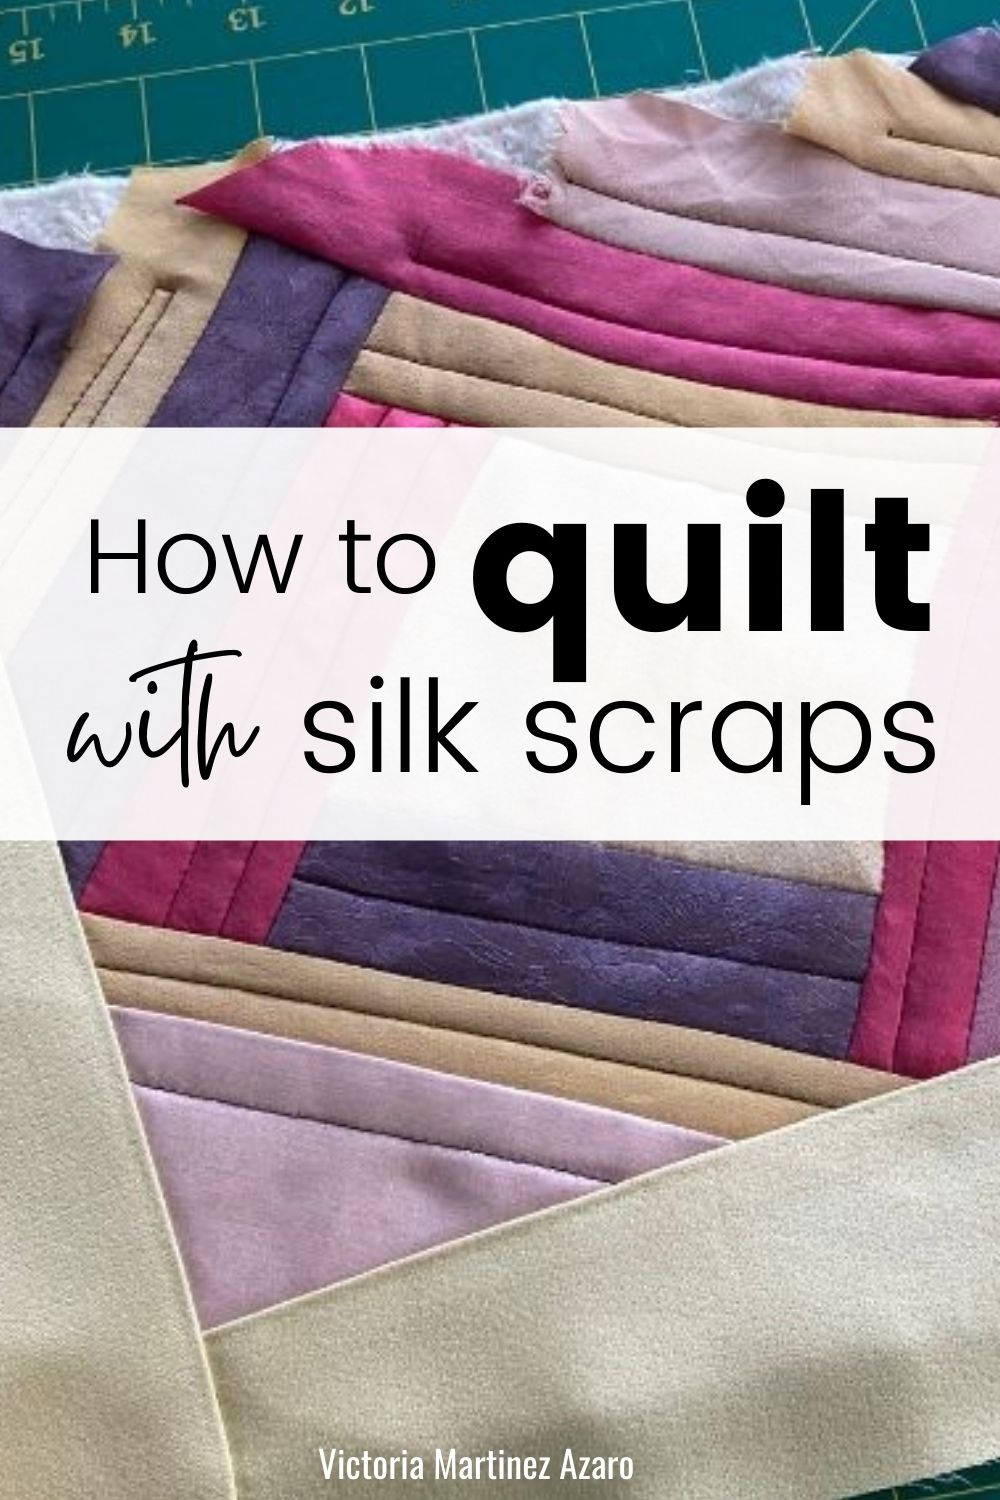
I want to share with you how to quilt using silk scraps. Quilting with silk is as easy as quilting with 100% cotton. Simply be aware of choosing silks that are of similar weights.
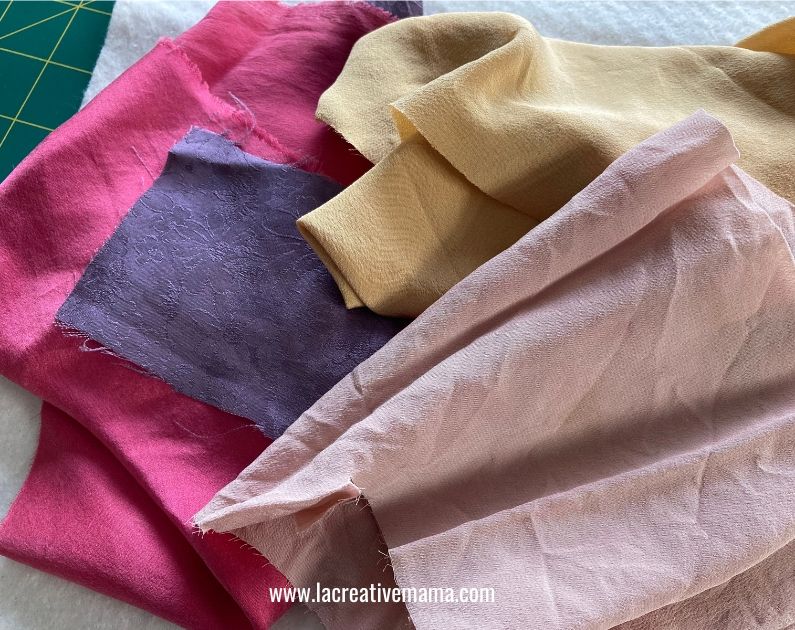
There are many types of silks which come in different weights and finishes. For this tutorial I am using a combination of habotai silk and silk satin which I have dyed using natural dyes.
One of my favorite quilting techniques is quilt as you go in combination with the log cabin block. I find it very easy to sew and its a fantastic block to make use all those scraps of fabric (in this case silk scraps). So, let’s get started with making this mini quilt which will become a quilted pillow. But for now let me show you how to make a beautiful quilt using silk scraps.
This little quilt has wonky sashing. I love playing around with wonky angles and this was a fun project to make!
How to quilt with silk scraps tutorial
Materials and equipment:
- Silk scraps
- 100% Cotton Batting
- sewing machine (I use a Bernina 475 QE)
- Regular sewing threads
- Rotary cutter
- Cutting mat
Step 1:
Gather all your silk scraps.
Cut strips of different sizes using your rotary cutter and your cutting mat.
Cut a little square. This will be the starting point of the log cabin block.
Step 2:
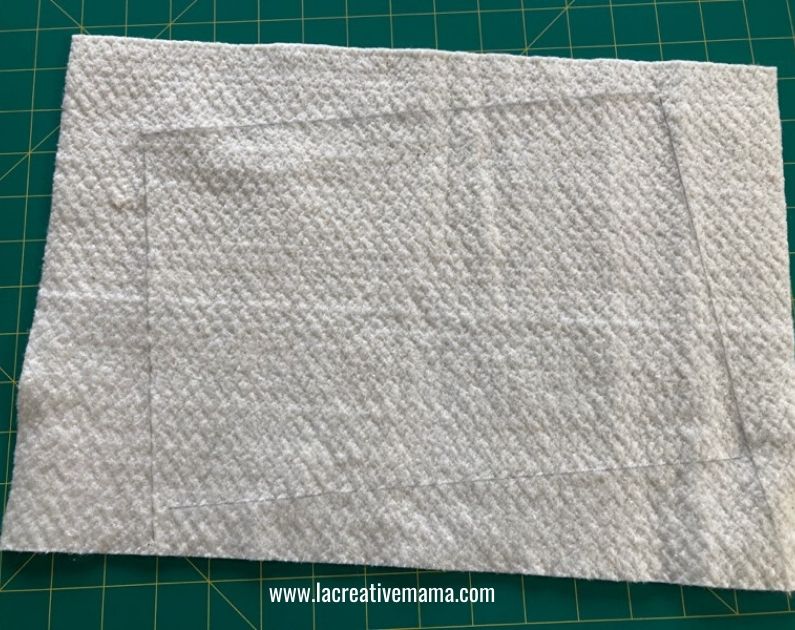
Cut the 100% cotton batting to the desired final size you want the mini quilt to be.
For this project I wanted to have a wonky sashing so I drew a smaller rectangle in a different position. This was the edge of the little quilt.
Step 3:
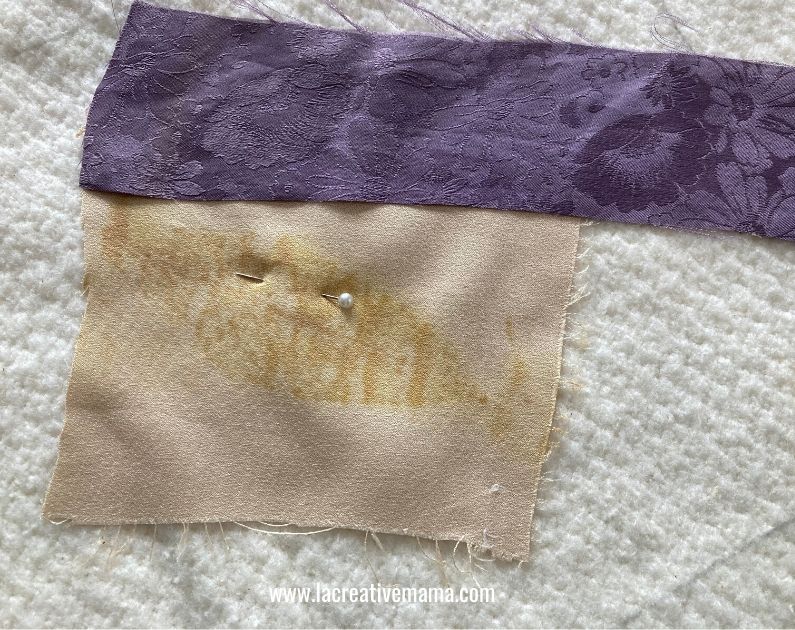
Pin the first little square scrap in the middle of the drawn rectangle.
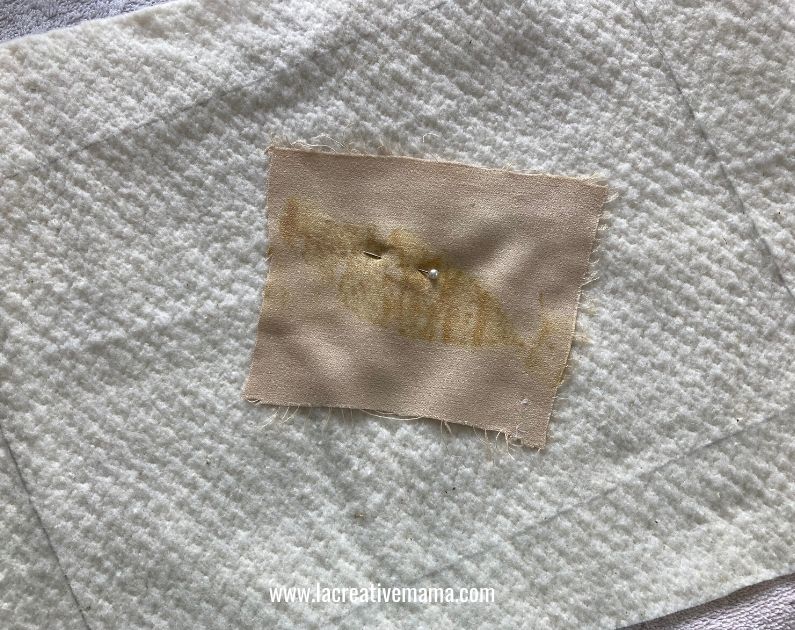
Pin the first silk strip next to it.
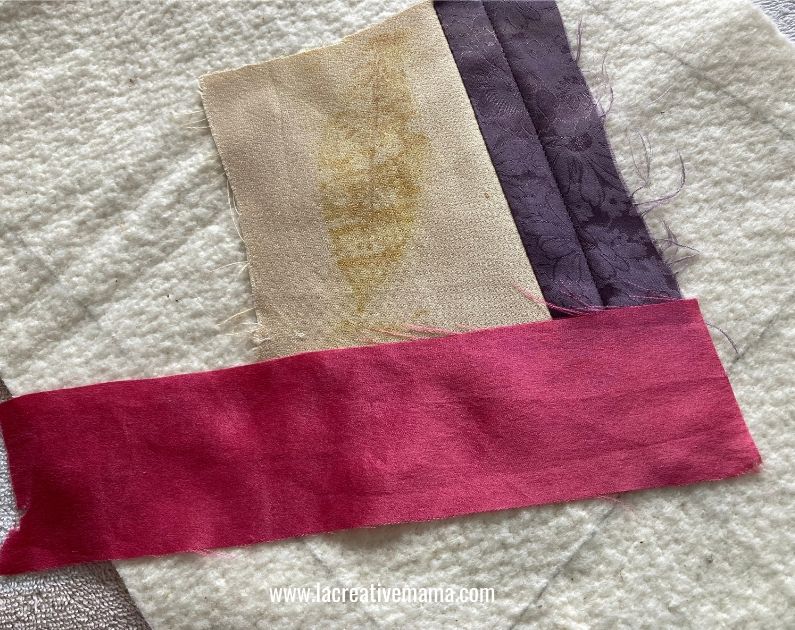
Fold the silk strip towards the rectangle. Trim the strip to match the rectangle and sew together.
You will be sewing straight onto the batting, so the quilting is done all at once.

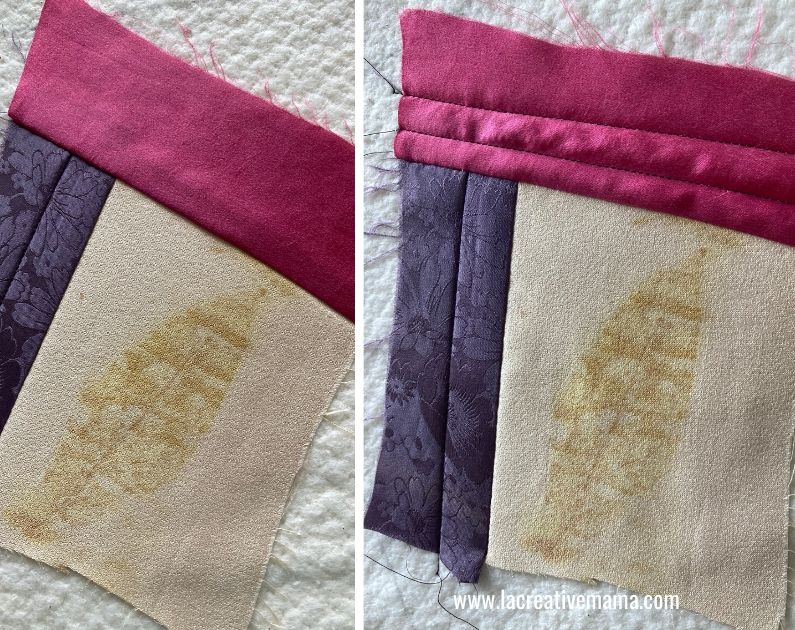
Press the seam on the right side and quilt a line on top of the silk strip. This is quilt as you go technique.
Place the next strip pf silk and repeat the process moving clockwise. You need to sew, press and quilt every time you add a strip to the log cabin block.

Keep going until you reach the edges of the drawn wonky rectangle.

It should look something like this:
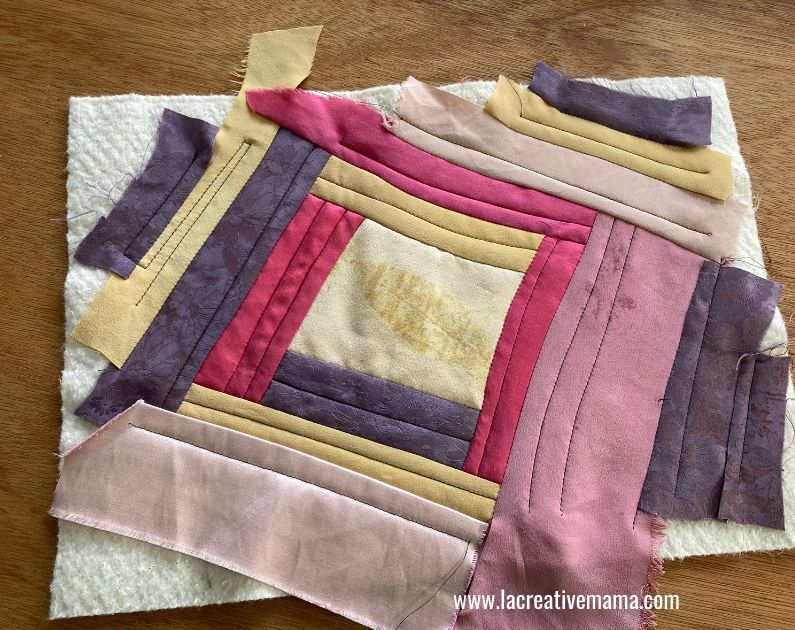
Step 4:
Sew wider strips of silk on all 4 edges of the quilt in the exact same way as before but this time without the quilting.
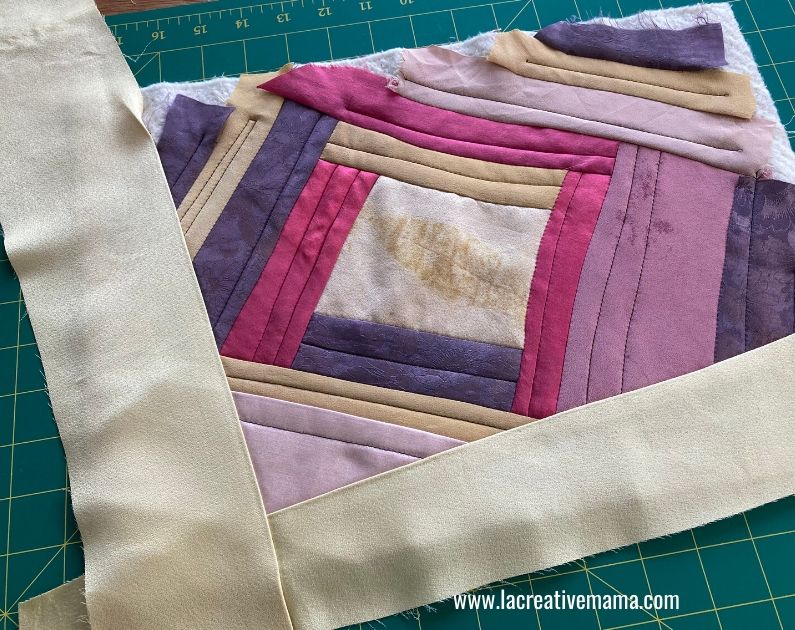
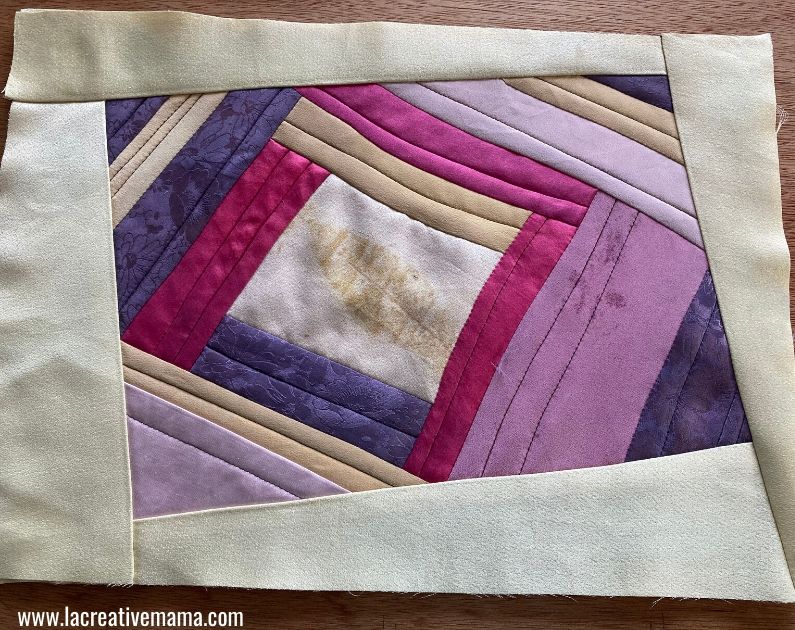
Make sure to press the sashing firmly and trim the sashing strips to fit the batting rectangle.
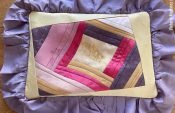
Now let’s turn this amazing little quilt into a special silk quilted pillow 🙂

Hi Laura, No I didn’t use any interfacing because the silk was quilted to the batting and that stabilized it enough :).
Hi. Do you fuse the silk or neck ties with an interfacing? Thanks, Laura
Dear Laura,
It doesnt seem like she used interfacing, so it should work without. However, should you realise during work that you are having issues with the flimsy fabric, you could use a thin stabiliser to make it a bit easier.
Best regards, Ramona from BERNINA International