 BERNINA Corporate Blog -
Christmas from the heart
Behind this door is not one, but four projects linked to this year’s theme: Christmas from the heart.
Switch to Dutch/Lees hier in het Nederlands
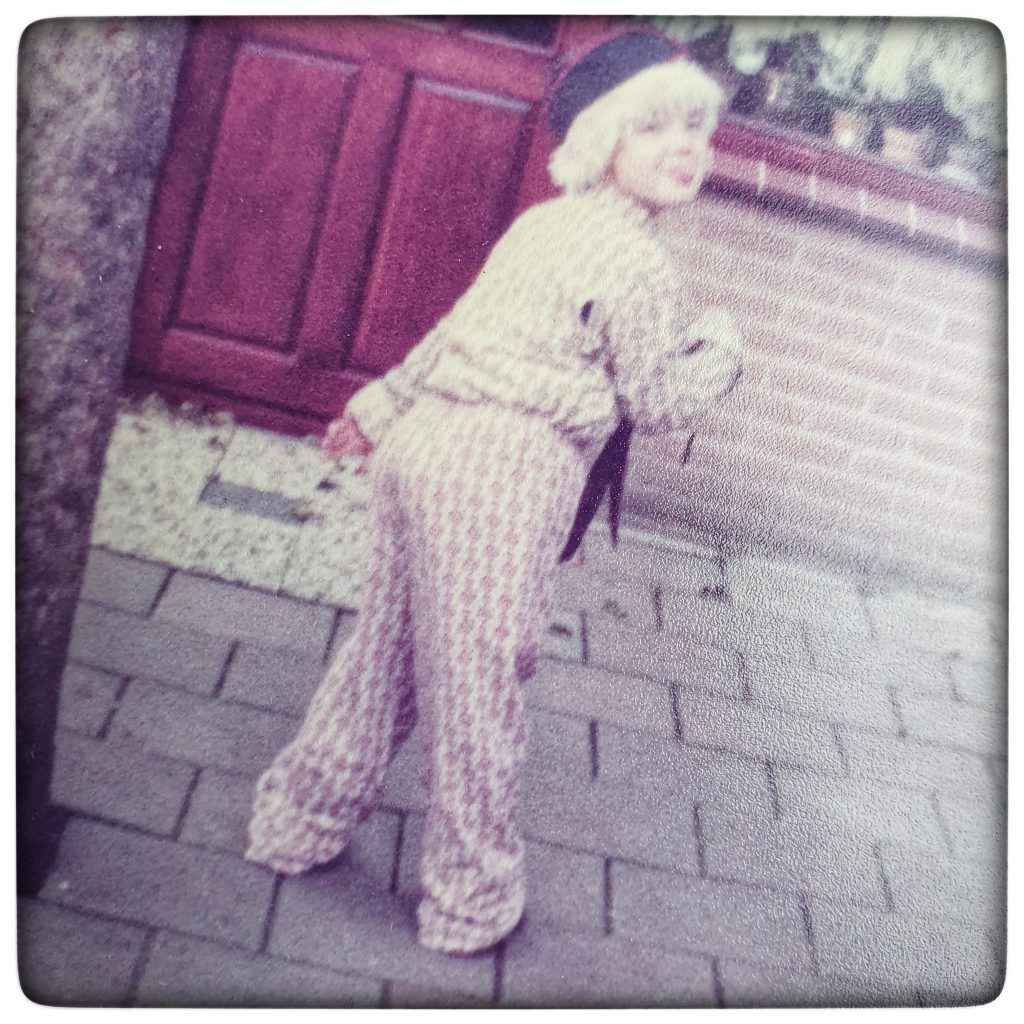
Everyone prefers to celebrate Christmas with all their loved ones around them. And when they can’t be there any more, it’s nice to remember them in some way or other at Christmas. For these projects, I’m using fabrics that had belonged to my father. I miss my father all year round, but at Christmas I miss him that little bit more. He always loved it when we were all together and visibly enjoyed it. This year’s theme made me look for a way to remember him. My mother made a lot of clothes for my father and, just like me, she always kept the scraps of material that were left over. This time she delved into her material scrap pile for me.
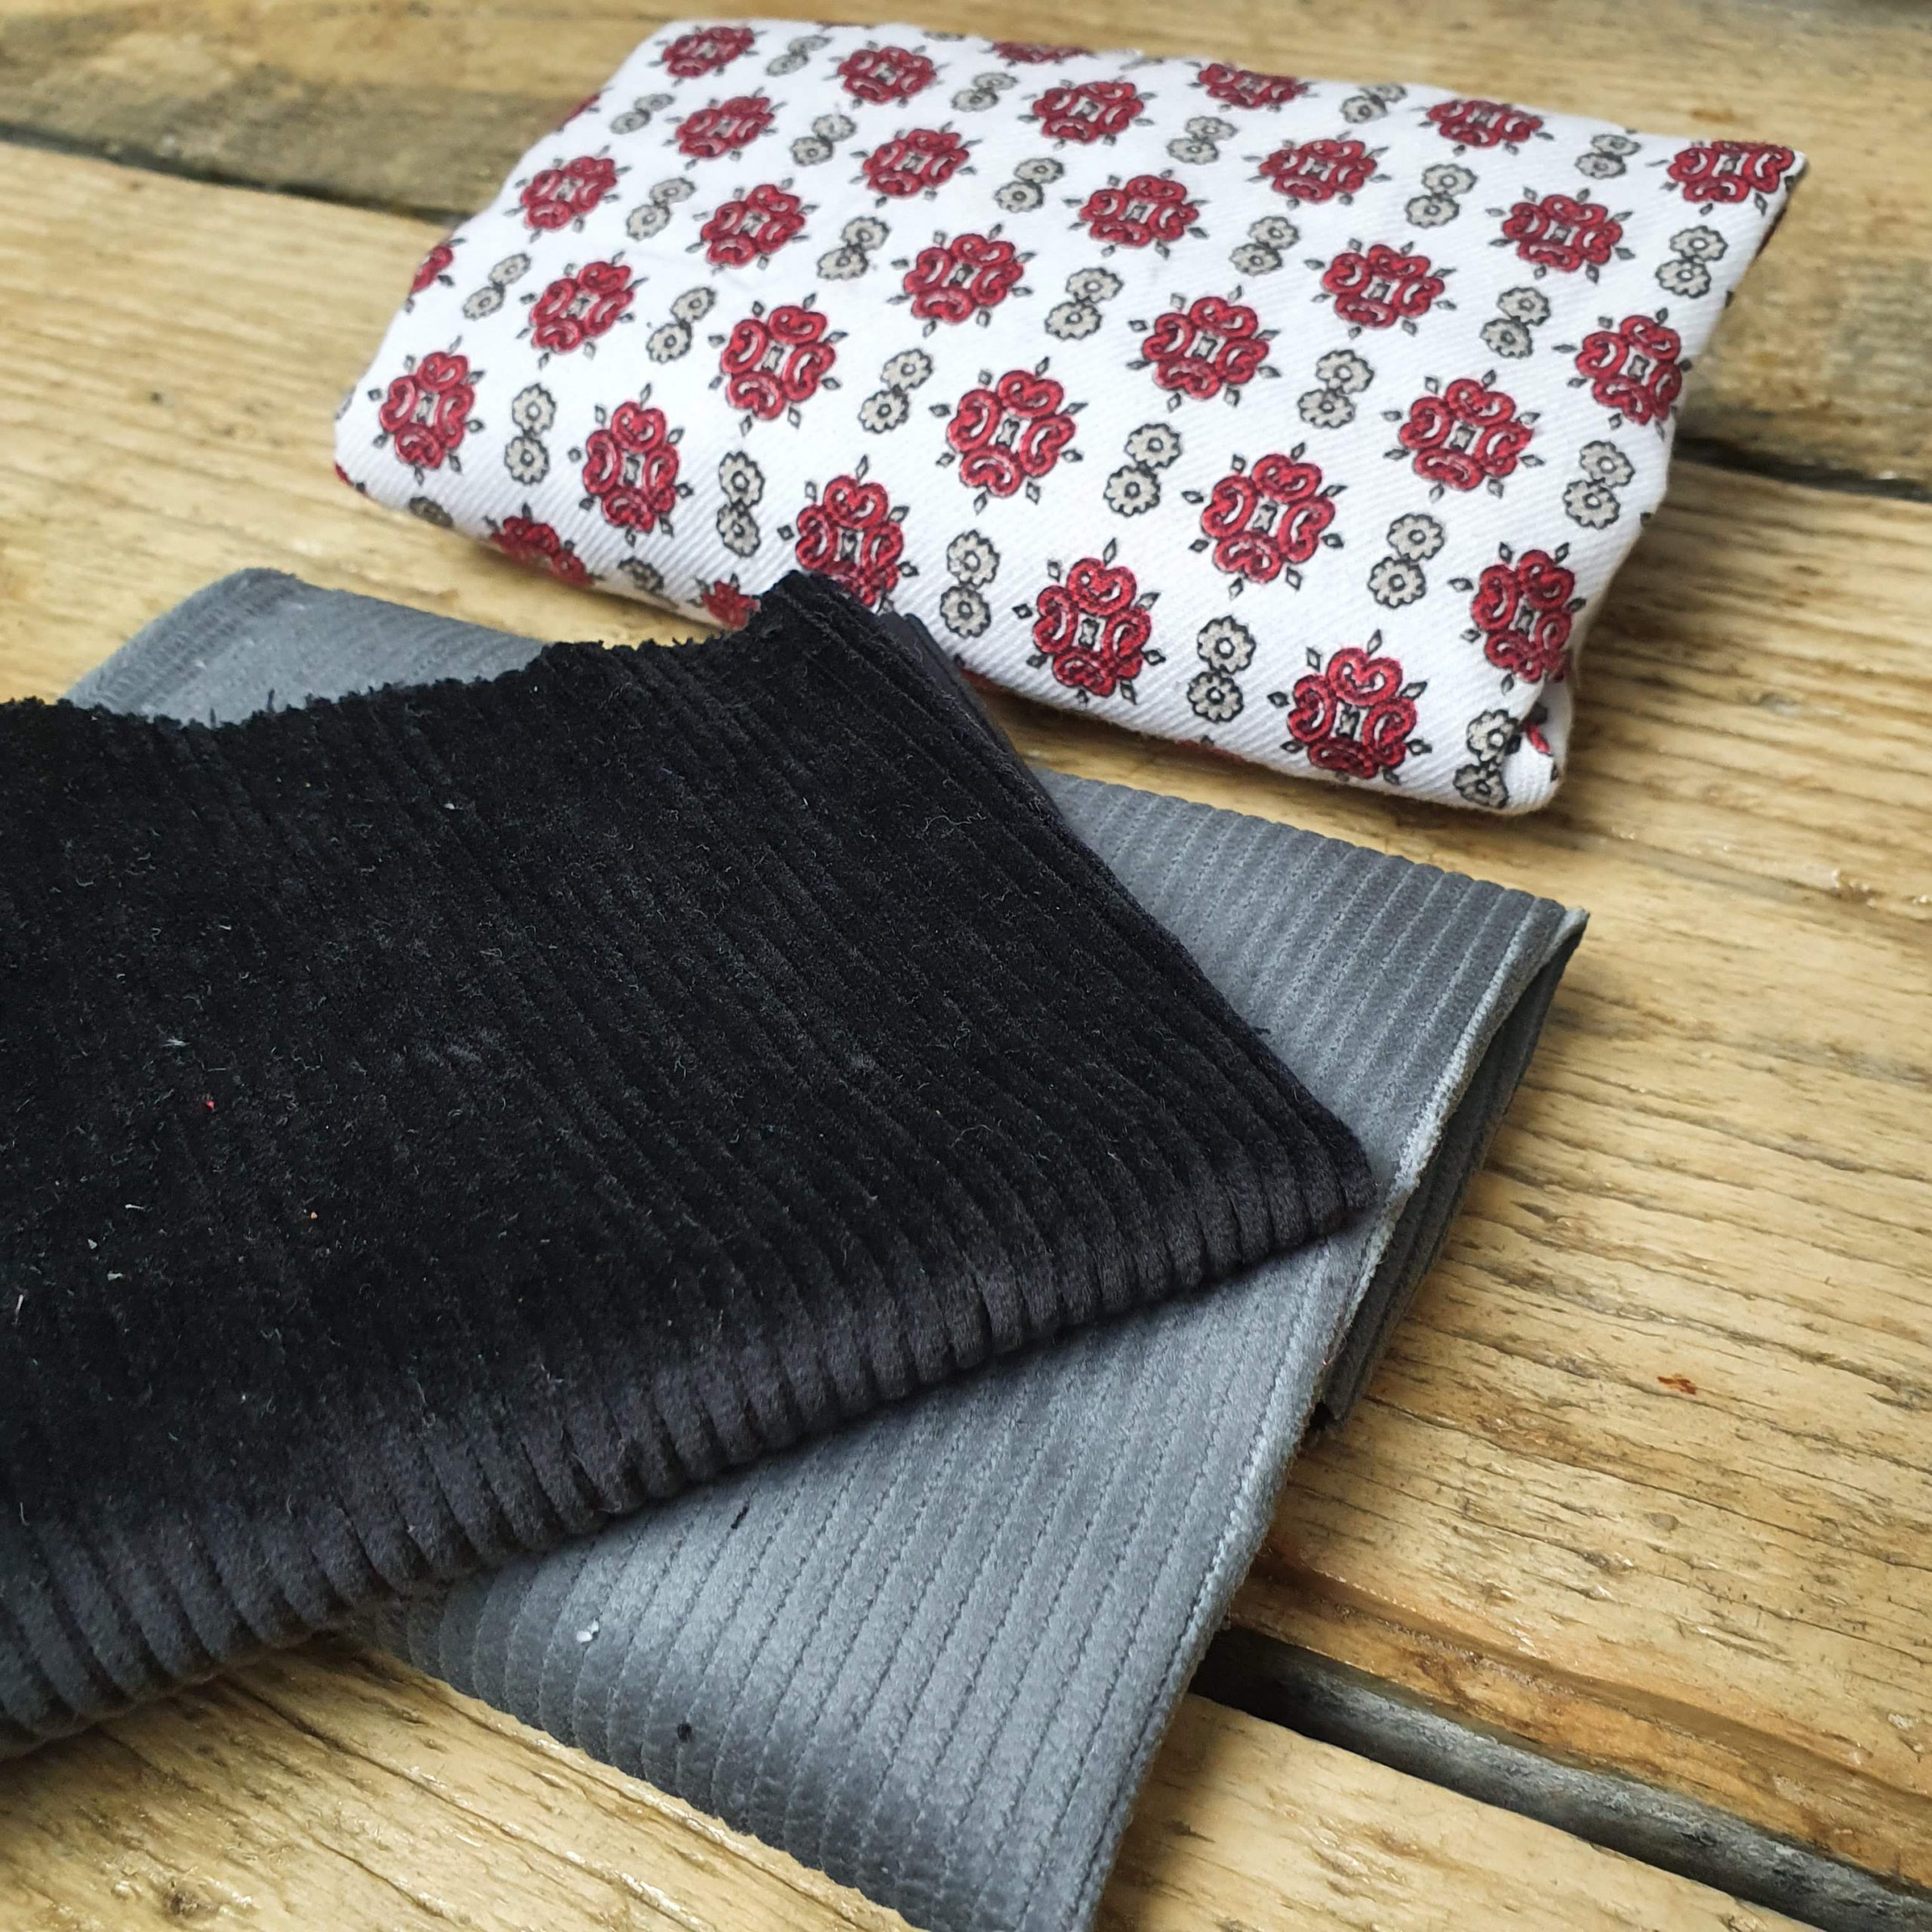
I chose three fabrics from clothing I remembered my father wearing. Two ribbed fabrics that were used to make trousers that he wore until they were threadbare, and a fabric with a nice print that was used to make pyjamas… pyjamas I once wore to a carnival!
With the scraps of material on the table in front of me, I started searching on Pinterest. I wanted to make one fabric accessory to go with a Christmas outfit, but it ended up becoming four. Well, why not?!
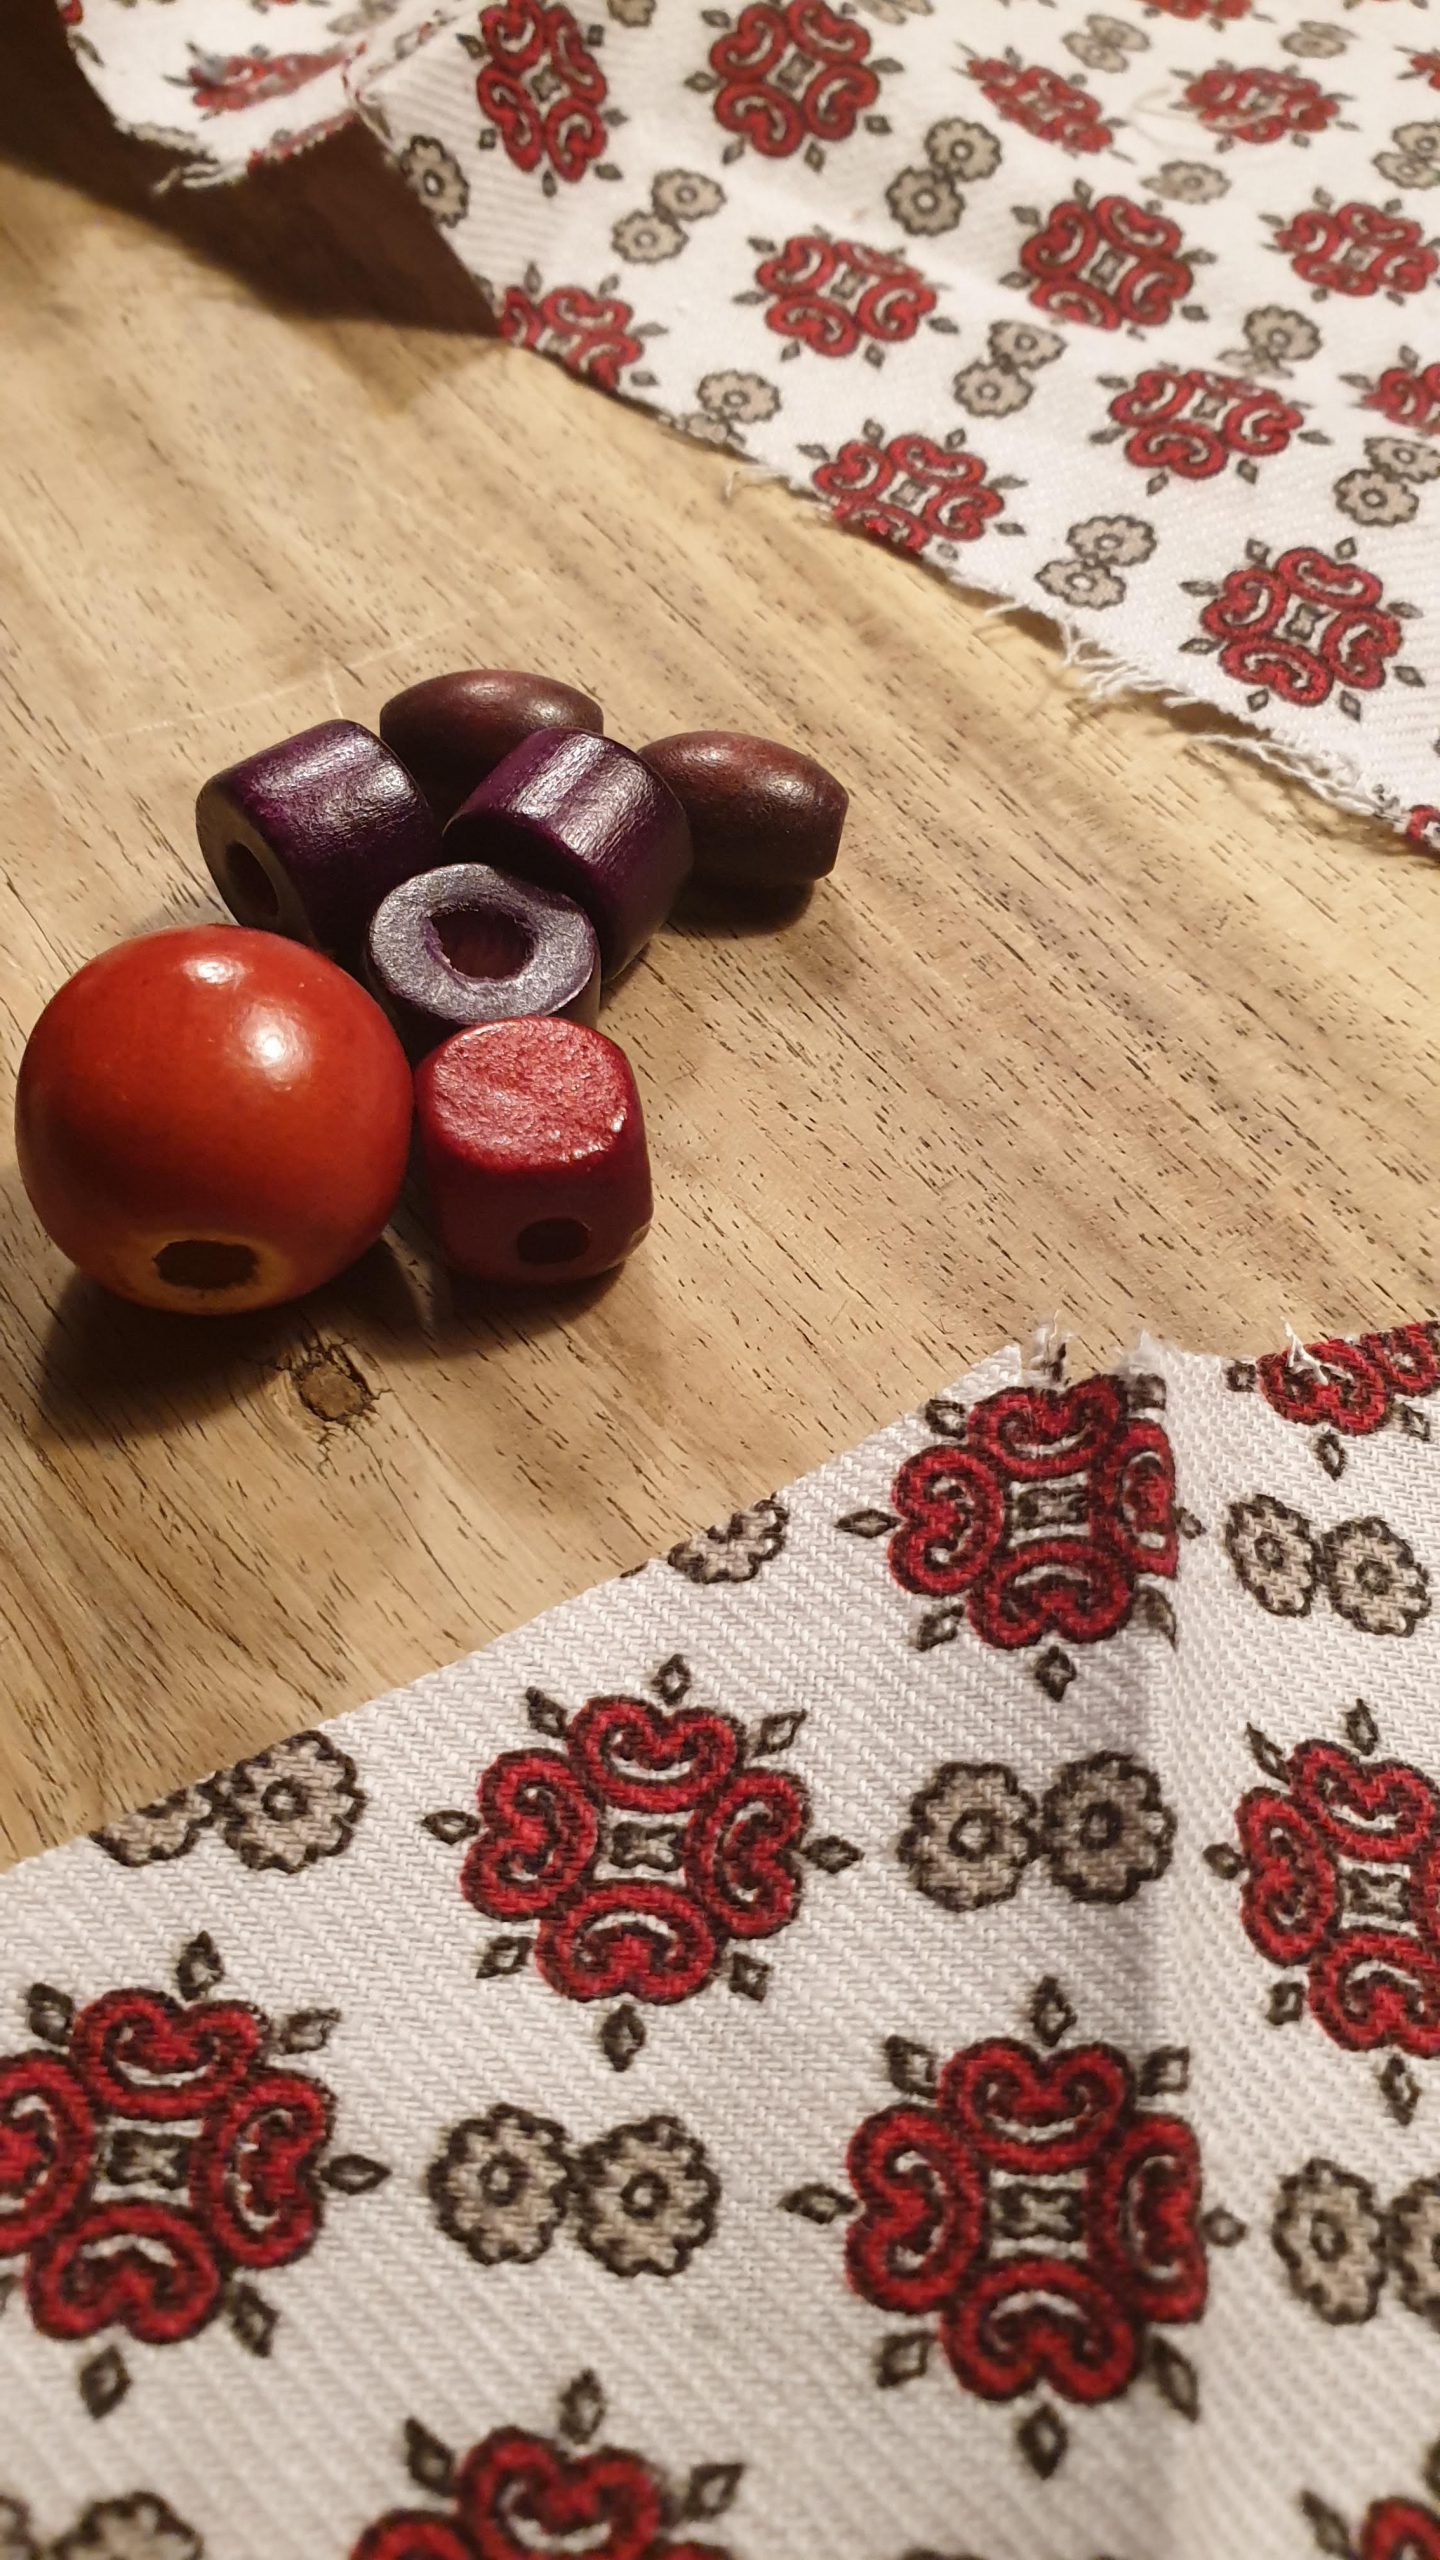
1. Bead bracelet

For this option I used existing large wooden beads, over which I pasted two of the three fabrics.
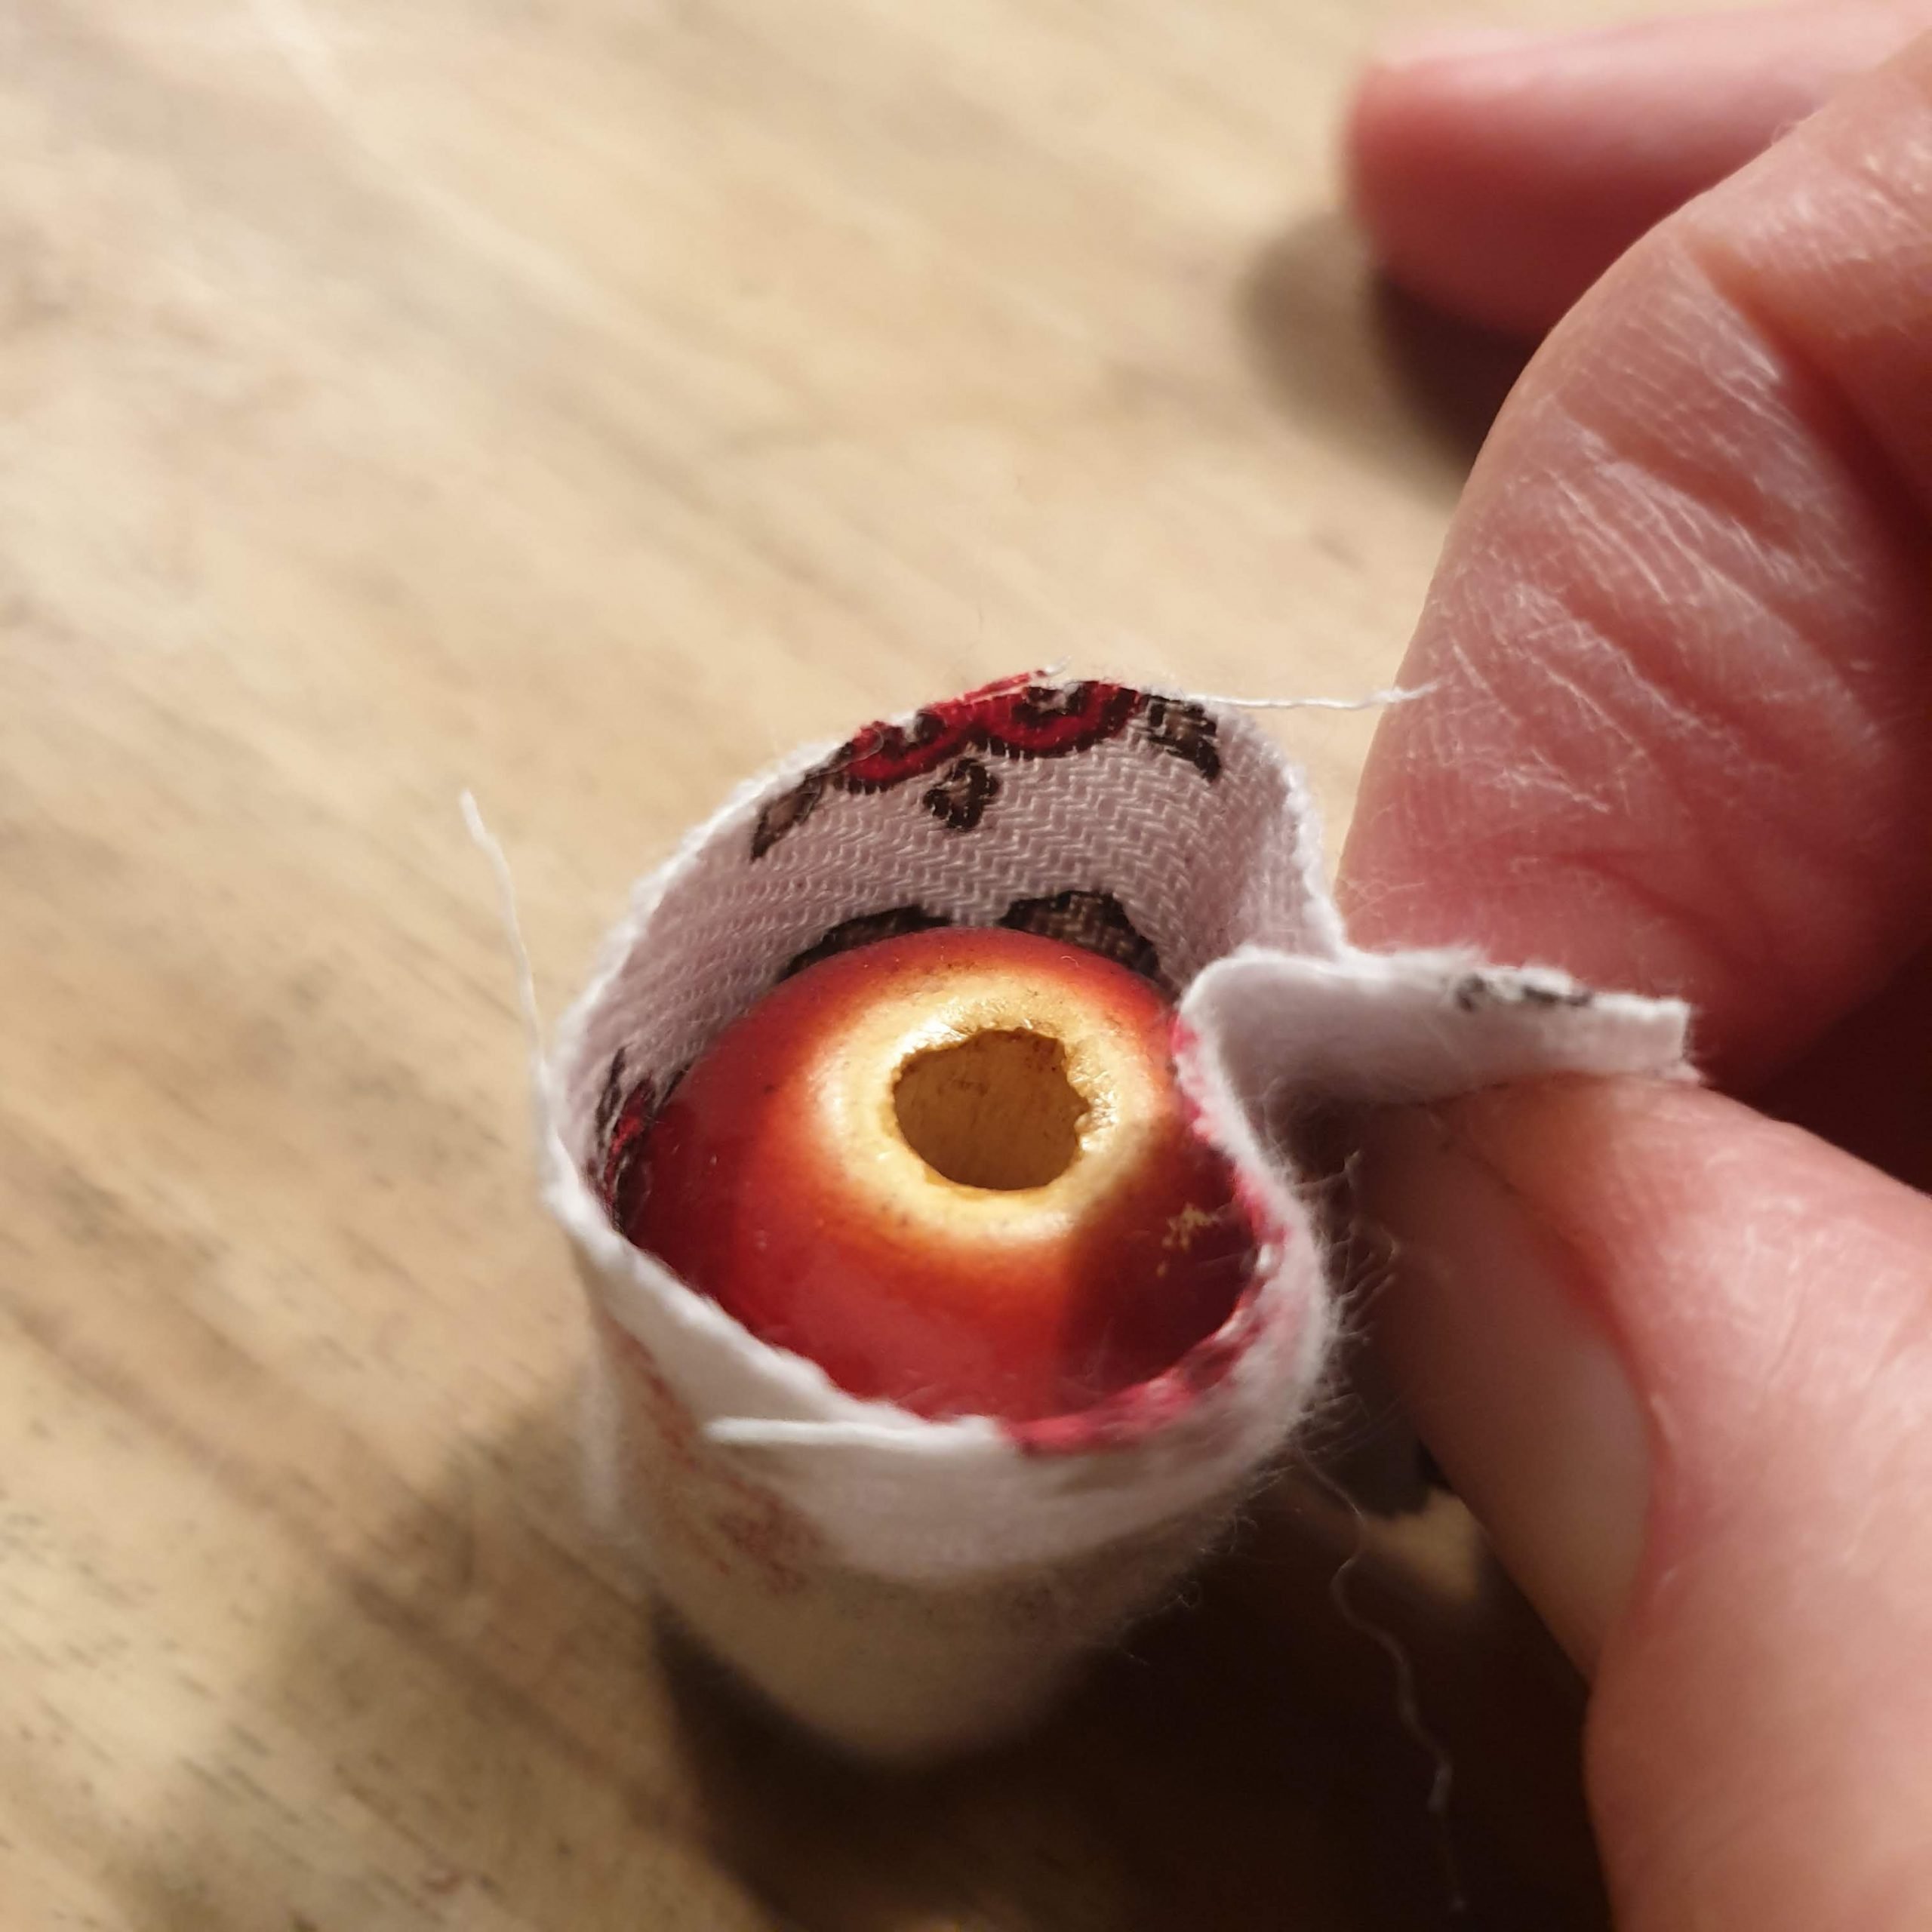
First I determined the size of the piece of fabric I needed for 1 bead by folding it around the bead. After cutting the fabric, I put the right sides together and stitched it so that a small tube was formed. I reversed it and popped in the bead.
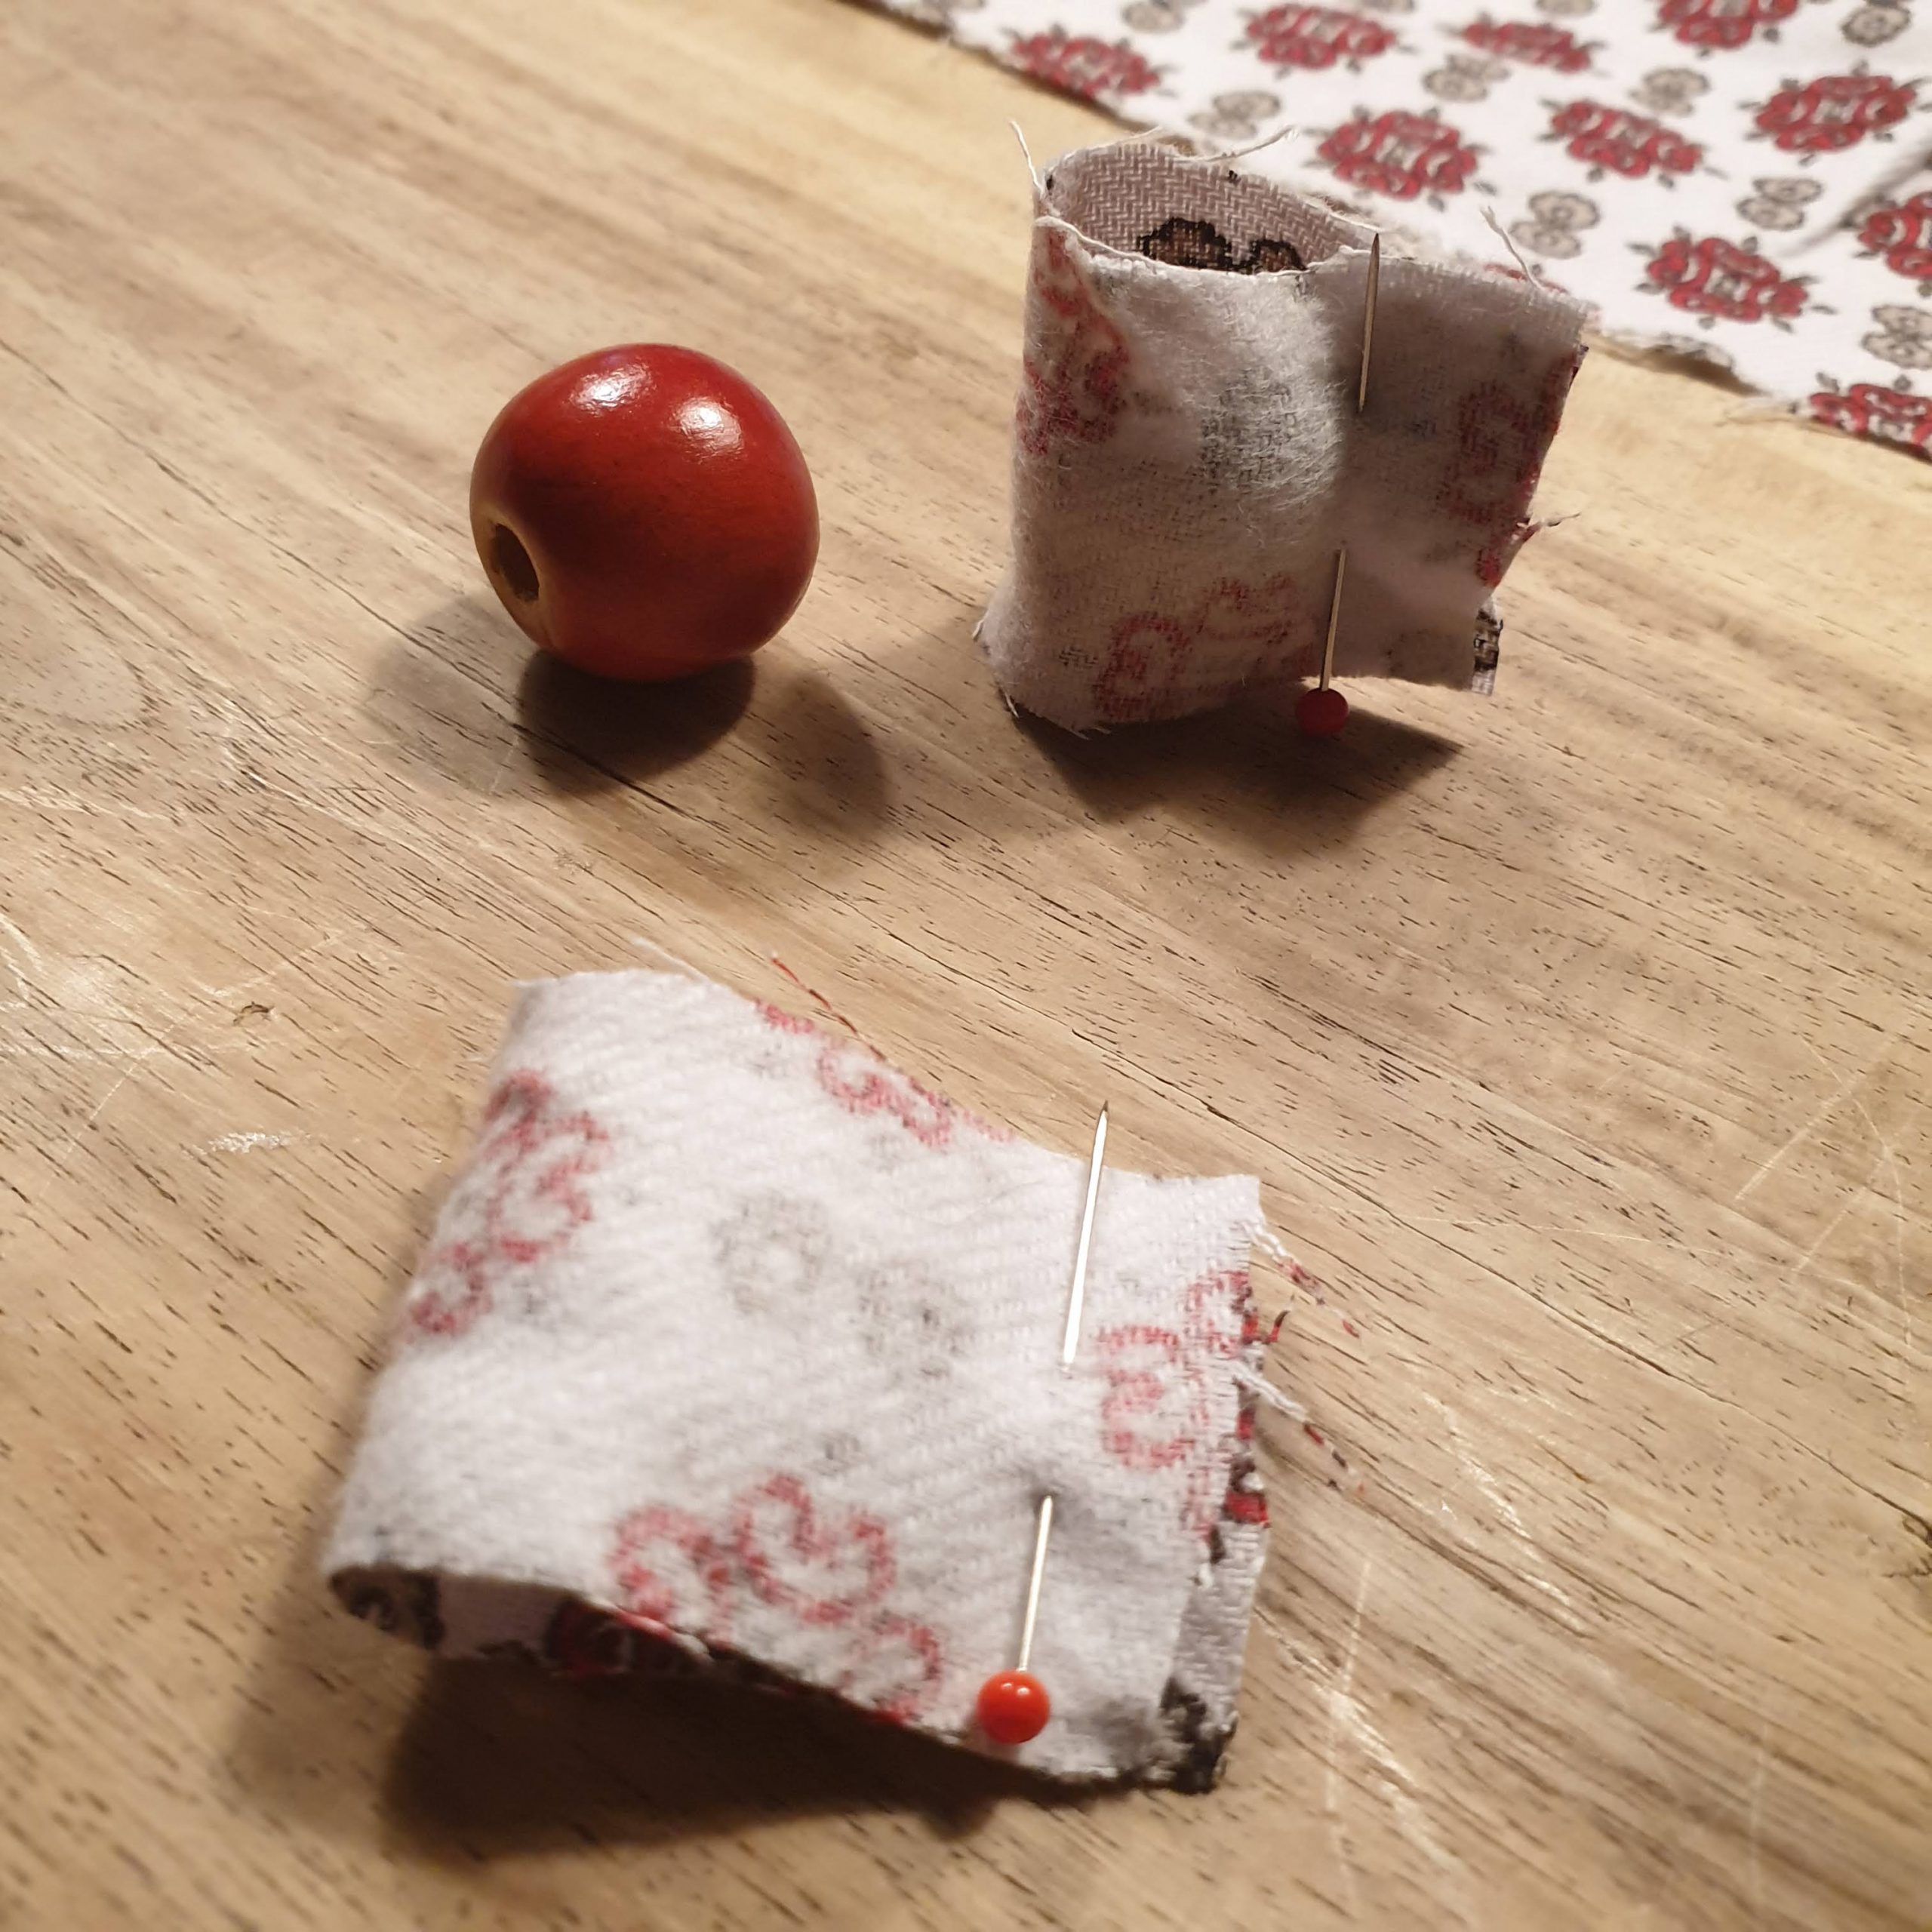
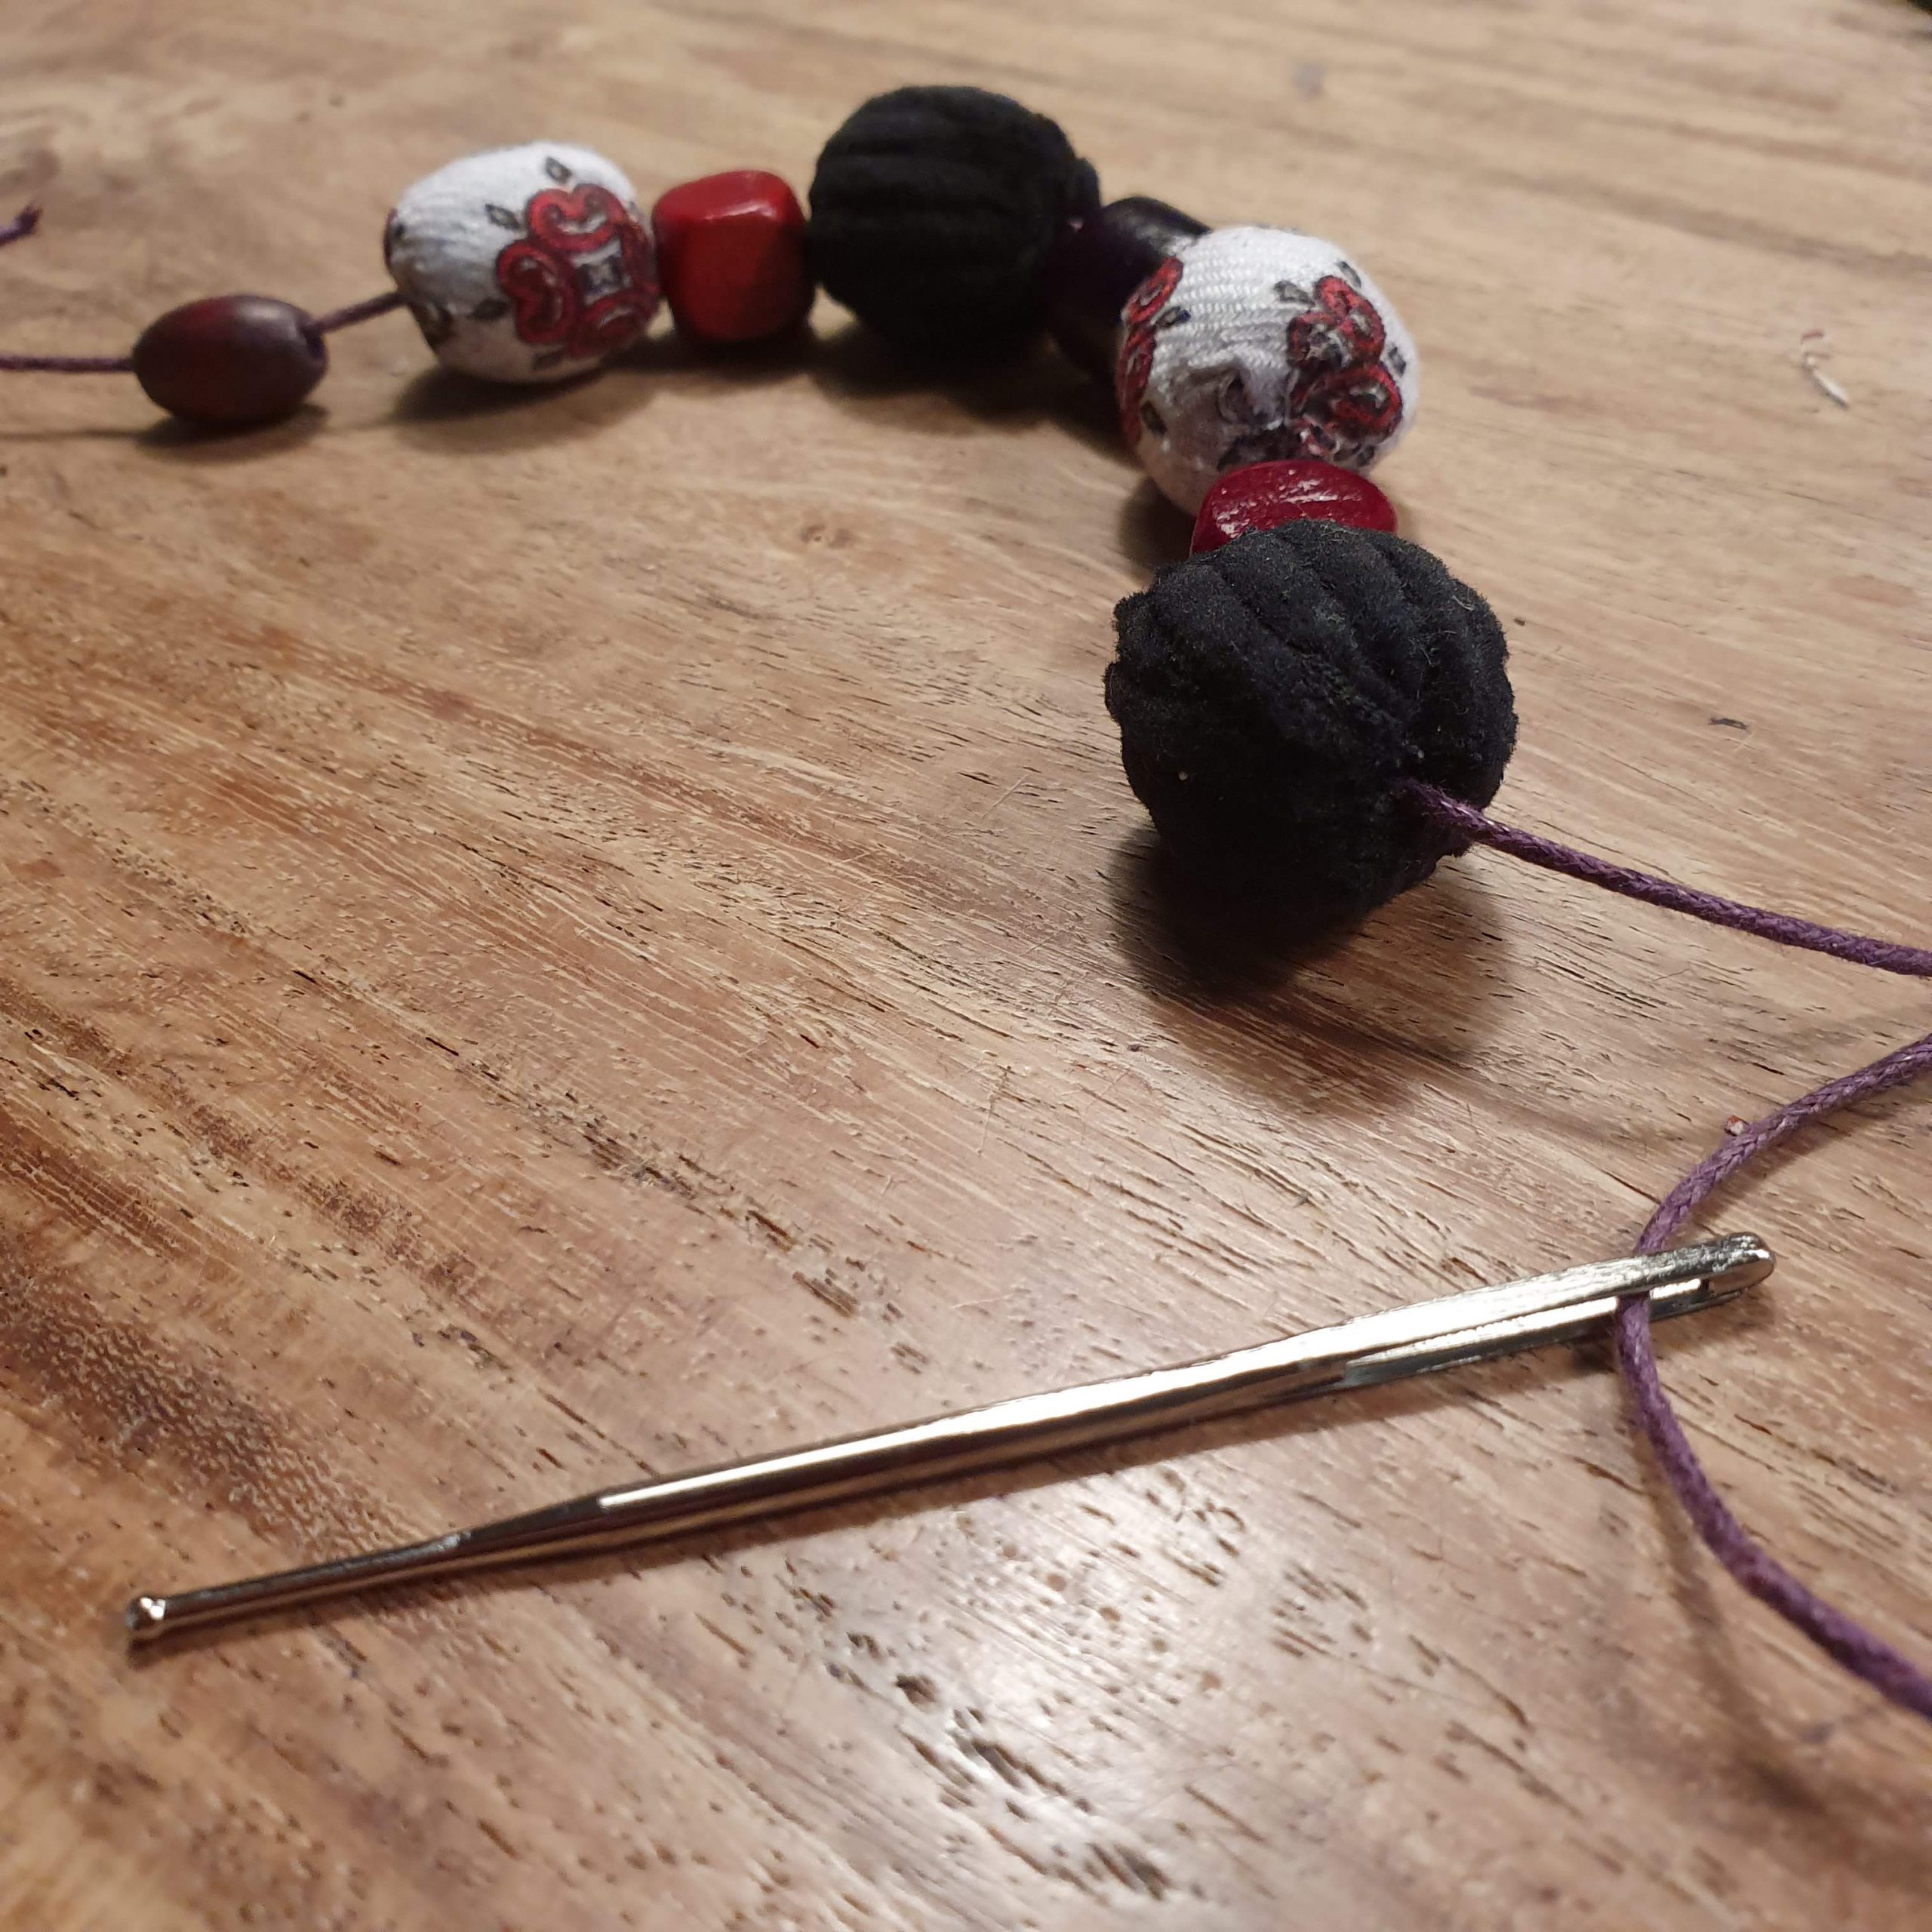
By cutting the fabric and then smearing it with textile glue I could easily fold it around the bead, so I made some black beads and some beads with the print fabric. I could then combine these with some other beads to make a nice bracelet.

2. Bow bracelet

I was inspired by Pinterest for this bracelet and made my own pattern. The bracelet closes on the inside with a press stud.
The pattern
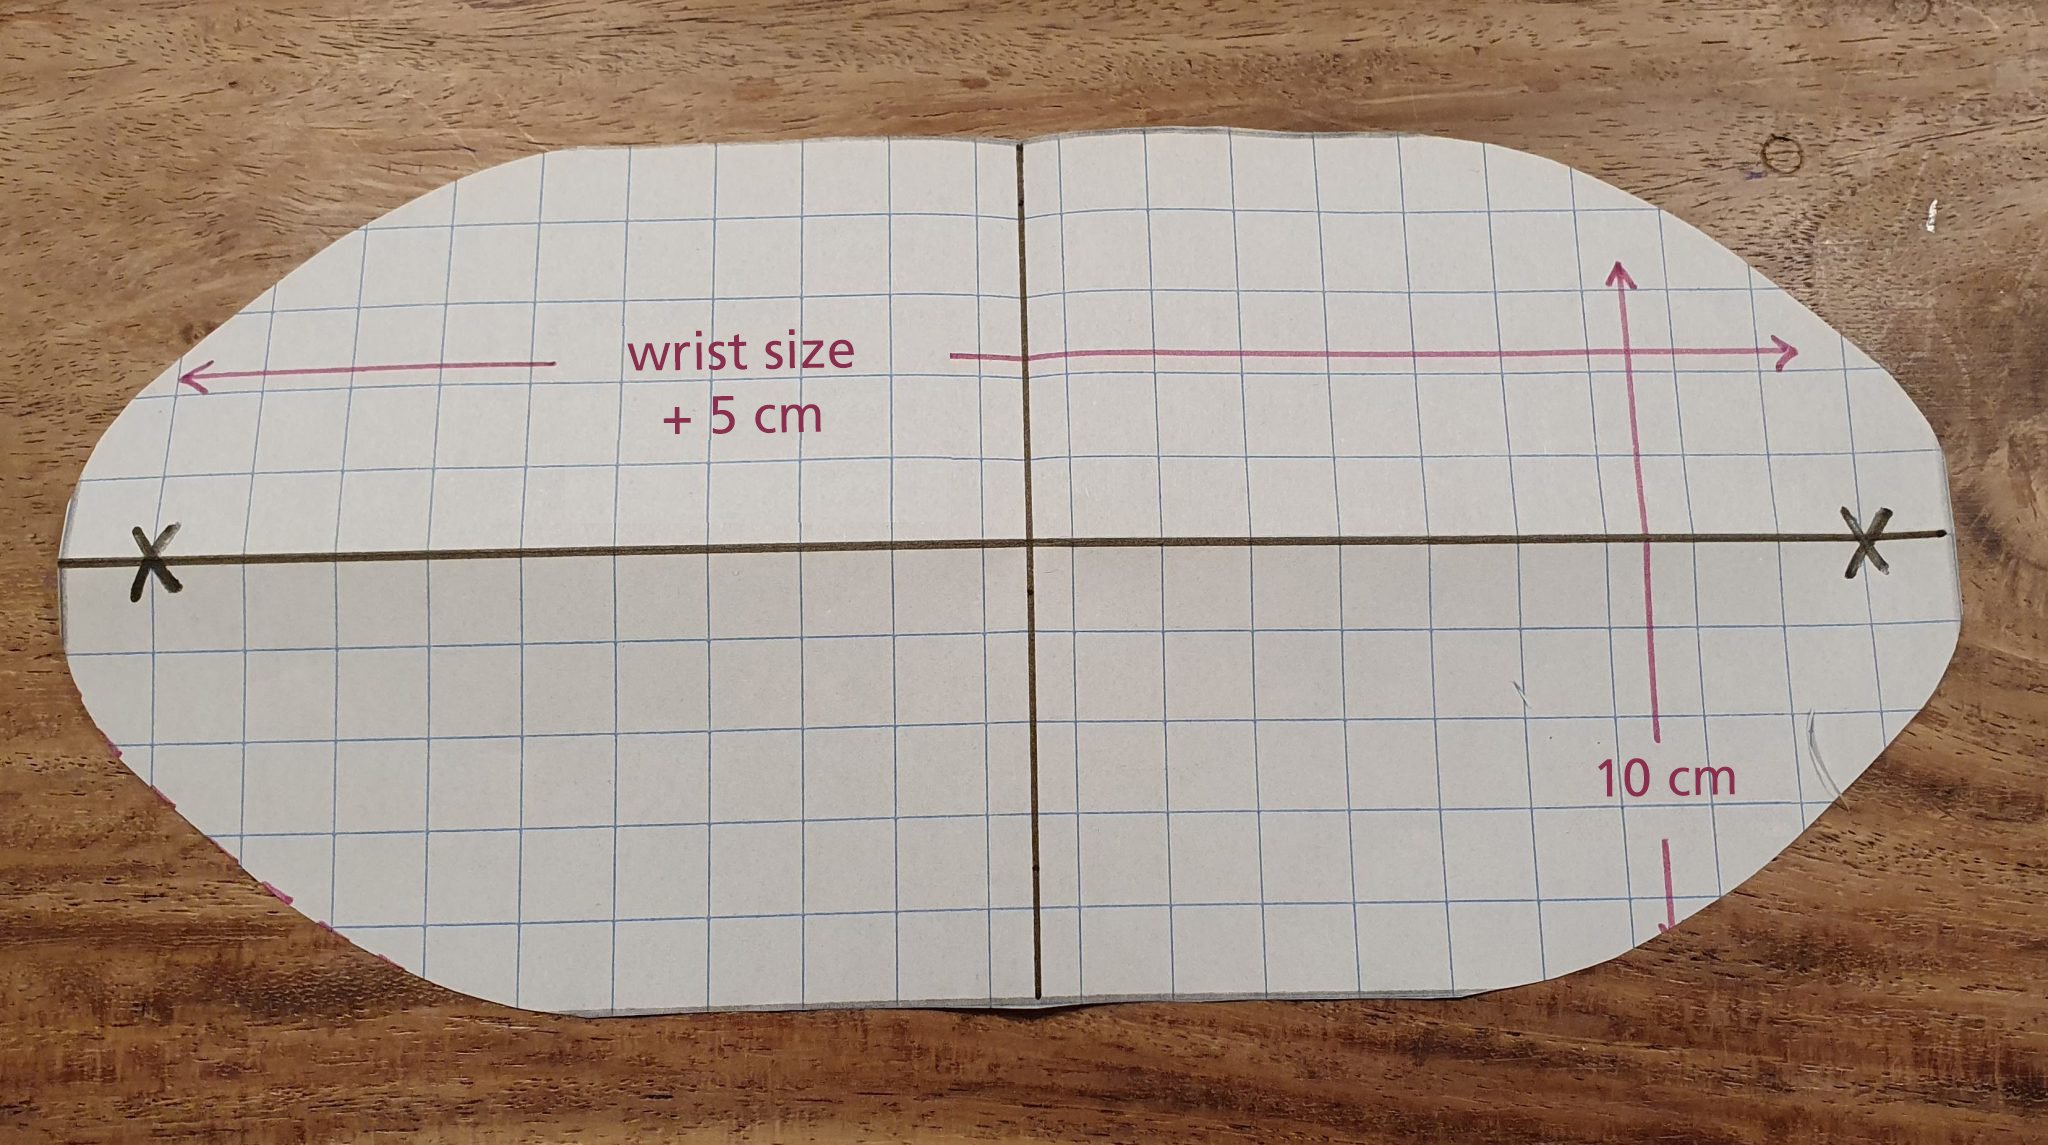
Create your own pattern by looking at the example below. Start with a rectangle that is 10 cm wide and the length of your wrist plus 5 cm. Divide into four parts and draw a curve in one of the corners.

Fold in quarters and cut equal curves.
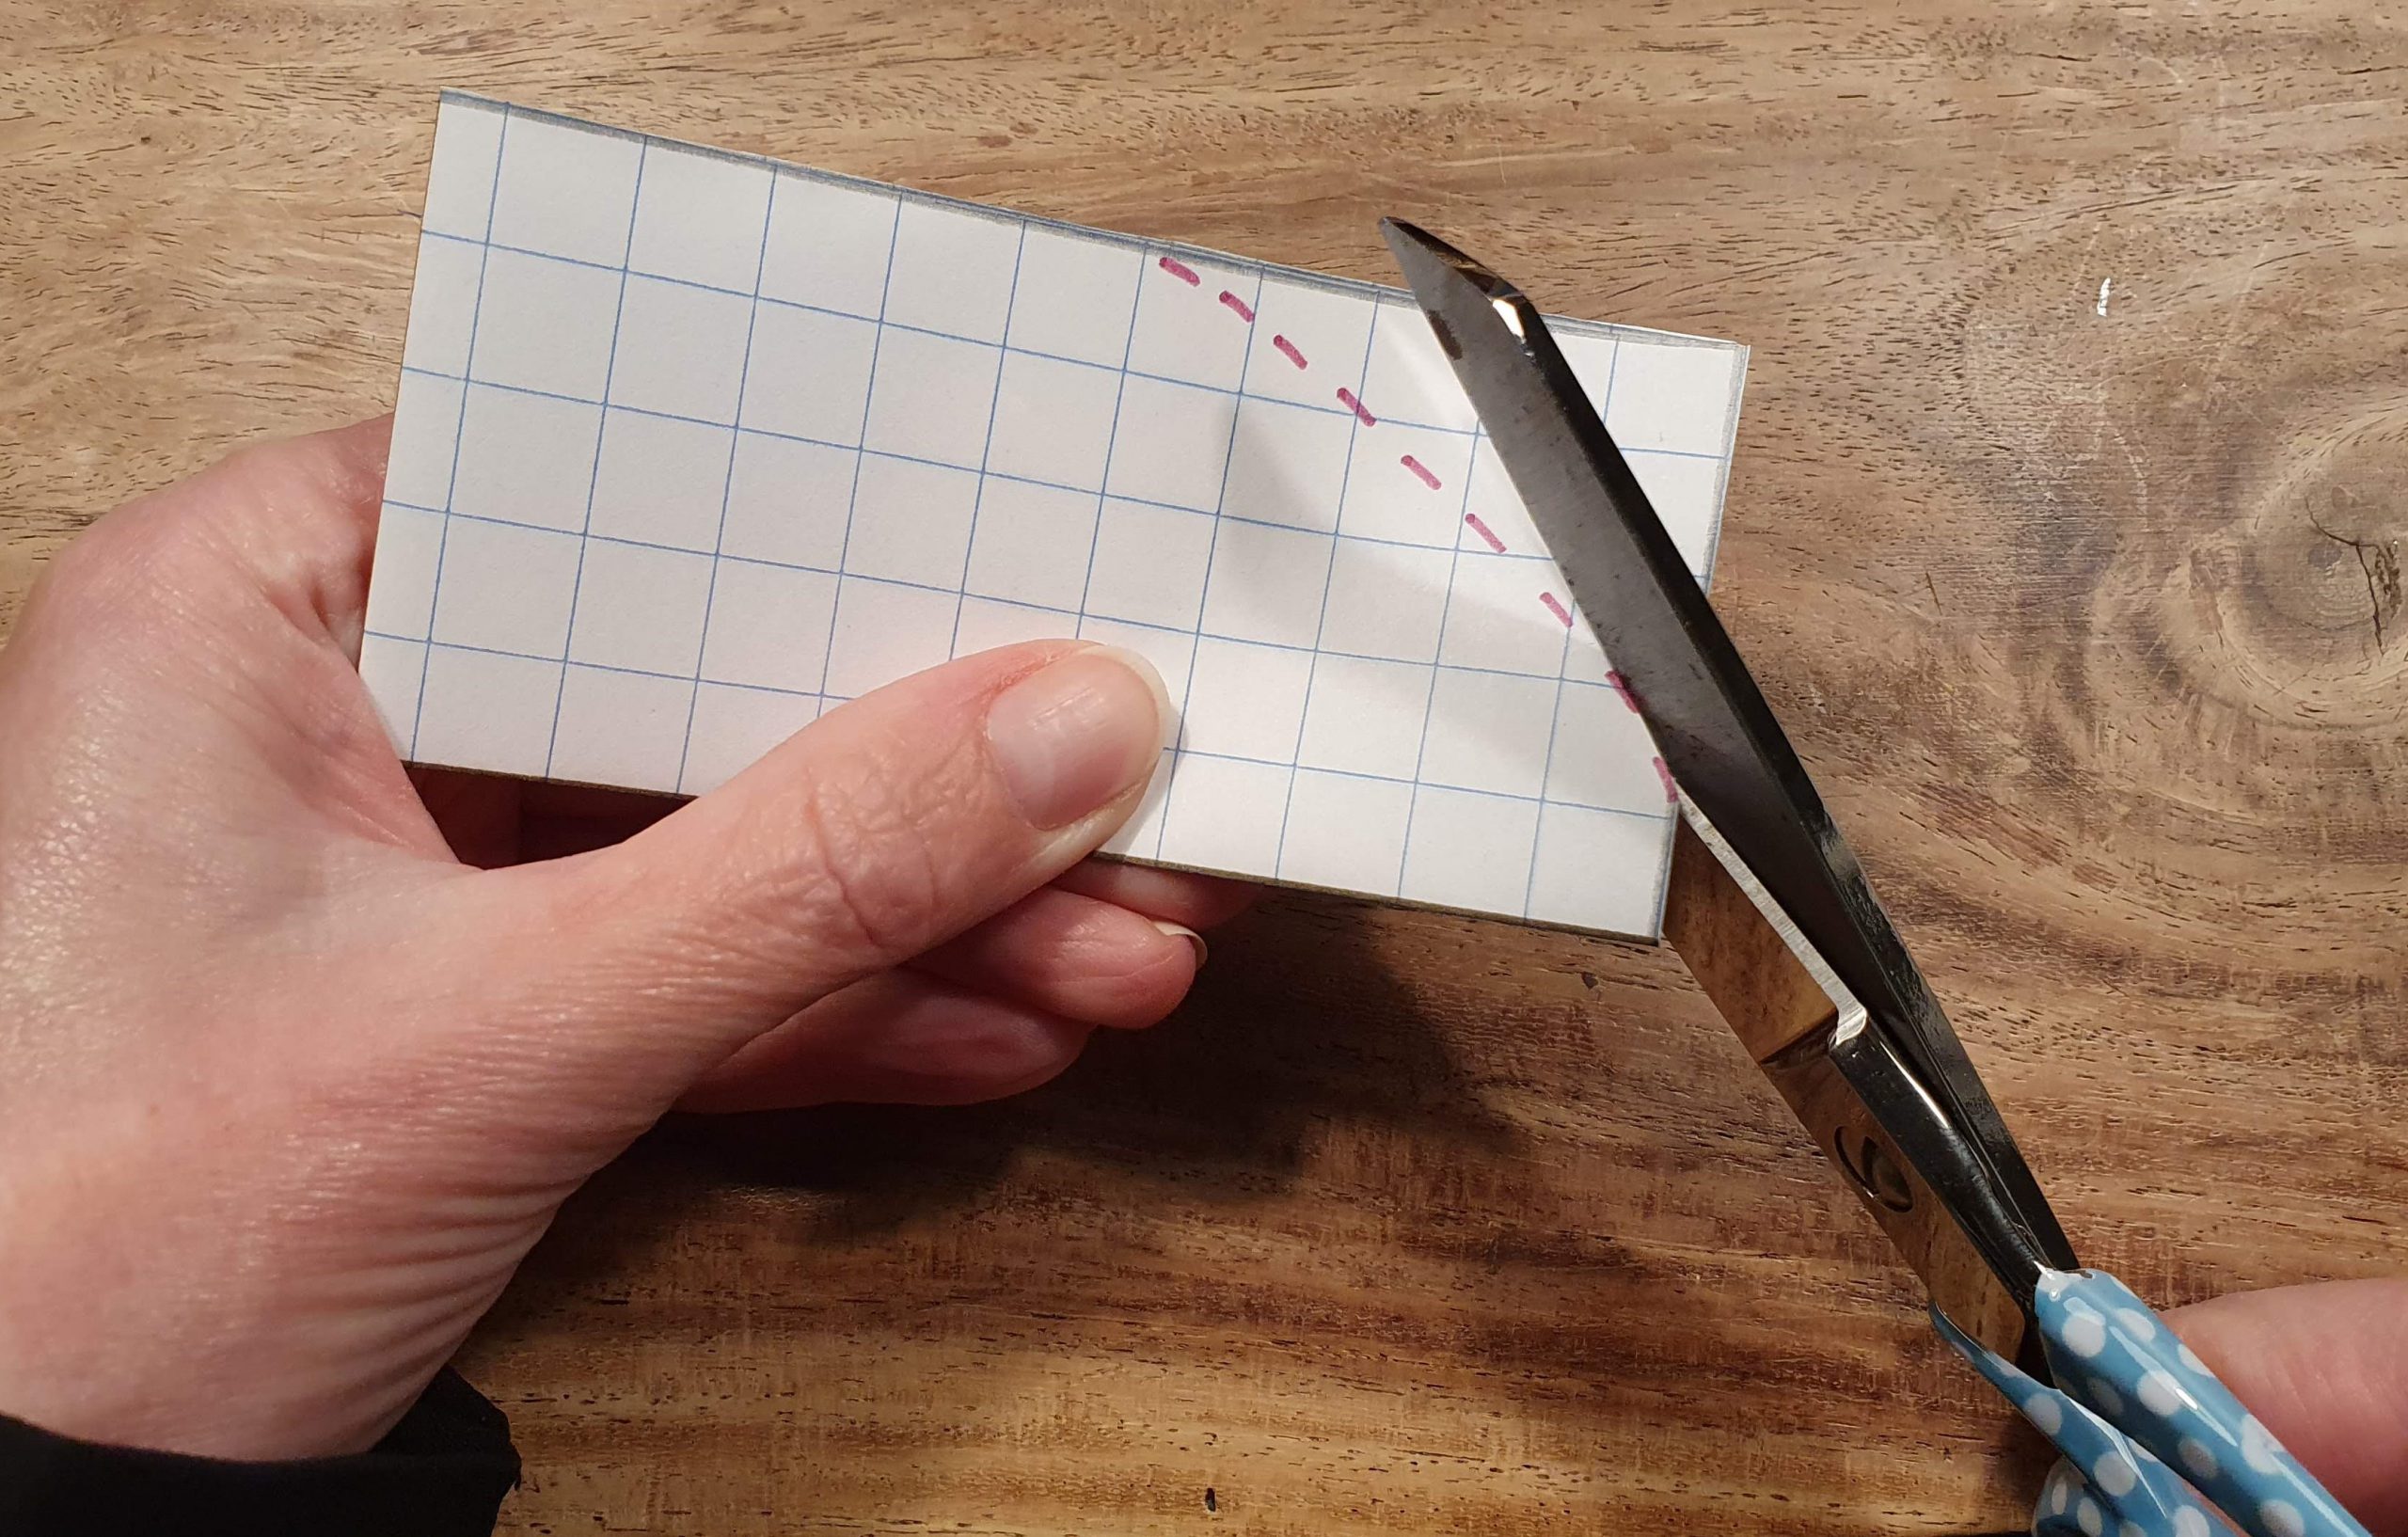
Mark where the press studs should go.
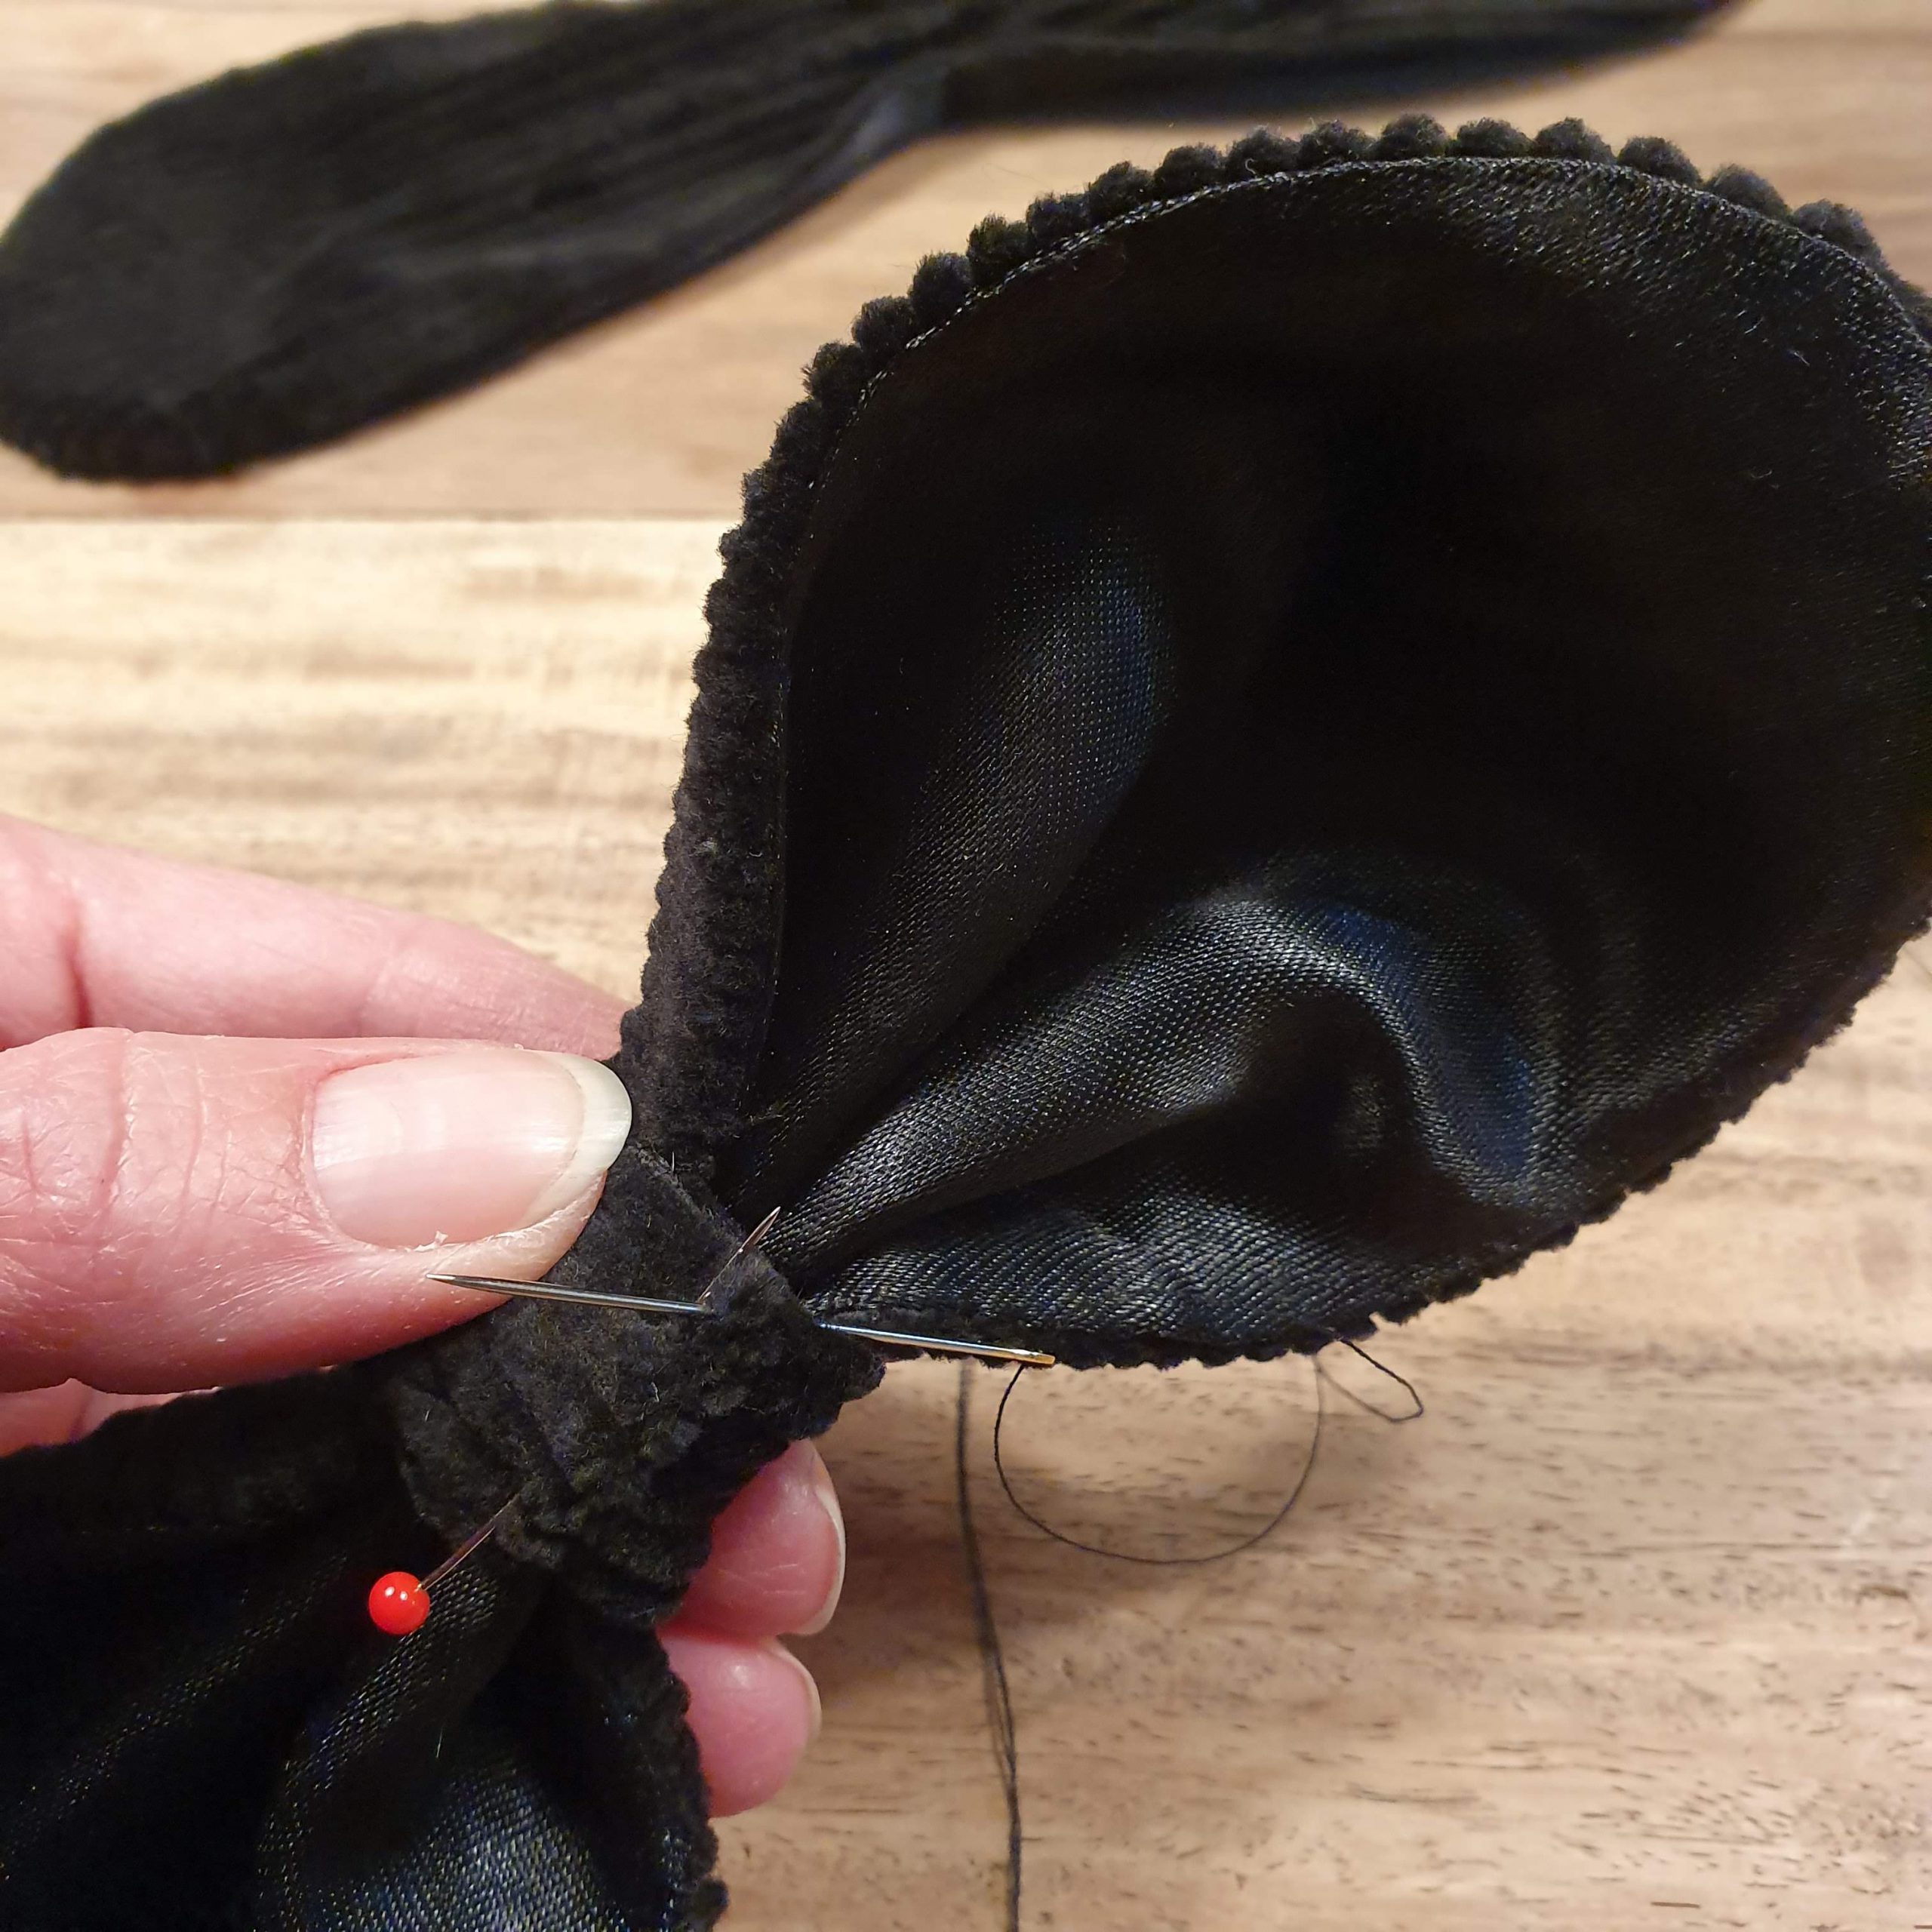
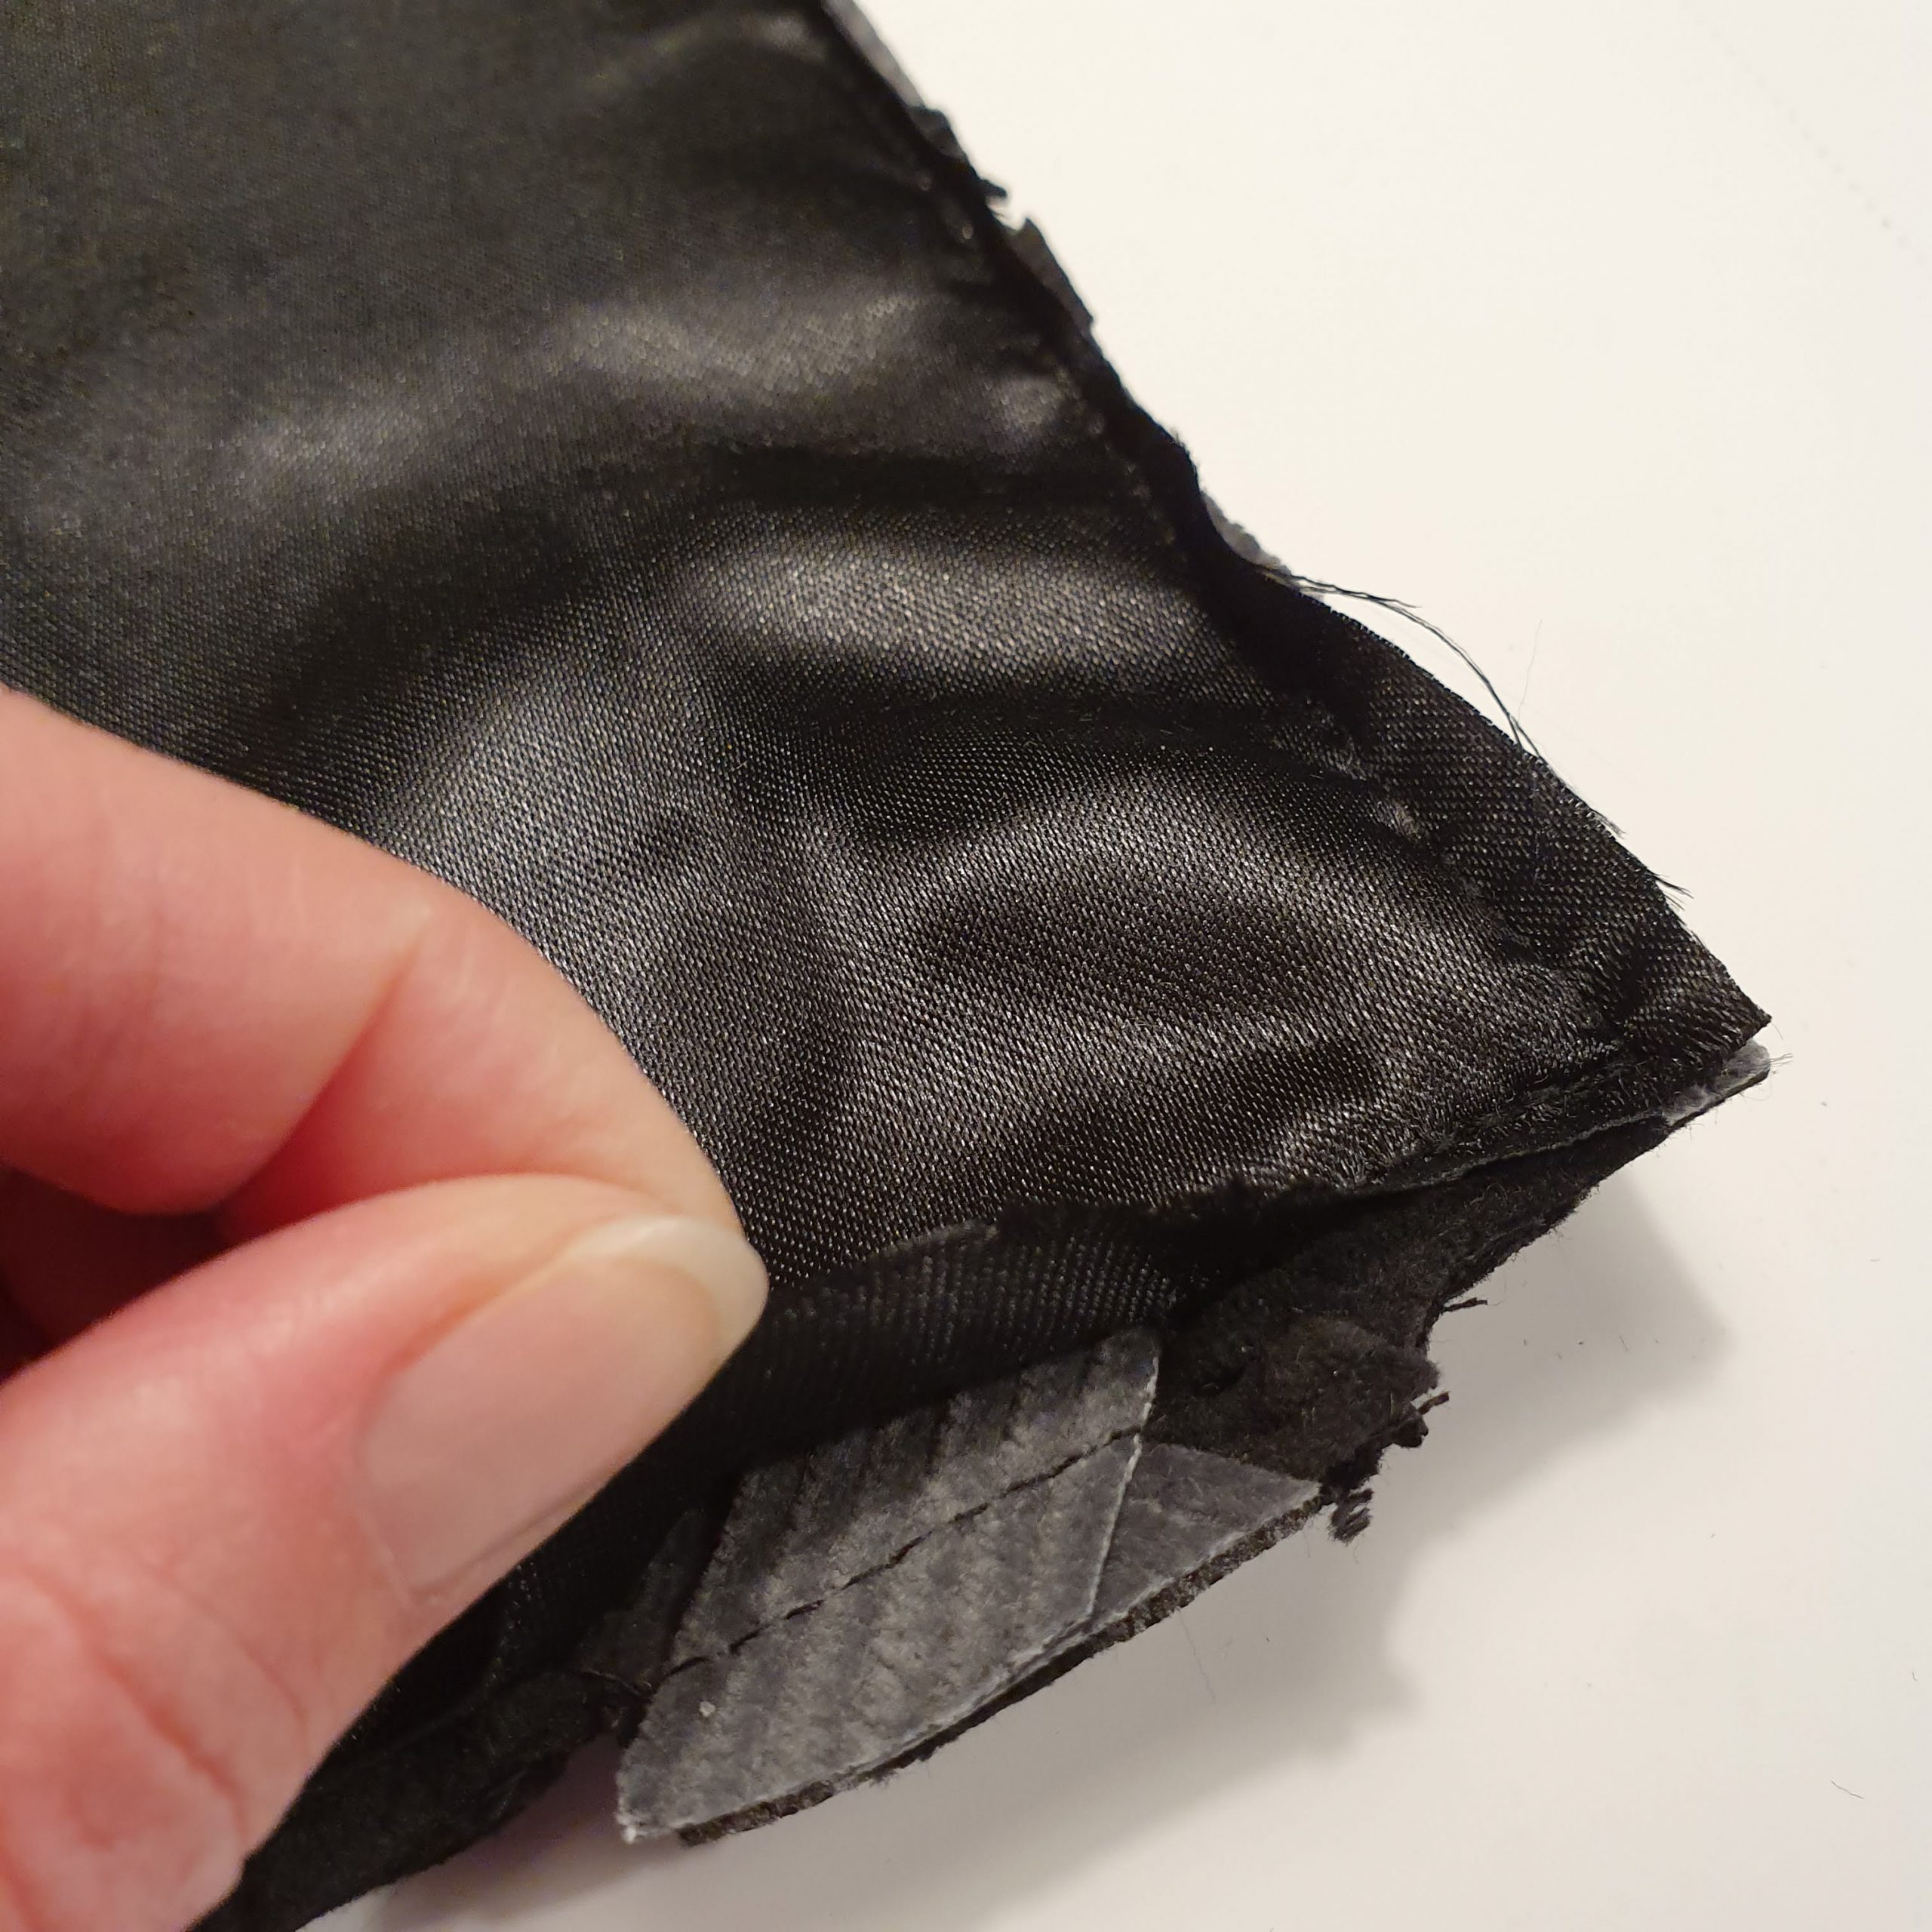
These kind of bracelets are usually made from leather because of its stiffness, but I thought it would be nice to make it from this ribbed material as it has a kind of velvet look. The fabric isn’t very stiff, so I reinforced it with vlieseline and used a firm lining fabric.
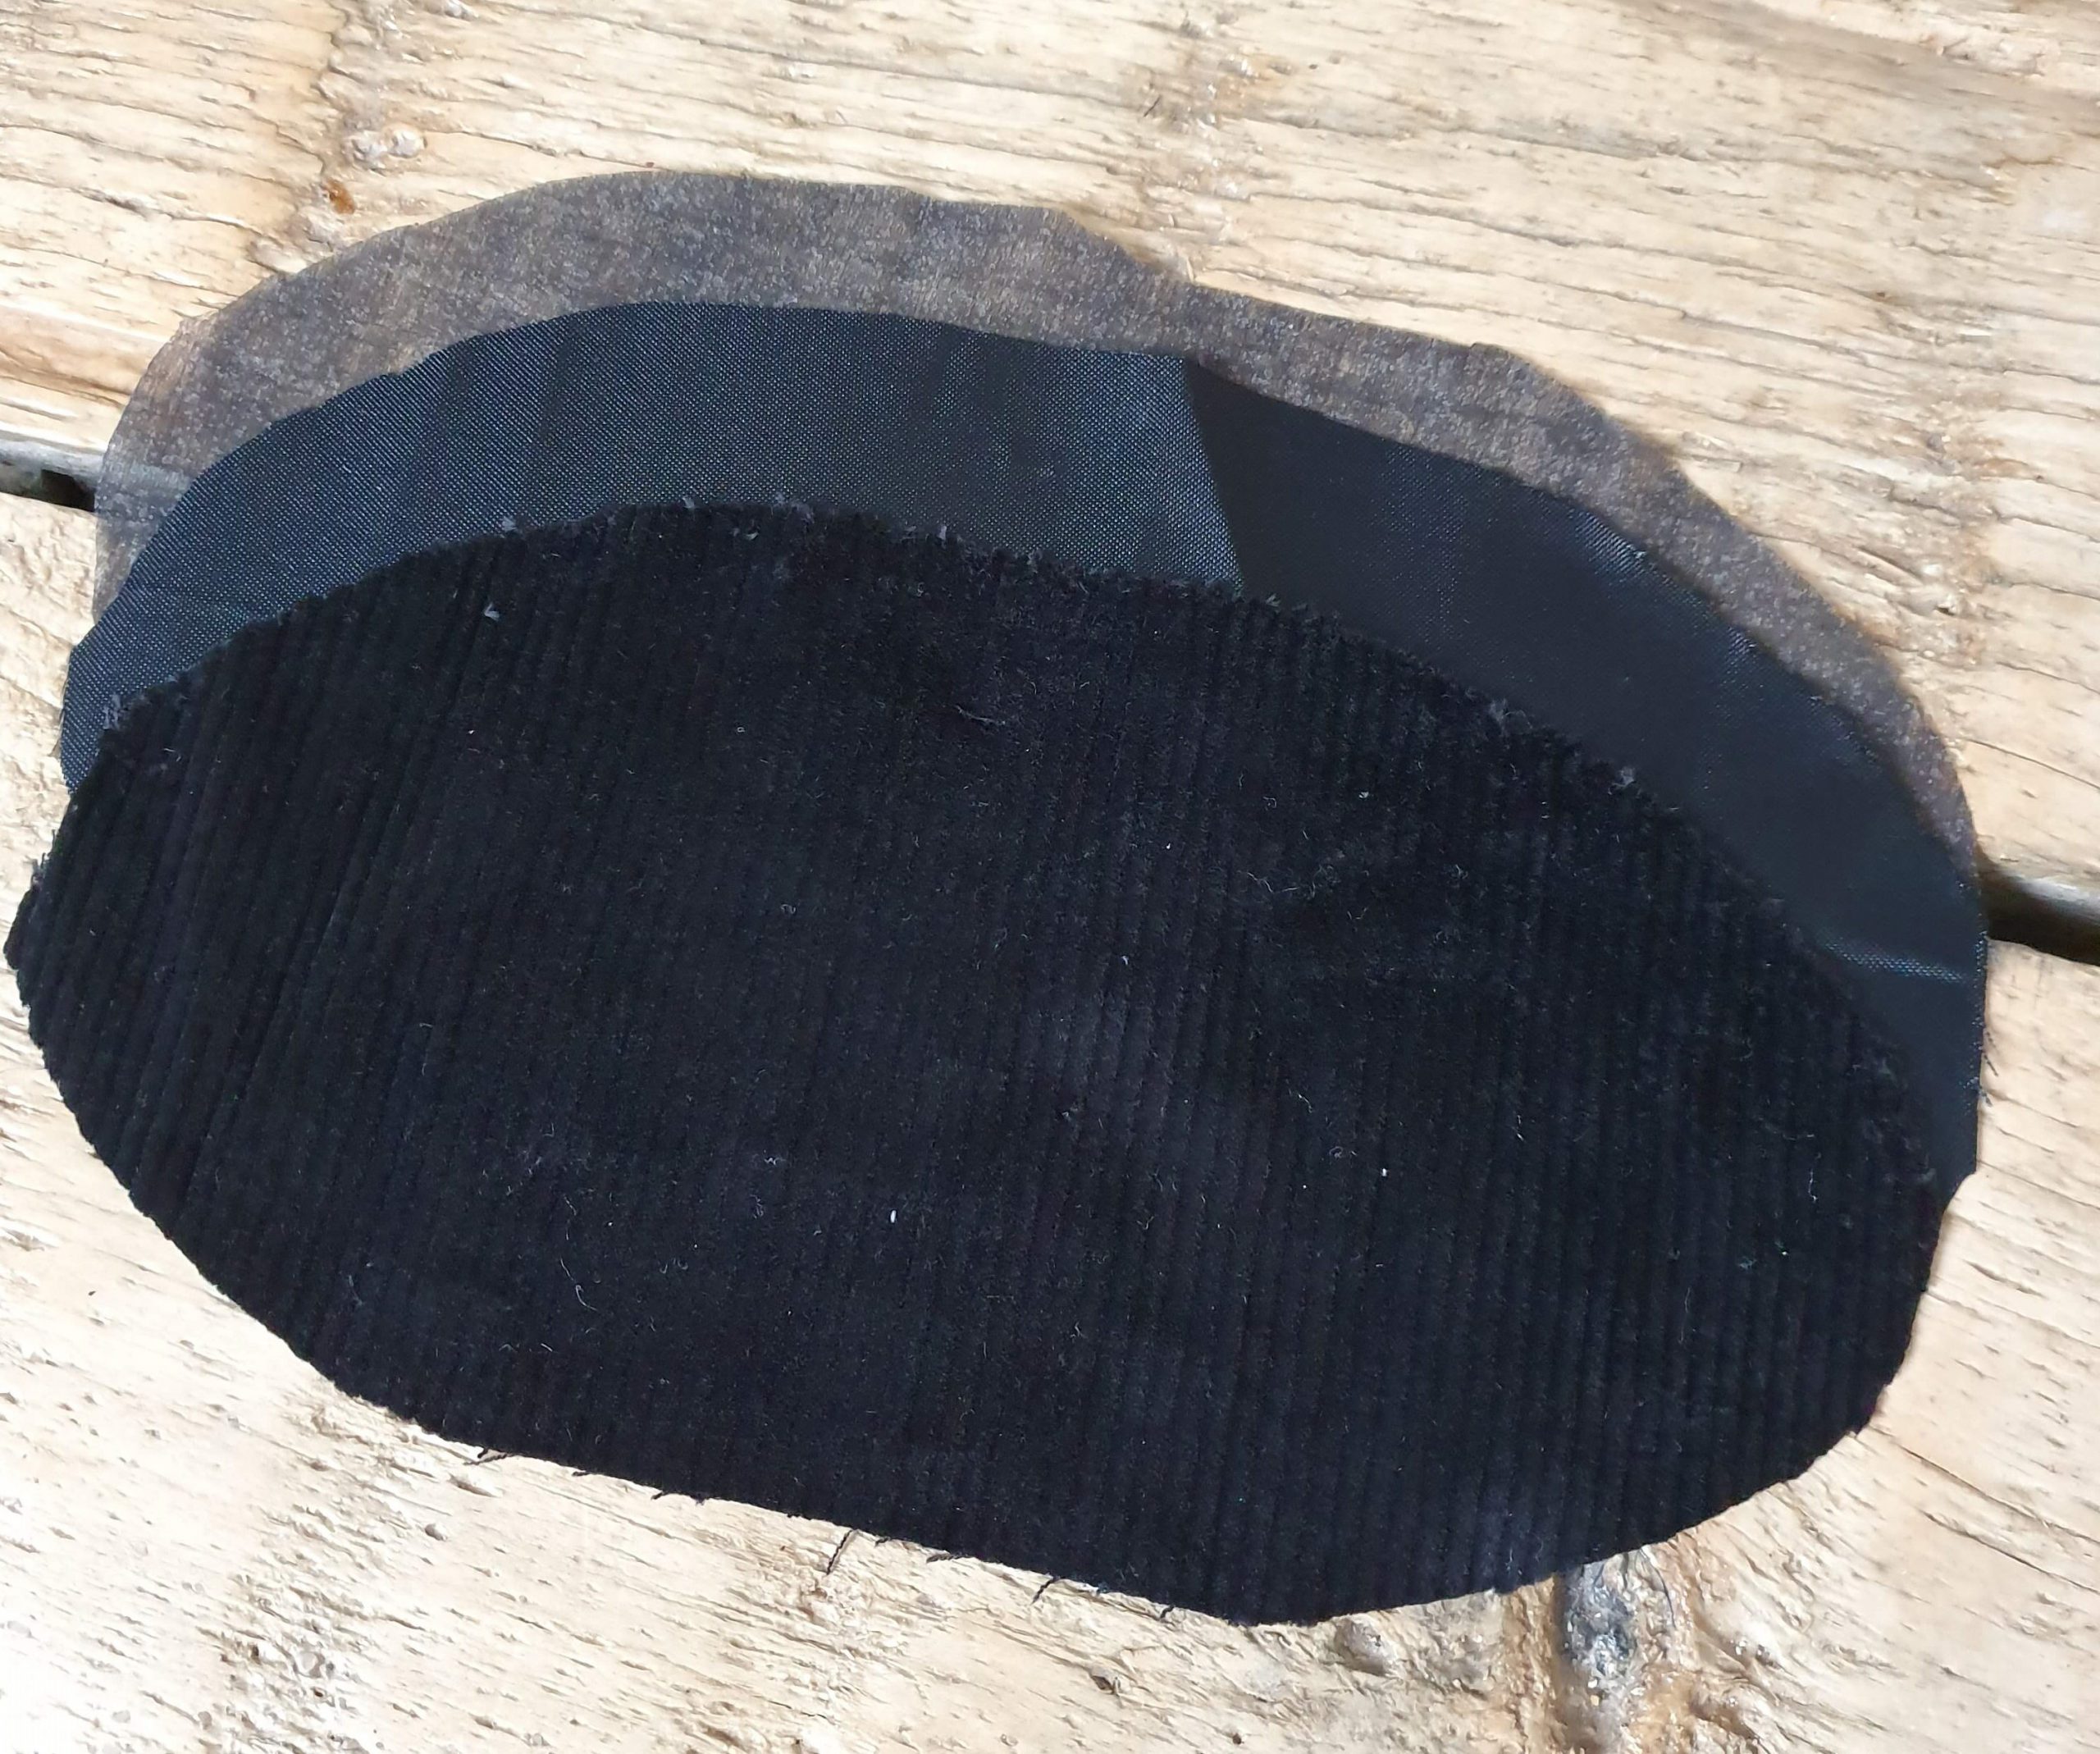
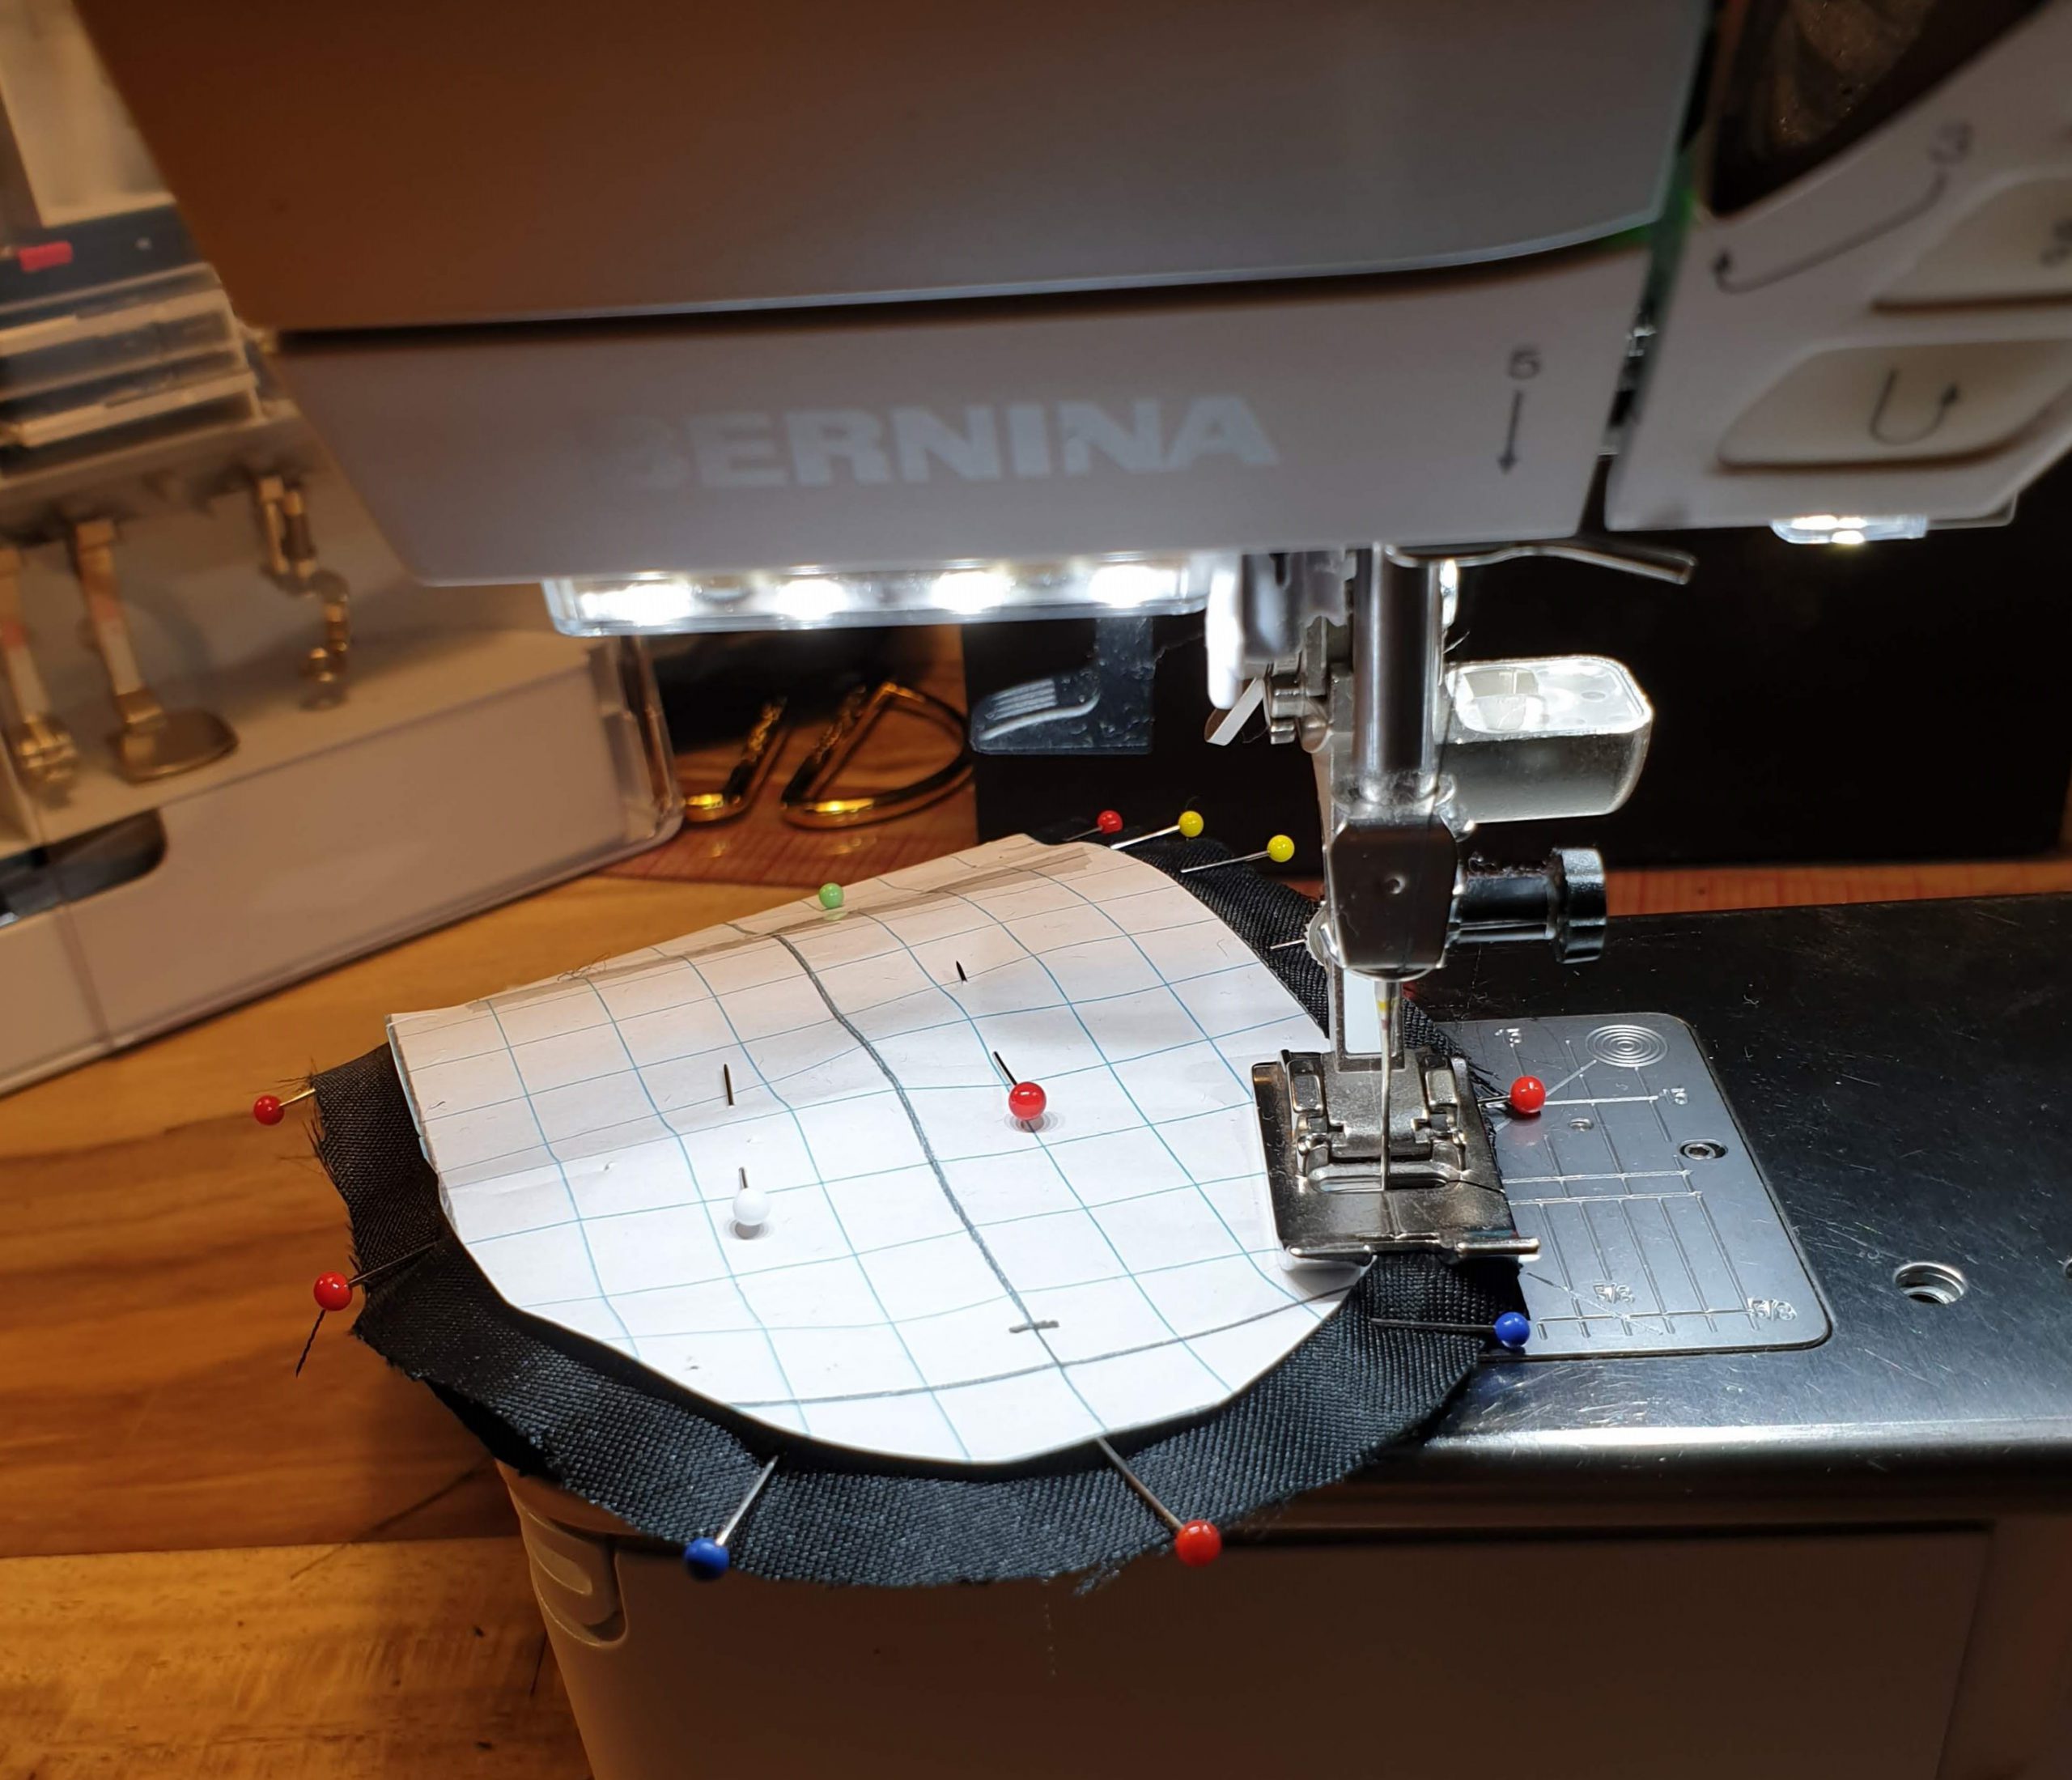
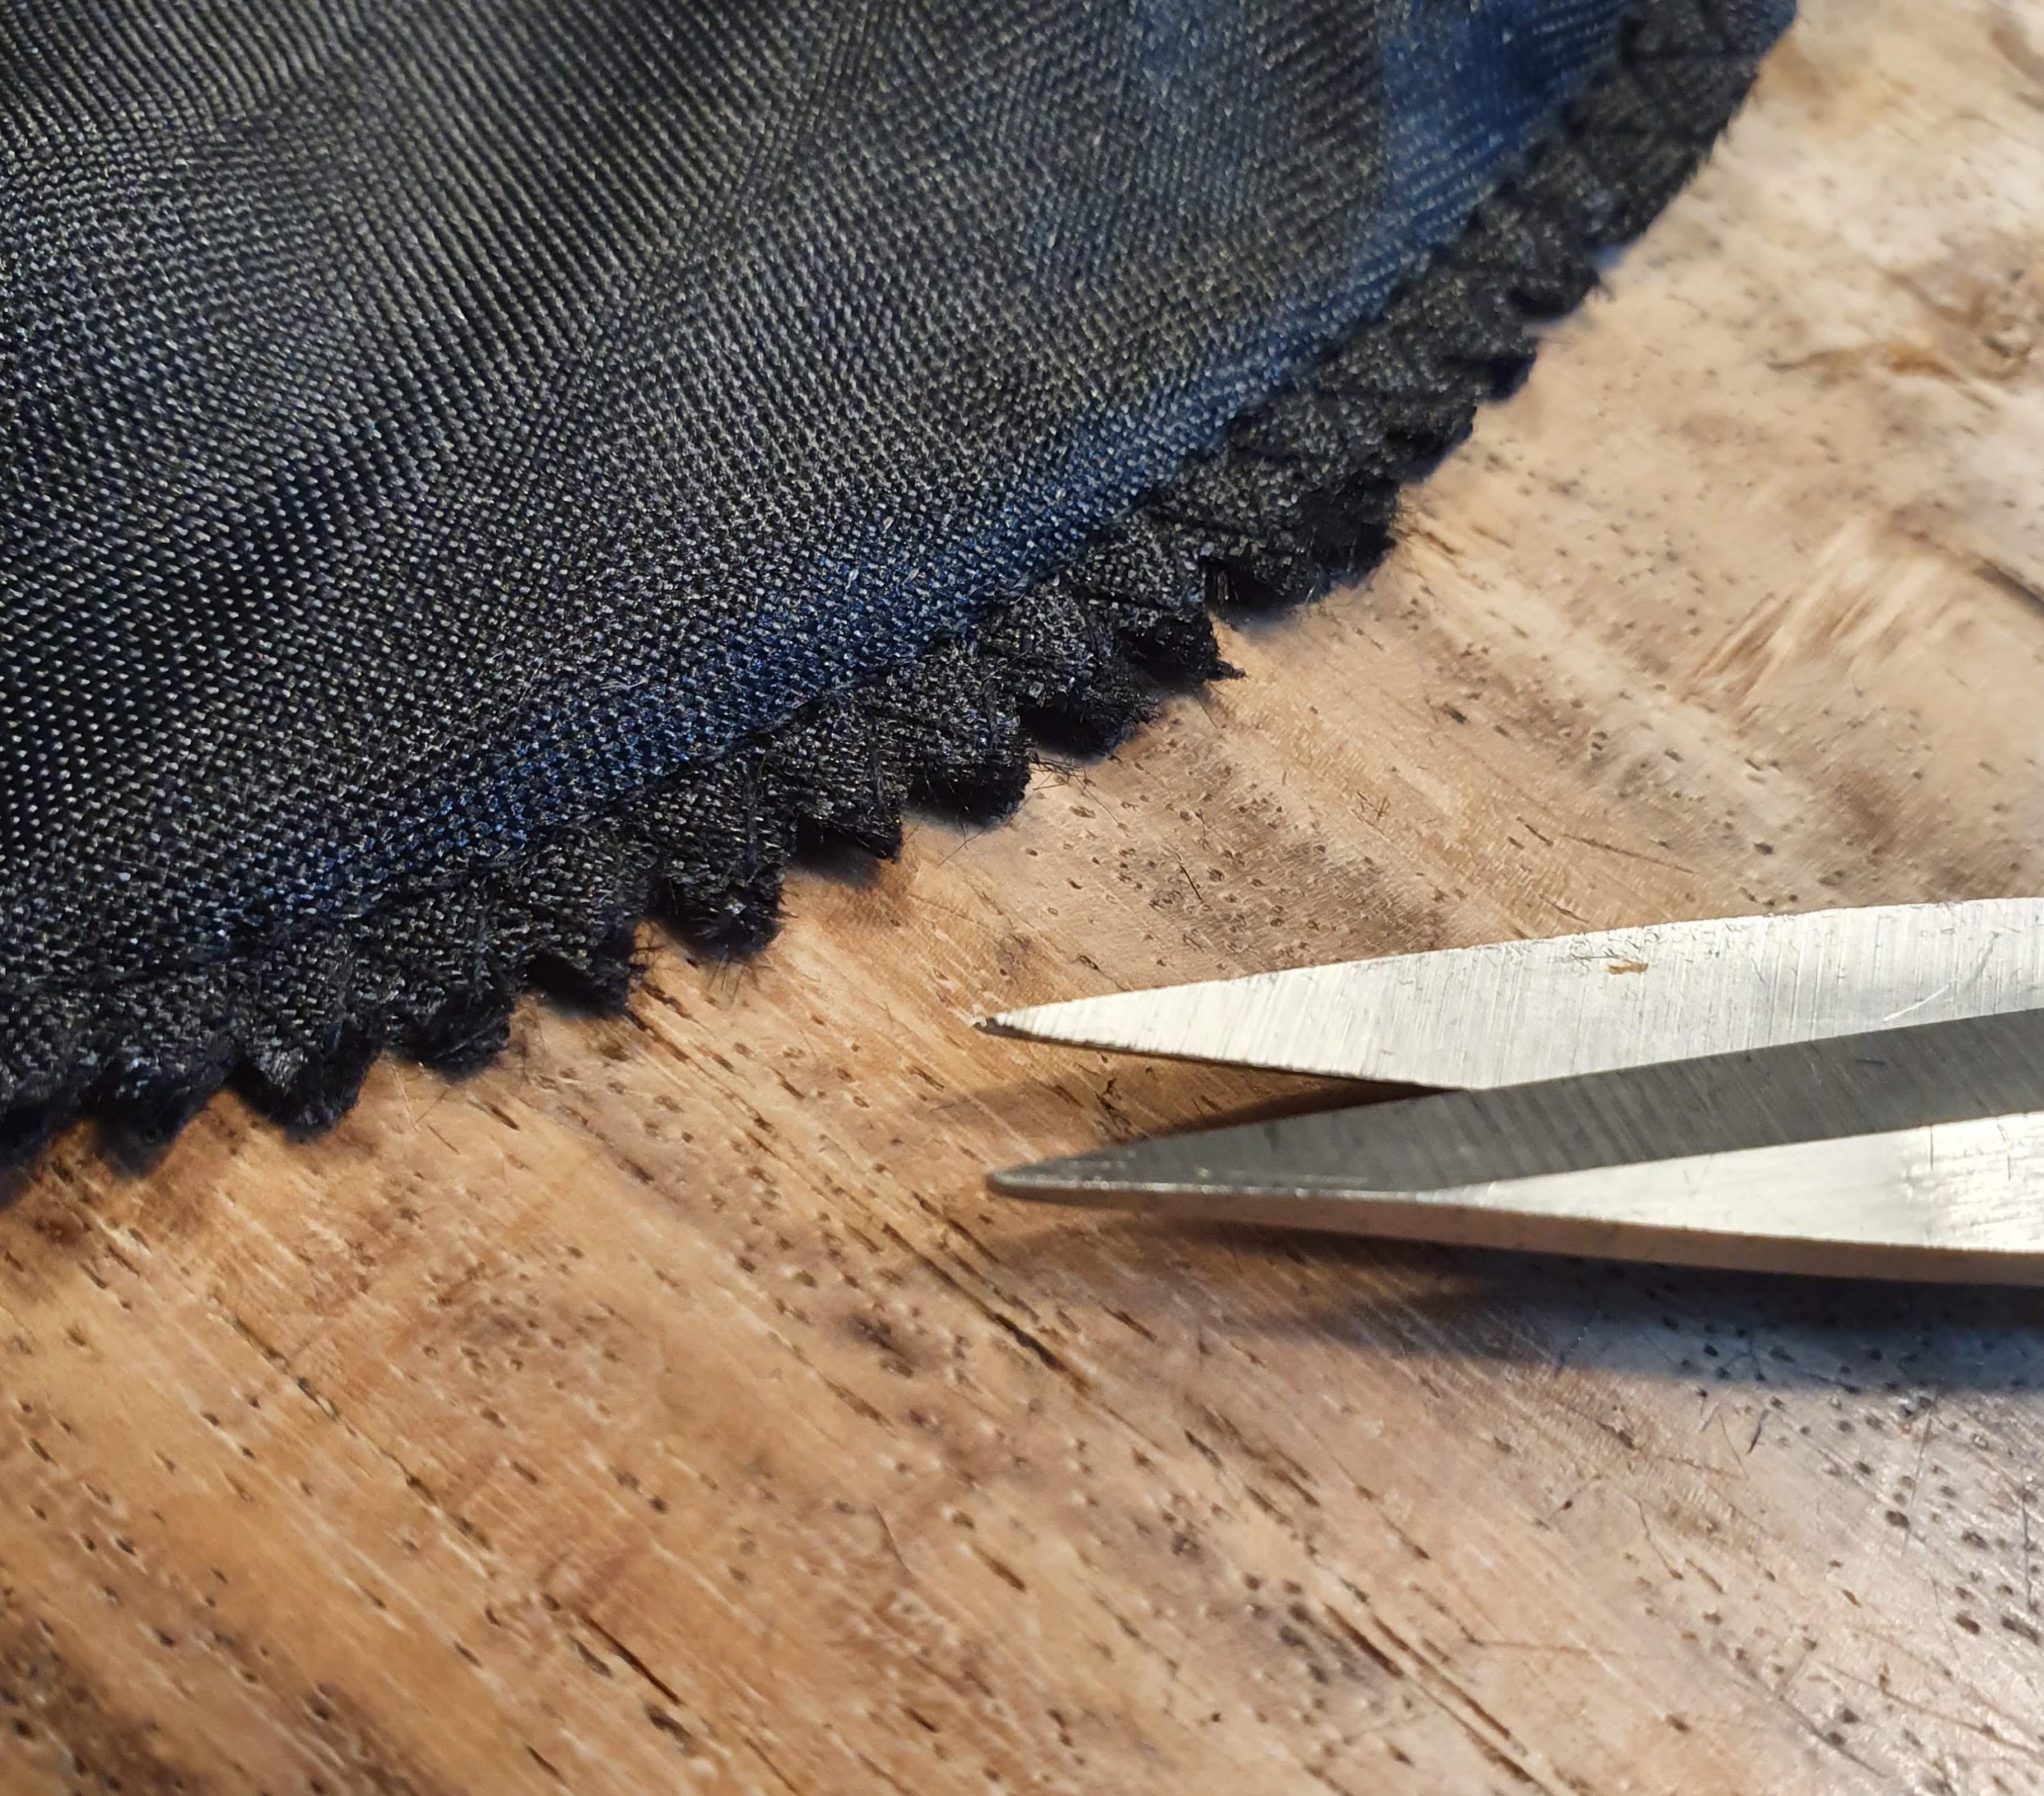
After ironing the vlieseline on the fabric I attached the layers with the right sides together and left a gap for reversing it. I finished off the edges with a large zigzag stitch so that I could cut the corners off for a nice rounded appearance.
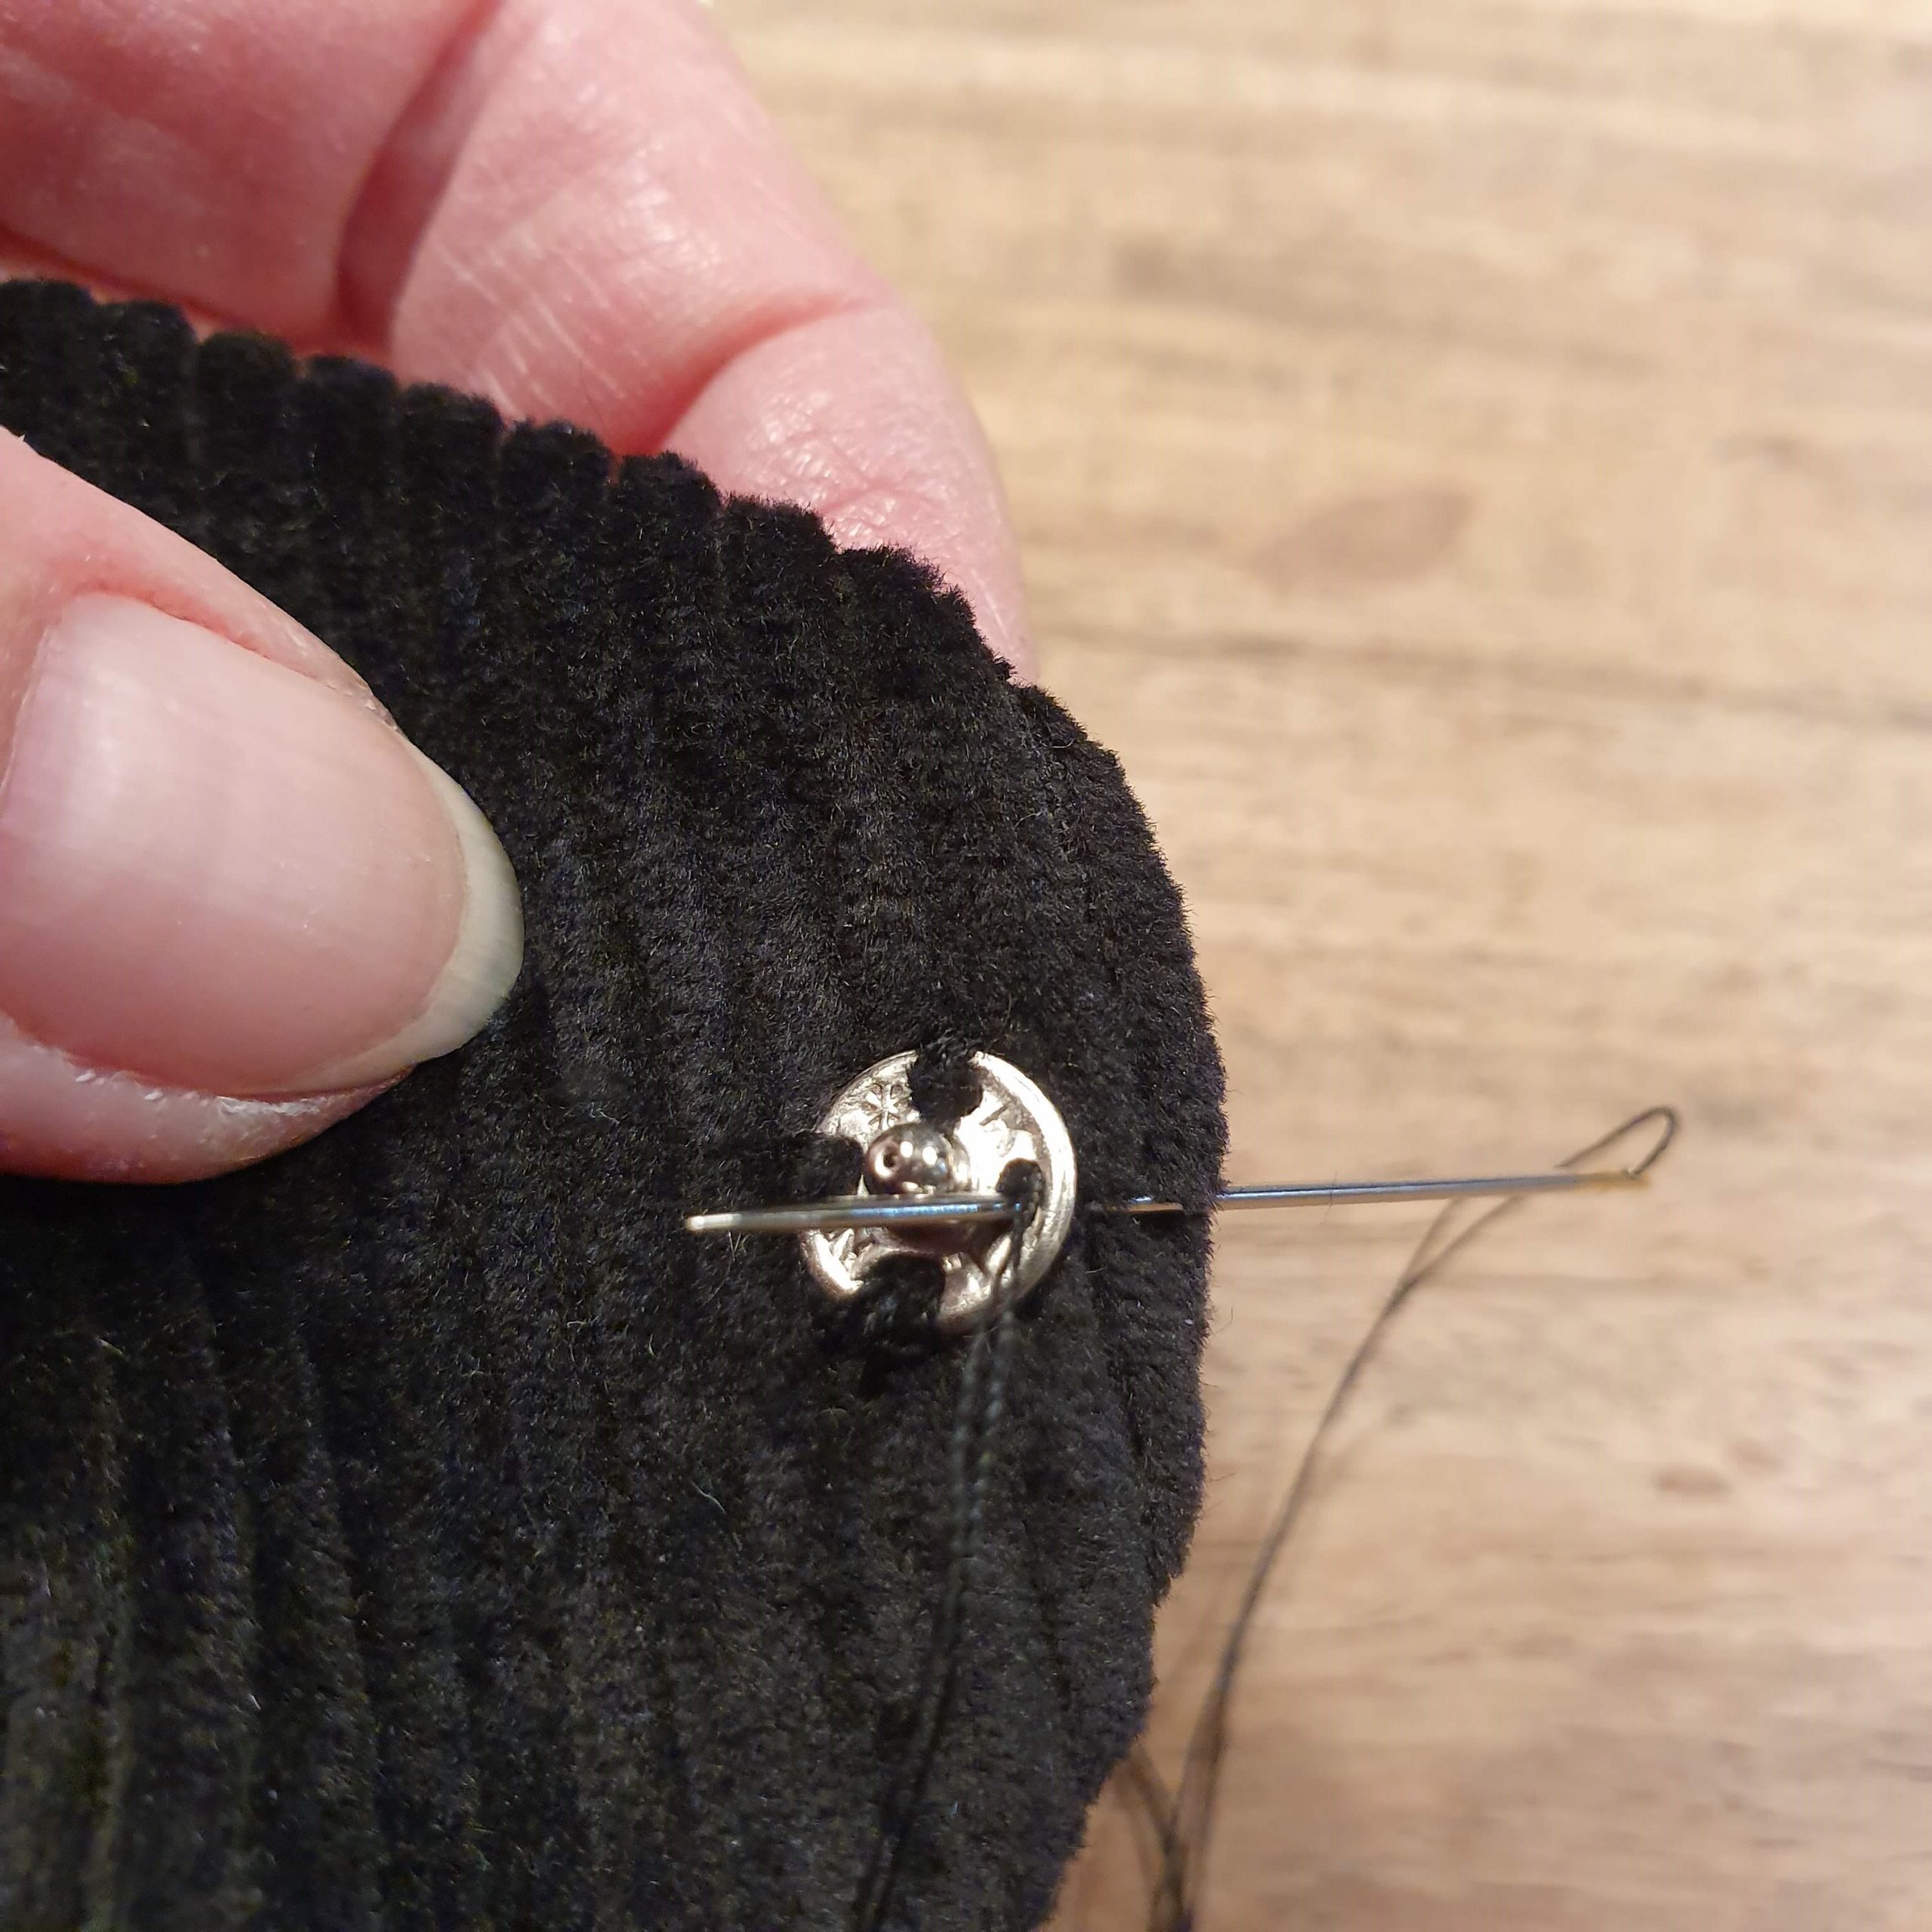
After reversing it, ironing it and closing up the gap, I tied elastic around it in the middle. To finish the middle piece, I made a band from a double-folded piece of the ribbed fabric measuring 5×9 cm, which was stitched lengthwise with the right sides together. After reversing it, I then had a 2 cm wide band, which I fastened by hand and secured the press studs.
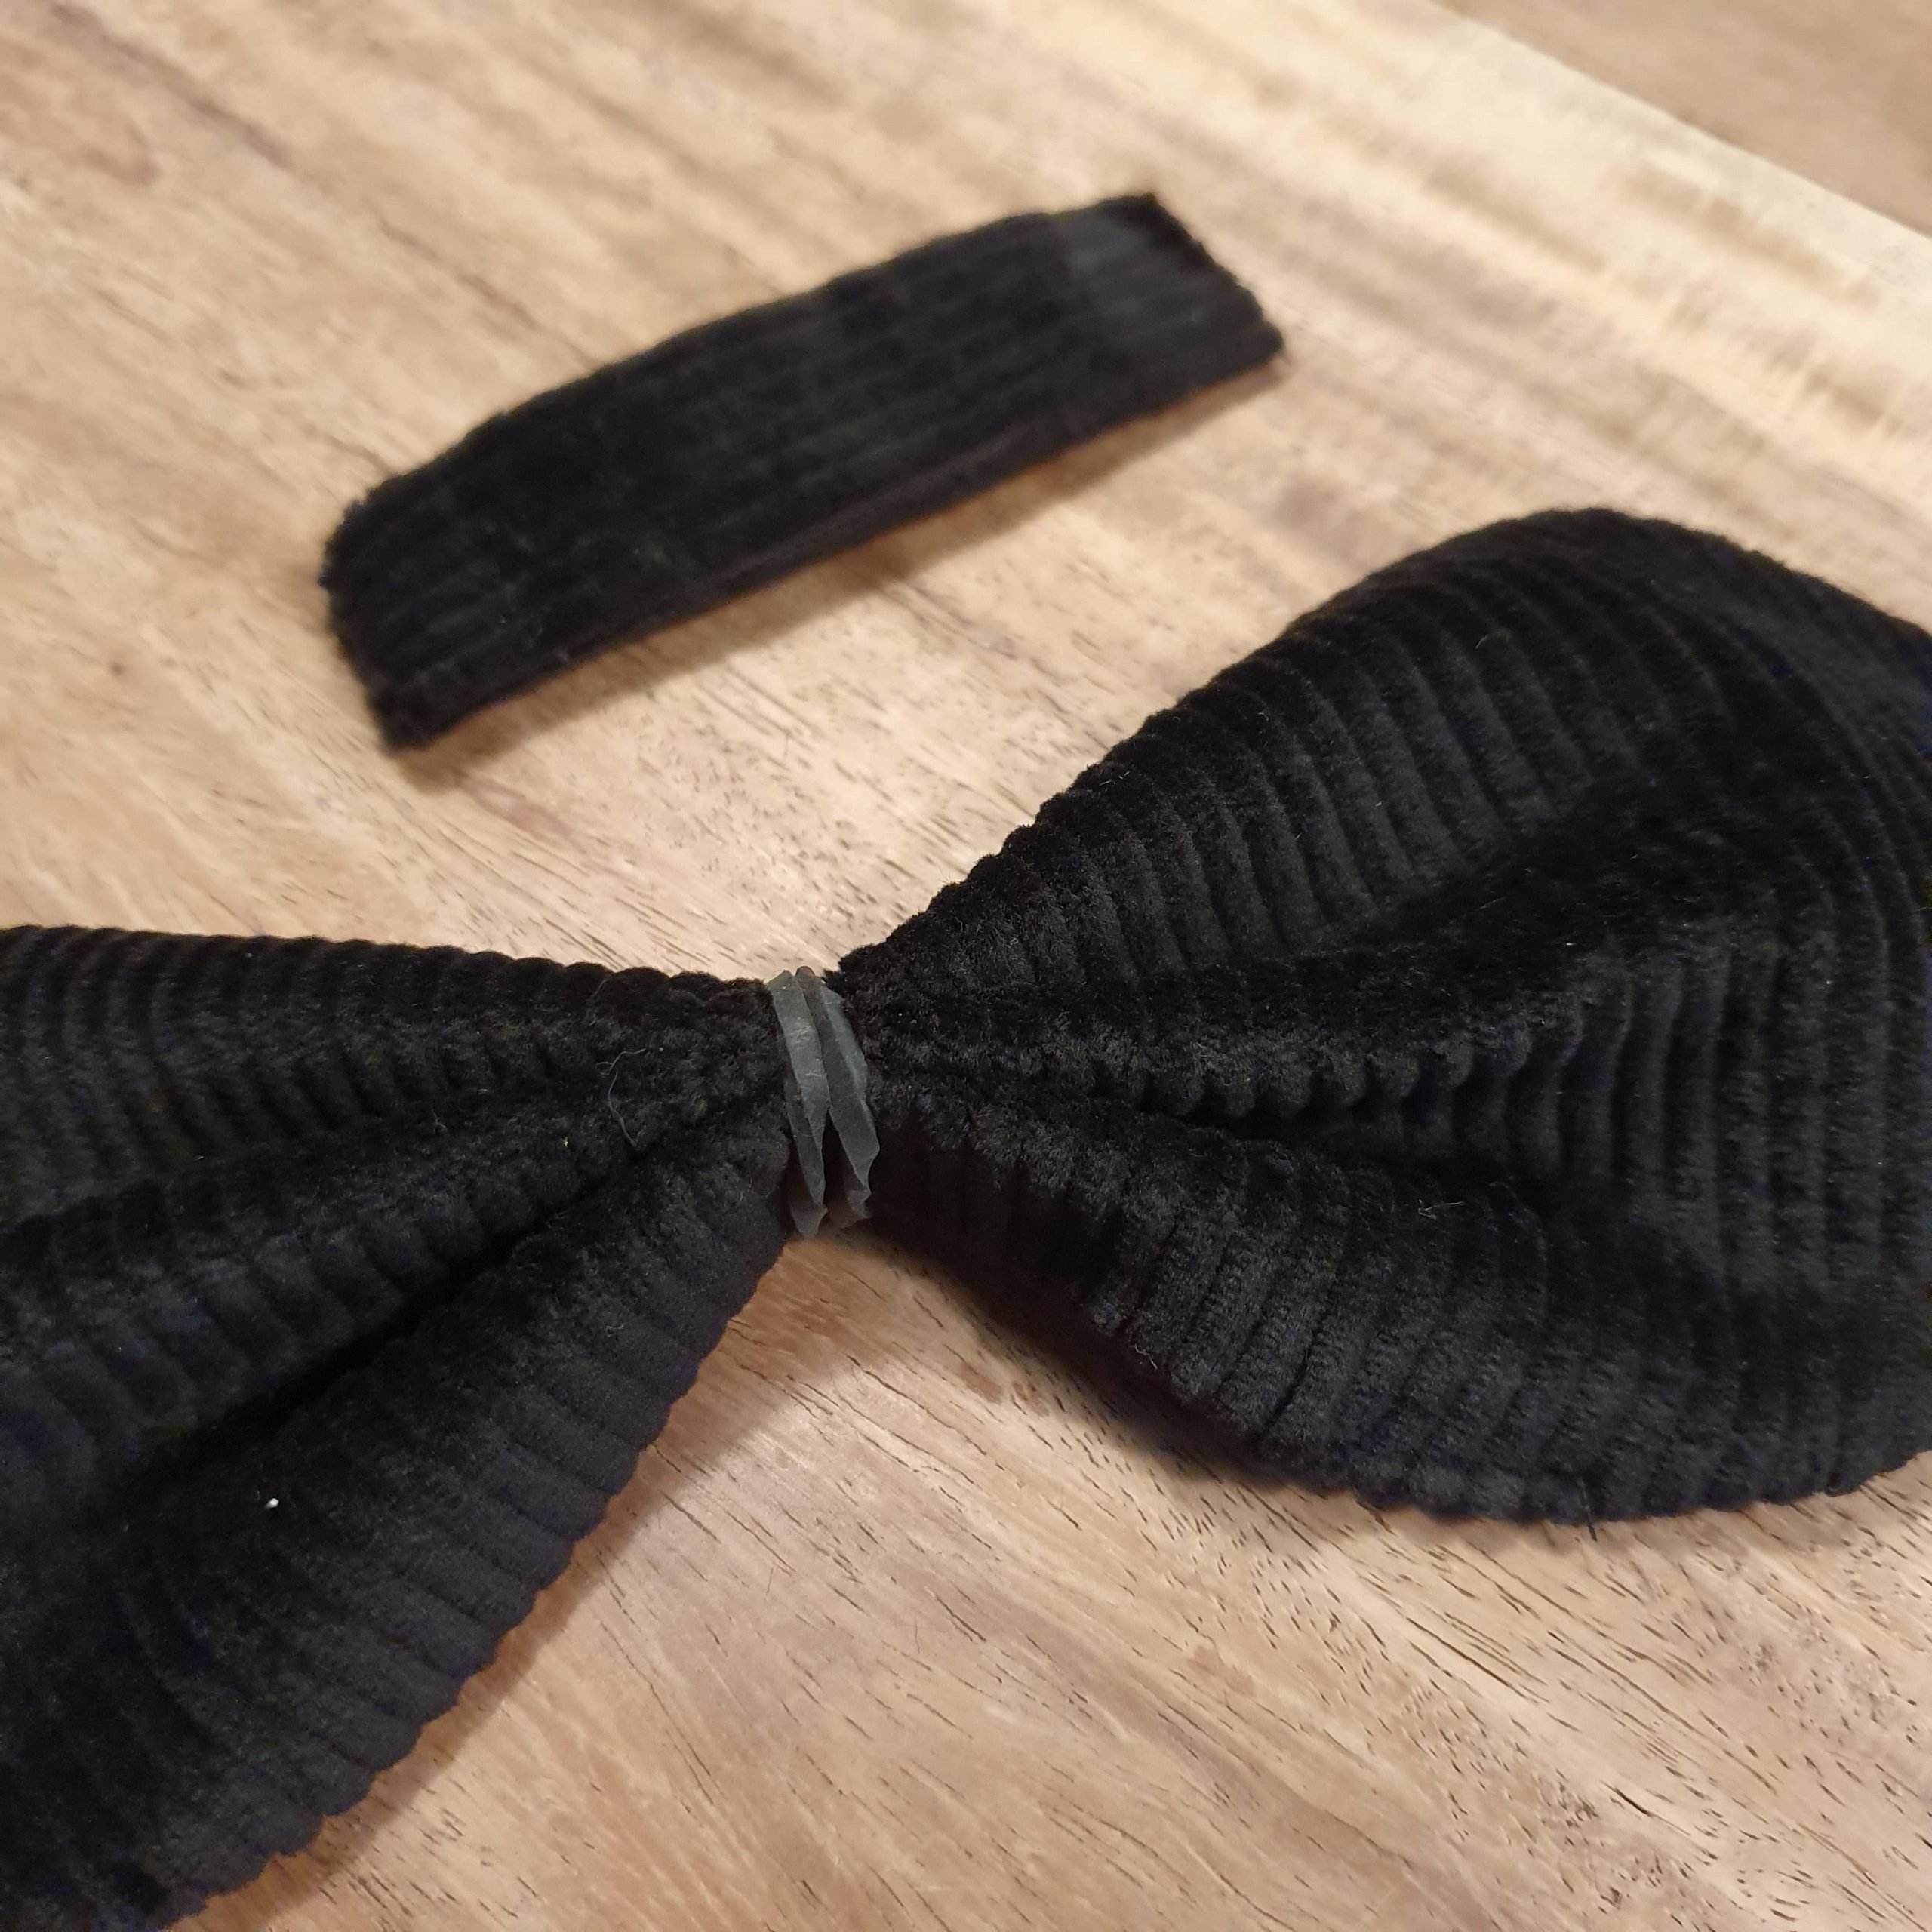
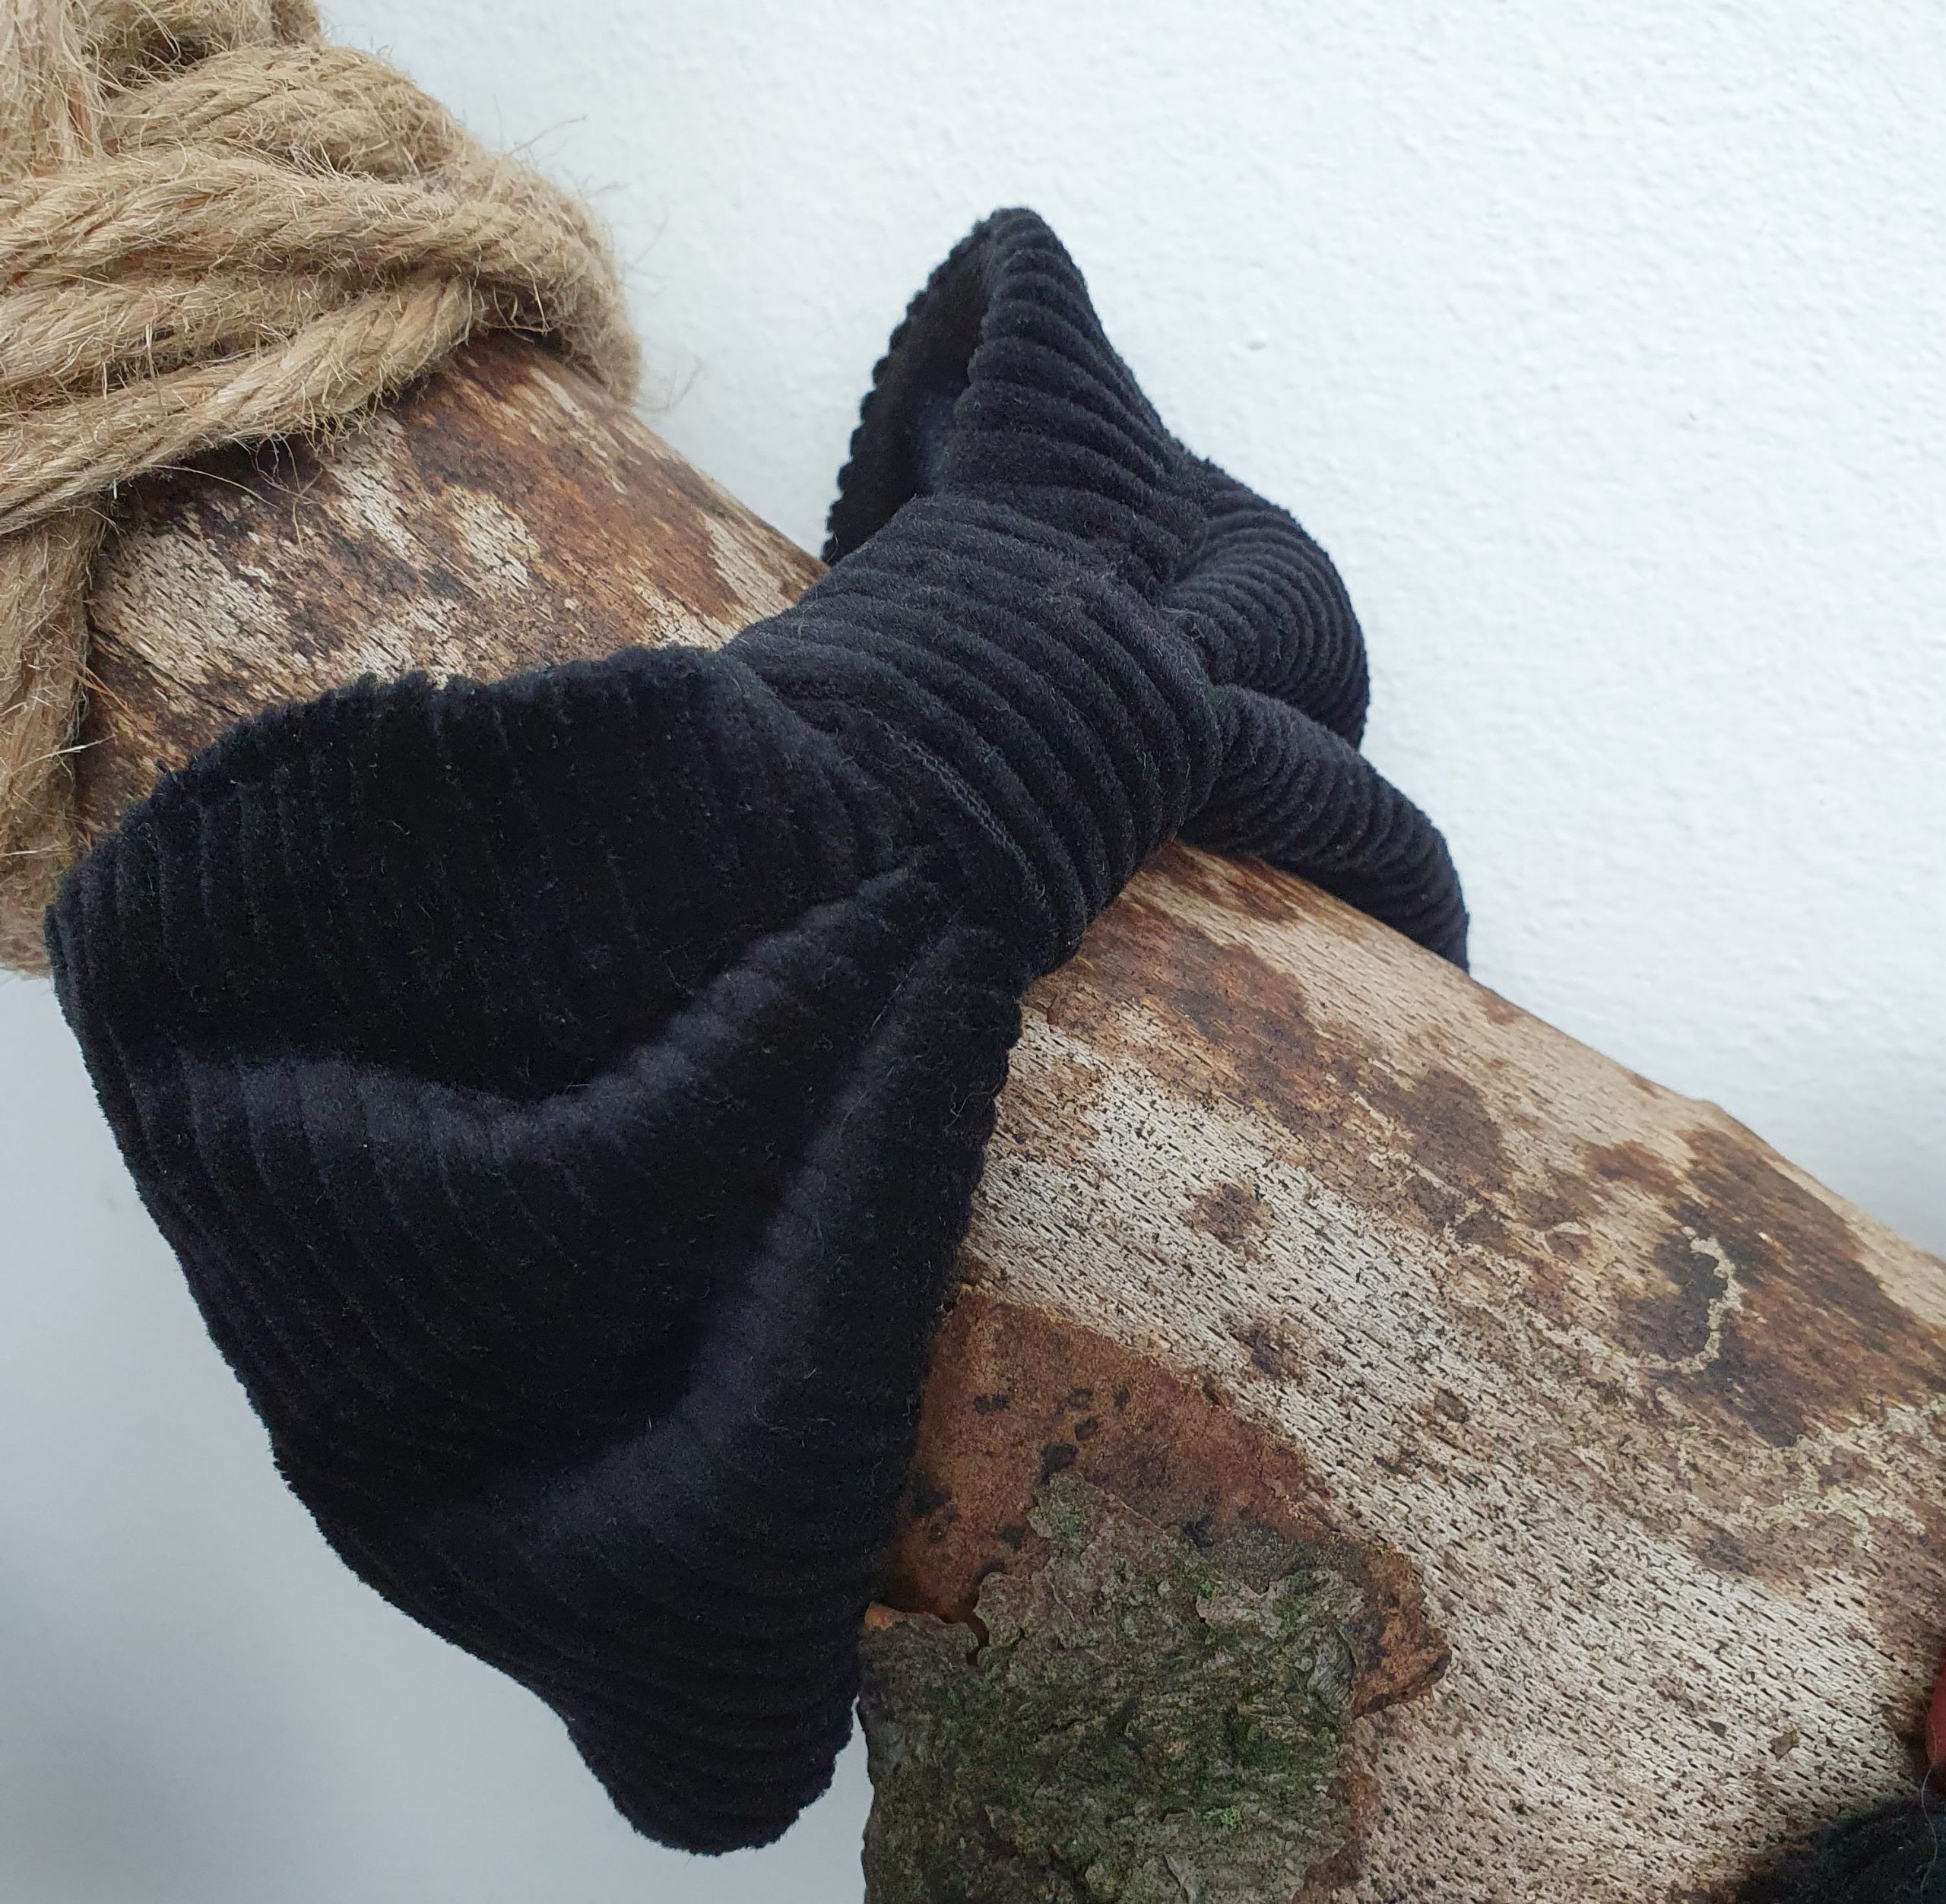
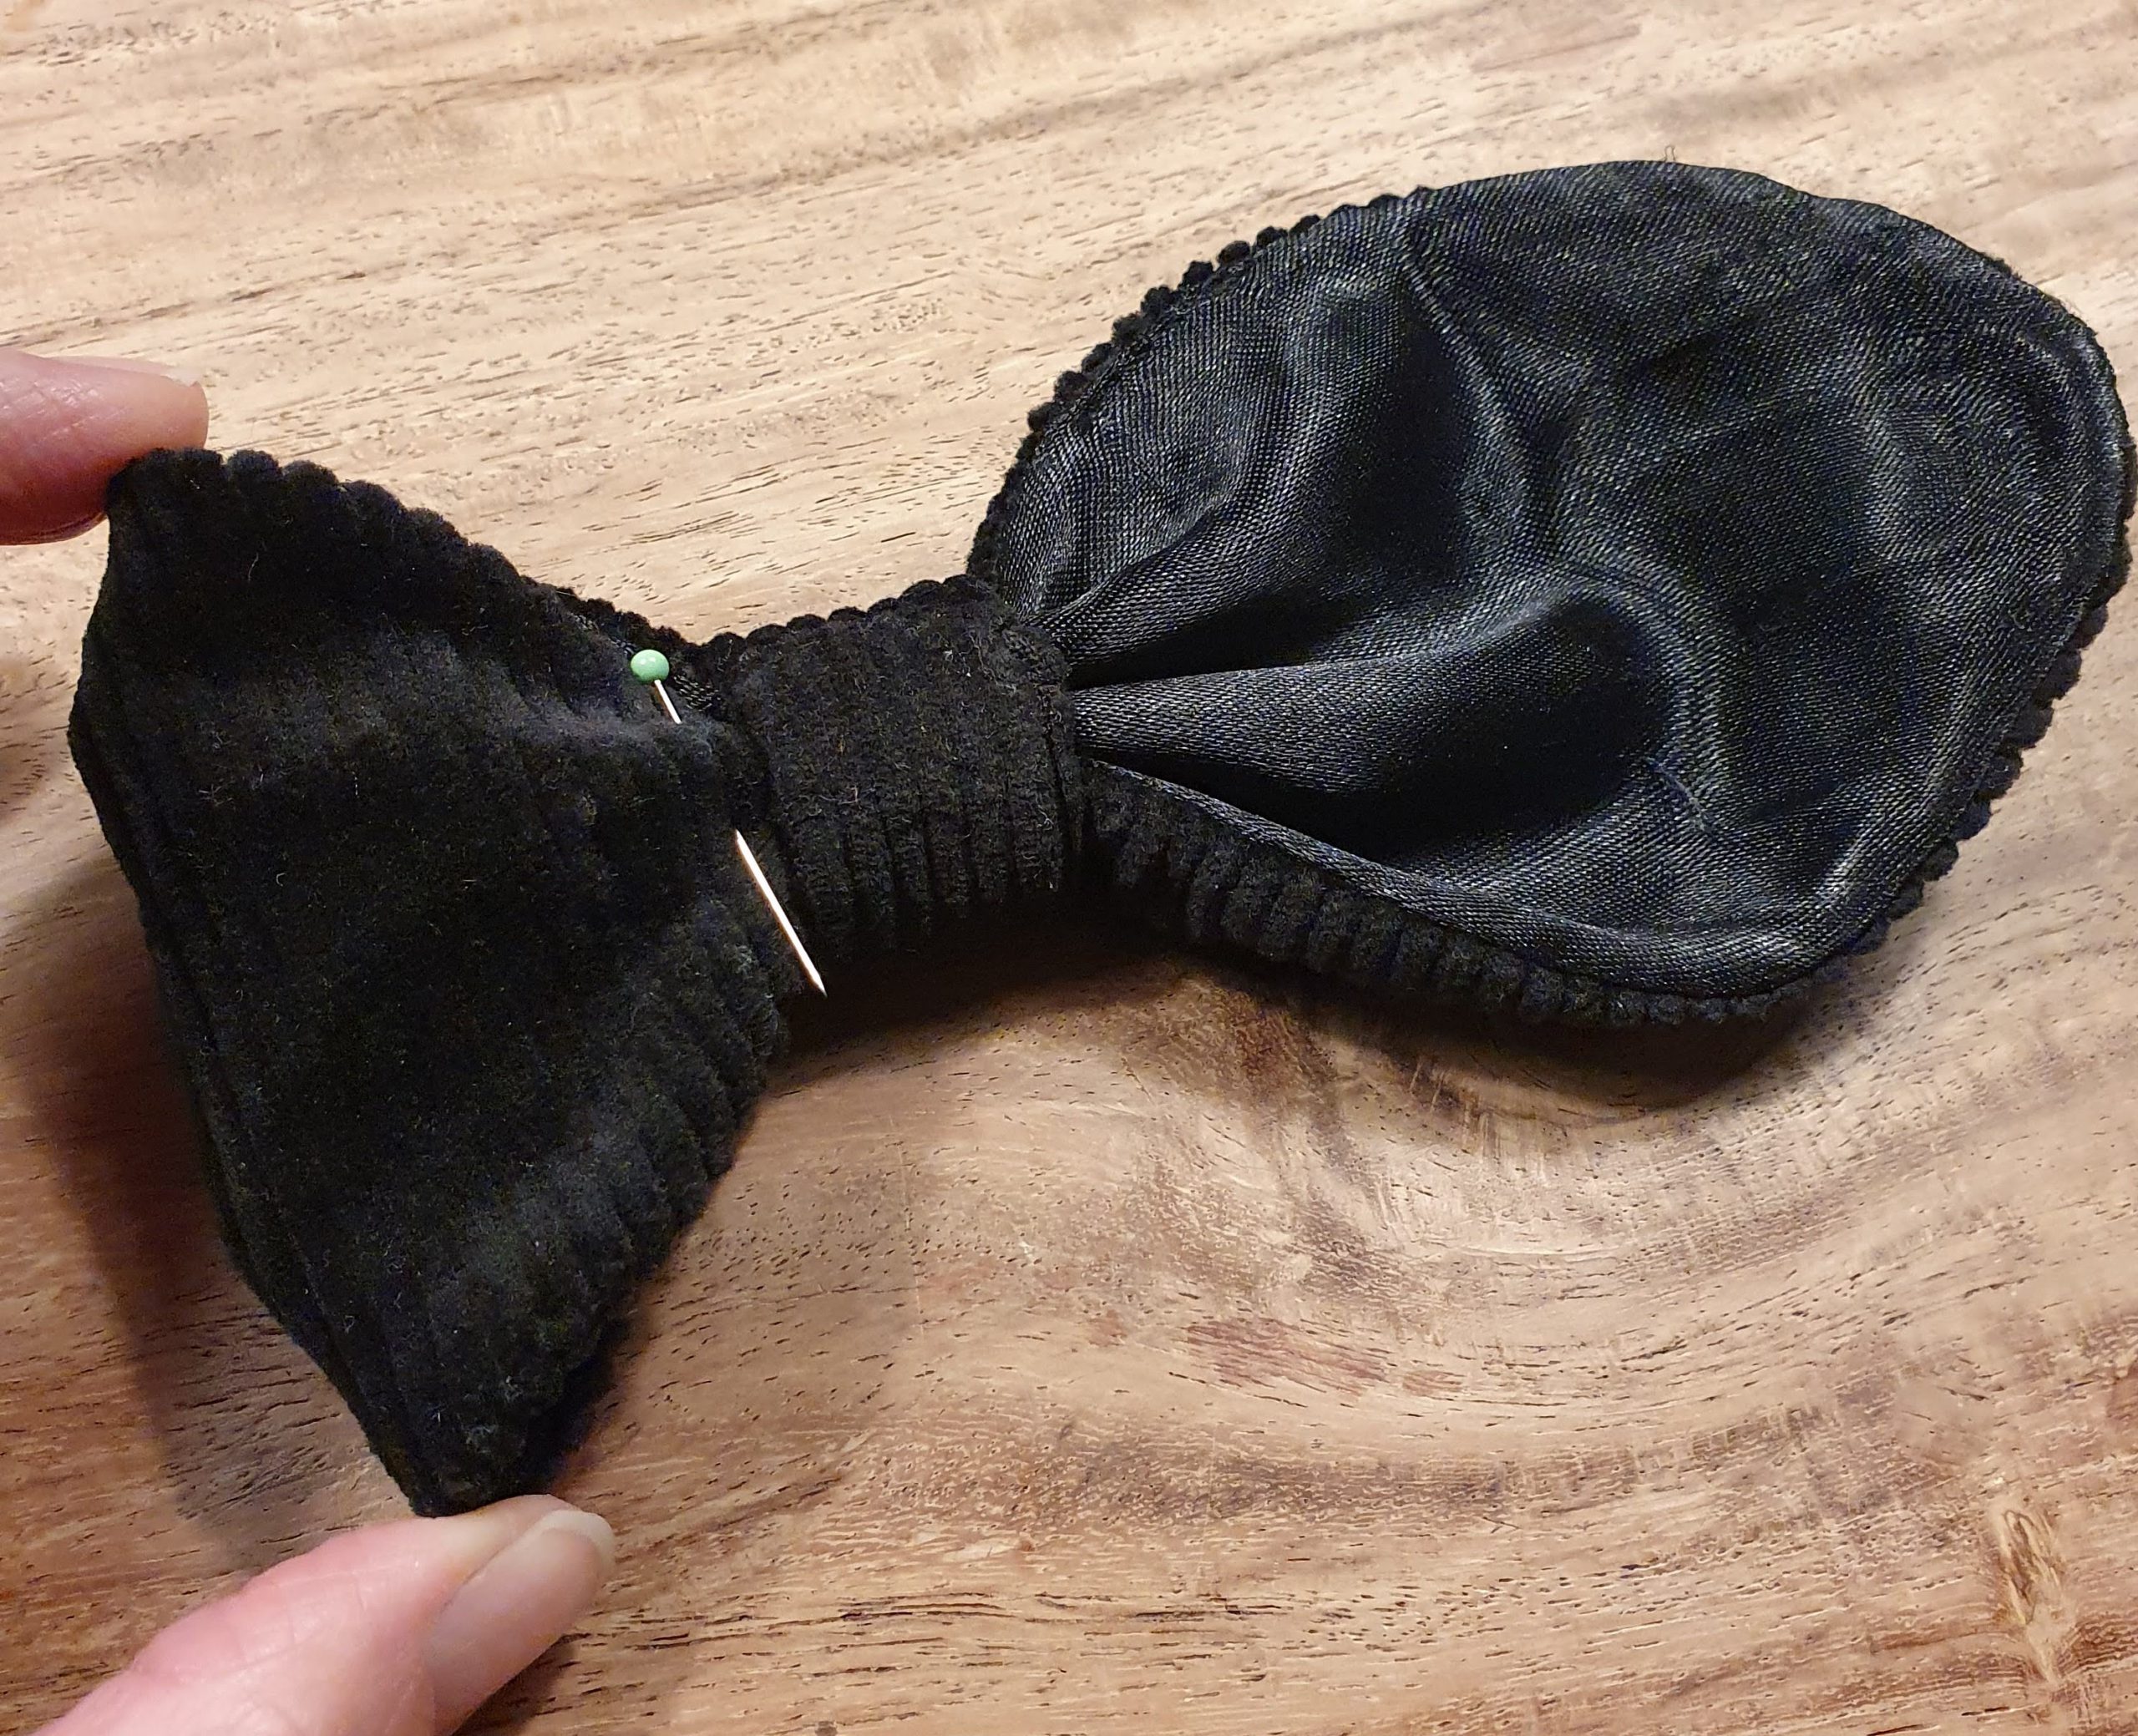
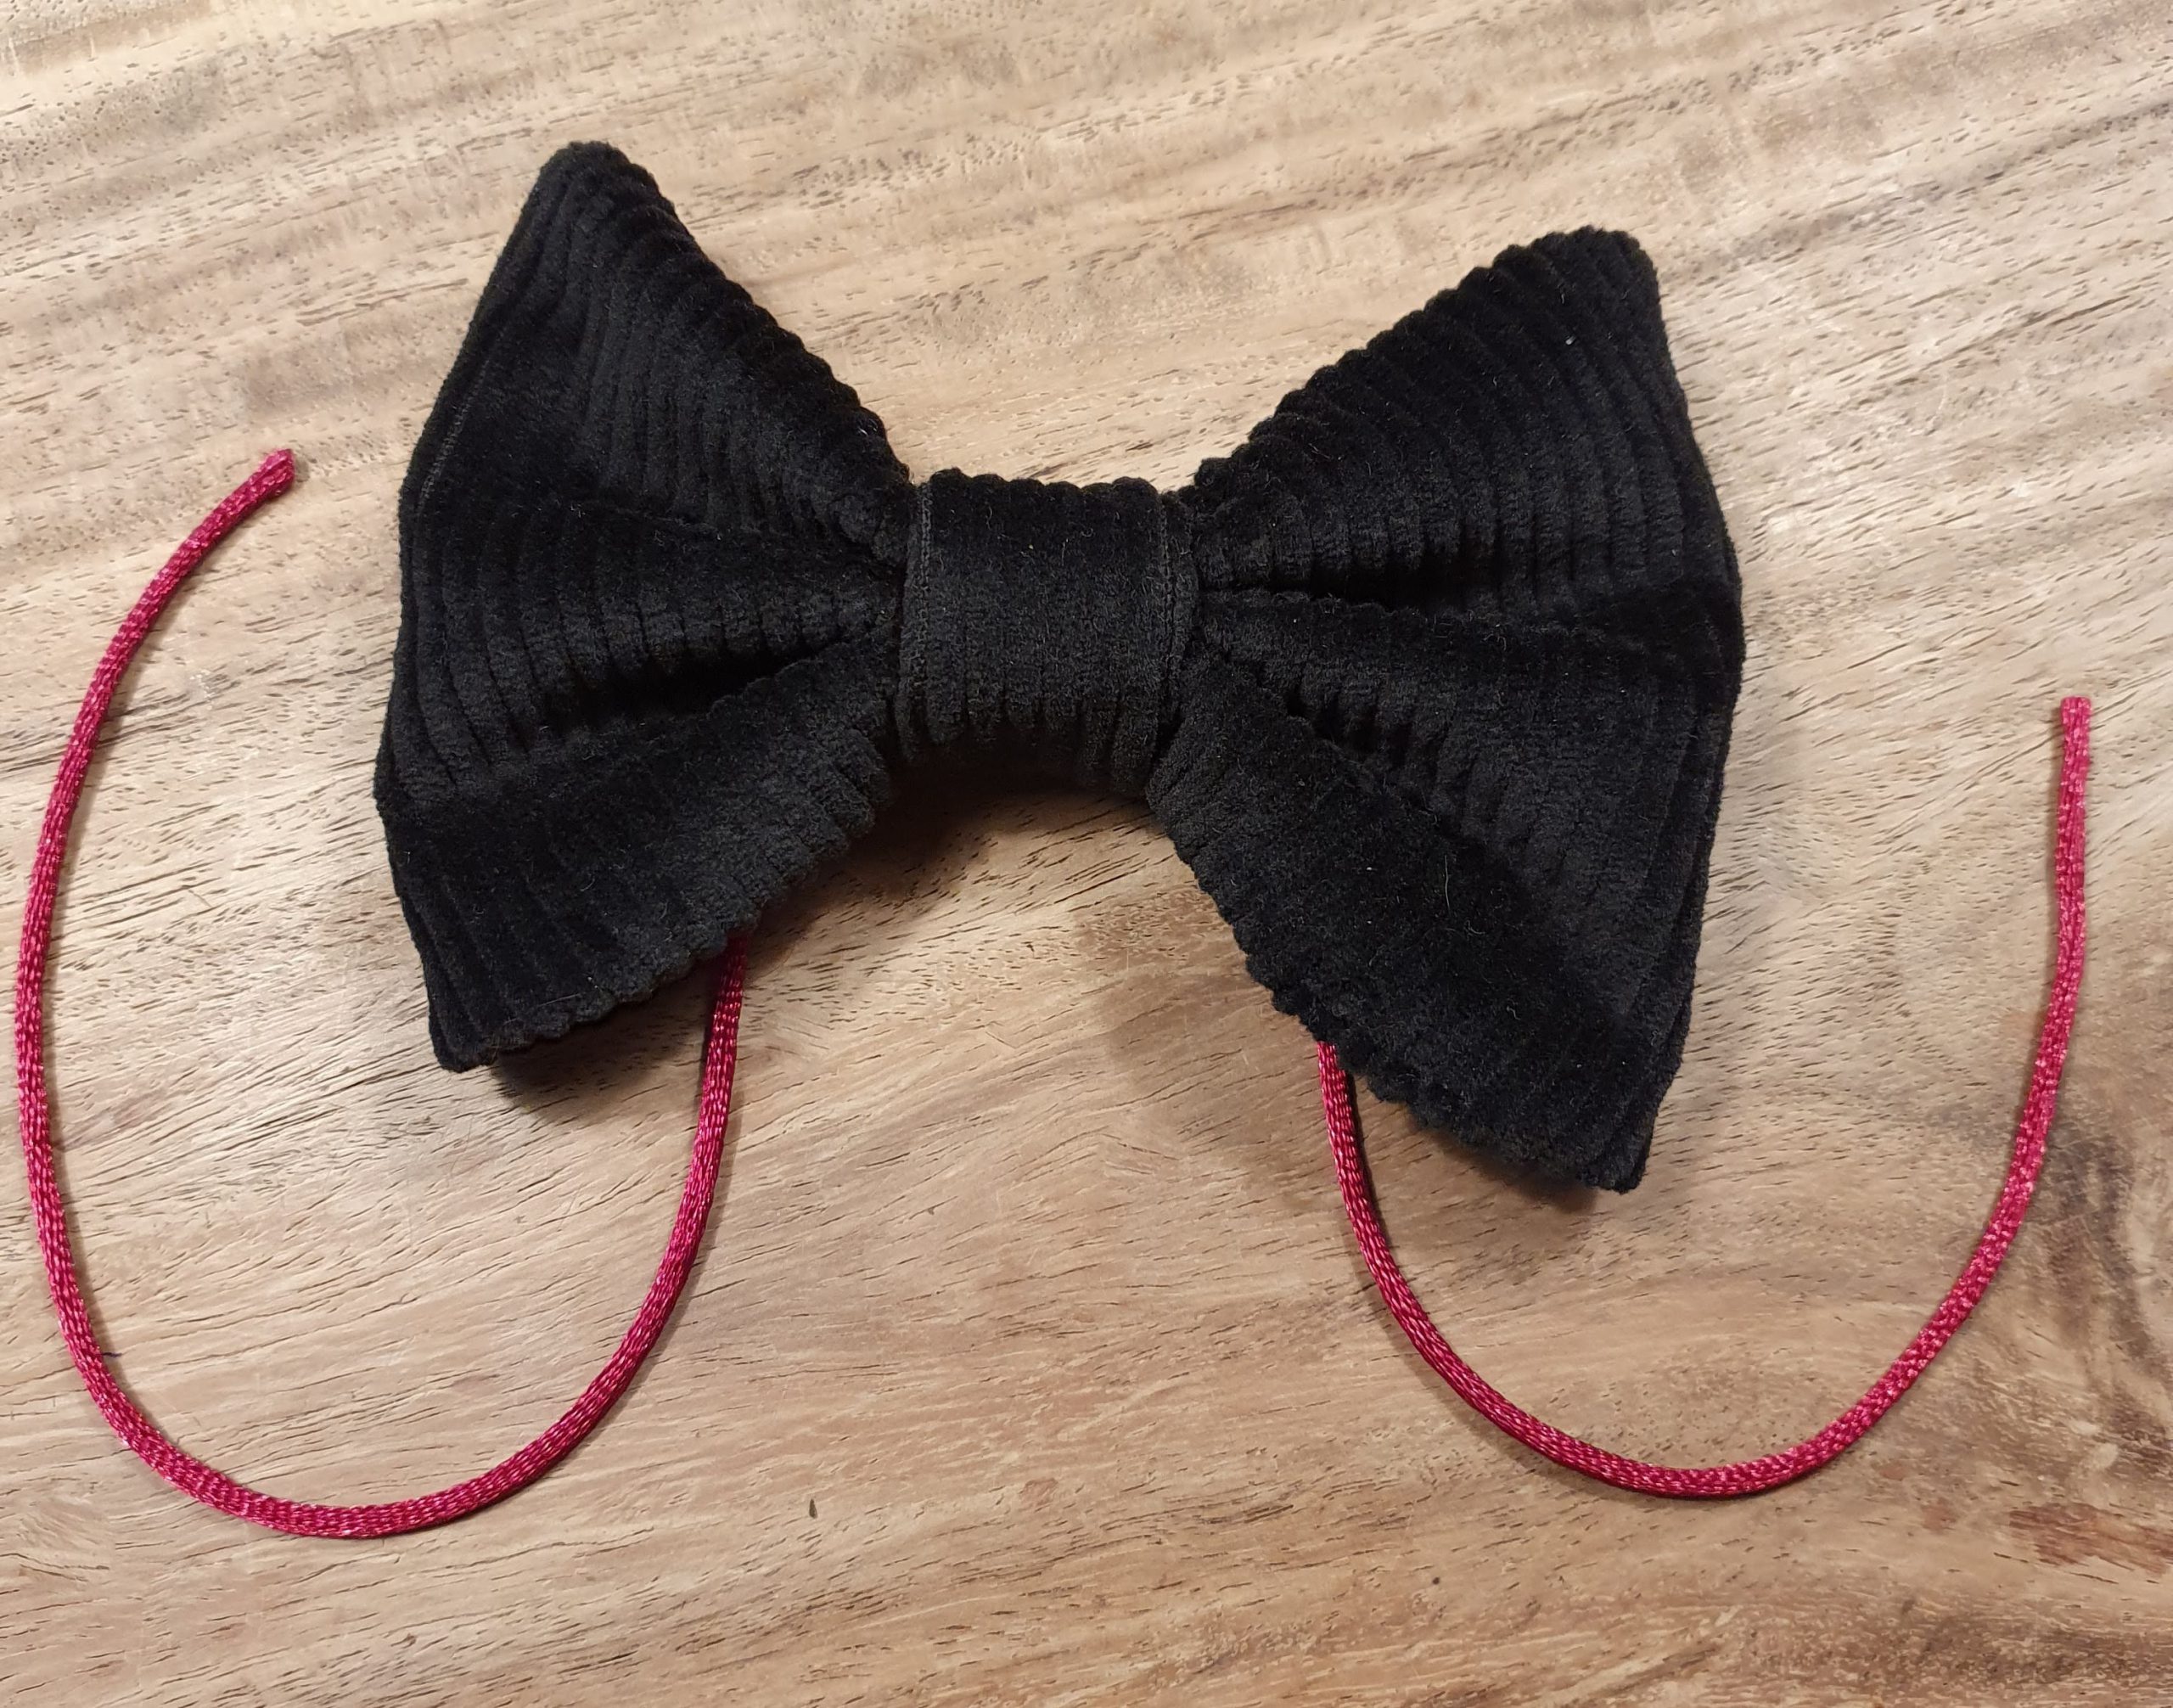
3. Bow

This bow came about because of a ‘failed’ attempt at a bow bracelet, as it was too narrow and too tight for my wrist the first time I made it.
For this pattern I used a rectangle that was 8 cm wide and a length measuring the circumference of my wrist plus 2 cm. I made it in the same way as the bow bracelet, but, in addition, also folded and fastened the ends. That’s how this bow was created, which can be worn around your neck or, by attaching a simple cord, it can be used as a hairband.
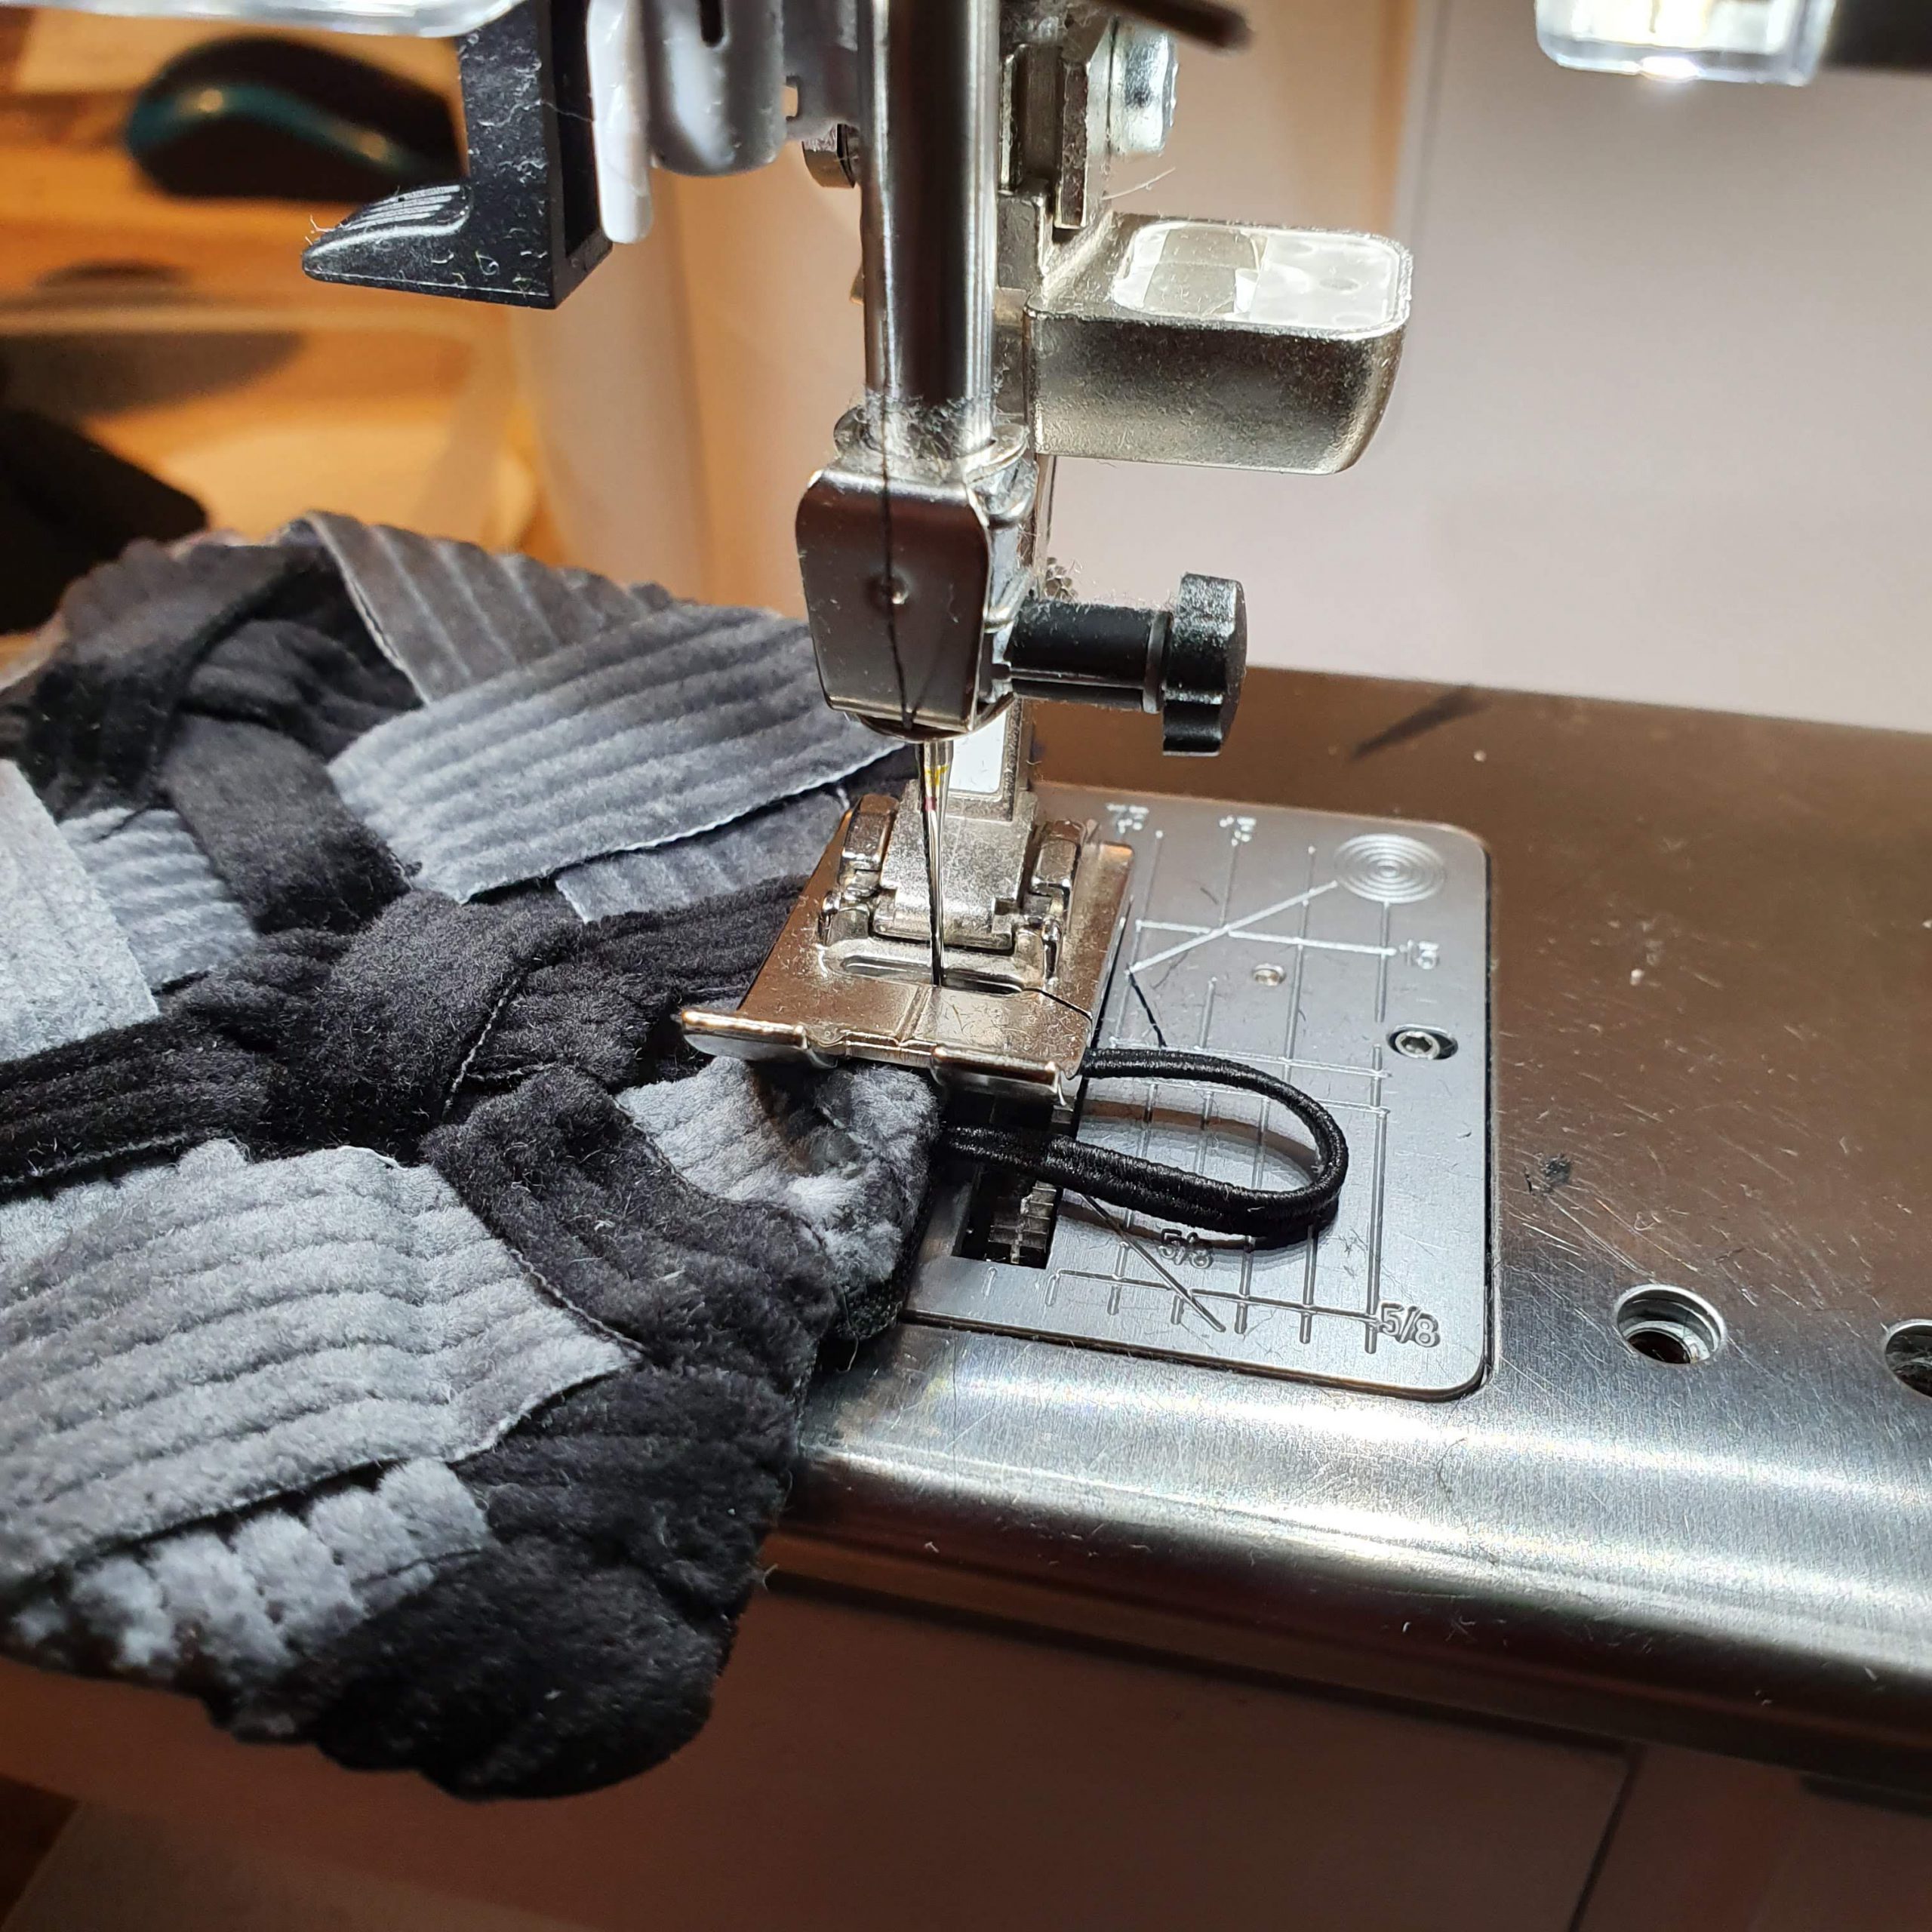
4. Woven bracelet

I noticed that the ribbed fabric doesn’t really fray when you work with it. I happen to really like weaving with fabric and creating something new with it. So, why not with this ribbed material?
You just need to cut some strips, and I just cut them out roughly. I cut narrow strips (3 ribs wide) from the black strips and then cut strips that were 6 ribs wide from the grey fabric. Once again I set to work using an example from Pinterest.

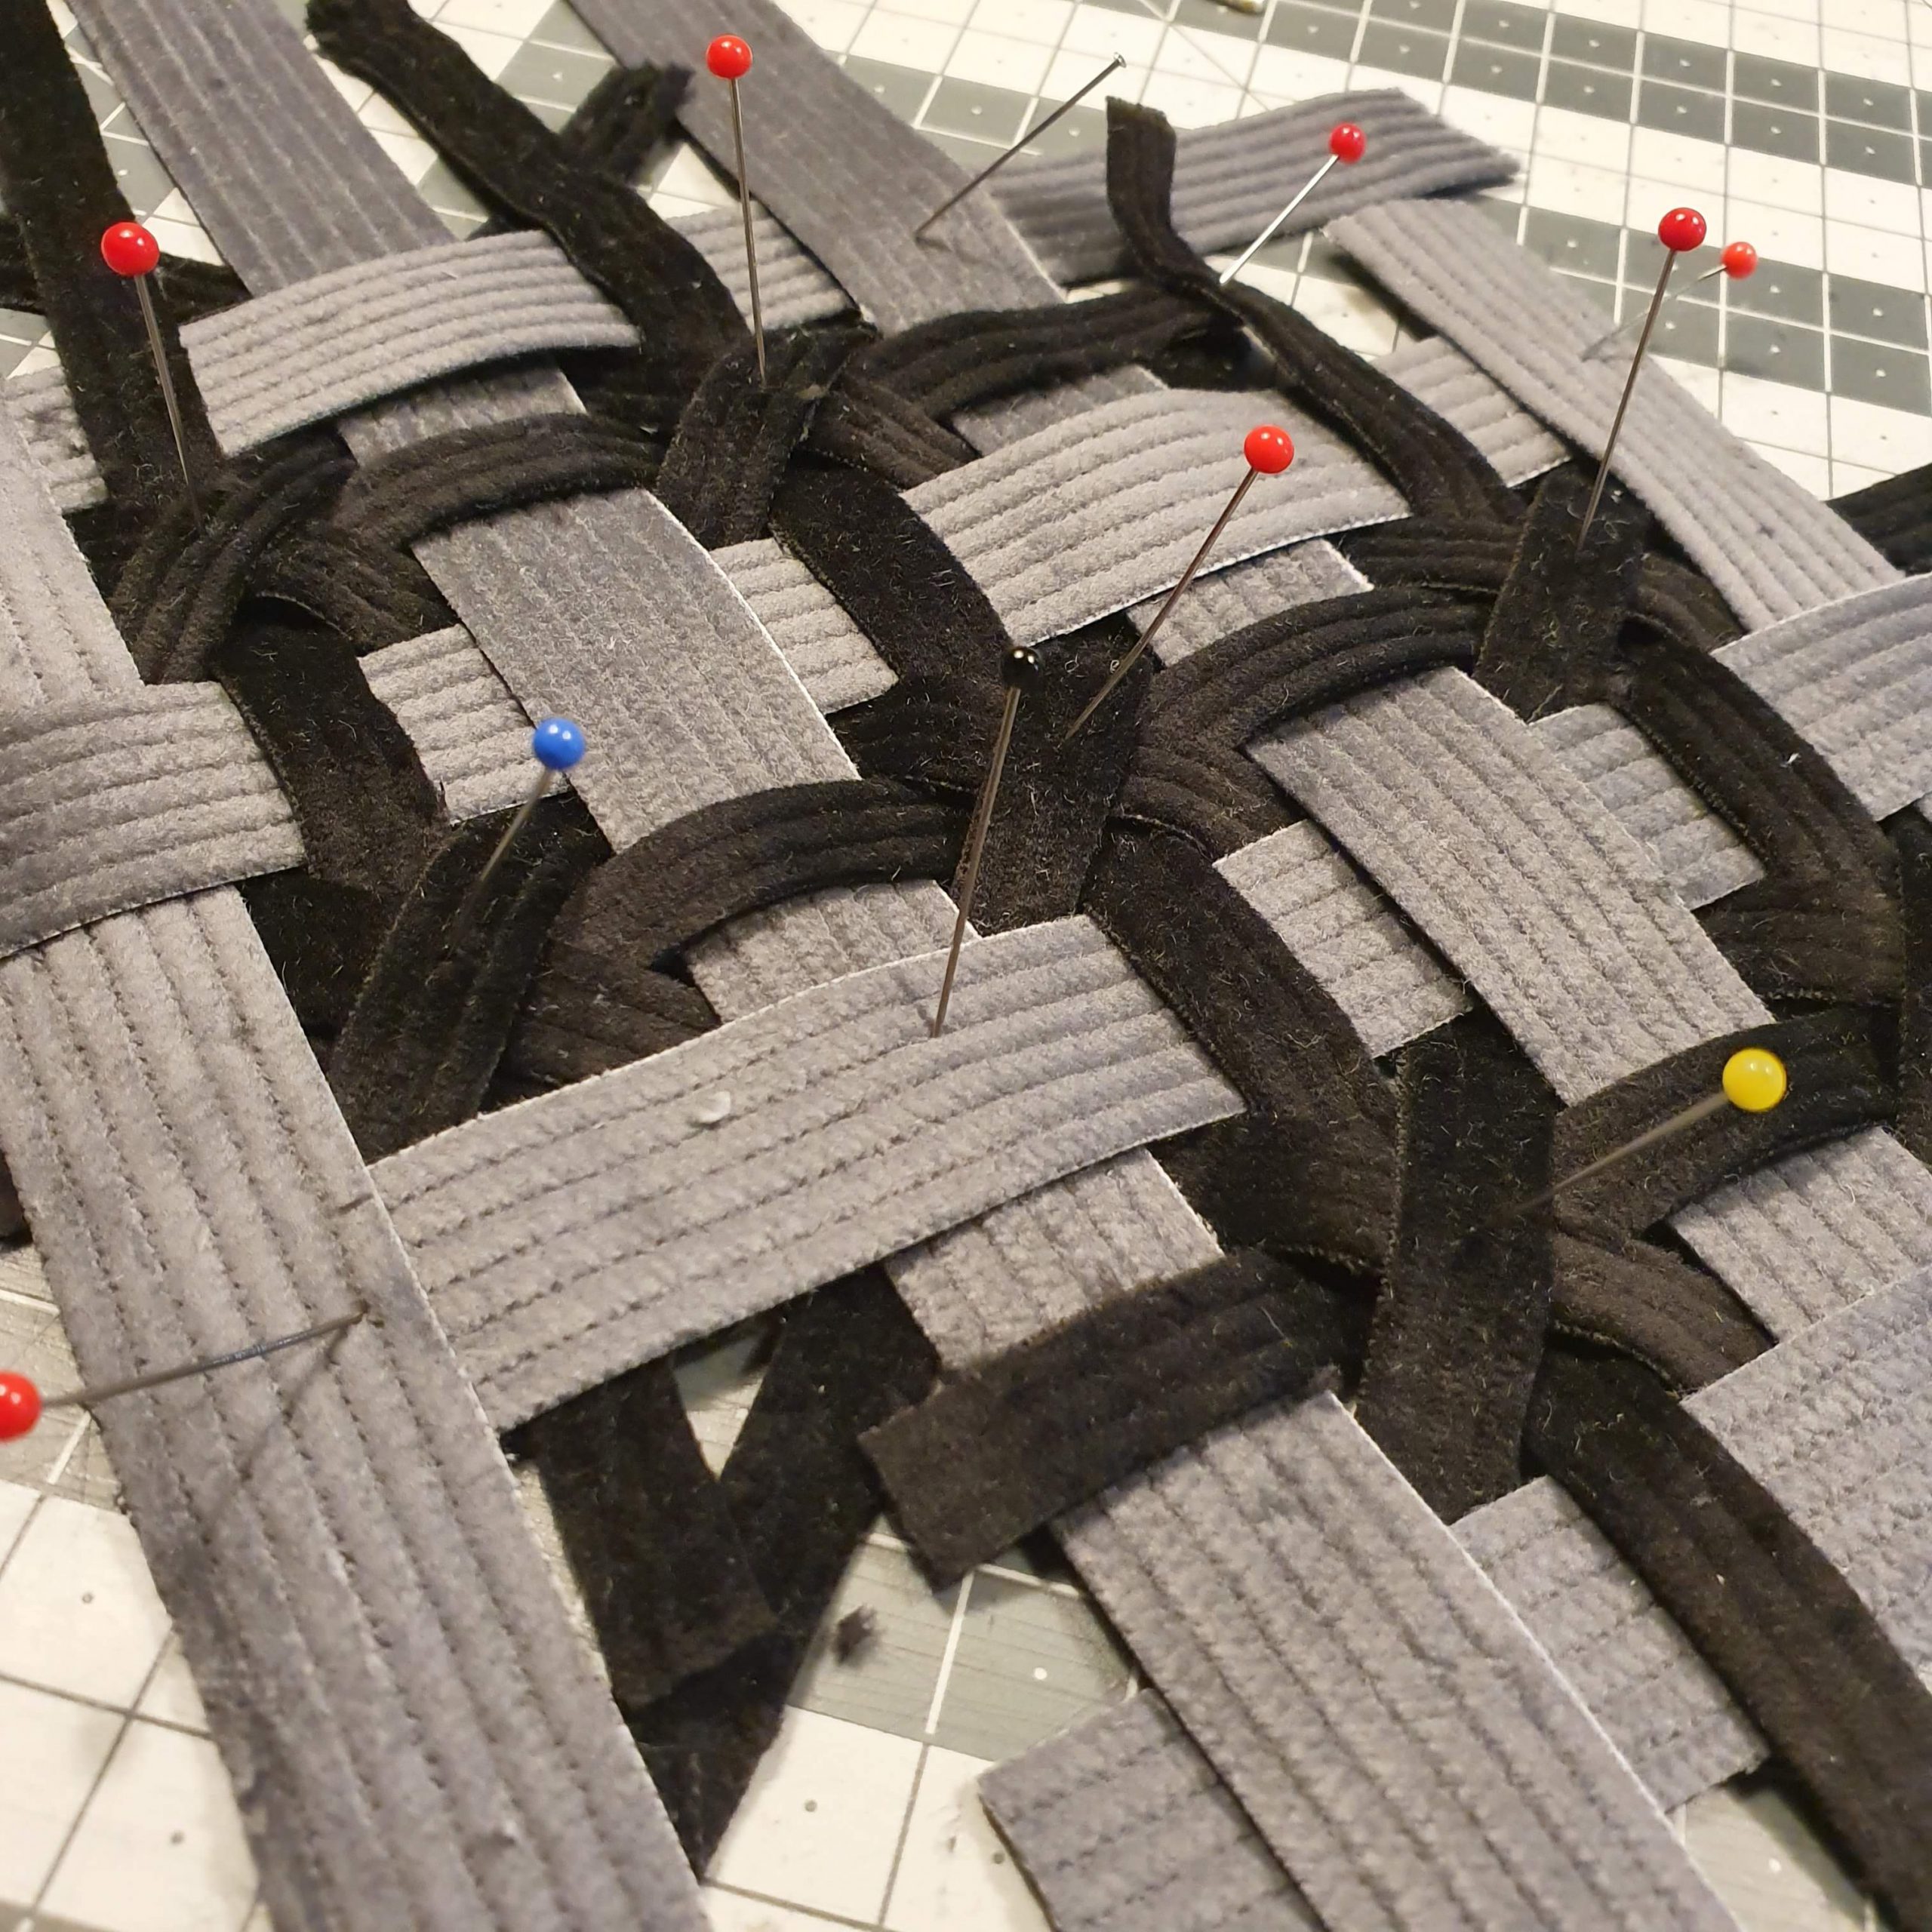
Here and there I used a drop of textile glue to fix it in place and when I’d finished the weaving, I fixed the fabric with vlieseline.

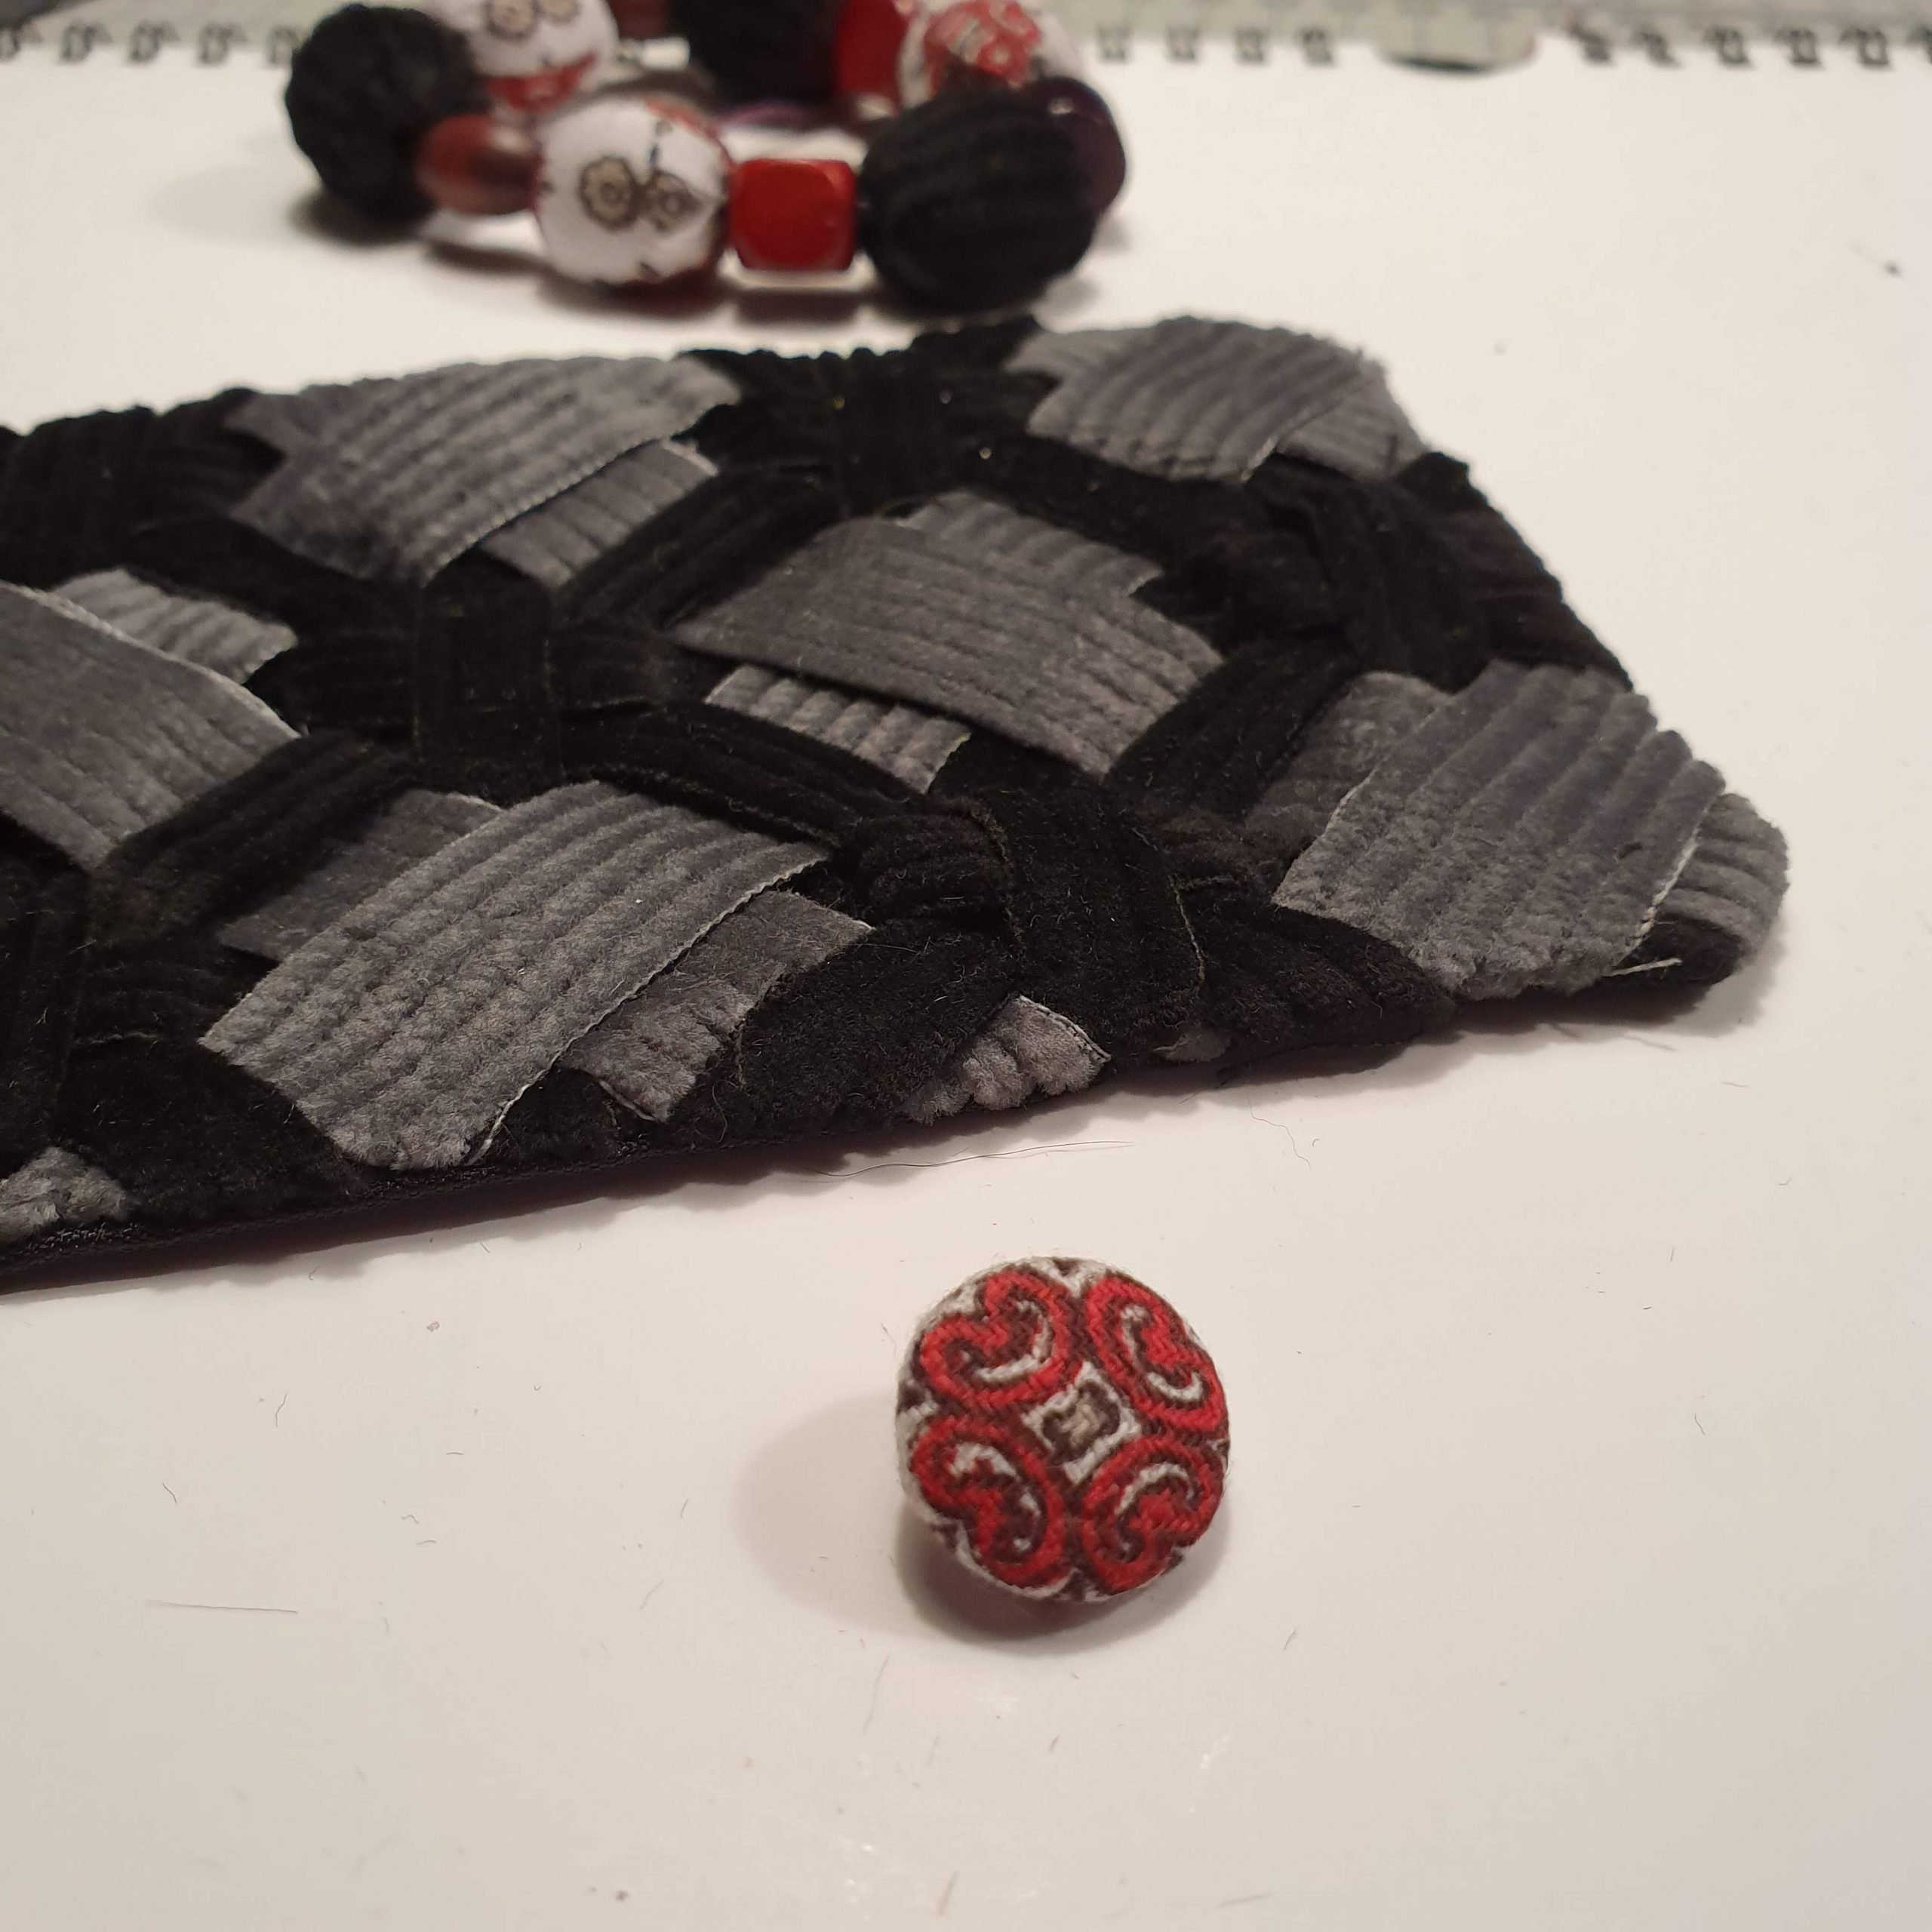
To turn the fabric into a bracelet, I used the stiff lining again. I stitched the two layers together on top of each other and left a gap for reversing it. After reversing it, I added a loop of thin elastic to close the bracelet. I tightly stitched the gap for reversing it together on the side with the loop, which created a bracelet measuring 9 cm x 17 cm.
The last thing I needed to do was add a button. To do this, I covered a fabric button with the third fabric, which turned it into a real collection. Love it!
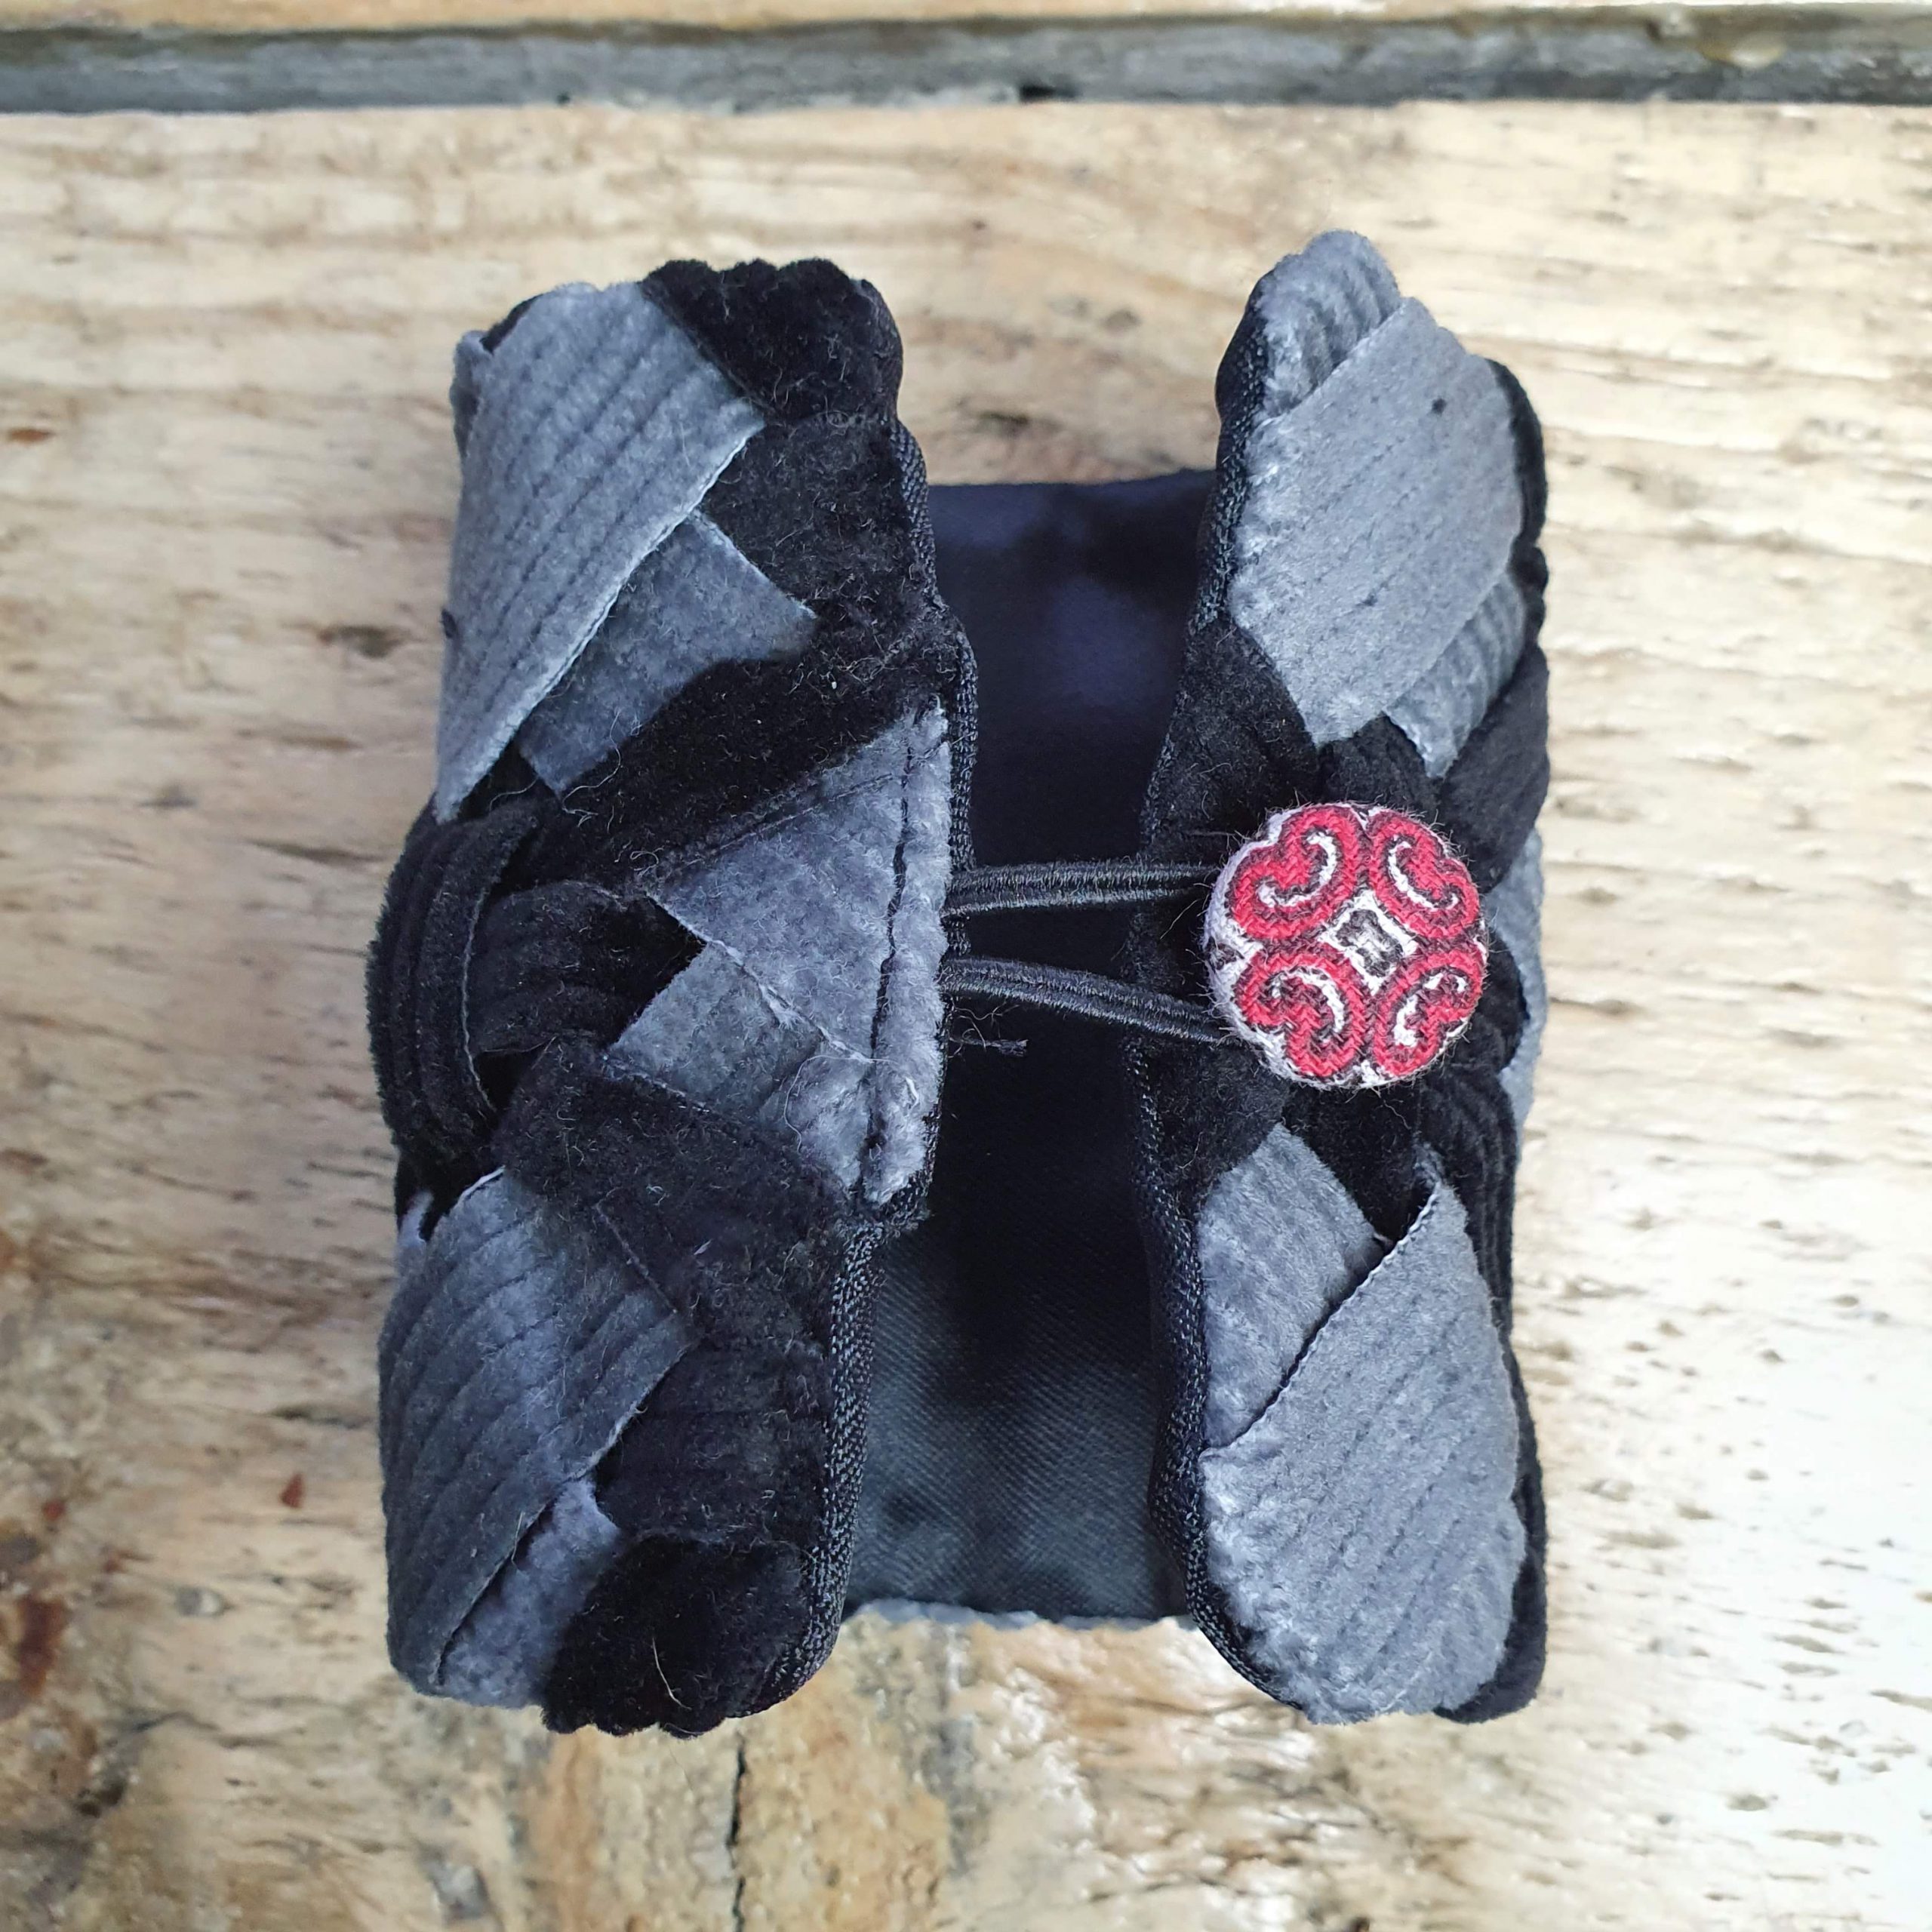
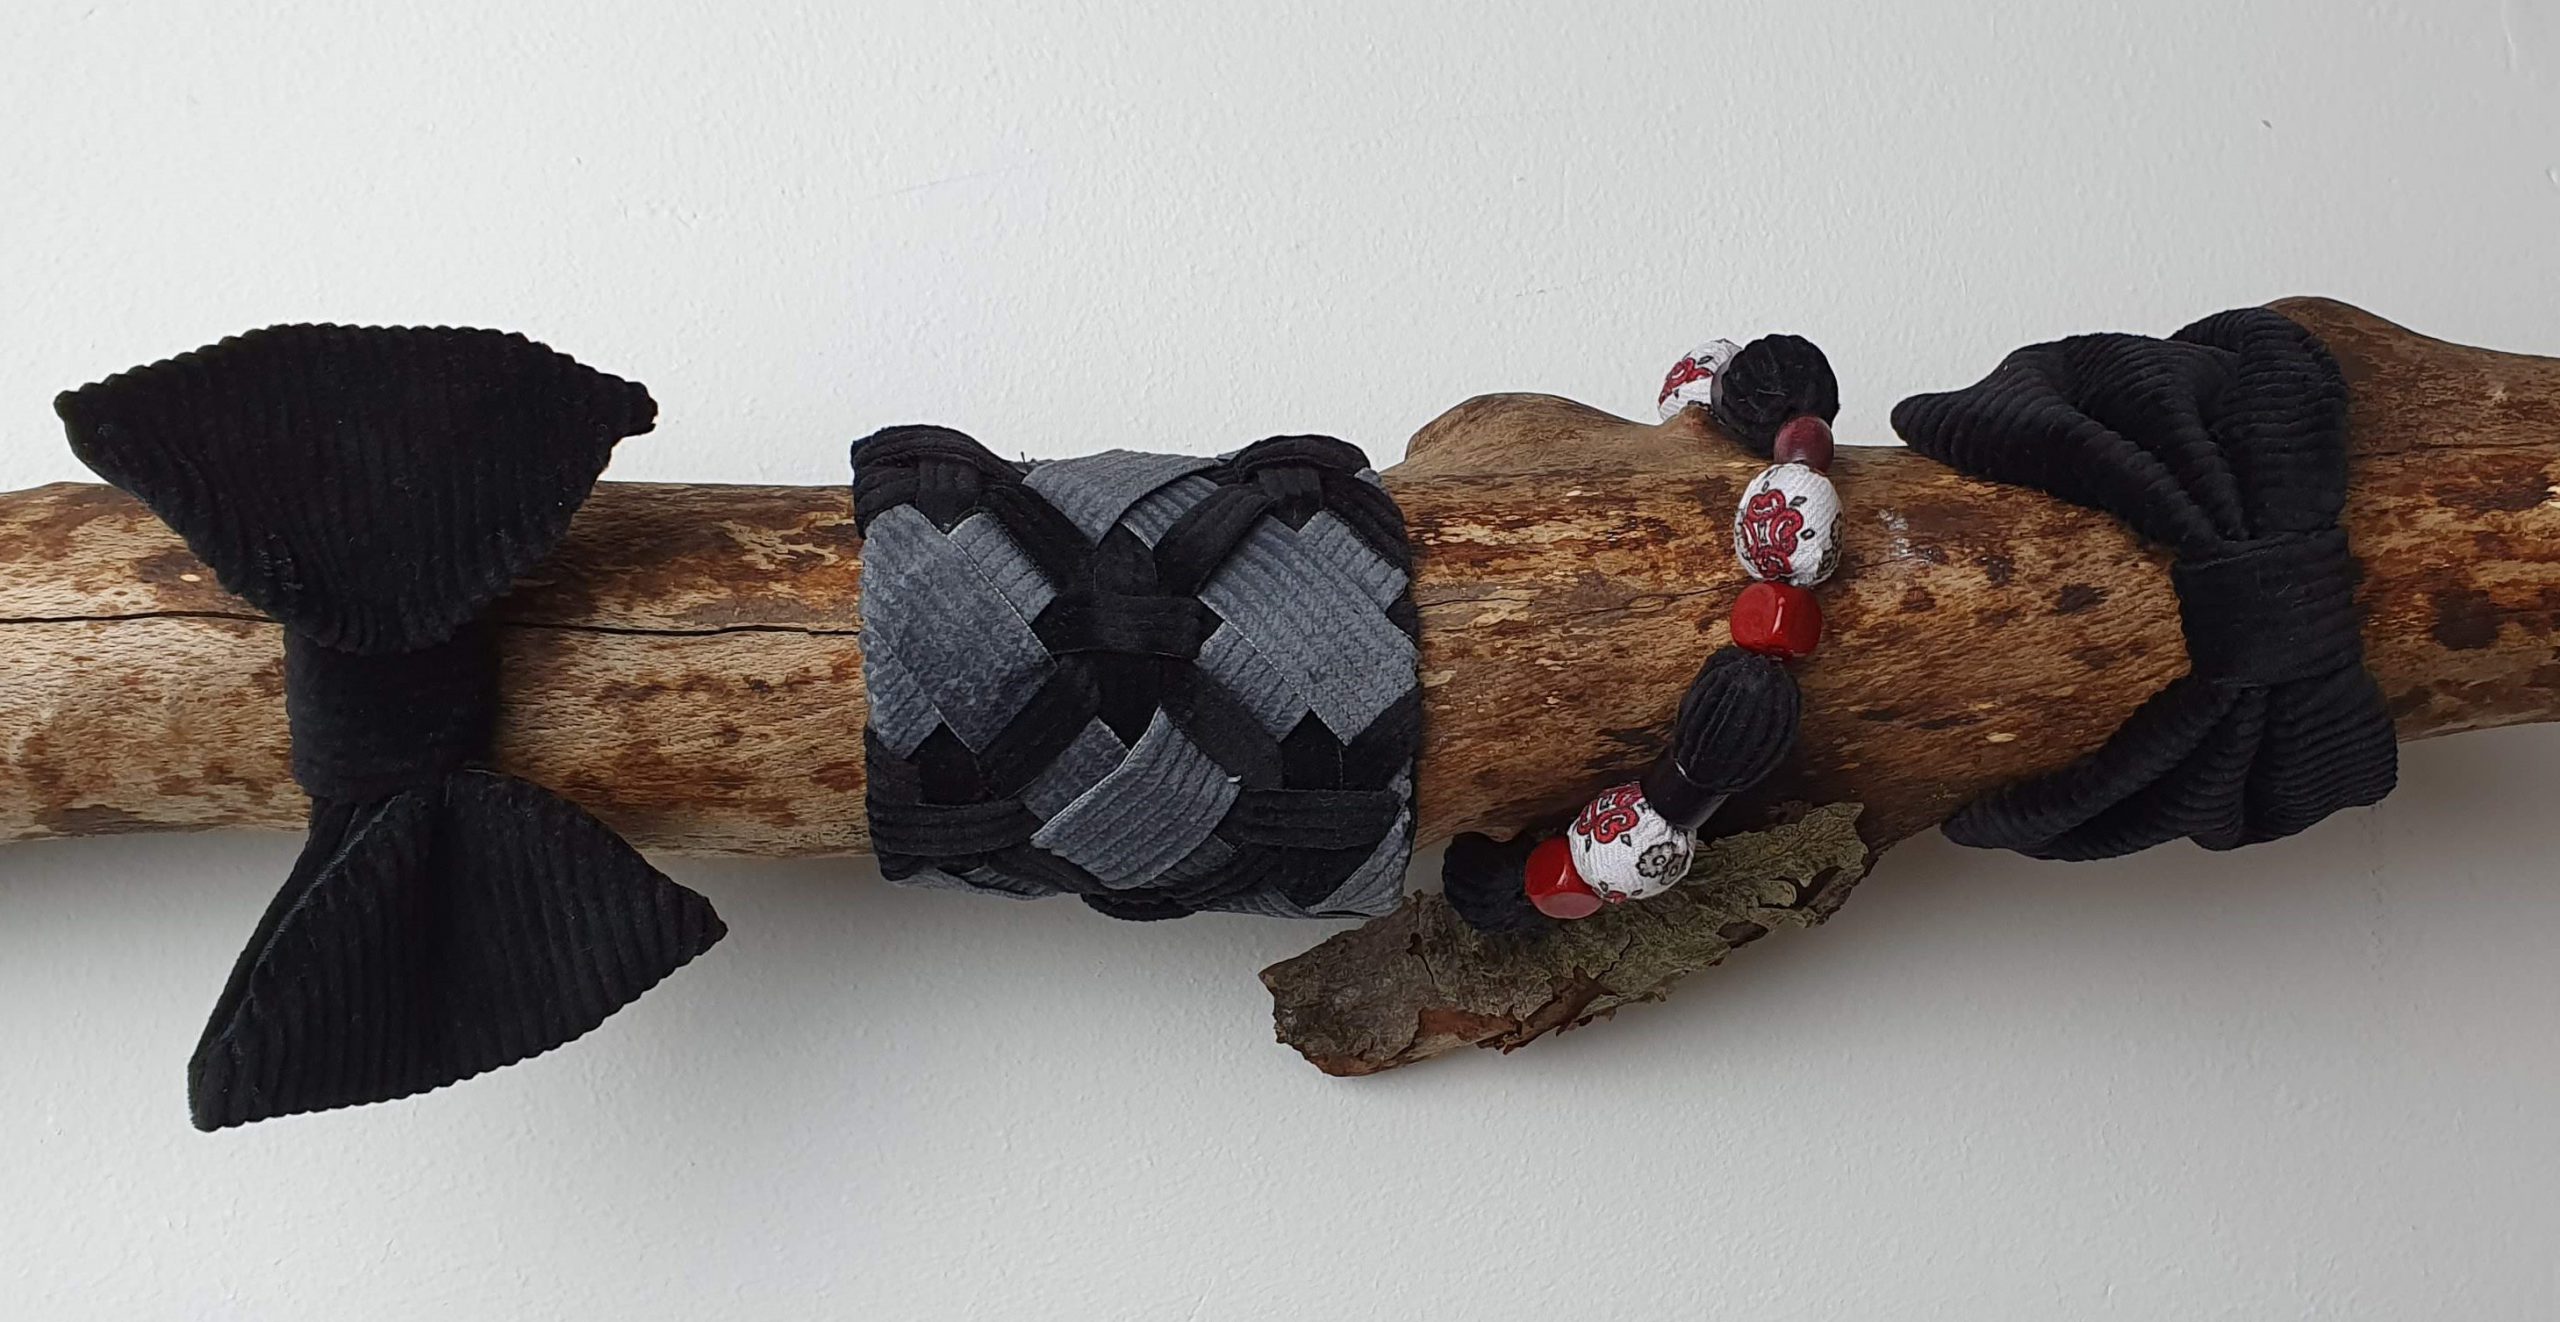
Four fun accessories made with fabrics that are special to me. The accessories will go under the Christmas tree for my brother and two sisters, so this Christmas we’ll all have a part of our dad with us.
Be kind and stay healthy.
Happy Holidays!
Marlies


Nice❤️