 BERNINA Corporate Blog -
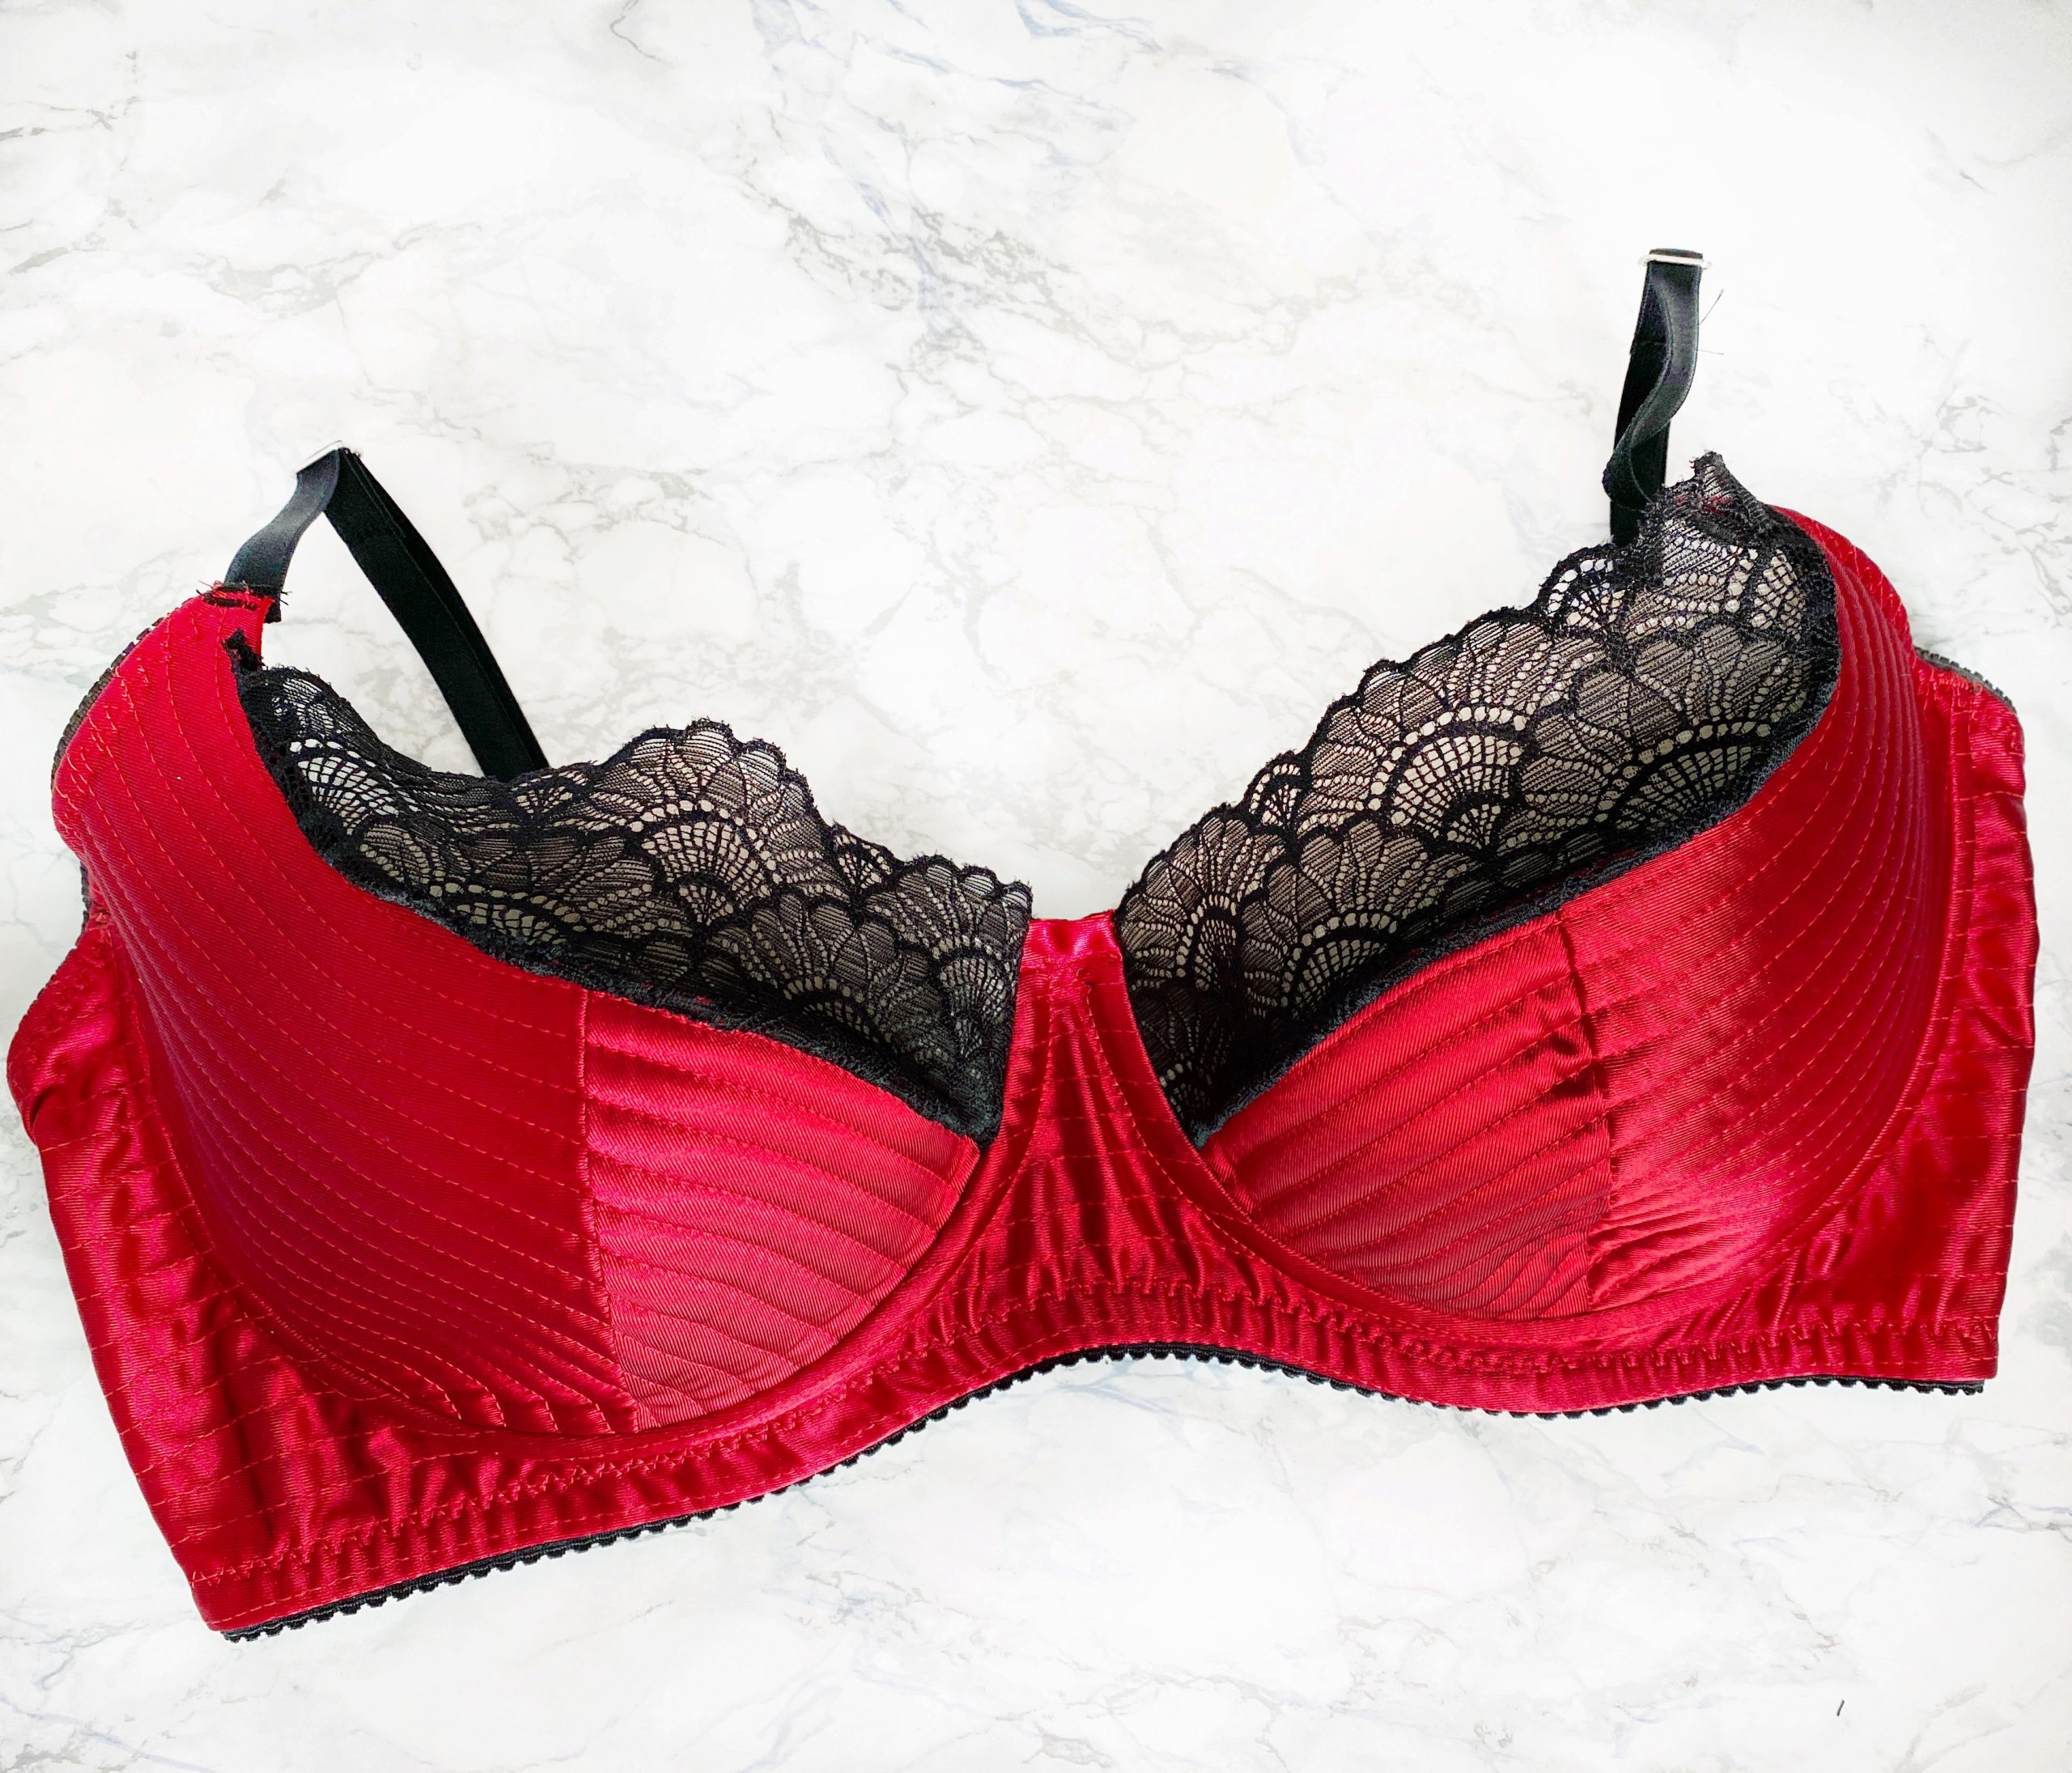 This year’s theme for the Bernina Advent Calendar is “From the heart”. You probably saw the picture initially and thought, what does this quilted bra have to do with “from the heart”? Well on the one hand, it is the piece of clothing that I wear exactly and directly over my heart, and on the other hand, sewing bras is a hobby that is particularly close to my heart. Although it is a piece of clothing that very few people ever get to see, it does a lot for our personal well-being.
If a bra pinches, squeezes, cuts in, is too big or too small, doesn’t give enough support or is too tight – it makes coping with everyday life just a little more strenuous. It has become my mission to inspire some enthusiasm in the sewing community for sewing our own bras. It’s not just that successful sewing projects (and a well-fitting bra) increase your self-confidence, it’s also that, unlike other items of clothing, sewing bras is a very quick affair. And what’s more, no special techniques or machines are required. The only requirements are reasonably straight sewing on your part and a sewing machine with a straight and zigzag stitch.
Ideas and tutorials for your next sewing adventure
Subscribe to the BERNINA Blog Newsletter
If you love to sew you don’t want to miss the chance to receive the latest content from our authors directly into your mailbox.
Sign up for the blog newsletter
And here’s another little success story of mine: after three (!) years, I’ve managed to convince my sister to sew her own bras. She has finally come to the dark side 🙂
Materials for quilting the bra cup
Some of you may already have had your first experience of sewing a bra and you might now be looking for a new challenge in a quiet sewing hour during the Advent season. If you have not yet sewn a bra, you can read about the basics here. This post assumes that you are already familiar with the basics of sewing bras.
To be clear from the outset, I did not just wake up with the idea to quilt my bra. The wonderful Ying from Tailor Made Blog showed a photo of a quilted cup on Instagram, which immediately fascinated me. I was particularly interested in the question of whether this is also suitable for larger cups. Spoiler: YES 🙂
In order for the project to be a success, I recommend that you use a pattern that is suitable for cut and sew foam, because it’s precisely the combination of the foam with the main fabric that gives the wonderful quilted effect. I got my foam and my main fabric (red Duoplex) as well as my bra accessories (except the underwires) from BWear.
Quilting the bra cup – instructions
Since I use very long underwires, I adjusted the pattern accordingly beforehand. If you don’t know how to do this, you can get help in this post.
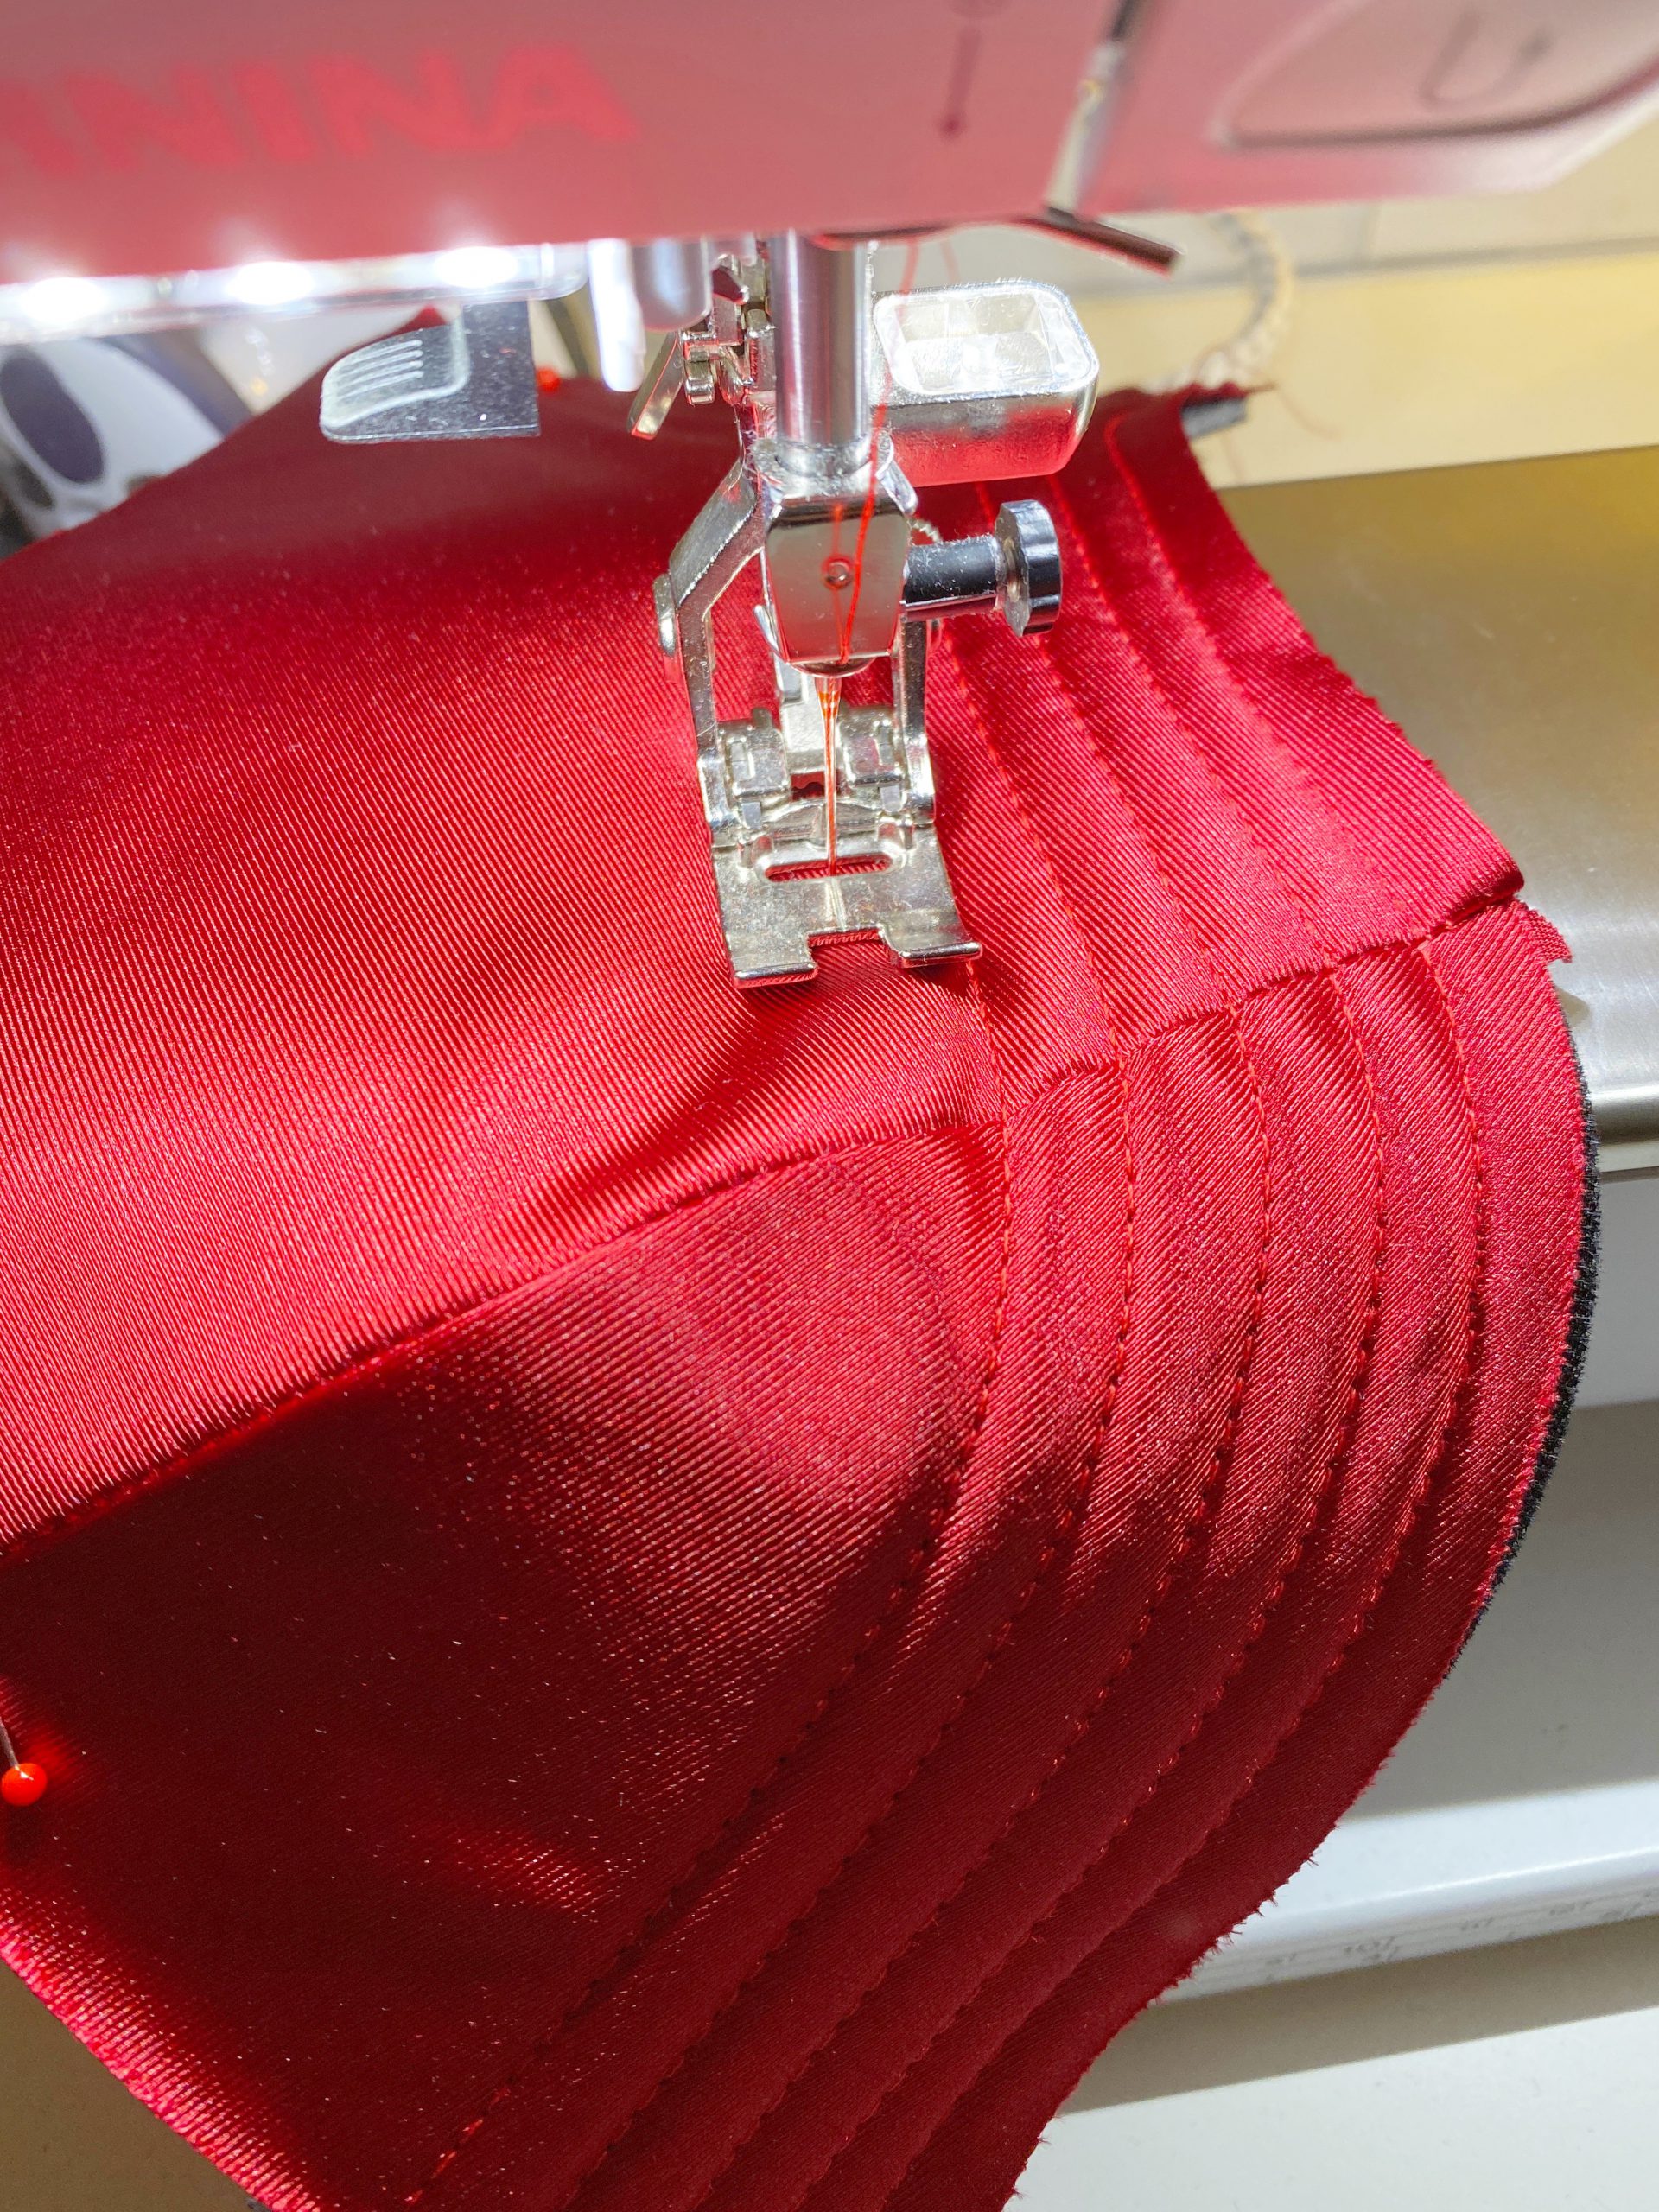
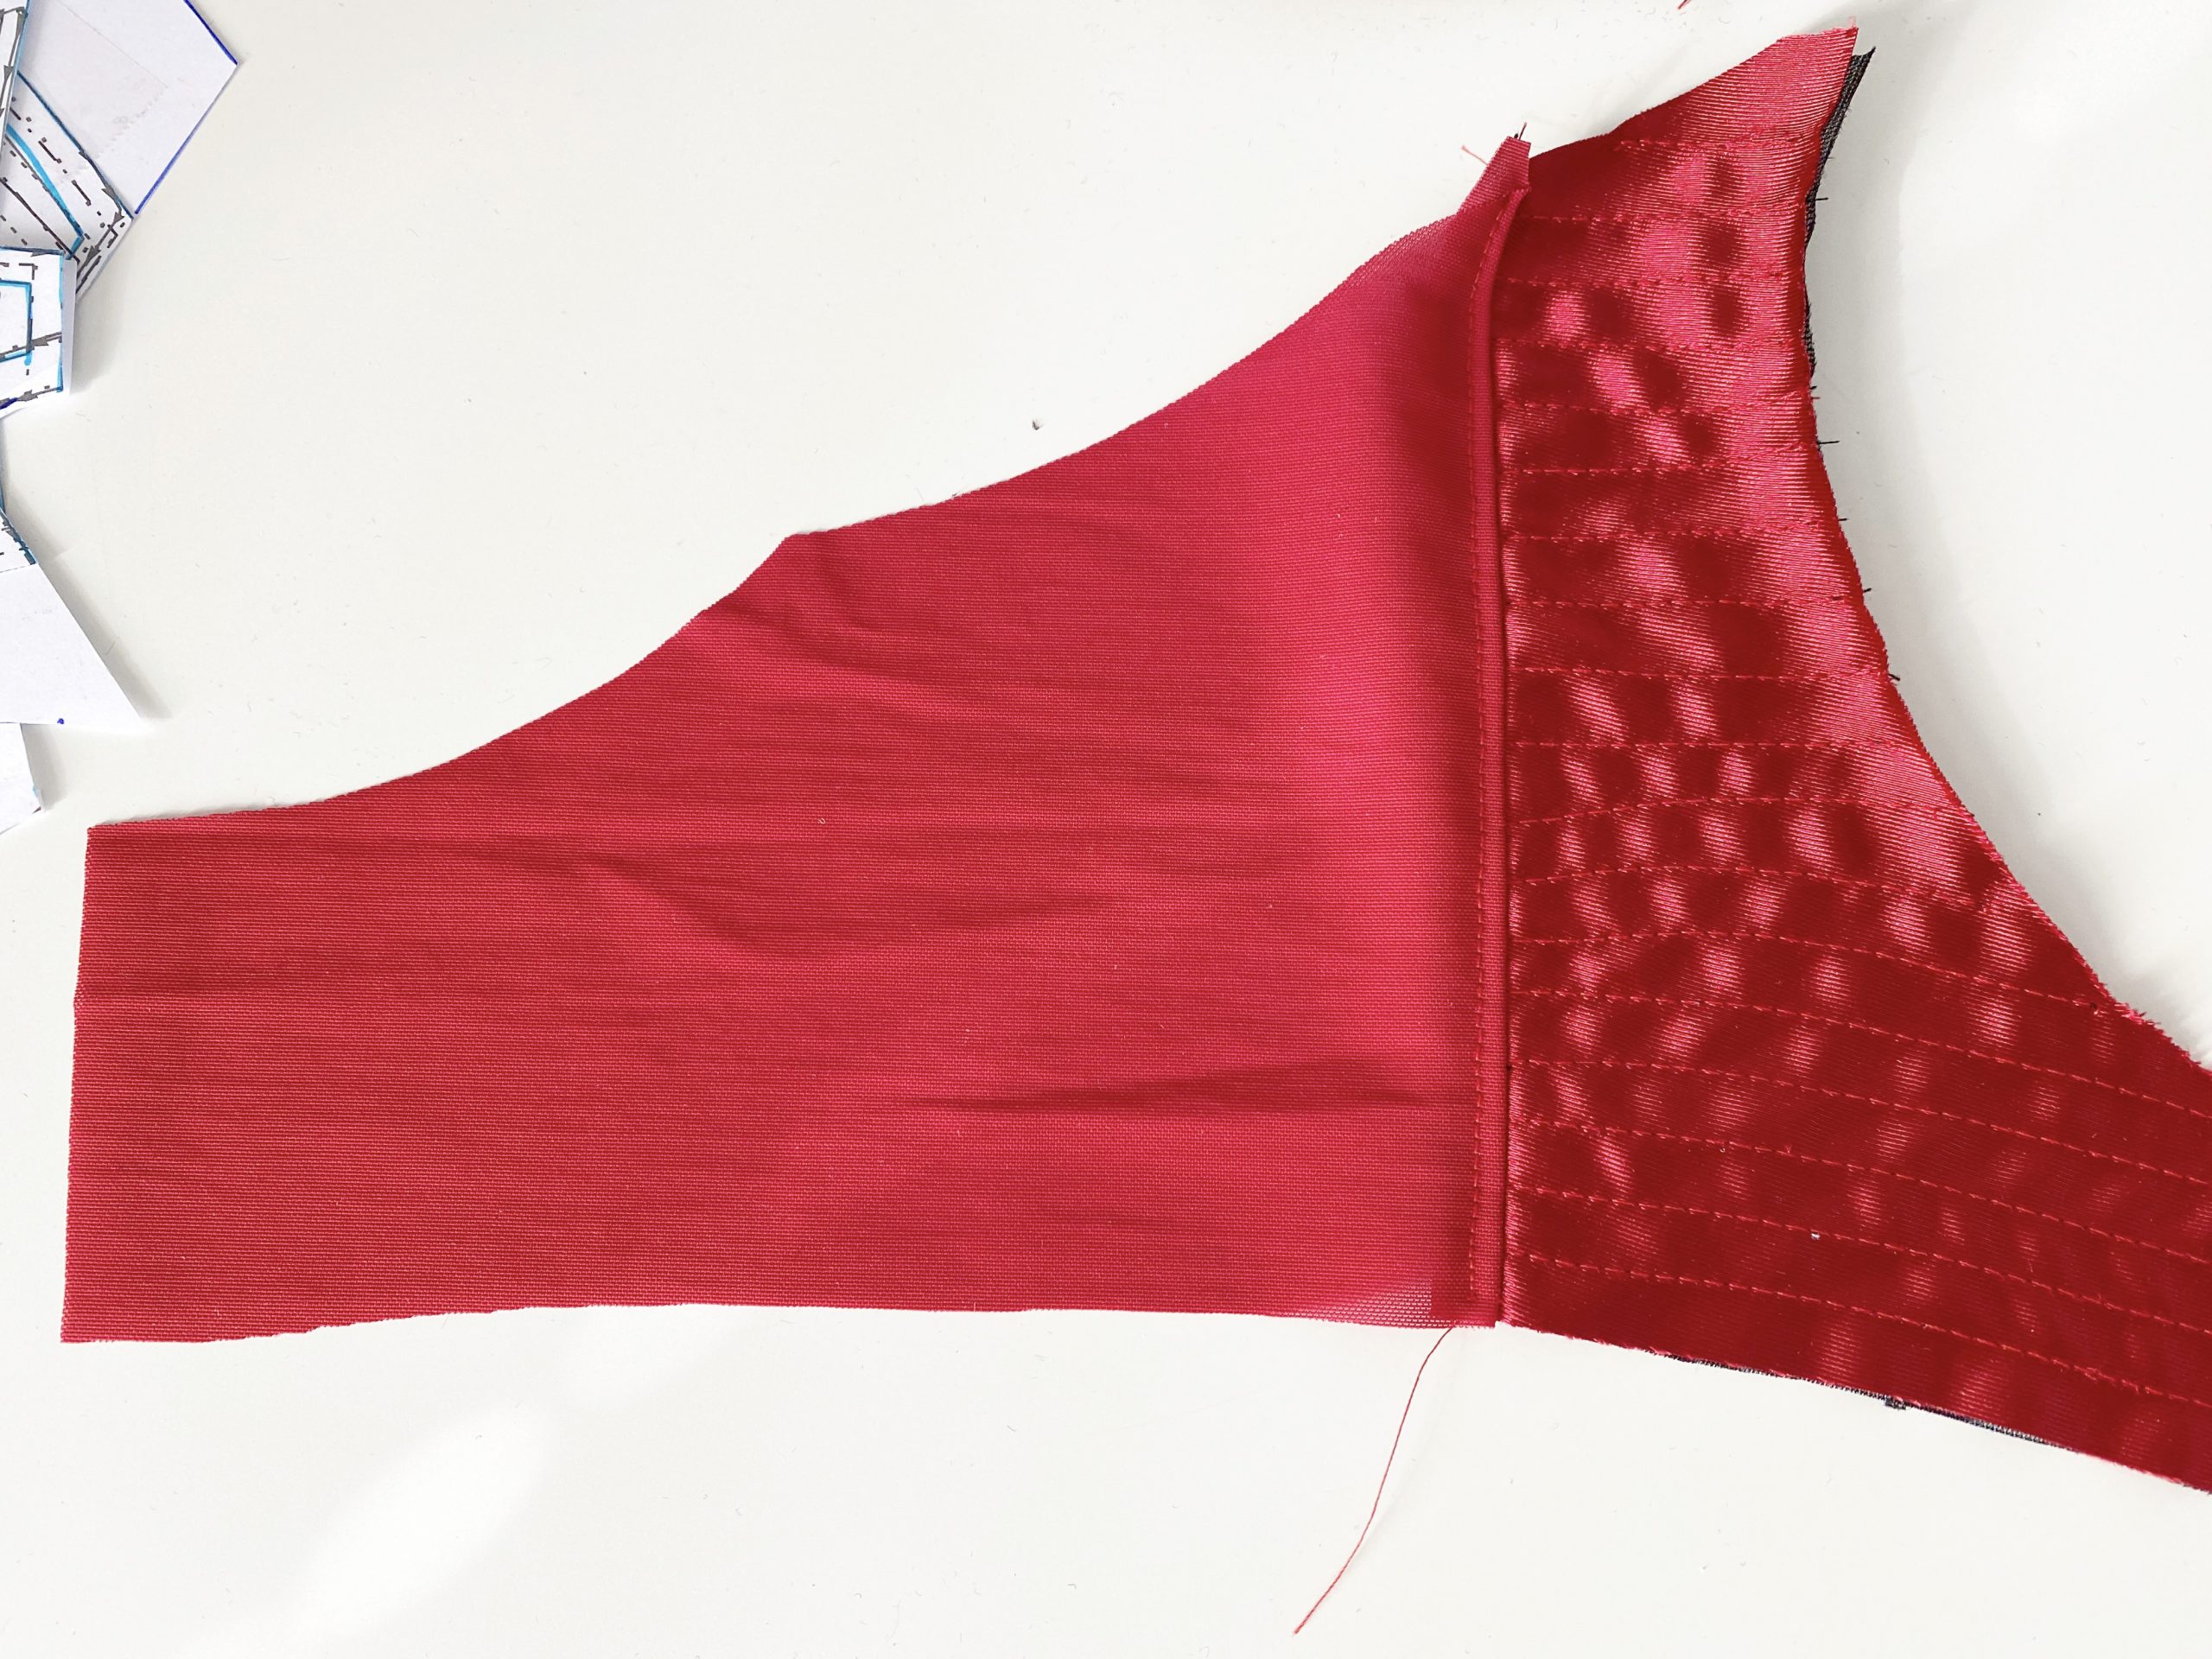
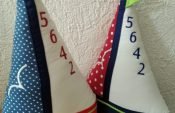
Once you have cut out all the pattern pieces, pin the main fabric onto the foam and start quilting the cup in parallel lines (I used the width of a presser foot as a guide – I am lazy that way).
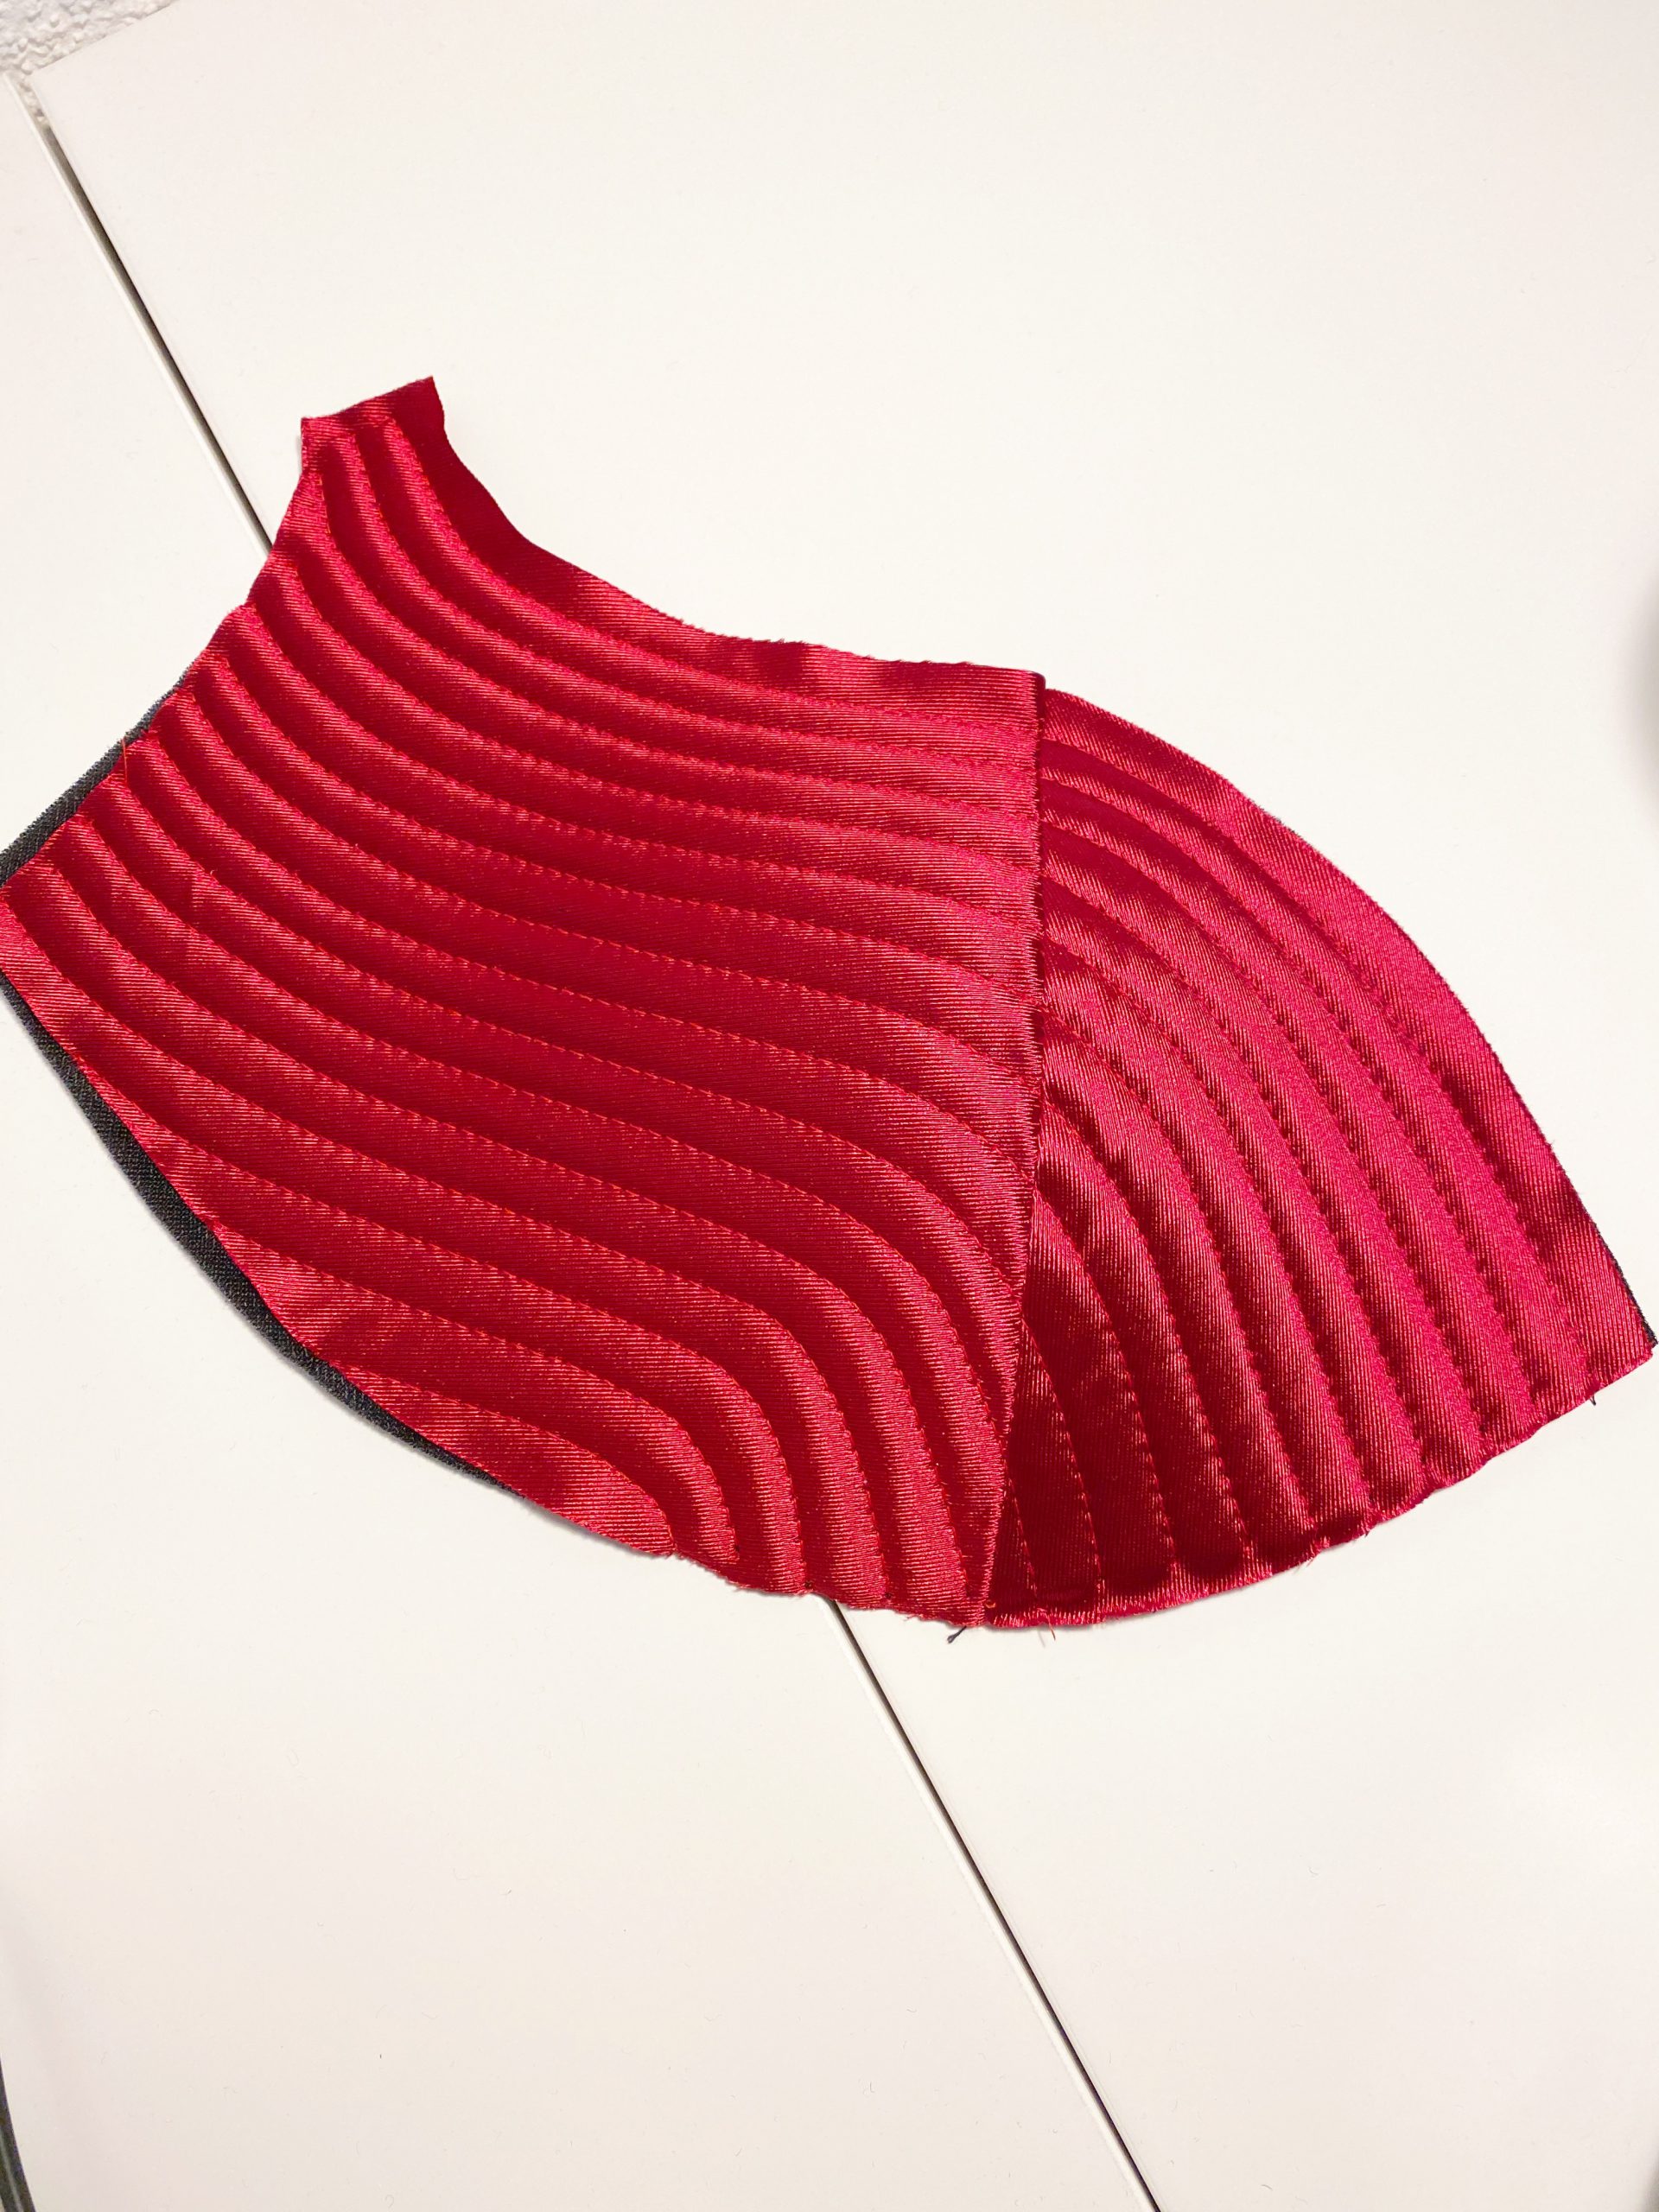
This is what it looks like. You can achieve an even better effect if you pay attention to the orientation of the fabric when cutting out the cups (which I just didn’t do – rookie mistake). The upper part of the cup is then added in. I reinforced this with beige lining material so that the lace does not go out of shape when worn (as you know, the cups should not be made of elastic material) but also does not disappear against a black lining.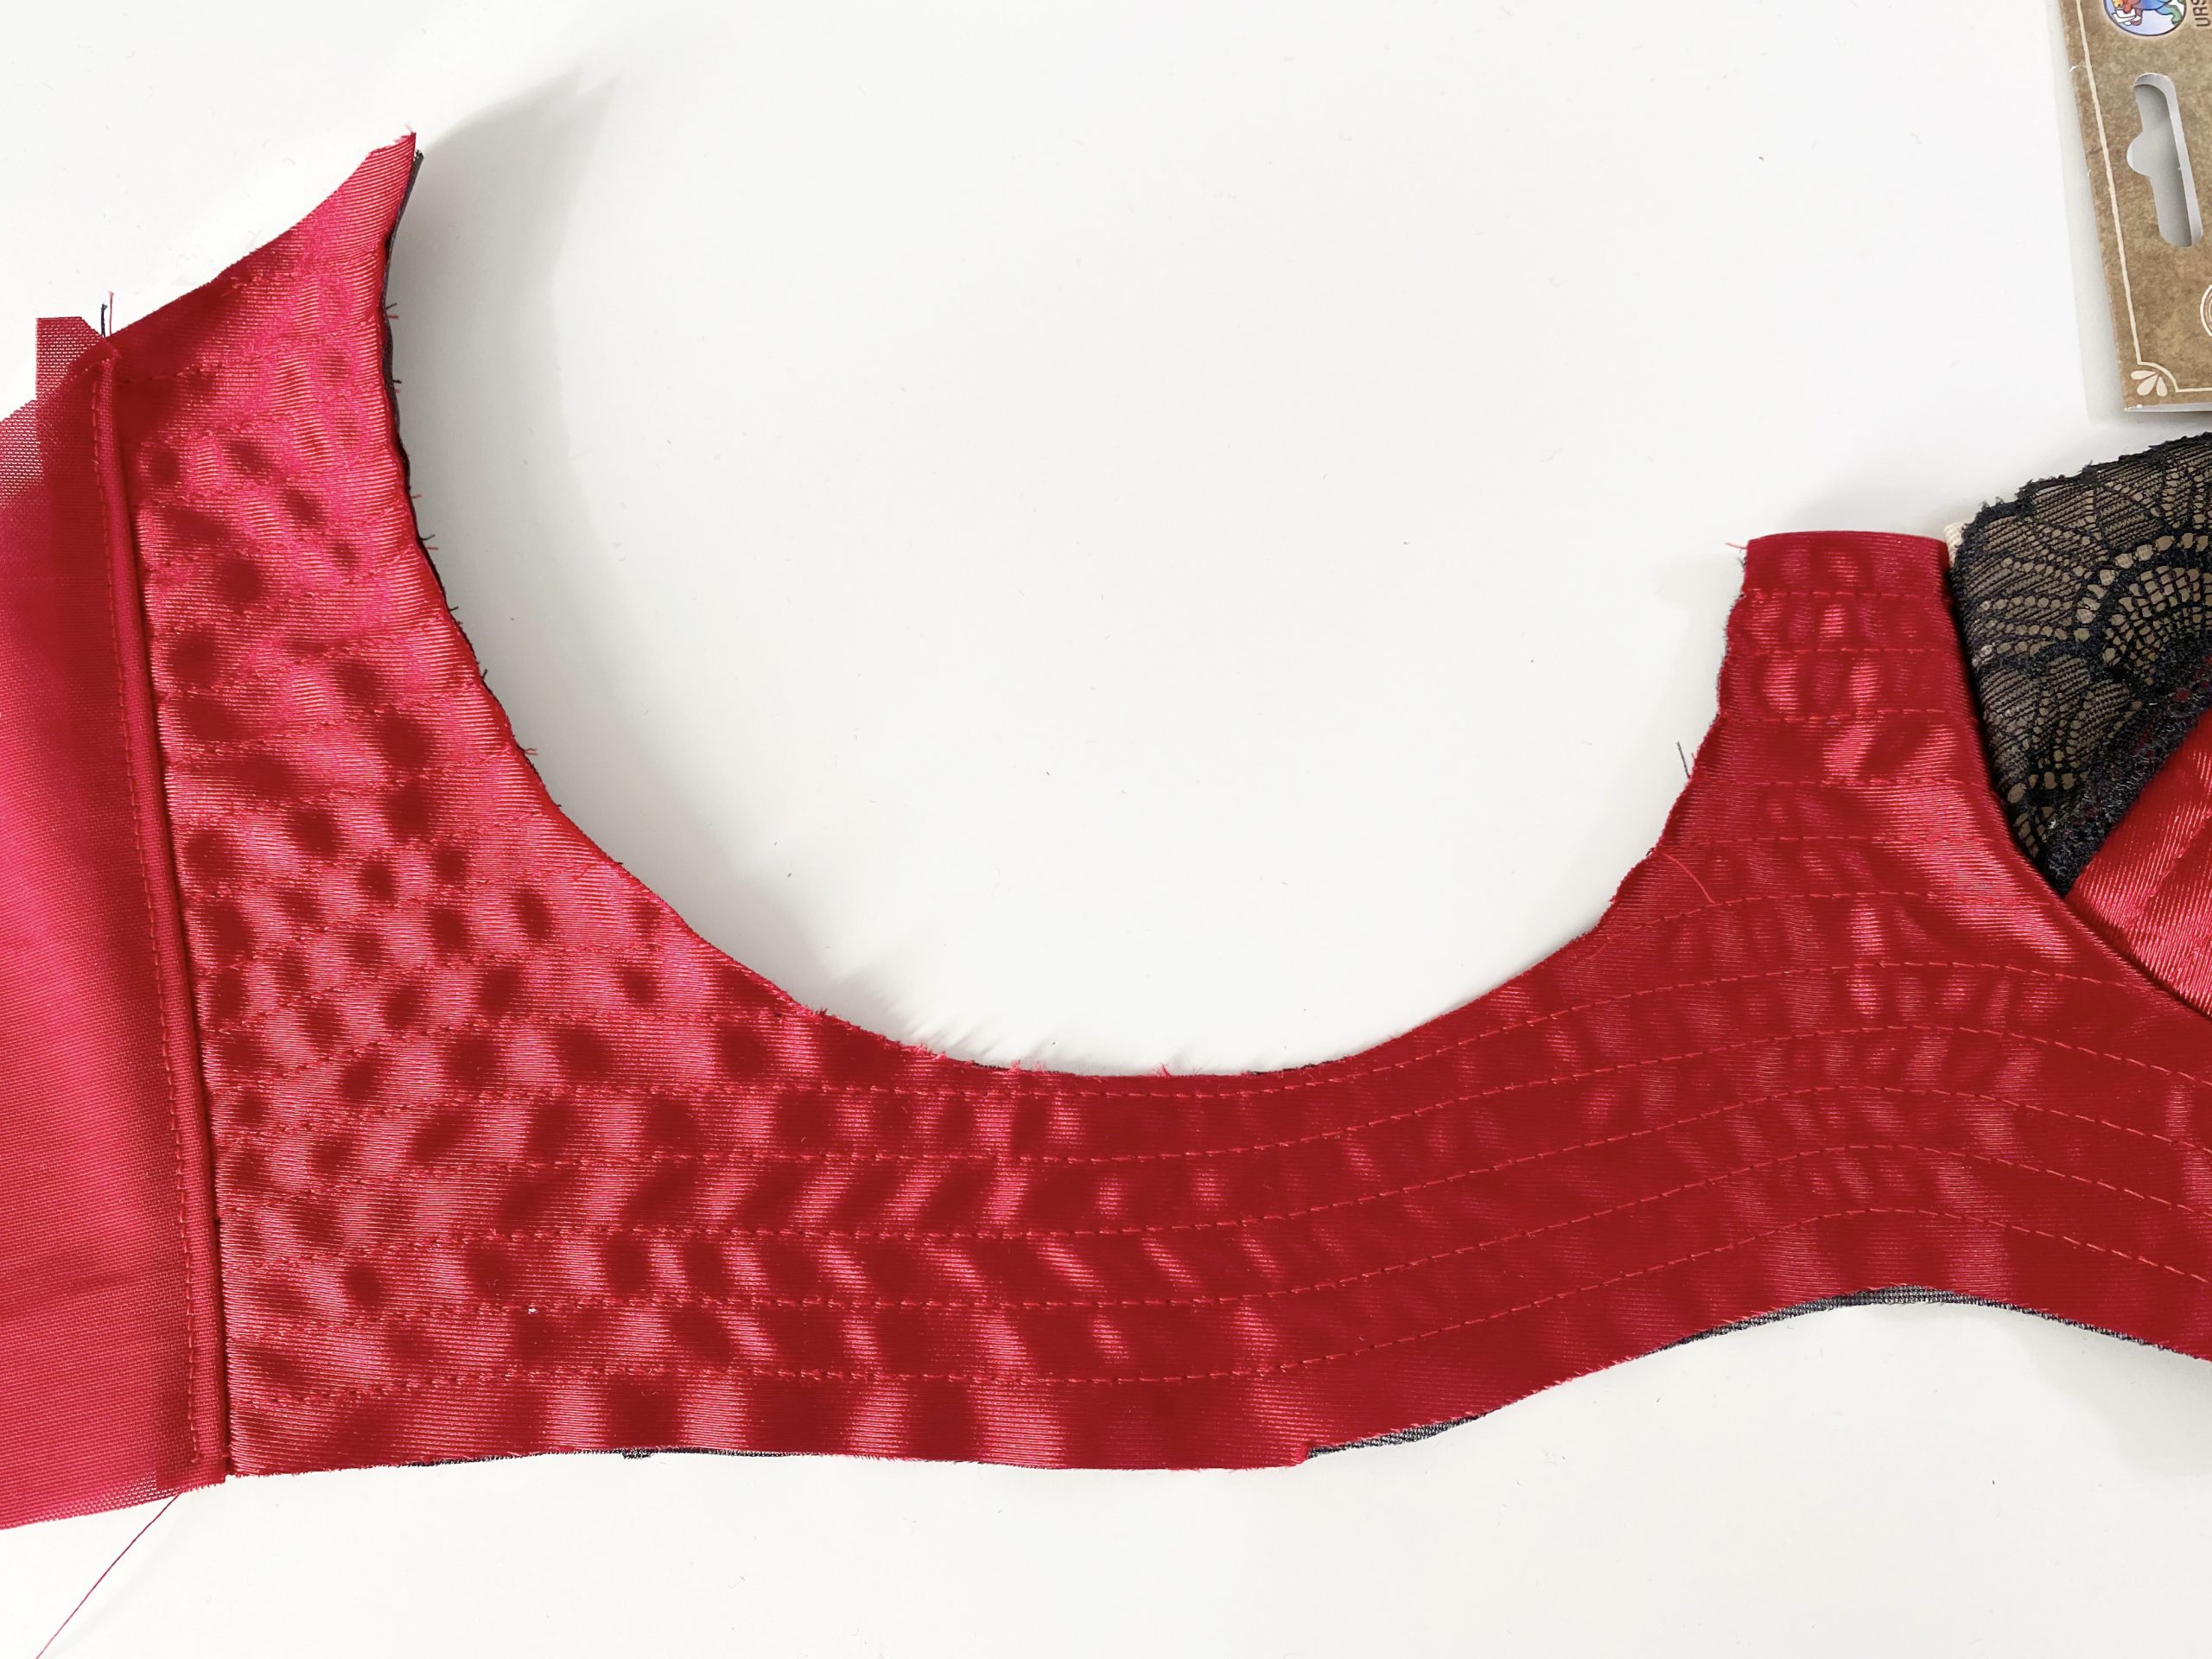 I also quilted the frame and the bride. It is made of a layer of Duoplex and bra lining material. The effect here is not the same as on the cup, of course, because it doesn’t have the volume of the foam.
The back band is made of red powernet, which I bought in London from a tiny shop on Goldhawk Road.

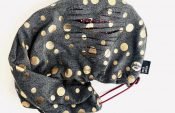
Now the cups are sewn into the frame. As you can see in the picture, I was very careful to use a matching bobbin thread for the foam. That is not absolutely necessary, but I like it when the bra has a matching color on the inside.
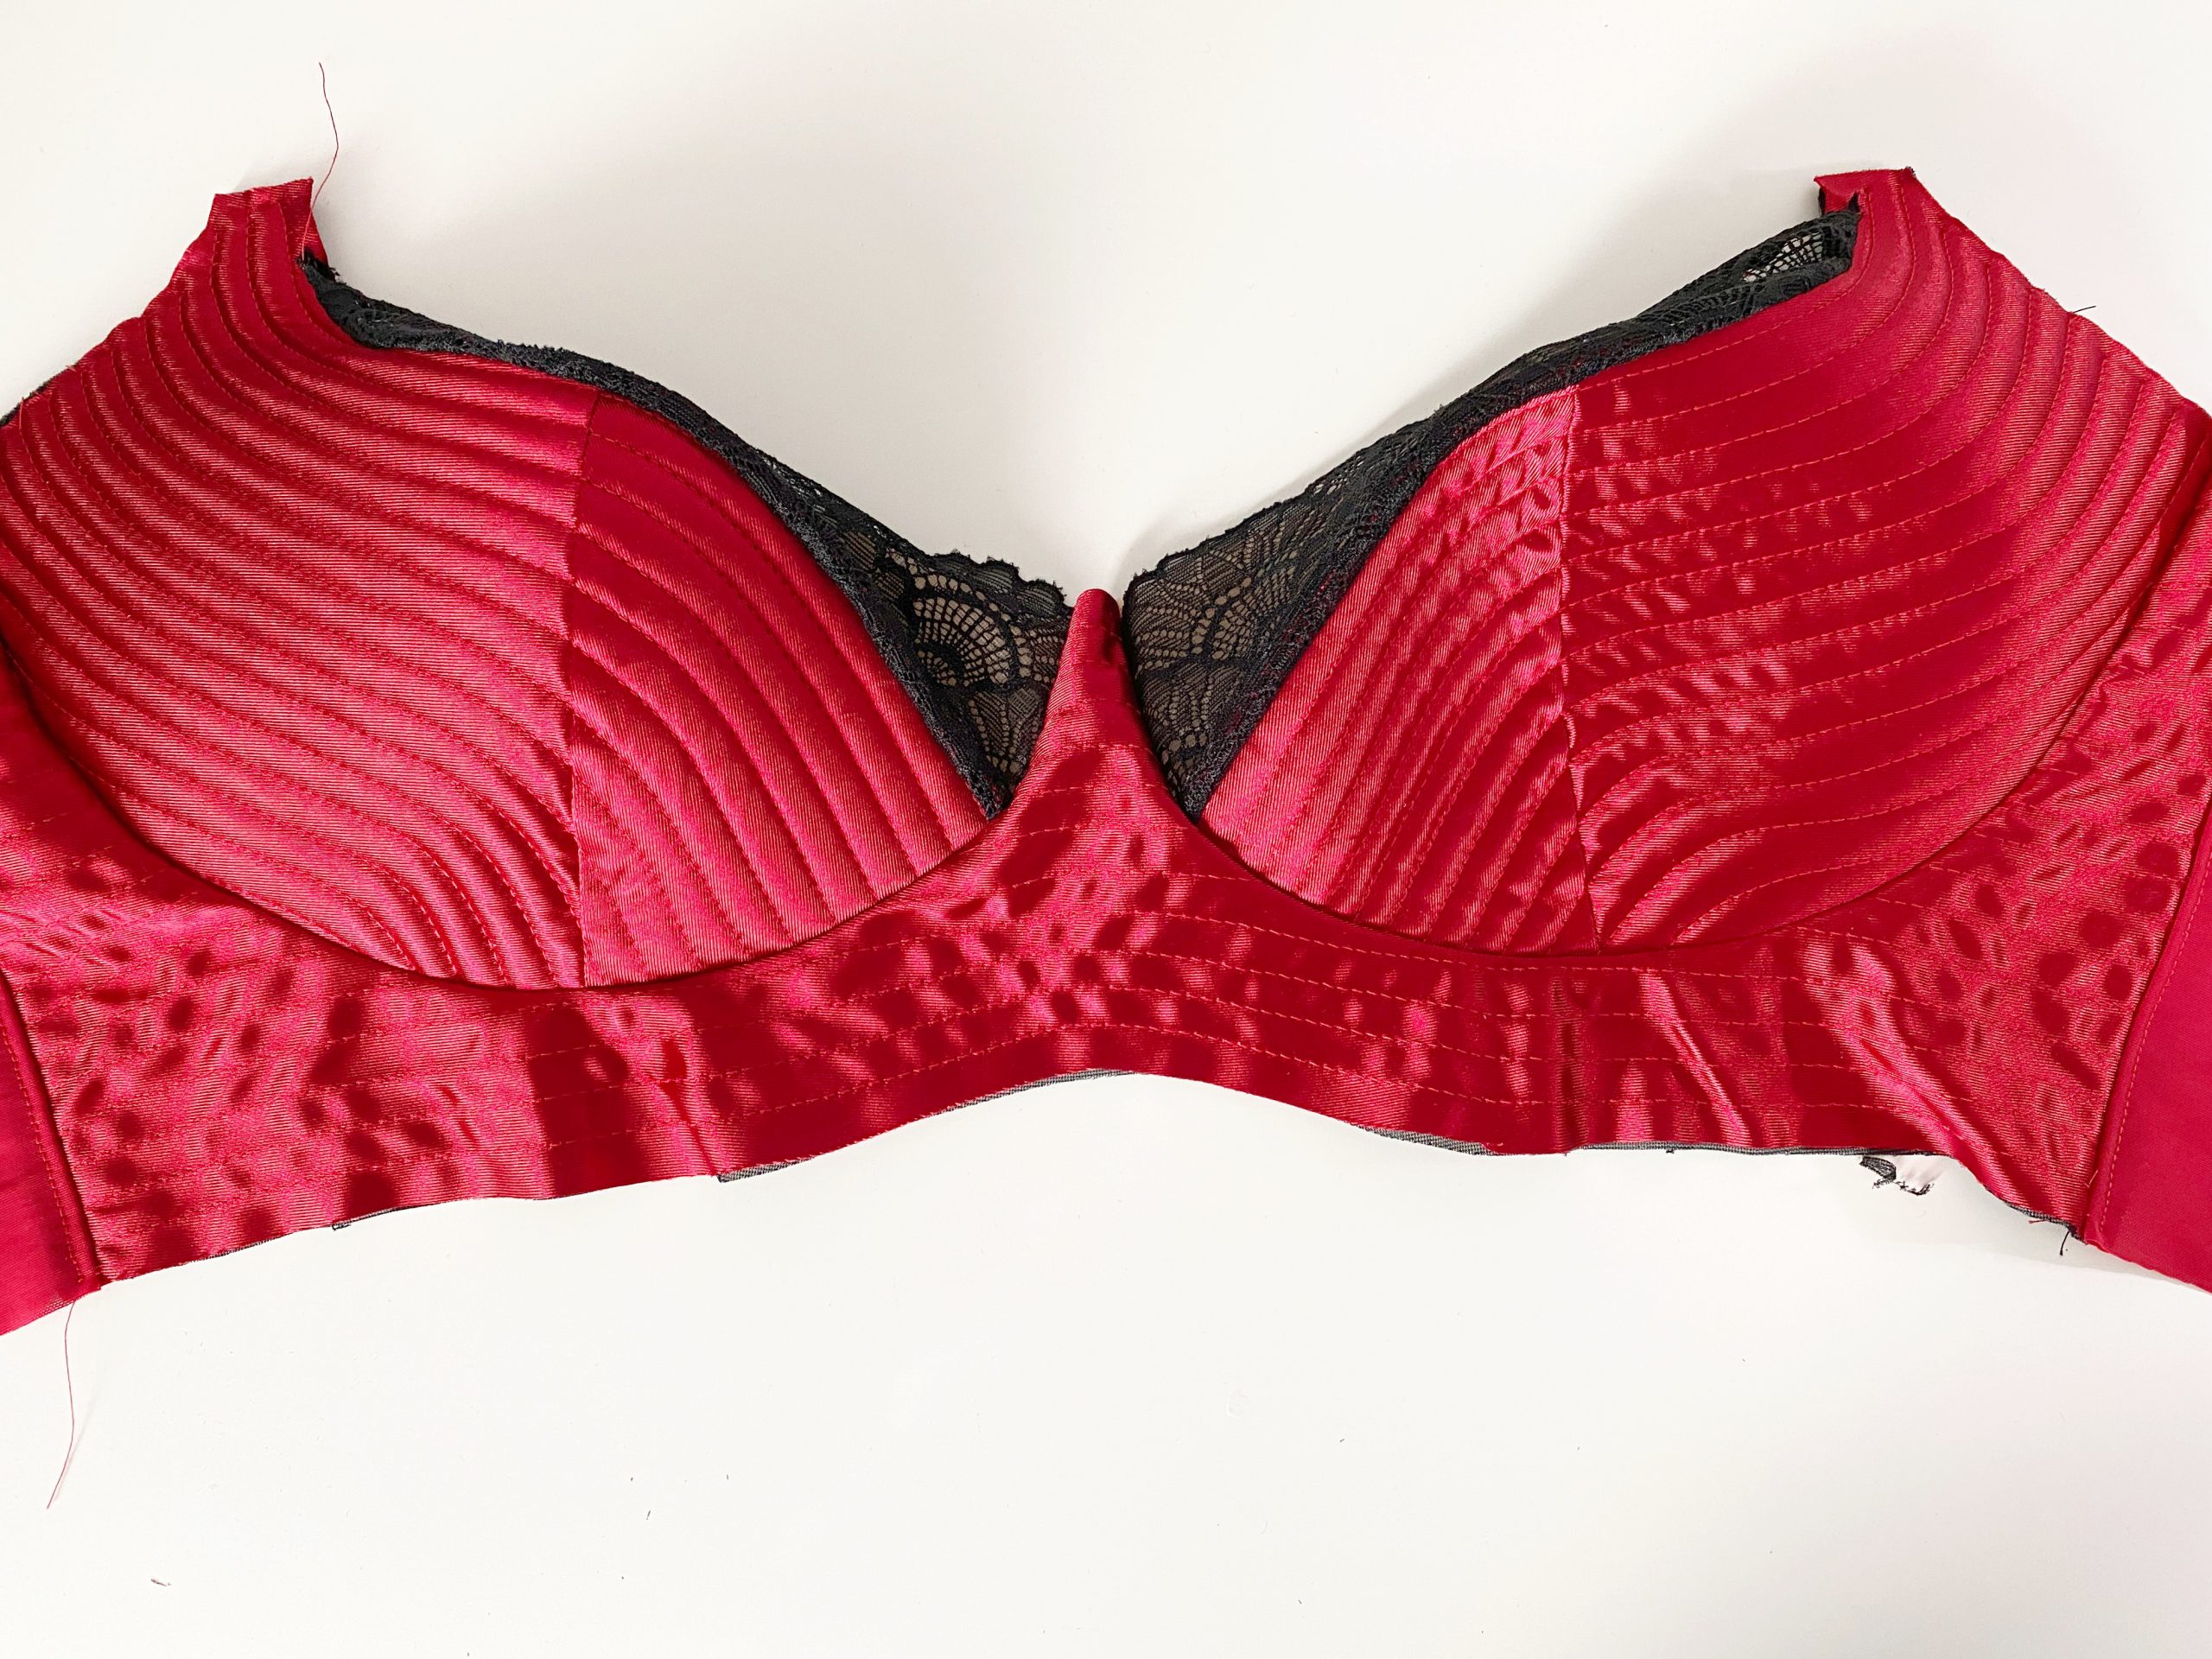
This is what the result looks like. The “raw” bra without the underwires and without elastic.
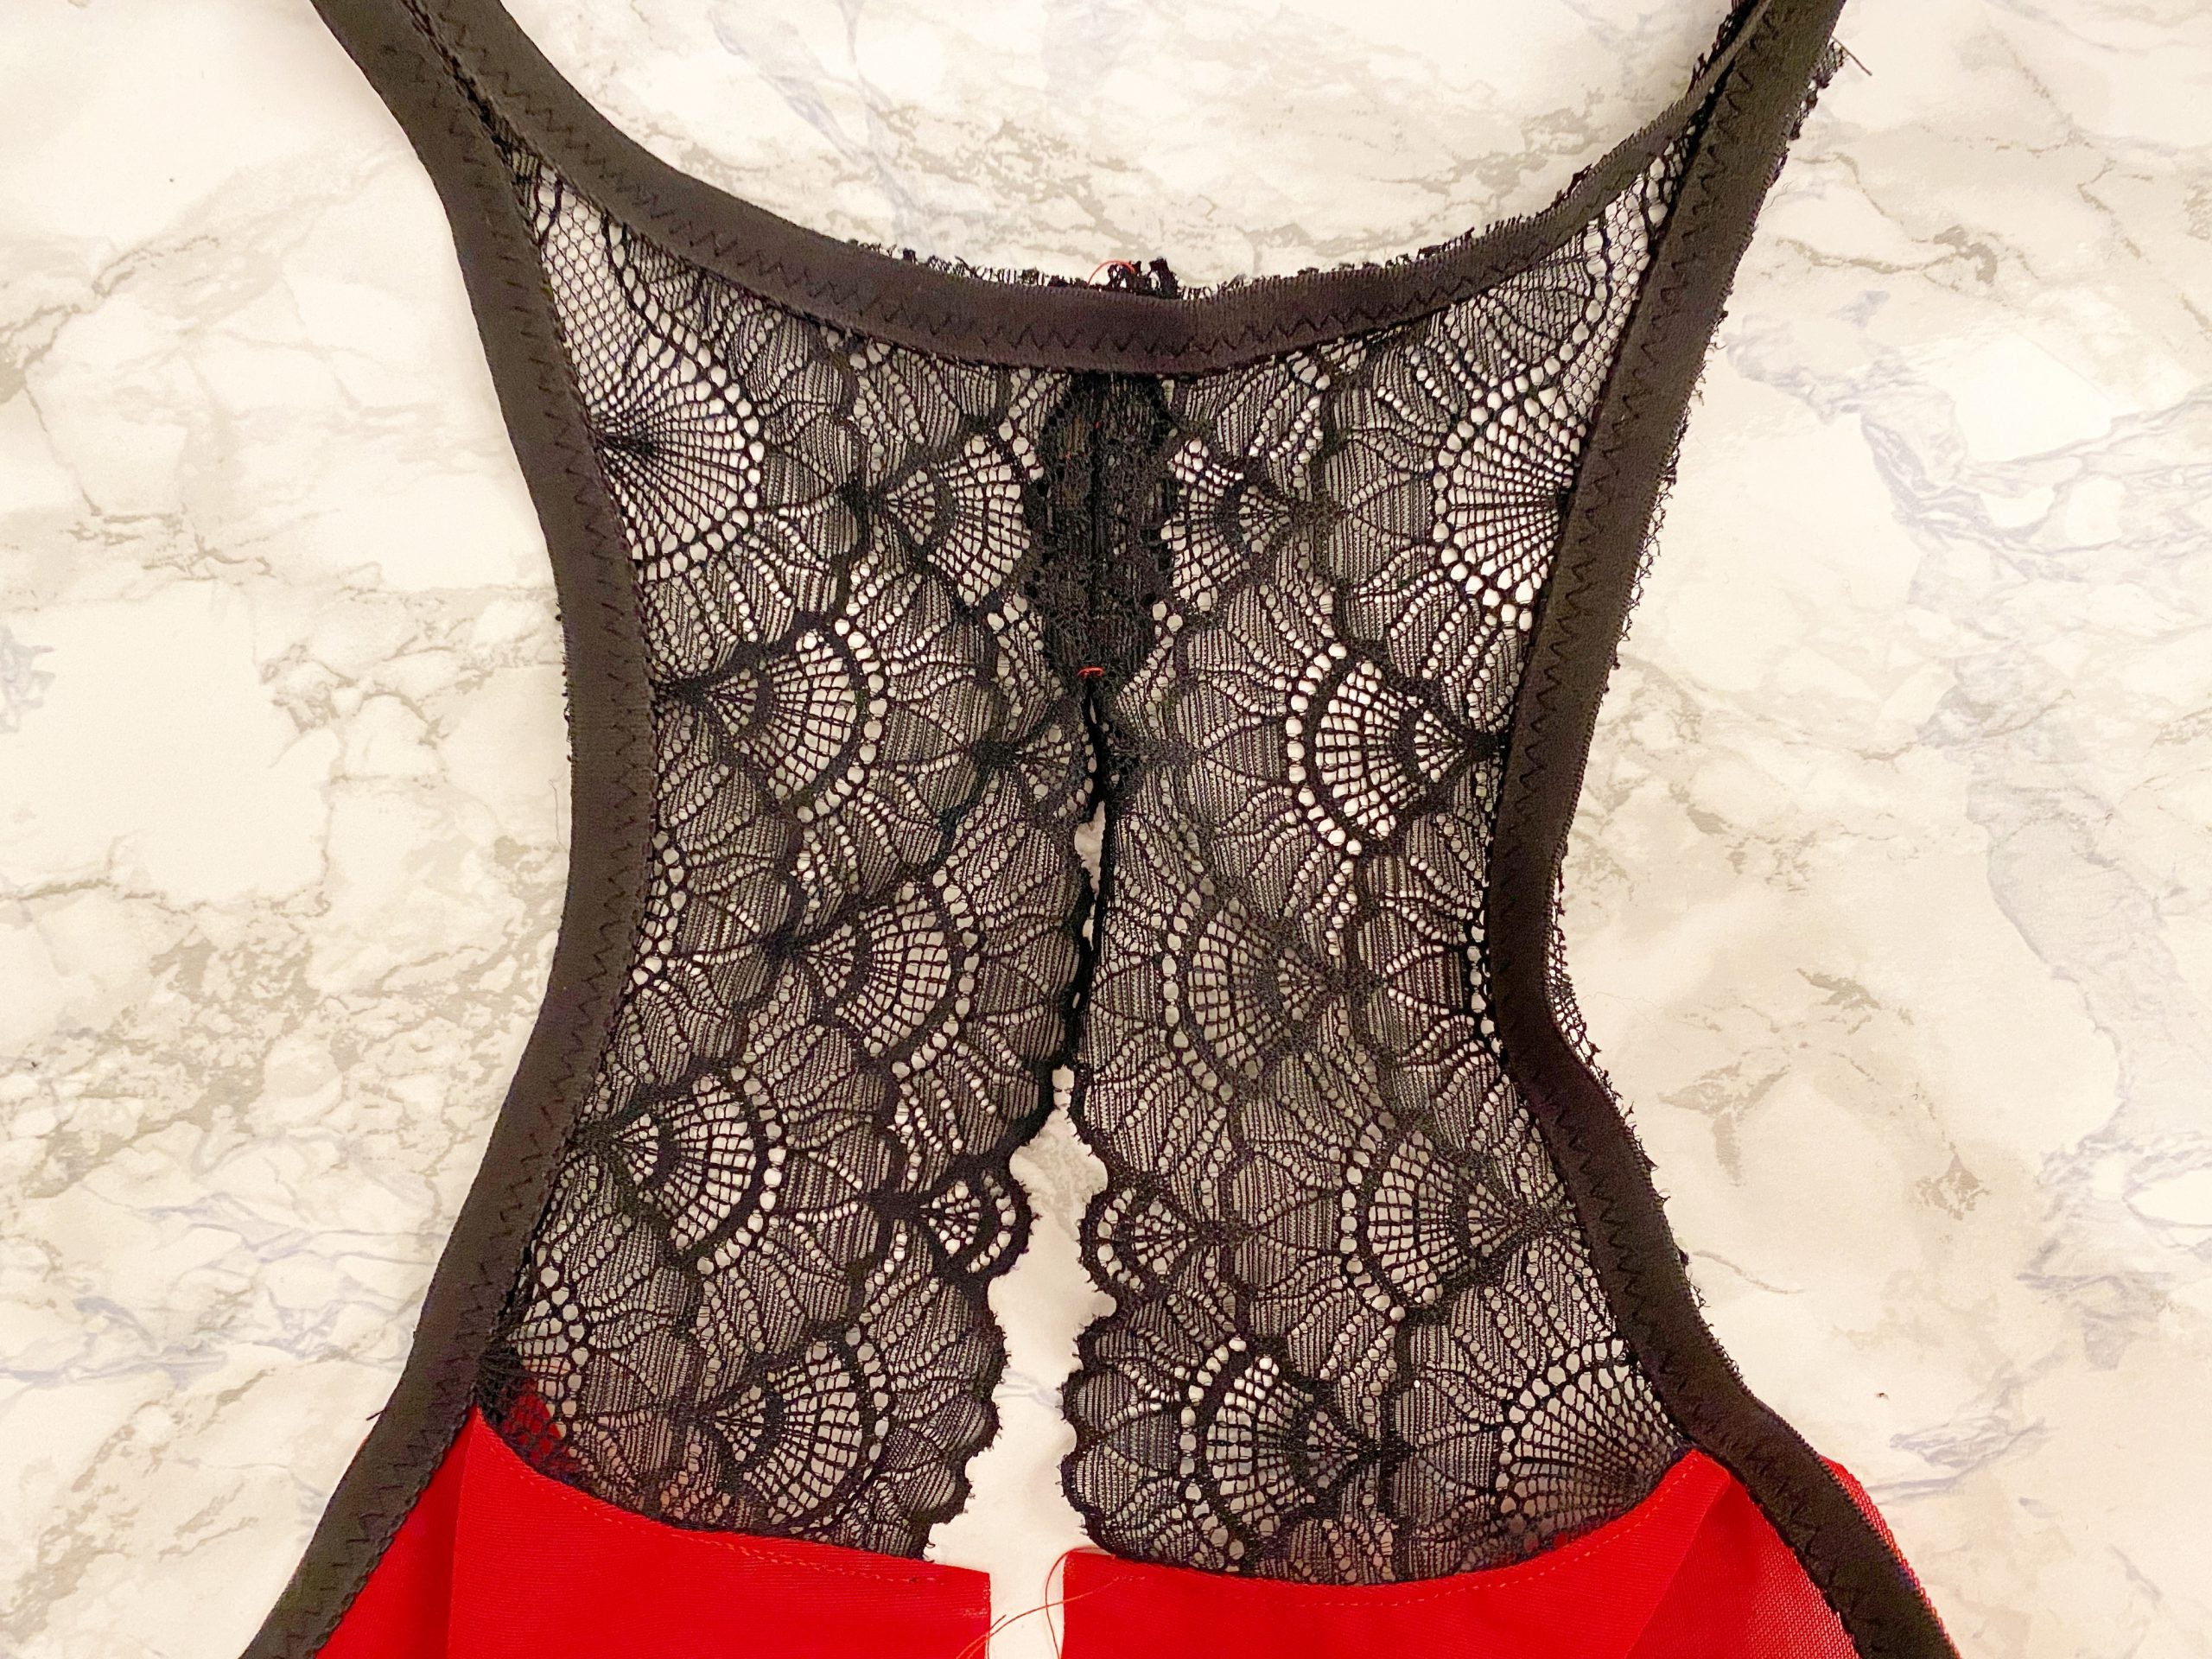
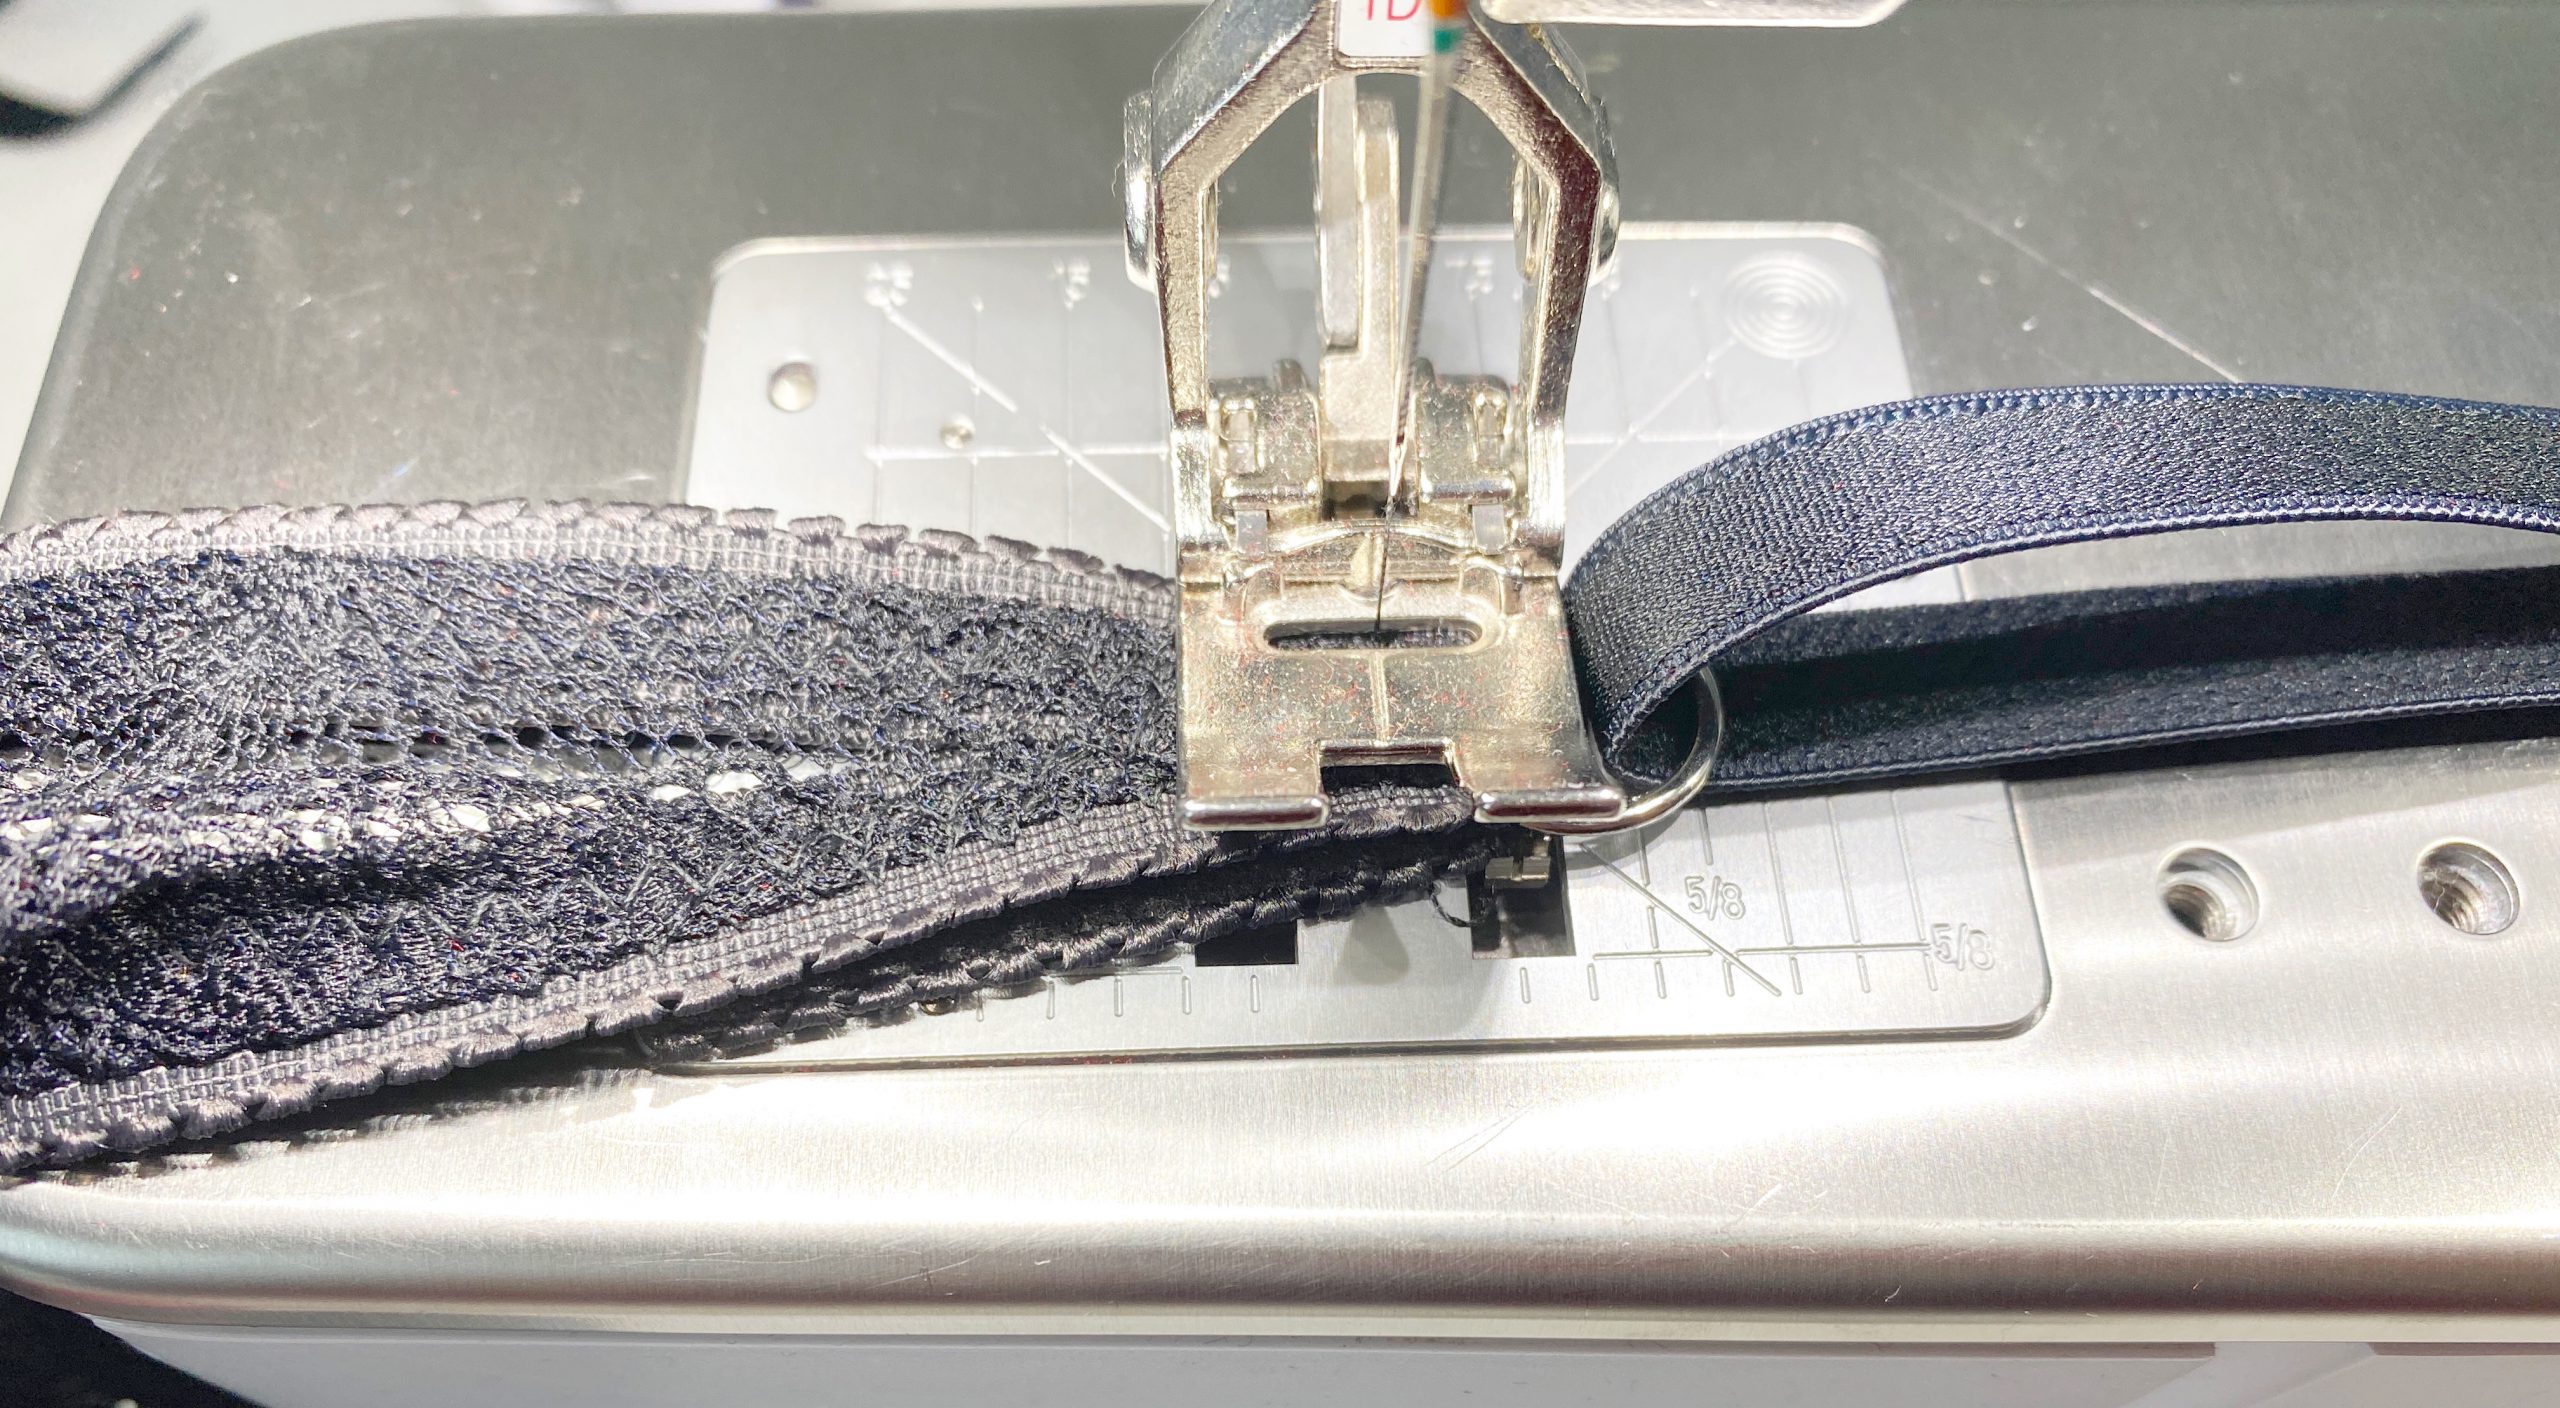
The lace is now sewn in at the back and picot elastic is added to the underarm area. In the picture, the elastic has not yet been sewn down twice. The elastic is folded inwards after and sewn again using a zigzag stitch. But before that…

…the seam allowances have to be cut back using appliqué scissors. This is not absolutely essential, but it will definitely give you a neater look.
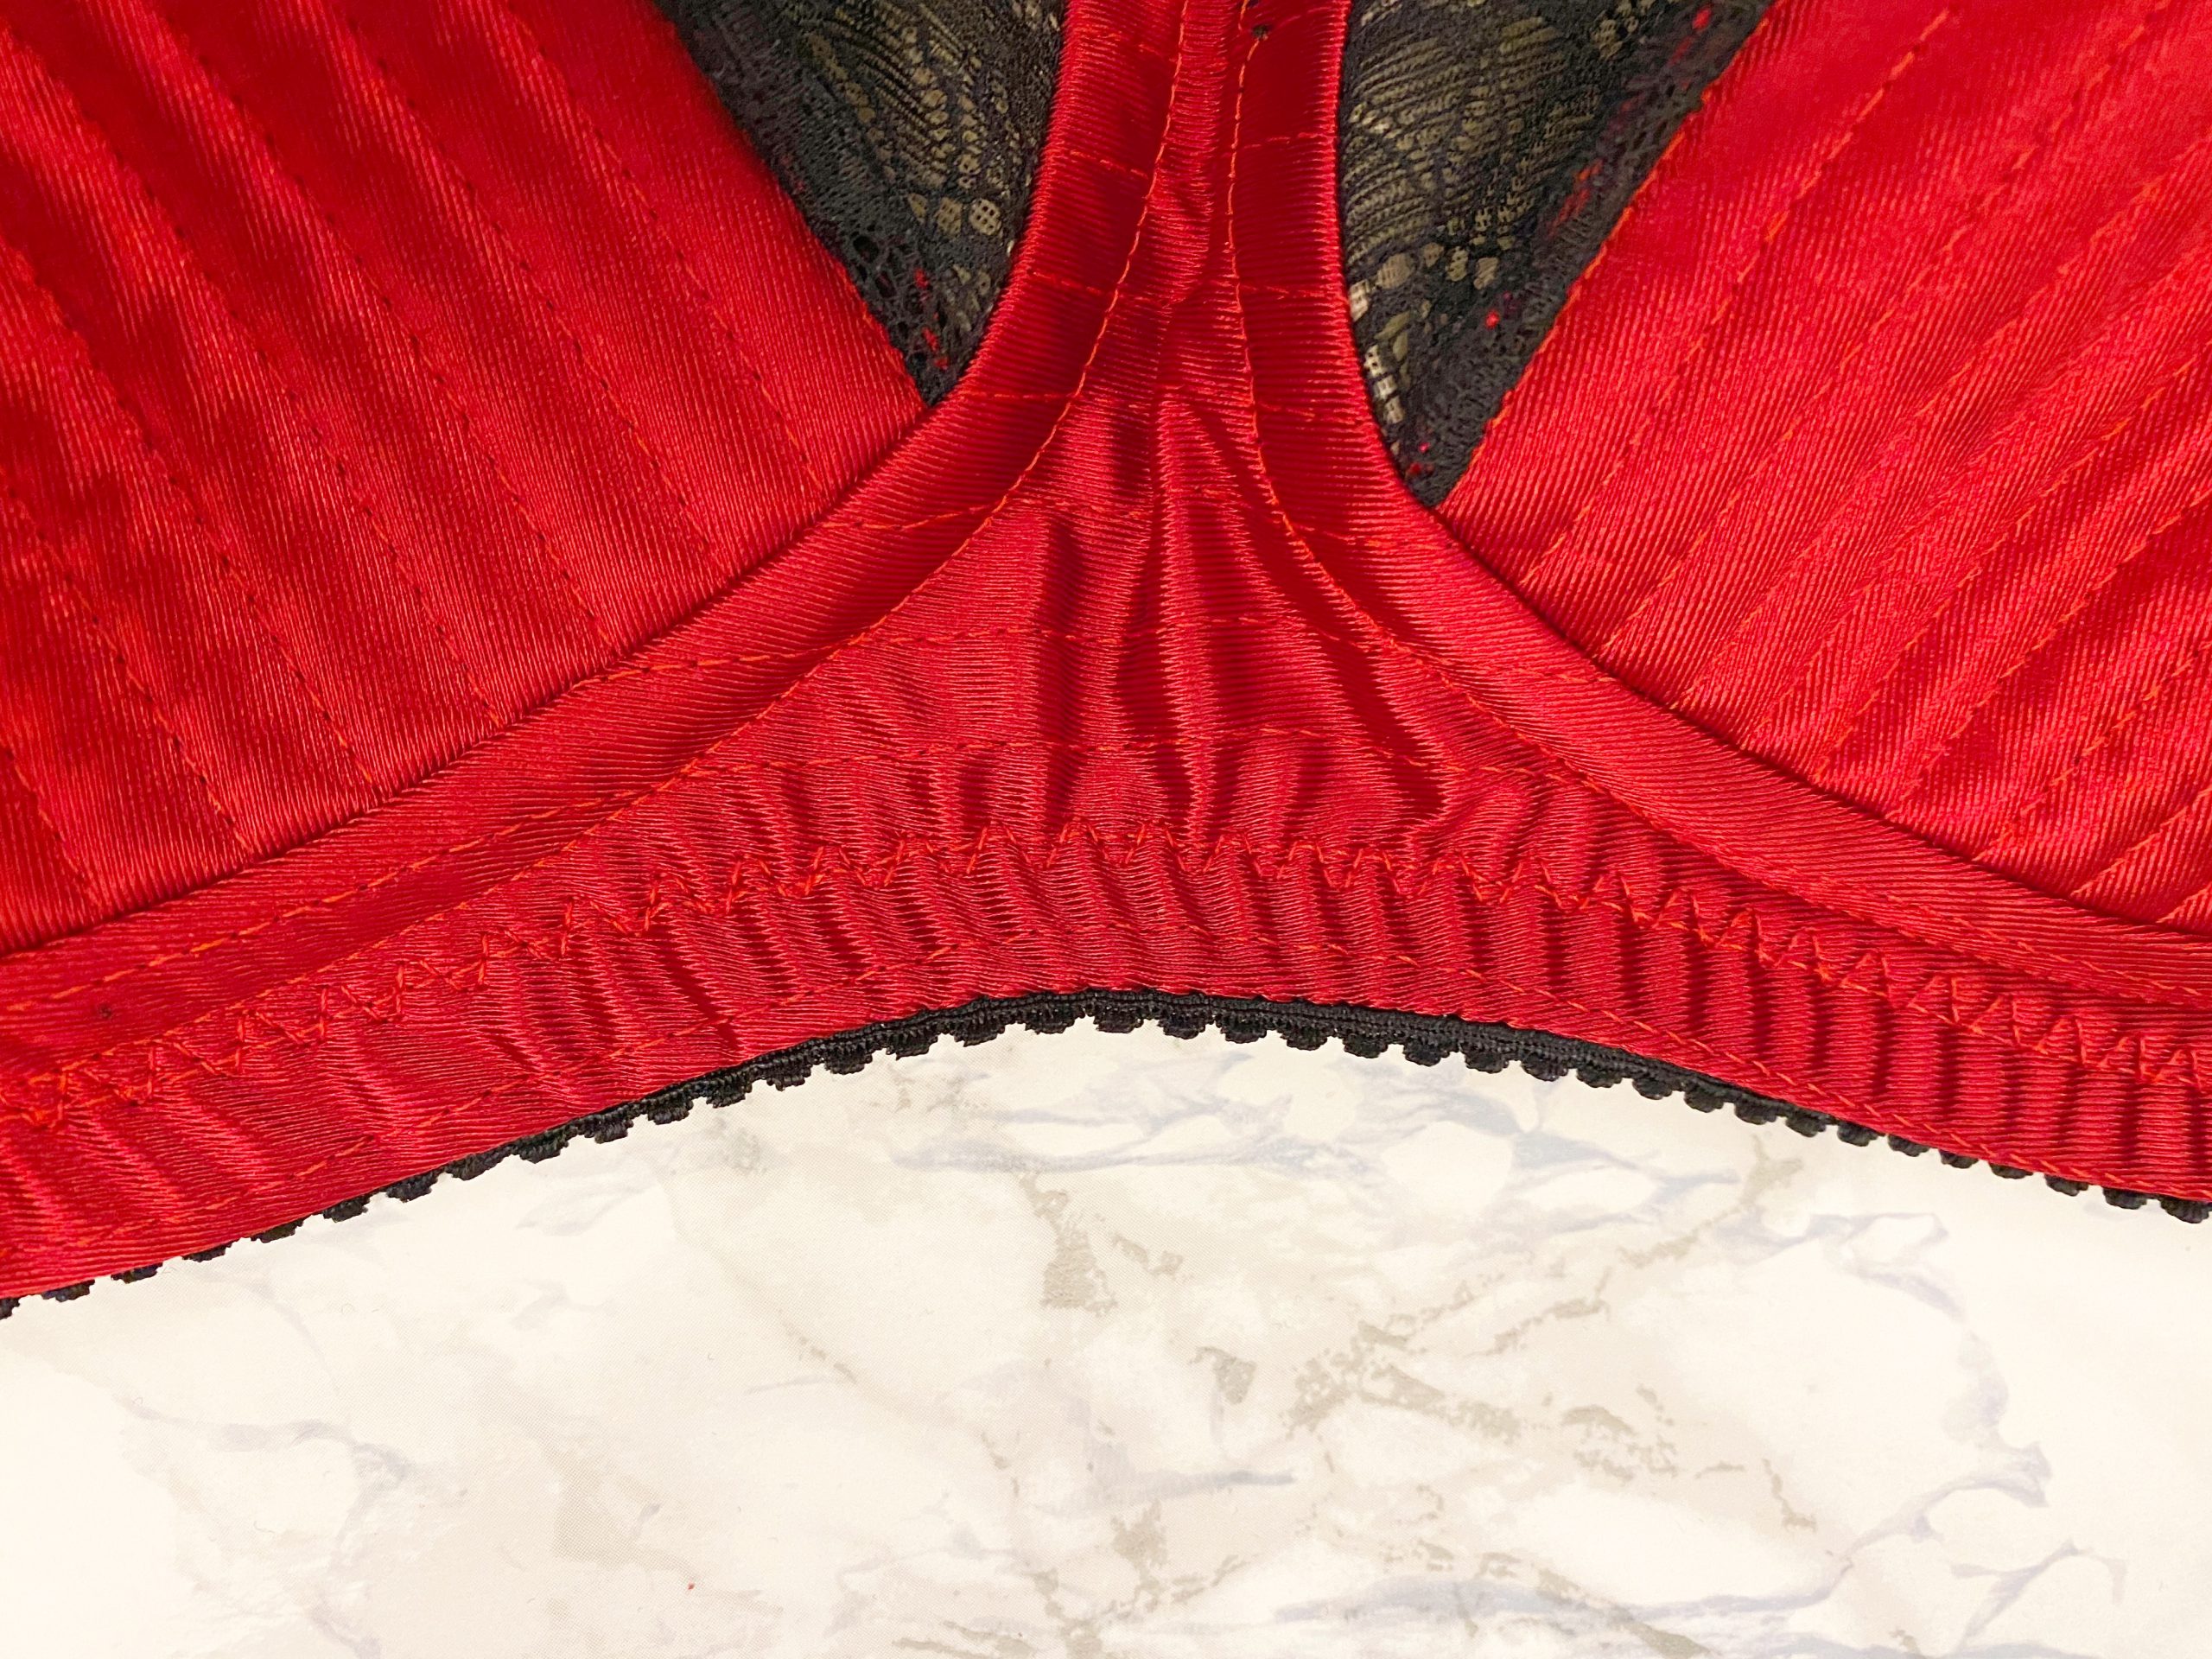
This is what the finished frame (sewn using the technique mentioned above) looks like.
Attach the hook and eye closures
As you can see, I used black sewing notions, I consulted my boyfriend about this. Personally, I think red would have been better, but as I didn’t have exactly the same shade of red, my boyfriend’s opinion won out.
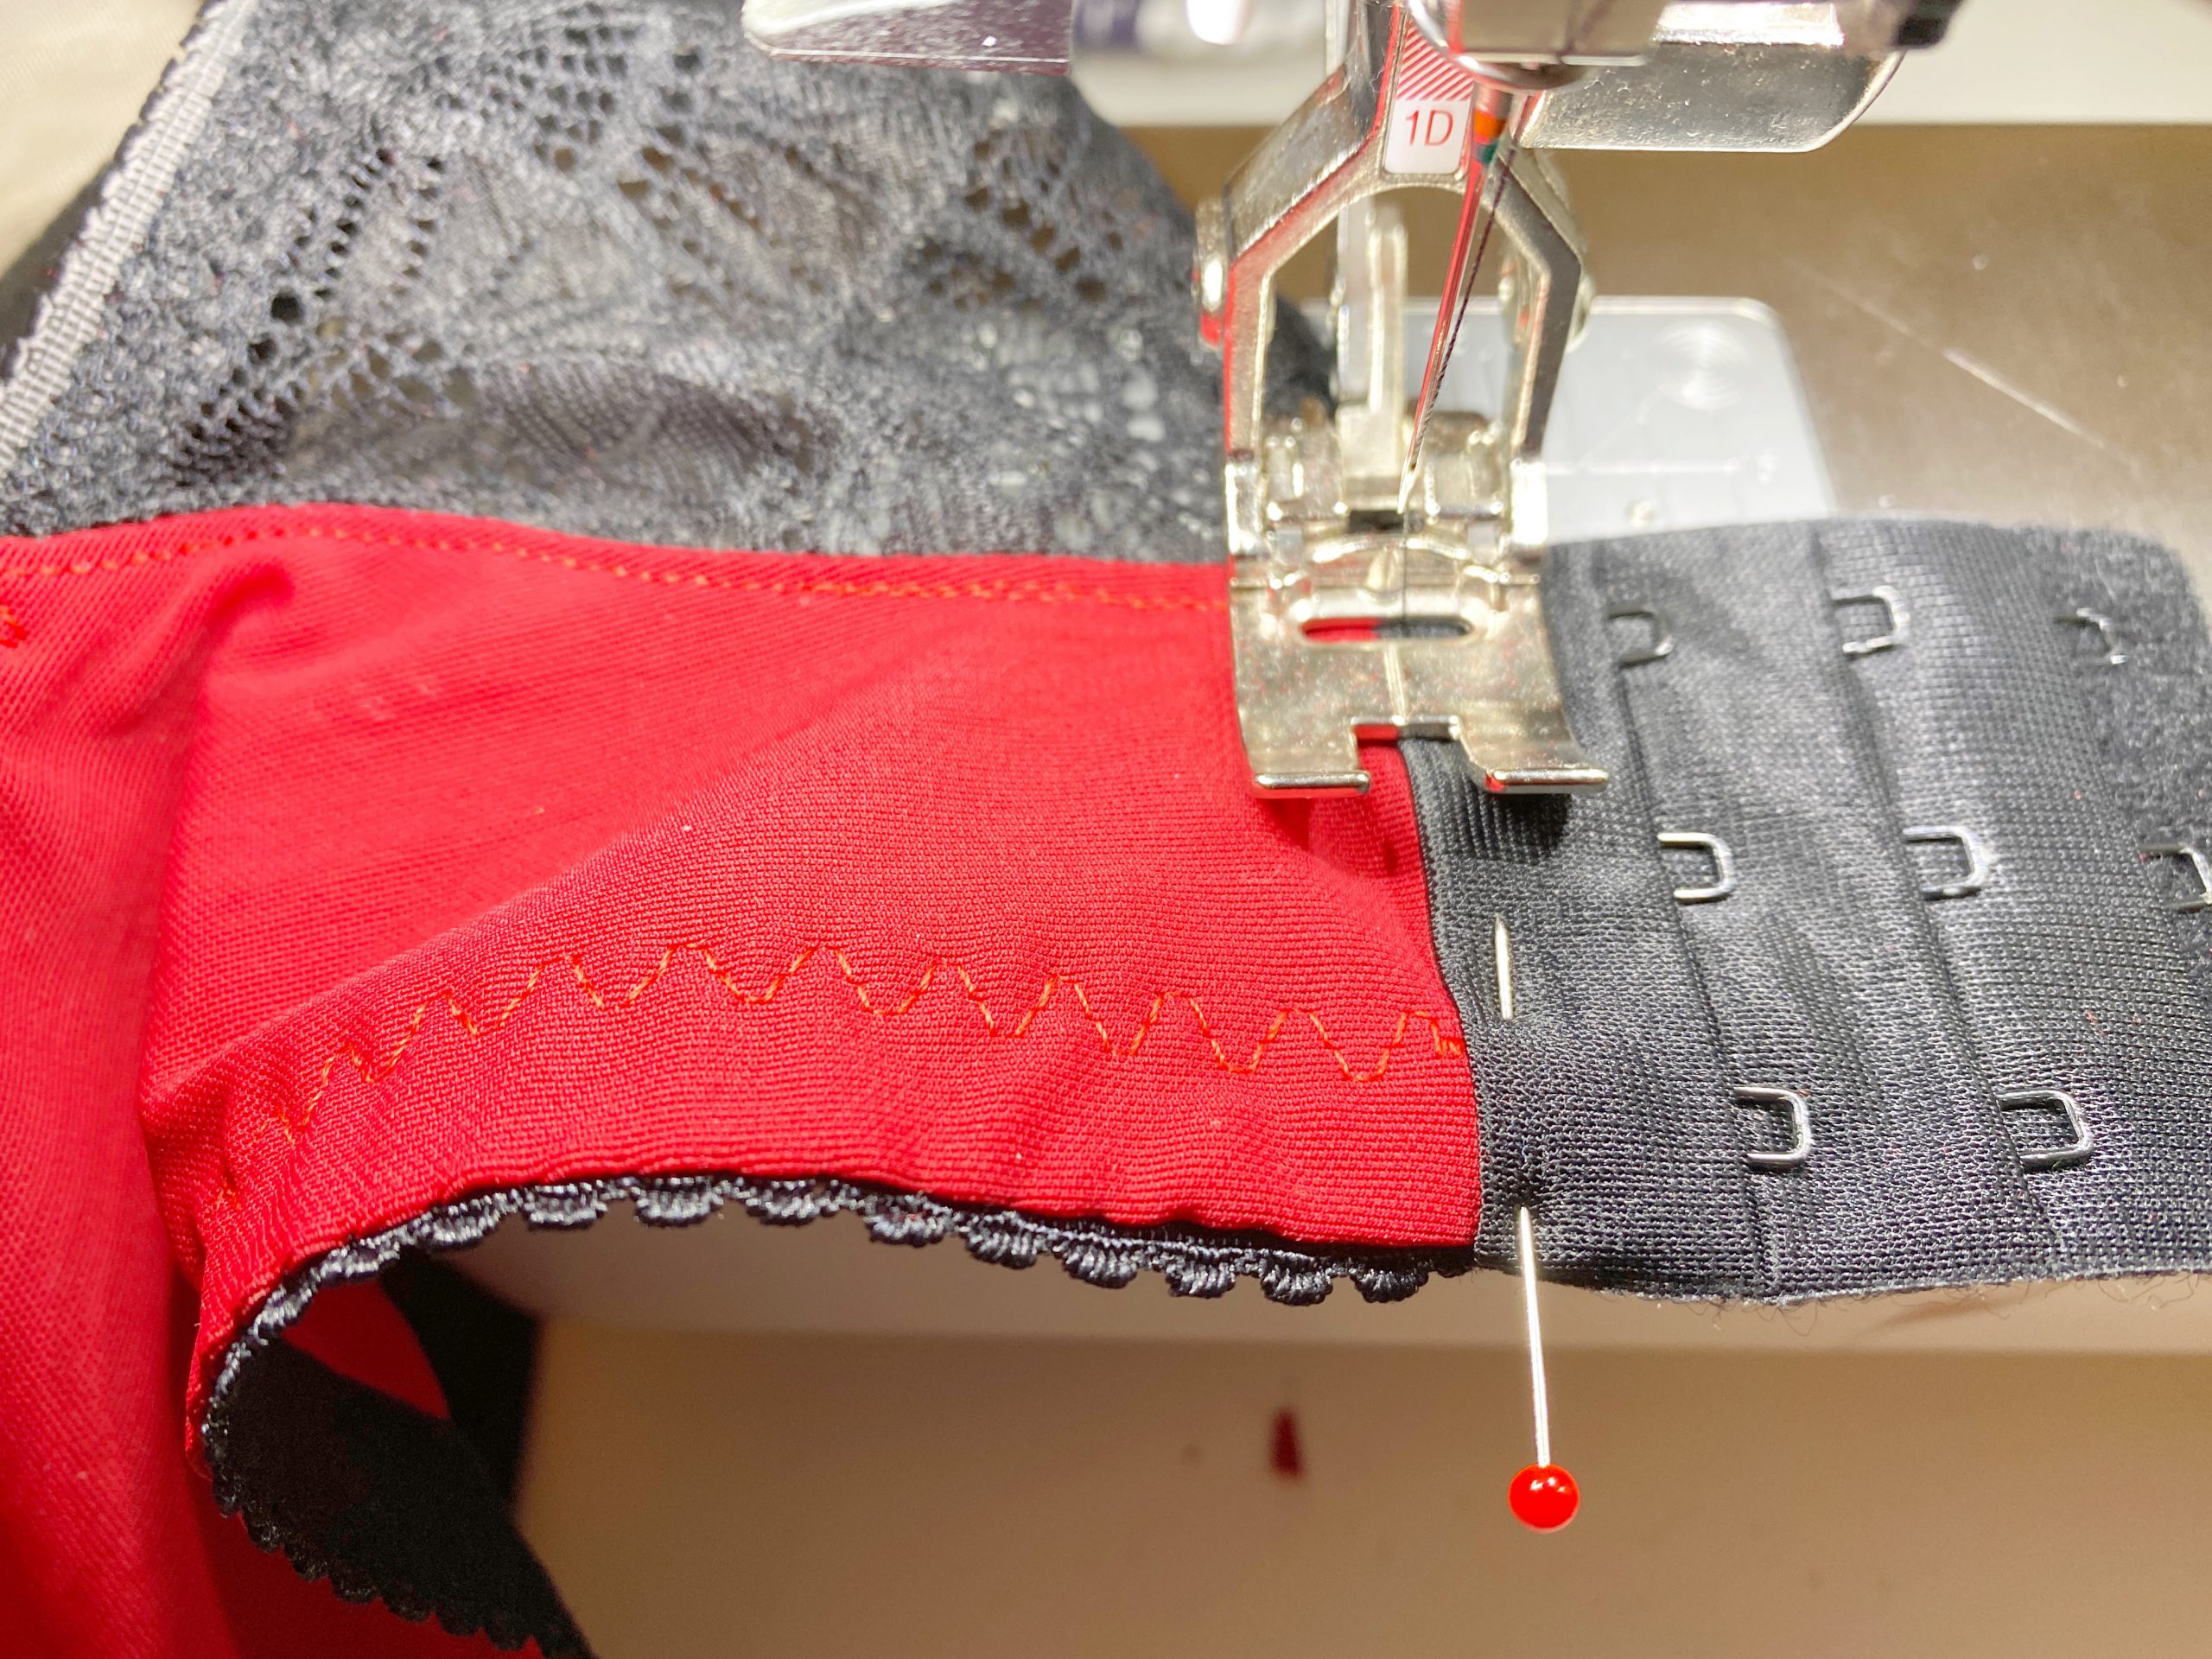
The best way to sew the bra fastener onto the back band is with a satin stitch.
Now the straps are sewn on.
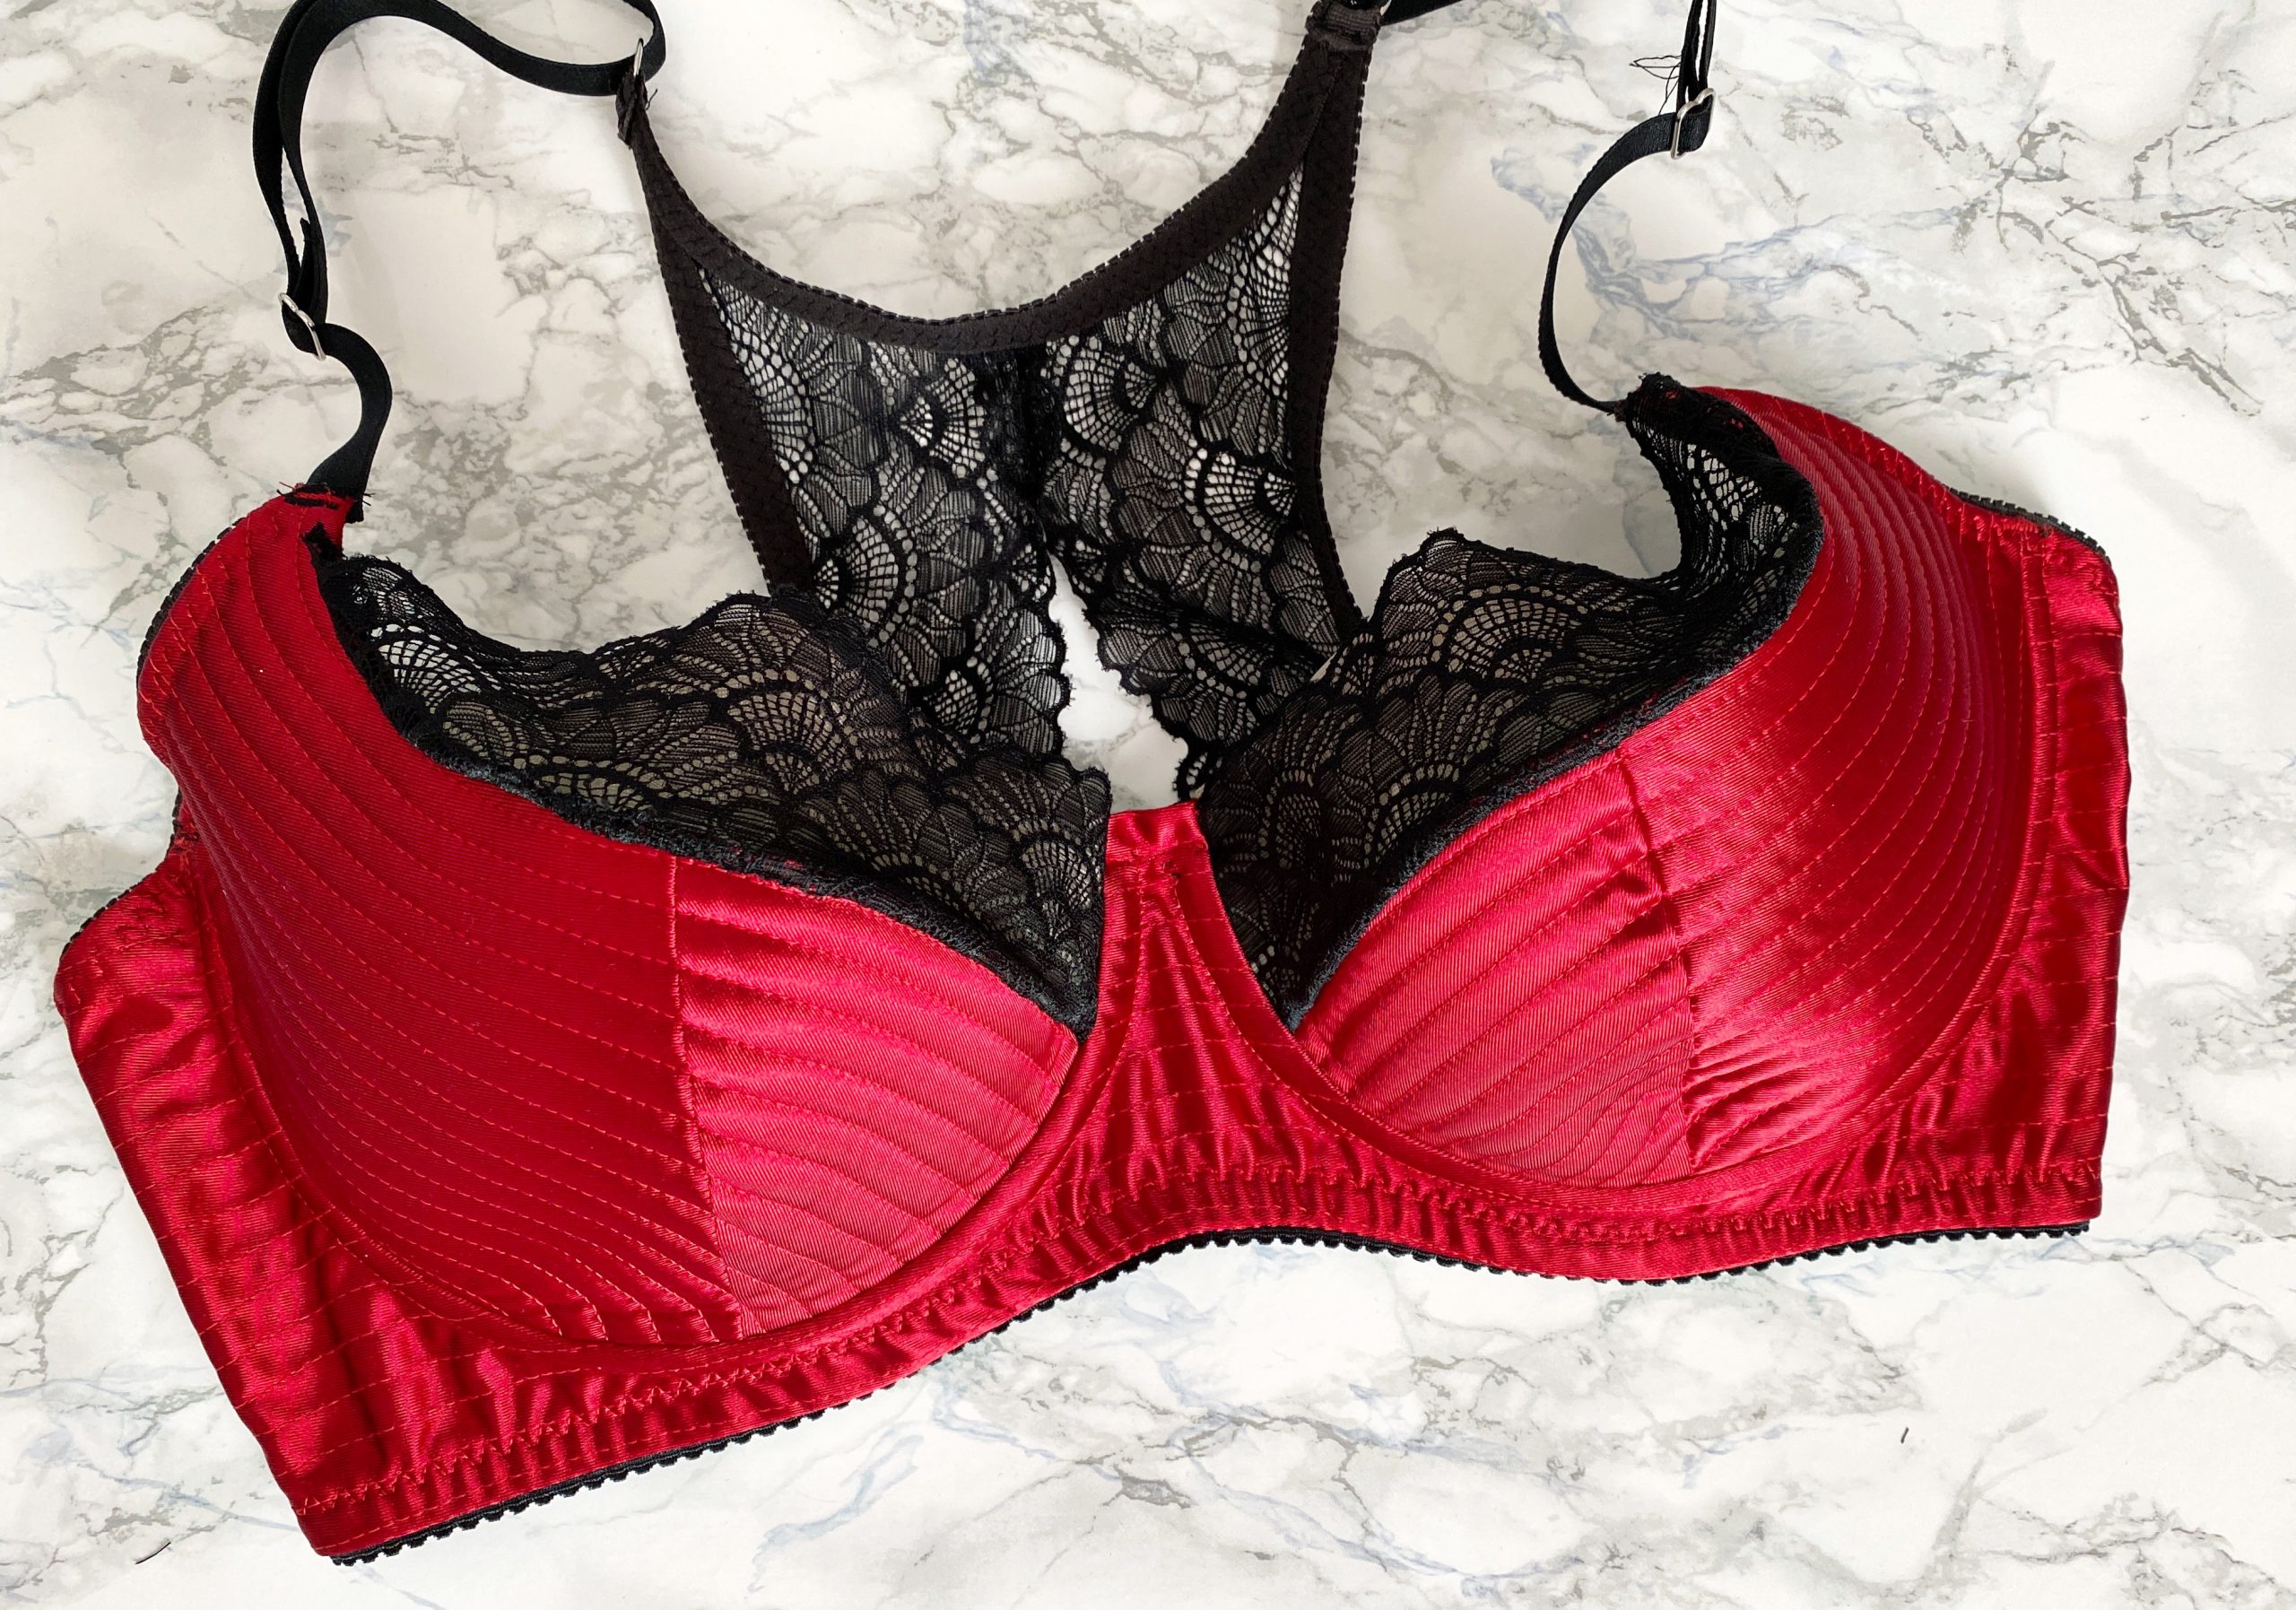
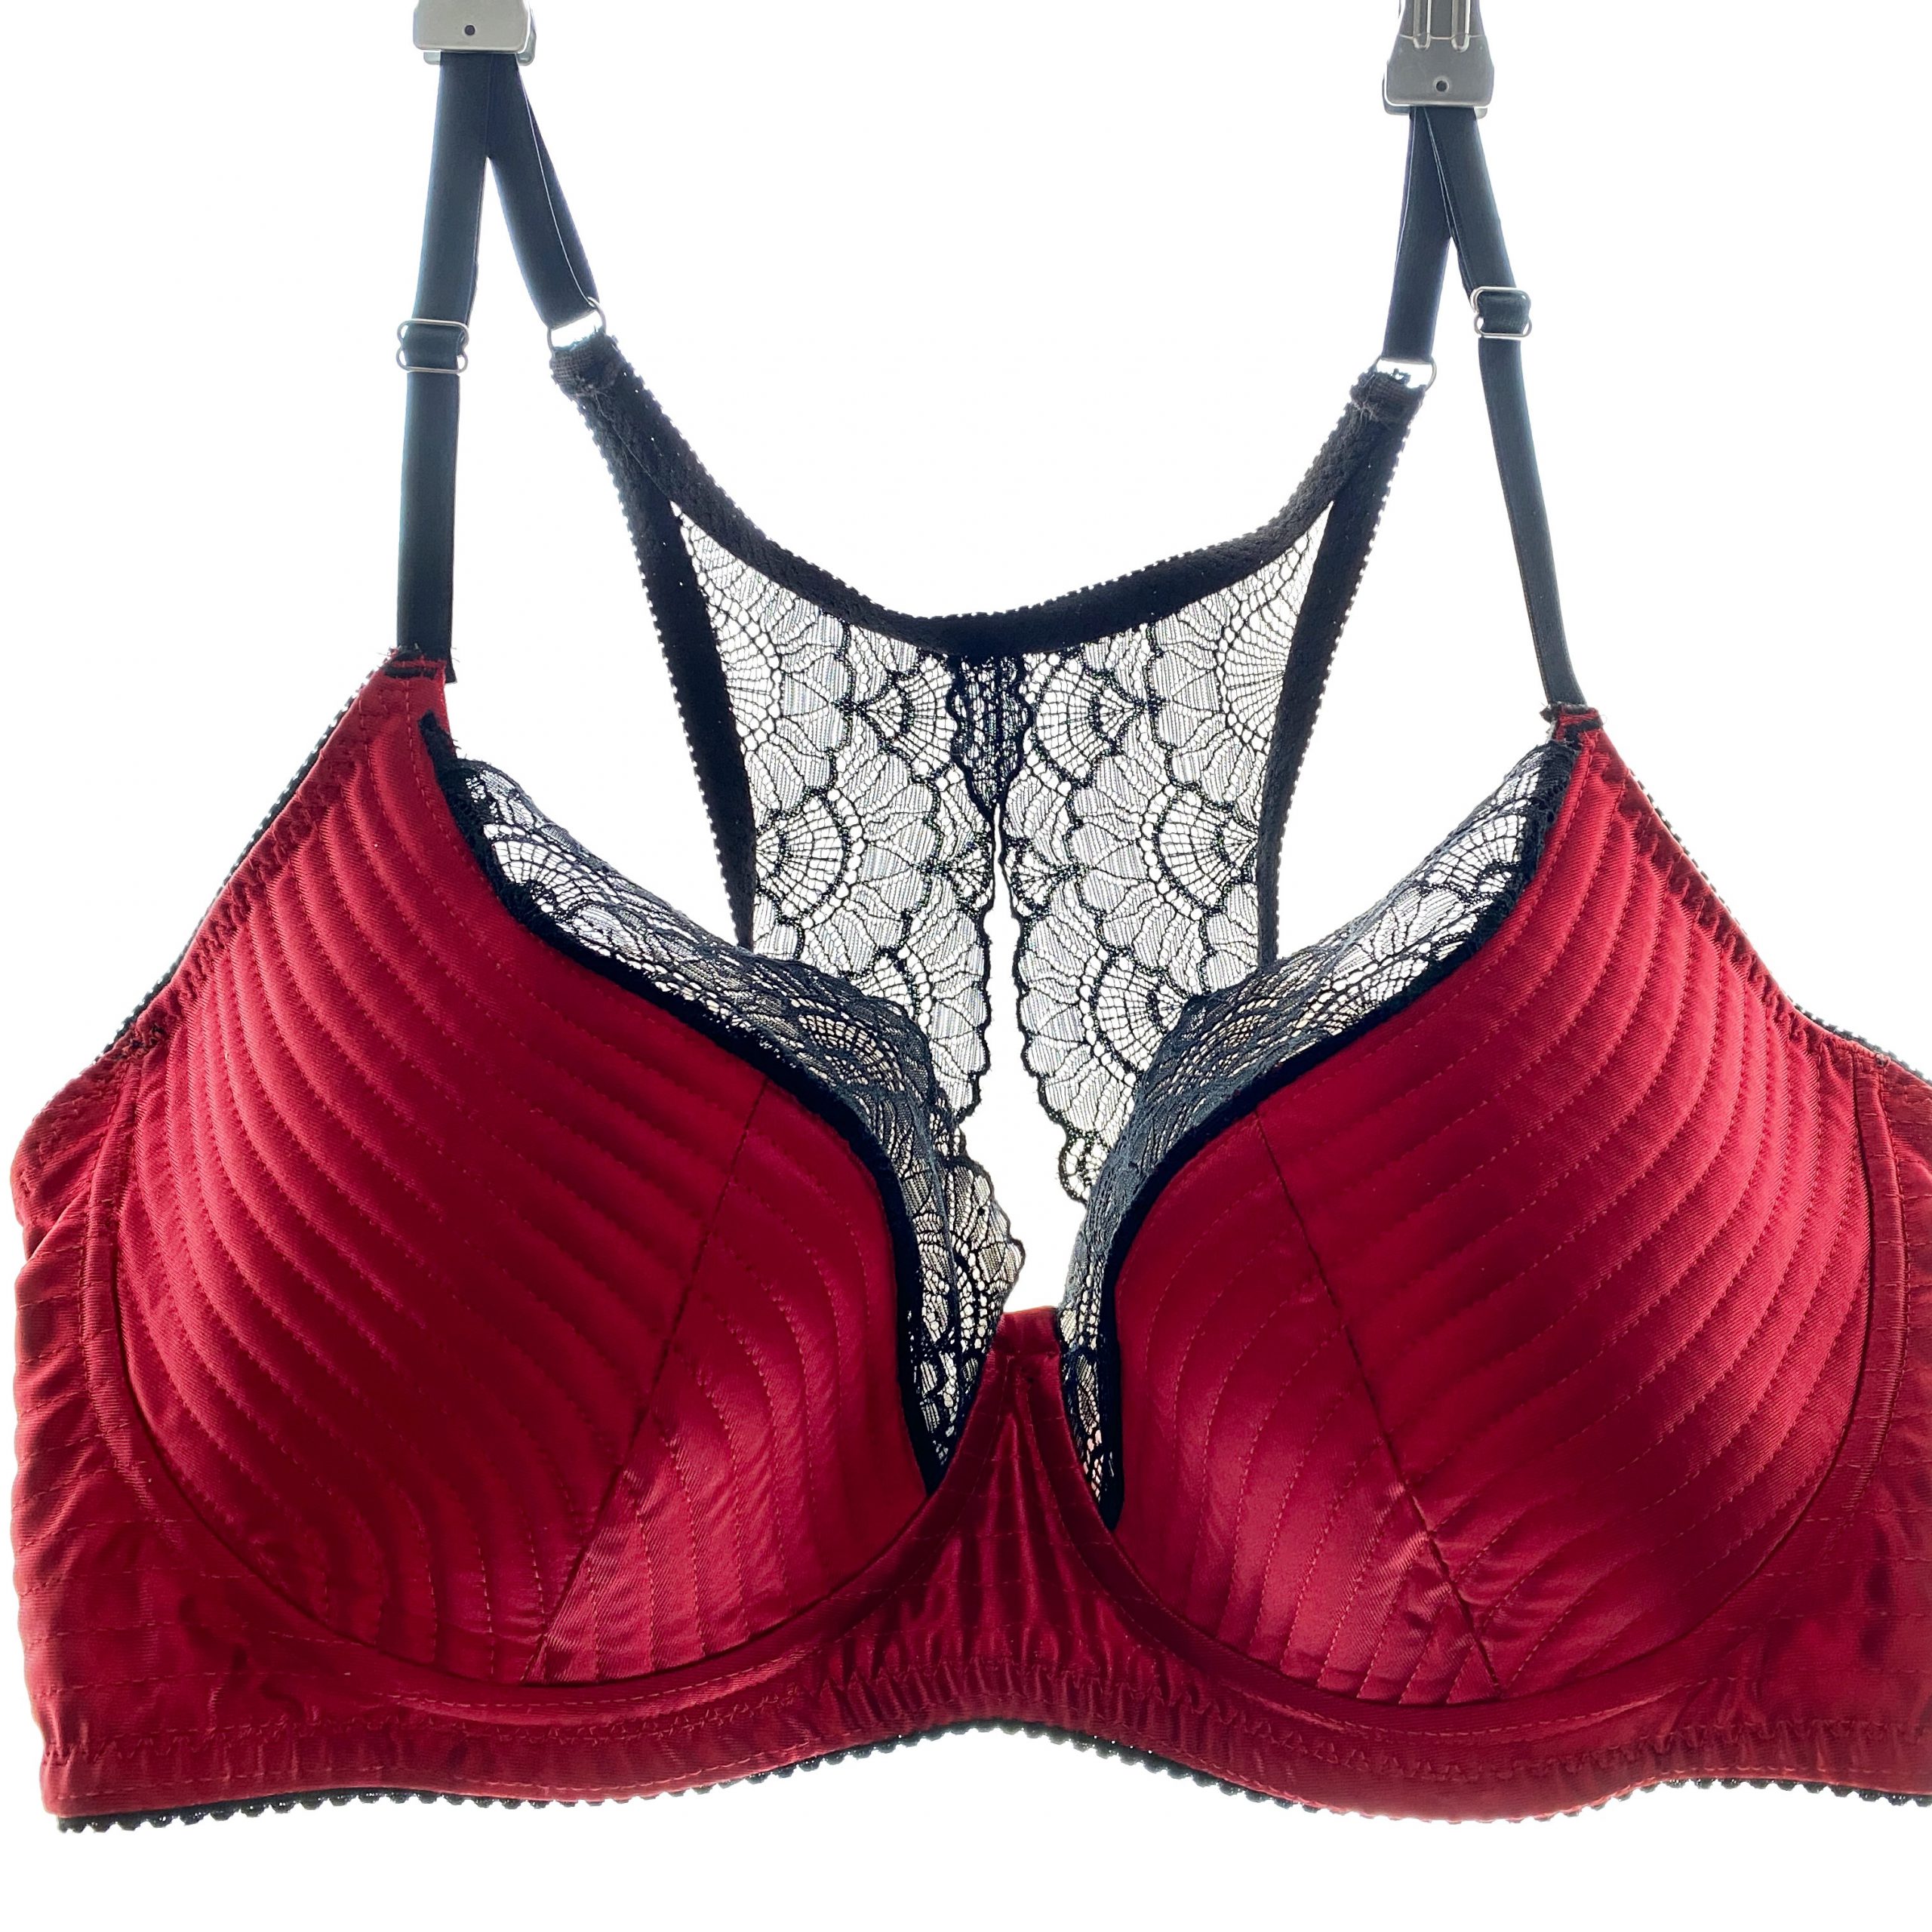
And our homemade bra is finished. I used the Trésor bra pattern from Etoffe Malicieuse, a French pattern company.

Here is the back view. It’s a shame that the beige lining is so clearly visible. If I had used black lining material, the inside would be nicer, but the lace would be almost invisible against a black lining when worn.
The bra is comfortable to wear and fits perfectly. You can’t feel that the cups are quilted when you are wearing it.
I hope this post has given you some inspiration in this very unusual Advent season.
I wish you a happy and peaceful festive season. Stay safe and have fun sewing.
Nadine
Instagram: @heart.pleat


The upper cup can very well be made of elastic material. This is great for people with a lot of tissue in the upper half of their breast. The upper cup is better reinforced with elastic instead of lining, for which you can use clear elastic, so it’s truly invisible. The cup will then be able to adjust to the shape of your breast.Apart from that, this is some interesting inspiration. Thanks for that.
Very nice post. The instructions are very clear and concise. The bra seems doable even for someone who has never done one before. Thanks for sharing
Thank you very much 🙂
[email protected]
You have inspired me to try and make my own bra. Thank you
I am glad! Happy sewing…