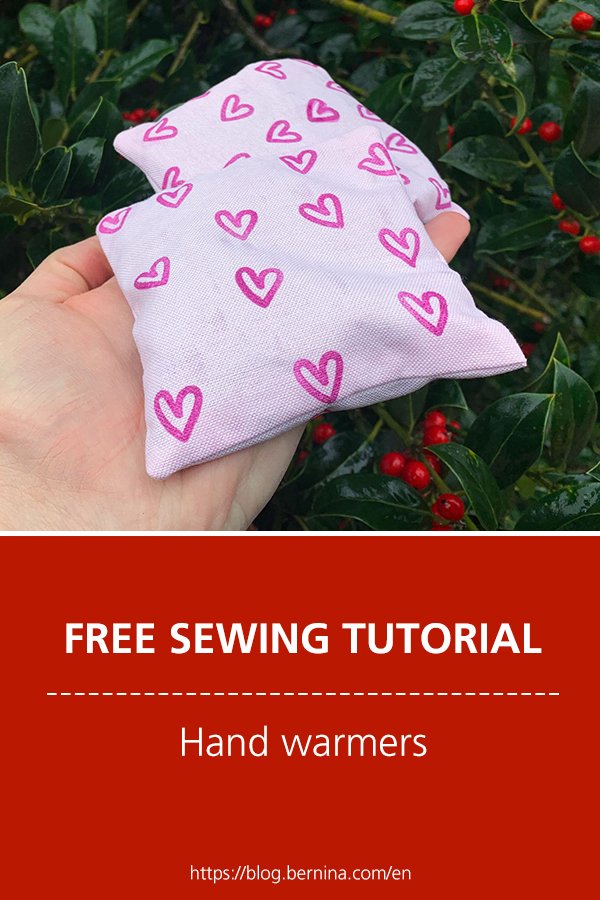
Today, you’ll learn how to sew a pair of practical hand warmers with little effort. These small hand warmers are a perfect gift for the Christmas season and you can sew them for all your favorite people in no time.
Ideas and tutorials for your next sewing adventure
Subscribe to the BERNINA Blog Newsletter
If you love to sew you don’t want to miss the chance to receive the latest content from our authors directly into your mailbox.
Sign up for the blog newsletter
Christmas is approaching and winter is just around the corner. Hopefully they will be accompanied by cold temperatures and snow and not, as in recent years in the north, drizzle and spring-like temperatures of around 15 °C. There is nothing better than enjoying fresh air outside on freezing cold, sunny winter days or fetching fresh bread from the bakery in the crunching snow. It is a good idea to have a pair of small sewn hand warmers with you in your coat pockets to warm even the coldest hands.
Sewing hand warmers – the materials
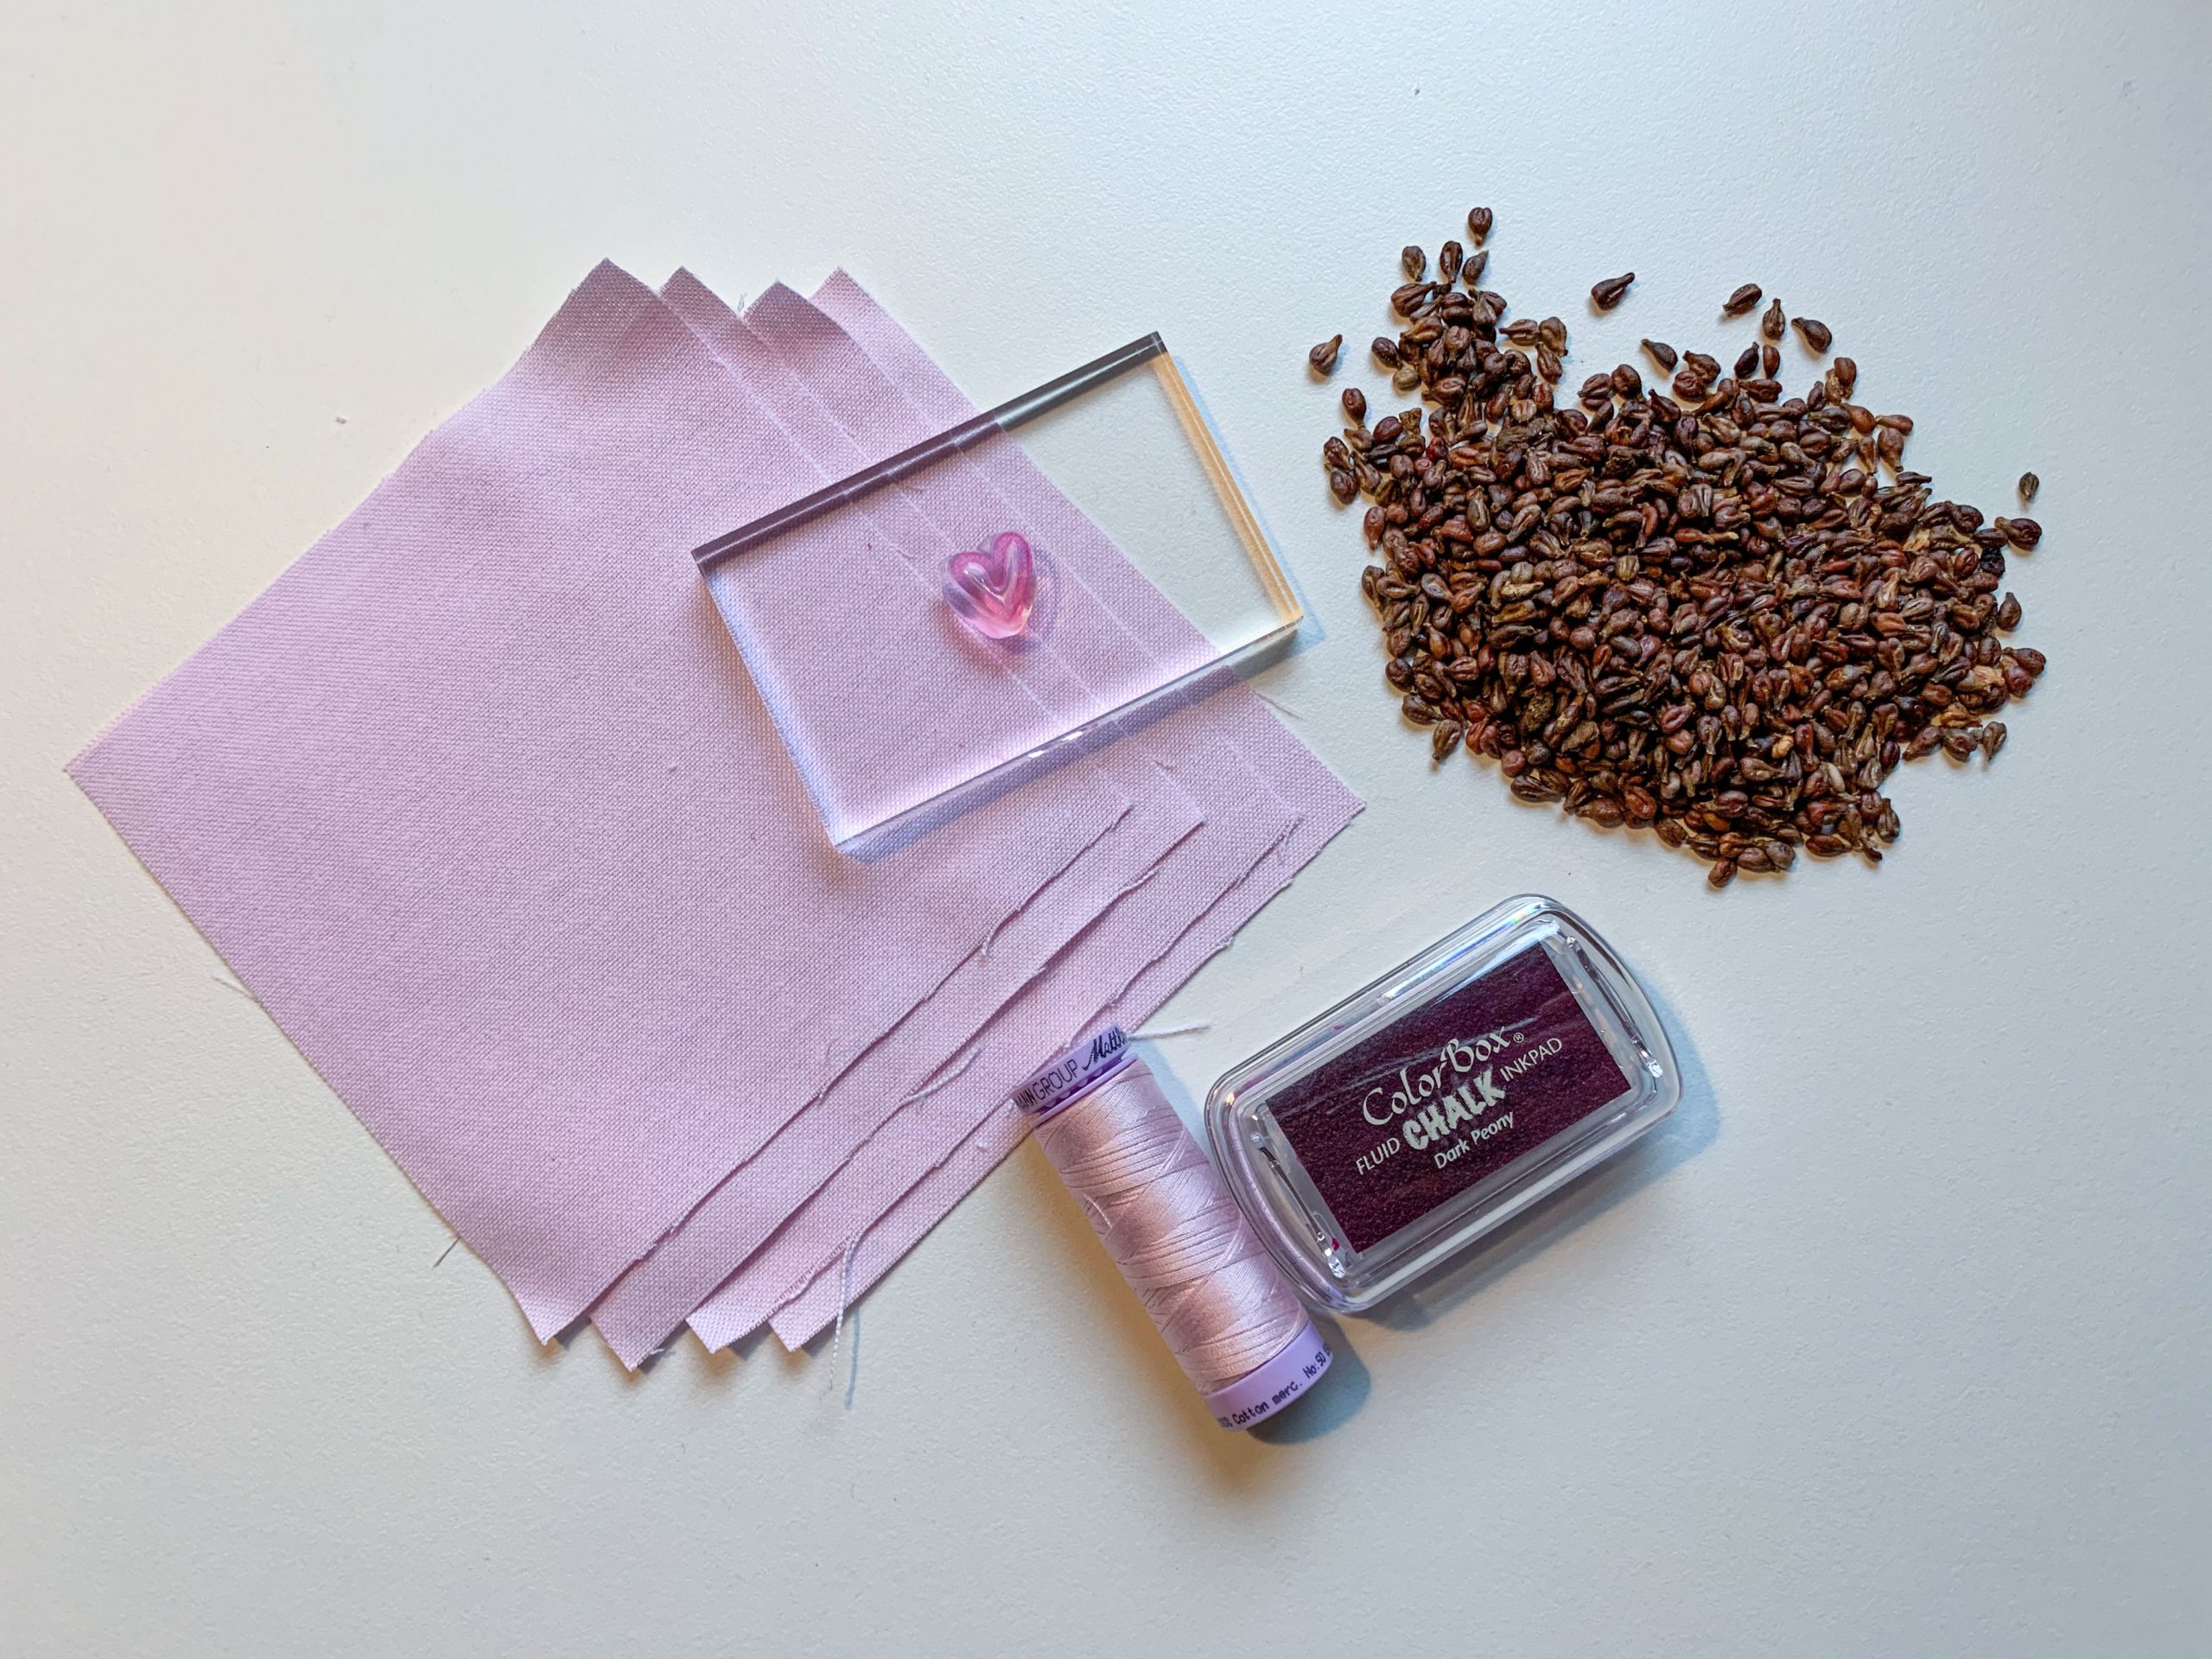
For 2 hand warmers measuring 10 x 10 cm, you will need:
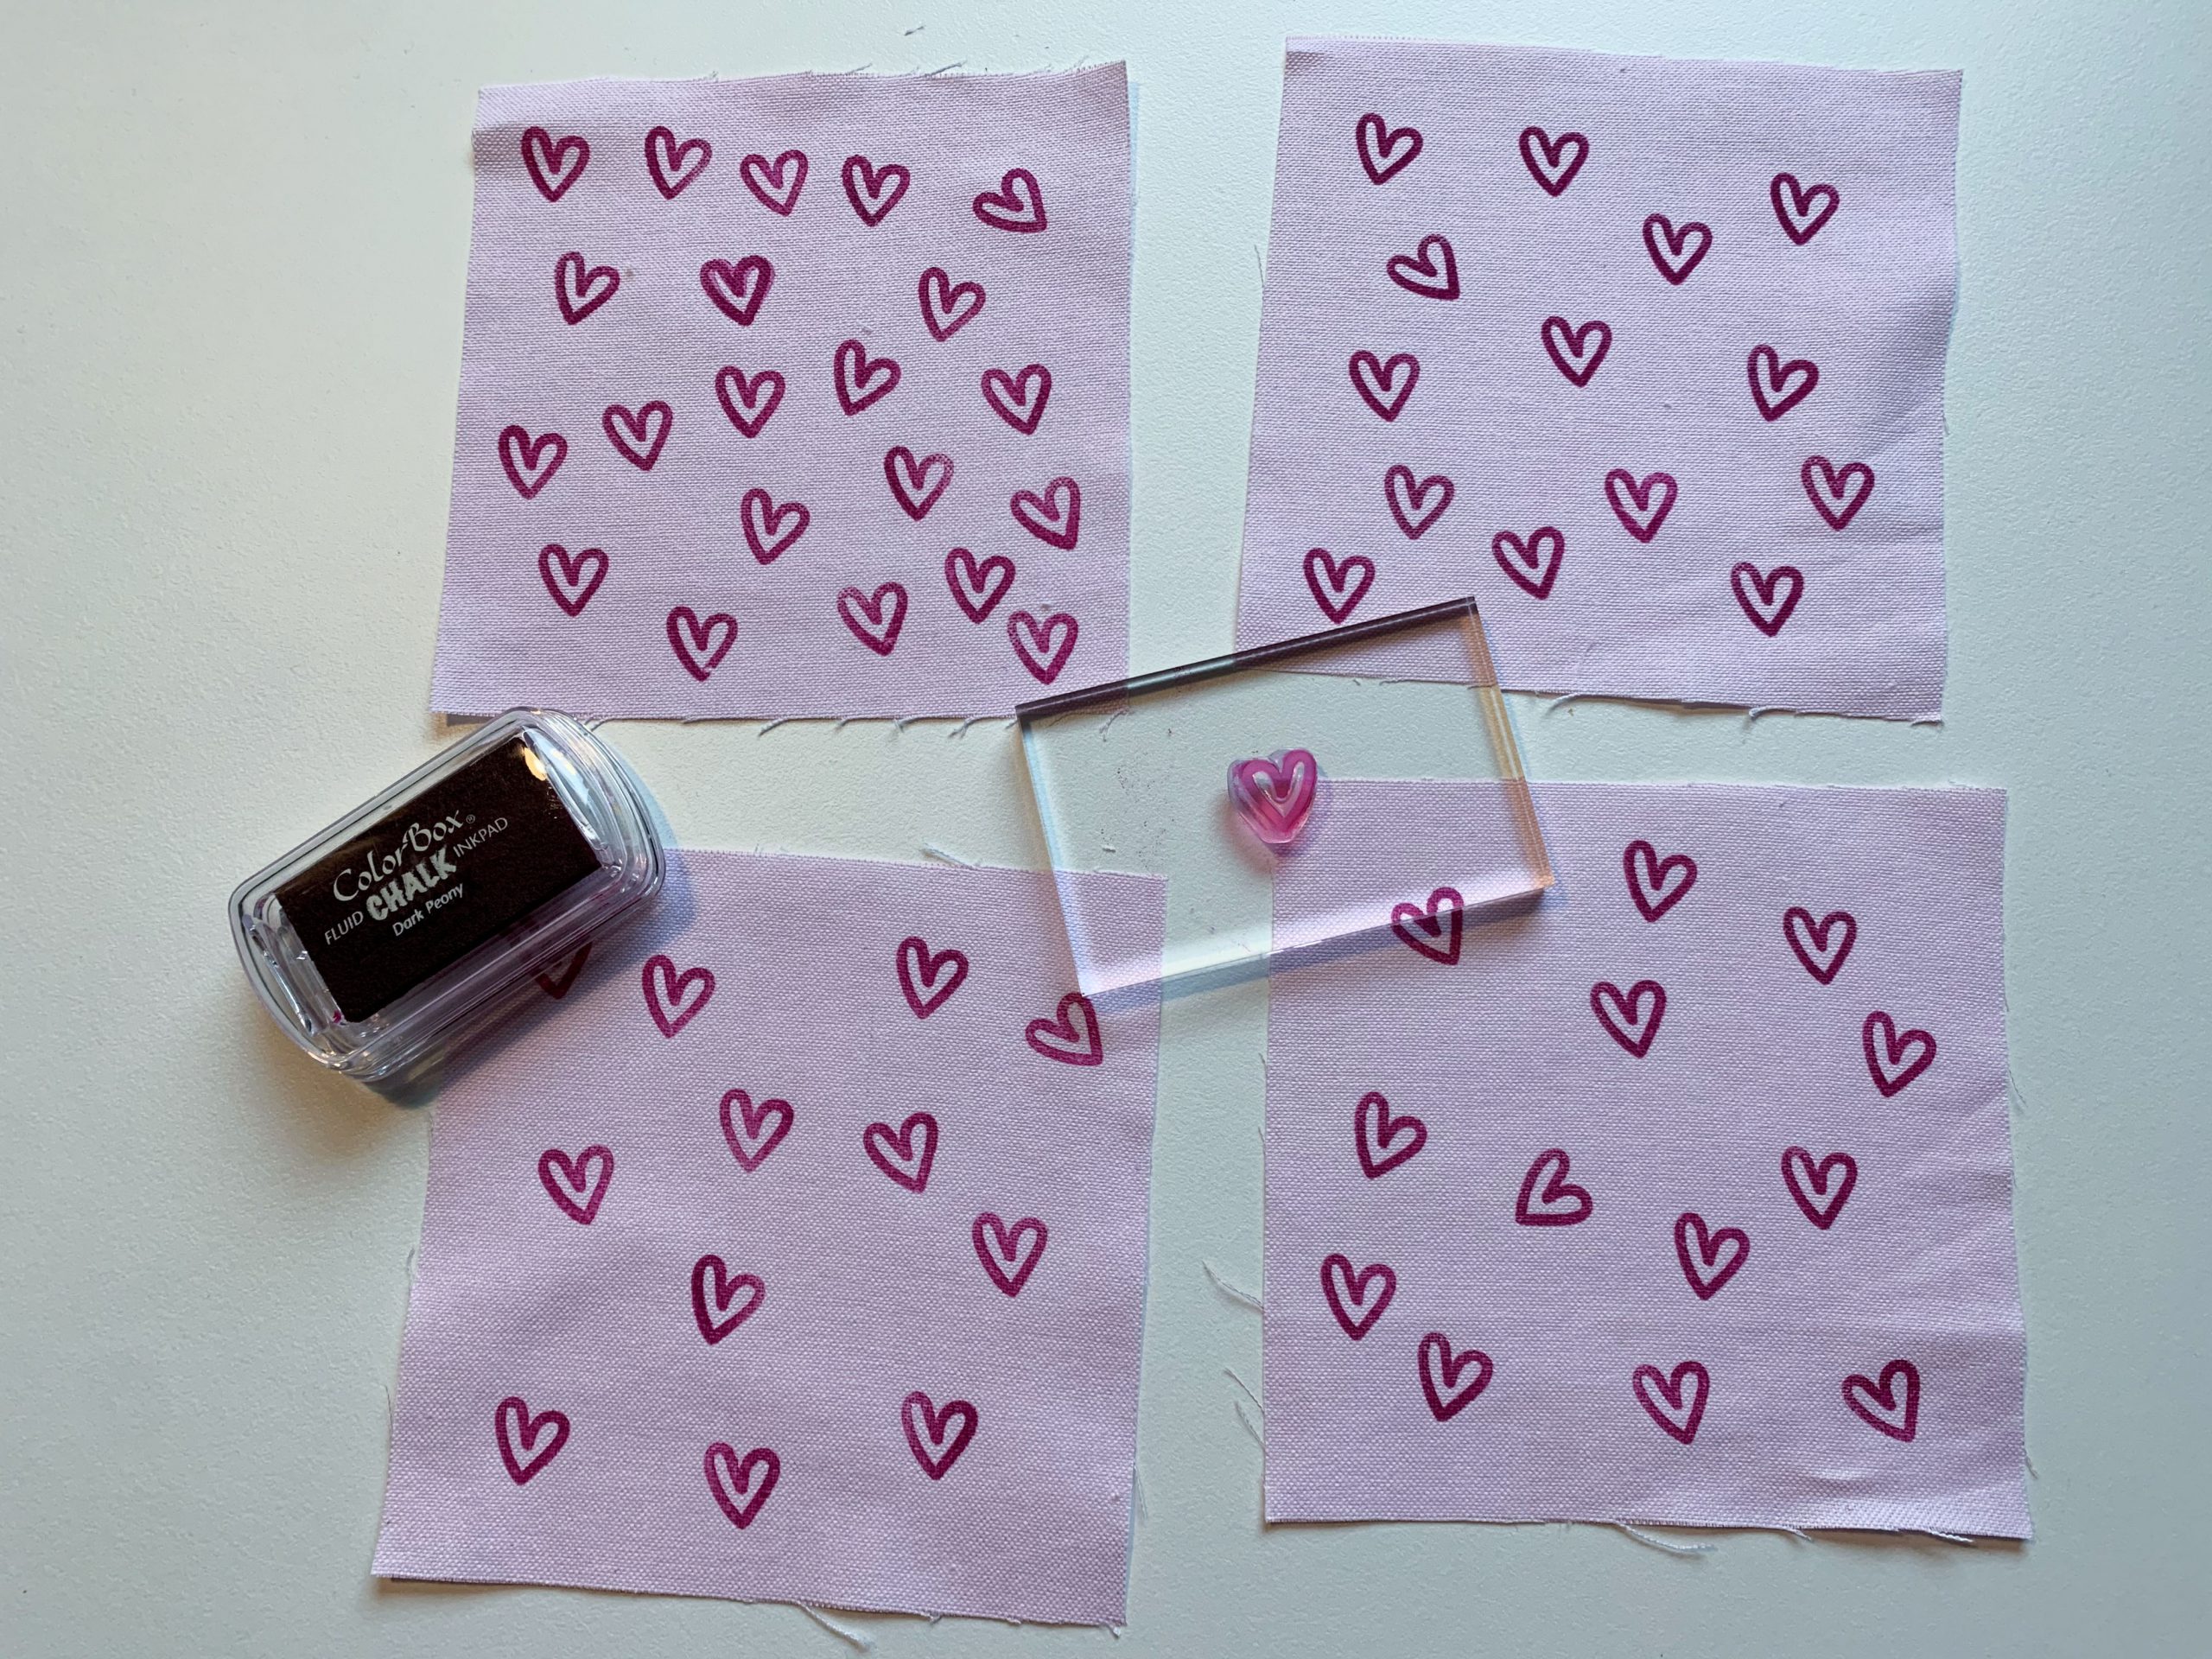
- 4 pieces of woven cotton fabric measuring 12 x 12 cm each
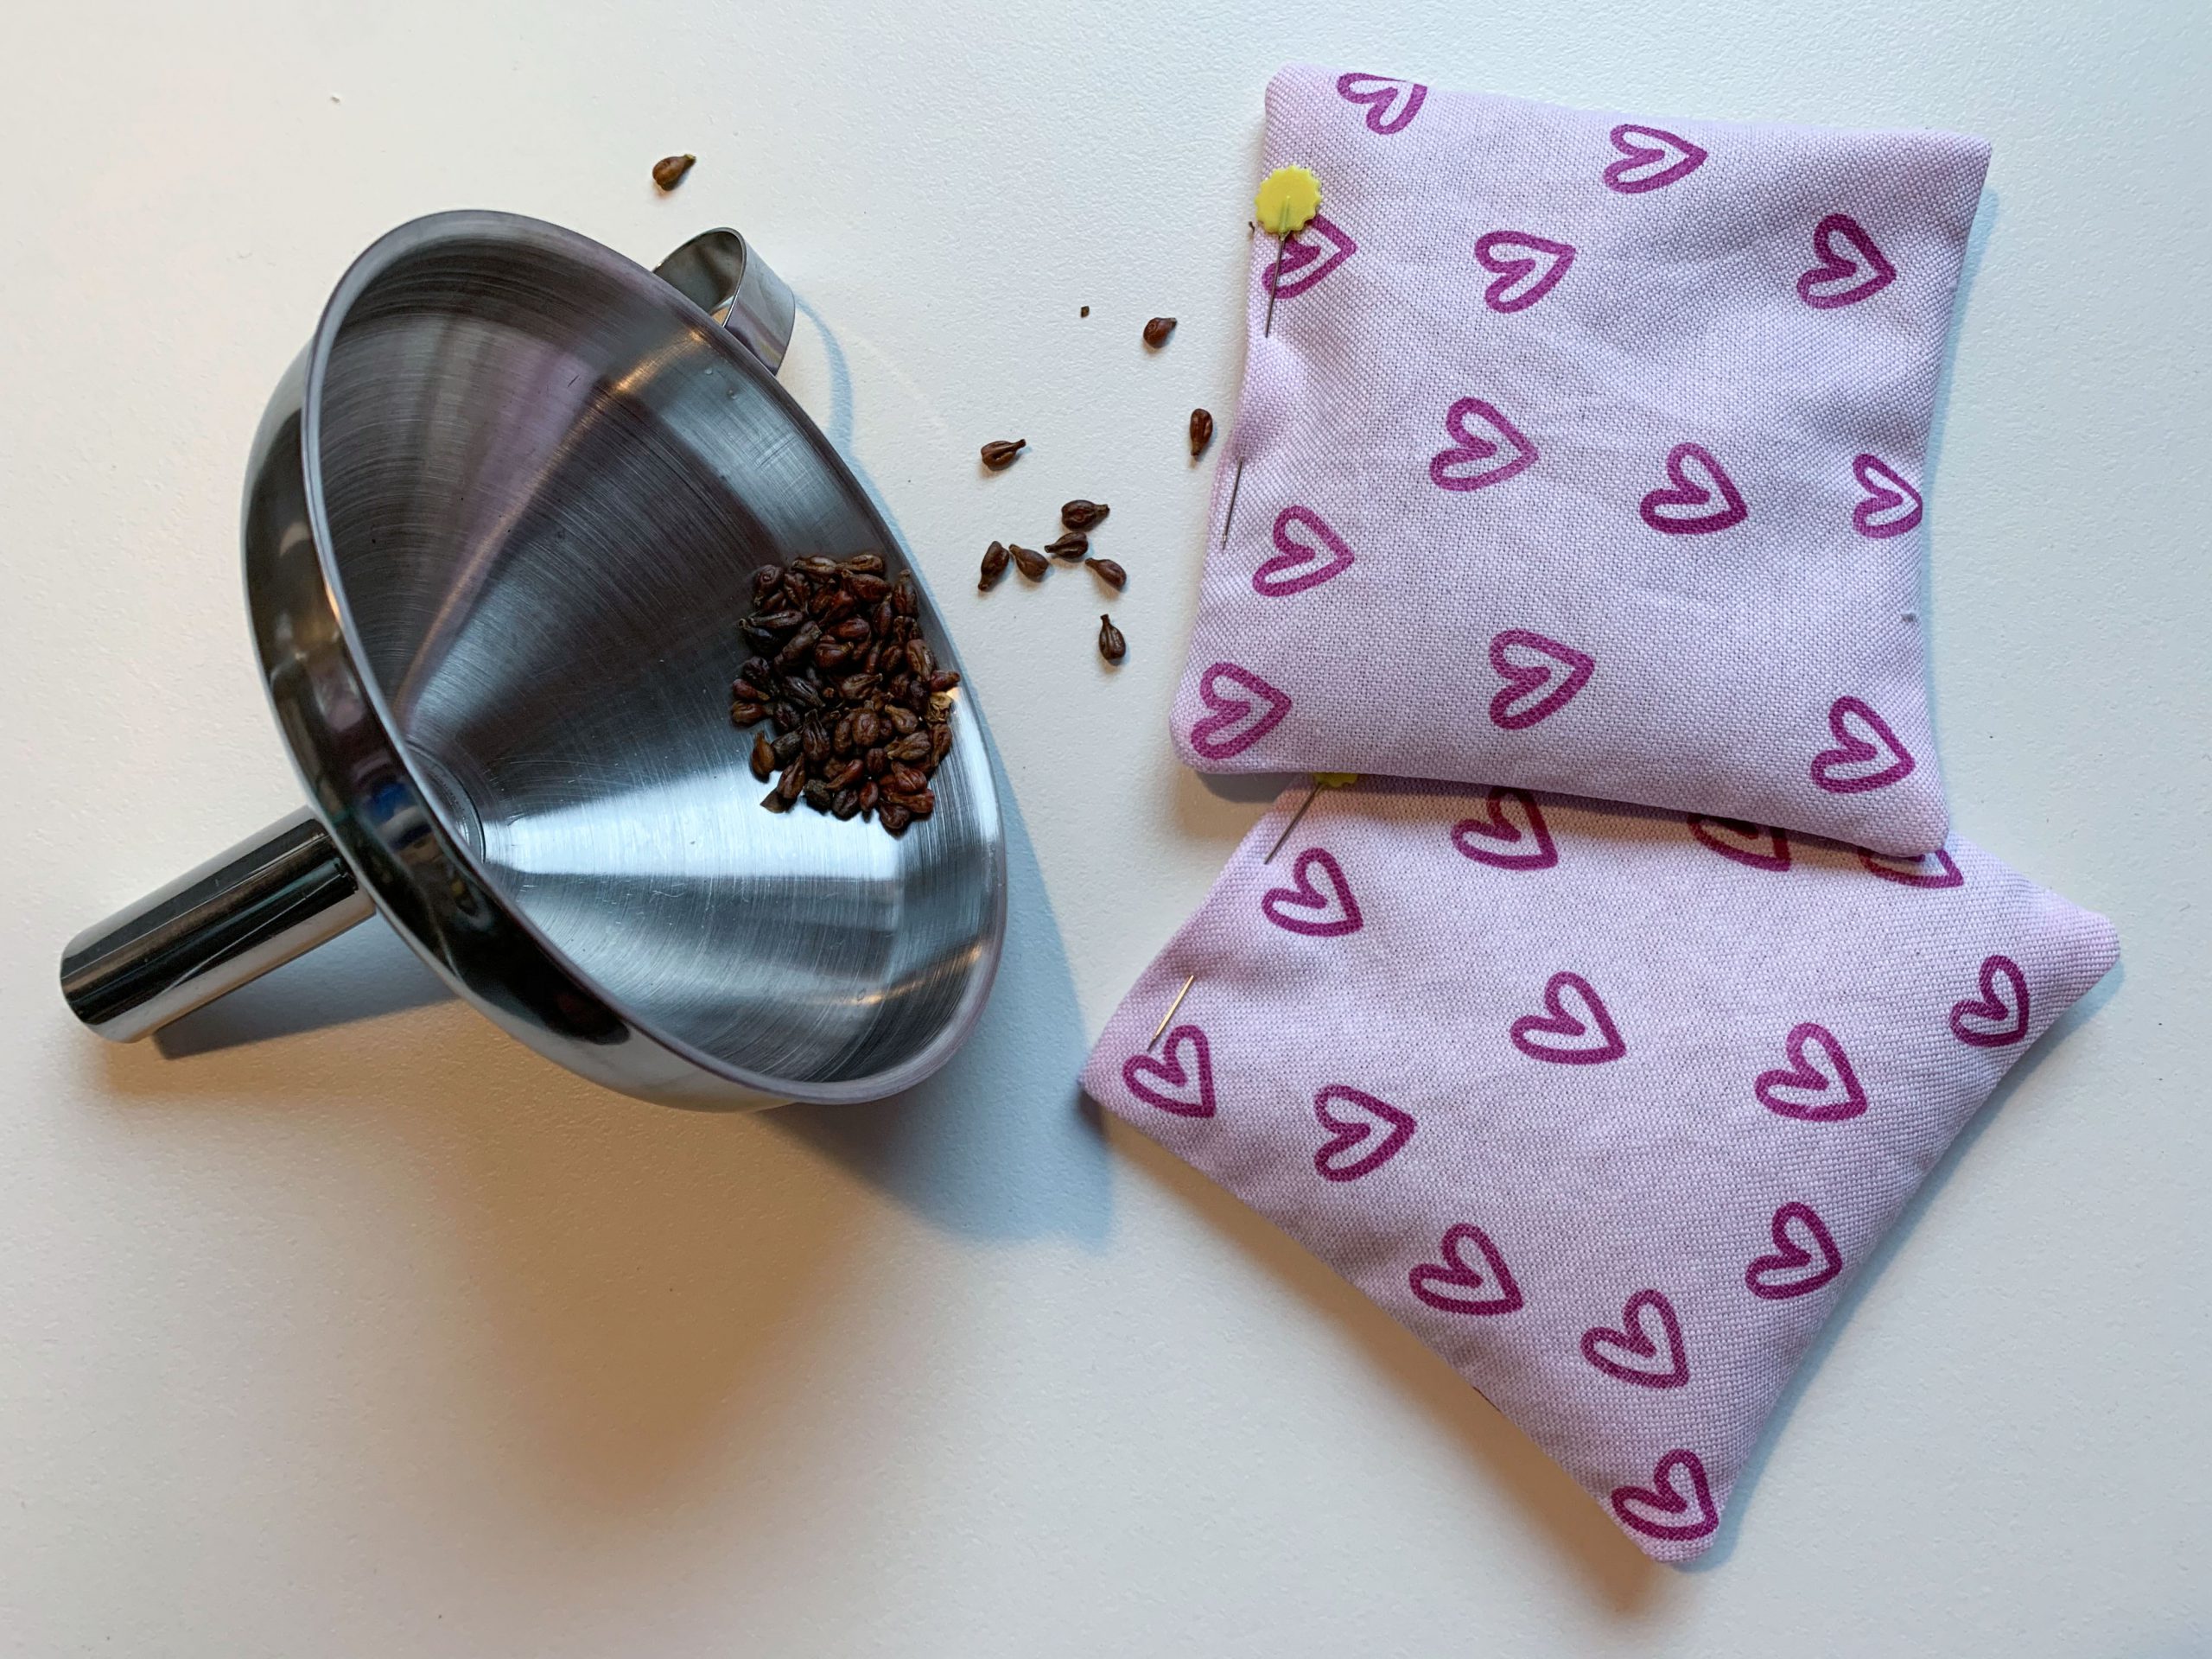
- Grape seeds (55 g – 60 g per hand warmer)
- Matching sewing thread (e.g. Silk Finish Cotton from Mettler)
- A heart stamp
- An ink pad with stamping ink for the fabric
What if you don’t have a heart stamp? Then you can use another design or use fabric paint or textile pens to decorate your hand warmers. Alternatively, you can of course also use patterned fabrics.
Sewing hand warmers – instructions
Stamping the fabric
First, your 4 pieces of fabric are stamped or otherwise embellished. This is something that is great to do with children, although my two-year-old only had the patience for one heart. Can you spot it?
Depending on the type of stamping ink, you may need to iron the pieces of fabric once you’ve stamped them in order to fix the dye. But please do not use steam, as this may cause the colors to run.
Sewing
Then place 2 pieces of fabric with the right sides together and sew around the edge with a seam allowance of 1 cm. Remember to leave a turning opening of 2-3 cm on one side and secure the seam before and after the turning opening. 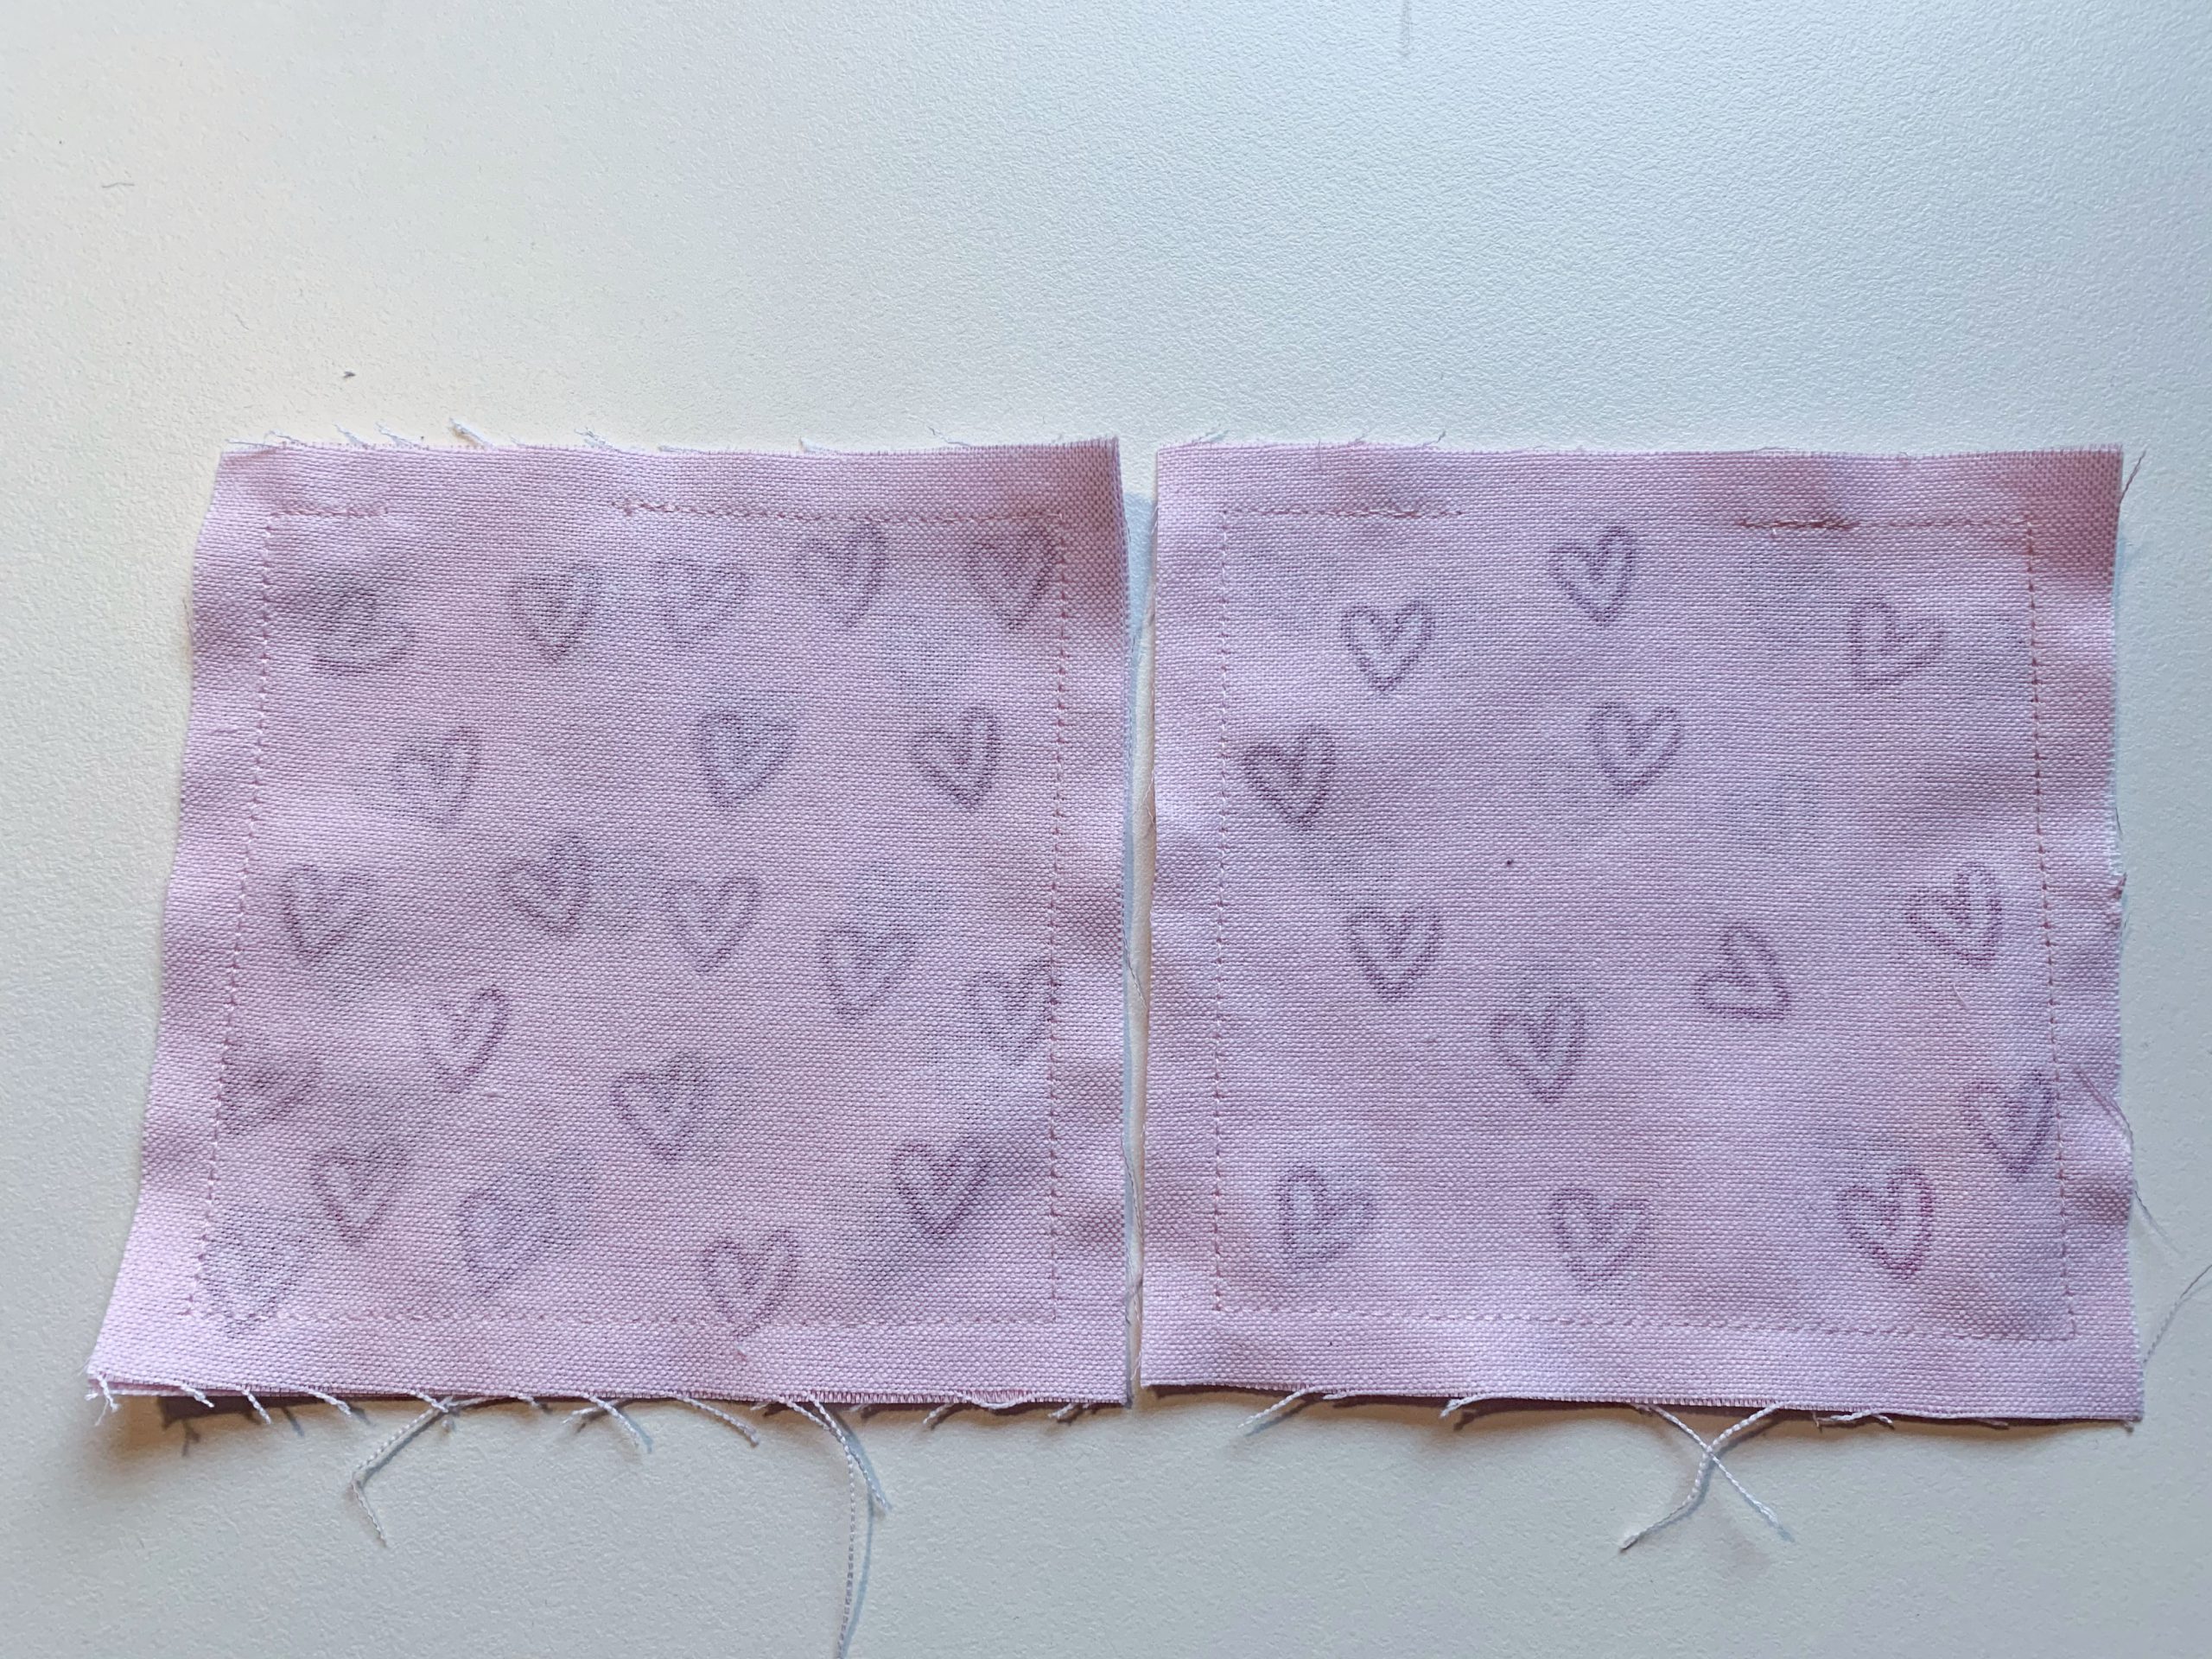
Turning and filling
Now it’s time to turn your sewing the right way out. Shape your corners nicely with an edge or corner shaper. I did not trim off the corners, as my fabric is relatively loosely woven and I didn’t want the corners to disintegrate when turned and during use. 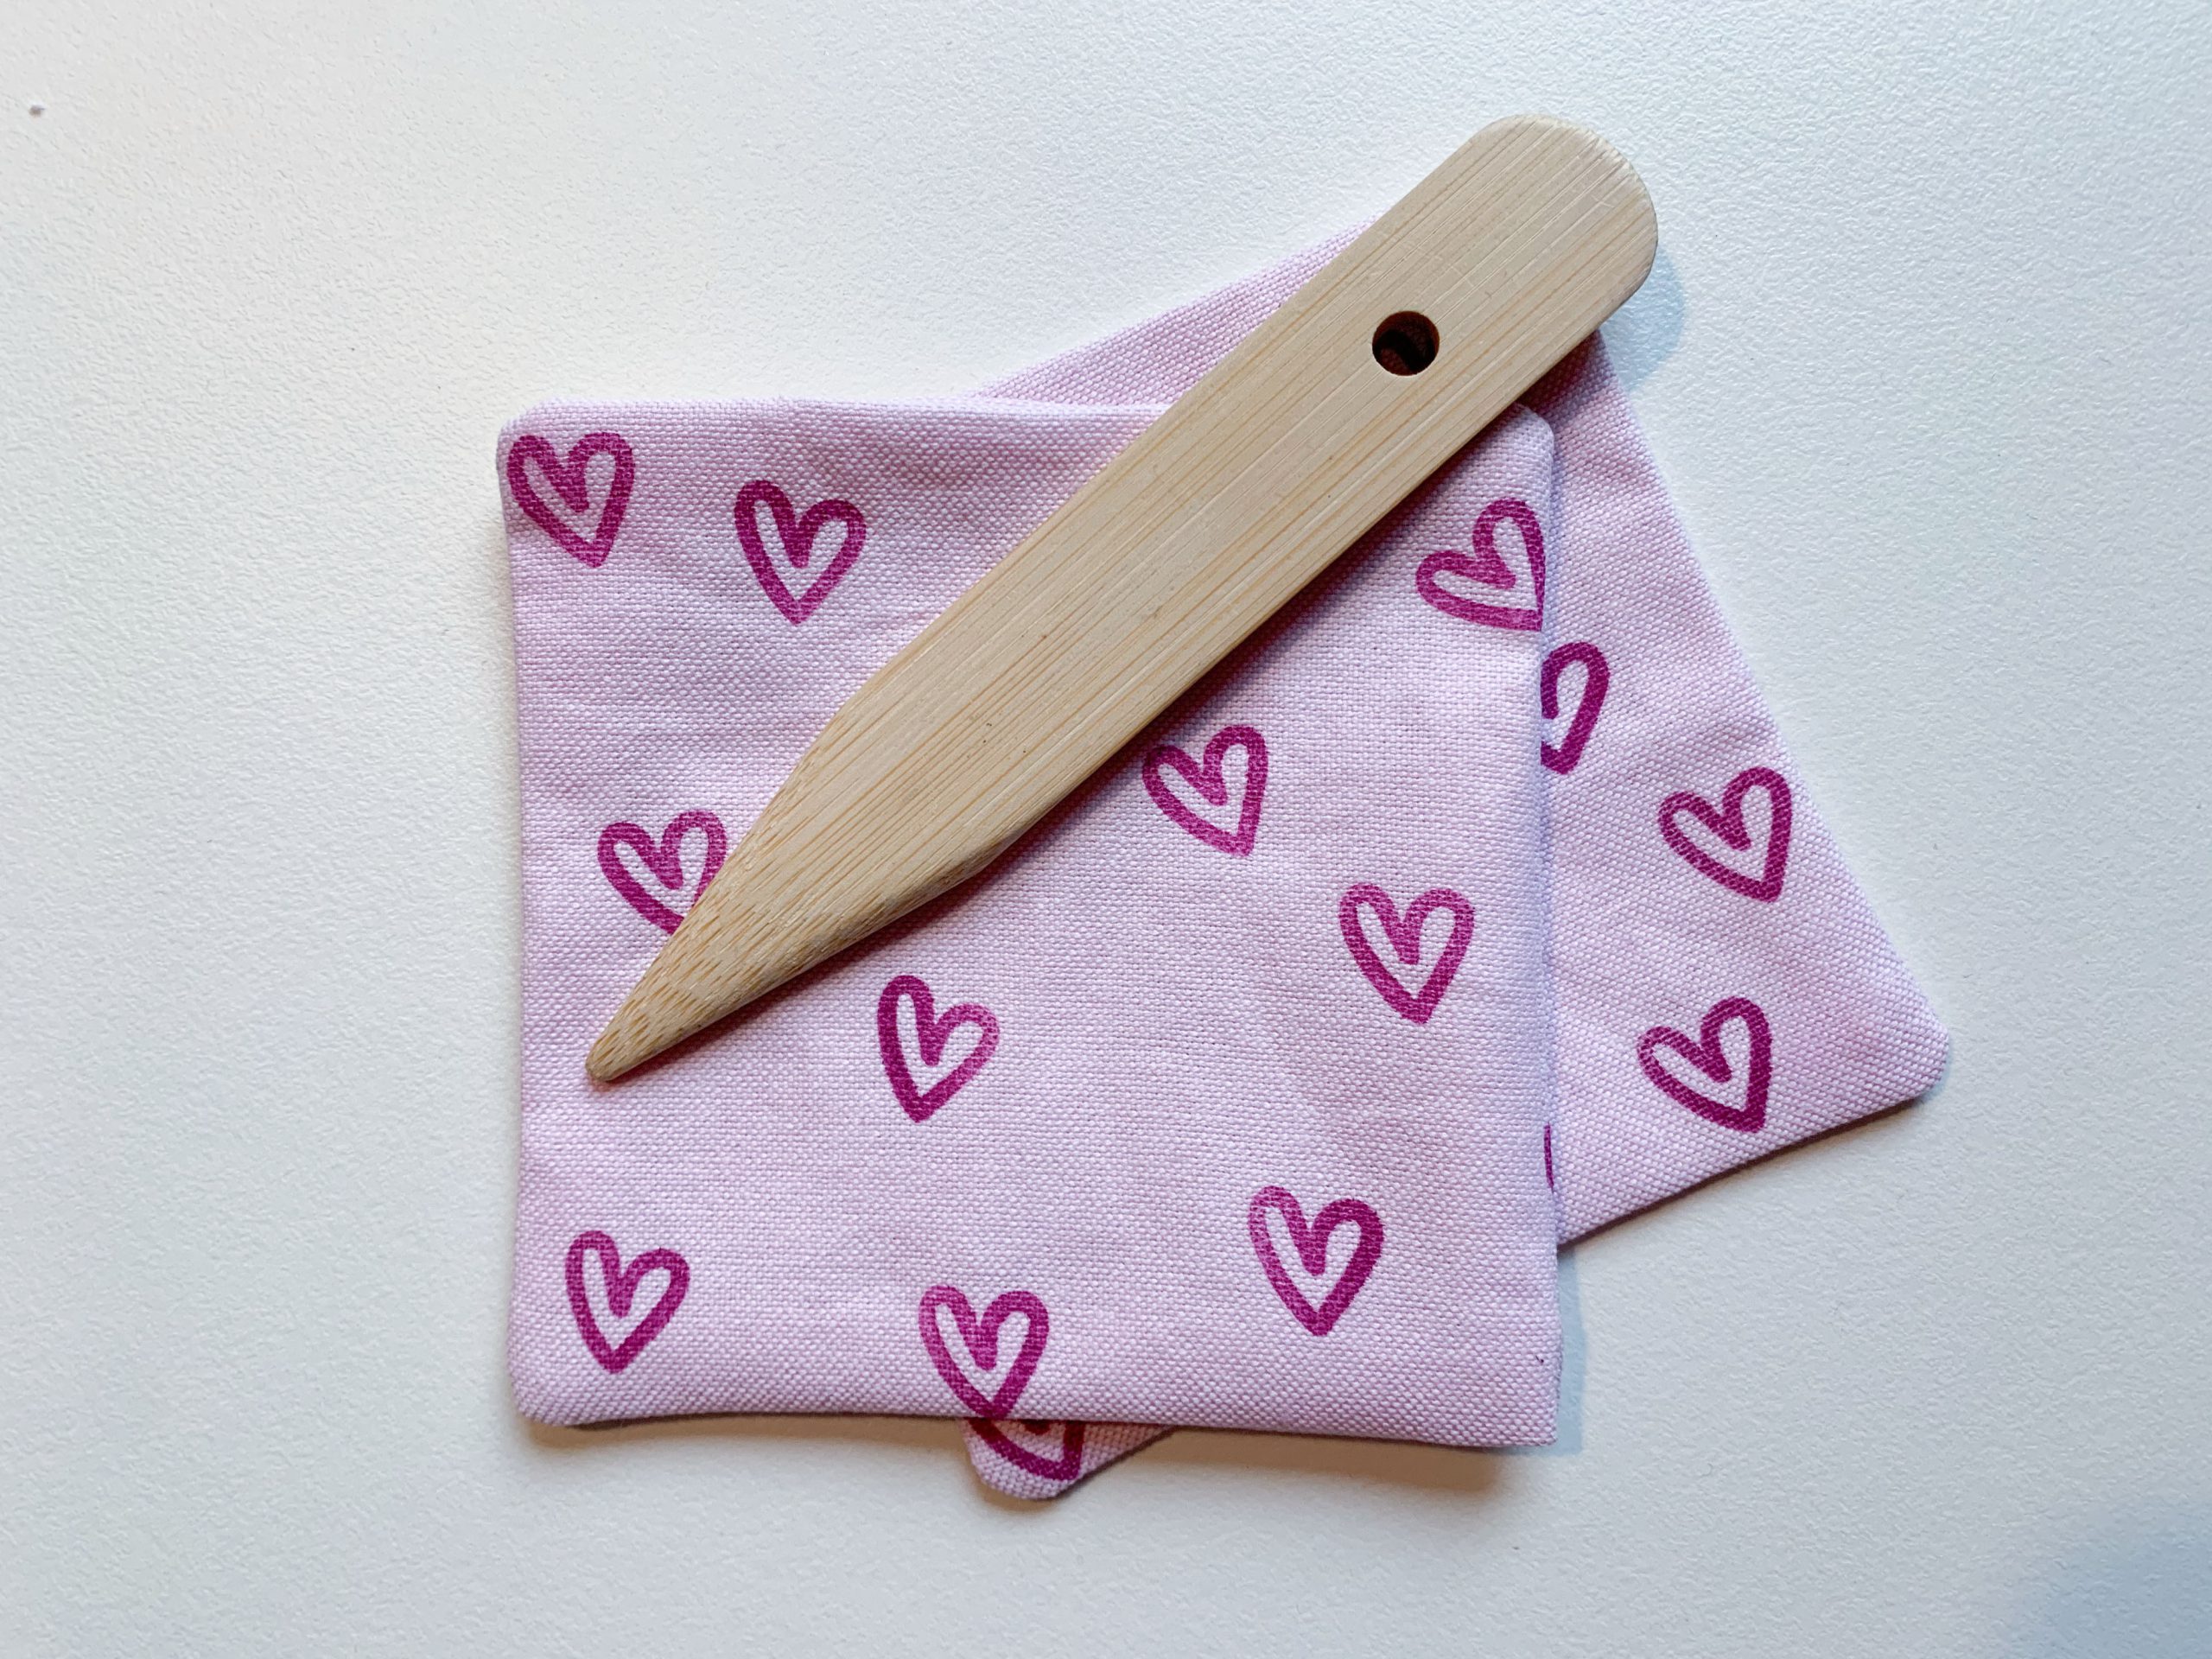
You can now fill your hand warmers with the aid of a funnel. Based on a size of 10 x 10 cm, 55-60 g of filling per hand warmer turned out to be about right. That way, the hand warmers are not overfilled and the seeds have enough room to move around and are able to store the heat well.
Closing the turning opening
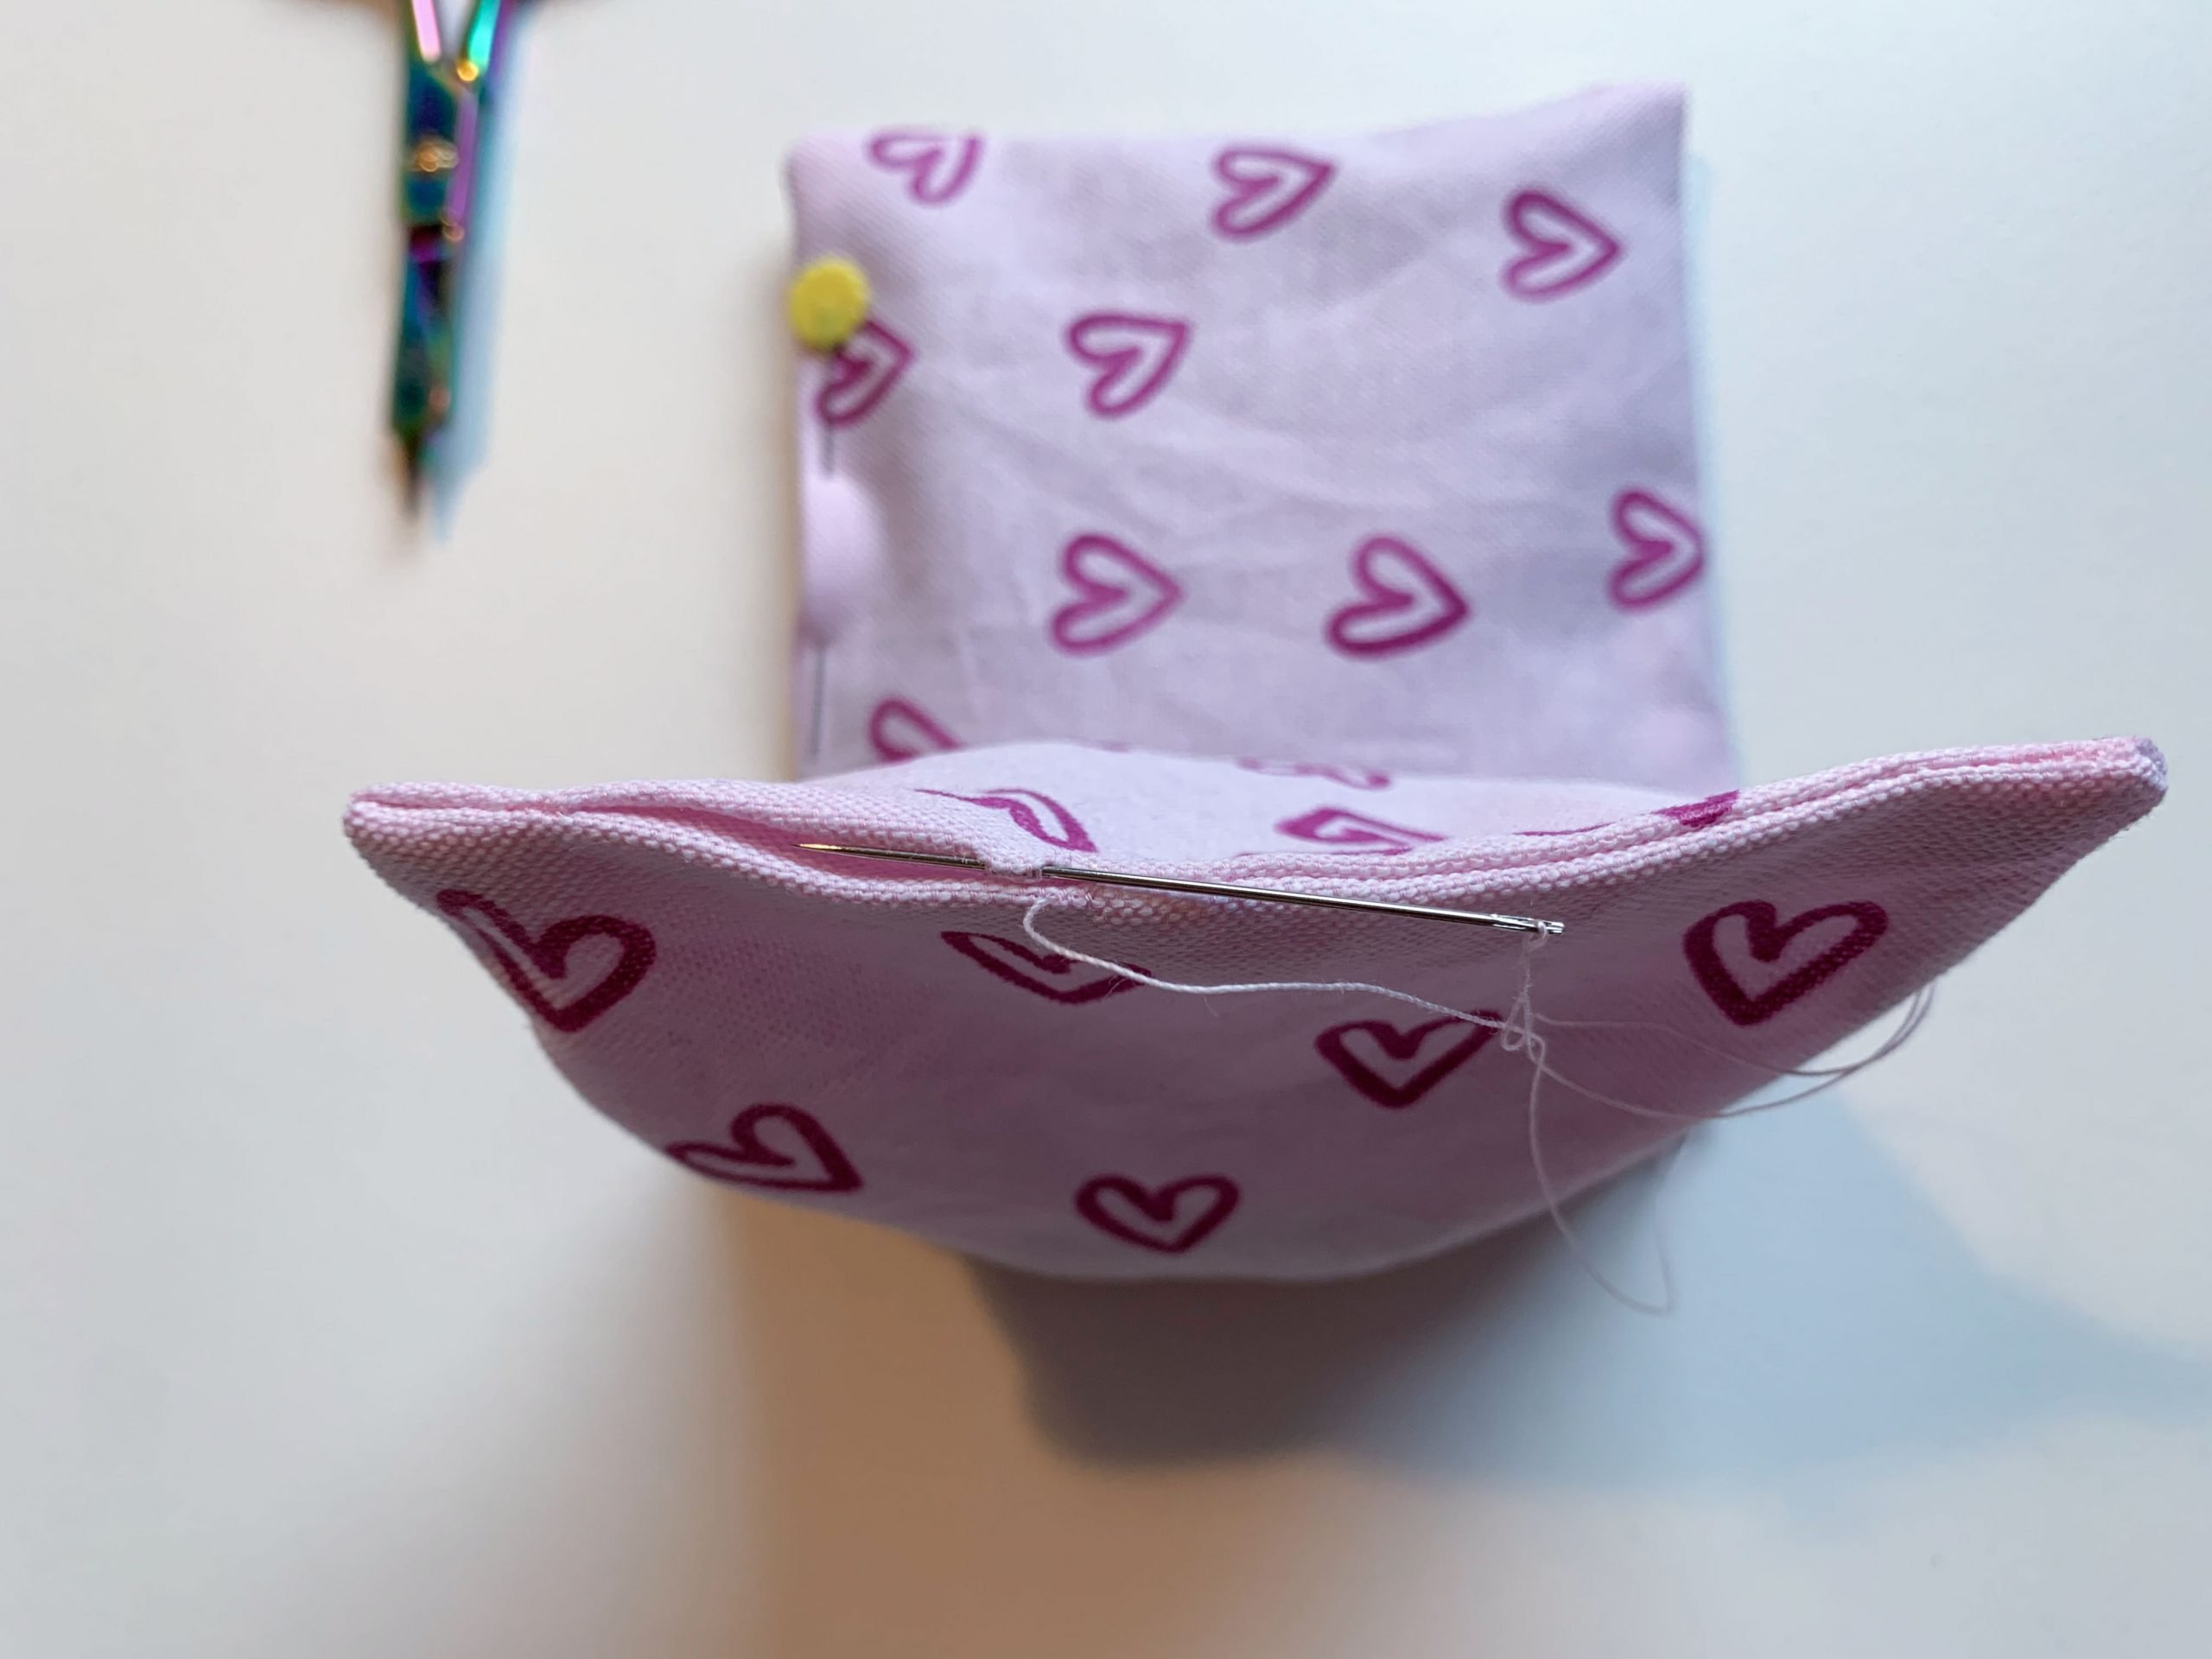
Finally, the turning opening is closed using a mattress stitch. Alternatively, you can close the turning opening by sewing close to the edge on your sewing machine.
Enjoy!
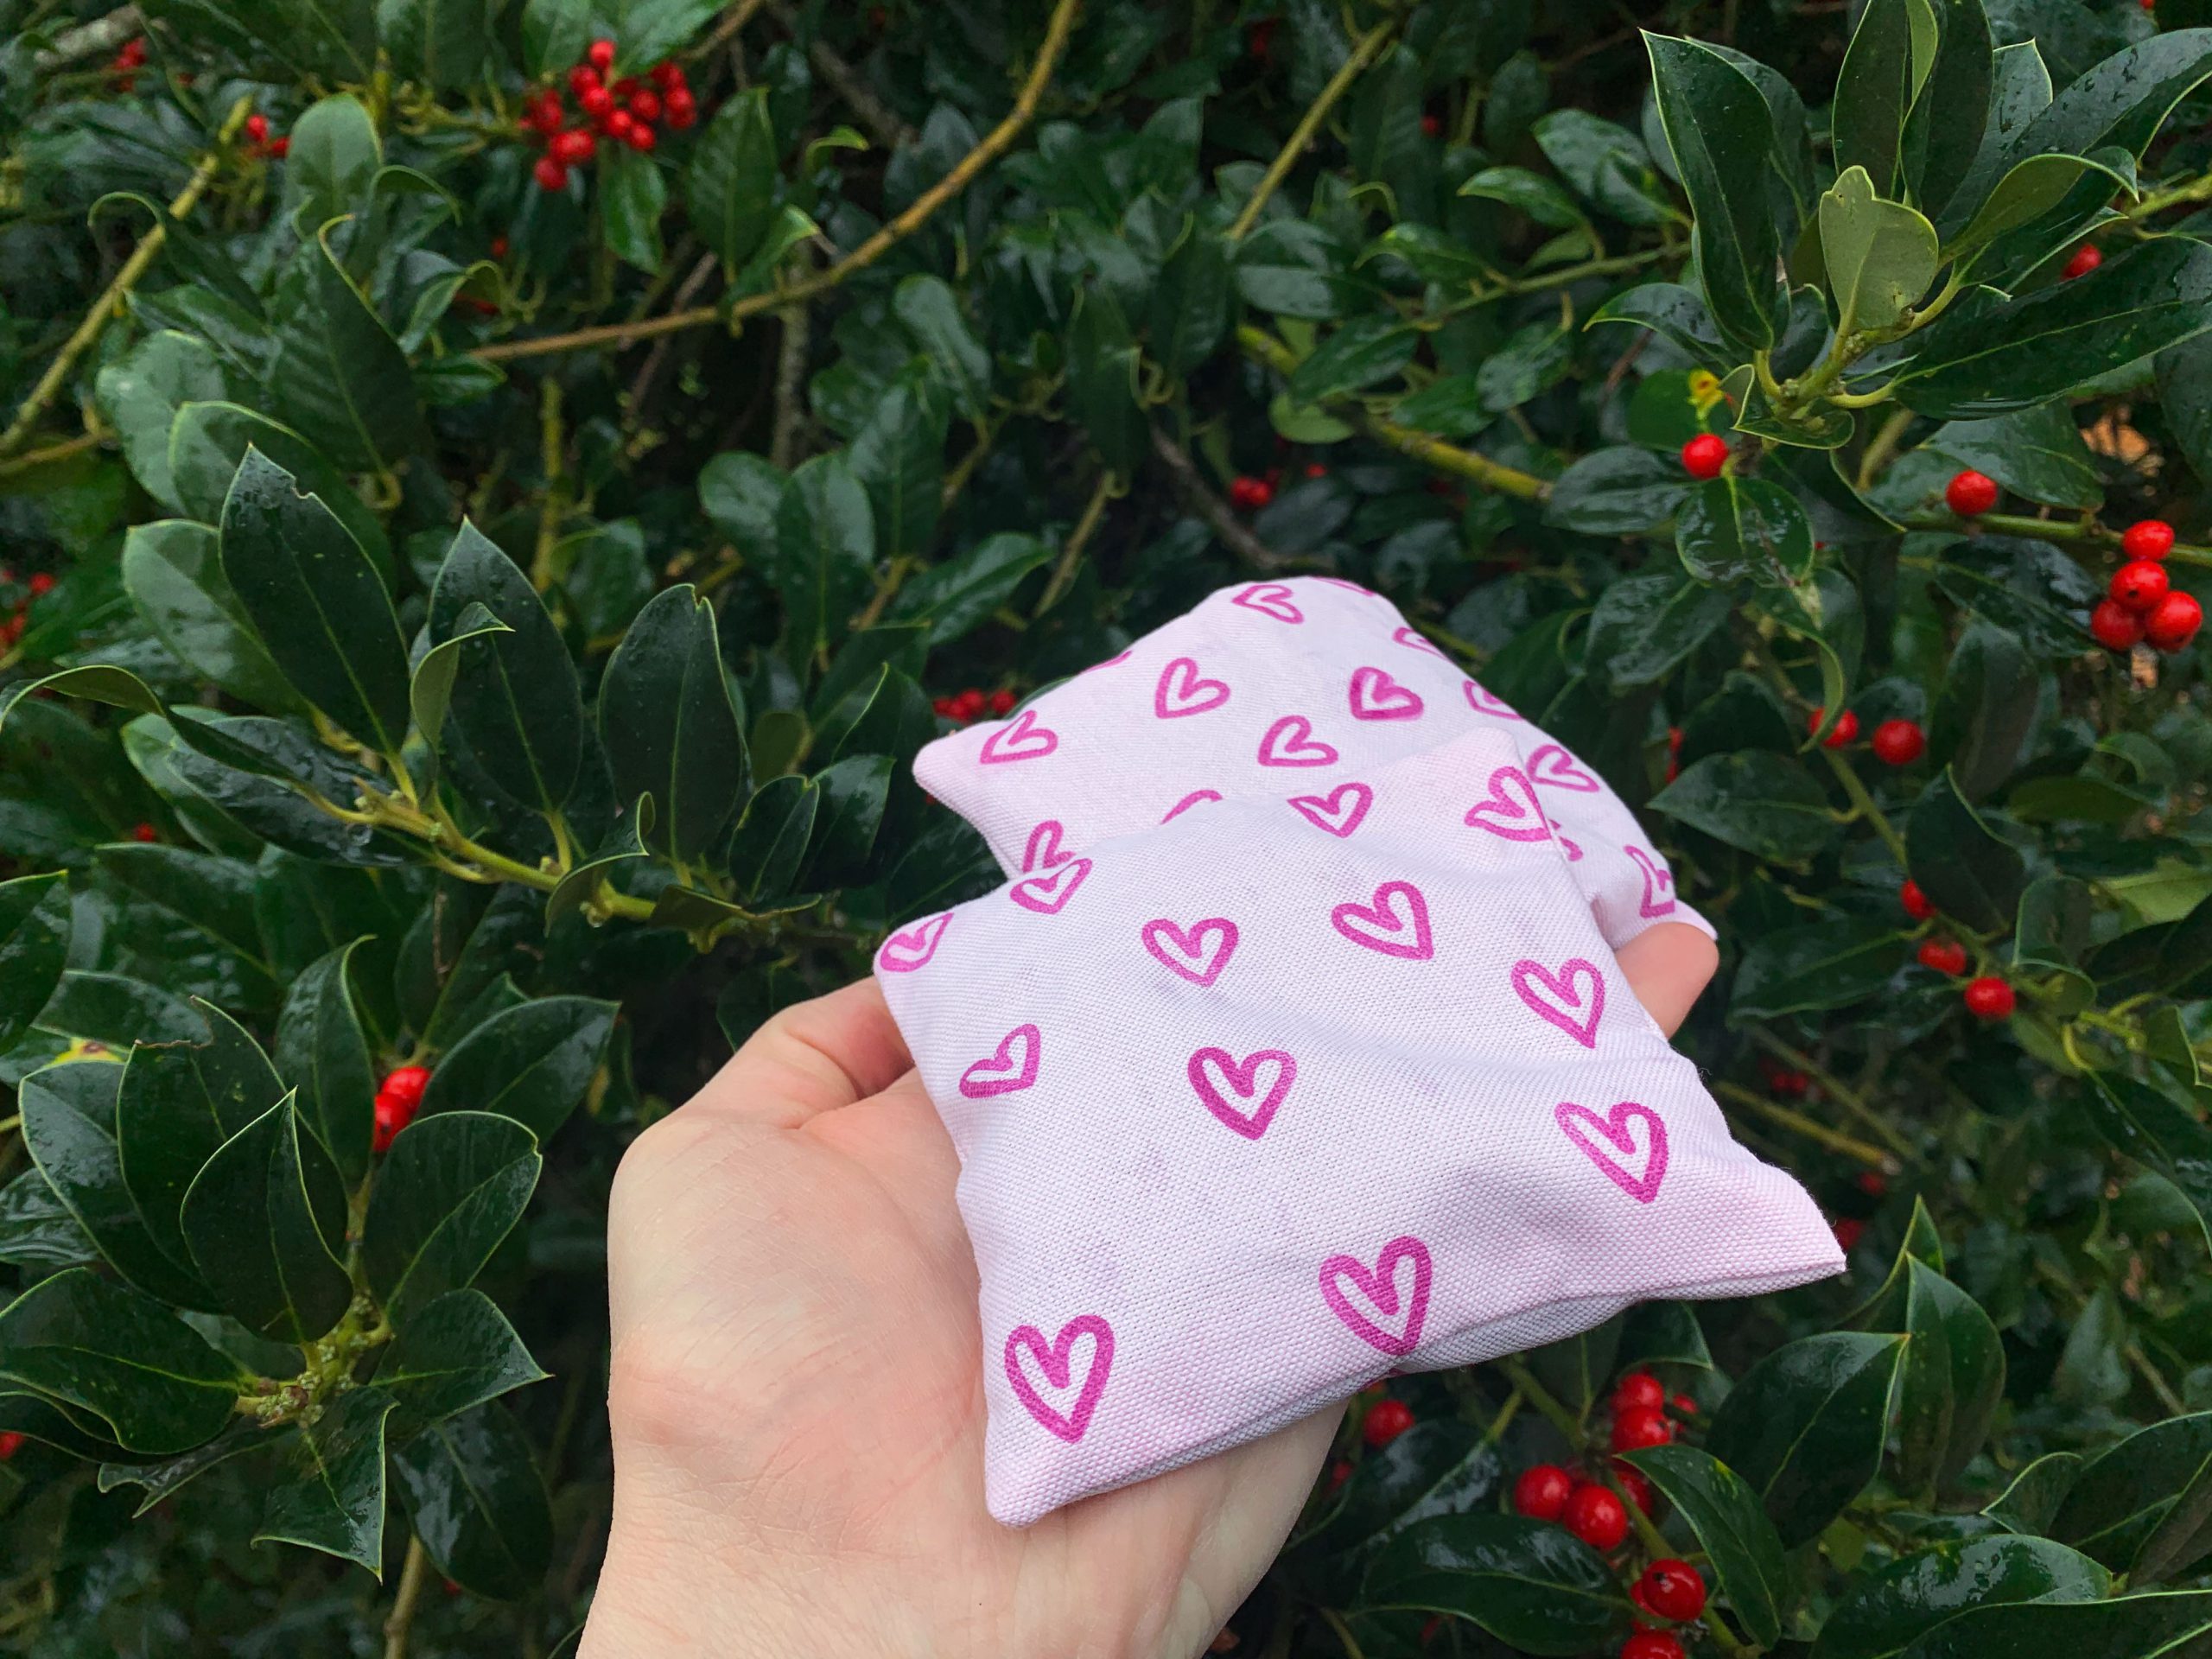
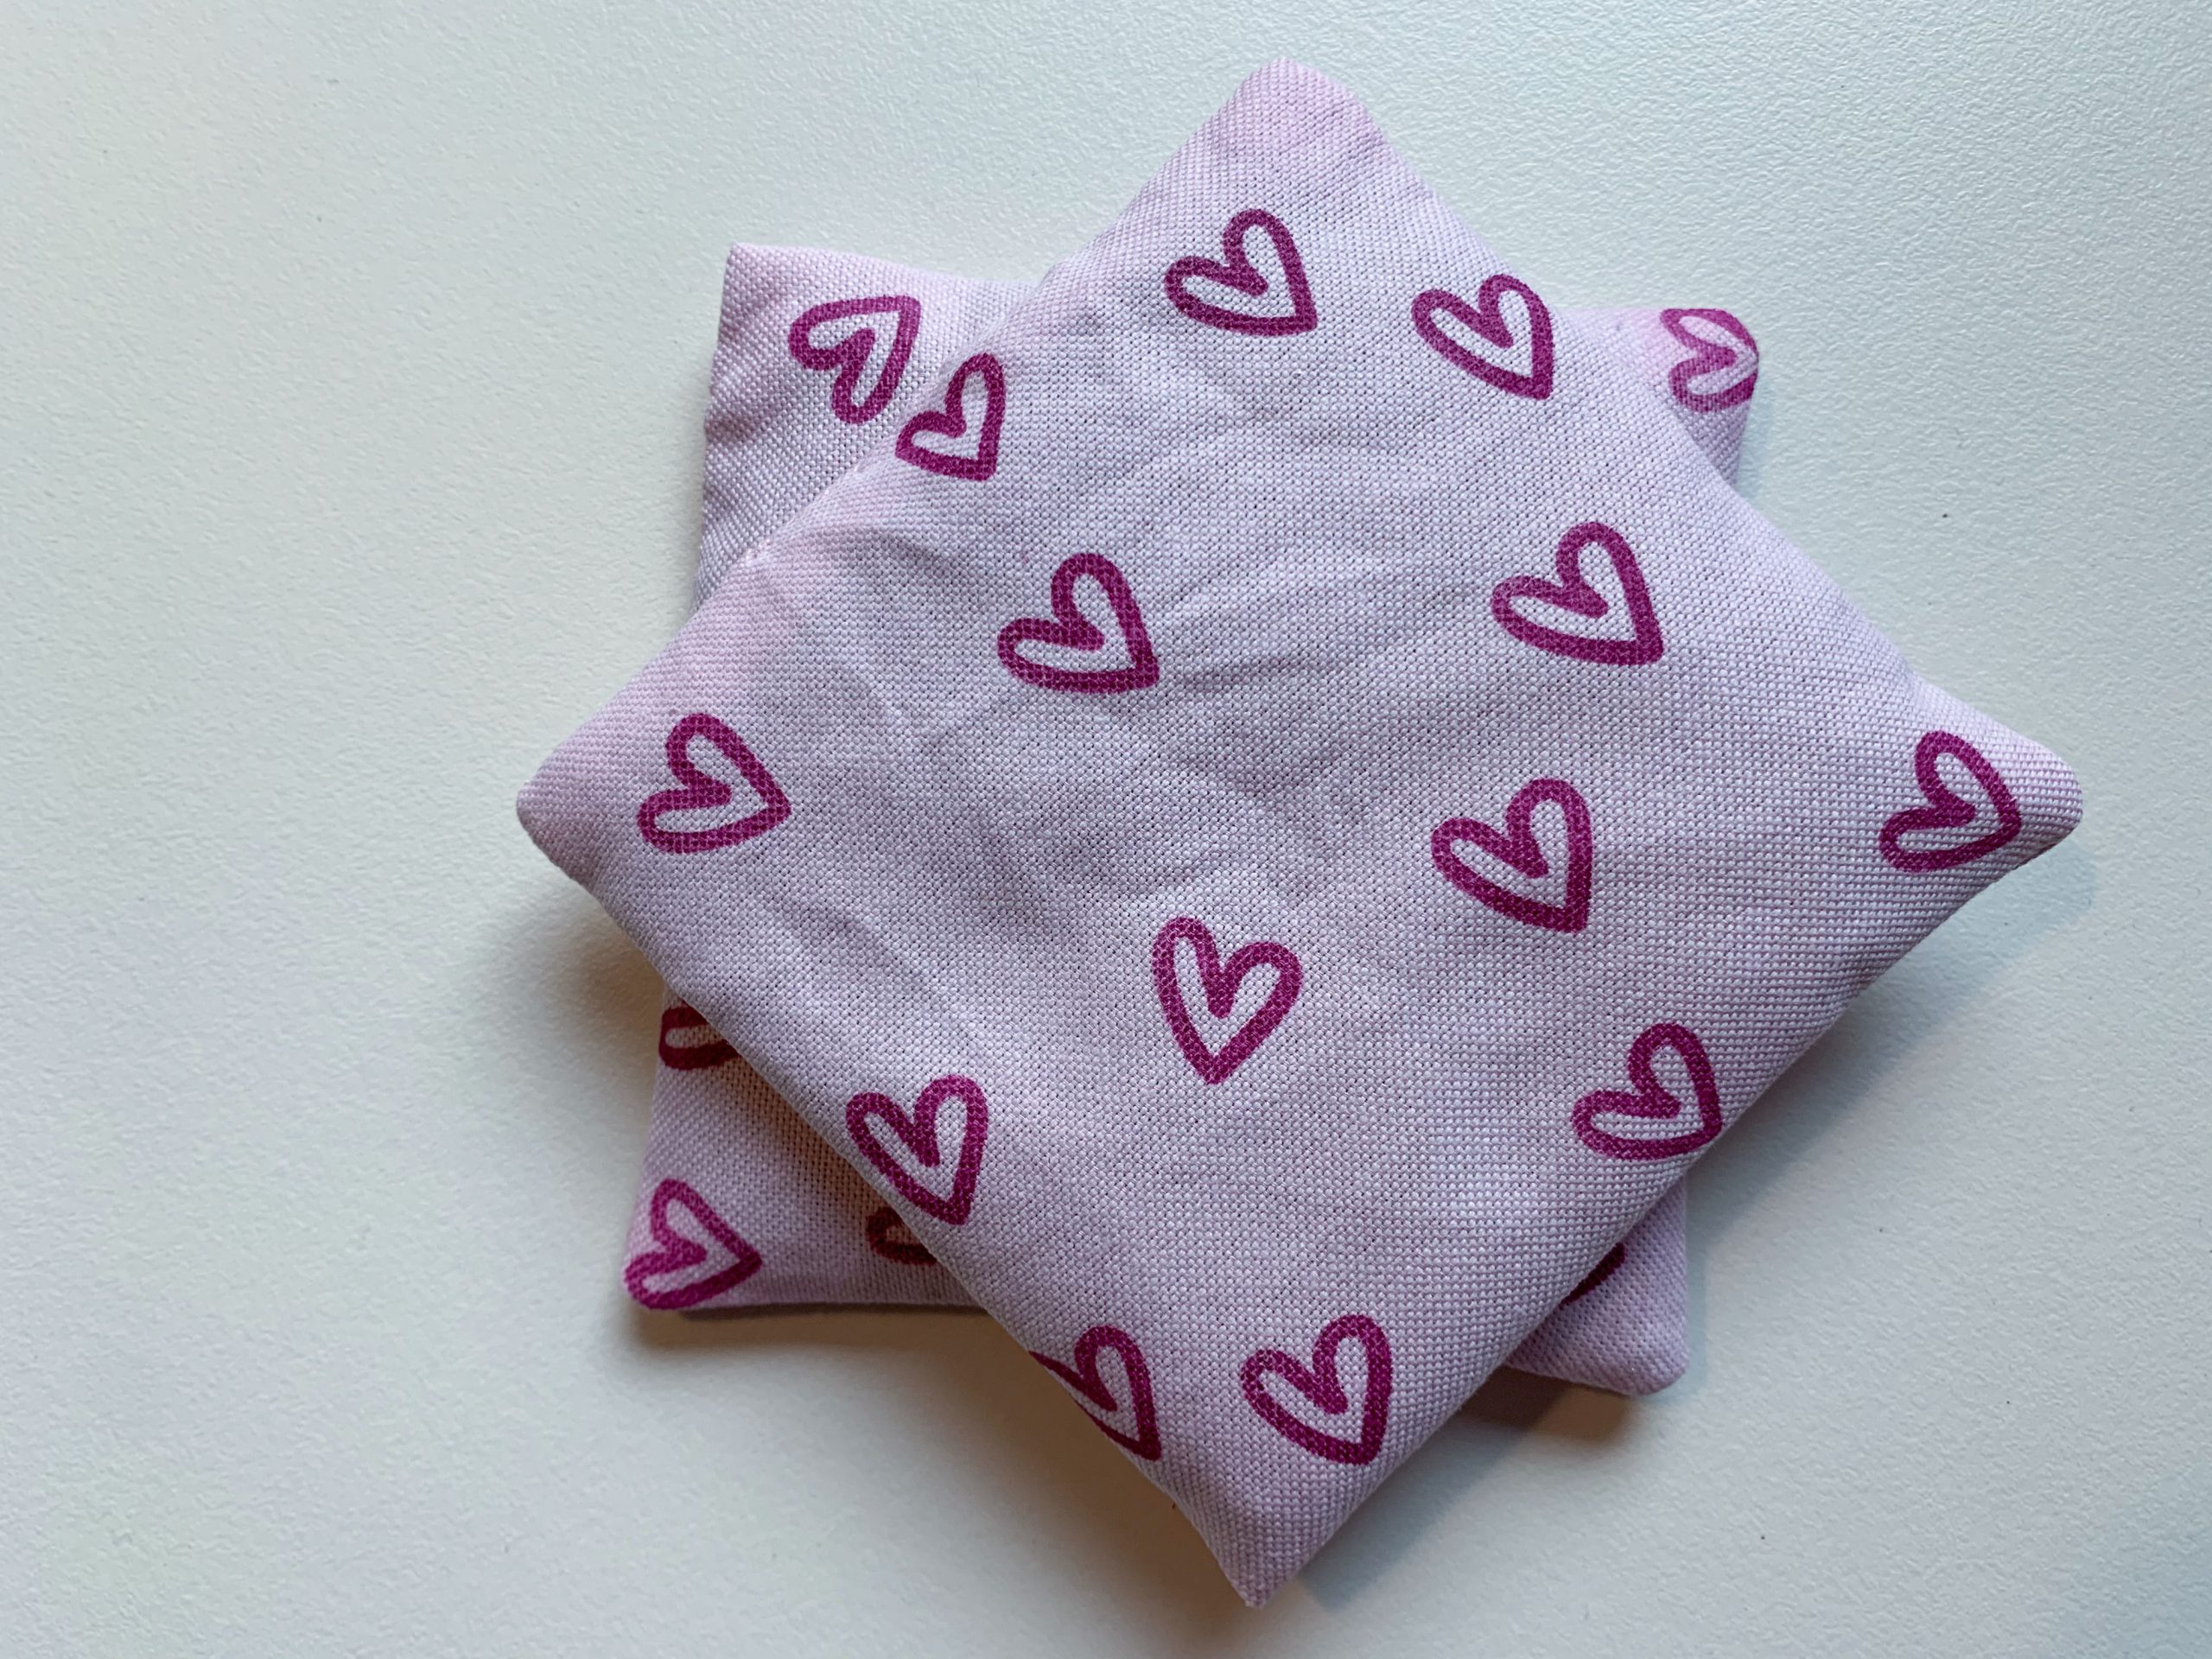
Your hand warmers are now finished – ready to give away or keep for yourself!
After 30 seconds in the microwave at 600 watts, they will keep you warm for 20-30 minutes. Enough for a morning walk to the bakery in the crunching snow. 😉
I wish you all a happy Advent season and hopefully a white Christmas!
Best wishes, Dominique
 BERNINA Corporate Blog -


I would love to know where to buy grapeseeds!
Thank you
Hello Suzanne, I do not know in which stores you could buy these, but there are a lot of options to buy them online 🙂
Some great practical ideas.
Is there an alternative to grape seeds? Where can you buy inexpensive grape seeds?
Dear Luba,
I do not know in which stores you could buy them, but there are a lot of options online where you can compare the price.
There are also different kinds of fillings you could use. I am no expert, but I heard of fillings with seeds or husks from flax, buckwheat, cherry (for bigger projects), millet, kapok, mustard…
They all have different characteristics, how long they save and give off heat f.e. so you best look them up. there are a lot of articles in the internet.
I hope this helped!
This is awesome. Will have to start collecting the grape seeds from now, didn’t know they can be so useful. Thanks Dominique, you’re a gem…