 BERNINA Corporate Blog -
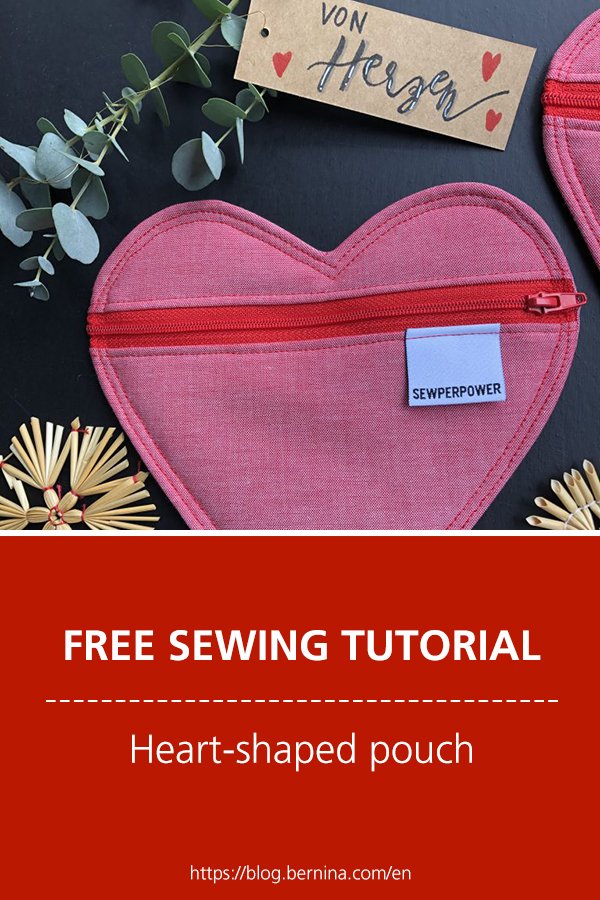
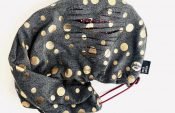
Sewing a heart-shaped gift pouch
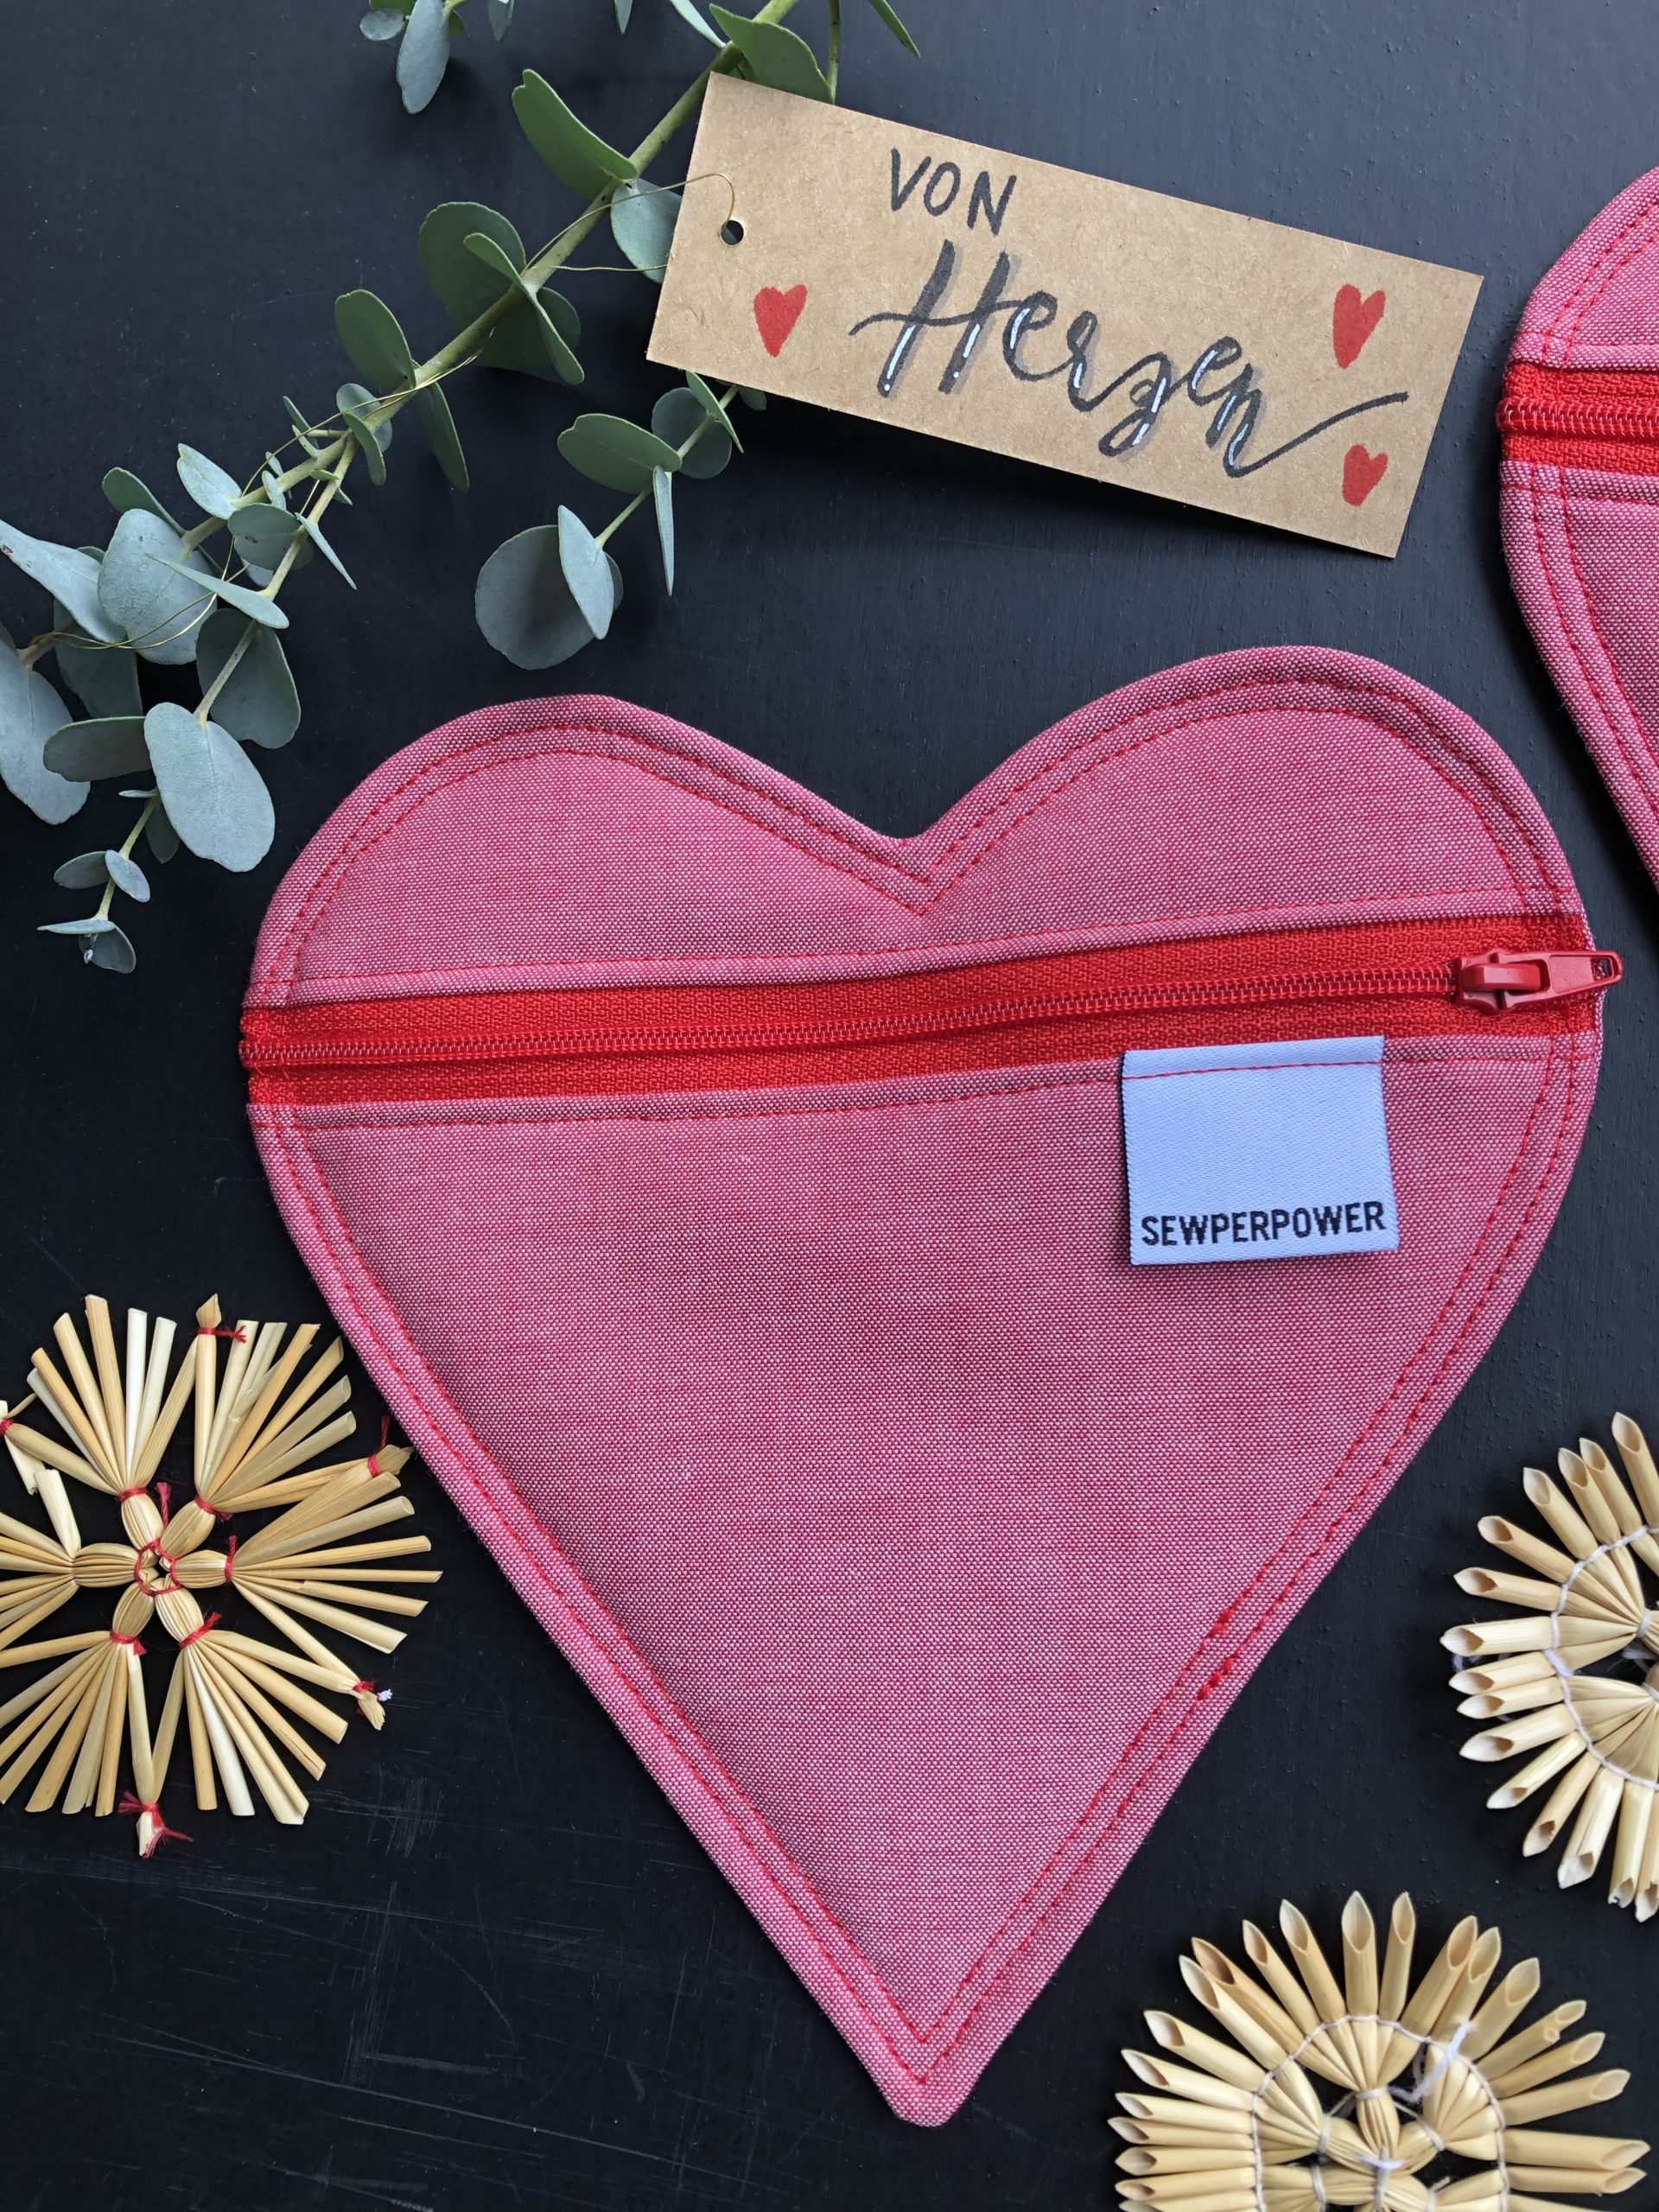
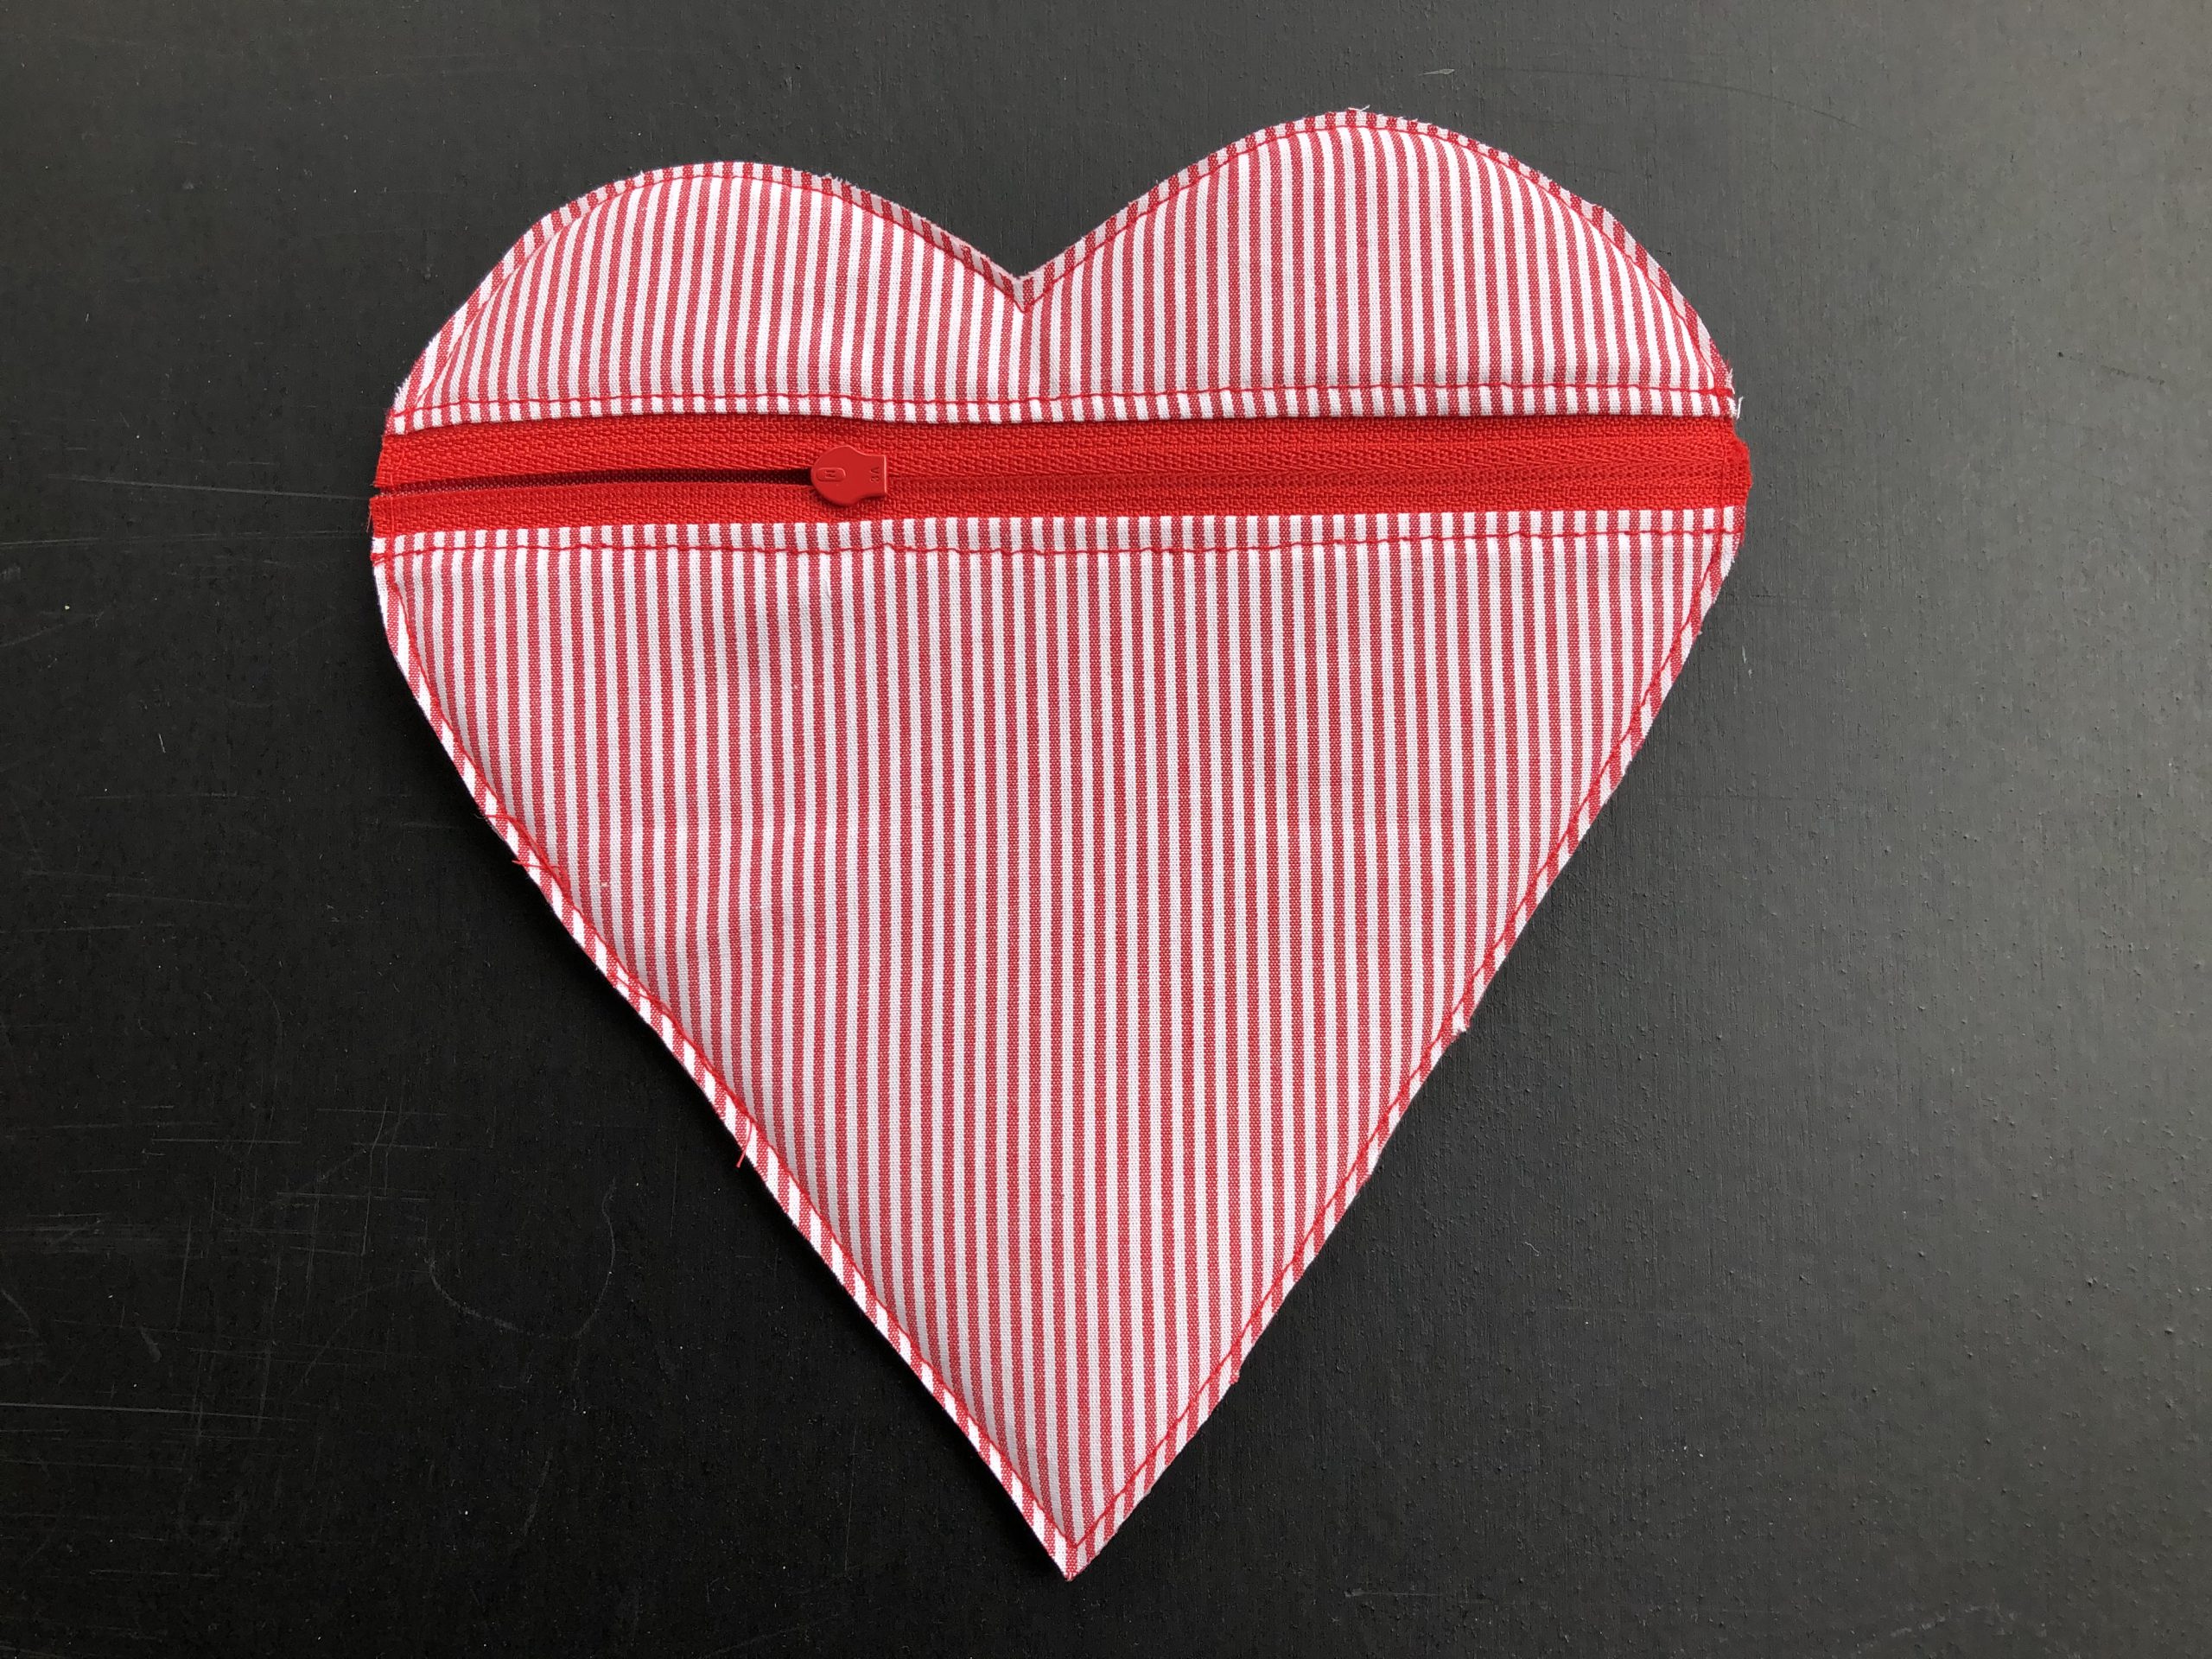
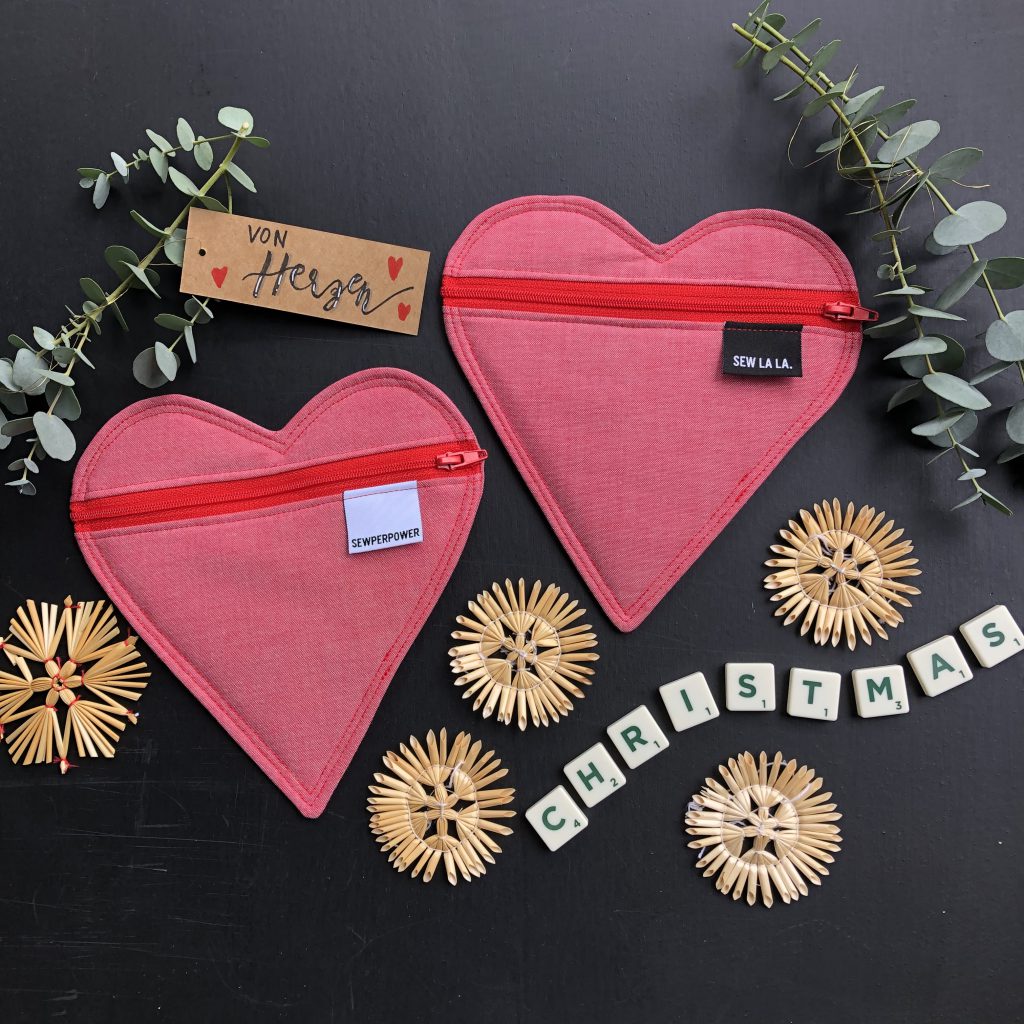
Today I’m giving you instructions for some special gift packaging; I’ll show you how to sew a heart-shaped pouch. You can use the pouch for giving vouchers, cosmetics or accessories.
“Little gifts help friendships thrive.” I have taken this saying even more to heart than ever this Christmas season. The year 2020 has been very different from anything I could have imagined at the end of 2019. It has been characterized by the coronavirus, avoiding contact with people, foregoing celebrations with friends and family, a death within my immediate family and lots of worries. We have realized once again how important friendships and family are. In this respect, I am very grateful for the media we have today and the opportunities we have to stay in touch with people.
I don’t really need a special occasion to give something to others. I like giving gifts, and I like to do it spontaneously when I think of something.
This Christmas, it is even more important to me to pay attention to those close to us. This way, we all have little pleasures during the Christmas season. For 2021, I very much hope that things will turn out very differently from 2020: different and better! Stay safe and think of your loved ones.
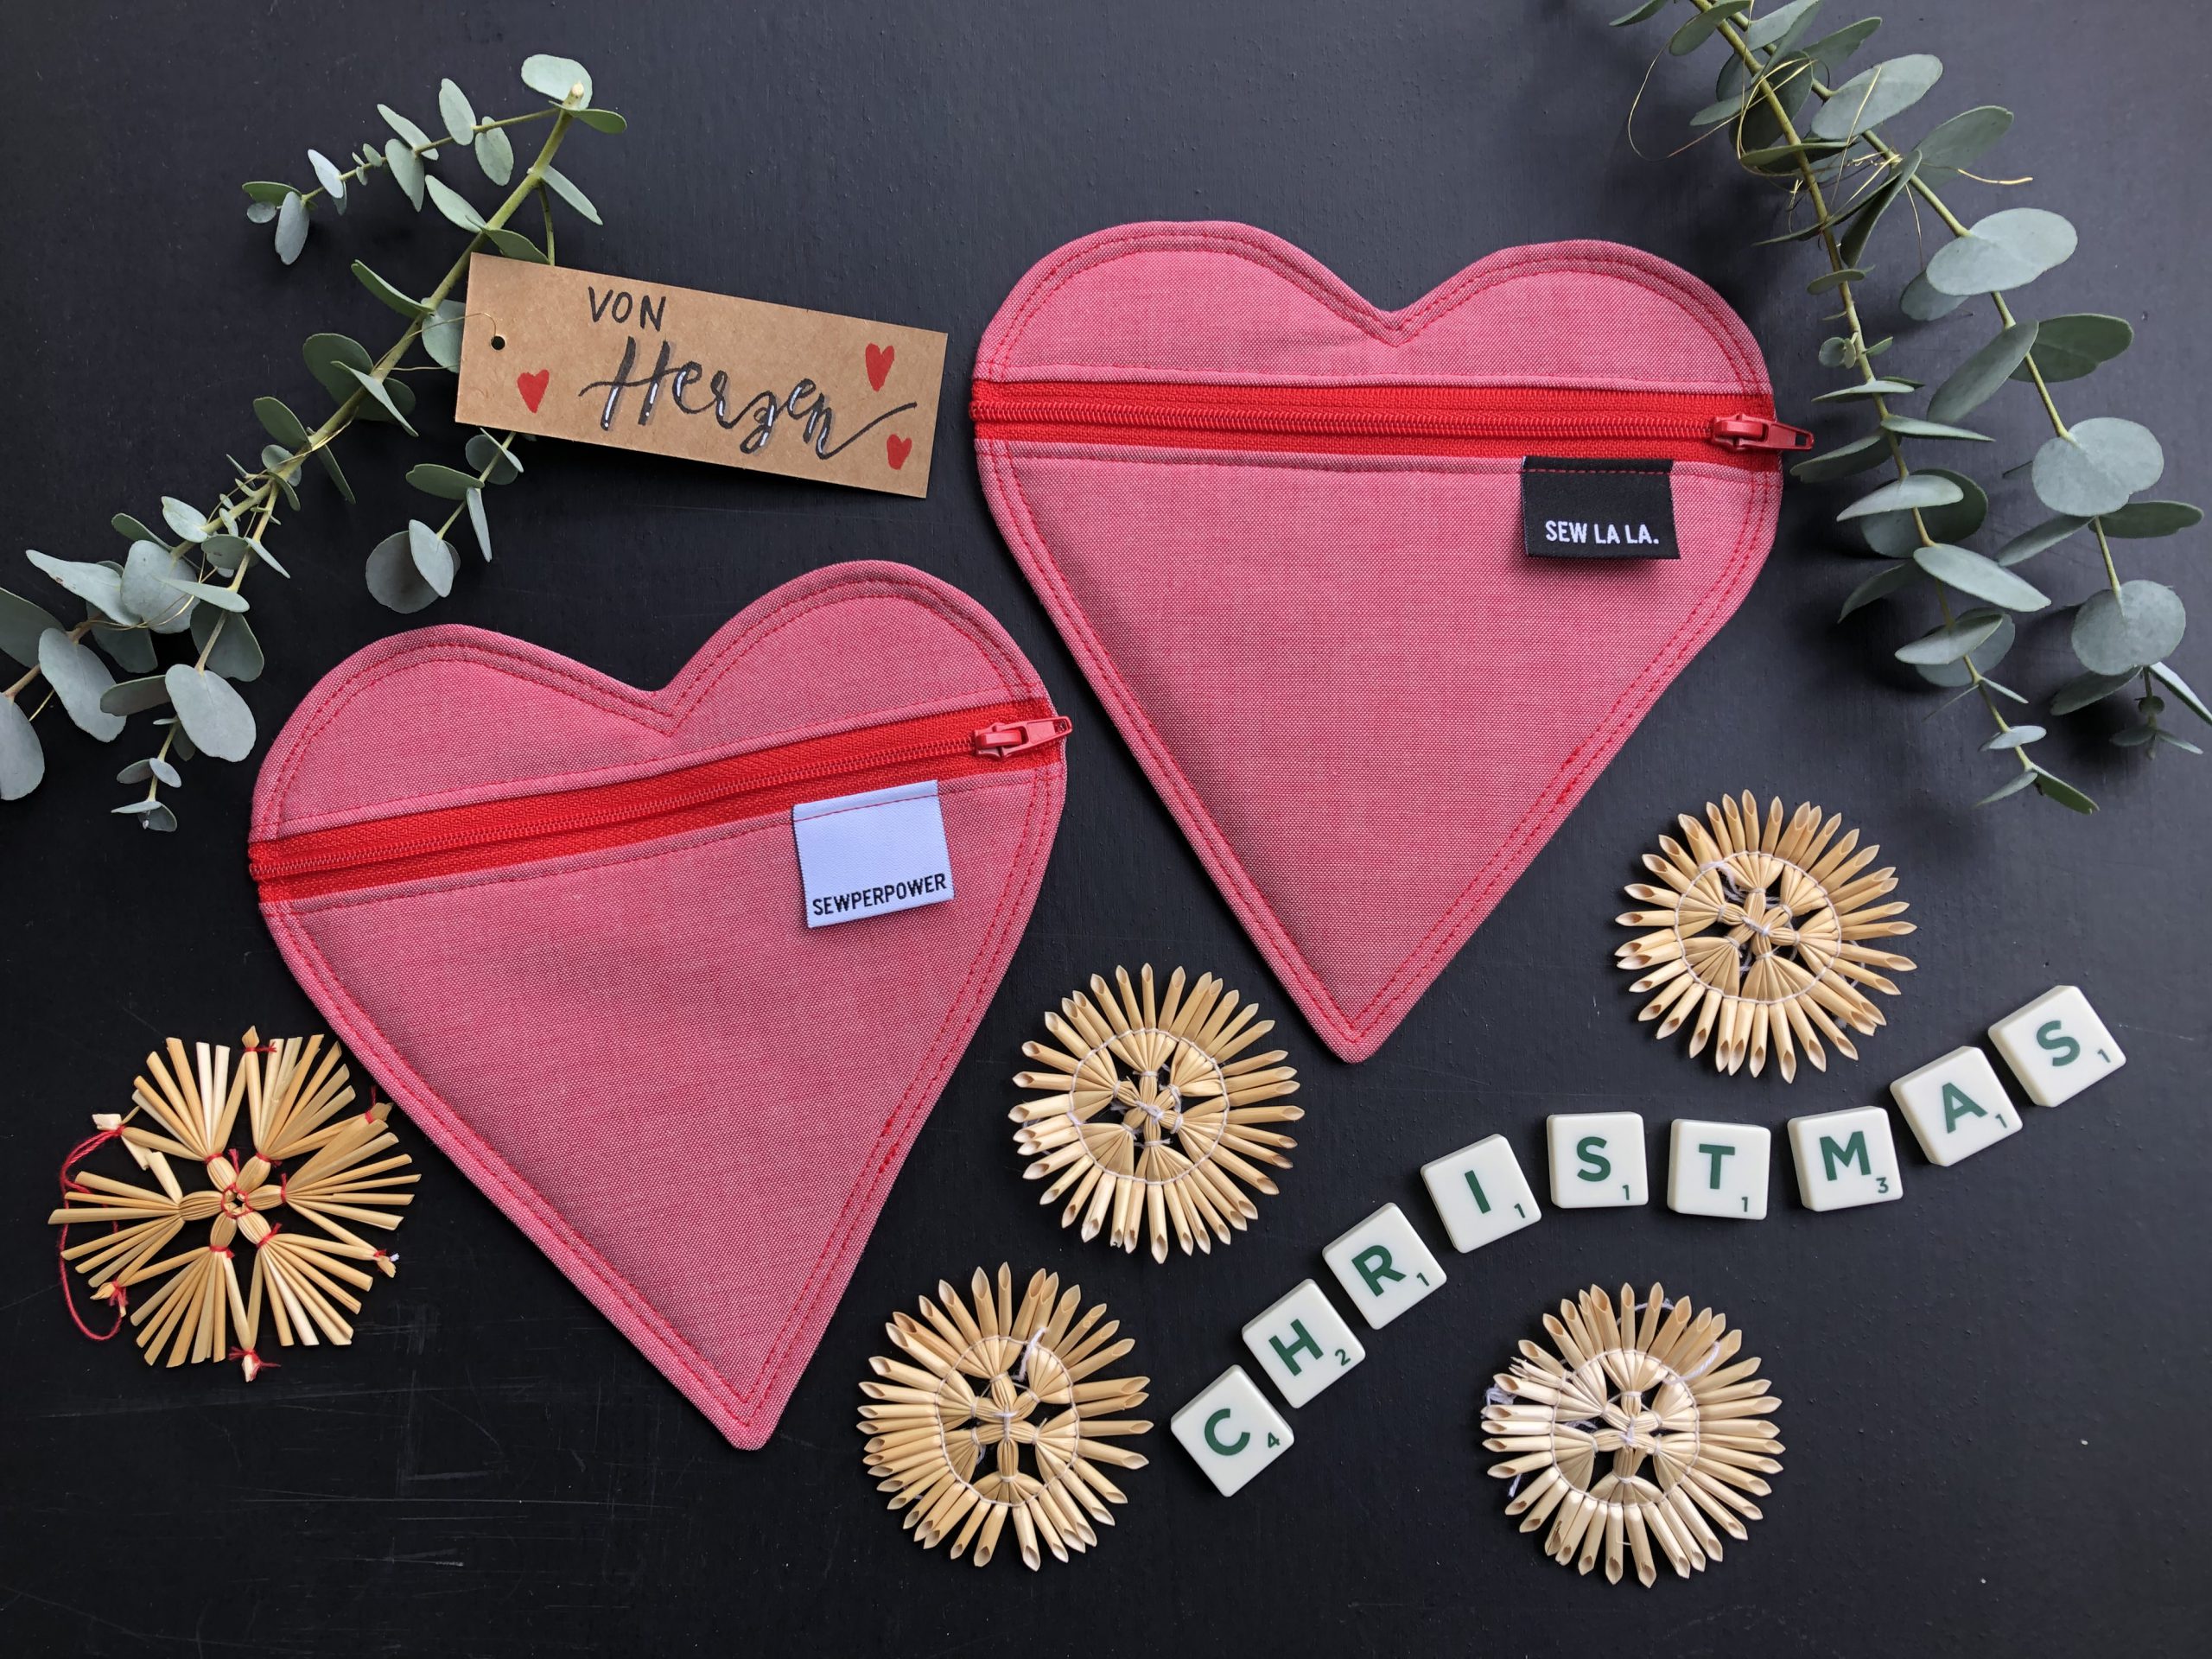
Sewing a heart-shaped pouch – instructions
The instructions are for two heart-shaped pouches with lining and zipper. You can put small gifts into these pouches and use them as handy gift packaging. The heart-shaped pouches can be filled with small items, such as cosmetics, vouchers for shared experiences in 2021 or small accessories, and given as gifts. You could also personalize them by making small name tags to hang on the zipper.
Materials
- Woven fabrics for the shell and lining
- Continuous zipper with two sliders
- Woven labels
- Fusible fleece (I used H630)
- Sewing thread, a sufficiently strong sewing needle, trick marker or chalk
Cutting out and preparation
The pattern I’ve provided is for two heart pouches. If you only want to sew one, you will have to reduce it accordingly. But I think most people will want to sew lots of them for the loved ones in their lives.
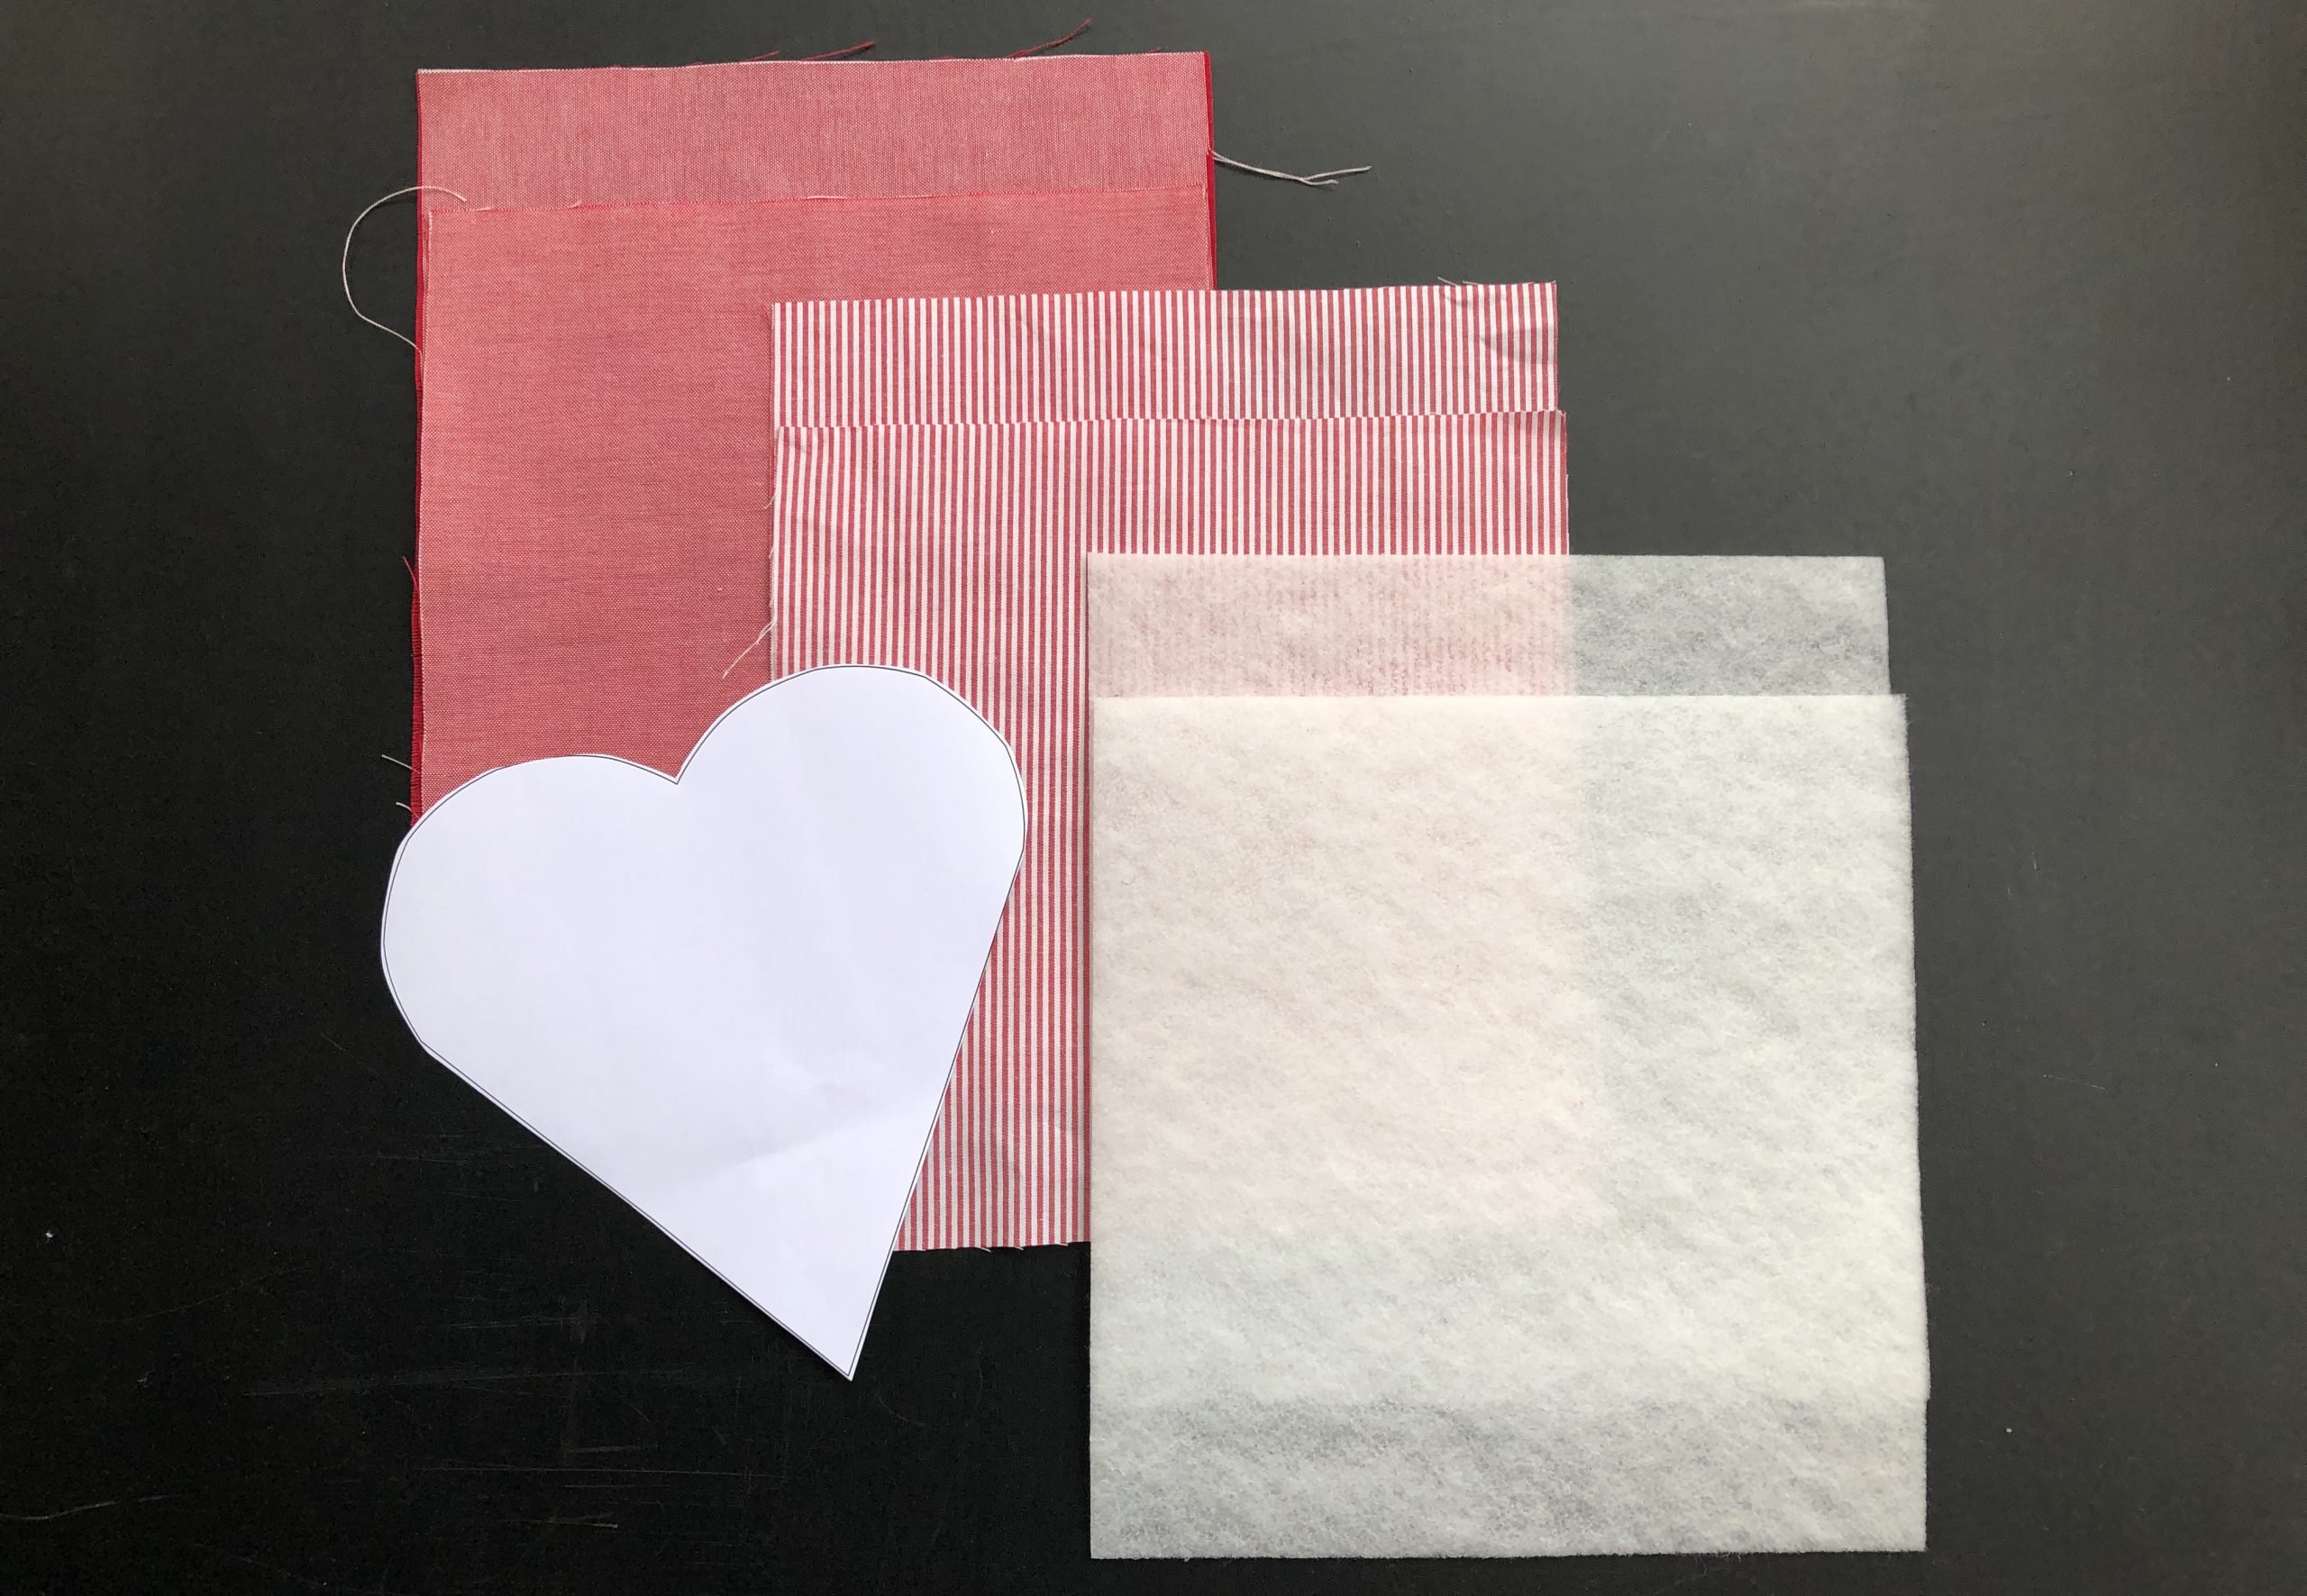
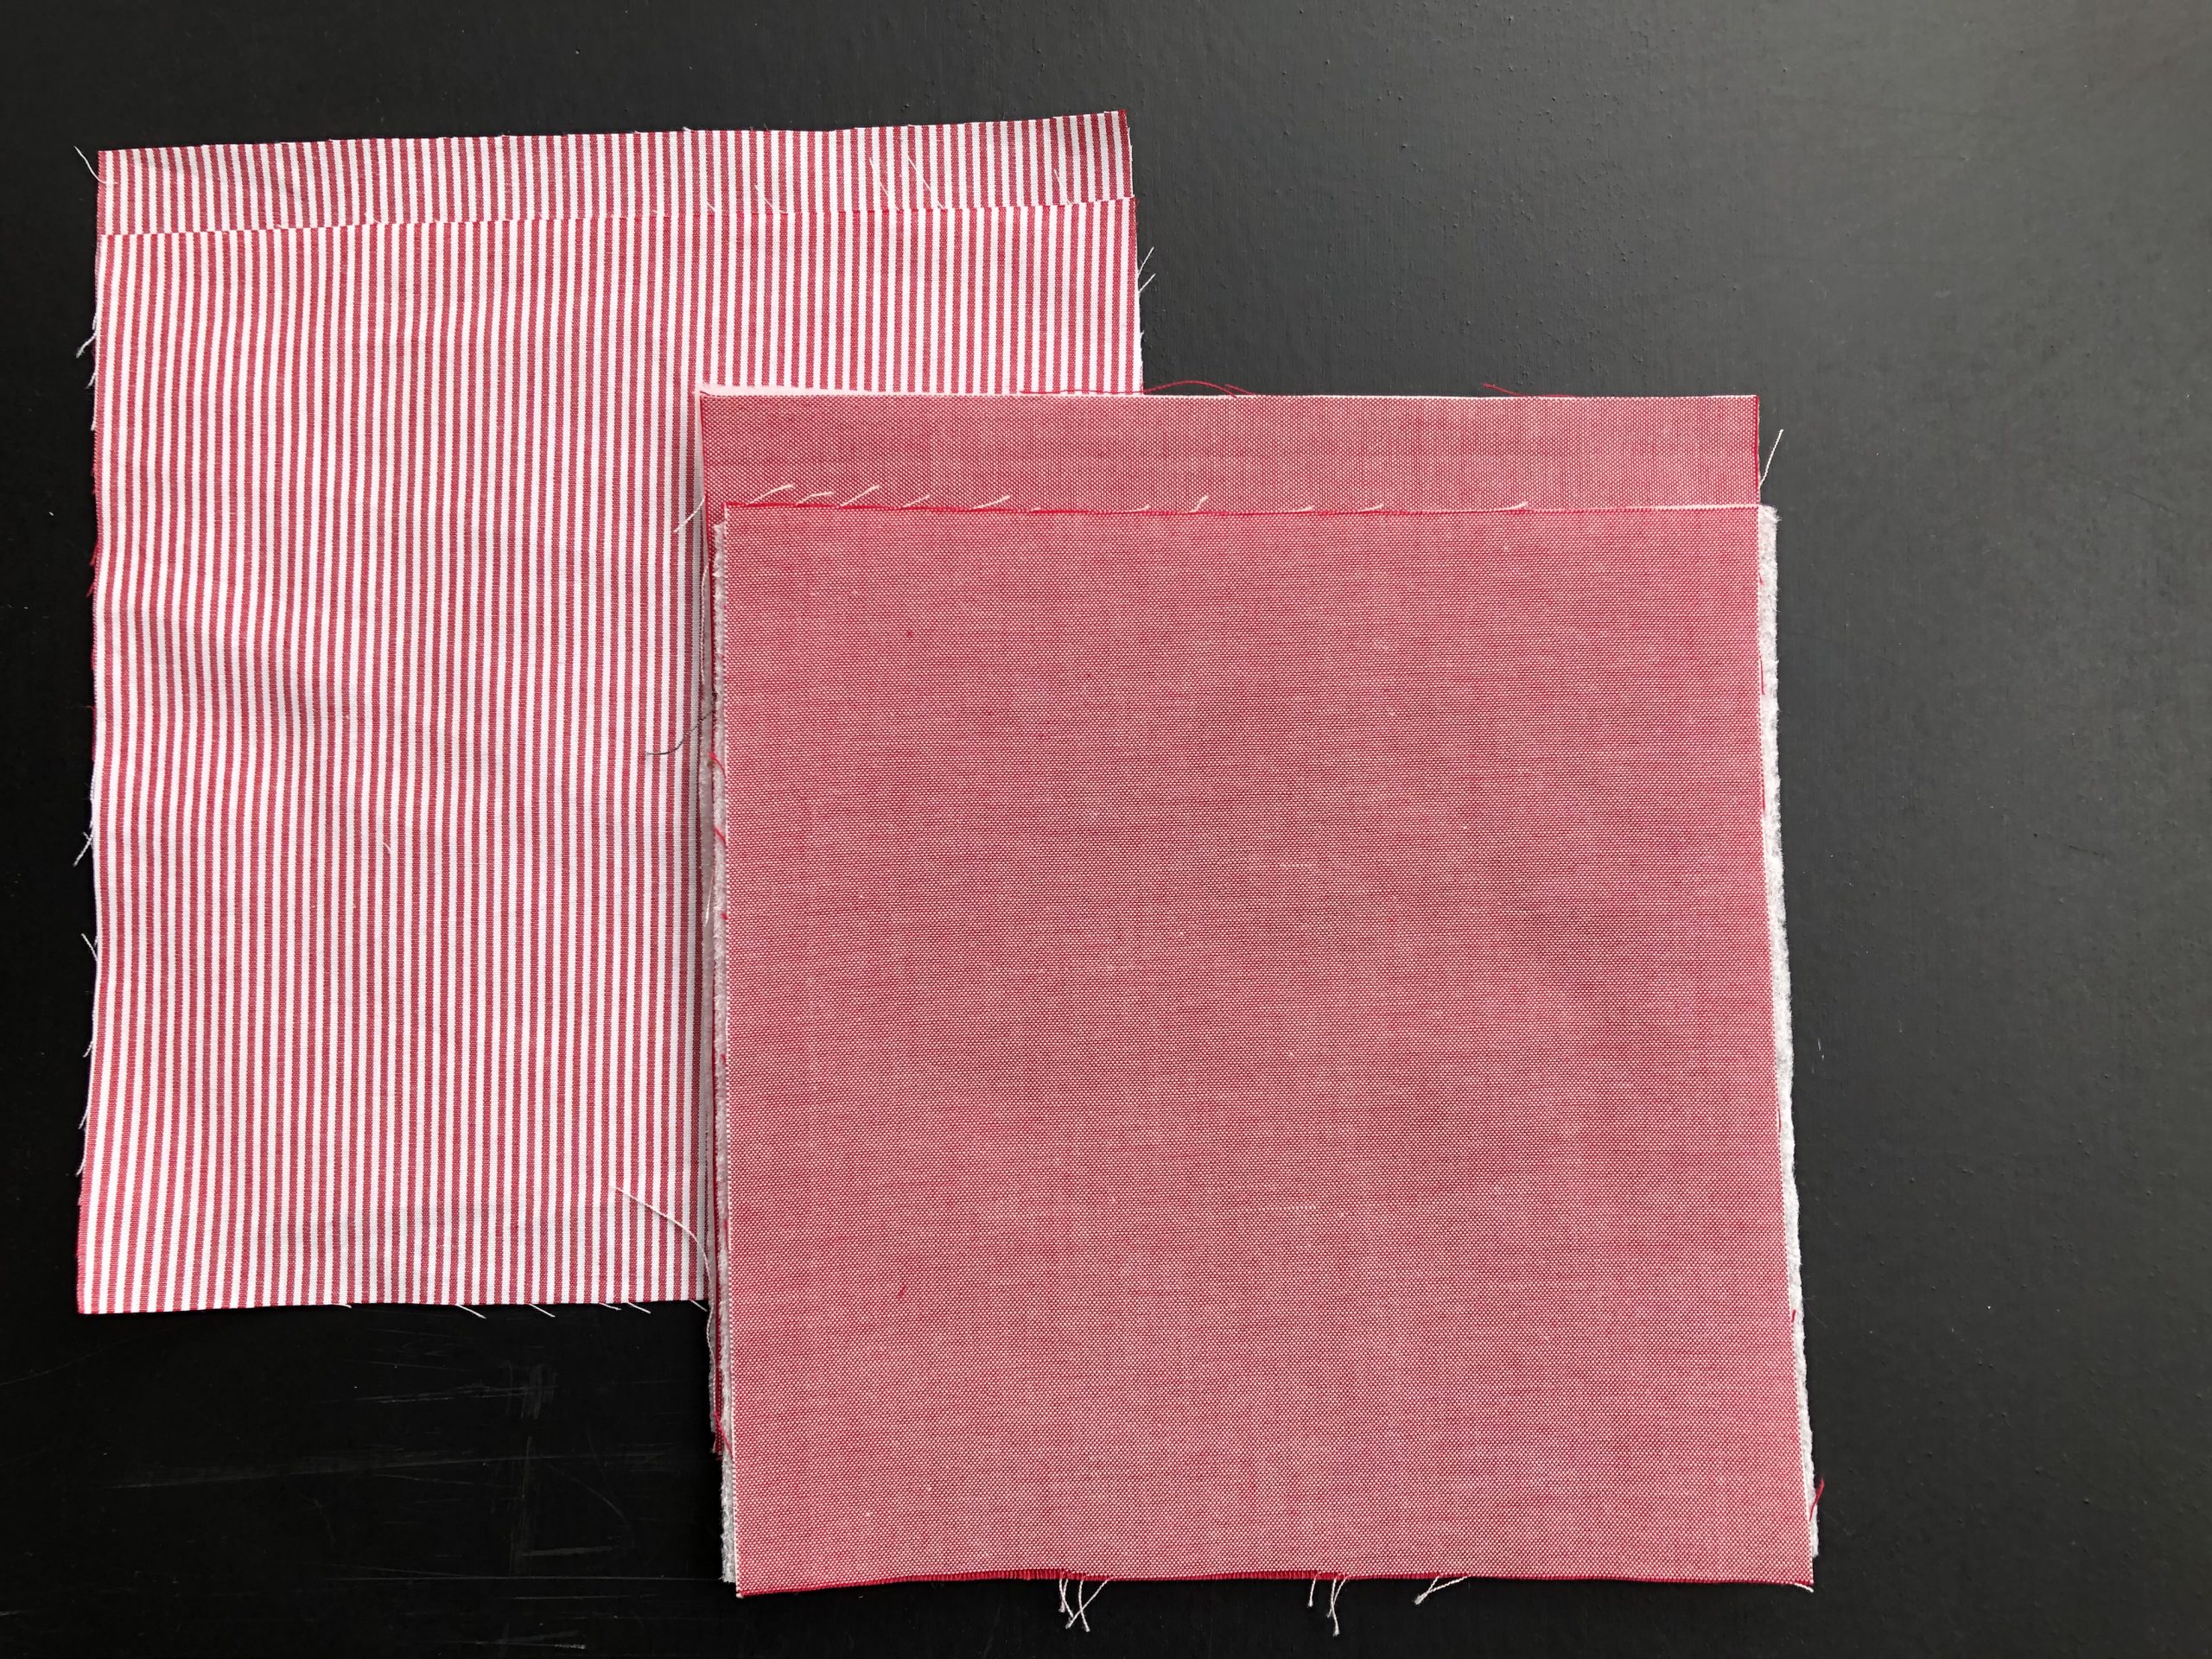
- 4 squares of 20 x 20 cm each of shell fabric, lining fabric and fusible fleece (I used H630)
- Heart template
- 2 zippers, each approx. 22 cm long
- Print and cut out the heart pattern pieces. (The line drawn shows where the zipper will be later on.)
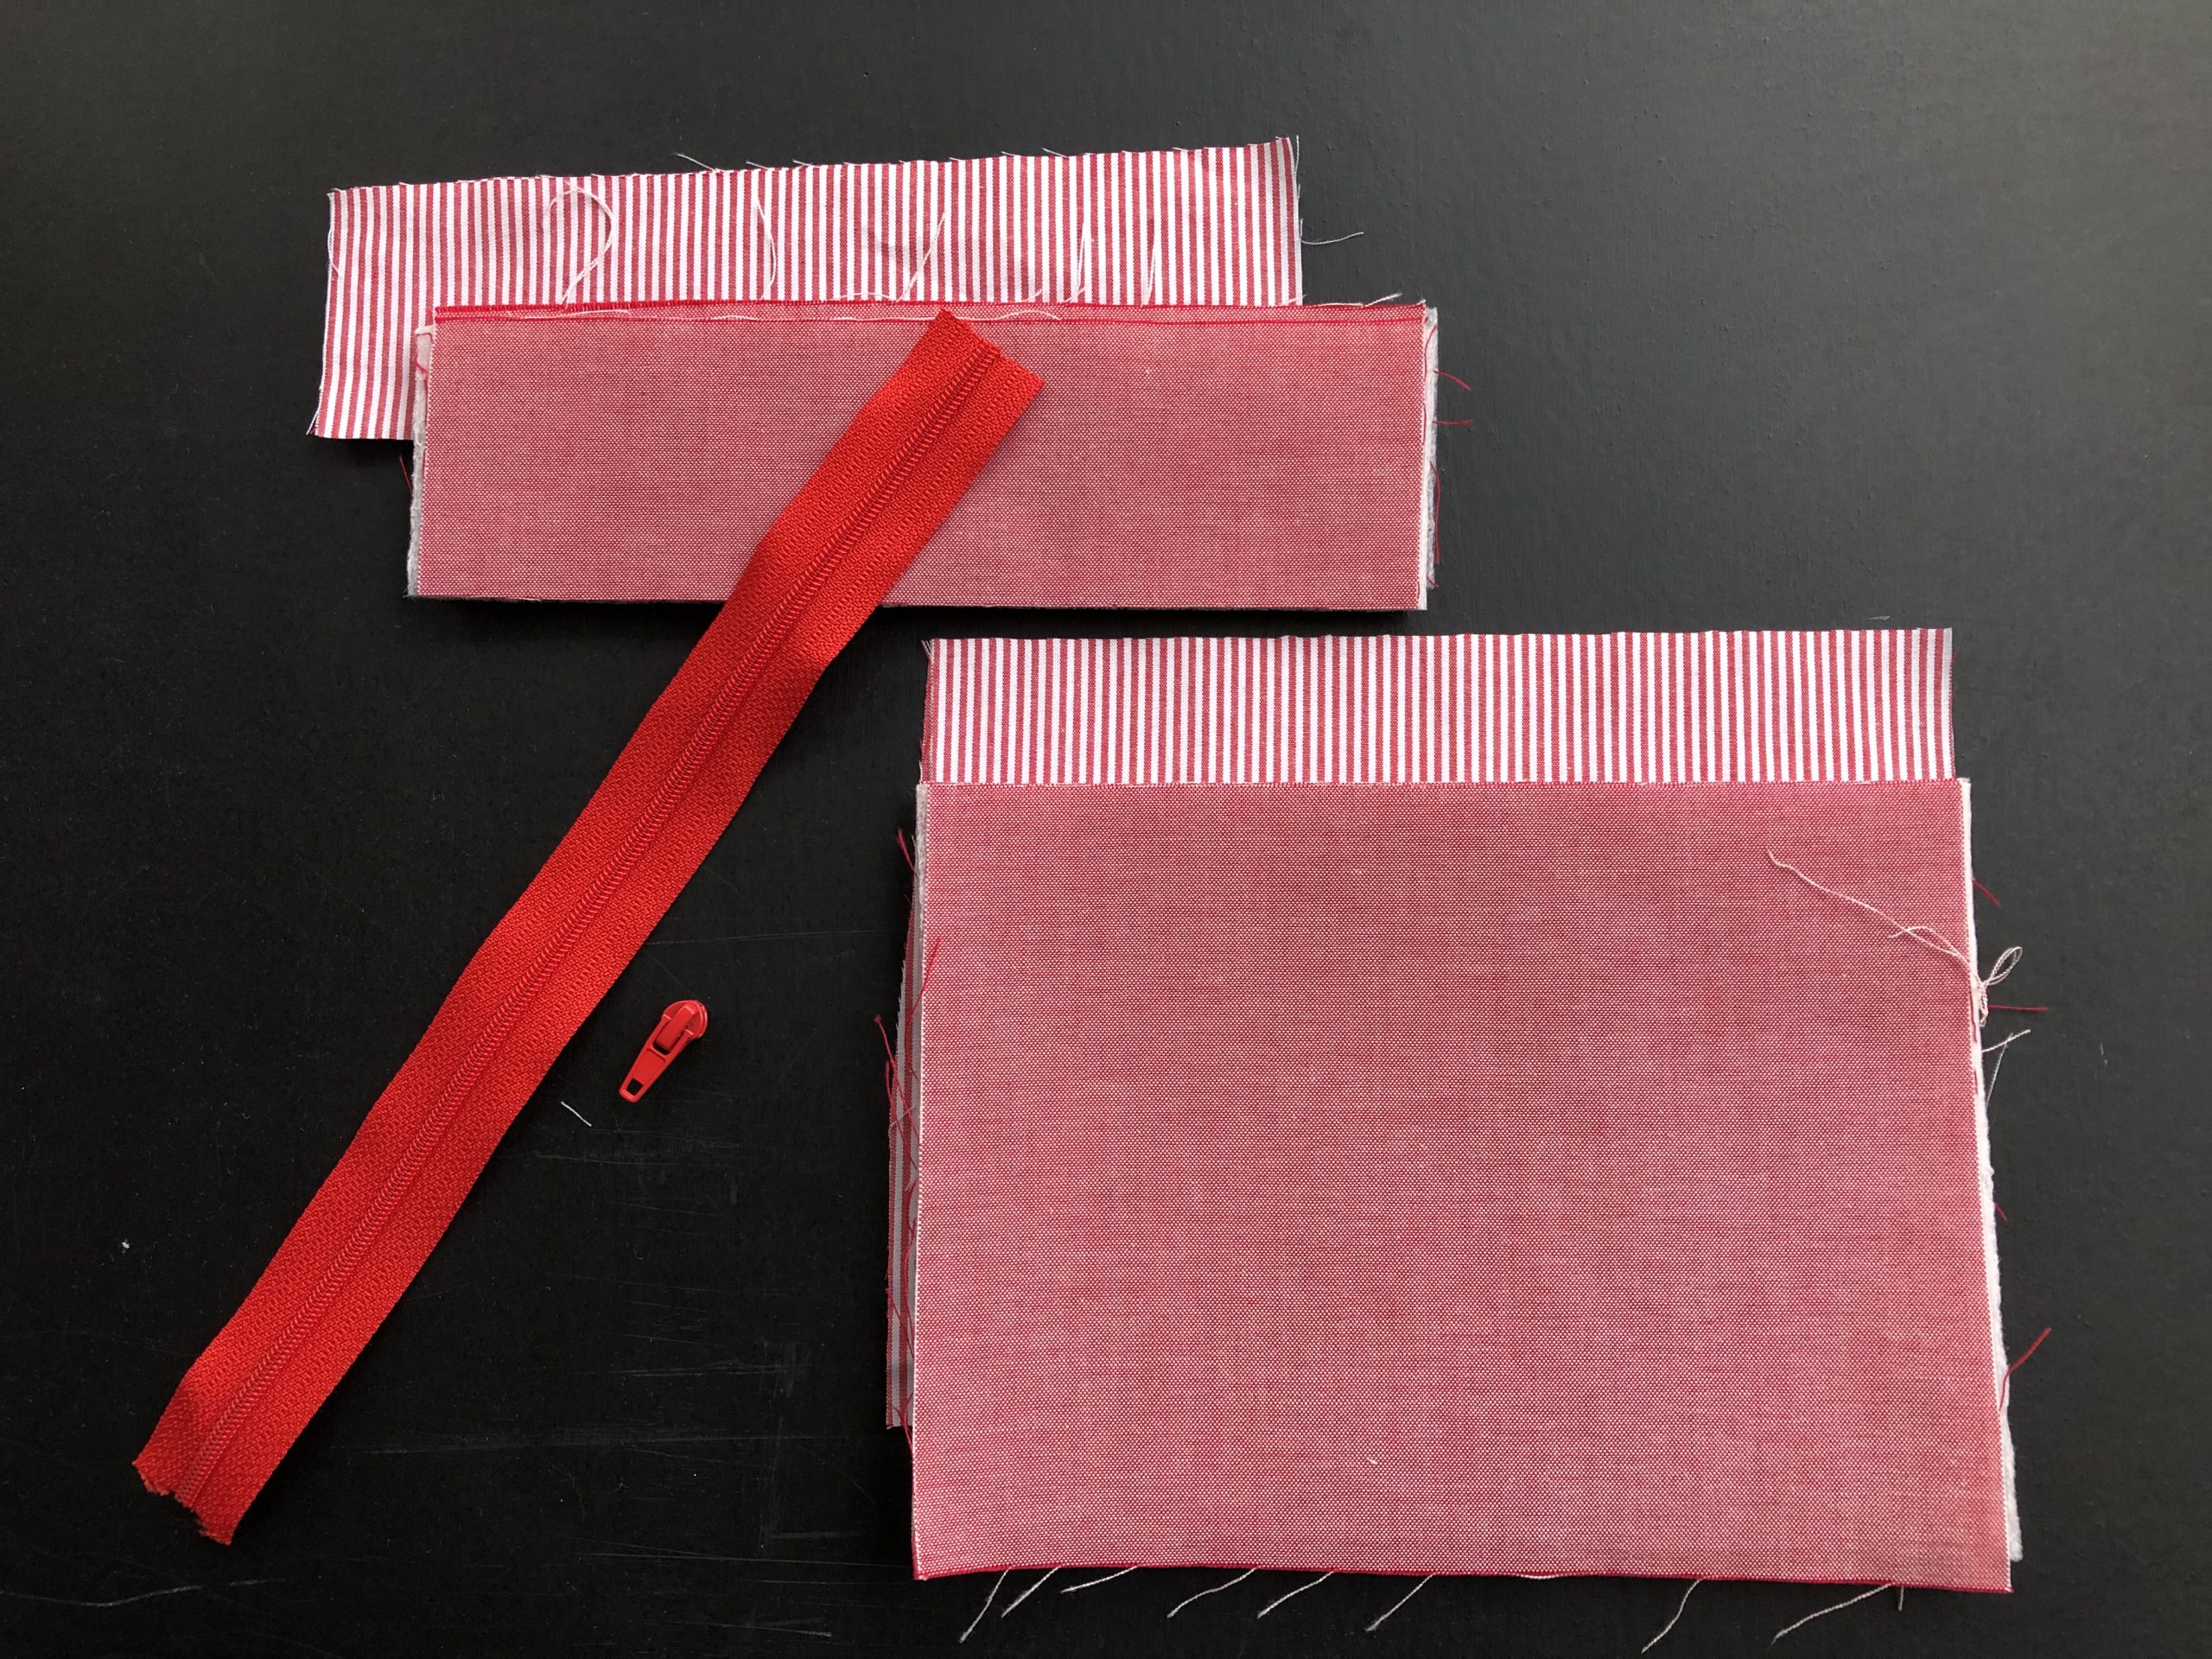
Iron the volume fleece onto the shell fabric. Divide two squares each of shell and lining fabric into thirds and cut off the top third. Prepare the zippers and pull up the sliders.
Sewing
You may be wondering why we cut squares when we are sewing a heart. I find its easier to get a neat sewing result using the sewing technique that I’m going to show you than if we cut the heart out beforehand.
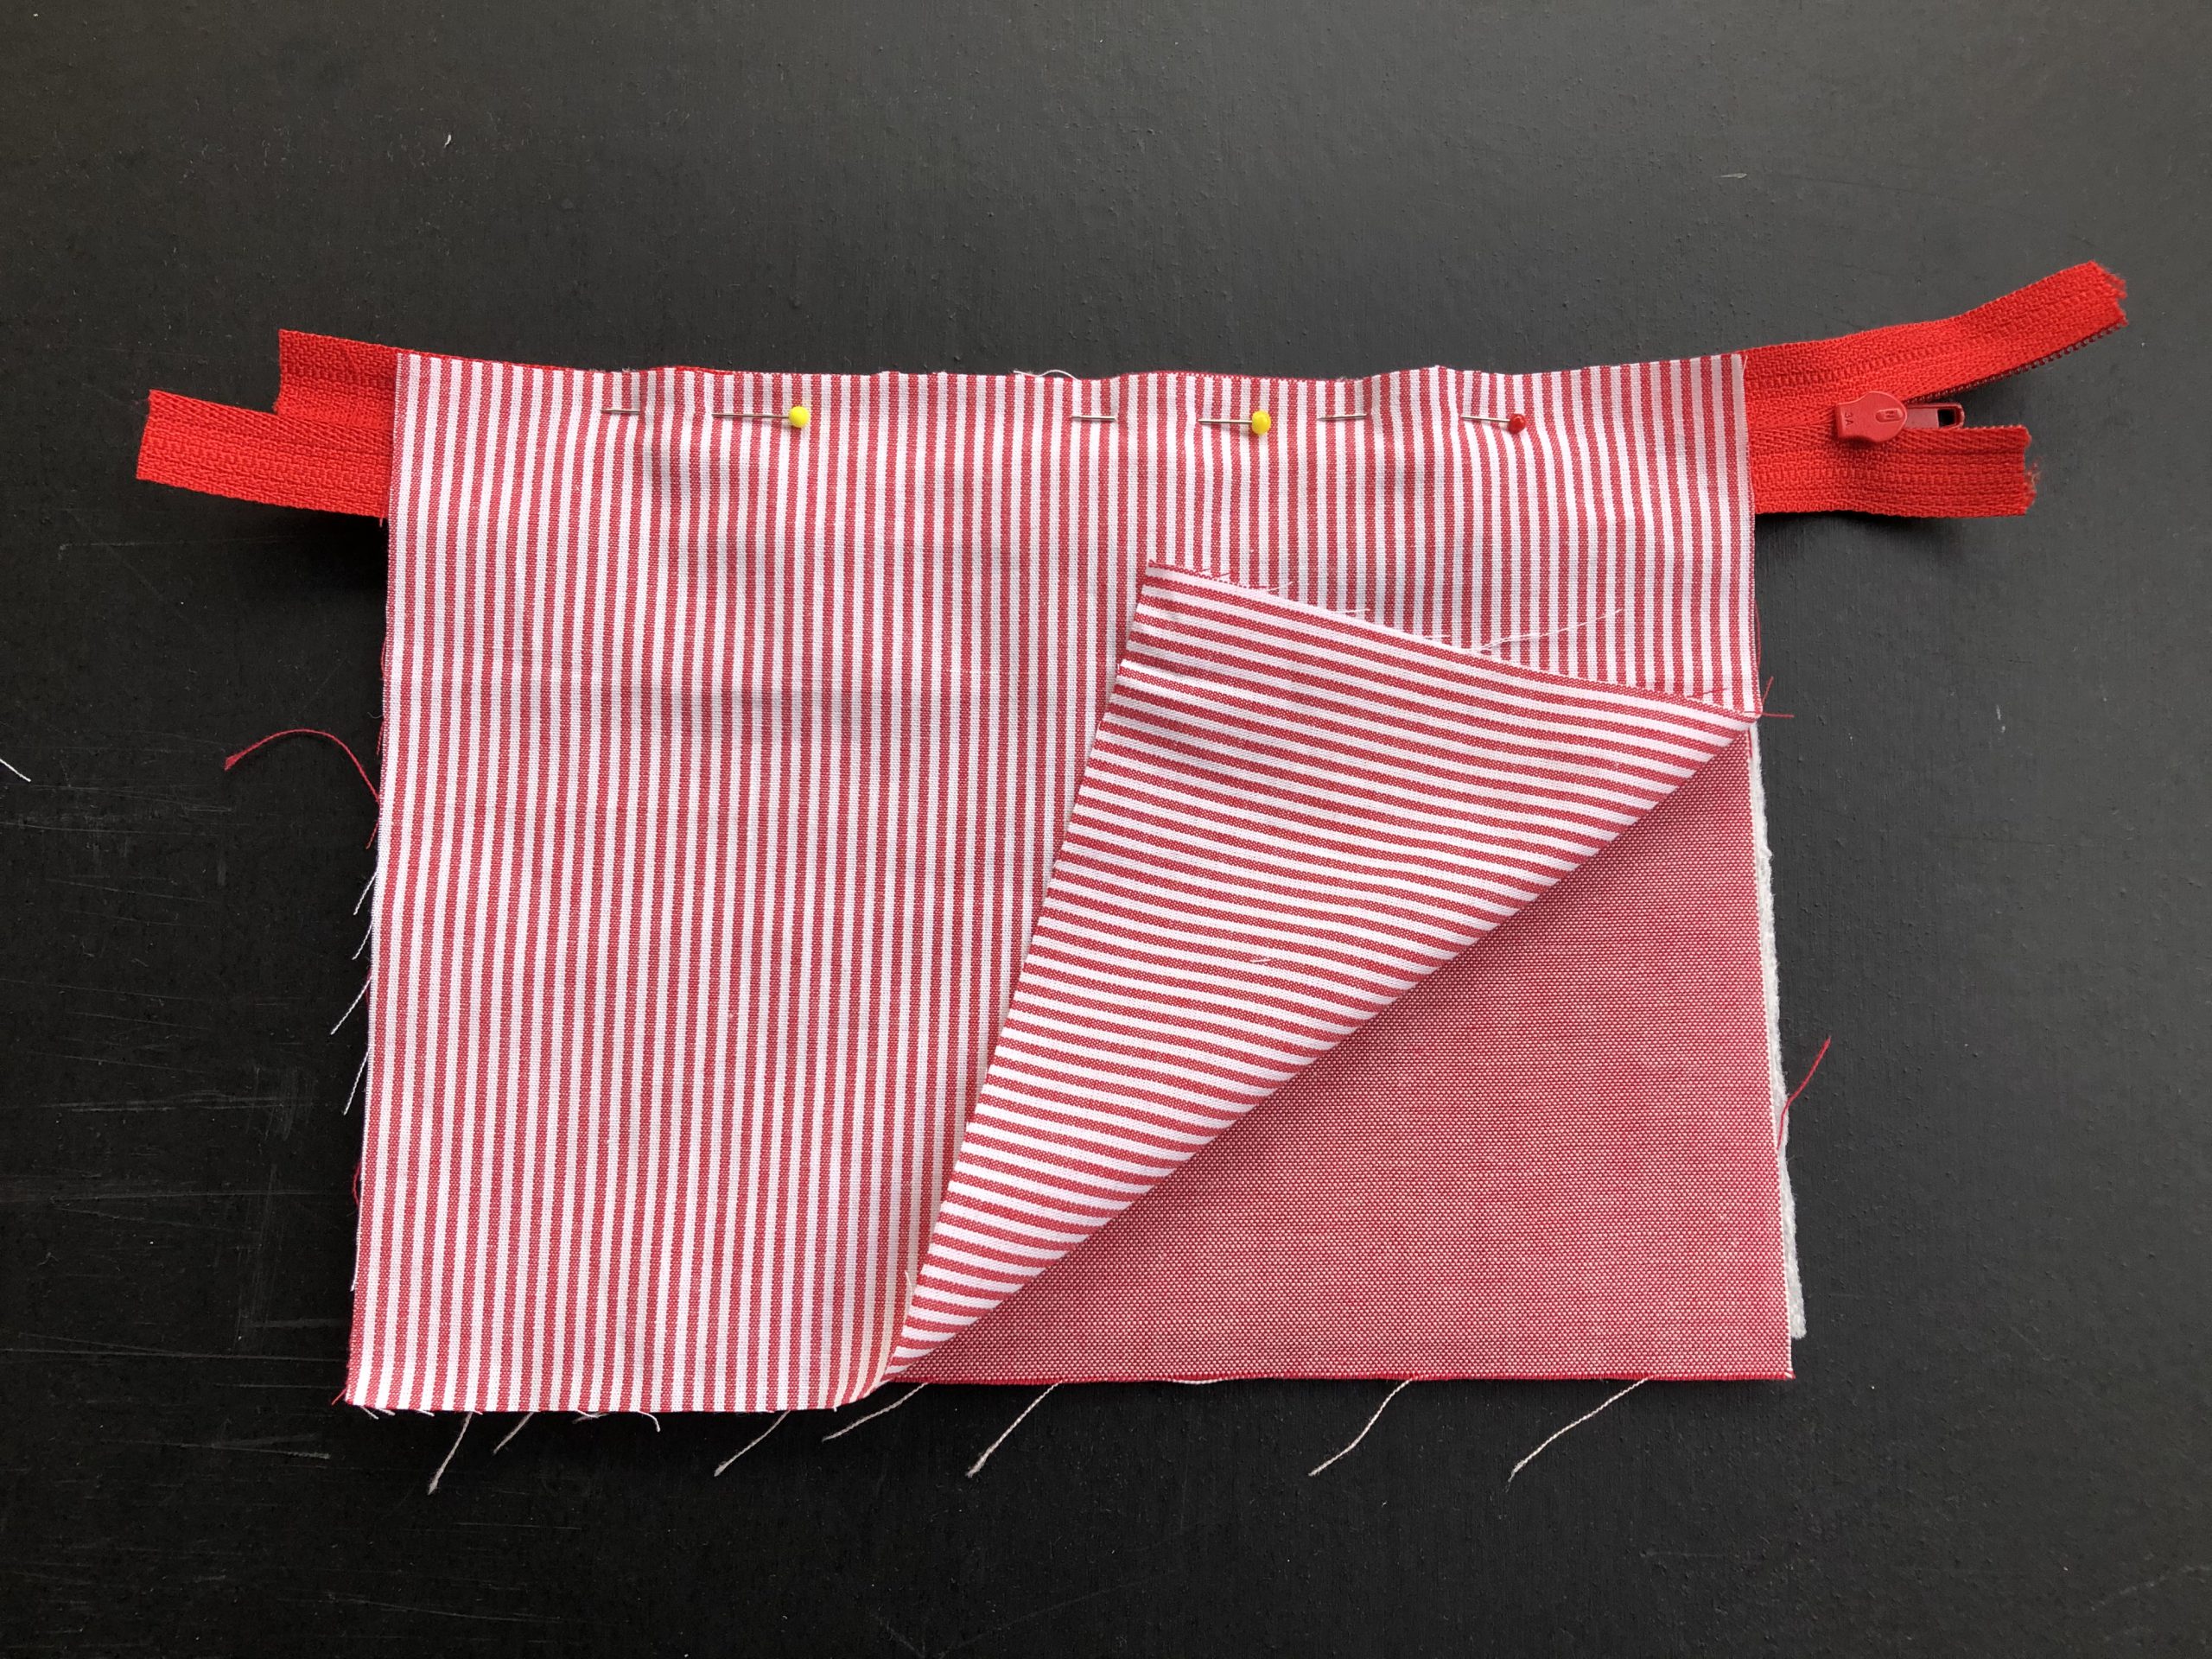
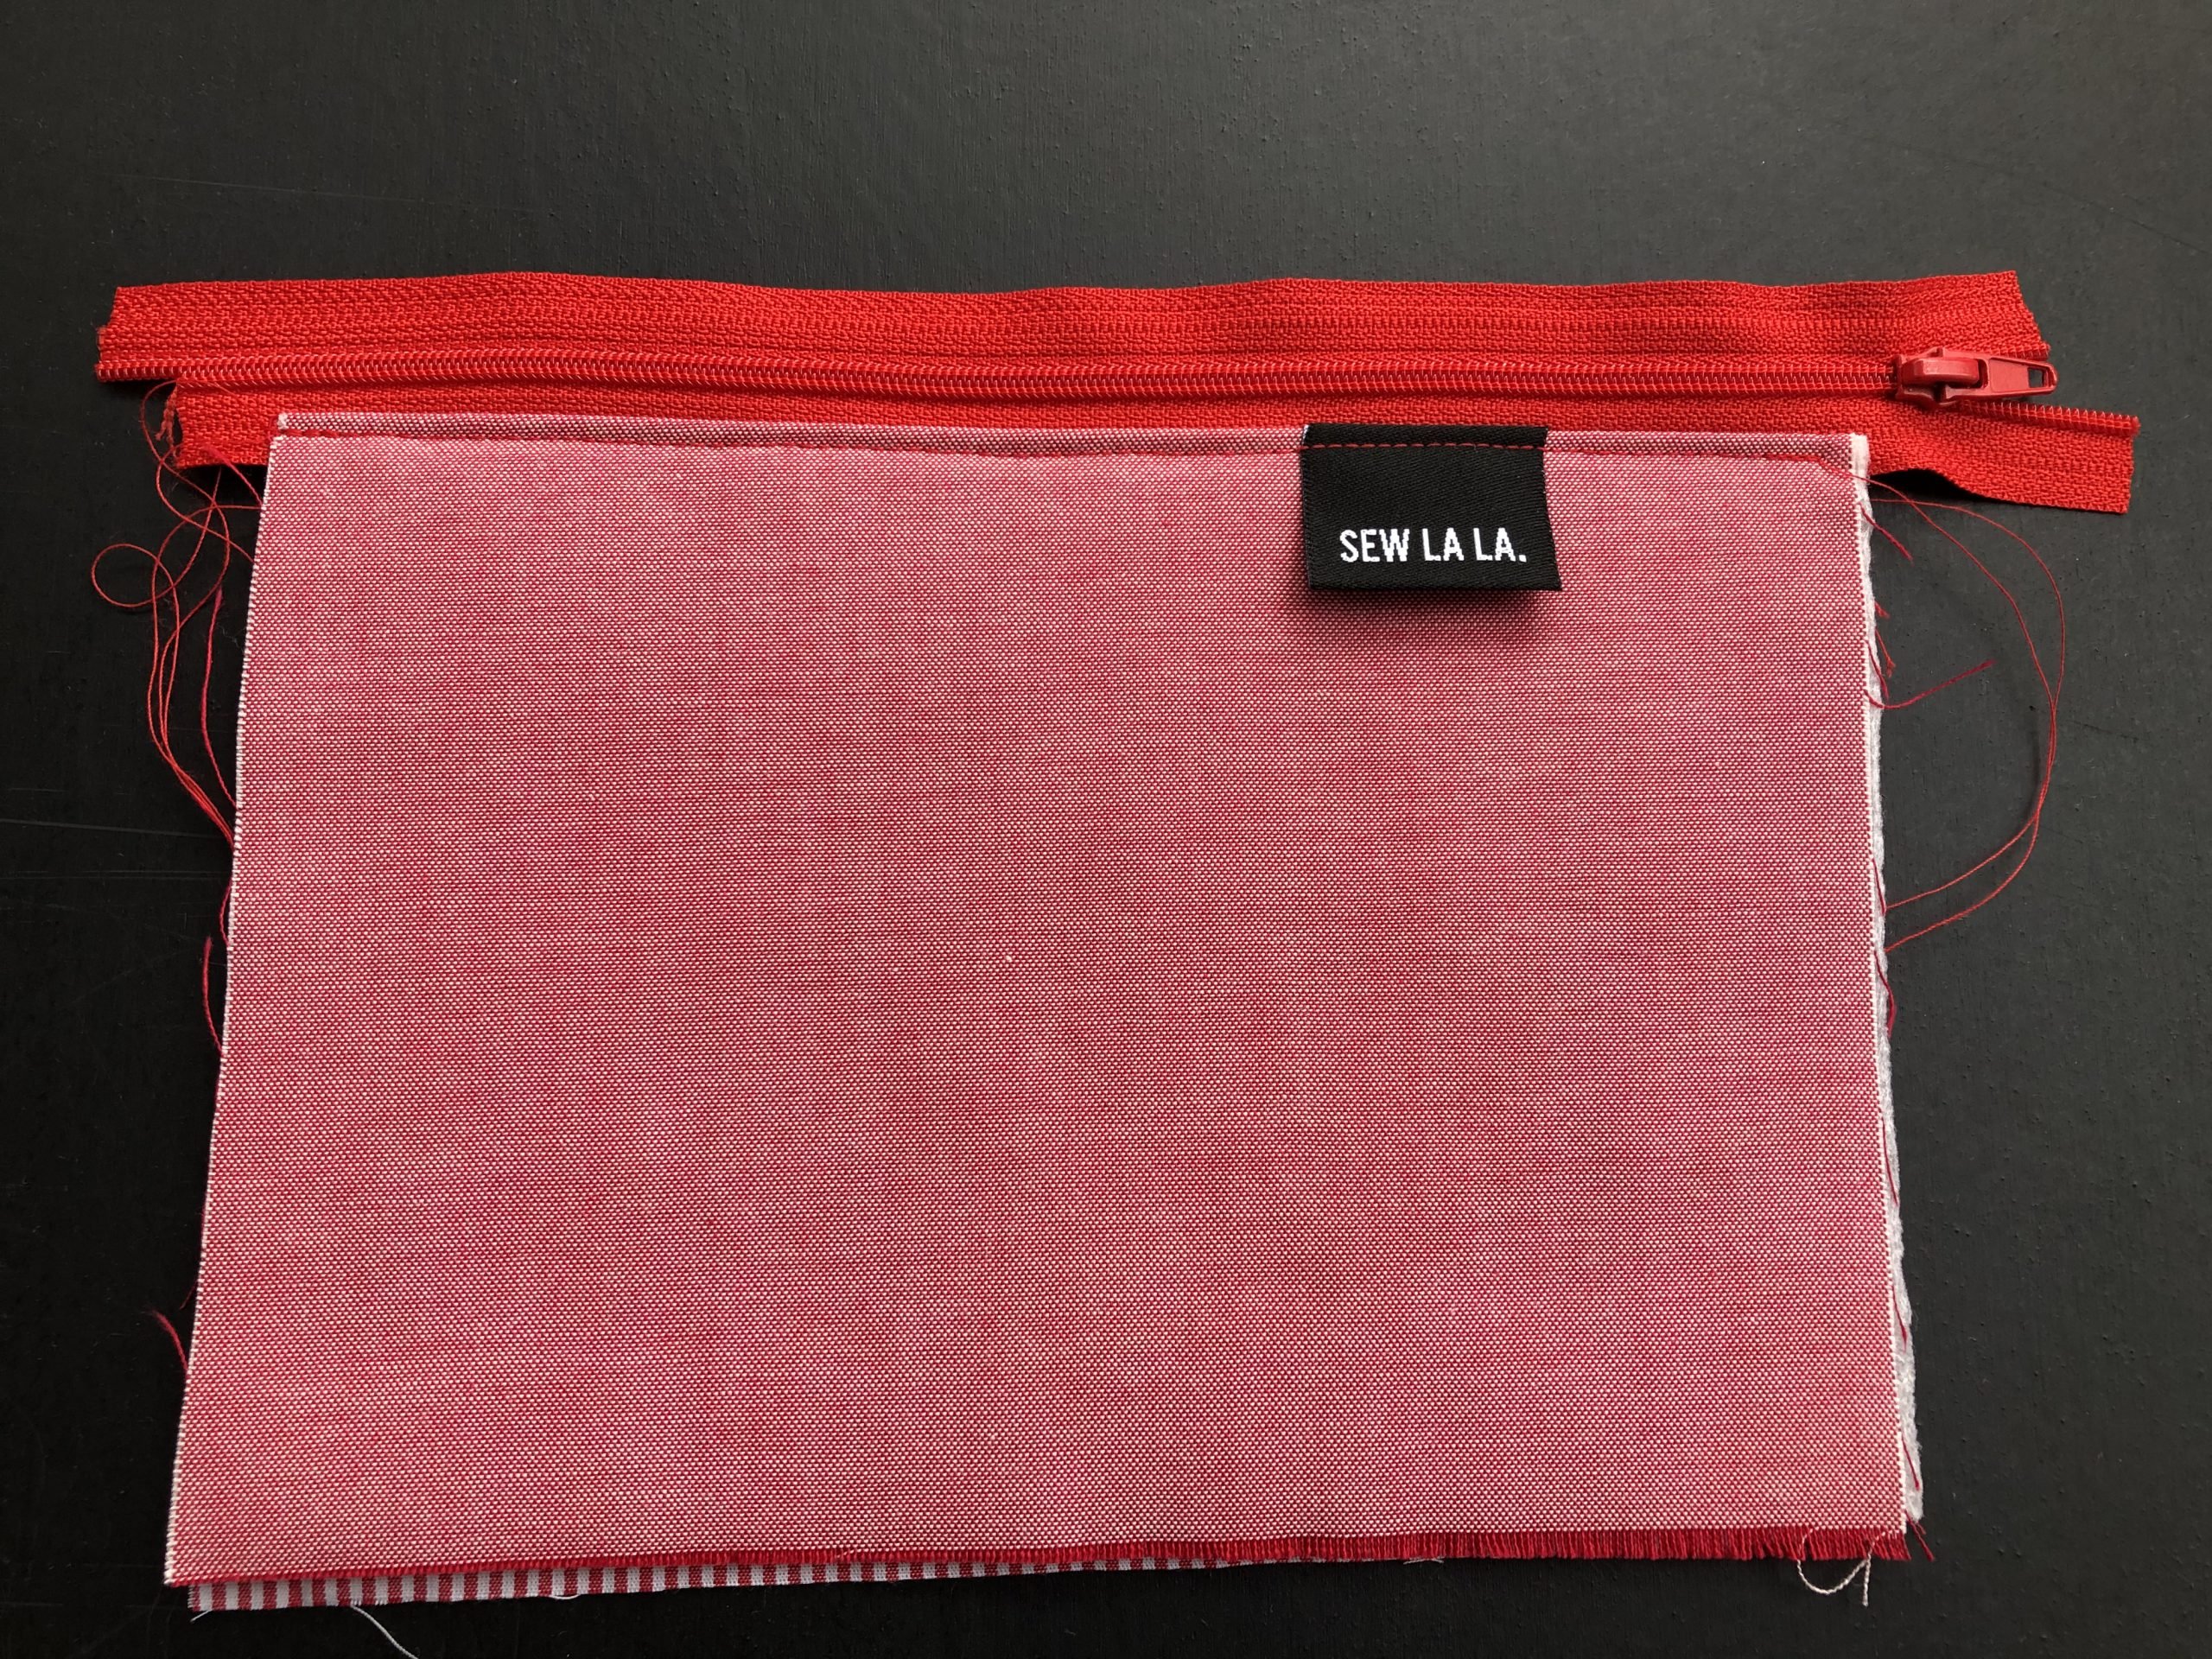
First, place the zipper with the side with the teeth on the shell fabric and place the lining fabric over it (the larger rectangles of the divided squares). Insert the zipper foot and stitch. If you like, you can now incorporate a woven label.
Fold the fabric over and topstitch again on the right side.
Now stitch the two smaller rectangles onto the zipper as you did with the larger rectangles.
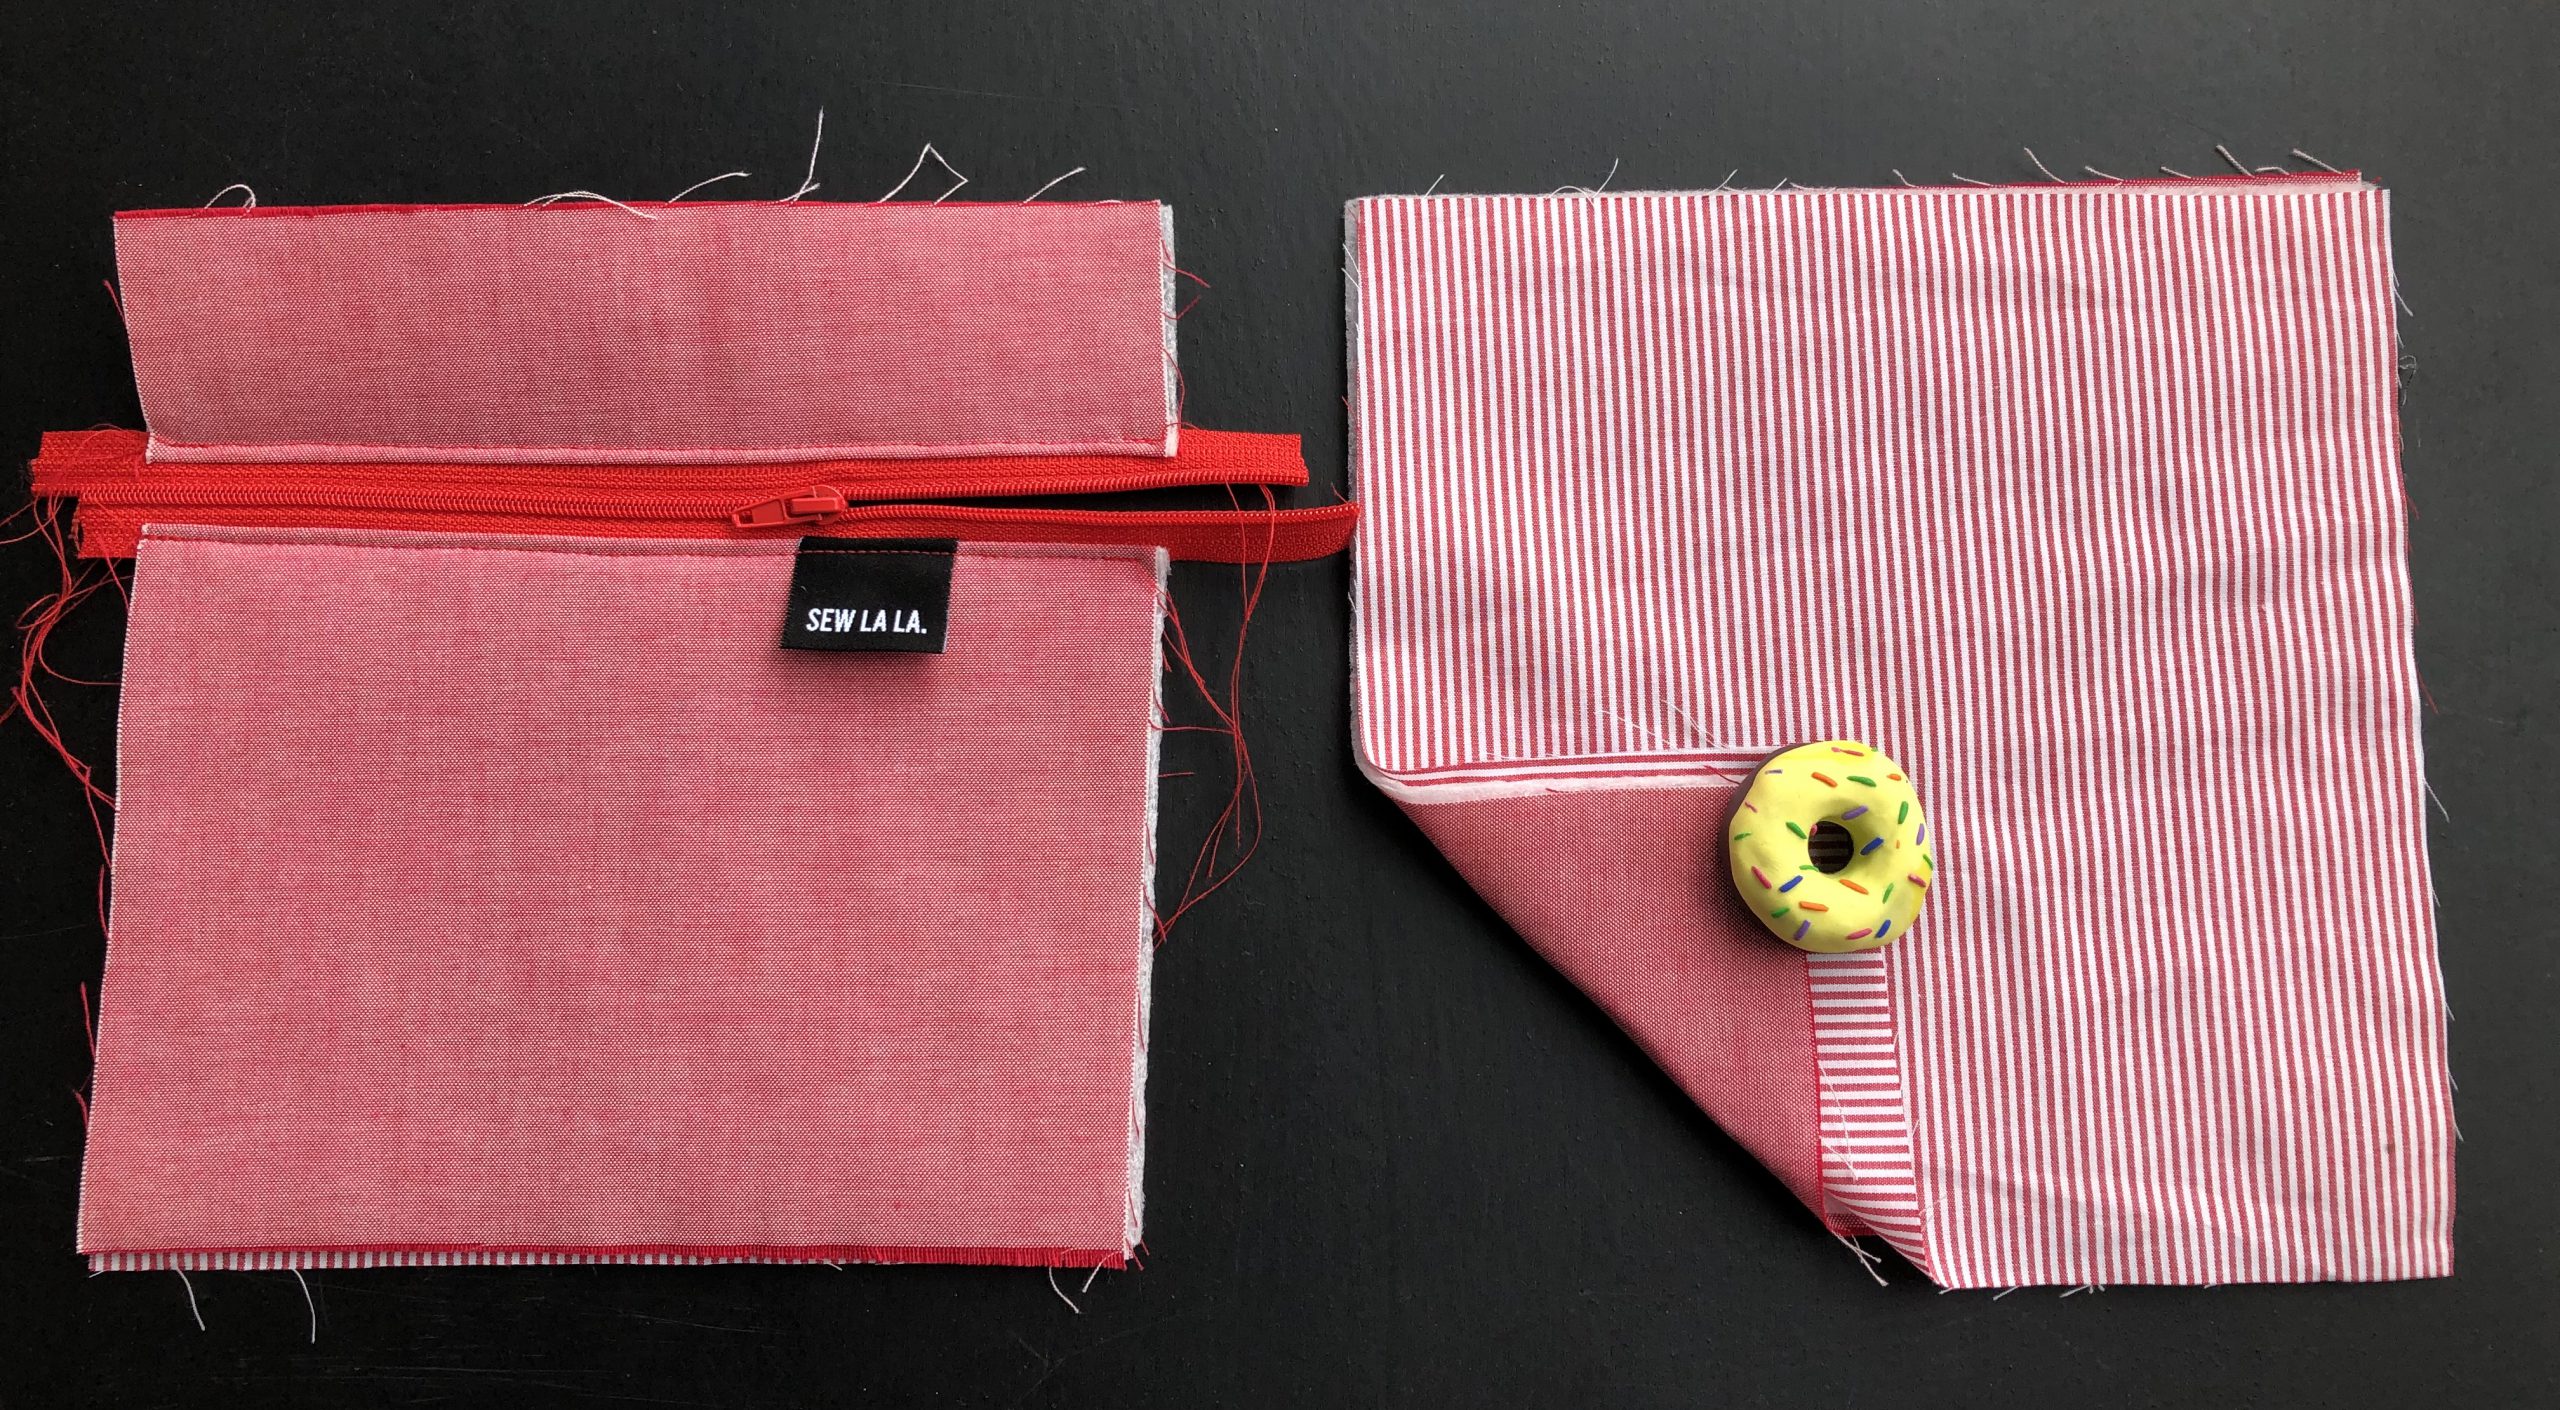
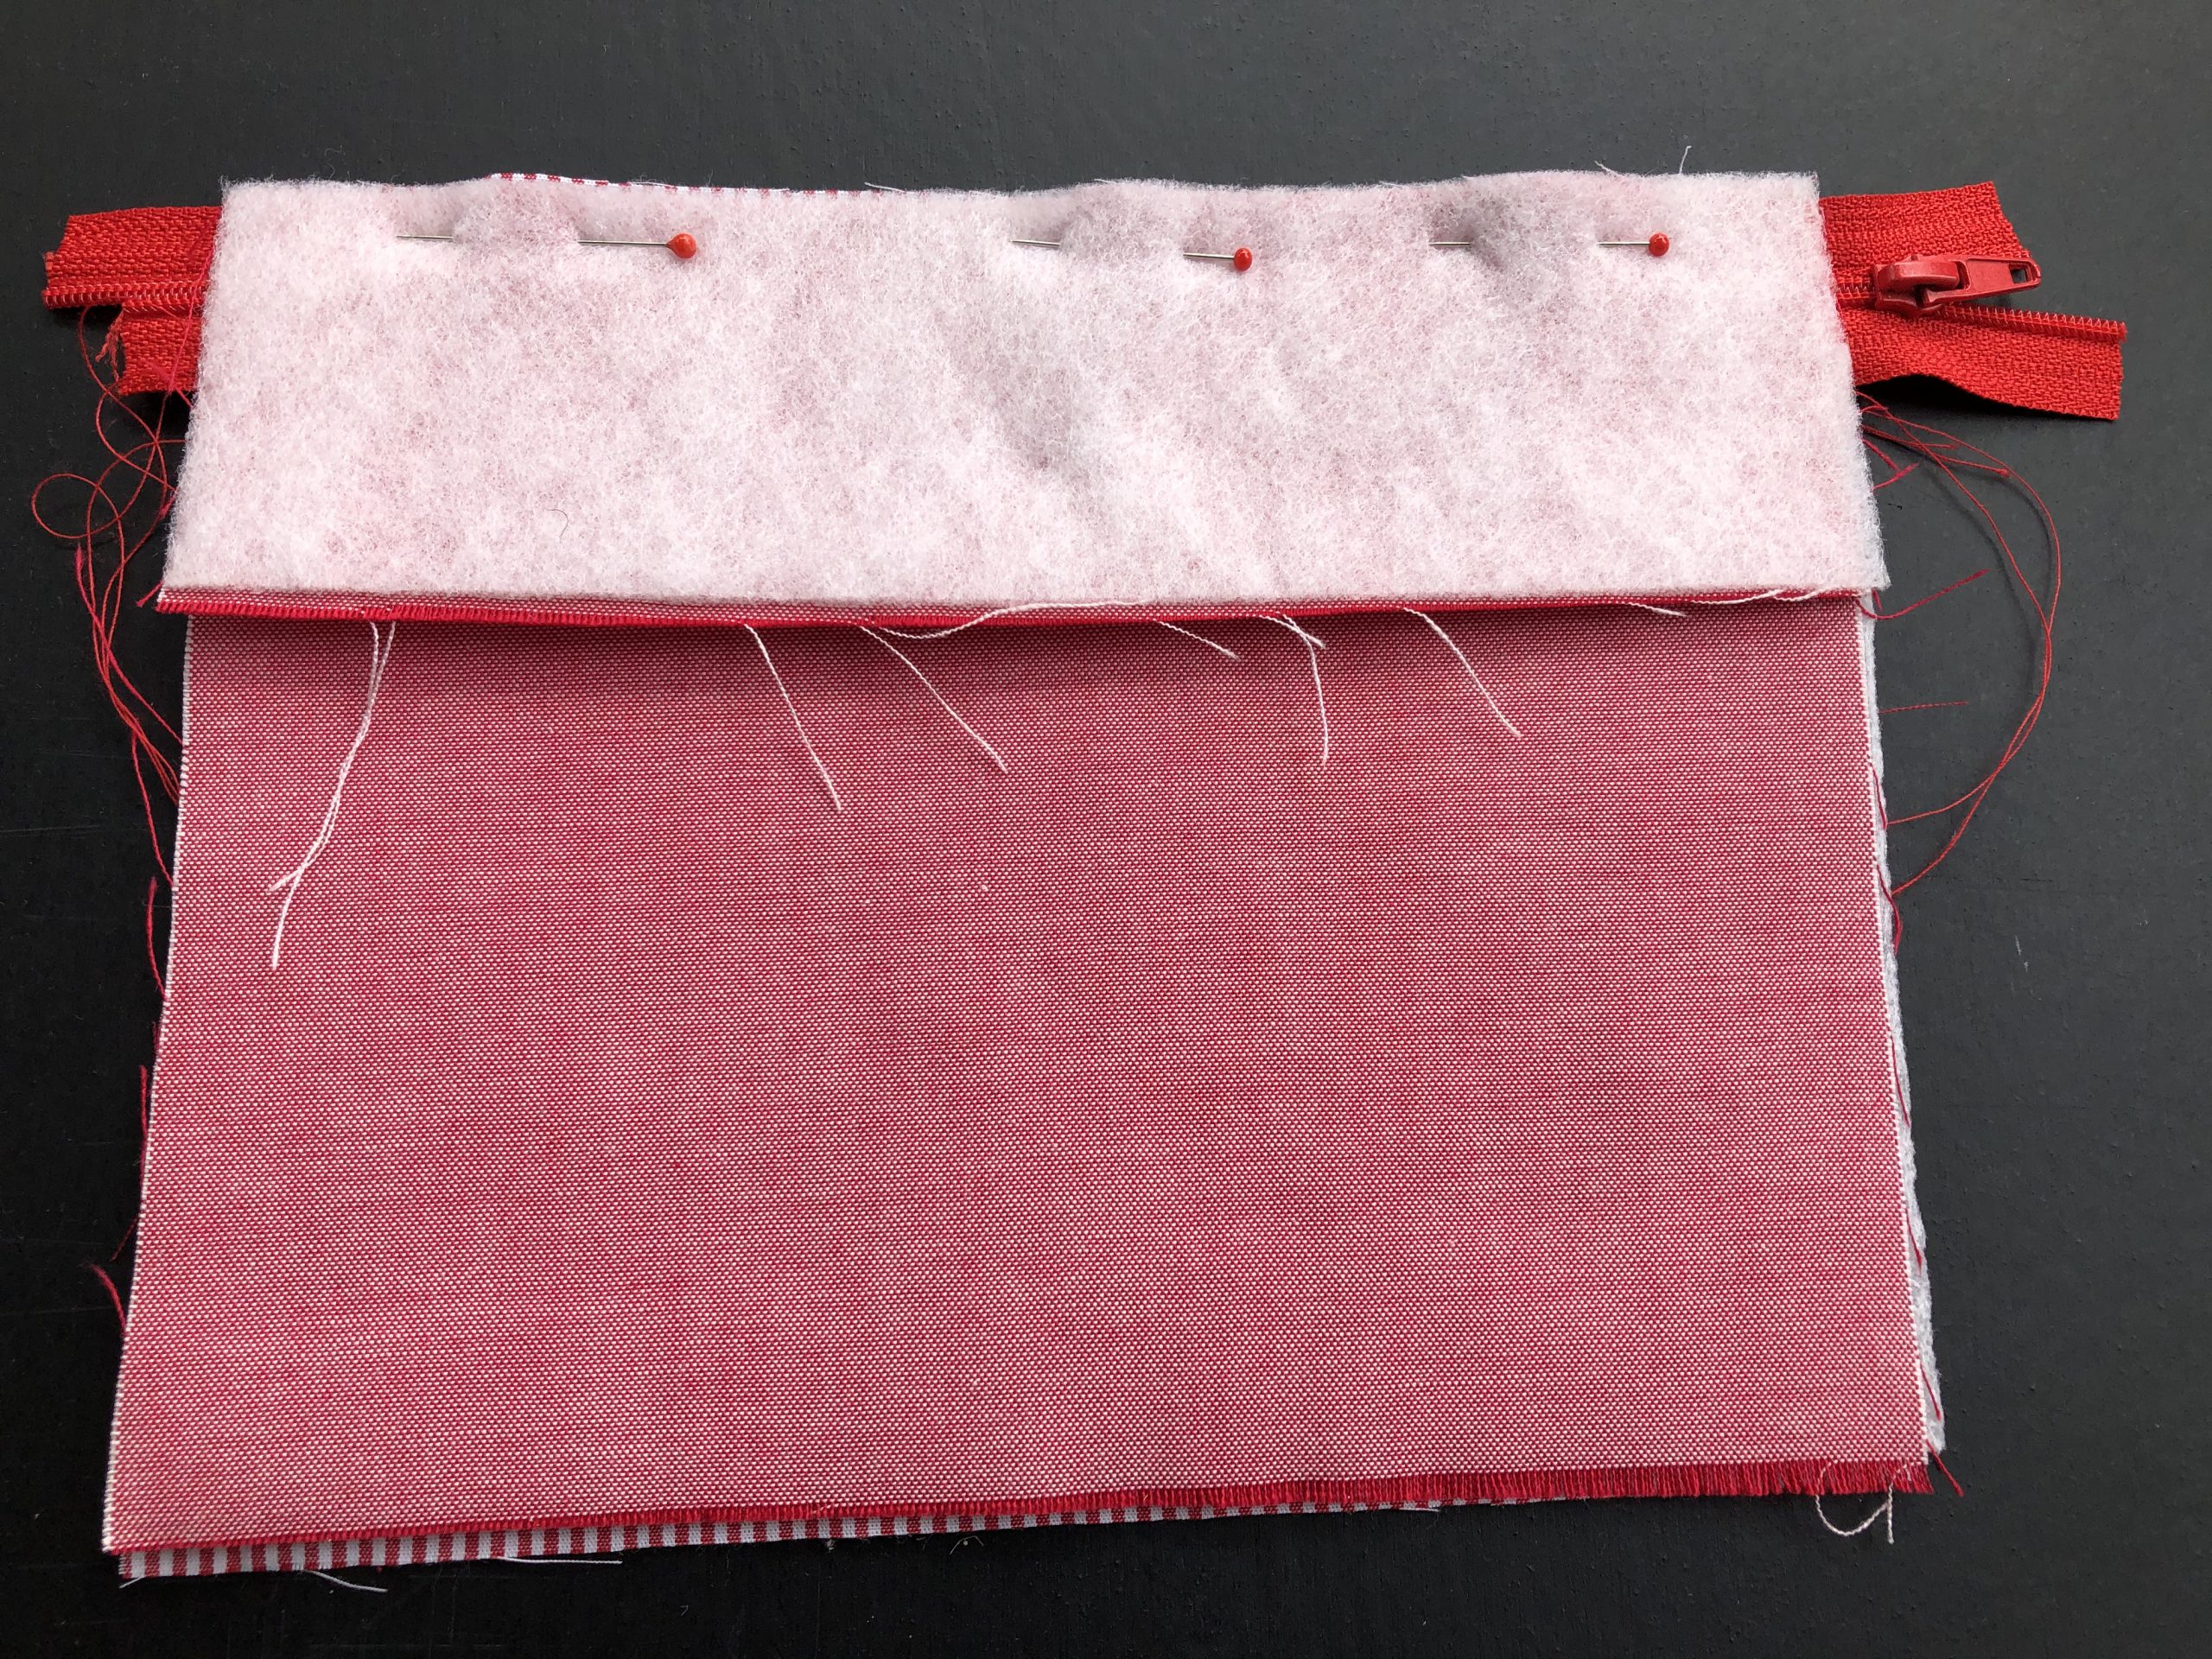
We now have our square with a zipper (two of them). From the other squares, we now take a square of shell fabric with ironed-on fleece and a square of lining fabric. Place these with the wrong sides together. Place this sandwich onto the square with zipper with the right sides together. Pin.
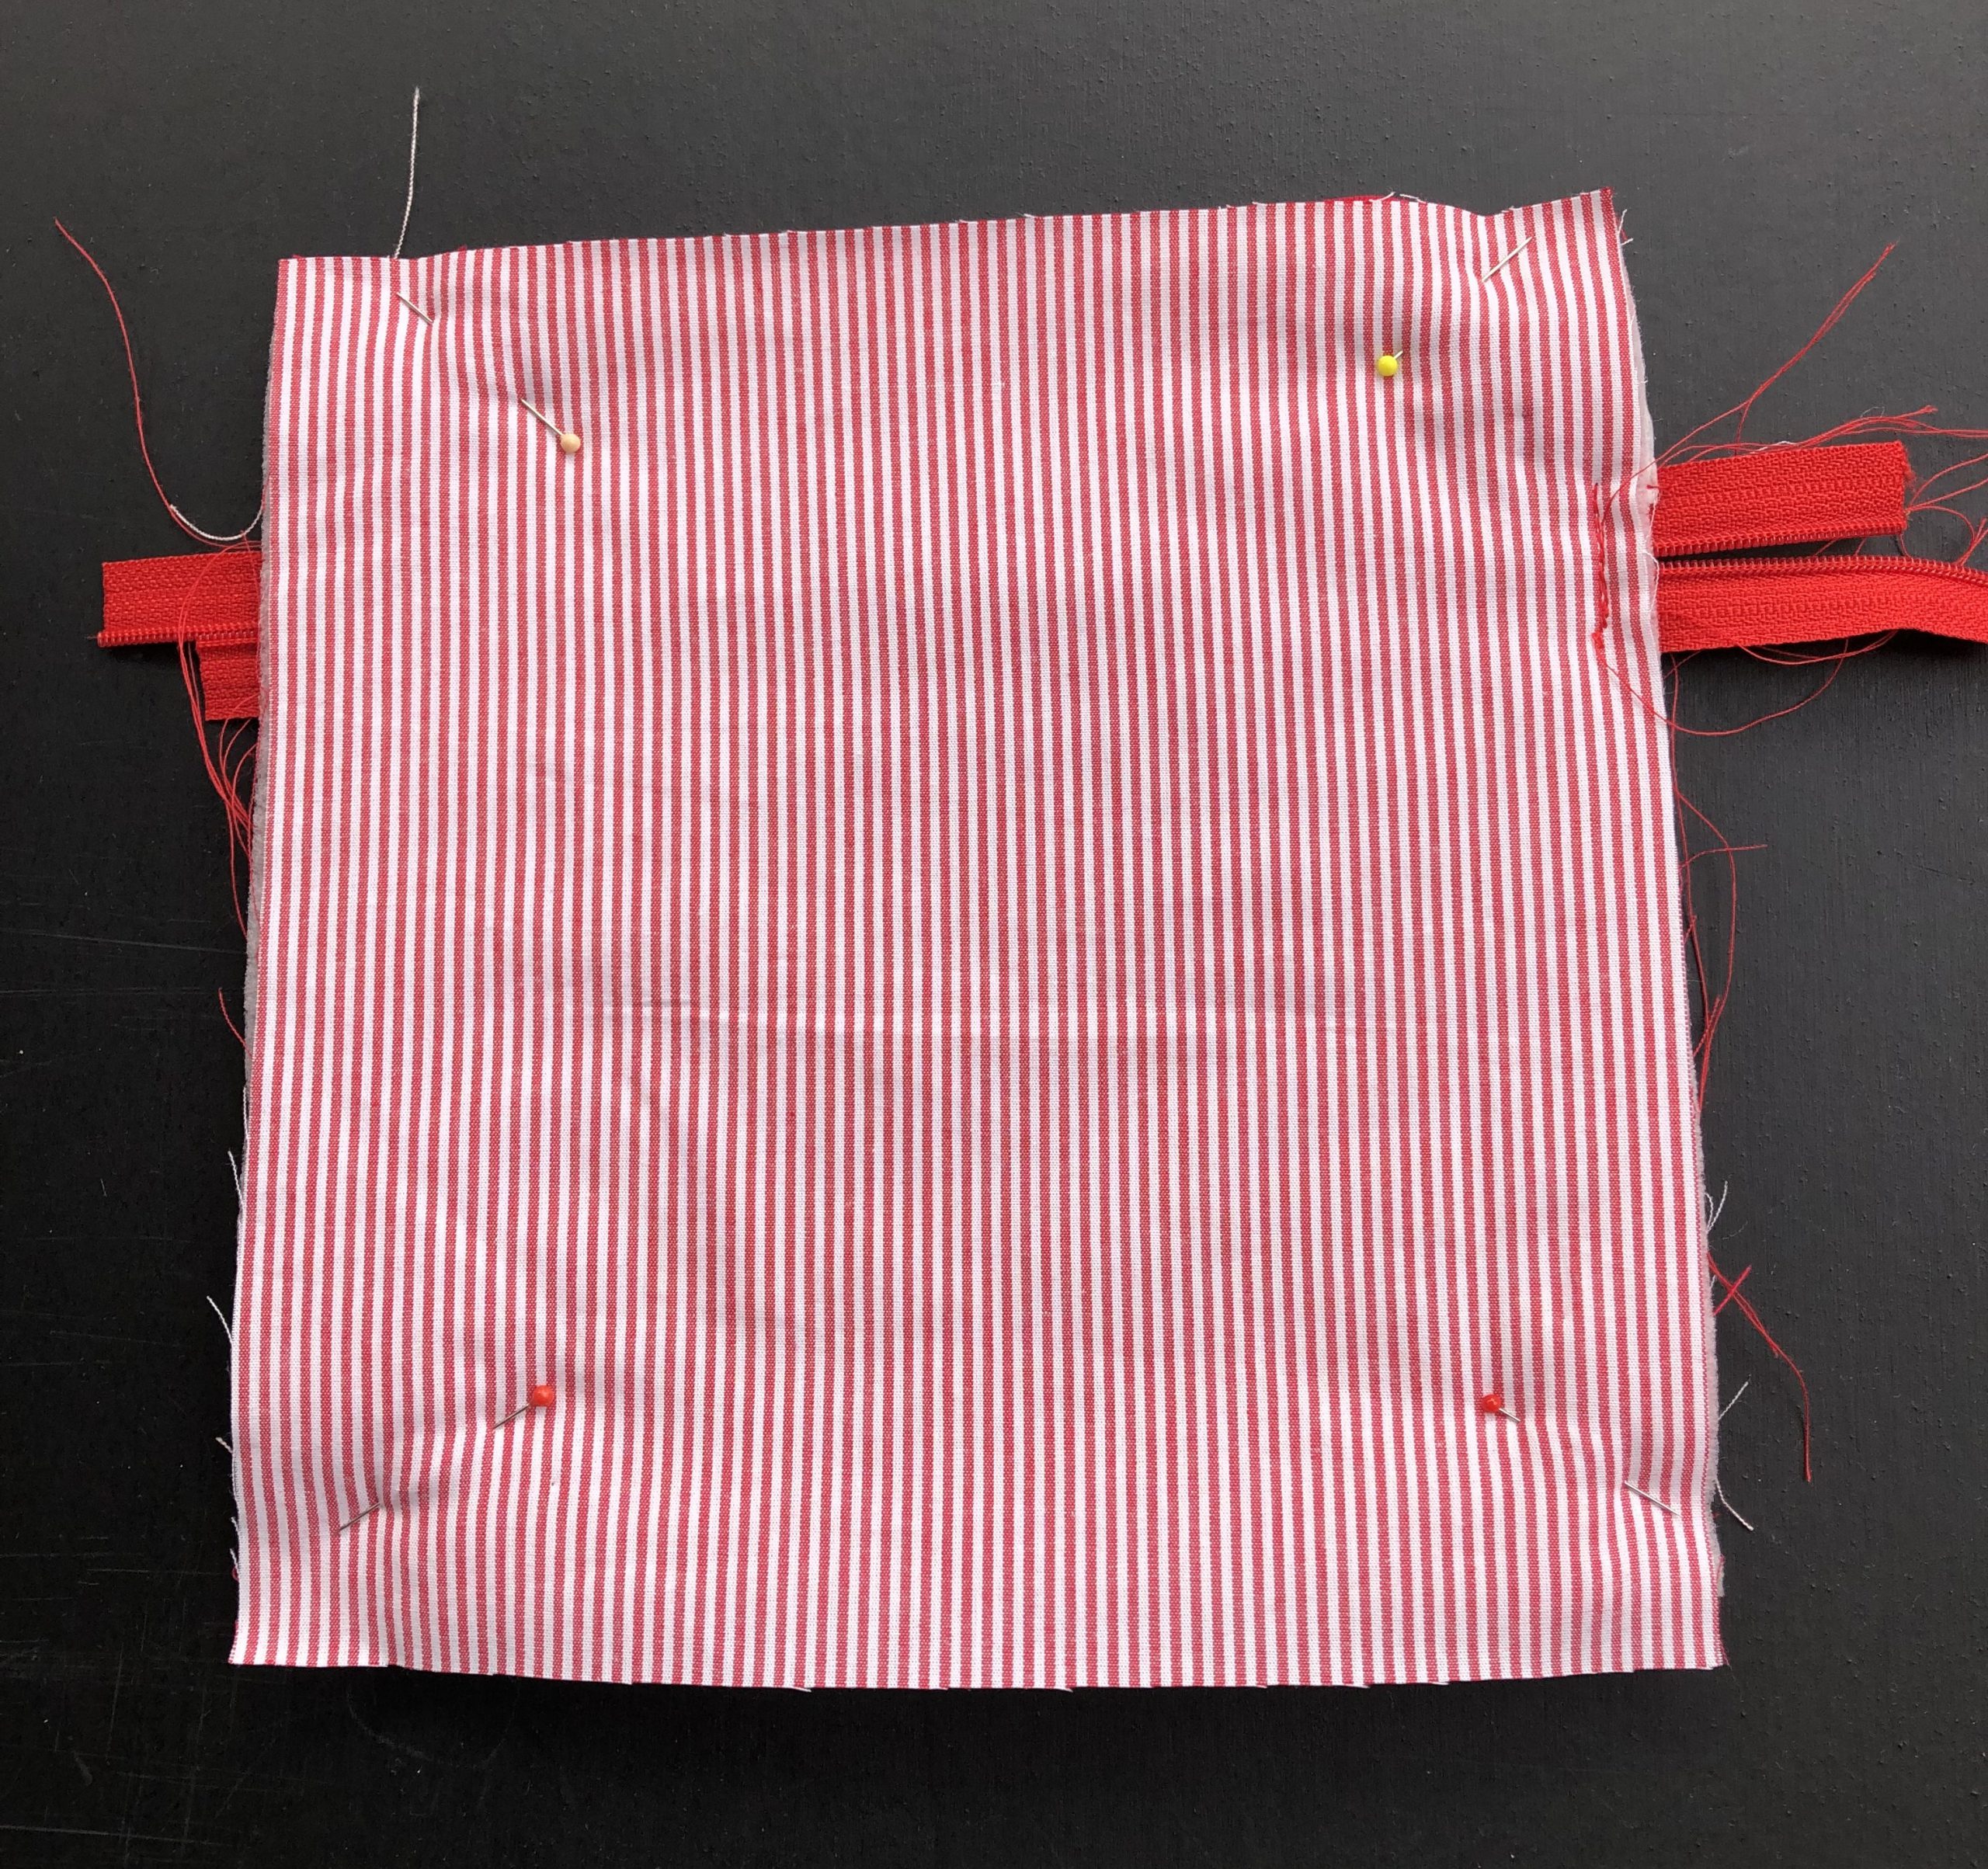
The zipper has to be open so that we can turn it later. To stop the zipper from accidentally gaping open while sewing, it is a good idea to quickly stitch it in place.
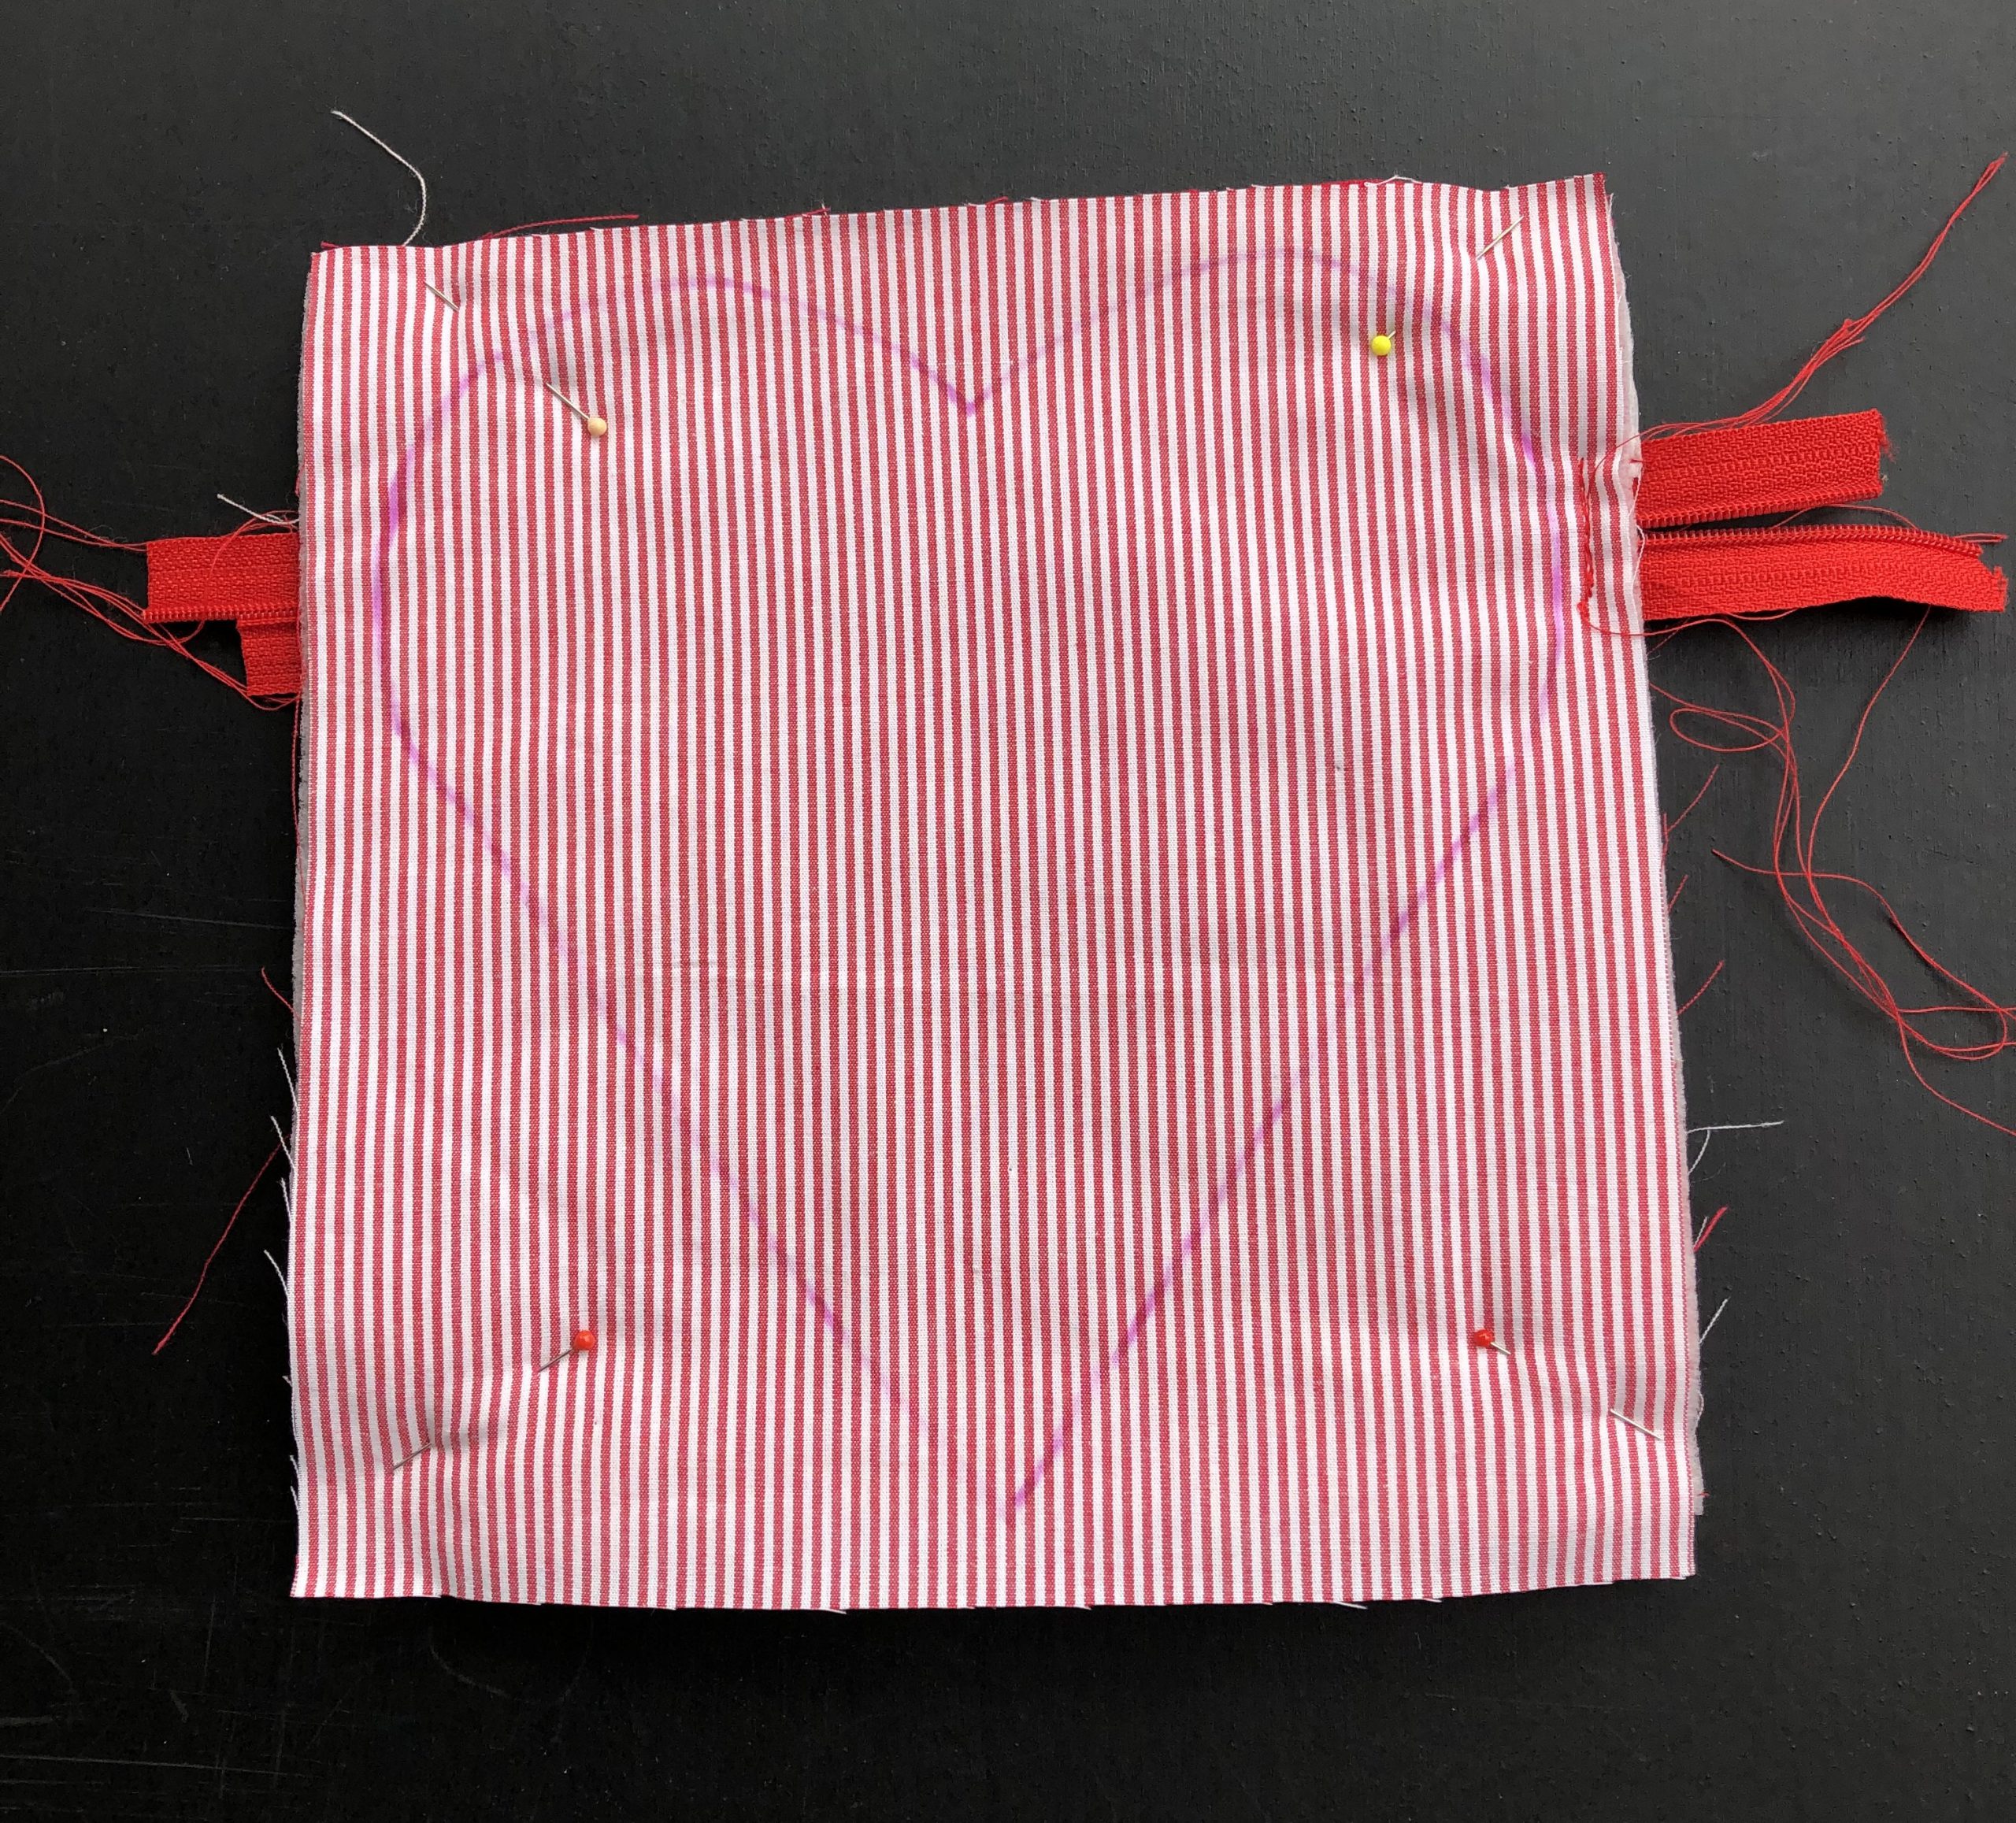
Put on the heart template and draw the heart with a trick marker or chalk. Reduce the stitch length (I set it to 1.5).
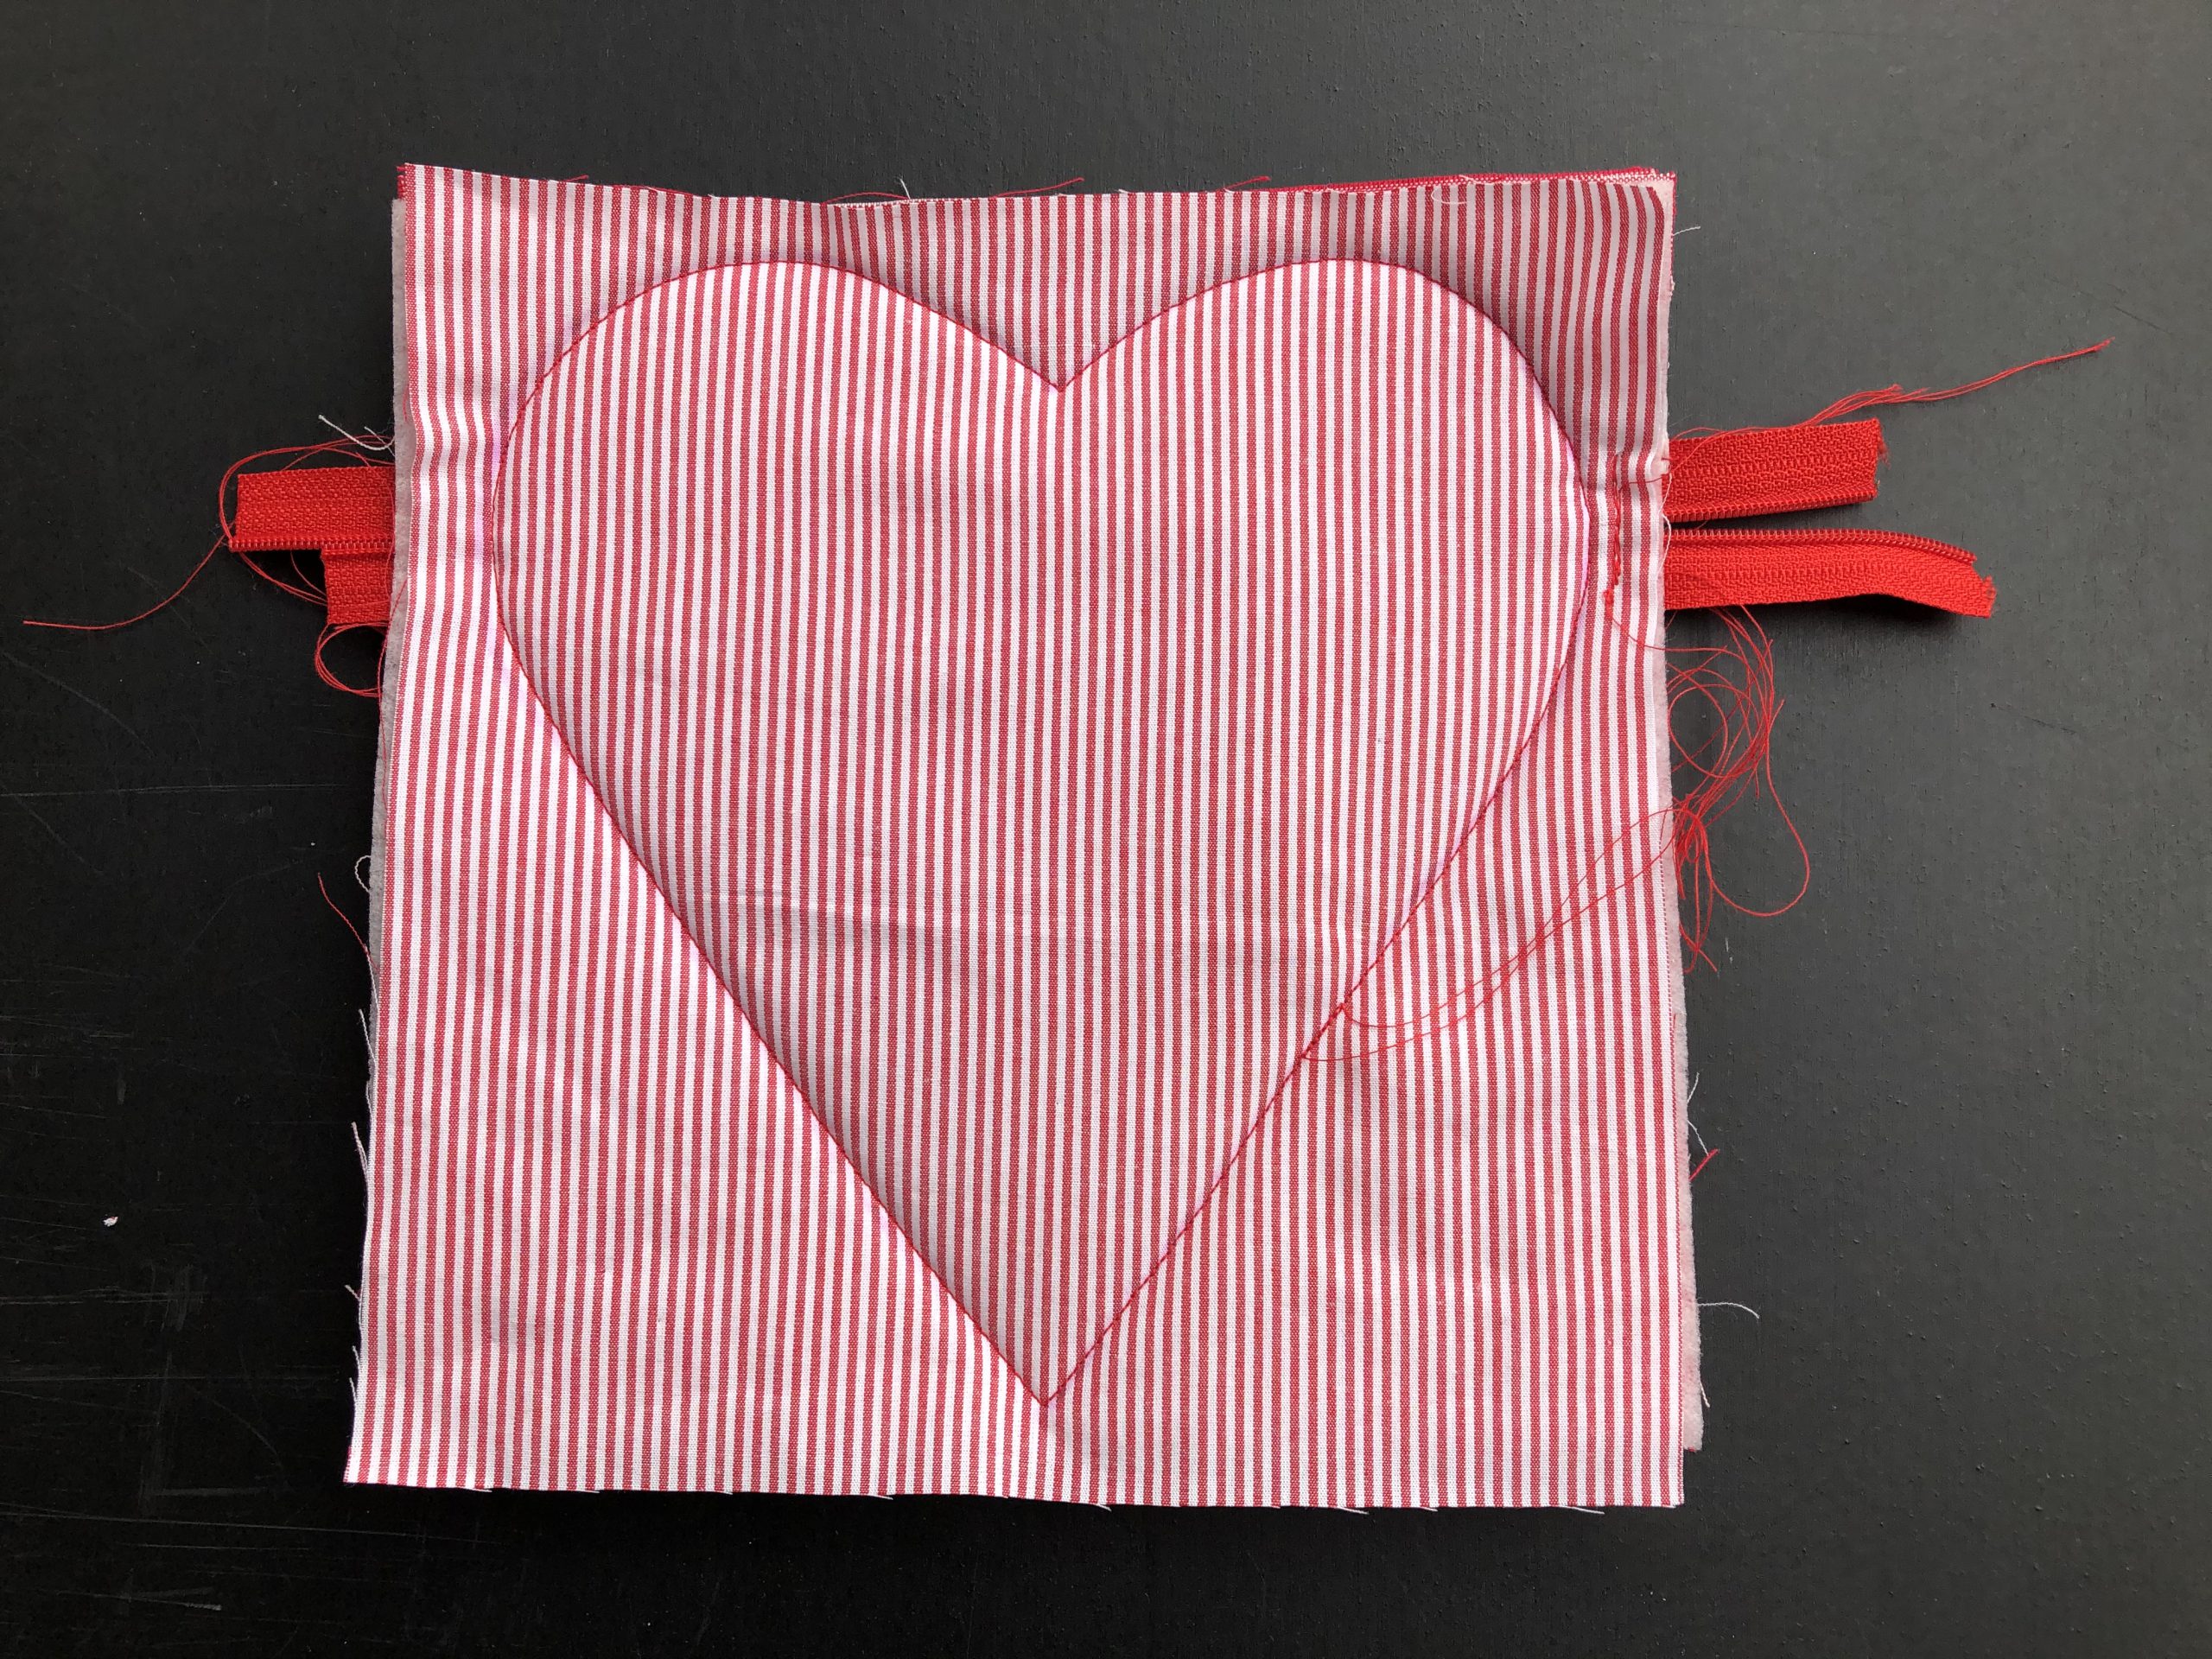
Sew round the heart shape once using the small stitch length.
Afterwards, trim off the excess close to the edge; this is important so that the heart looks nice when it is turned.

Turn the heart pouch and iron if necessary (depending on the type of fabric). If you open the pocket now, you will see the seam allowance inside. I think it looks unsightly. We can either use bias tape or topstitching. It is very laborious to bind the edges on the inside of the heart with bias tape. I therefore just topstitched them from the outside. This was easier and faster.
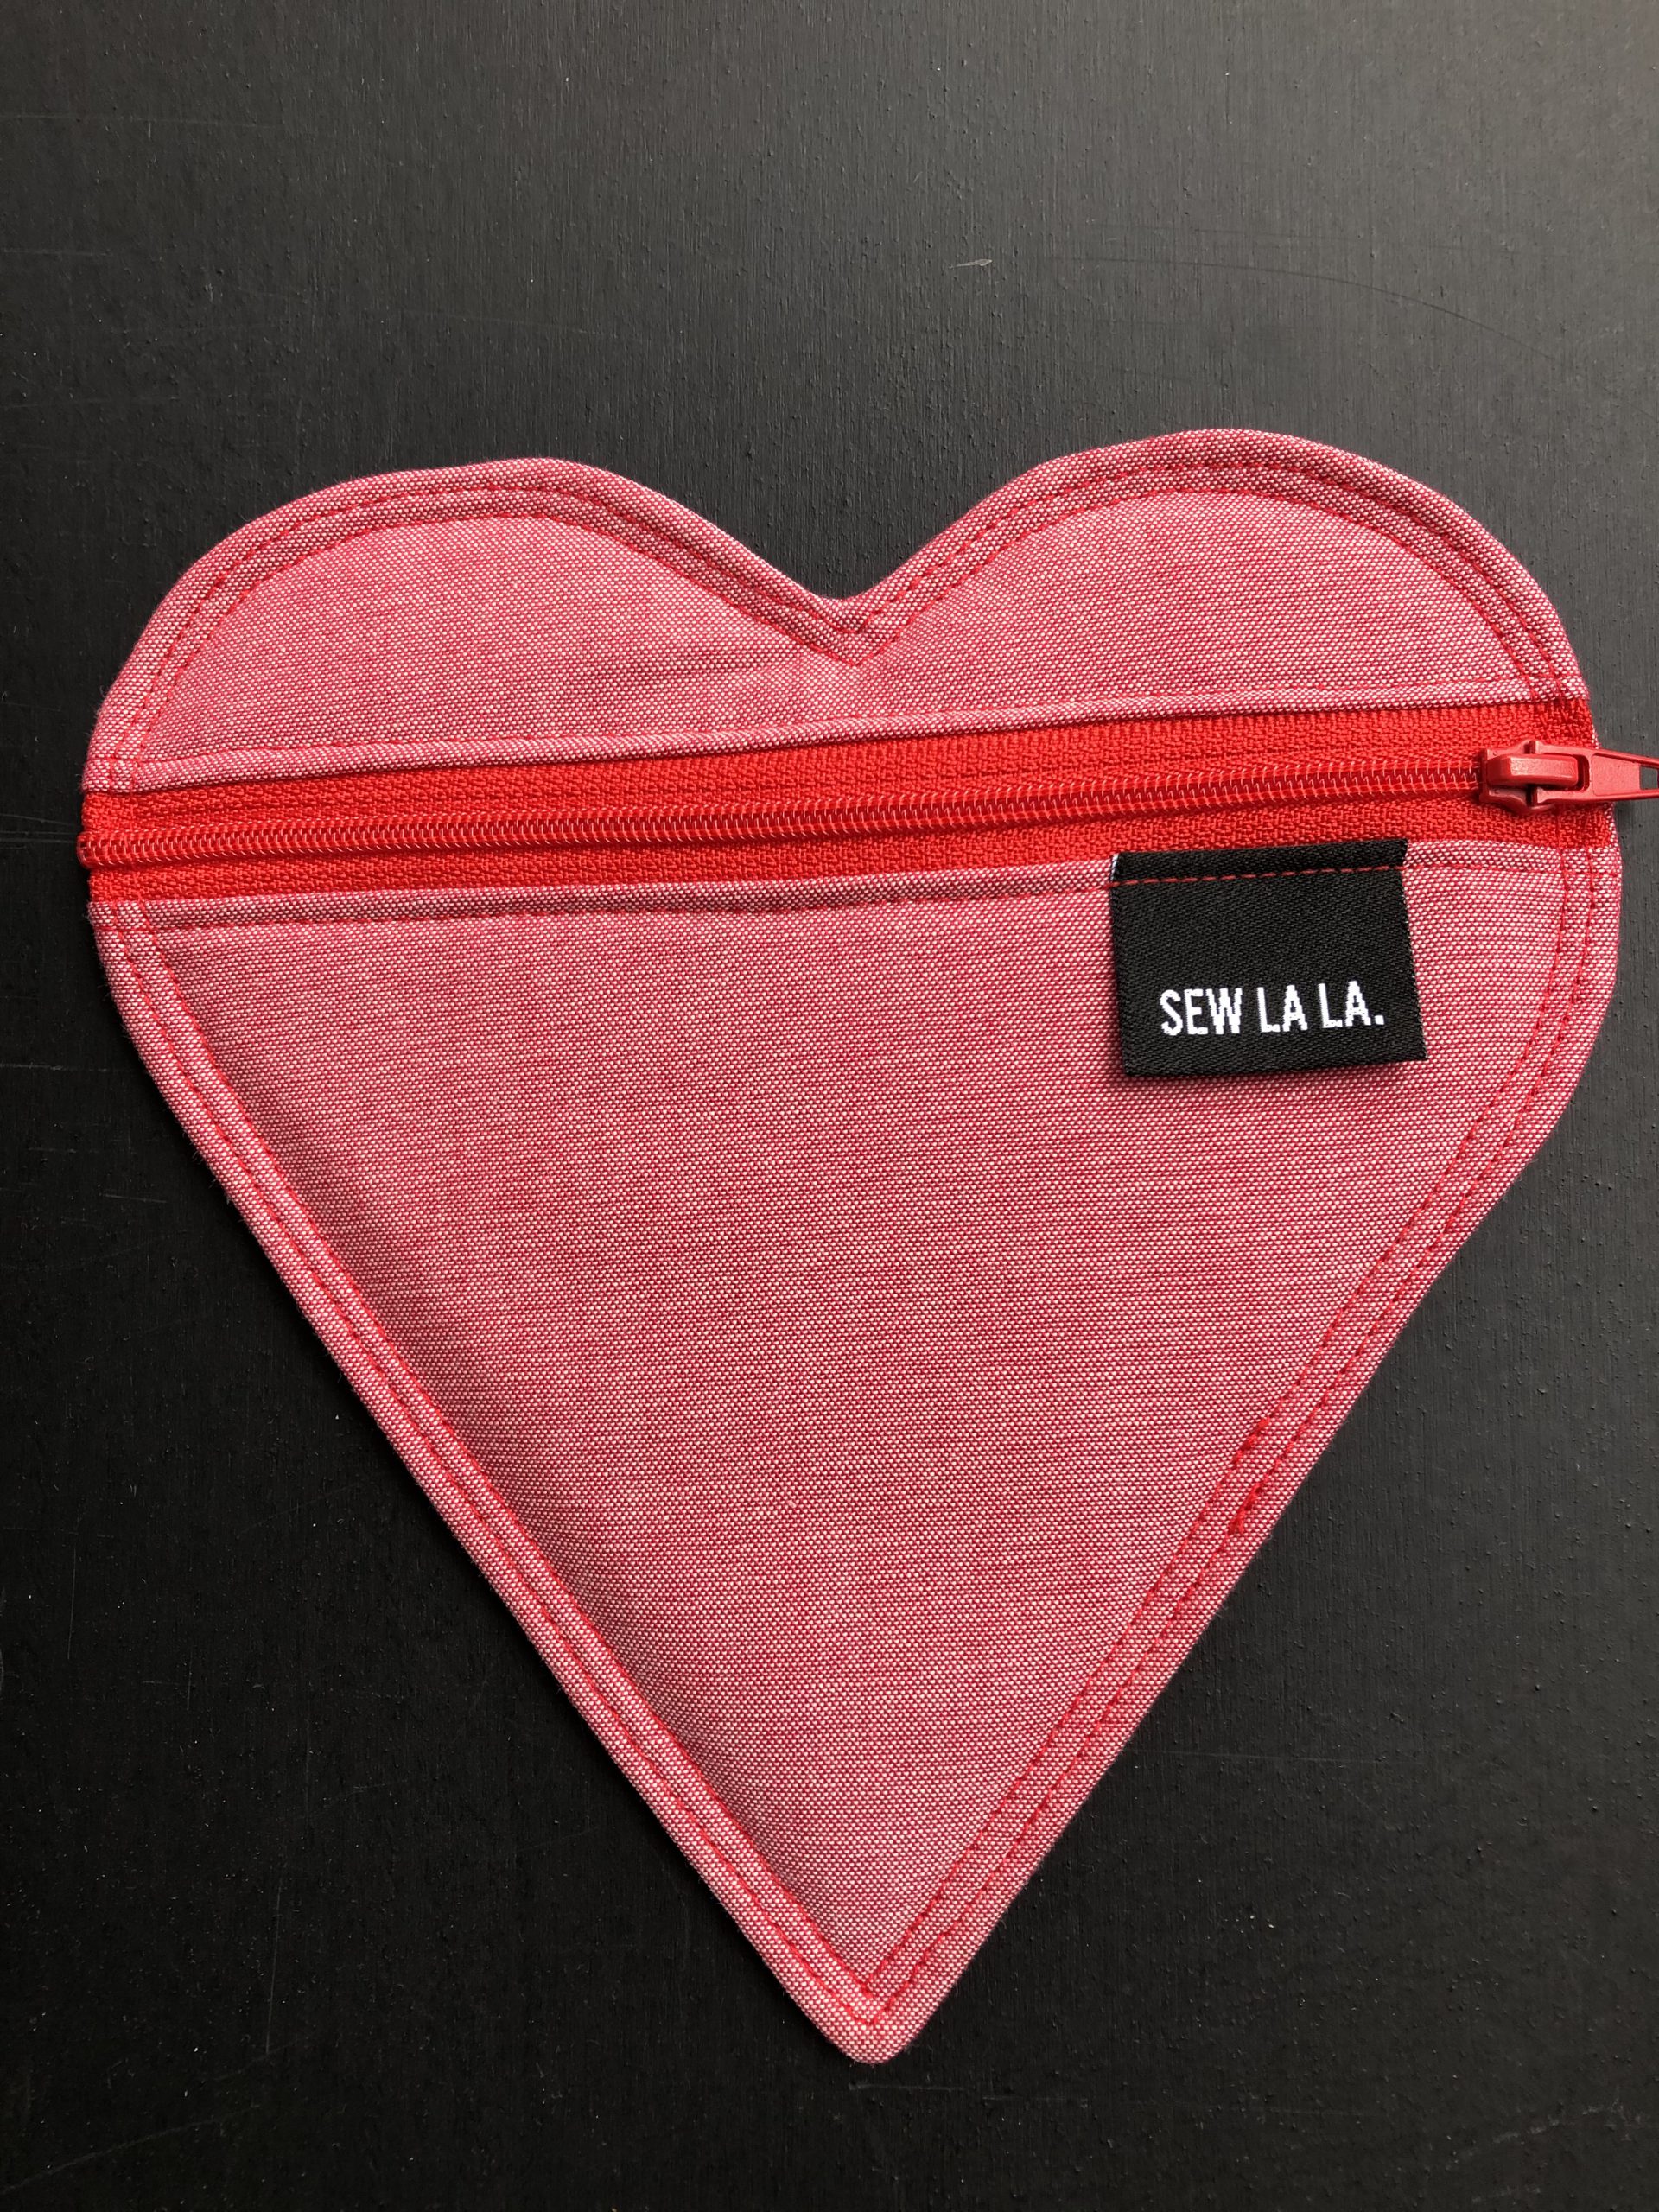
I did two rows of topstitching because I think it looks best. If you open the pouch now, everything looks nice and neat on the inside too.
And you’re done! That’s how easy it is to sew a heart-shaped pouch. Now all you have to do is find the right thing to go inside.
I wish you a happy, peaceful Christmas. Stay safe.
Best wishes, Kathi


This is such a cute, cute idea!
Is there a pdf that I can save all these wonderful advent patterns?
Hello Donna,
There is no PDF, but you can make your own. I dont know which browser you use, but with Chrome I can click on the 3 dots on the right of the adress bar. Then choose “print” and instead of a Printer, choose “Save as PDF”.
Another way to safe it would be by making a collection in your Browsers Library/Favorites.
I hope this works for you 🙂