 BERNINA Corporate Blog -
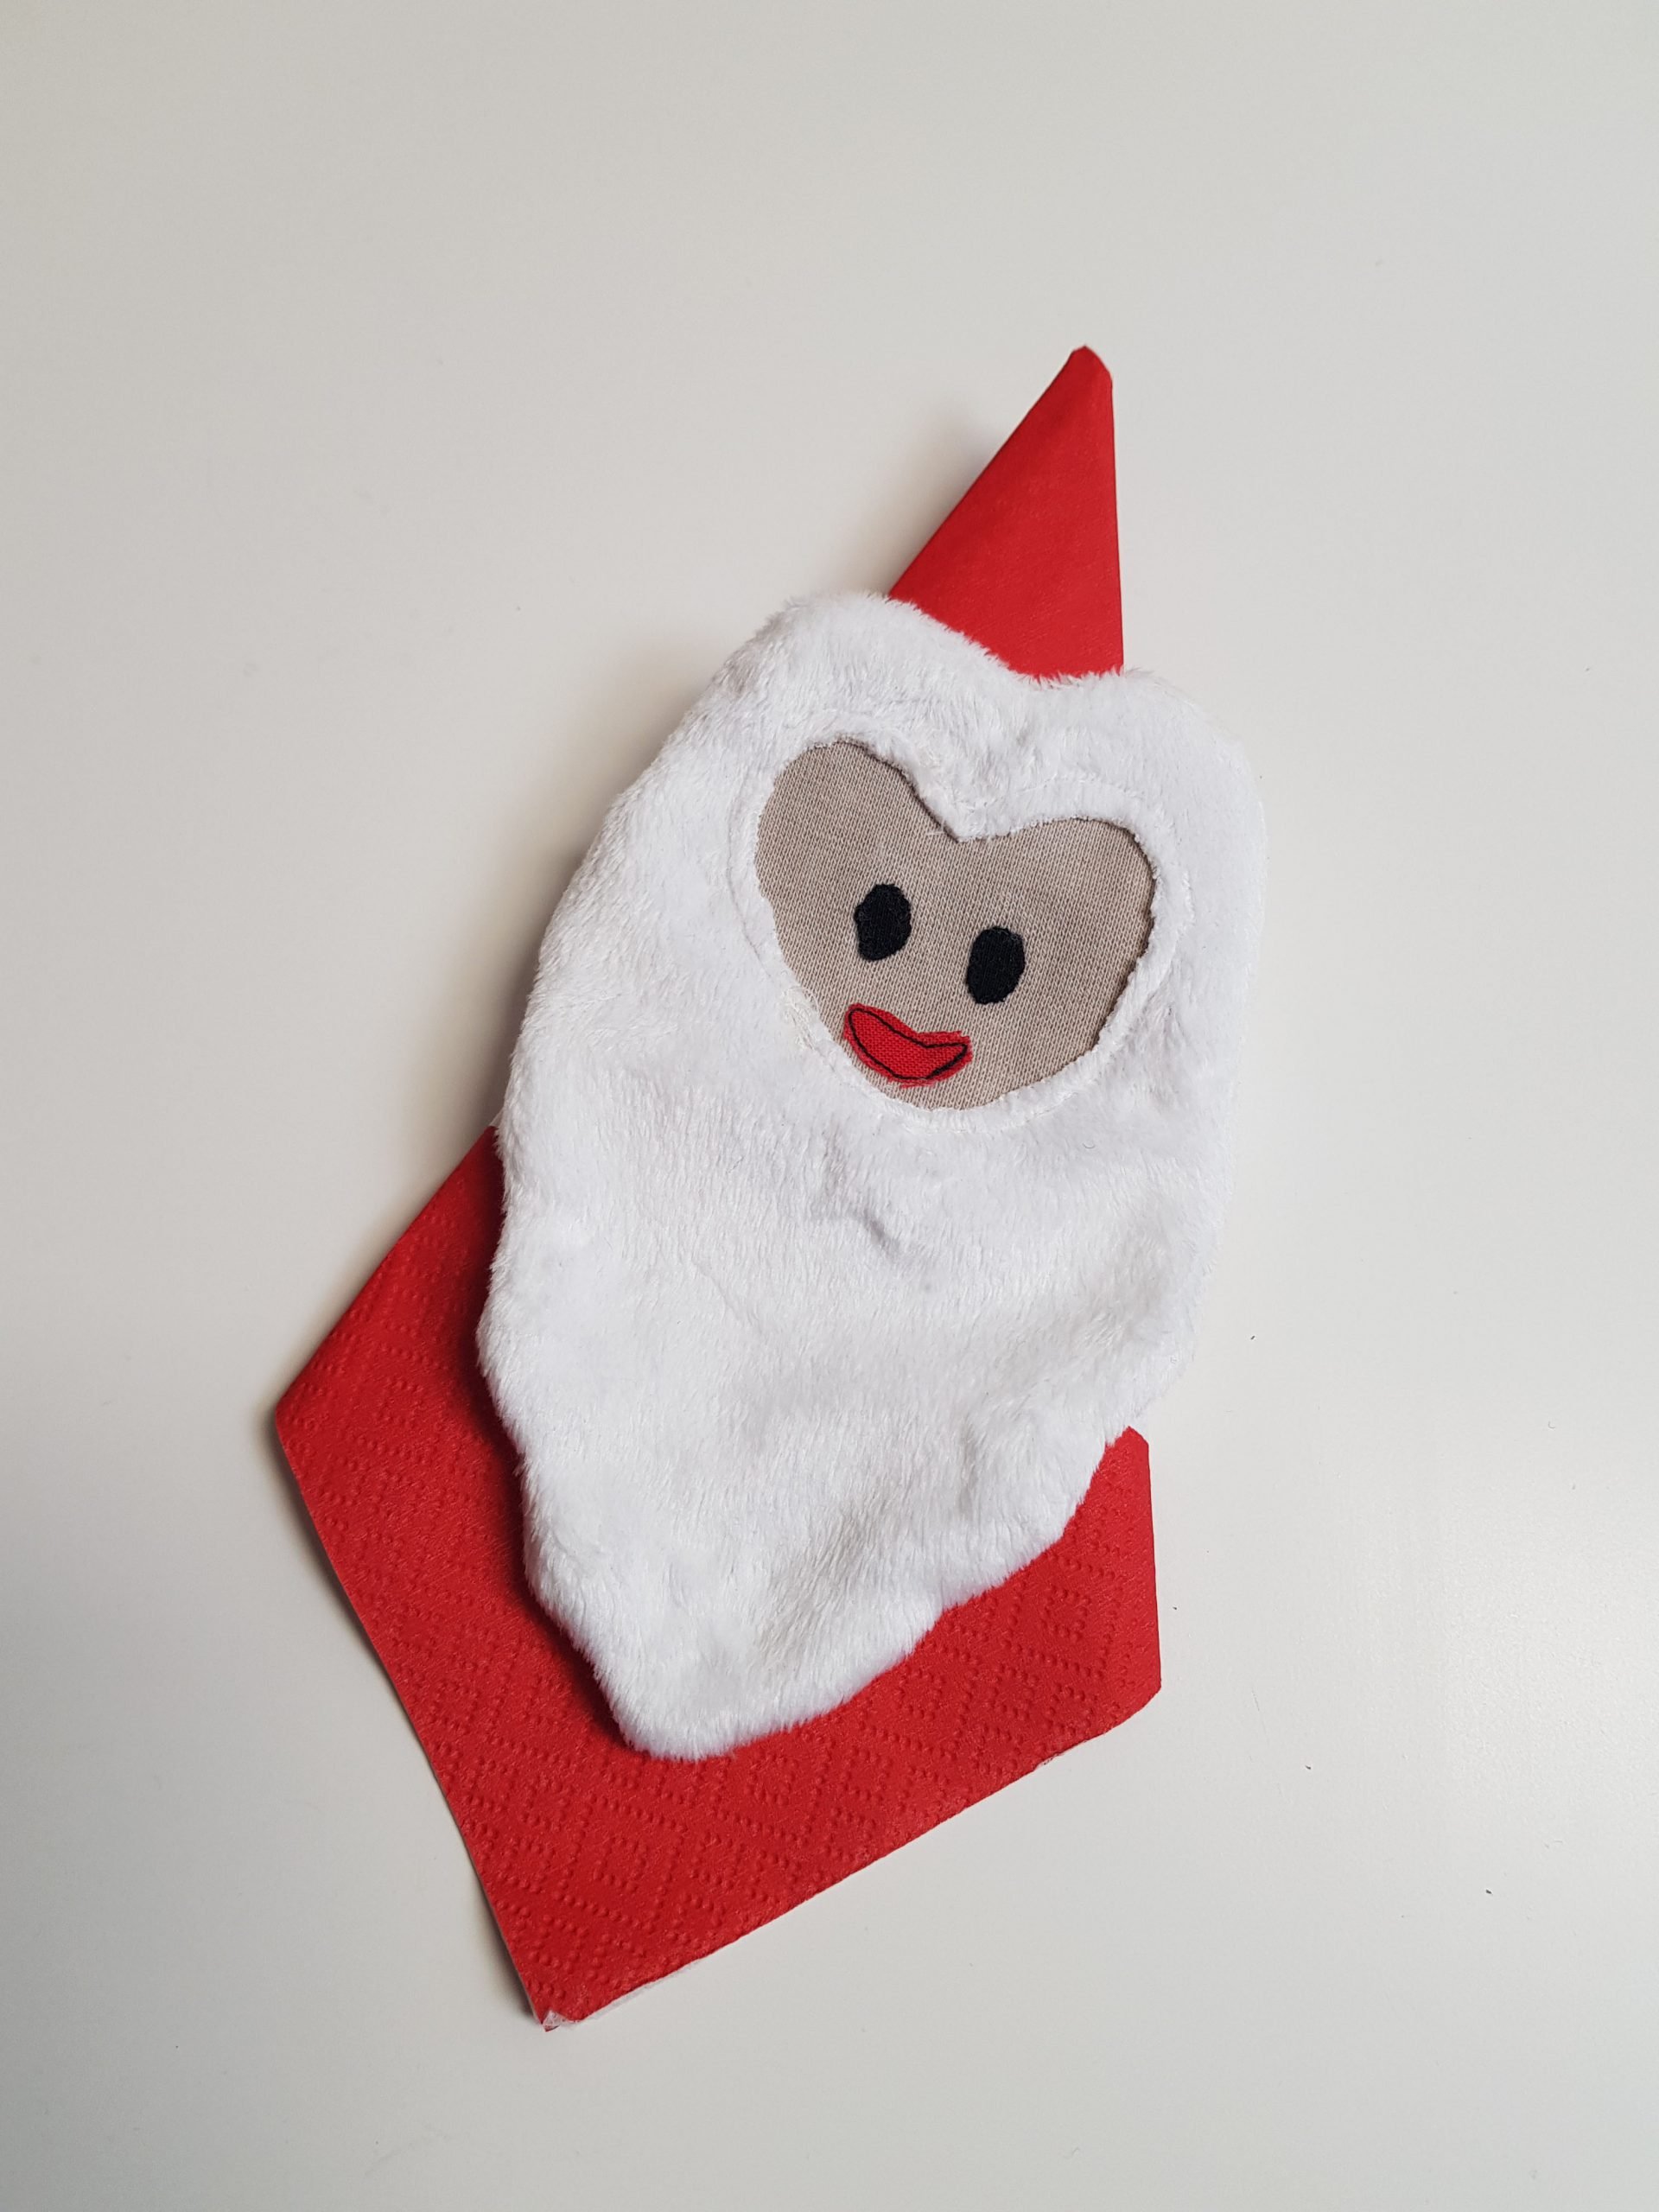
Do you already have plans for your Christmas table decorations? How about a plush Santa Claus as a napkin? Many of my childhood memories revolve around our kitchen. At our large hexagonal kitchen table we played, crafted, chatted and laughed, learned and sewed, while my mom cooked up what felt like 5 dishes, something for every appetite as well as any spontaneous visitors who came by. One of the things we made several times with my mom’s friend in the run-up to Christmas were Santa Claus napkin rings. Back then we mostly made them out of felt. Today I’ll show you my slightly different version of these Santa Claus napkins sewn from plush fabric and with an appliquéd face.
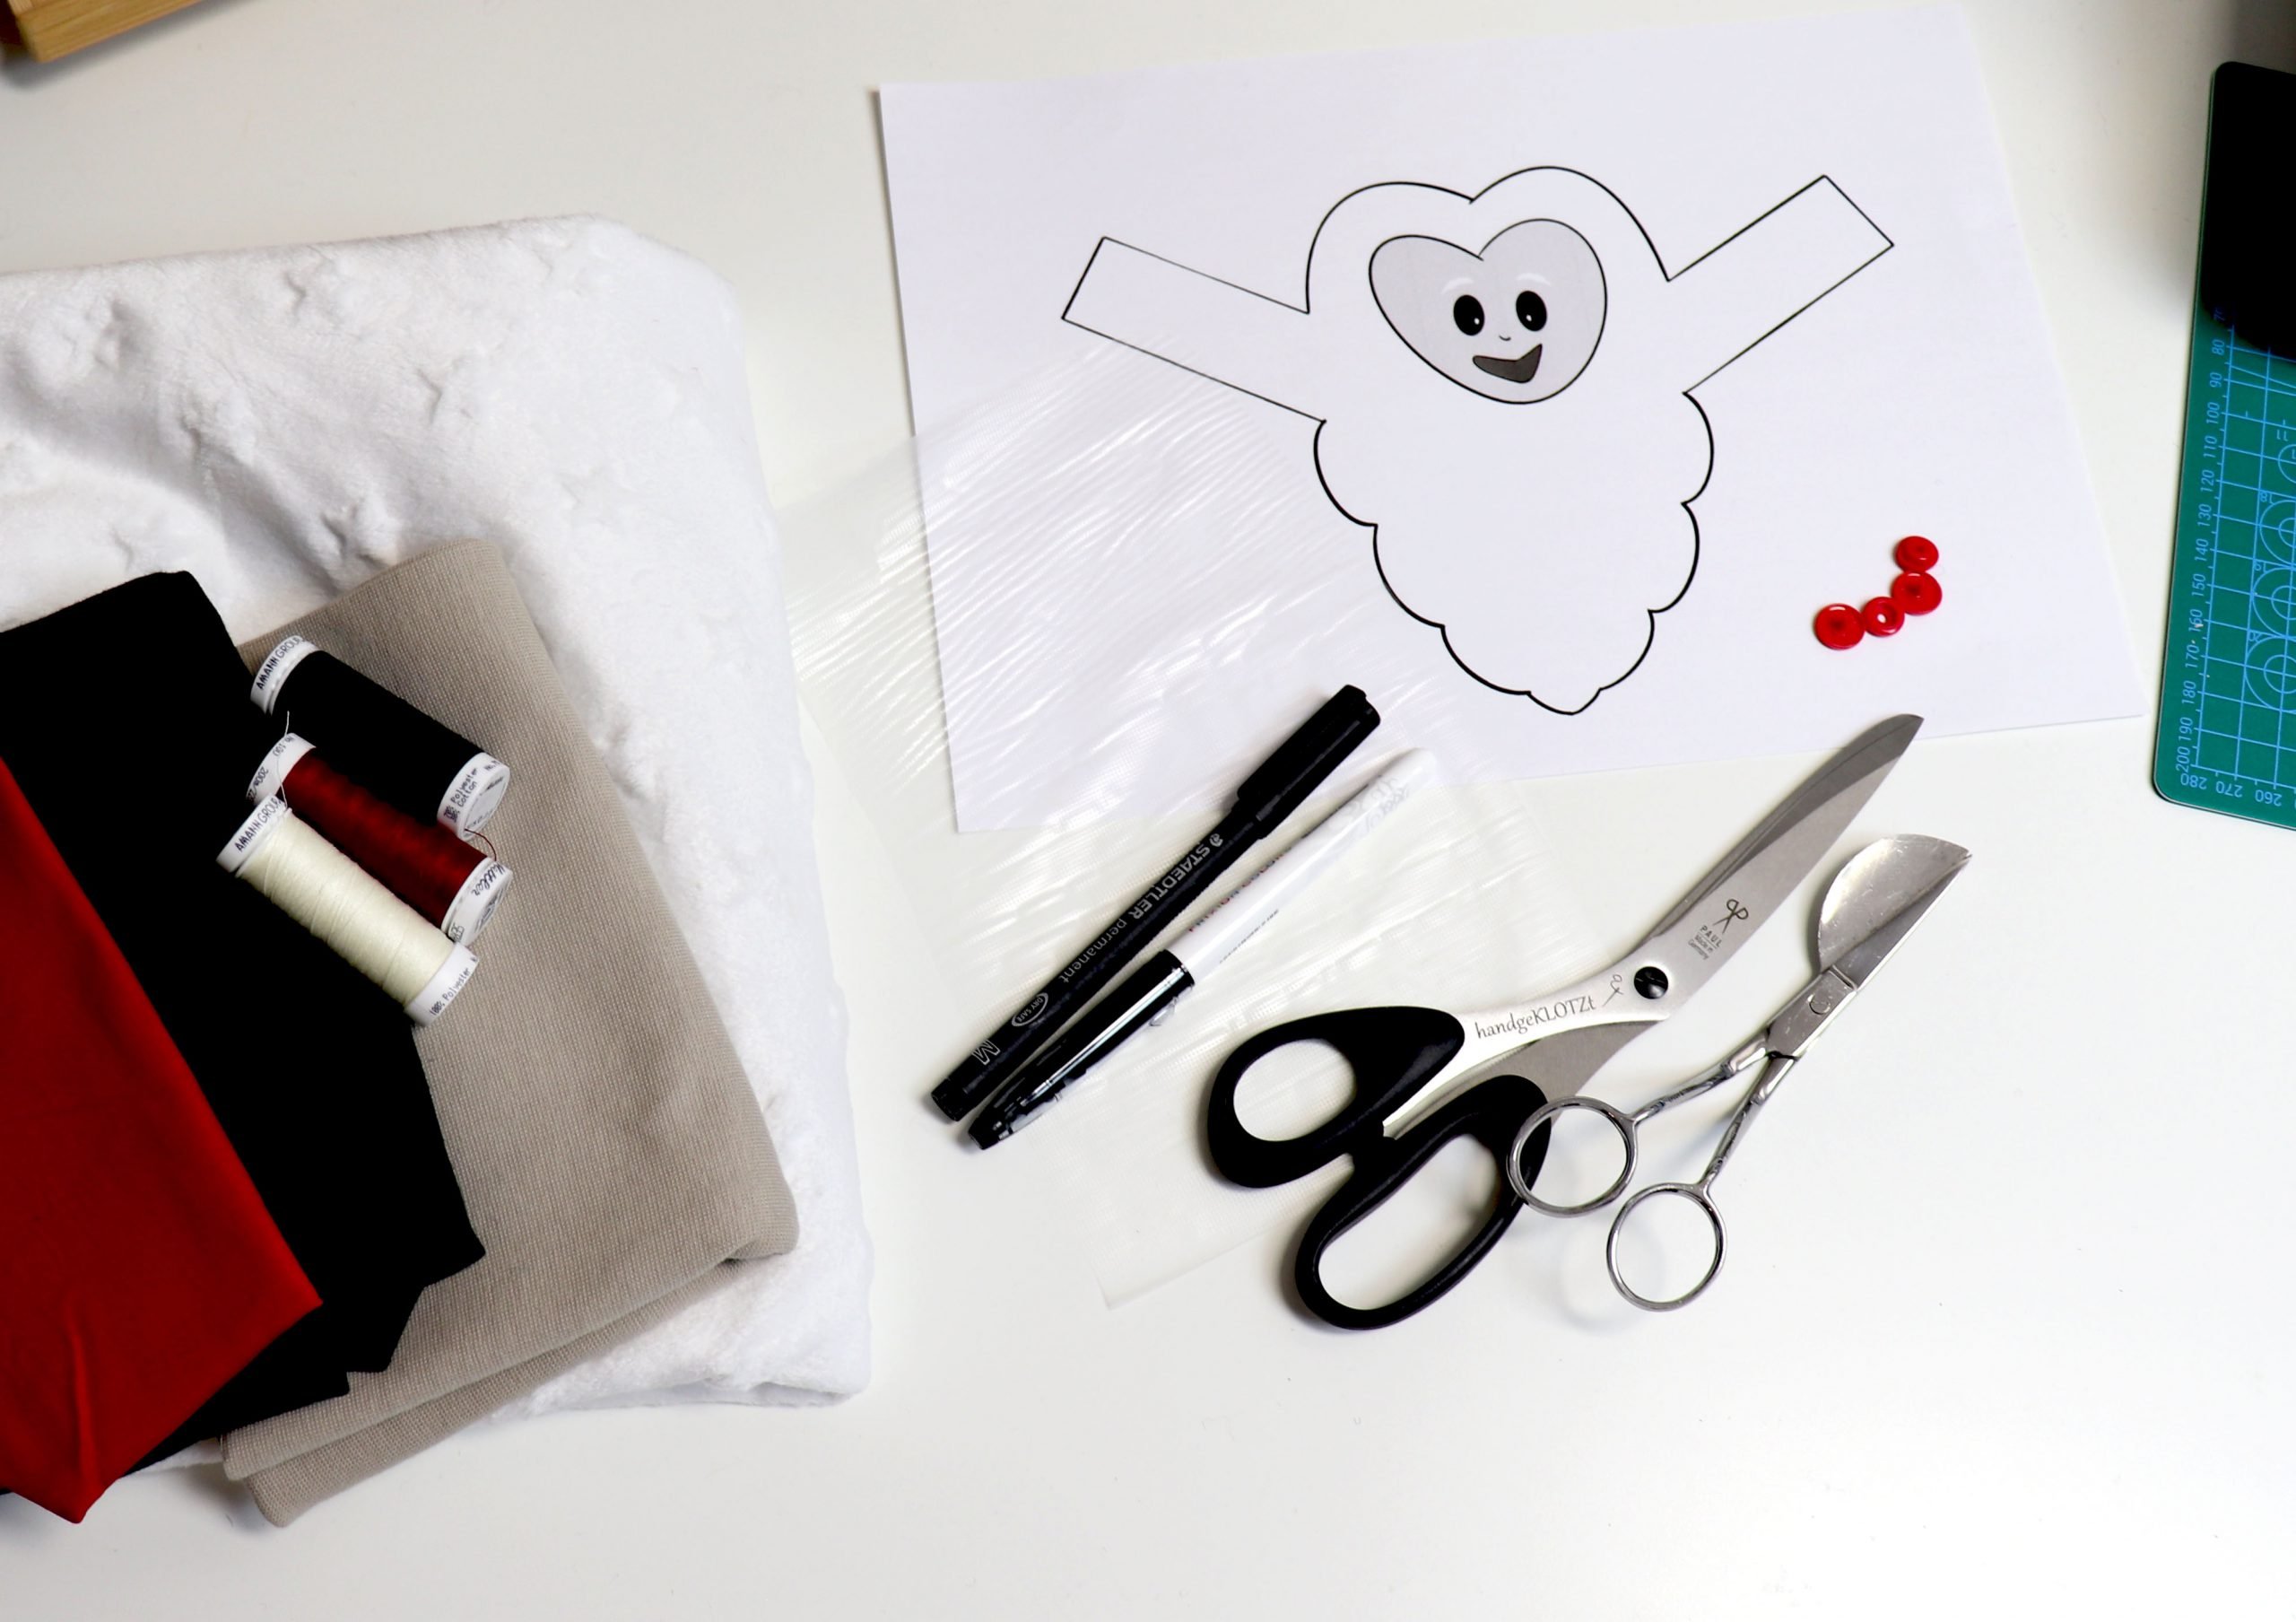
You will need
- Santa Claus napkin printed template
- White plush (fleece, nicky or minky)
- Fabric remnants for the face
- Scraps of fabric for the eyes and mouth
- Matching sewing thread
- Universal sewing needle in the appropriate size
- Thin tear-away or water-soluble embroidery stabilizer
- Pen for tracing
- Fabric and appliqué scissors
- Clips
- Sewing machine
- Kam snap/press stud
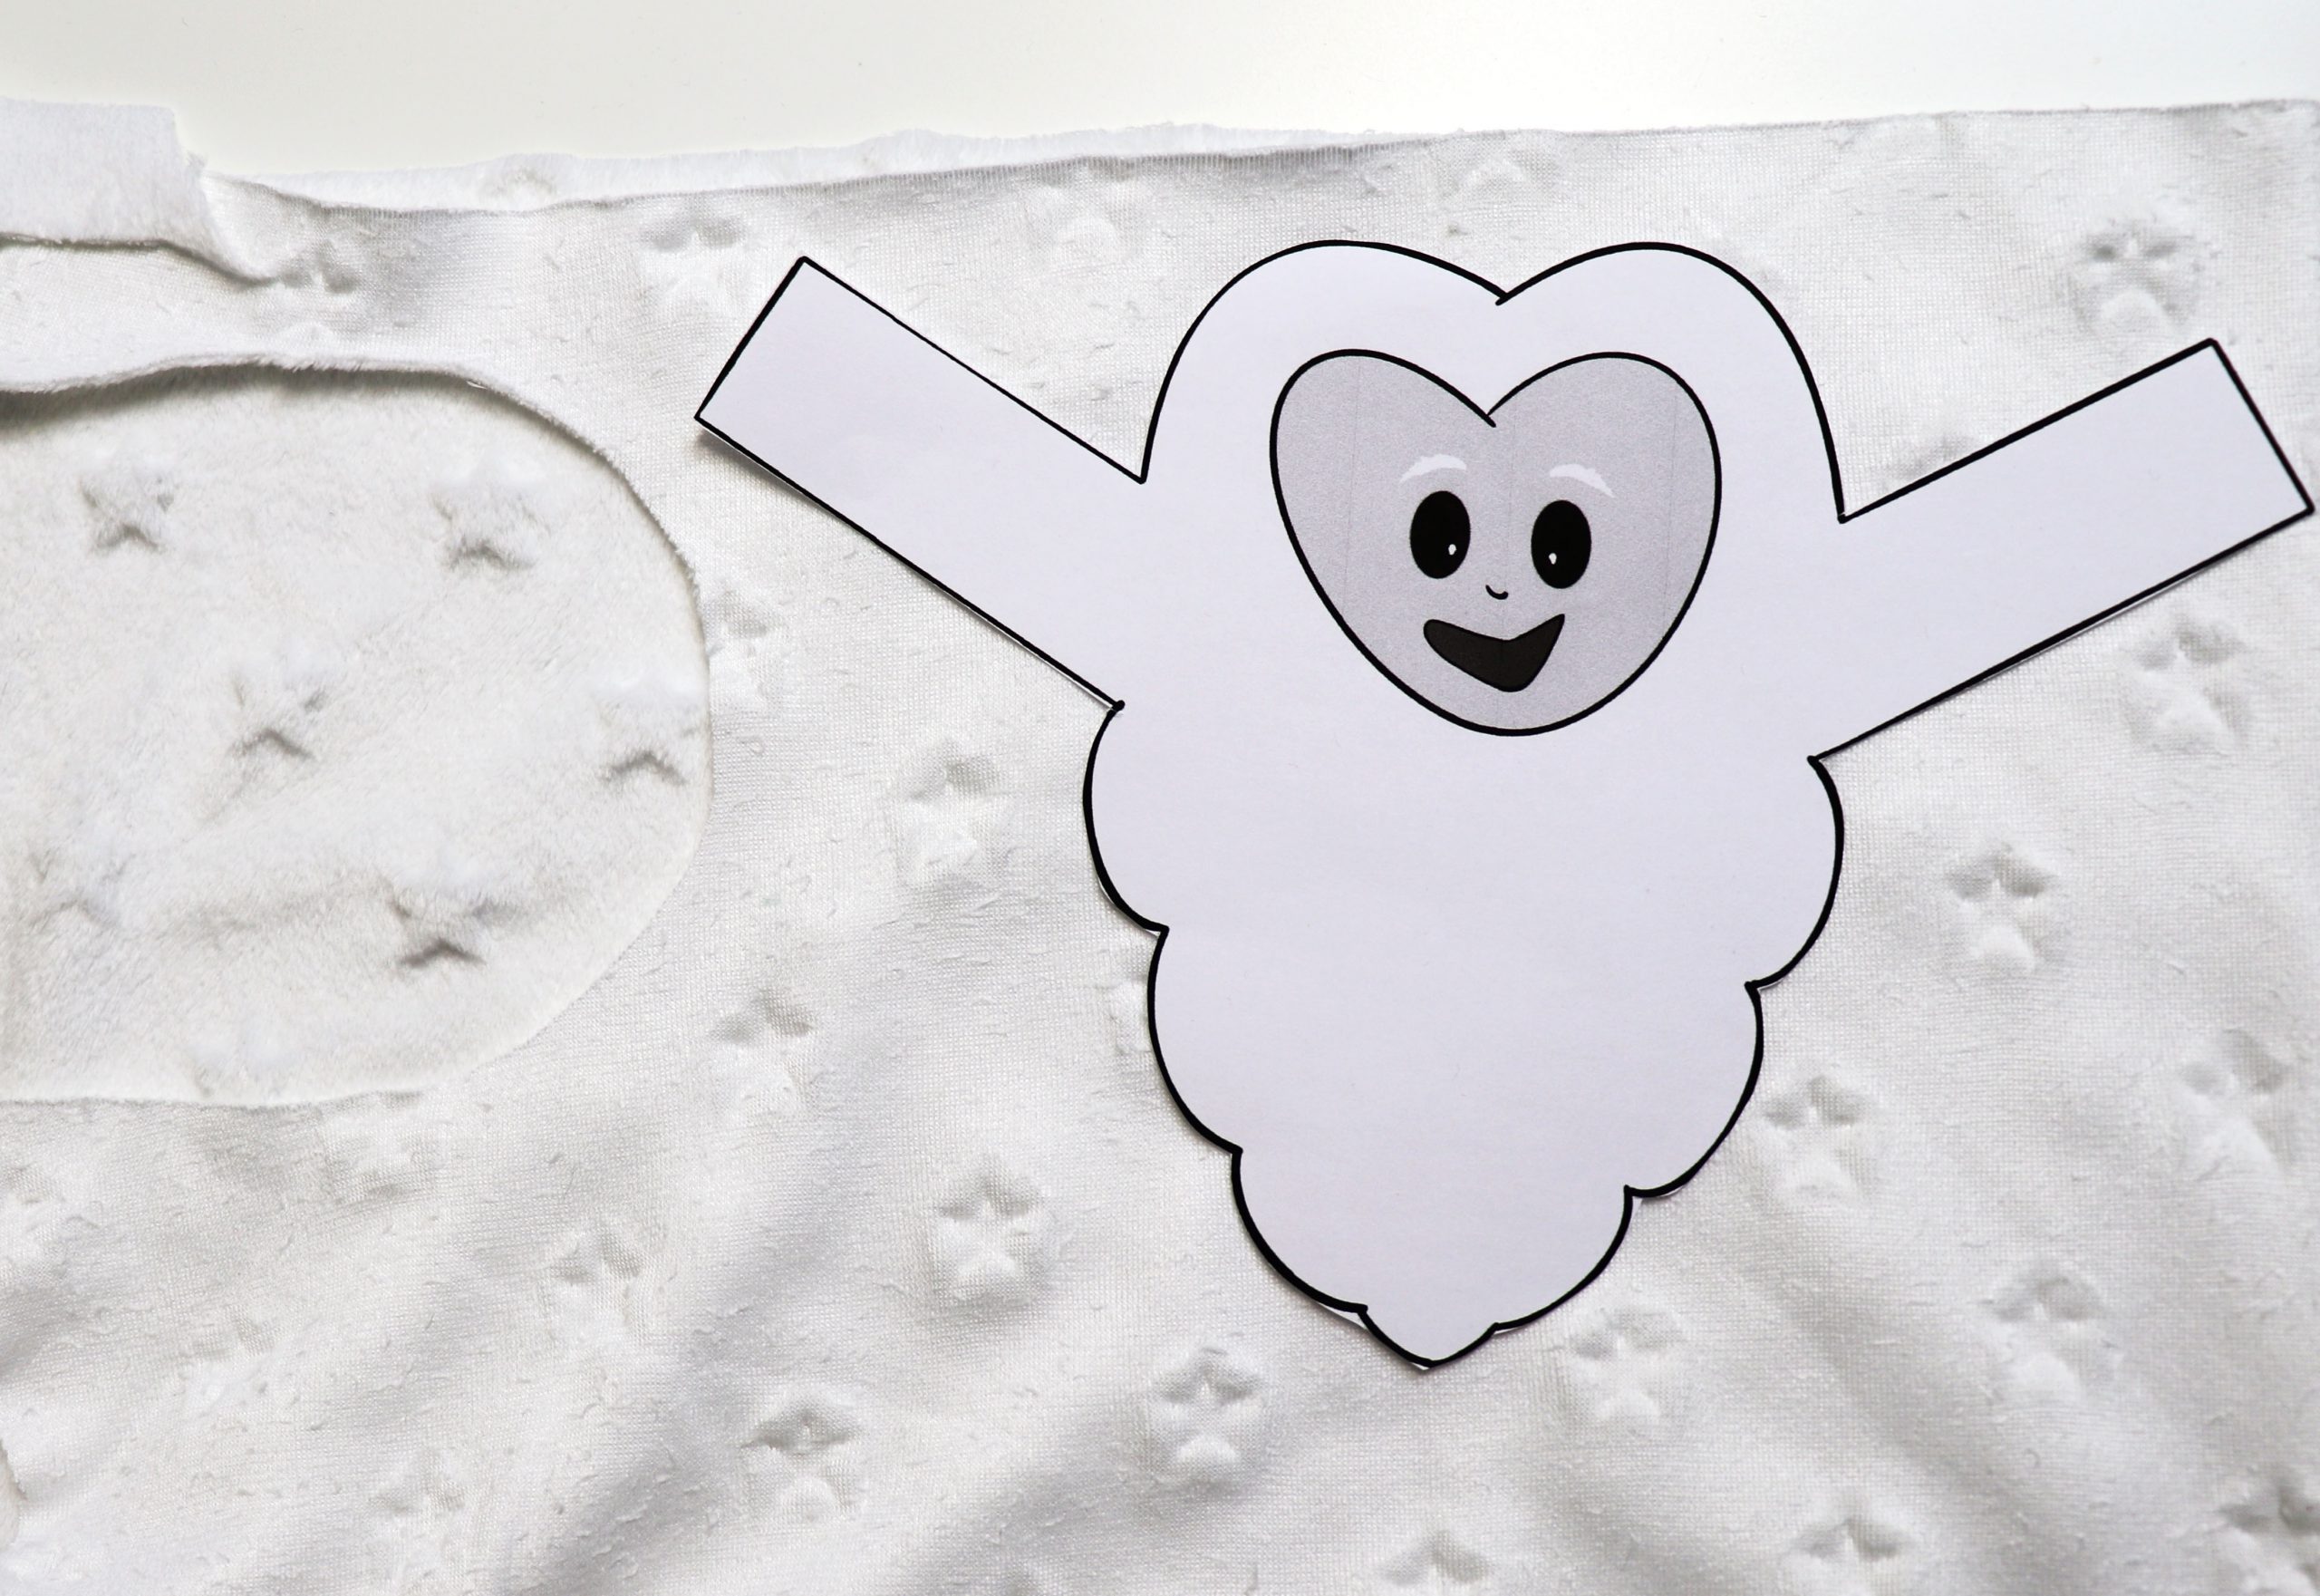
Cutting out the Santa Claus
2x beard pattern pieces in white plush (note the nap direction). Heart face and details follow during the sewing process.
The rest of the body is the folded napkin. The sewn plush beard with the face is placed over the napkin and together they form the Santa Claus.
Preparation
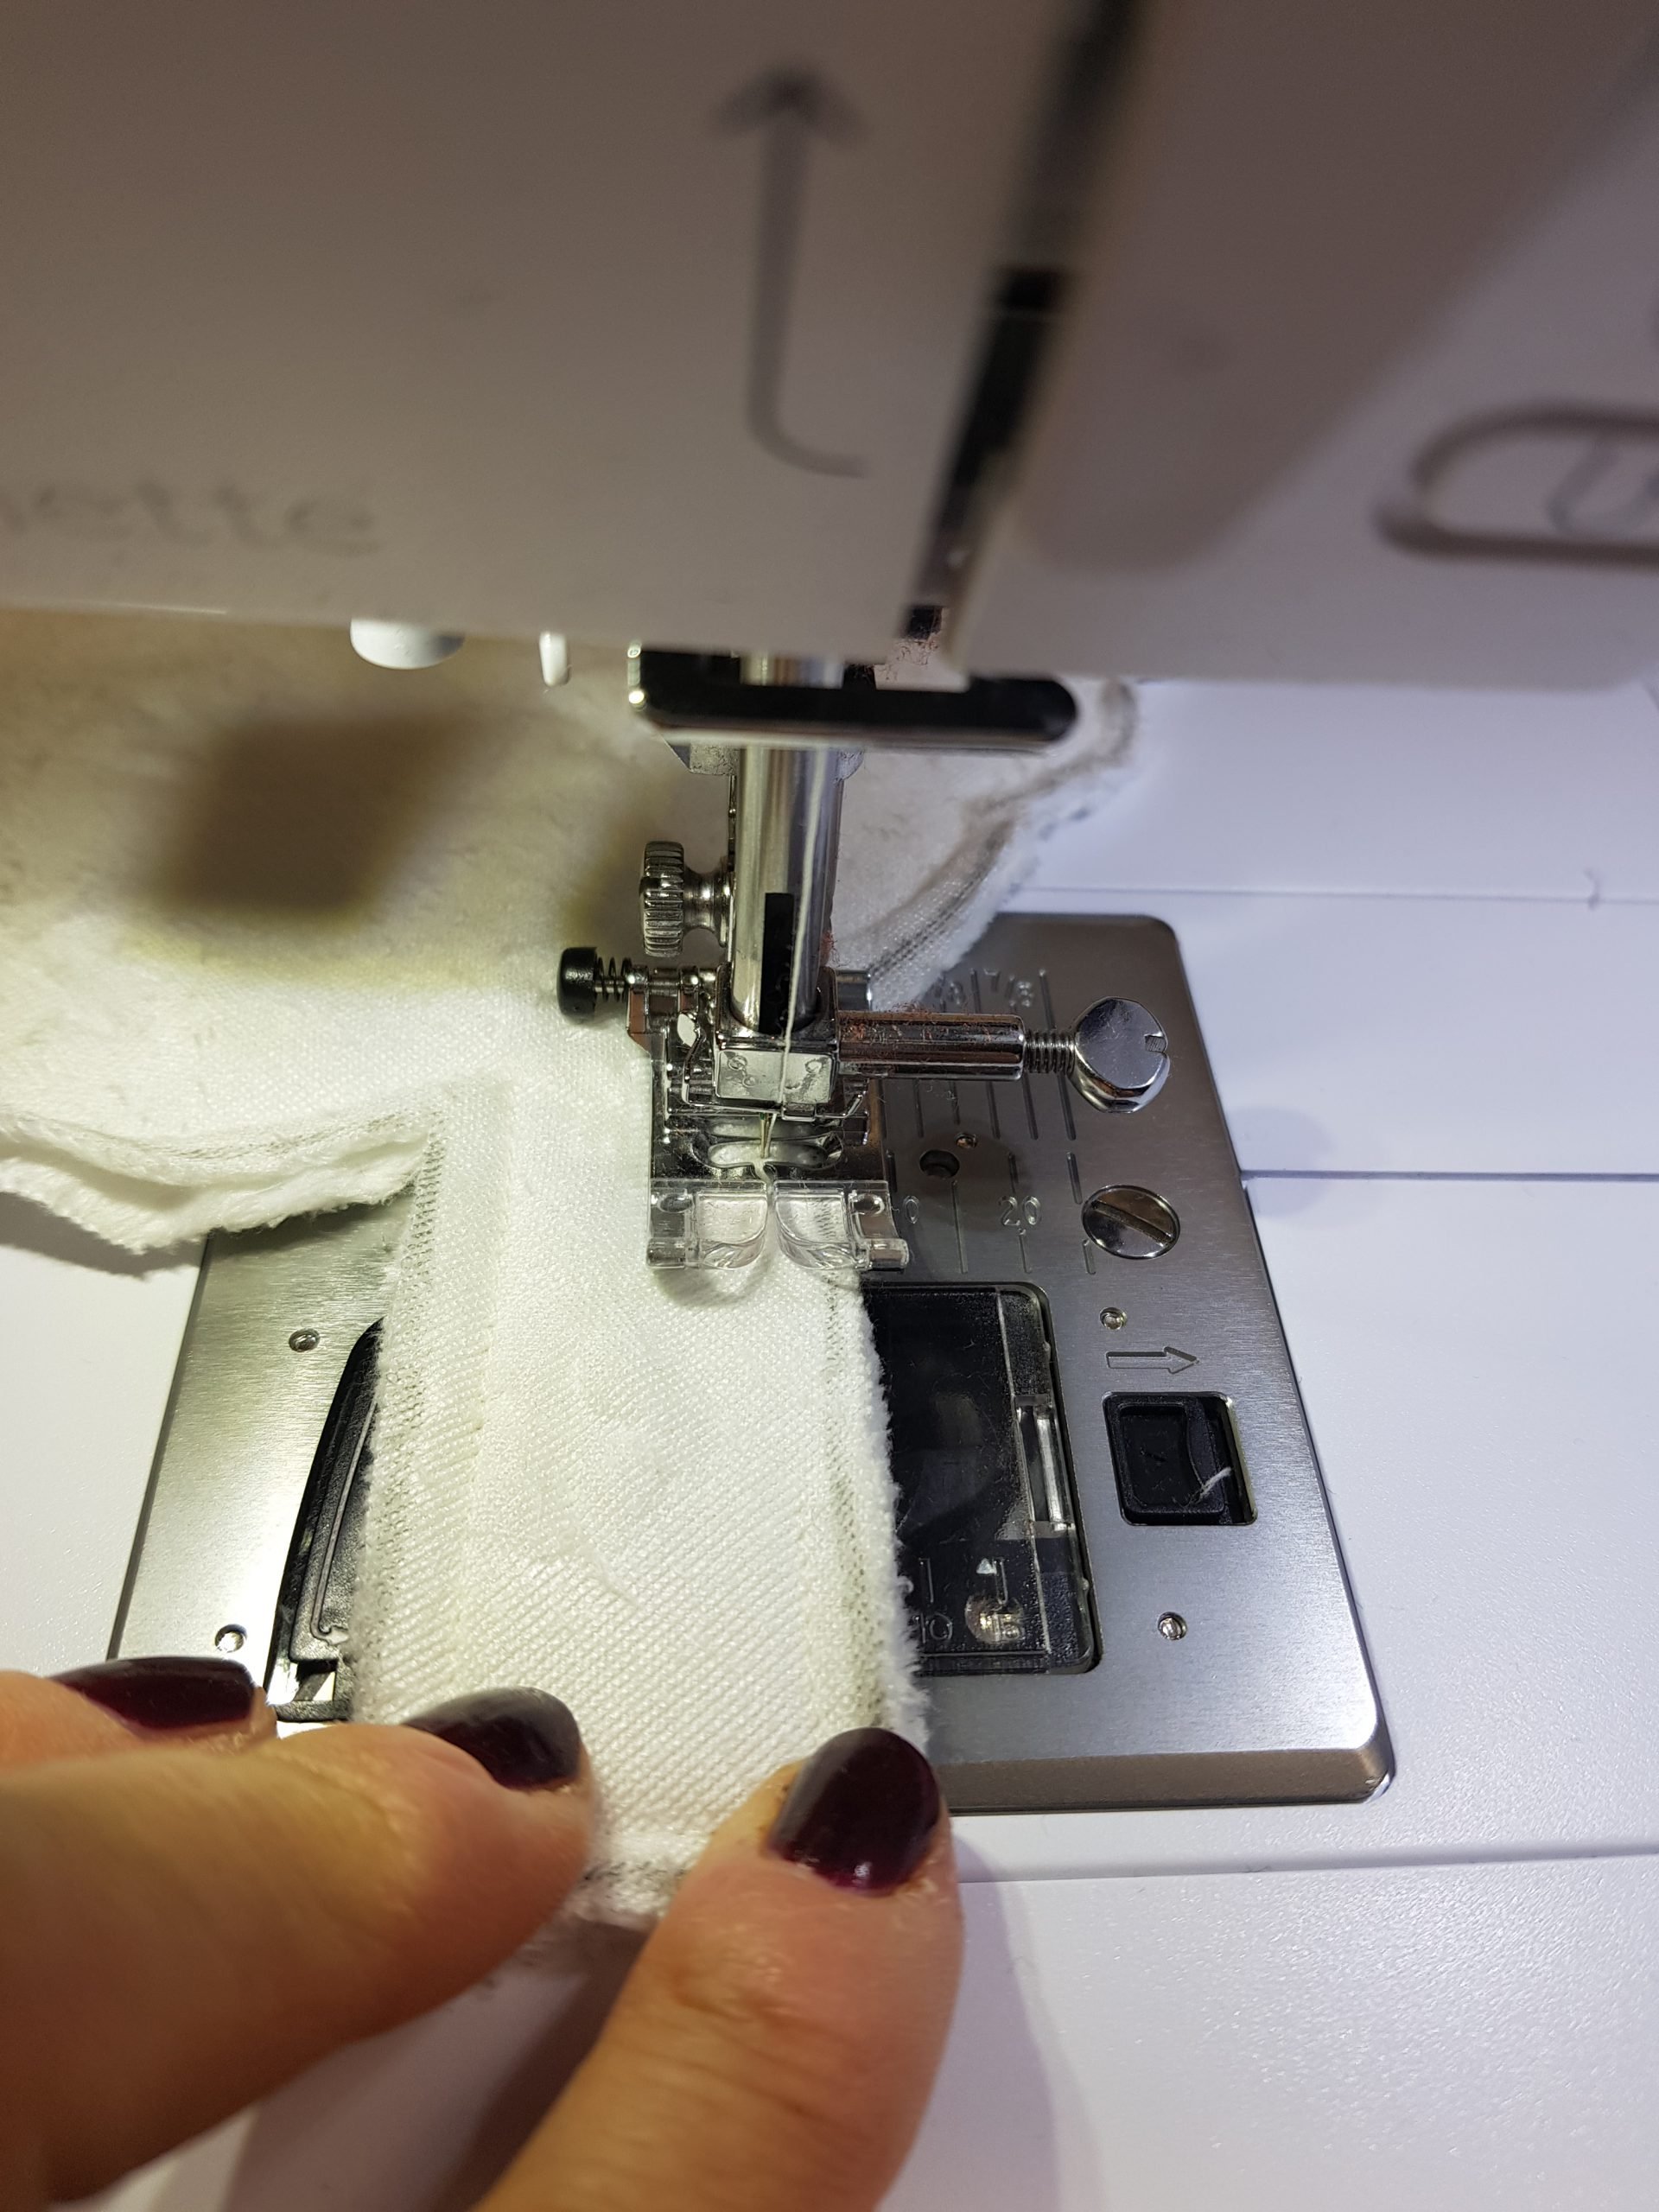
You can use the free-motion embroidery foot to appliqué the face and eyes. Set the stitch length short to make the curves easier to sew. I used a stitch length of 2.
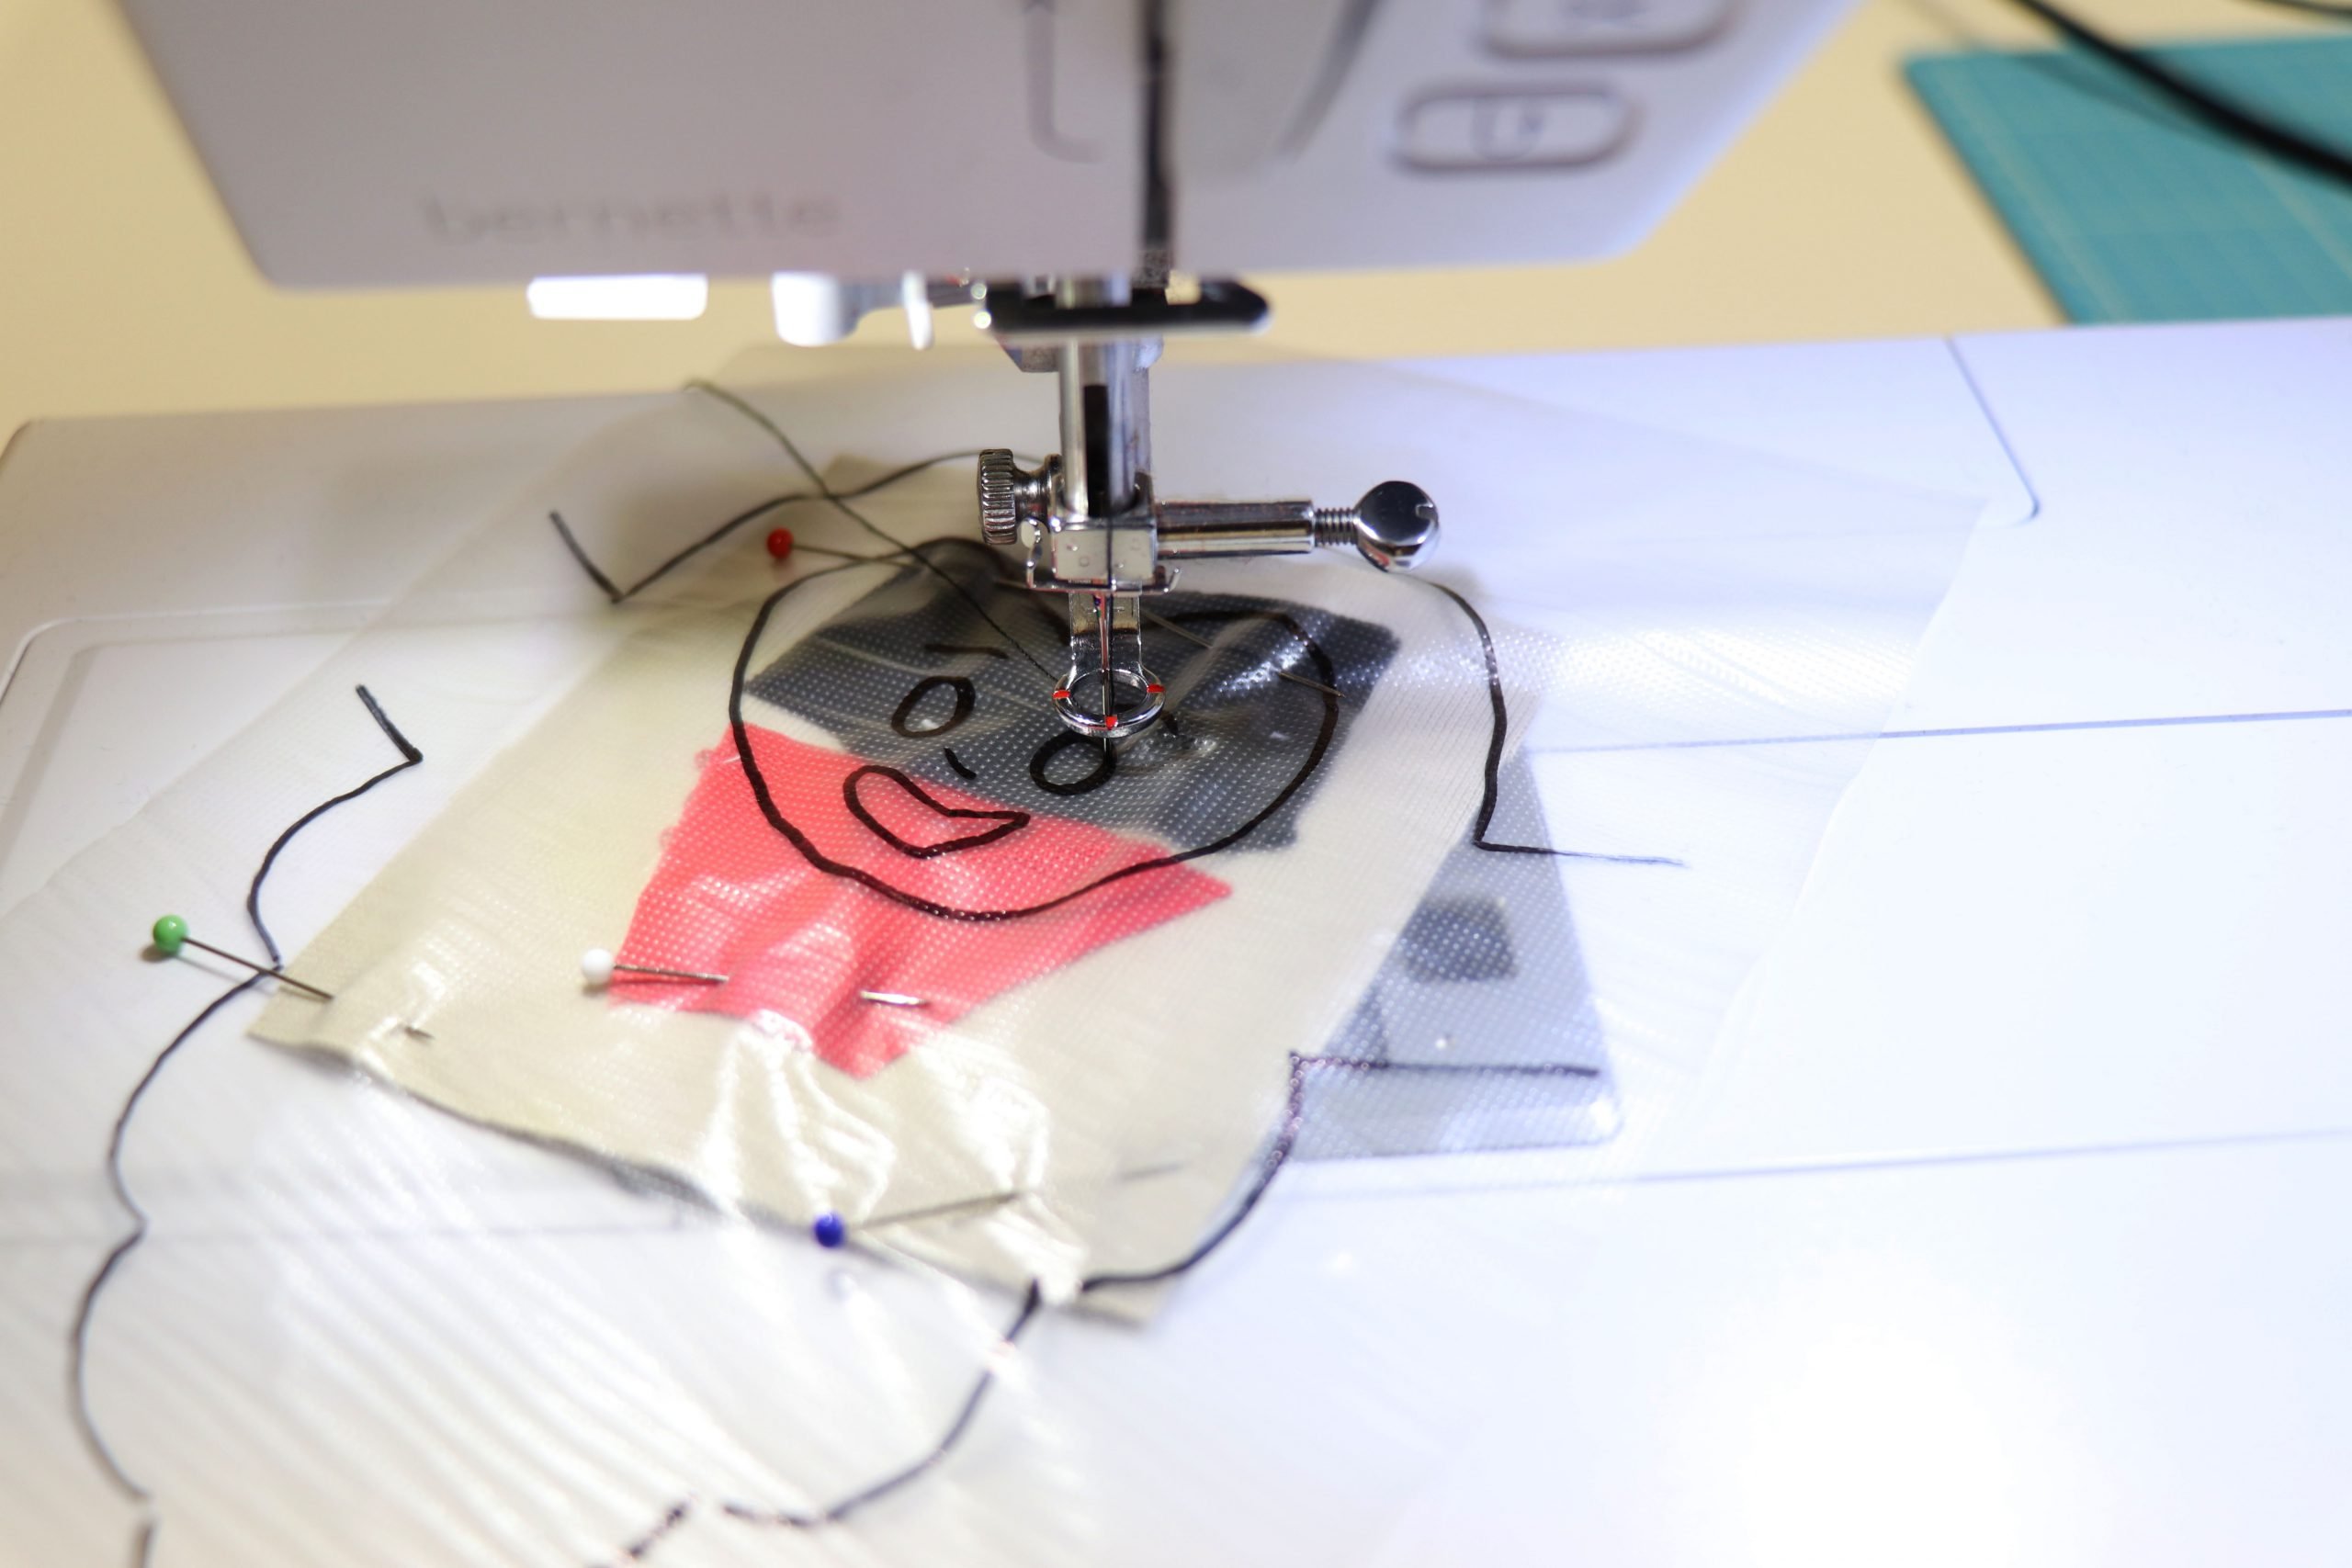
Sewing the face
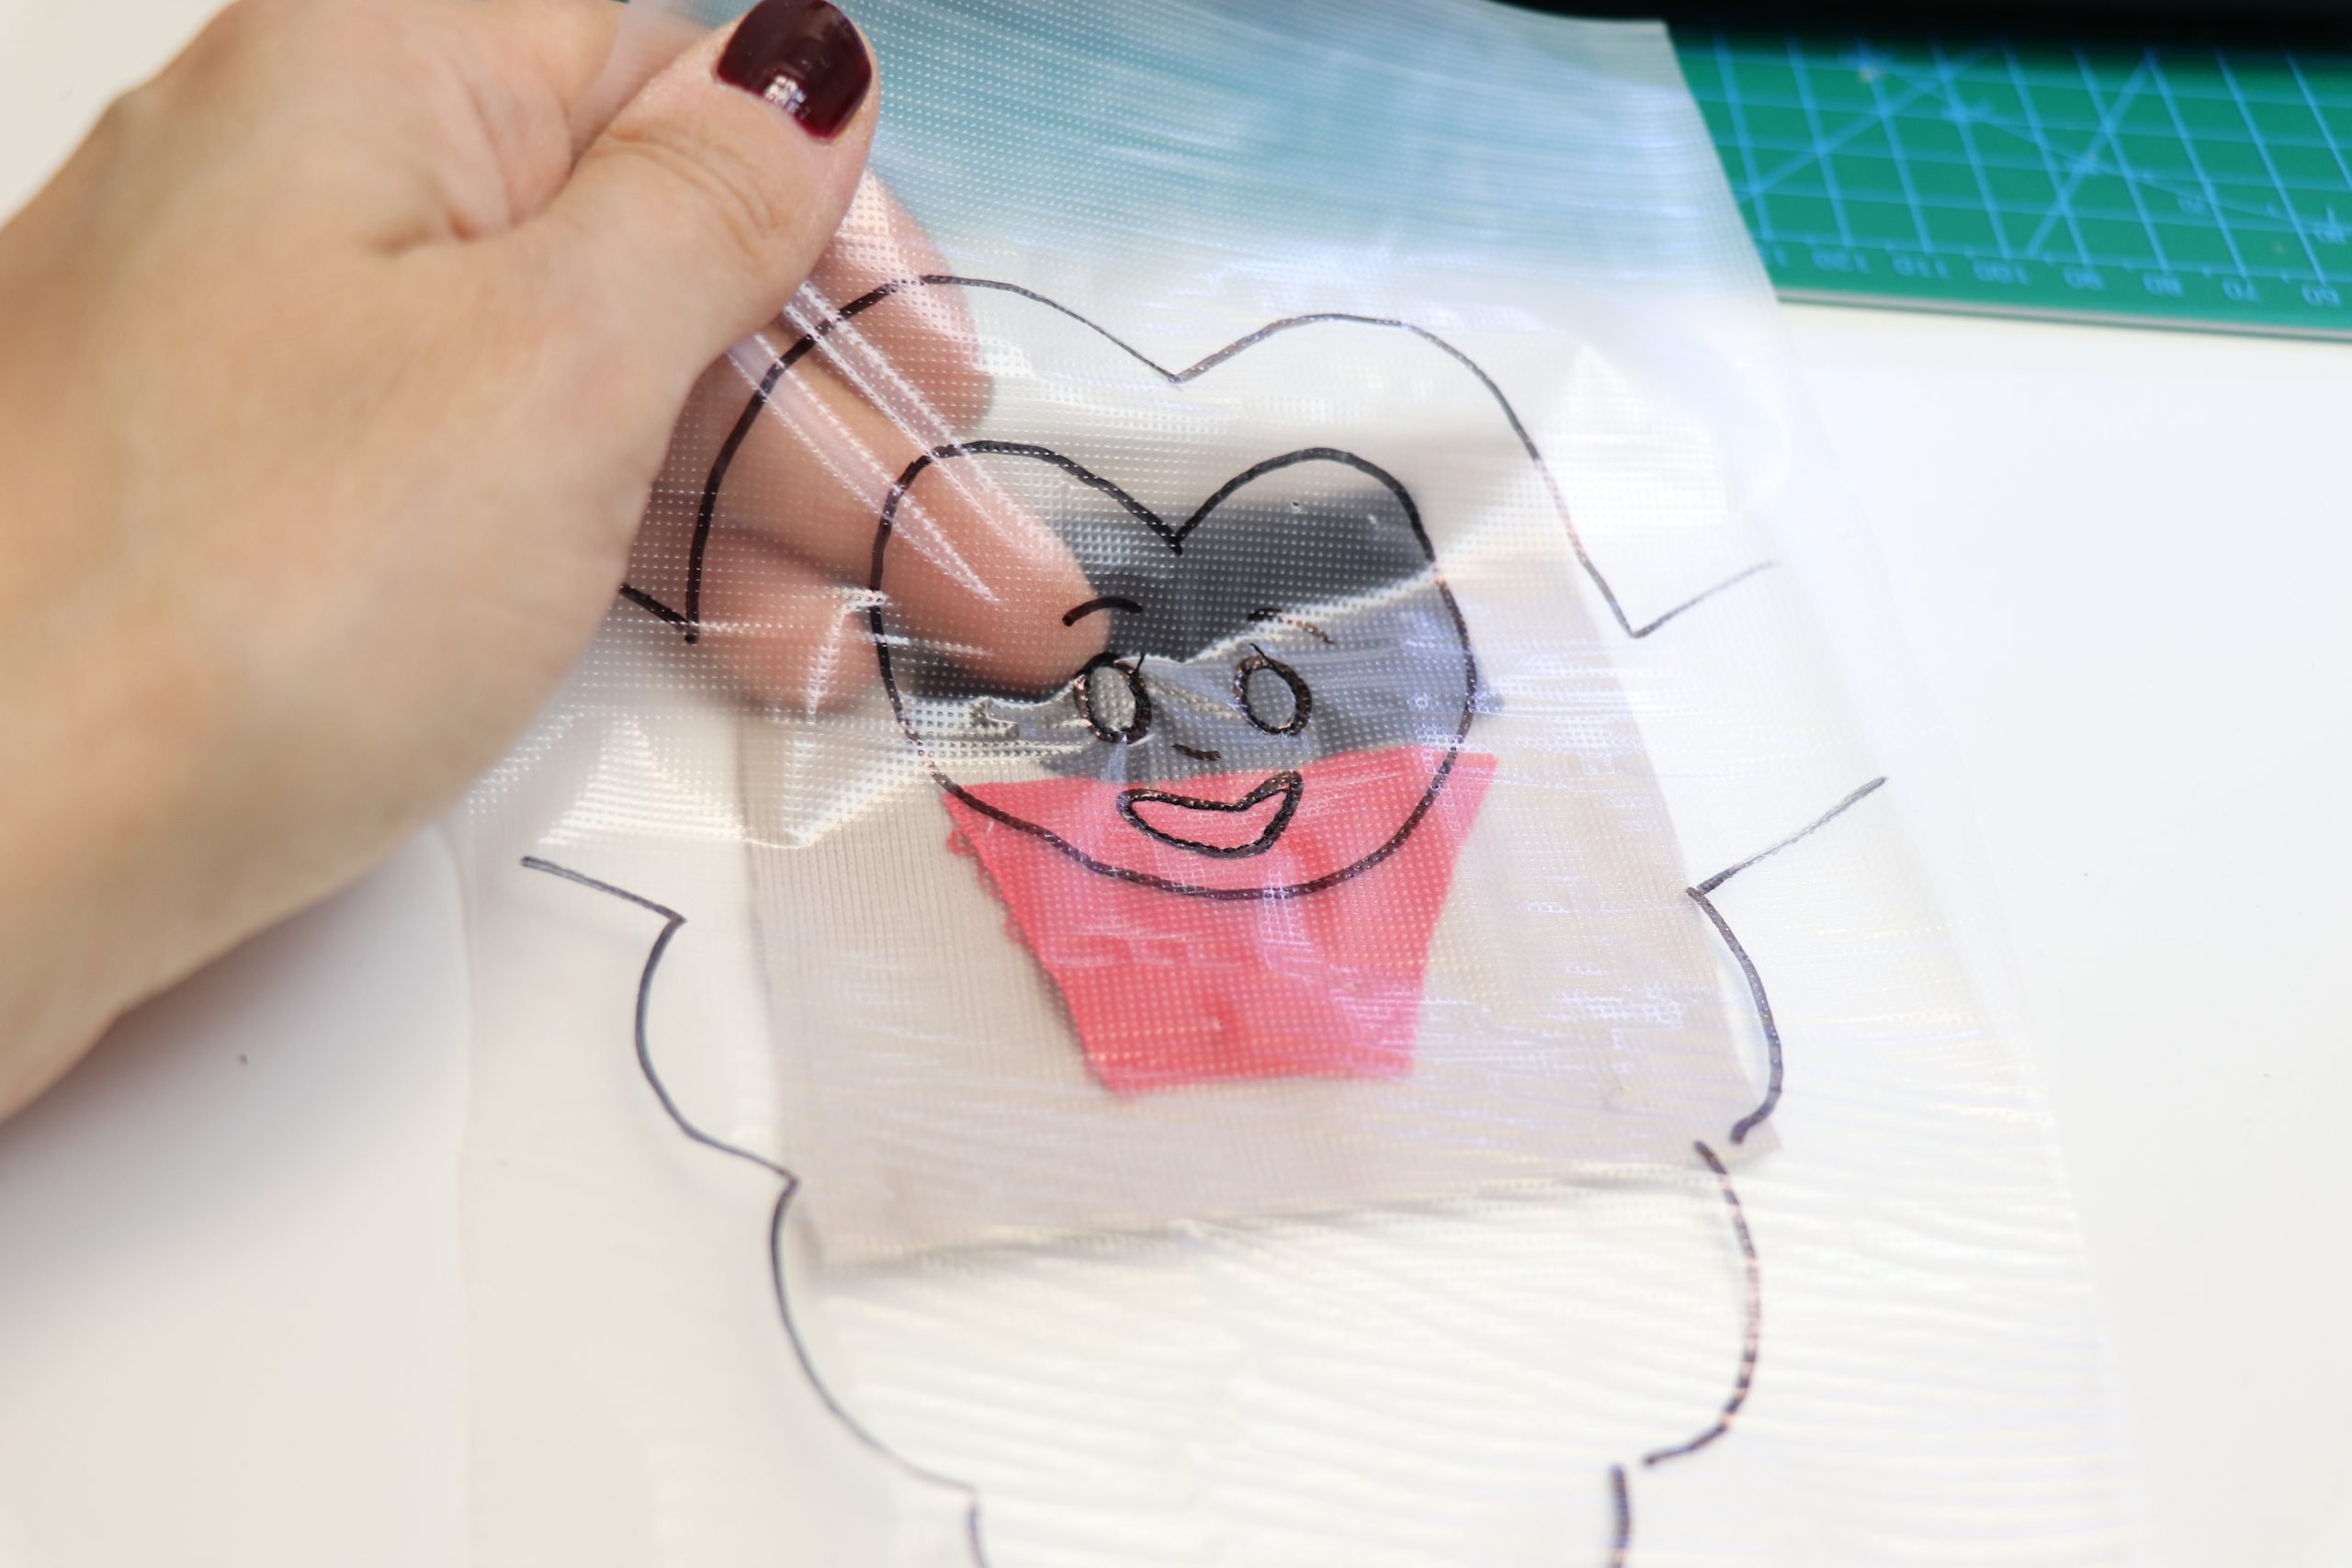
Now trace the face and the large beard shape onto the stabilizer. I particularly like to use water-soluble stabilizer because you can see through it easily. It is also good for controlling plush fabrics and you can see better where you are sewing. After sewing, it is easy to remove with tweezers because it is perforated by the sewing. Any small residues can also be removed by moistening them slightly. Of course, you can also use tear-away stabilizer. You might have to hold the template against a window so that you can trace more easily.
We start with the eyes. Place the piece of fabric for the eyes and mouth onto the fabric for the face, and then place the template on top.

Now you sew along the traced lines for the eyes and mouth.
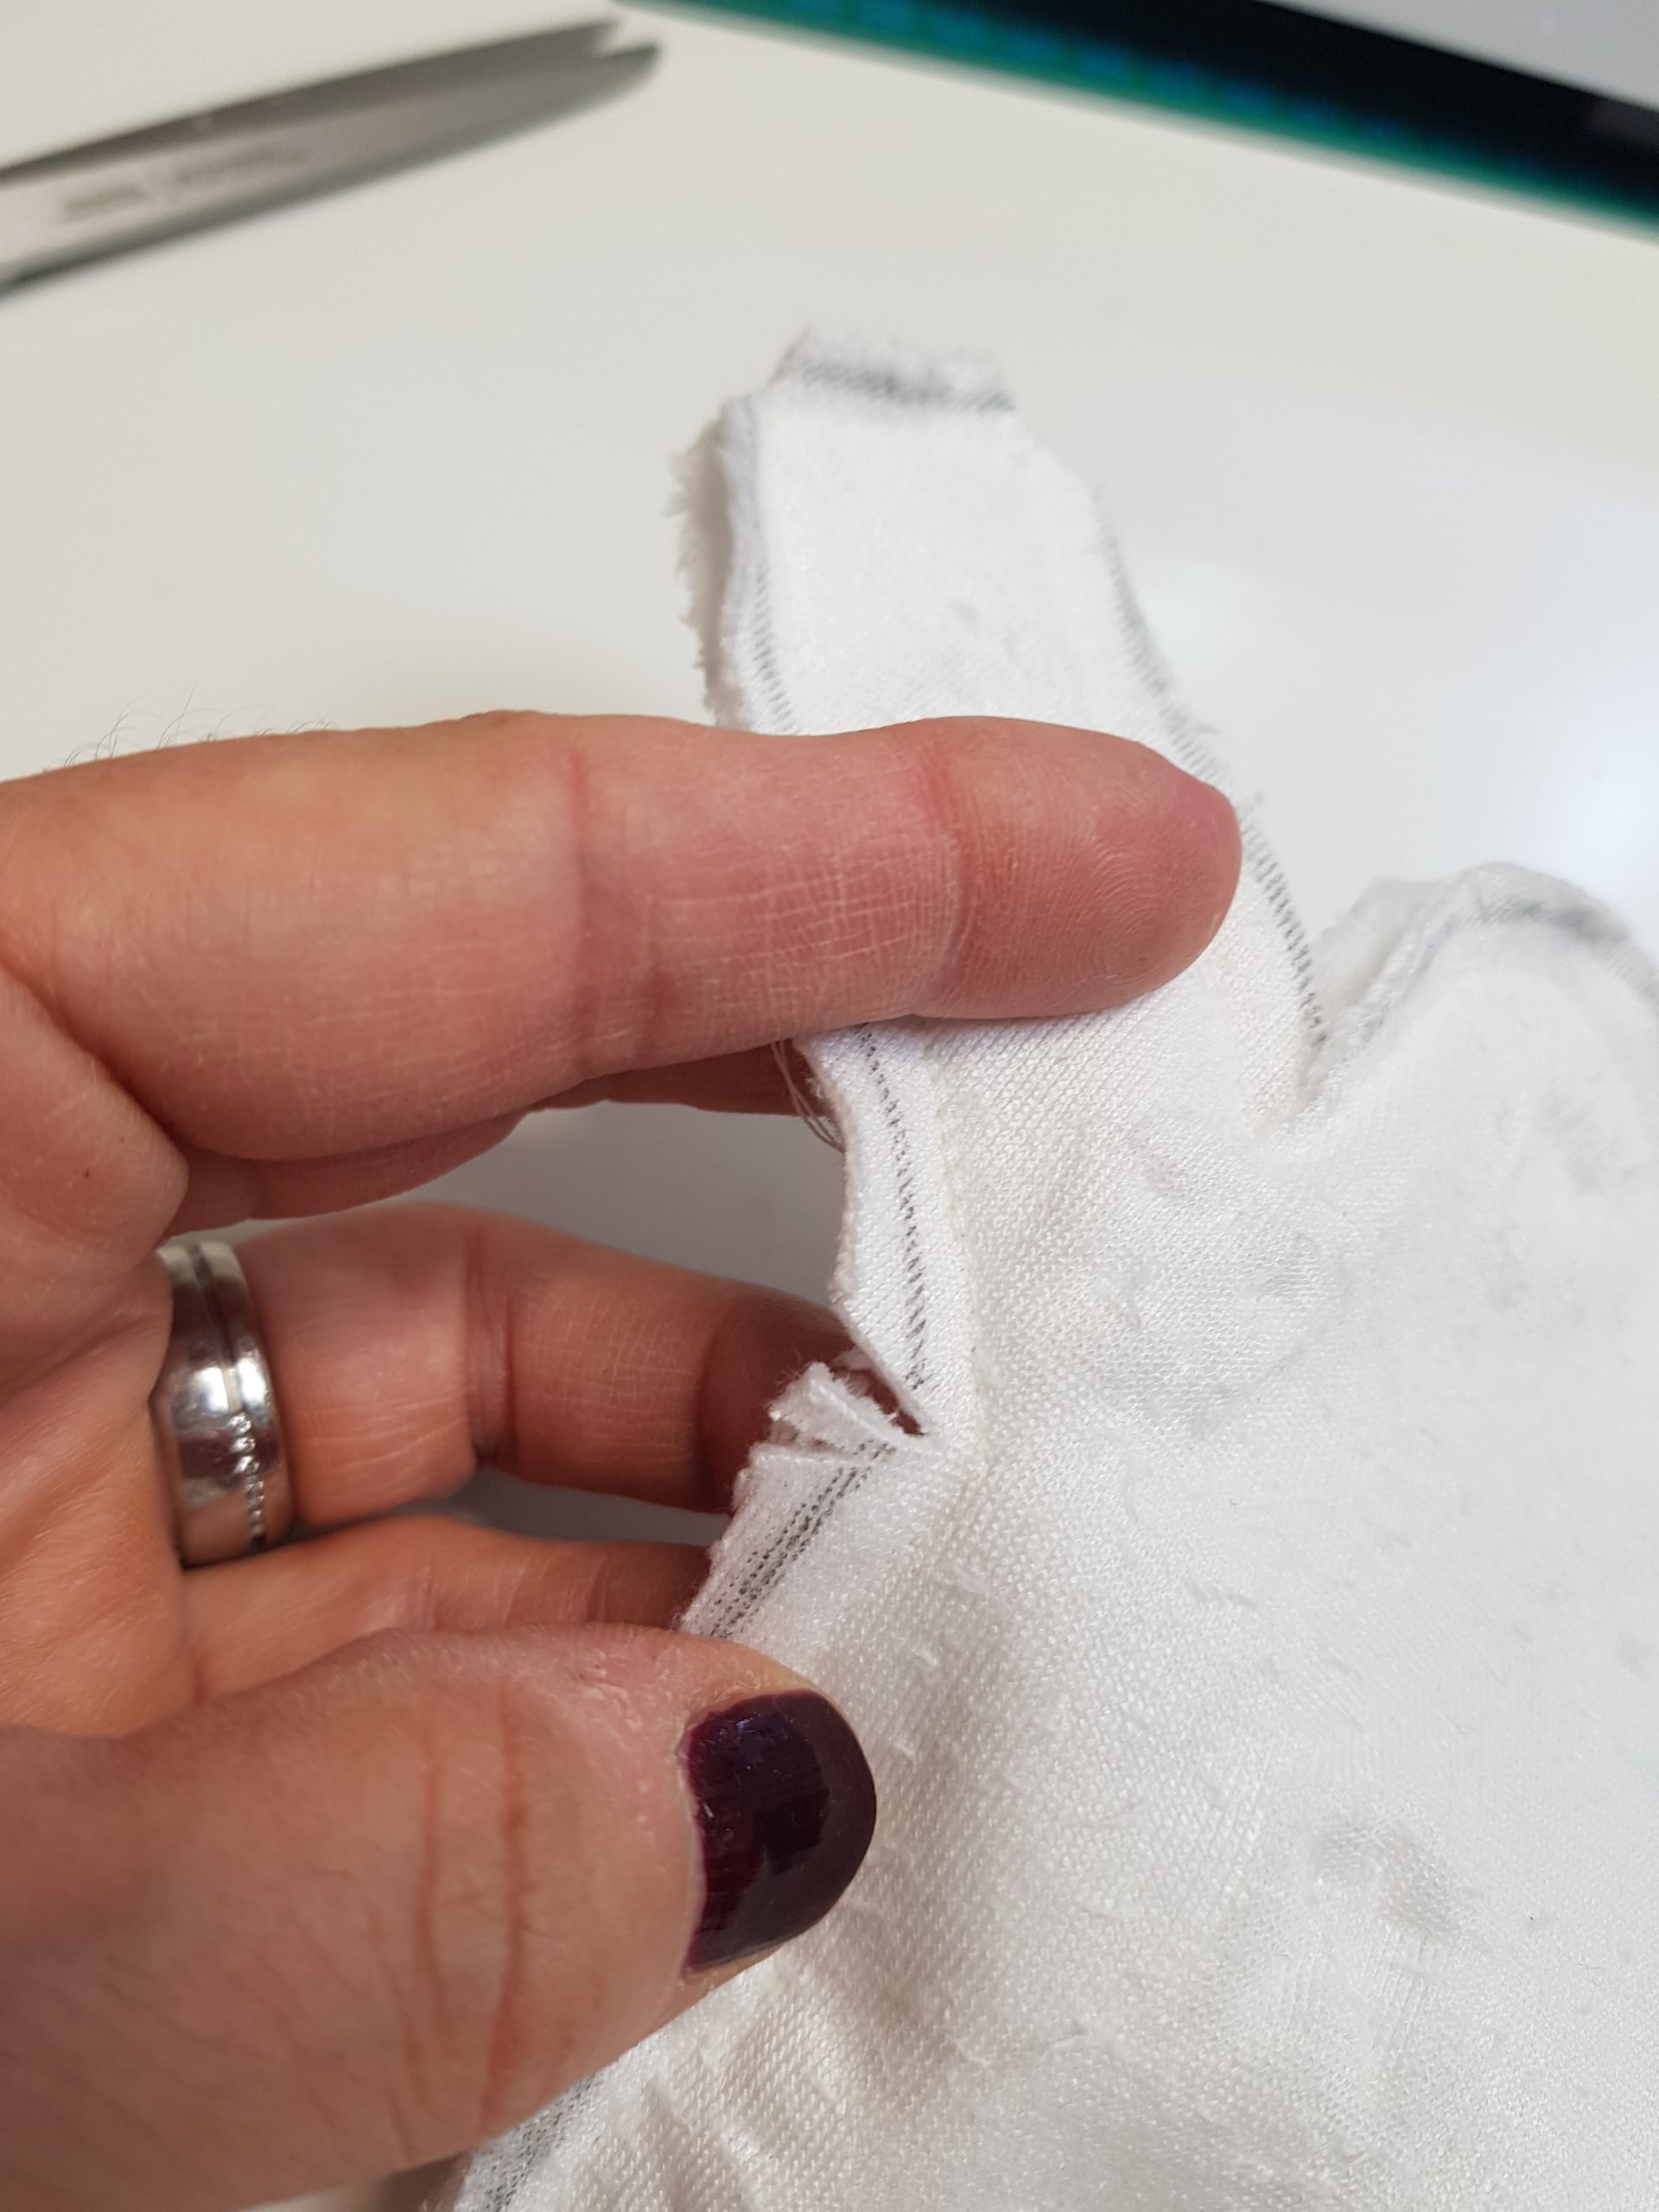
After sewing, remove the stabilizer.
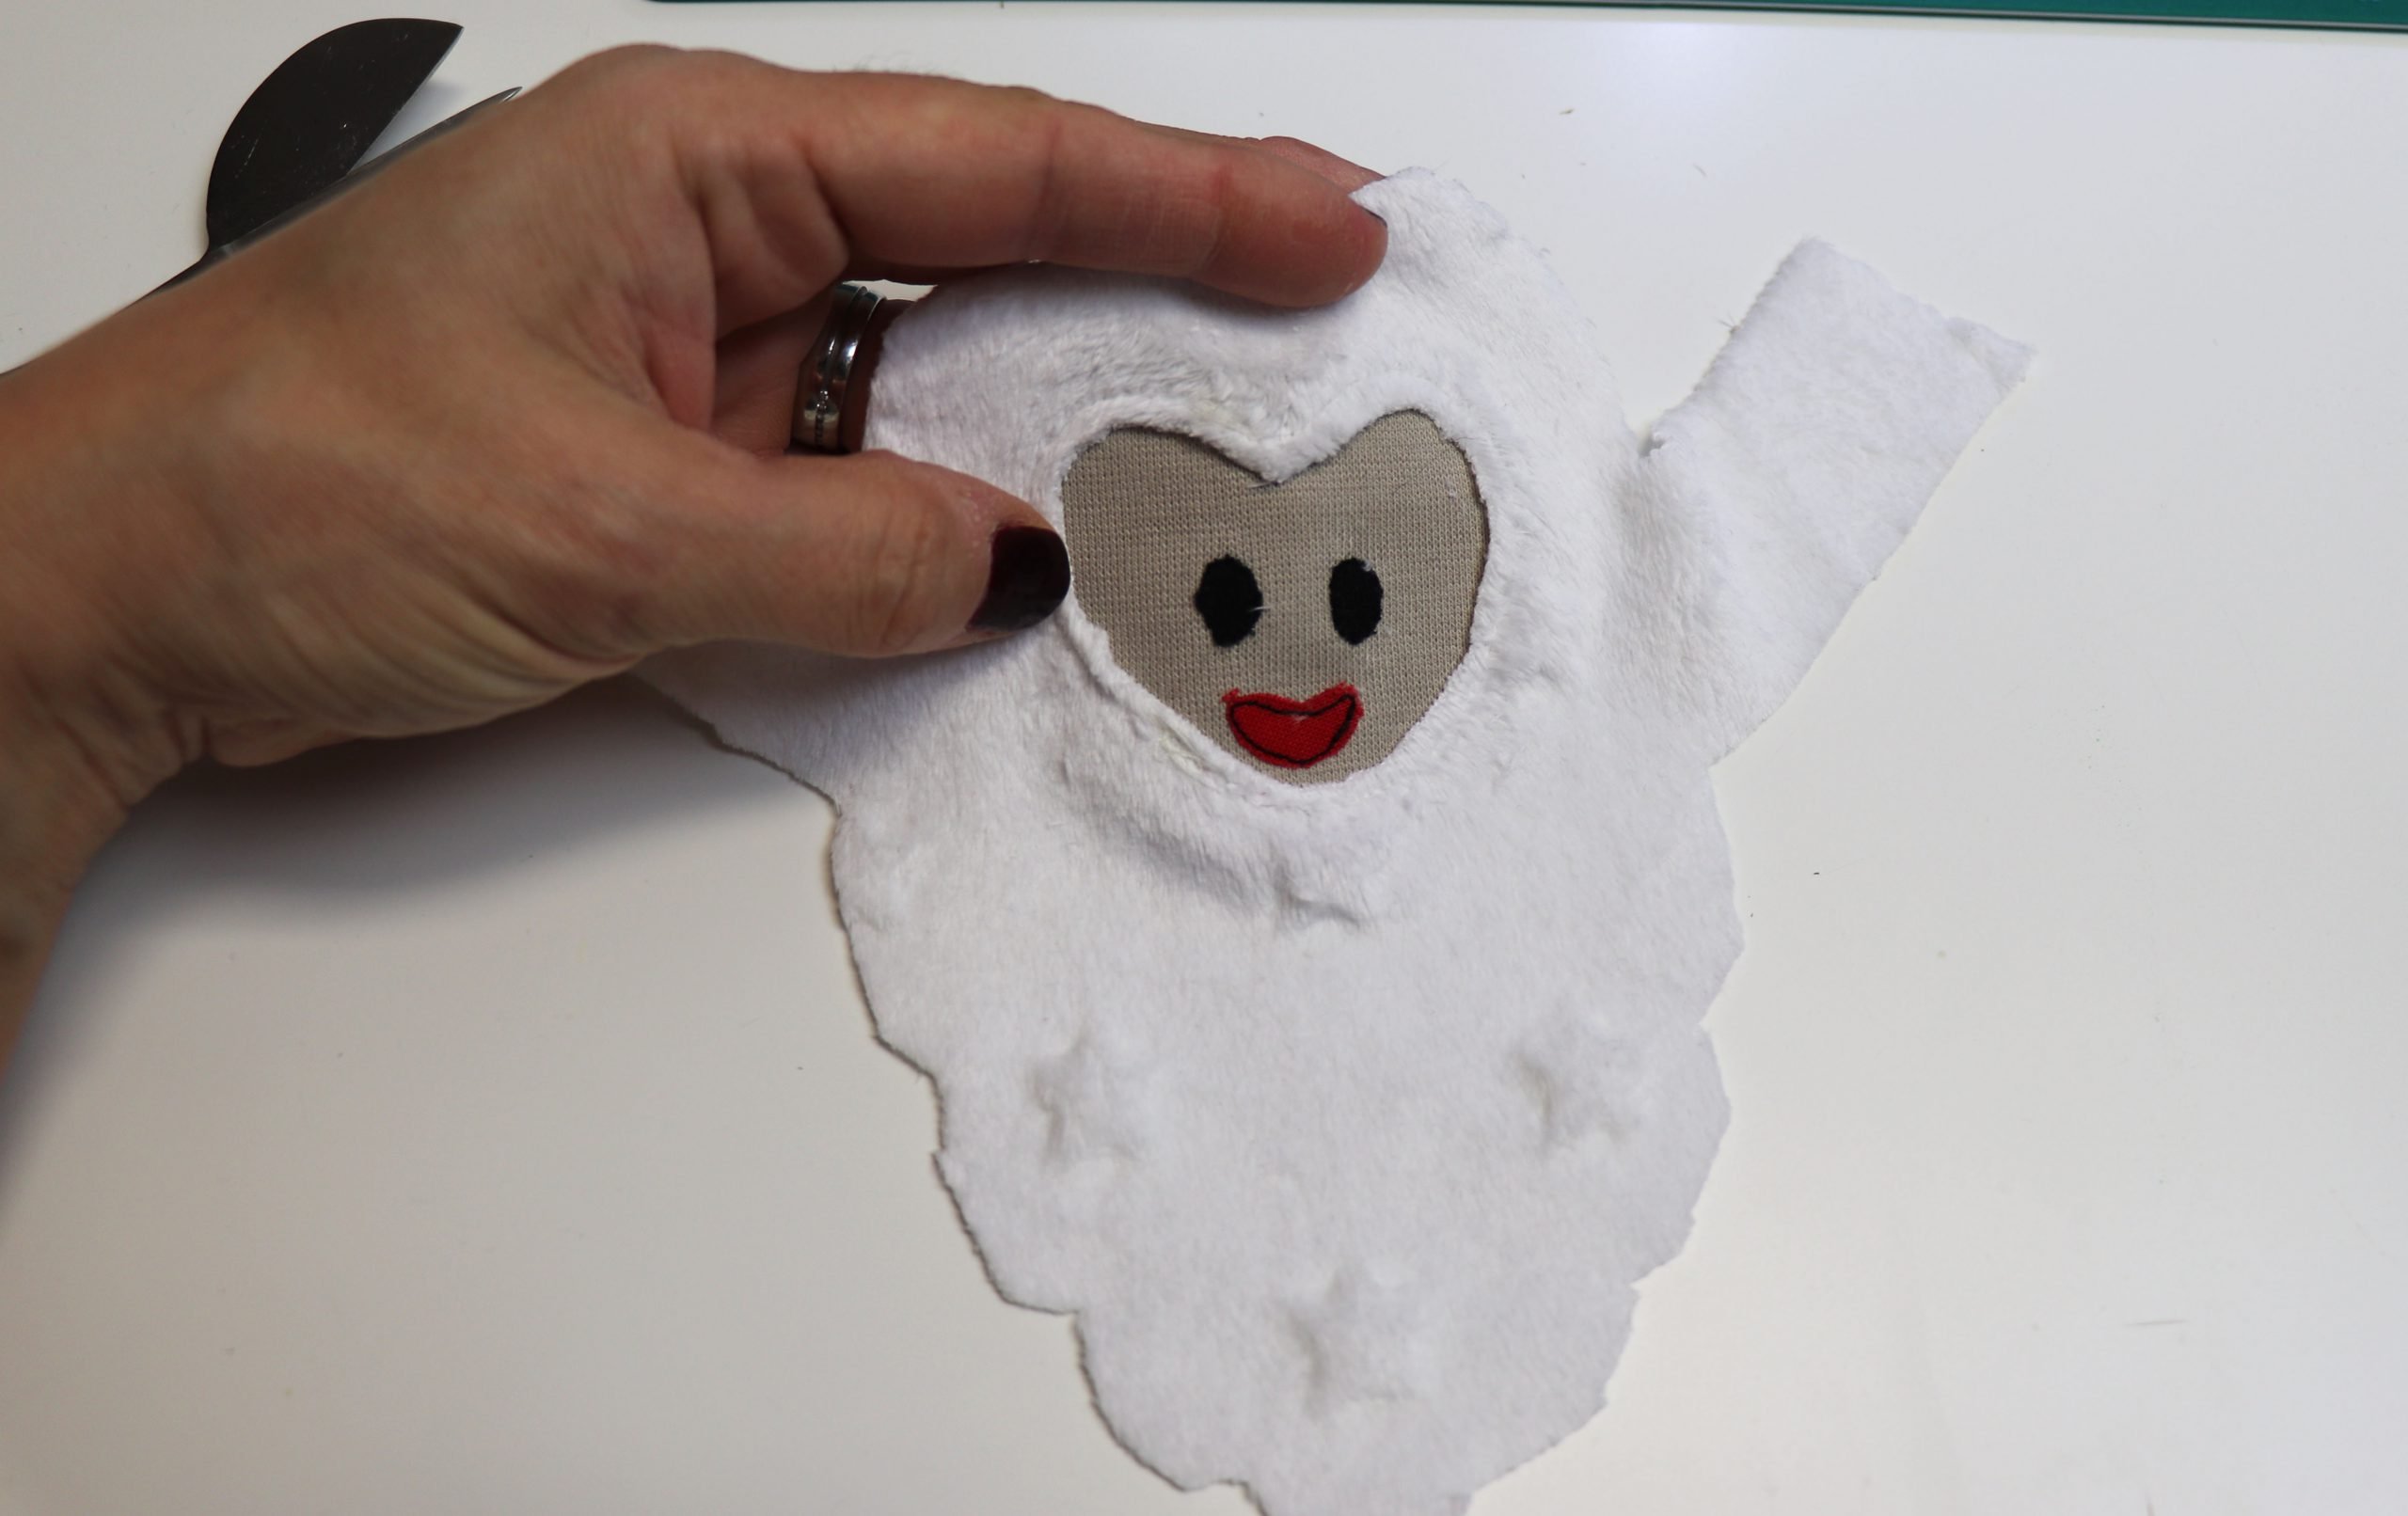
And now you carefully trim the excess fabric on the eyes and mouth along the seam down to approx. 1-2 mm with appliqué scissors. You can now sew eyebrows and a nose onto the face, simply follow the lines drawn on the template again.

Now it’s time for the hair: sewing the beard
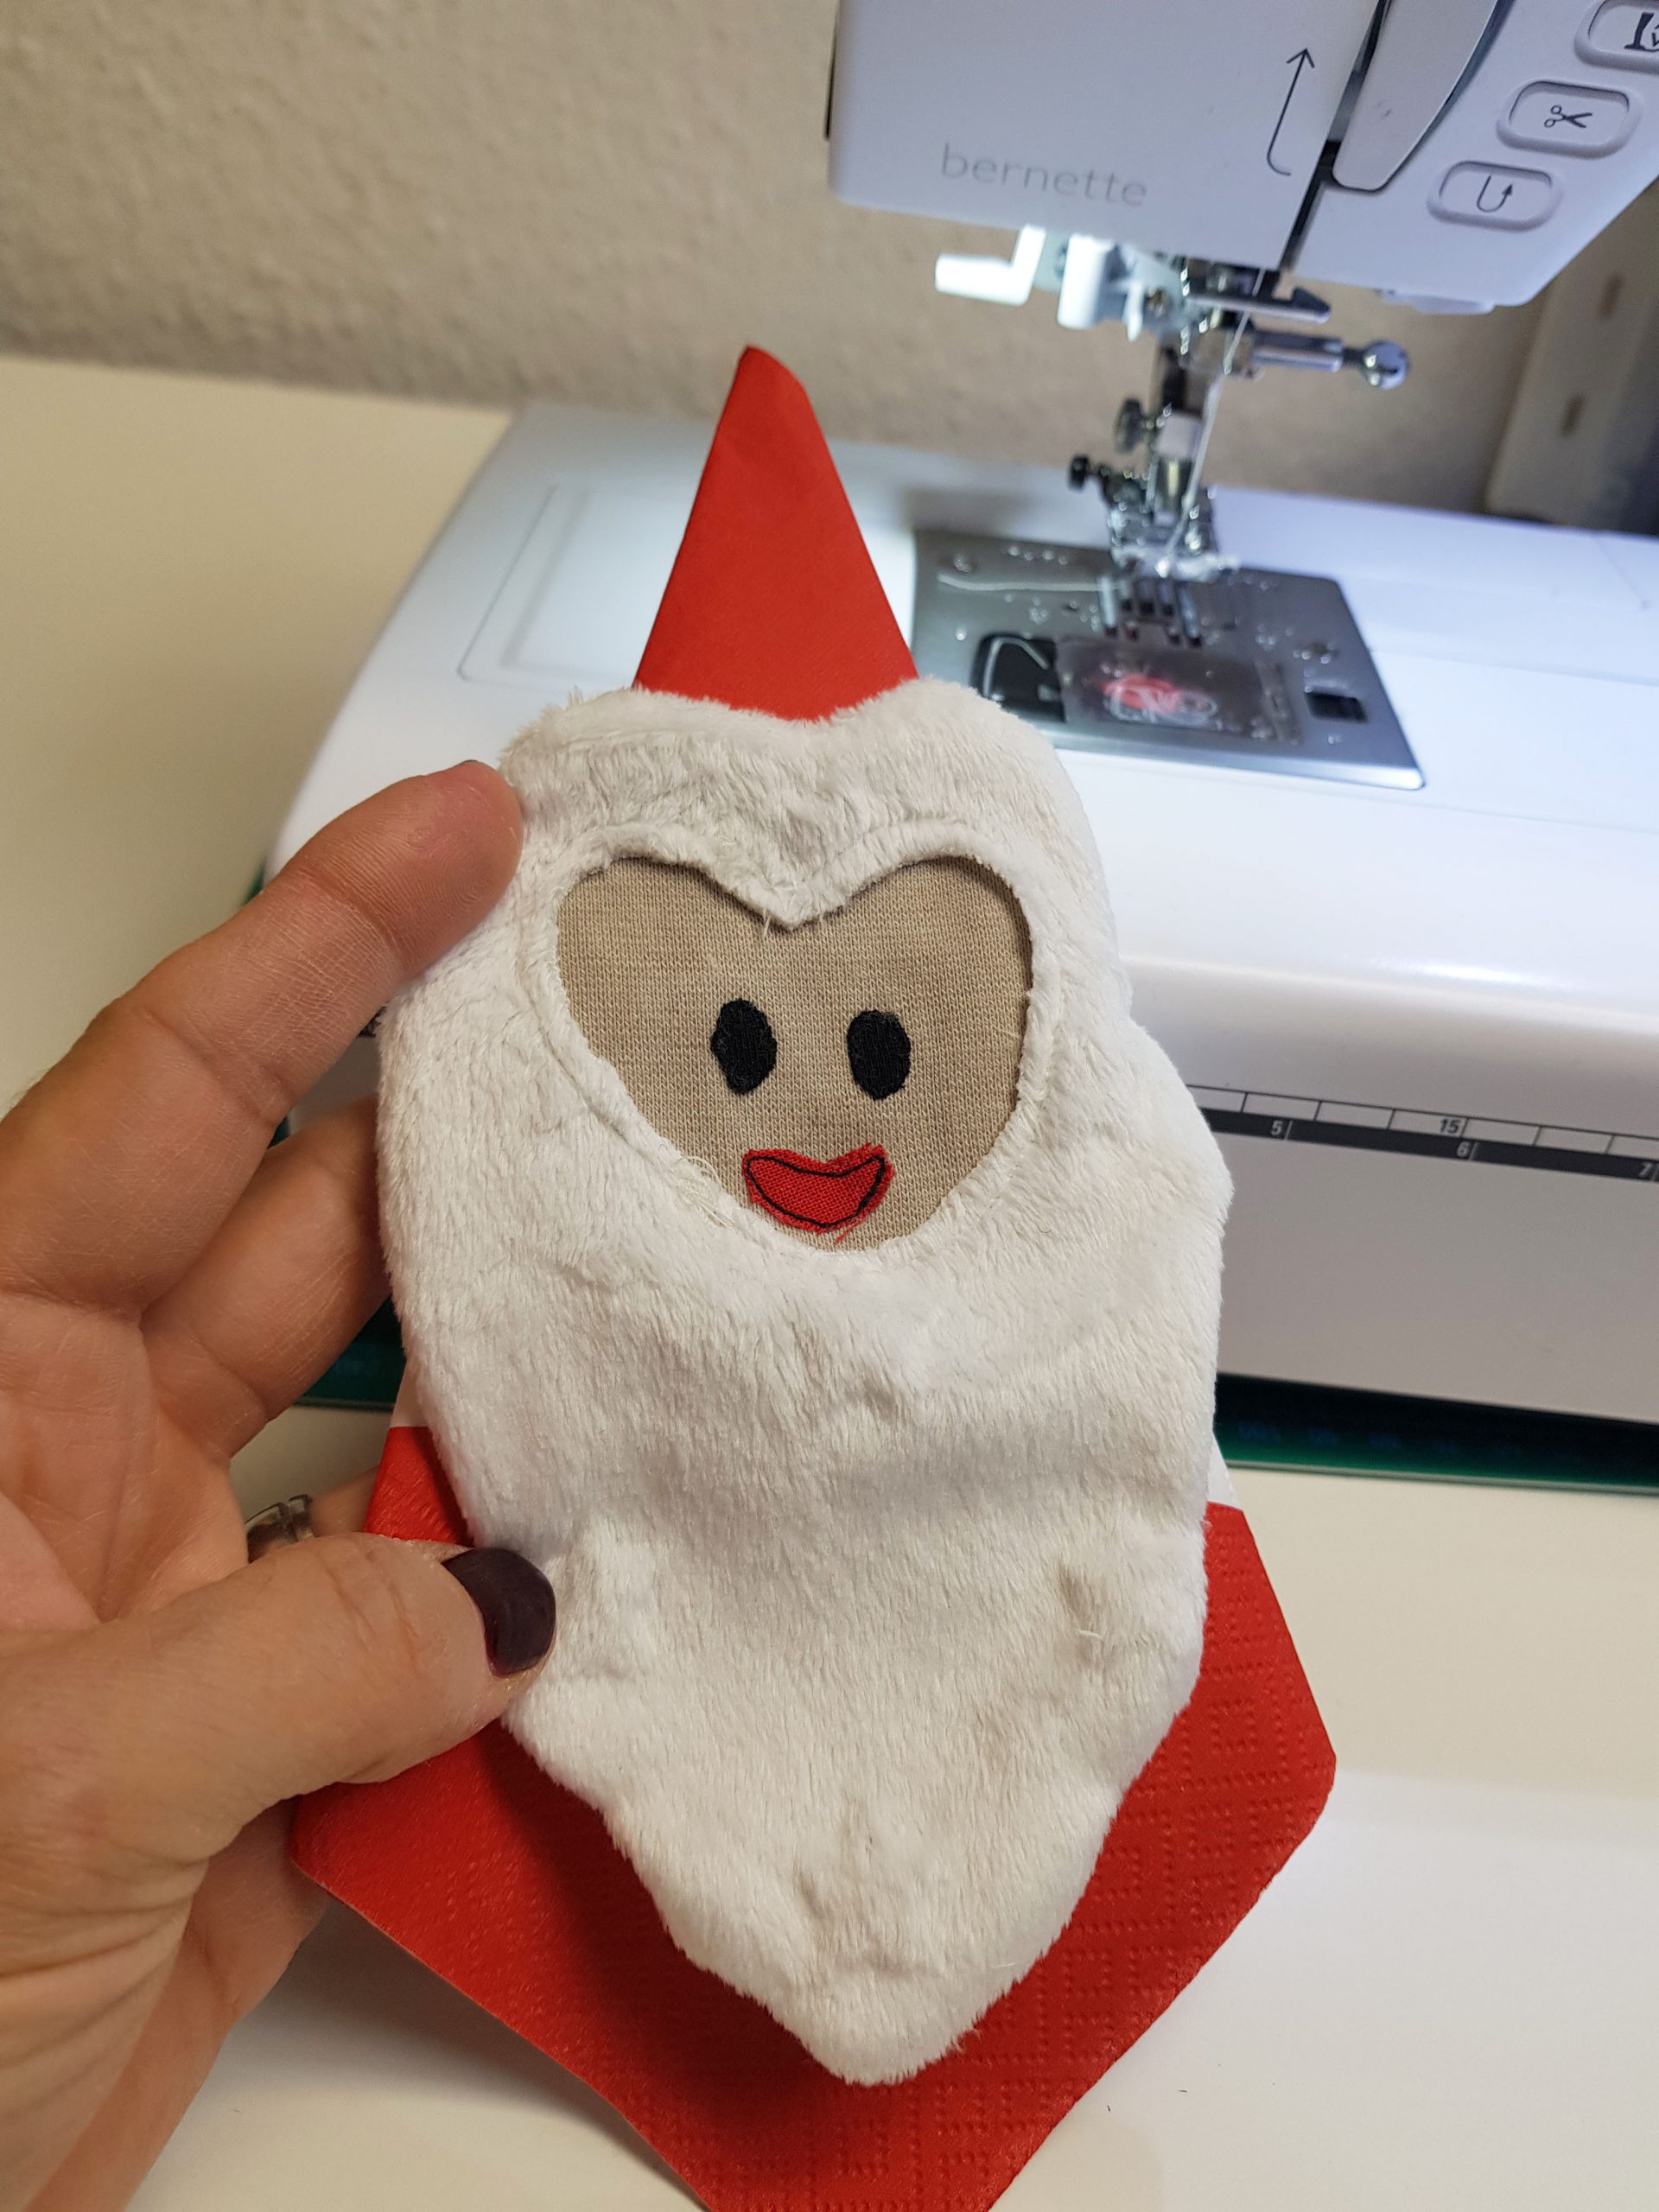
To make sure the beard surrounds the face nicely afterwards, the face needs to be behind the beard. Place the stabilizer with the template on the wrong side (back) of the heart face and then place this on the wrong side of one of the beard pieces. The eyes are thus on the back of the beard. When you have arranged everything nicely, secure the whole thing in place with a few pins. Then sew around the outside edge of the heart to attach it to the beard.

You can now remove the stabilizer and trim back the skin-colored fabric slightly. Turn the beard so the right side is facing you and very carefully cut out the plush inside the sewn face up to approx. 1-2 mm from the seam. You can now see the face below and Santa Claus is beaming at you through his beard.
You’re almost there
Now put the 2nd beard piece onto the beard with the face with the right sides together.
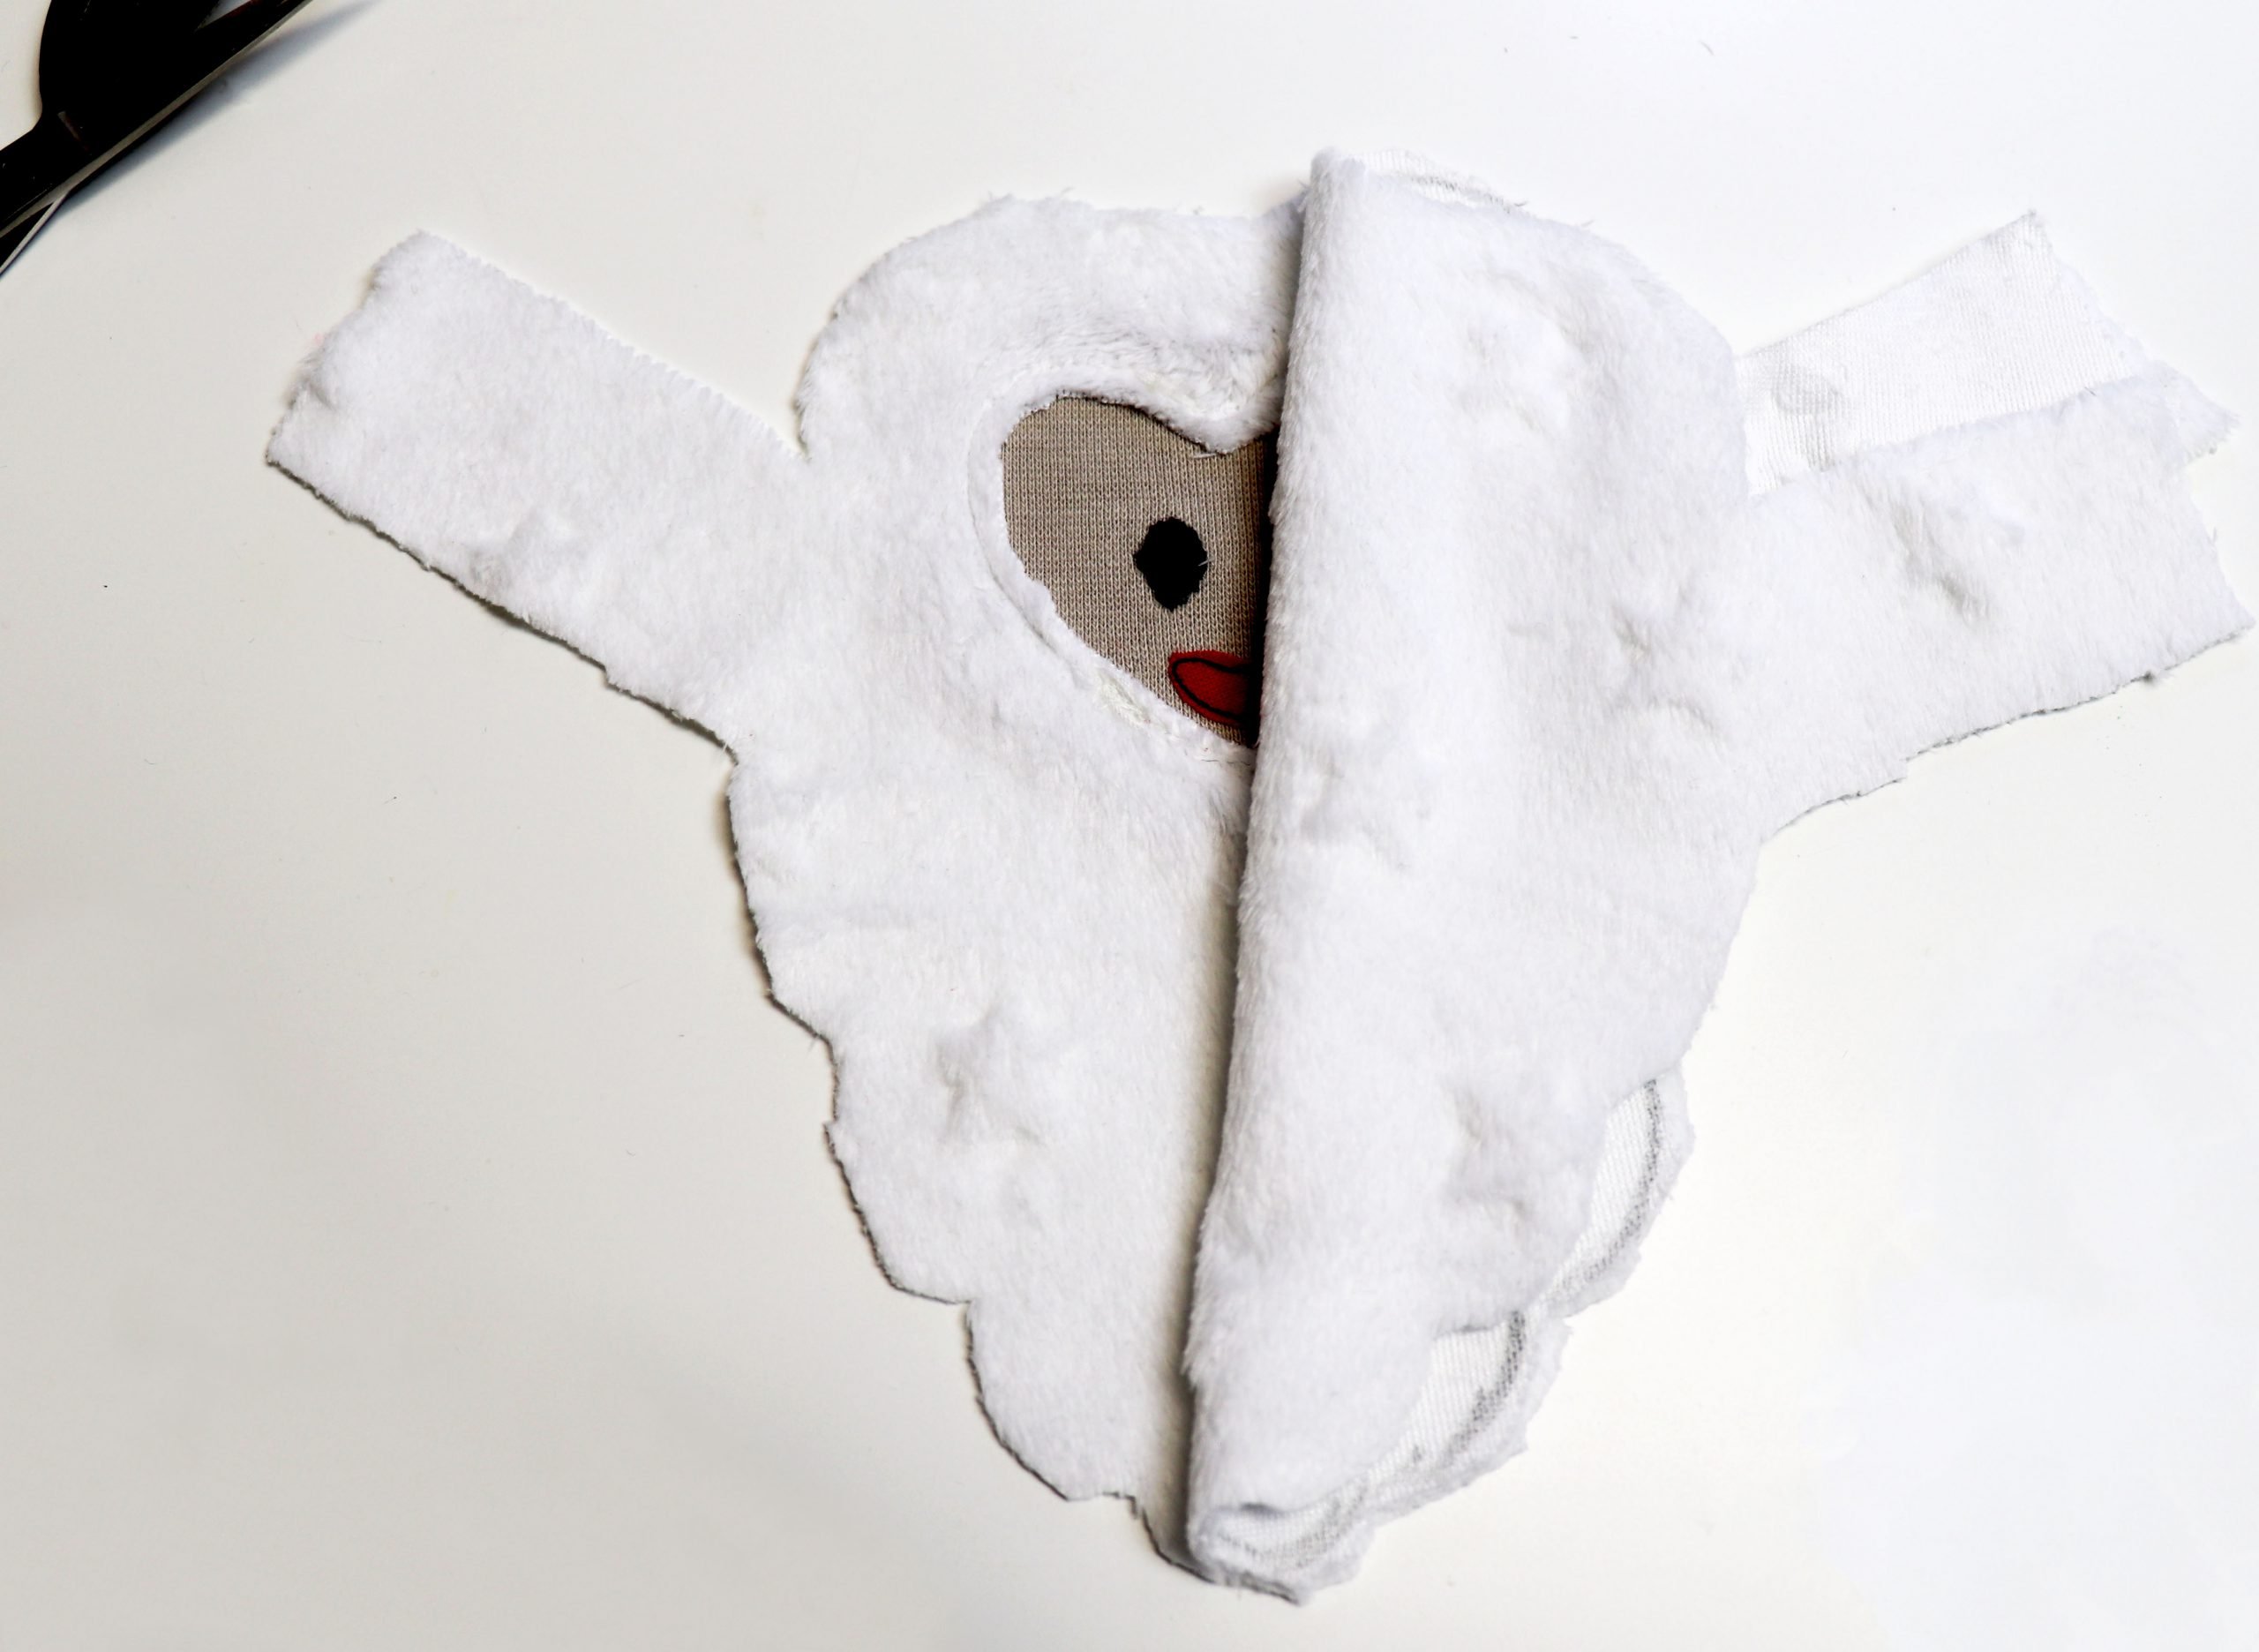
Then replace the free-motion embroidery foot with the regular presser foot to make it easier to guide in the plush. Sew the two pieces together along the outer edge. On one of the sides, leave a turning opening of approx. 3 cm.
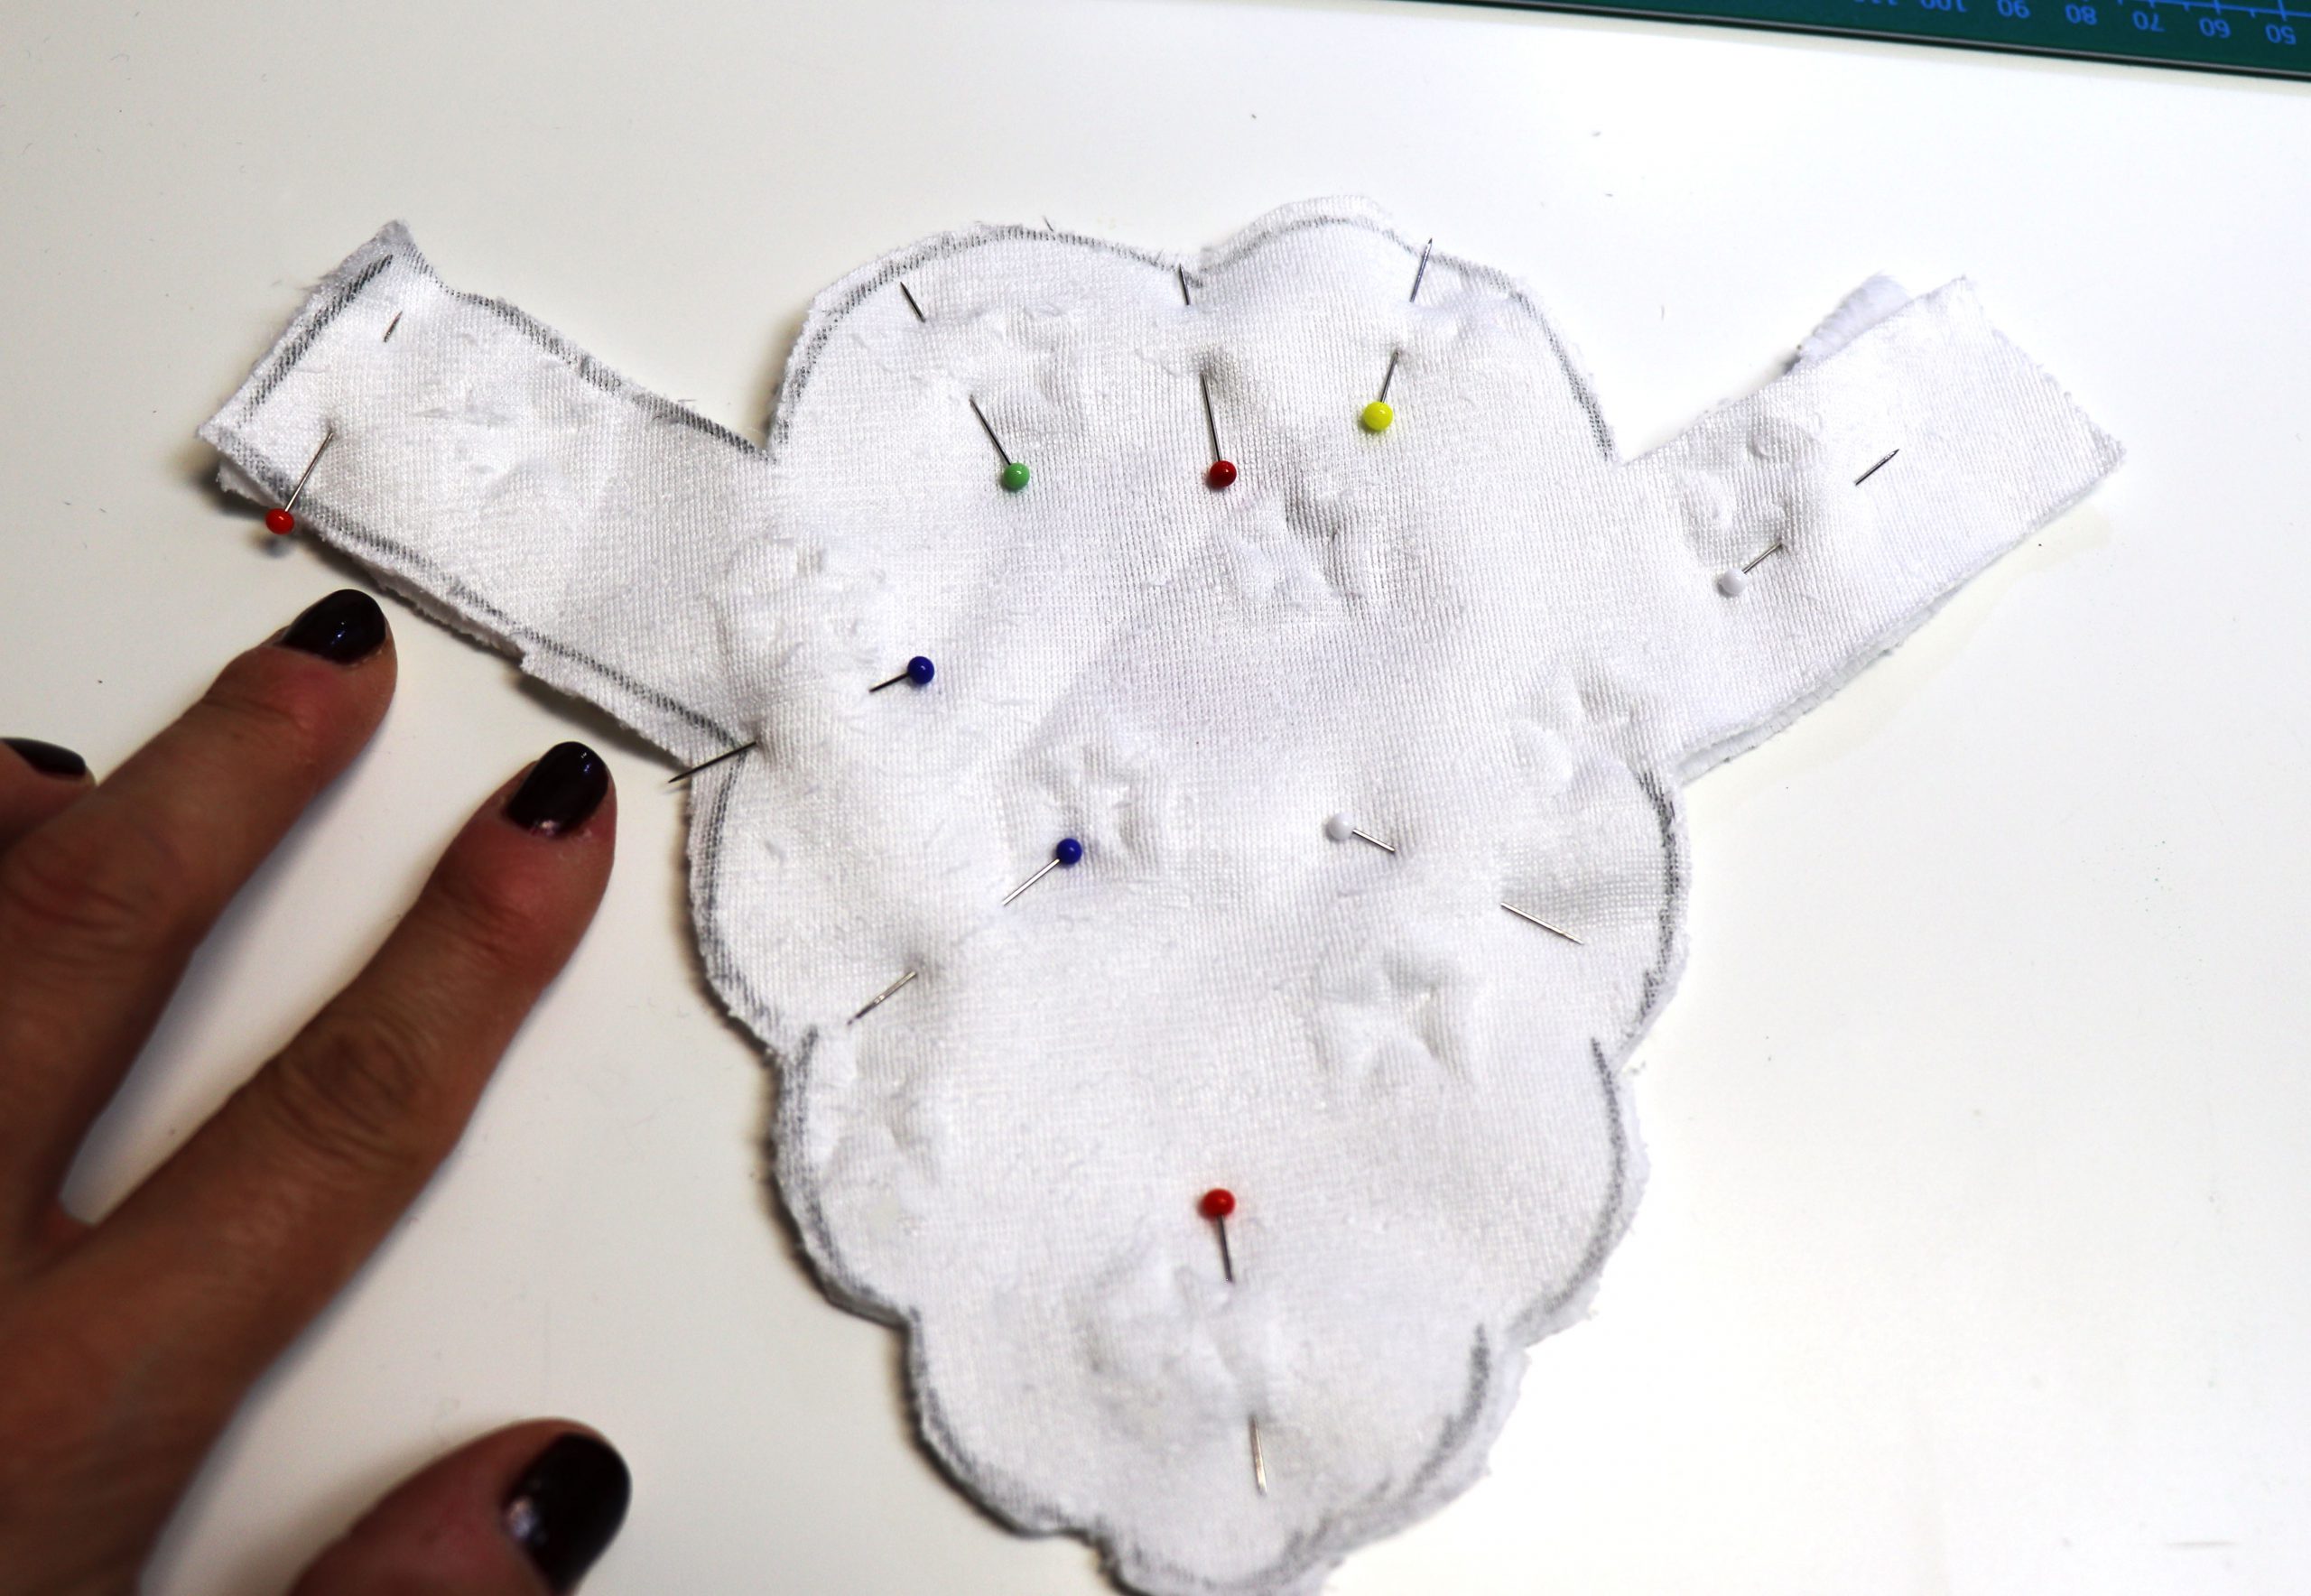
Trim or cut into the seam allowance at the corners, then turn the beard and shape everything nicely with the help of a wooden stick, if necessary. Close the turning opening.
Last but not least, attach a press stud or Kam snap to the ends of the side pieces.

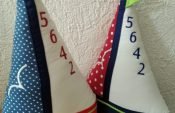
Fold a napkin into a triangle and wrap the beard around it. Your Santa Claus is now ready for the Christmas dinner table.
These plush Santa Clauses are of course even more beautiful with home-sewn napkins with mitered corners. Have a look at this post by Patricia on how to sew your own cloth napkins (in German), where she explains it to you step by step.
Have fun sewing the Santa Claus and have a great advent season!
Alexandra


0 Responses