 BERNINA Corporate Blog -
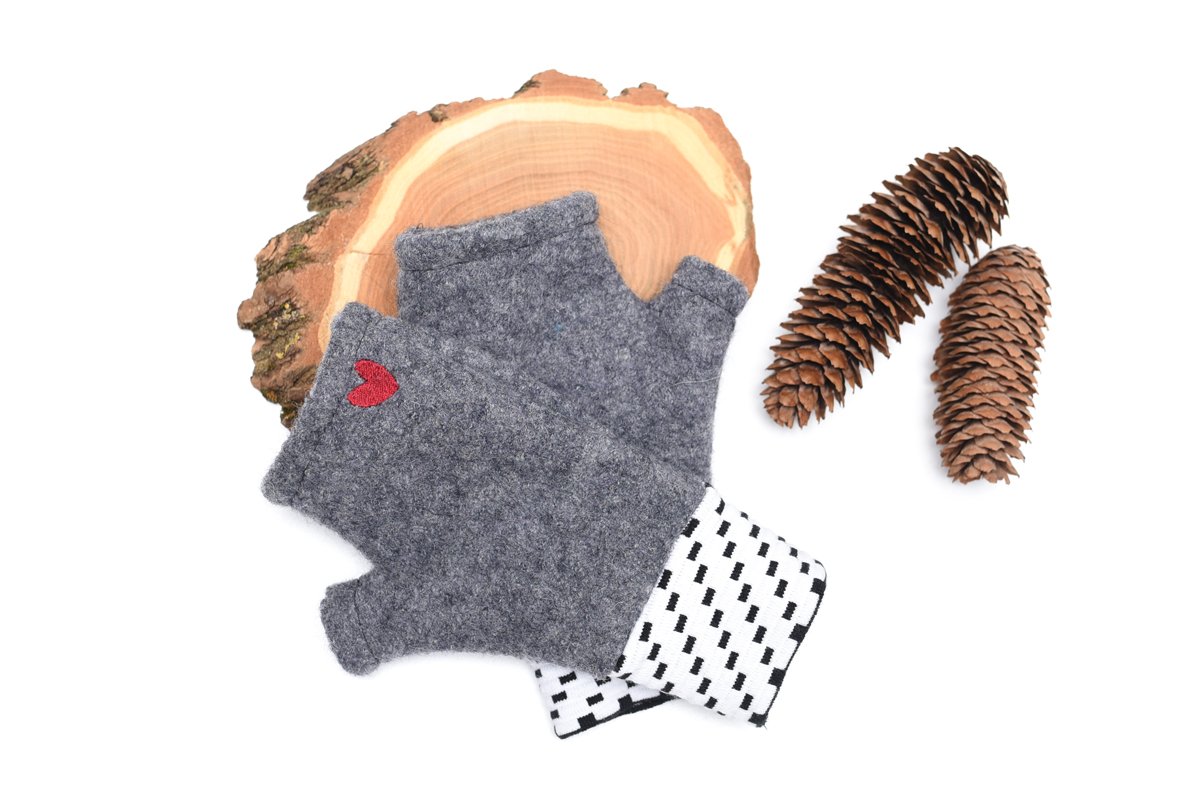
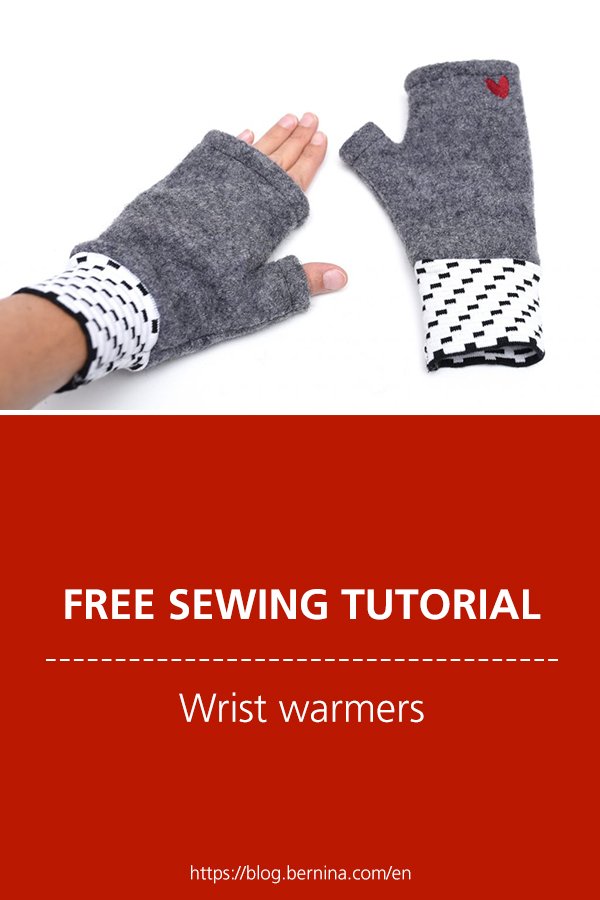
Good morning, I’m delighted to welcome you to the Advent Calendar 2020 – I am presenting window no. 5 to you today. We were asked to choose a project that comes from the heart. When I was thinking about the themes of heart and love, the word warmth came into my mind. This is something we certainly need during the winter and, if we are honest, at other times too, because warm-hearted relationships with other people are good for us and help us to flourish. This soon led me to my project, a warming gift that comes from the heart: sewing wrist warmers made of boiled wool fabric – embroidered with a heart. 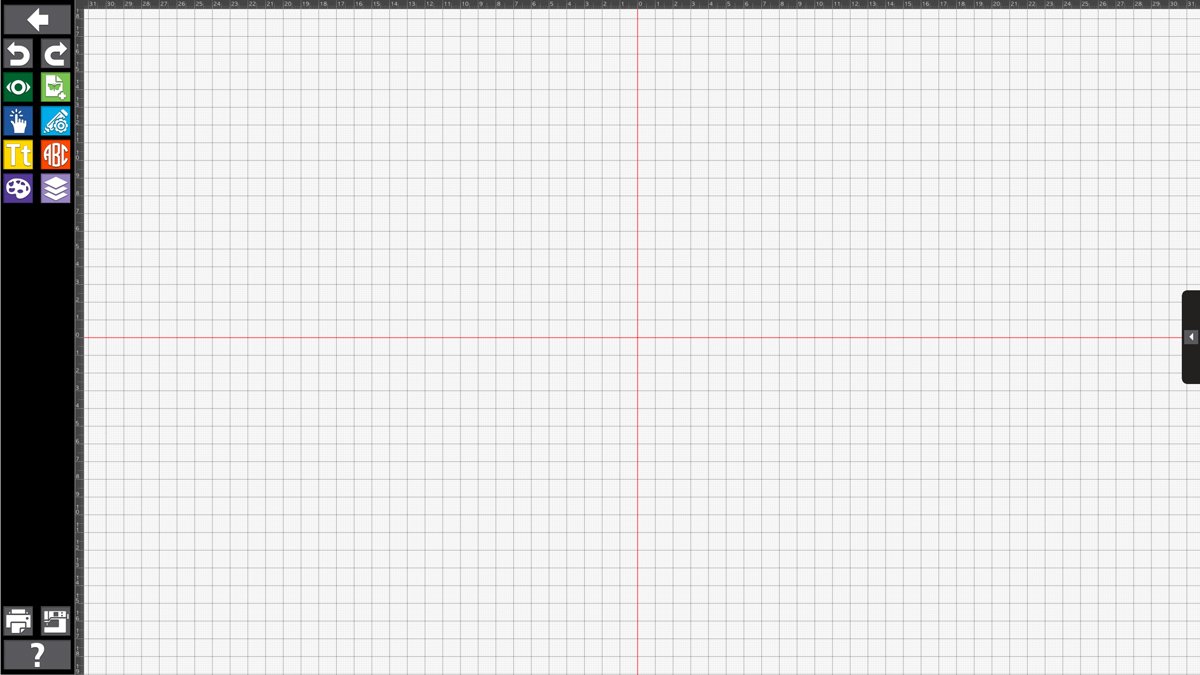
I have divided these instructions into three sections: first, I will show you how to use Toolbox to create a small heart, this is then embroidered onto the fabric and finally, the wrist warmers are sewn. If you don’t have an embroidery machine, you can omit the first two parts or paint or appliqué a heart on your sewing machine.
Creating an embroidery file with Toolbox
Open Toolbox and select a new template.
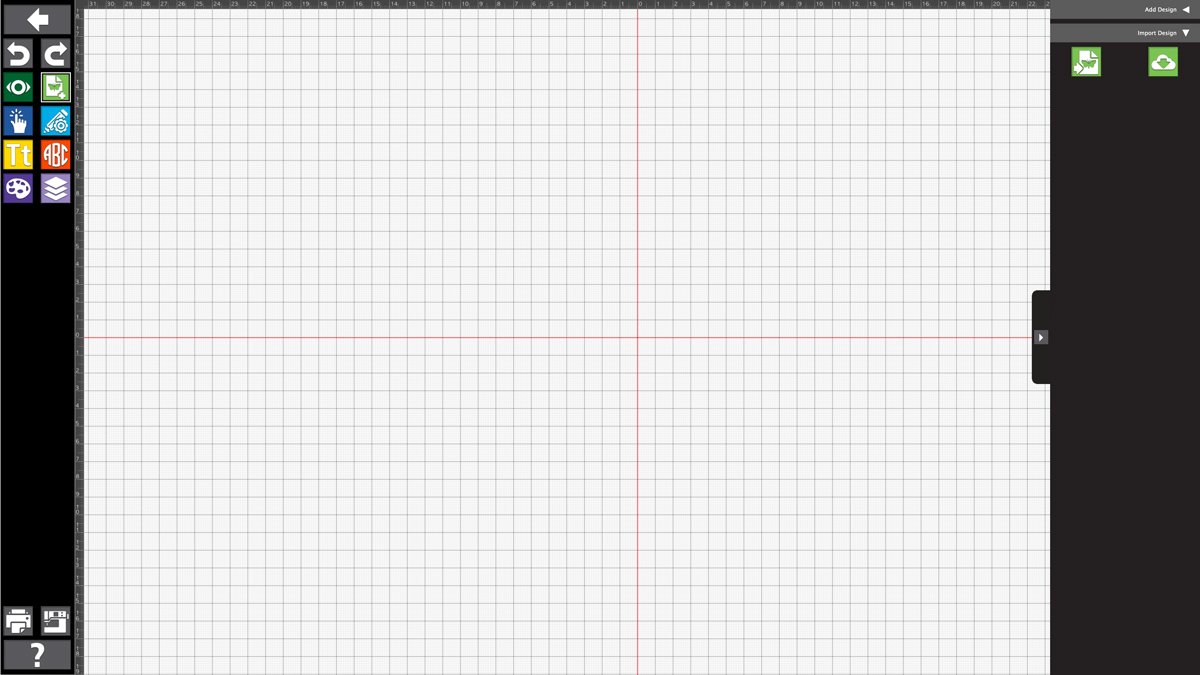
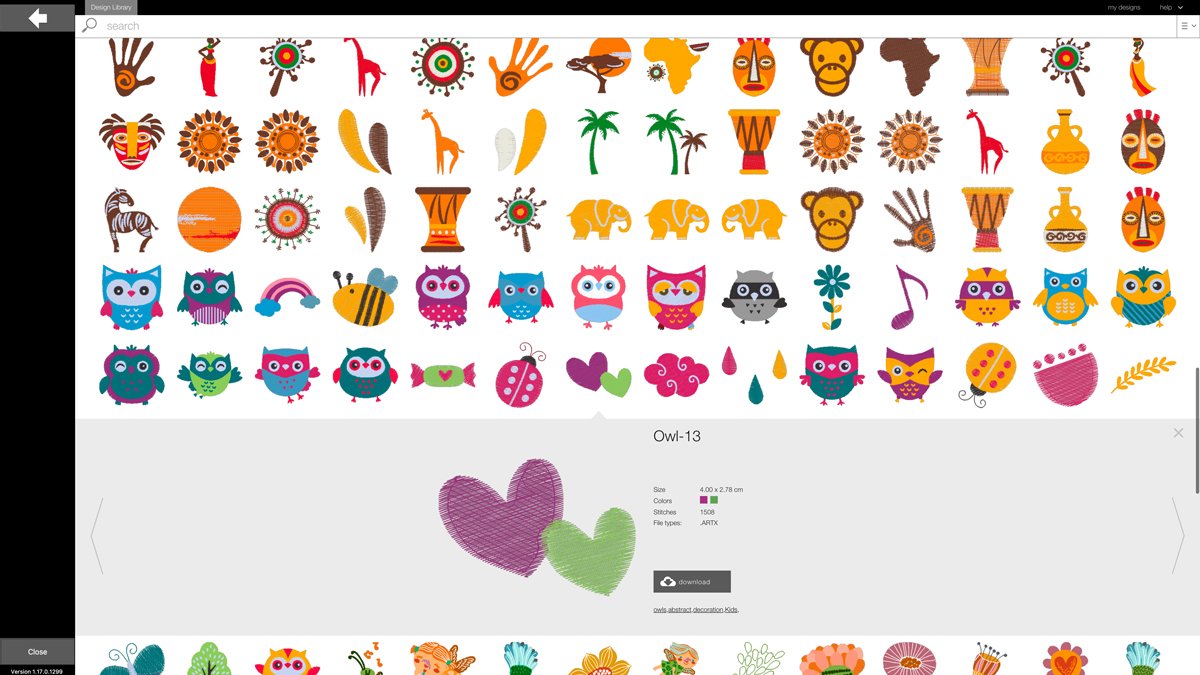
Select the light green tab on the left to add a file. Open the BERNINA Cloud and download the “Owl-13” file.
You can separate the hearts from one another using the dark blue tab on the left.
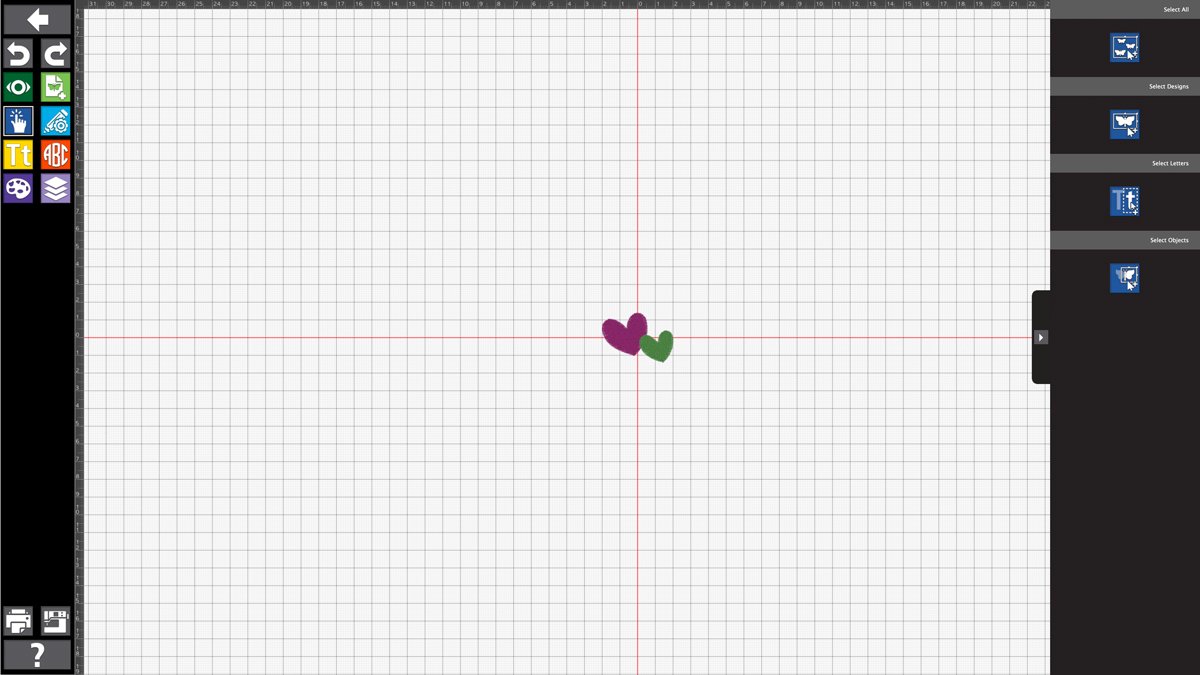
Using “Select Design”, click on the purple heart…
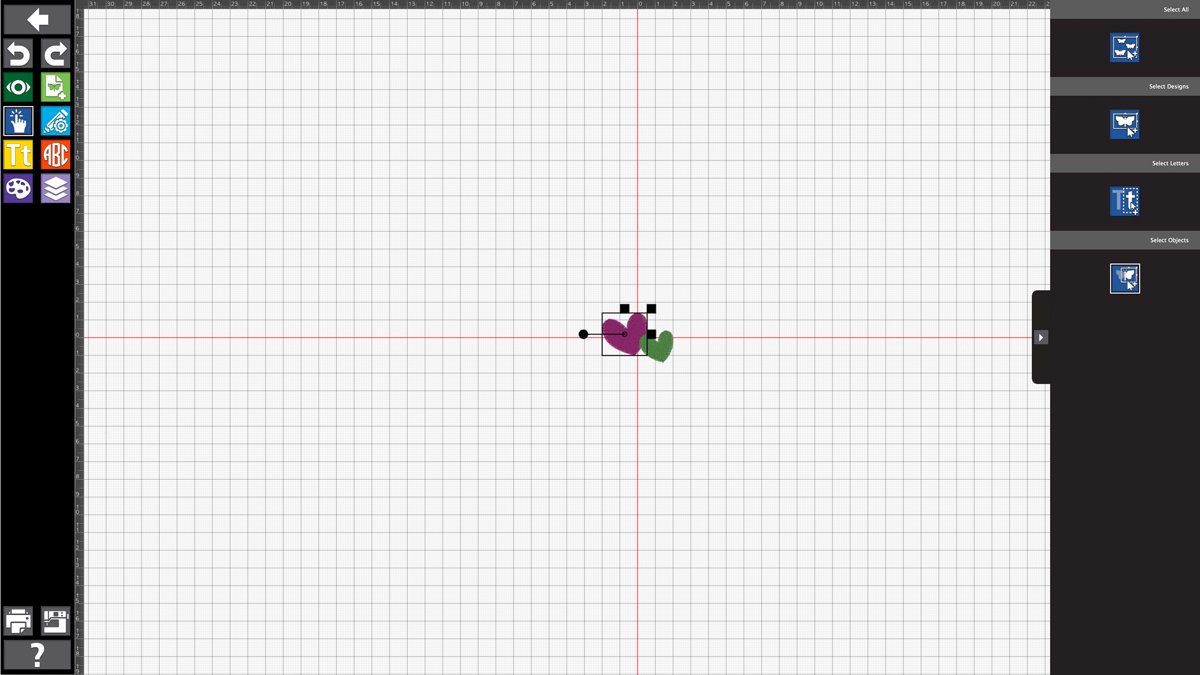
…and delete it.

You can now save the file on your USB stick at the bottom left.
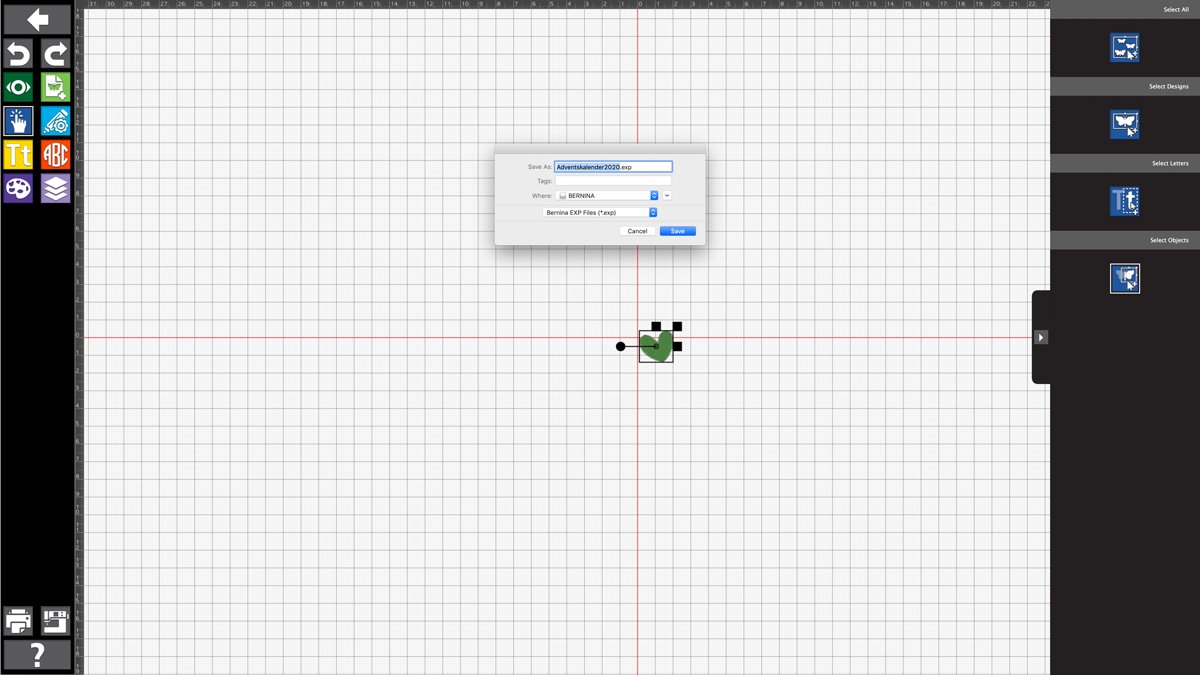
The first part of window no. 5 is done!
Materials and cutting out the wrist warmers
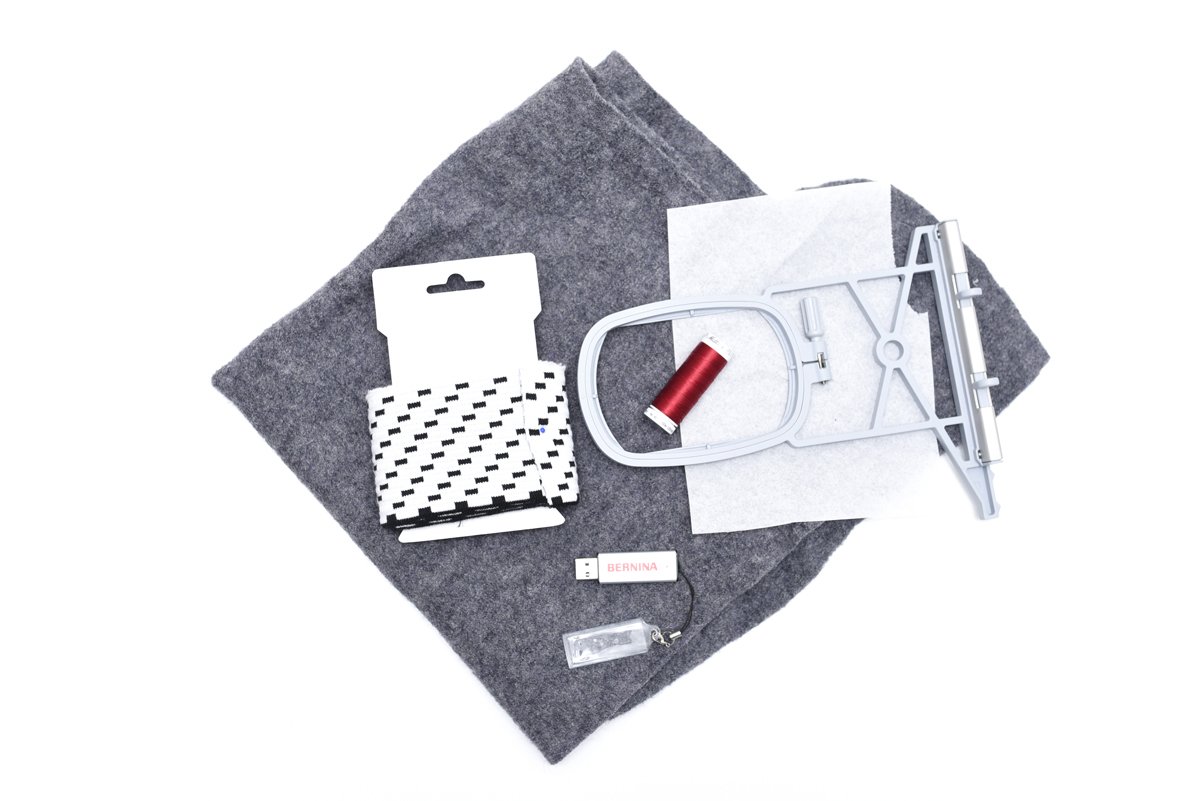
You will need:
- Boiled wool fabric remnants (e.g. from a jacket or a children’s suit)
- Cuffs
- Your embroidery items, the small embroidery hoop, tear-away stabilizer and embroidery thread (I’ve used Poly Sheen from Amann Mettler)
Take a piece of paper and place your hand onto it so that the wrist is 1-2 cm above the bottom edge.
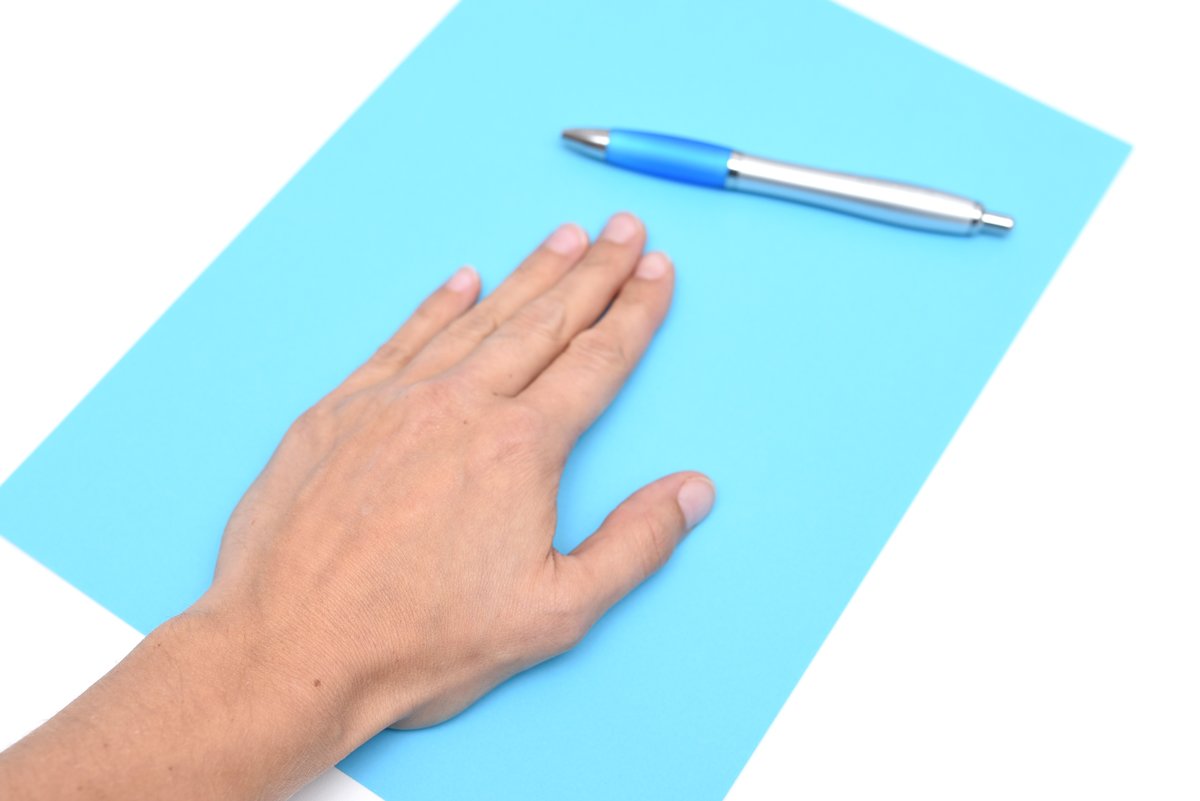
Draw around your hand, adding a 2 cm allowance all around
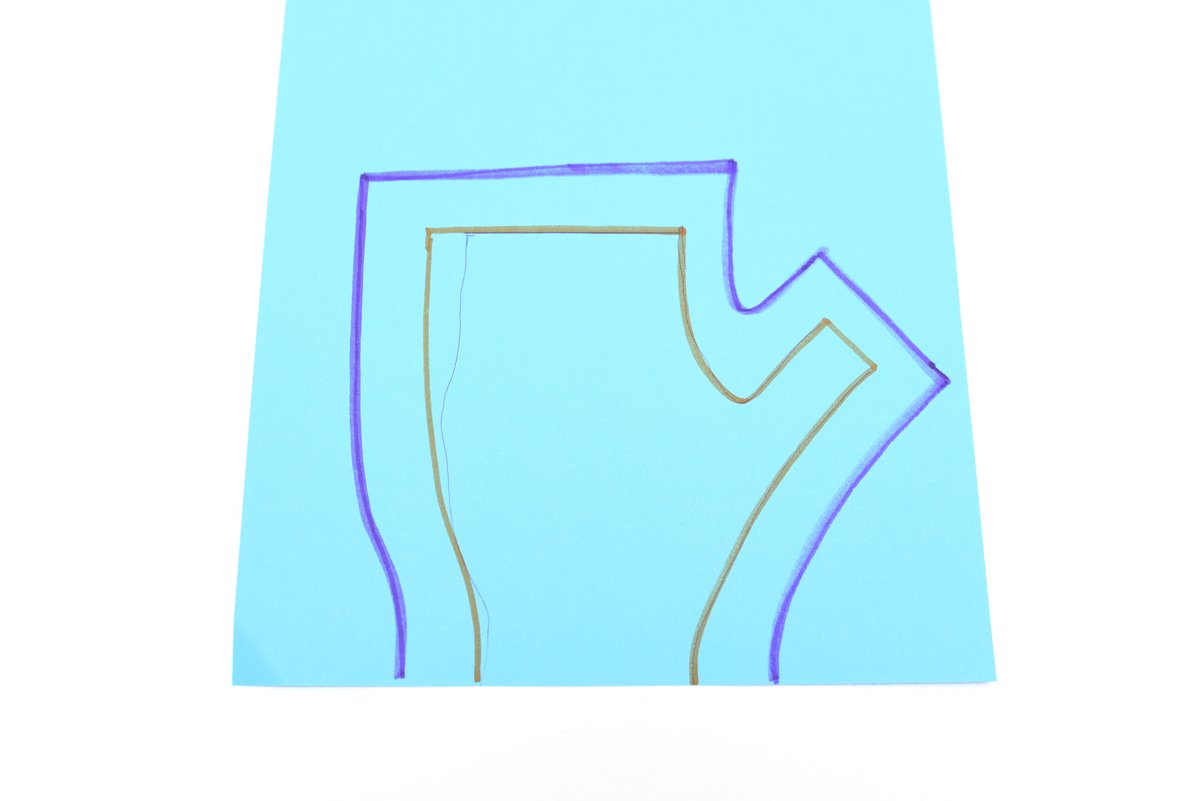
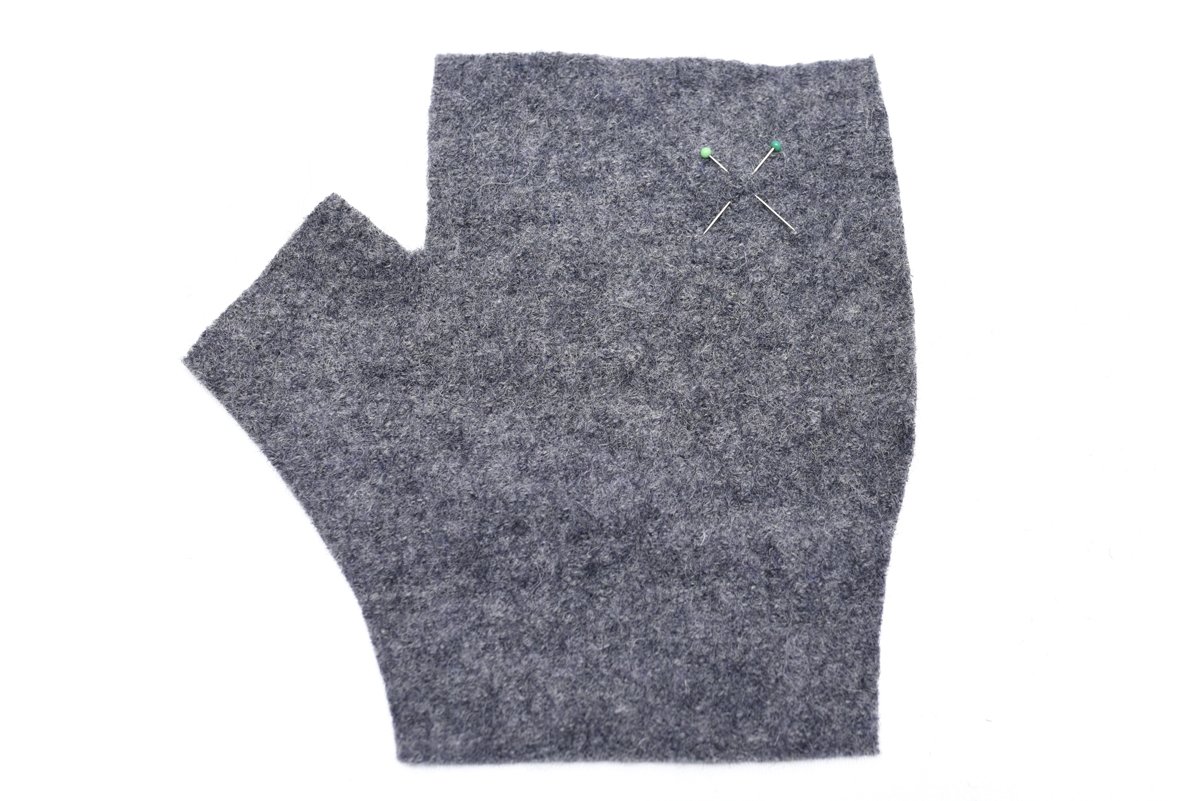
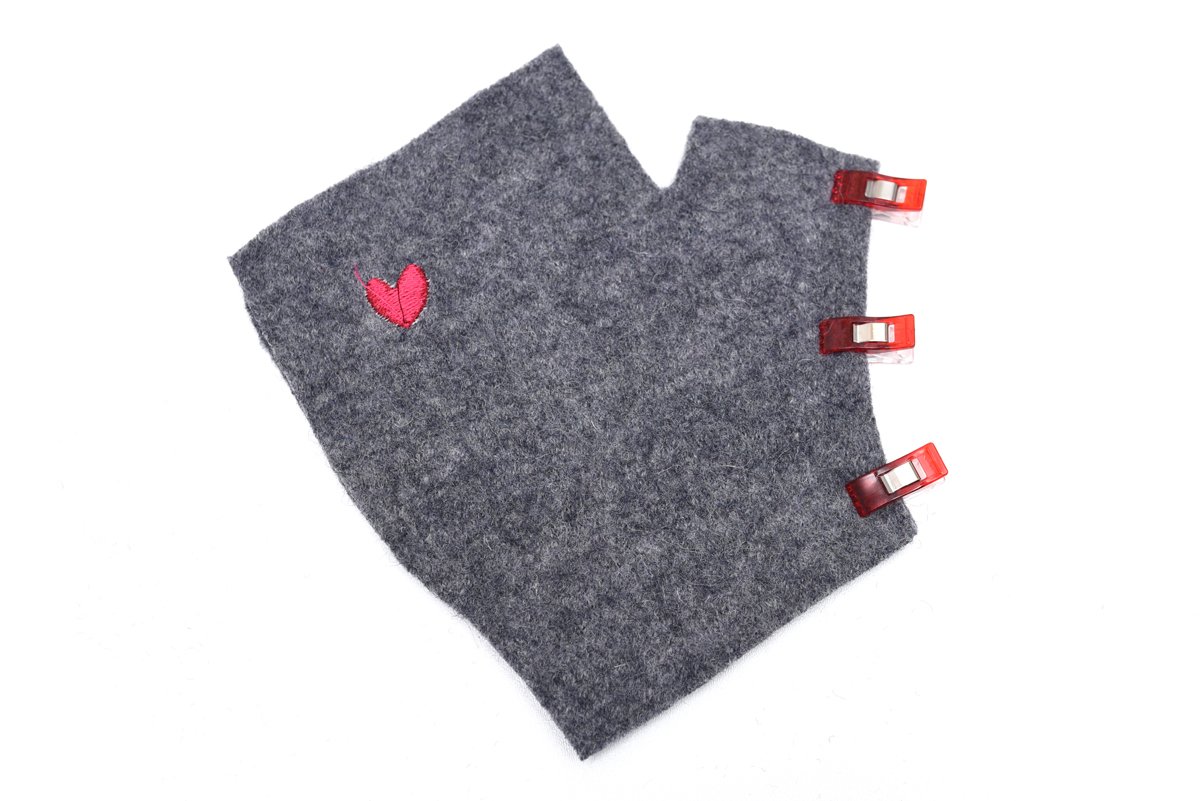
Cut out 2 of these for each hand.

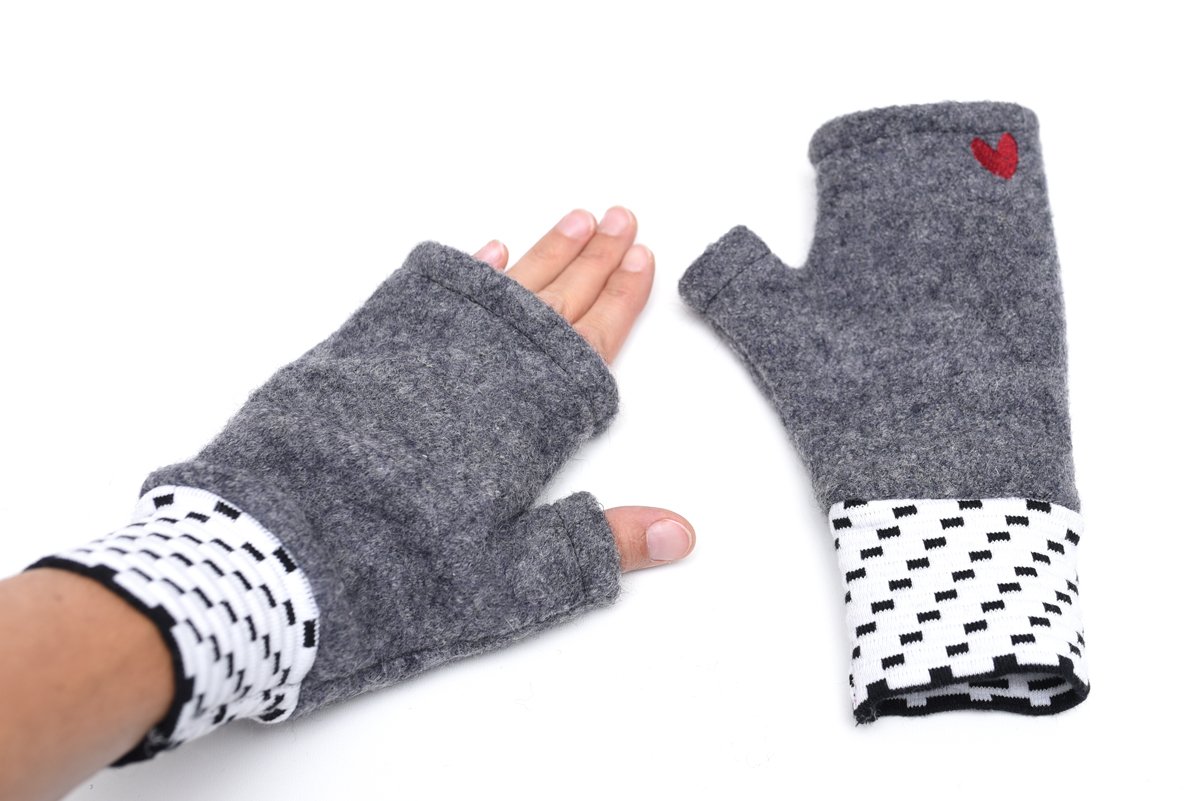
I now want to embroider the heart on the outside of the right glove. I mark the position 2-3 cm away from the outer edges.
Insert the stabilizer into your hoop and place the cut-out piece on top.
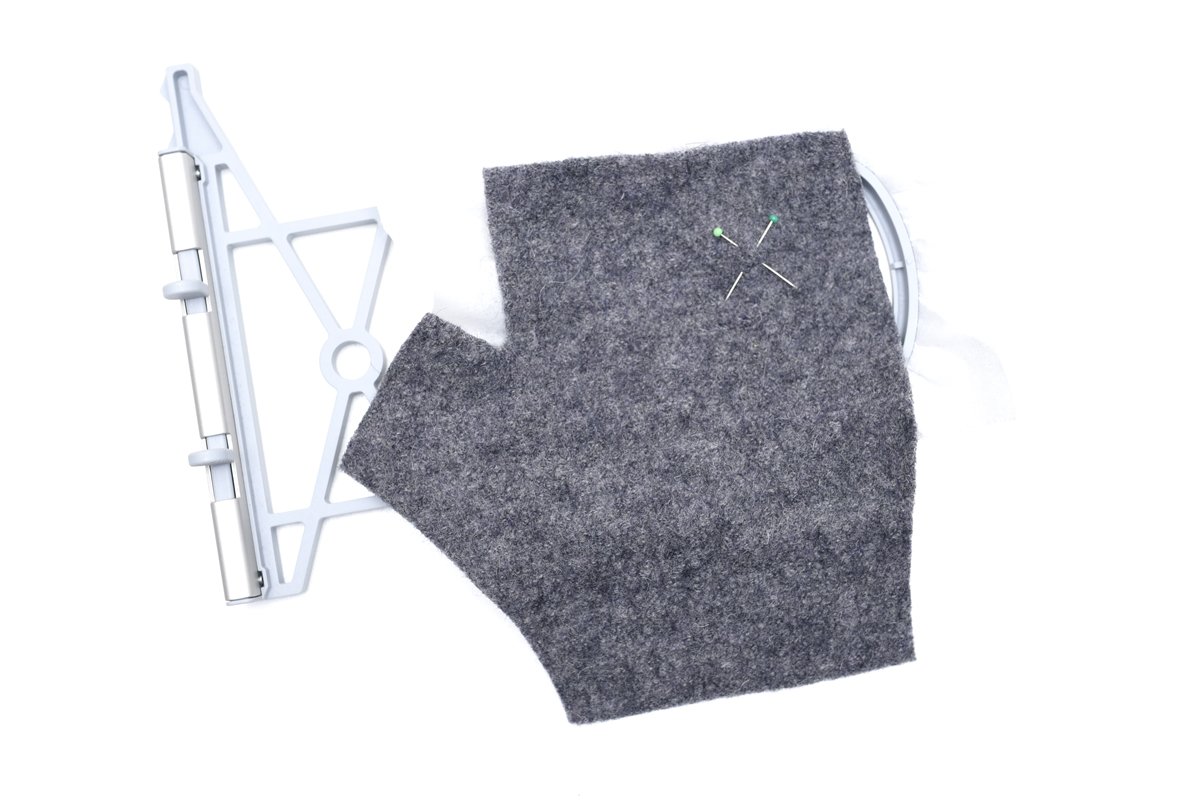
Position the embroidery file so that it lines up with your mark. I then hold the boiled wool for the first few stitches so that it doesn’t slip.
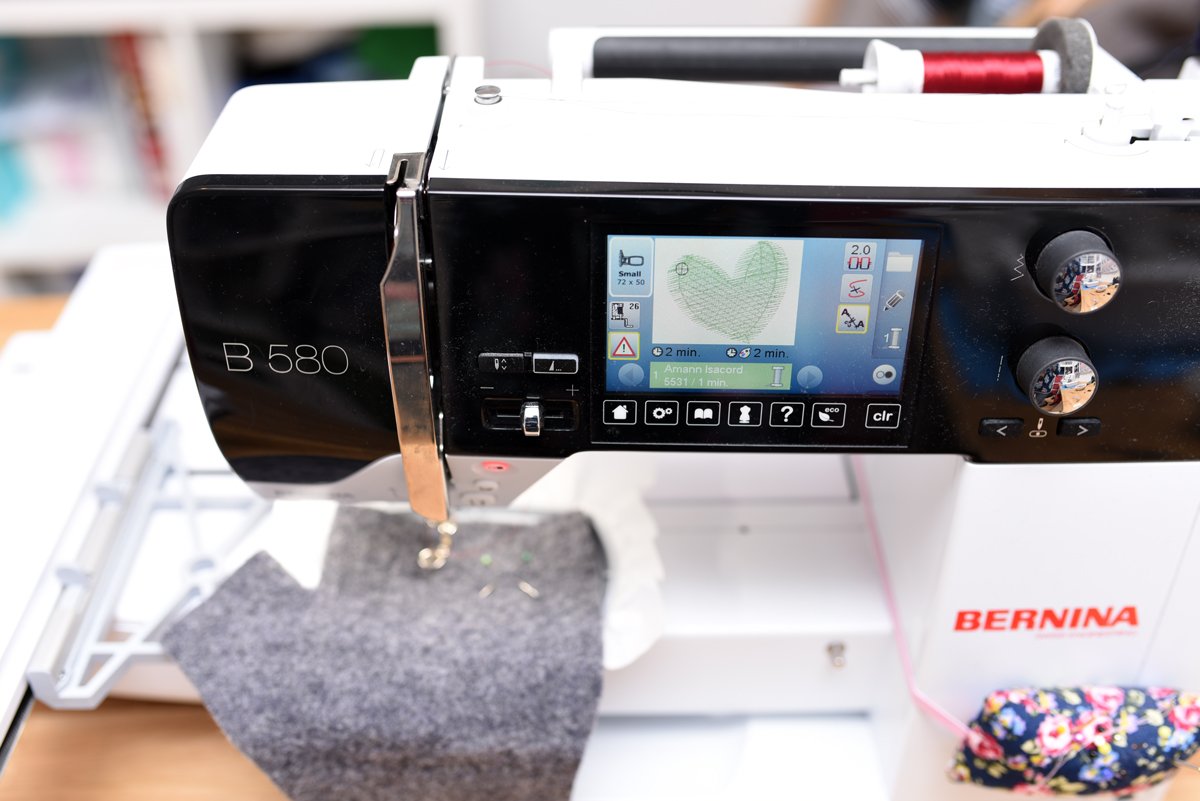
The machine will then finish embroidering the heart.

Remove the piece from the hoop and you can now sew the wrist warmers together.
Sewing embroidered wrist warmers made of boiled wool fabric
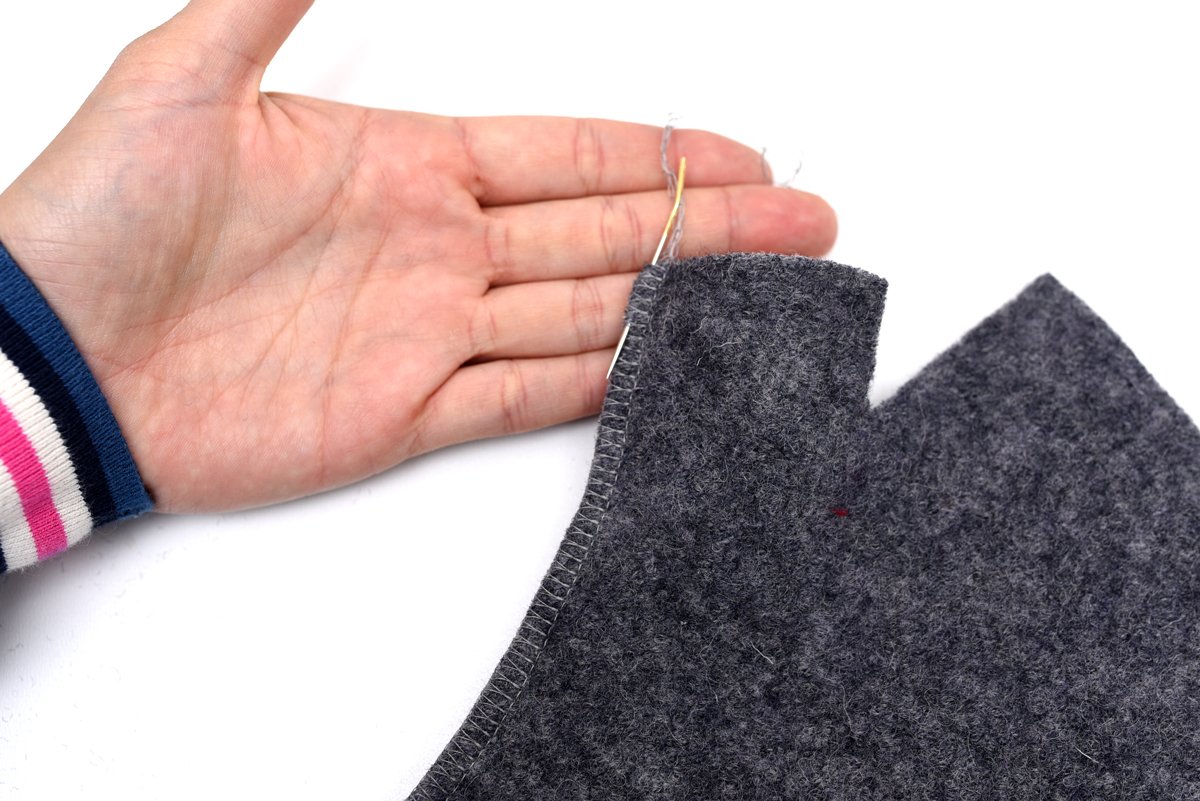
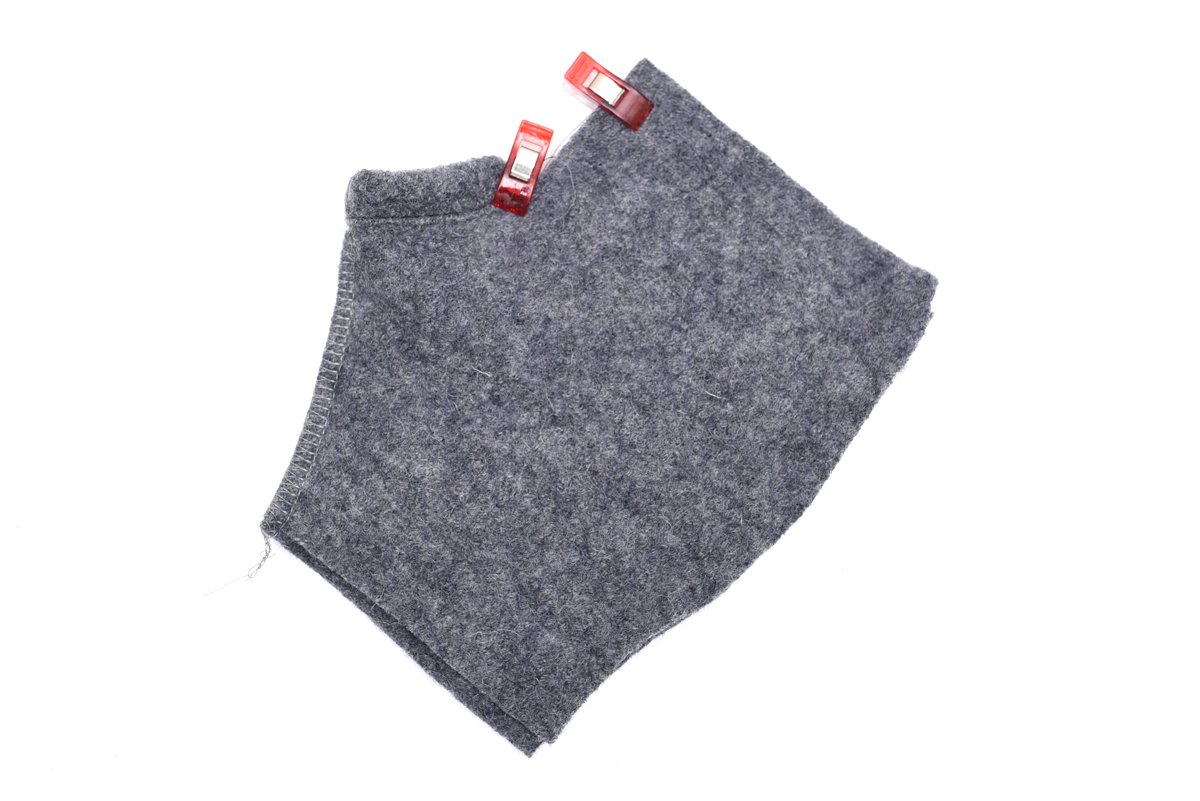
Now place two wrist warmer pieces with the right sides together and close the side seam with the thumb. You can use your normal sewing machine or an overlocker for this.
If you have used an overlocker, thread the tail threads back into the seam.
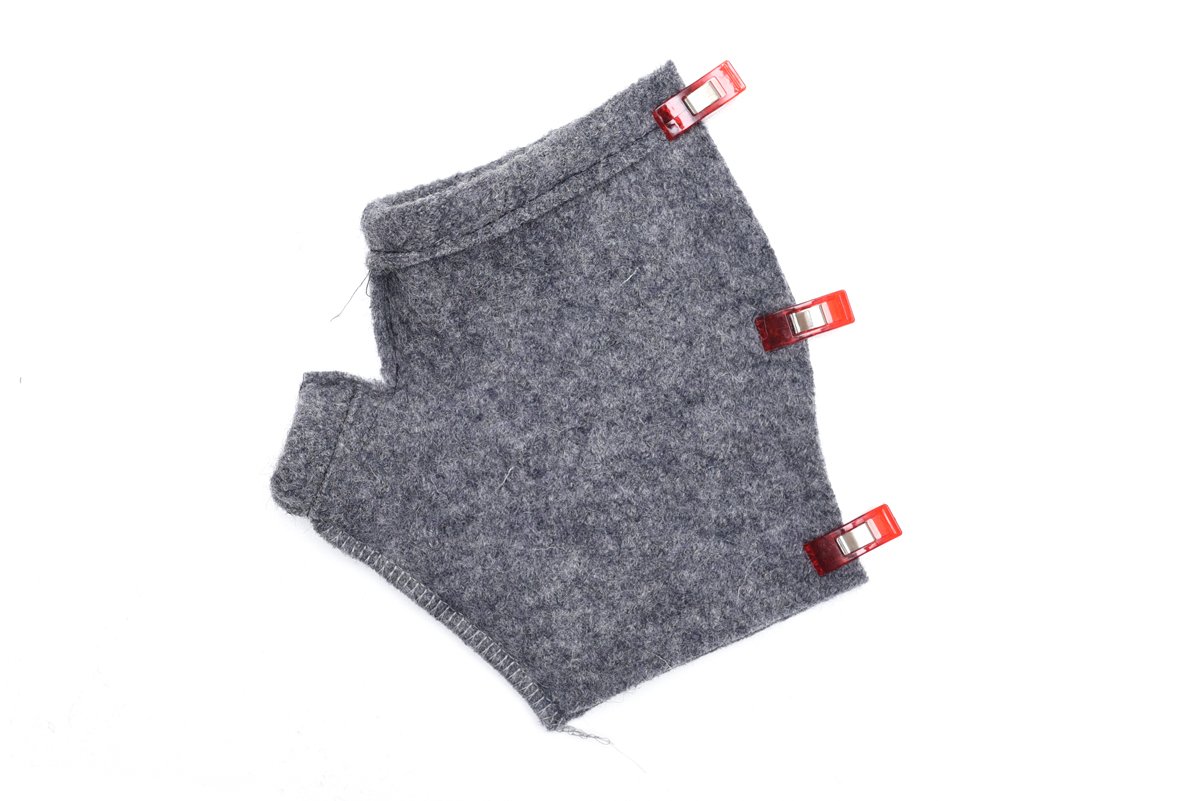
Then fold the seam allowance on the thumb hole inwards…
…and topstitch it close to the edge. For this, I prefer to use edgestitch foot #
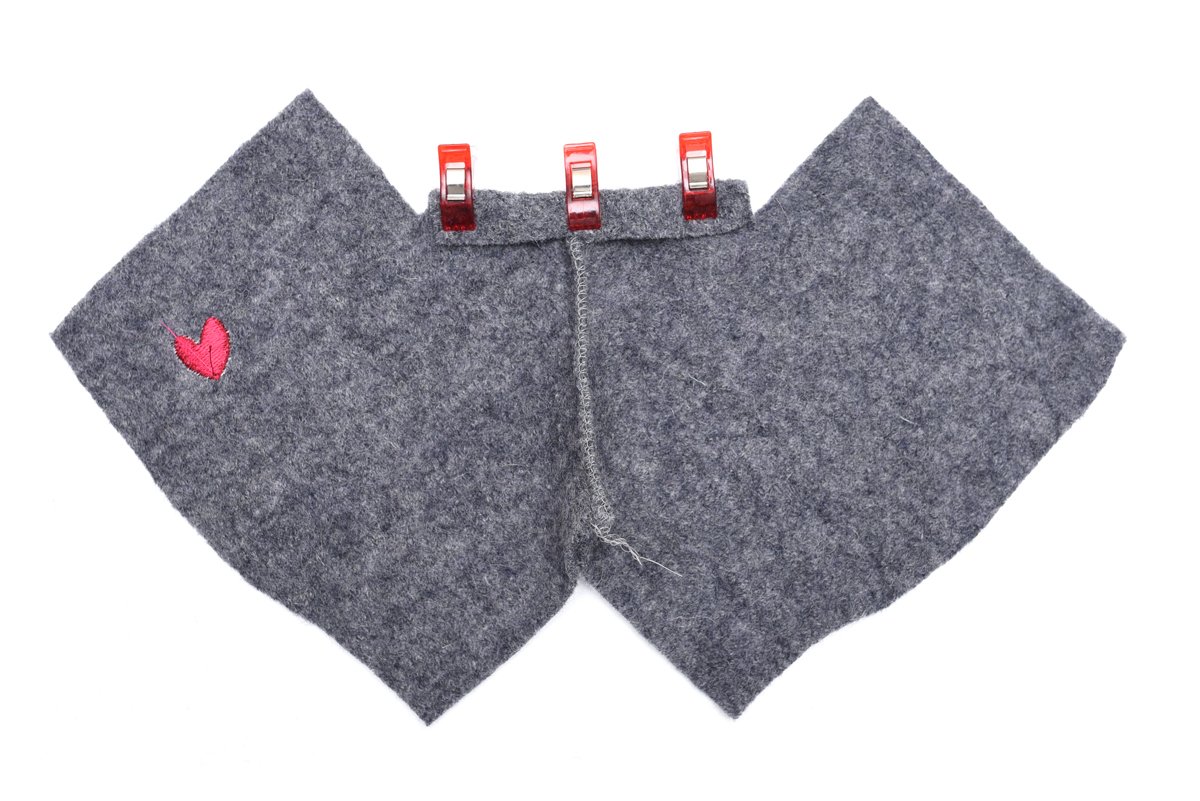
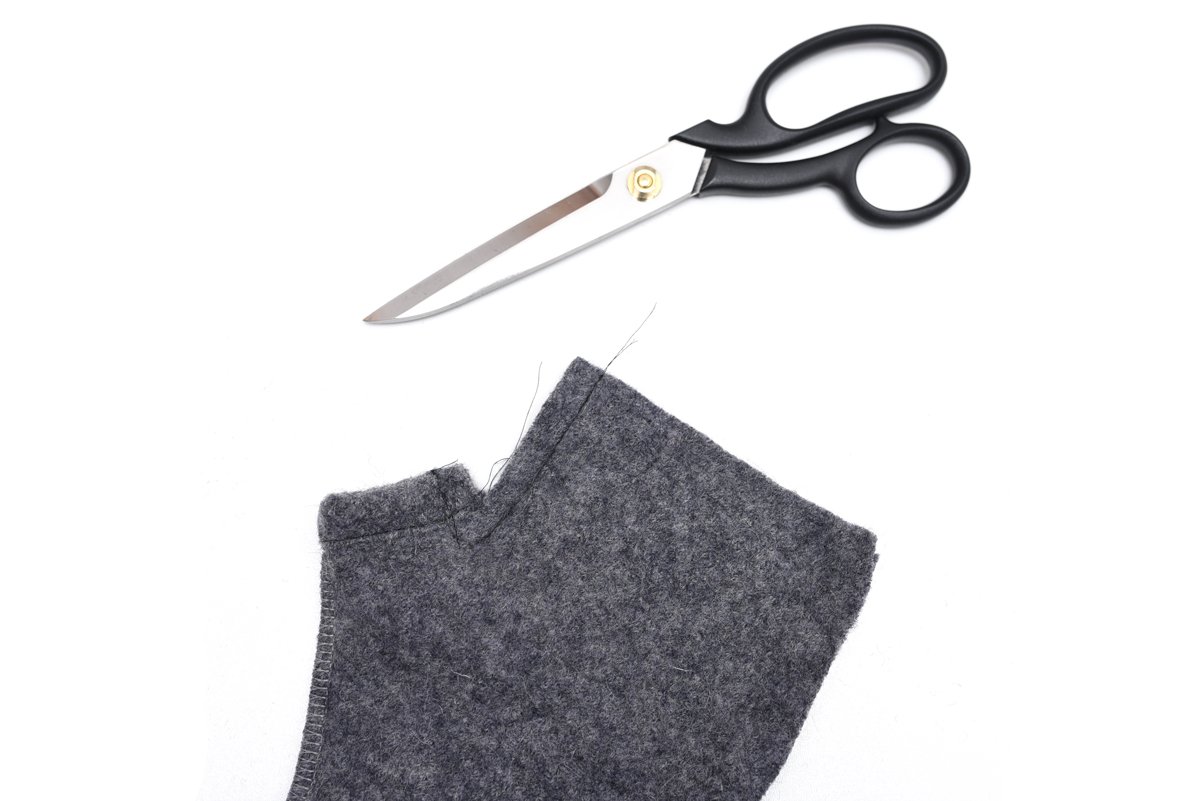
Next, sew the seam between the thumb and forefinger. You will definitely need your normal sewing machine for this due to the tight curve.
Trim back the seam allowance.
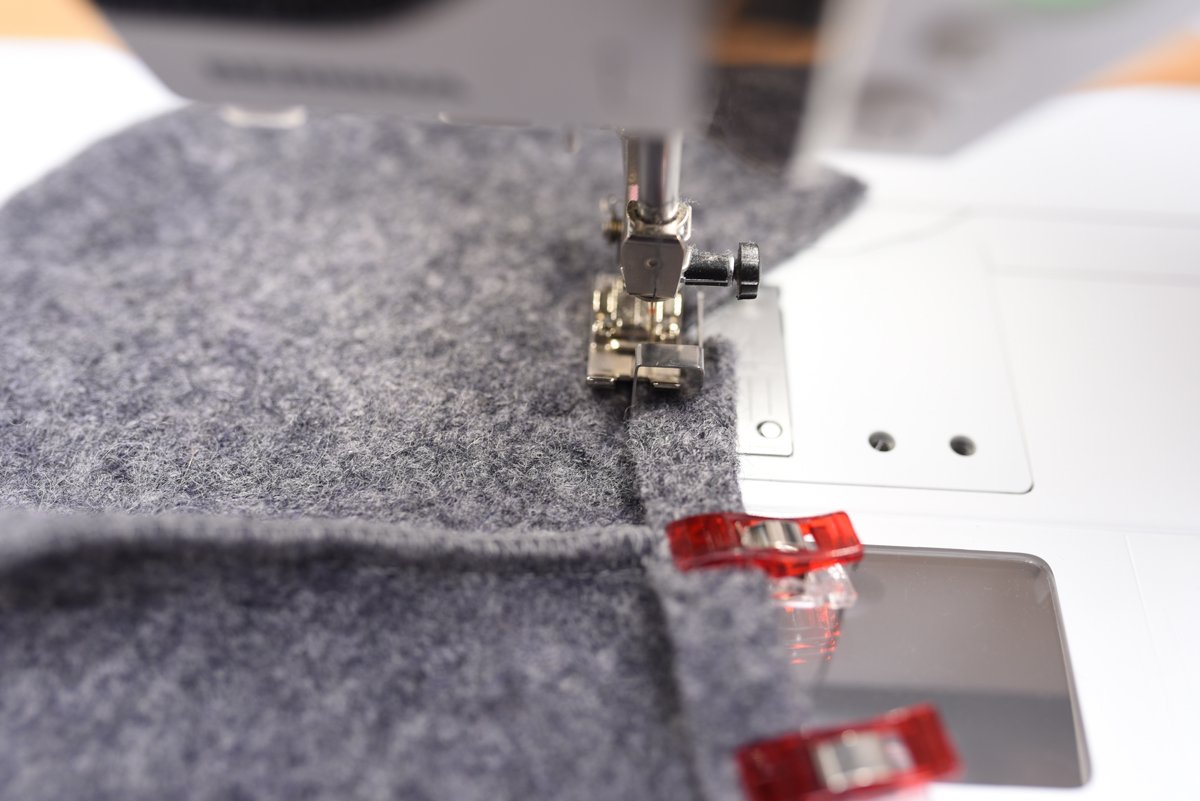
Then fold the top edge inwards by the seam allowance and edgestitch it in place.
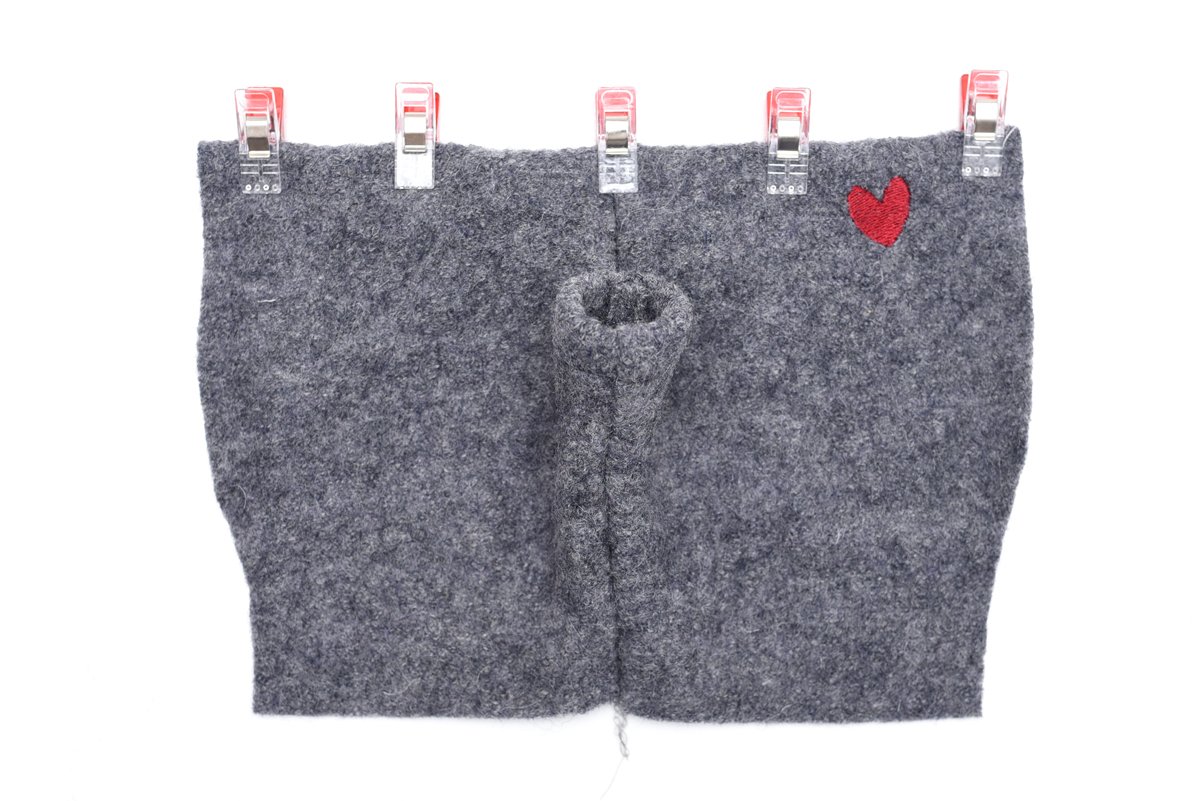
Finally, close the second side seam of the wrist warmer with the right sides together.
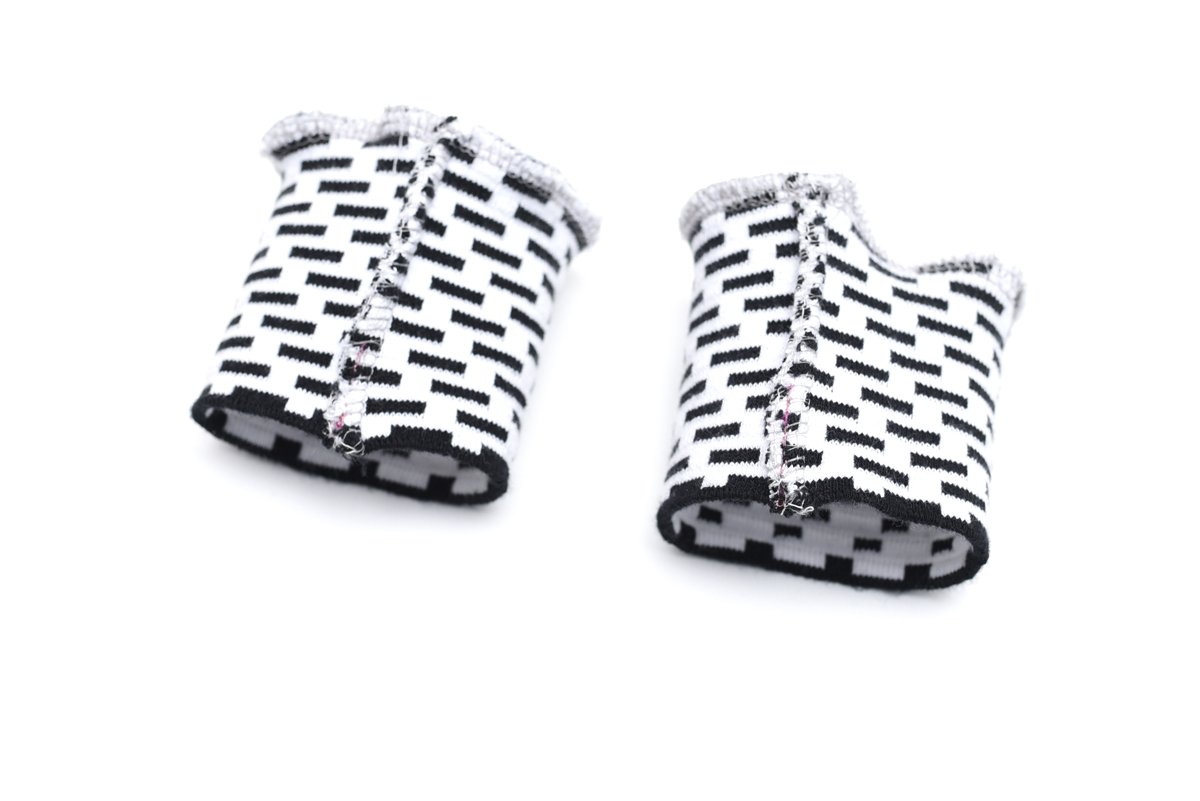
For the cuffs, I use college cuff remnants. There is usually a piece left over from most projects big enough for two cuffs for me. Close the side seam with the right sides together, fold the seam allowance to the side and secure it with a few stitches.
If you sew the cuffs on with a normal sewing machine, you should overcast the top edge.
Then place the cuff into the wrist warmer with the right sides together so that the seam of the cuff meets the inner side seam of the wrist warmer.

Sew the cuff in place with a light, even tension.
Repeat these steps for the second wrist warmer.
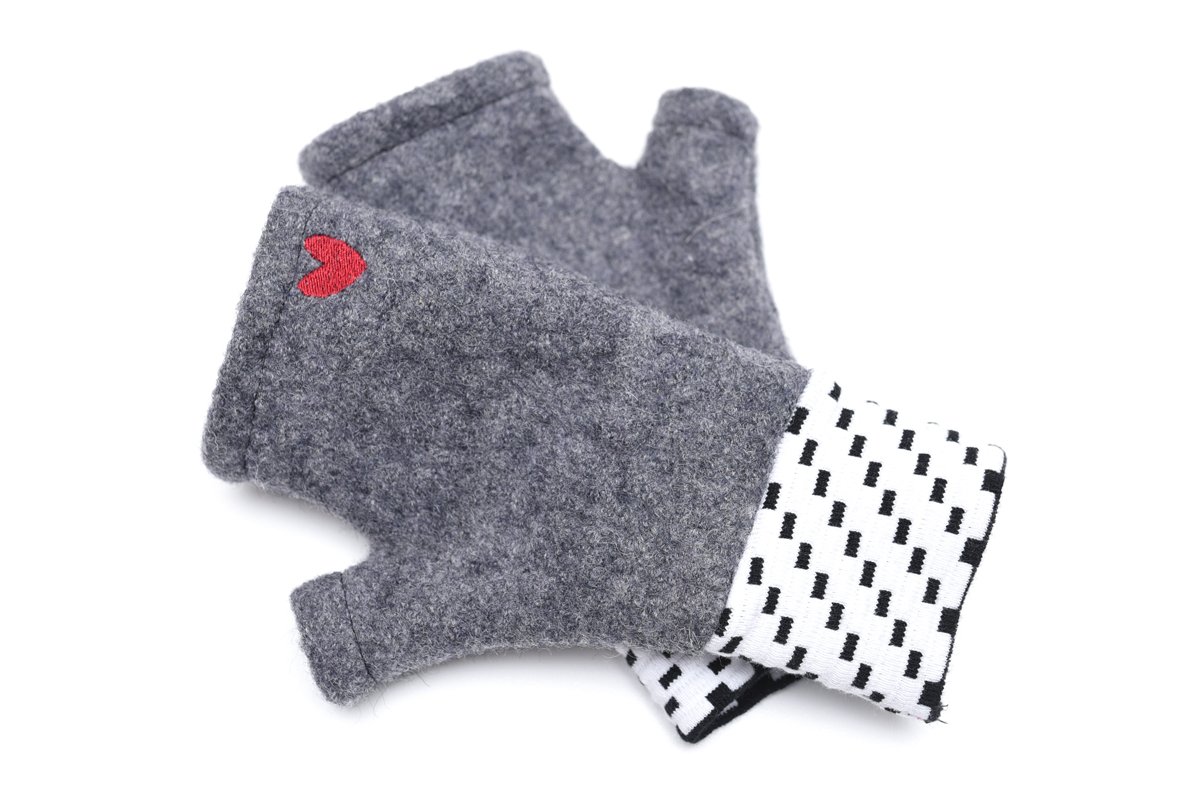
Congratulations, your warm, embroidered wrist warmers, which come straight from the heart, are ready.
You can also sew these for children, but I recommend using a slightly softer cotton fleece so that it doesn’t “scratch”.
Advent Calender 2020 – Window No. 5 – how did you like it?
I wish you a relaxed and merry Christmas.
Warm regards,
Sara


Hi what a nice gift this will make..I can make some out of soft fleece…thank you for tutorial.
Dear Lori, thank you for you comment. Yes, fleece is also a very good idea! Best Wisches, Sara