 BERNINA Corporate Blog -
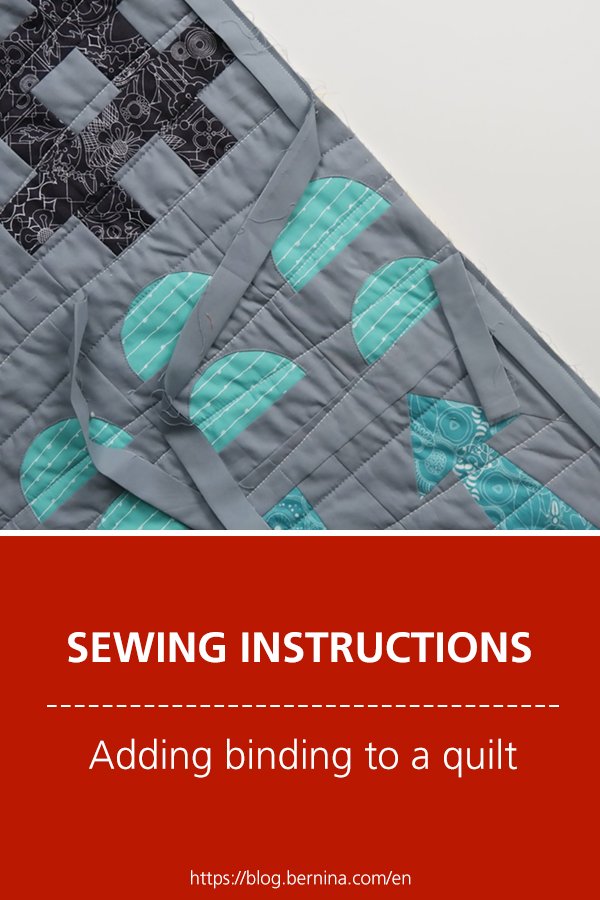
The very last step to complete a quilt is adding a binding. A binding is that nice tiny border that goes all around a quilt. In this log post I’ll show you how I added a binding to my Sugaridoo BERNINA QAL quilt.
What do you need
You will need the following to bind you QAL quilt.
- Ruler (I use a large squared one together with a long ruler)
- Cutting mat
- Rotary cutter
- Sewing machine with a 1/4 inch foot
- 8 strips of 2 inch wide fabric
- Thread and needle for hand stitching
- Pins
- Binding clips / Wonder clips (optional)
Squaring up your quilt
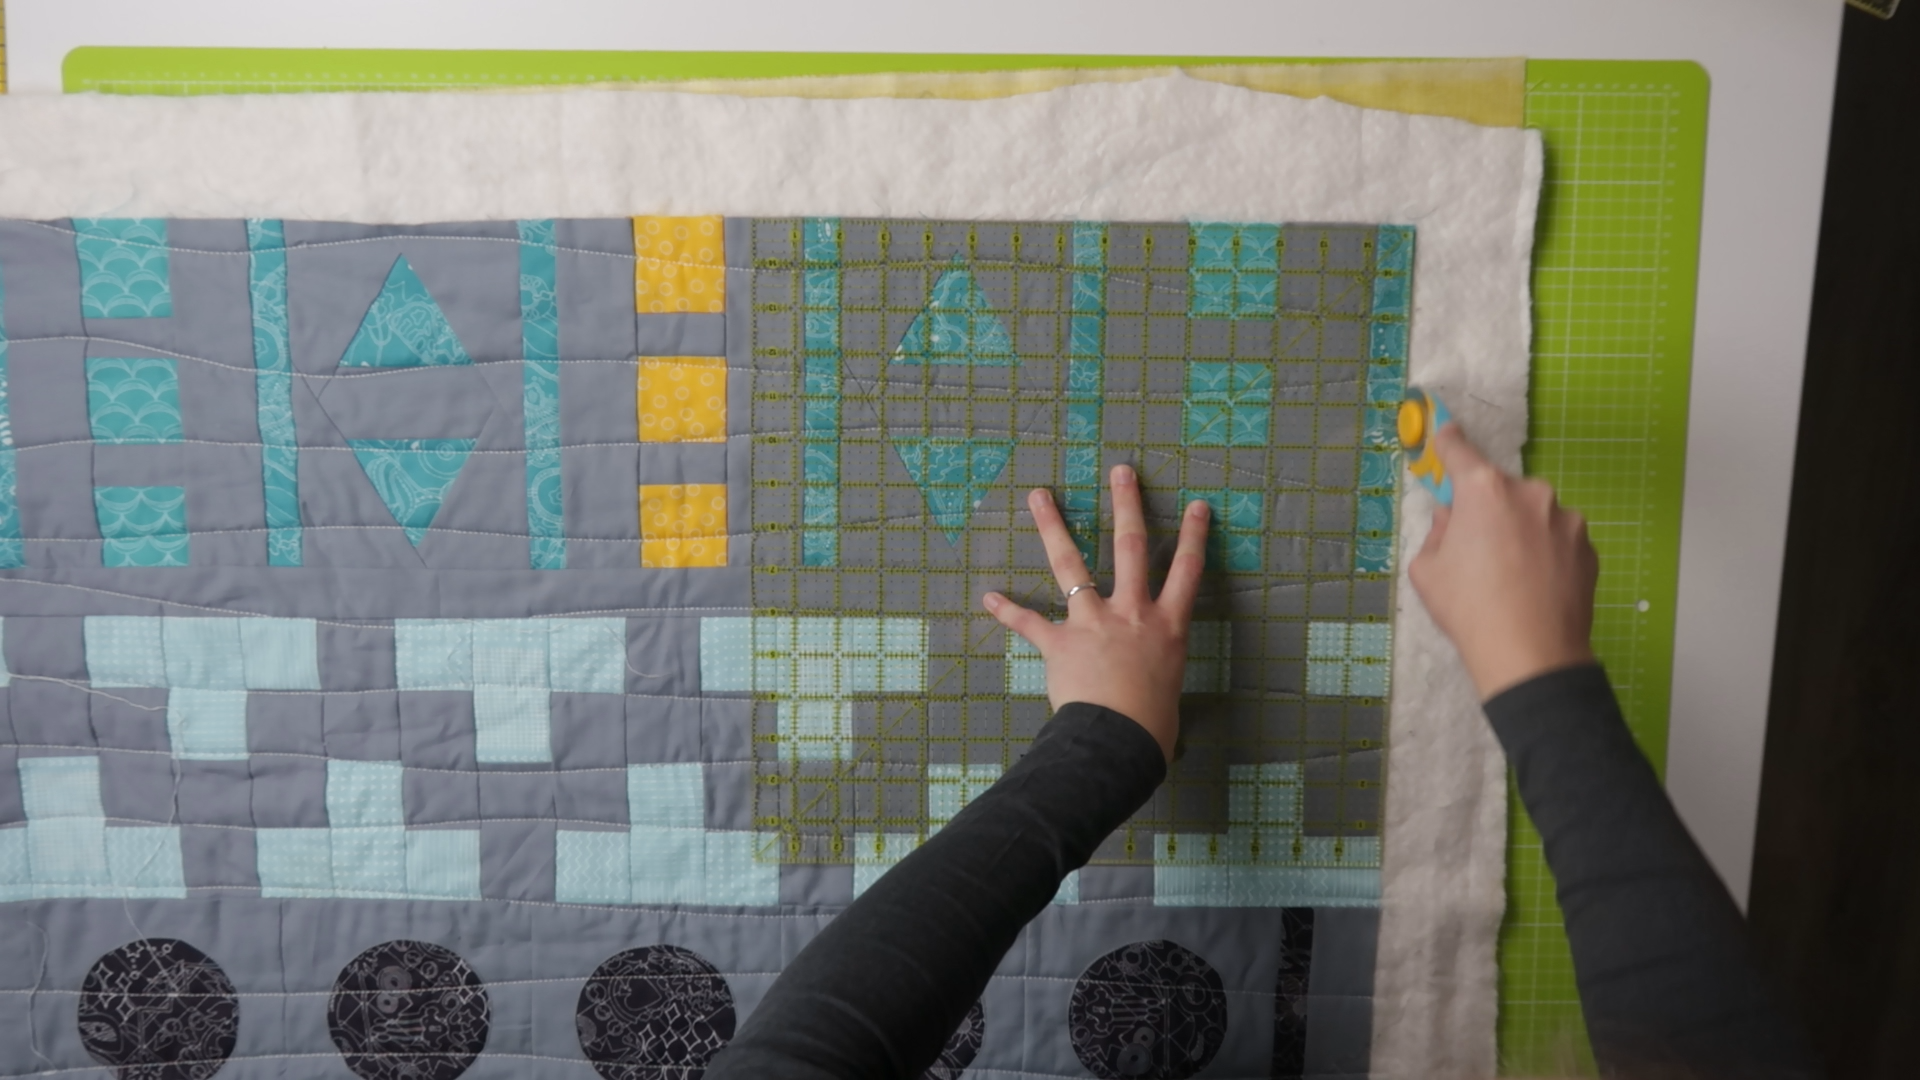
You will first need to get your quilt ready. This means squaring up the edges of the quilt so all the excess batting and backing fabric is removed.
Start in a corner. Place a ruler in the corner of your quilt and trim on both sides of the 90 degree corner.
Then make your way along the edge of the quilt till you reach the next corner.
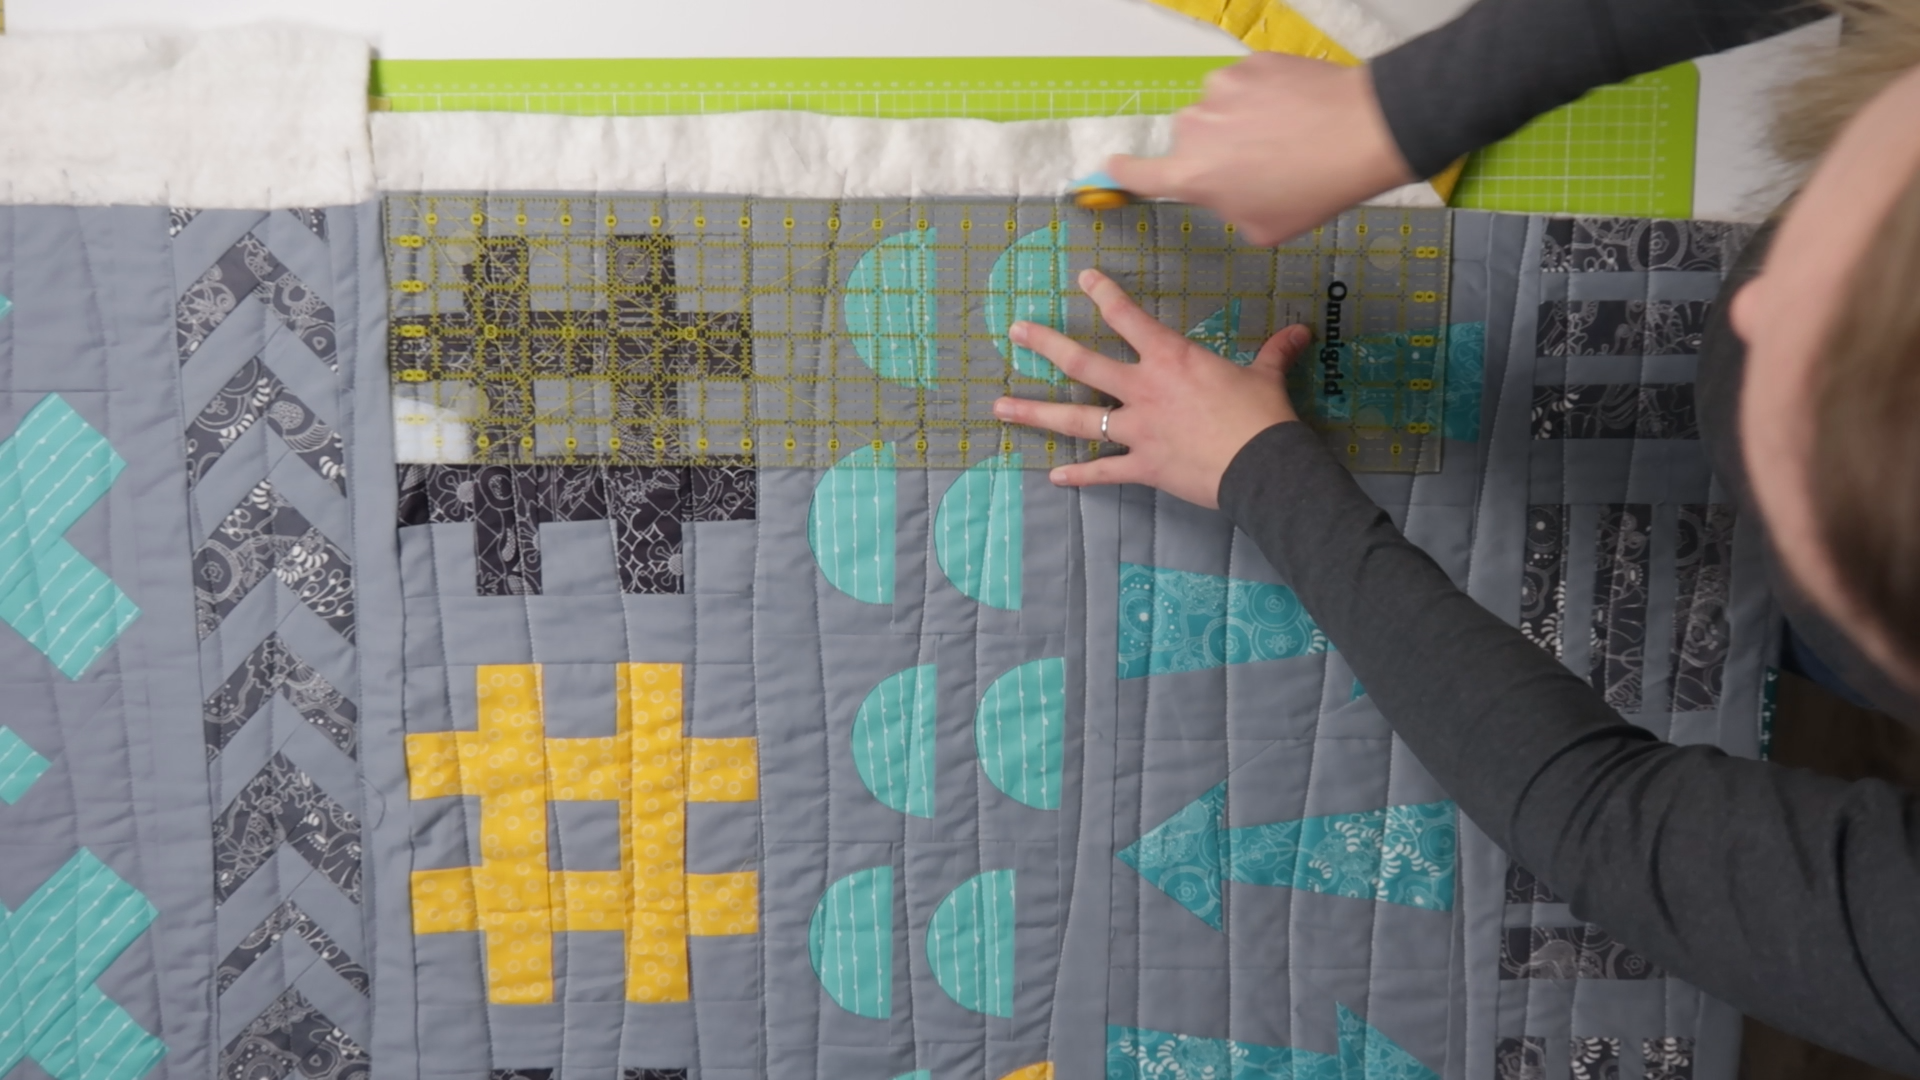
Make another 90 degree angle on that corner and keep continuing that way until you’re left with a nice clean quilt with no batting and backing fabric sticking out.
Making the binding
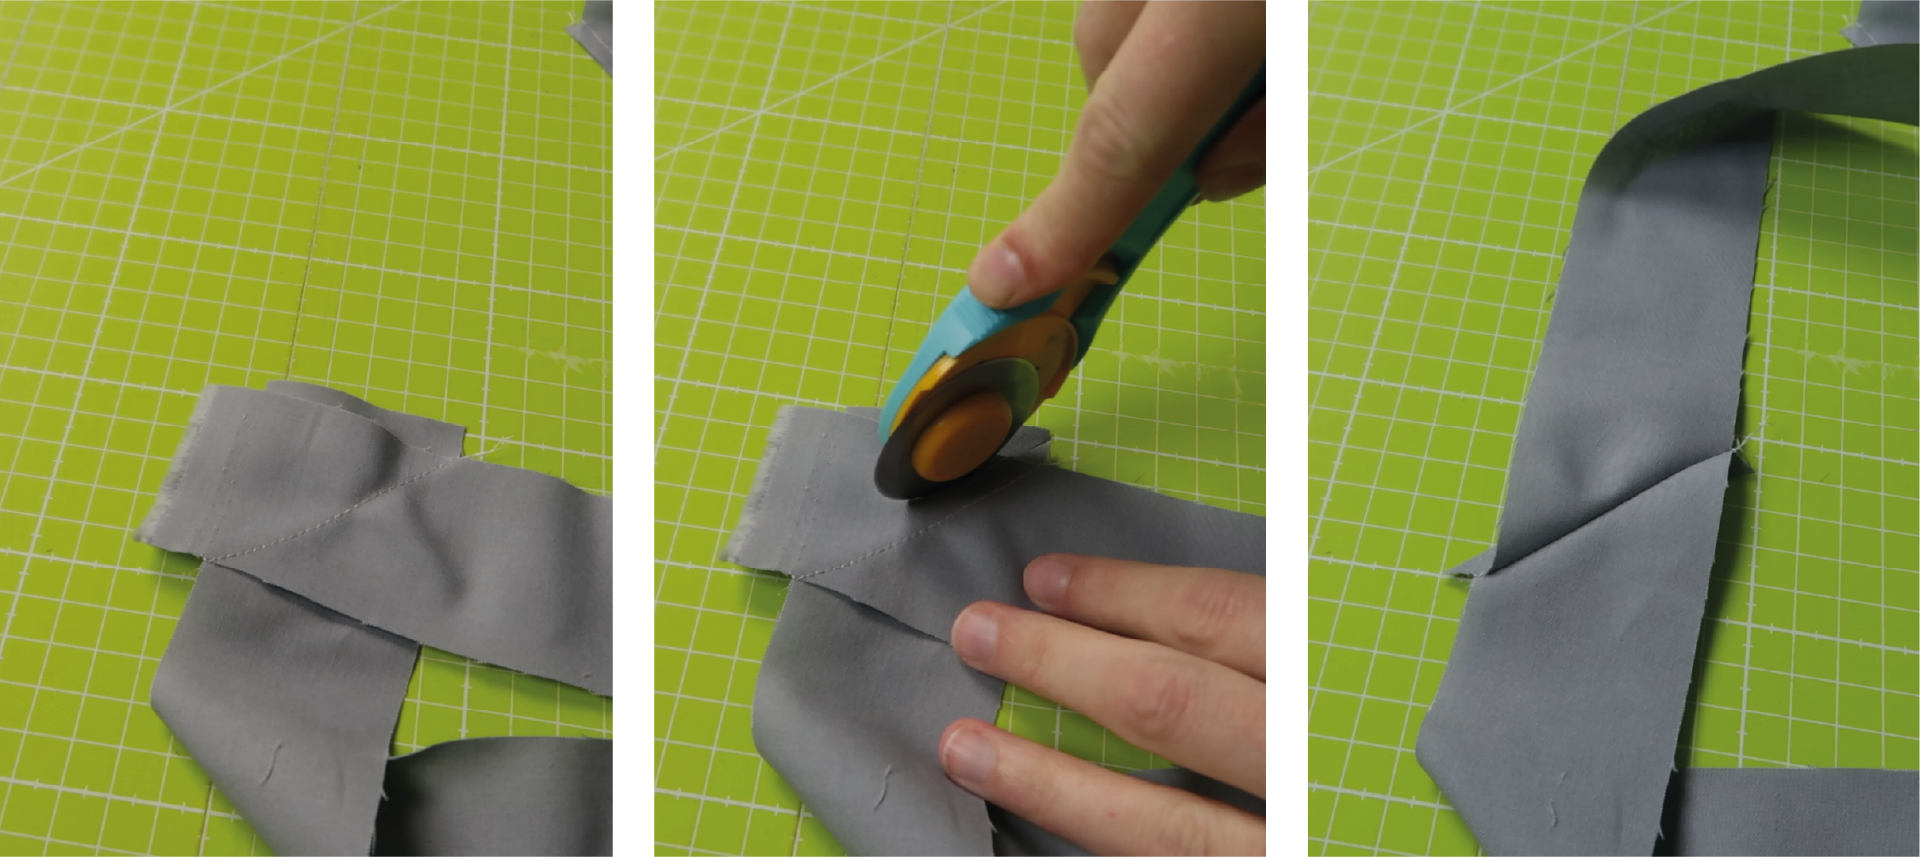
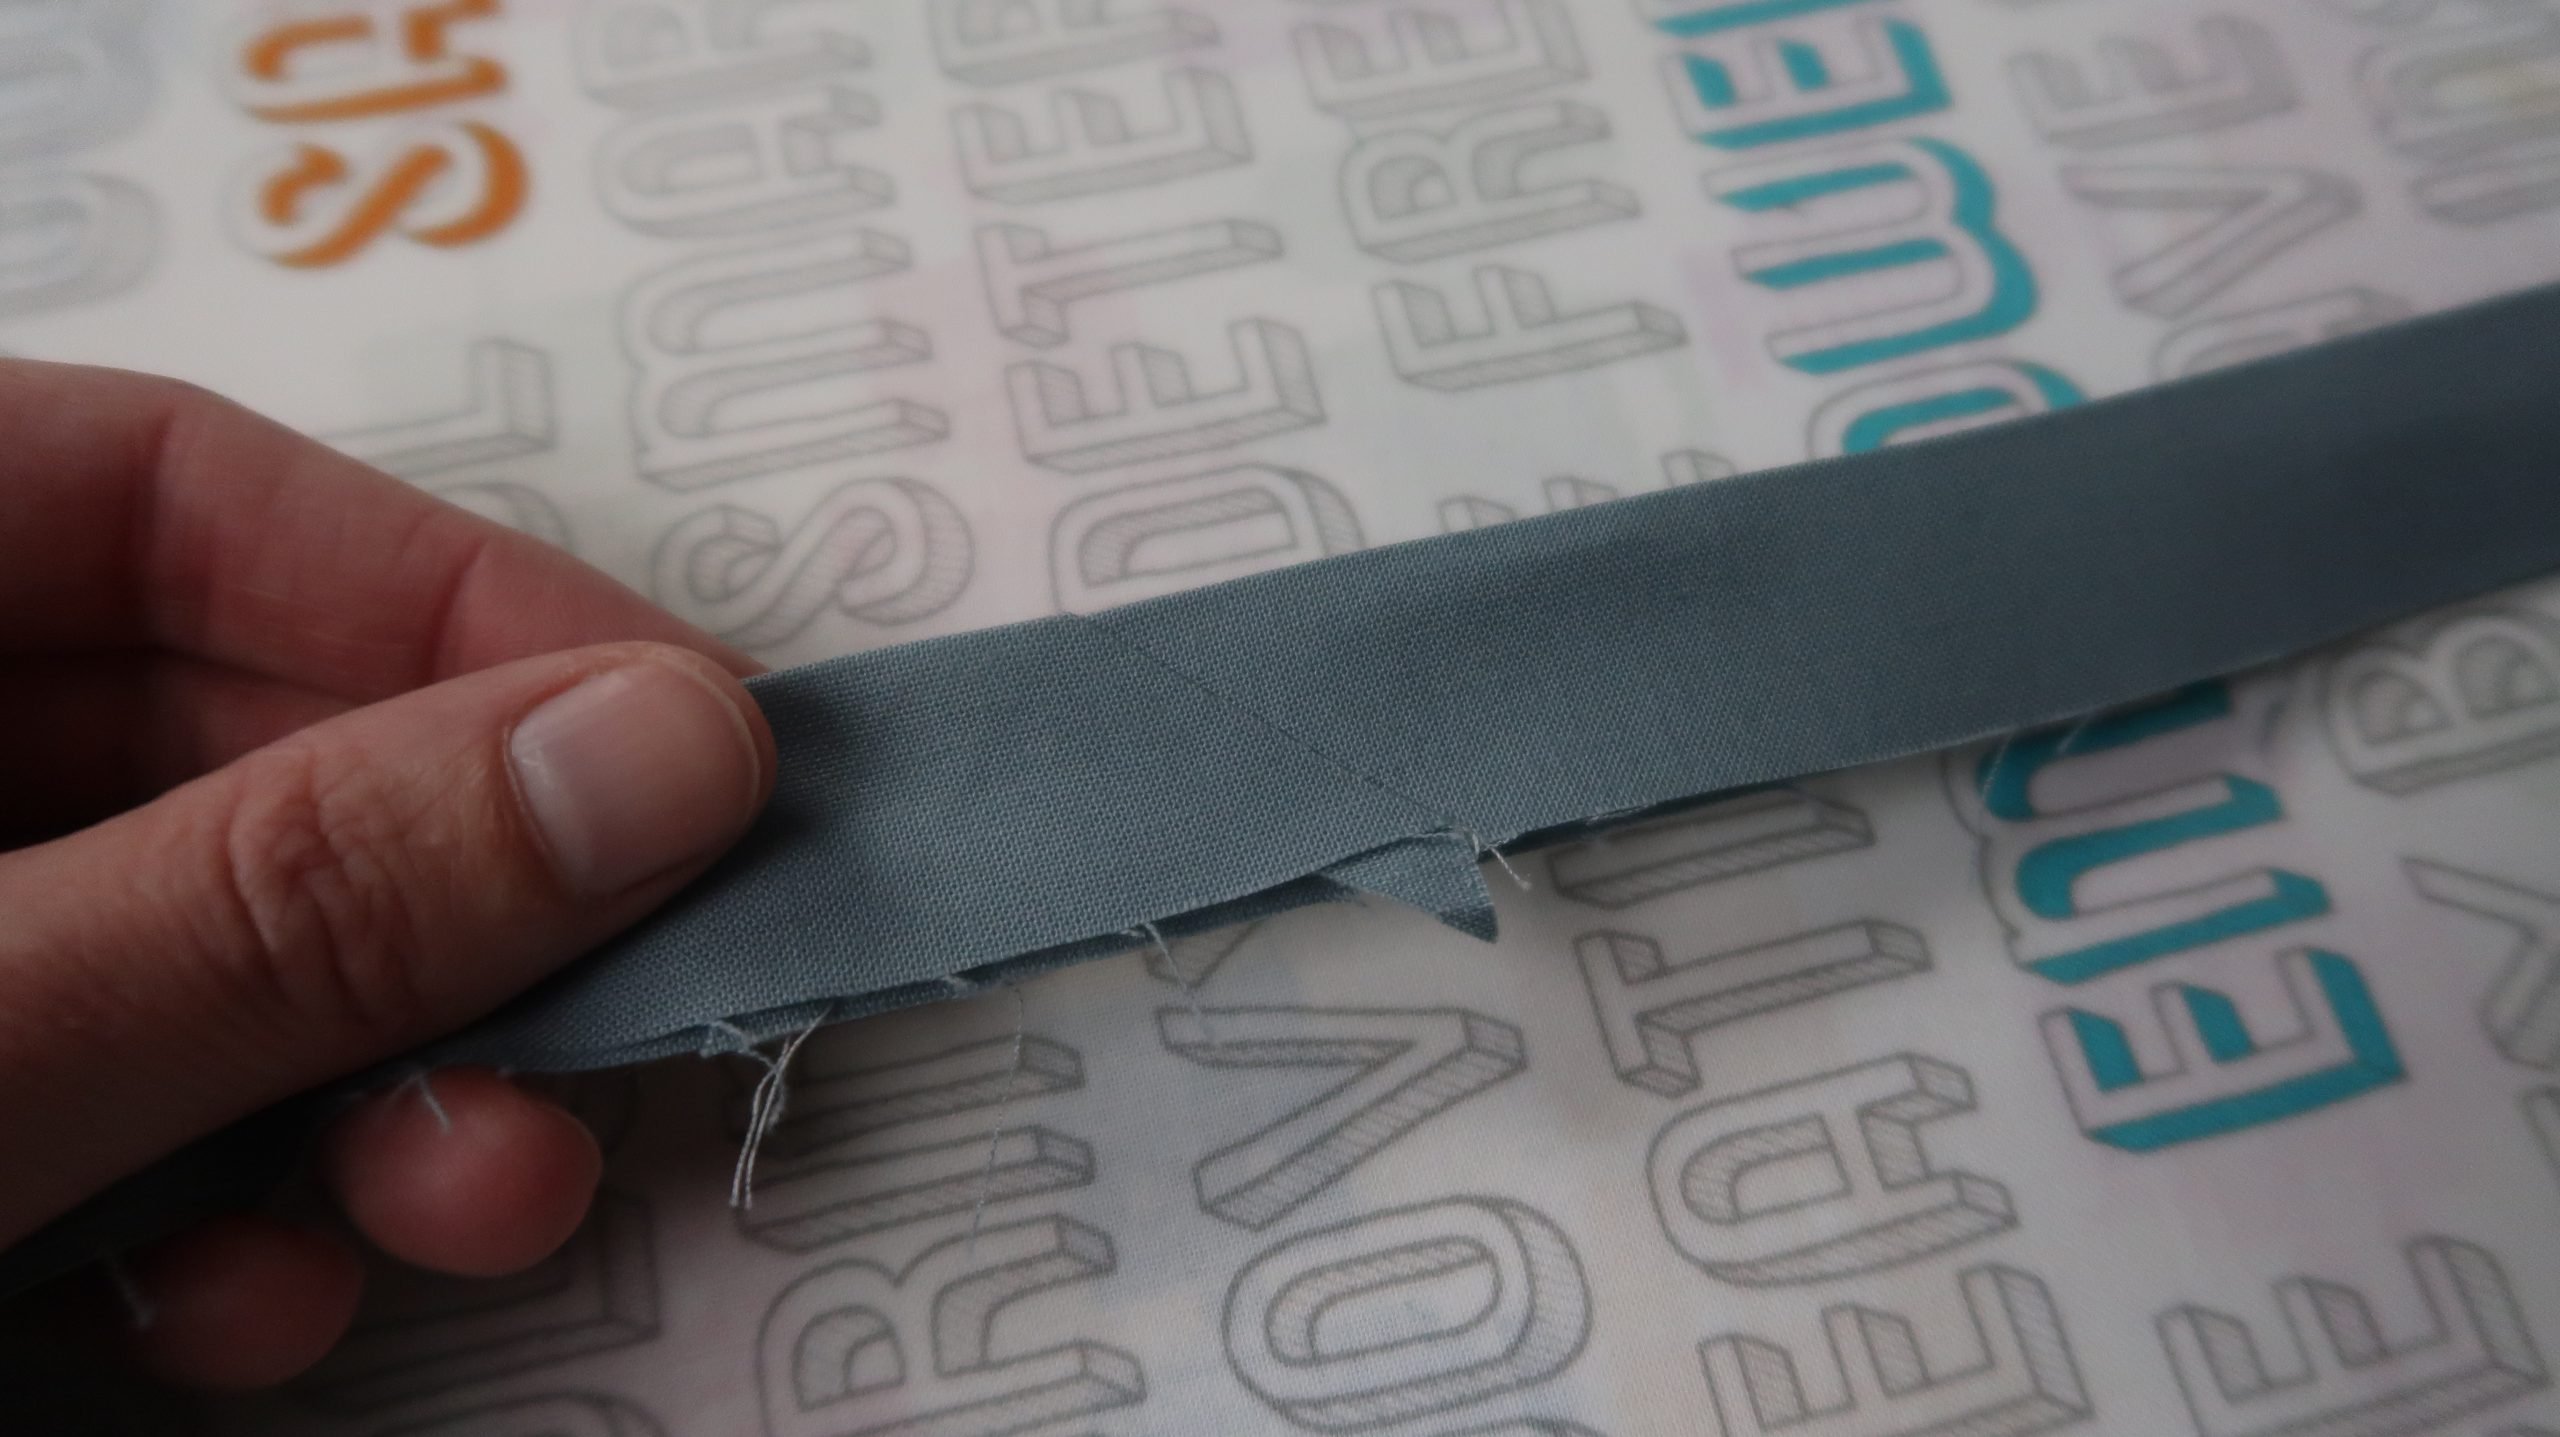
Now we take the 8 strips of 2″ x width of fabric. Sew these together into one very long strip.
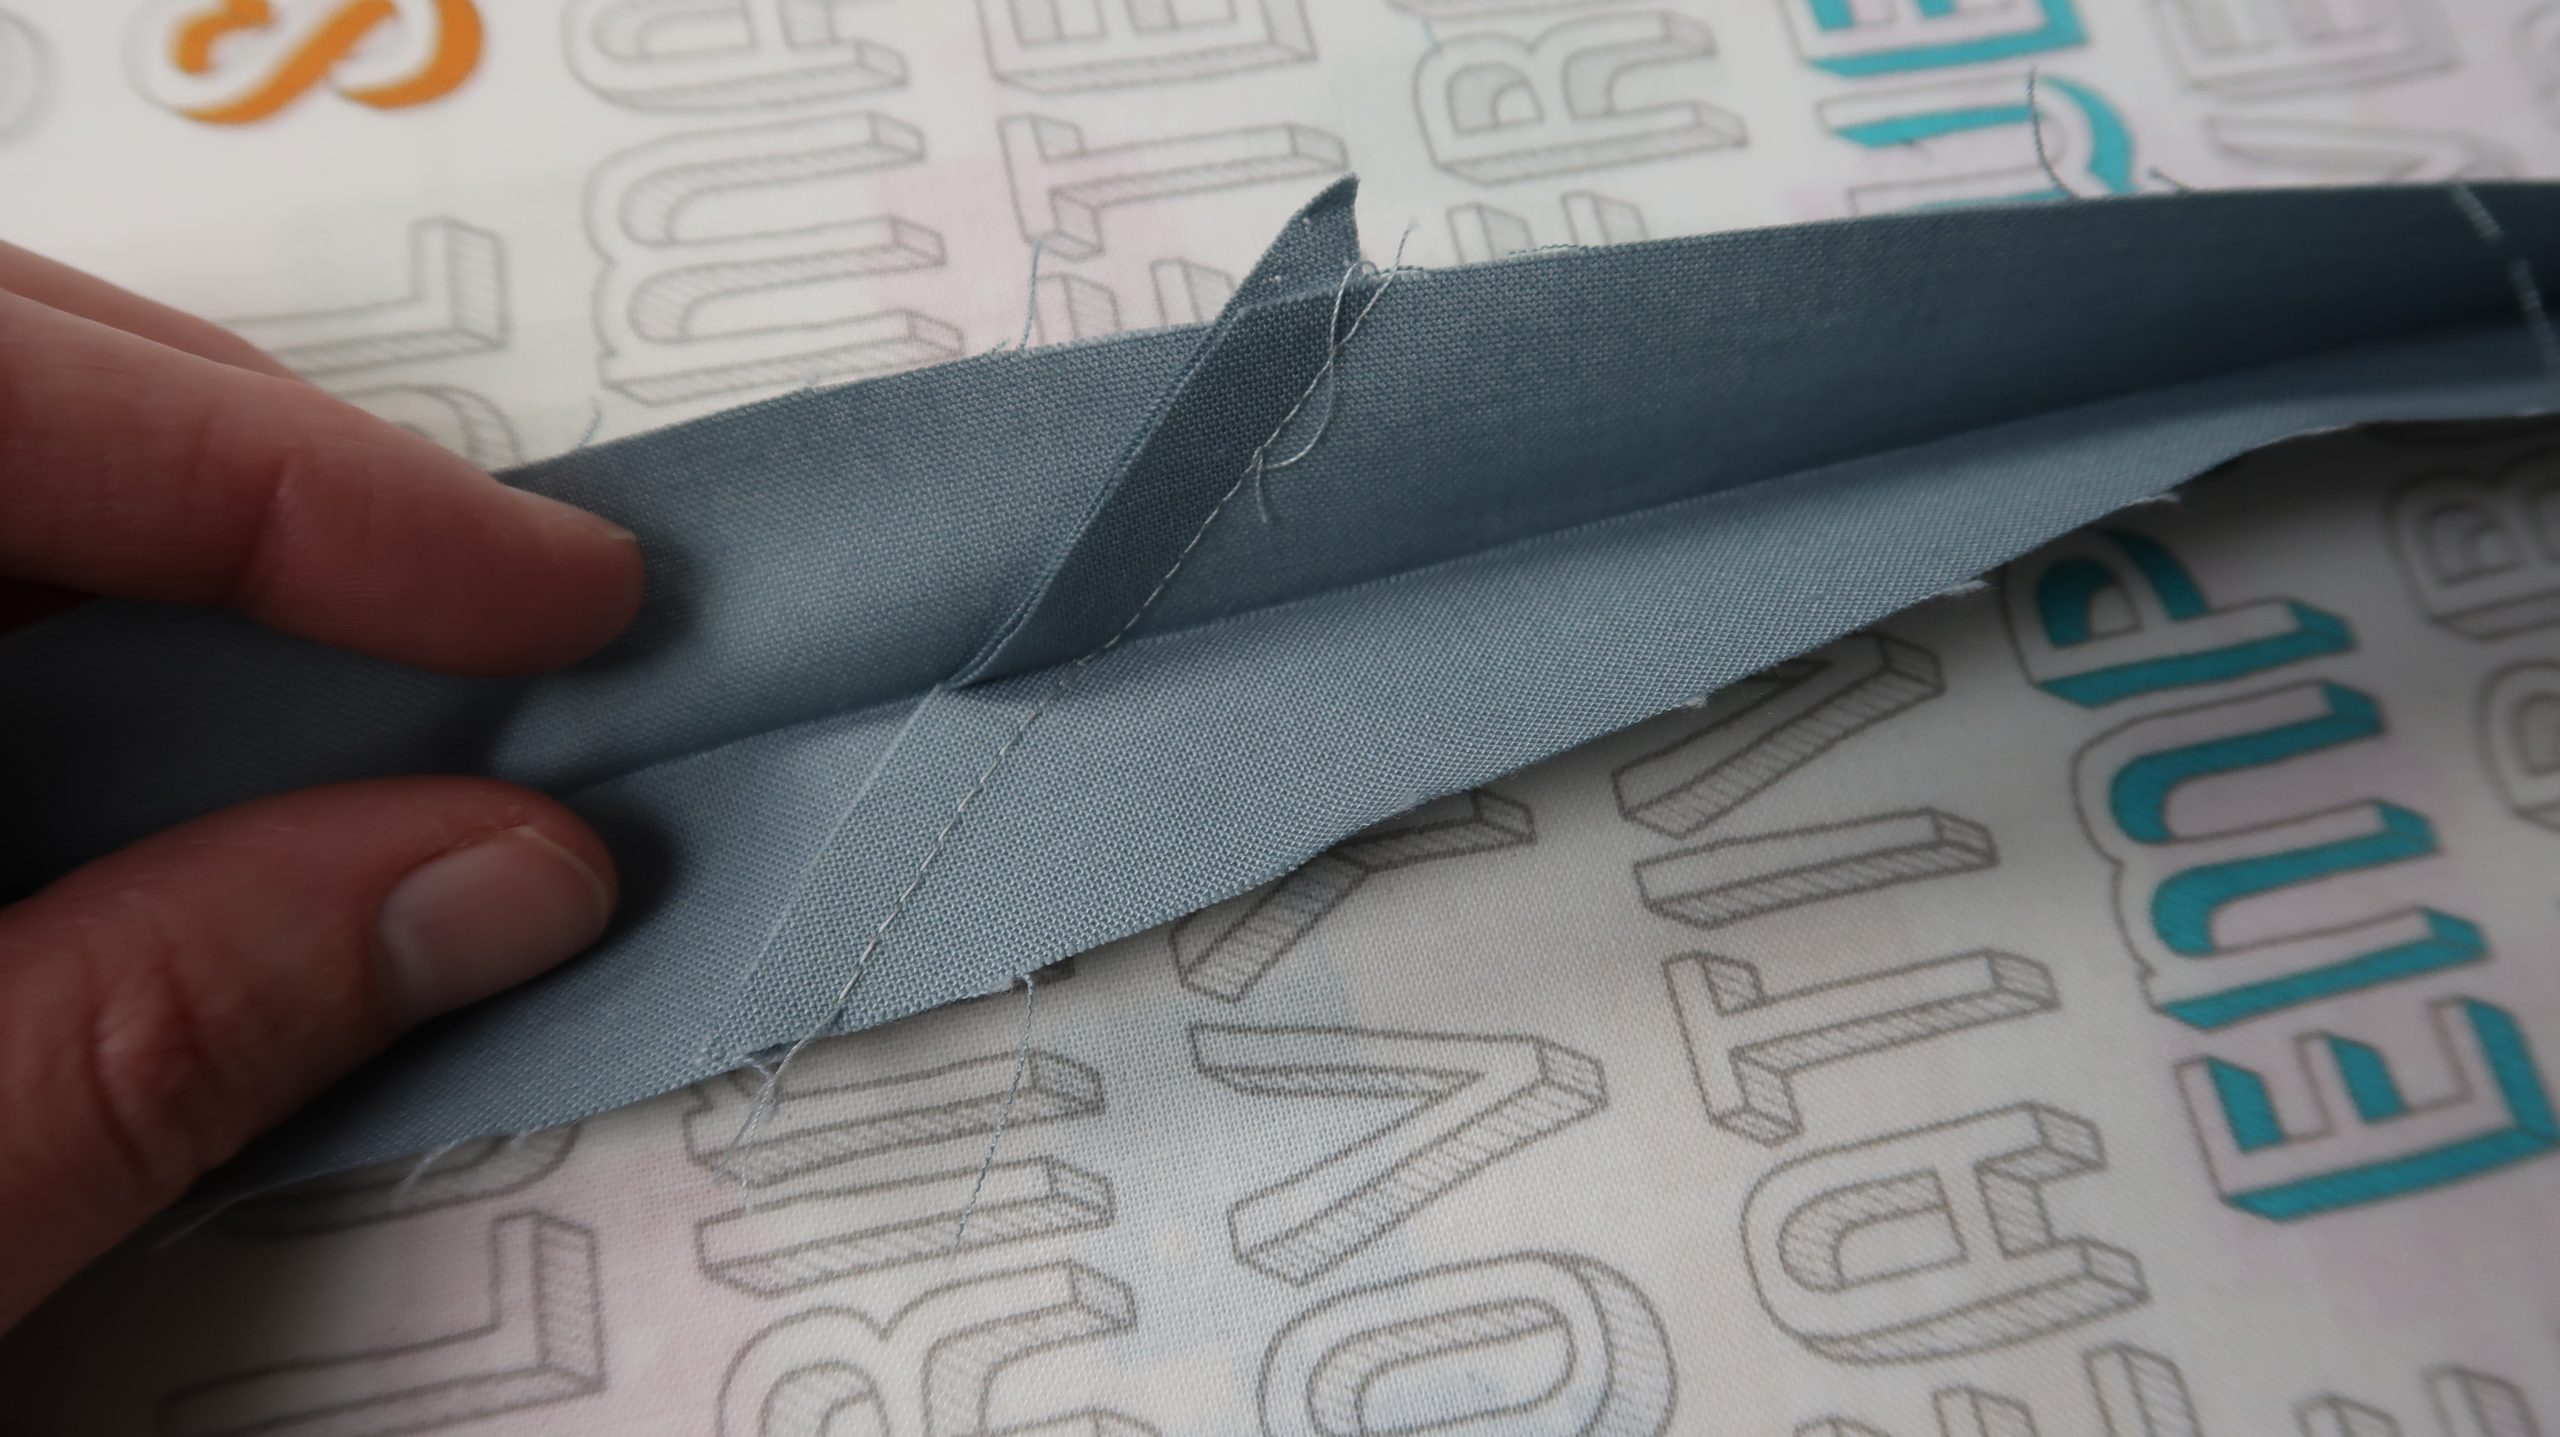
Sew the strips together on the diagonal. That prevents bulkiness in the seams of the binding.
After all the strips are joined you can press the seams.
The final step to prepare the binding is to fold the binding double (wrong sides together) and press it flat.
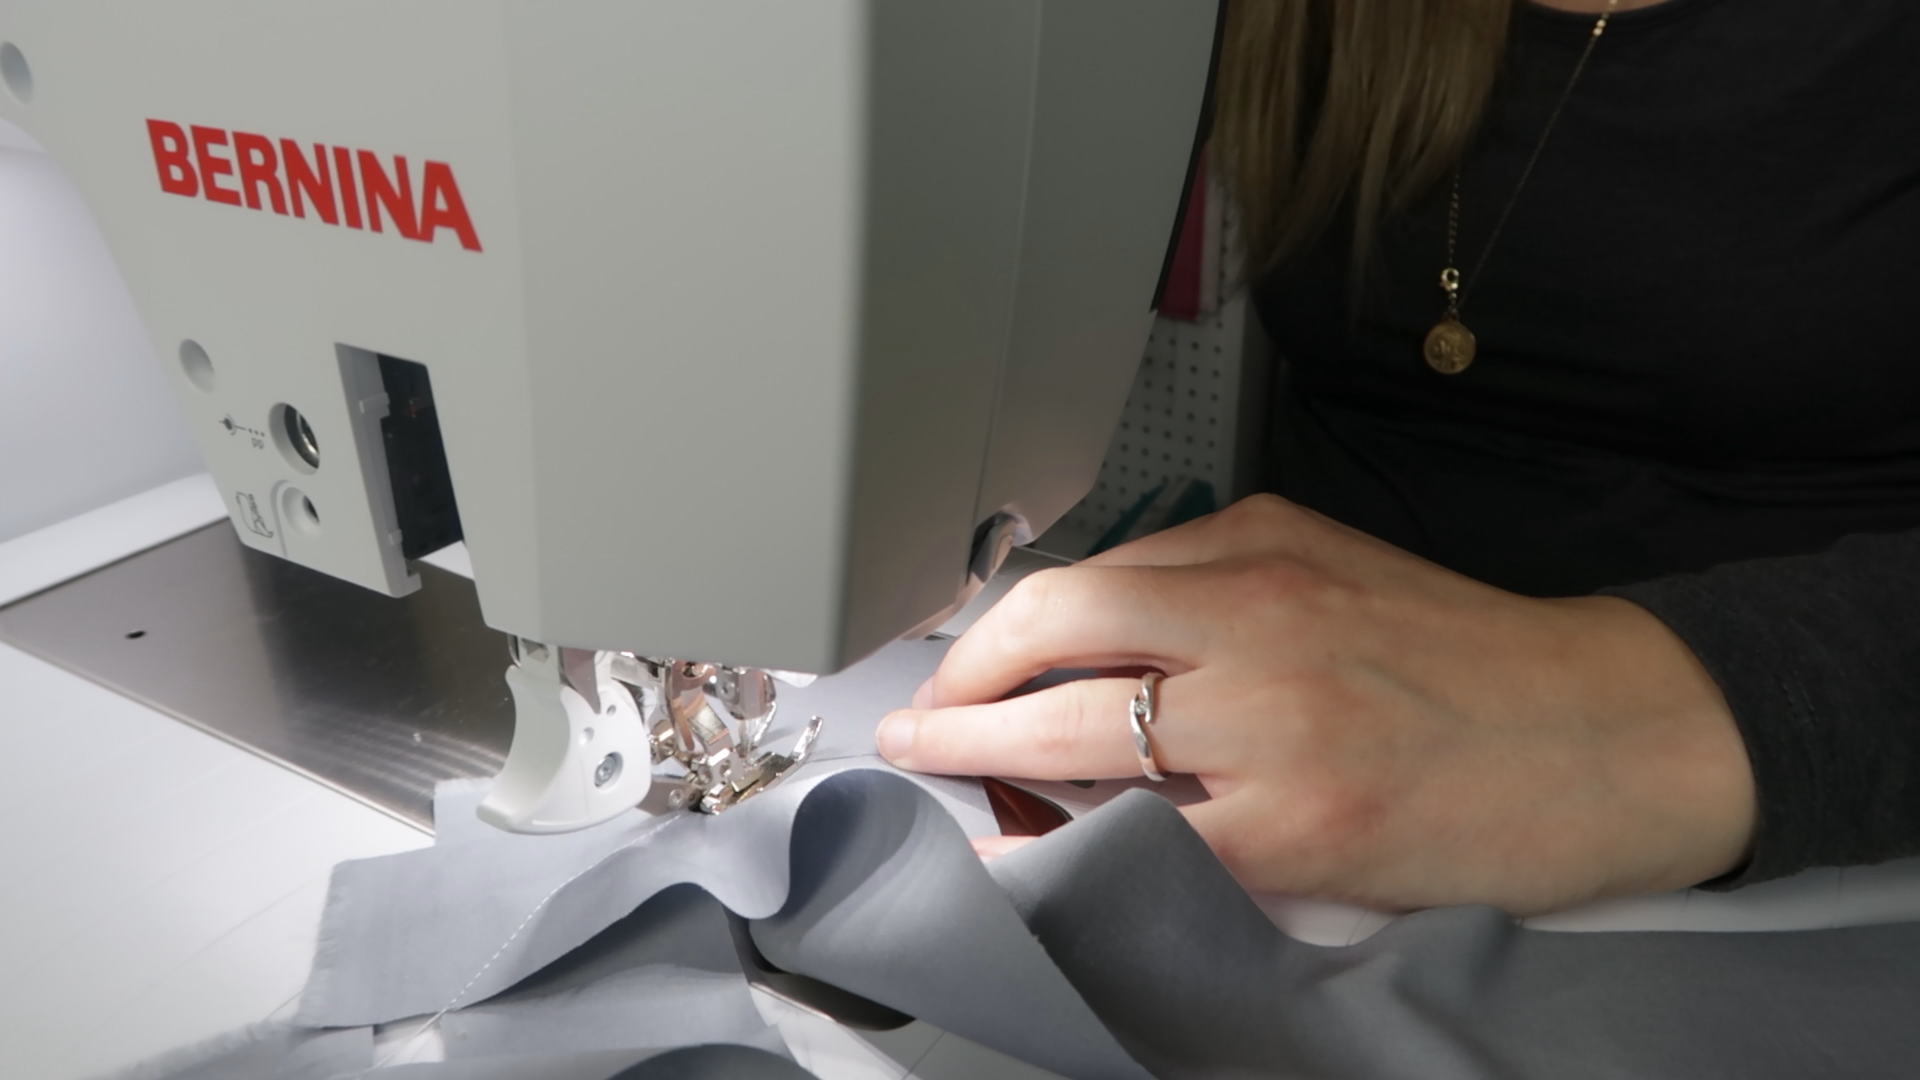
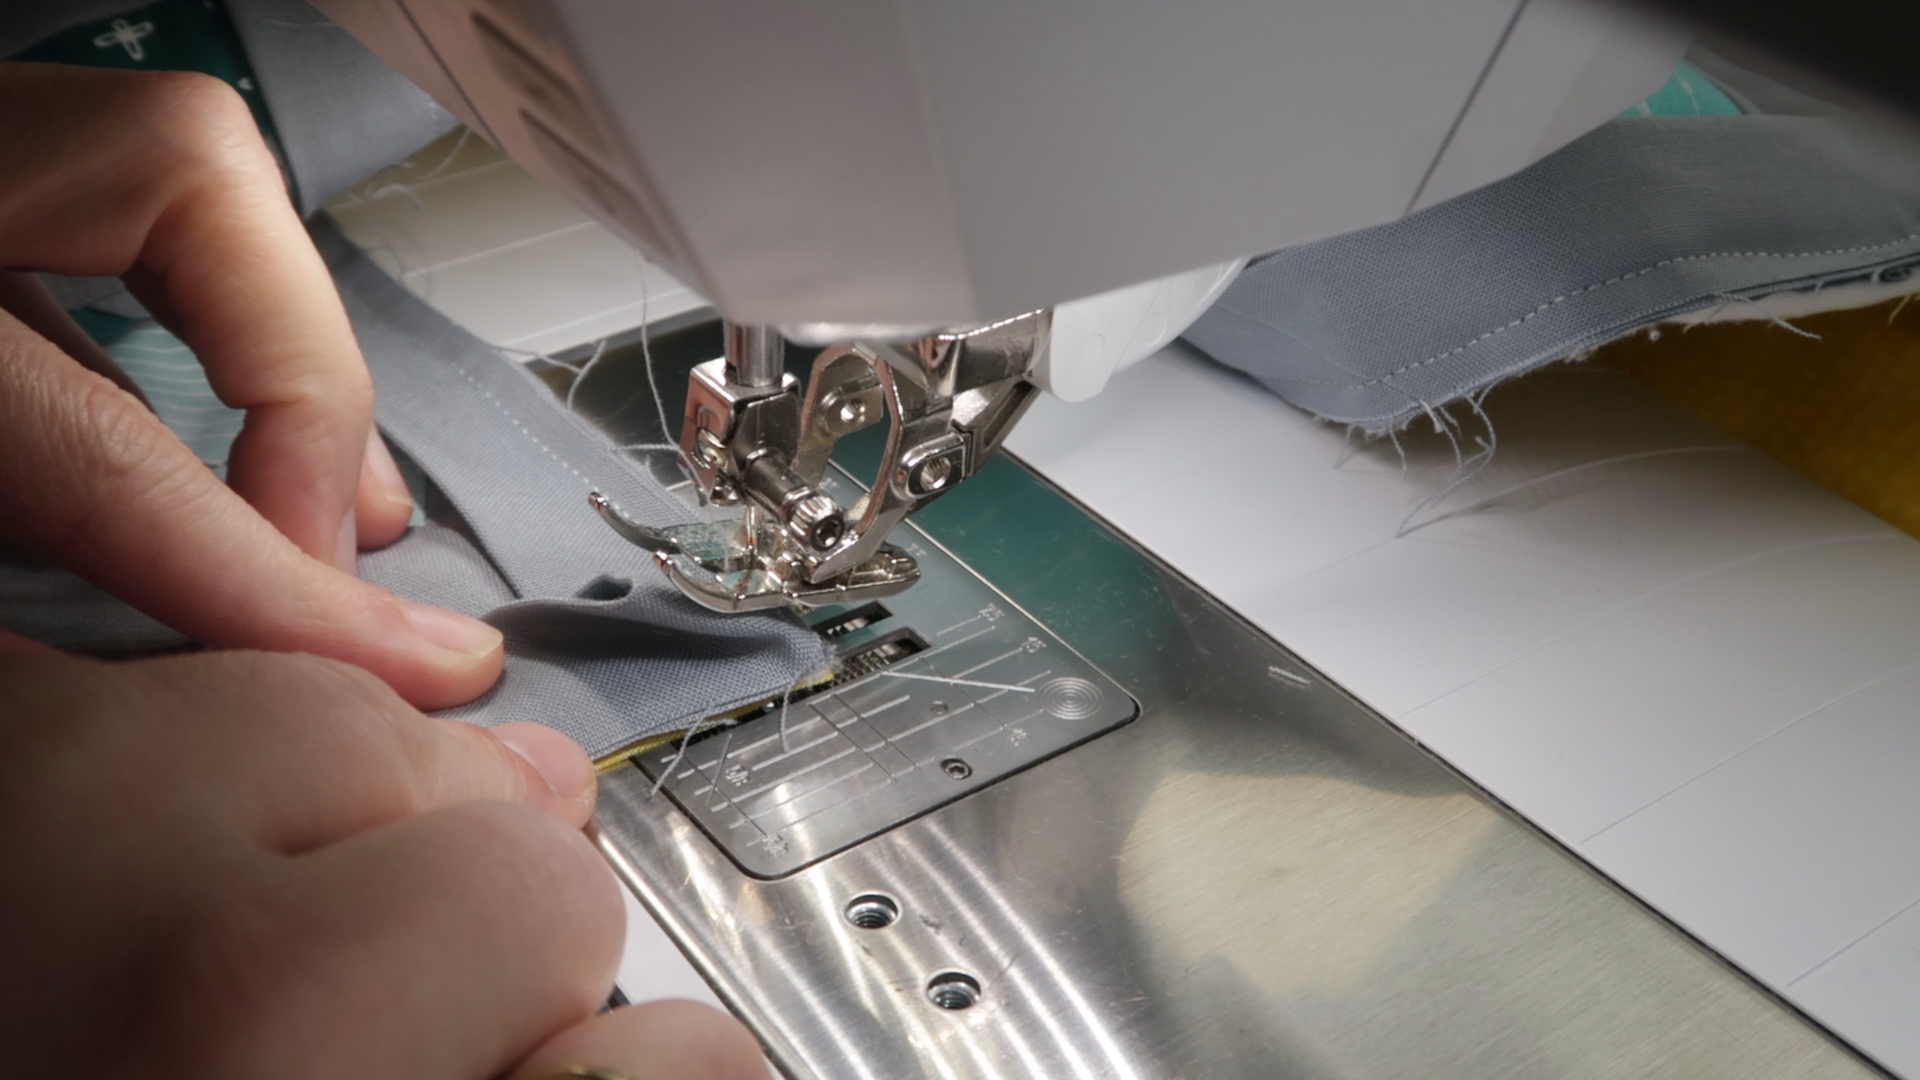
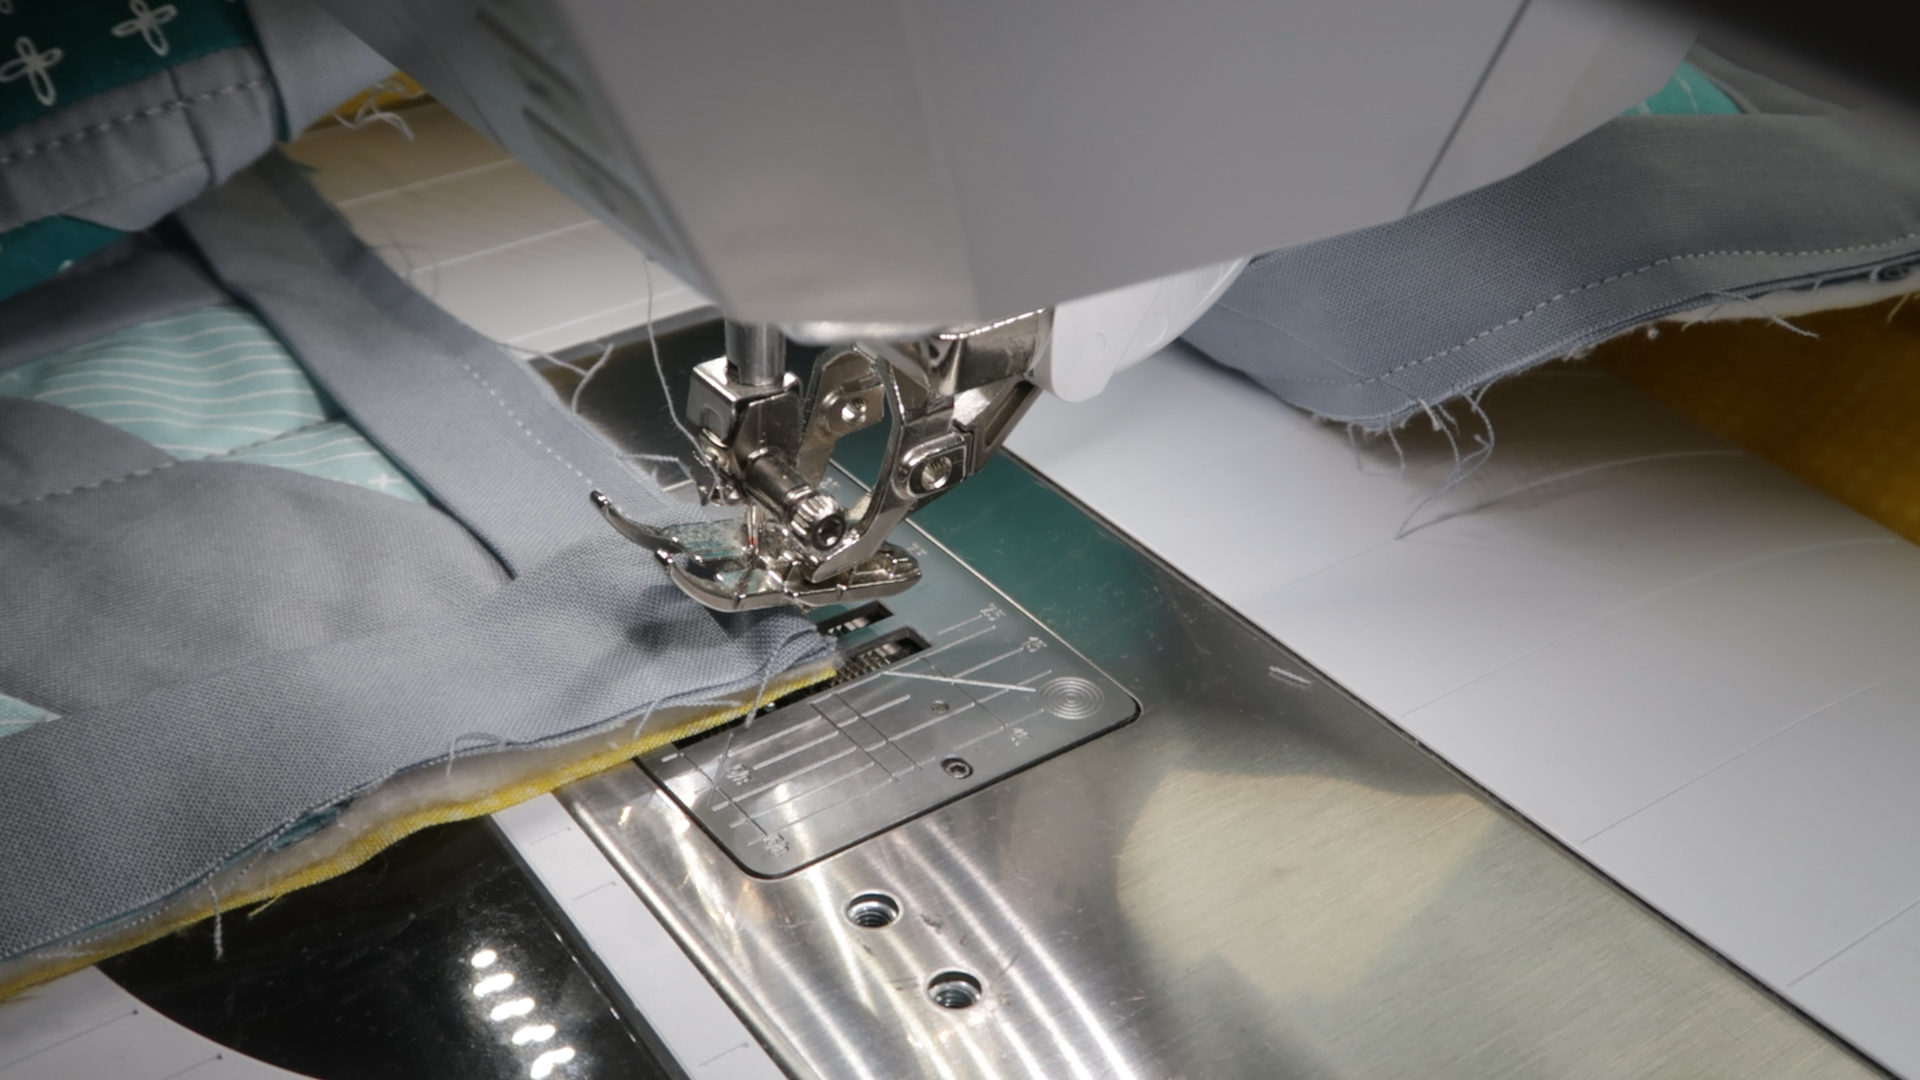
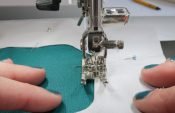
Sewing the binding to the front
Sew the binding to the front quilt with the open side on the outside of the quilt.
Start sewing on the middle of one of the sides. Leaving about 6 inches of the binding loose. We will use that to join the ends of the binding when we’ve sewn all the way around.
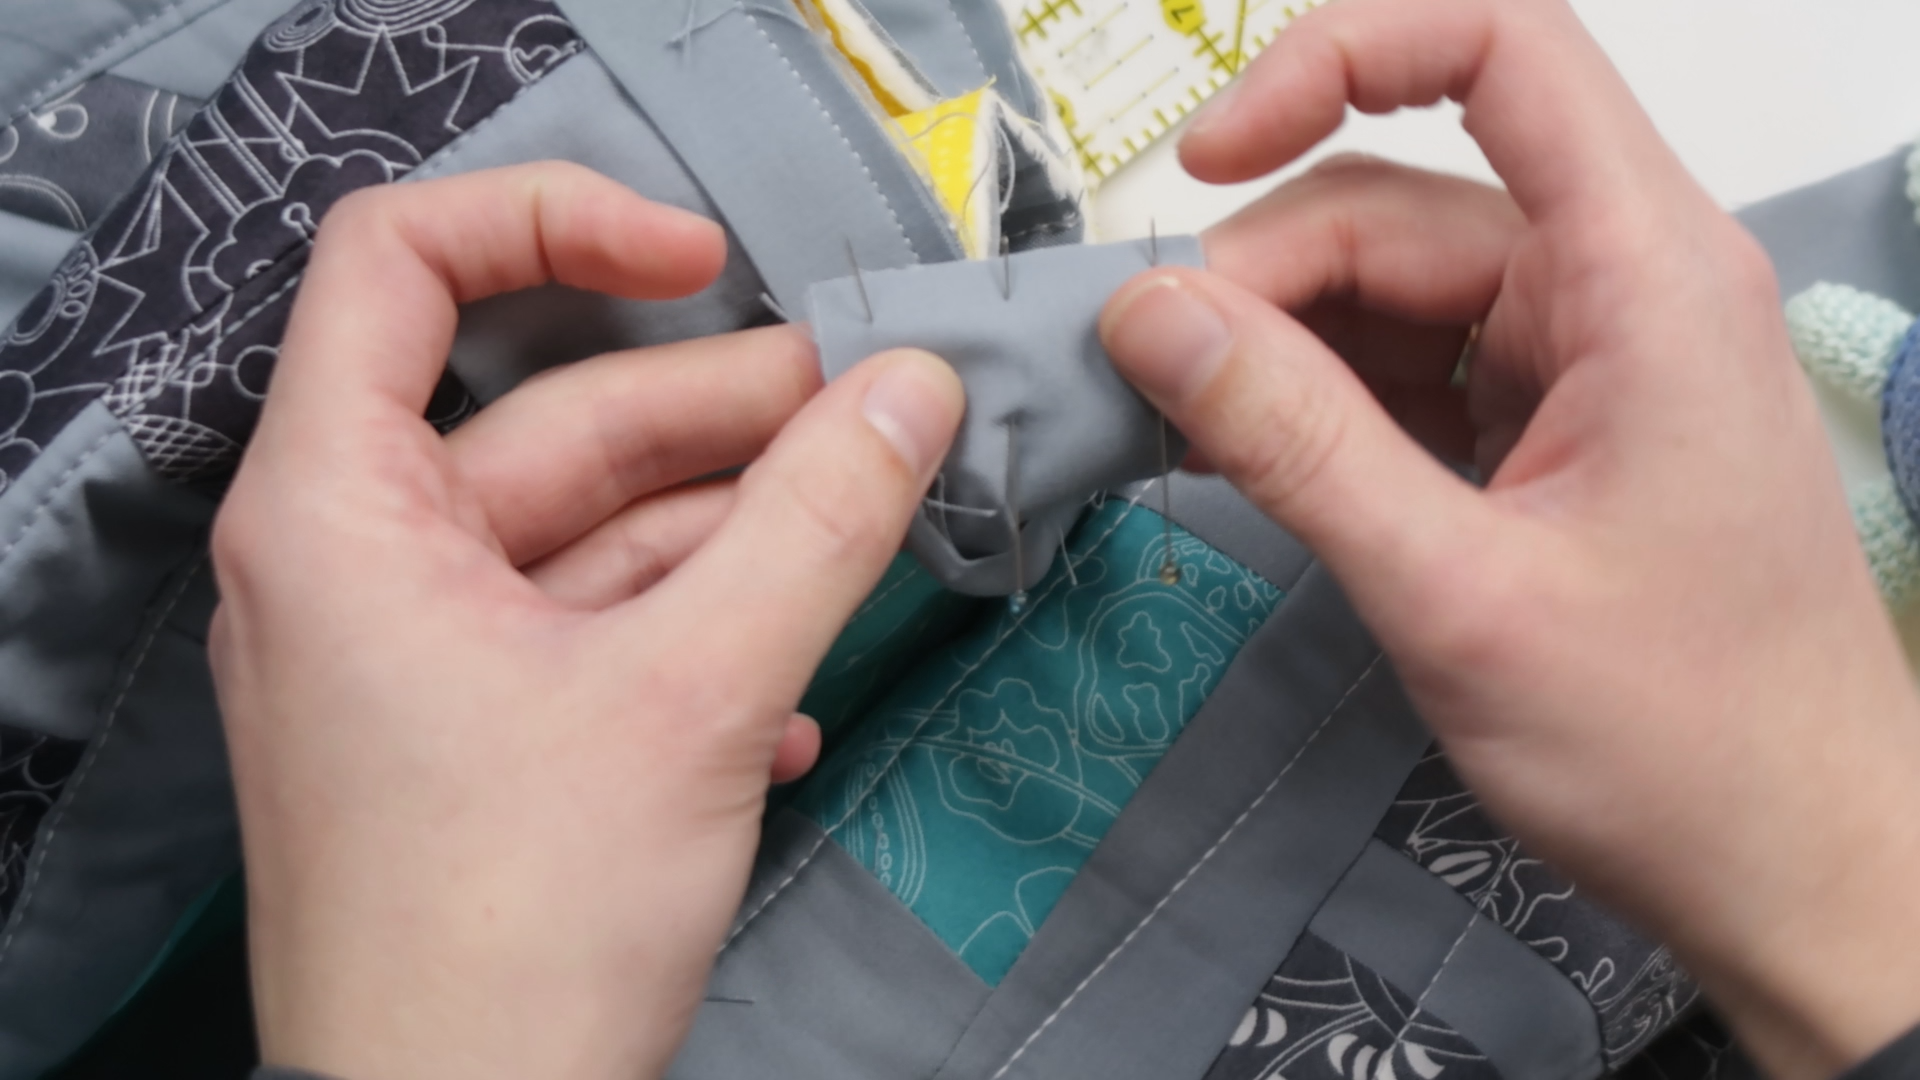
When you get to a corner, you will stop 1/4 inch before the end.

Then turn the quilt 90 degrees. Lift your presser foot and needle and fold the binding under your foot. It will make a triangular little flap. Fold that flat to the left under our foot.
Then lower your foot and needle again and continue sewing along the next edge of the quilt.

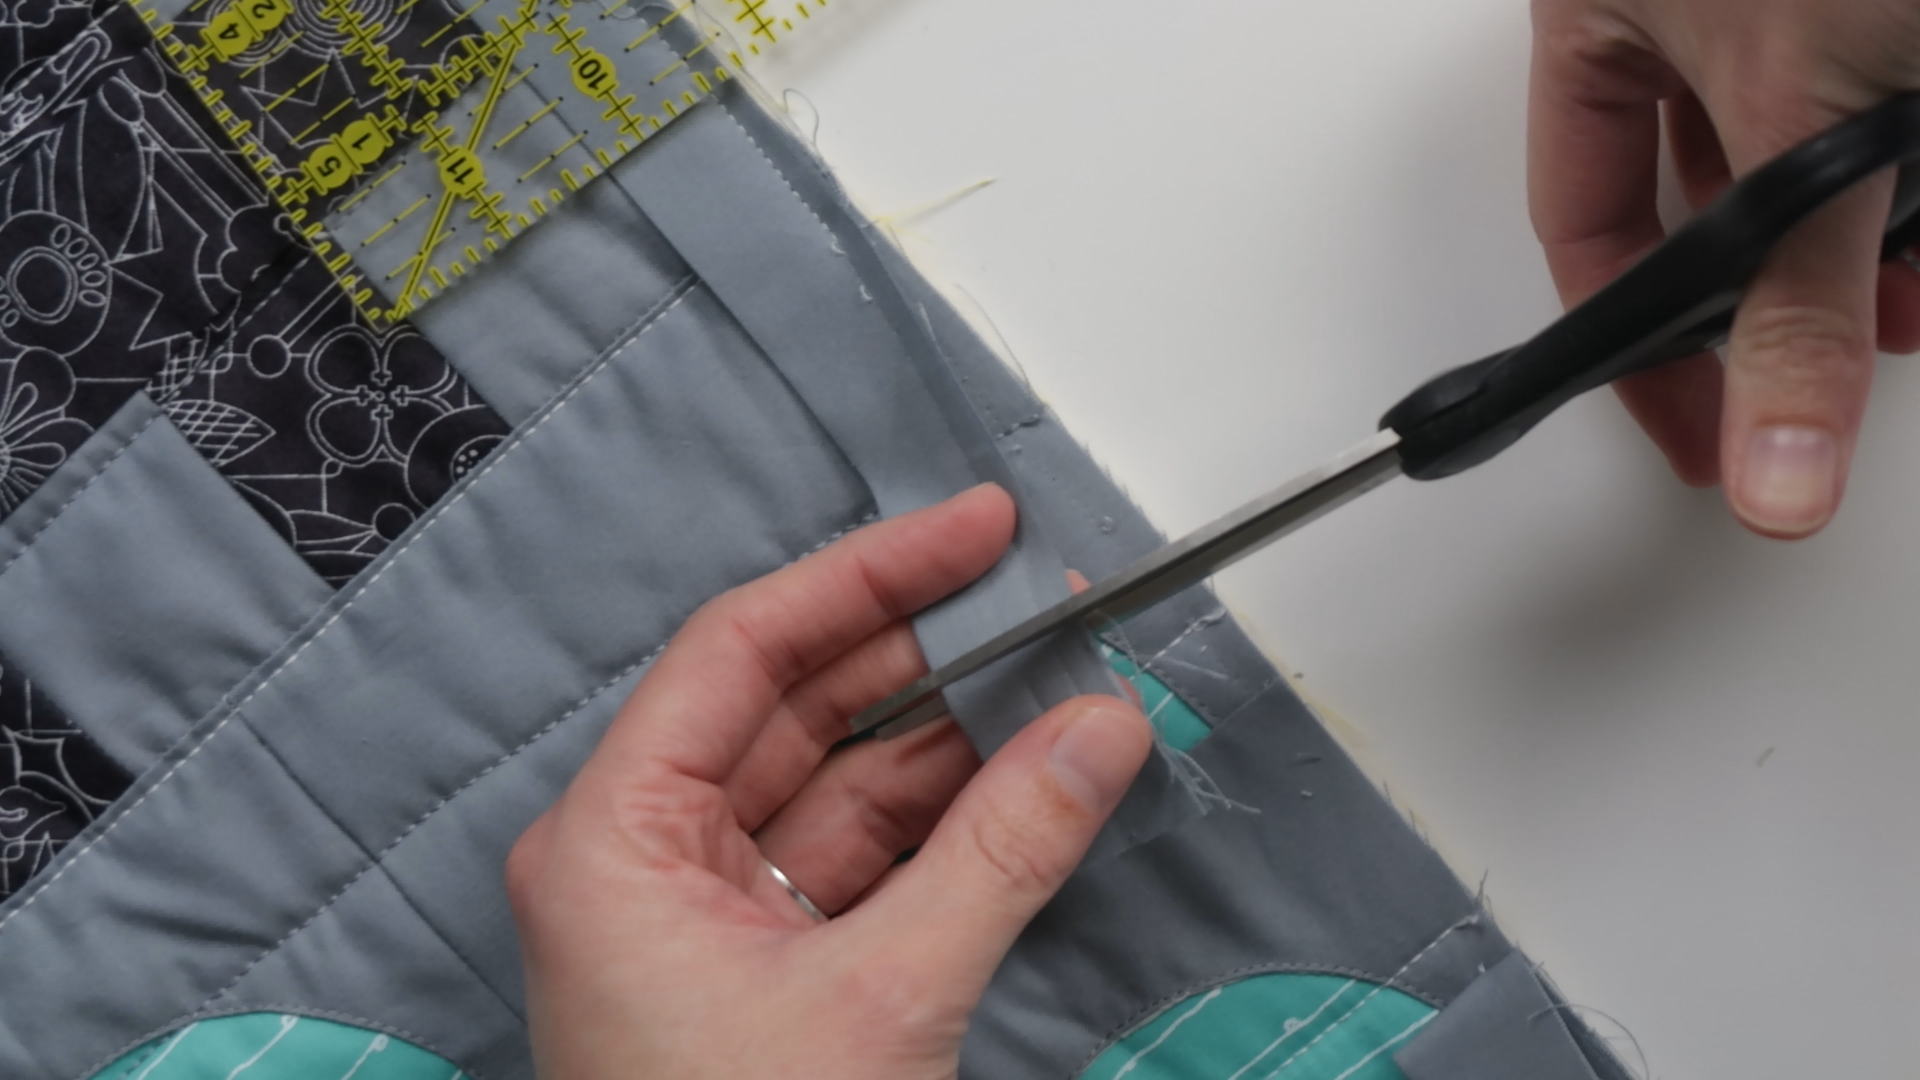
When you’re getting close to the beginning of the binding, you stop sewing. Leave about an 8 inch gap between the beginning and the end.
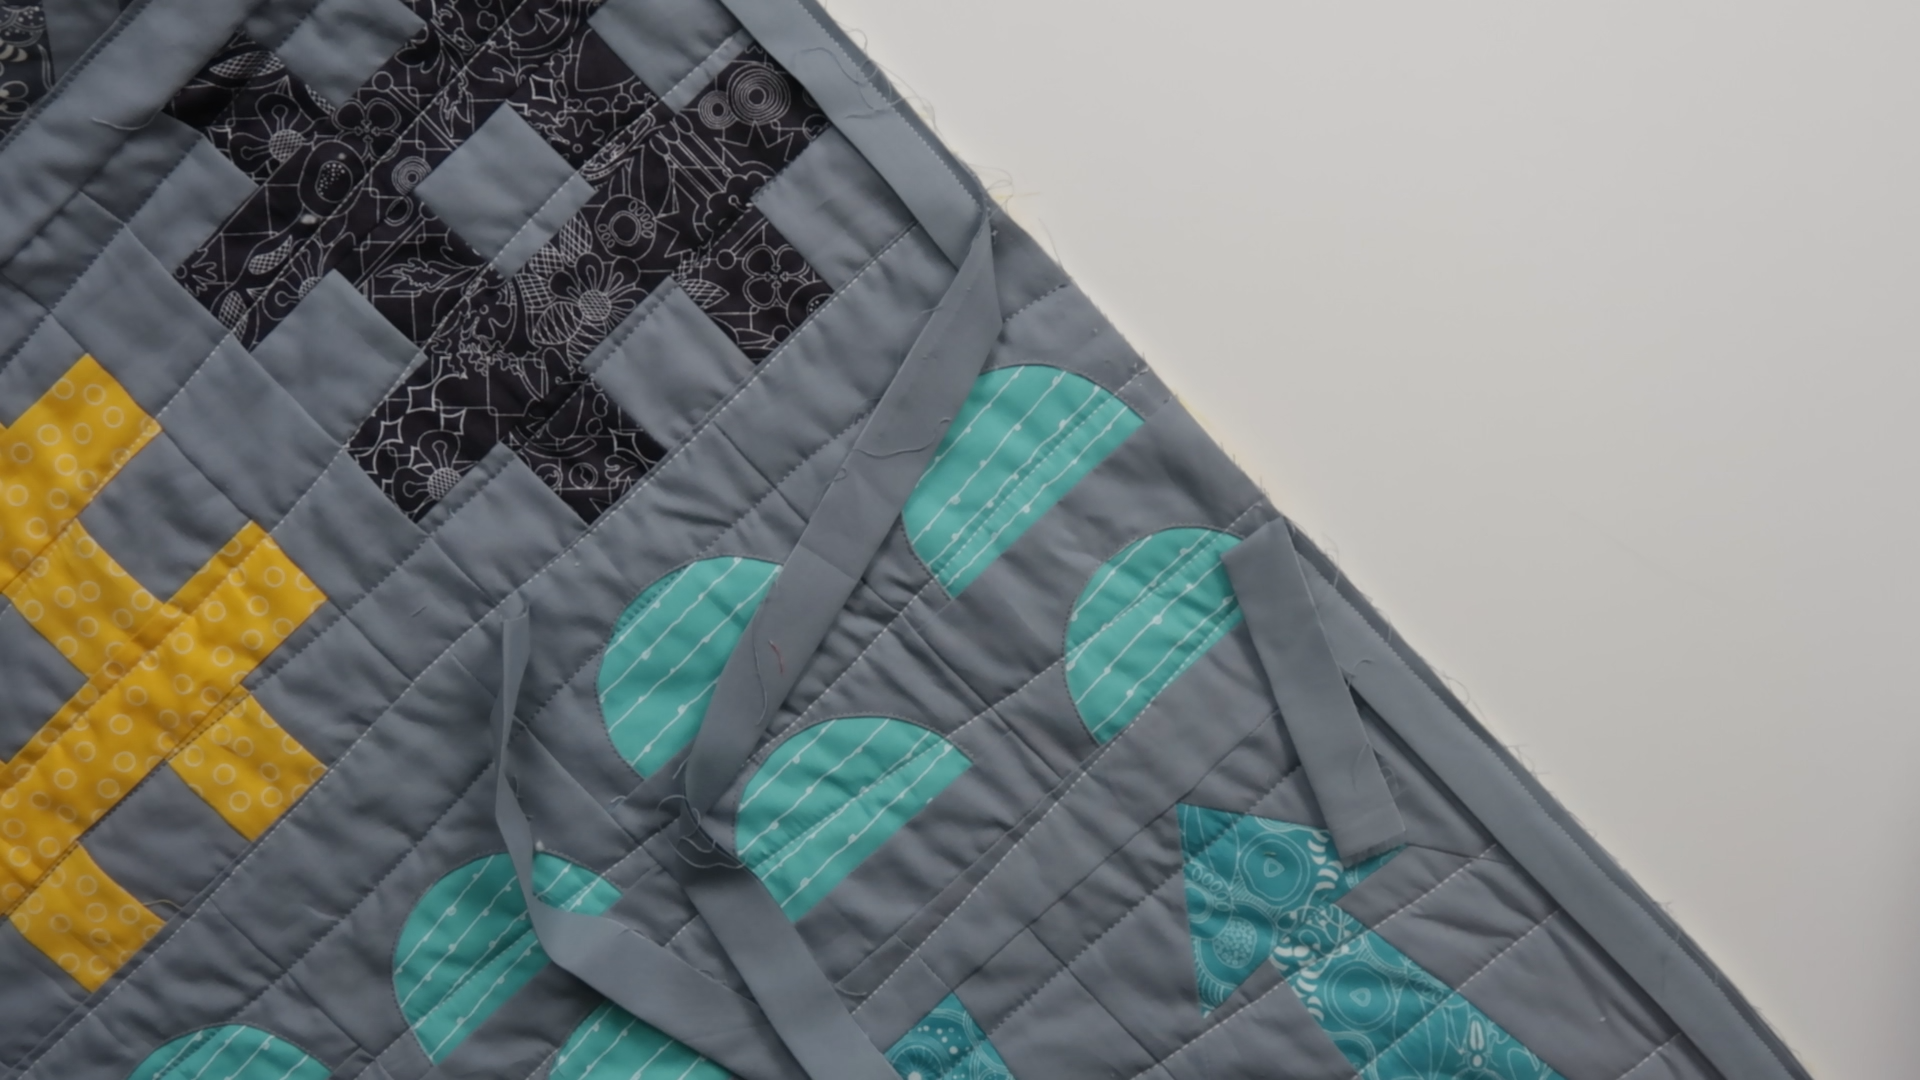
Trim both ends, letting them overlap 1/2 inch. You can watch the video to see how I measured and trimmed my ends.
Fold the ends open and pin them with the right sides together.
Sew the ends together with a 1/4″ seam allowance.
Now you can continue sewing the binding to the quilt.
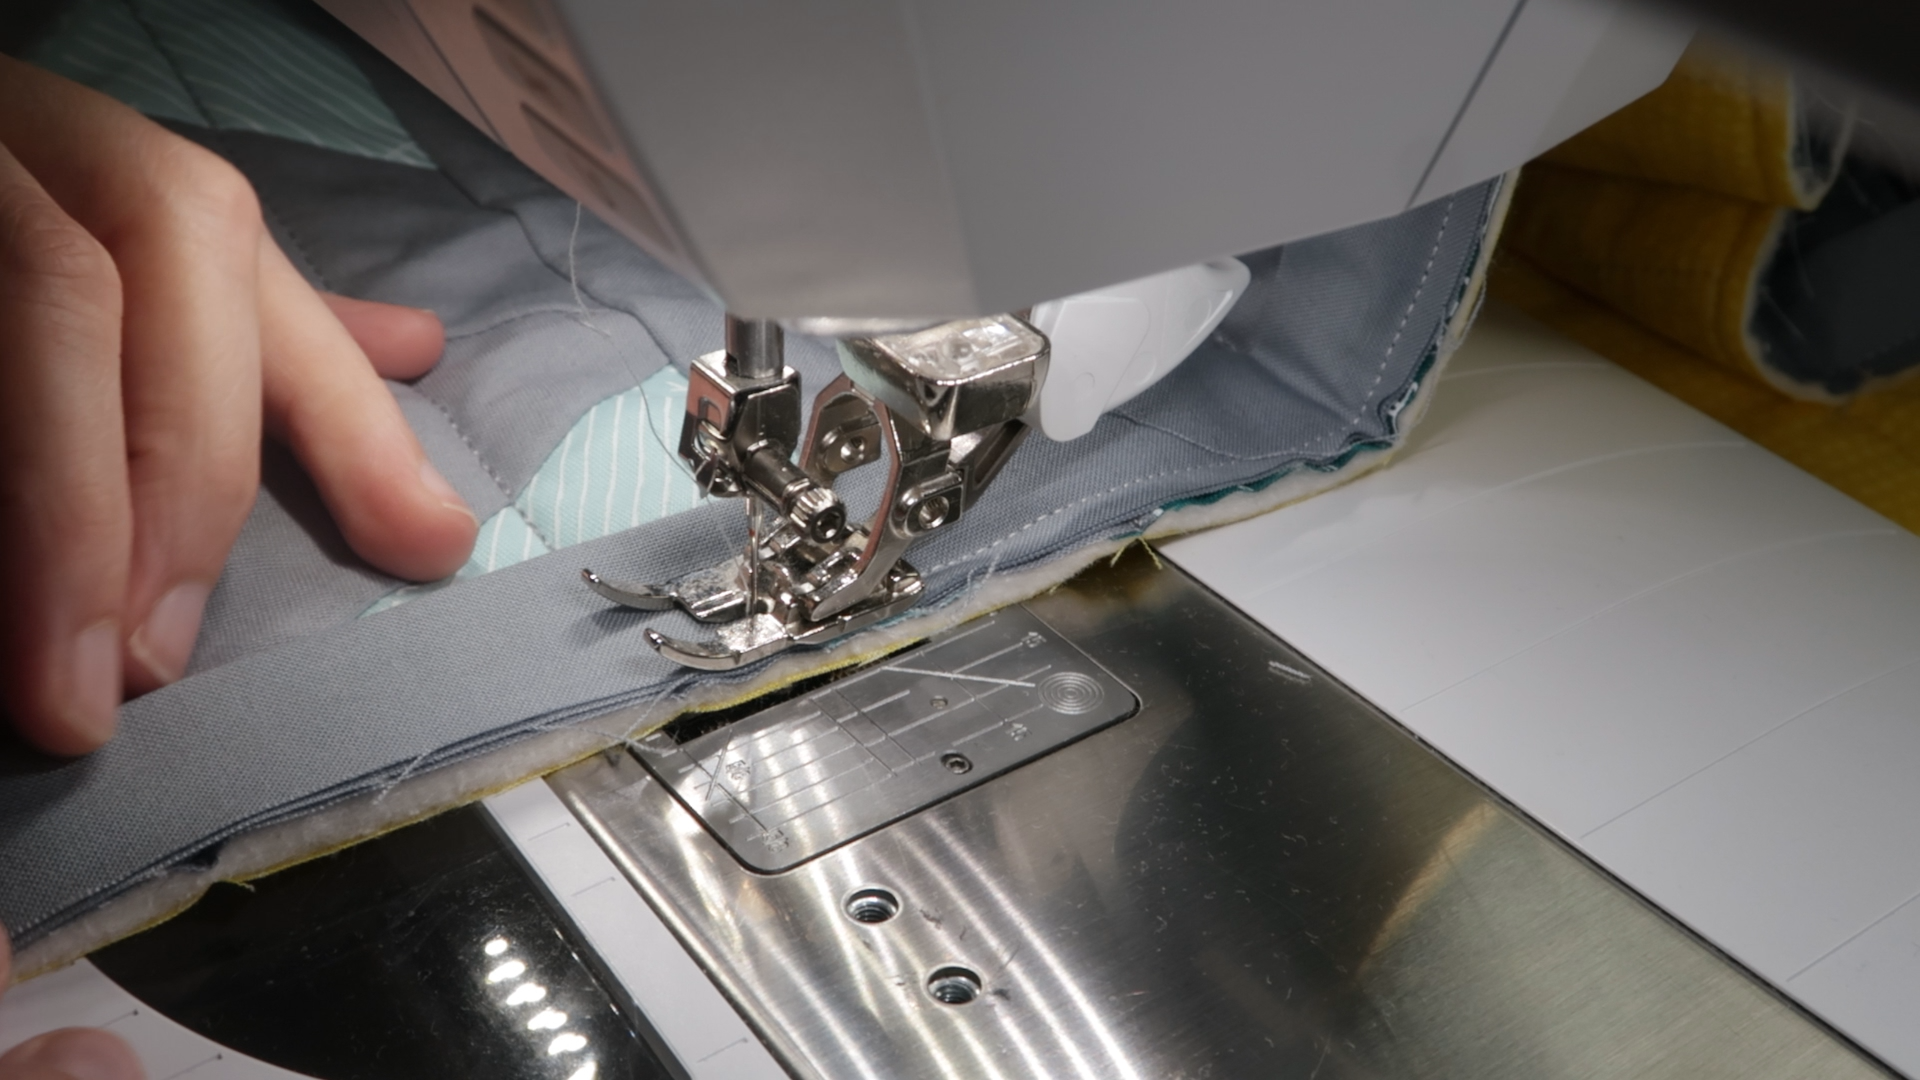
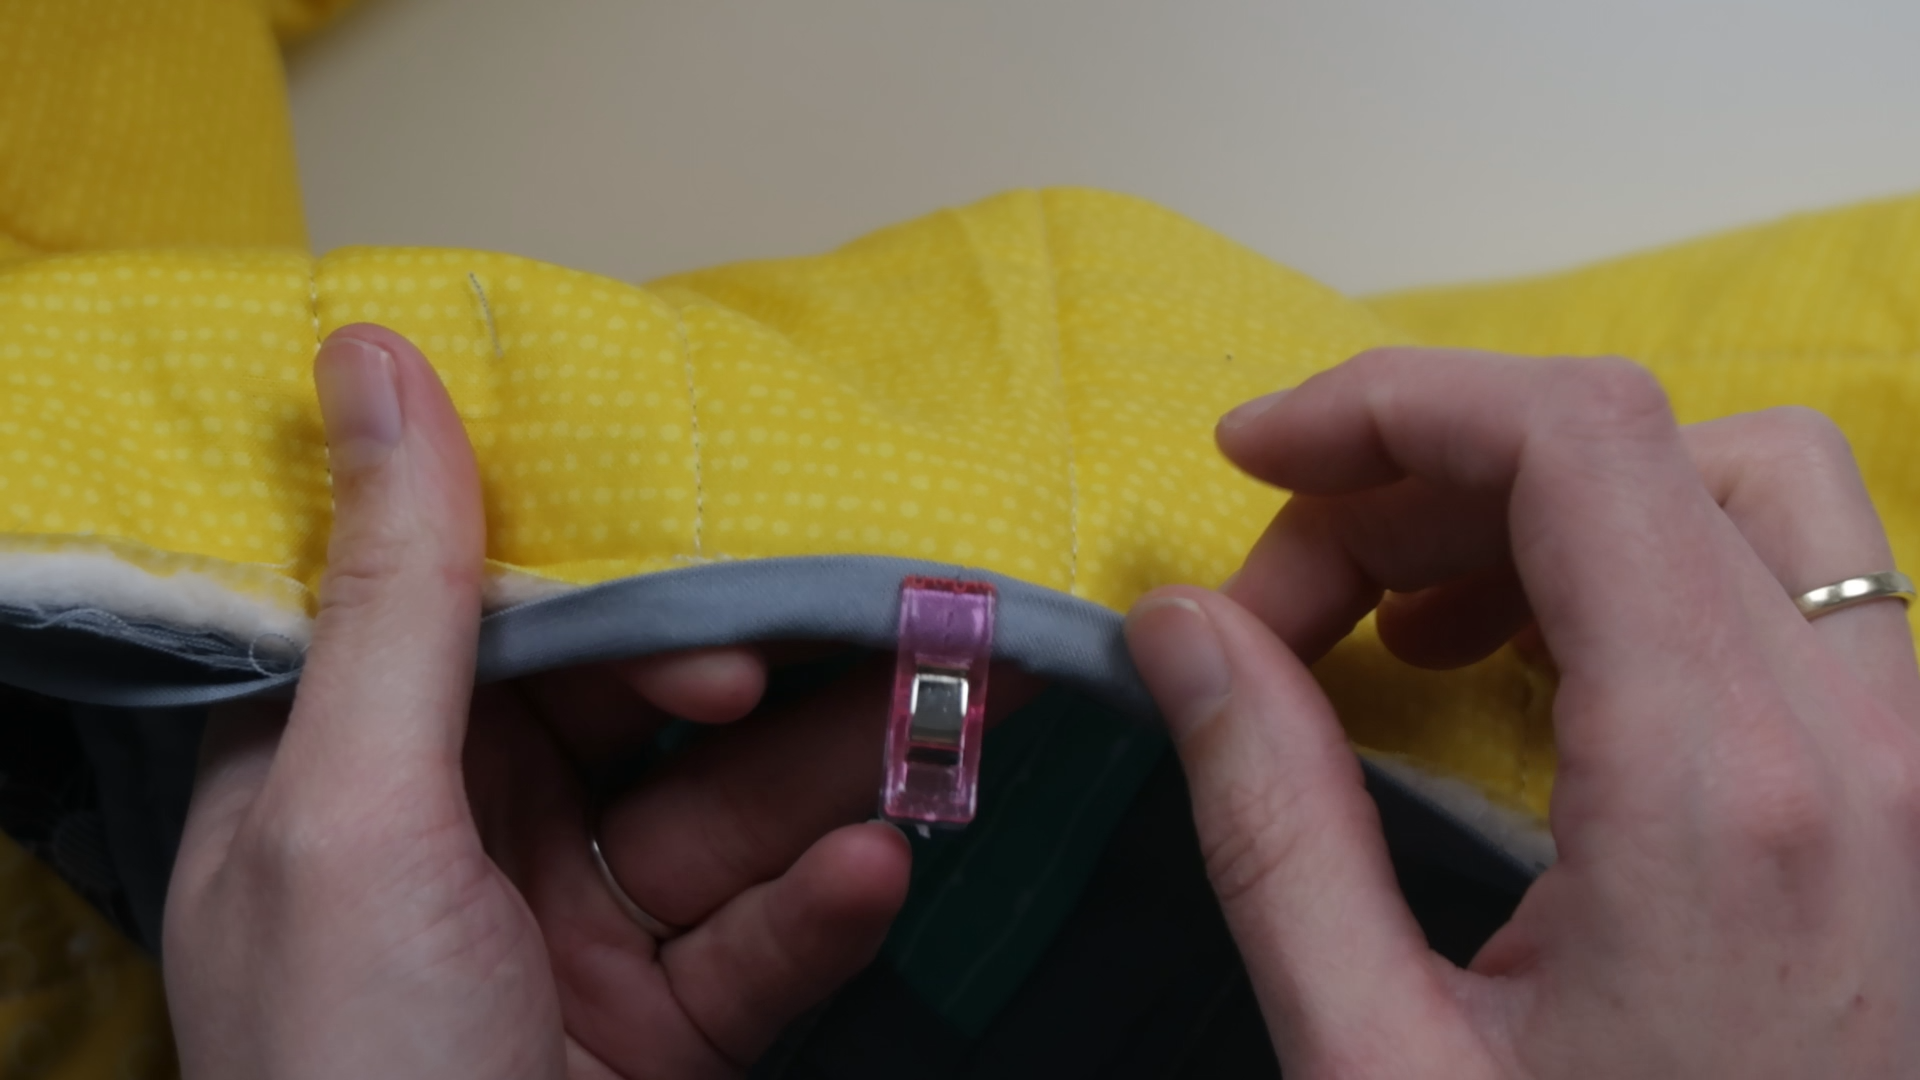
Sewing the binding to the back
Fold the binding to the back of the quilt. You can keep thin in place with binding or wonder clips. I like to hand stitch the binding on the back of the quilt. You can do this with your machine, but for me it just turns out better when I do it by hand.
To stitch the binding to the back you go in and out to the binding.

And the in and out of the backing fabric.
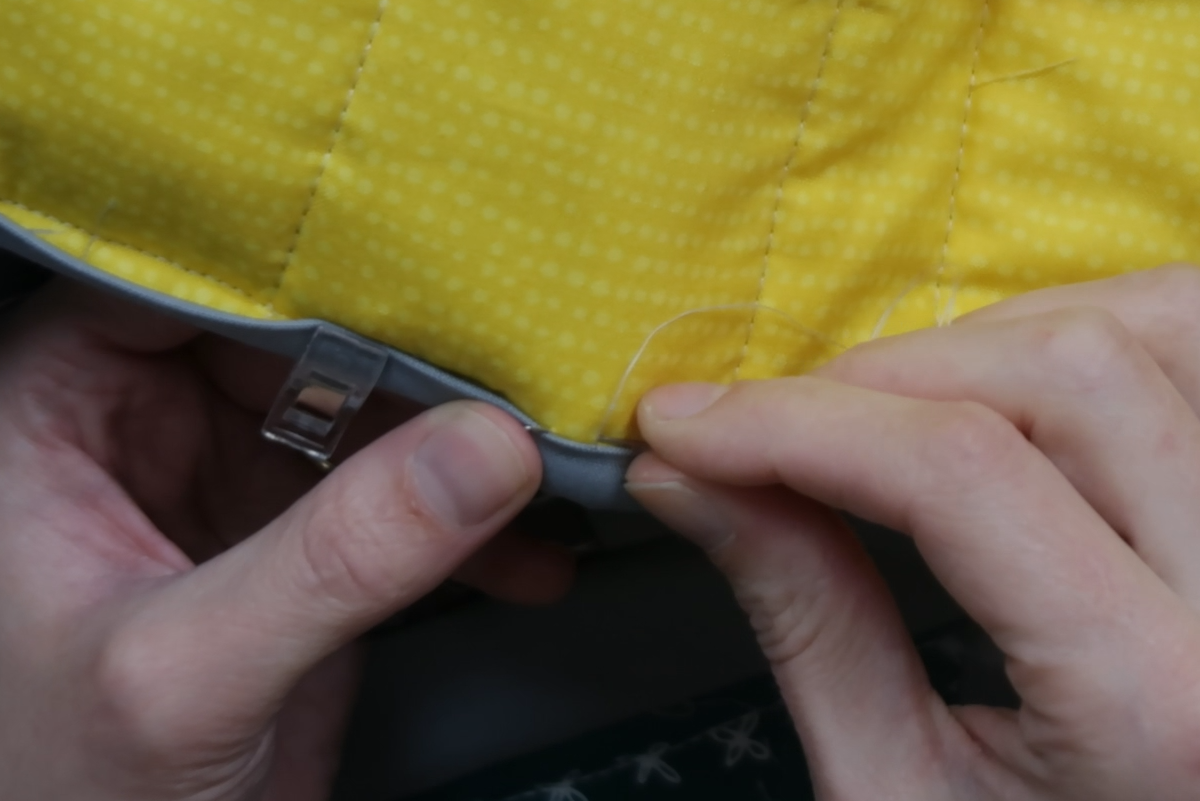
Repeat this stitch all the way around the quilt. Perfect thing to do on the couch with a nice cup of tea and some Netflix.
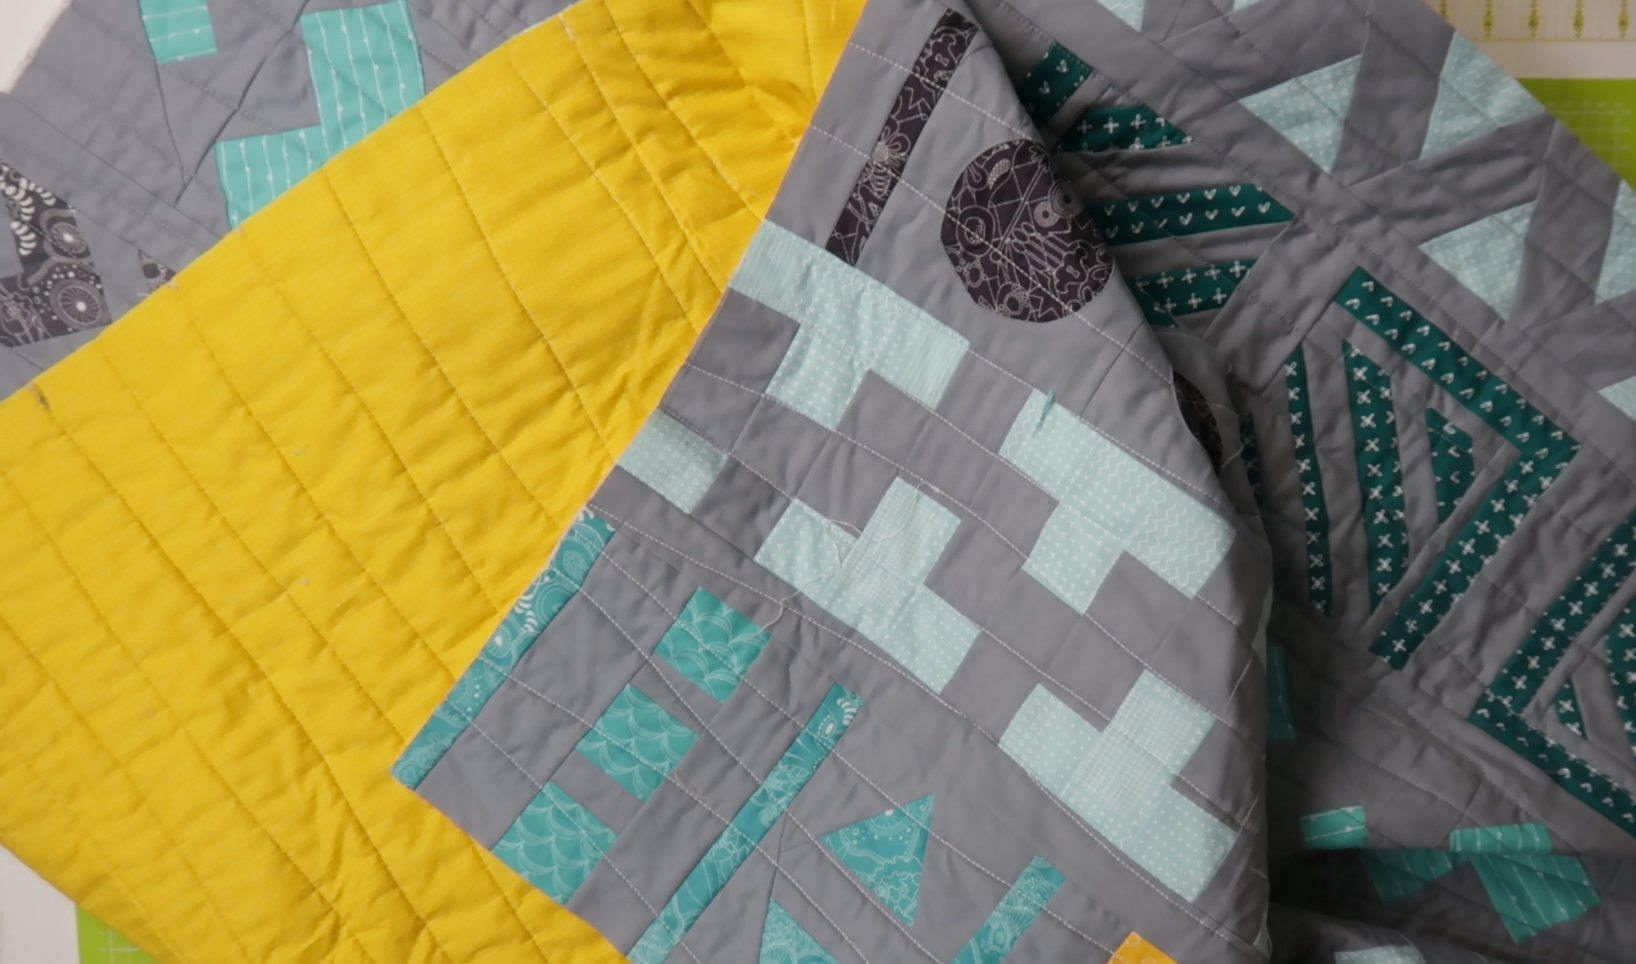
Done!
There you have it. A nice binding around your quilt. Now it is really done. This was the very last blog post about our quilt along. What a great experience this was! This won’t be the last you’ll see of me here on the BERNINA blog though, but more on that later 😉
See you soon!
Irene
0 Responses