This beautiful bag “Lu” took my attention in Inspiration 3/2020. That’s why I thought of a tutorial for the bag ‘Lu’. In January there’s a free download for the pattern. Find more information in this blogpost: Sewing the bag ‘Lu’. And here’s your Tutorial bag ‘Lu’ BERNINA
Ideas and tutorials for your next sewing adventure
Subscribe to the BERNINA Blog Newsletter
If you love to sew you don’t want to miss the chance to receive the latest content from our authors directly into your mailbox.
Sign up for the blog newsletter
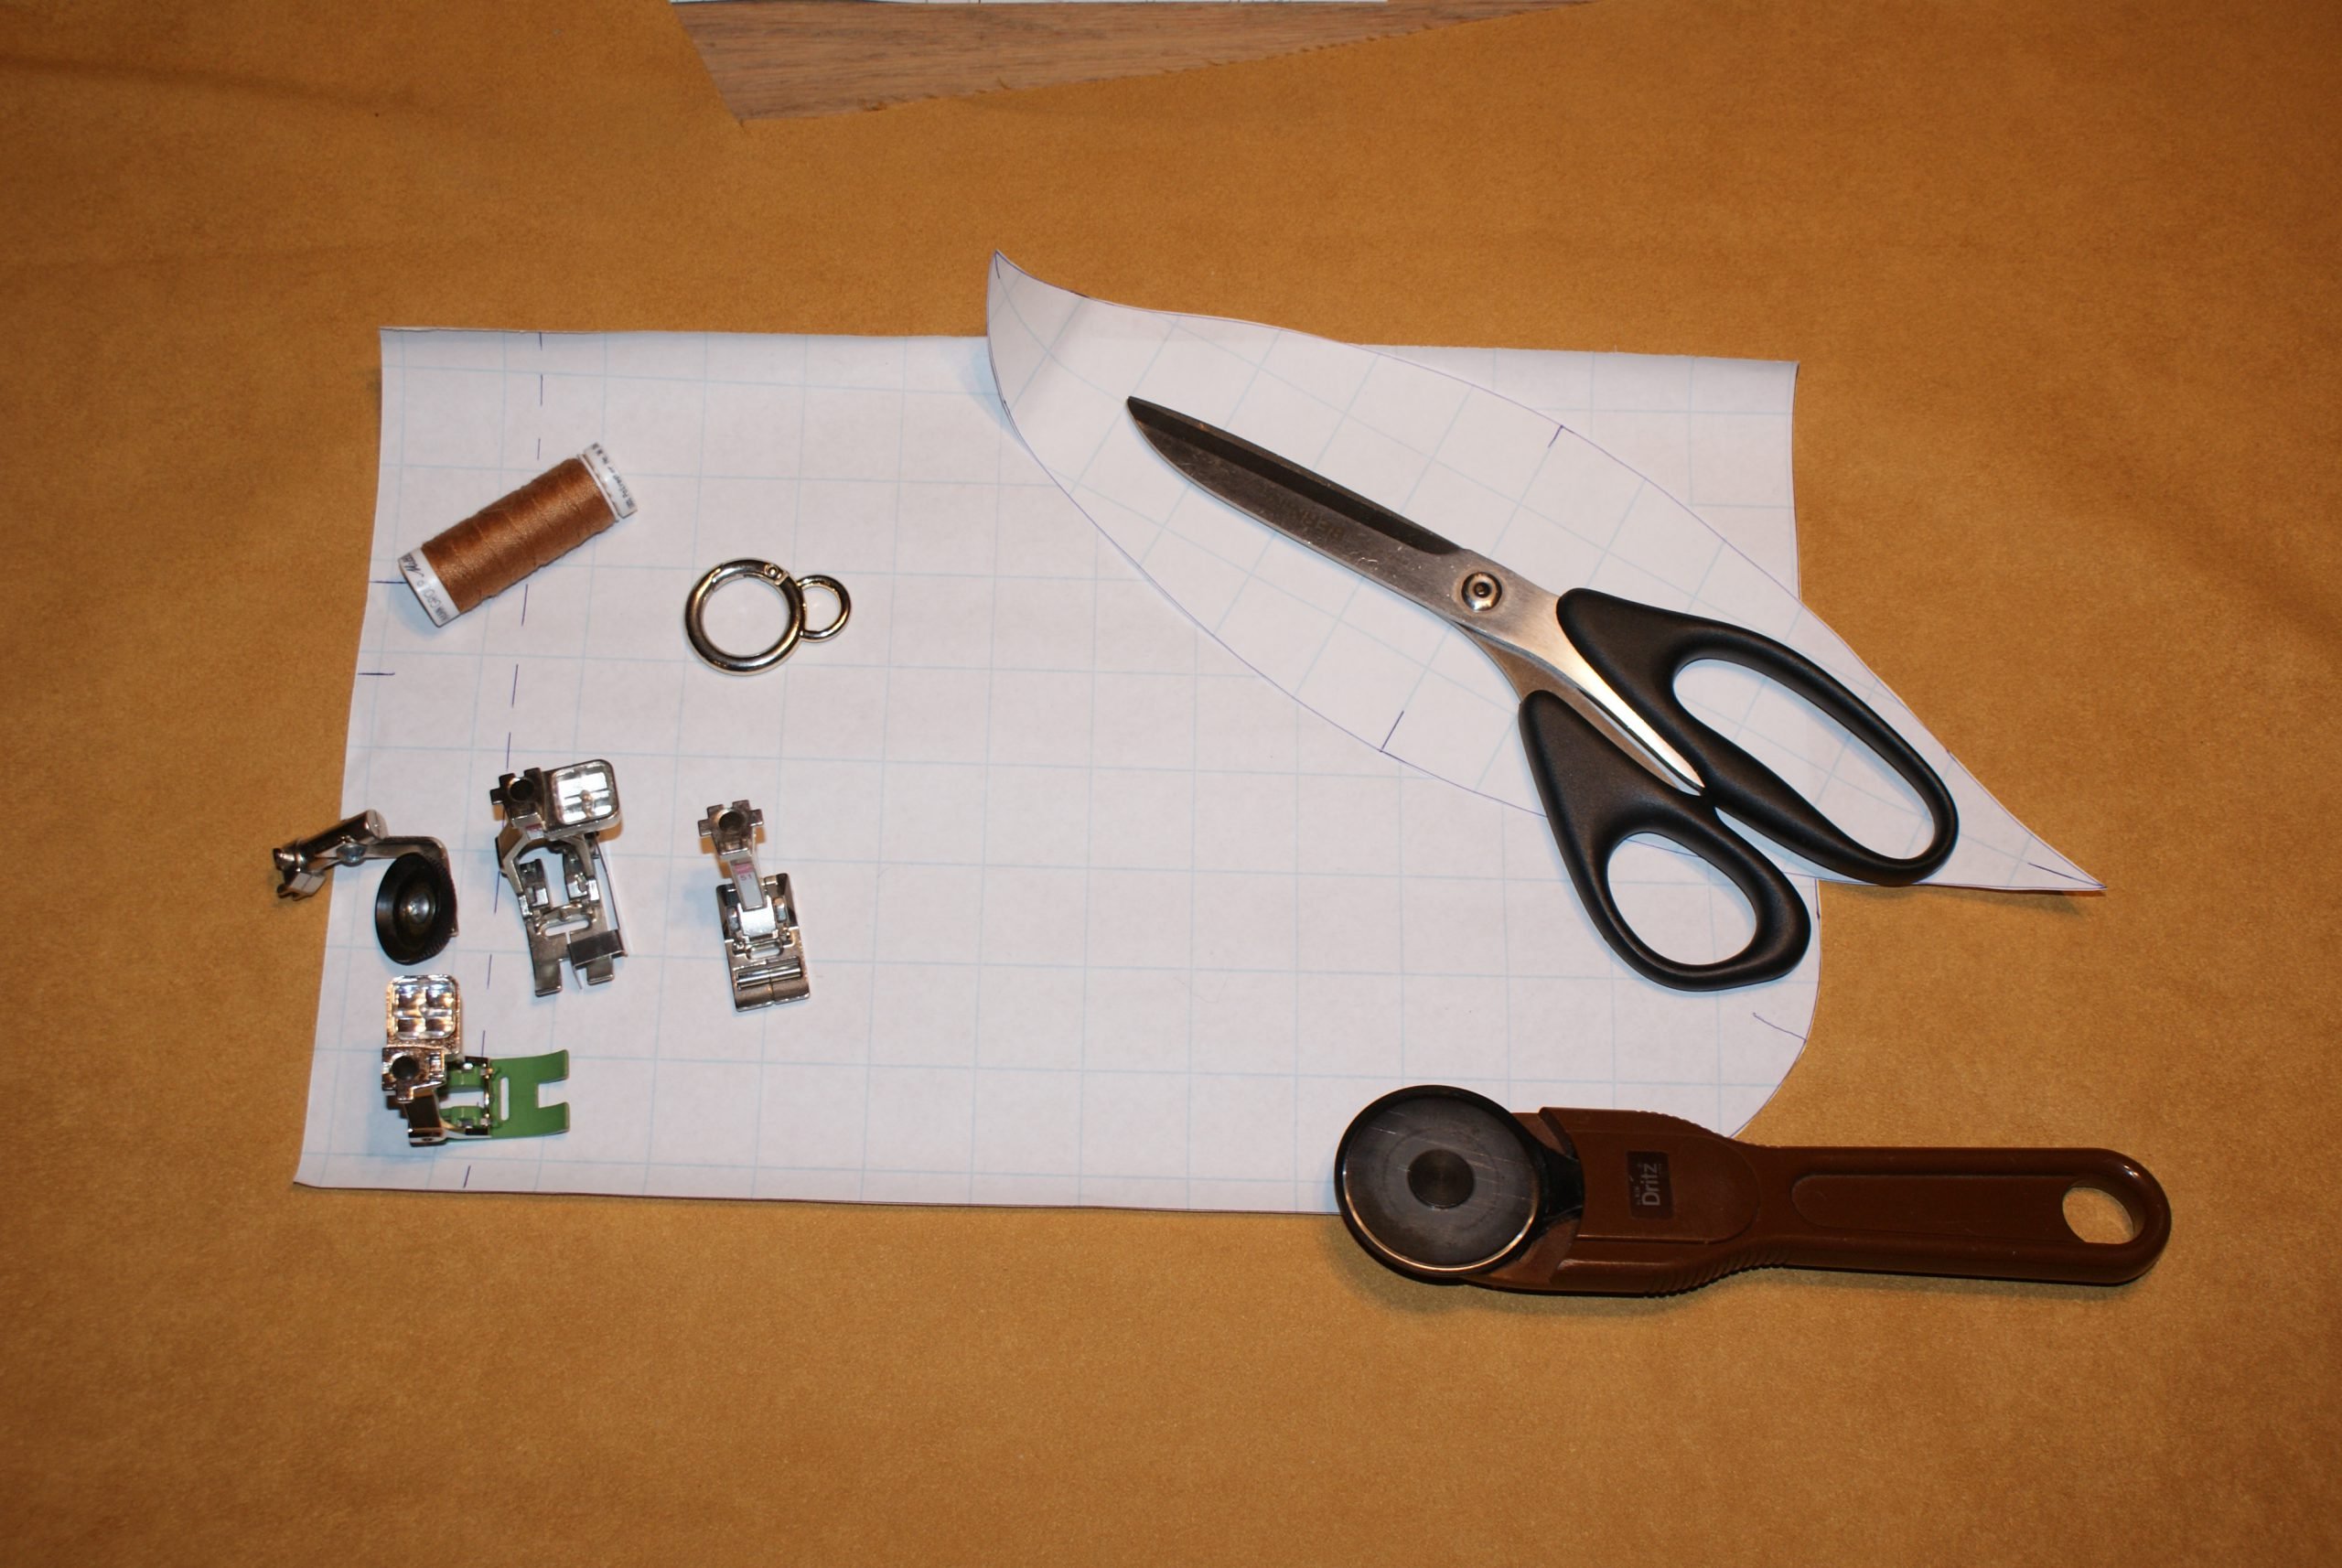
What do you need for the bag Lu?
- 60 cm of fabric (non-fringing fabric like leather, skai, …)
- 1 carabiner or key ring
- Mettler Extra Stark sewing and topstitching thread
- A presser foor that goes with your material (roller foot, sliding foot, …).
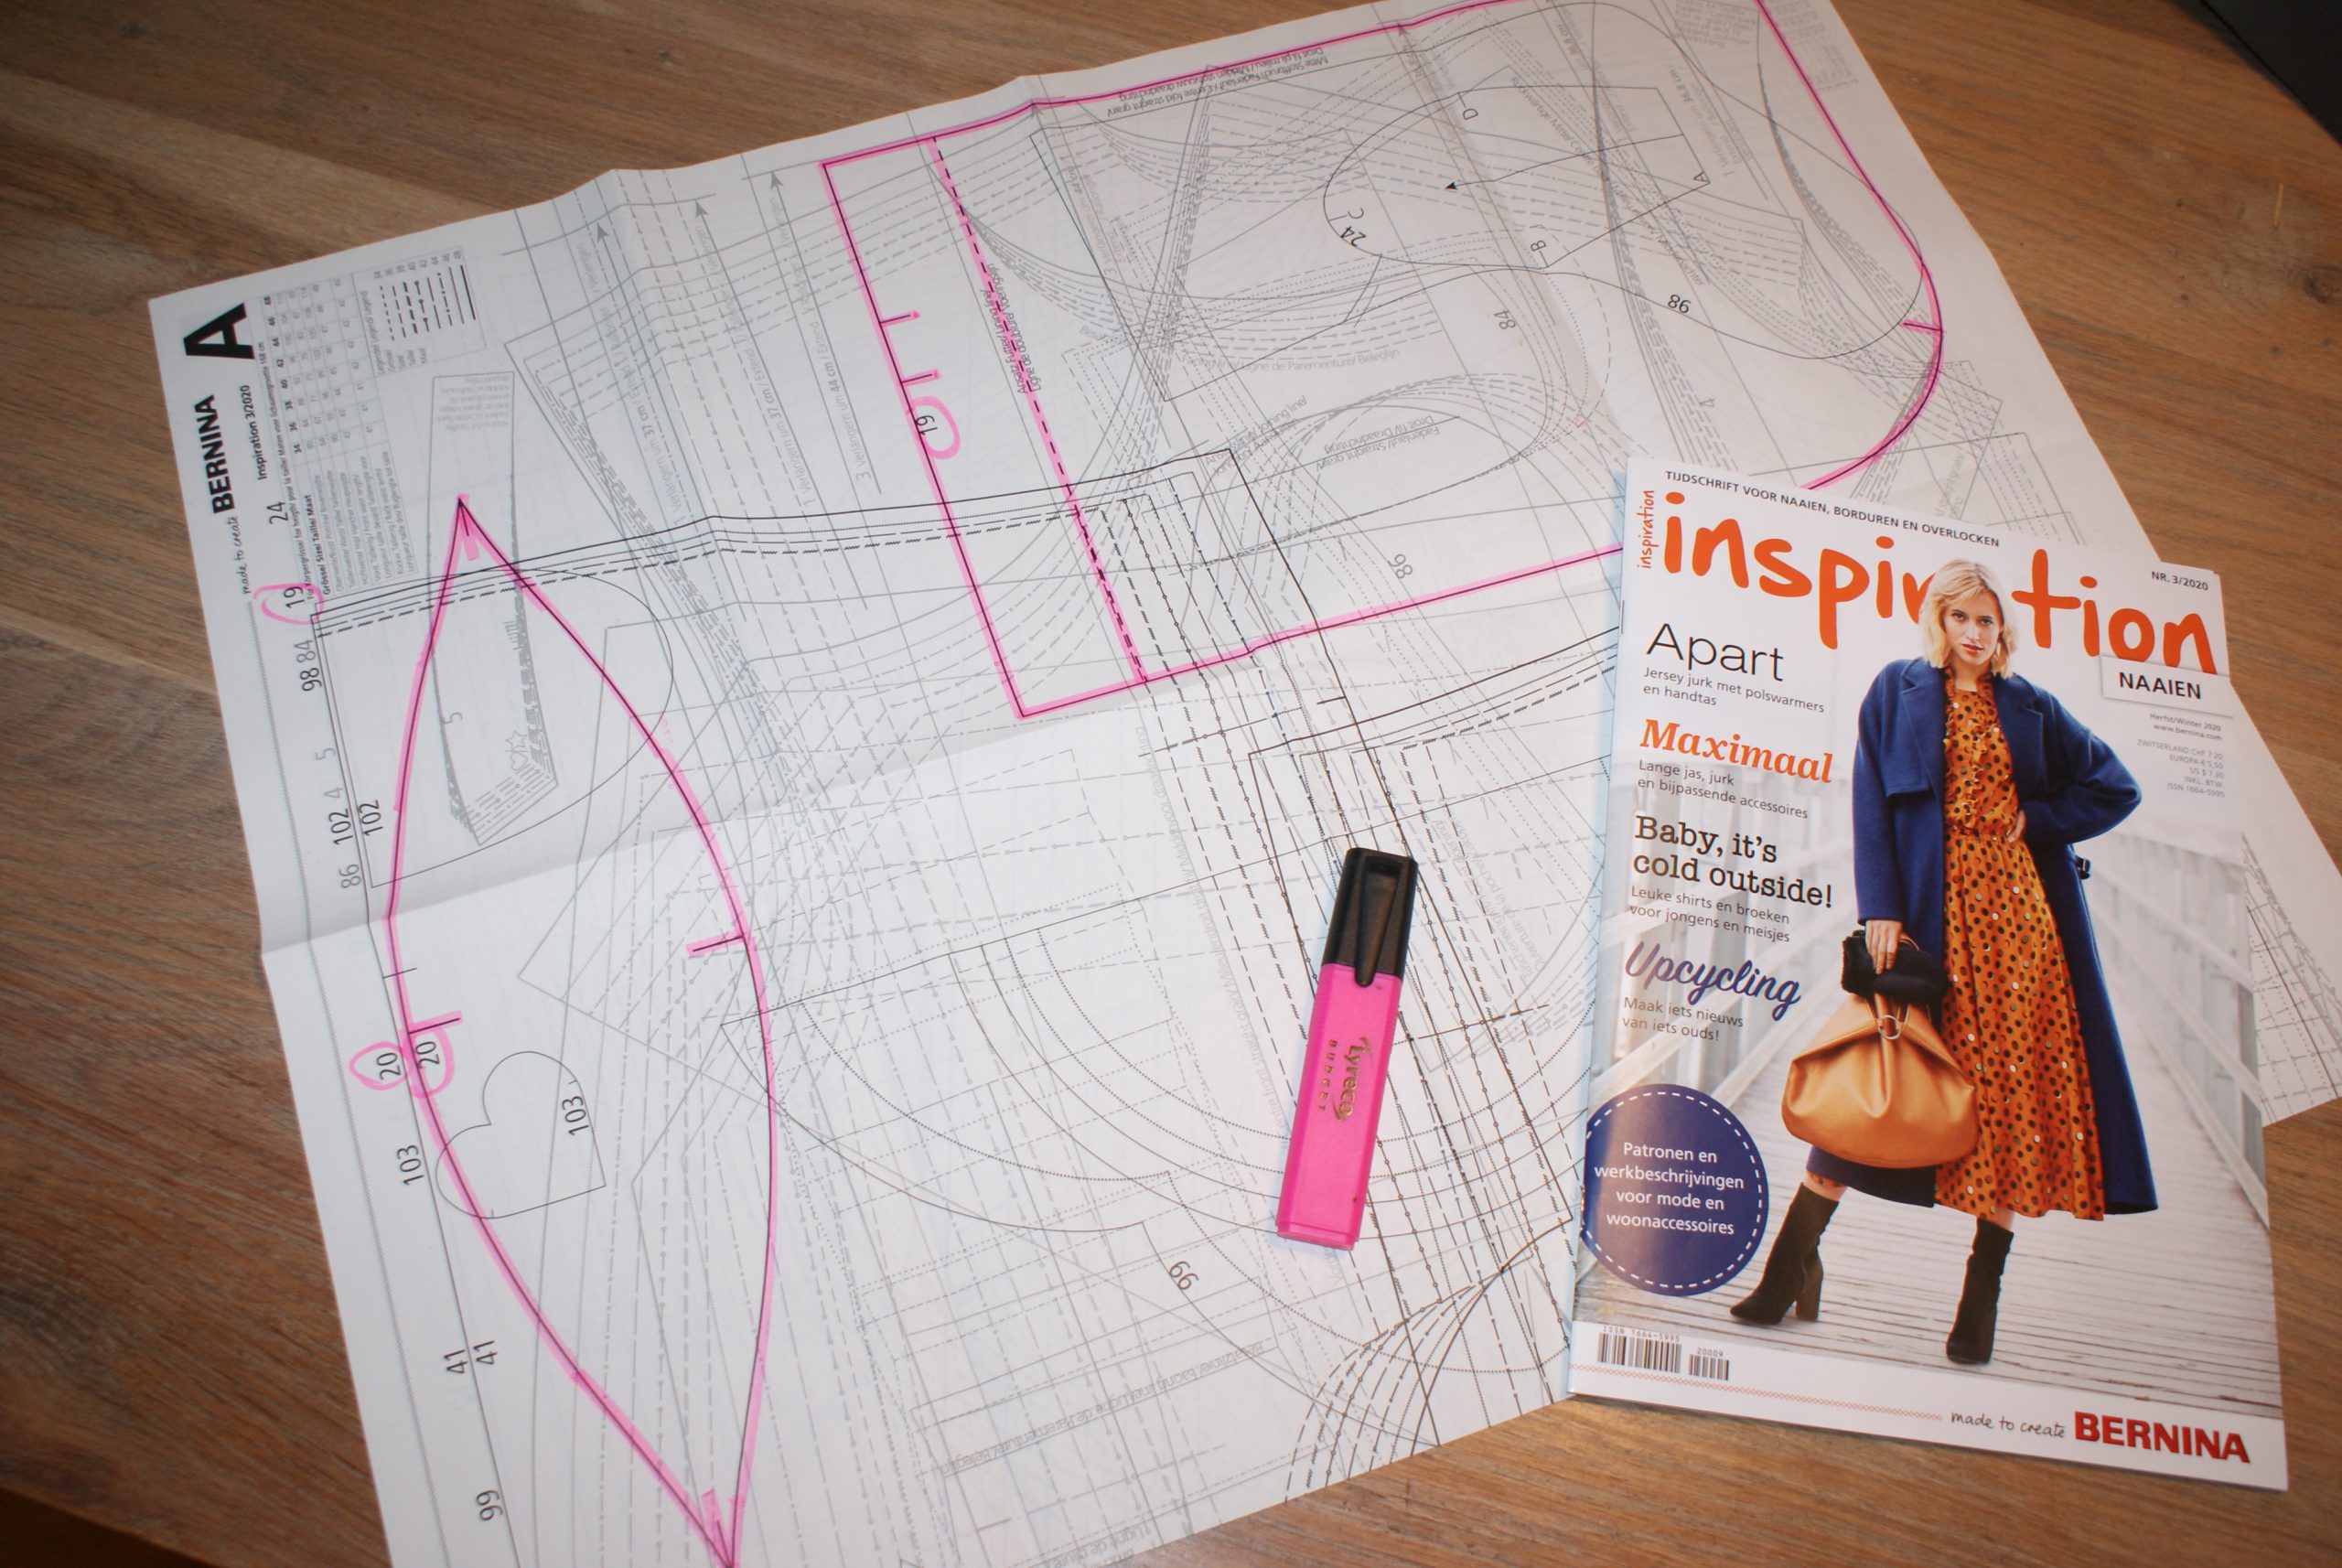
- The free pattern from the blogpost Sewing the bag ‘Lu’.
- I used the BERNINA 710
Here’s the tutorial for the bag ‘Lu’:
Preparation:
If you copy the pattern from the magazine, it could be useful to trace the pieces first.
Copy the pattern, all notches included. Both pattern pieces are meant to add seam allowance (1 cm). Cut out the pattern from the fabric: put the bigger one on fabric fold. It will be double as big as the pattern. Mark the fabric fold.
 Take notches with darning thread.
For the rectangular pattern pieces mentioned you take these measures (seam allowance is Included here):
- Facing: 92 cm x 4 cm
- Shoulder straps: 77 cm x 5 cm
- Small loops: 12 cm x 3 cm
Preparing the rectangular parts for the straps:
Think of engaging dual transport for difficult material. It prevents your fabric from moving.
Instead of pins, you could use small clamps.
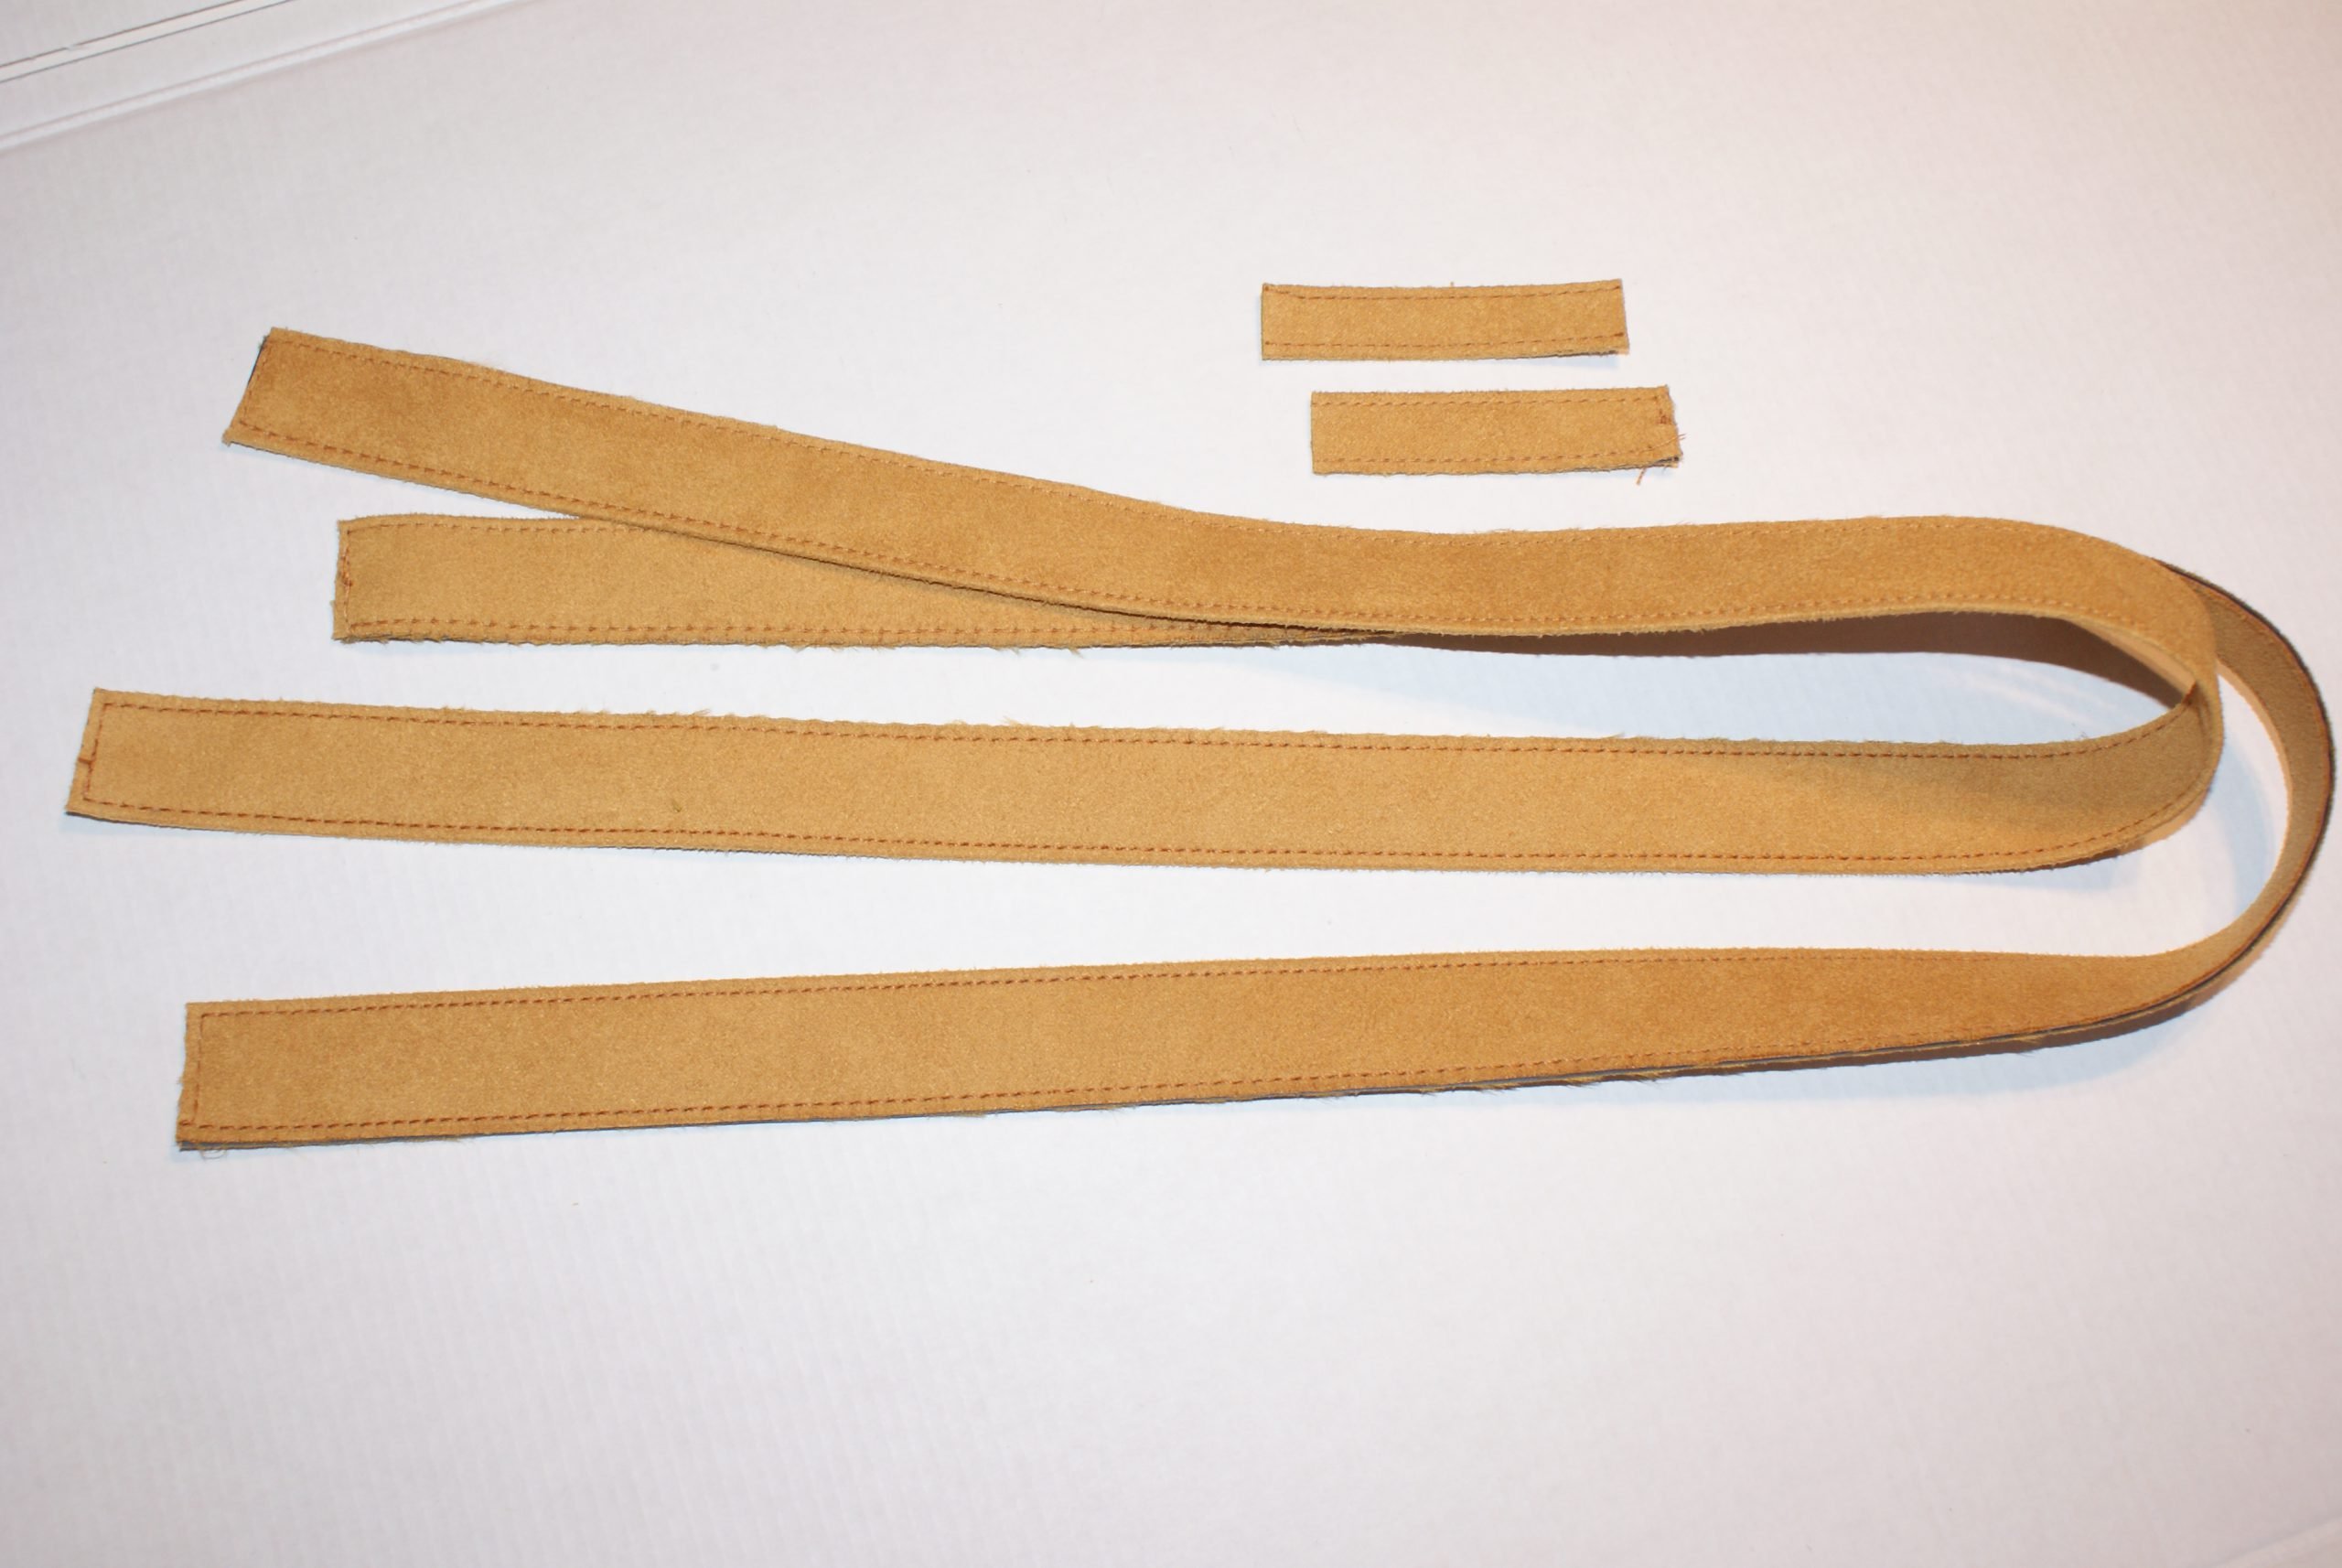
Fold the straps and the loops over, with the right side out. Sew along the edges with the Edgefoot nr 10. I set up a stitch length 4.30, and needle placement -4.
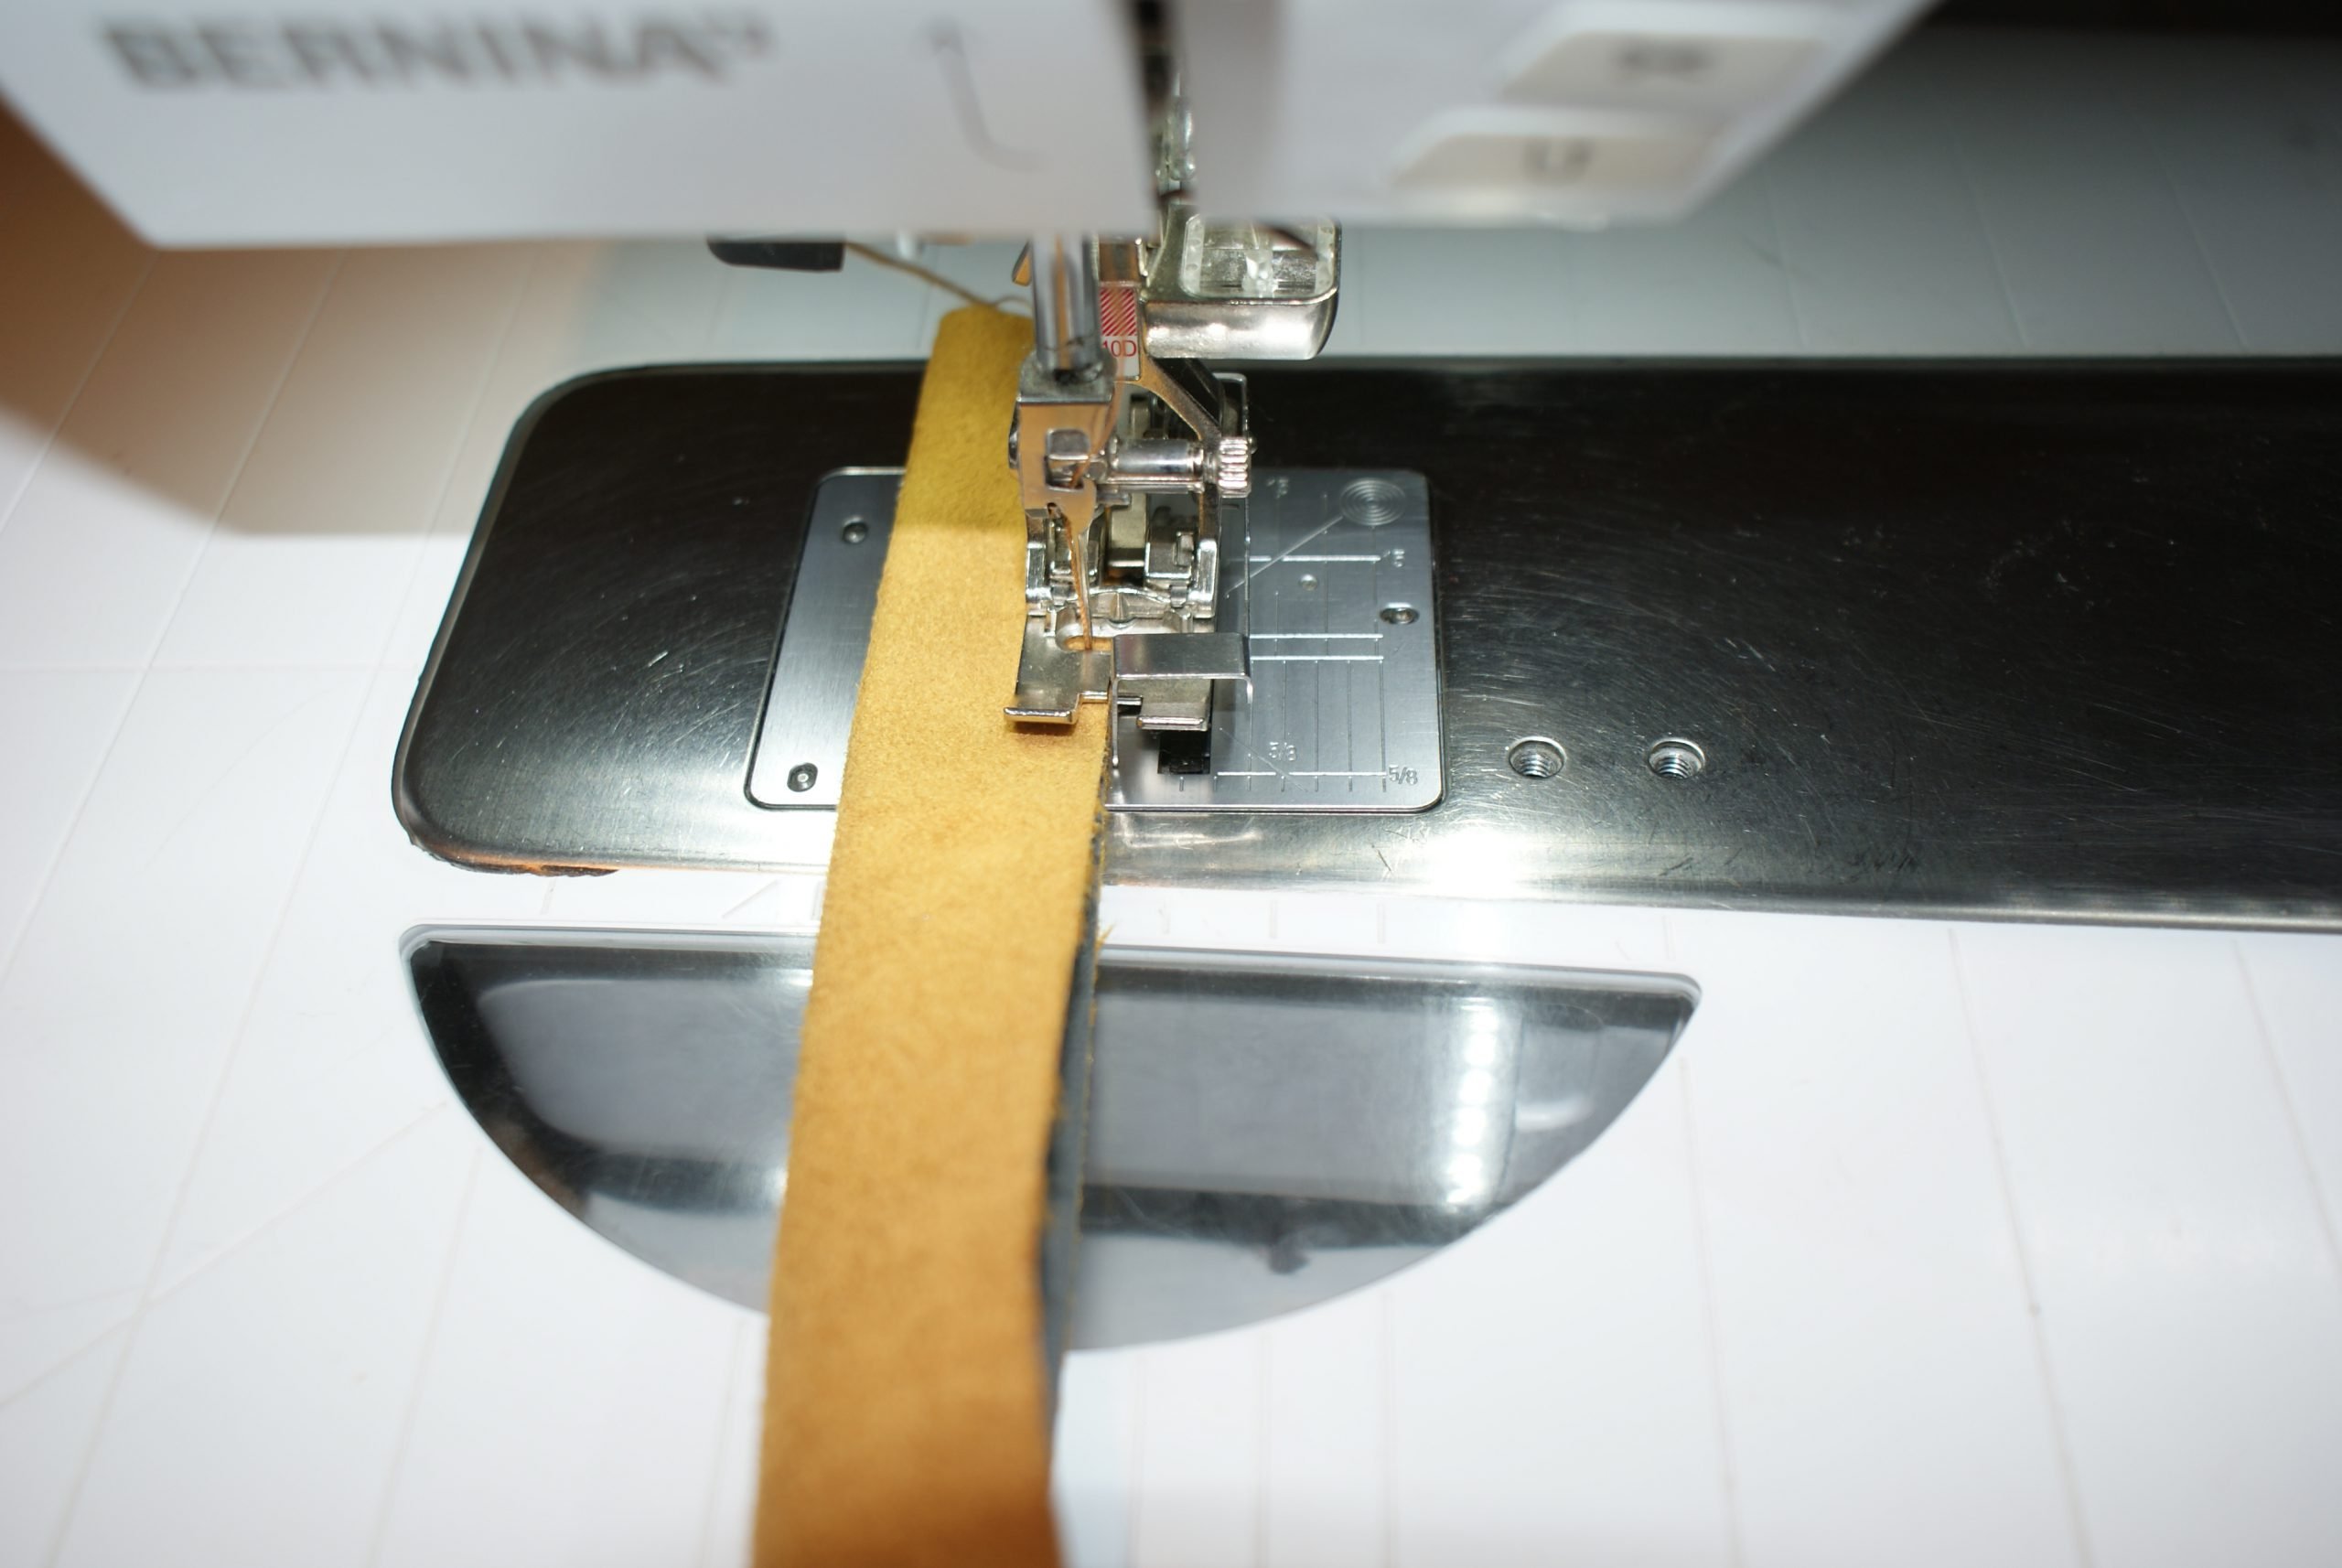 Ready for use, after cutting the small loop straps in 2:
Sewing the bag:
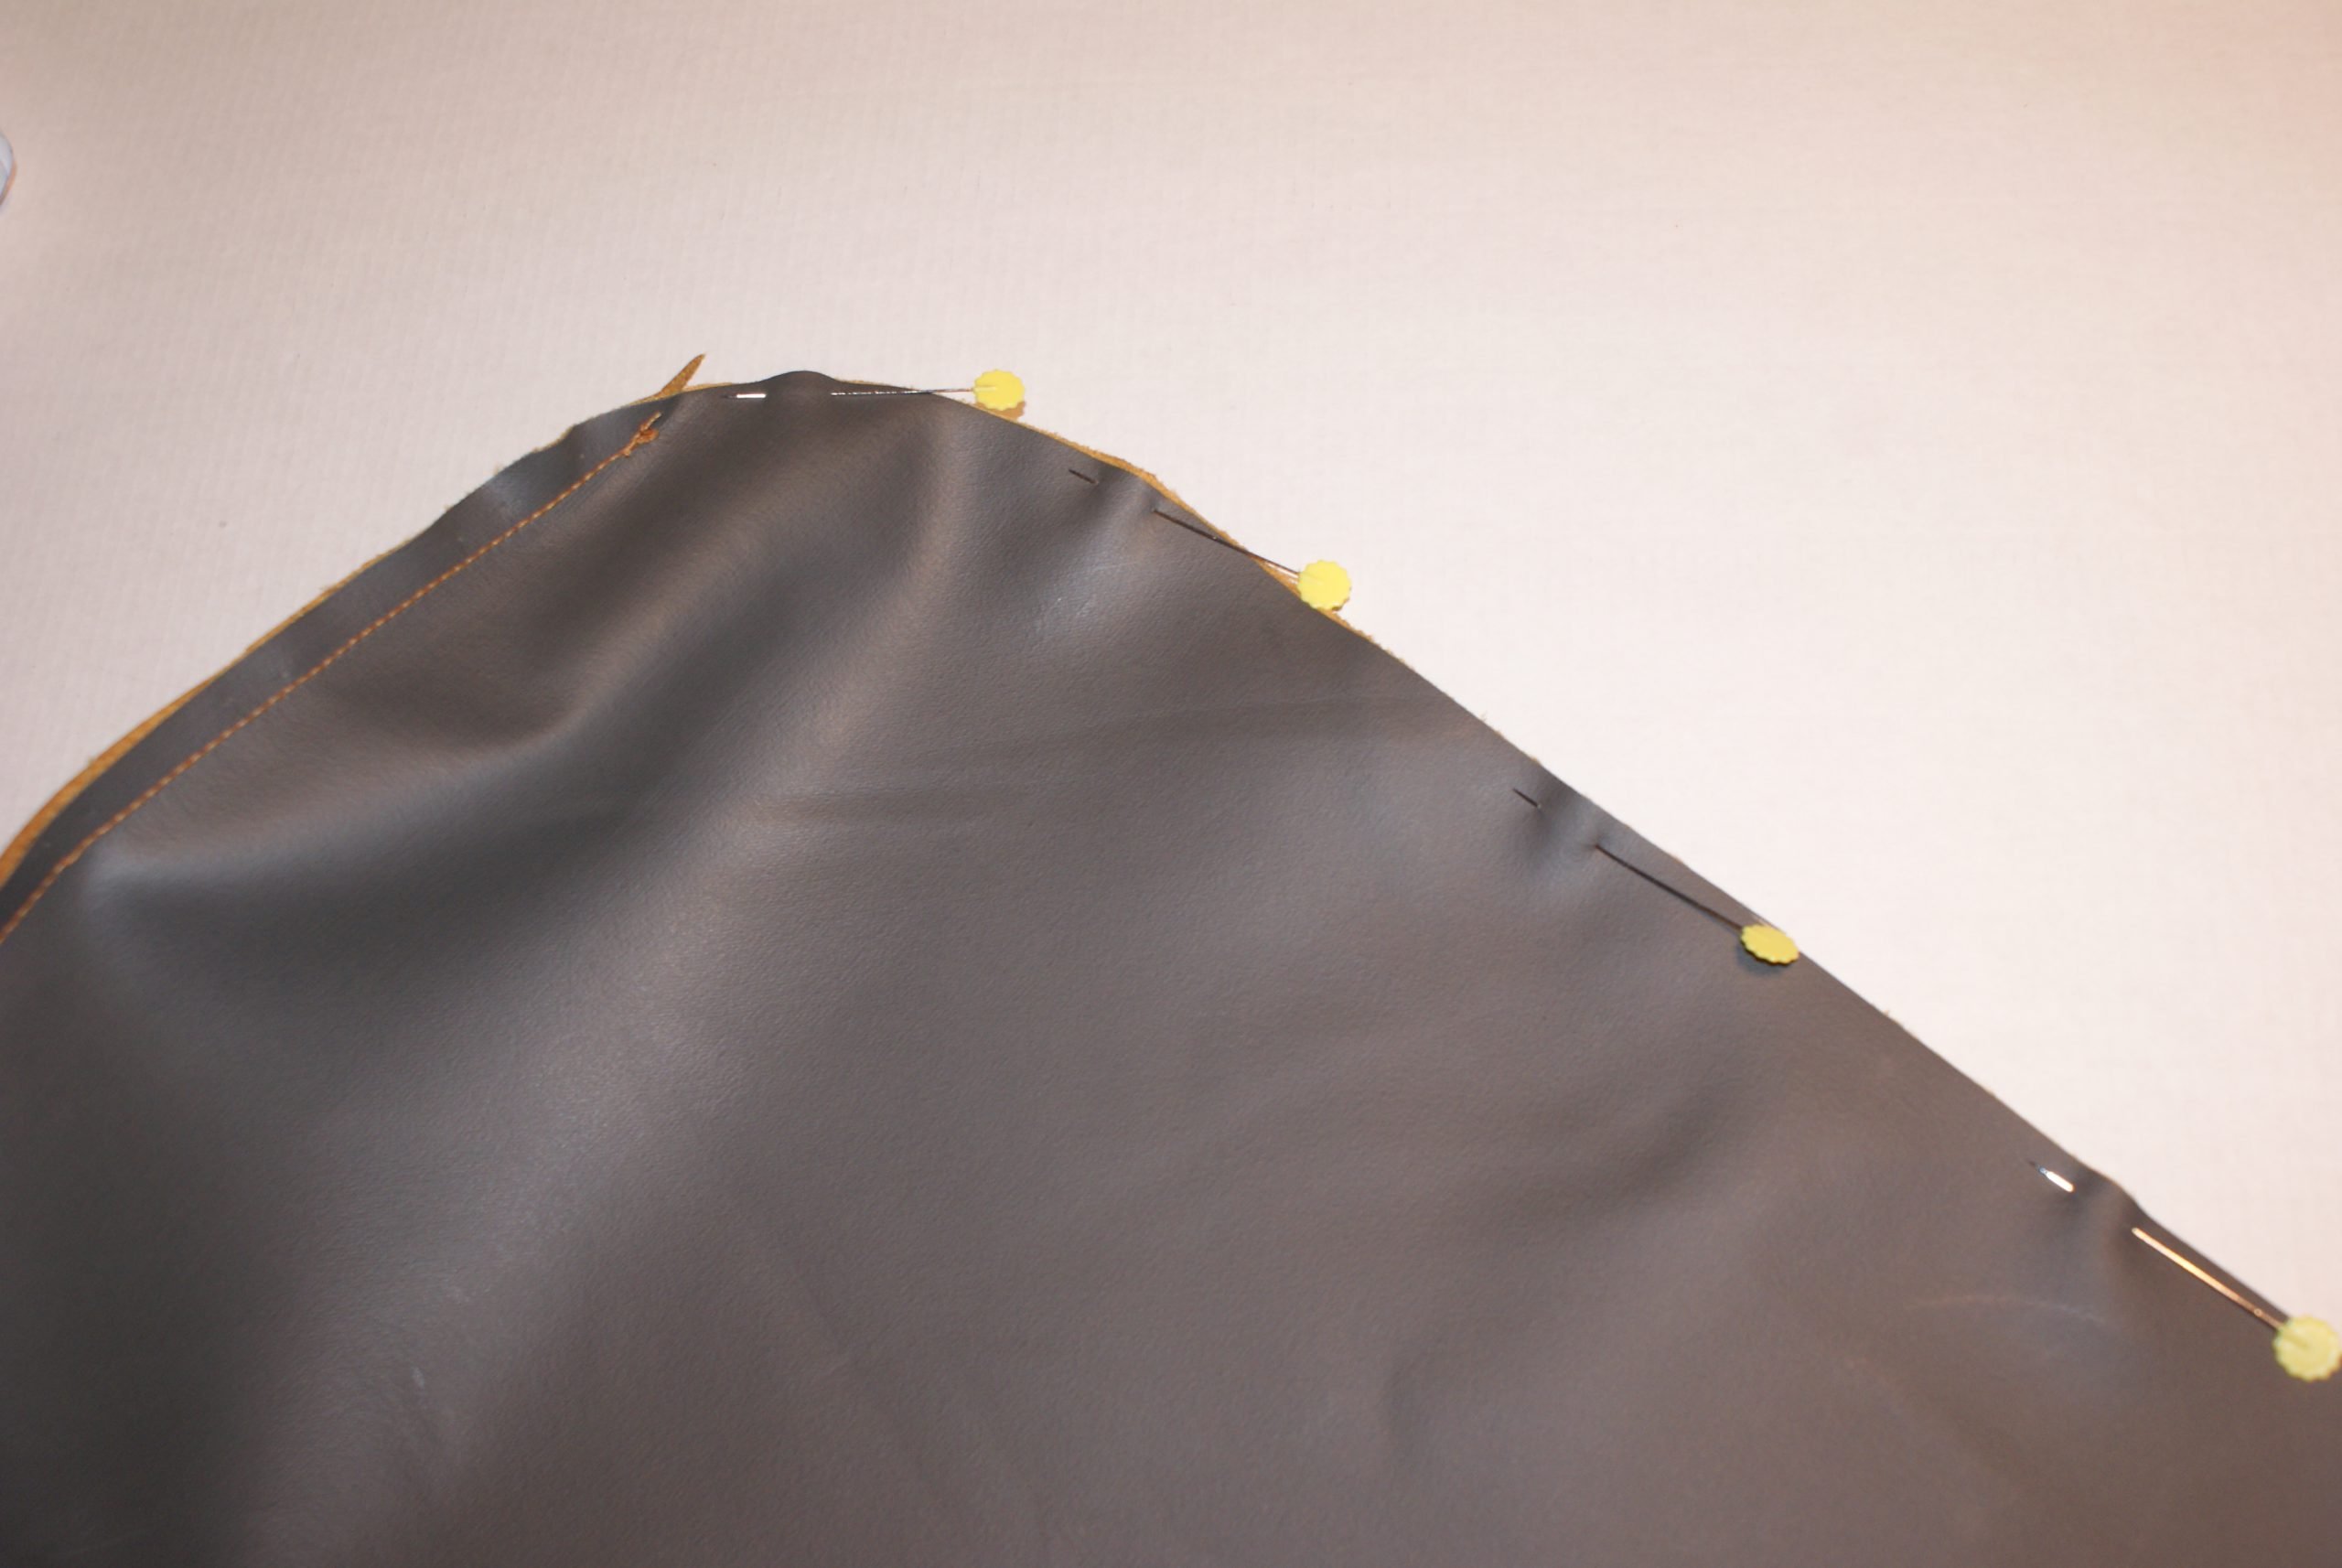
Put the bottom pattern part on the fold of the bag part.
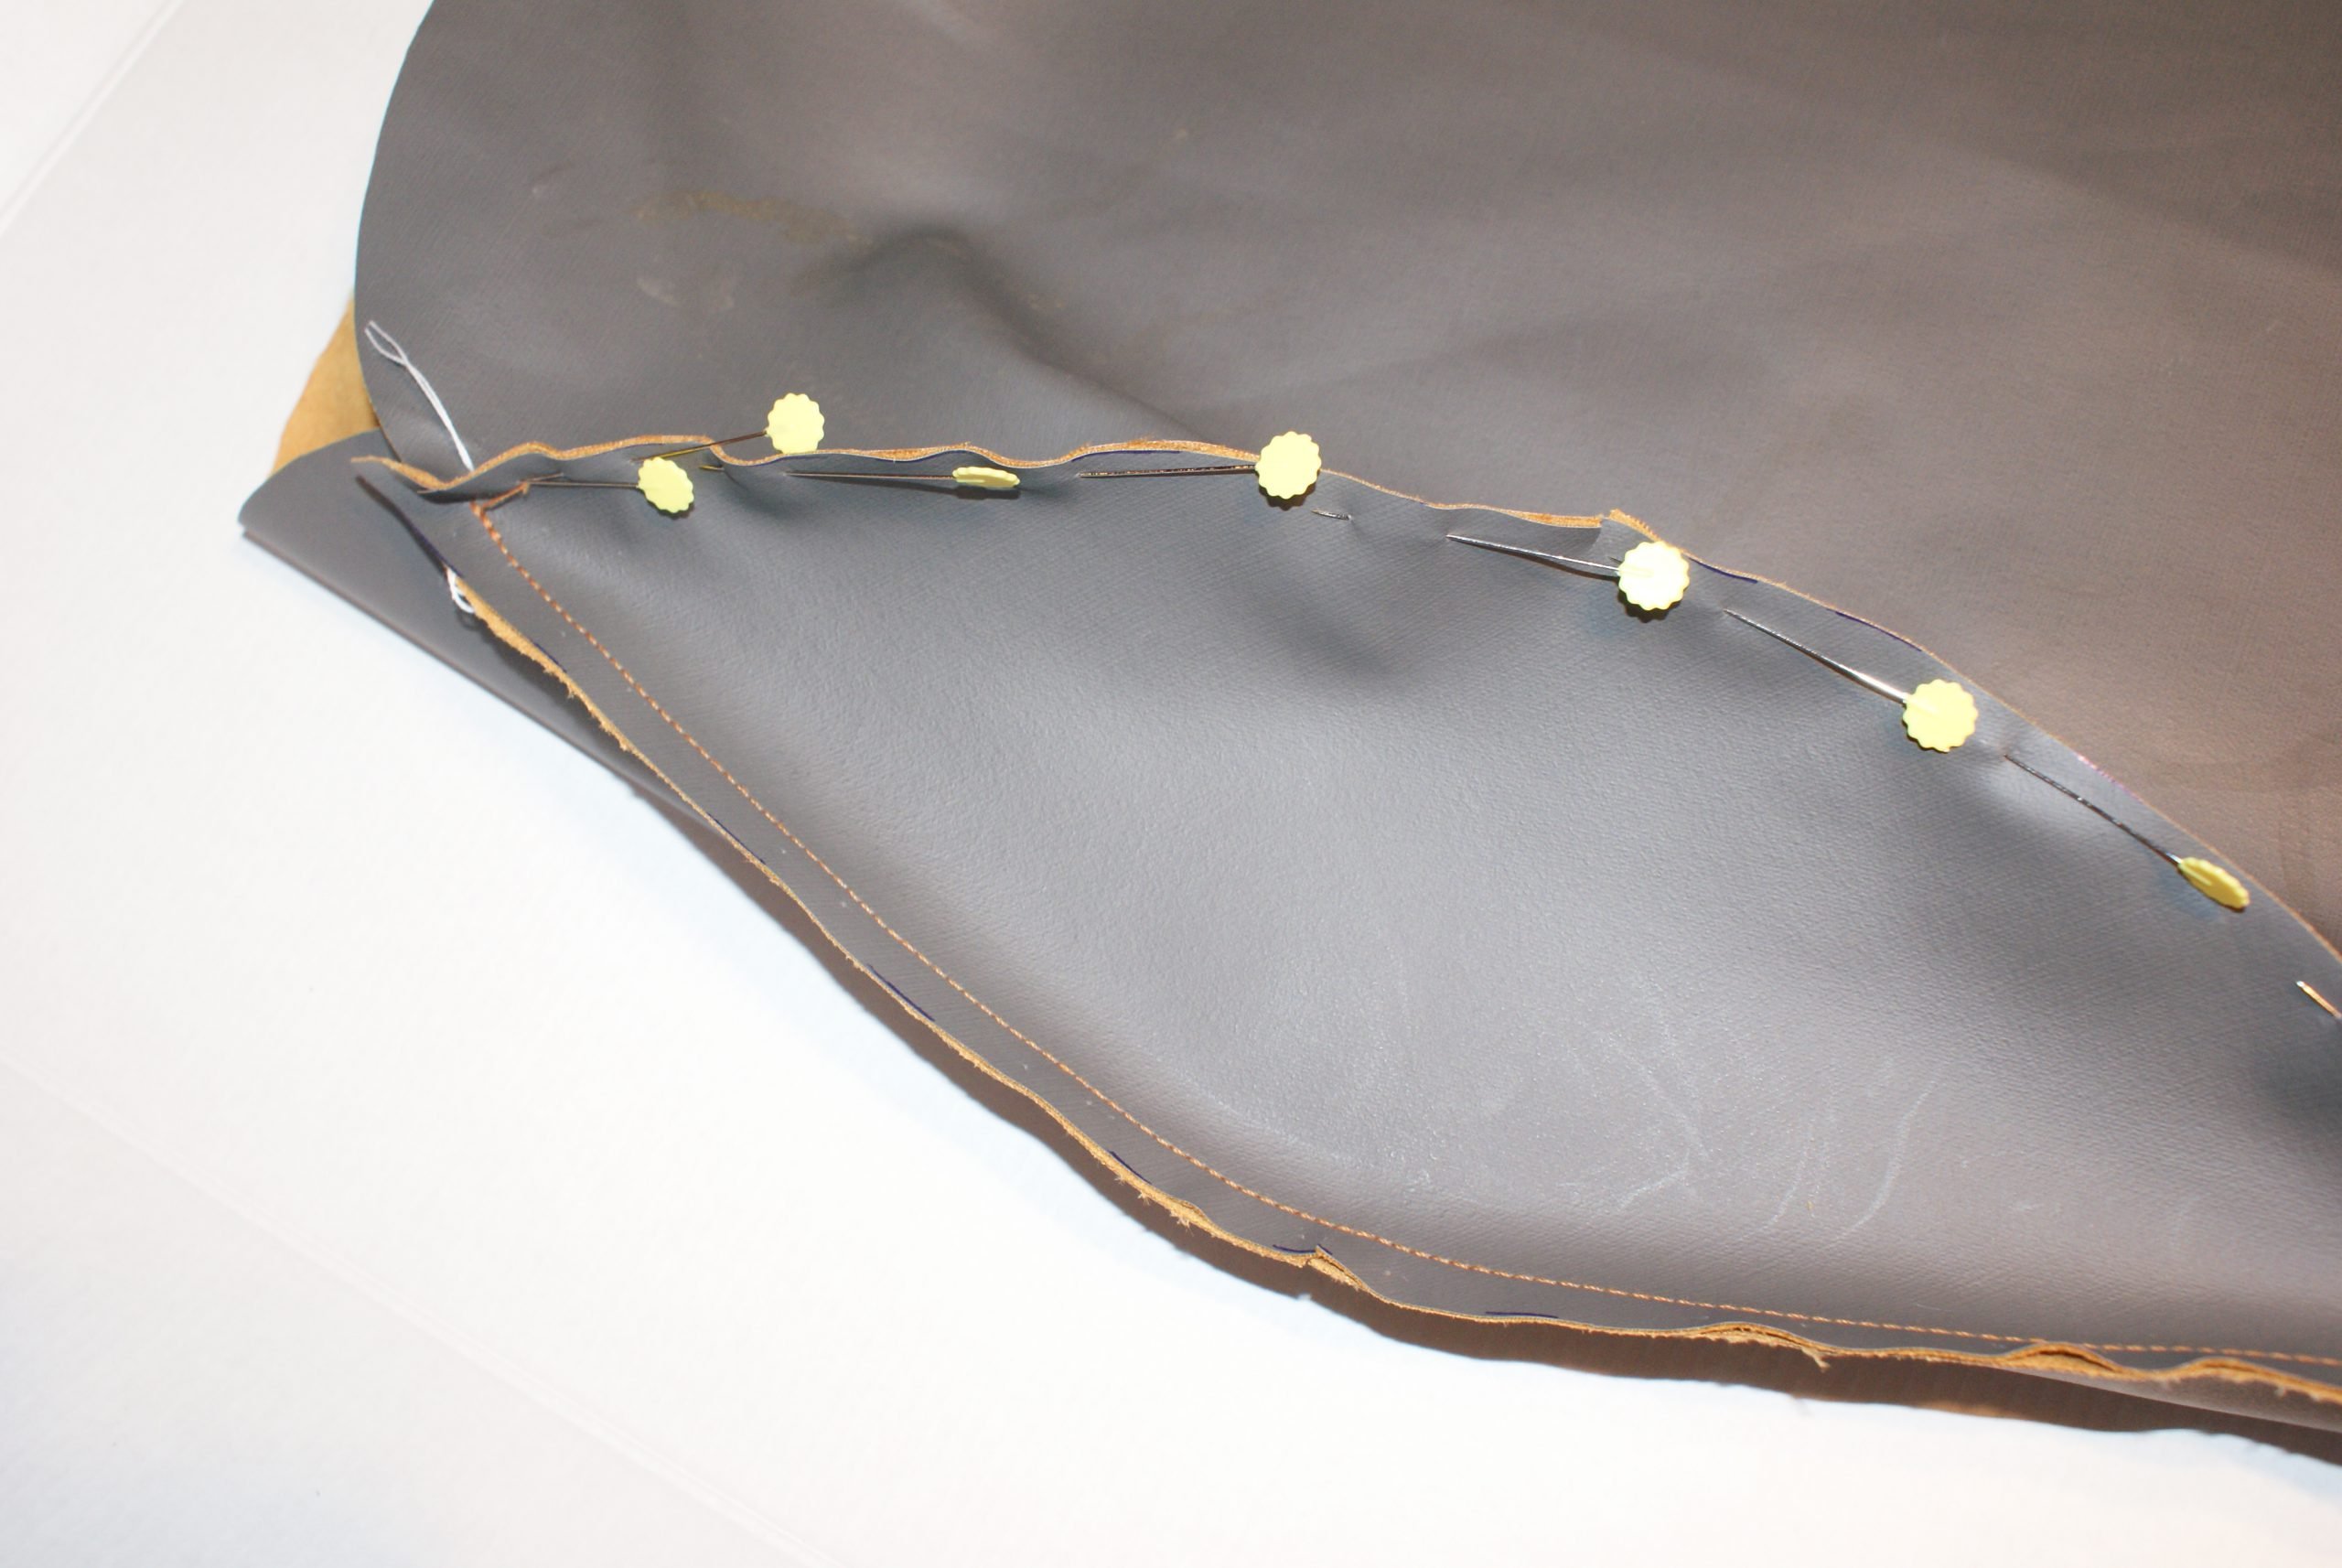
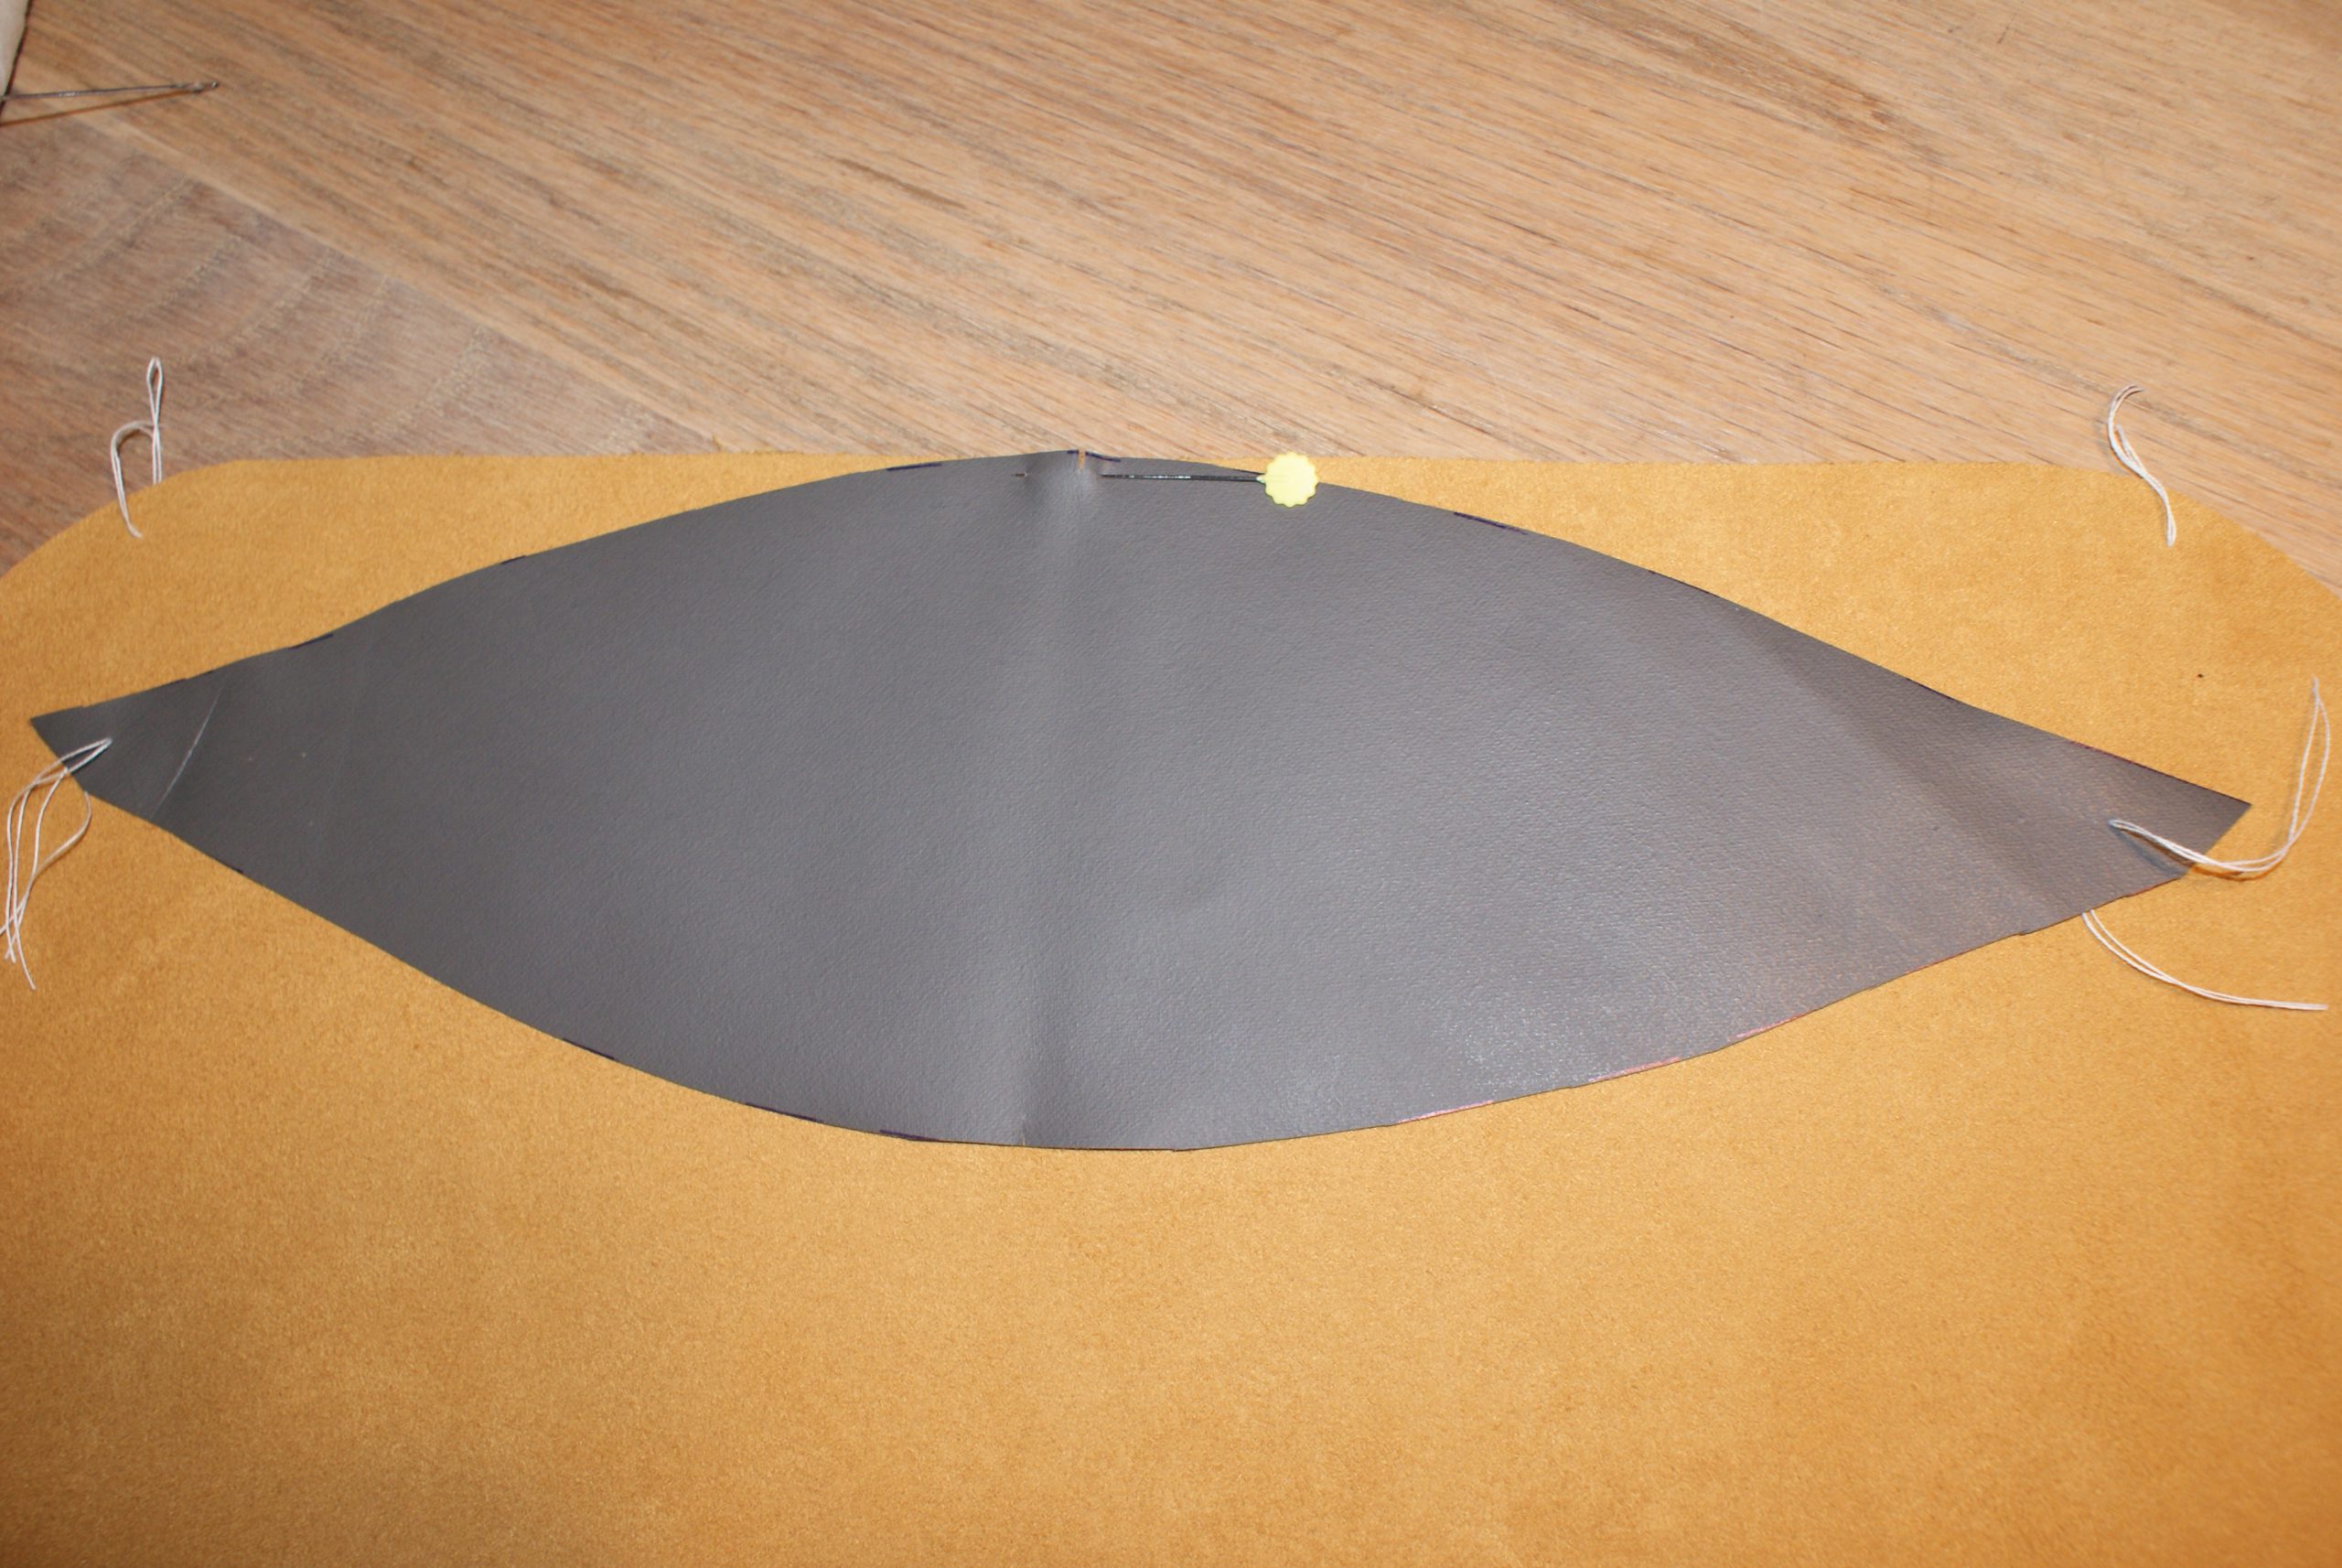 Pin both sides from middle to side notch.
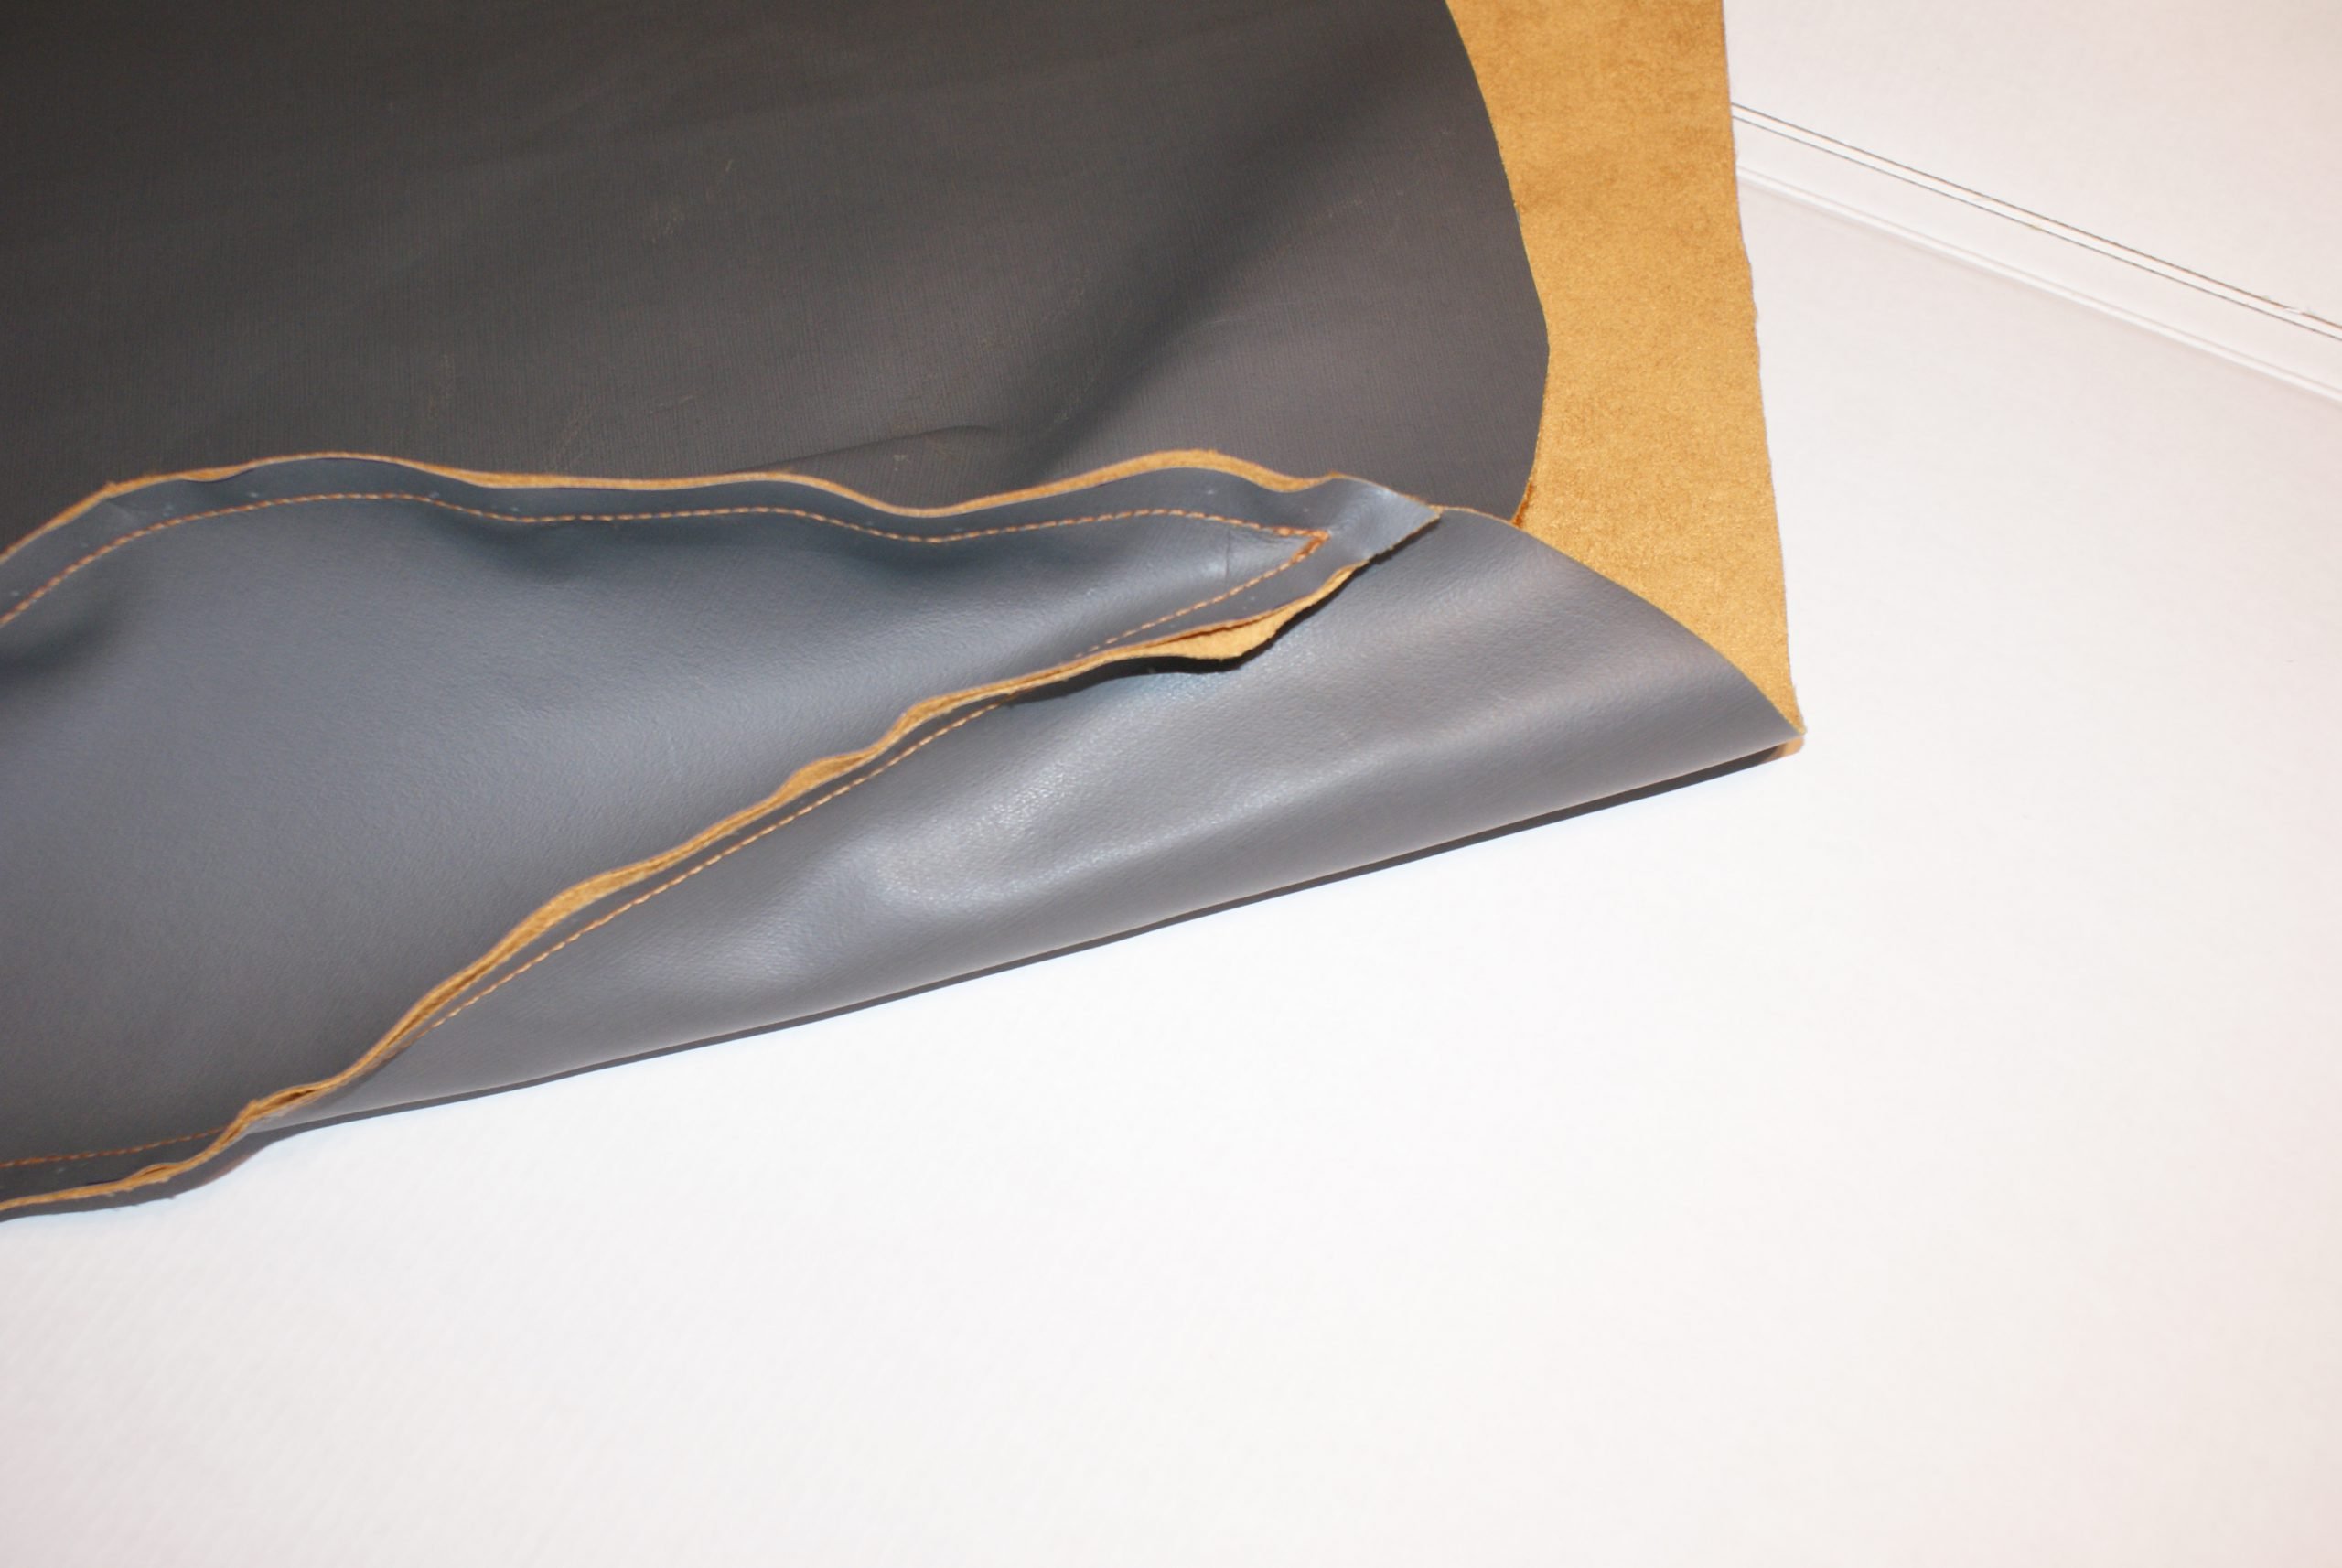
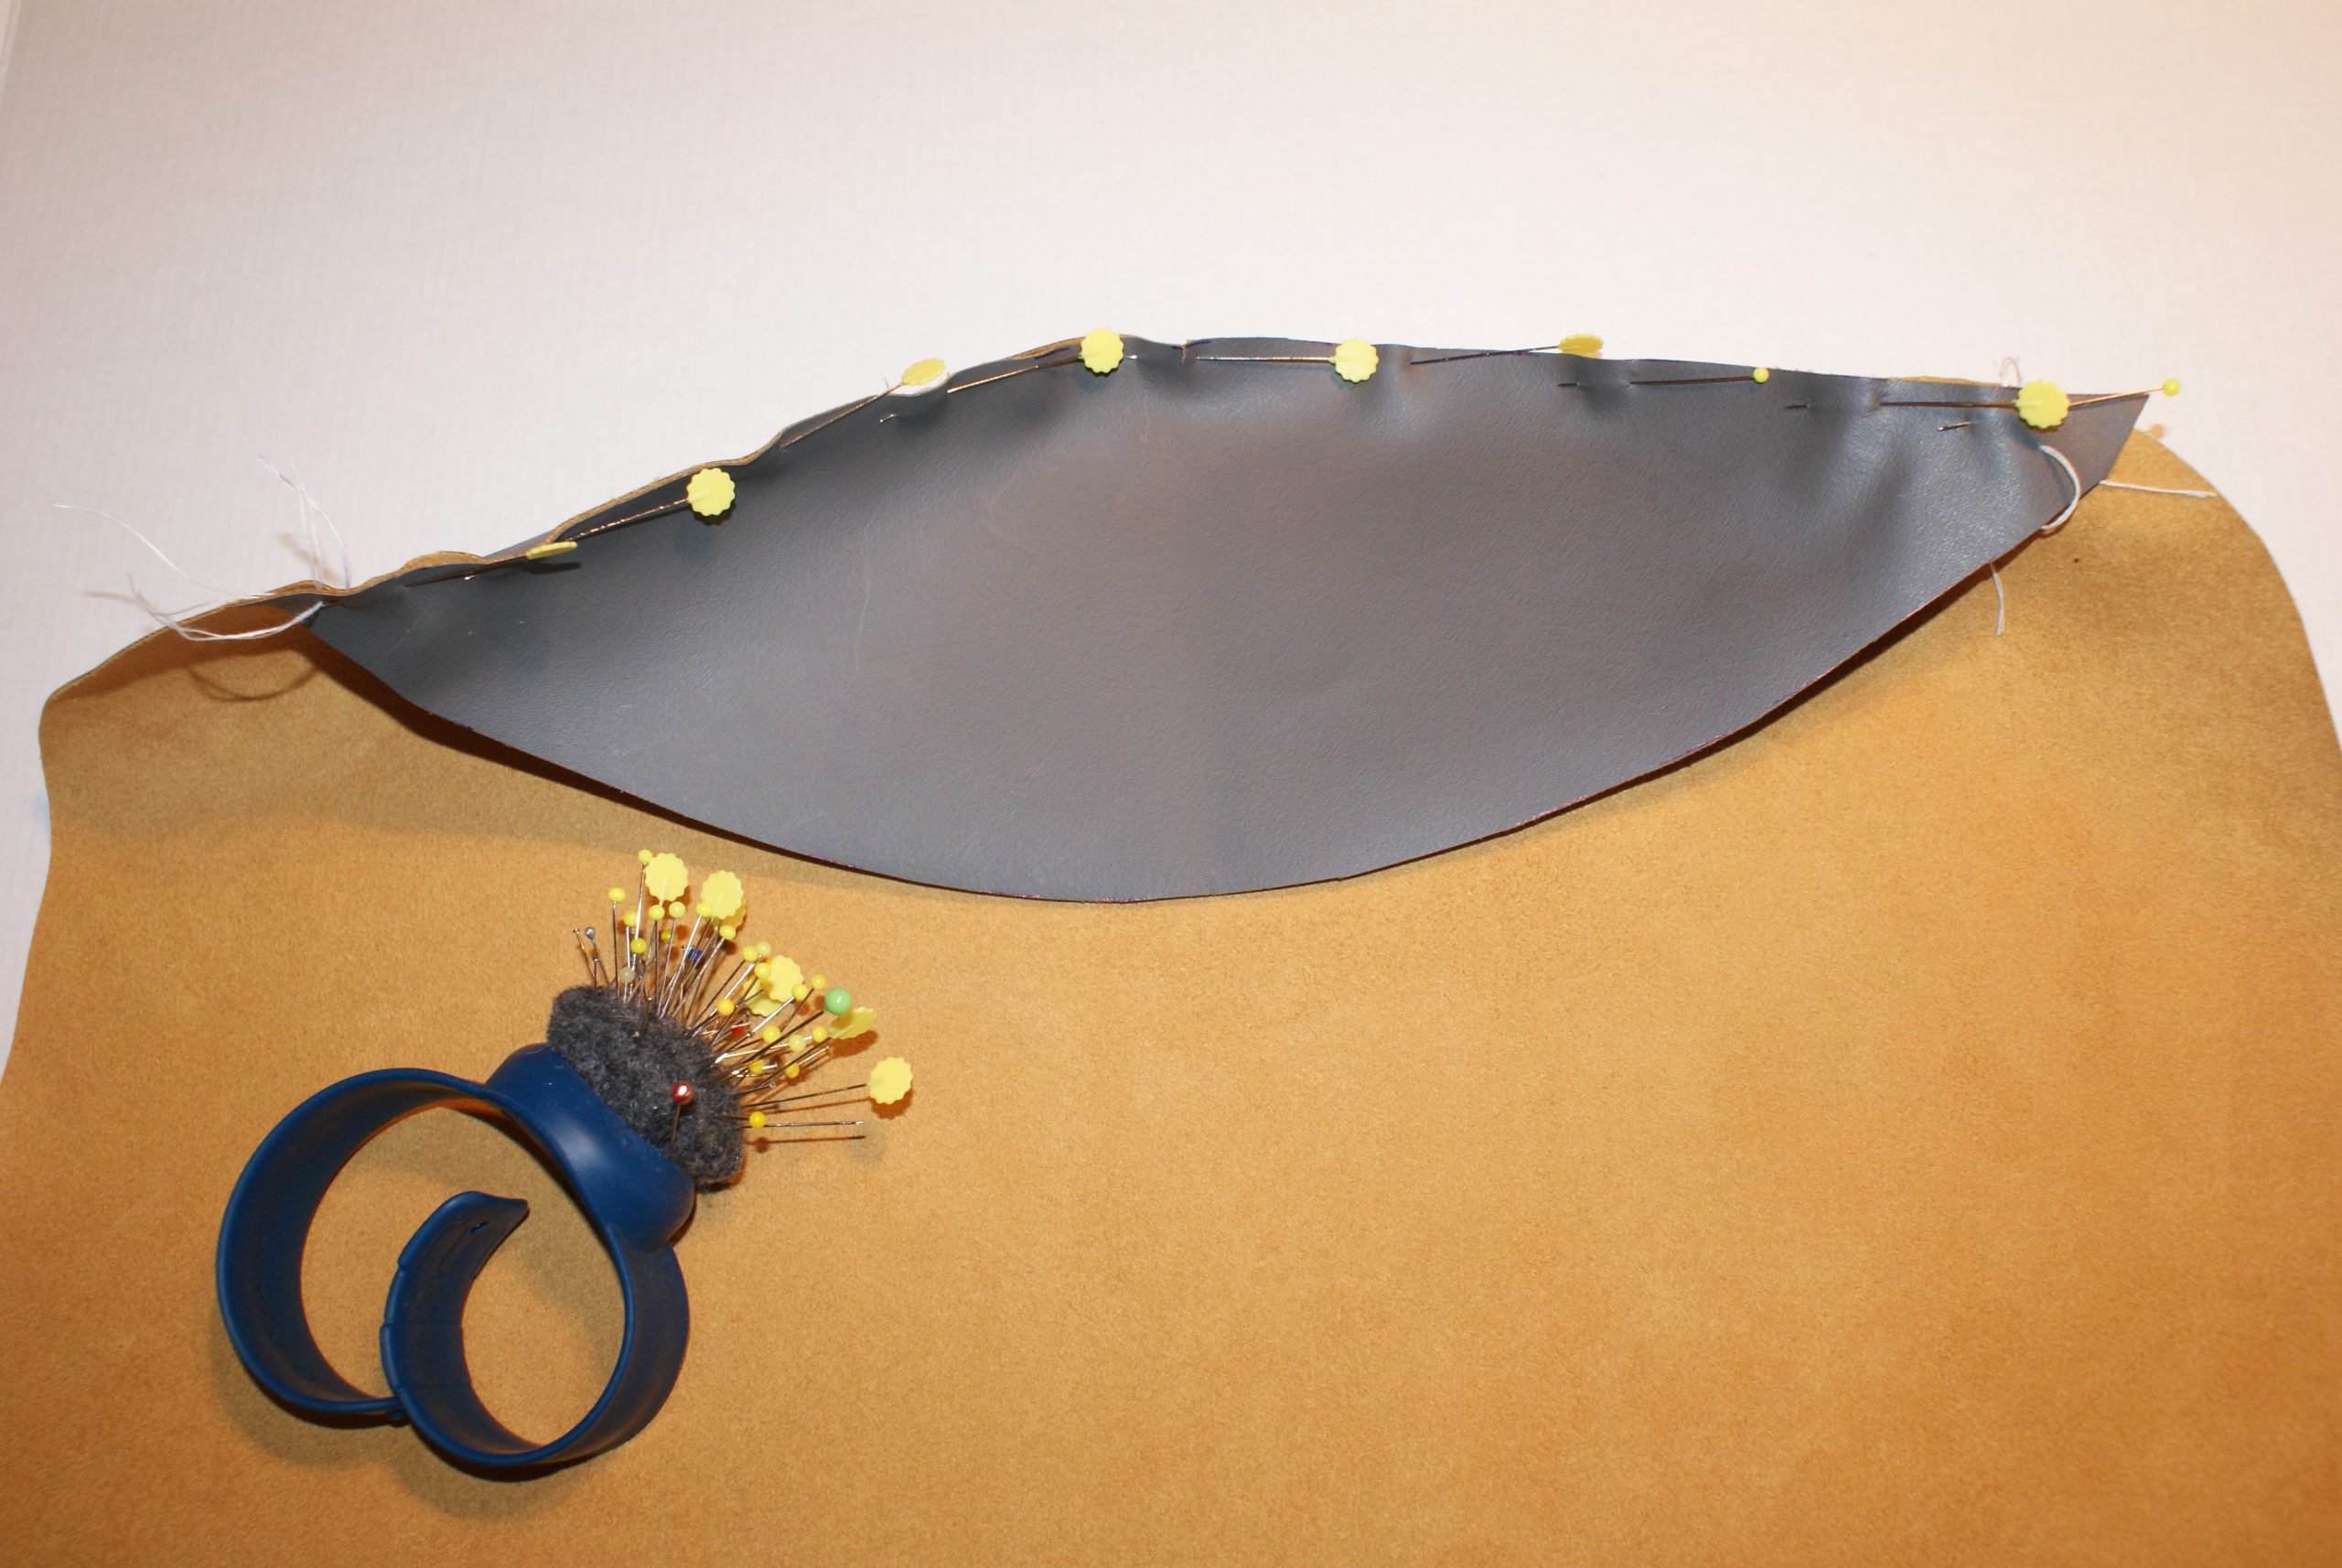 Set your stitch length to 3 again. Sew from notch to notch (don’t sew not over the seam allowance).
Repeat this for the other side.
Sew the sideseams from bottom to top.
Topstitch the sideseams with a stitchlength 4,30 . I used Edgefoot nr 10 and needle placement -5.
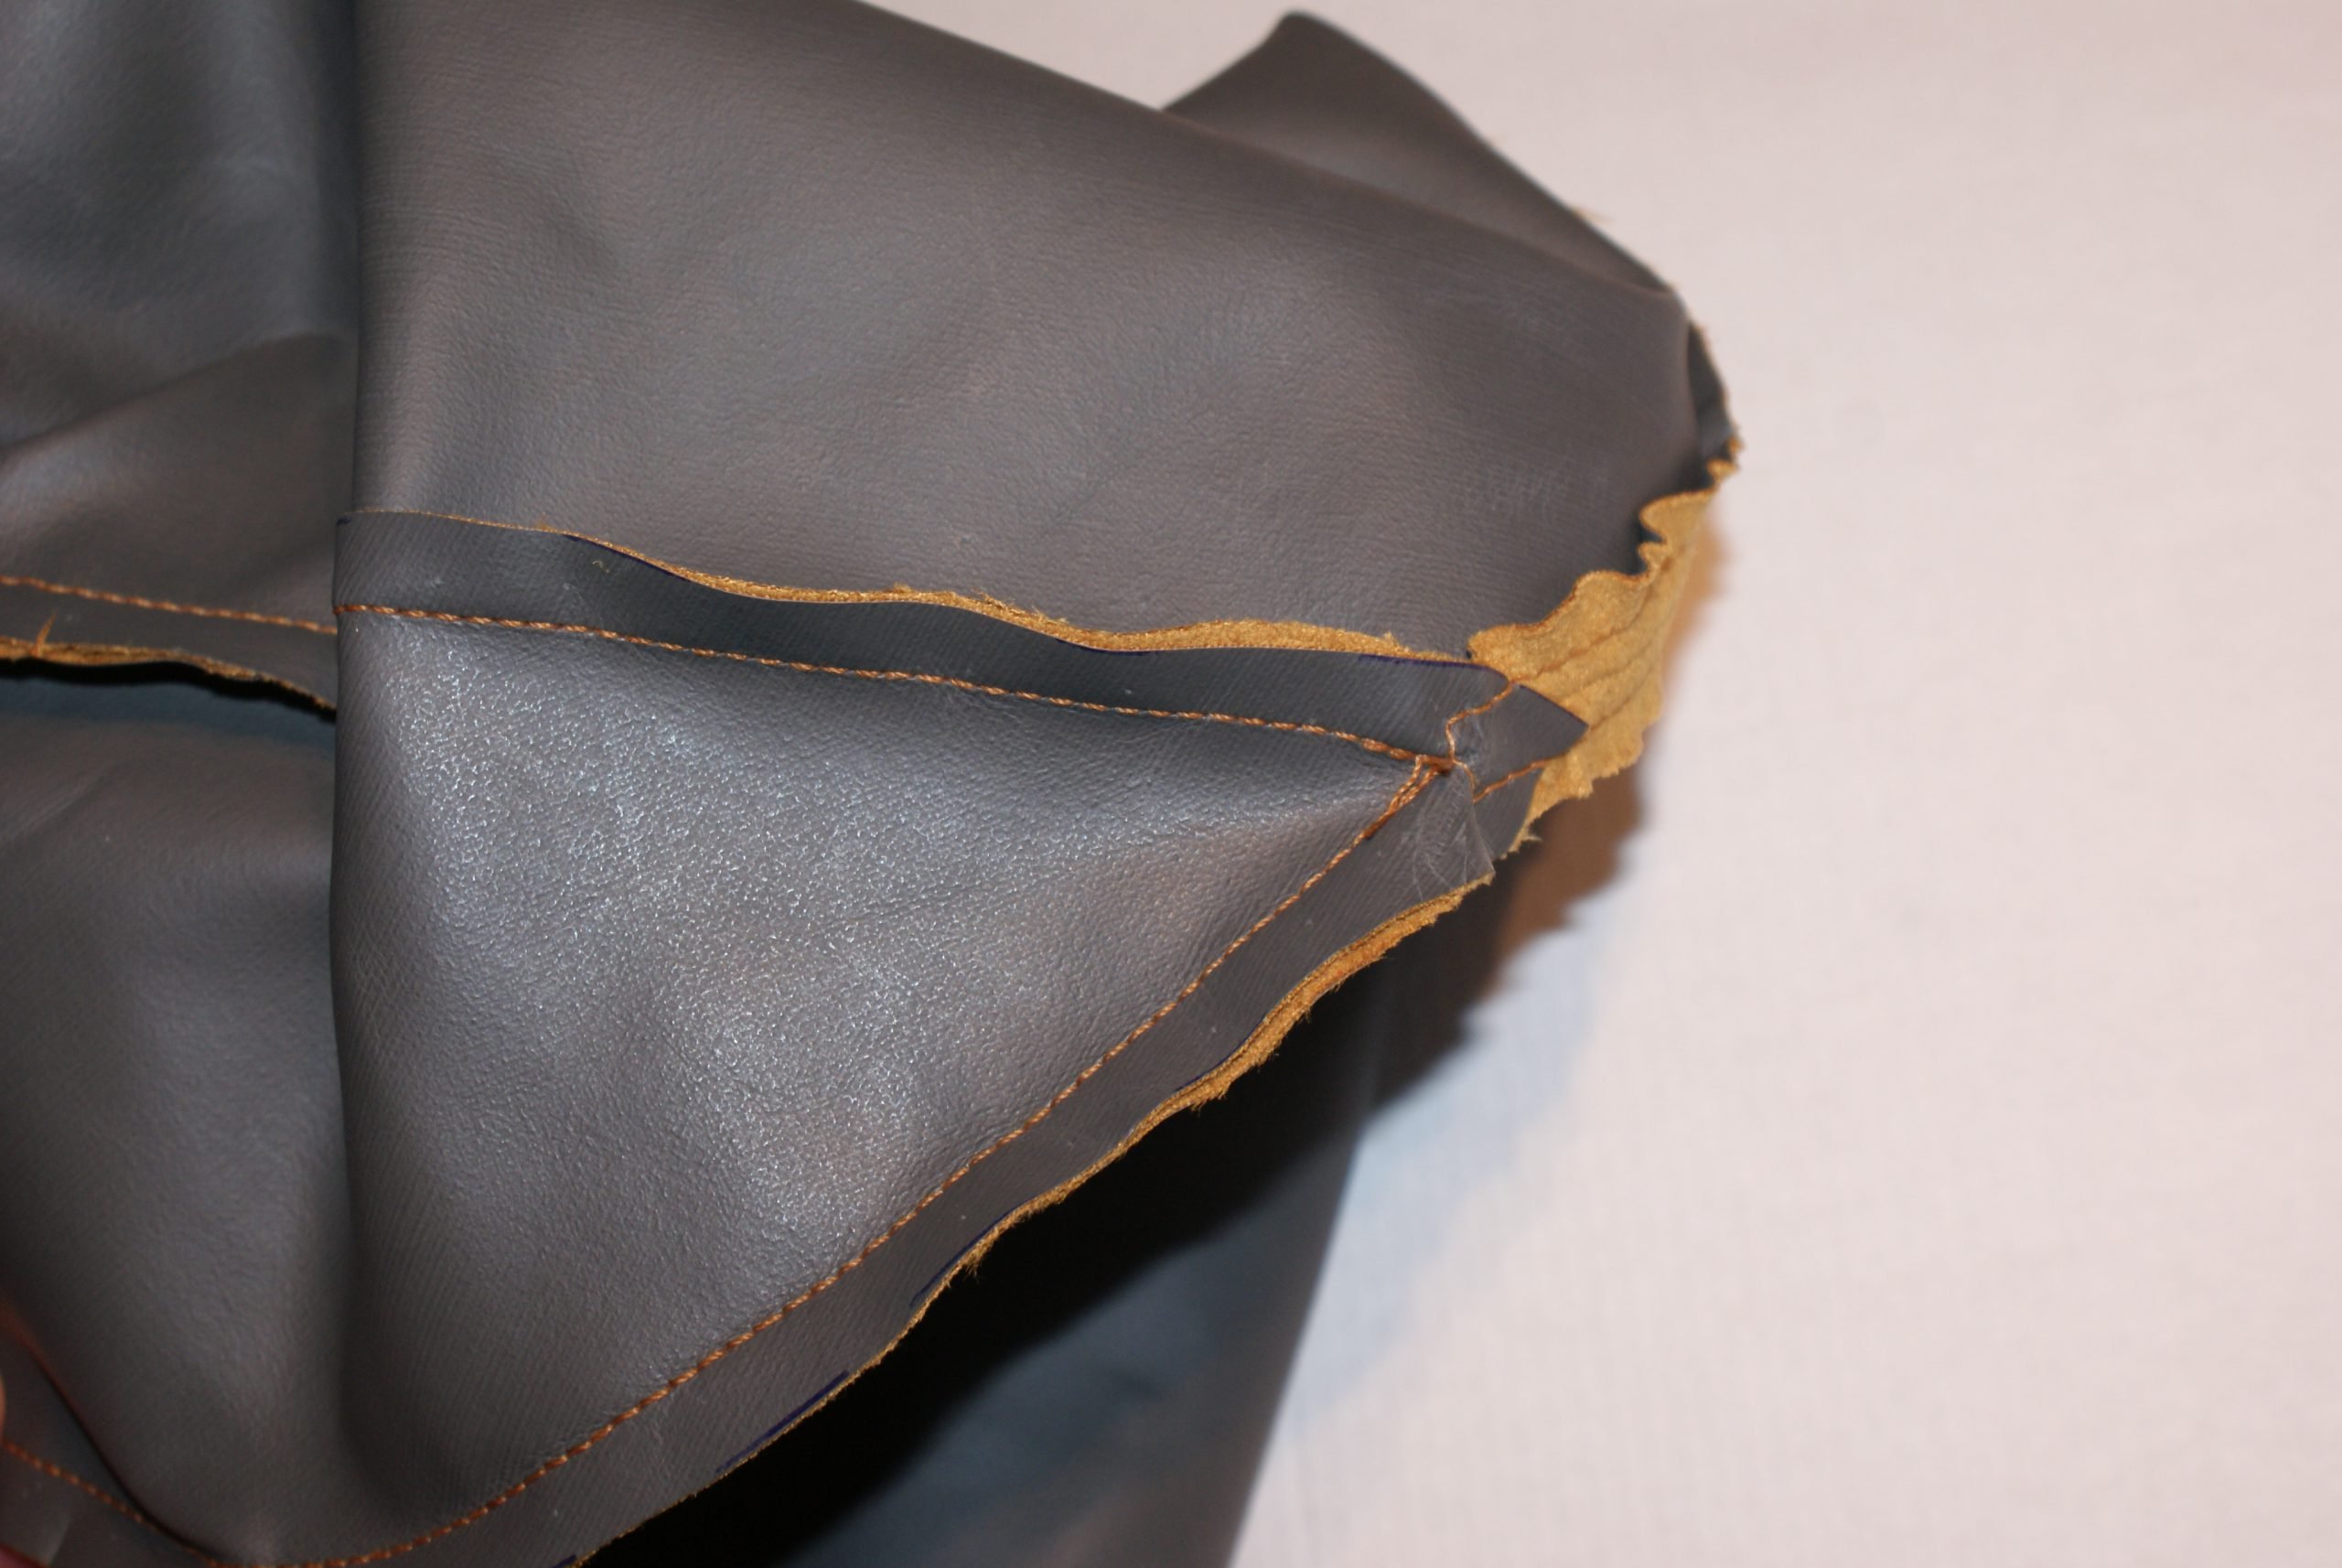
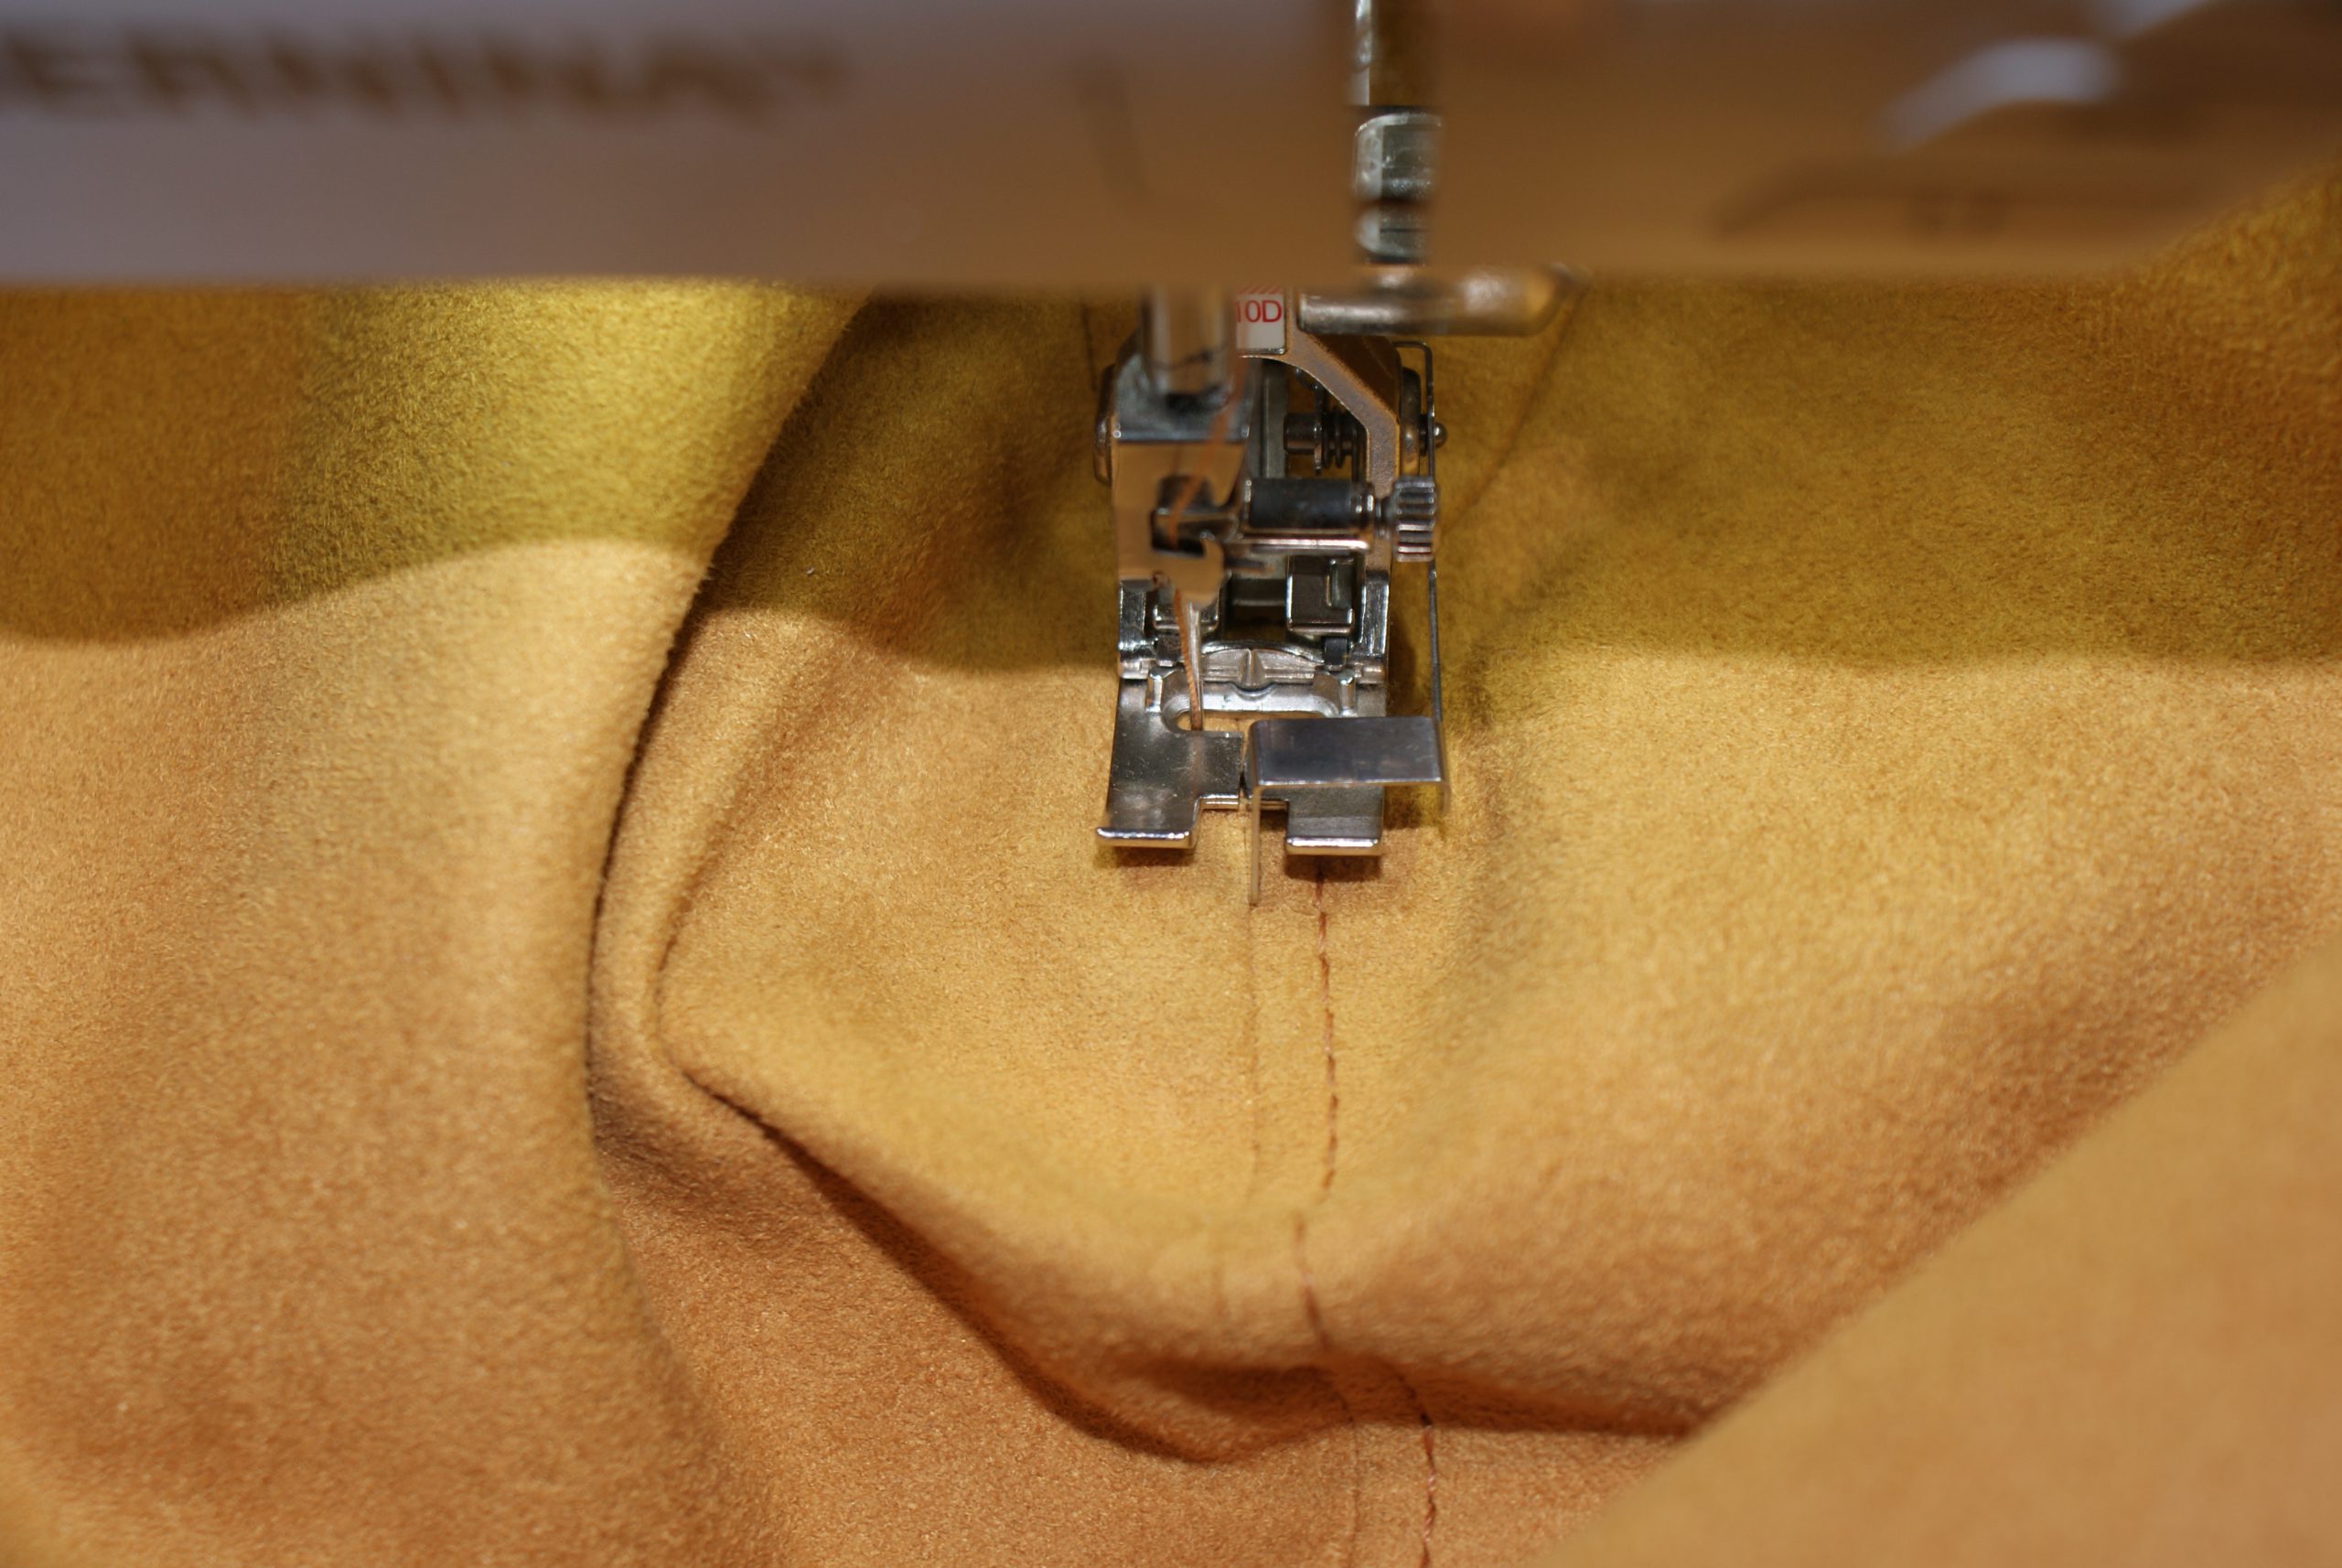 Fold the seam allowance open and fold the bottom part towards the side seam.
Topstitch the bottom part (I set the machine with needle placement -3). Fold both seam allowances away from the bottom part to do so.
Finishing the free bag ‘Lu’ from BERNINA Inspiration:
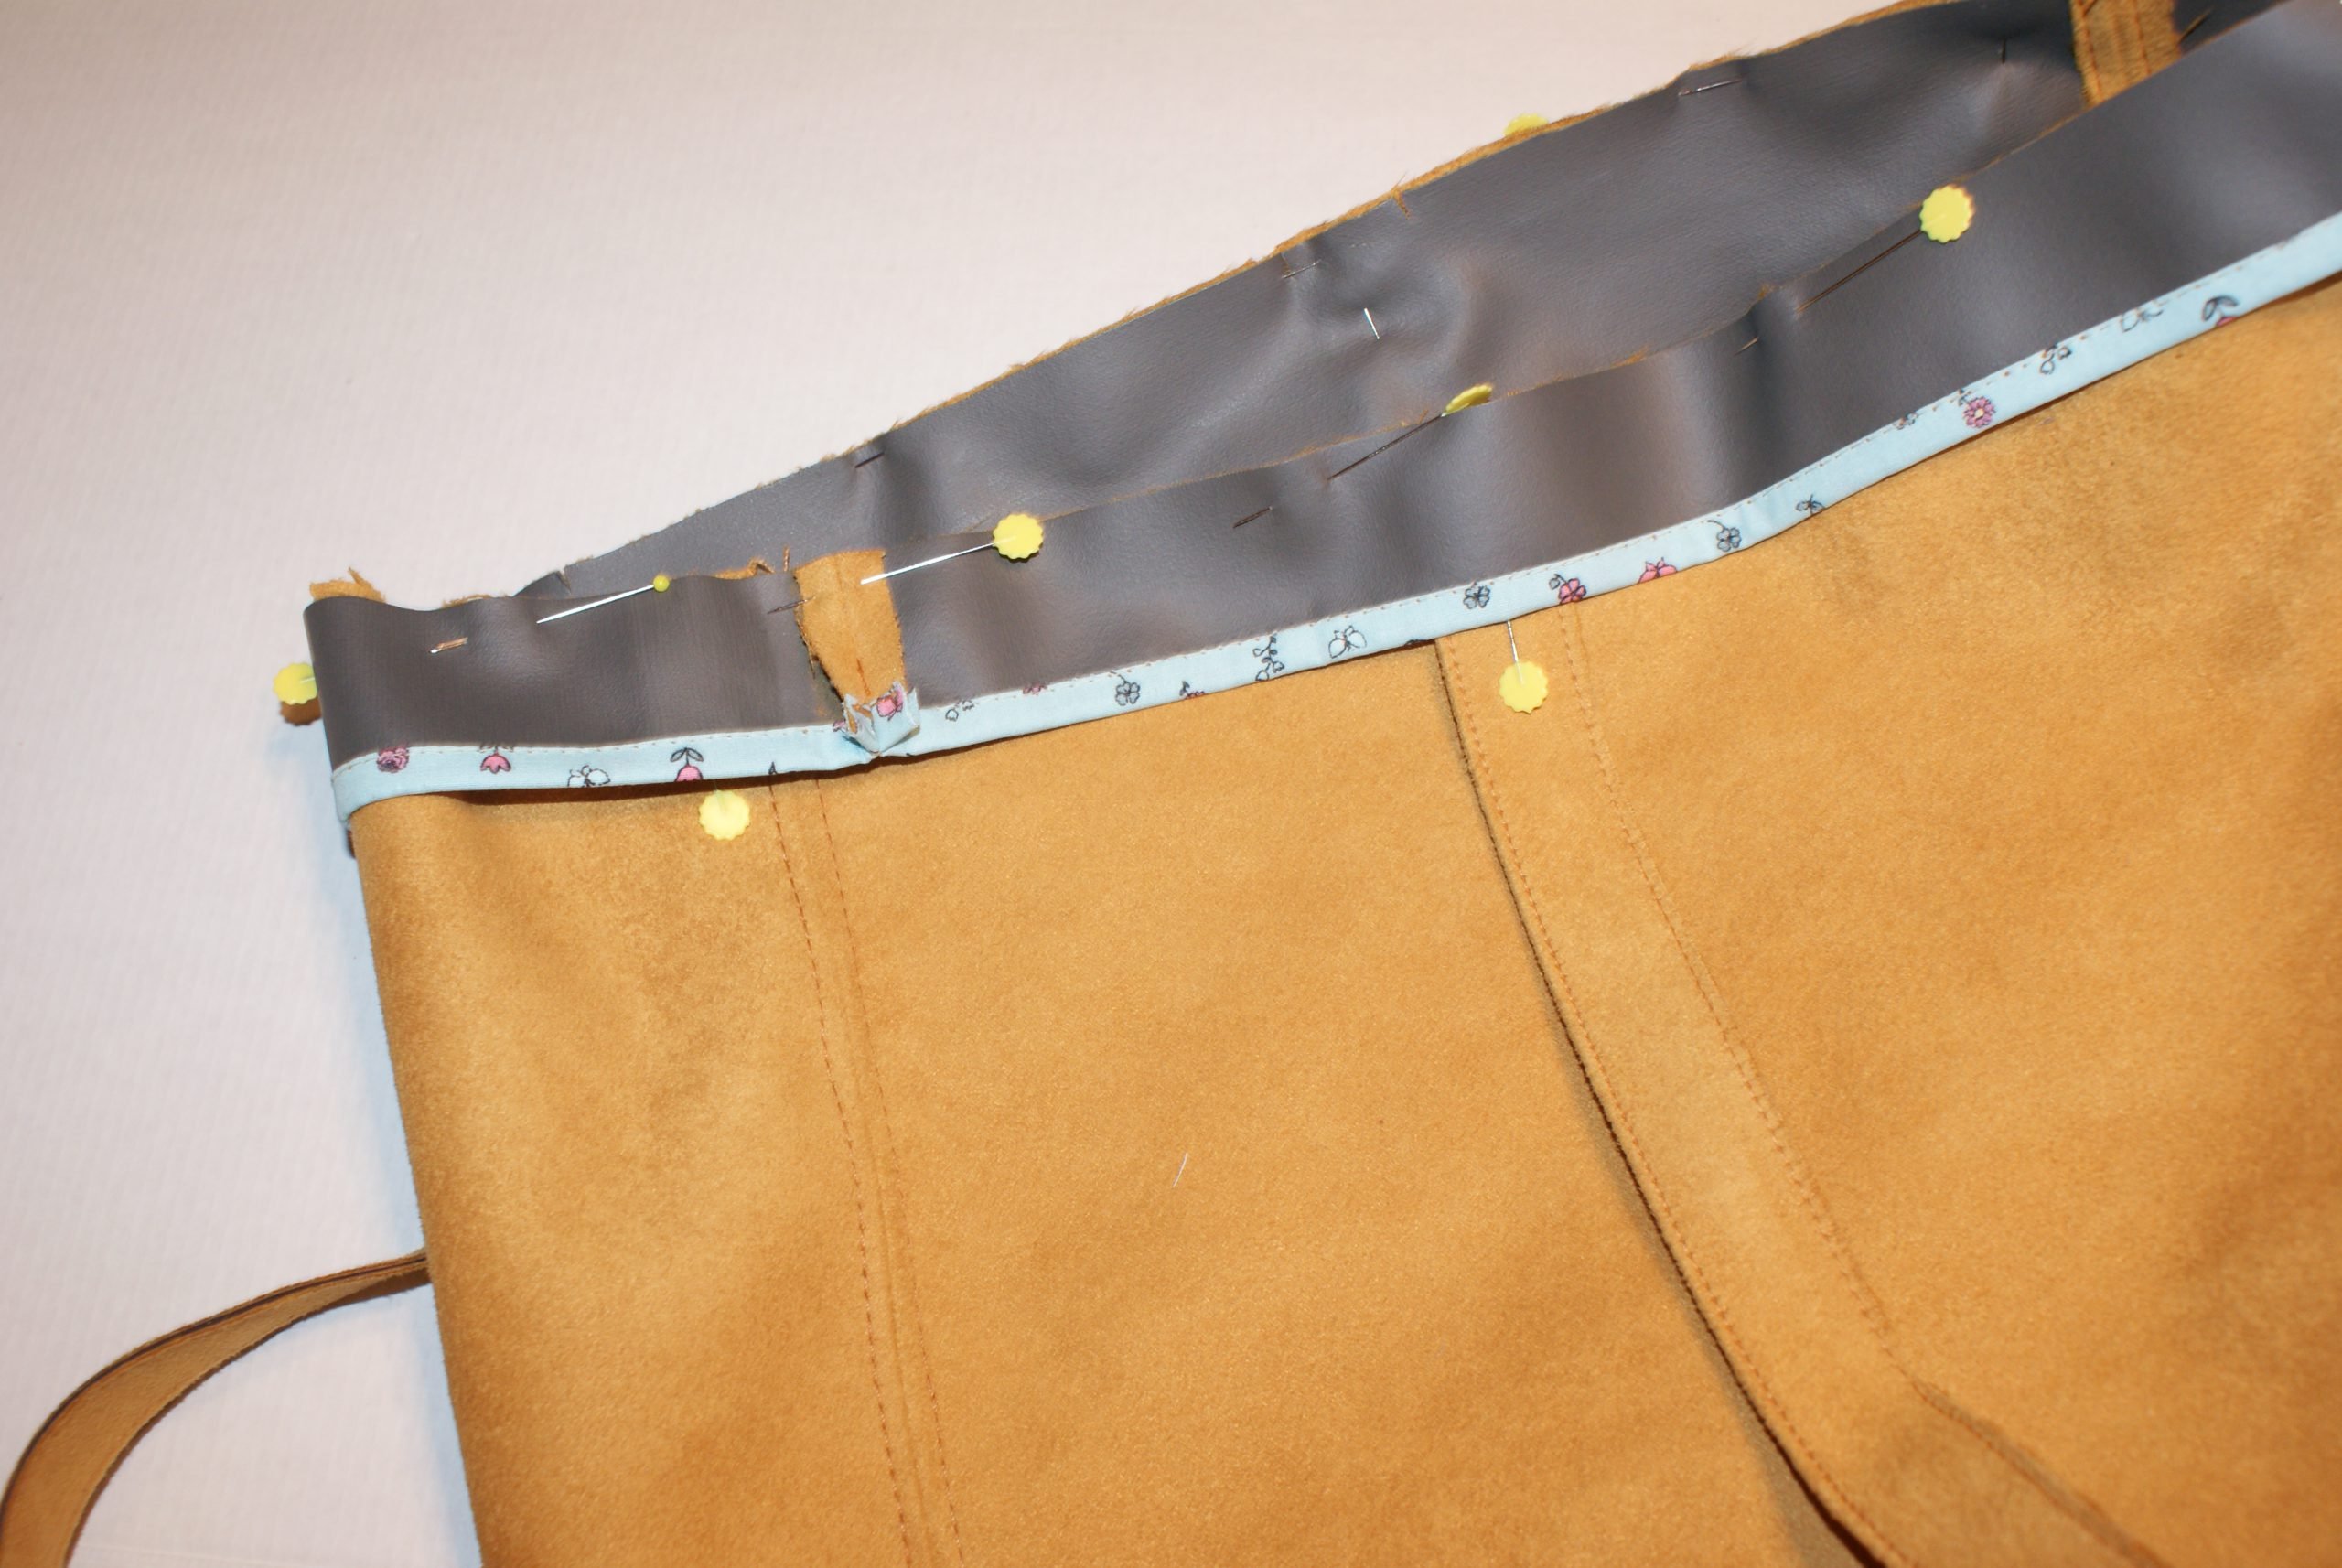
I liked a neat finishing for the facing and sewed biastape along the facing, with the biastape accessory 87. This finishing is optional.
Close the facing, sew the side seam.
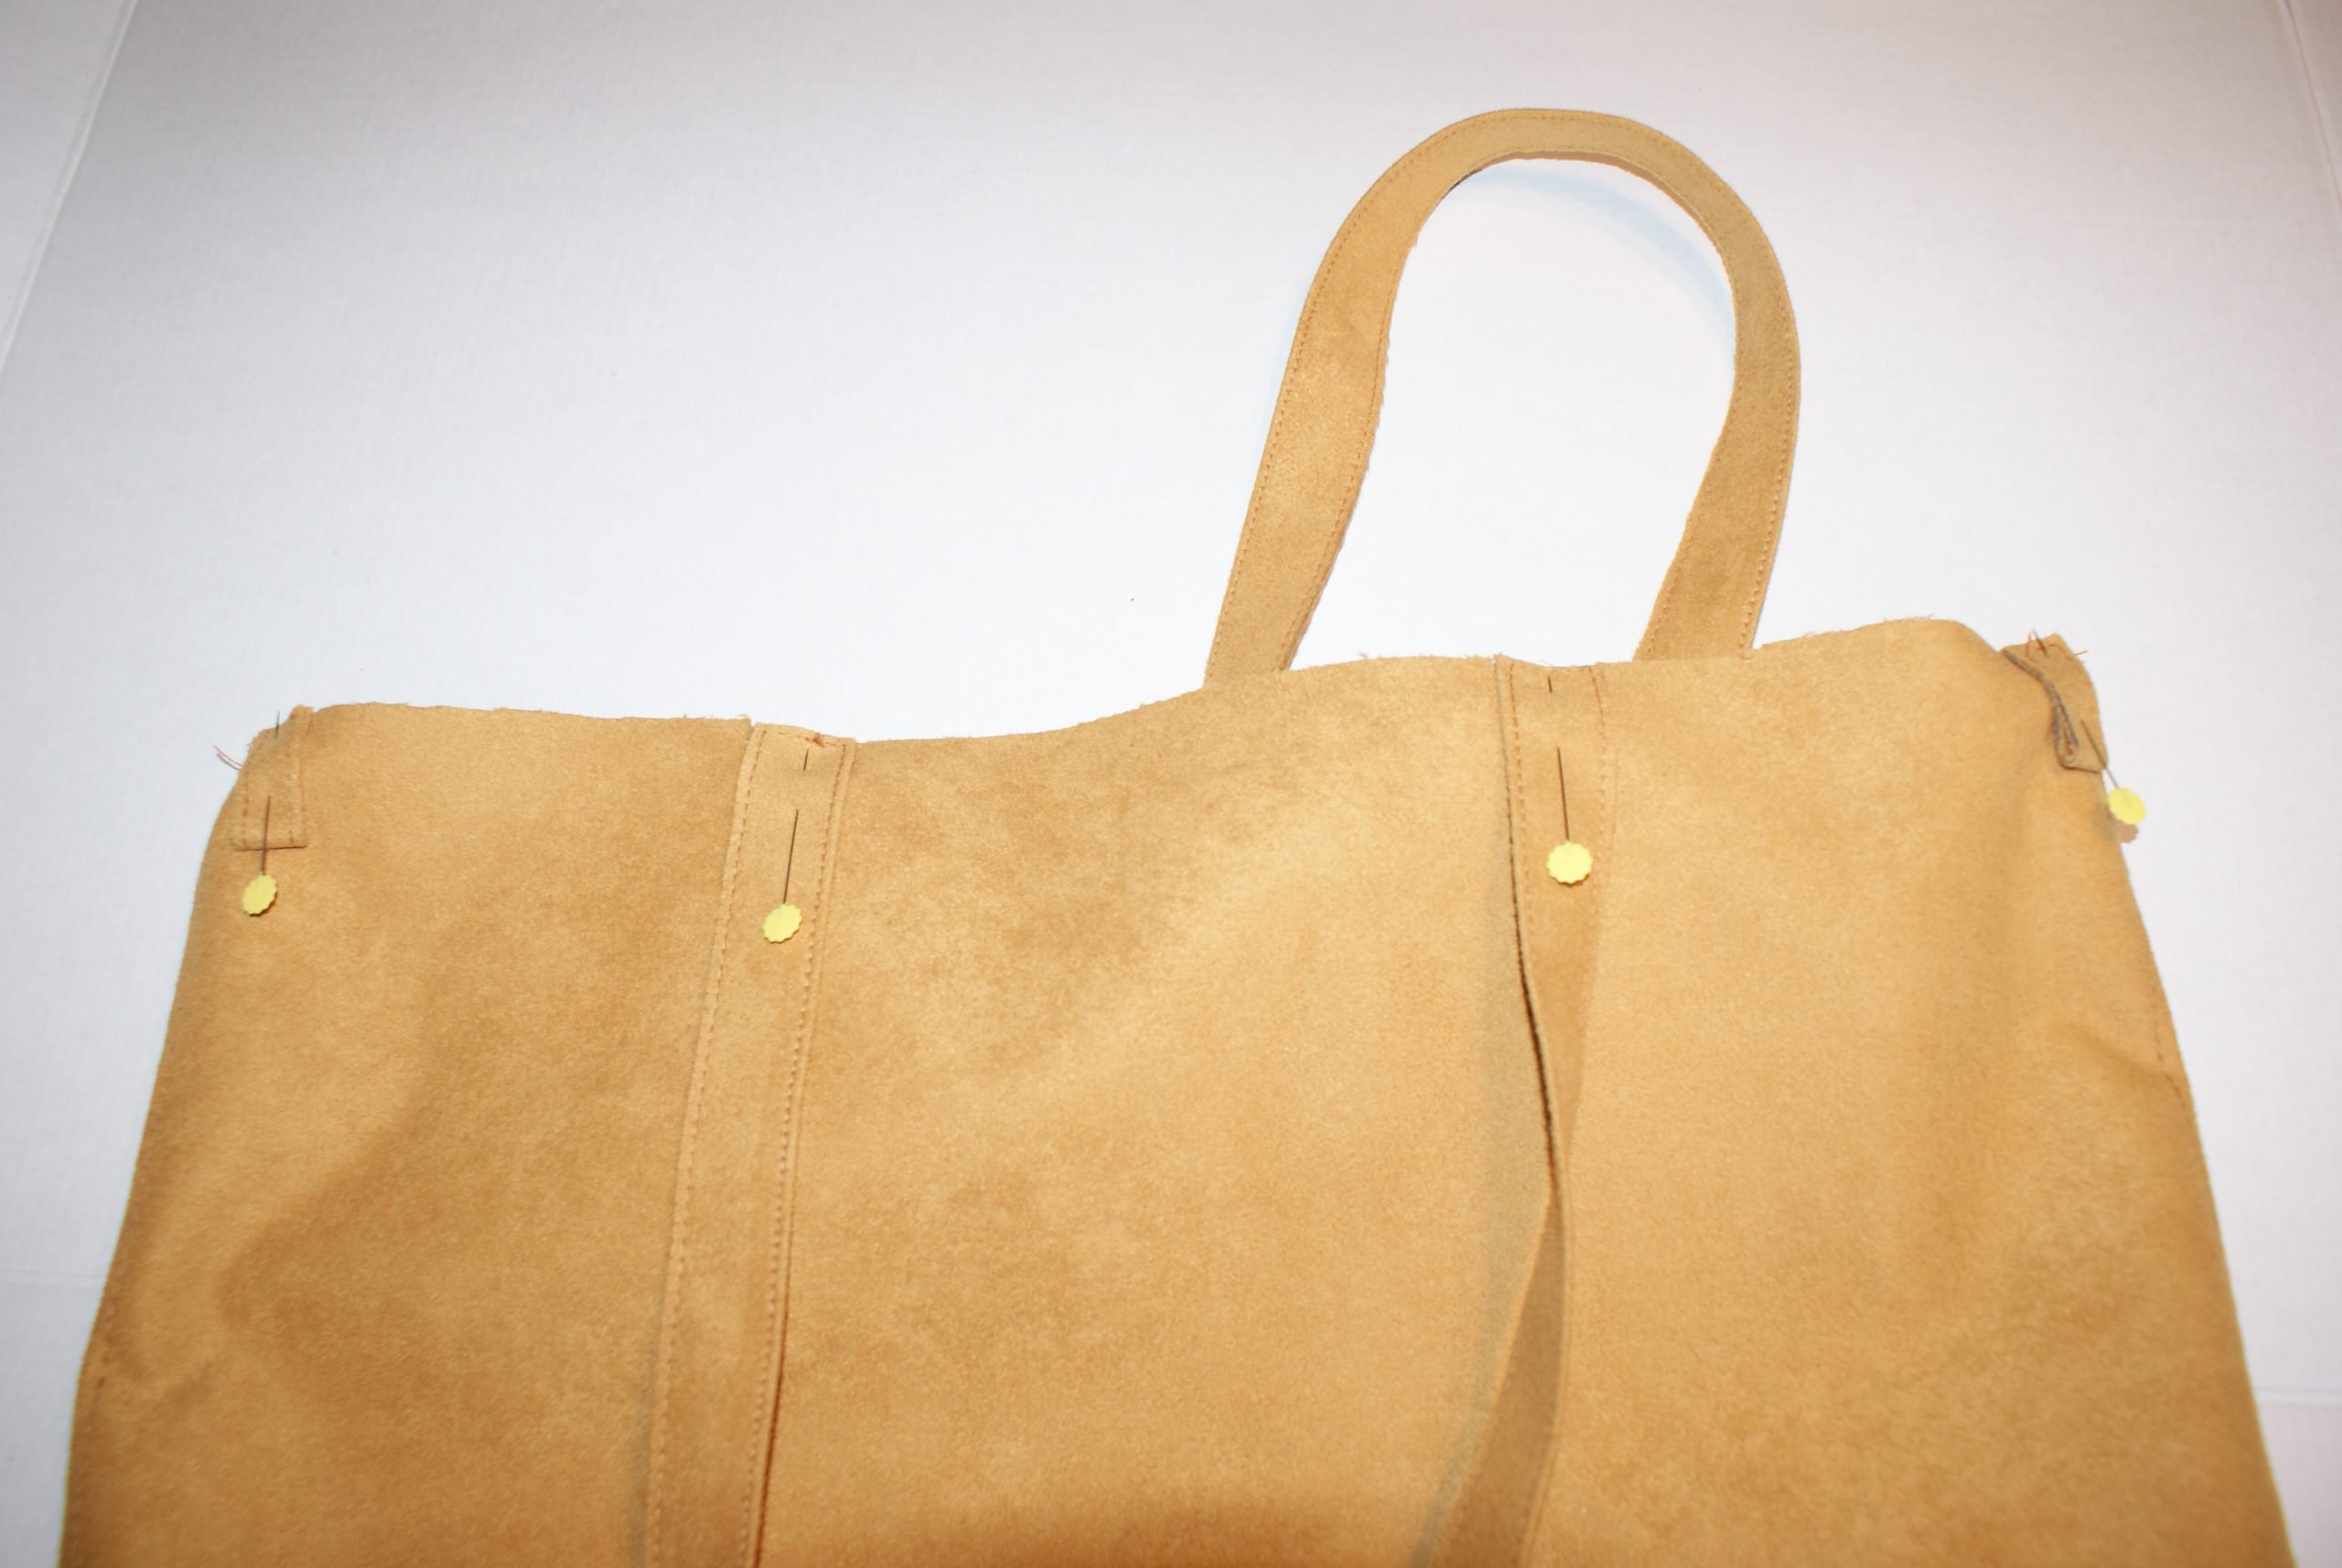
Pin the shoulder straps to the marked place, and pin the ringloops to the backpart, close to the sideseam.
Pin the facing to the upper part of the bag. Do you have a label? You can put it in between, to sew along.
Sew the facing, fold over and topstitch. I took the bulky overlockfoot 12c, it has a leveling on the bottom.
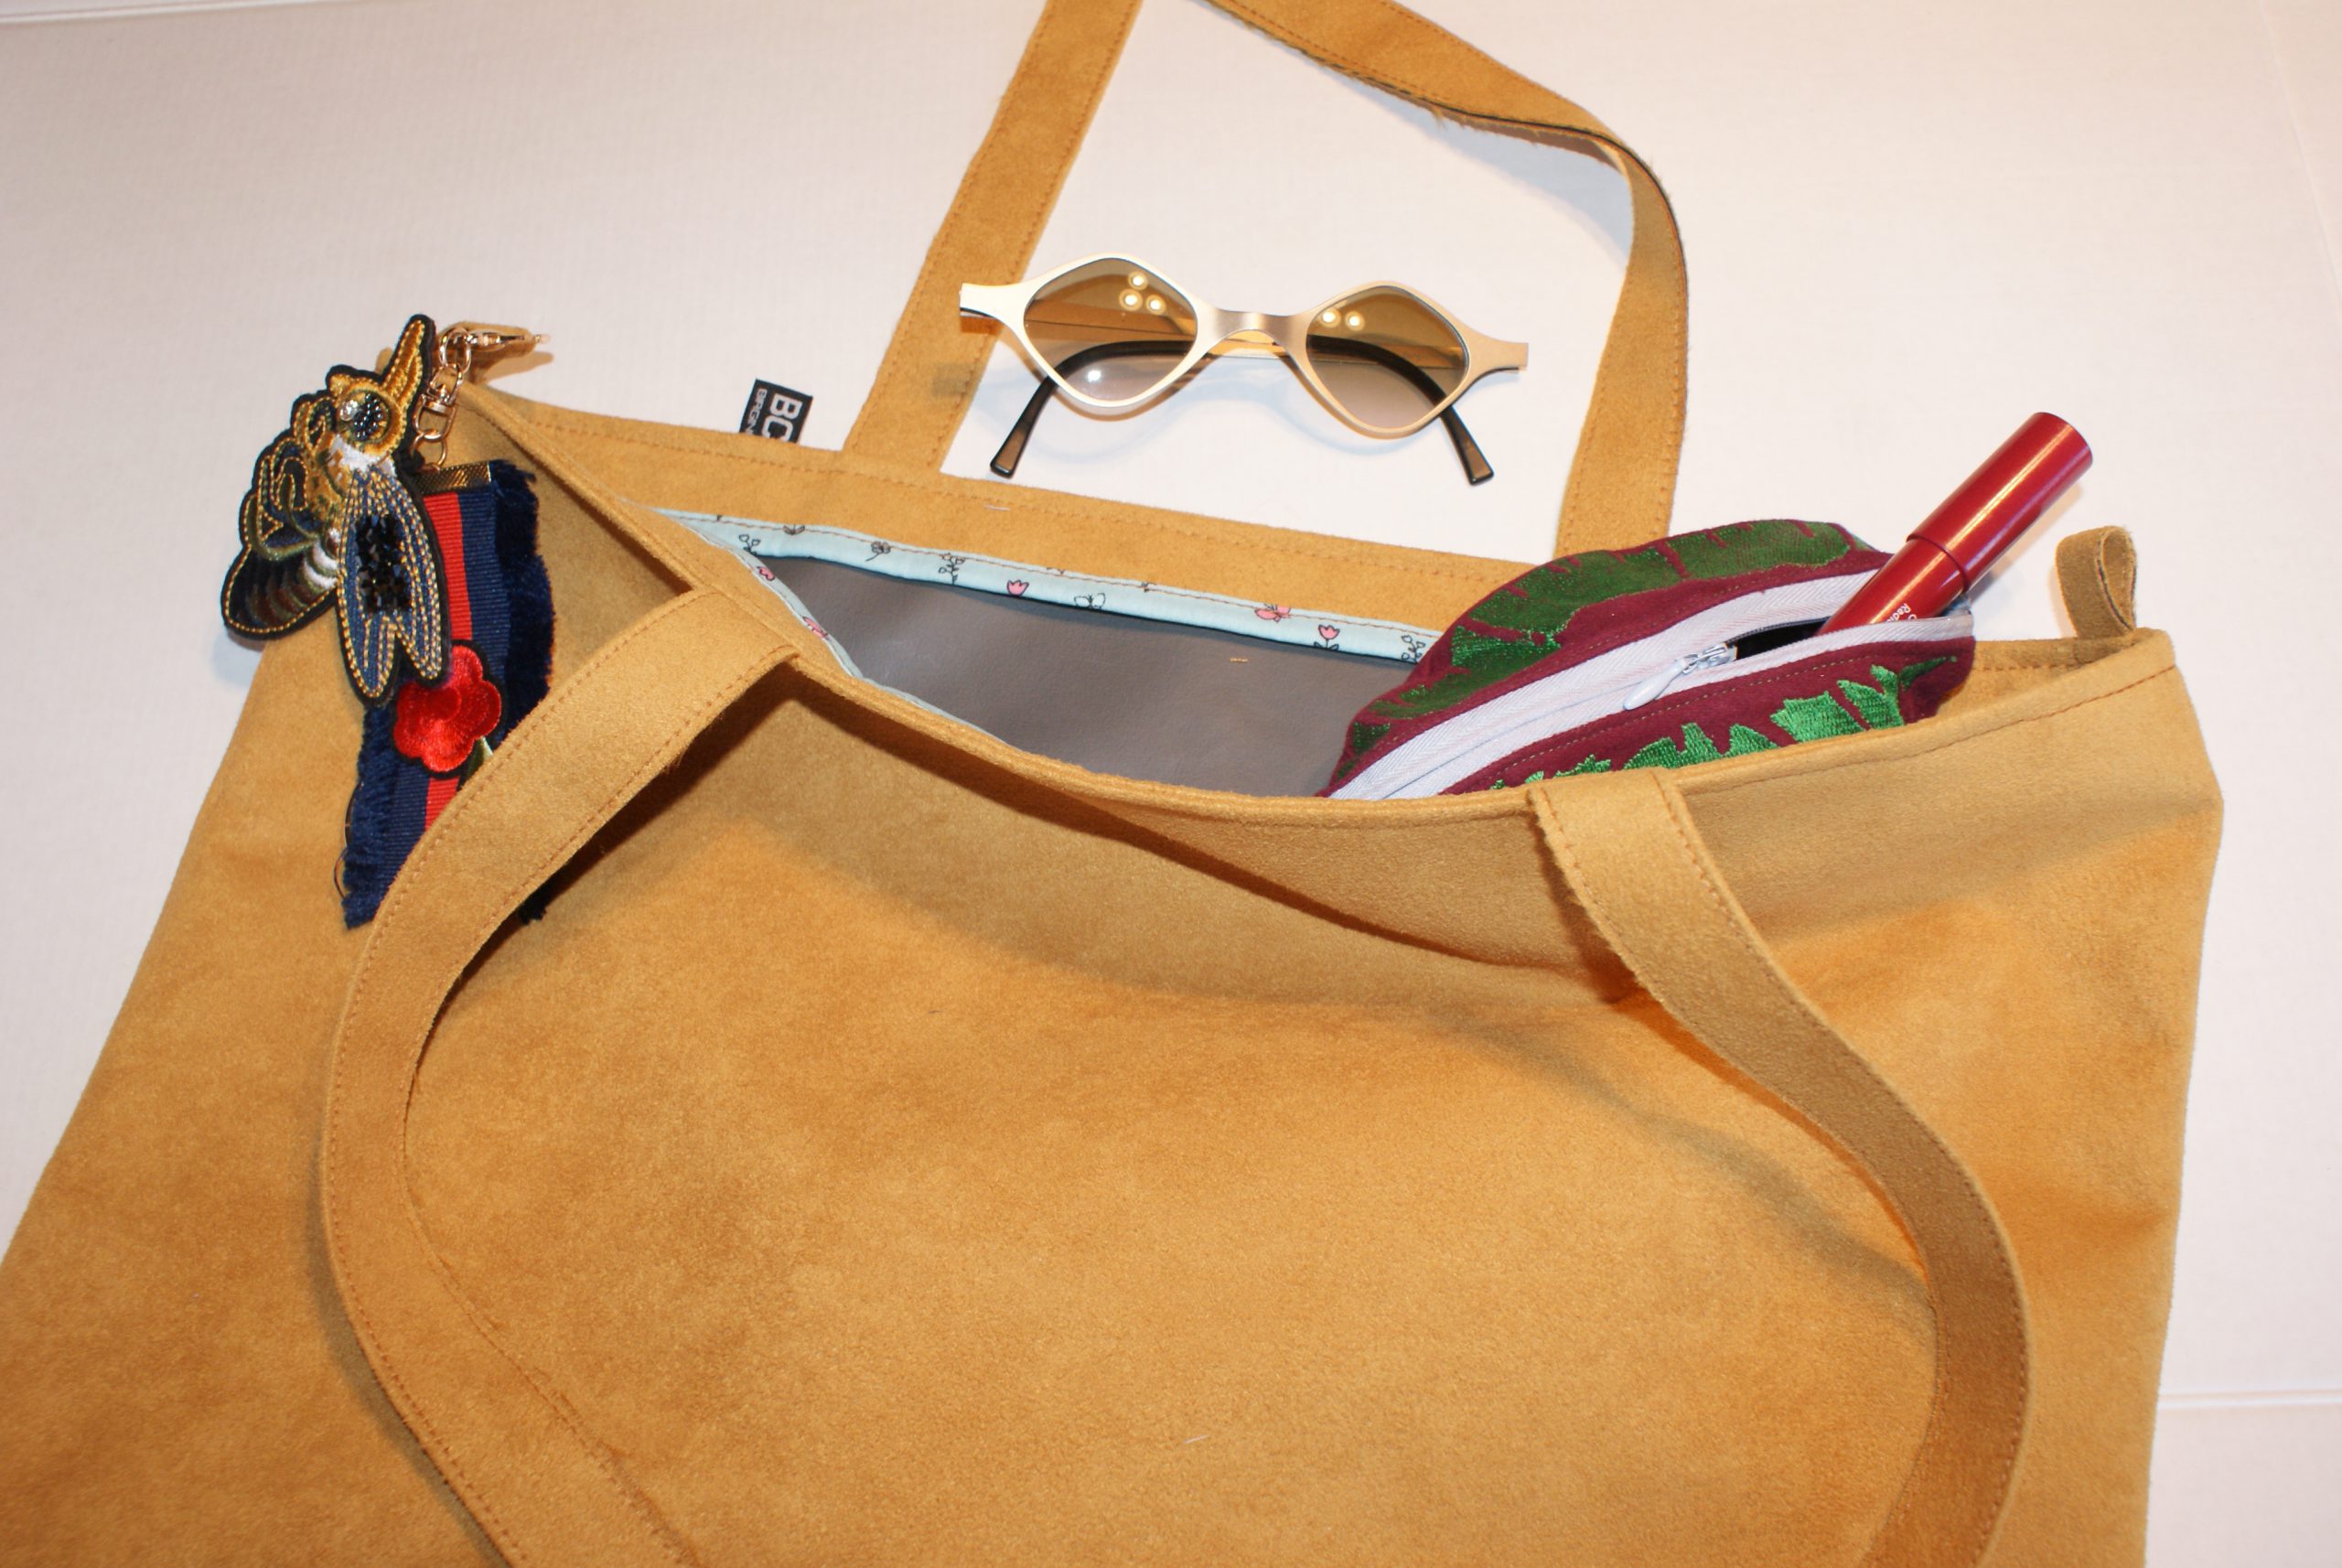
The bag is ready.
There’s so much you can take with you, when using this bag 
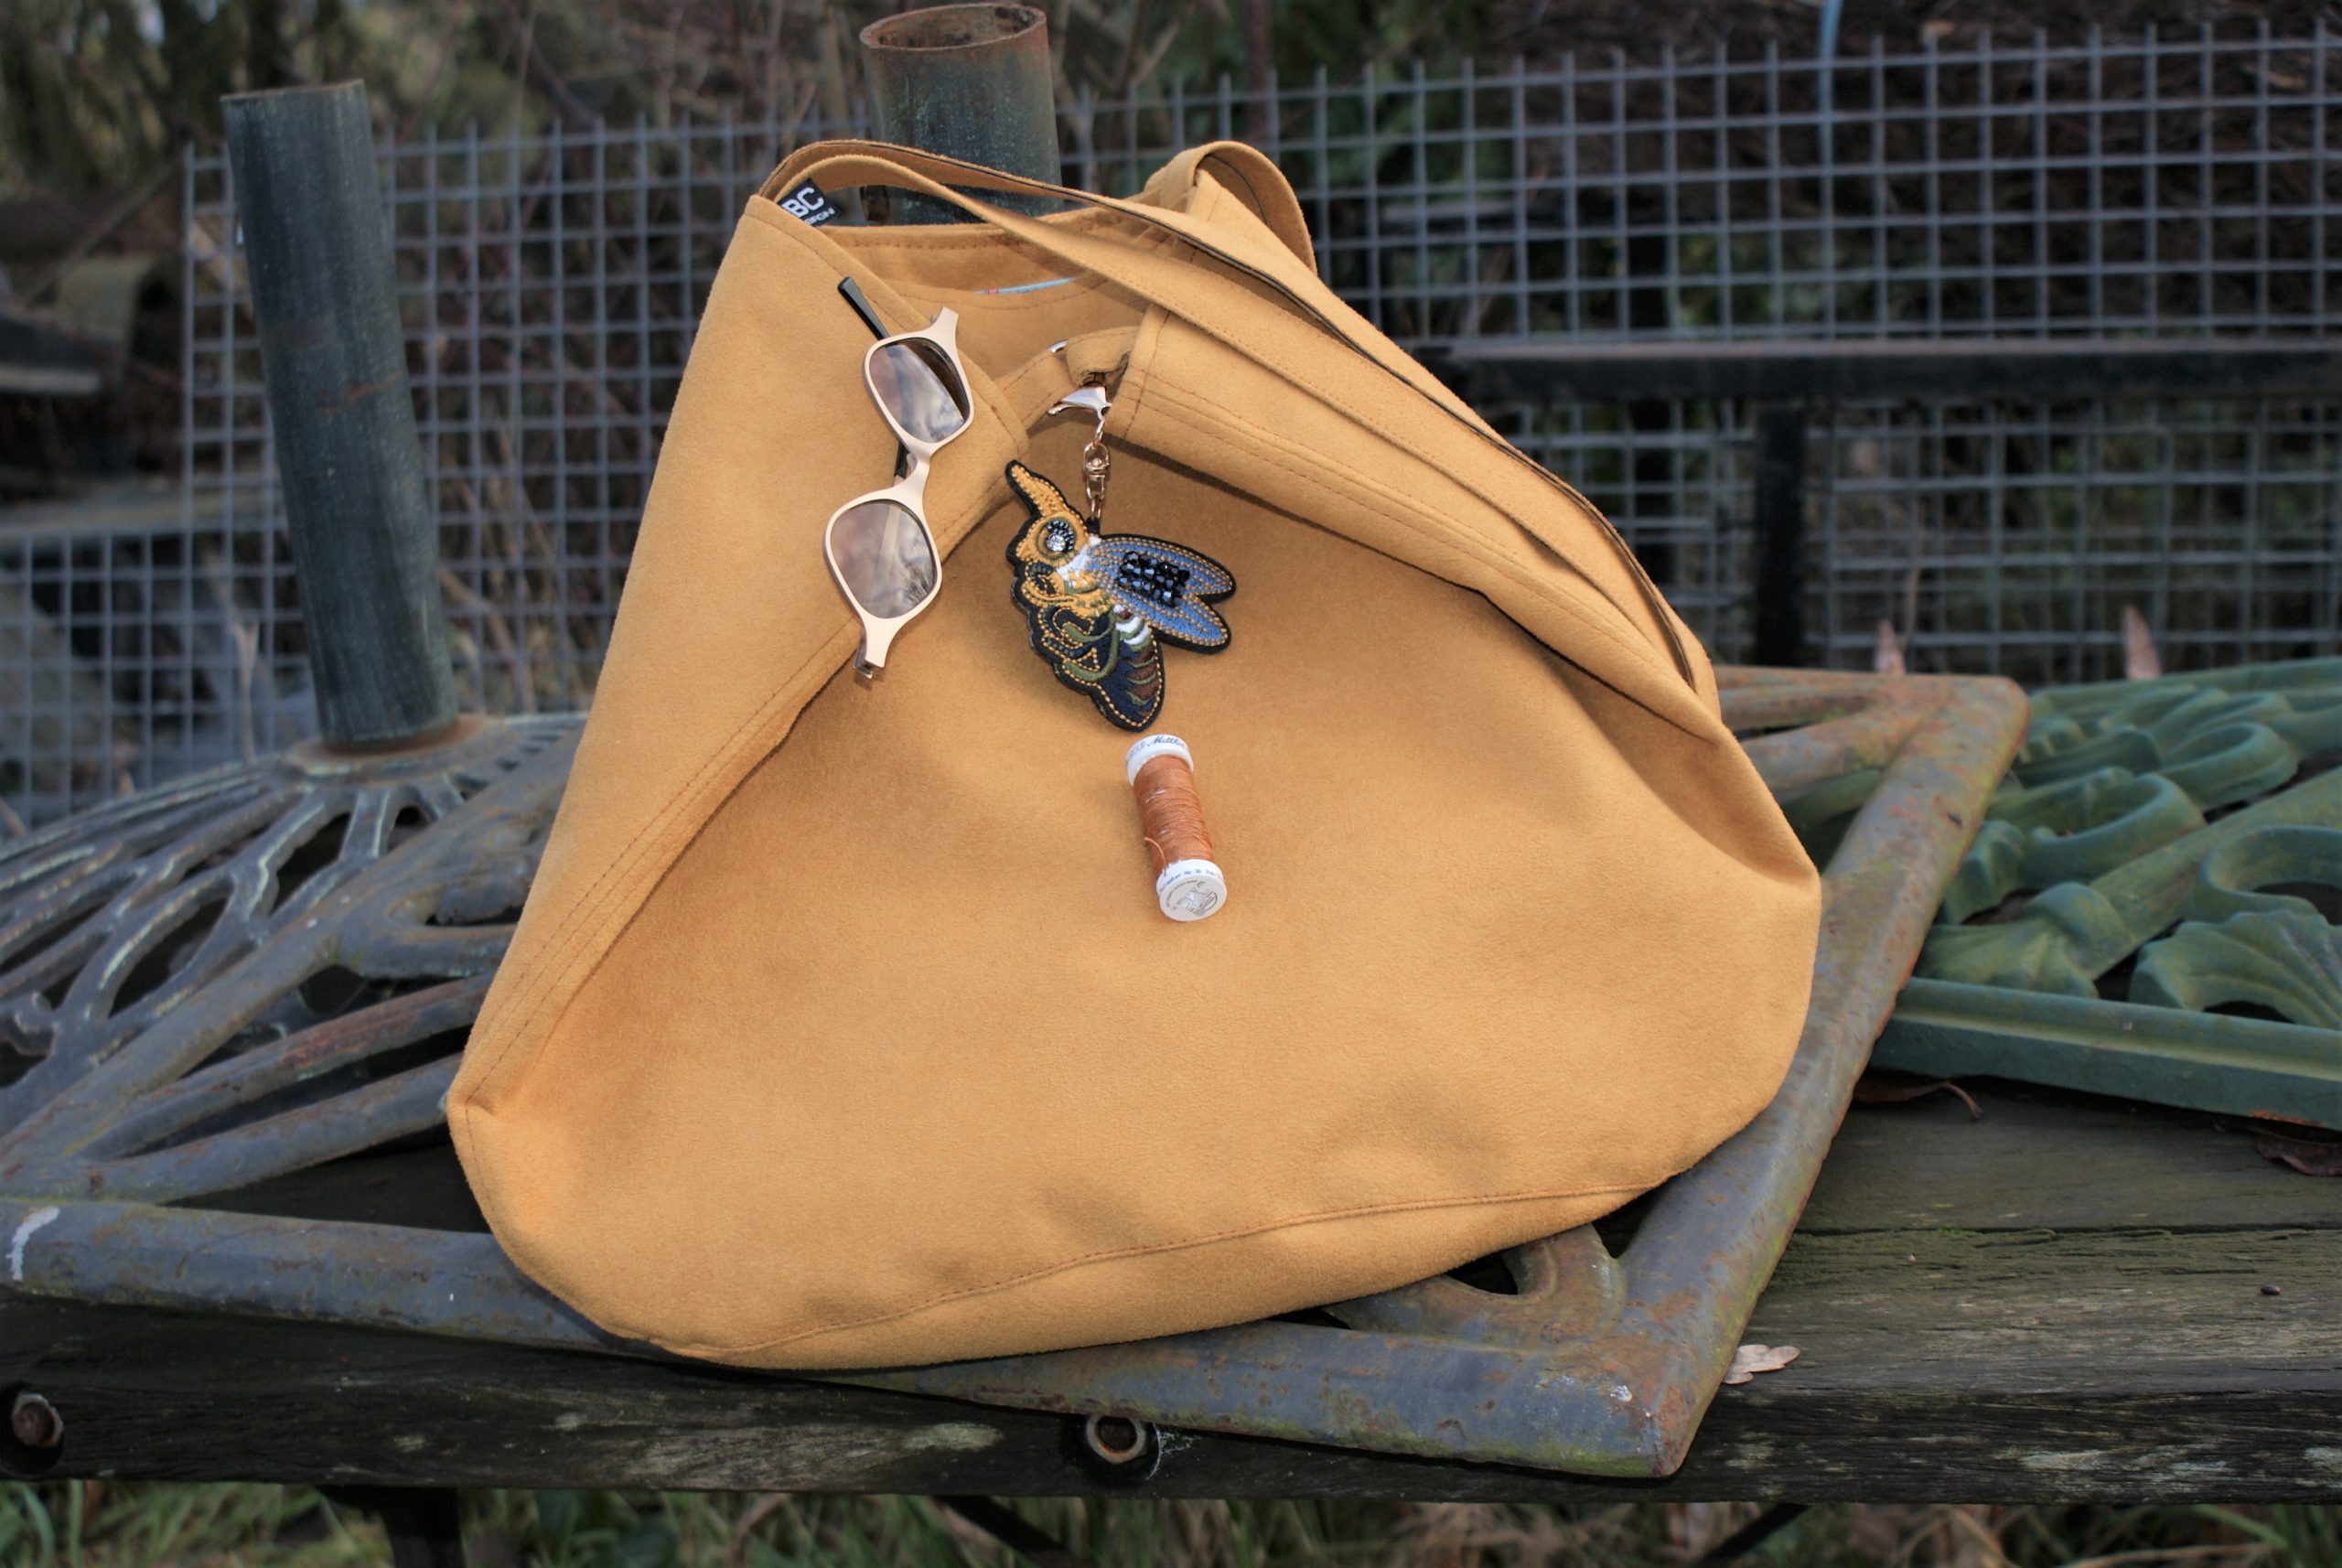 Look how neat and fashionable this bag is.
Be sure to make one with the Tutorial pattern bag ‘Lu’ BERNINA! It is free till the end of January 2021.
 BERNINA Corporate Blog -


Same complaint as Claire Banks, except I just got it today on 5th February. ☹️
I’m sorry, Alison, there was a mistake in the planning for the mail. The blogposts were published on January 16 and 17. Contact me for the pattern? Messenger or e-mail? I hope I can help you to solve this out.
Hi Alison, please mail me for the pattern, I ‘d like to help you with a free copy.
Hi I am new on this and I wasen’t able to download the free bad LU pattern, even if I try suscribing again and again, I didn’t know what I did worng!
Anyway I succeded on March issue and I’ll try the Aida blouse which I adore
thank you for the patterns and specially for the tutorials so I can learn a lot!
love from Spain
Dear Macu, you didnt do anything wrong. Its a monthly free pattern, and the bag LU was from february – therefore, the download is already over. But you can still buy the pattern here: https://inspiration.bernina.com/en-EUR/products/handbag-lu/
The pattern of March is the Aida blouse, and I am happy to hear this months download has worked for you!
Happy sewing! Best wishes from Switzerland 😉
I just got the Bernini blog with this post today, Feb 4 and the pattern was only free for January? You need to time things better.
Oh, Claire, I’m sorry. The blogpost was published January 17th, so, it was still 2 weeks for free. It’s always interesting to follow new items on the blog. Some are really interesting. If you can contact me in Messenger, I’ll try to help you with the pattern. Or mail me at [email protected] .
Thank you Bea for all your patience and kind responses.
I received my copy a few days later but I really appreciate the free patterns and all the effort you put into ensuring that we get them.
I used to buy the Inspiration but I have an old Bernina and found that most of the patterns were for the newer versions so I stopped recently
Kind Regards and stay safe
Dear lillibet,
Happy you enjoy the free patterns! It’s true that most projects use the accessories for the new machines. However, most projects can be done without these helpers, just a bit differently. Thats why they added the “optional accessories” sections, since you dont really need them to make the projects. Most projects are just fine for older machines as well, its just not as easy.
If you have any questions on how to realize a project without the proposed accessory, feel free to send me a message and I’ll do what I can to help you 🙂
Kind regards, Ramona
Thank you Bea. I will remember that?
Sorry, I’m not Bea, I’m Ramona from BERNINA International 😉
I just saw your comment and thought I’d answer. But I am sure Bea would help out too <3
Hi Lillibet, I totally agree with Ramona. Even for older machines, you can purchase many accessories and helpful extra presser feet. And if you don’t, you’ll probably be able to make these projects too, if you have some sewing experience. I hope you’ll be successfull!
Hi Claire, please mail me for the pattern, I ‘d like to help you with a free copy.