 BERNINA Corporate Blog -
Find the sewing instructions for the Aïda blouse Bernina – free download in March 2021 – in this blogpost. A detailed tutorial and many pictures will help you to make it effortless. You will find the free download in this blogpost, the blouse Aïda from the BERNINA magazine Inspiration.
Information about how to find the download is in this blogpost: Free pattern for the Aïda blouse.
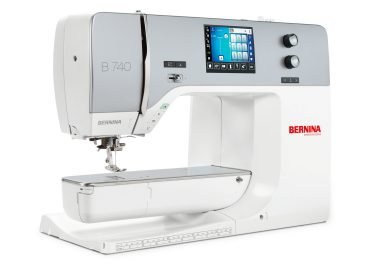
I make the blouse on the BERNINA 710, similar technical functions to the BERNINA 740
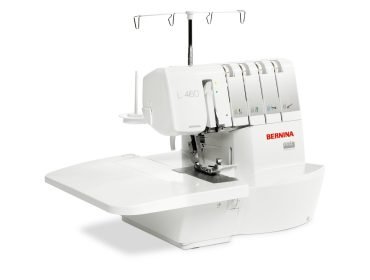
My overlock is the BERNINA L 460
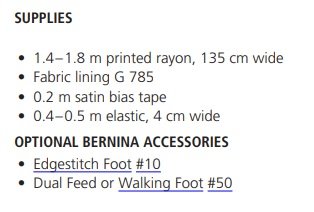
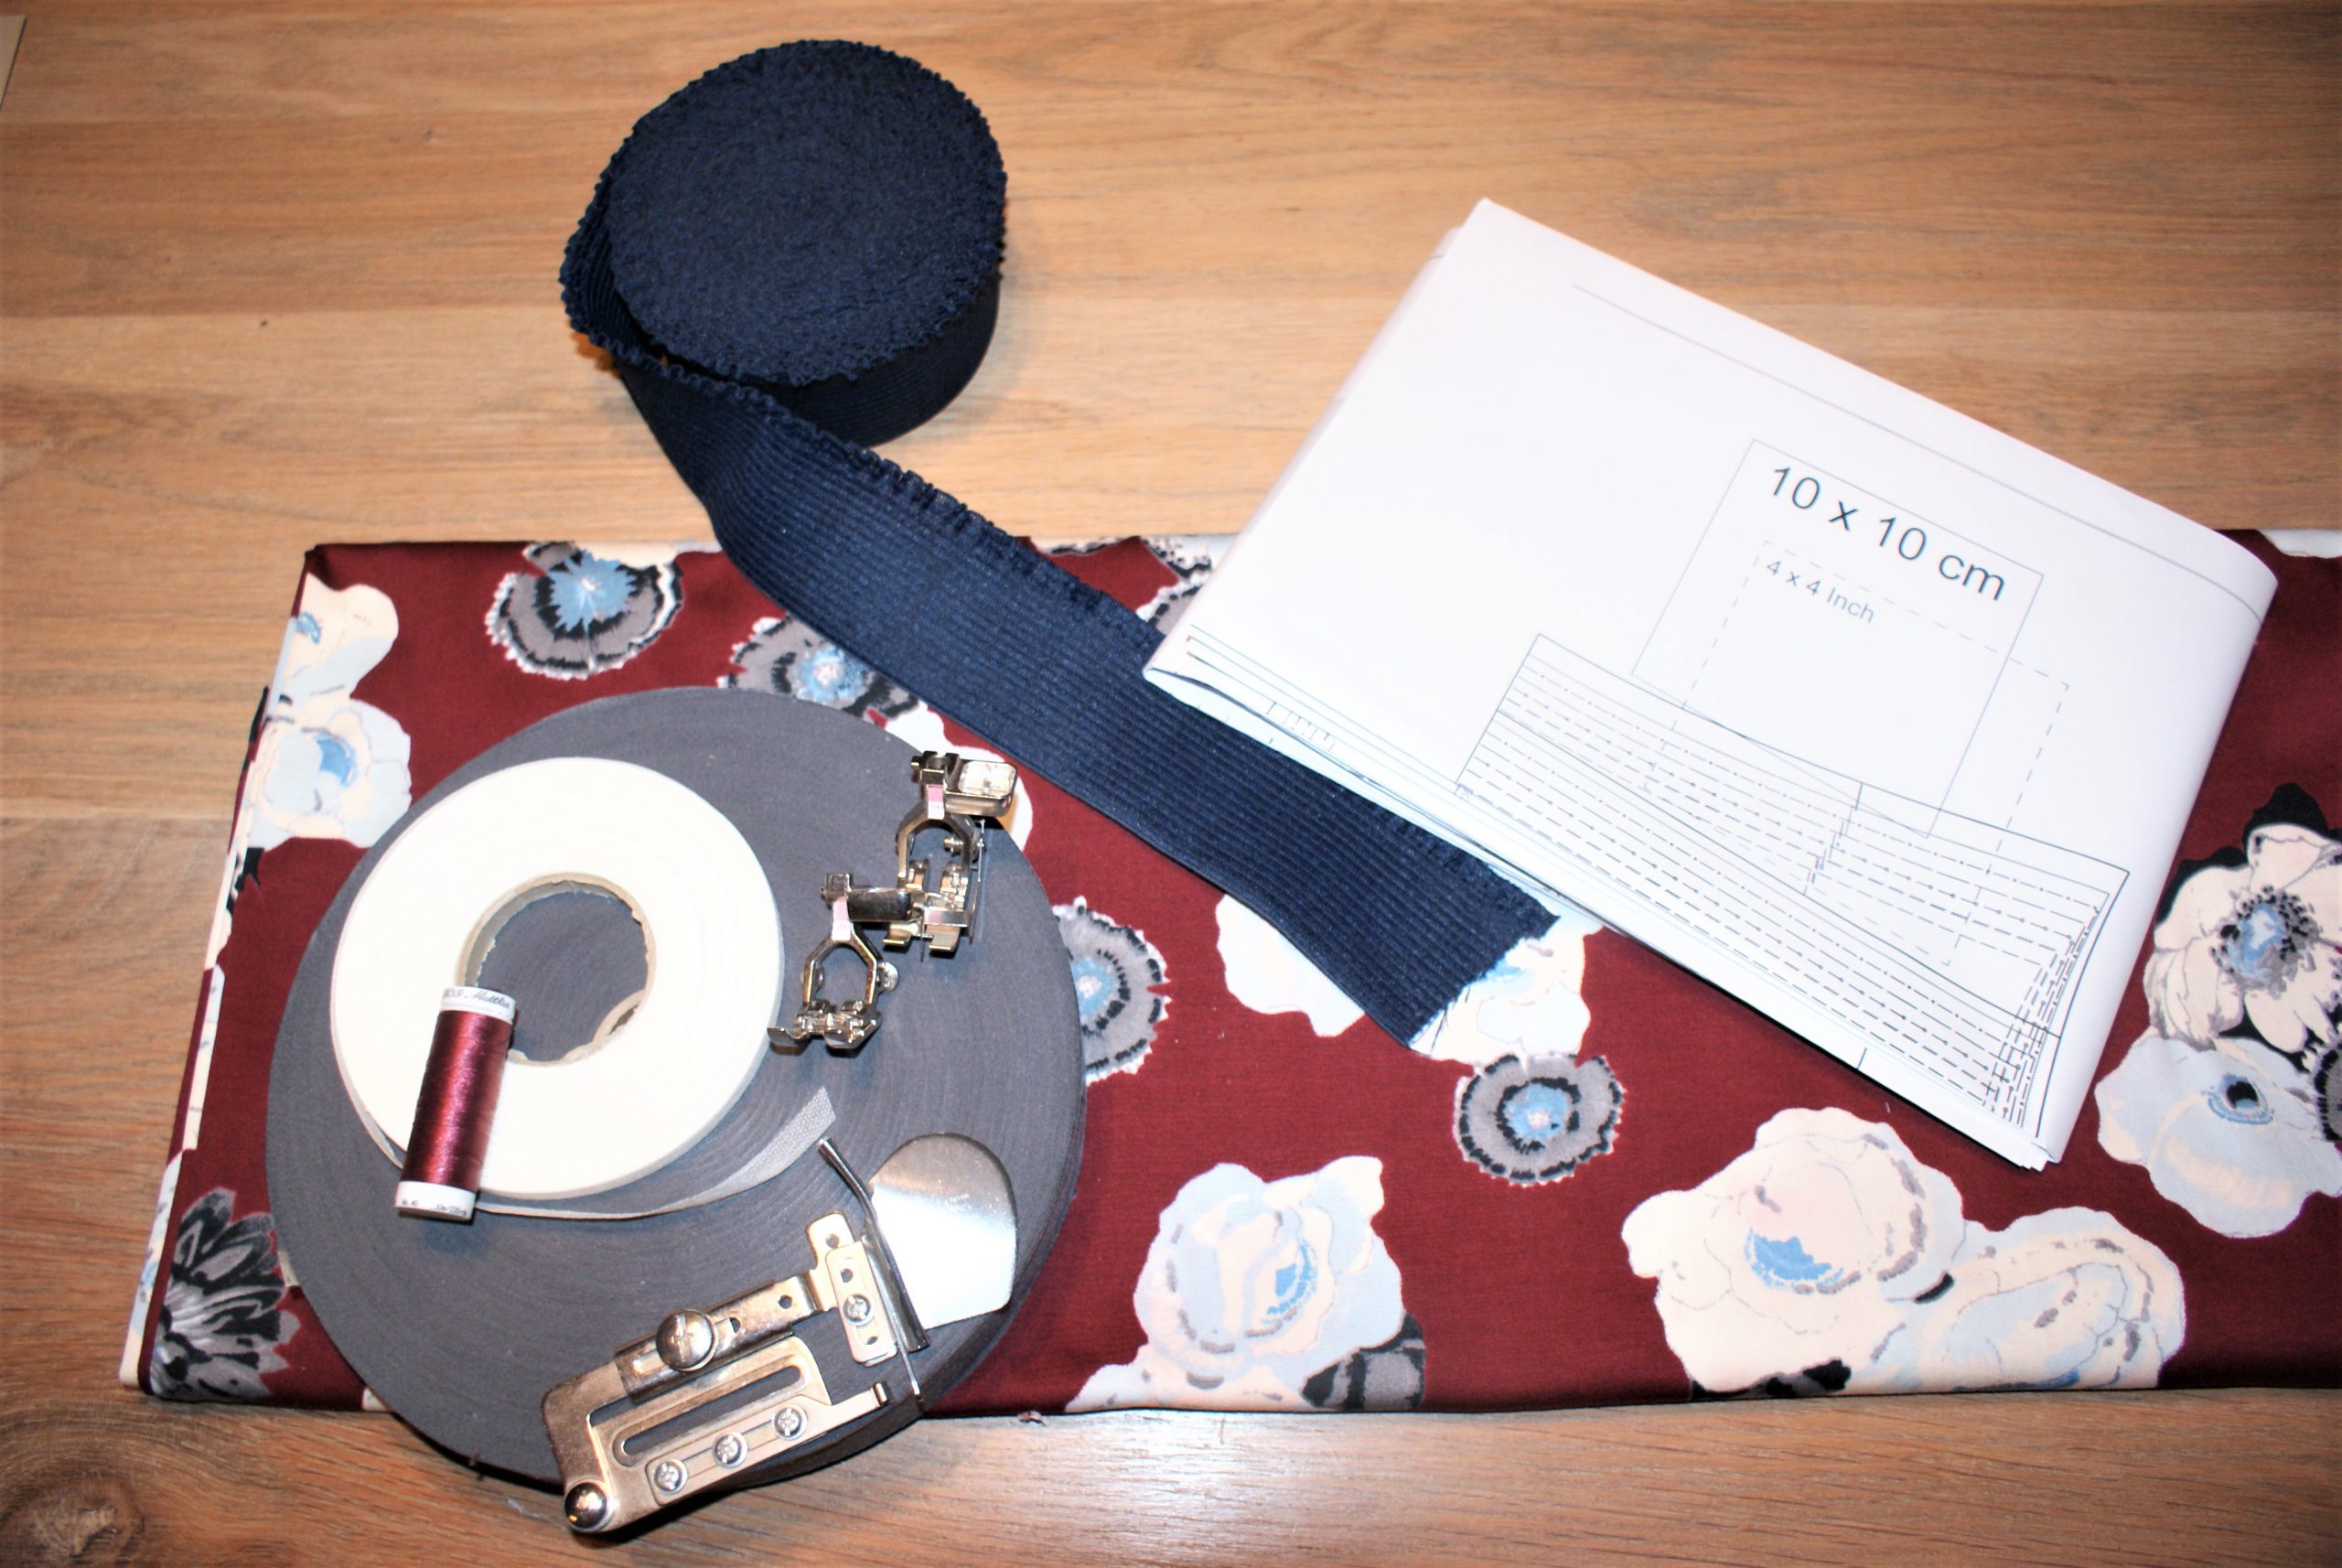
What do you need for the Aïda blouse?
I chose to sew with Mettler Poly Sheen embroidery thread. You thought you couldn’t? It really fits your sewing machine as well, and very practical if you miss a color in sewing thread.
Check your measures with the pattern parts.
The size chart you find on the printed pattern is very helpful.
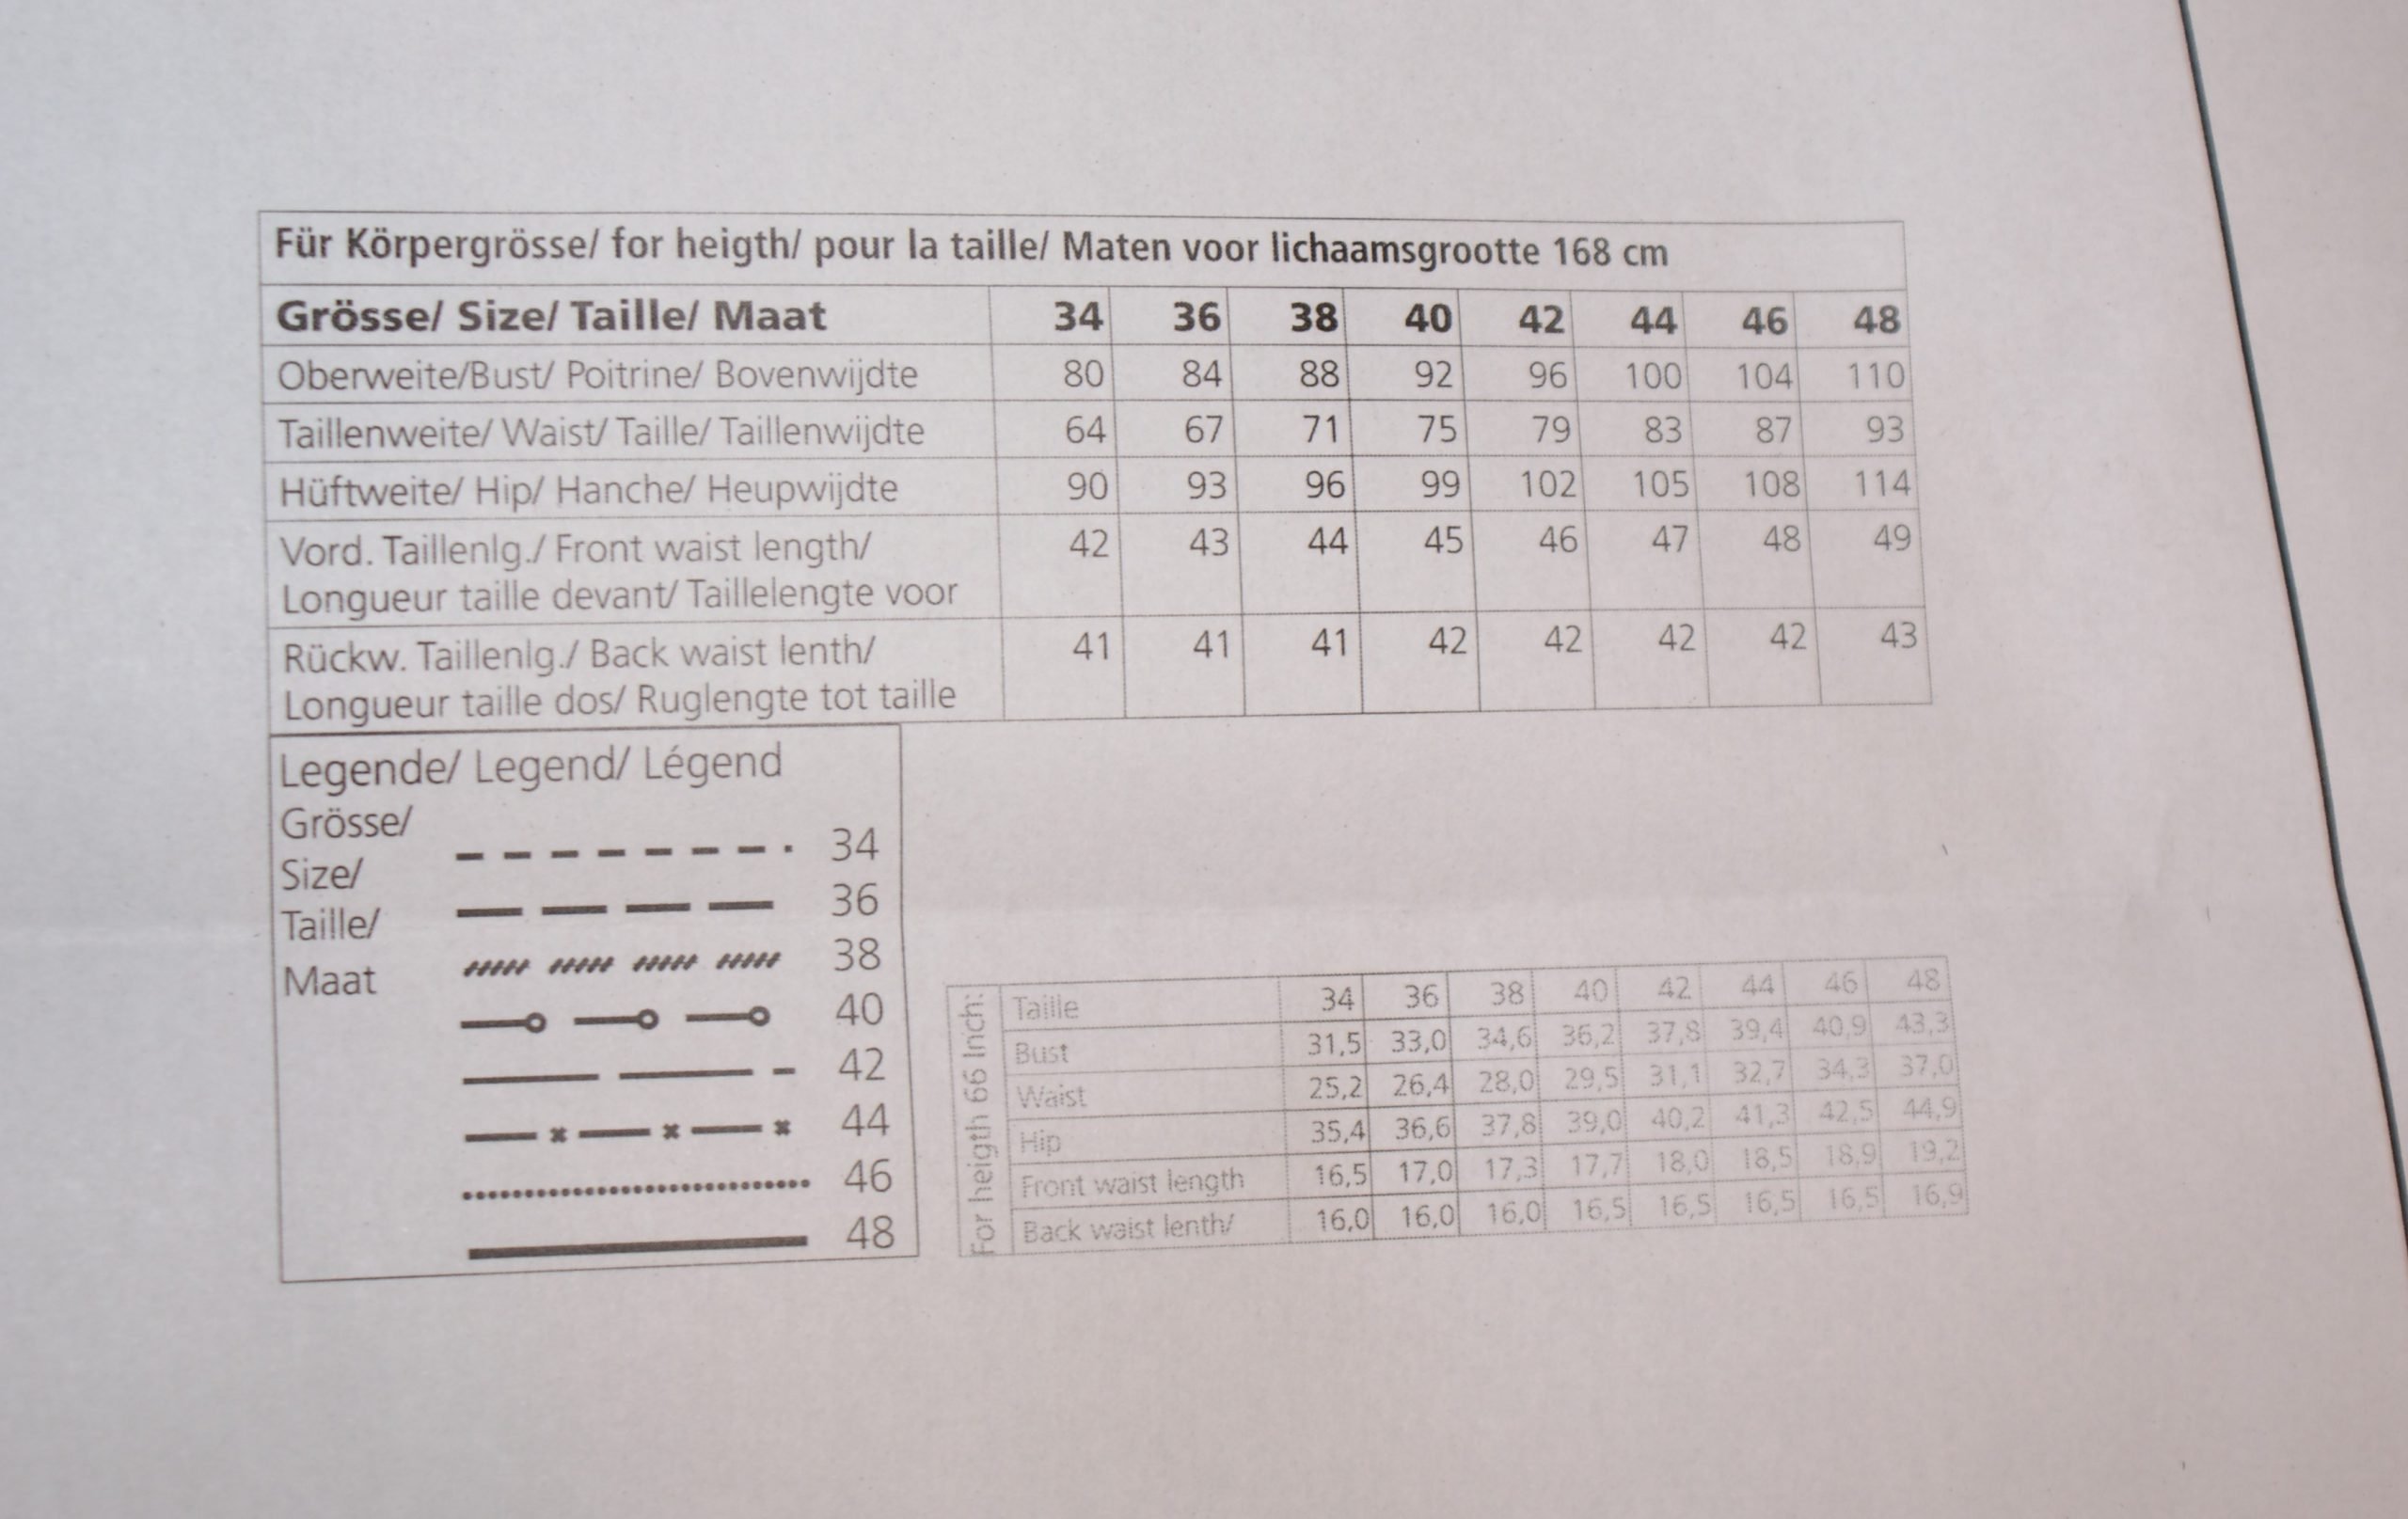
Ifnecessary make adjustments before cutting out the pattern.
I need to adjust backlength and that’s why I have a seam in the back. I have added an extra 6 cm of total height.
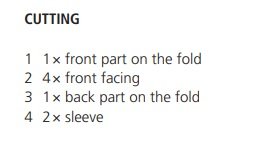
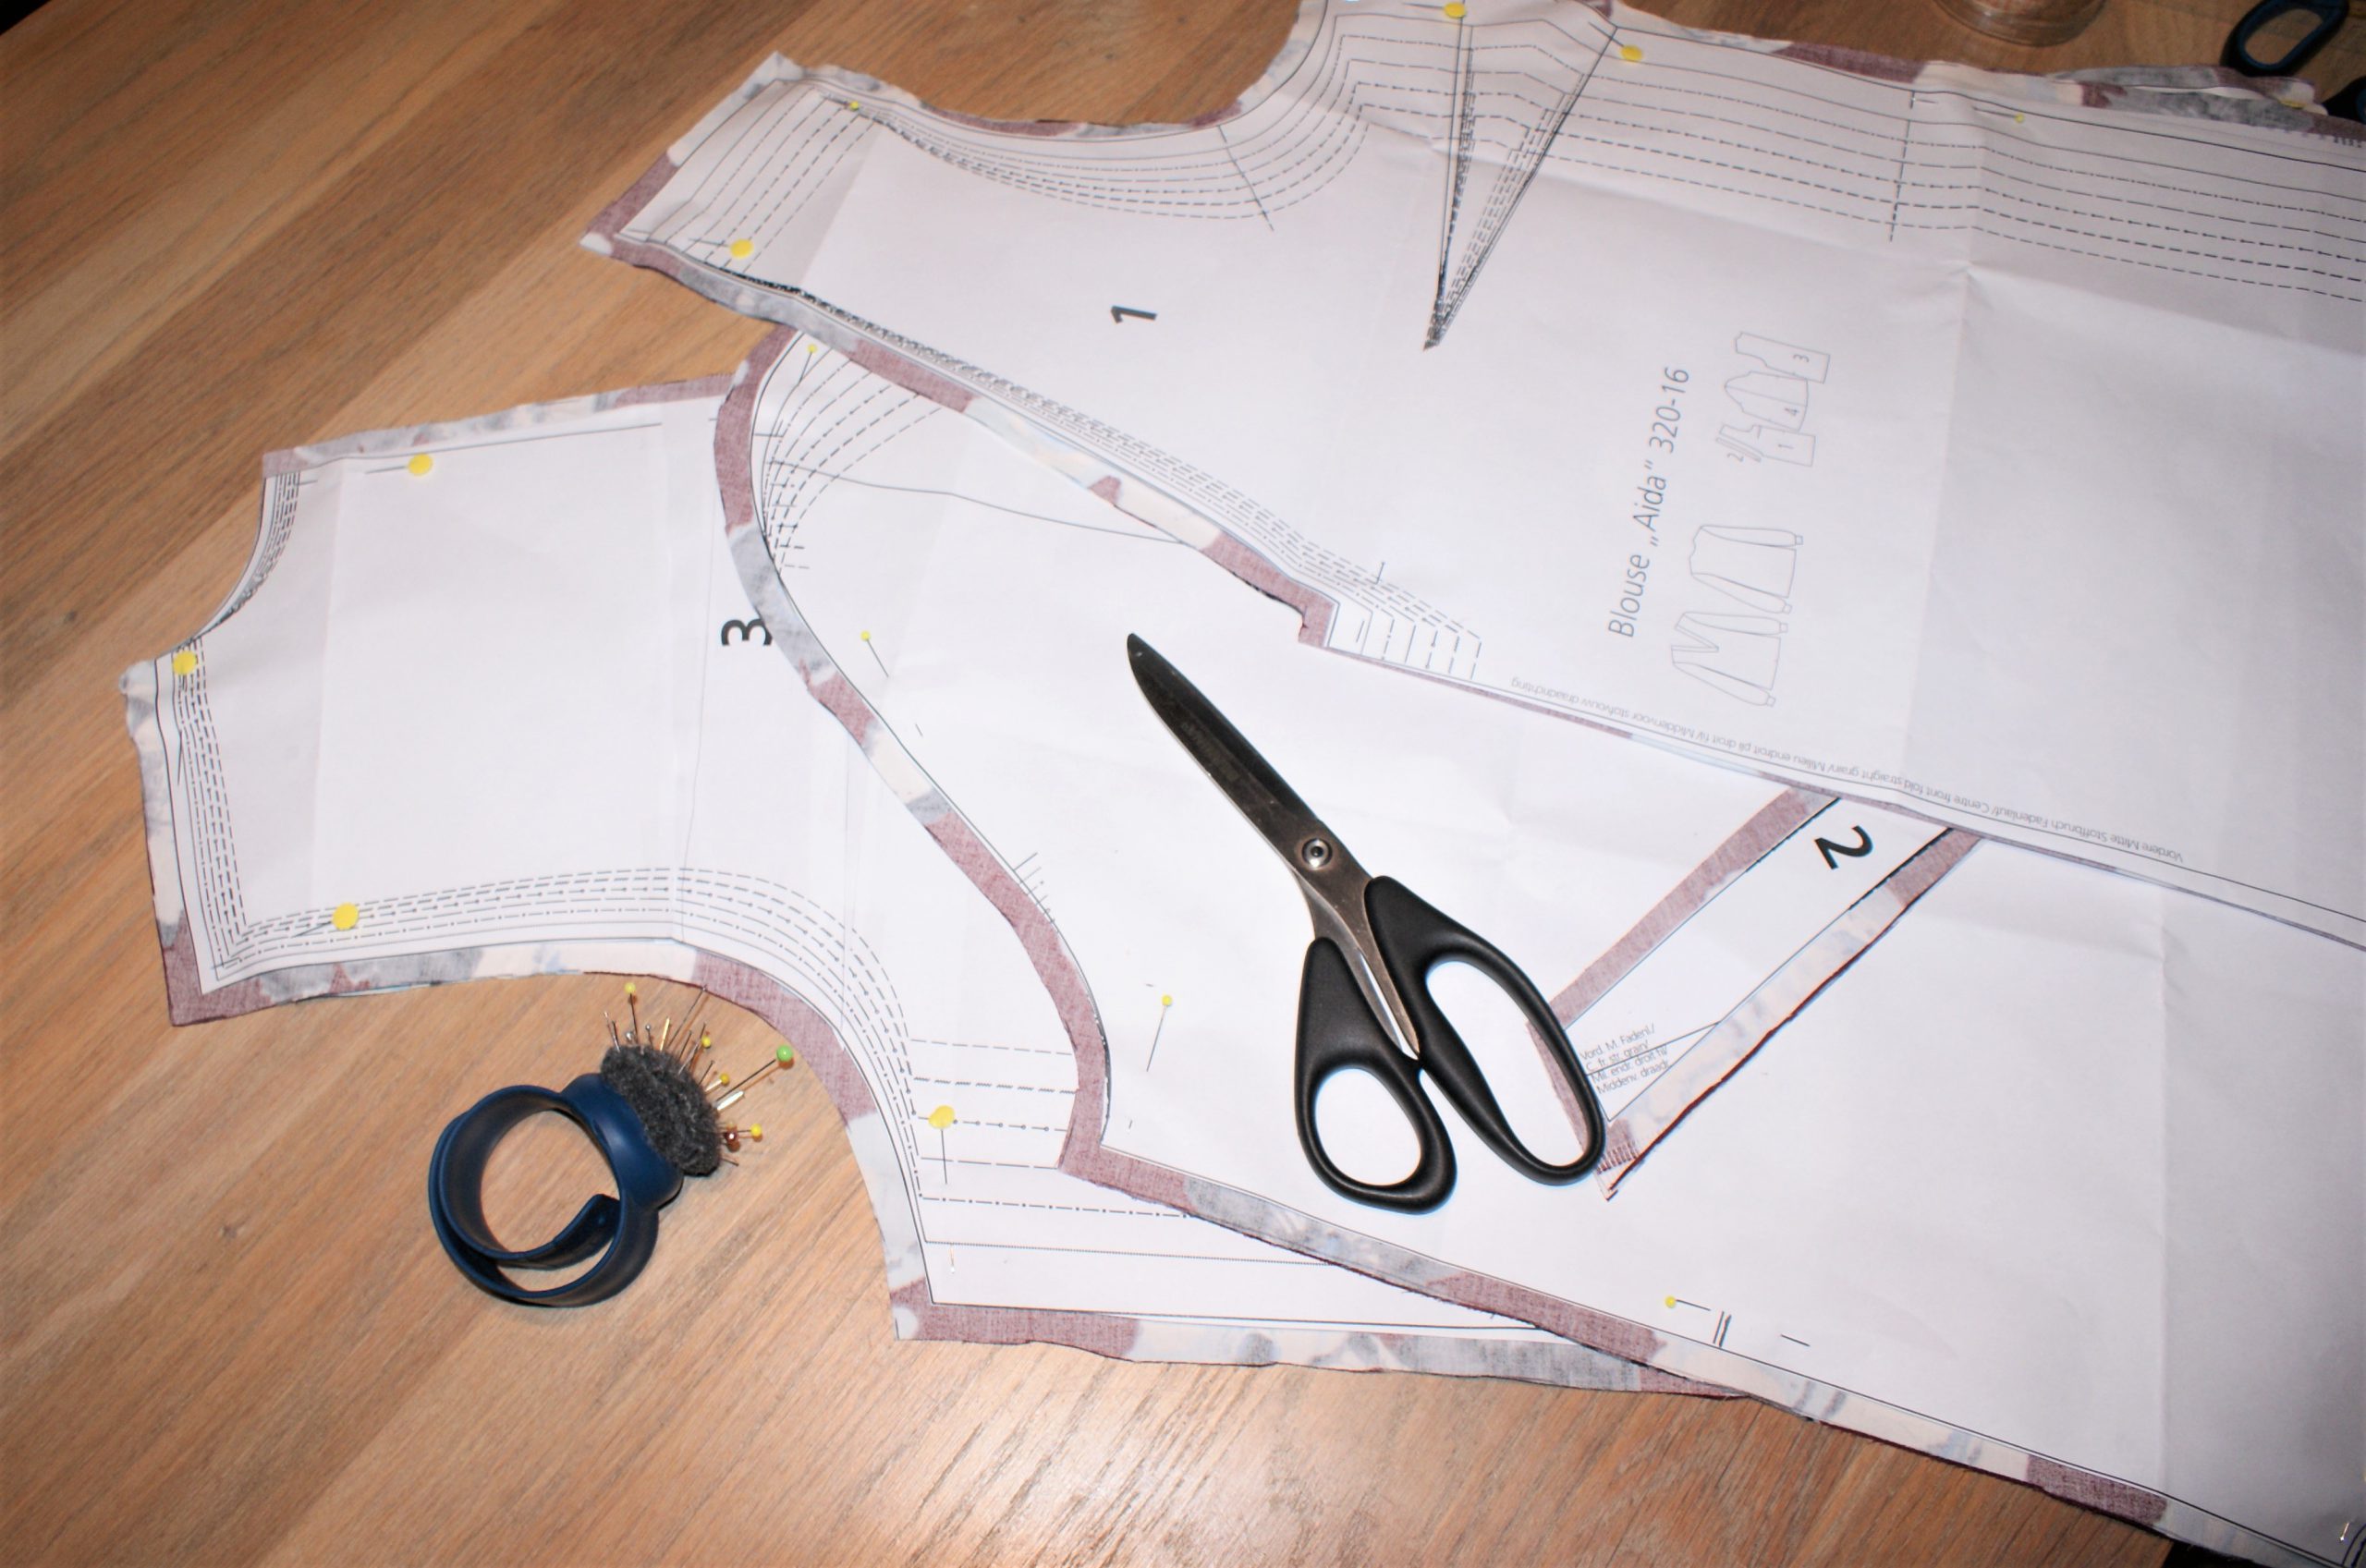
Cut out the pattern.
Let’s start sewing the Aïda blouse BERNINA:
Cut the parts in fabric.
Take notches by cutting in the seam or by using basting thread.
Pin the darts in the front panel. Sew a slightly curved line, drawing the line can help you.
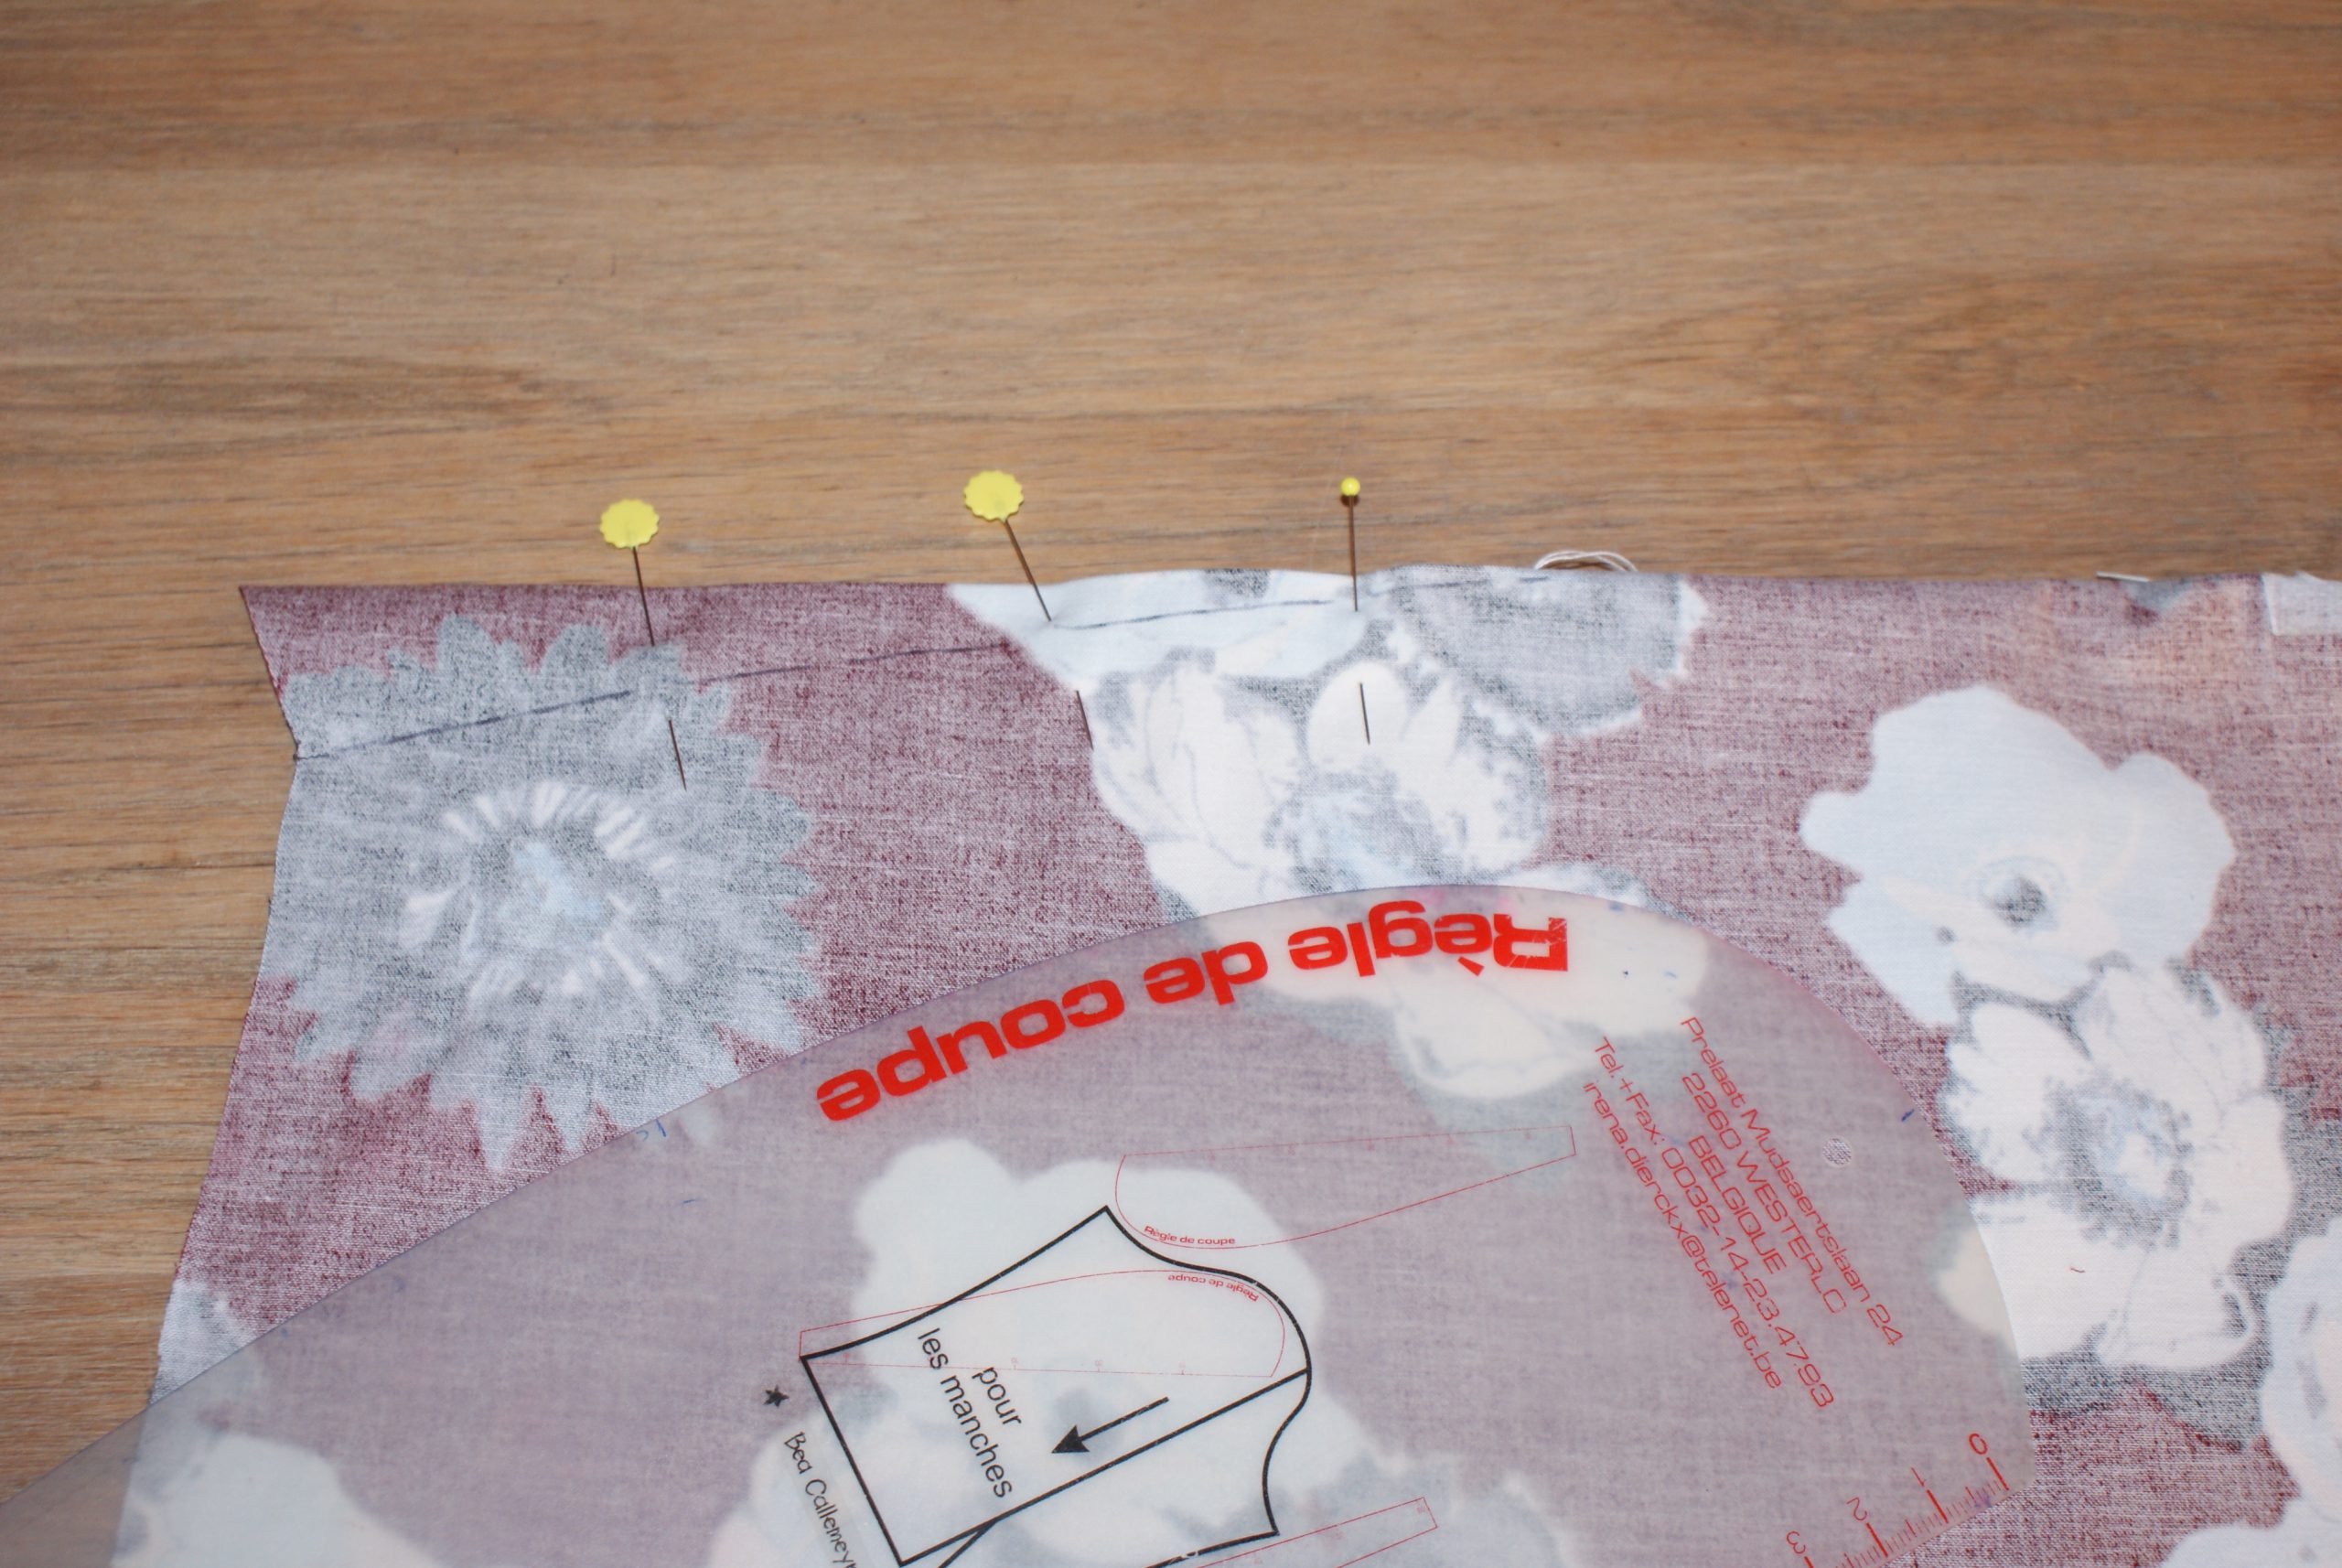
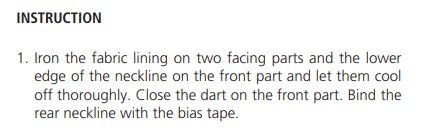
It is useful to iron stabilizer tape along the neckline, before sewing biastape.
I use the Binder attachment # 87 together with the Open embroidery foot # 20.


I have a neat neckline.

In the original pattern, there was no seam in the back. I needed to make one to adjust back length.
Finishing the neckline in the sewing instructions for the APida Blouse BERNINA:
I followed a my own way of finishing the neckine.
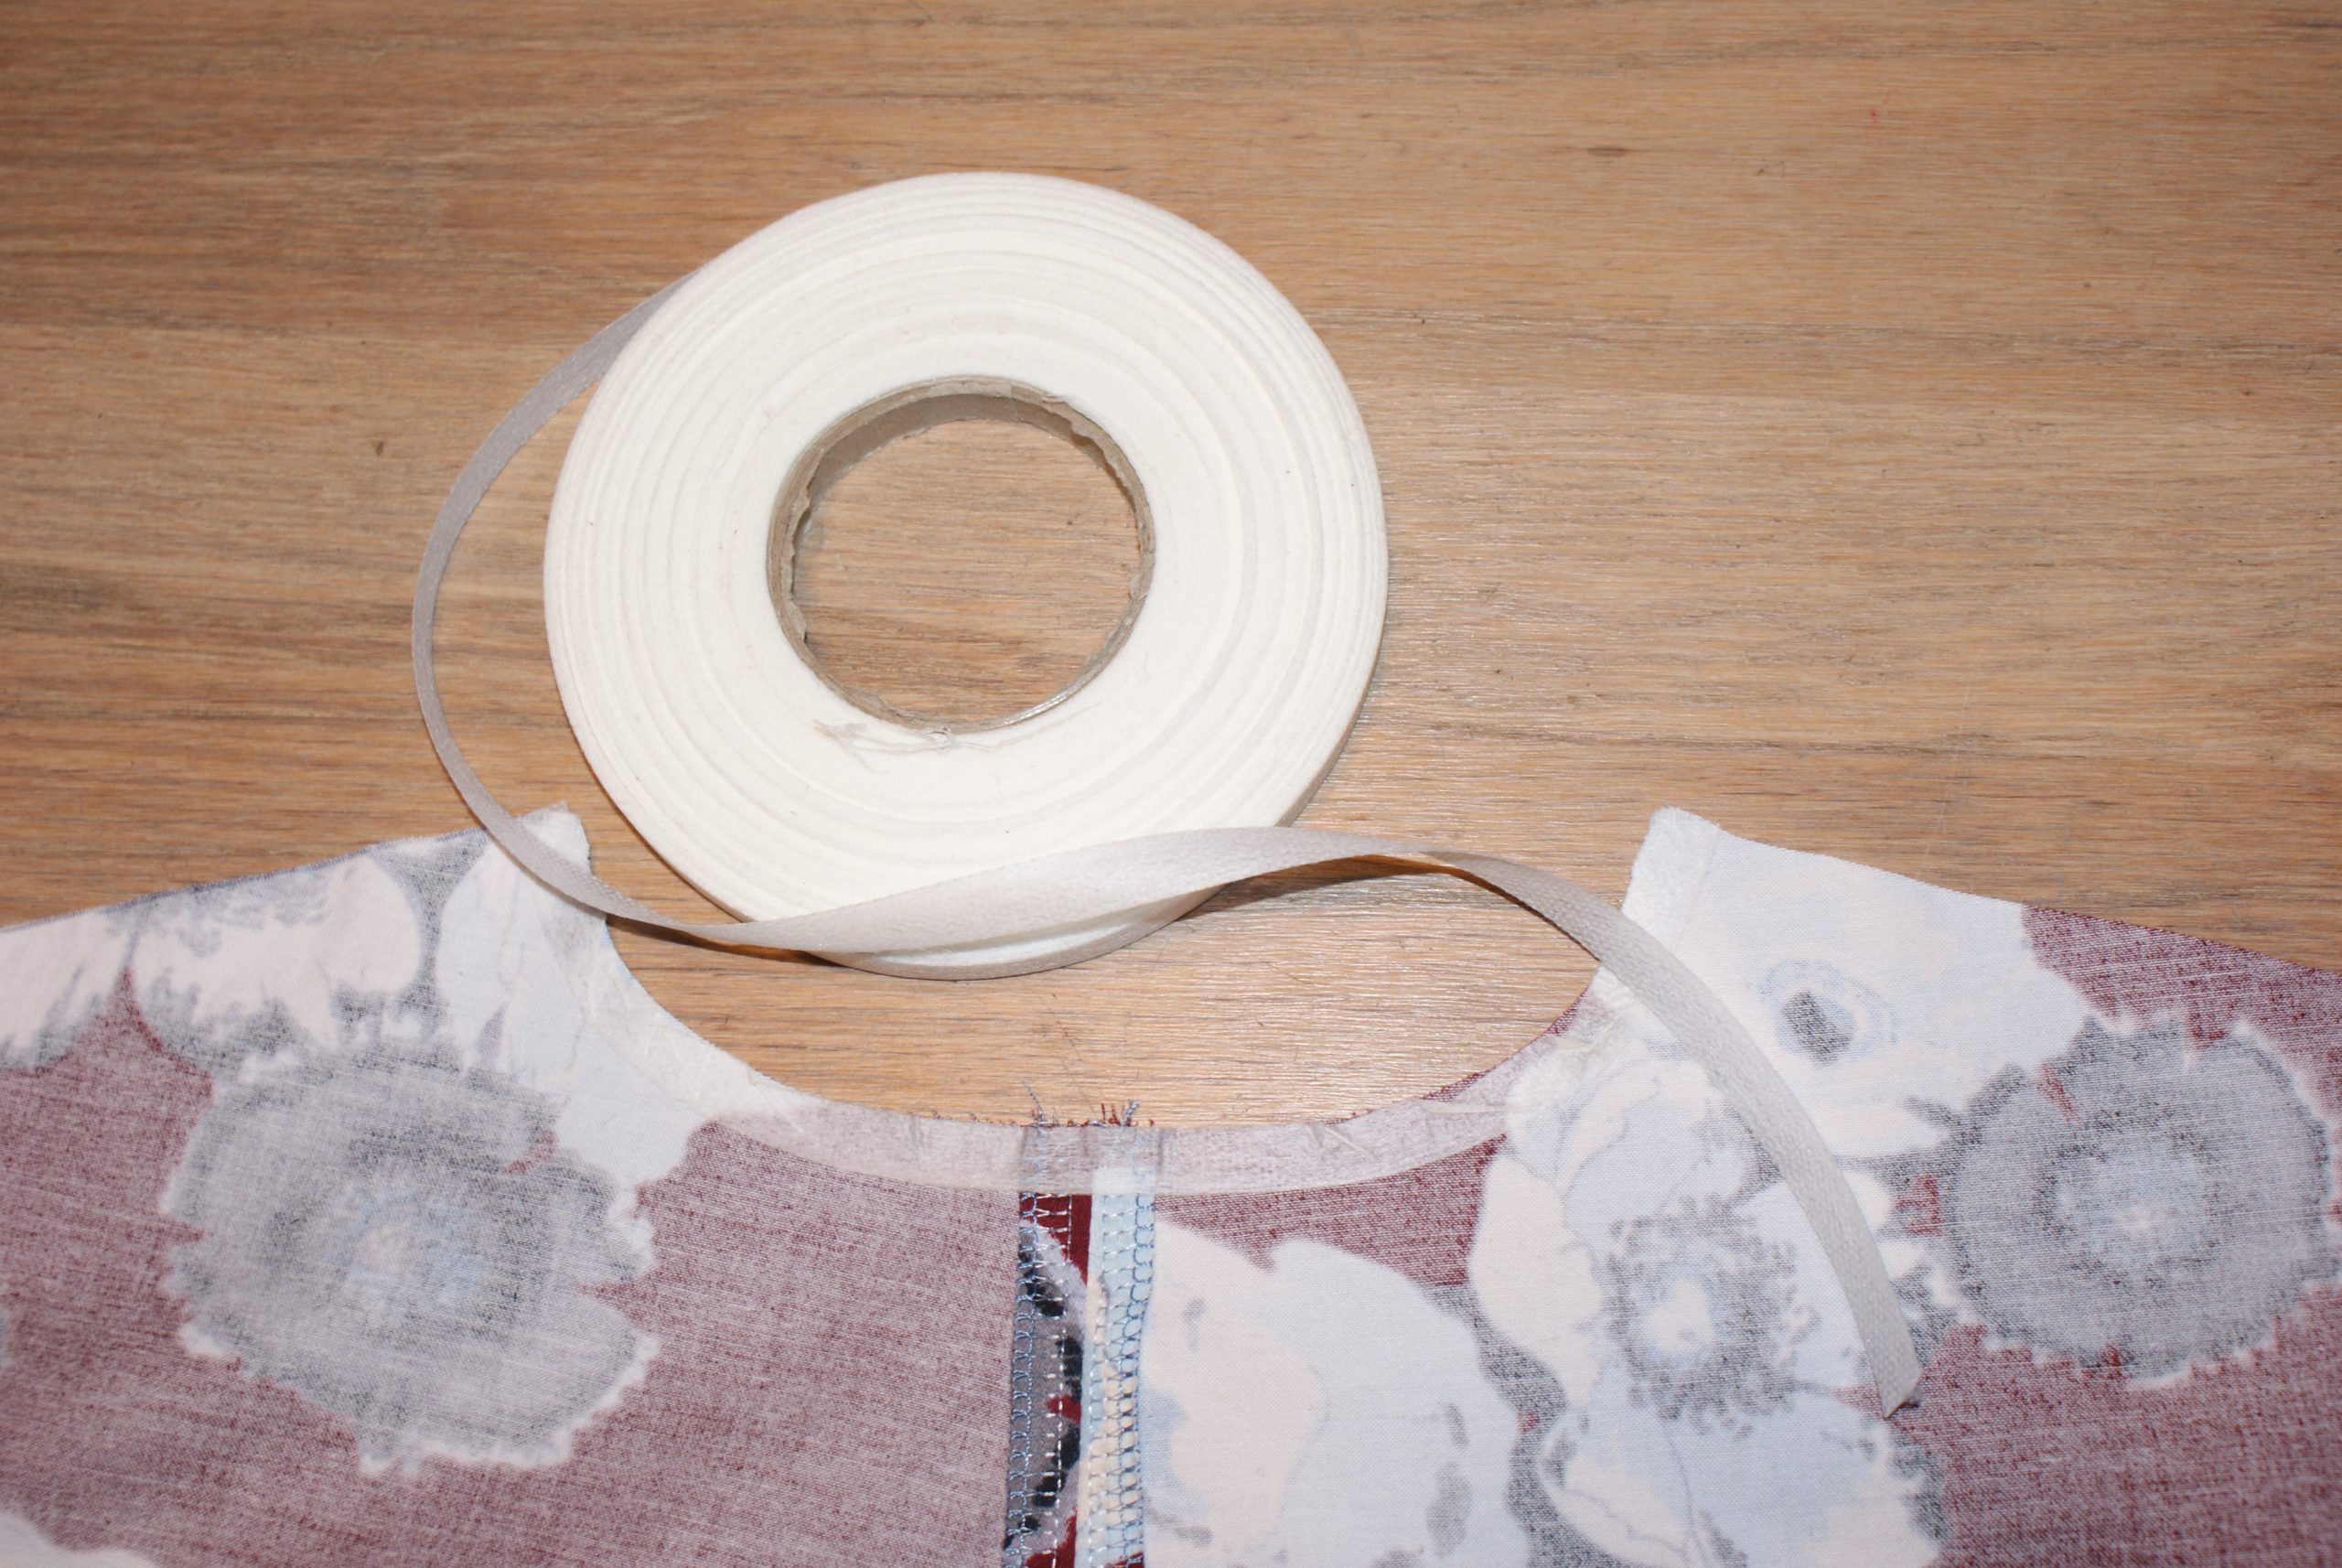
Iron stabilizer to one of each neckline. I have a quite firm fabric, so I only ironed stabilizer tape.

If you doubt which part is right or left, just put it in place, that will help you.
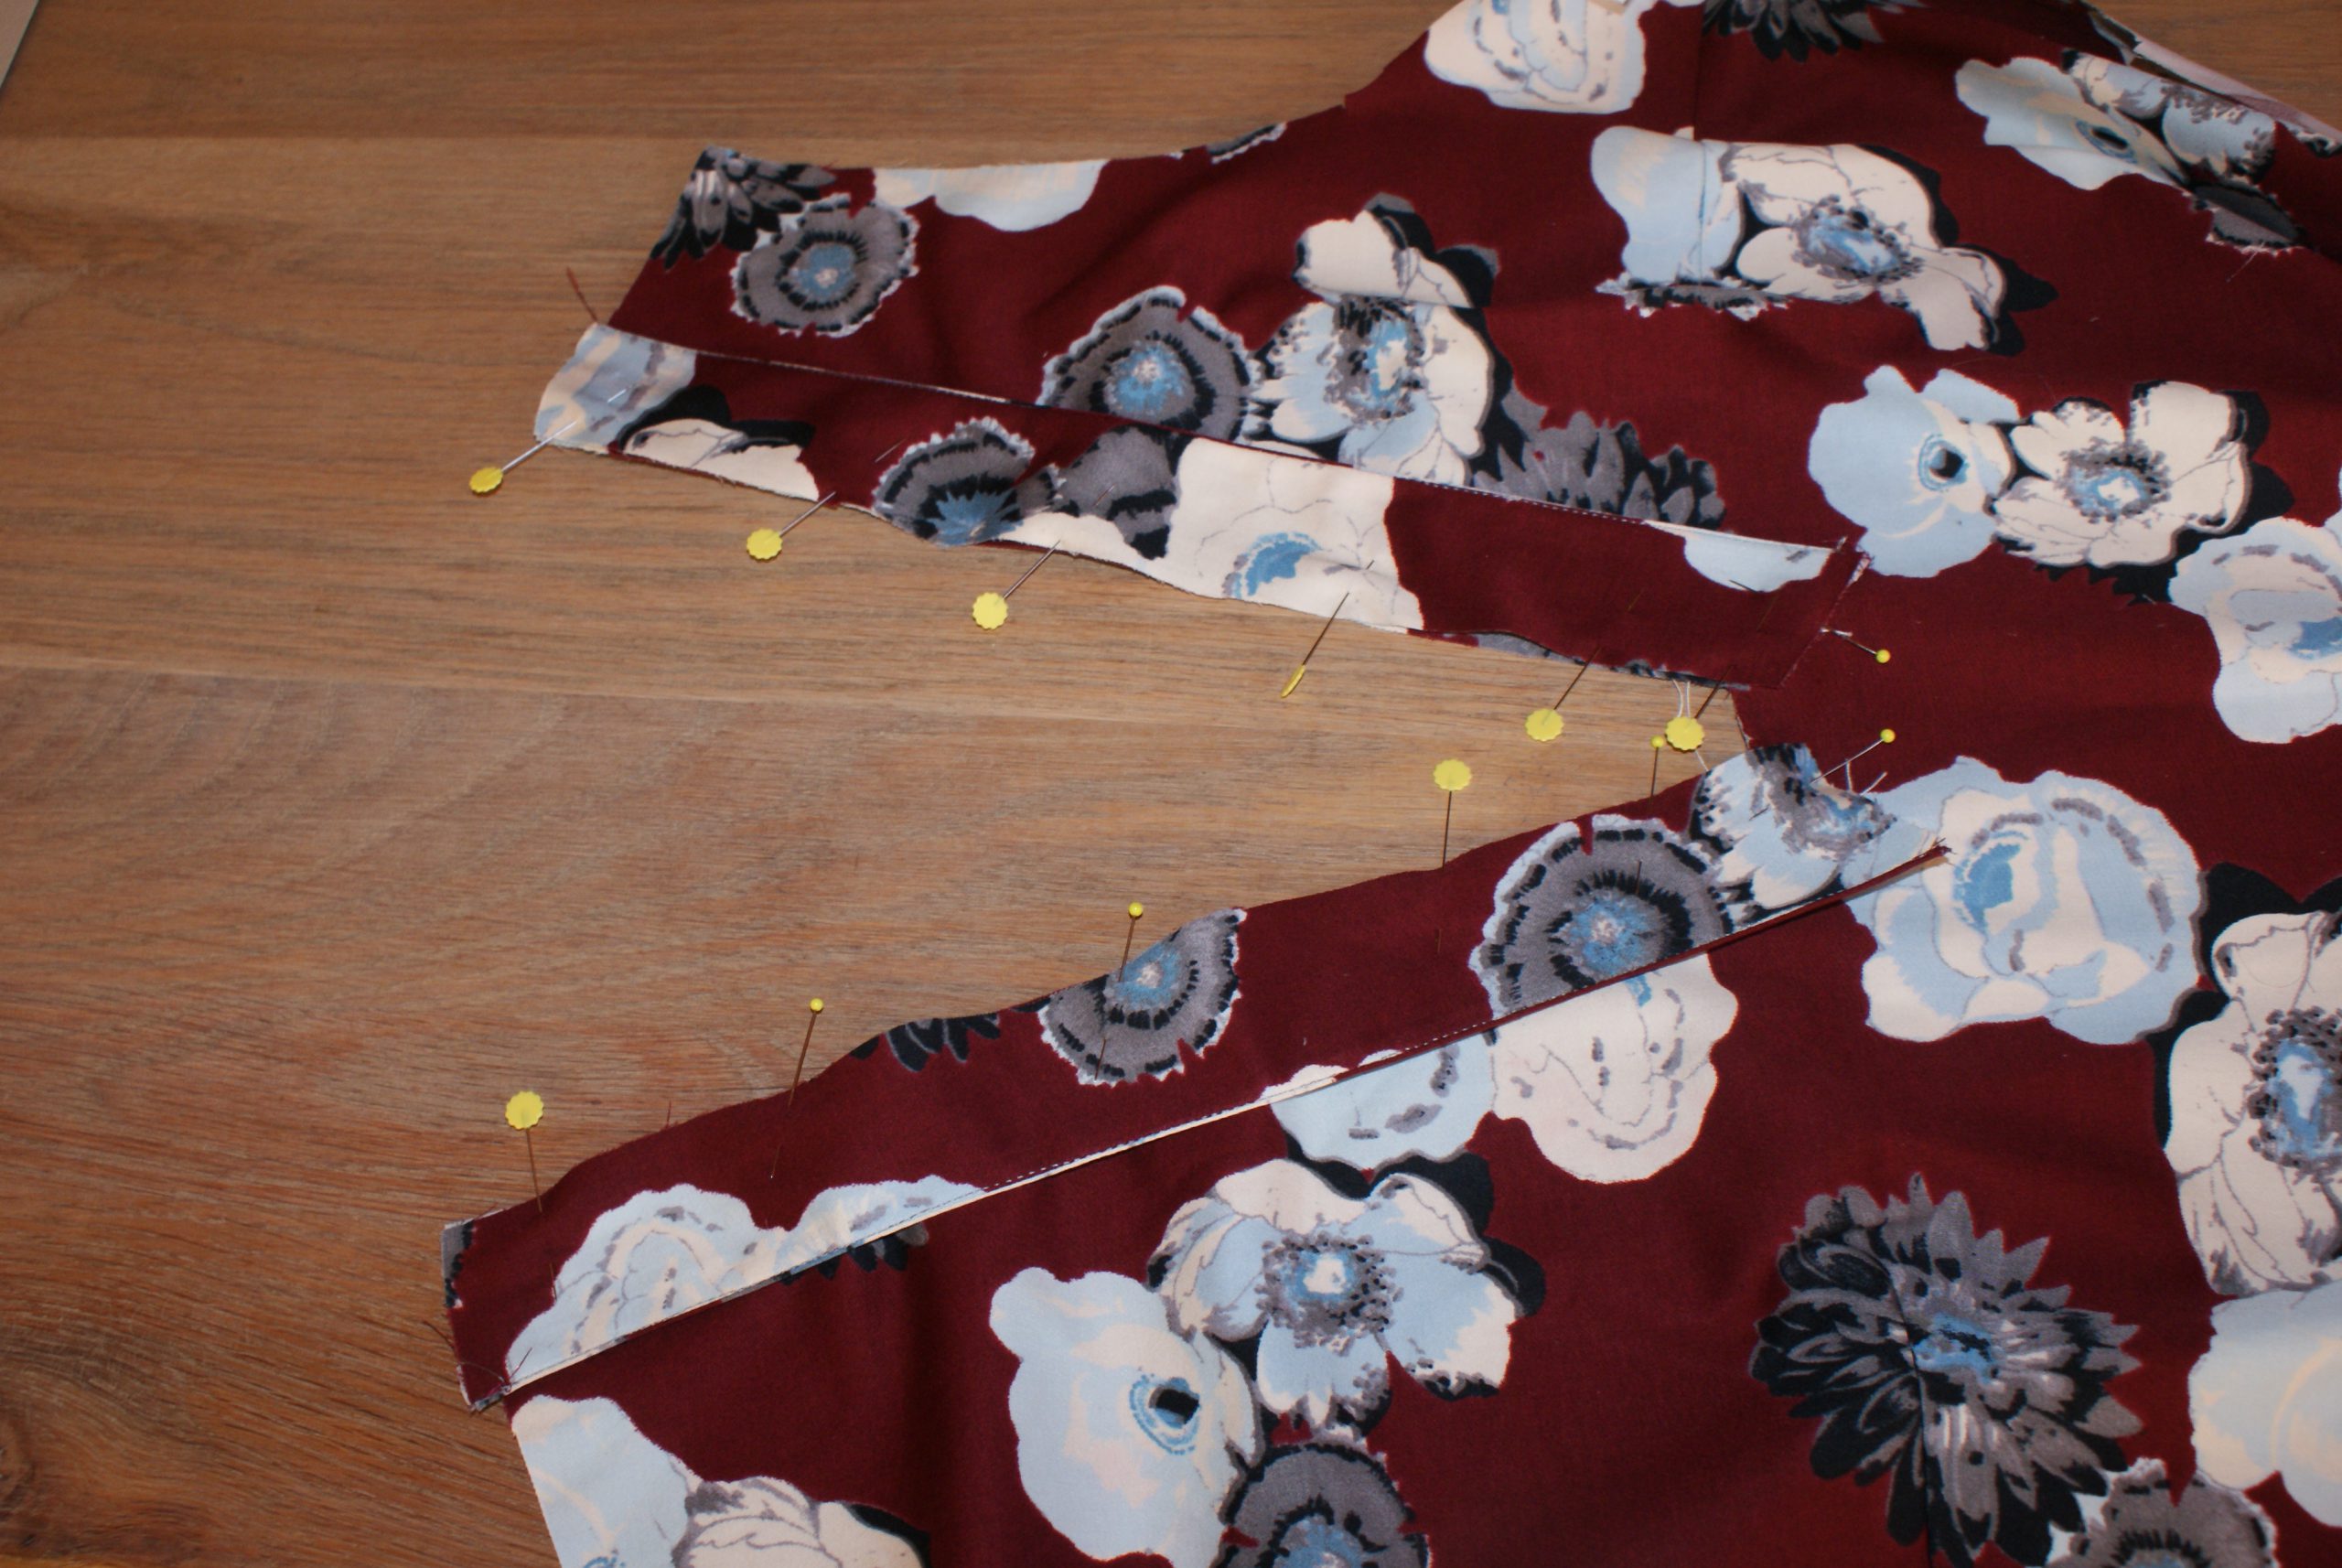
Pin right sides together and sew the borders 2 by 2 (only the neckline side).
Fold open and iron. Toptstich the seam. It is easy with the Edgestitch foot # 10


Topstitch the neckine for the blouse Aïda.
Sew the neckline to the blouse. Take care for an EXACT stop in the notches.
Pin the neckline right sides together to the blouse.
Match the size of the neckline to the opening in the front panel. Cut the seam allowance in towards the notches..
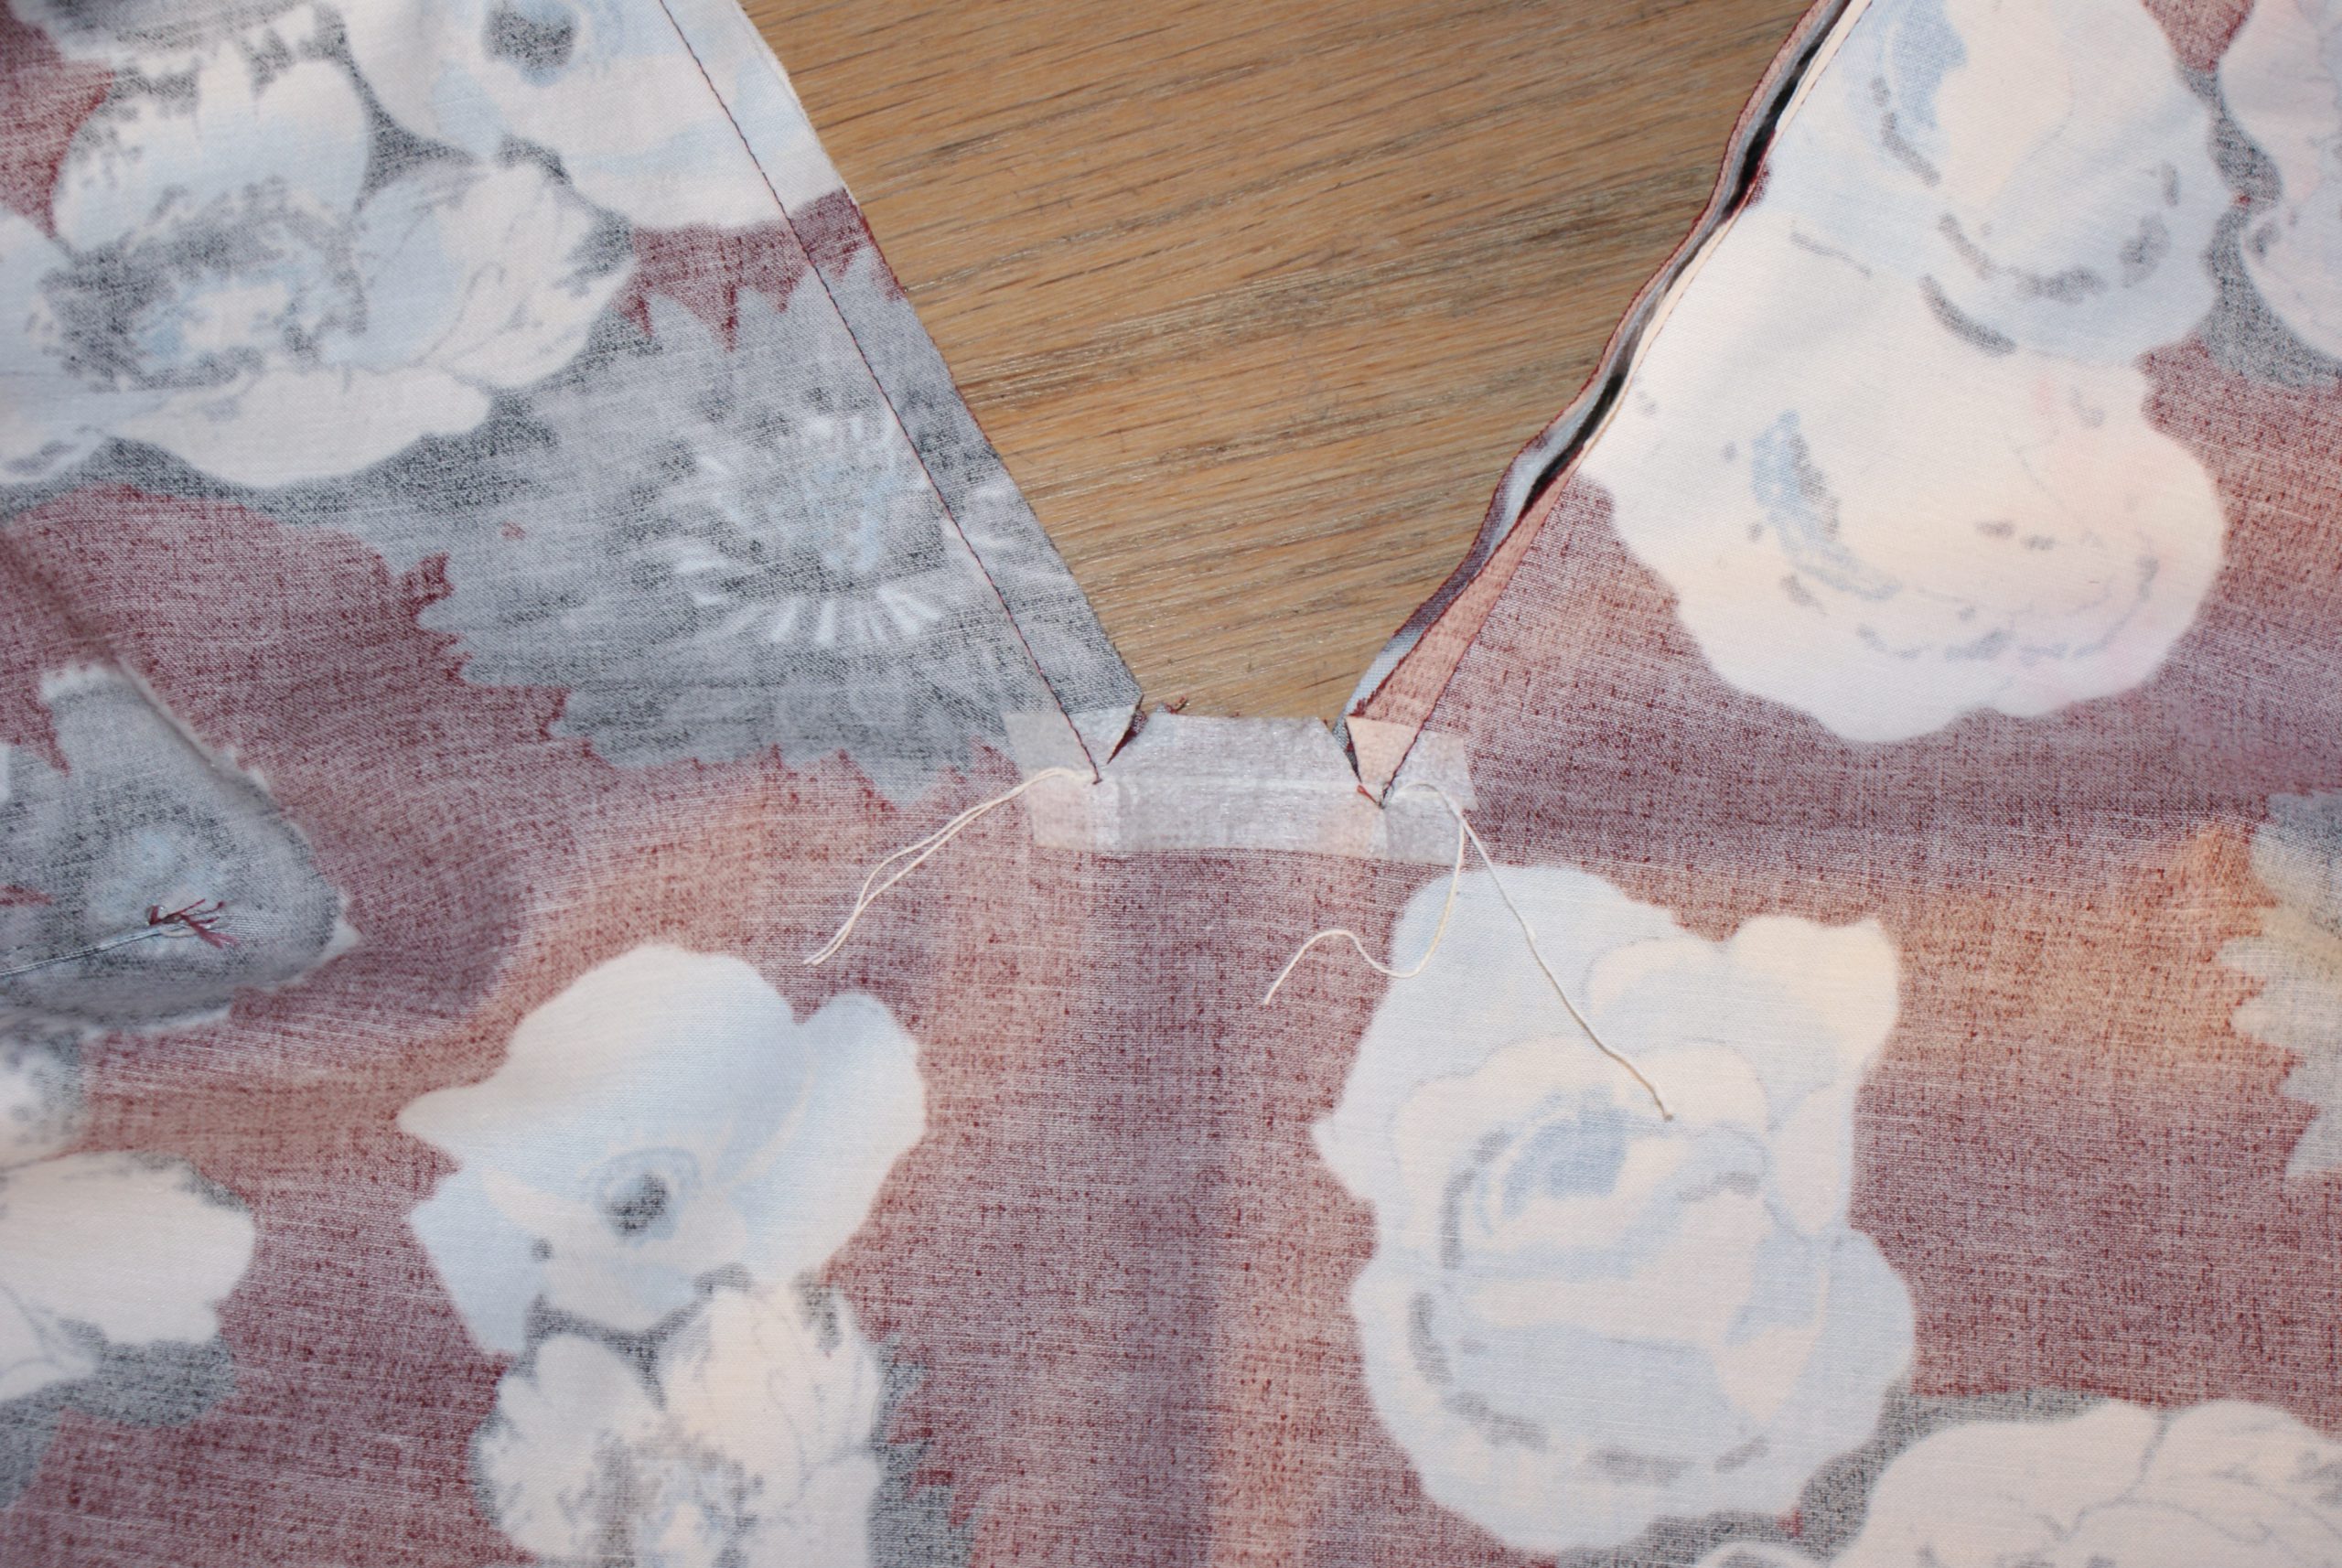
Be very careful while cutting. Stay away 1 mm from the notch.
Fold the neckline to the wrong side, position the right one on top. Iron to stay in place.
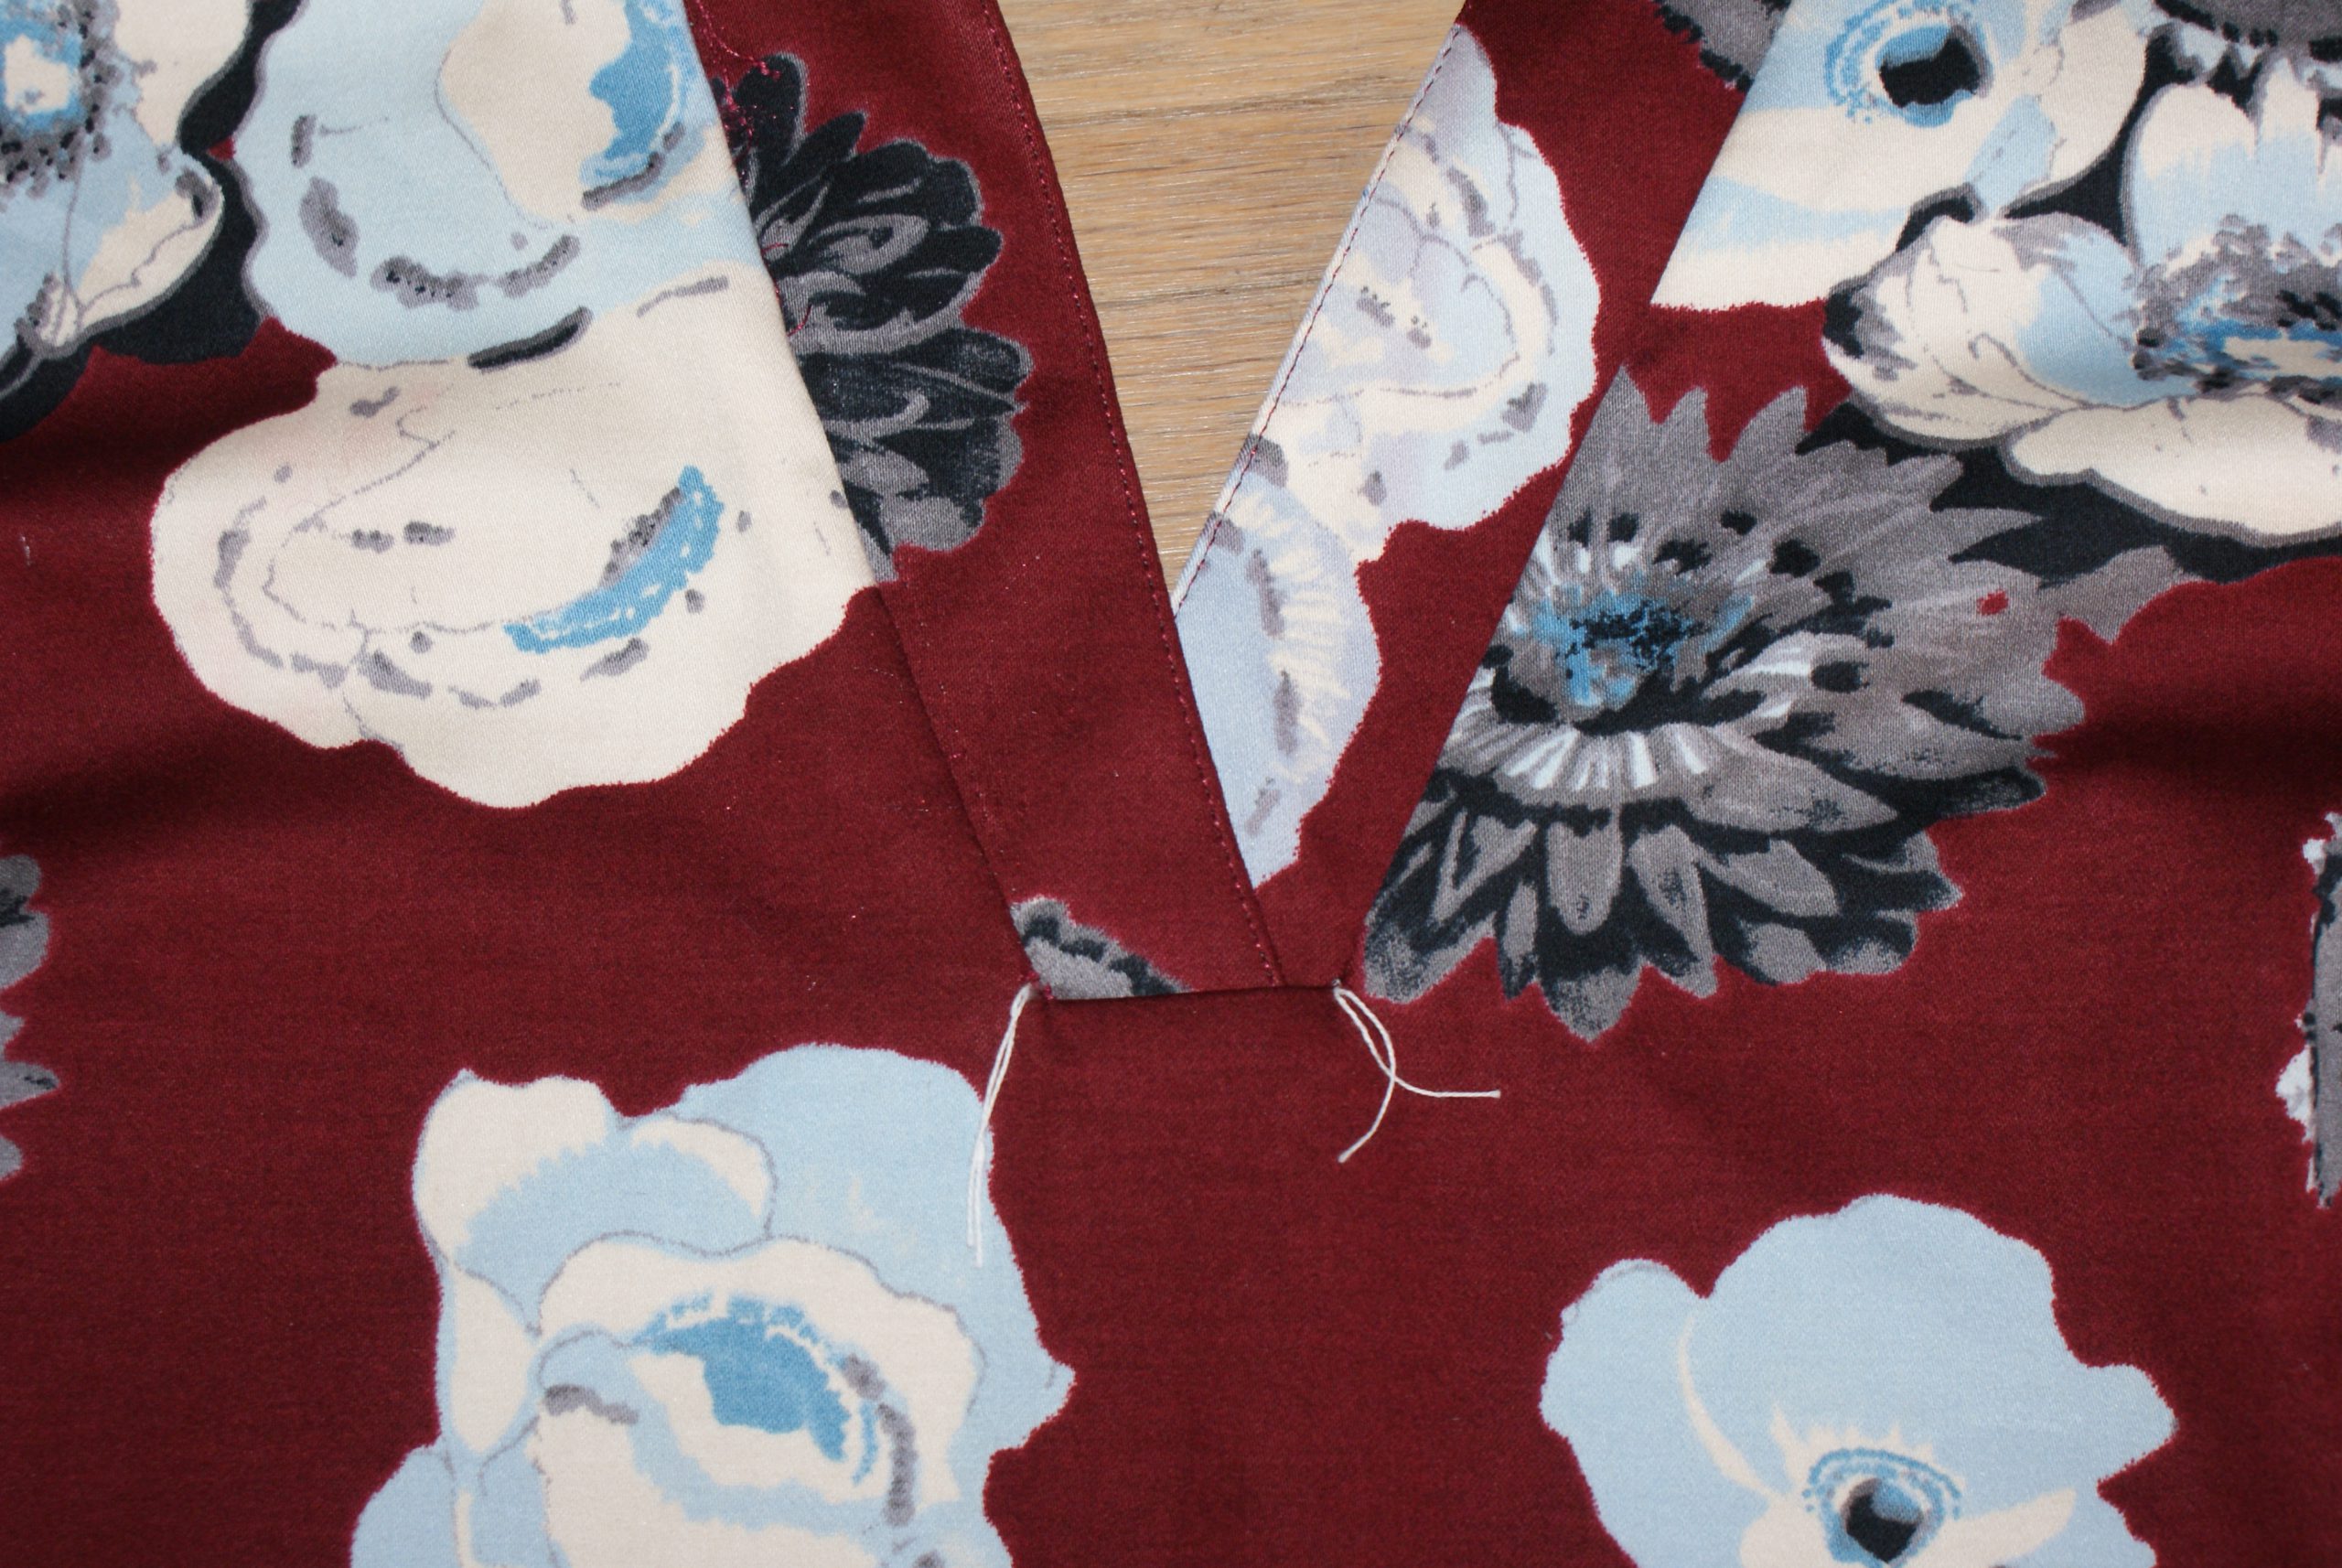 Fold the bottom part of your front panel up, there is a little seam between the nutches that is to be stitched. Sew exactly from notch to notch.

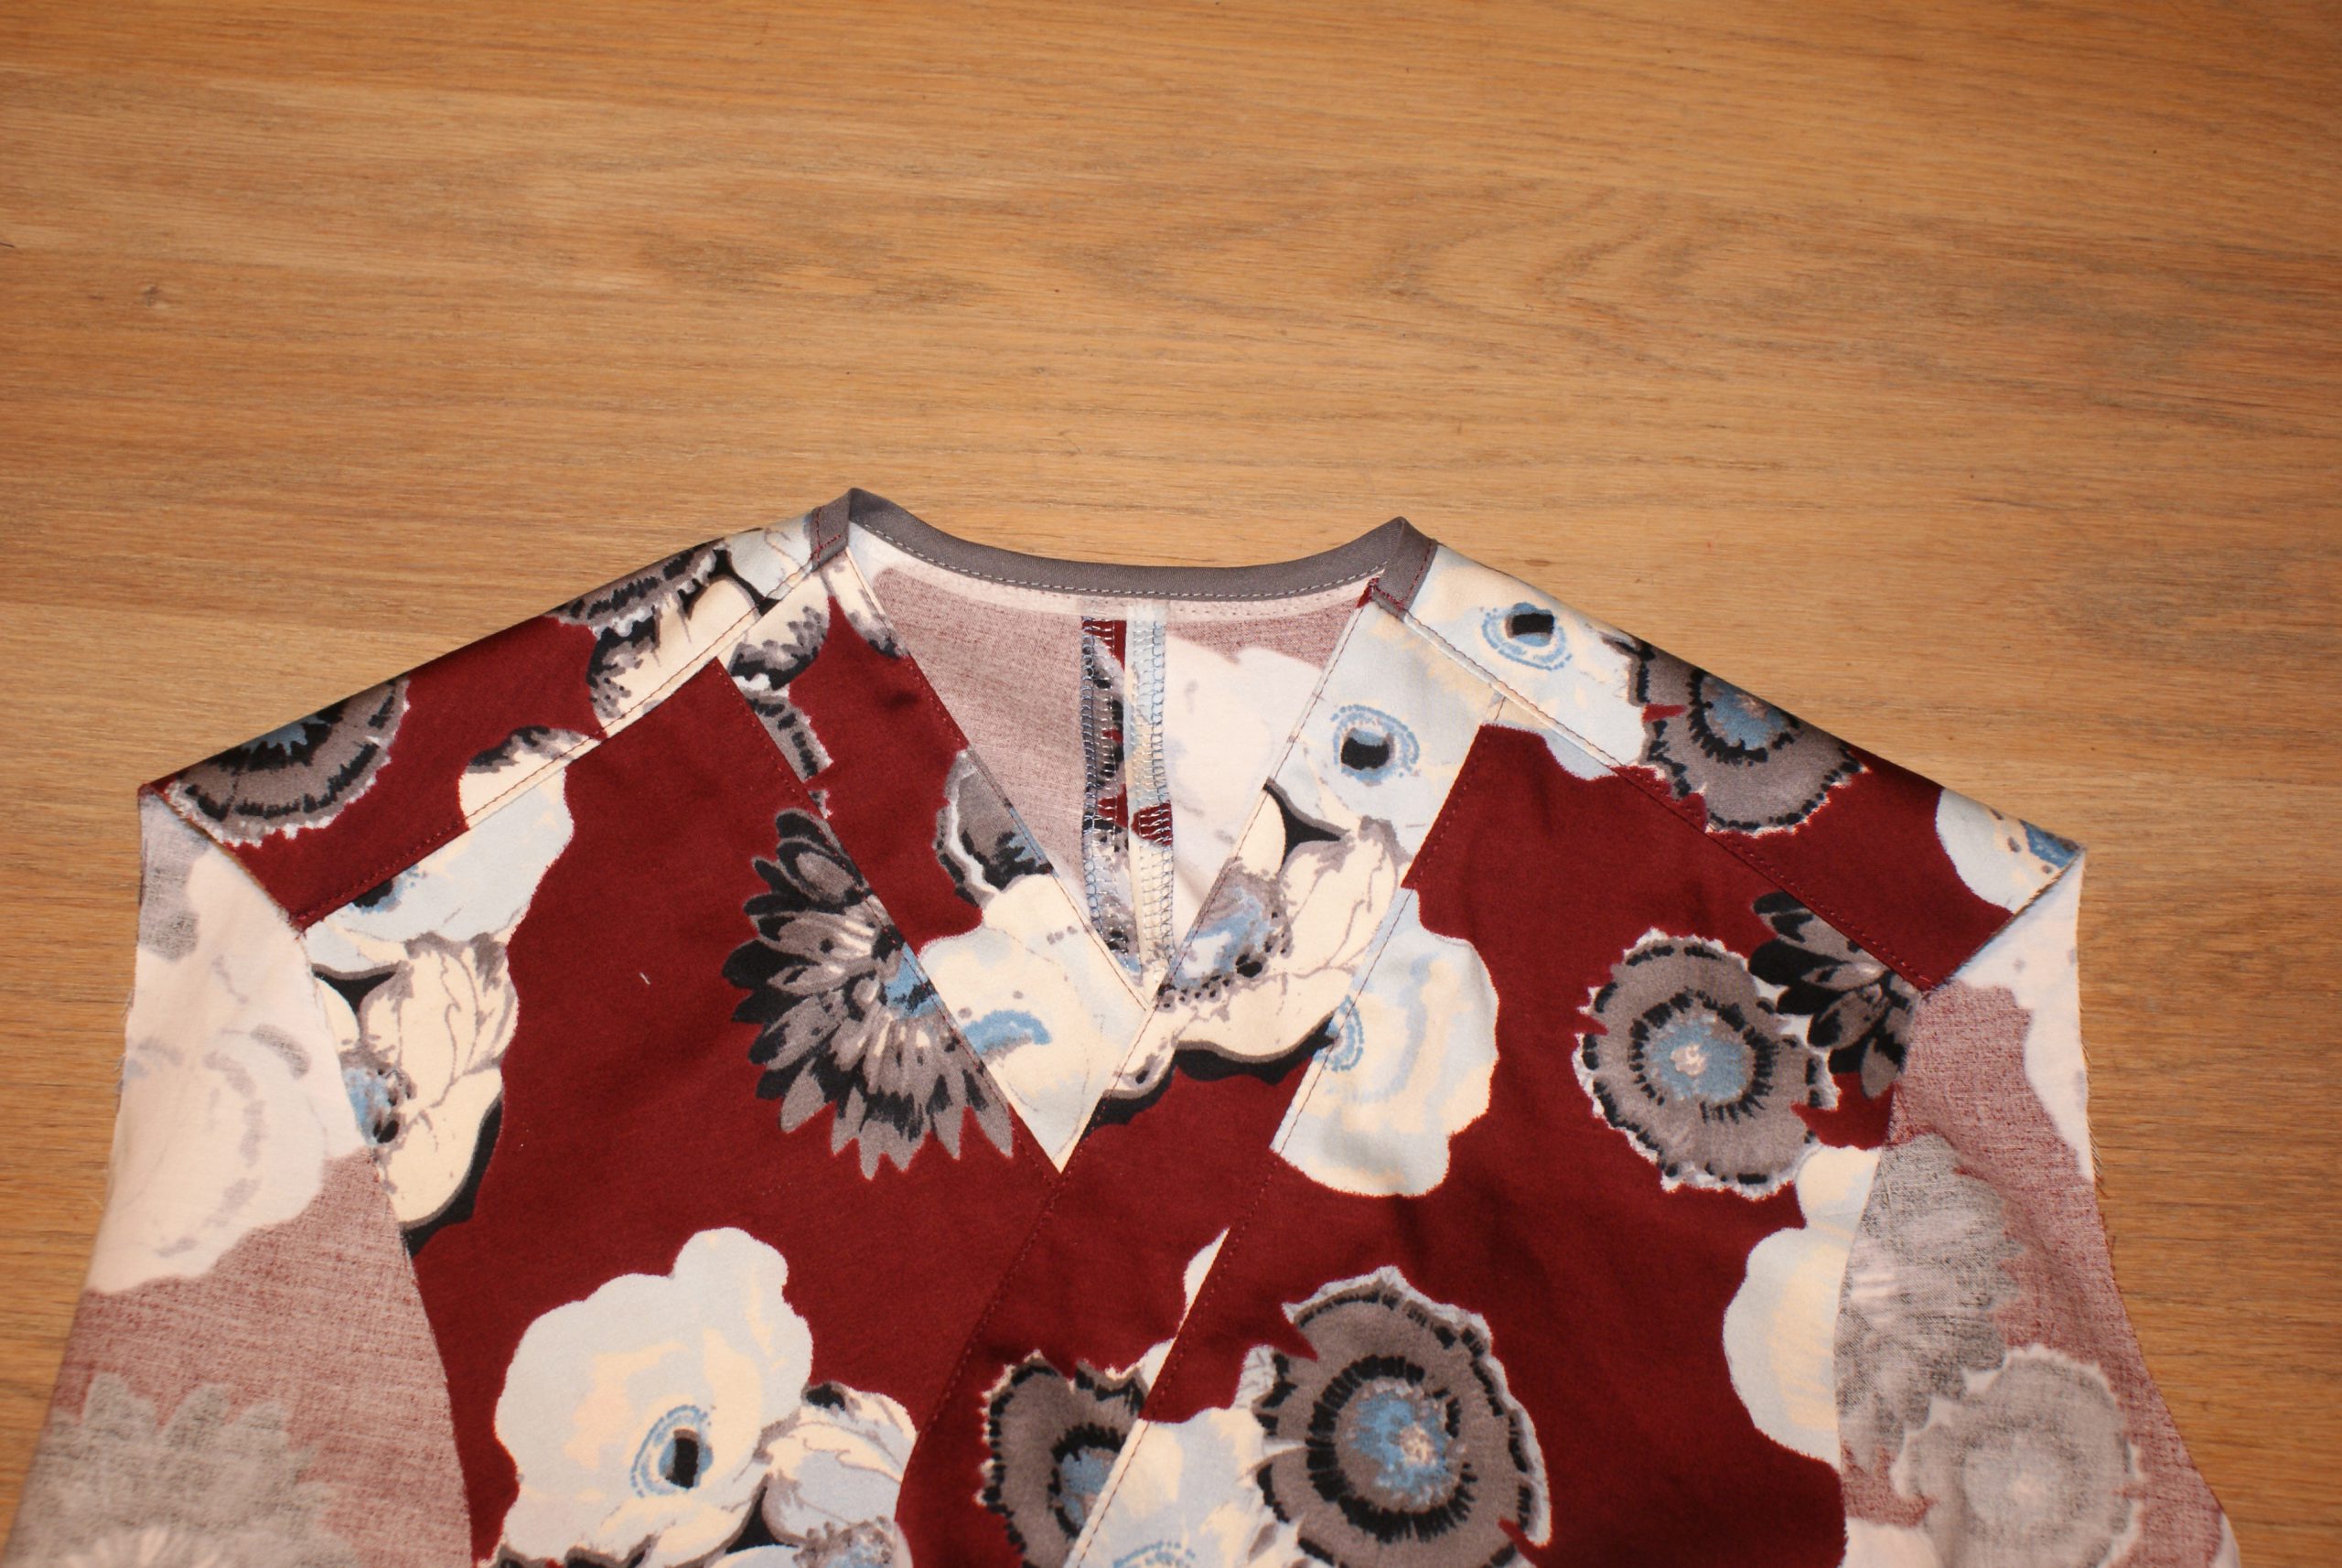
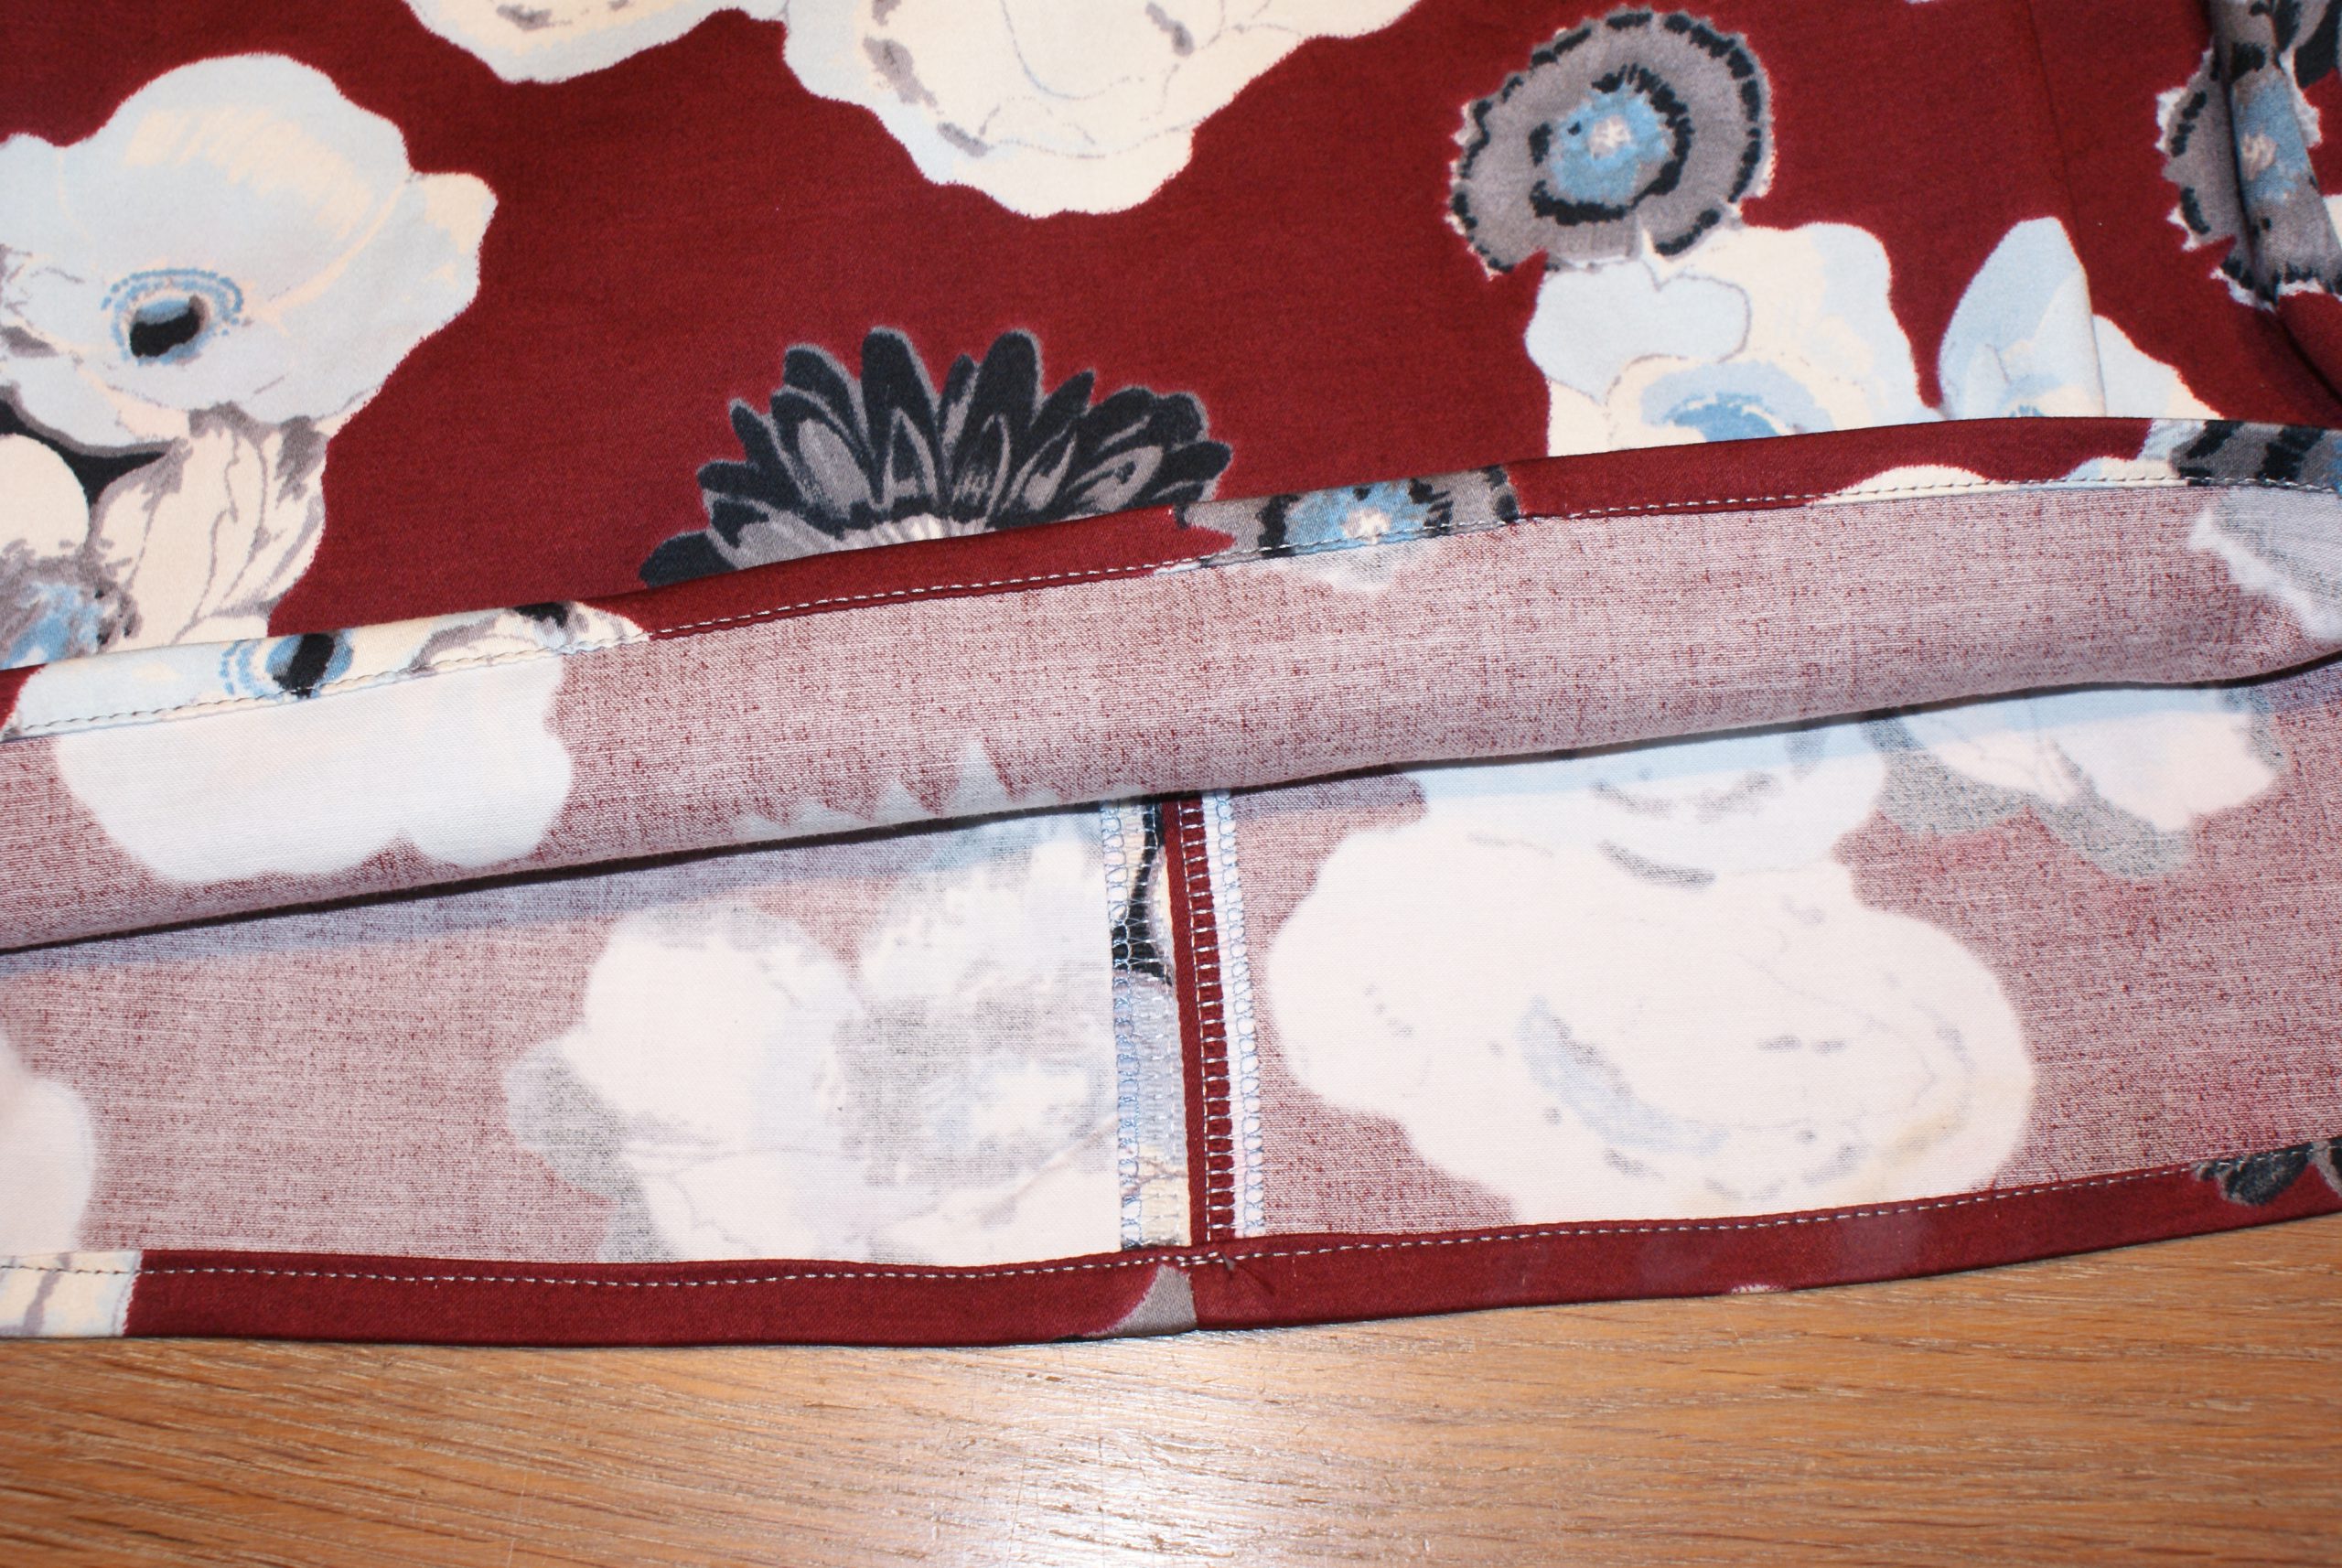
Iron, overlock the seams and topstich along the seam.
Now the shoulders and sleeves:
Sew the shoulderseam: pin right sides of back and front panel right sides together, sew and overlock. Fold the shoulder seam to the back and topstitch.
 Sew the sideseam and overlock. Overlock the bottom seam of the sleeve, close the sleeves and overlock.
Divide the bottom part of the sleeve in four.
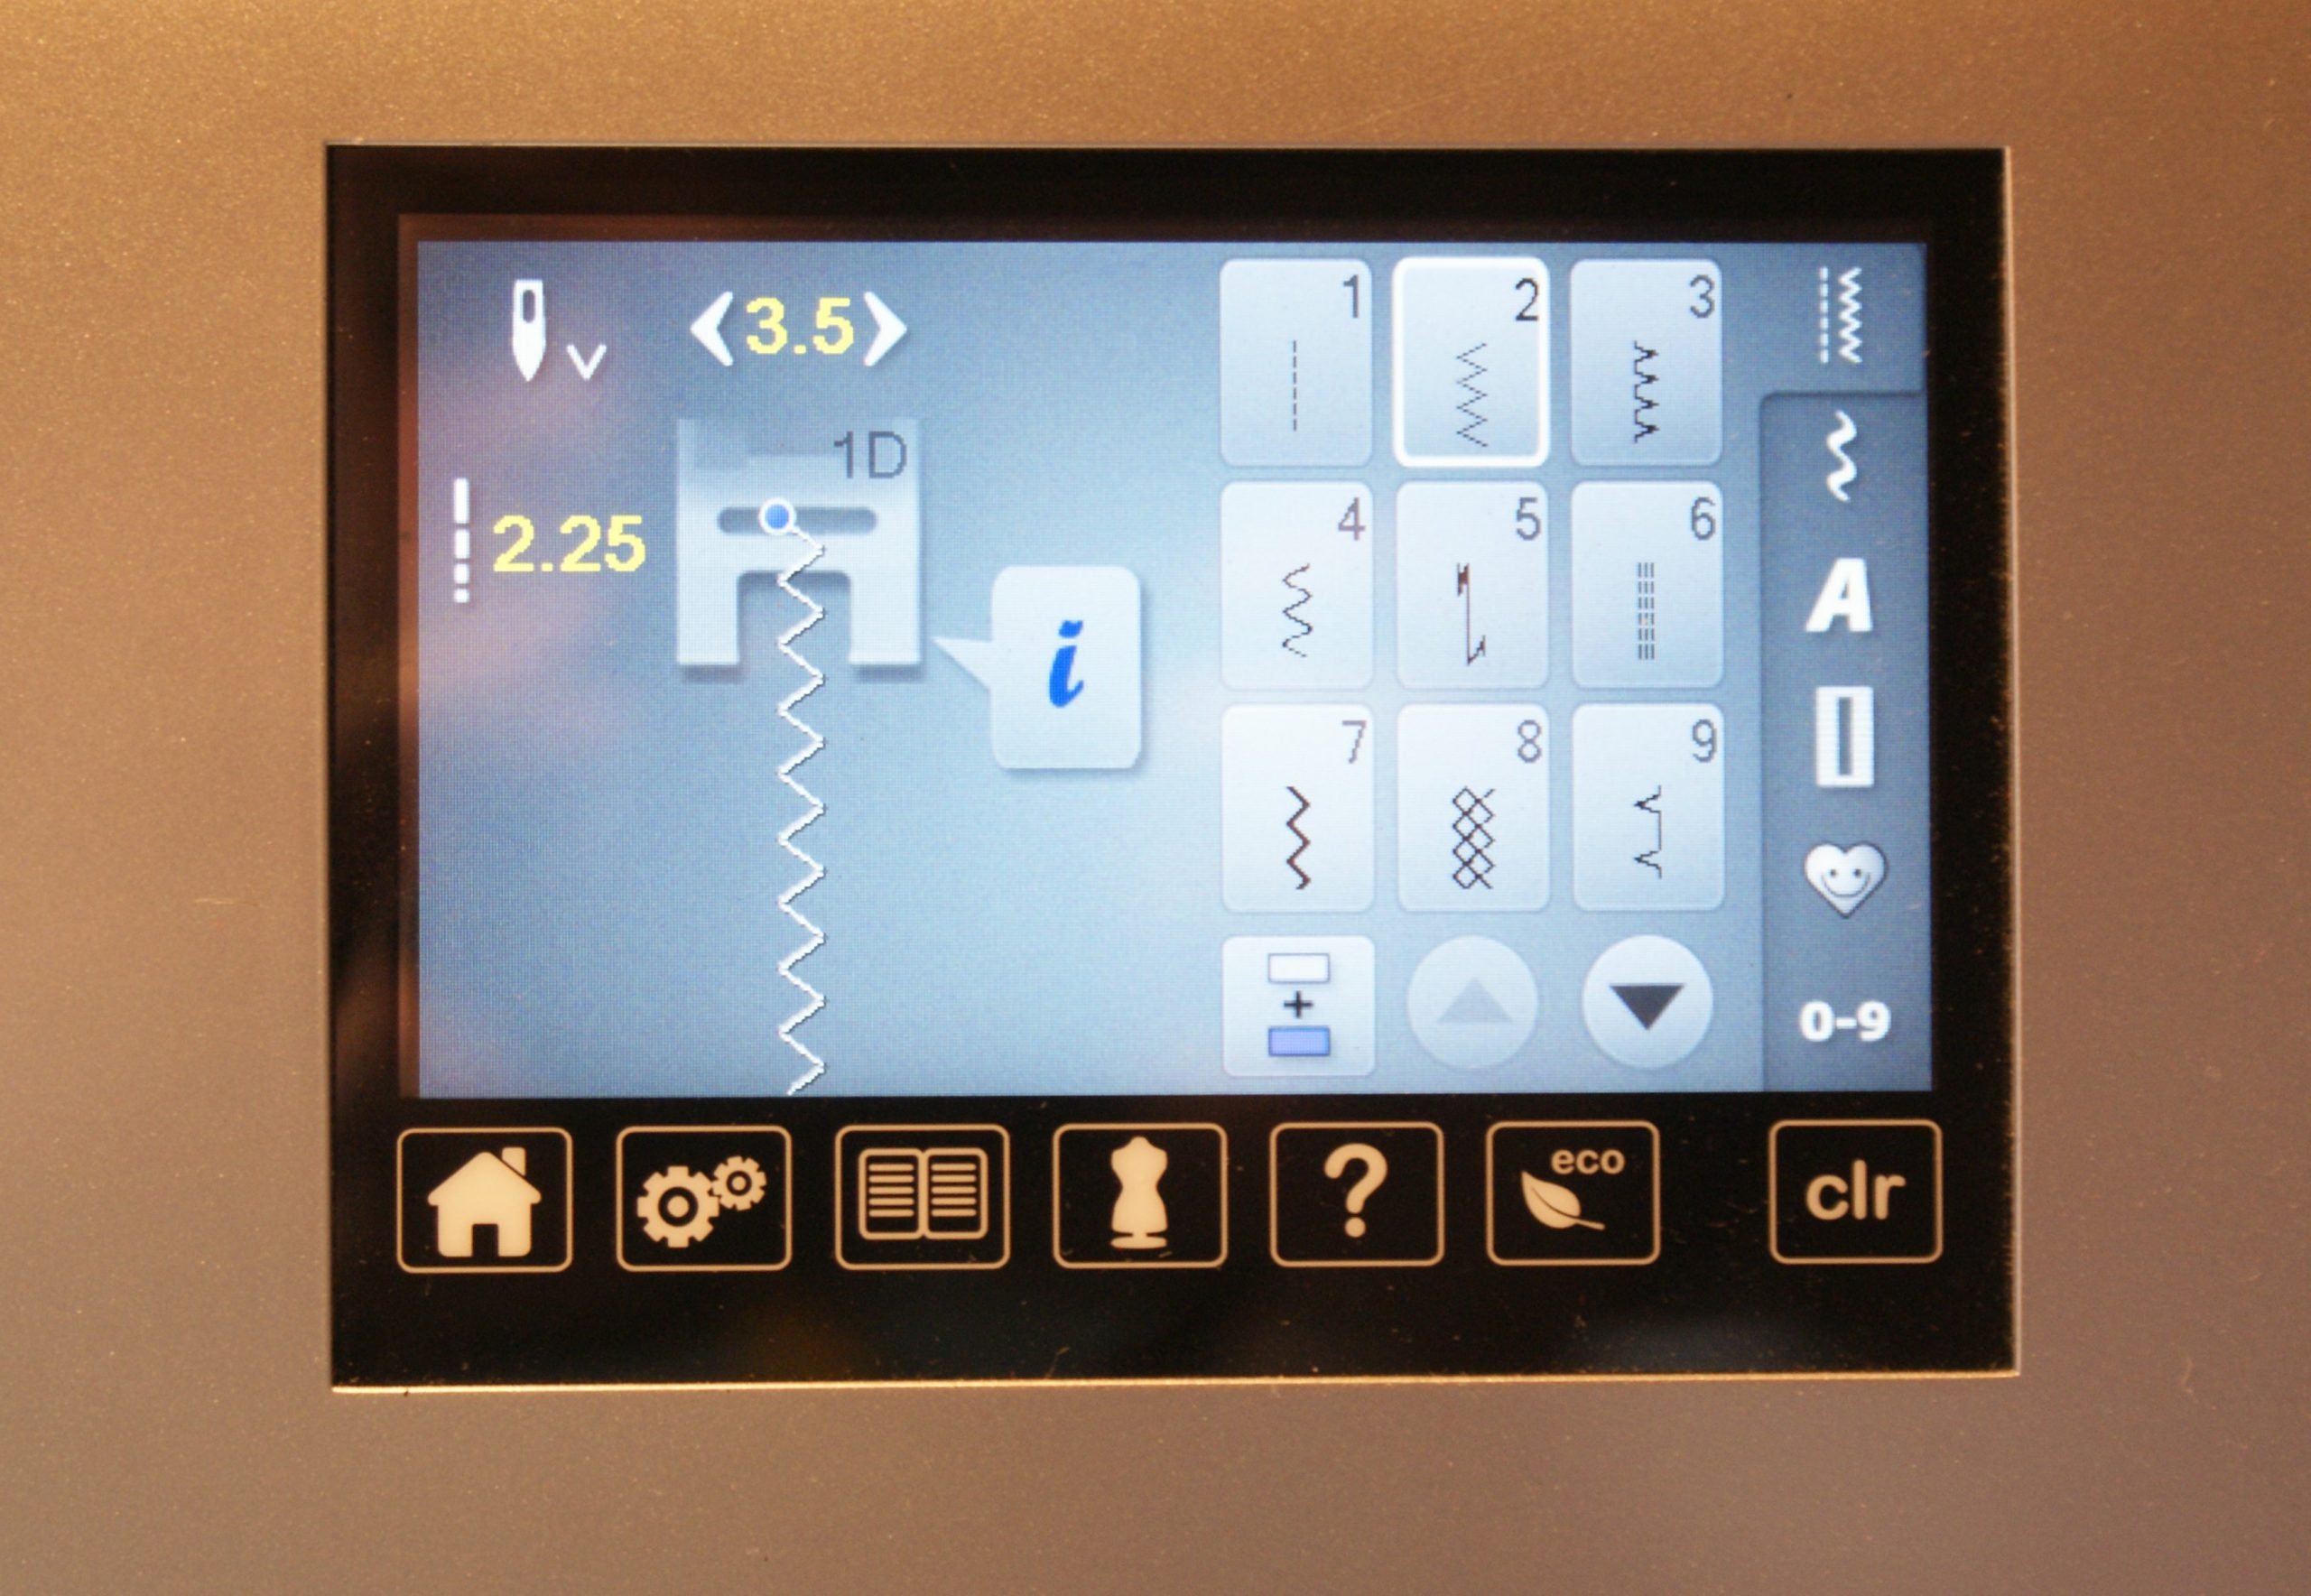
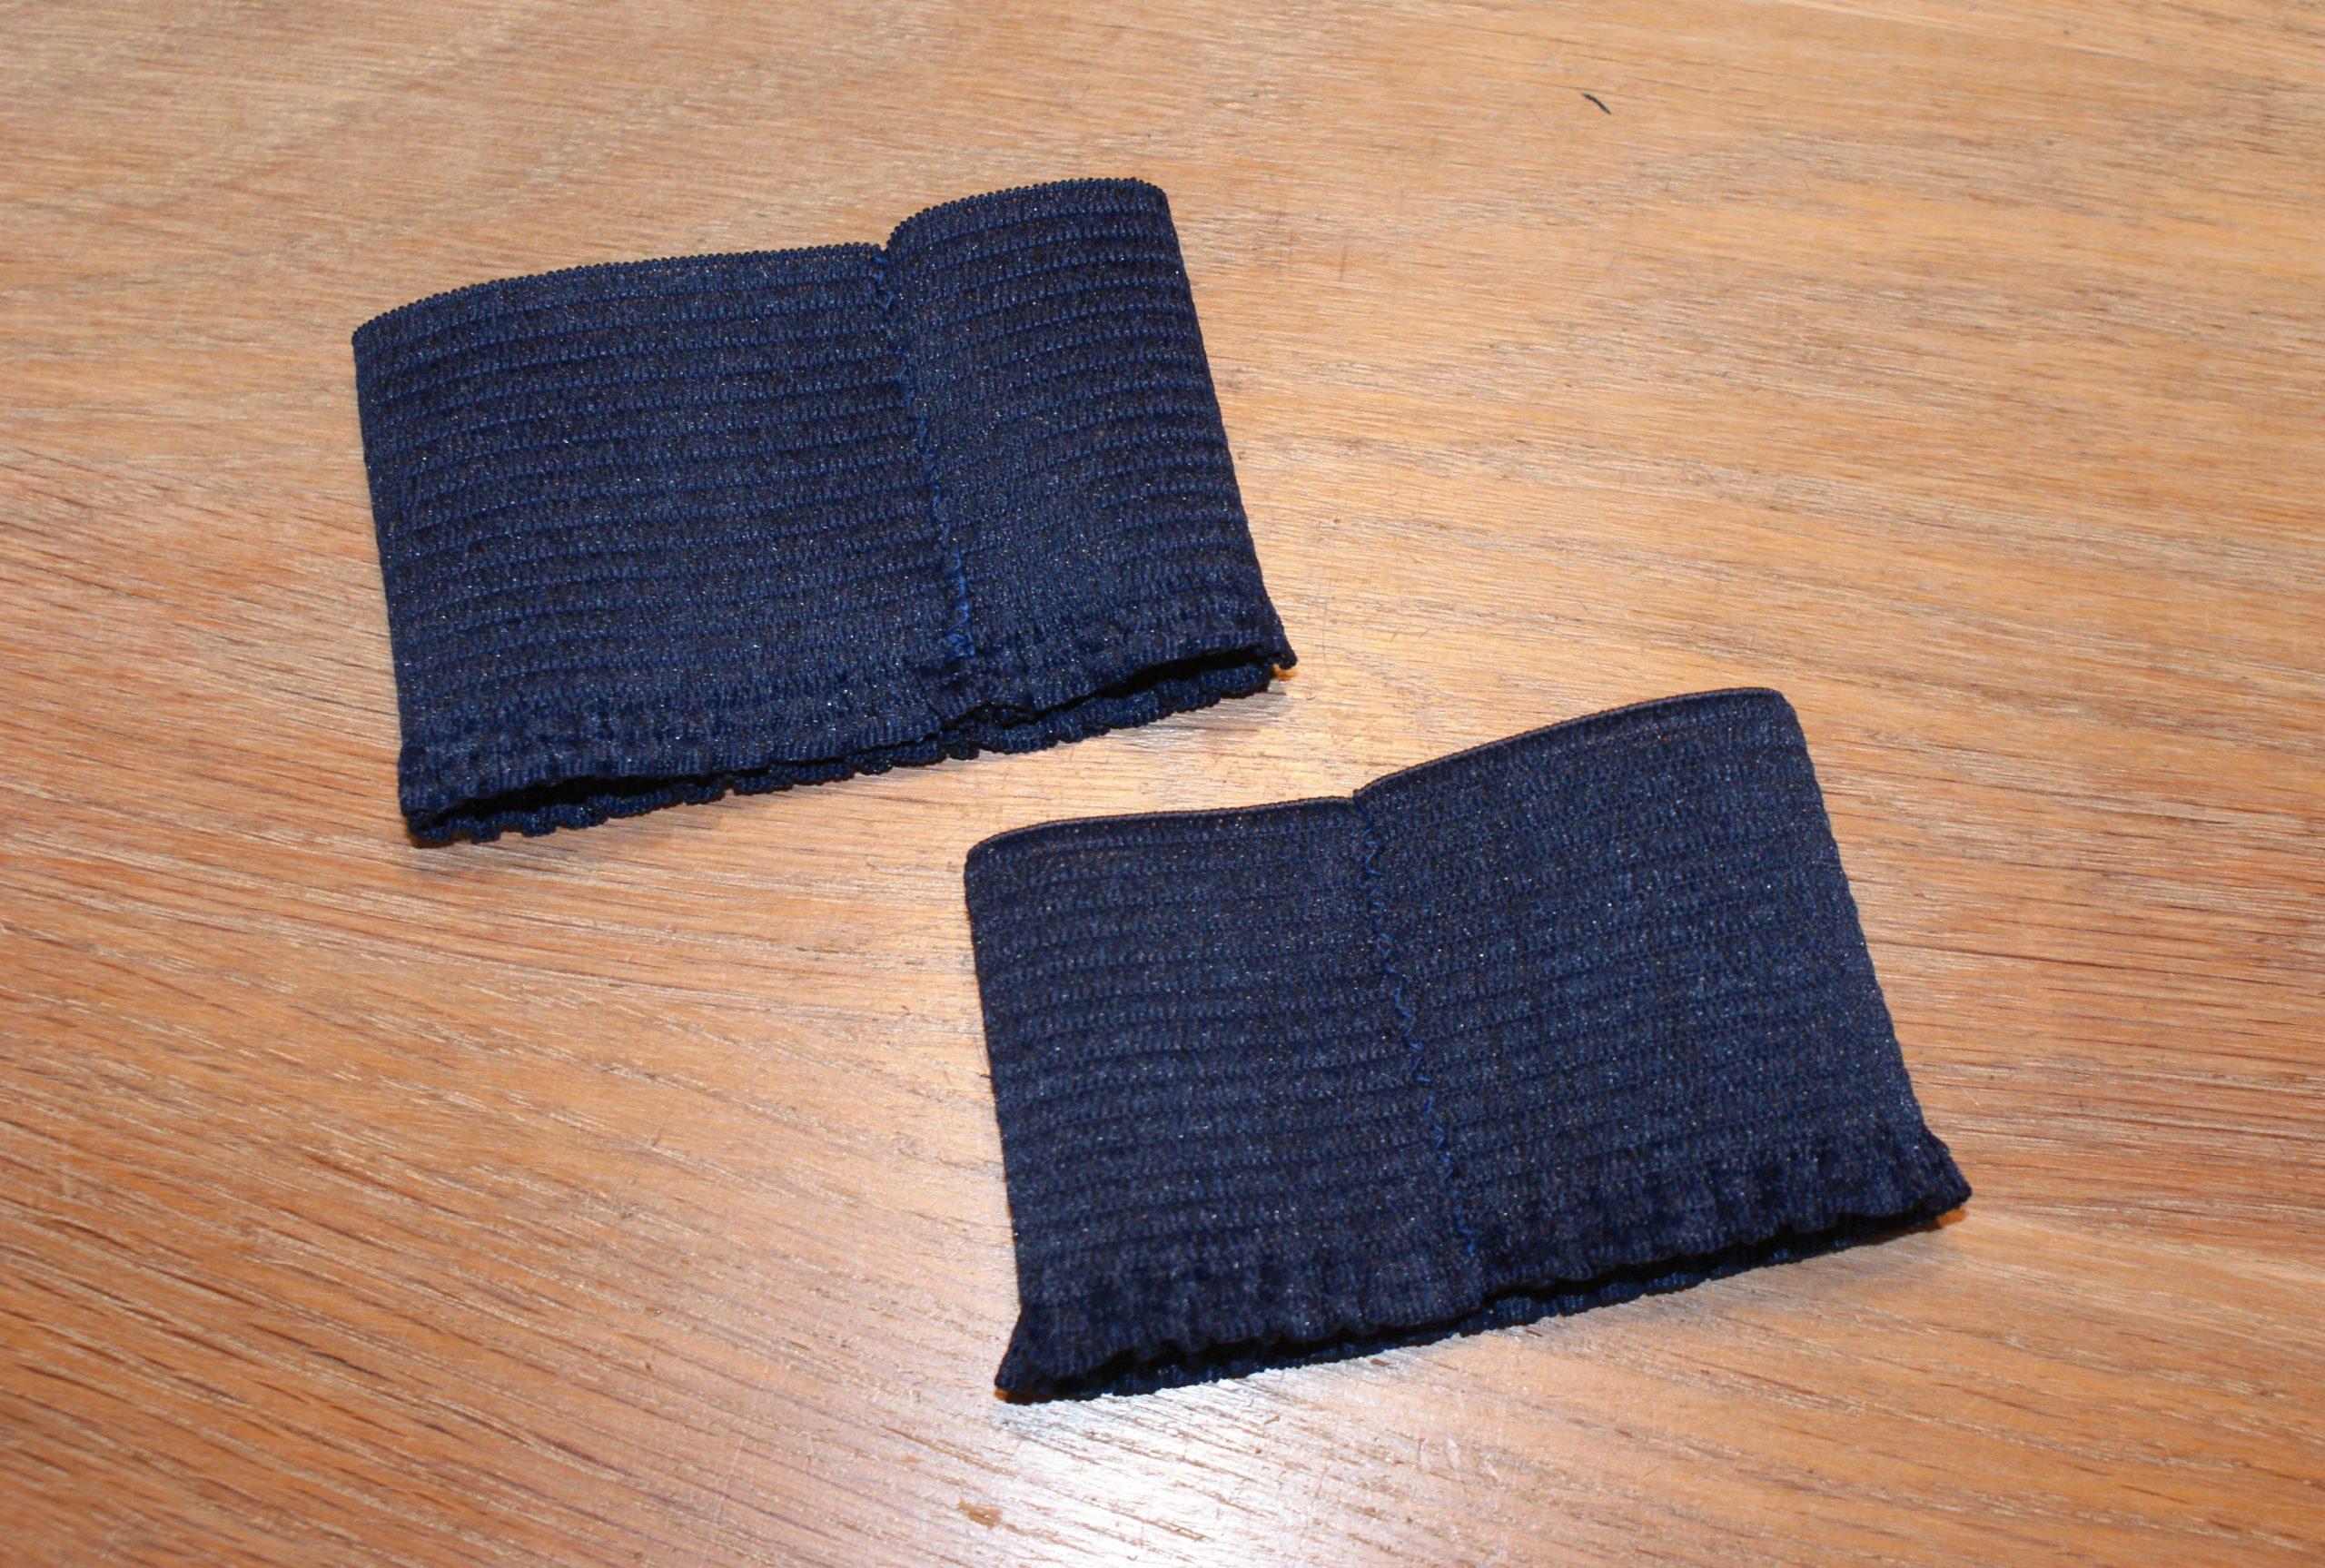
Overlock or zigzag the edges of the elastic. Close the elastic. Topstitch with a zigzag stitch, to make the seam allowances stay flat. These were my settings:
 Divide the elastic in four and pin to the sleeve seam.
 Divide the fabric evenly over the elastic:
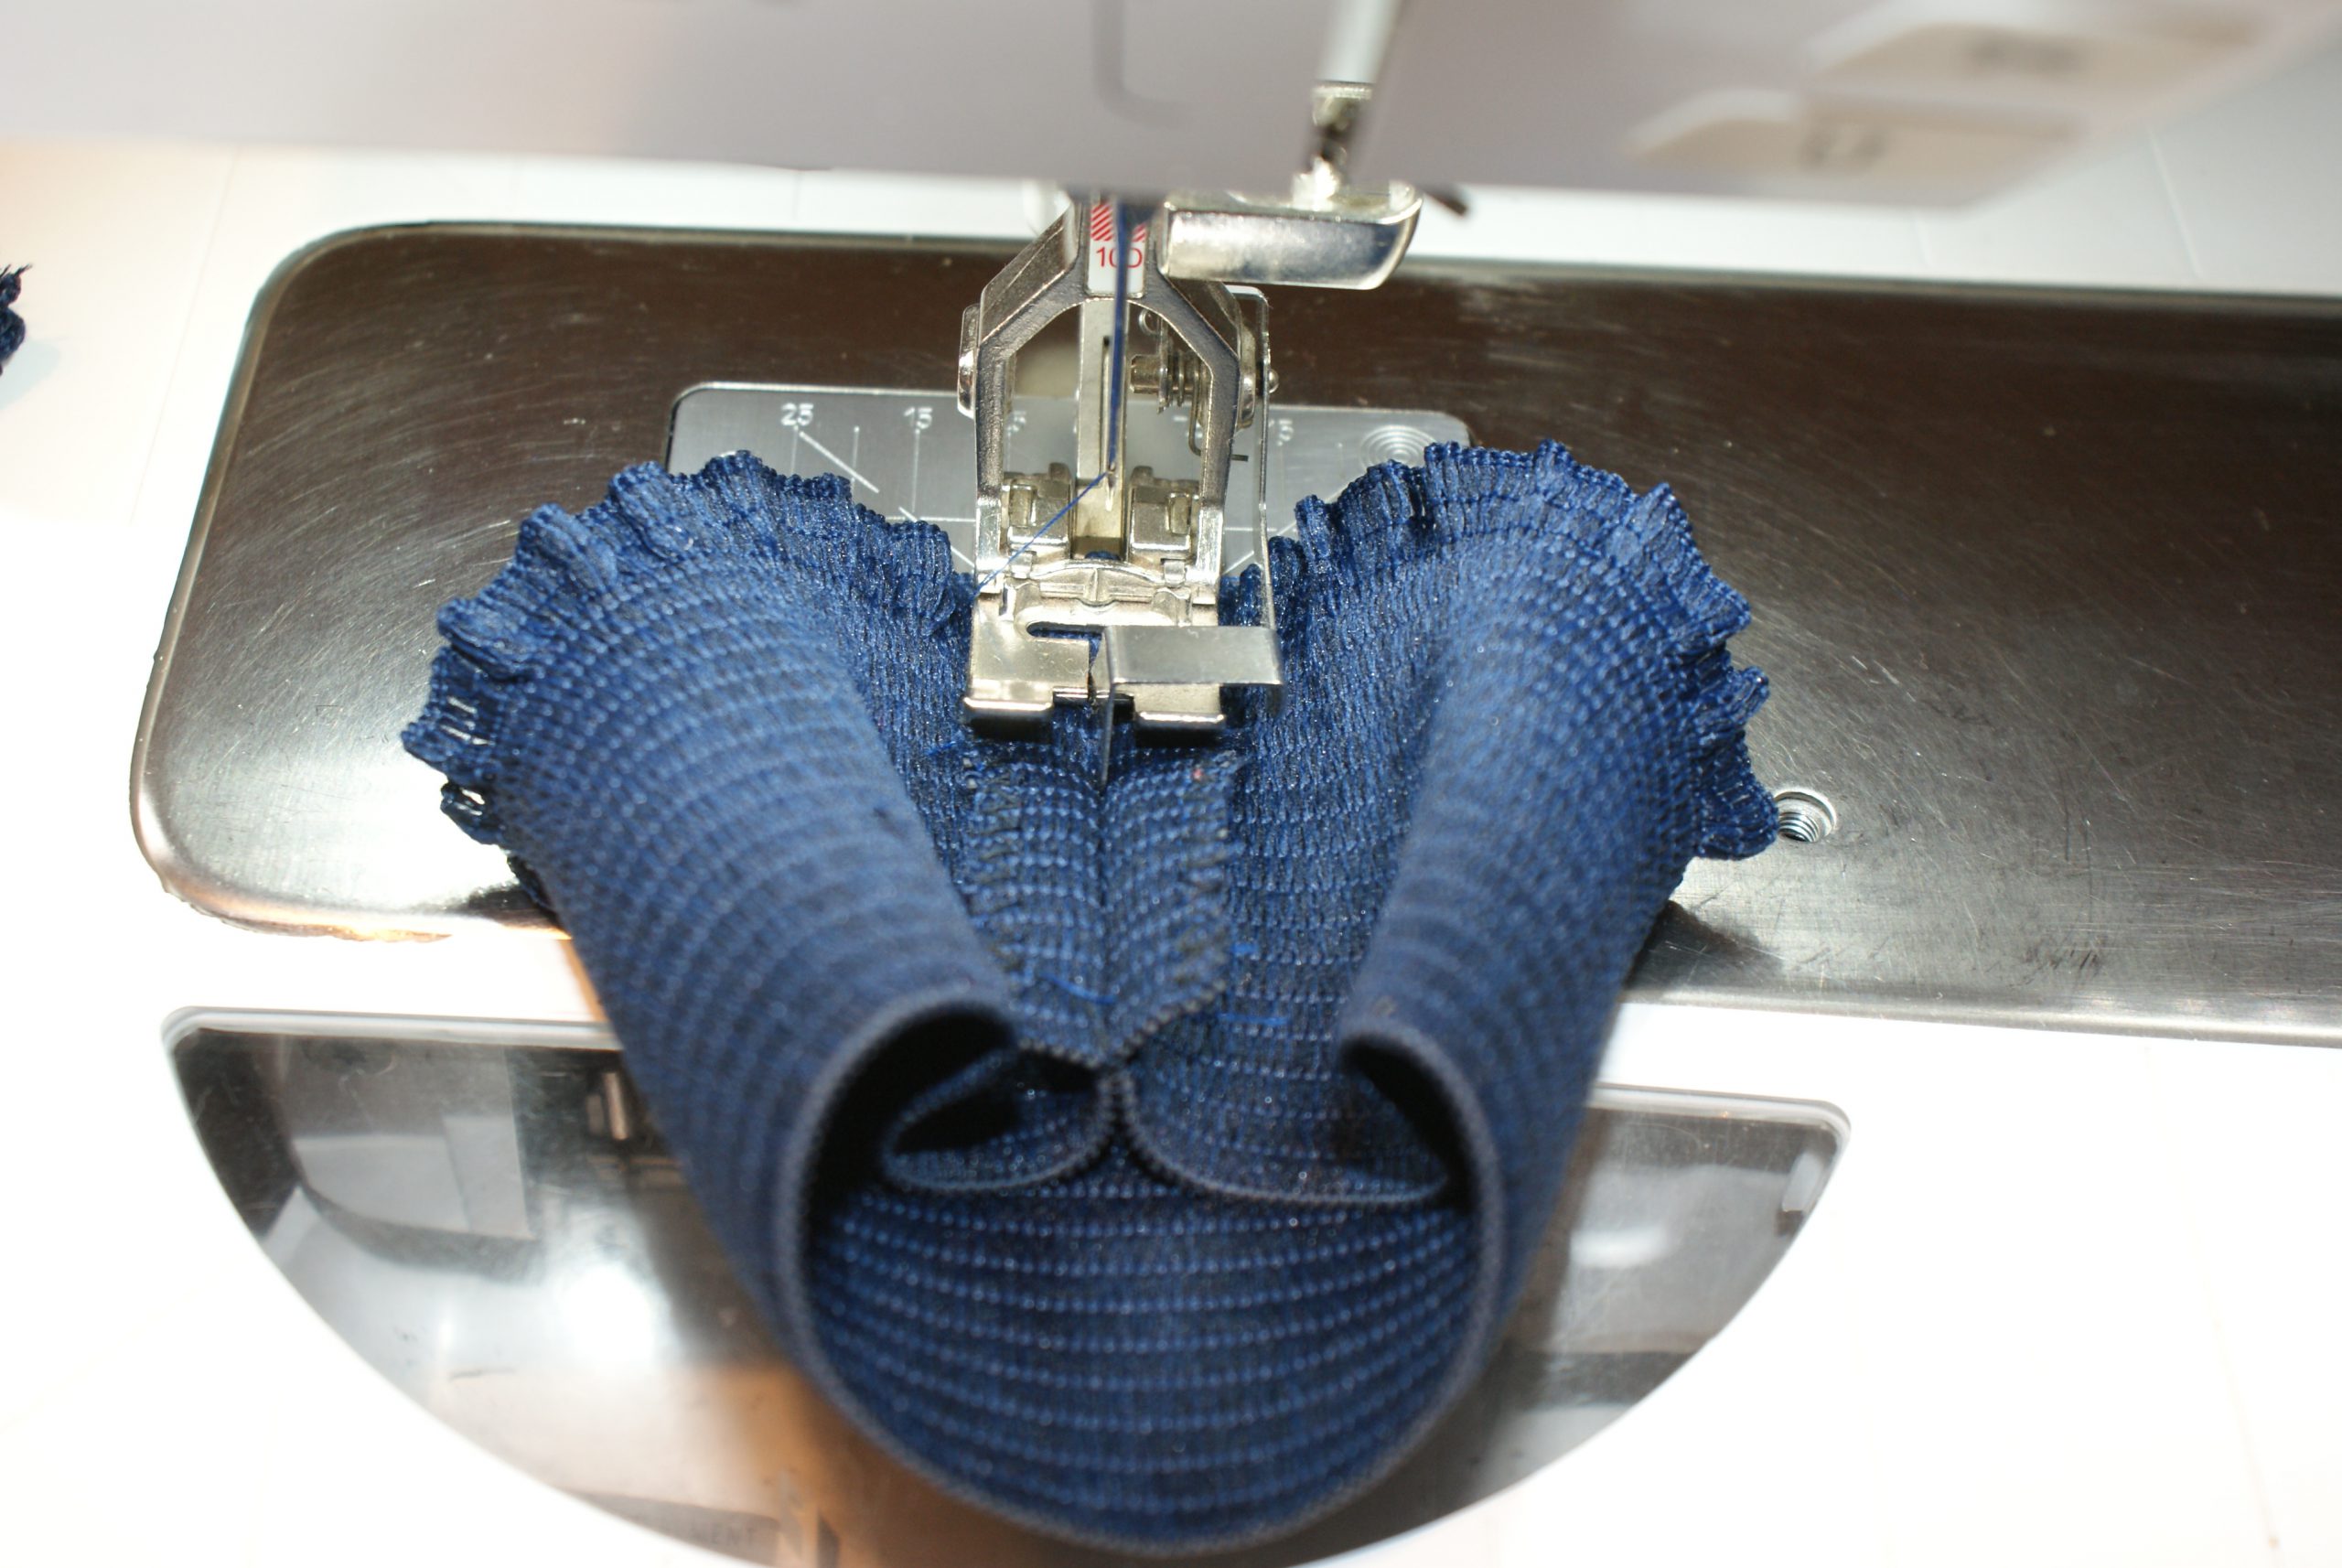
 Sew the elastic to the sleeve with a zigzag stitch. Stretch the elastic while sewing. When taking a zigzag stitch, you keep the stretch in the elastic. These were my settings:
 The elastic is attached to the sleeve:
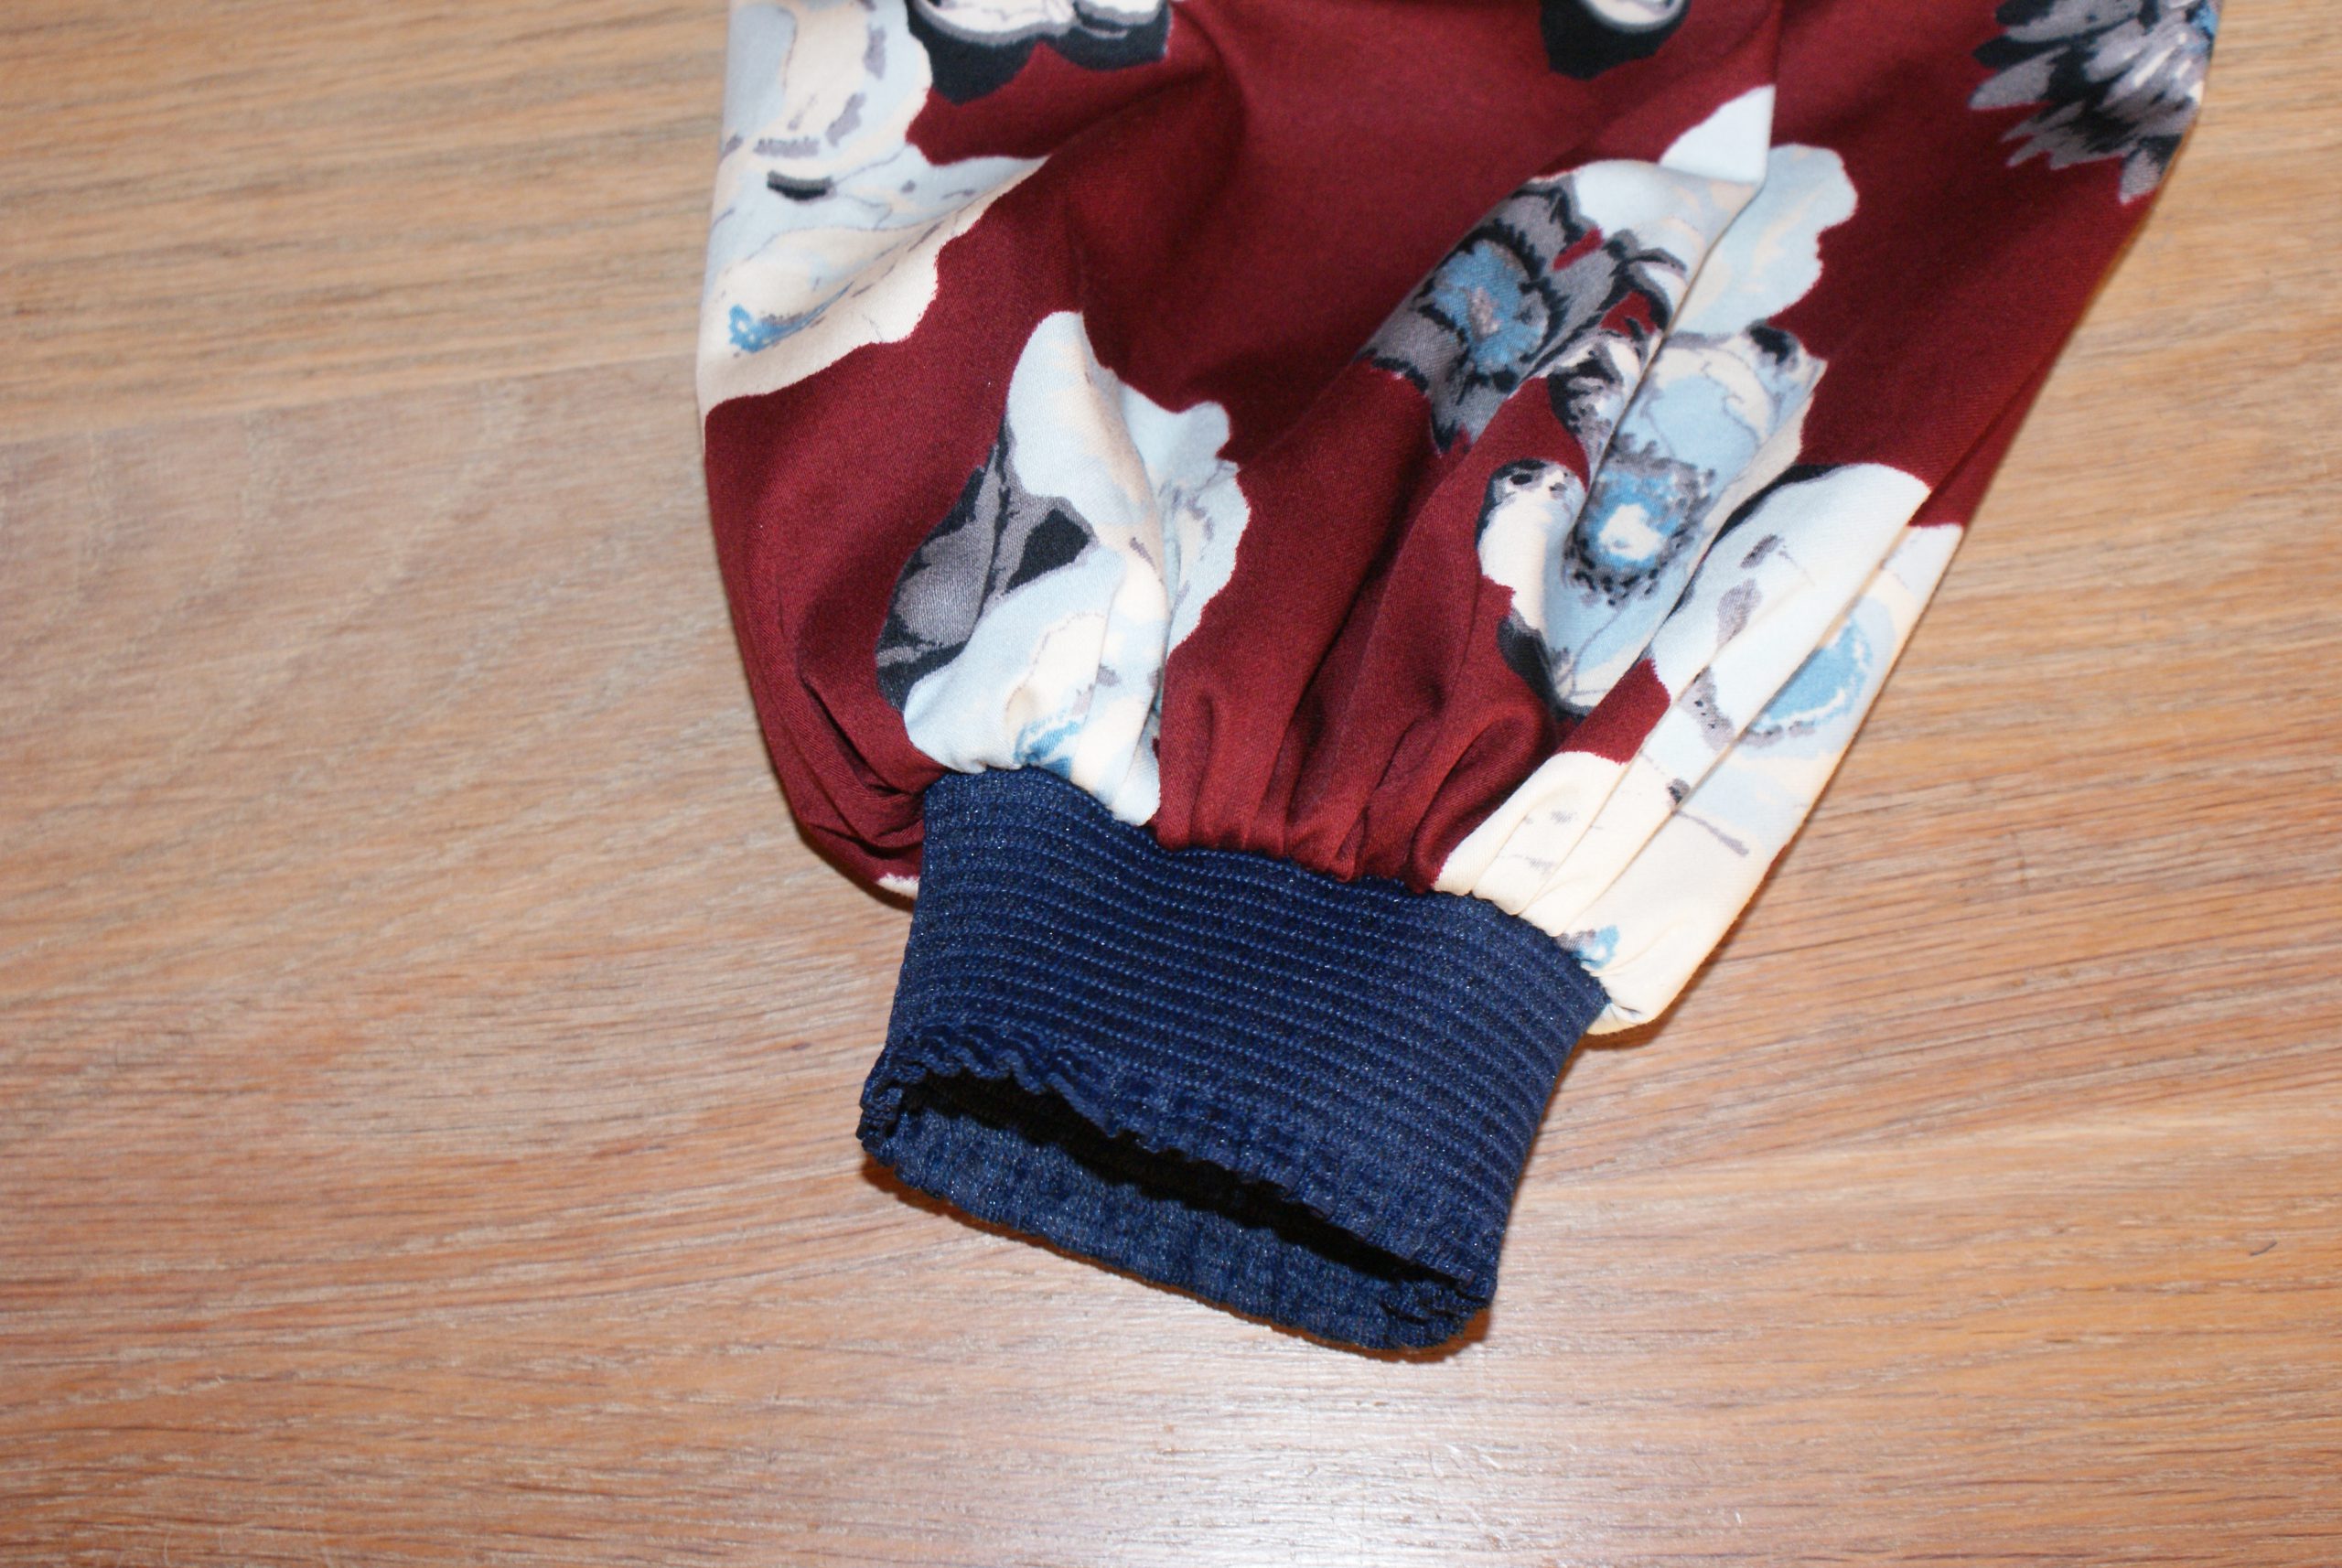
The finished sleeve for the blouse Aïda.
Insert the sleeve:
Pin the sleeve in the blouse. Match the notches in the front part and the sleeve.
Sew the sleeve to the blouse, check for unwanted folds on the right side of the blouse, and overlock.
Finish with the Aïda blouse BERNINA with the hem:
Fold in place, iron the seam and sew.
The blouse Aïda is ready.
It’s ready to wear for work. The fabric I used is OK for a winterday!

The result of the ‘free download for march 2021’, the blouse Aïda.
I hope you liked the sewing instruction for the Aïda blouse – free download in March.
Do you have comments or questions? Don’t hestitate to comment.


where do you download the pattern?
Dear Martha,
In order to get the blouse pattern, you can first click on this link: http://www.bernina.com/inspiration-freebie
– This will take you to the pattern page.
– Once on this page, click “Register and Download for free” which will take you to the newsletter registration page.
– Enter your email adress and submit, which will trigger a confirmation email sent to your adress.
– Then switch to your Mail account in order to confirm your subscription.
– When you confirm, it will automaticly take you to the page where you can download the pattern.
– In case you already subscribed to the newsletter, the system forwards you to the download automaticly, withouth sending you an email.
If this doesnt help and you run into a problem, please let me know 🙂
Best regards, Ramona from BERNINA International
Très joli chemisier ! Hélas les dessins ou photos n’apparaissent sur les pages imprimées ainsi que la traduction en français ( sauf les 2 premières pages ), il sera donc difficile à réaliser pour moi. Bien qu’on ne soit que le 18 mars le patron n’est plus gratuit. Dommage.
Salut Andrée
Excuse-moi, je n’a pas compris tous de ton message. Mais le patron est encore libre. Il faut registrer pour le newsletter sur la page http://www.bernina.com/inspiration-freebie et apres confirmer dans l’email confirmation, tu peux télécharger le patron. Si tu as de problemes avec le download, je peux vous envoyer le patron directement par email.
Cordialement, Ramona
Andrée, je suis désolée que vous n’avez pas pu imprimer les pages avec les photos. Il n’est pas possible de copier en document Word? Comme ça, il serait peut-être possible de copier les photos dans ce document. Pour la traduction en français, il ya peut-être quelqu’un dans votre environ qui pourrait vous aider? Oui, c’est vraiment une belle blouse, très comfortable aussi.