I am so excited to share with you how to create a little wall art piece using applique with old pieces of cottons and wool fabric.
Materials and equipment:
- Sewing machine (I used a Bernina 475QE)
- Fabric scissors
- Fabric scraps 100% natural fibers
- Paper scissors
- Iron on fusing
- Free Downloadable Pattern
- Pen
- Iron
How to make fabric wall art using fabric scraps tutorial
Step 1:
Gather all your fabric scraps. For this project its very important to be using 100% natural fibers because you will be placing a hot iron to fuse the fabric. Therefore if you use plyester the fiber will melt when in contact with the hot iron.
If you are not sure of the fabric composition you can perform a simple fabric burn test to ensure that you have 100% cotton and wool fibers. Check out this easy video tutorial on how to do a fabric burn test.
Download the free pattern template.
Step 2:
Trace the pattern pieces on the paper side of the fusing iron on sheet.
Cut around the pattern pieces.
Fuse the pattern pieces to your chosen fabrics. Use a very hot iron with no steam. Make sure you follow the manufacturer’s instructions for this step.
When the fabric has bonded to the fusing paper cut around the traced line and place it on the base fabric.
Step 3:
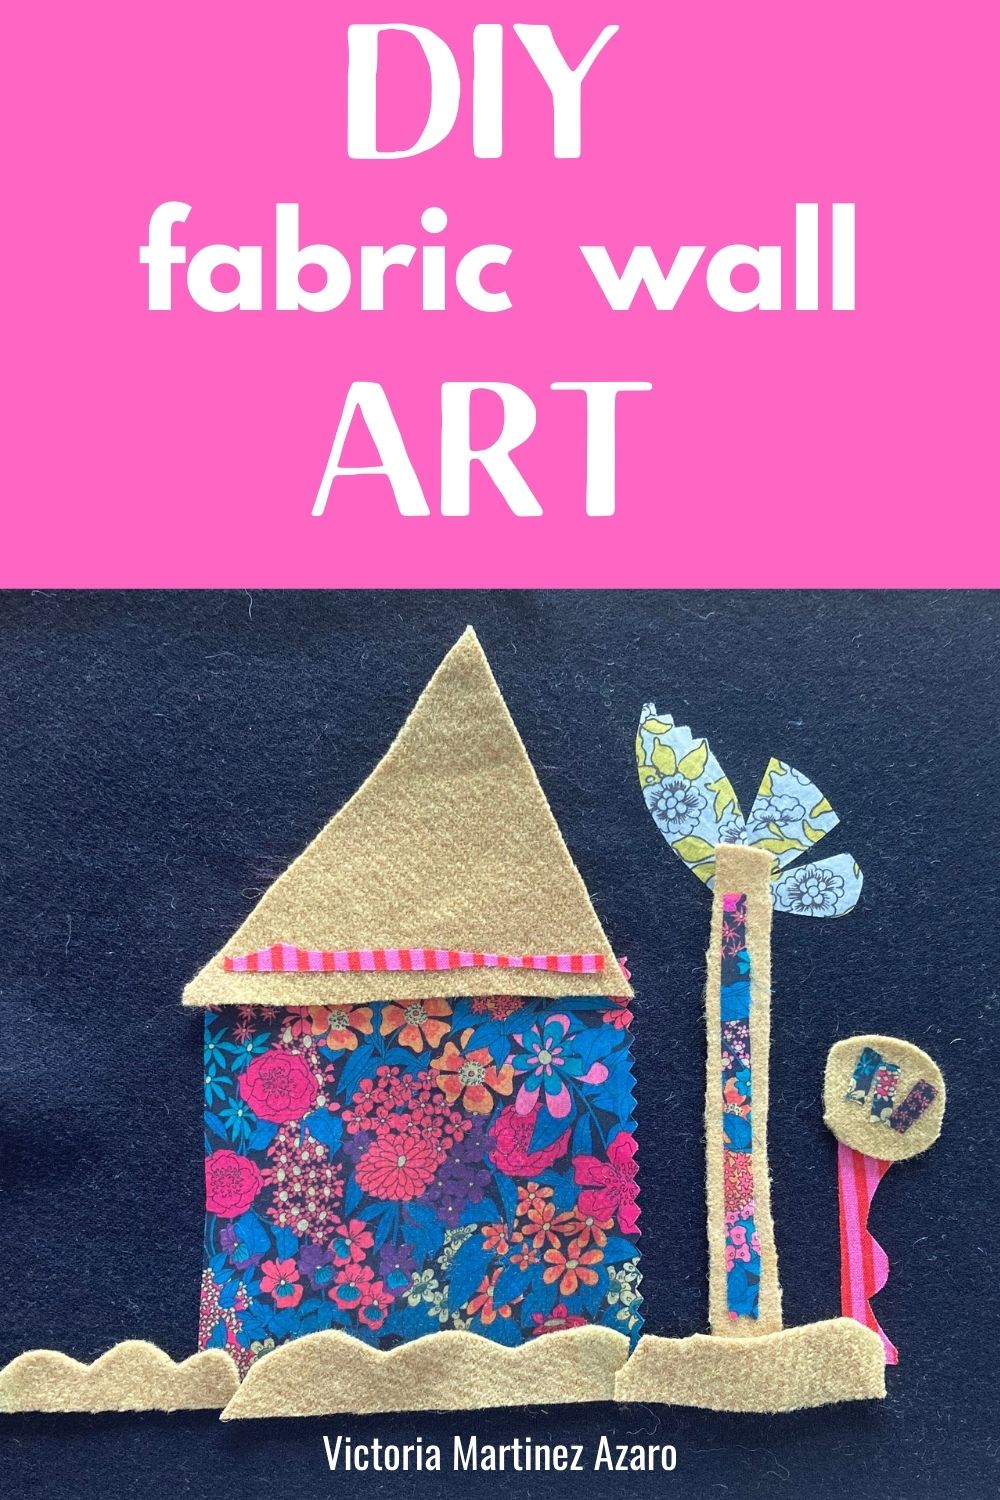
Place the pieces to create an image that you like. For this project I have used a felted wool fabric for the base.
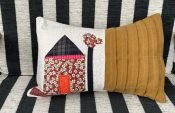
Use the free templates as your starting point. You can get creative and add some more elements to your design. In the photos above and below I have used the same template but changed the fabrics and added a few different details to the houses and it gives a very different look.
Once you are happy with the design you can take a photo to use as a guide.You will need to fuse one piece at a time and you may not remember the design 🙂
Choose the first layer and peel the paper backing from the fused fabric and place on the base wool fabric with the glue facing down.
Set in place by fusing the fabric again but this time you are fusing the square fabric to the wool base fabric.
Repeat this process with every piece of the design. You are fusing layers on top of each other.
Step 4:
Once you are happy with the design you need to top stitch each fused piece. You can top stitch once or you can go around several times in each of the design components. This will create different looks. I normally use a regular sewing stitch.
You can also leave certain areas of the design to add some hand sewing stitches as some extra embellishments.
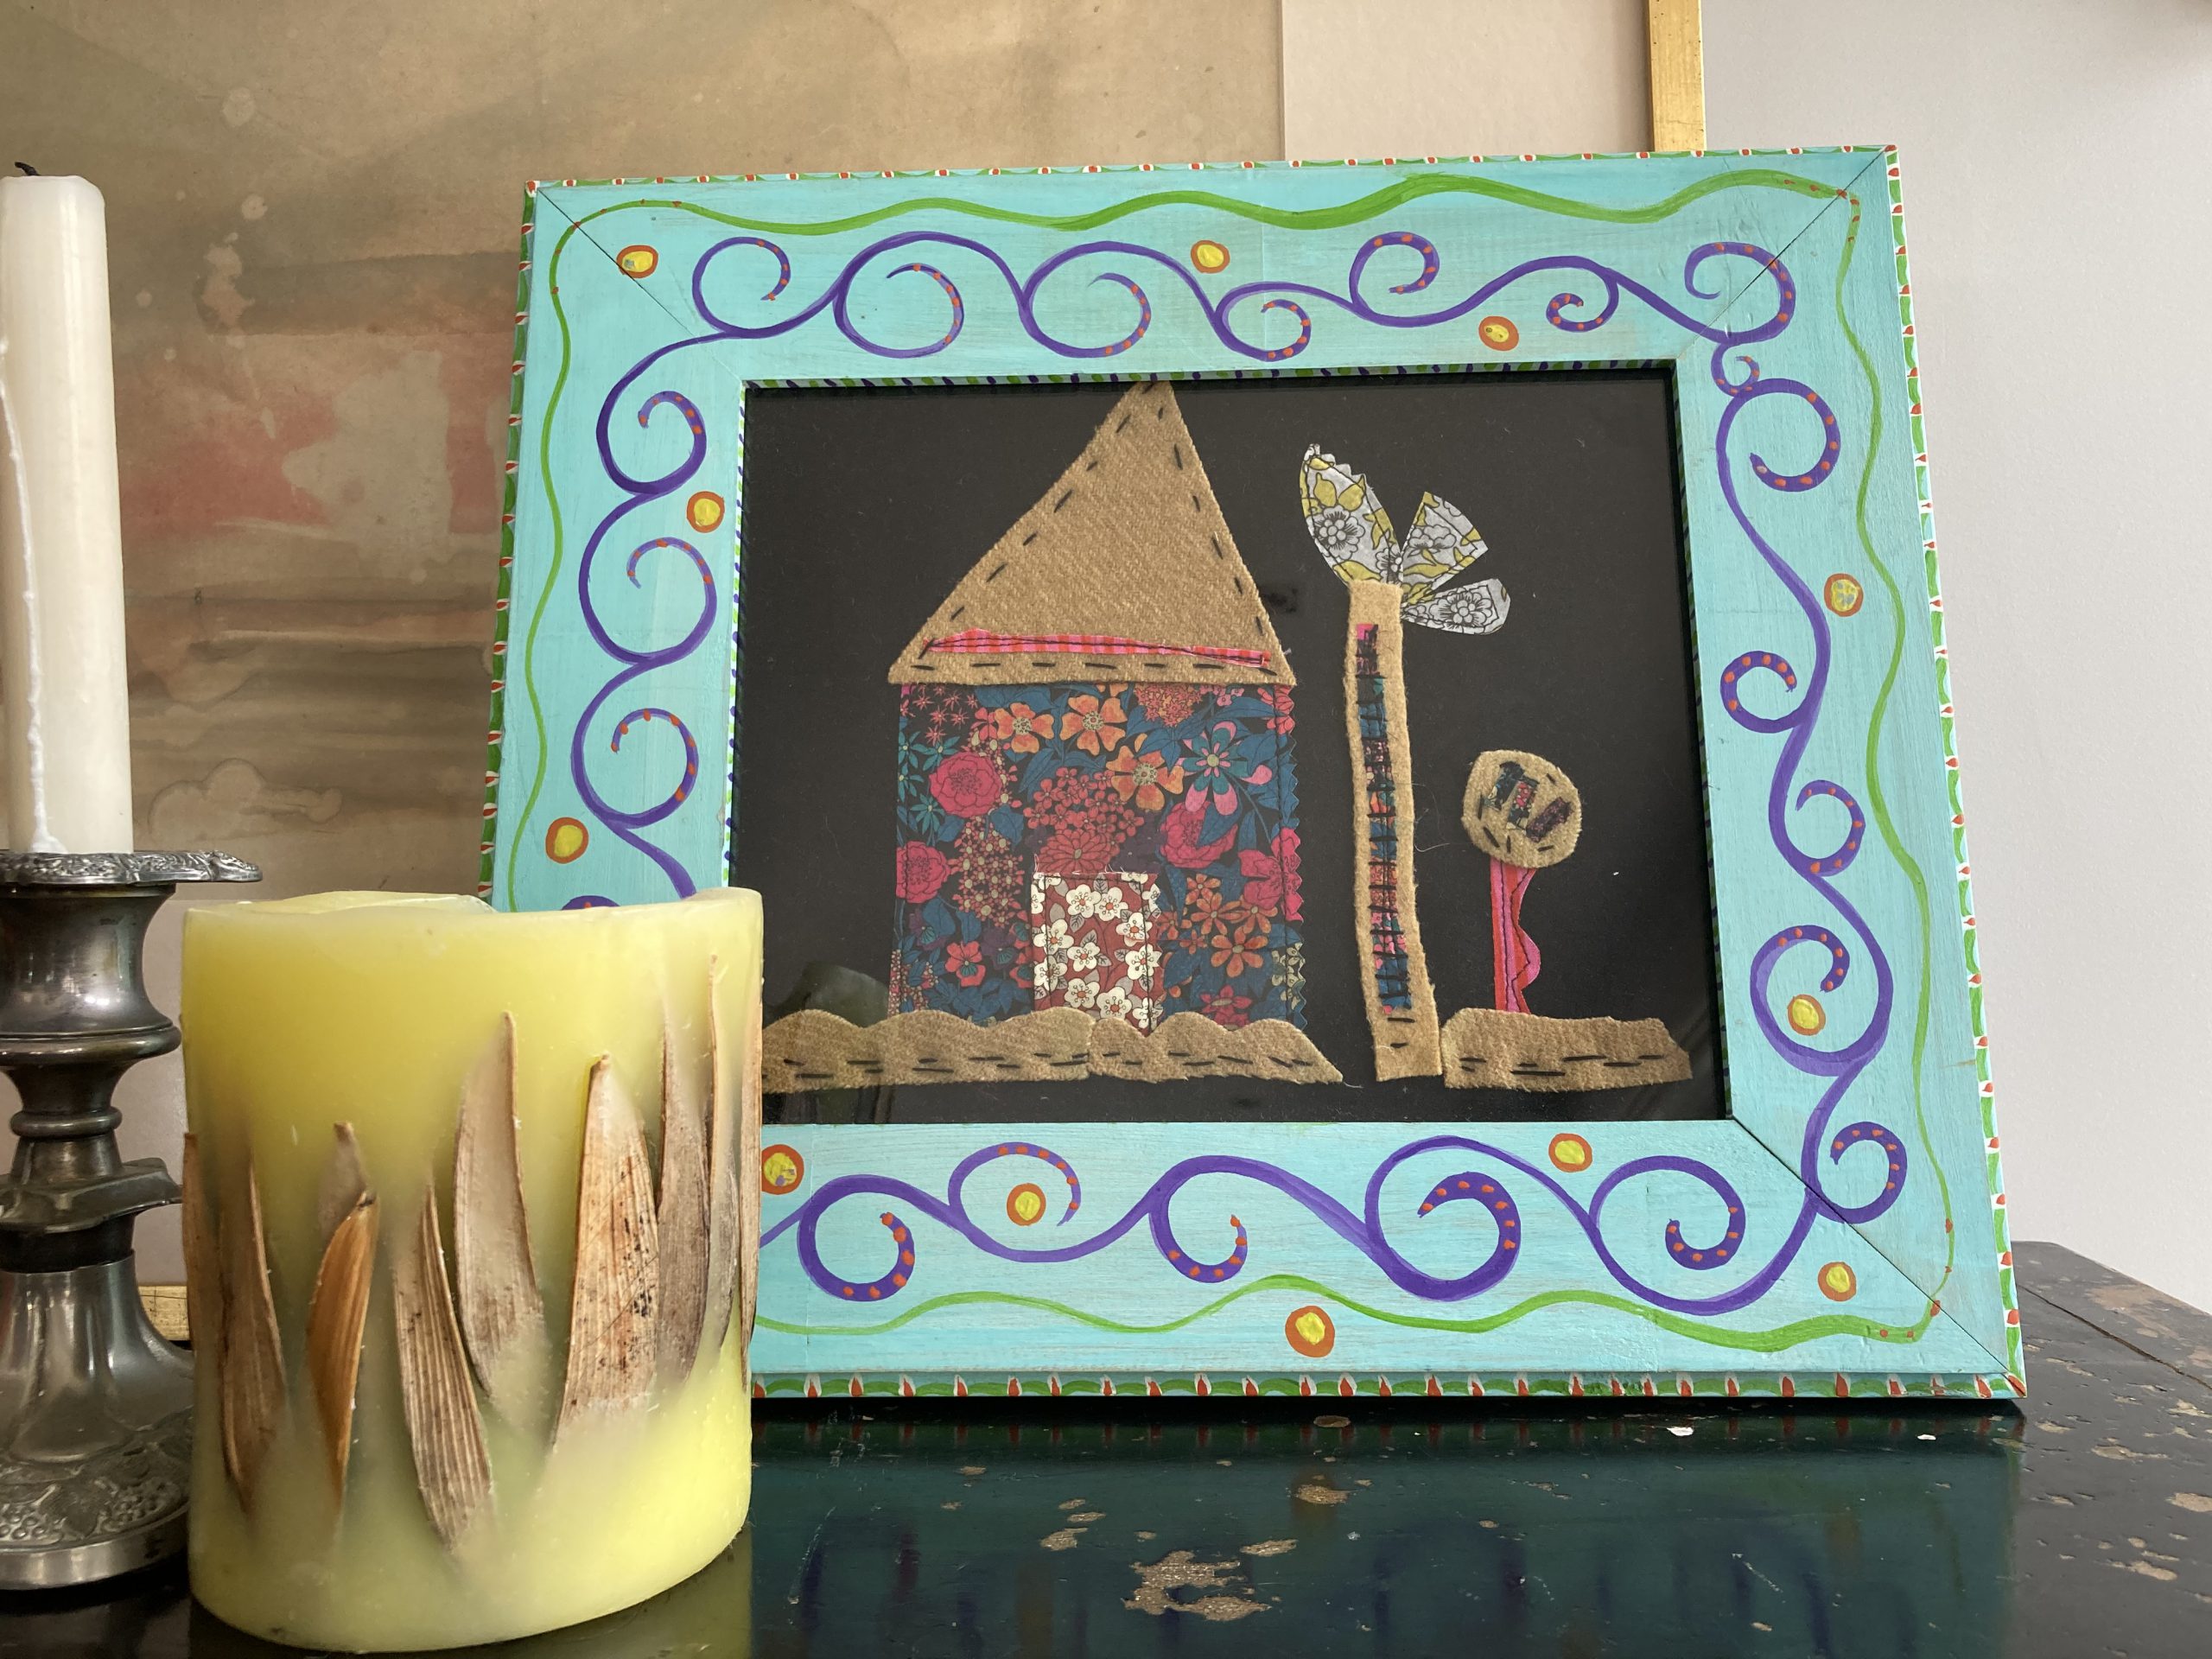
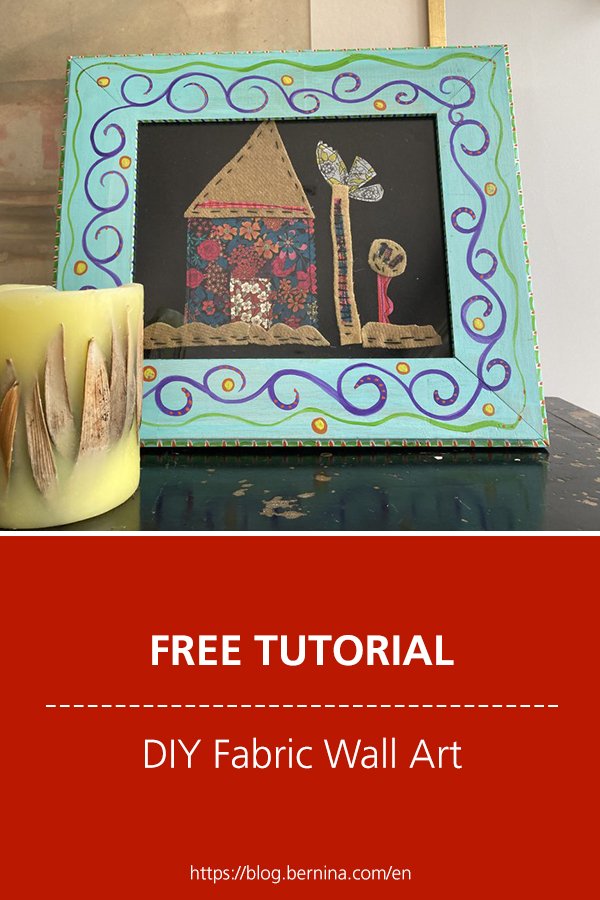
Final result: Fabric wall art
When you are happy with your fabric design you can place it inside a picture frame and hang it on the wall. Happy sewing!!!
 BERNINA Corporate Blog -


Good day.I am trying to download the ‘Free Downloadable Pattern’, but get a 404 Error message – Not found. Please help.
Dear Moira,
The link was broken. I exchanged it and you should be able to download it now. If it still doesnt work for you, please let me know.
Happy sewing, Ramona from Bernina International