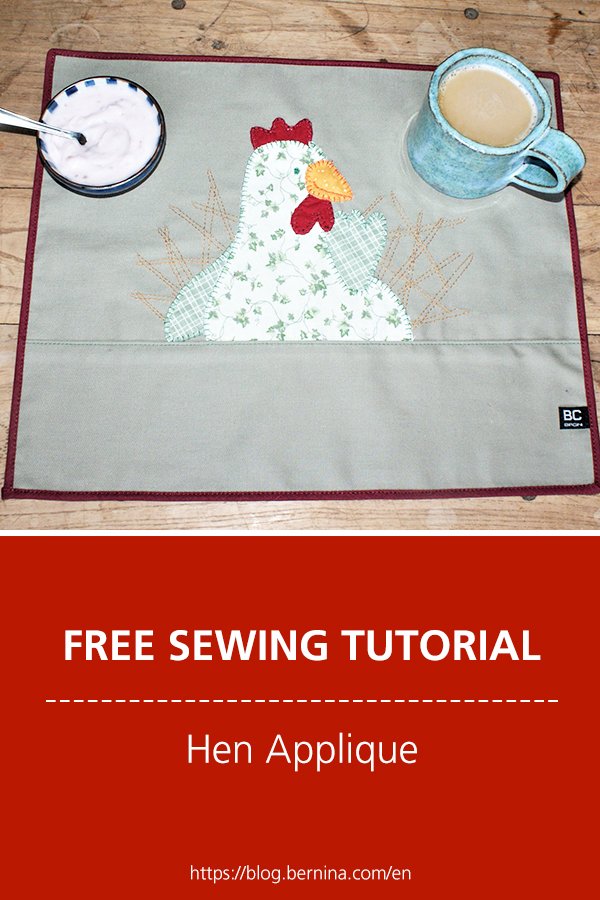
 BERNINA Corporate Blog -
What would you think: sew a hen applique as spring decoration, a good idea? I do! When spring is coming, you want new decoration in the home.
This is a project for children to help. Look at the straight lines and the corners for the straw. A perfect exercise!
When looking for a nice hen drawing, I found this one by ‘Knutseljuf Ede’ at the Yoors platform. She gave me a warm permission to use it.
I’m making a placemat, but you could as well make a cushion with it, or a bag. Change fabric sizes if necessary.

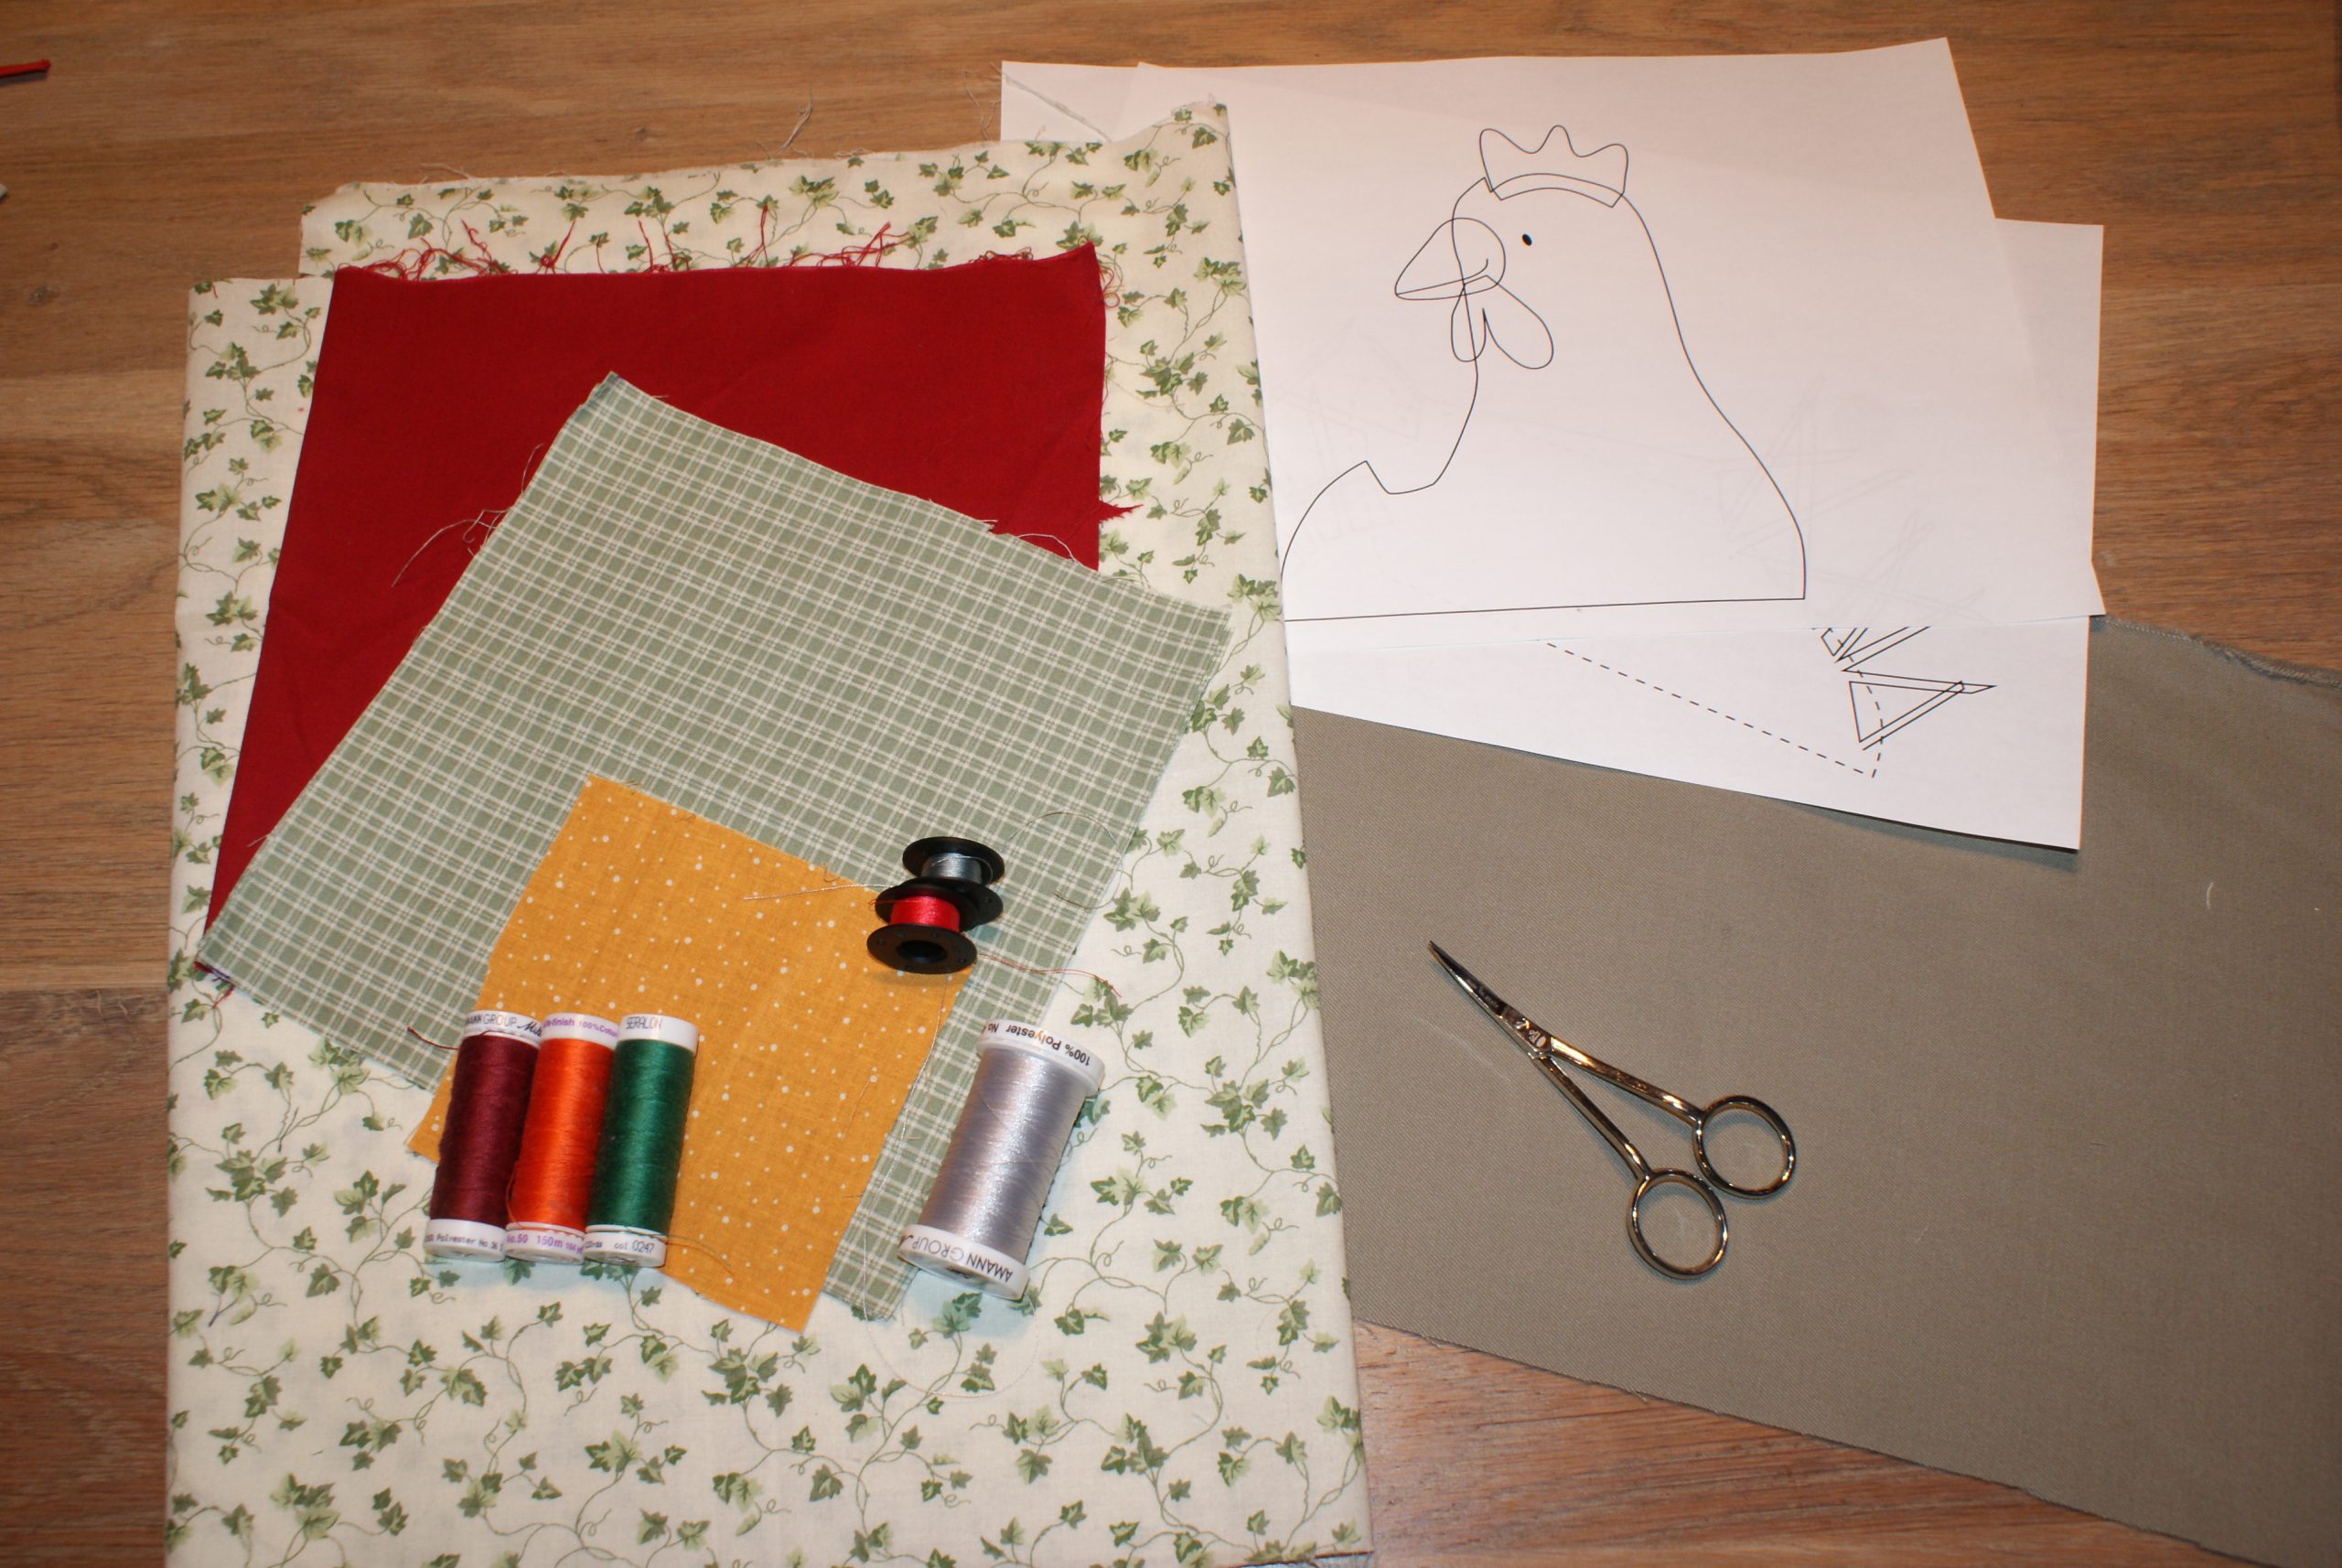
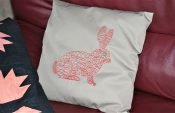
The hen, drawn by ‘De Knutseljuf Ede’
Supplies for the hen applique:
- 3 pieces of heavy weight cotton fabric for the placemat (sizes 40 x 23 cm for the background of the hen, 40 x 12 cm for the bottom part and 40 x 33 cm for the back)
- Left over scraps (middle weight cotton)
- Biastape
- The pattern parts in 2 pages: Kip lente hen spring Bernina
- Matching Mettler Seralon garen
- I sew with the BERNINA 710, with the same technical features as the BERNINA 740
- Overlock BERNINA L 460 was used as well.

Sew a hen applique.
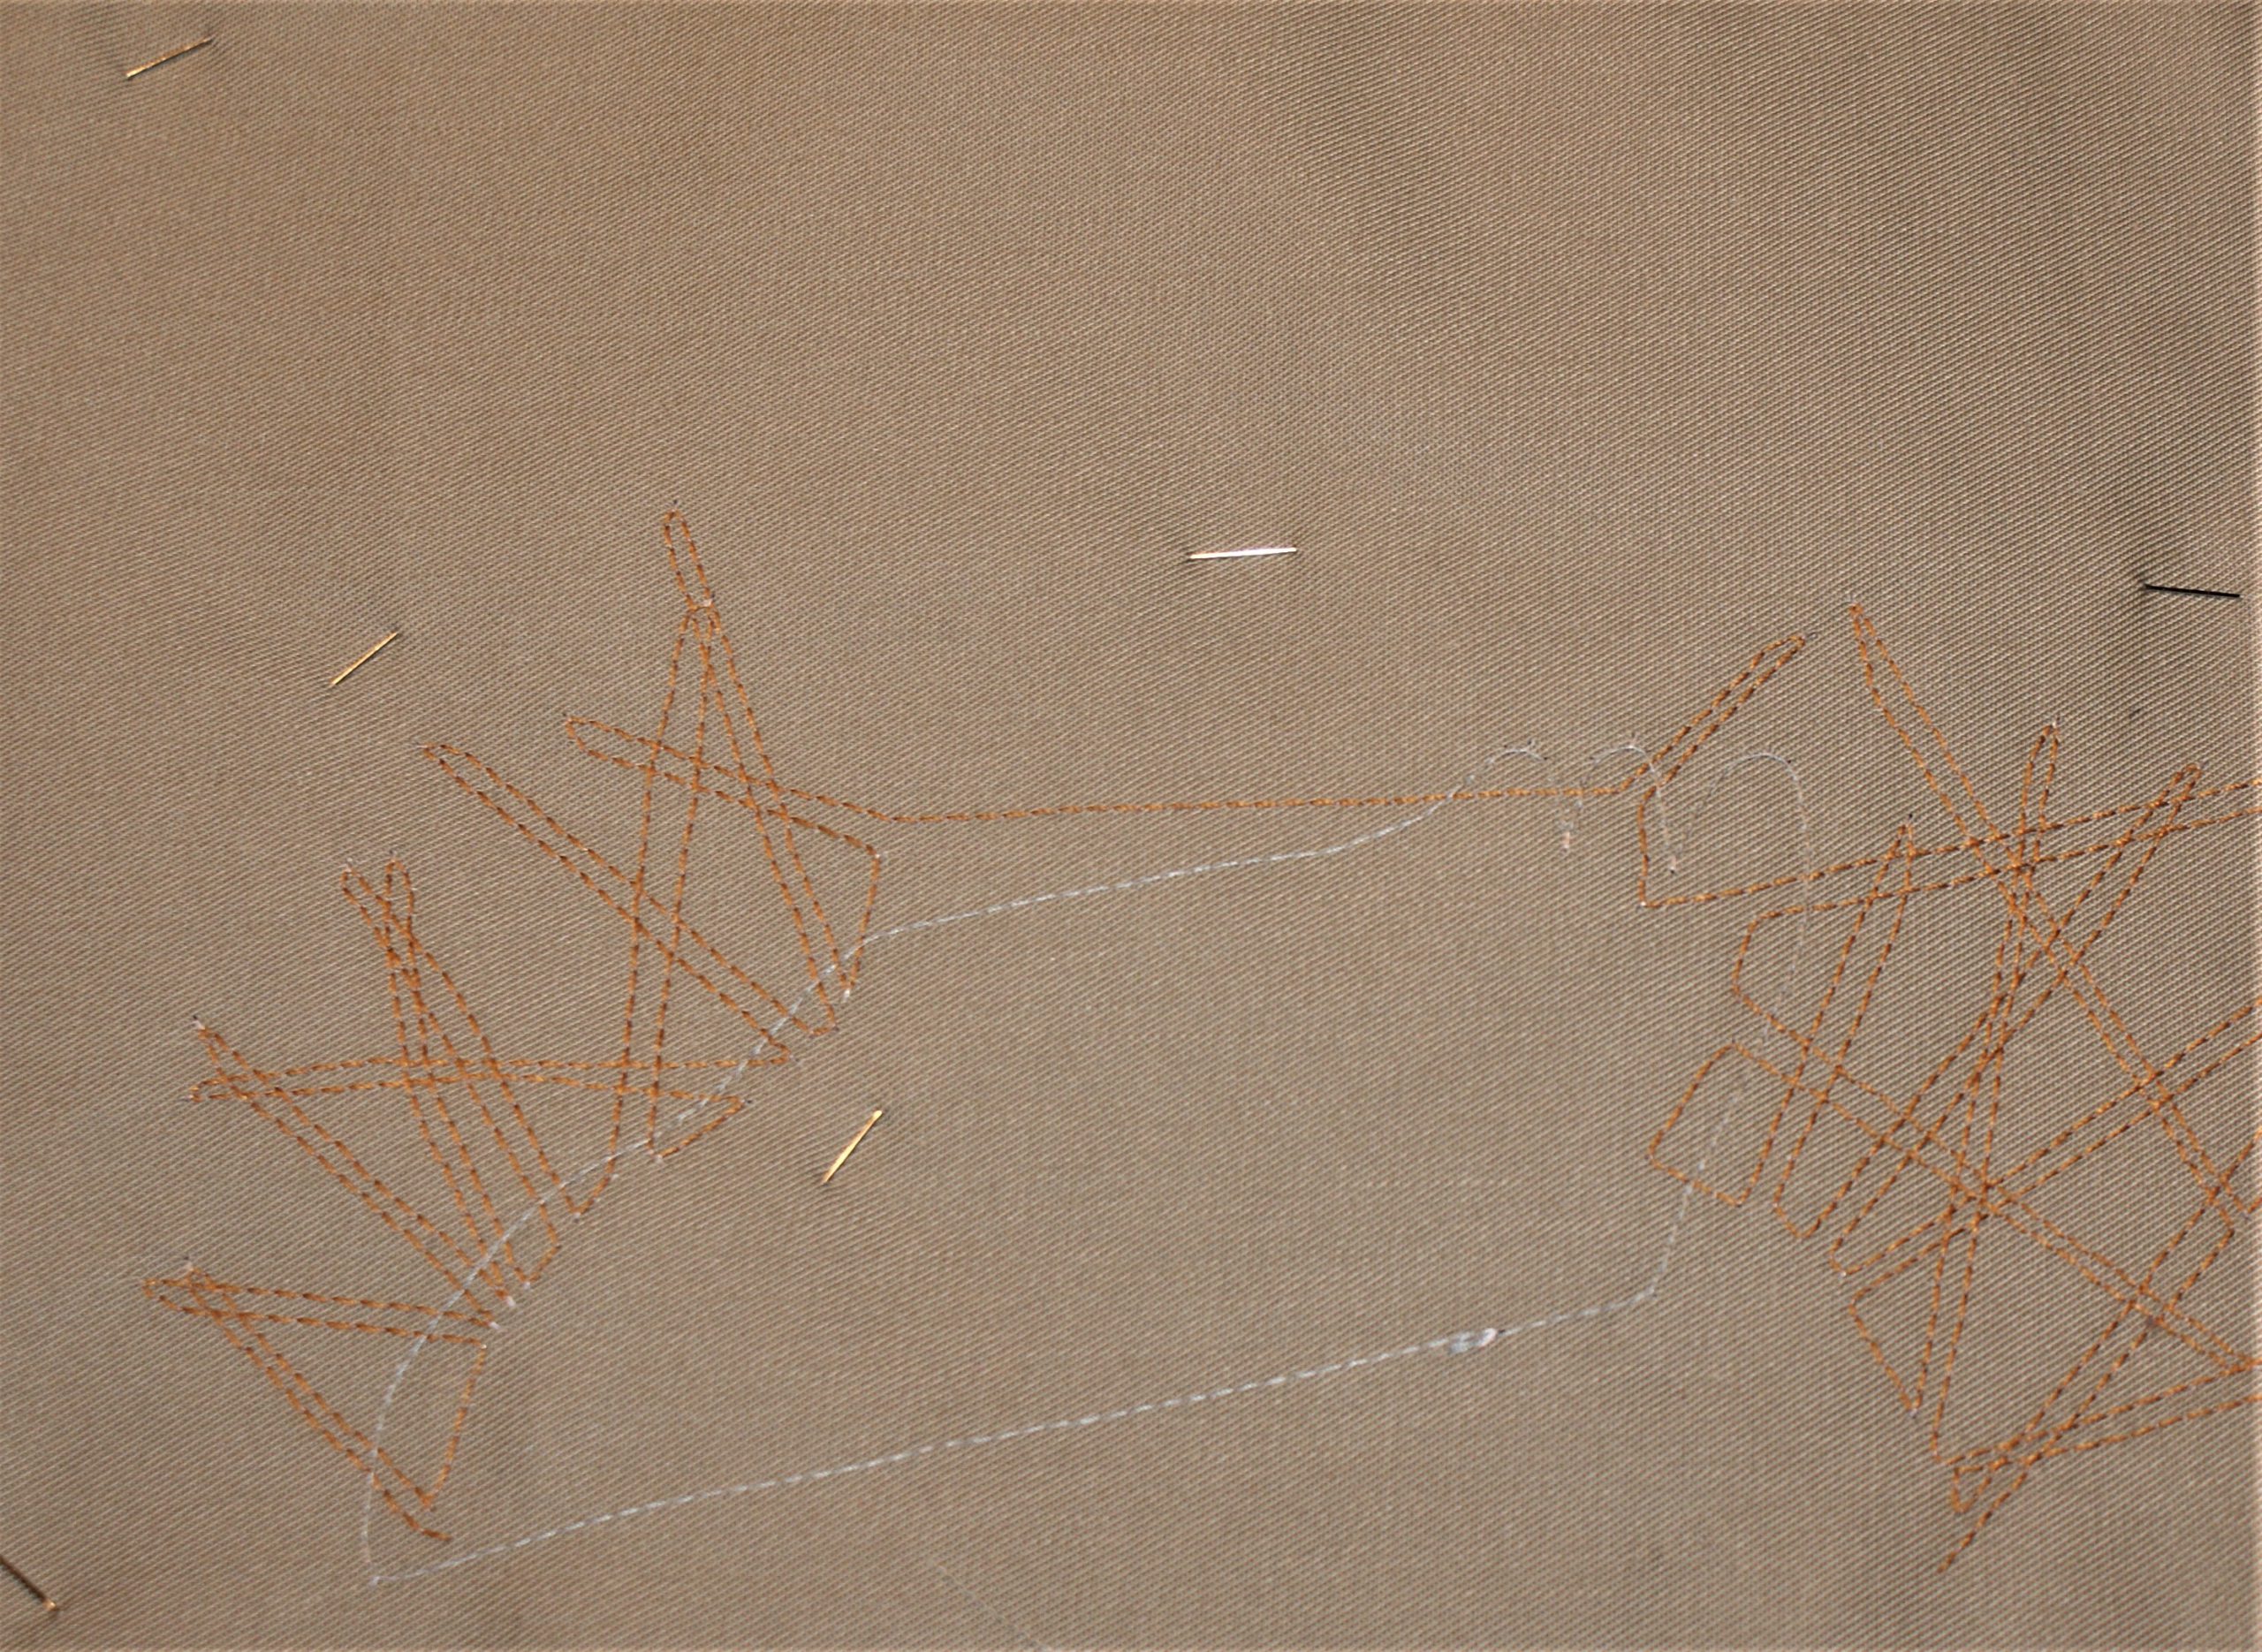
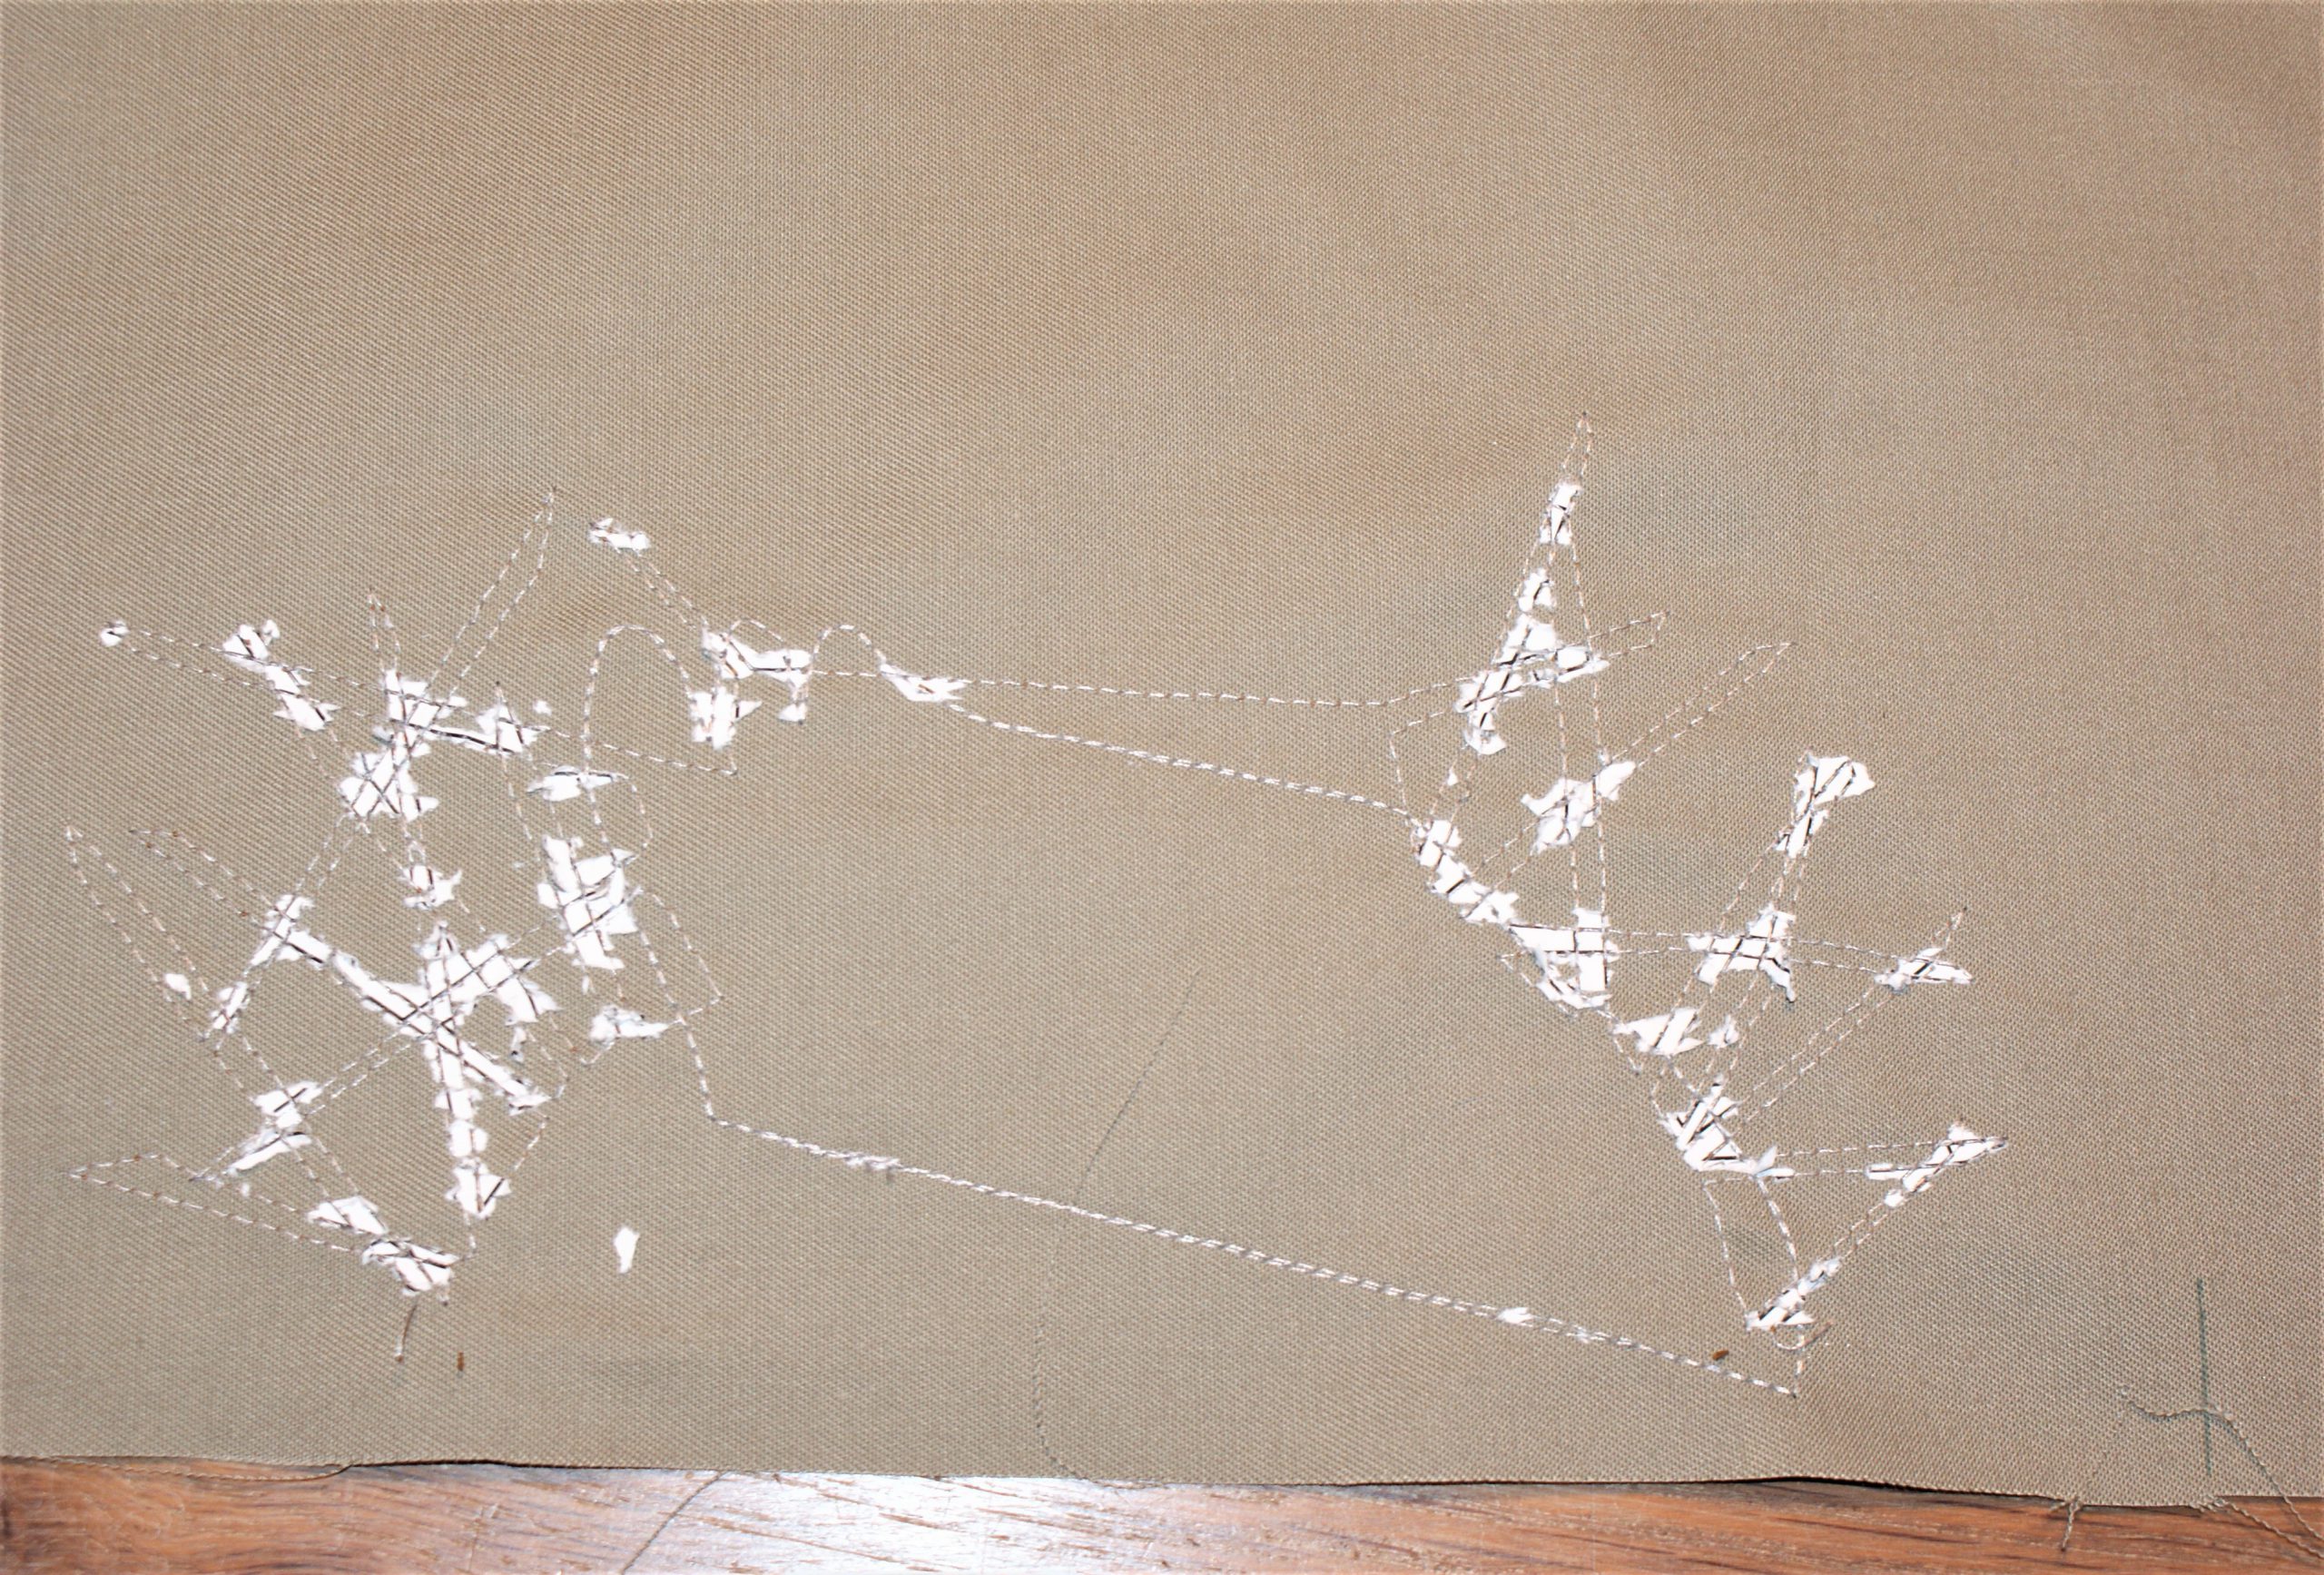
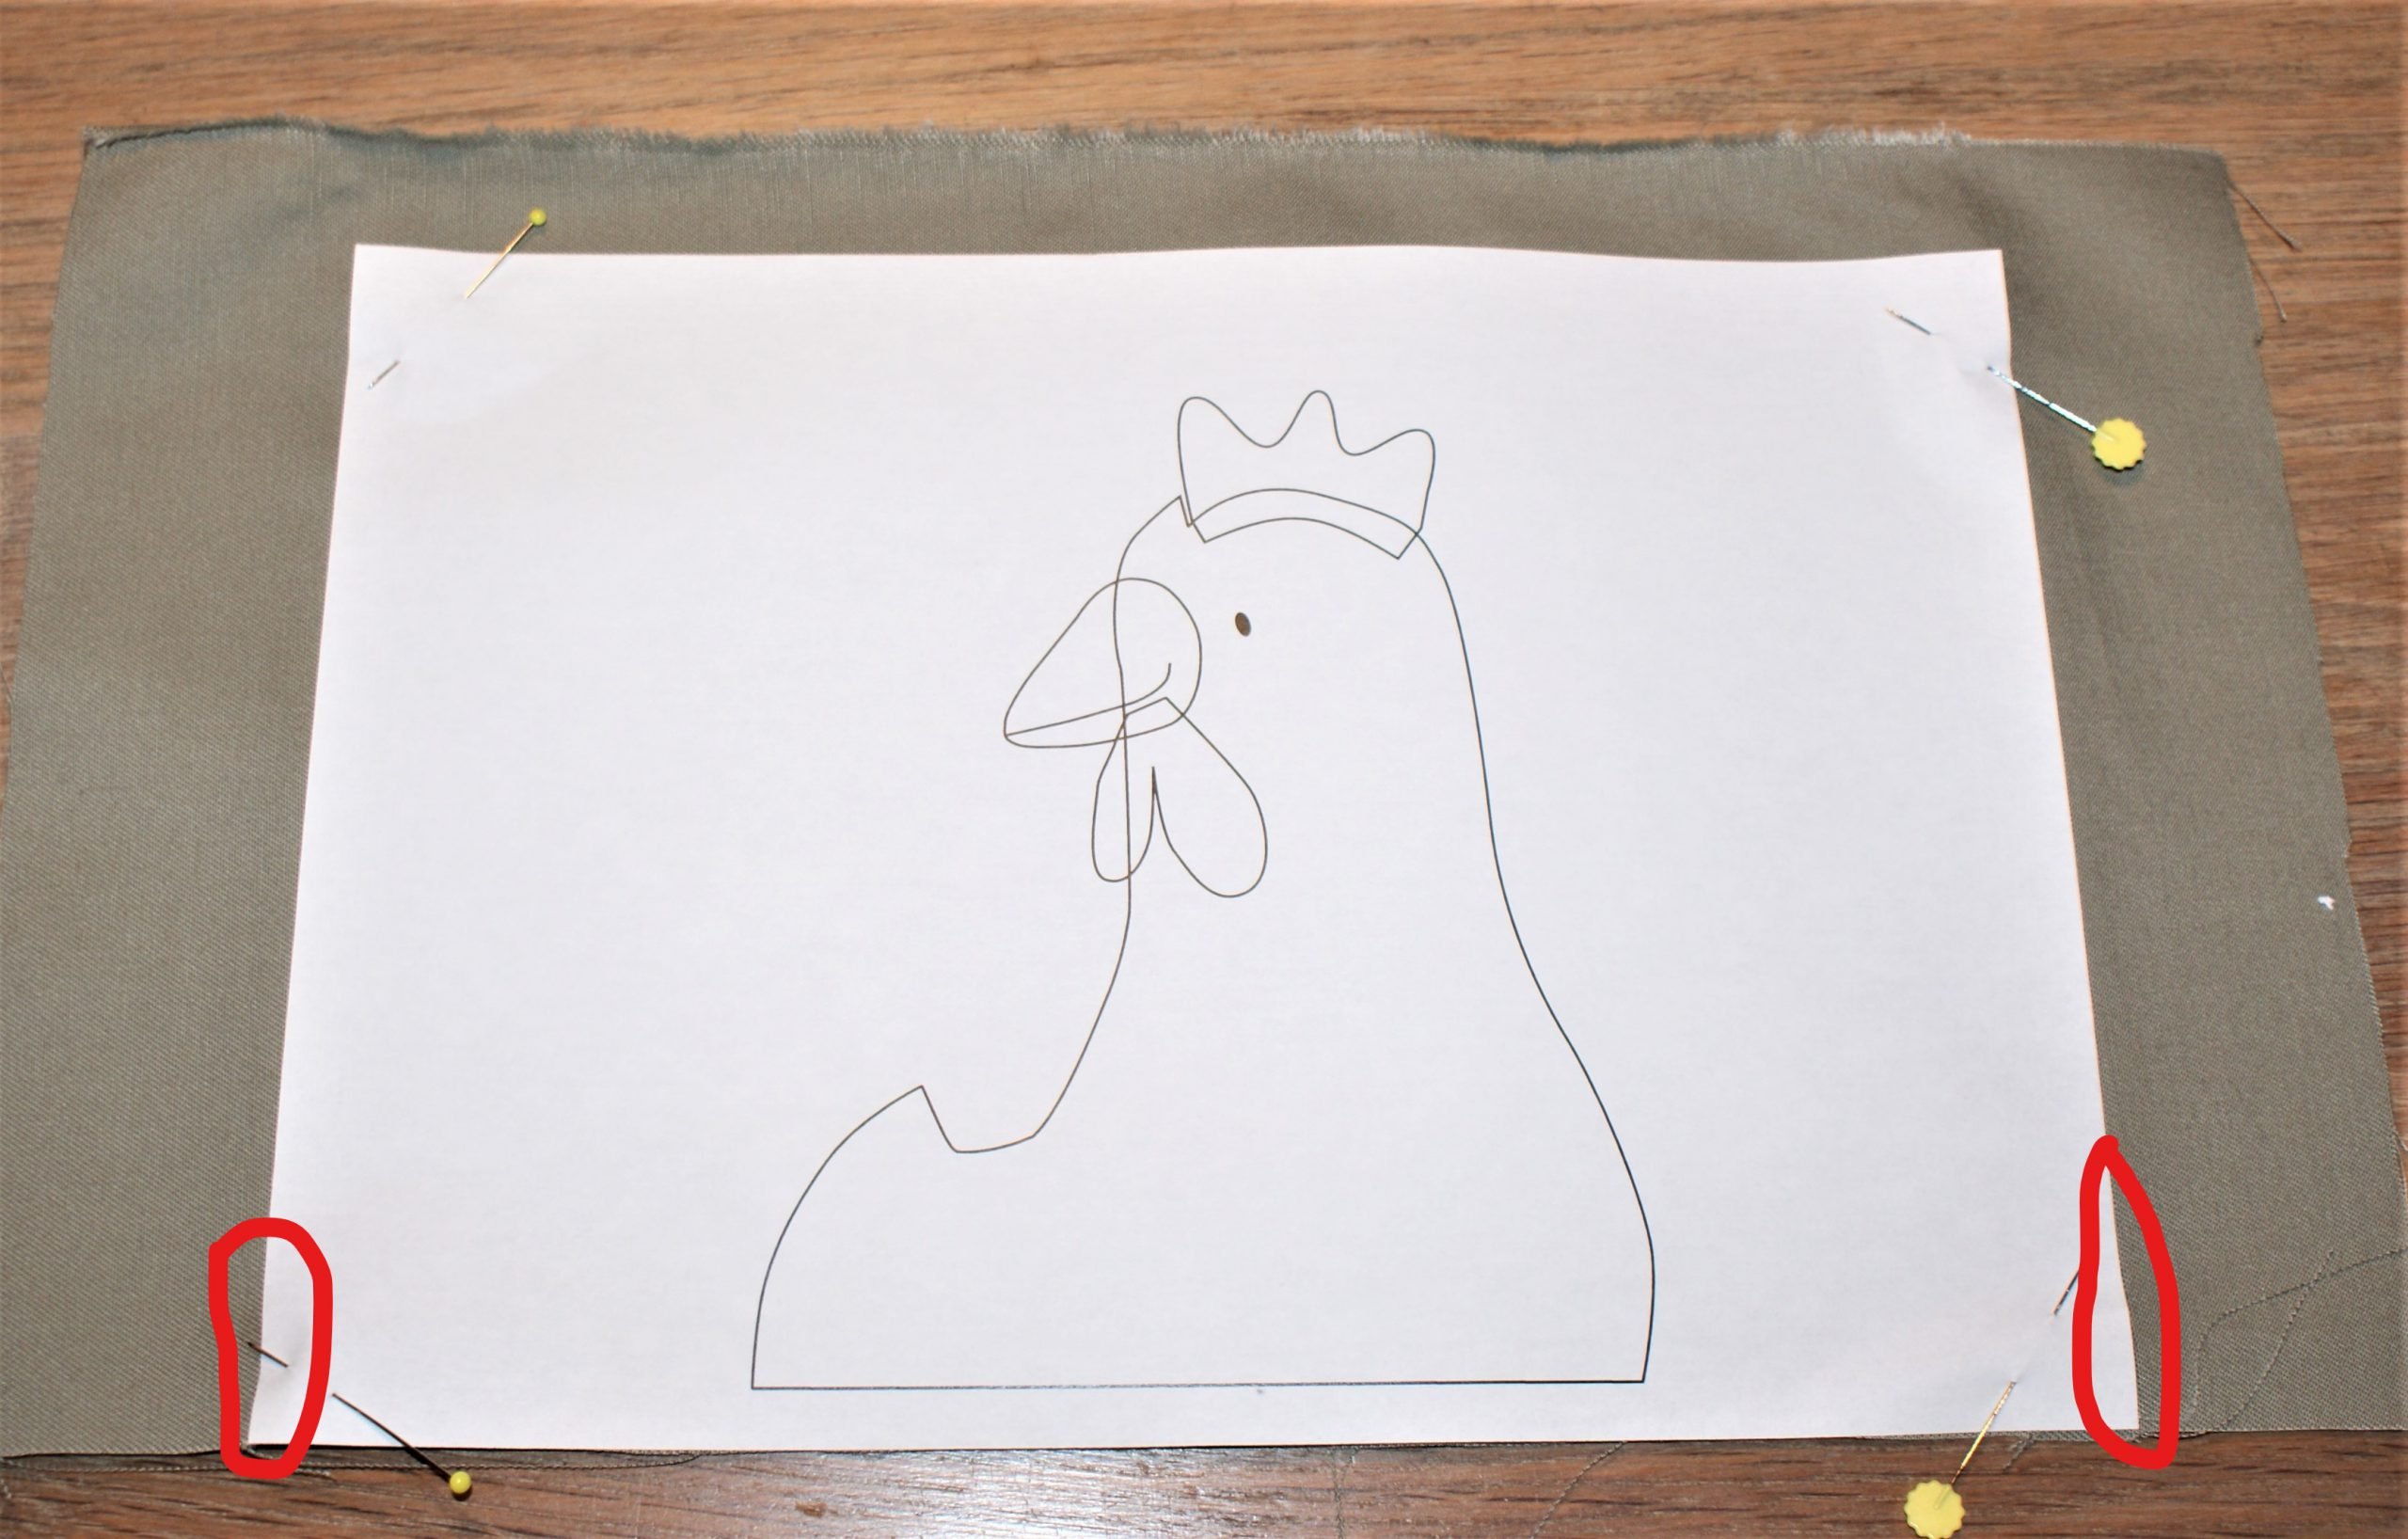
For this kind of projects, you have a pattern in mirror image, to be fixed at the back of the project. The sewing line in bobbin thread marks the shape of the parts. It is a kind of bobbinwork.
Take drawing page 1 and pin it to the back of the fabric. Position the bottom side to the bottom side of the brat
Take marks along the bottom corners of the printed paper.
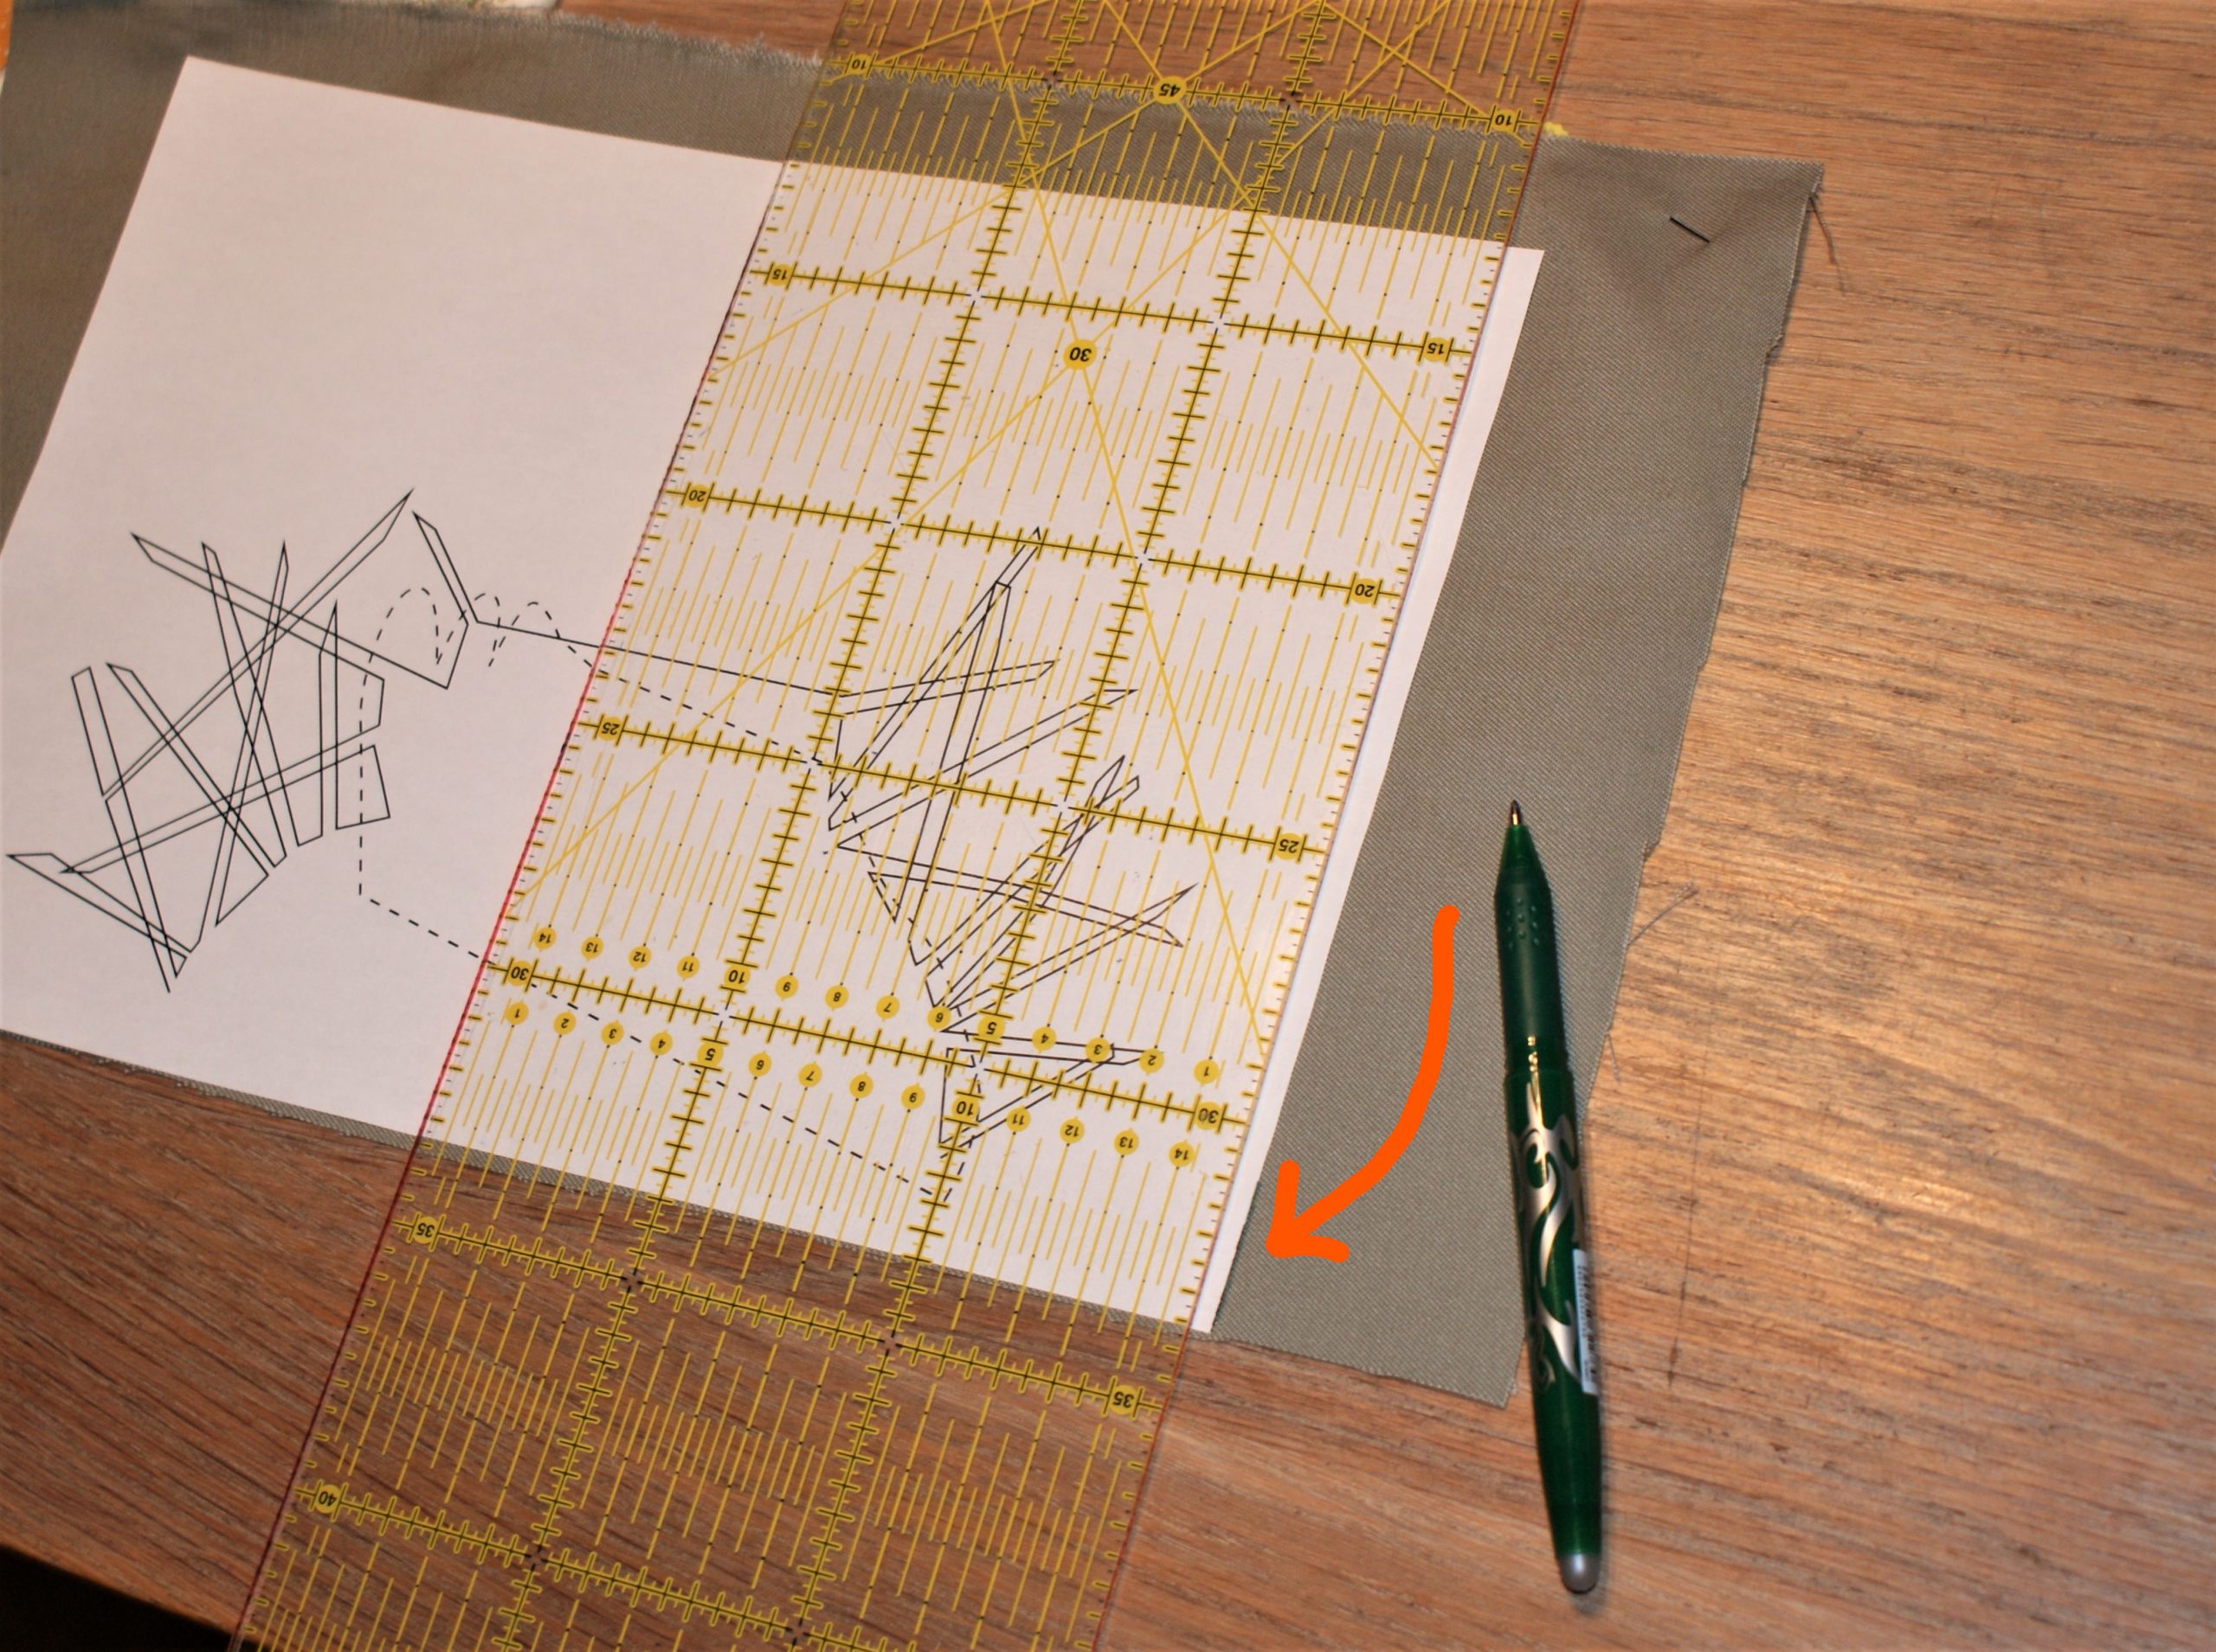
Use an erasable marker for the marks.
Pin the sheet on the fabric.

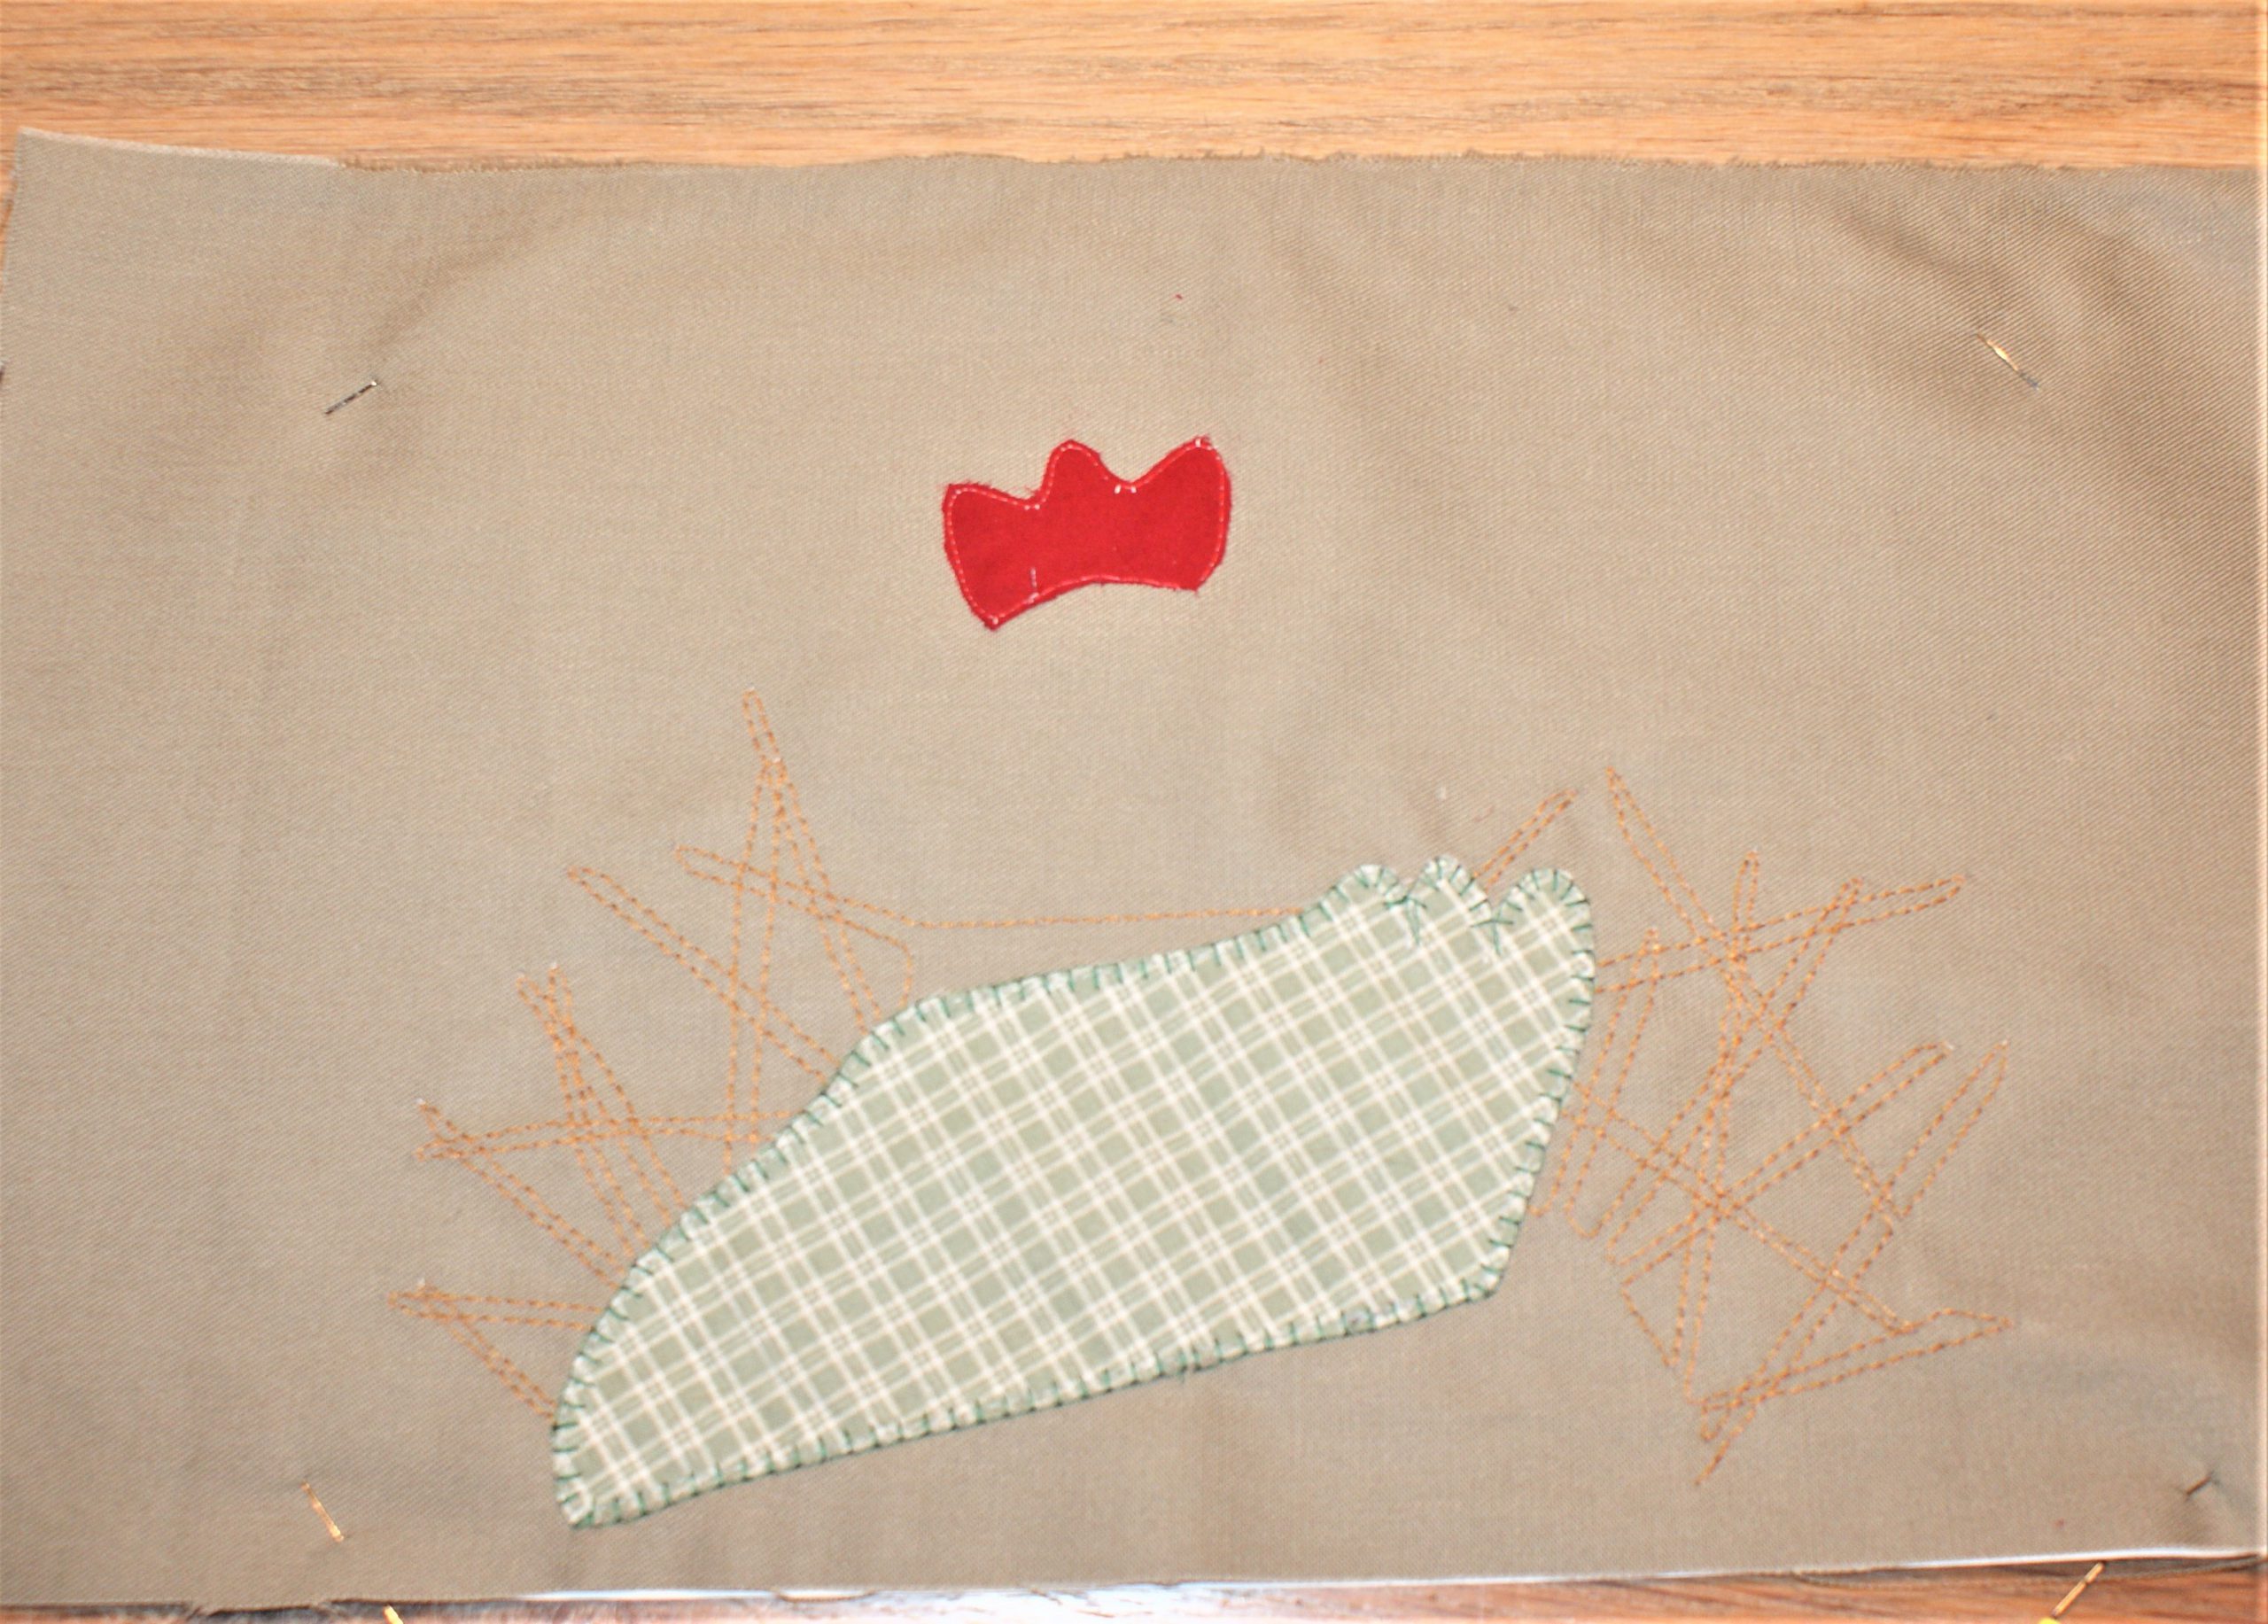
Use a thicker thread in the bobbin, in ‘straw color’. Sew the shape of the straw from beginning to end.
Dilemma? A longer stitch is nicer, but with a shorter stitch it is much easier to tear away the paper afterwards.
I chose the longer stitch.
Change bobbin thread in a matching color with the fabric fot the side part and the tail. Sew on the dashed line. This helps you to know where to find the shape on the right side of the fabric.
Place the chosen fabric over this shape (right side up), with some mm overlap and pin it.

Sew the same dashed line again. This time you sew the fabric to the background.
Cut away the fabric to 1 mm of the stitched shape.

Remove the paper from the back of your work (as much as you can).
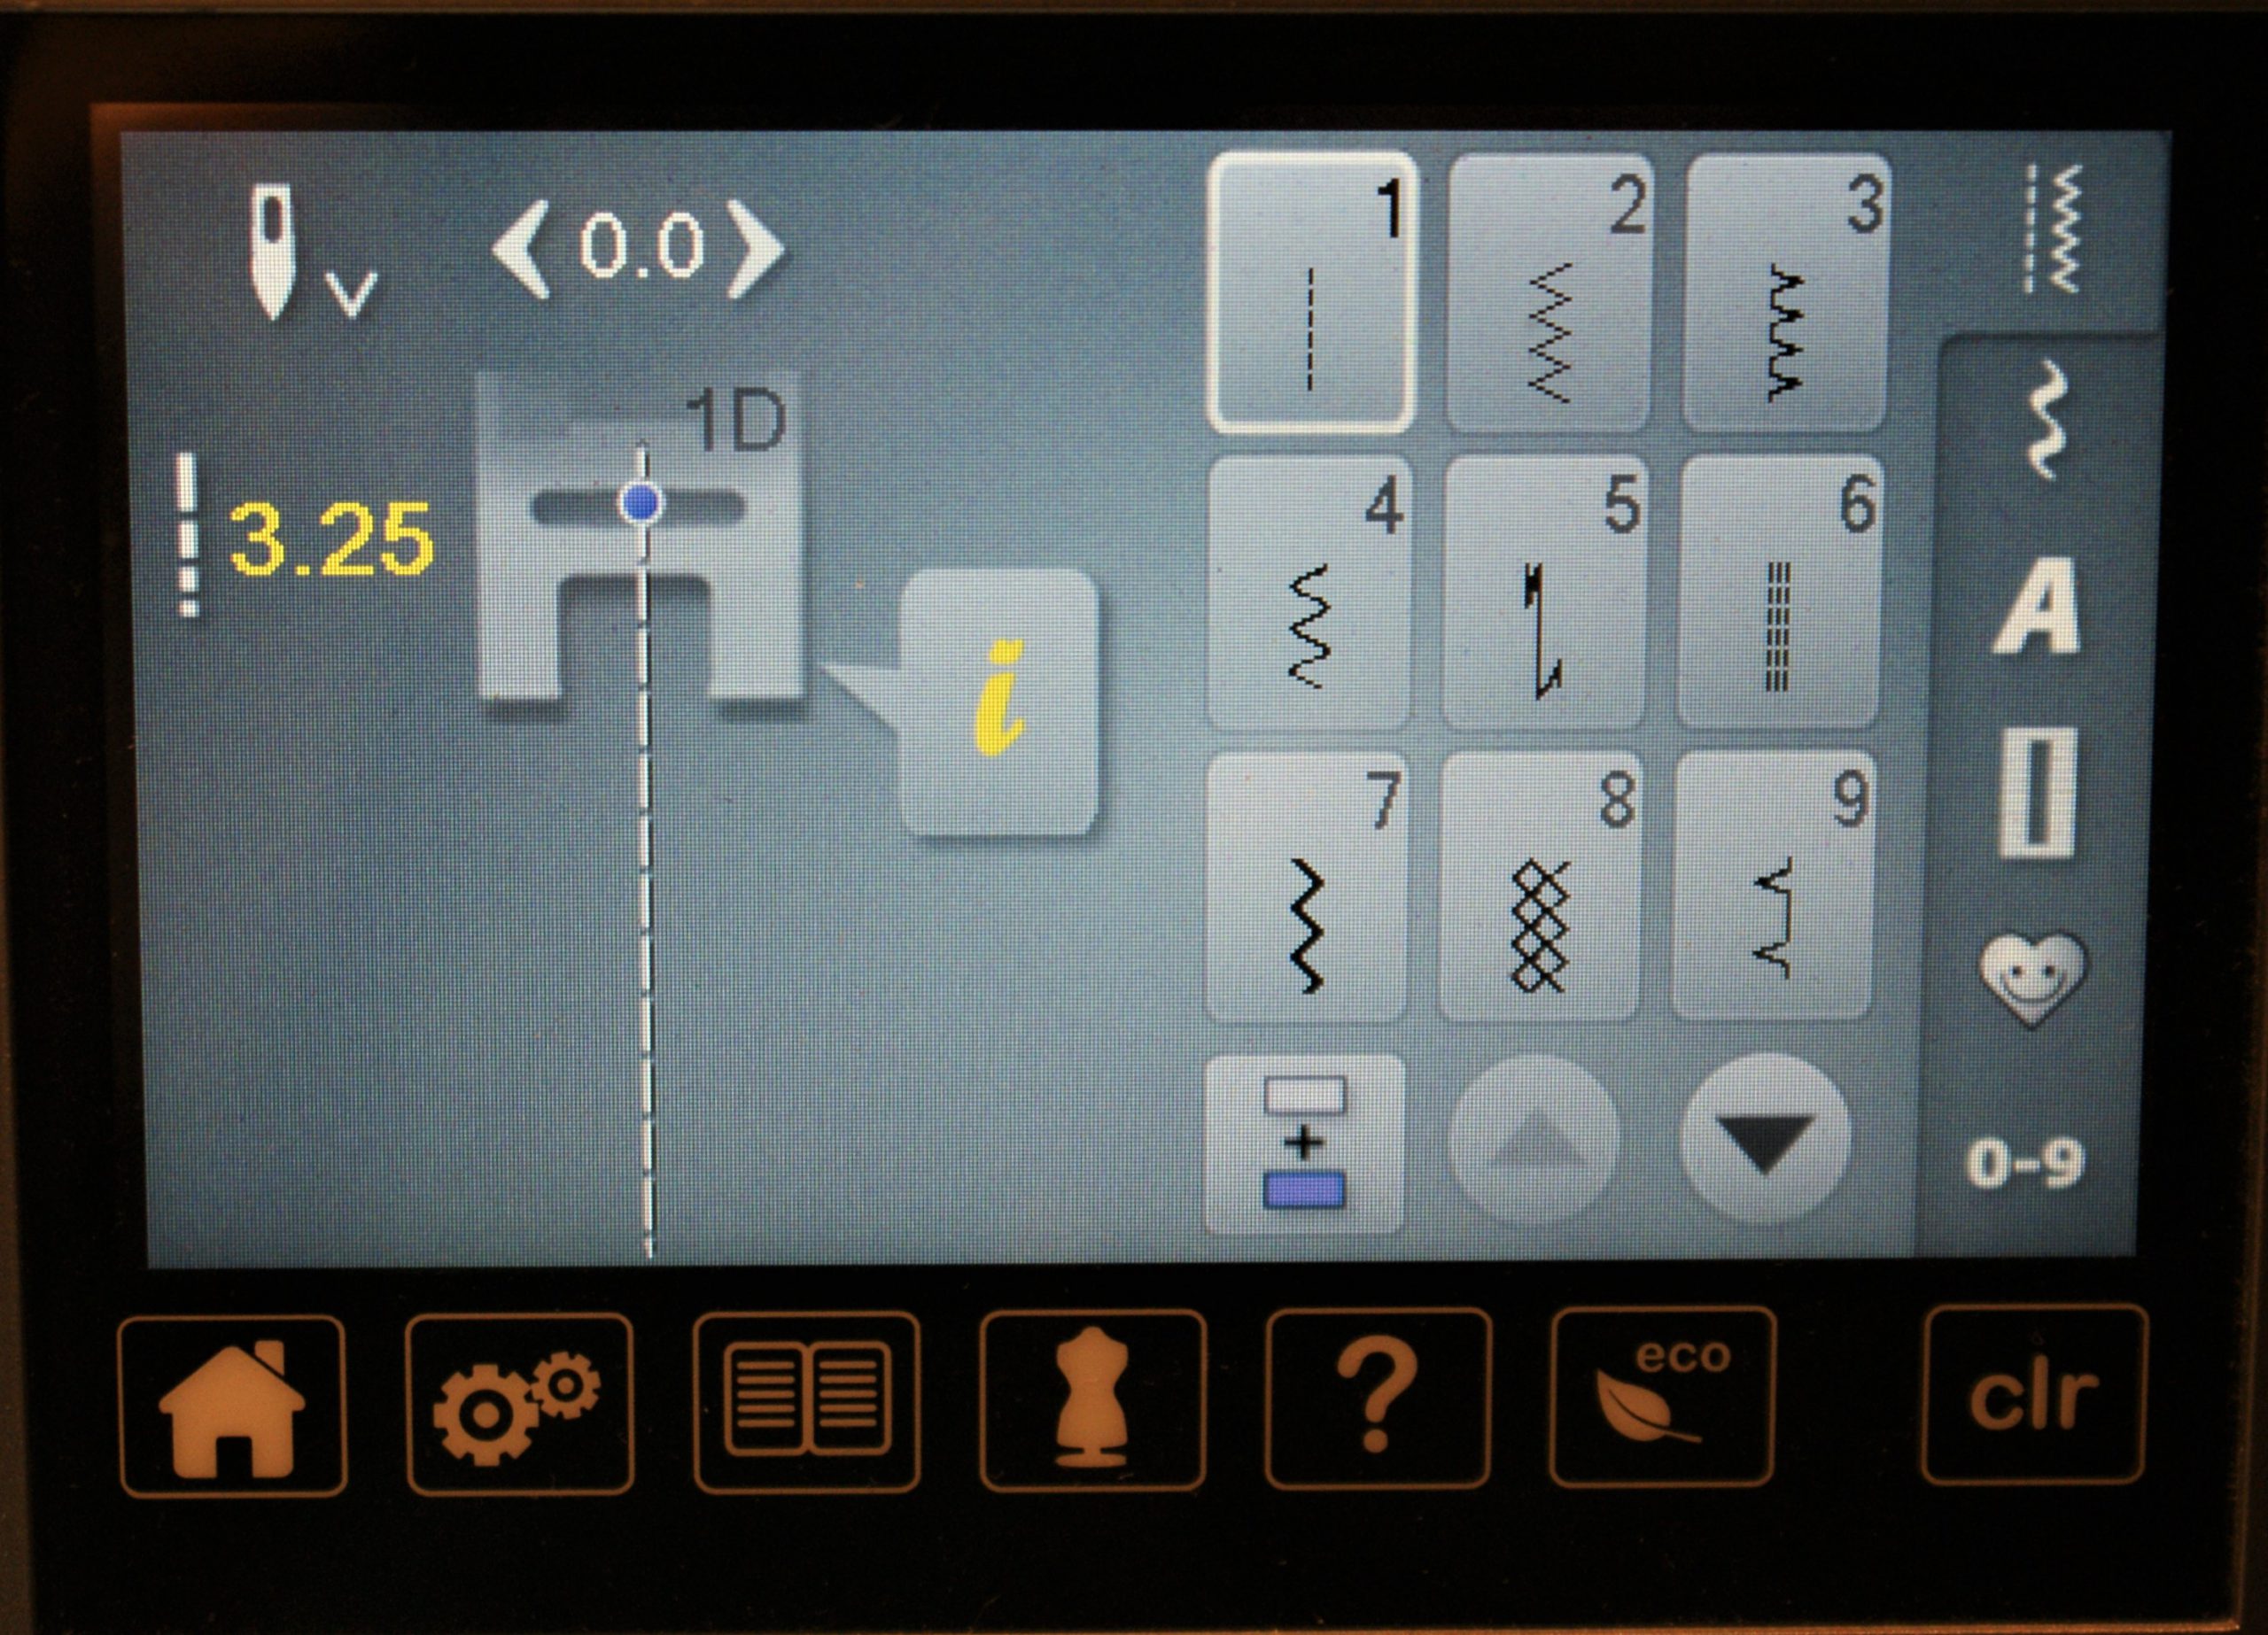
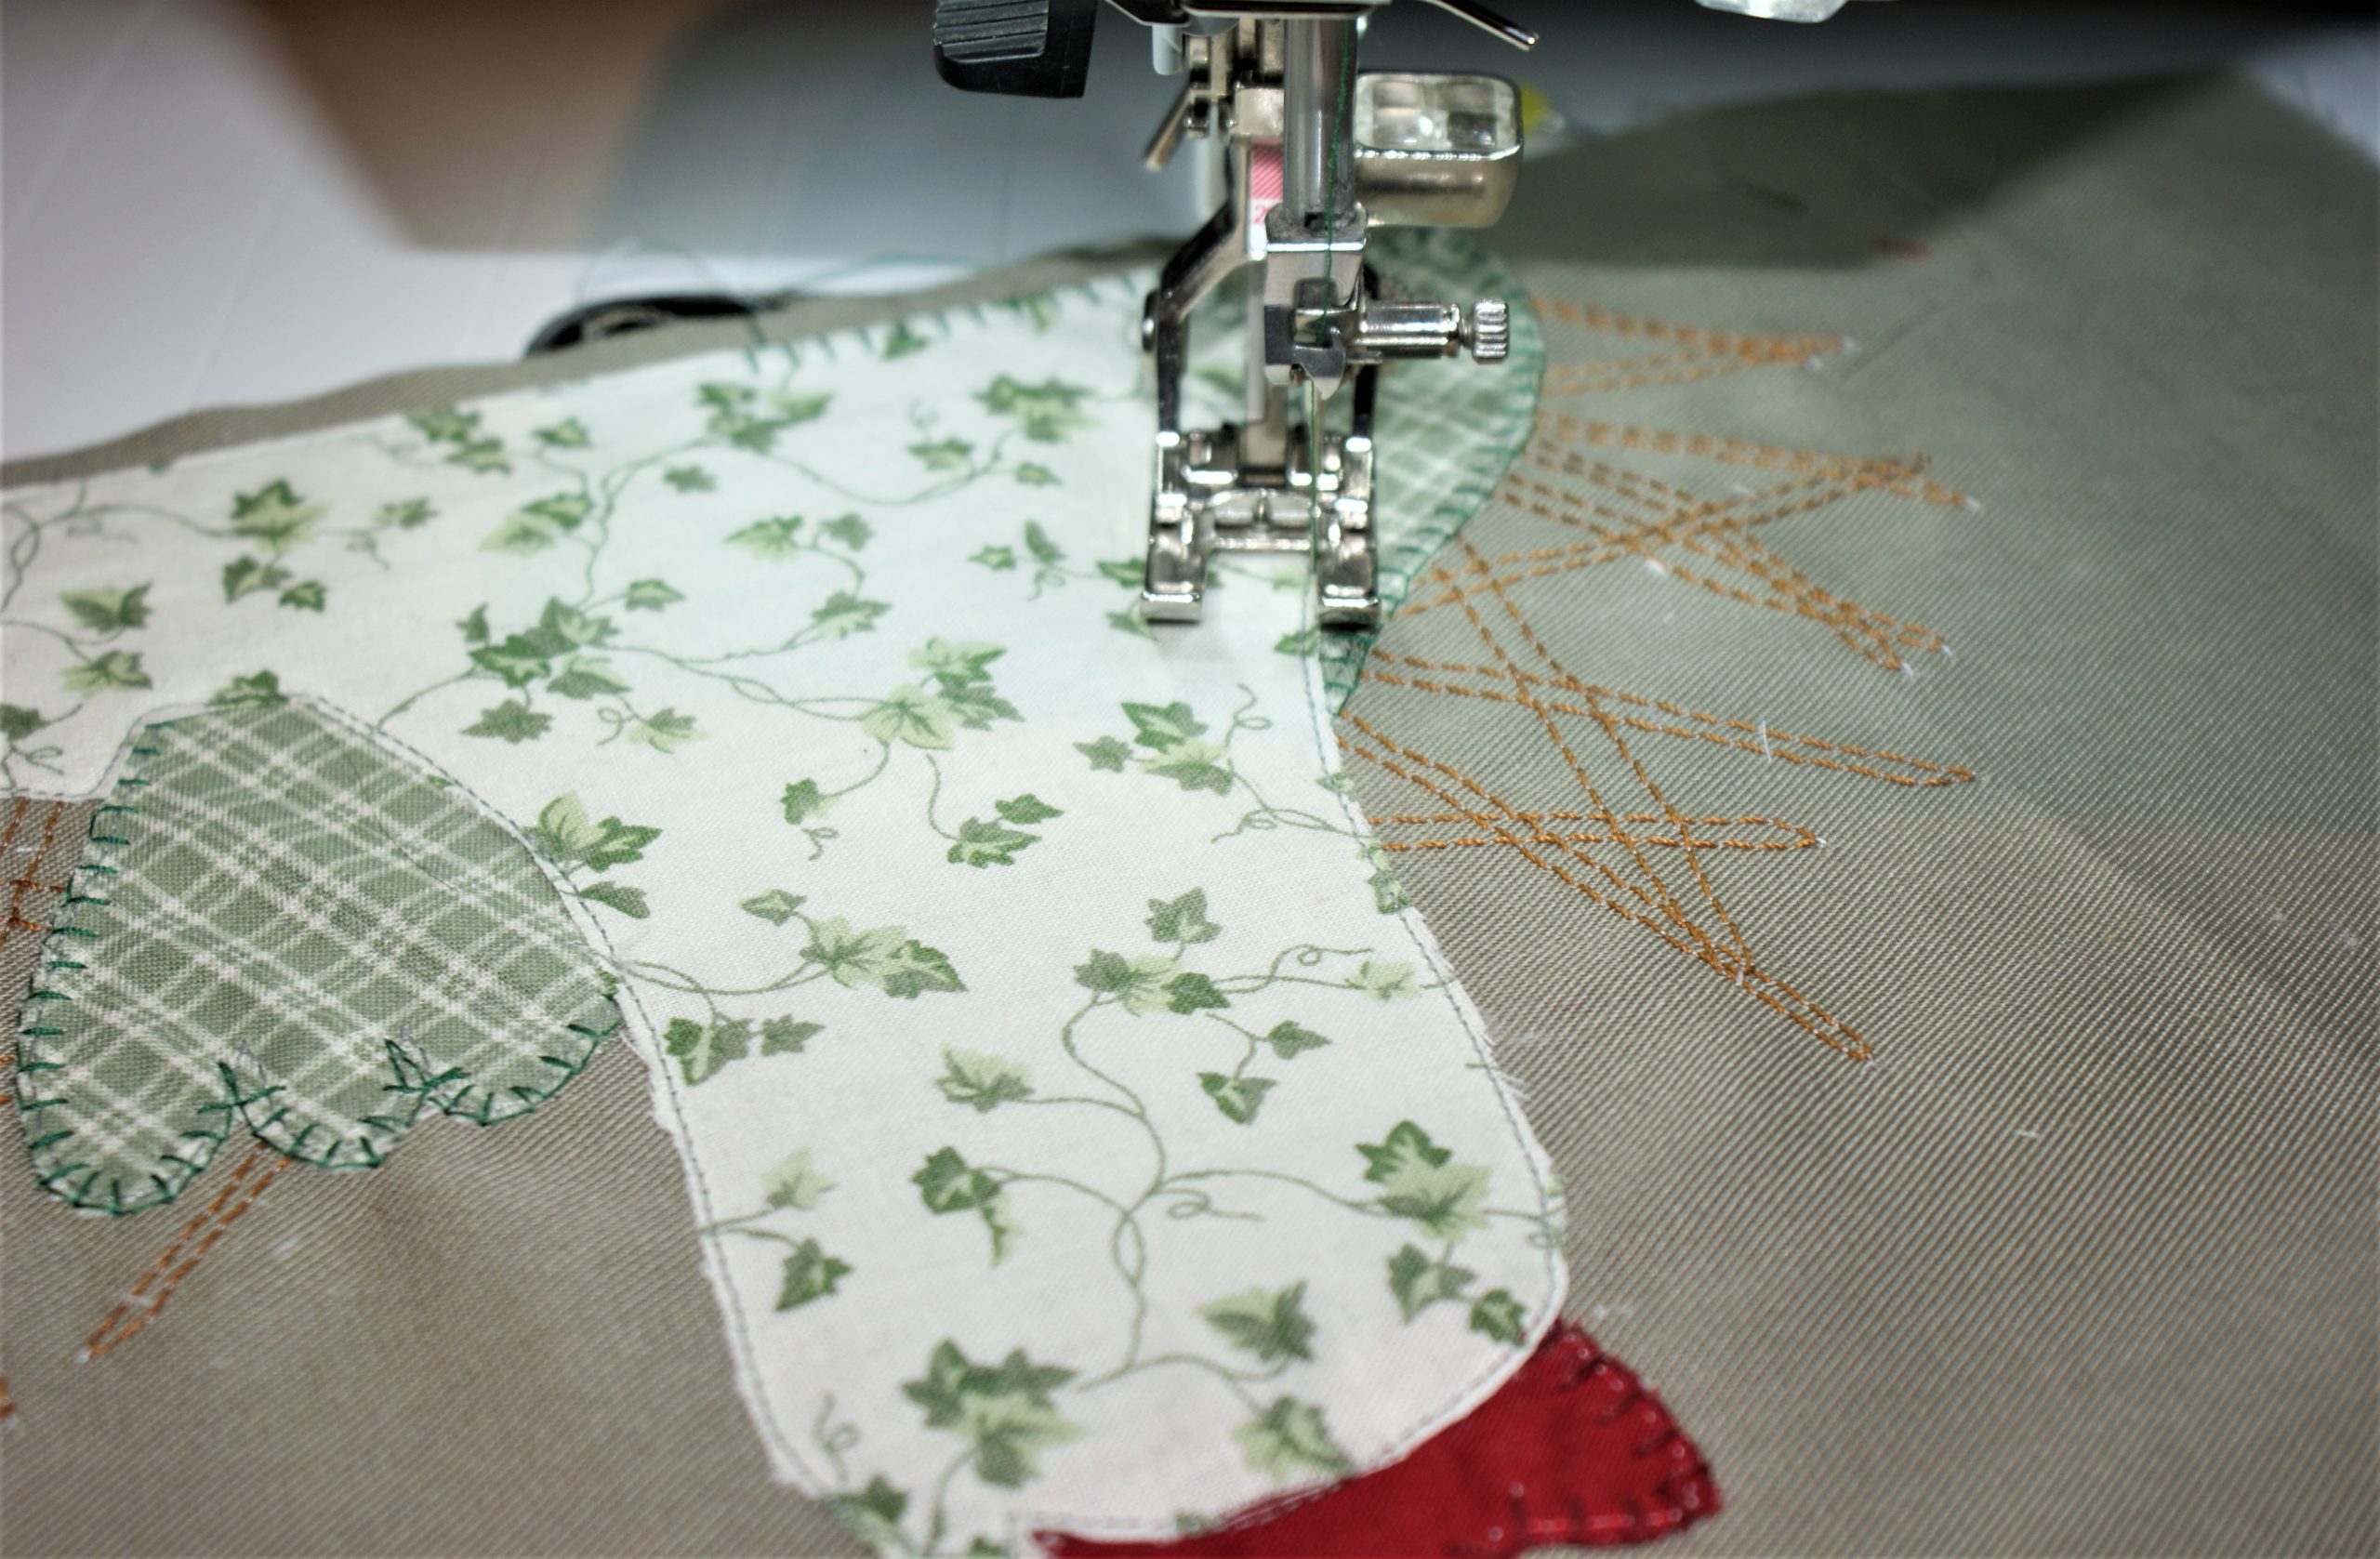
Sew with a darker color thread and choose an applique stitch. The Open embroidery foot # 20 gives you a good view on your work. These were my settings:

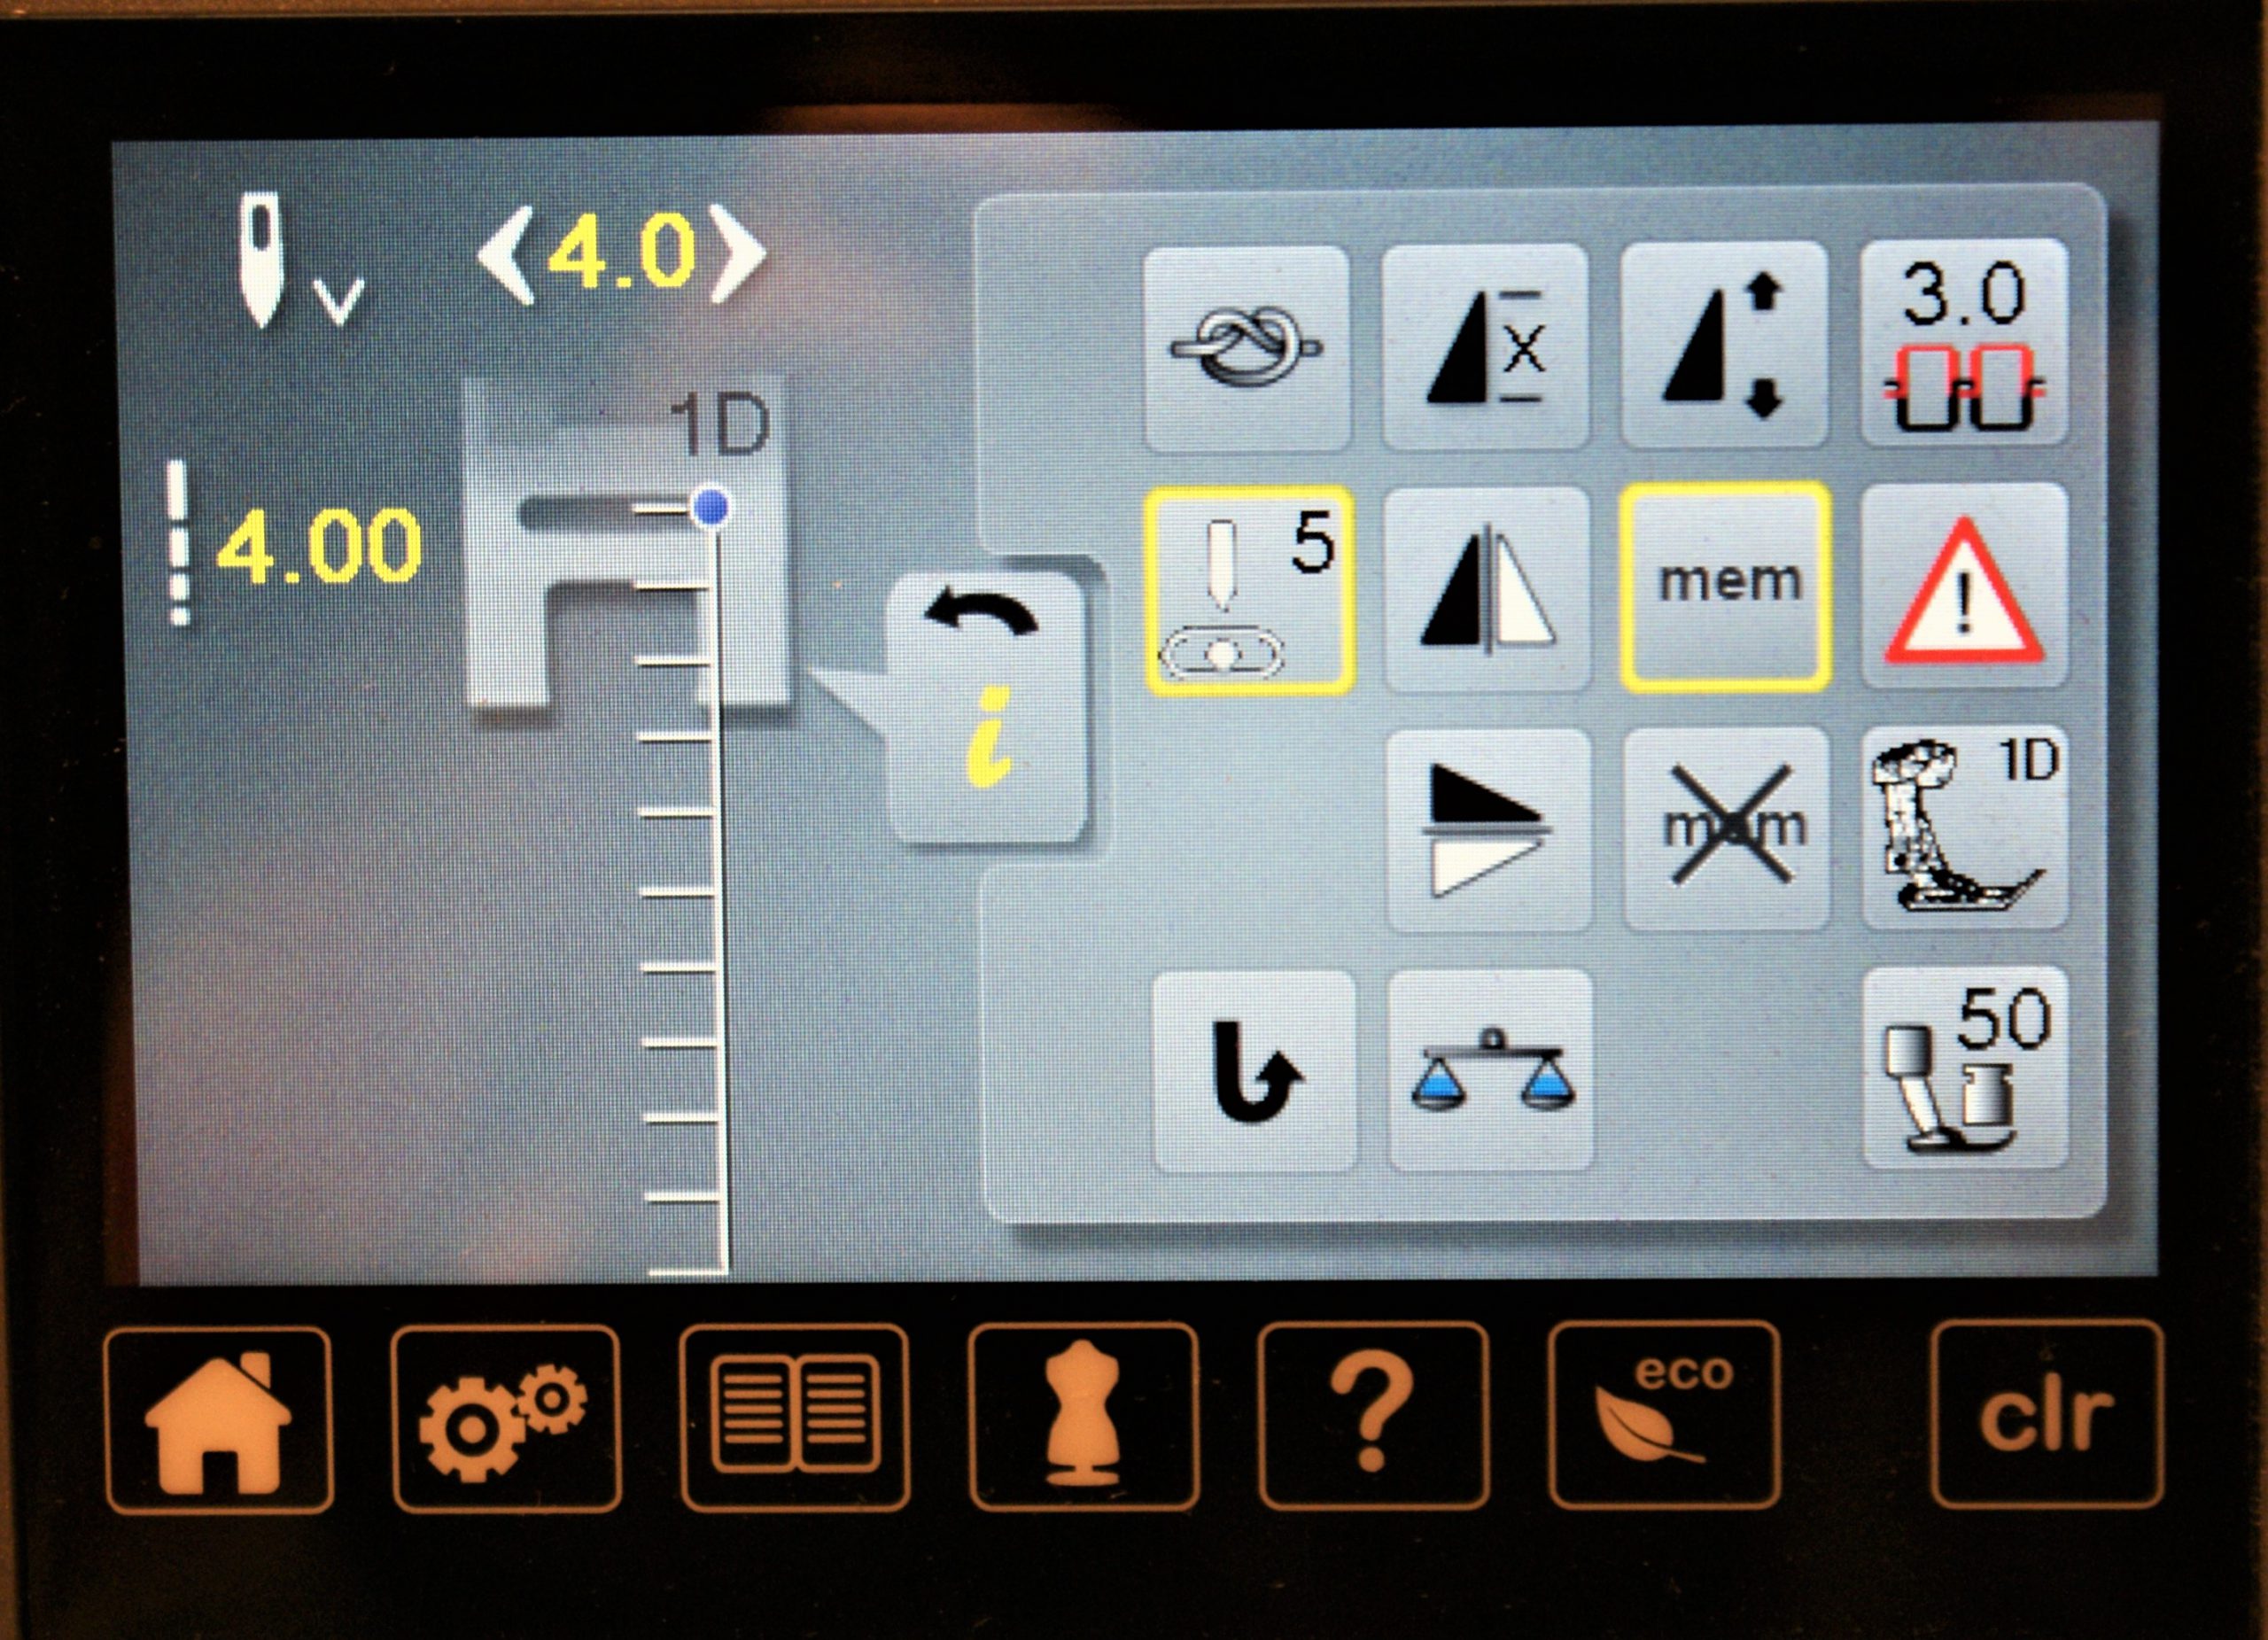
Settings: Stitchwidth 4, stitchlength 4, needleposition right.
The parts that will be covered again, don’t really need the applique stitch. You could as well choose for a straight standard stitch.
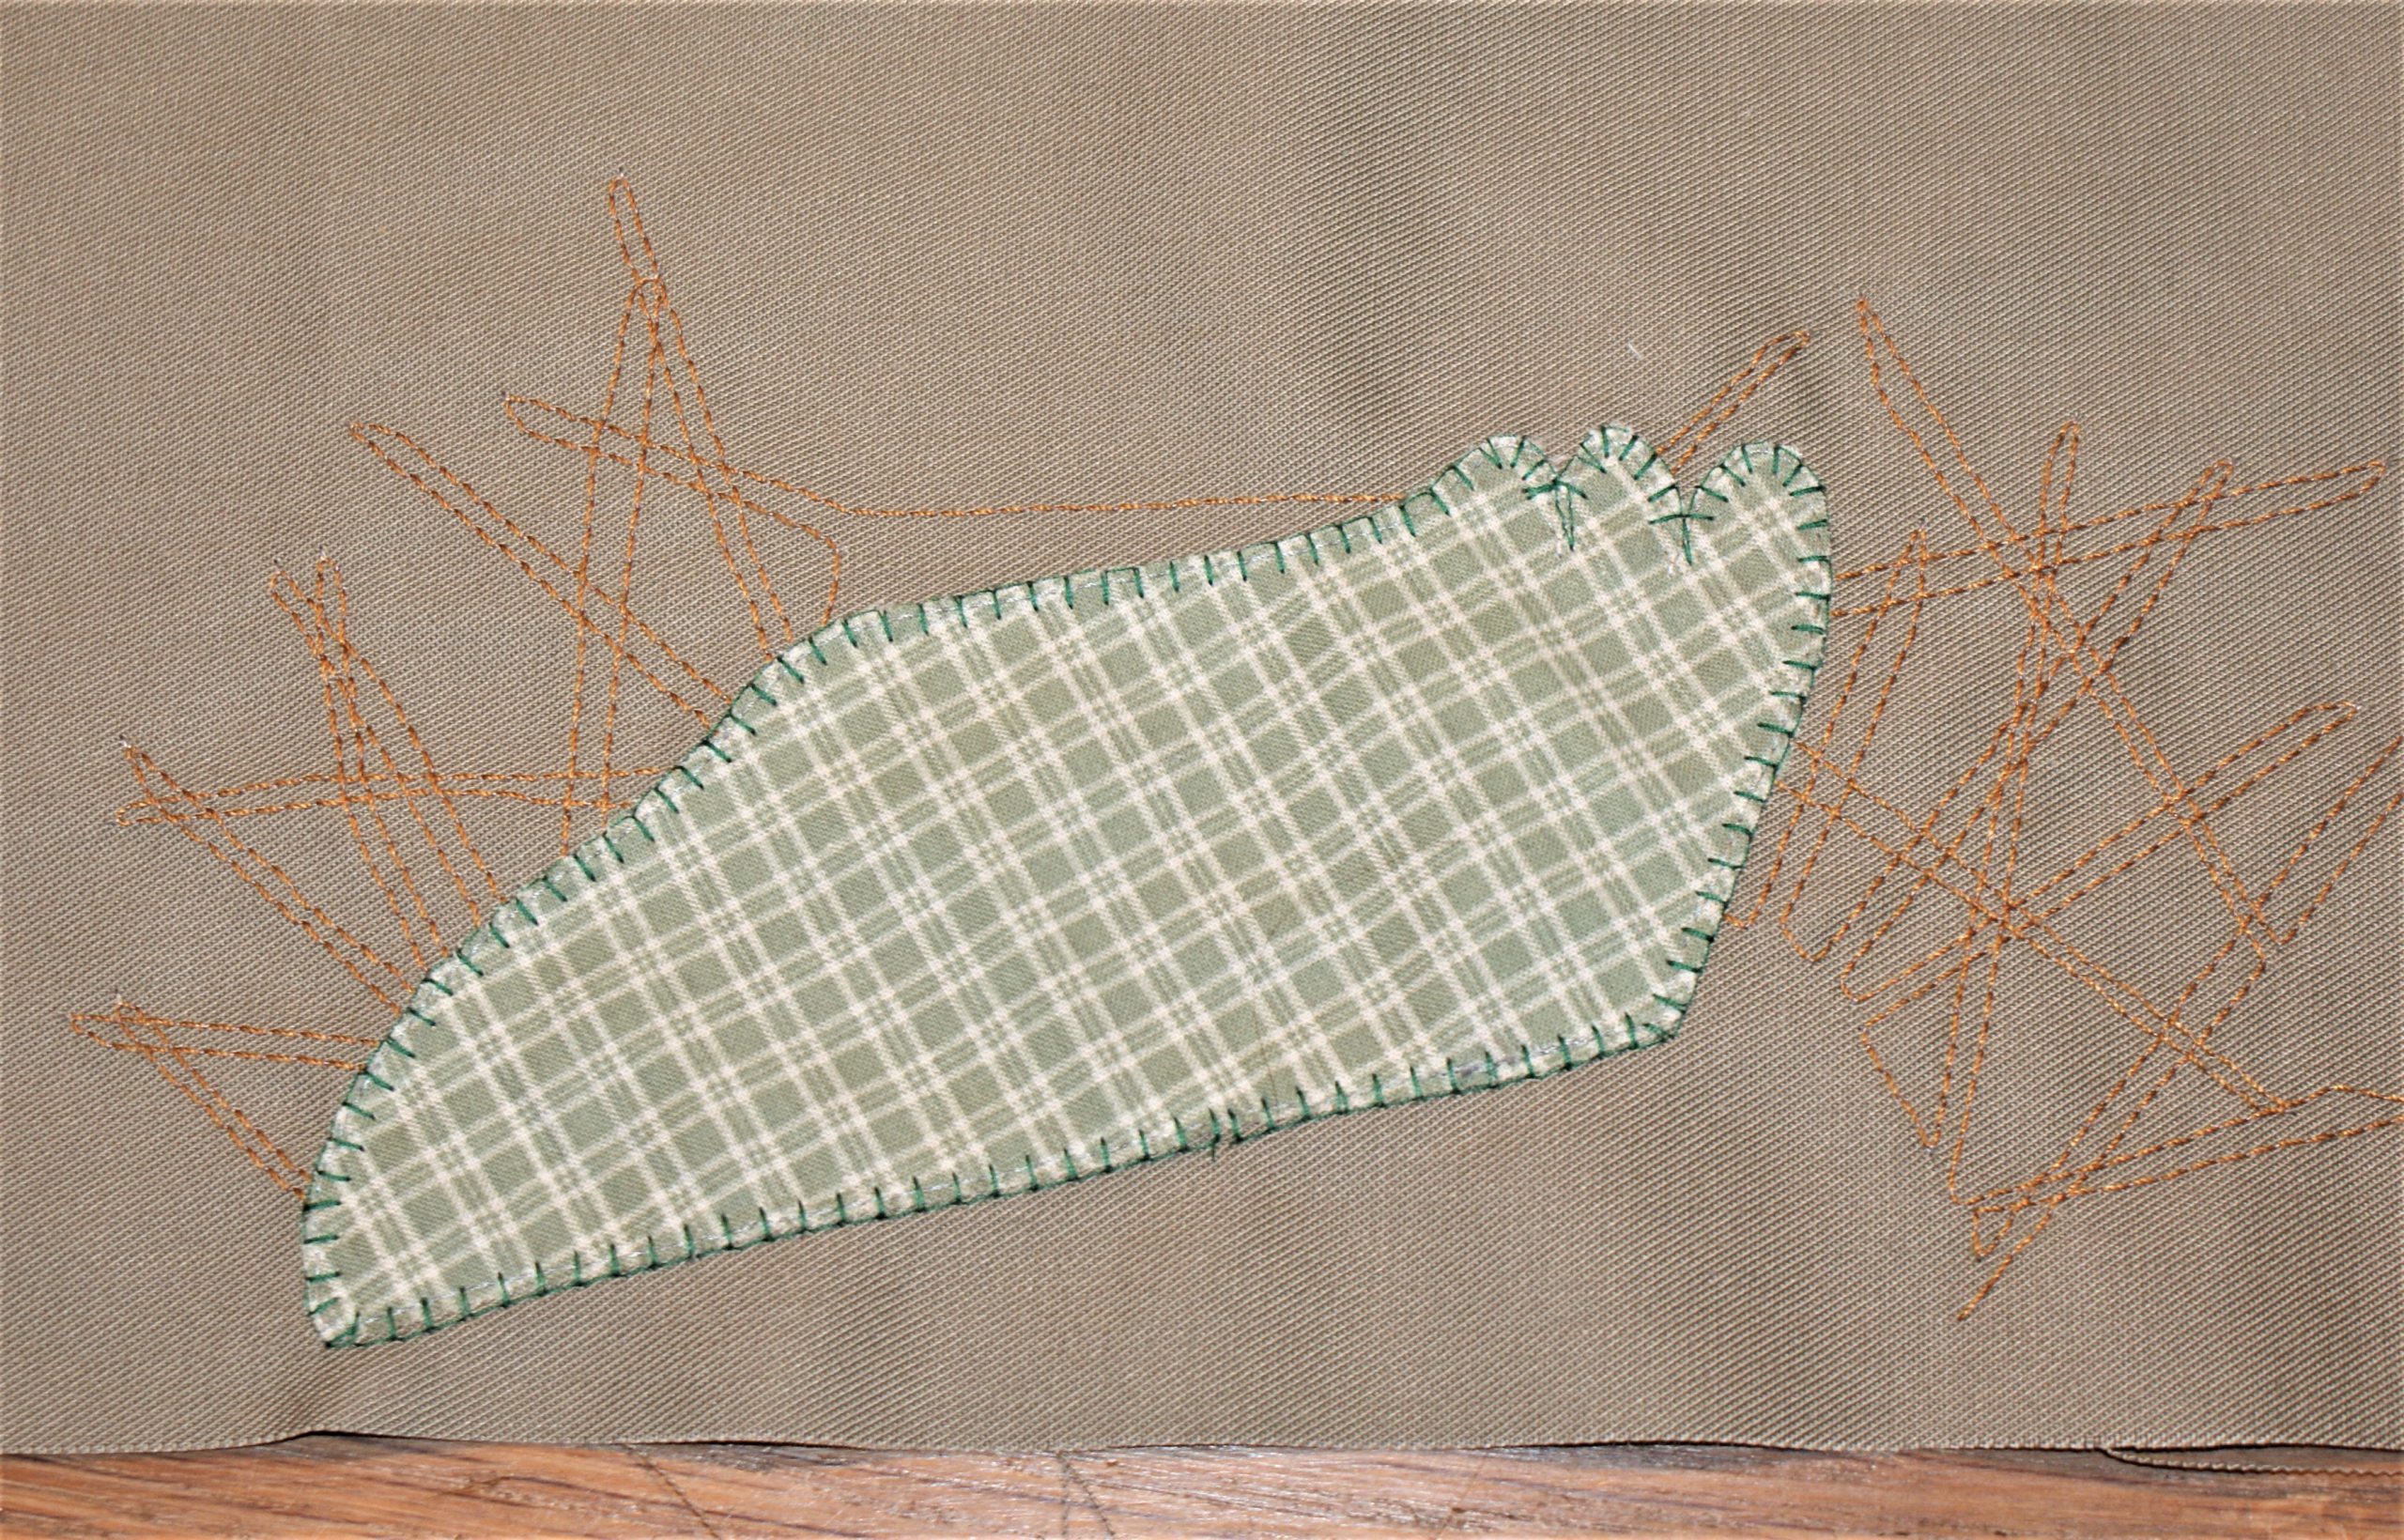
The first shape is ready.
Second part of the applique:
Take sheet 2 and pin it along the marks on the bottom of your fabric.
 Sew the comb in the same way:
 After sewing with the applique stitch, you will continue with the body and head.
Now it is time to finish with the wattle and the beak. Take care for the smile. It will determine the sympathetic look.
Place a pin through the paper and fabric to mark the place for the eye on the right side.

Sew a few stitches with a dark thread to fill the eye.
Tear away the fabric from the back side. The hen applique is ready.
How to finish the placemat:
Use the last piece of fabric at the back of the project (wrong sides of fabric facing). Fix with temporary adhesive spray (or pin)
Check if the shape is still rectangular. Cut out with a rotary cutter if necessary.
Zigzag the outline.
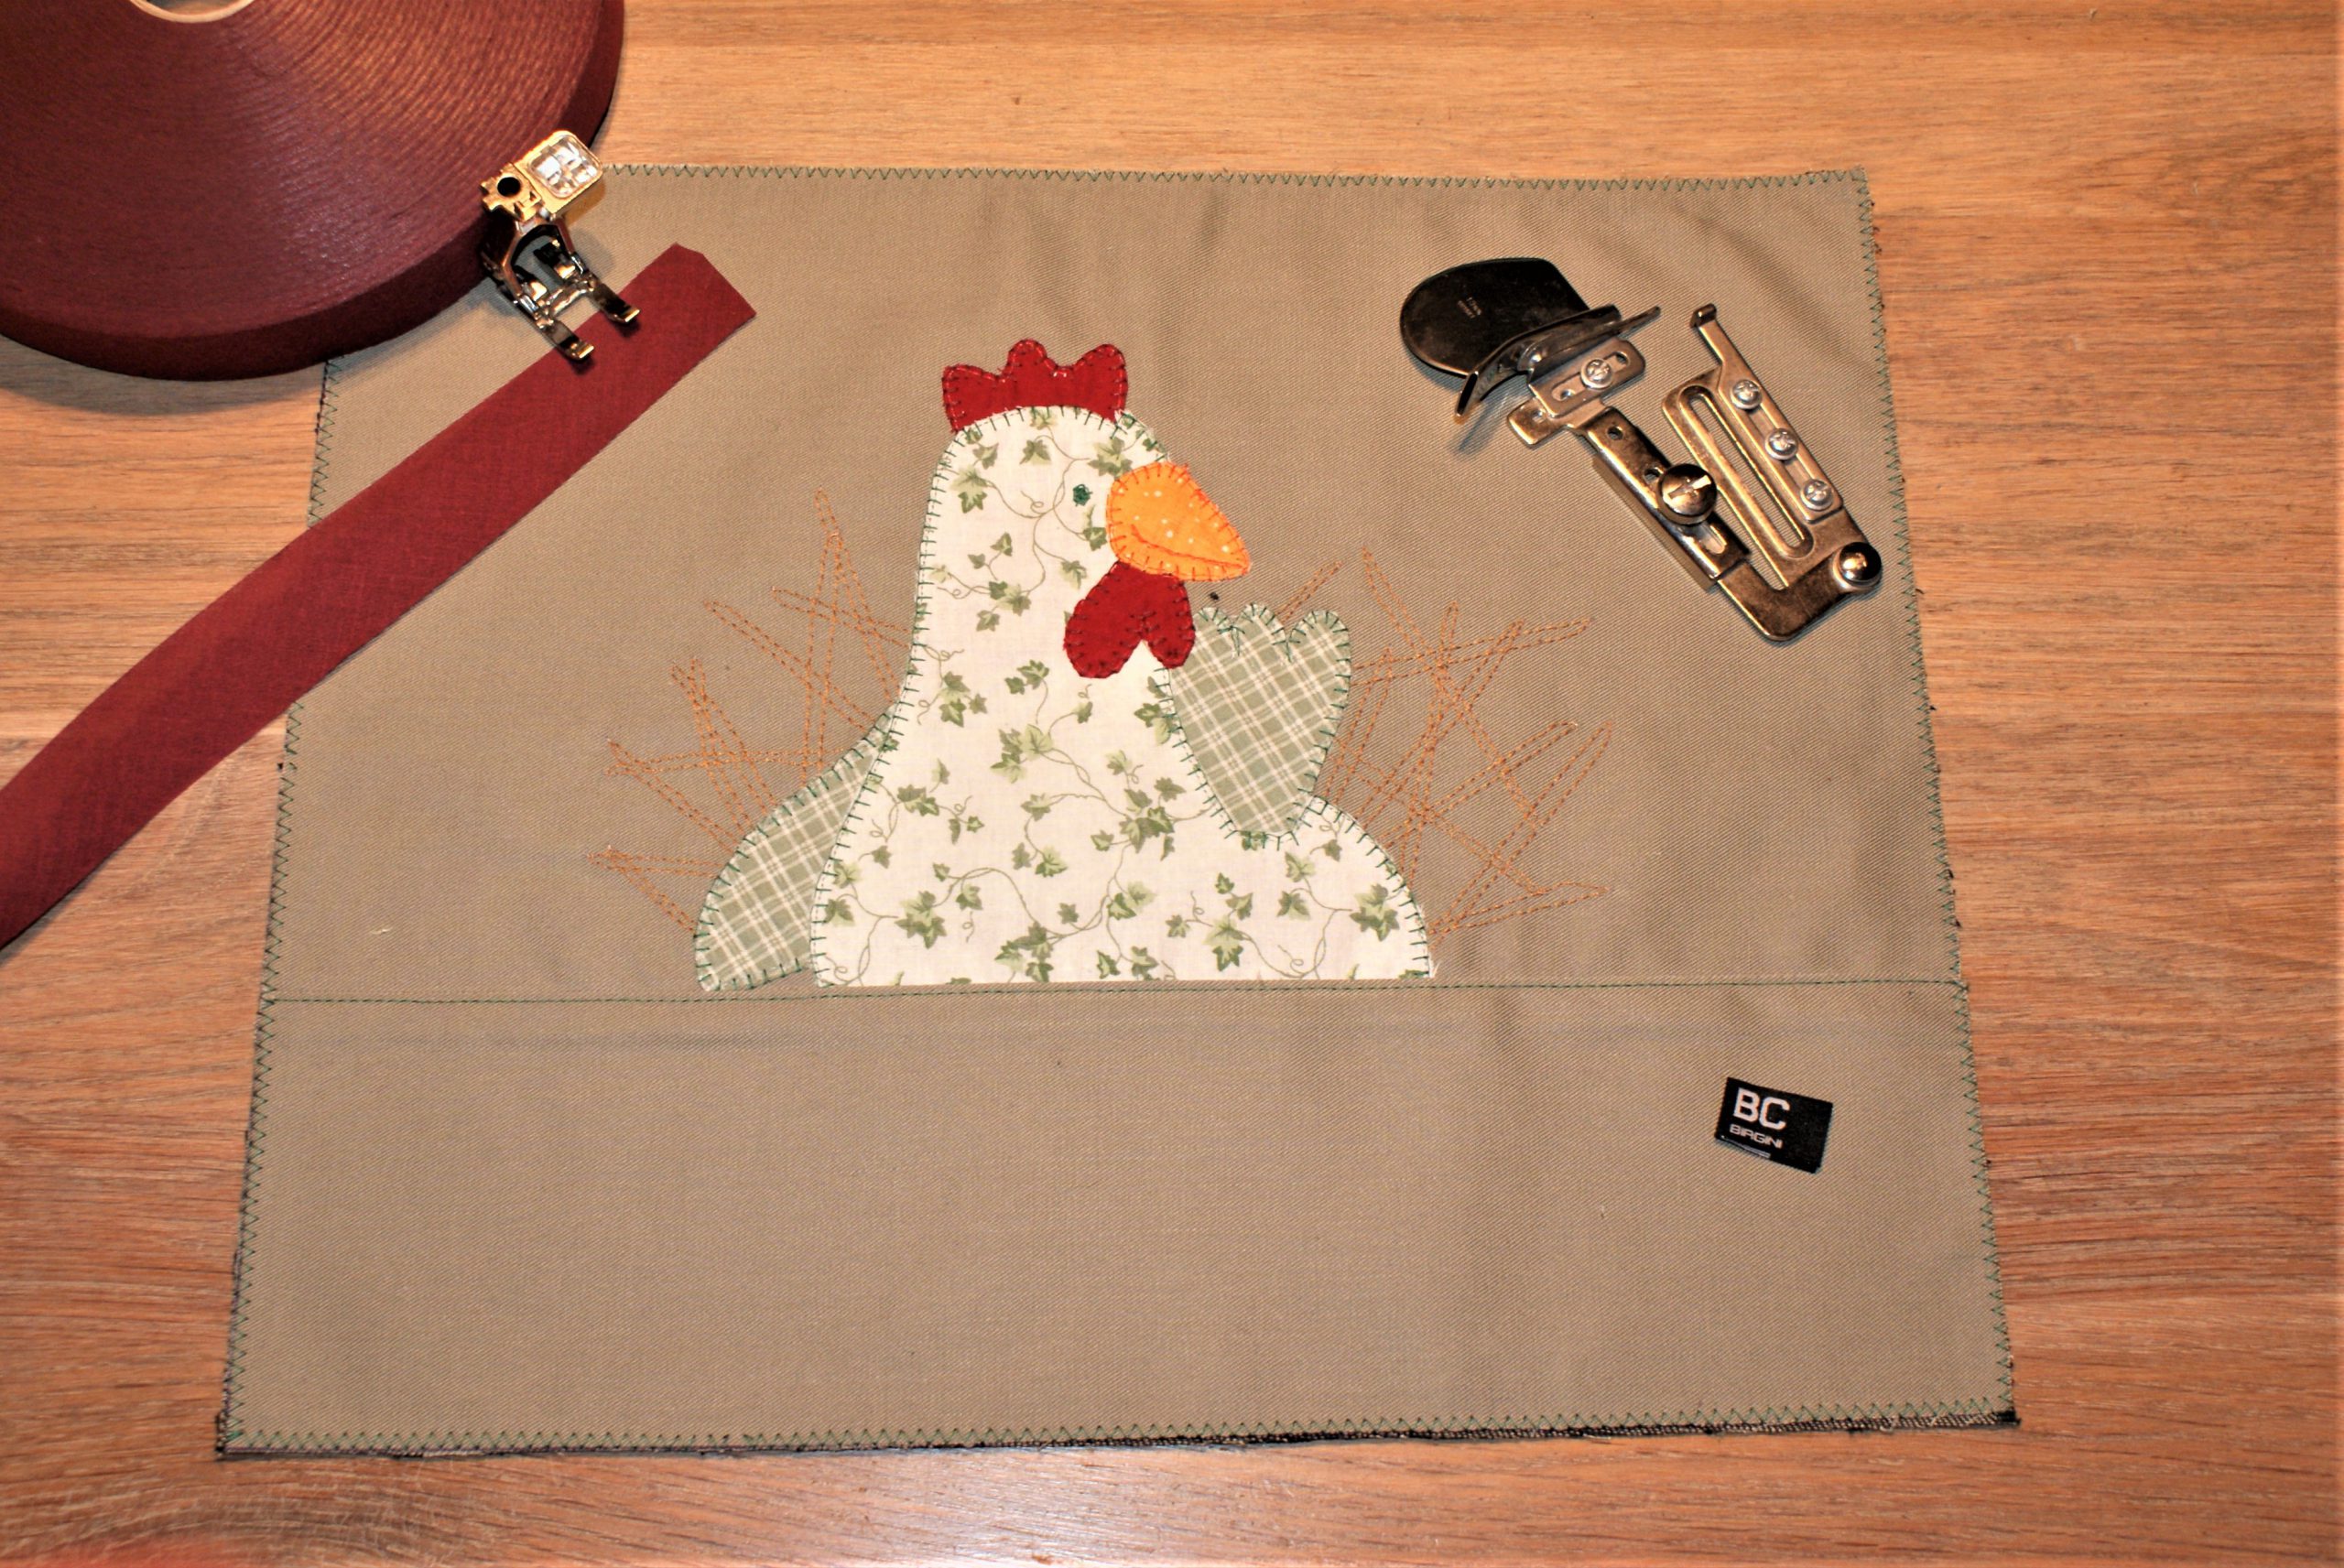
Sew biastape along the border (don’t forget your label if you have one). I love to use the Binder attachment # 87 in combination with the open embroidery foot 20.

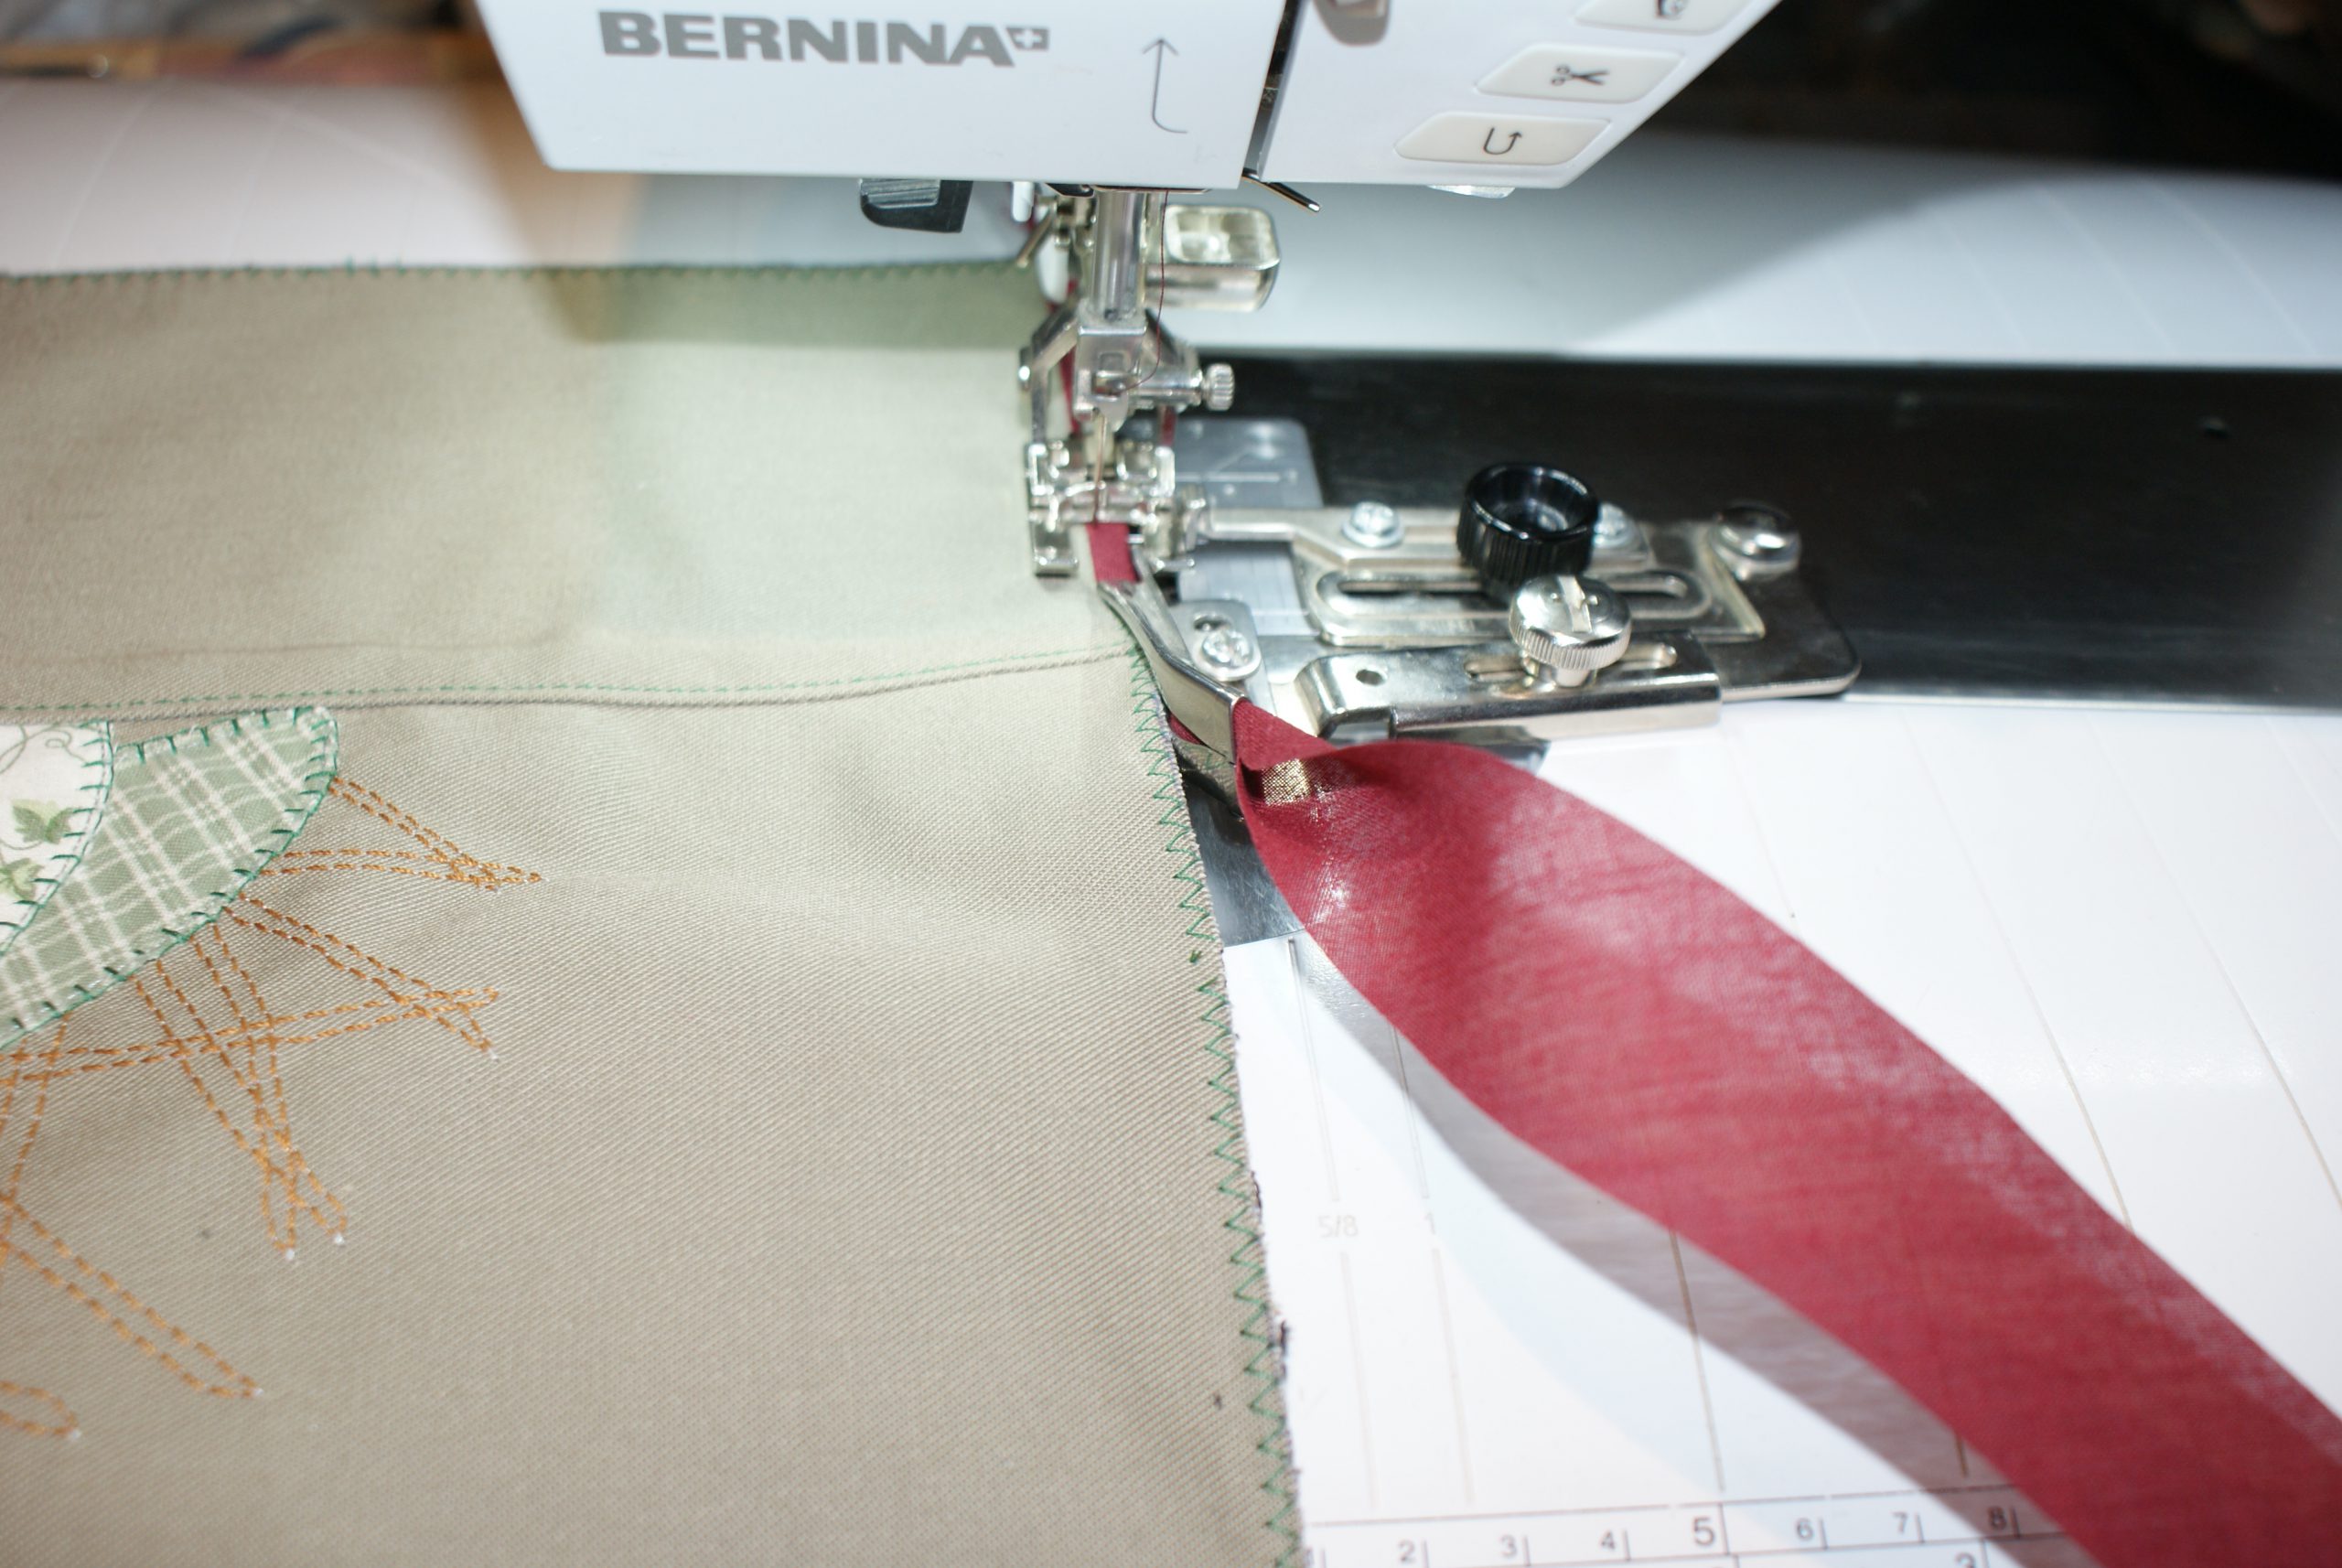
Ik use non prefold tape with binder attachment 87.
You finished to sew a hen applique as spring decoration.
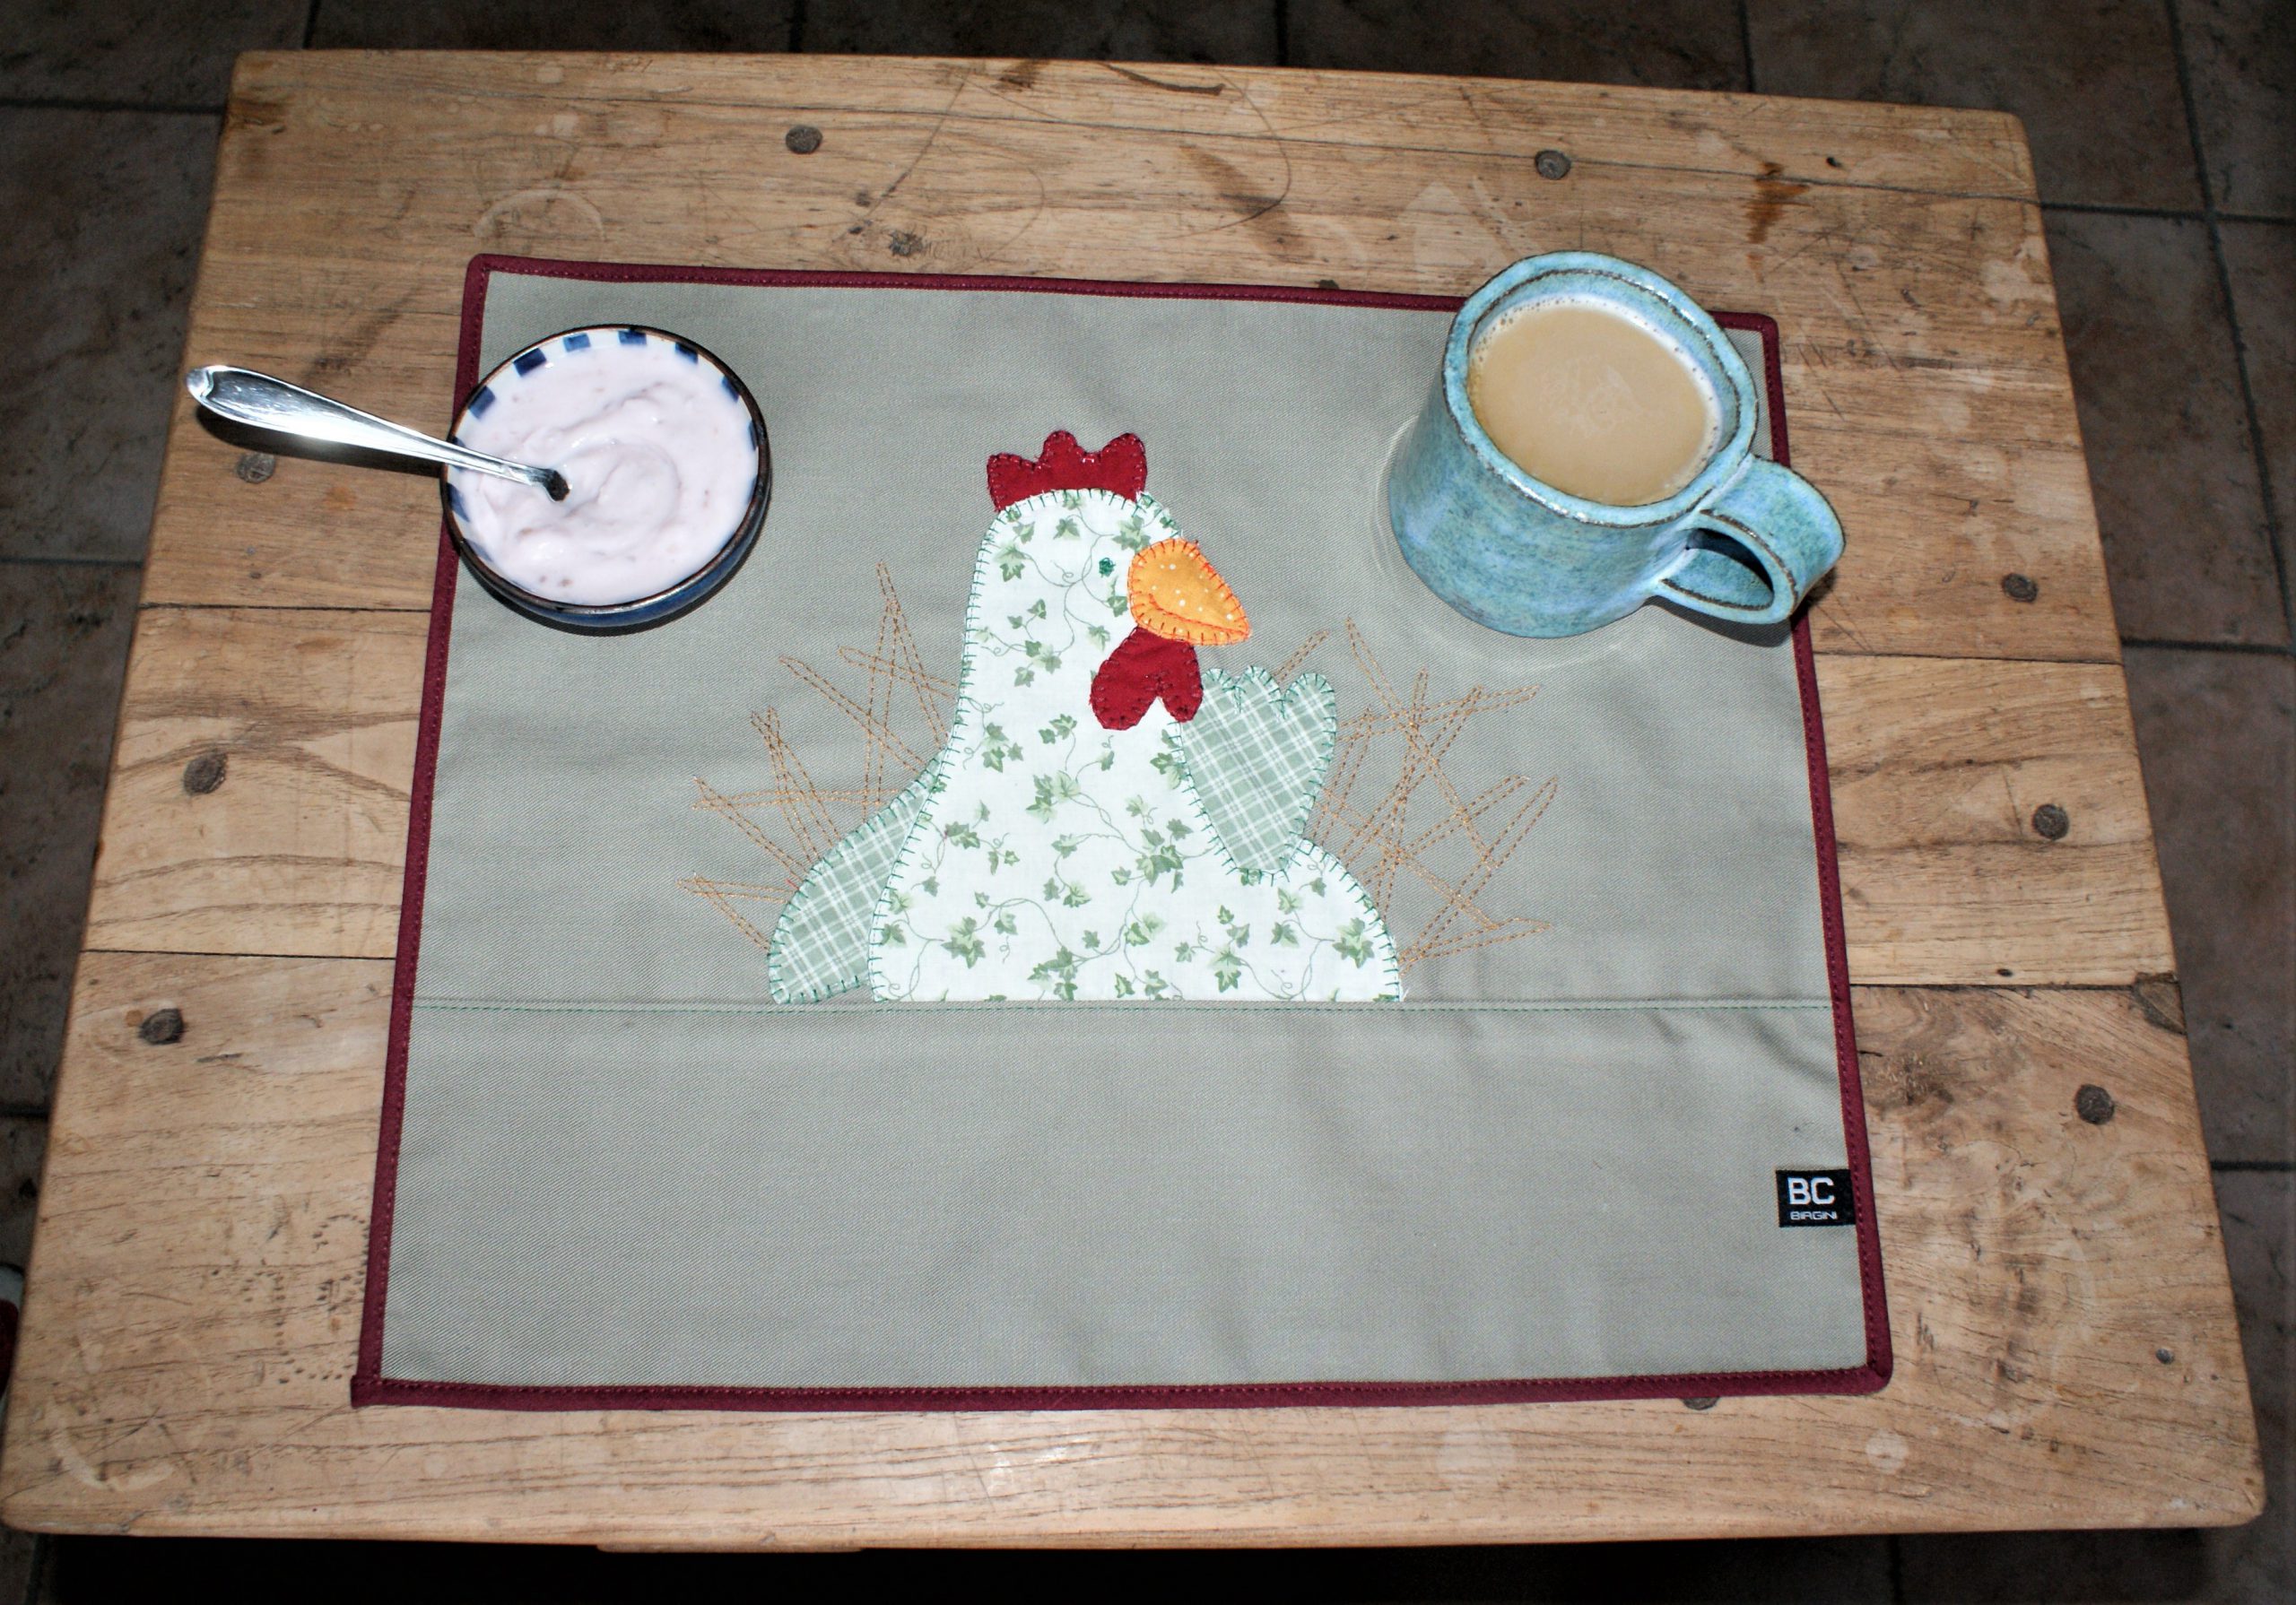
Well, I like it a lot. Please let me know what you think of this project!


0 Responses