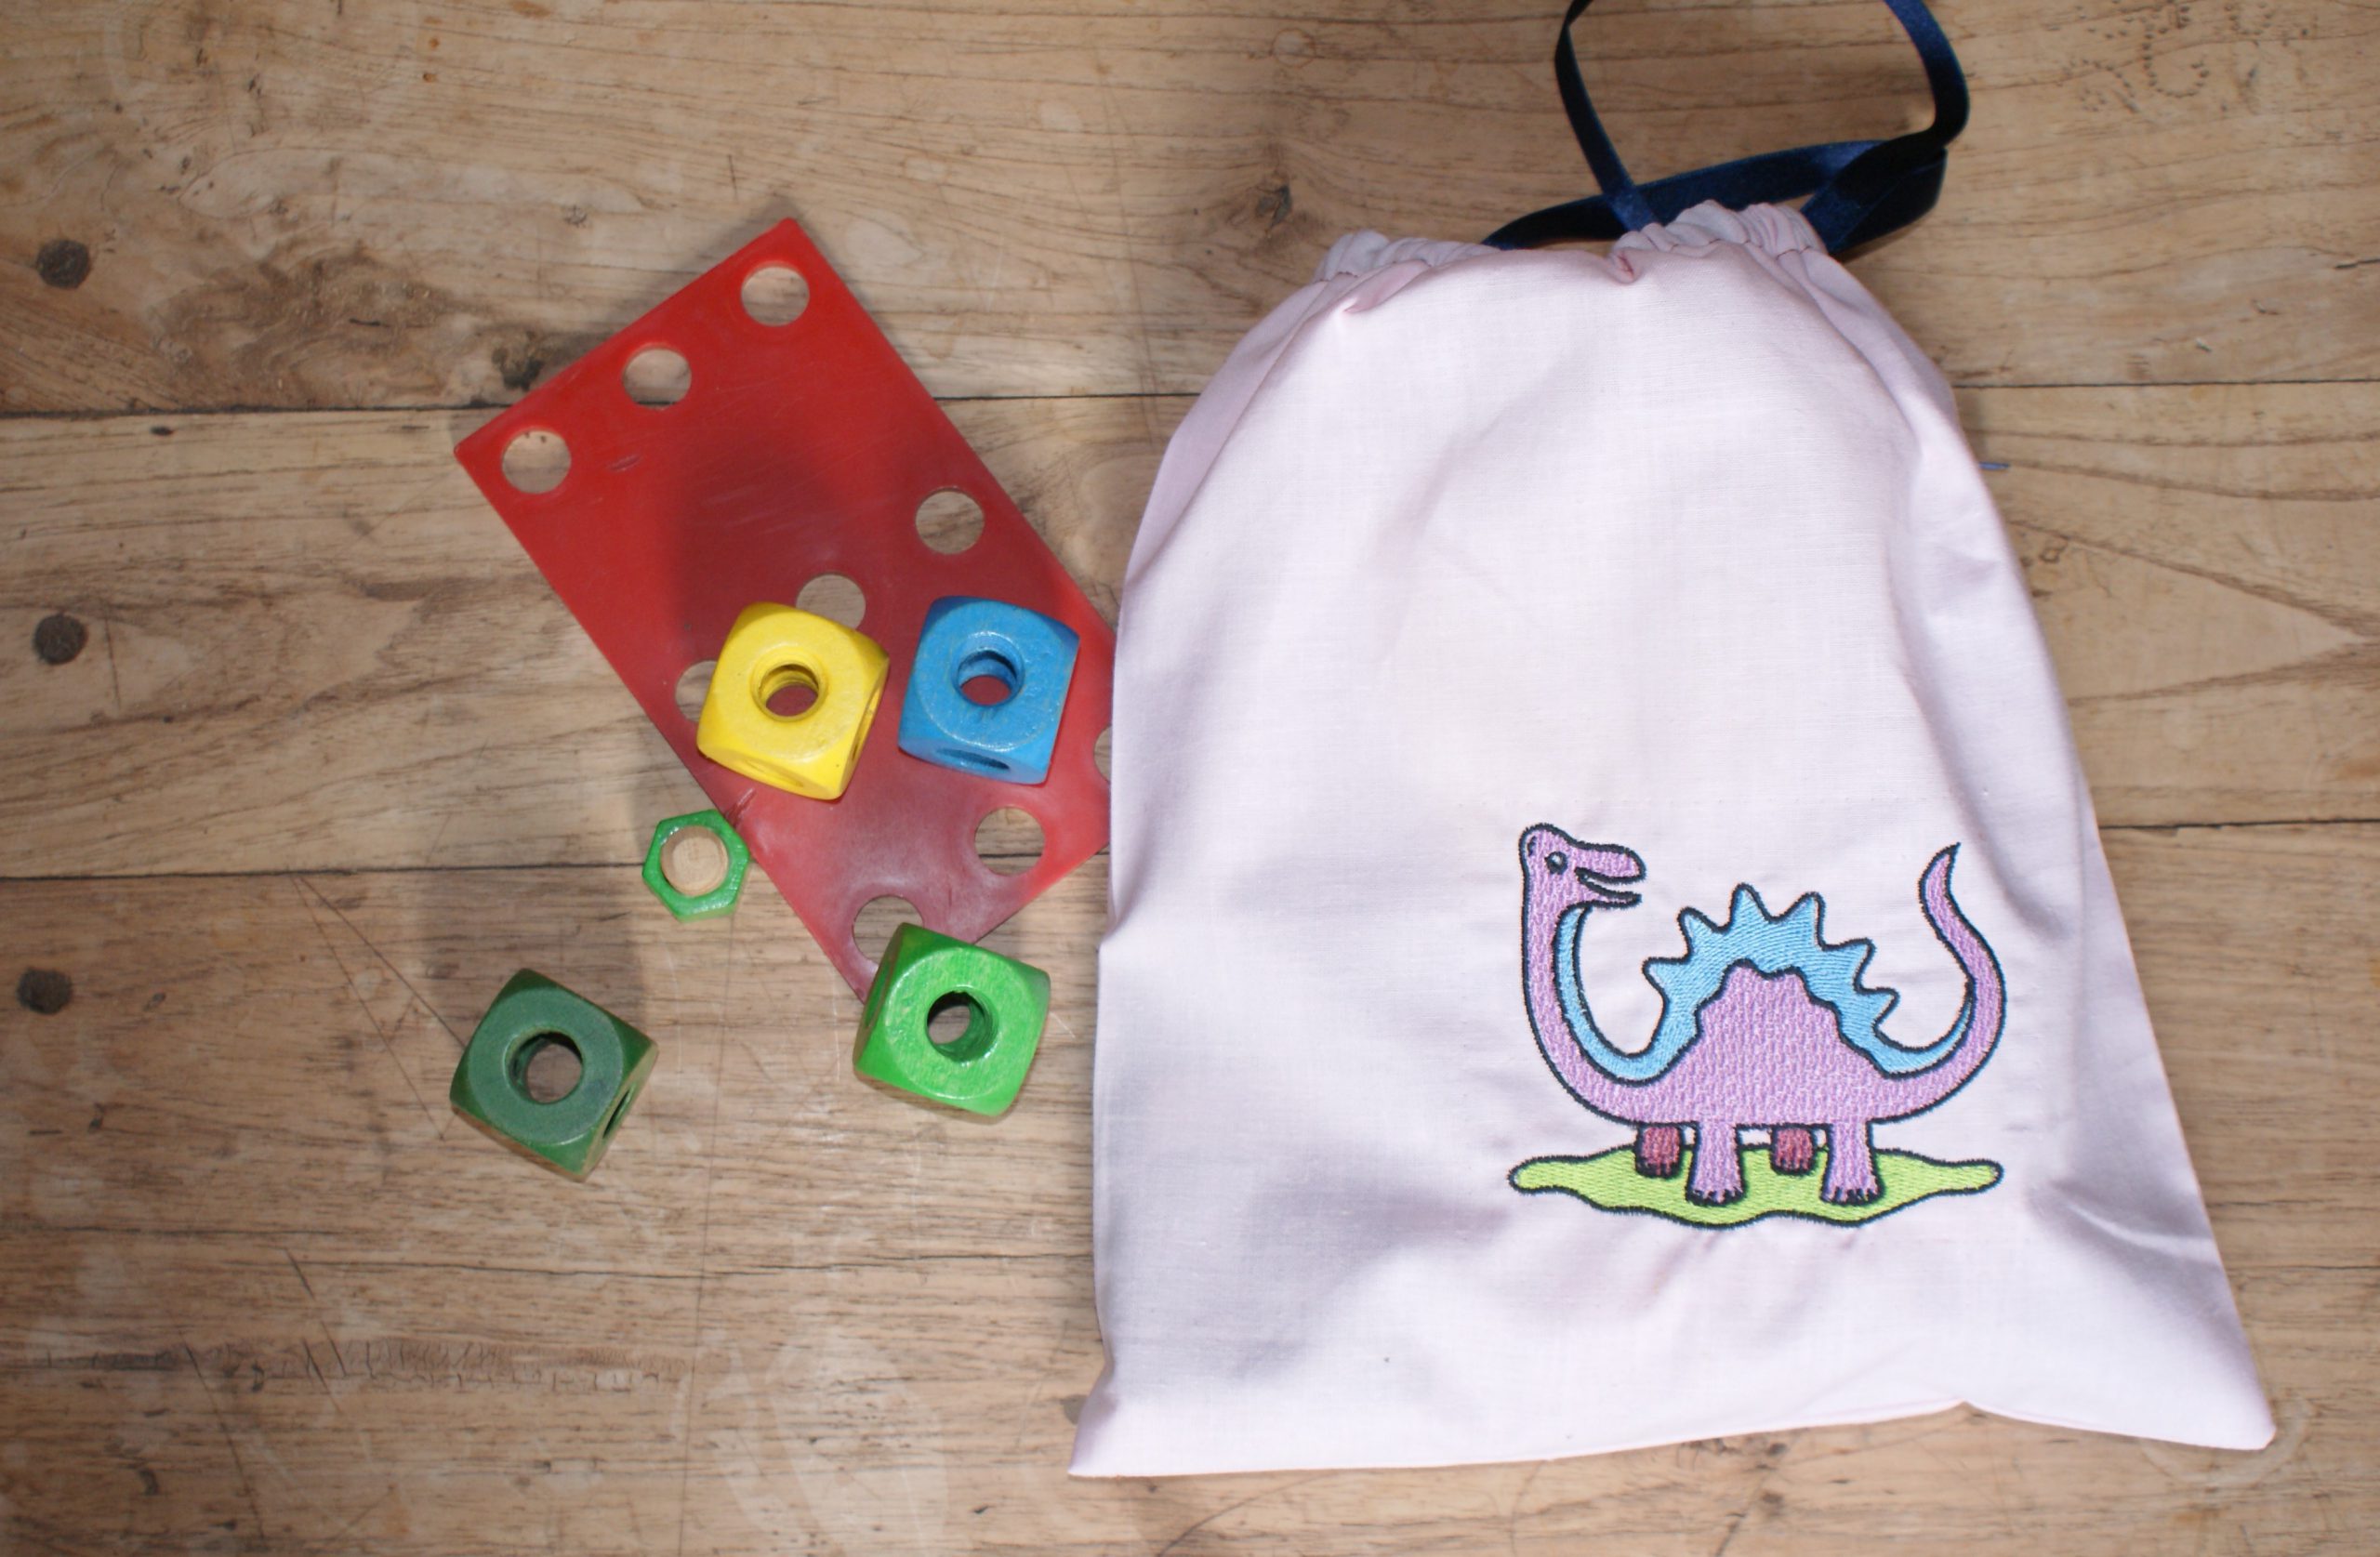
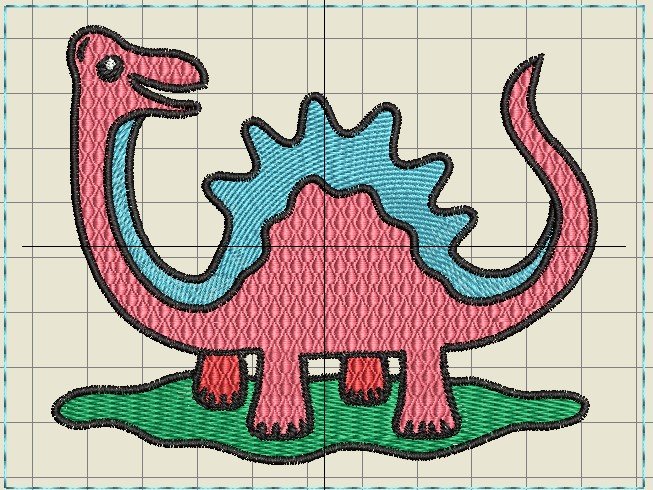
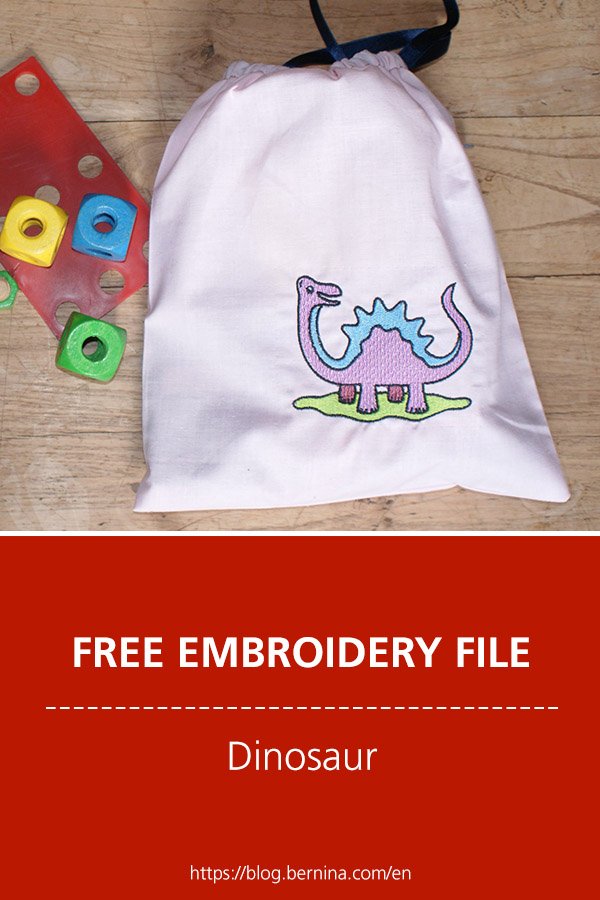
There’s probably an overload of decoration ideas for princesses and unicorns, but if you have a tough child, you’d have to search. Well, here you find one! You will find instructions on how to digitize and embroider a sweet dinosaur for a child.
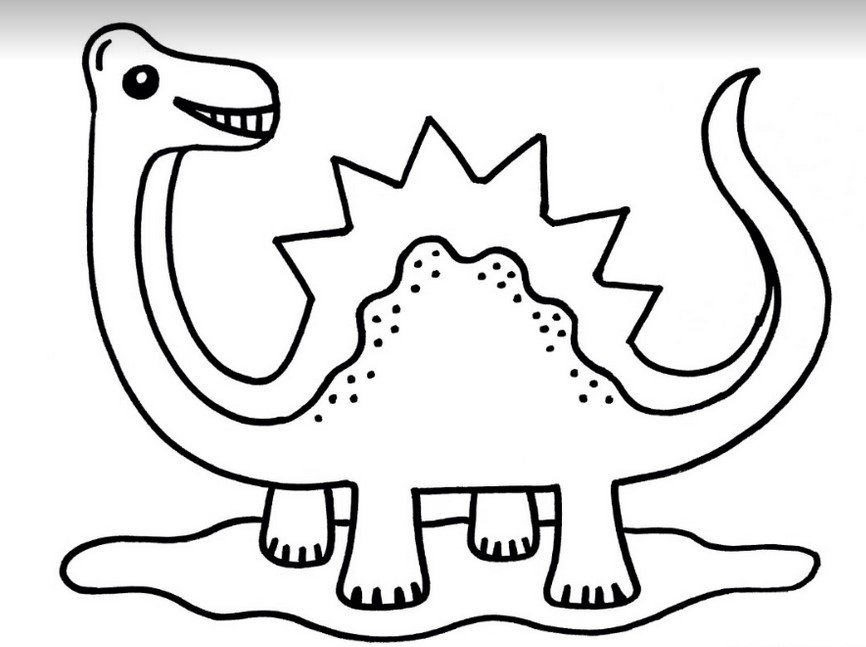
I had permission to embroider this very nice dinosaur, drawn by De Knutseljuf Ede. She has so many funny coloring plates. Take a look at her side for ideas: creametkids.nl.
When downloading a nice clipart from the internet, always wonder about copyrights. Especially if you want to publish you work, or if you think of selling it.
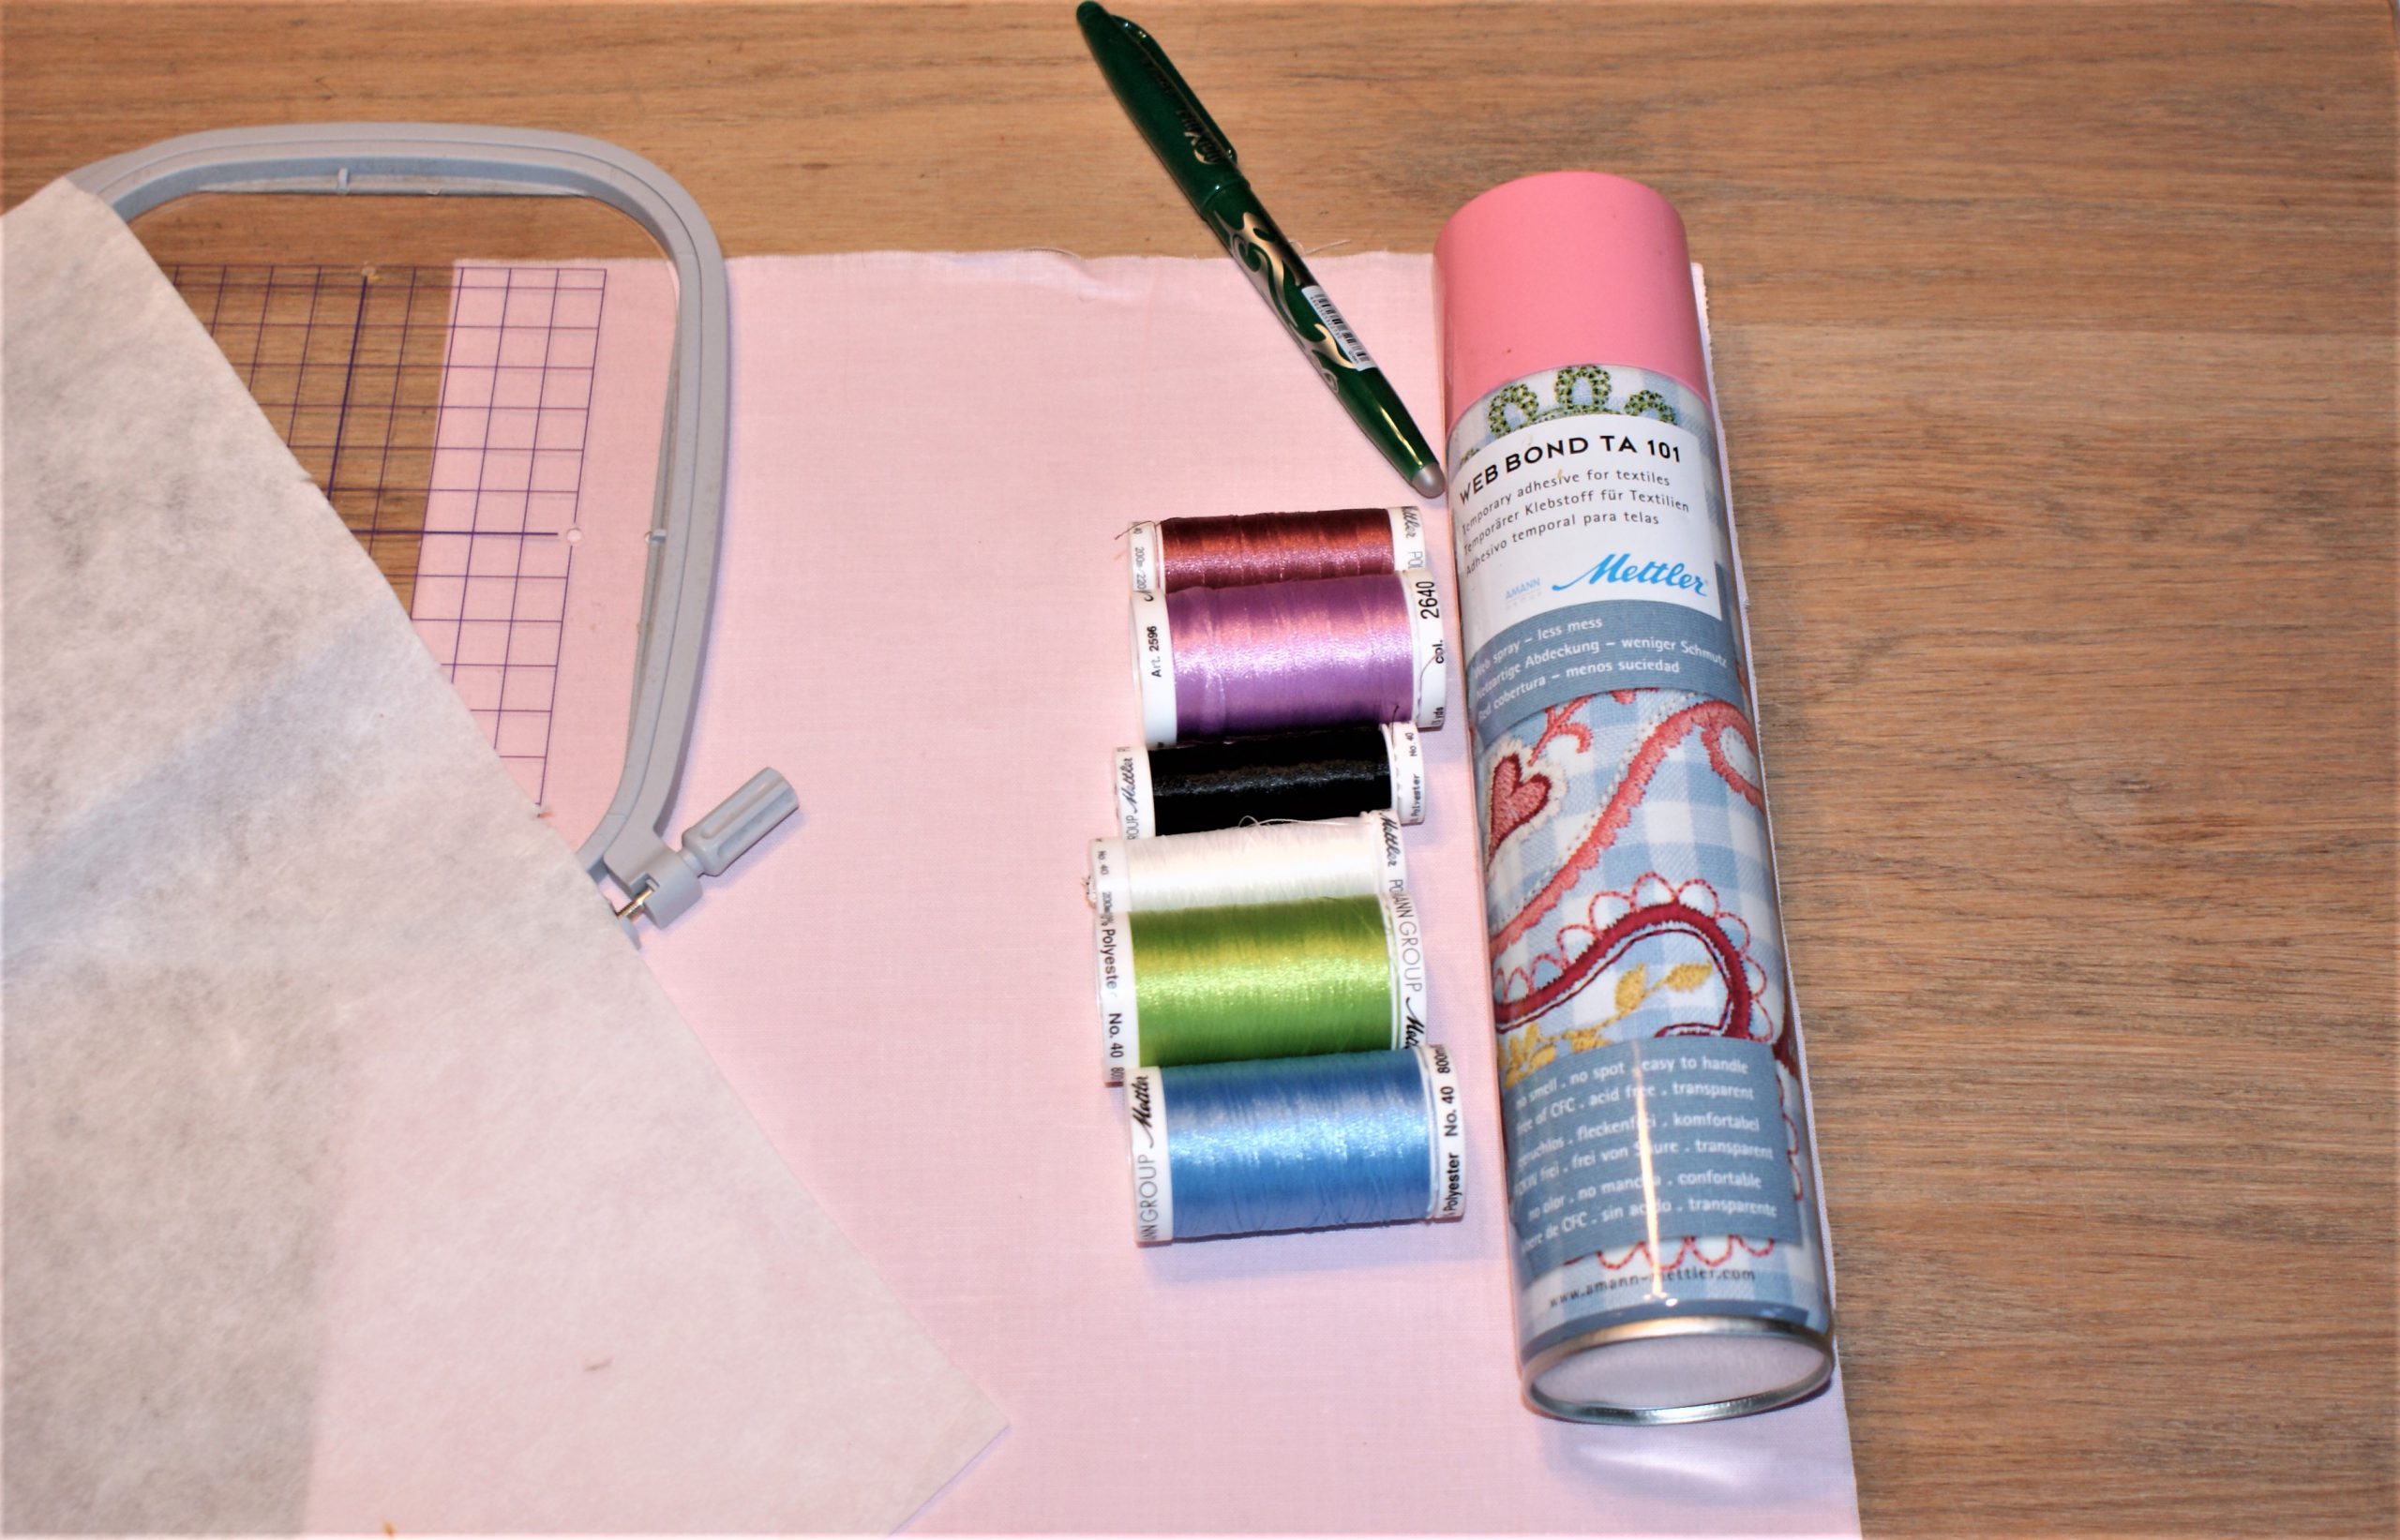
The supplies to embroider a dinosaur:
- A garment to embellish, or a heavy weight cotton for a bag.
- Mettler Poly Sheen embroidery thread in 6 colours.
- Cut away stabilizer
- Optional: water soluble stabilizer to put on top of a fleece or sweater.
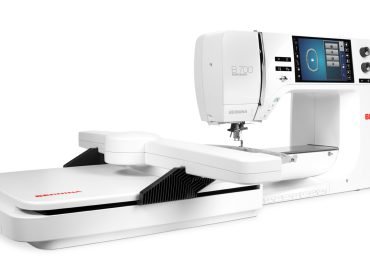
- BERNINA 700
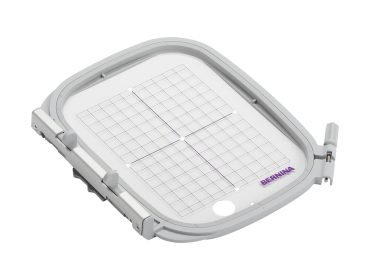
- Medium hoop
- The free embroidery file (click on the link to start the download): Dino 12 x 9
Would you like to learn about the settings to fill the body?
The file for the dinosaurus is digitized in #8BERNINA Embroidery Software 8
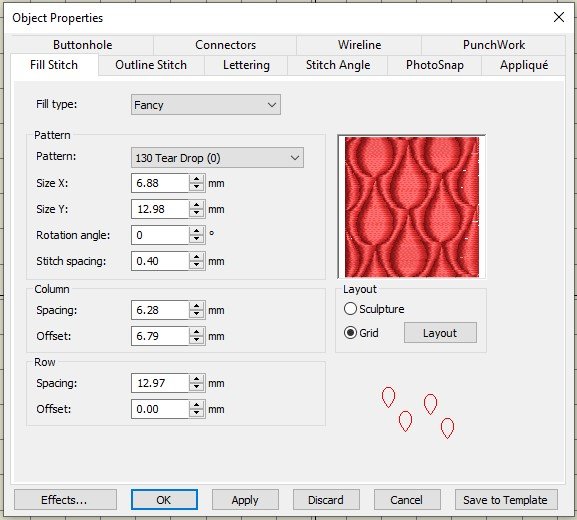
In ‘object properties’ (you find this by right clicking in the shape), choose for the fill type ‘Fancy’. Than click on 130 Tear Drop.
You get some standard settings:
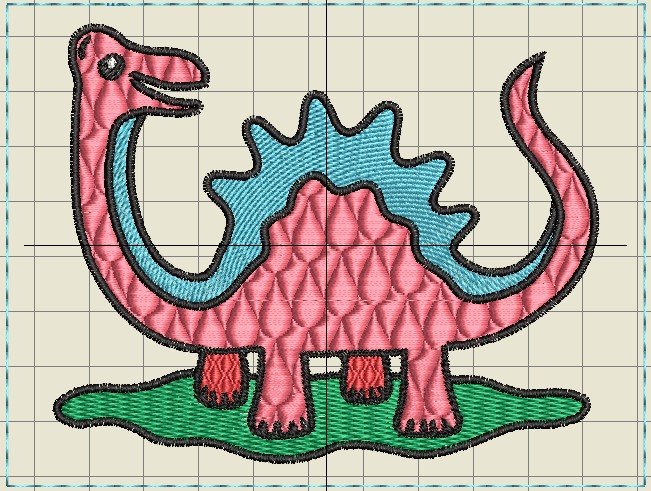
And this is the outcome on the dinosaur.
To my opinion, the relief is too big.
So, change settings to a smaller number for a correct fill for this shape. (Don’t change the stitch spacing).
This is the new dinosaur skin. Very realistic, don’t you think?
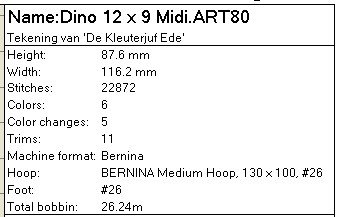
These are the overall properties:
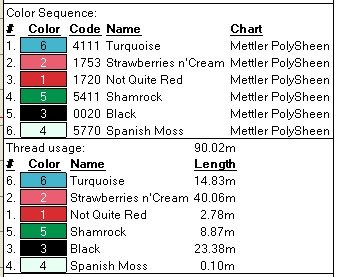
This is the embroidery sequence and thread usage:
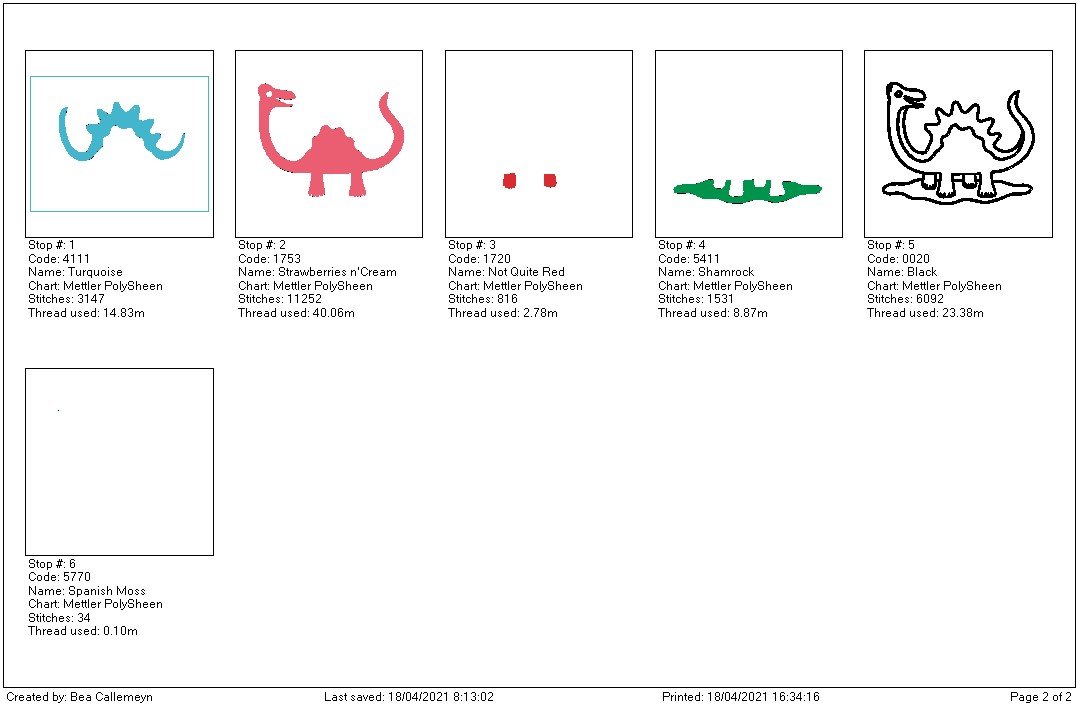
Take a look at the embroidery objects:
Let’s start to embroider a dinosaur for a child!
If the fabric is light weight (like a shirt), you can hoop the fabric with the stabilizer. If the fabric is heavy weight, hoop it ‘floating’. Use temporary adhesive spray and pin.
Mark the position where you want to embroider it.
Did you notice the dinosaur is set up in landscape format? So the screw of the hoop is at the bottom and the attachment on top.
The first embroidery object (in blue) starts with a rectangle that serves as basting.
Finish the embroidery:
Embroider all objects. After finishing, you take the hoop away from the machine and take the project out of the hoop.
Remove the stabillizer from the back and the water soluble stabillizer from the front.
It’s ready. I finished it as a bag for precious toys.
Don’t you like it? Think how much fun it brings to a child. Would you think it is so easy to embroider a sweet dinosaur for a child on a jacket or a sweater?
Are you interested in more projects I made? Follow me on Instagram 
 BERNINA Corporate Blog -

hi want to download the patterns that are posted for the embroidery but just cant get them to download. your last three I have not bern able to be tell me what I need to do
Hi Shirley, I’m sorry to hear. So, did you right click on the link, find the download files in your download folder on the computer, then unzip? You can contact me in Messenger and I will send them to you, if you have technical problems with the downloads.