 BERNINA Corporate Blog -
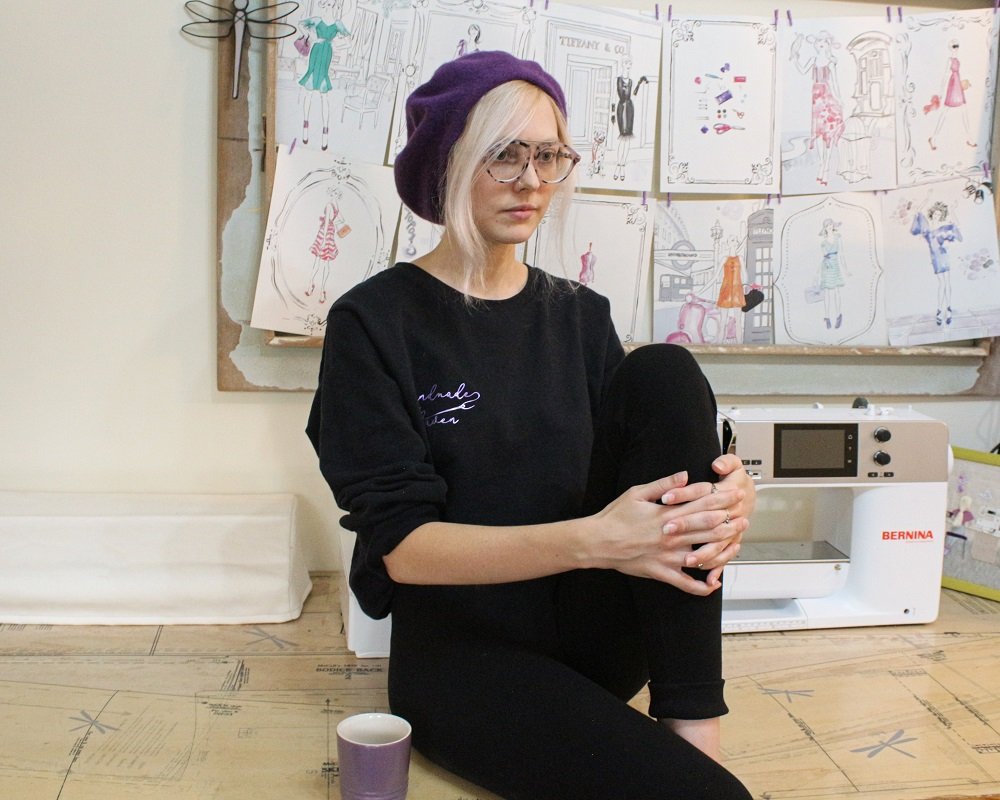
The lockdowns and pandemic have affected many of our work lives. Even though I’ve always worked from home as I run my own business, I have altered how I make a living in order to keep myself and my family safe.
Pre-pandemic I made custom evening and wedding dresses which required a lot of in person contact.
As my living situation has also changed, I don’t currently feel comfortable inviting clients in to my workspace as it is now also my living space.
In the meantime I have made use of my other business of heat transfer printing.
I created a novelty collection of items like tshirts, bags and sweaters. These items are tailored towards my fellow South African sewists and creatives. I chose items that I would wear & use on a daily basis while I work comfortably from home. My summer staple was one of my printed t-shirts paired with me-made Darcy shorts.
When I came across the free leggings pattern from Hilli Hiltrud I knew it would be a new winter favourite to pair with my printed sweaters.
Even though I really miss making intricate gowns and getting to know my clients during the process, I know that this situation isn’t forever.
What will be needed:
- Sewing machine
- Overlocker
- Free Leggings Pattern & Instructions by Henrike Domin/Hilli Hiltrud
- 1.2 – 2m stretchy fabric
Suggested fabrics are lycra, cotton or viscose jersey - 2.5-4cm wide elastic
Quantity dependent on your Waist measurement - Stretch/knit/Ballpoint needle (depending on fabric choice)
- 3-4 threads to match fabric
If you don’t have an overlocker, you can sew the leggings using a zig-zag stitch.
Pattern
I’ve compiled this document to help you download the free pattern from the German blogsite.
Guide to download Free Leggings Pattern
Size Guide
Here is an English version of the size guide:
Measurements guide for Leggings pattern
Pattern Alterations
The pattern provides 3 length variations: cycling shorts, ¾ leggings or long leggings.
I prefer my leggings full length but wanted to add a detail to the Hem.
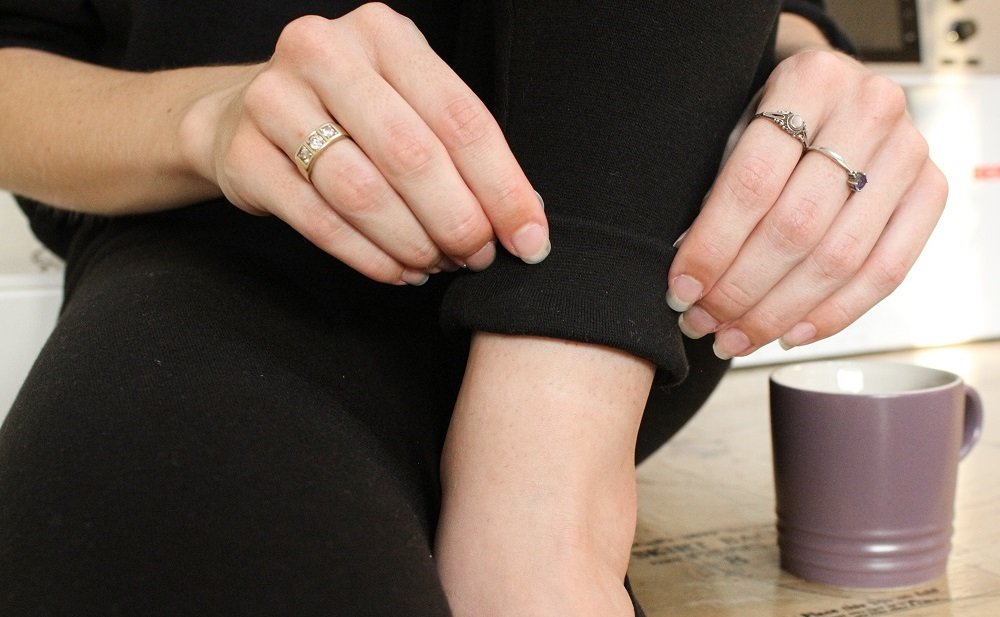
For my pair I made a turn-up detail.
I’ve shared the steps for how I altered the pattern for the turn-up in this document:
Hem Hack for Leggings
Elastic Quantity
Not all Elastics have the same amount of stretch so it is difficult to provide a fool-proof calculation.
This is how I worked out how much Elastic I needed for the Waistband.
-Measure out the Elastic according to your Waist measurement & deduct 5cm, do not cut it yet.
-Wrap the Elastic around your Waist, overlap & pin the ends of the Elastic.
-Adjust the fit if the Elastic feels too tight or too loose.
-Stretch the Elastic to see if you can move it over your Hips and adjust the fit if it is too tight.
If the difference between your Waist & Hip measurement is big, you may need to choose an Elastic with more stretch. I.E. the Waistband is too tight to fit over your Hips but then too loose for your Waist.
-Once you have the desired measurement, add on 2cm (2 x 1 cm) seam allowance.
Steps
I followed Henrike Domin’s instructions provided by Matthias Fluri on the German Blogsite, however I sewed the Hem differently as I altered the pattern.
The pattern makes use of a 1cm Seam allowance and 2cm Hem allowance.
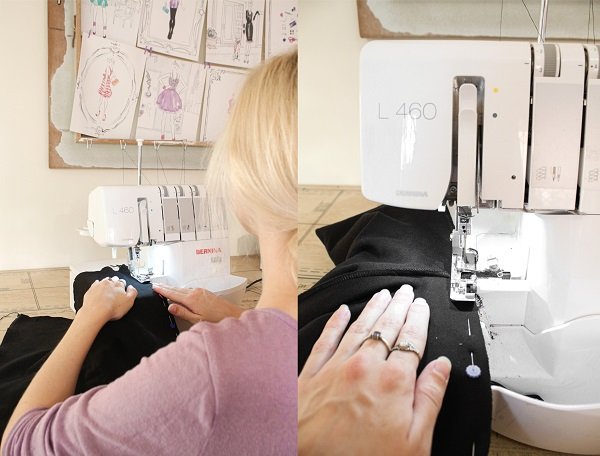
- Join the respective Crotch seams & Inseams with an overlocker.
When joining the inseams, start at the crotch seam and warm down each leg separatly.
If you overlock both inseams in one go (from hem to crotch to hem) you run the risk of stretching the fabric and the seams not matching perfectly.
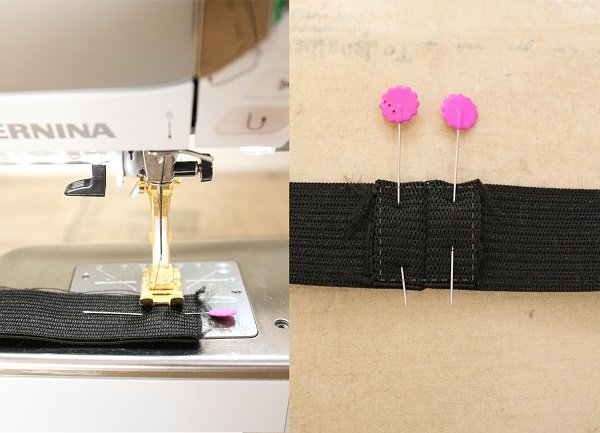
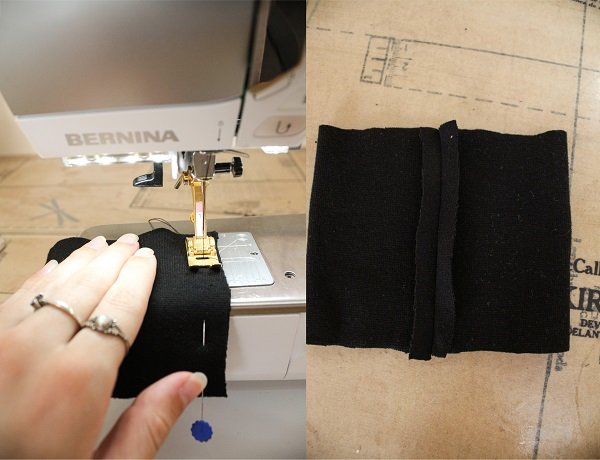
- This technique of joining the ends of the Elastic-band is new to me but I wanted to give it a try as it was suggested by the pattern designer.
Straight stitch the ends of the Elastic together with a 1cm seam allowance.
Open the seam and stitch the seam allowances flat by sewing a rectangle/square.

- Divide the Waist of the Leggings as well as the Elastic-band into Quarters.
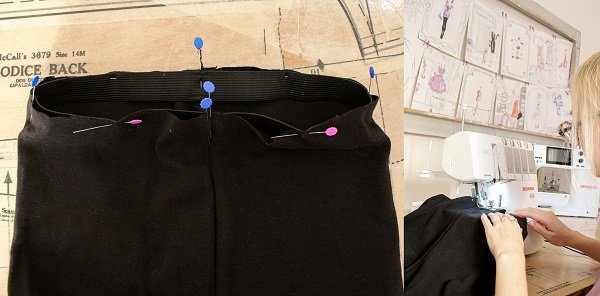
- Place the Elastic-band inside the Leggings, match up the marks and overlock them together.

- Fold over the Waistband, encasing the Elastic and secure with zig-zag stitches.
- Sew the Hem.
Either sew a normal 2cm fold up Hem or try this option:
Optional: Add the Turn-up Cuff to the Hem
-Fold the Cuff crosswise with the right-sides together and join the short ends.
-Straight stitch the short ends together with 1cm seam allowances.
-Press the seam open.
-Fold the Cuff lengthwise, wrong-sides together.
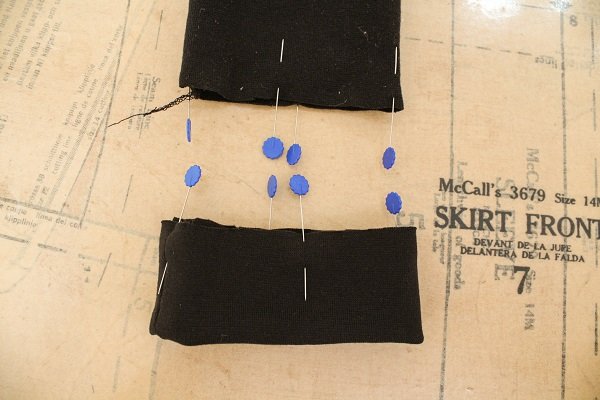
-Divide the Cuff and the Hem of the Leggings into equal quarters.

-Place the Cuff inside the leg of the Leggings.
-Match up the marks and overlock them together.
I zig-zag stitched rather than overlocked as my seam ended up being a bit bulky due to the fabric thickness.
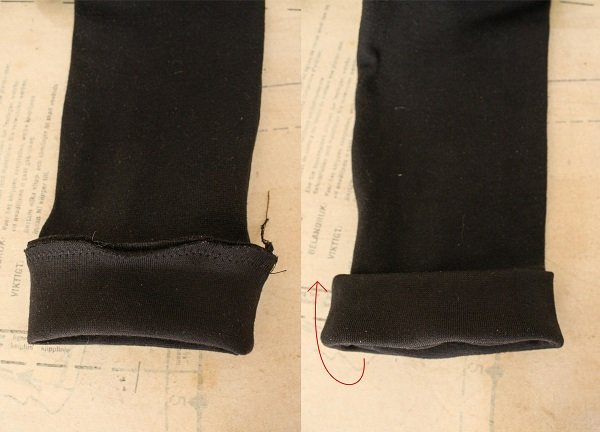
-Turn the Cuff out.
-Press along the fold lines.
If you haven’t done so yet, repeat steps for the other leg.
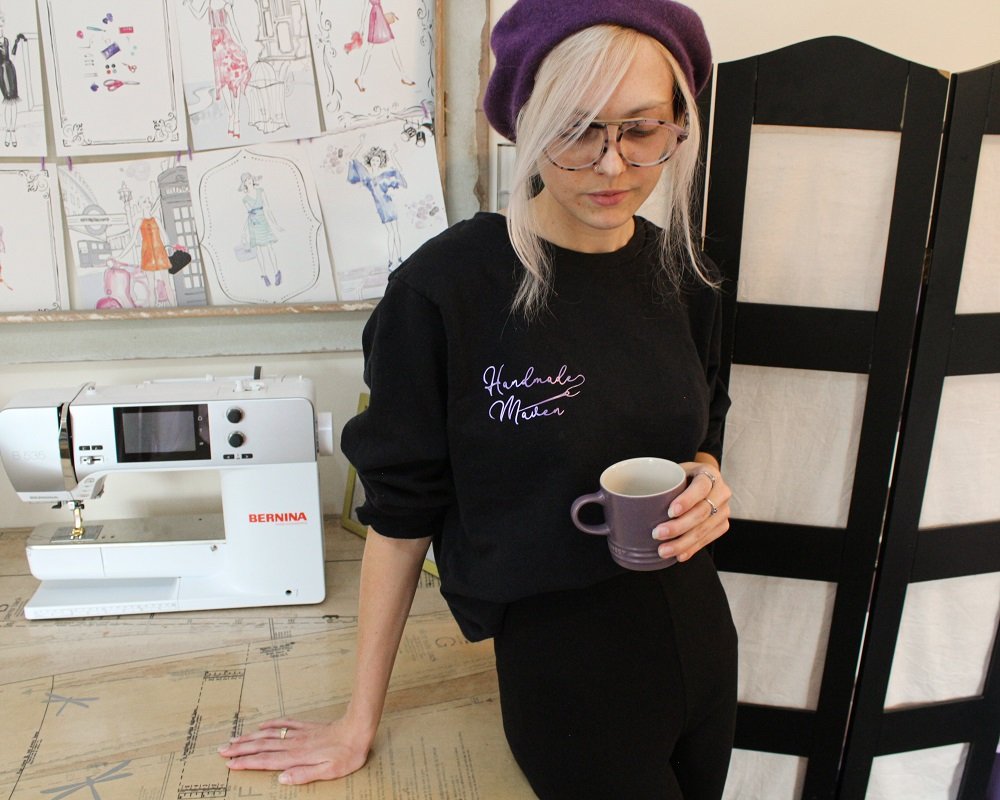
My go to winter outfit of me-made leggings and one of my printed sweaters complete with a cup of coffee and gifted beret

Tips
- You may need to secure the turn-up with a few hand stitches at the inseam to keep it in place.
- You could size up a few sizes and add a cuff hem detail to your leggings for a jogger style.
The leggings pattern and original instructions on the German site was made available for free with thanks to the publisher Edition Michael Fischer.
The book that the pattern comes from is titled “Capsule Wardrobe – das Nähbuch” (ISBN 978-3-96093-424-0, 2019 Edition Michael Fischer GmbH) and is by Henrike Domin (she is also a Bernina blogger under the name Hilli Hiltrud)
Please refer to the original article written by Matthias Fluri to learn more about the book.
I would love to see what you make, please feel free to share with me!
Remember to tag the pattern designer too @hillihiltrud
Instagram
Facebook
-Hannah-Rose


0 Responses