 BERNINA Corporate Blog -
Paper piecing Egg in spring (2)
Yesterday we started the instructions for the top Paper piecing Egg in spring (click on the link to find the blogpost) and today we’ll finish the paper piecing Egg in spring. I really hope it was nice to try the paper piecing method. It is really interesting for accurate lines and corners.
Supplies to finish the paper piecing Egg:
- The top of the placemat, with the egg shape and green background that you made yesterday.
- Fiberfill (45 x 45 cm)
- Fabric for underneath the fiberfill toquilt (45 x 45 cm), it could very well be an old sheet.
- Fabric for the back of the placemat (45 x 45 cm)
- 1.8 m biastape – 4 cm width.
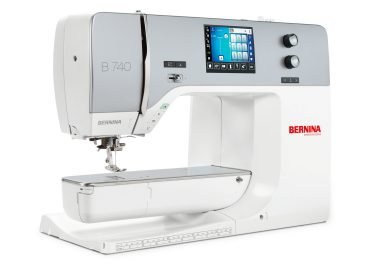
- BERNINA 740
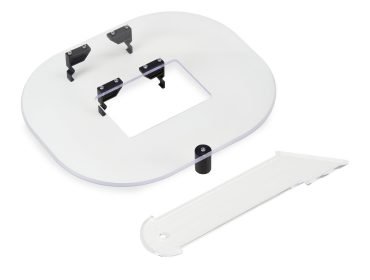
- Ruler work kit
- Presserfoot for rulerwork 72
- Open embroidery foot 20
- Attachment for biastape 87 for unfold tape, size 20 mm.
- Cutting mat, ruler, rolmes, heat erasable pen
- Mettler Seralon sewing thread
Let’s start sewing:
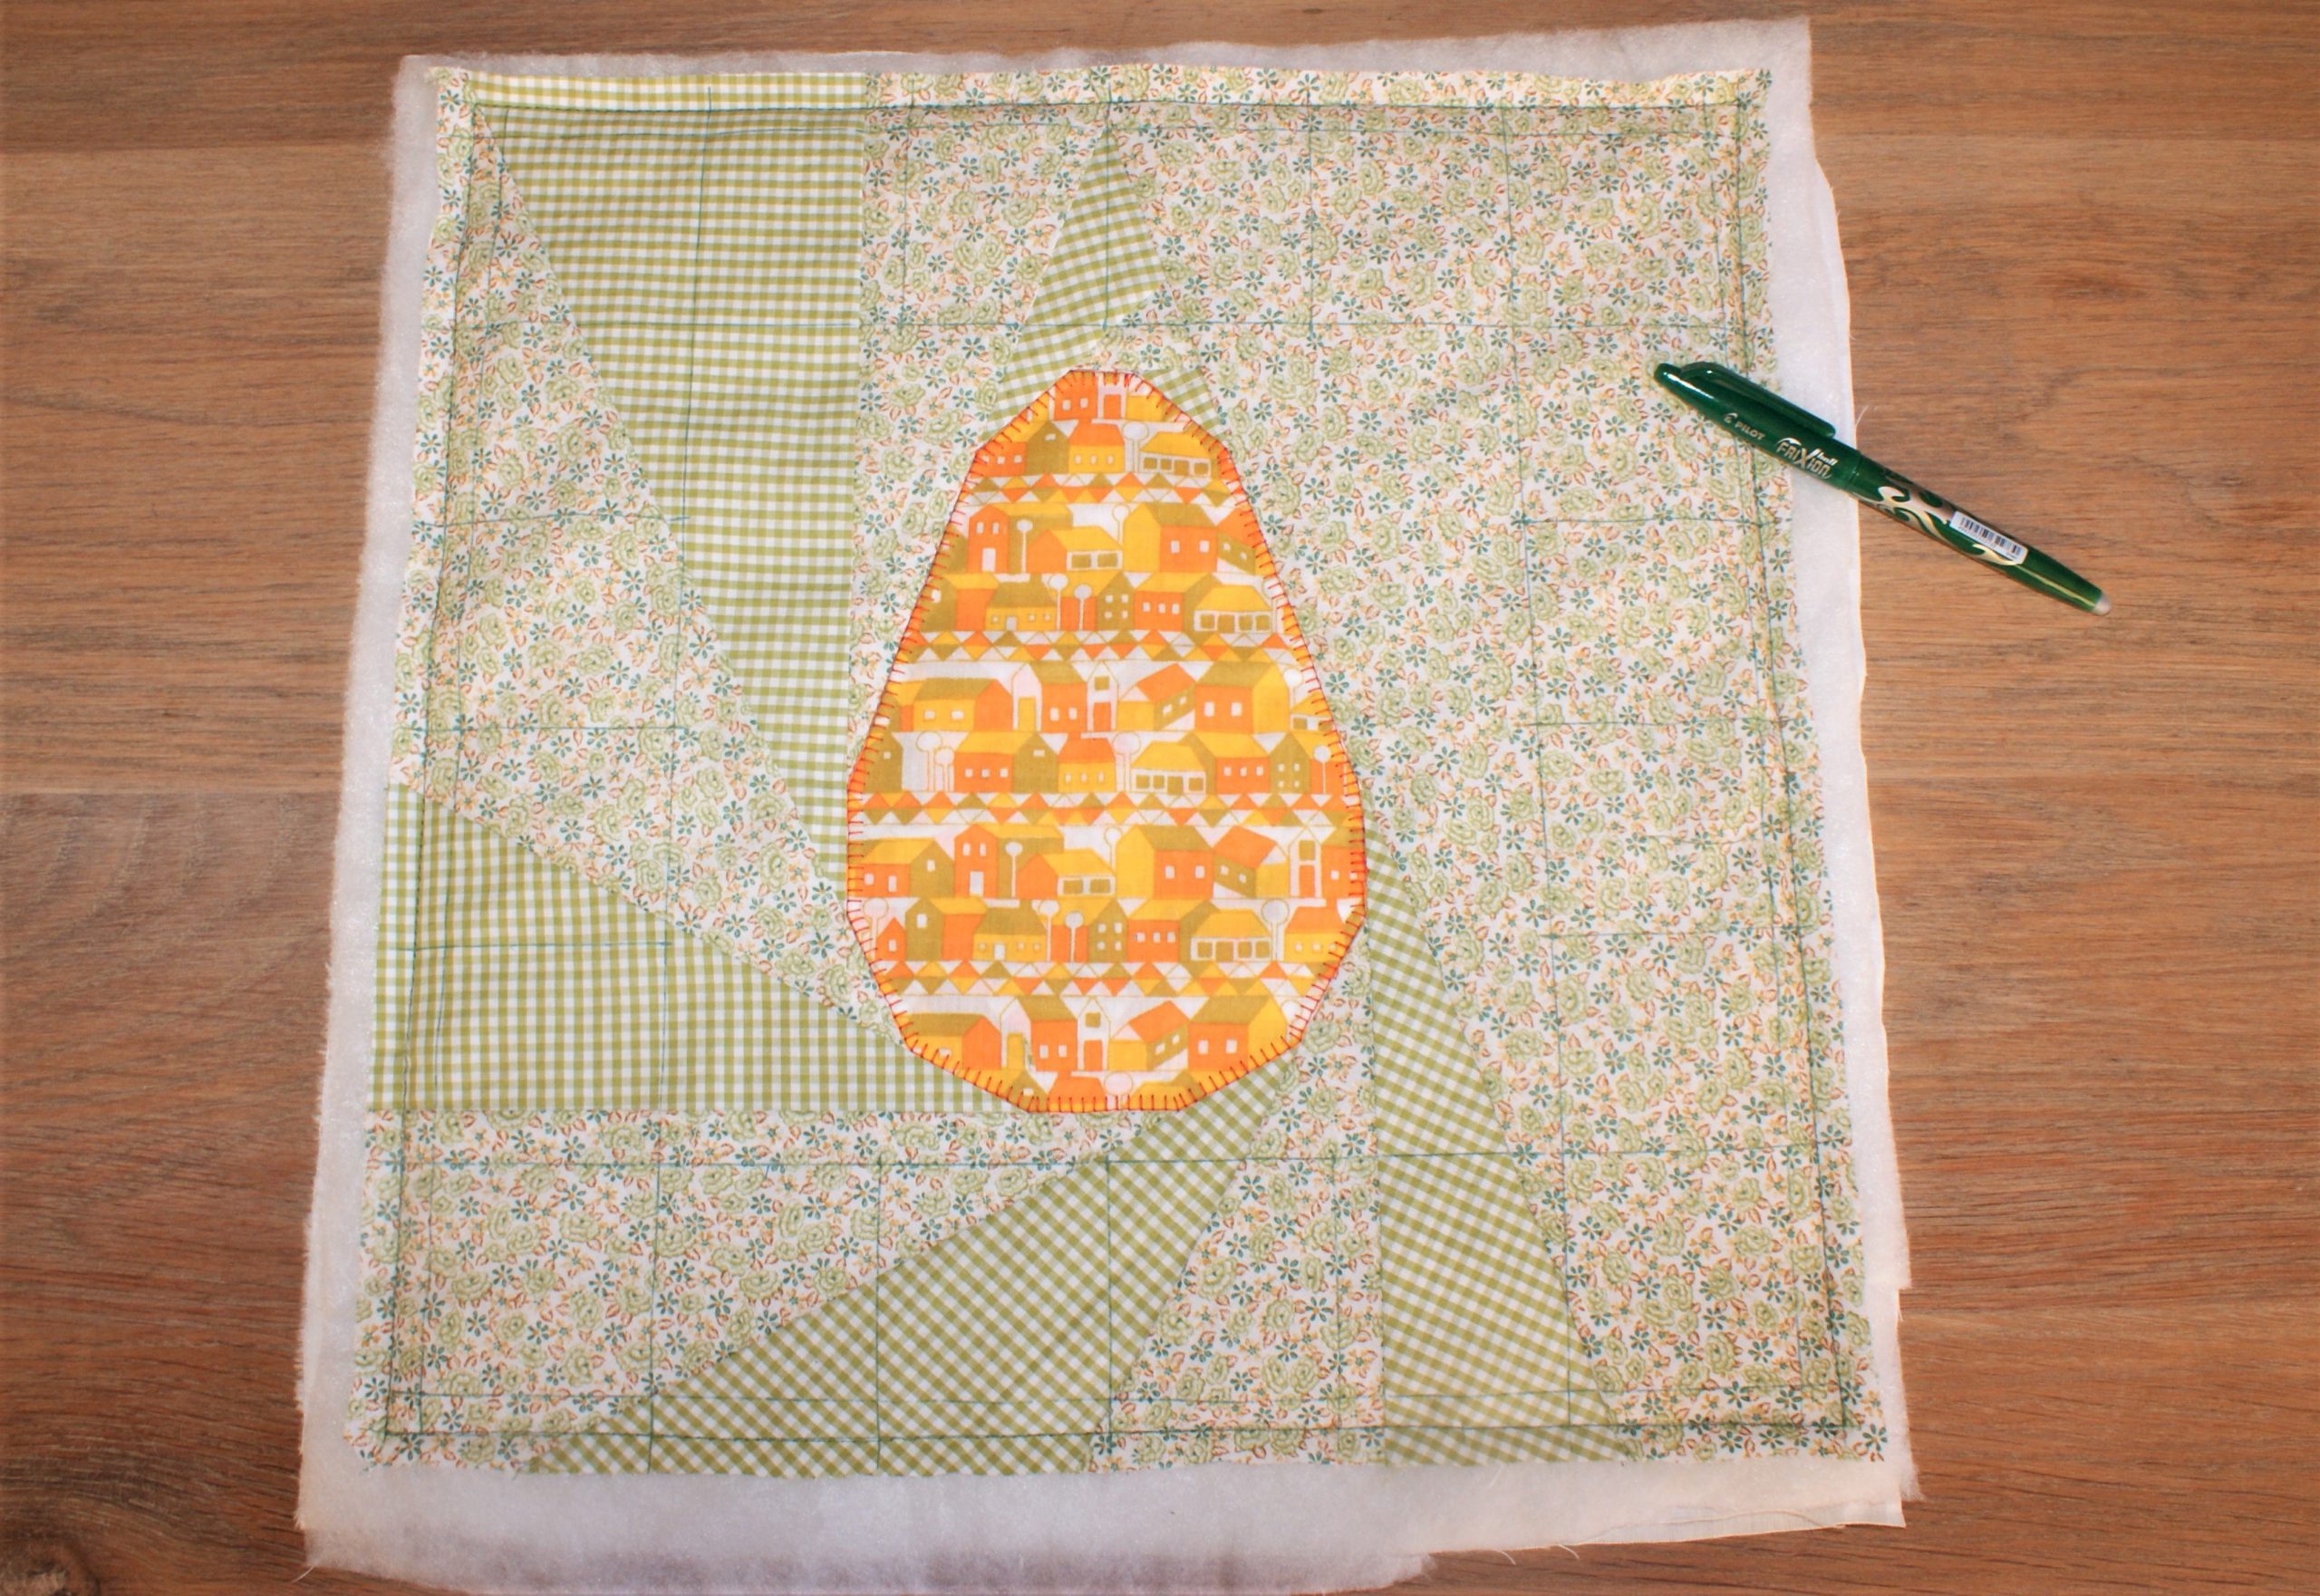
Copy the largest square to the right side of the fabric with a heat-erasable pen.
Tear away the paper pattern from the back.
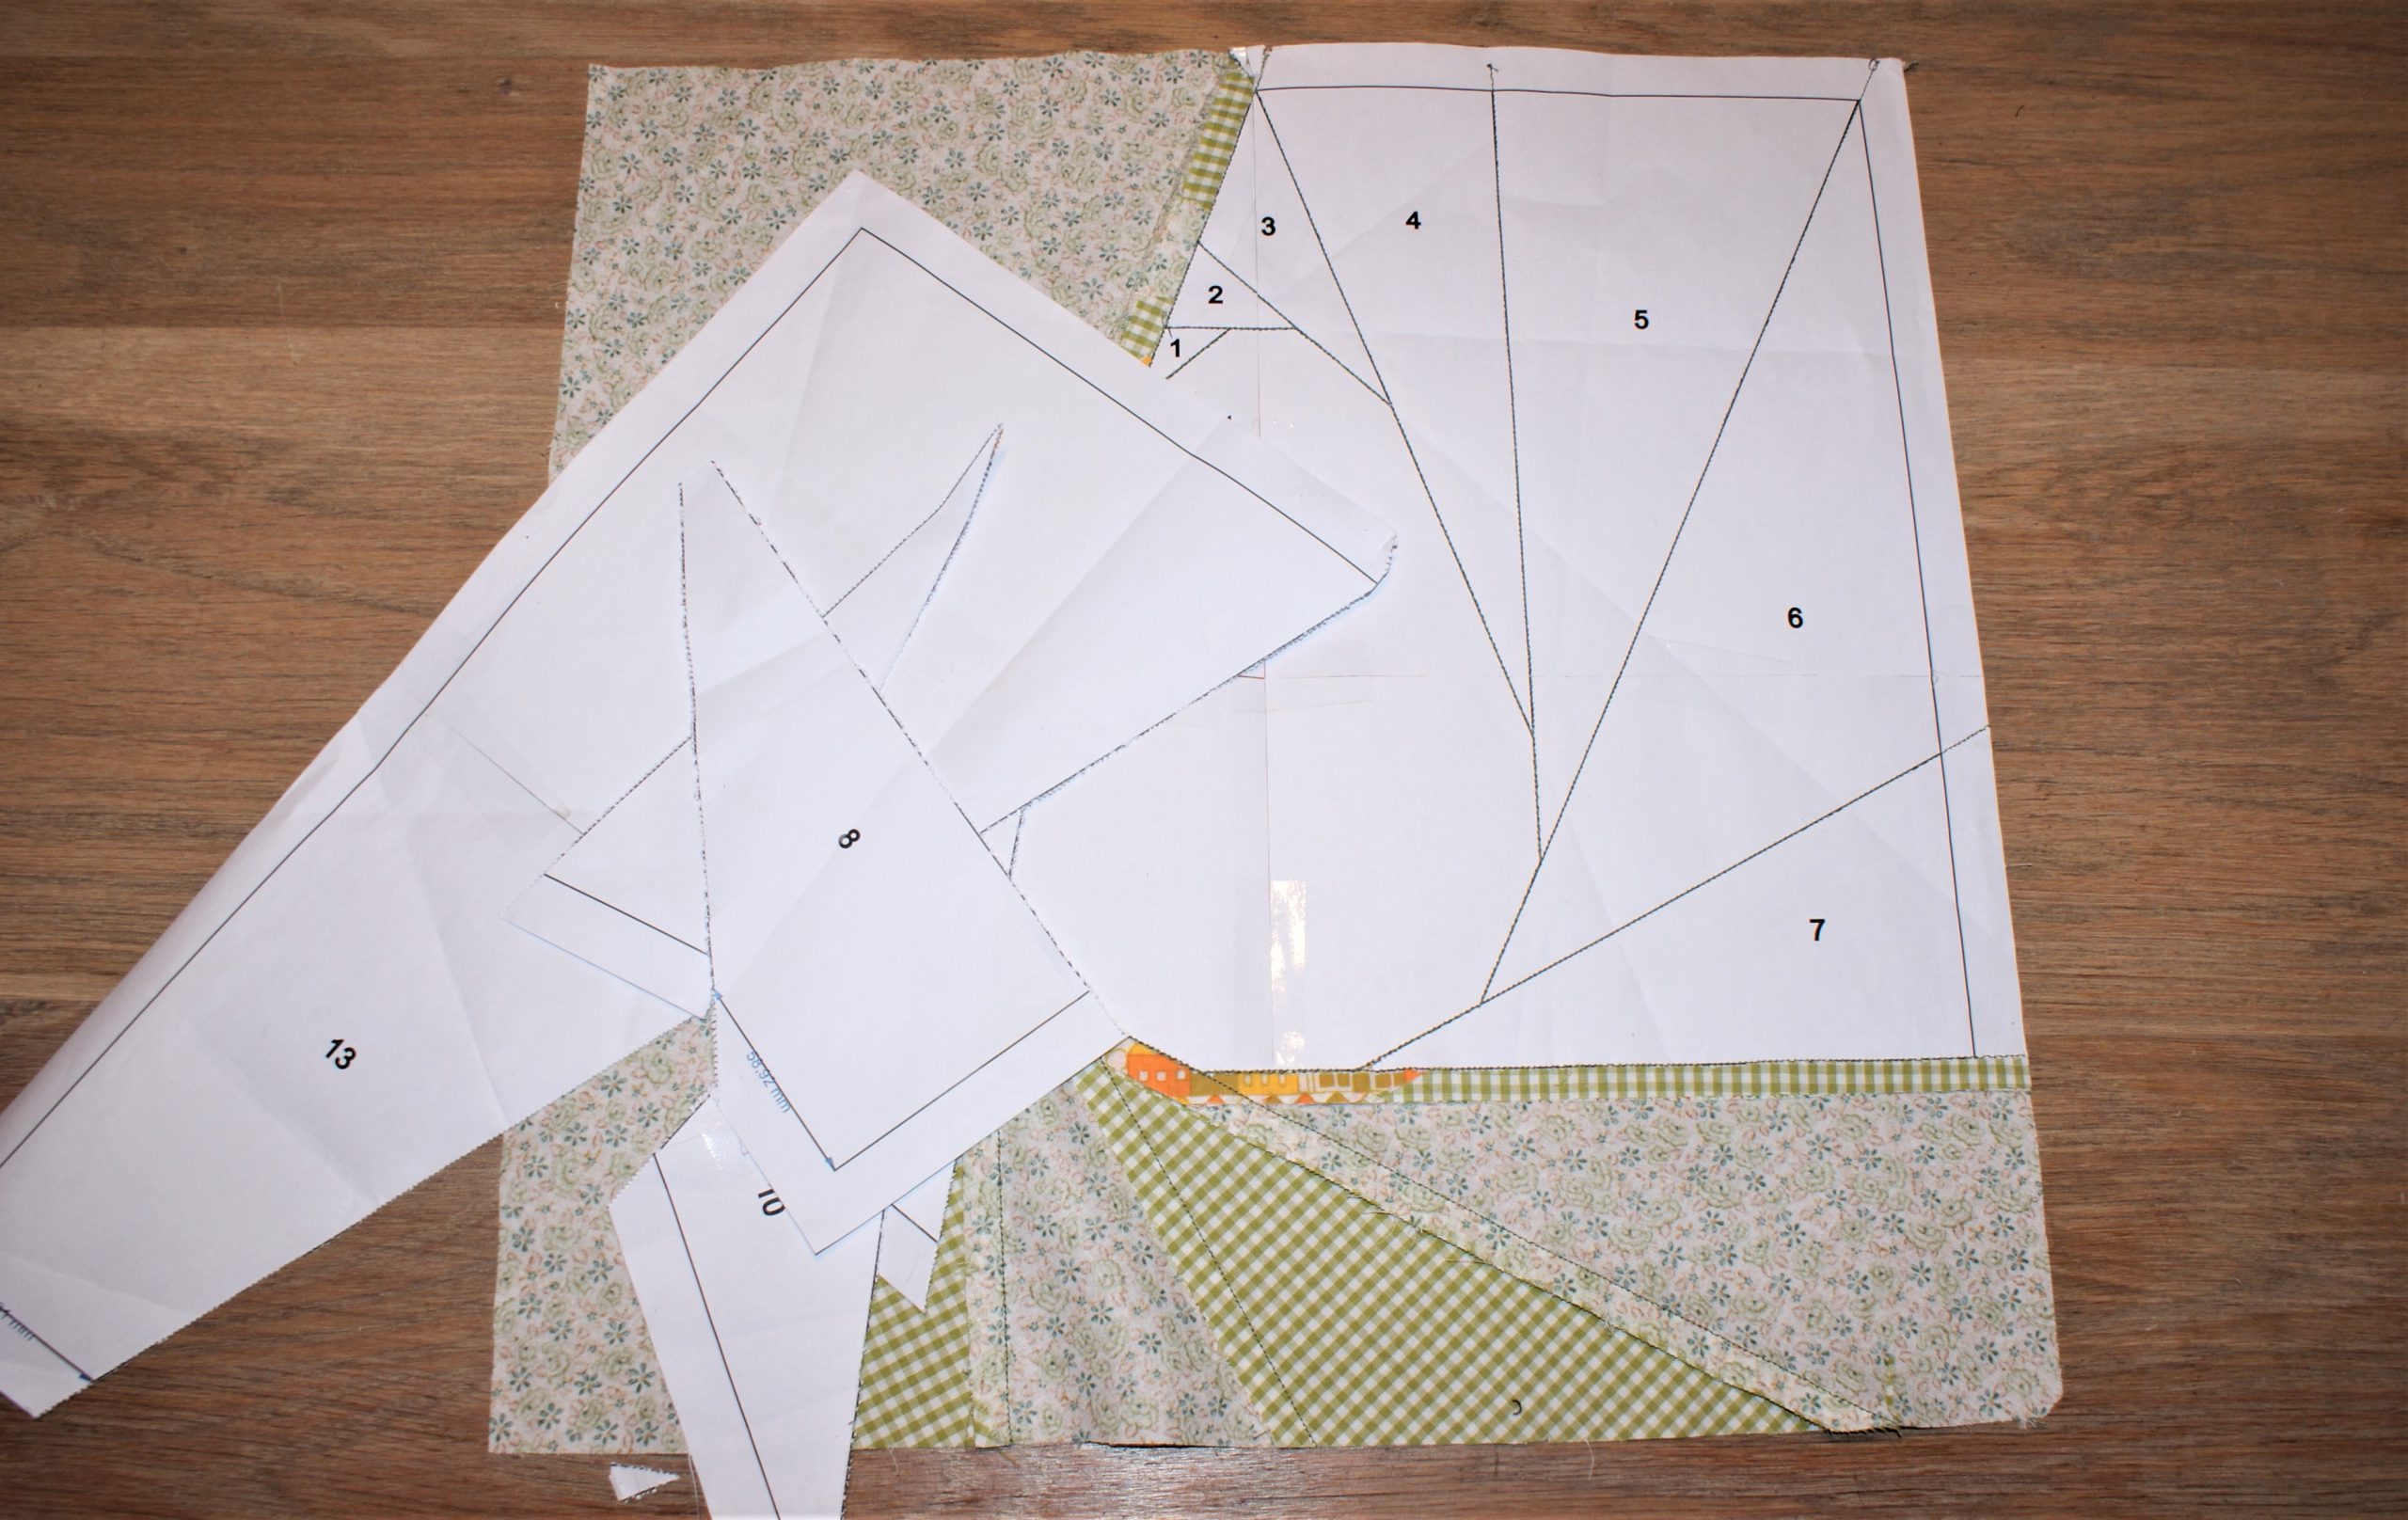
It’s easy to tear away the paper, because paper piecing is sewn with a small stitch length.
Put the fiberfill on the fabric on the backing (the old sheet) and put the top above the fiberfill.
Draw the square with the heat-erasable pen on the right side of the top.
Draw another square afterwards, 7 cm from the large square.
Now divide all sides in 4 and draw lines.
Pin the three layers.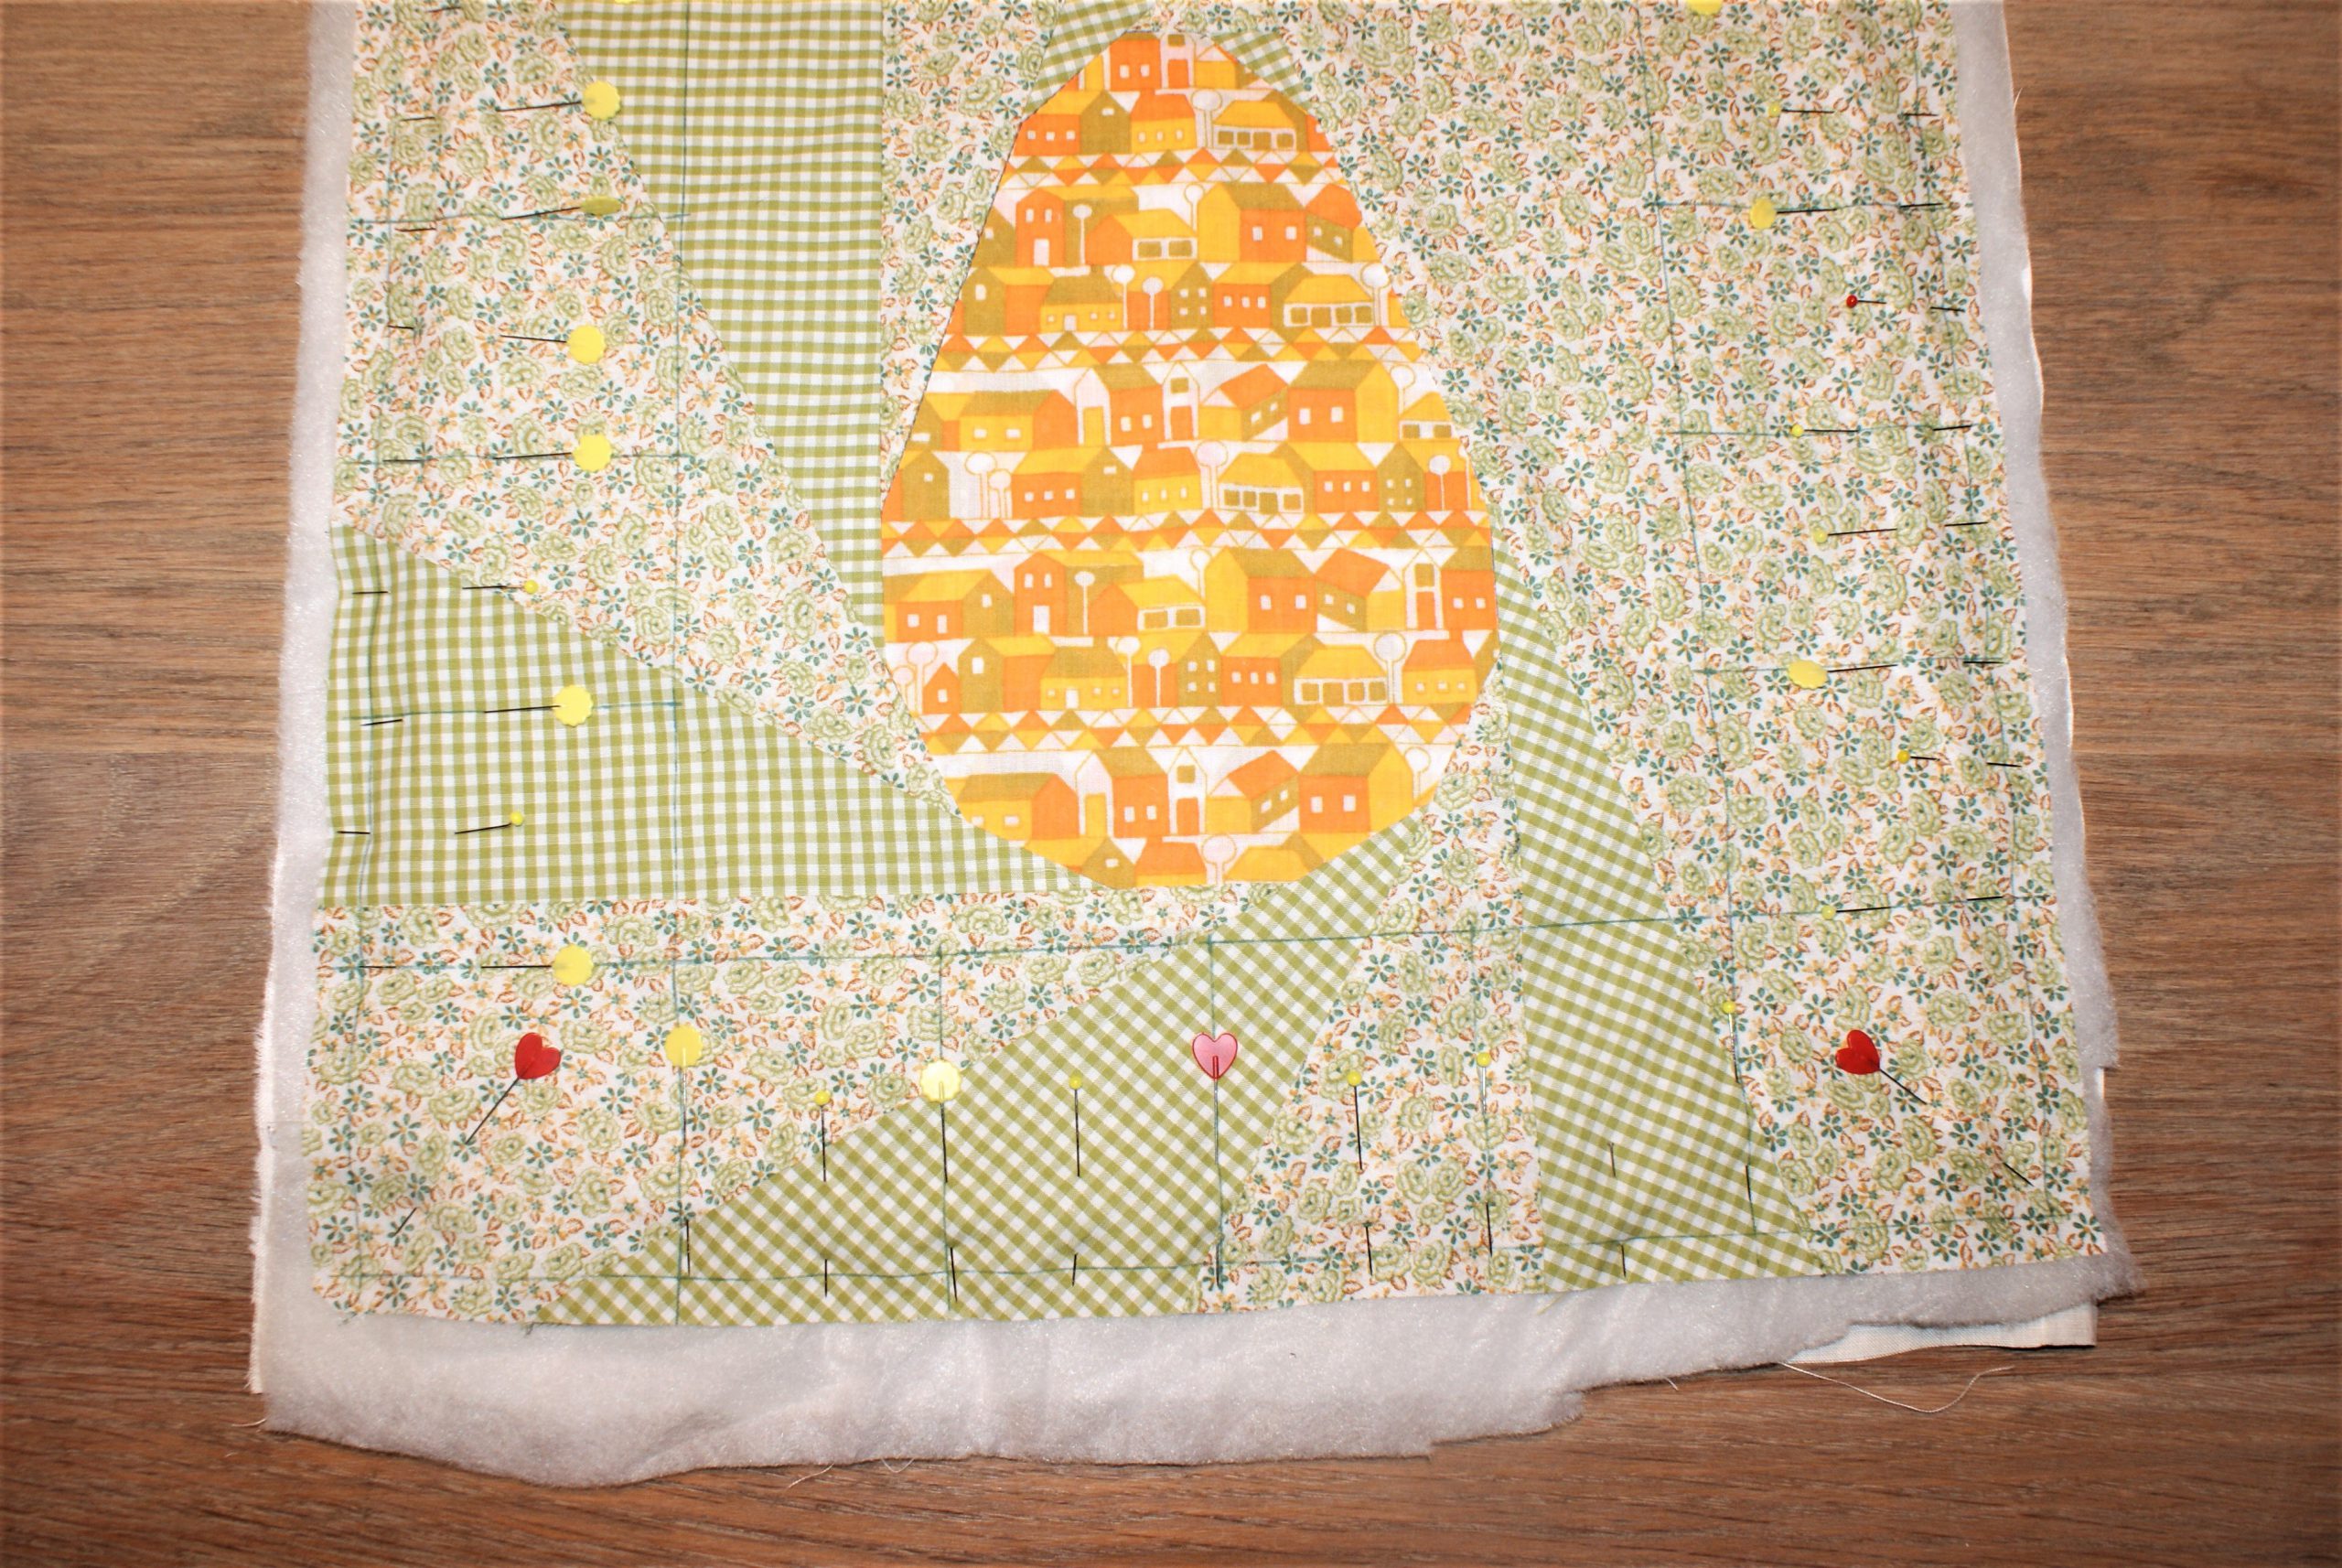
Sew the larges square to fix the three layers to one another.
Draw another triangle at 1 cm from the largest swuare. This is the frame where your will end the curved lines of the ruler work.
Pin the outline of the egg, to prevent the fabrid from gliding.
Sew the outline of the egg with an applique stitch. Set to stitchlength and width 3.
When choosing for the Open embroidery foot # 20 you keep good sight at your work.


The applique stitch highlights the outline of the egg.
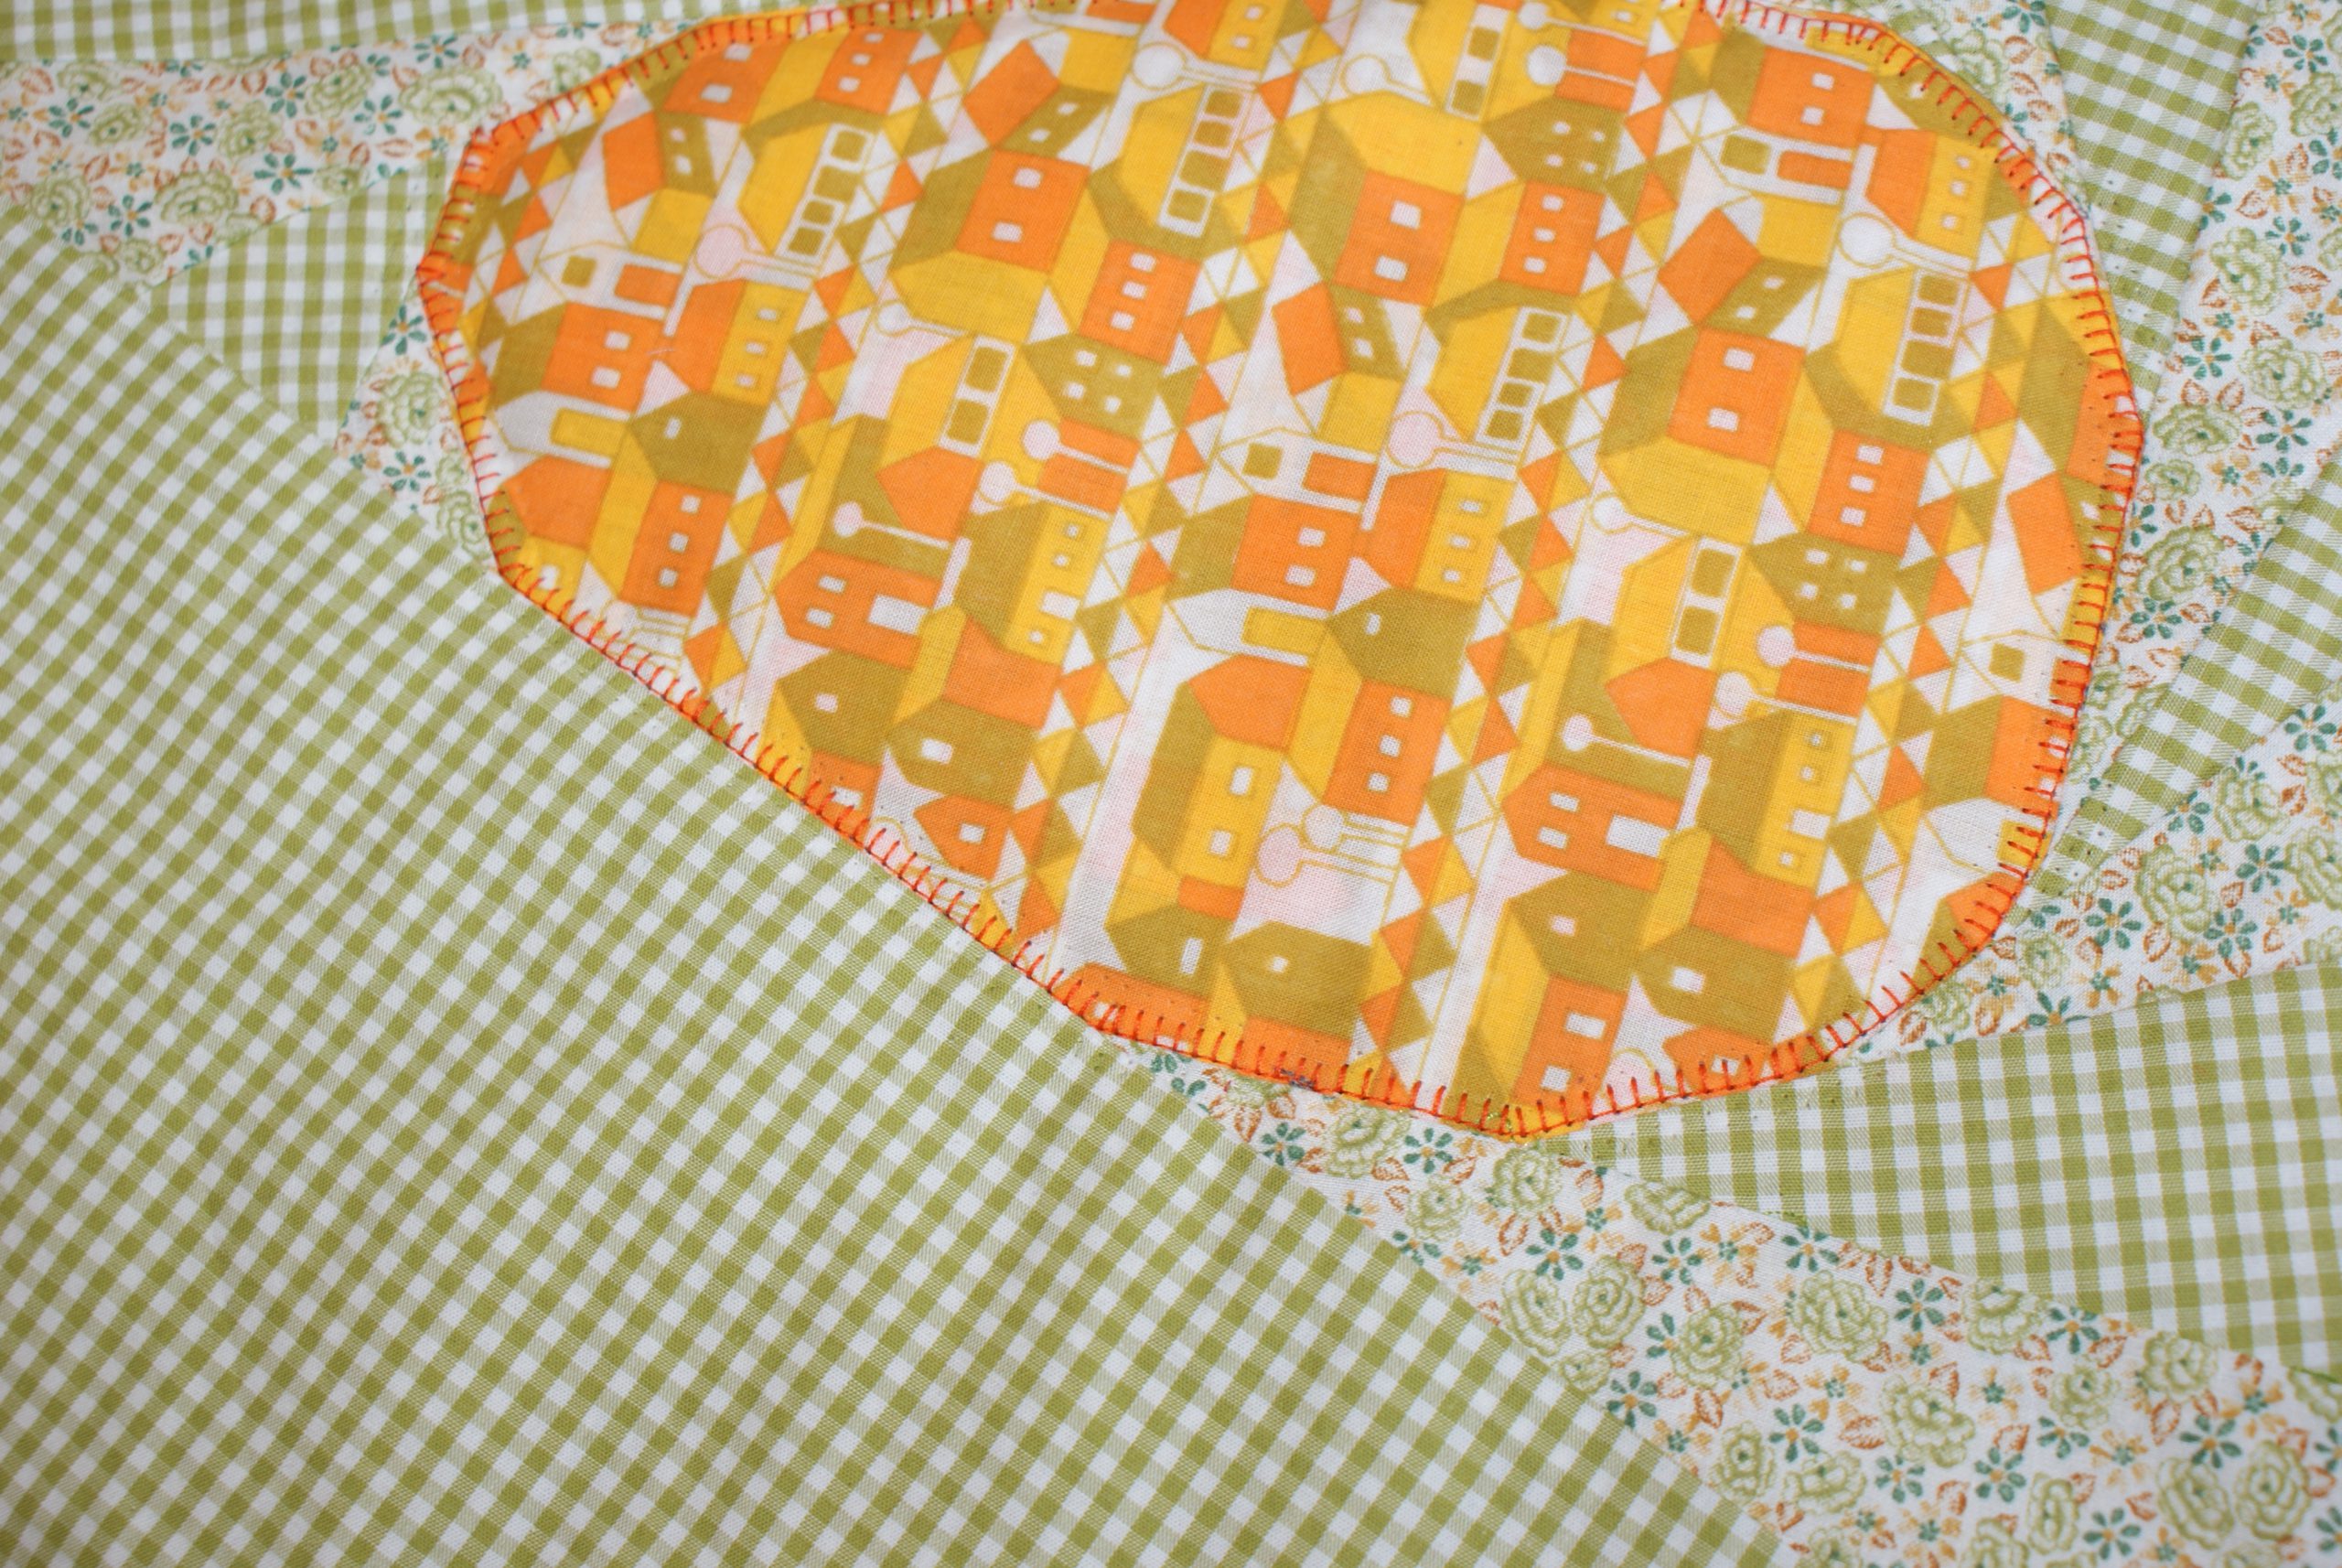
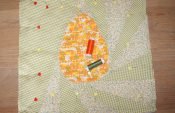
Well, this is what we have now:
Time to start the ruler work on the paper piecing egg:
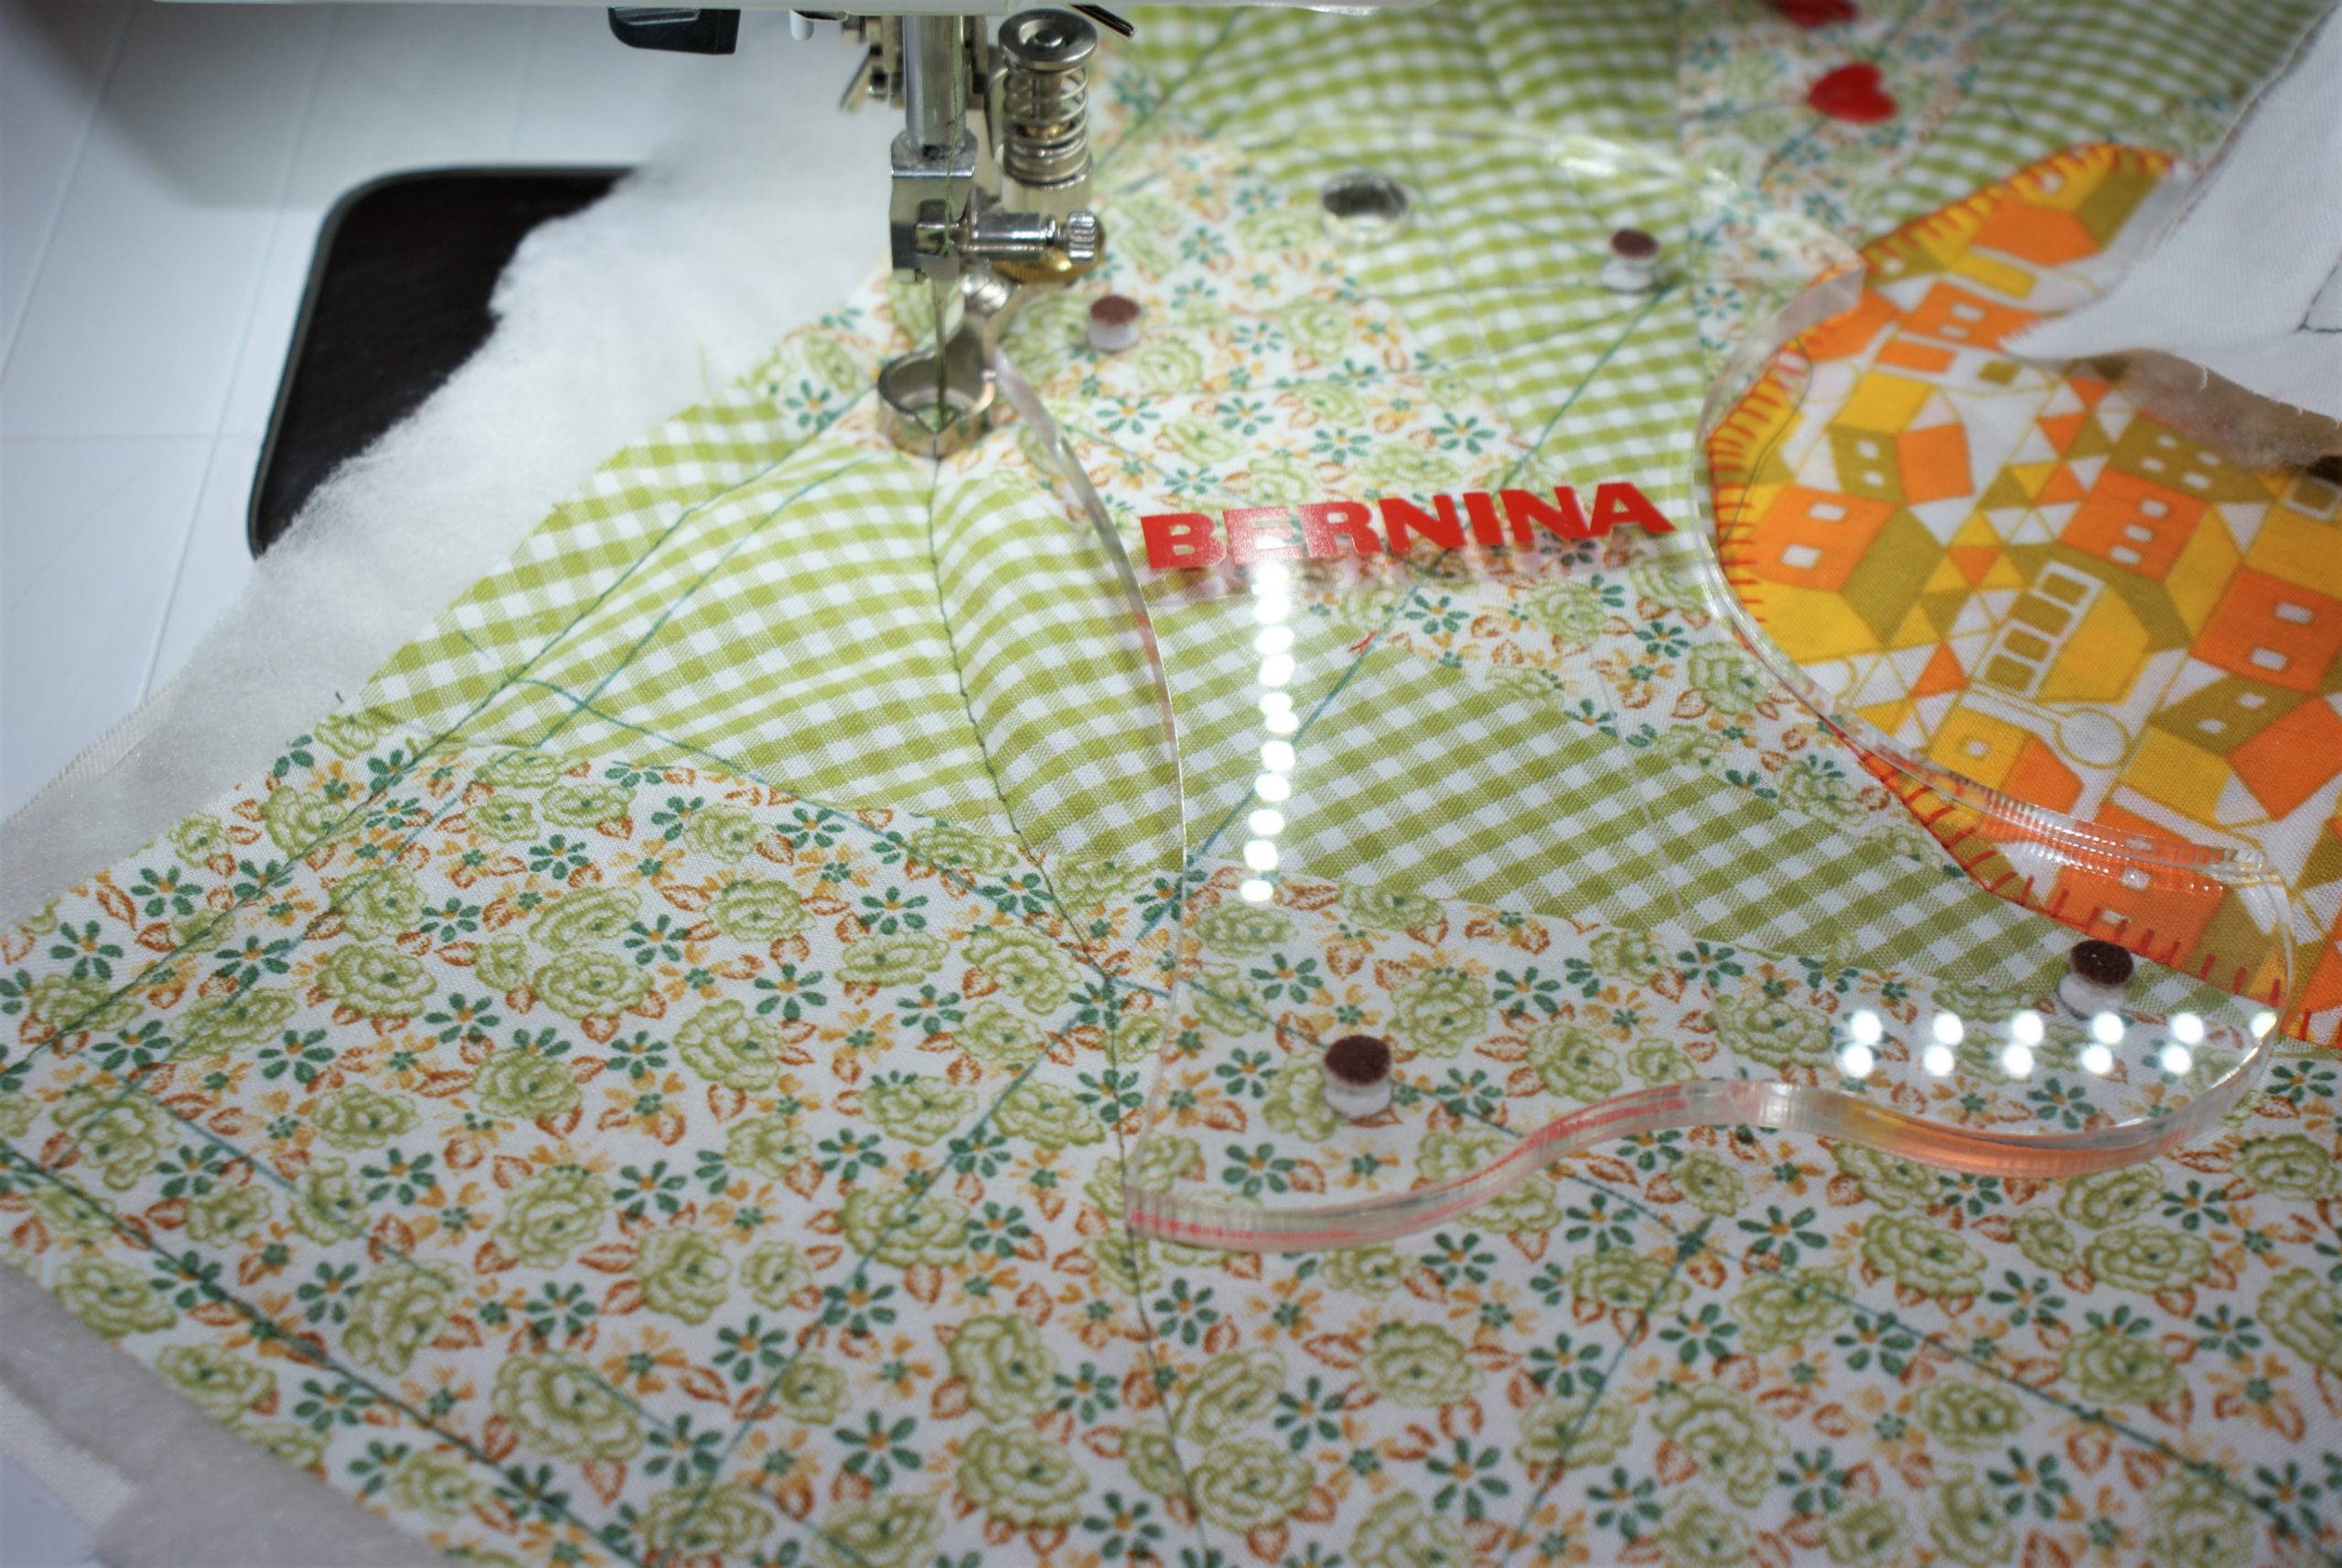
I chose for a longer curved shape in the ruler work kit.
It seems easiest to start in the middle of a sideline.
To prevent the fabric from gliding, I pin them for the first quilting line.
Always position your ruler at 0,6 cm from the marking point, because that is the distance from the needle to the outline of the Adjustable Ruler Foot # 72. Disengage feed dogs and move the fabric with ruler under the needle.
I started with the ruler on the left side and stitched from marking point to marking piont.
 For the next line, I replace the ruler to the right side of the foot and stitch the other curved line from marking point to marking point.
 To finish the quiling, sew a new line at foot width on the inside of the lines that you have done. Open embroidery foot 20 is your best friend again.
Time to iron the lines. They will disappear when heated.
Finishing with biastape:
Zigzag against the ouline of the largest square (you will easily find it again, it is stitched).
Cut out with the rotary cutter as near as you can to the zigzag stitch.
I like to use Binder attachment # 87 together with unfold tape. I know it is meant to use with prefold tape, but I like unfold. So for me, it is necessary to guide the tape with the right hand through the binder attachment.

 Now the paper piecing egg in spring (2) is finished.

The paper piecing placemat has beautiful relief lines.
I love the shades of a quilted work.
Isn’t it a stylish spring decoration? To my opinion, it’s fun to do. Let us know what you think about it.
0 Responses